When I recently visited my folks in Georgia, one of my projects was helping my dad clean up his shop so that he could more easily work in it. Over the years, it had become more and more cluttered. Perhaps most urgently, many tools were strewn about on the floor. I proposed turning a 48″ diameter wood spool that he had gotten from an electrical supply company into a moveable workbench. While the spool would take up roughly the same space, it would create two surfaces for storing tools and getting work done at elbow height. And, giving him a place to put tools when not in use where he could get them without bending over, would be a positive development, too.
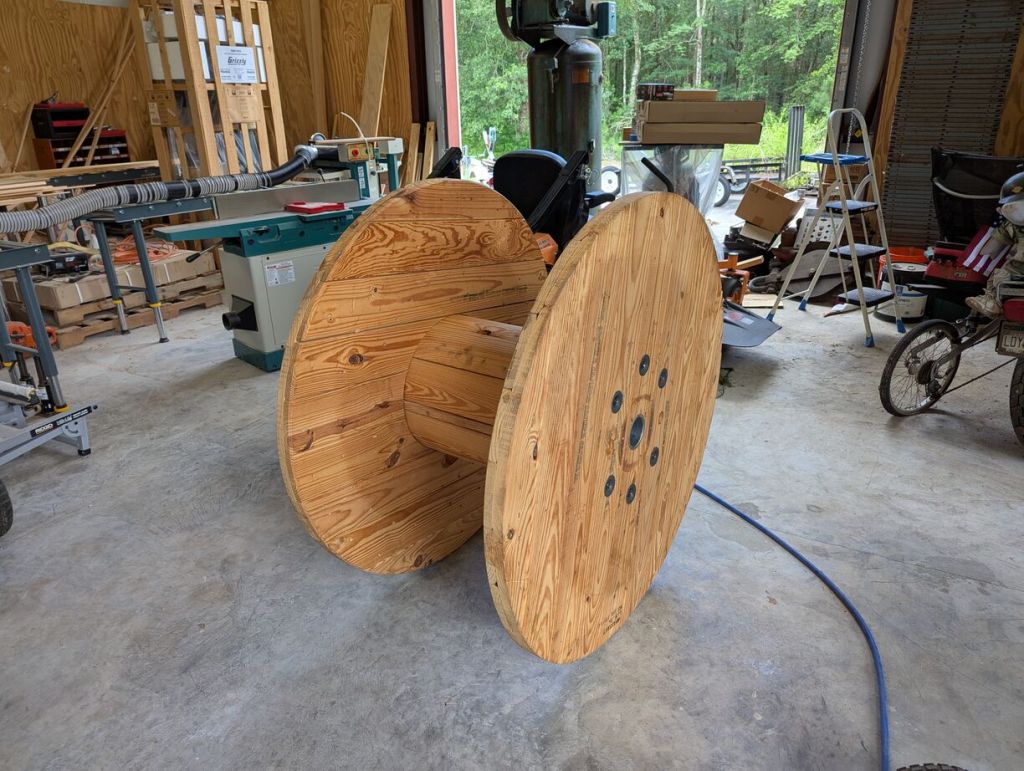
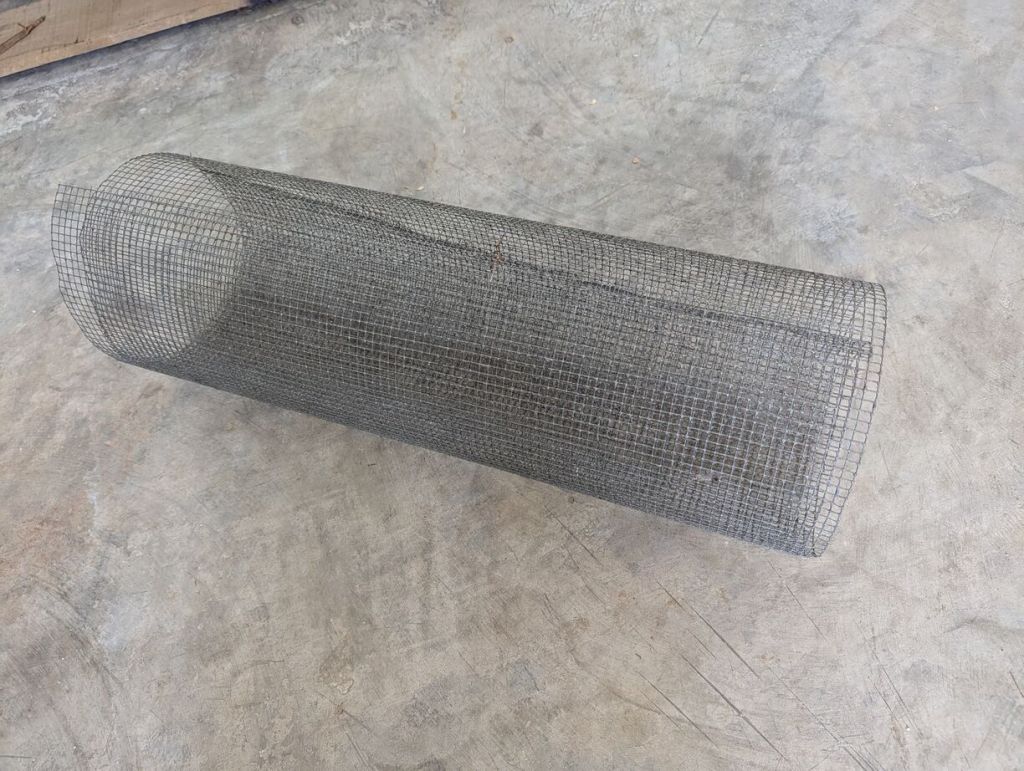
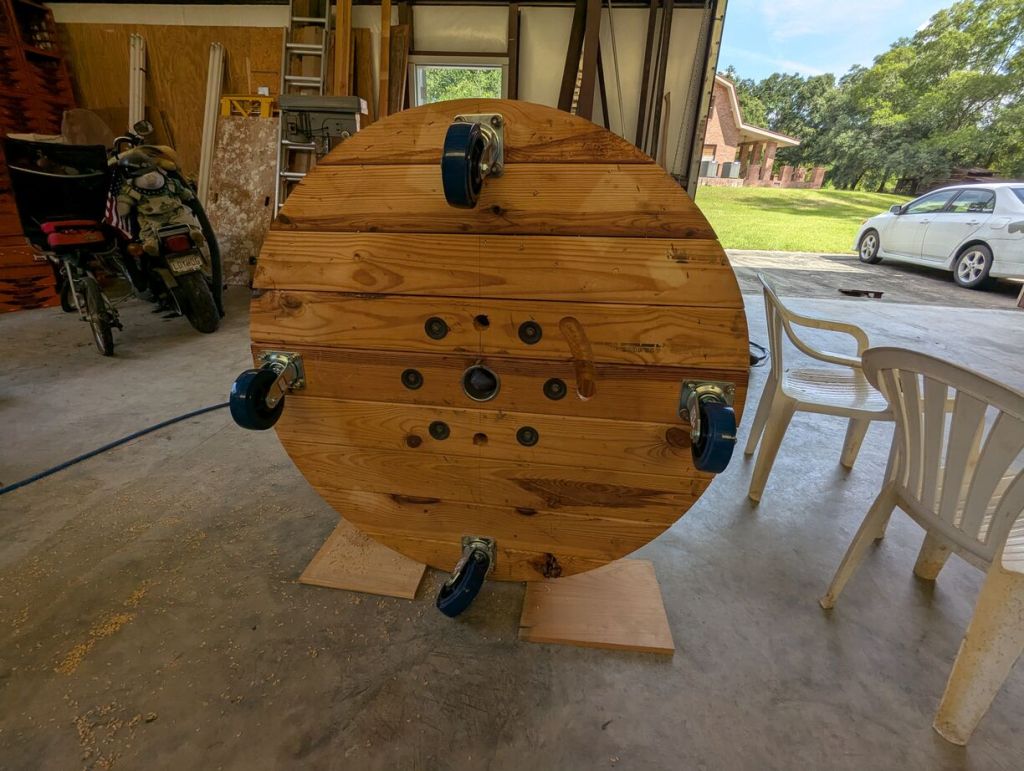
The wood spool is approximately 48″ diameter and 28″ tall.
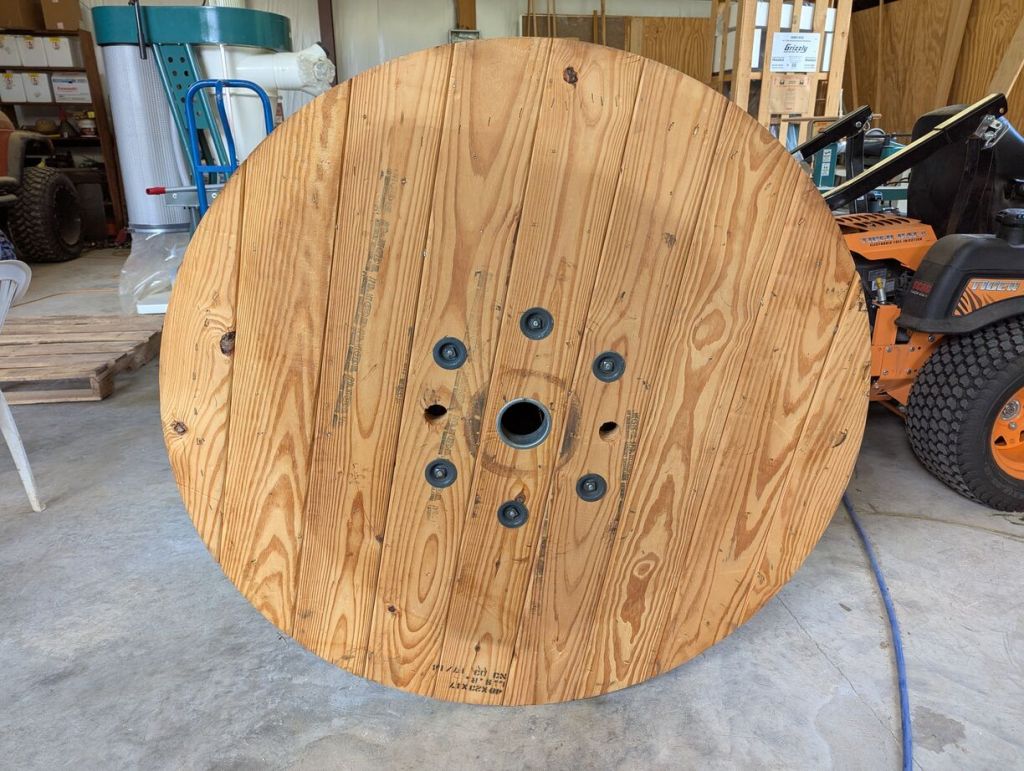
This side was cleaner and had no obvious problems for working on a roughly flat surface. It would be the top of the workbench.
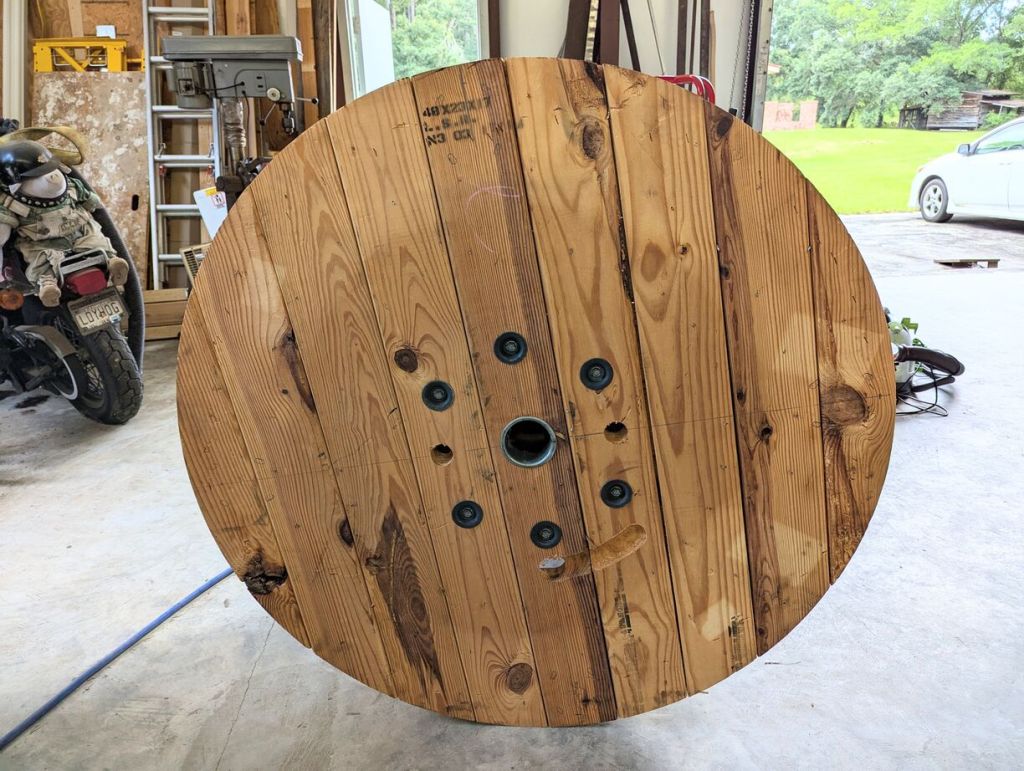
We designated this side the bottom due to its rougher appearance and extra hole with arced routing (to secure the wire it once held?).
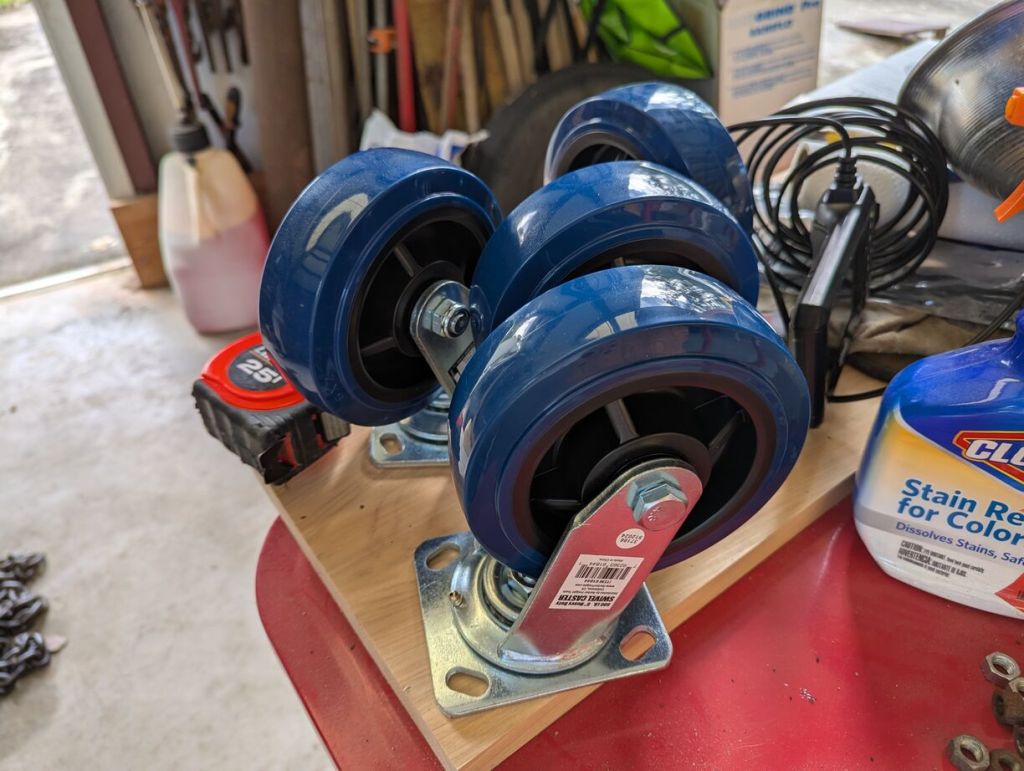
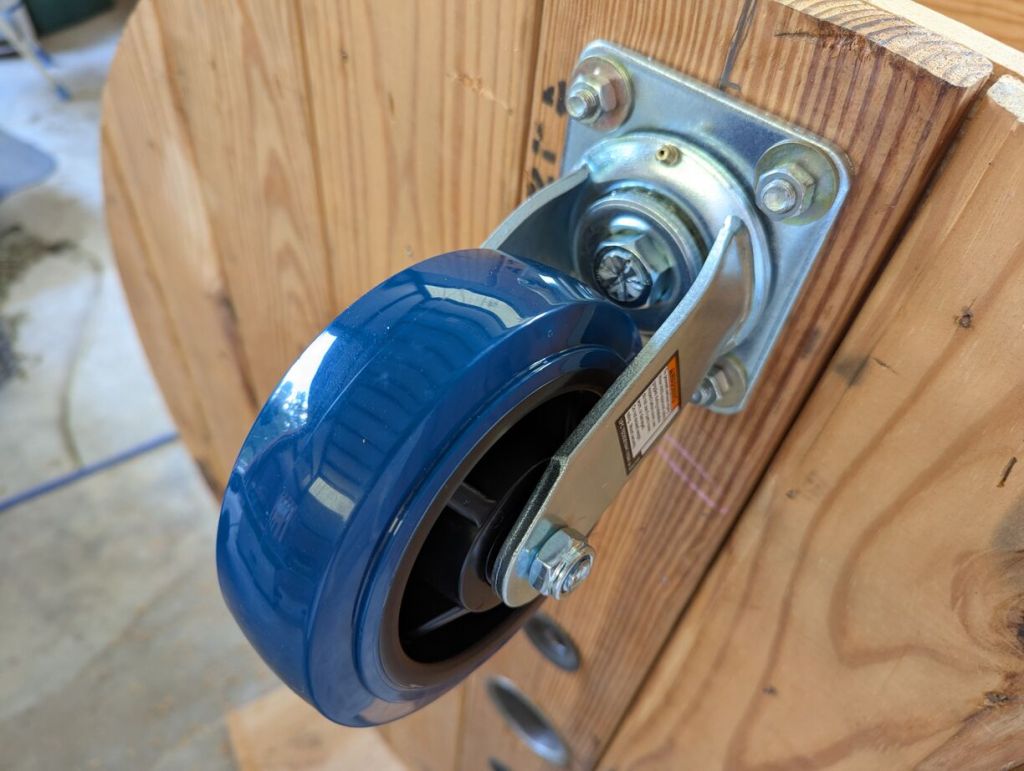
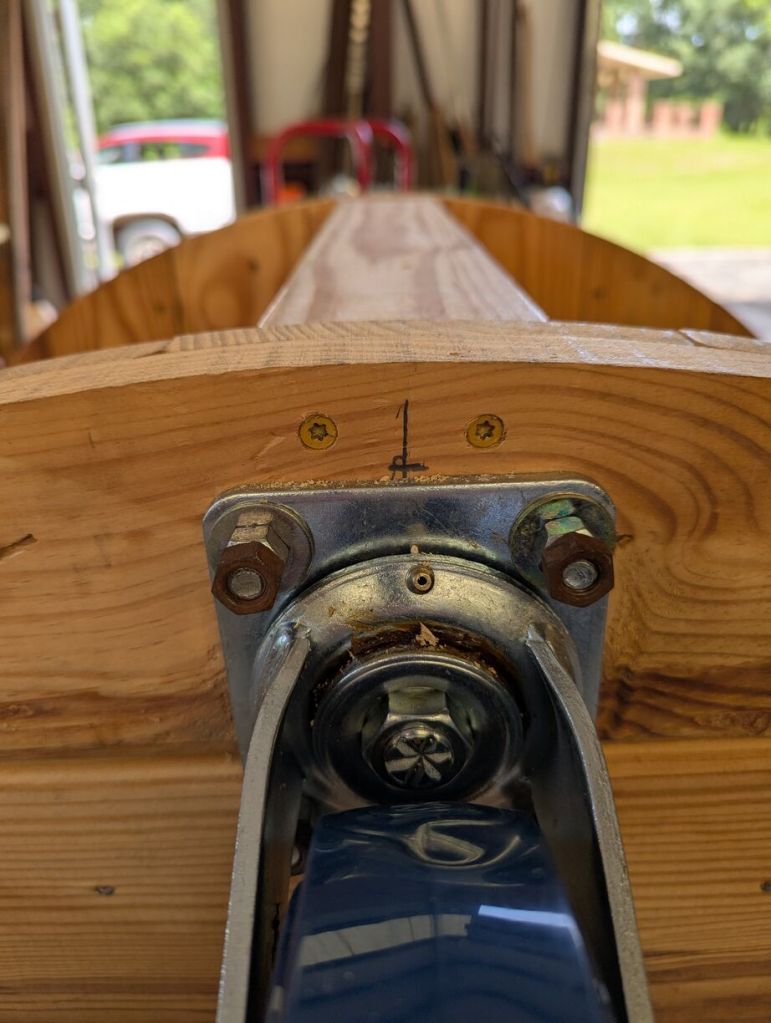
We picked up four 6″ caster wheels with grease fittings from Harbor Freight. These measure approximately 7″ tall including the base. Connected to the spool, these wheels will give the completed workbench an approximately 35″ height.
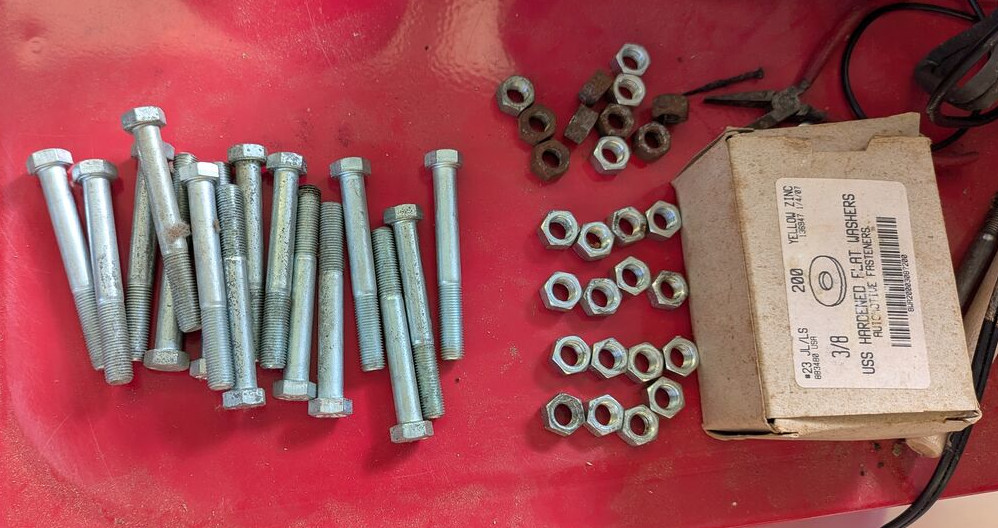
After closing Ellis Auto Parts, my dad kept a lot of hardware that wasn’t sold, so we were able to find all of the bolts, nuts, and washers that we needed. To connect the wheels to the wood spool, we used 3/8″ x 3″ bolts with washers on top and bottom, and we used two nuts per bolt to lock the bolt (we couldn’t find any 3/8″ lock washers).
To install the wheels on the bottom of the spool, I first selected one diameter line and marked it with a pencil. Using a square, I drew a perpendicular line through the center for the other two wheels. I knew that we were going to reinforce the workbench top with 2″ x 4″ boards cut to length, so I allowed enough room for drilling holes and driving screws through the spool ends into the 2″ x 4″s. I marked that distance (2″) from the outer edge along the diameter lines that I previously drew. Then for each wheel placement, I held a wheel where I had marked, centered it, and used a pencil to draw in the four holes at the corner of the caster wheel base.
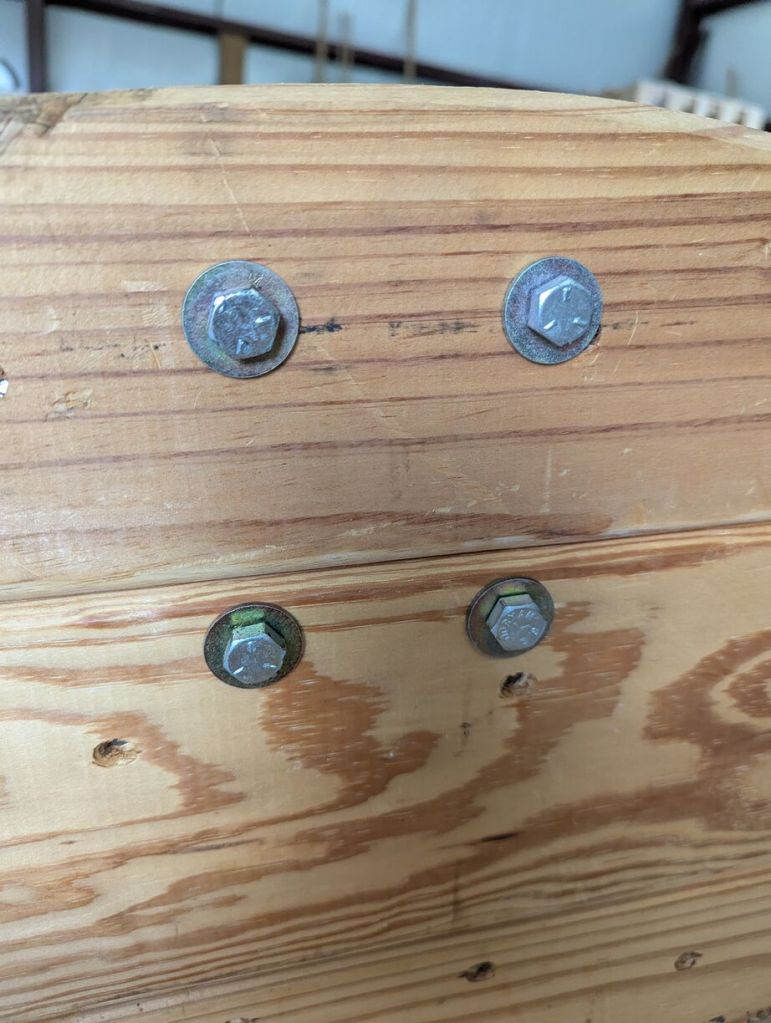
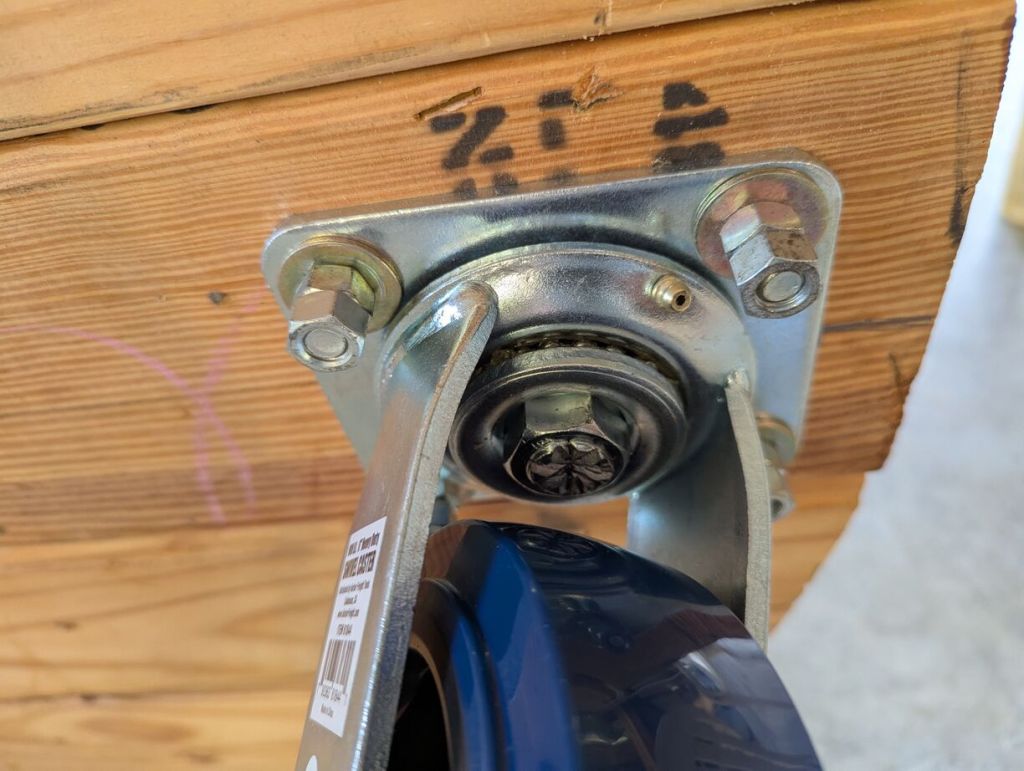
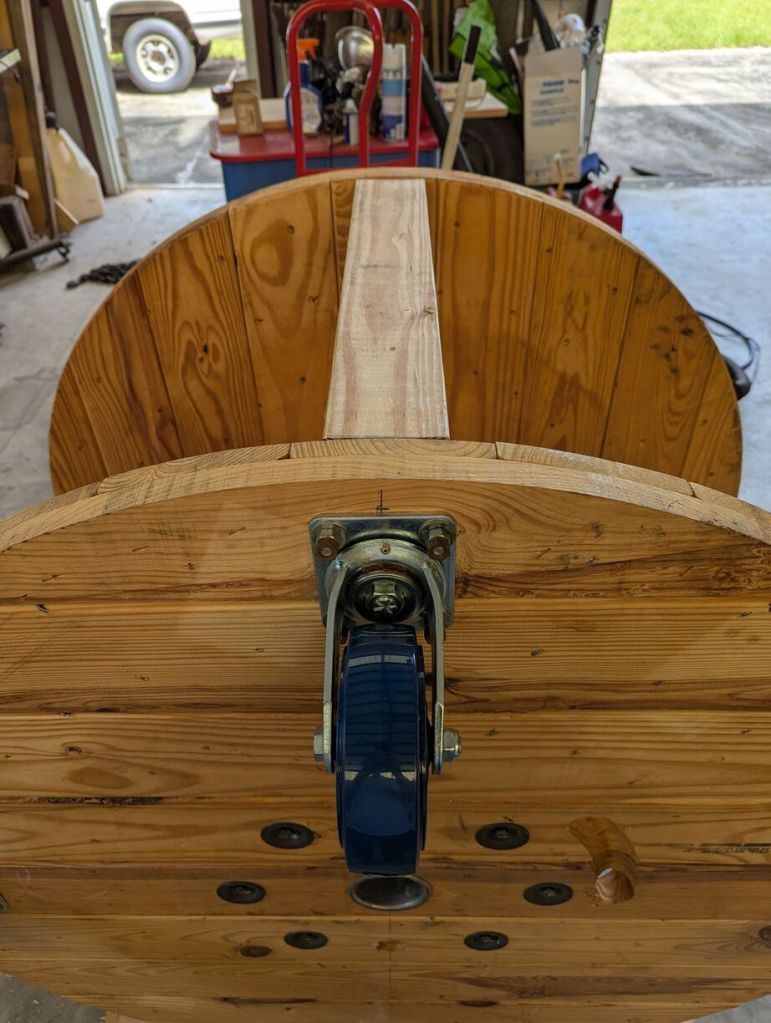
I drilled the four holes with a 7/16″ bit and installed the wheels with the 3/8″ bolts with a washer on top, a washer on bottom, and two nuts per bolt.
Since we didn’t have 3/8″ lock washers, we opted to use two nuts on each bolt to lock them in place.
With the wheels installed, we began installing the 2″ x 4″ supports inline with each wheel.
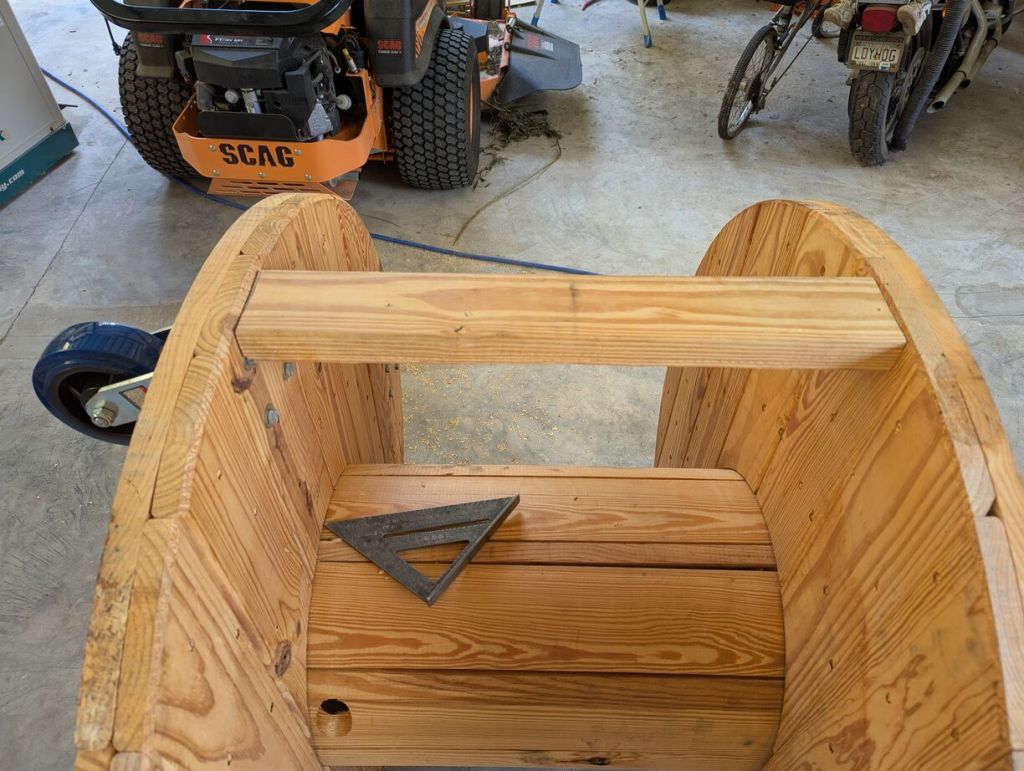
Because the spool was built imperfectly, we cut each 2″ x 4″ support to length as needed. We cut them about 1/16″ – 1/32″ too long so that we could wedge them into place with a mallet for a tight fit.
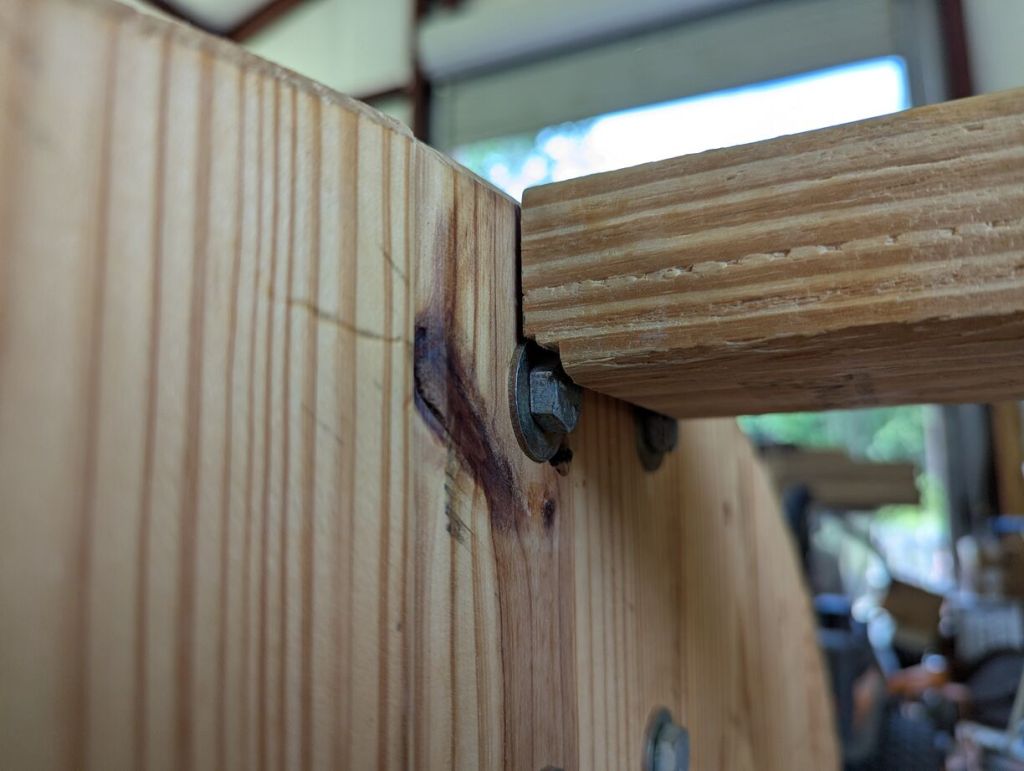
Using a table saw, we cut notches as needed on each 2″ x 4″ support to clear the wheel’s bolt heads and washers.
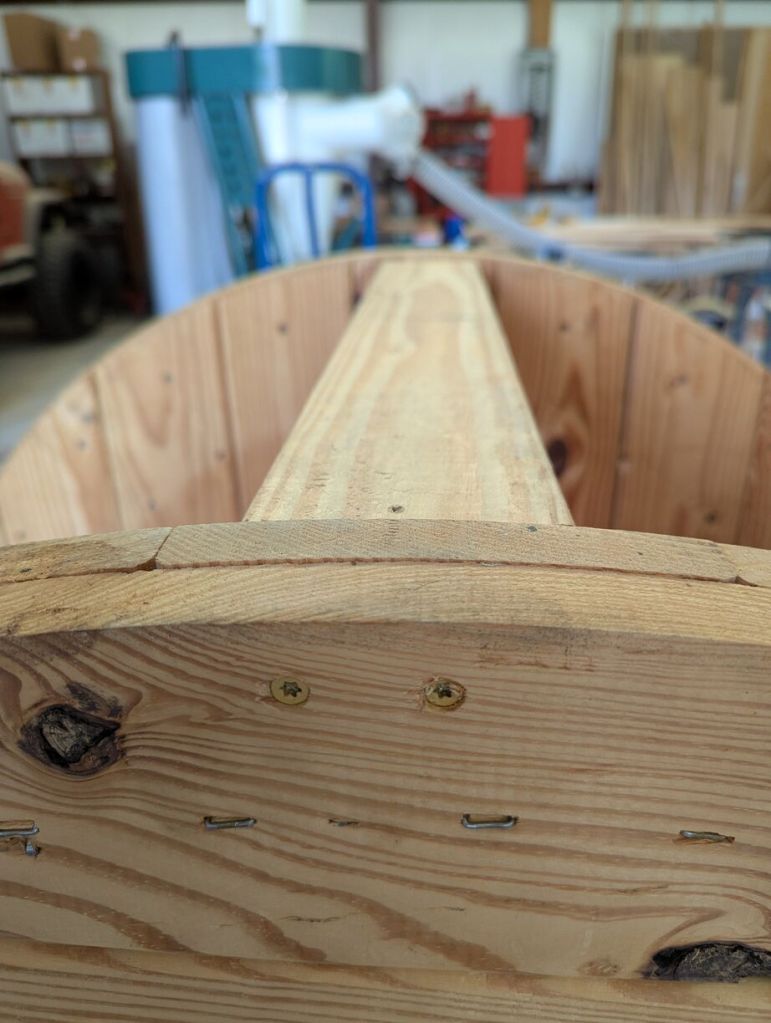
We pre-drilled two holes for each screw that would go through the top and bottom of the spool into the 2″ x 4″ boards. We used 3″ long deck screws to fasten the 2″ x 4″ boards in place.
Each 2″ x 4″ is held in place by 3″ long deck screws that were driven in after pre-drilling holes for each.
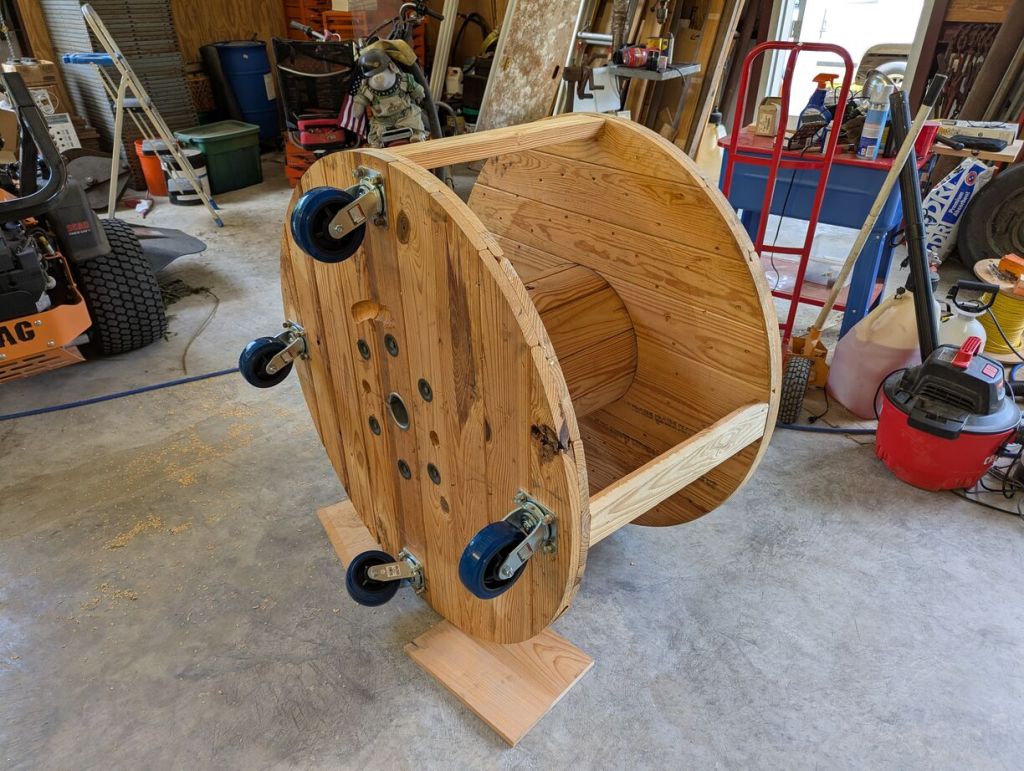
With the wheels attached and the 2″ x 4″ supports installed, we tilted the workbench over.

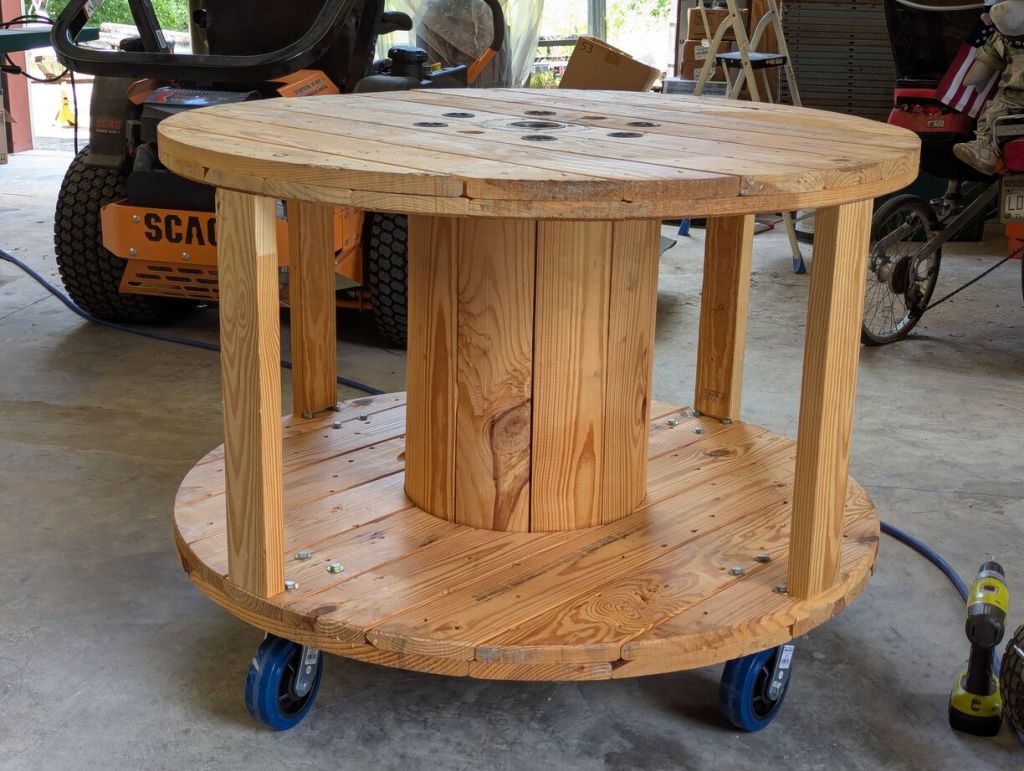
The workbench rolls around effortlessly after being completed.
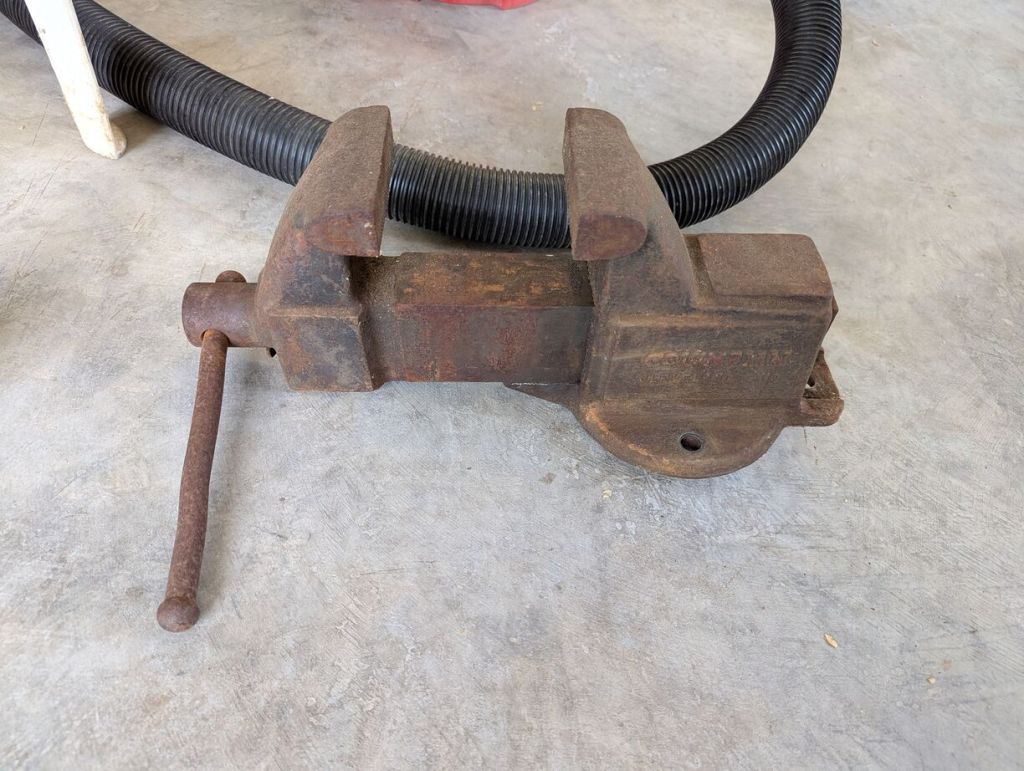
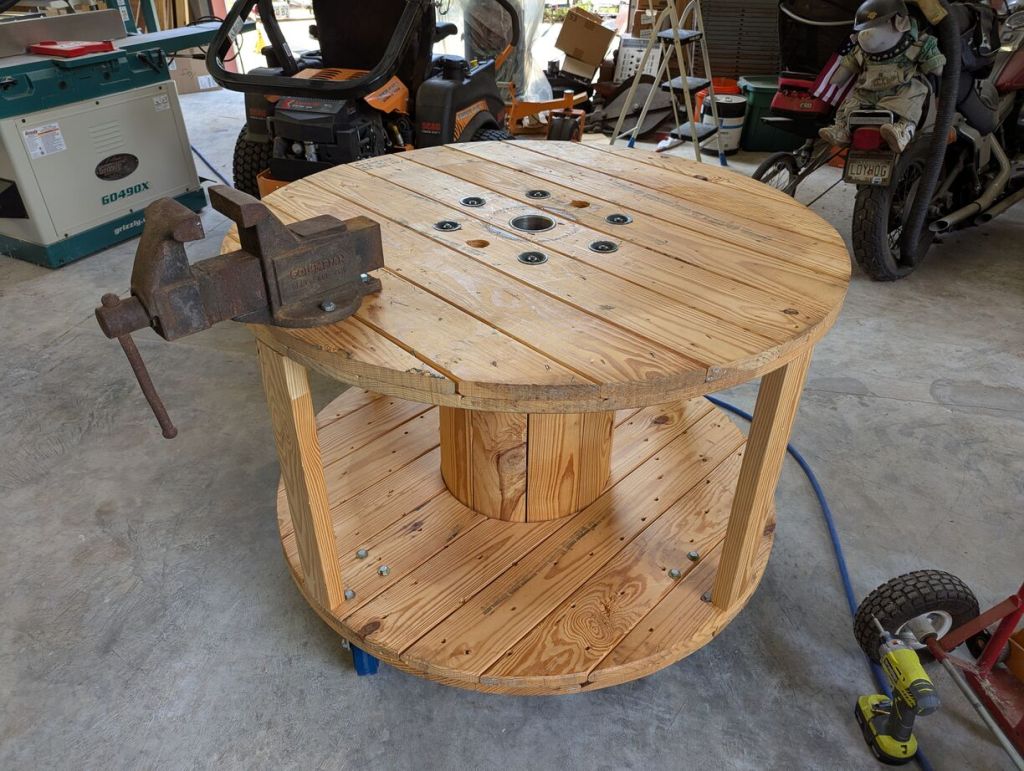
My dad also had a Columbian vice manufactured in Cleveland, Ohio. It’s about as heavy duty as you can get. It would certainly help him with some work, so we decided to install it on the workbench above one of the 2″ x 4″ supports.
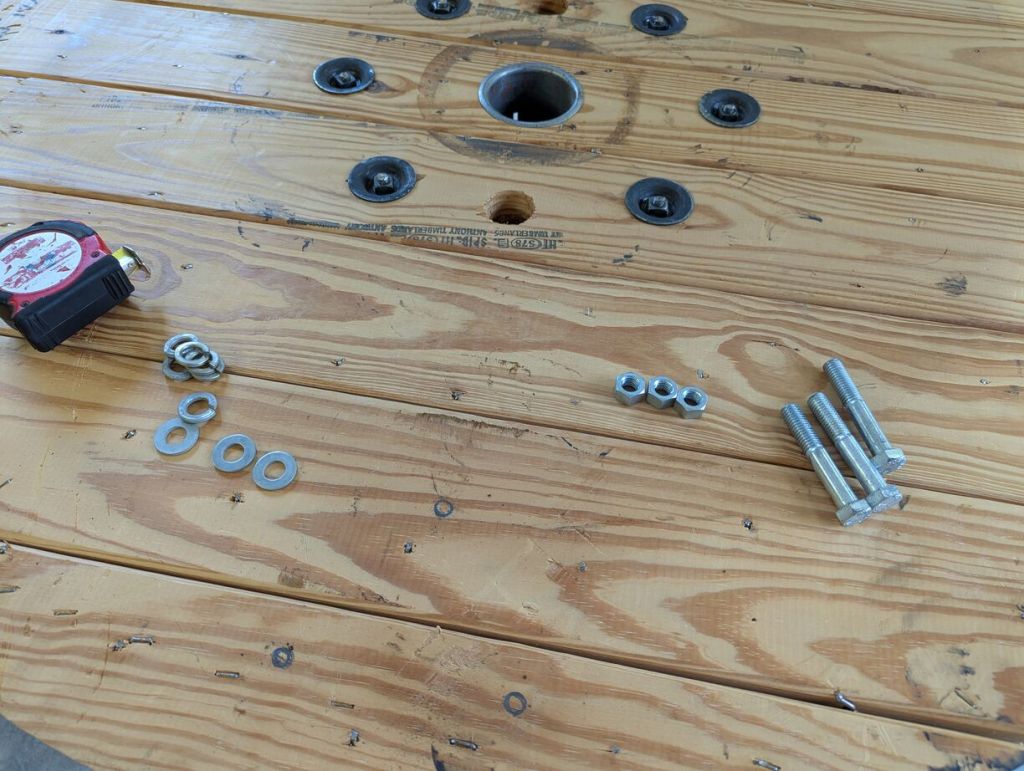
For the vice, we used three sets of 9/16″ bolts, washers, lock washers, and nuts.
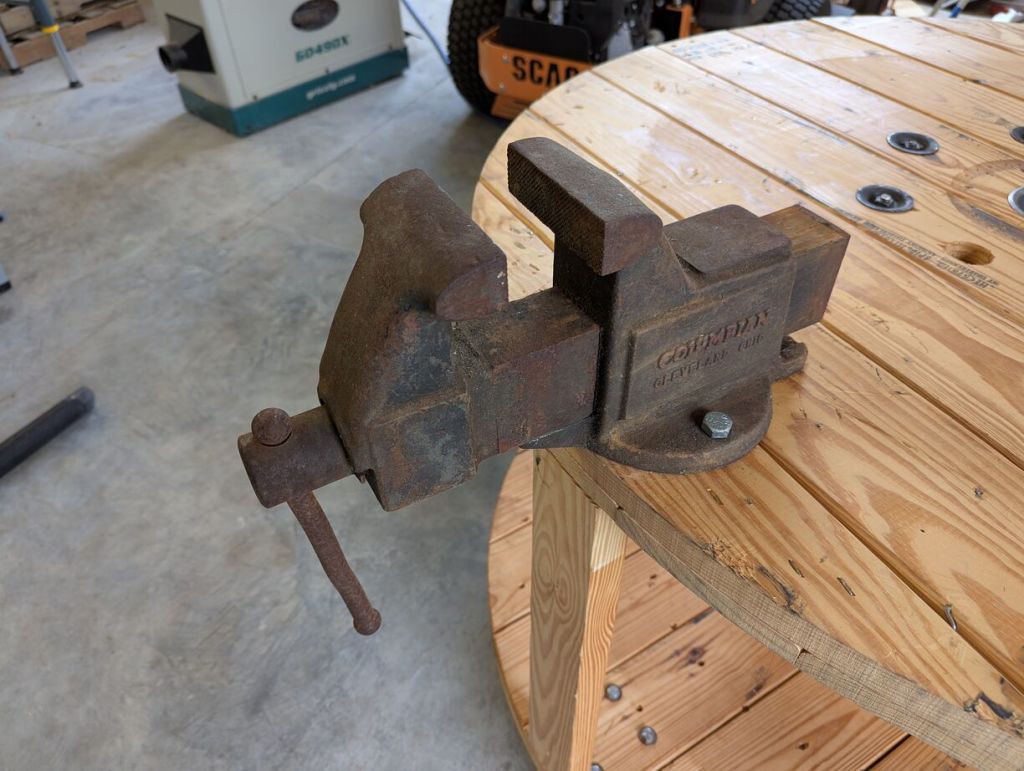
I marked the location of the holes using the base of the vice as a pattern, drilled 5/8″ holes, and installed the bolts through the top and washers, lock washers, nuts on the bottom.

Our mobile workbench made out of a wood spool for holding heavy duty electrical wire is completed and ready for work.