Blog

  • LEGO-Built Display Stand for Kenner’s 1985 Tatooine Skiff or Hasbro’s 2000 Re-Issue

    LEGO-Built Display Stand for Kenner's 1985 Tatooine Skiff or Hasbro's 2000 Re-Issue

    One of my favorite Star Wars toys was the Kenner Power of the Force Tatooine Skiff from 1985. I don’t remember the circumstance of getting it–was it a present or did I purchase it–but I remember enjoying the time that I spent taking my heroes on adventures on it.

    I no longer have that Tatooine Skiff and it’s virtually impossible for me to spend how much it would cost to replace it (complete, loose versions are trending in the $1000 range as of writing this). Thankfully, Hasbro’s 2000 reissue cost me only $50 plus shipping on ebay. The reissue is virtually identical to the original–same controls for the rudders, plank, figure launcher, and landing gear–but it has updated paint and detailing and the foot pegs are smaller for the POTF2 line of action figures (instead of the larger pegs needed for vintage Star Wars action figures).

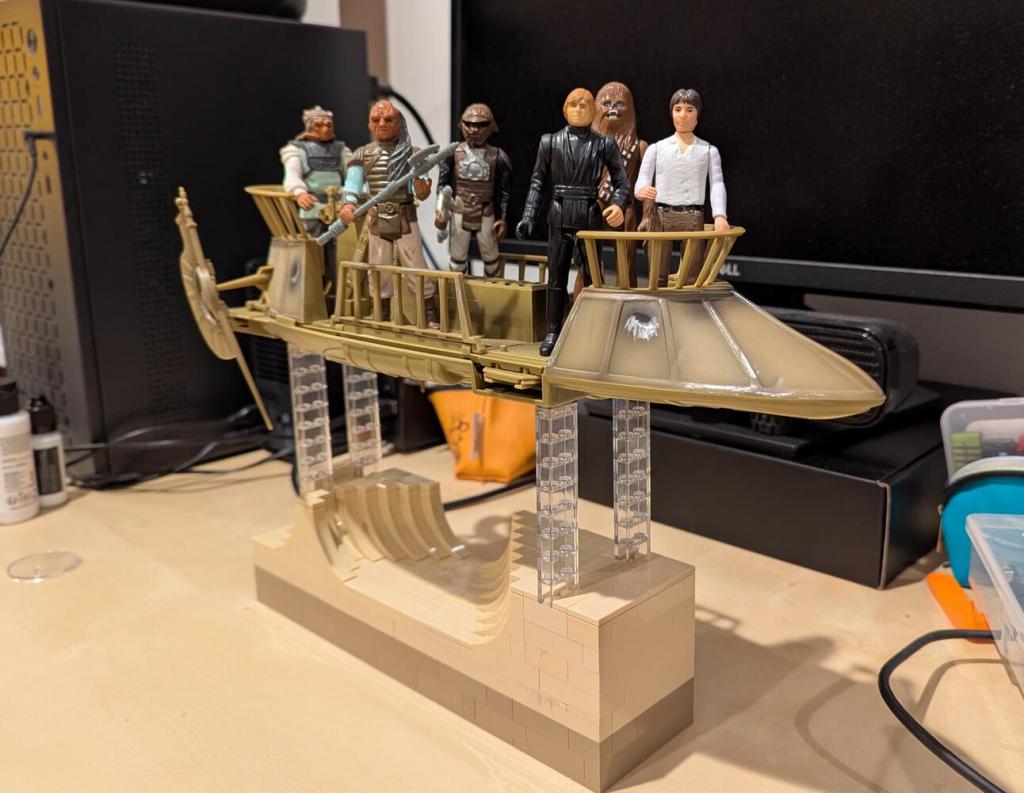
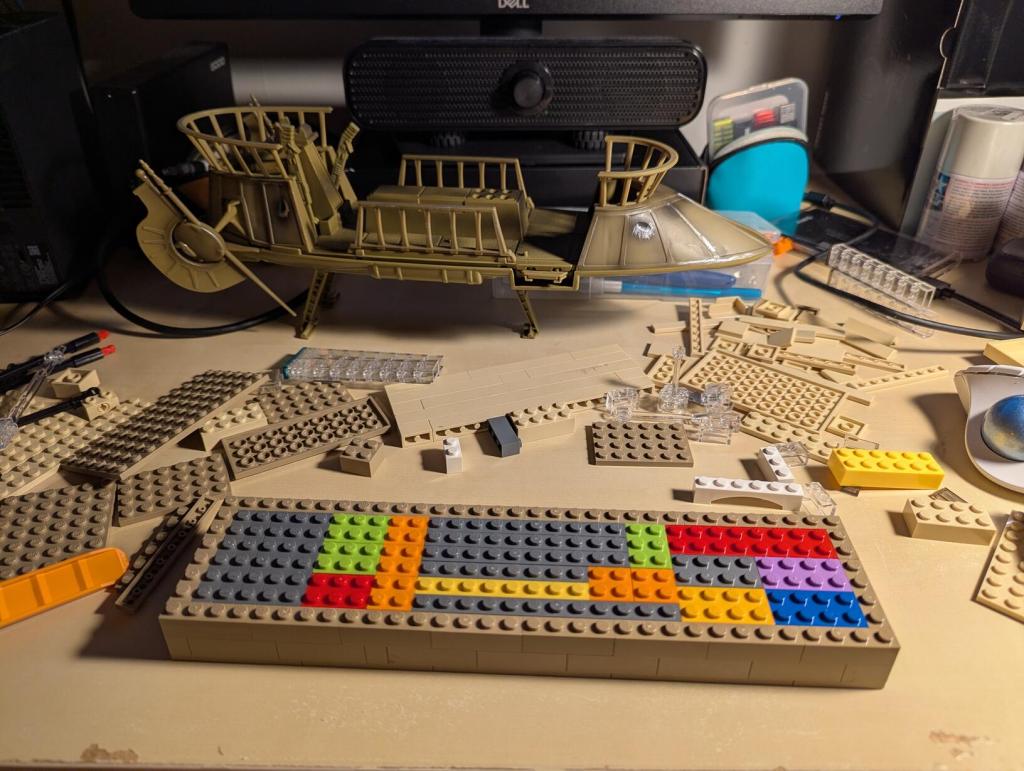
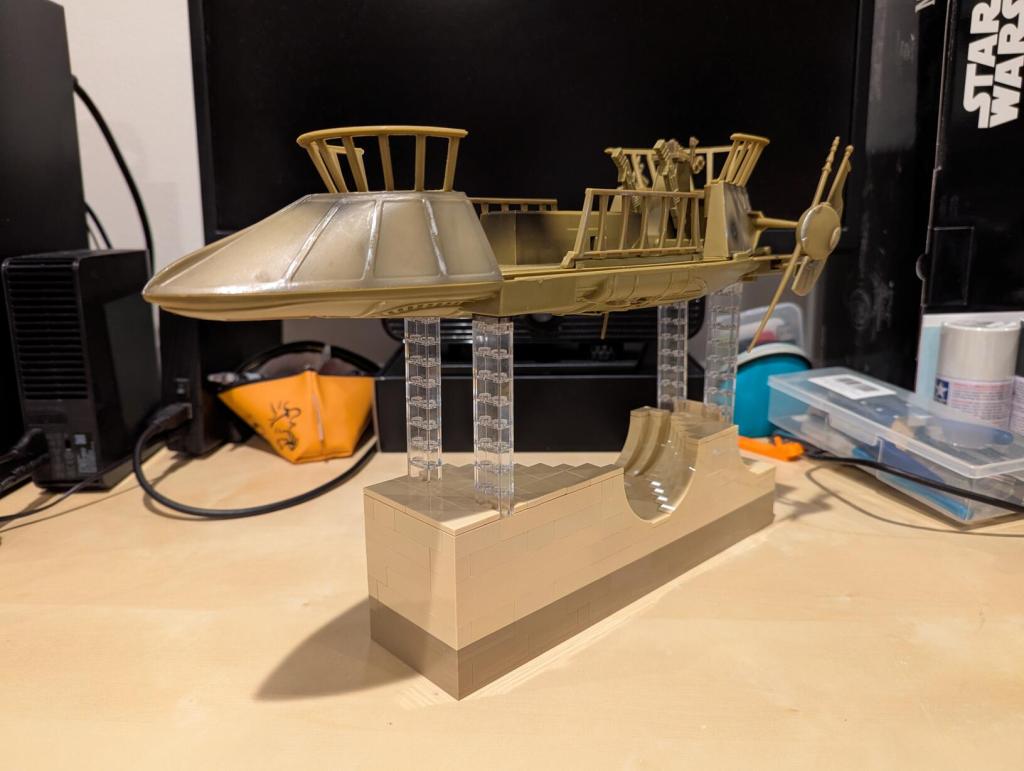
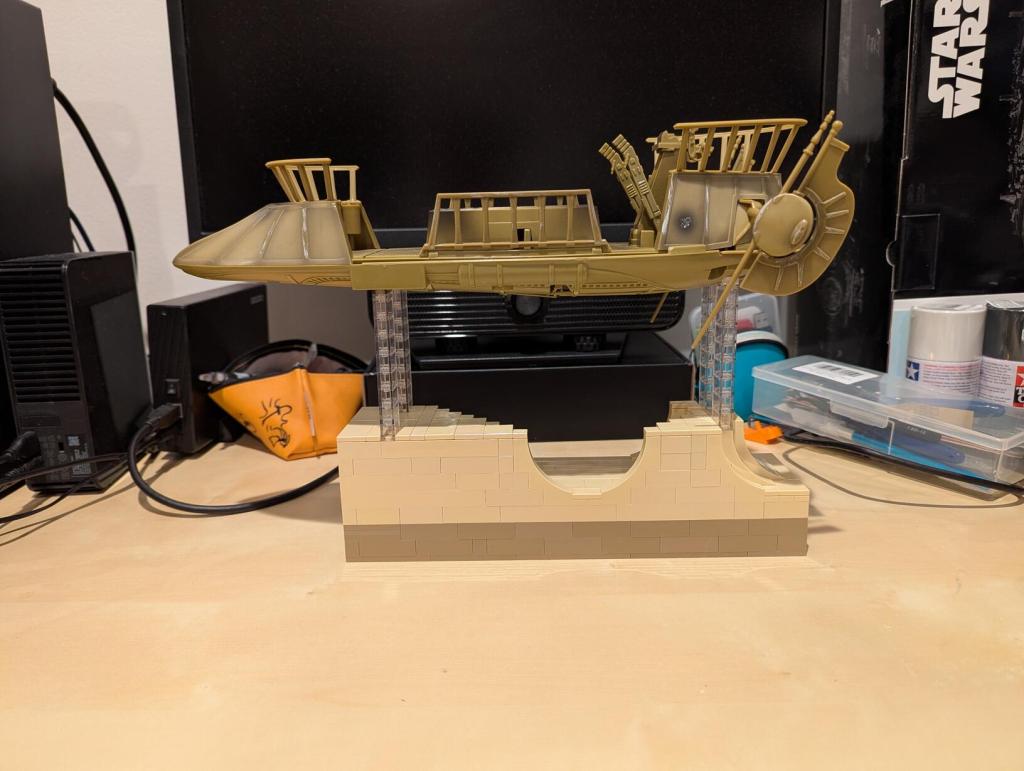
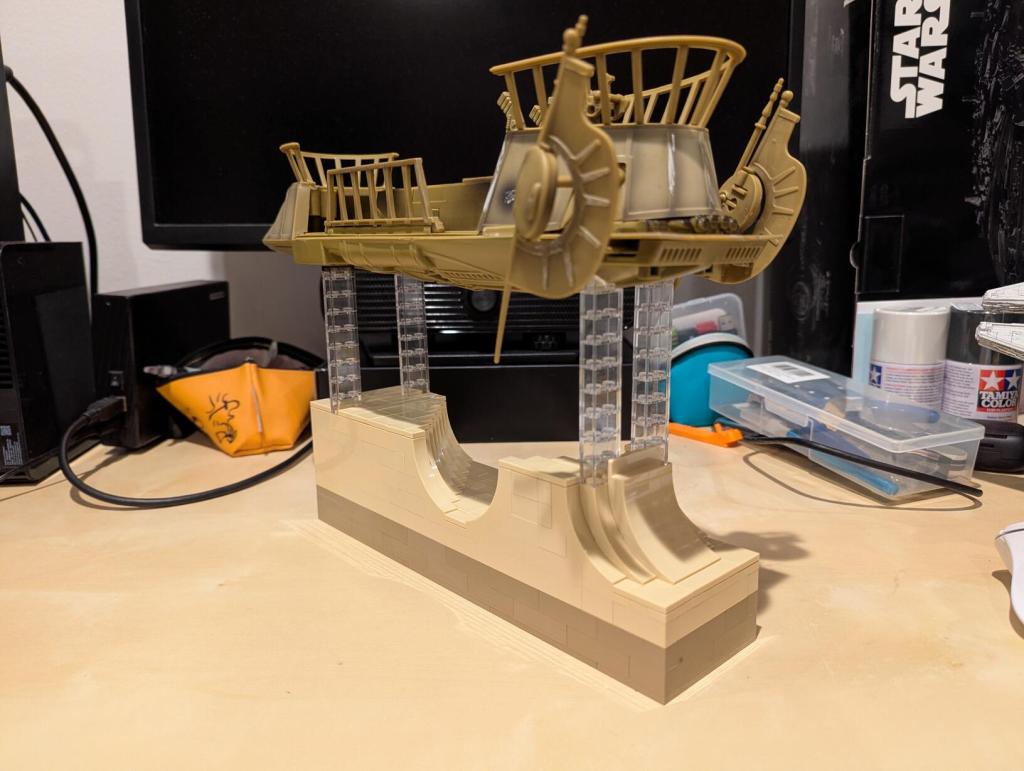
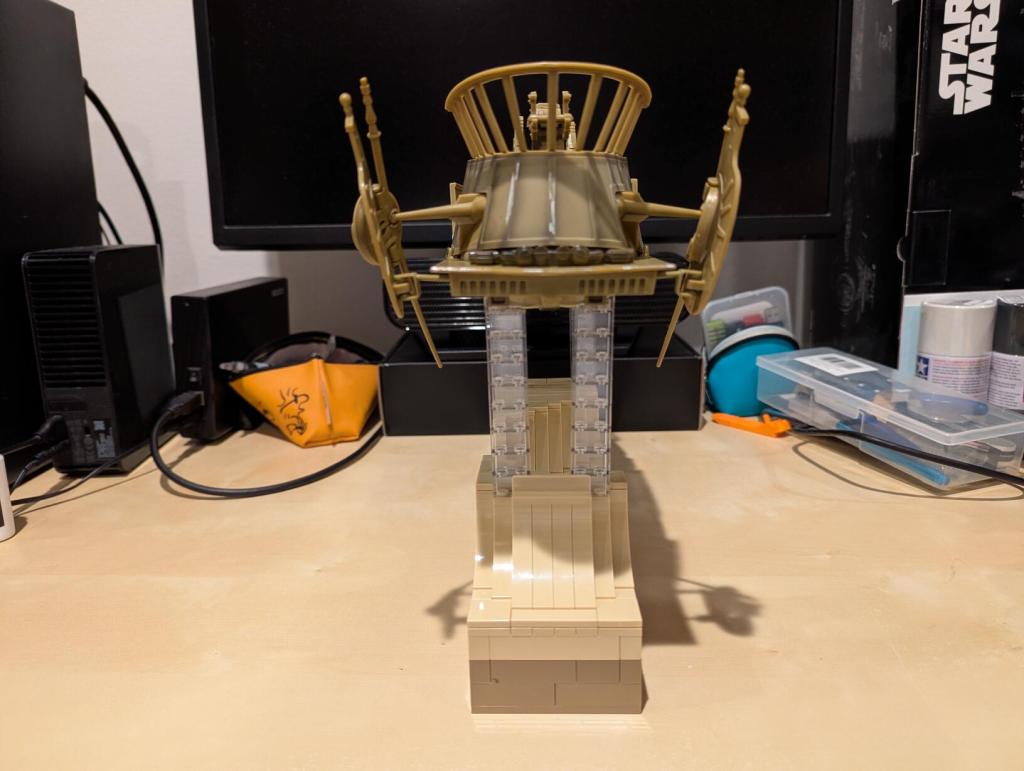
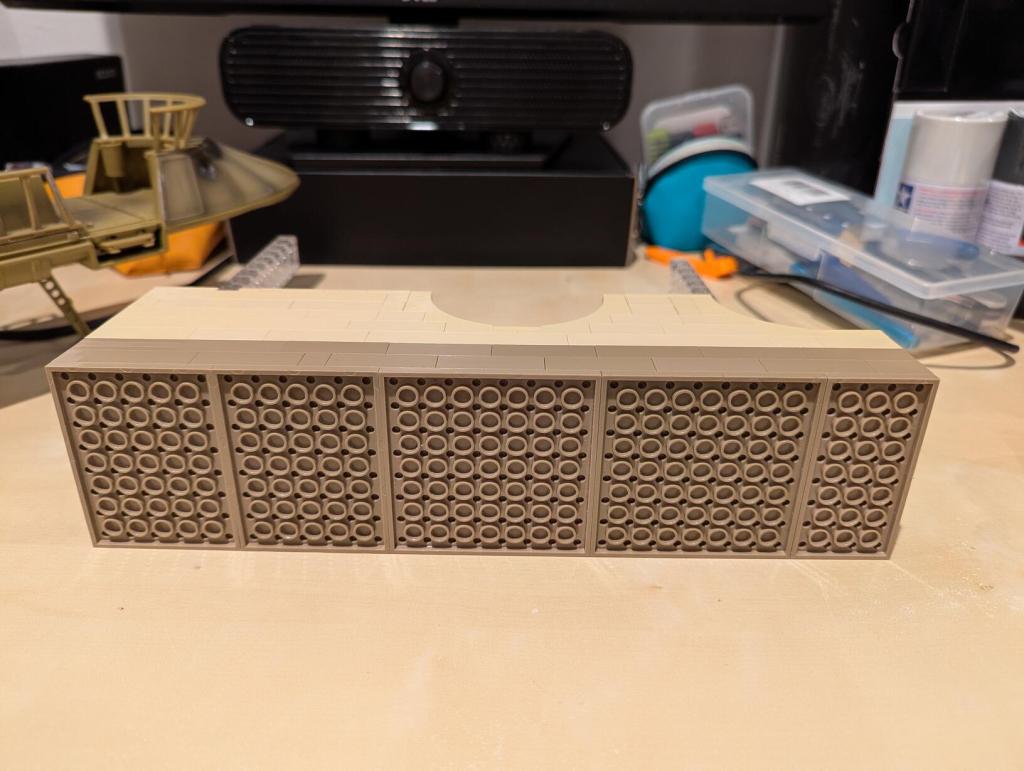
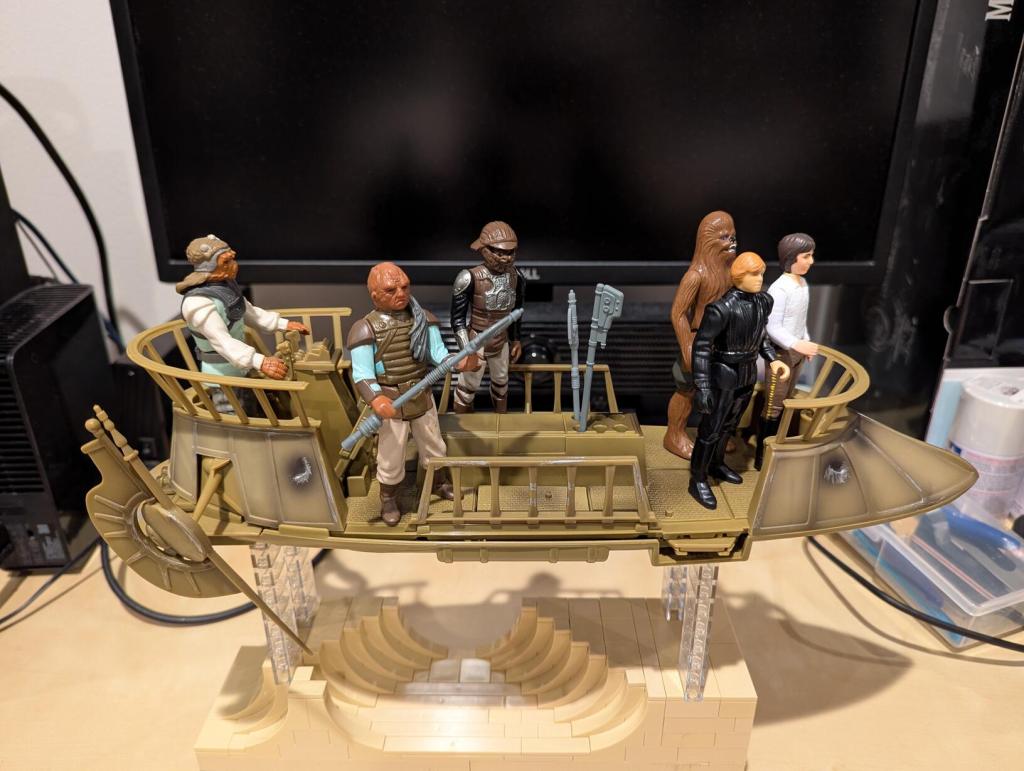
    I wanted to display the desert skiff with landing gear up as it if were skimming along in the air above the dune sea. LEGO seemed like my best option with what I had on-hand. Below are photos of building the display stand and how it looks with the desert skiff on the stand.

    LEGO-Built Display Stand for Kenner's 1985 Tatooine Skiff or Hasbro's 2000 Re-Issue
    LEGO-Built Display Stand for Kenner's 1985 Tatooine Skiff or Hasbro's 2000 Re-Issue
    LEGO-Built Display Stand for Kenner's 1985 Tatooine Skiff or Hasbro's 2000 Re-Issue
    LEGO-Built Display Stand for Kenner's 1985 Tatooine Skiff or Hasbro's 2000 Re-Issue
    LEGO-Built Display Stand for Kenner's 1985 Tatooine Skiff or Hasbro's 2000 Re-Issue
    LEGO-Built Display Stand for Kenner's 1985 Tatooine Skiff or Hasbro's 2000 Re-Issue
    LEGO-Built Display Stand for Kenner's 1985 Tatooine Skiff or Hasbro's 2000 Re-Issue
    LEGO-Built Display Stand for Kenner's 1985 Tatooine Skiff or Hasbro's 2000 Re-Issue
    LEGO-Built Display Stand for Kenner's 1985 Tatooine Skiff or Hasbro's 2000 Re-Issue
    LEGO-Built Display Stand for Kenner's 1985 Tatooine Skiff or Hasbro's 2000 Re-Issue
    LEGO-Built Display Stand for Kenner's 1985 Tatooine Skiff or Hasbro's 2000 Re-Issue
    LEGO-Built Display Stand for Kenner's 1985 Tatooine Skiff or Hasbro's 2000 Re-Issue
    LEGO-Built Display Stand for Kenner's 1985 Tatooine Skiff or Hasbro's 2000 Re-Issue

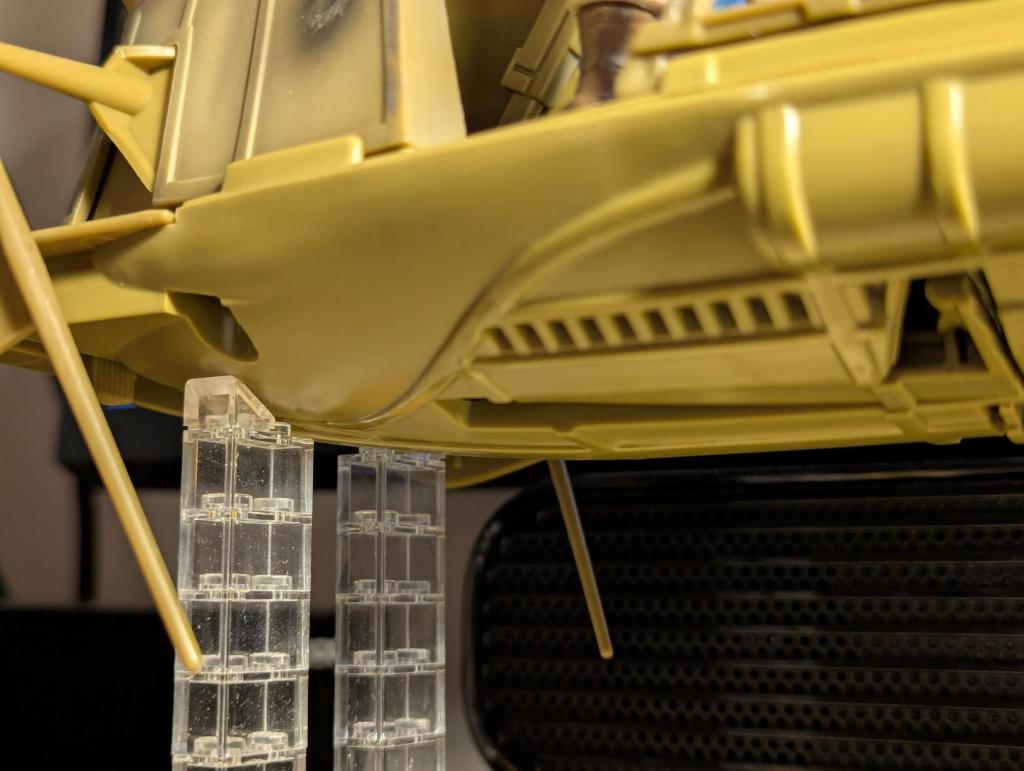
    The rear clear brick columns each have one clear cheese wedge to hug the curvature of the undercarriage of the skiff.

    LEGO-Built Display Stand for Kenner's 1985 Tatooine Skiff or Hasbro's 2000 Re-Issue

    The front clear brick columns are topped with 1×2 transclear tiles that hold up the flat plank area under the skiff.

    LEGO-Built Display Stand for Kenner's 1985 Tatooine Skiff or Hasbro's 2000 Re-Issue

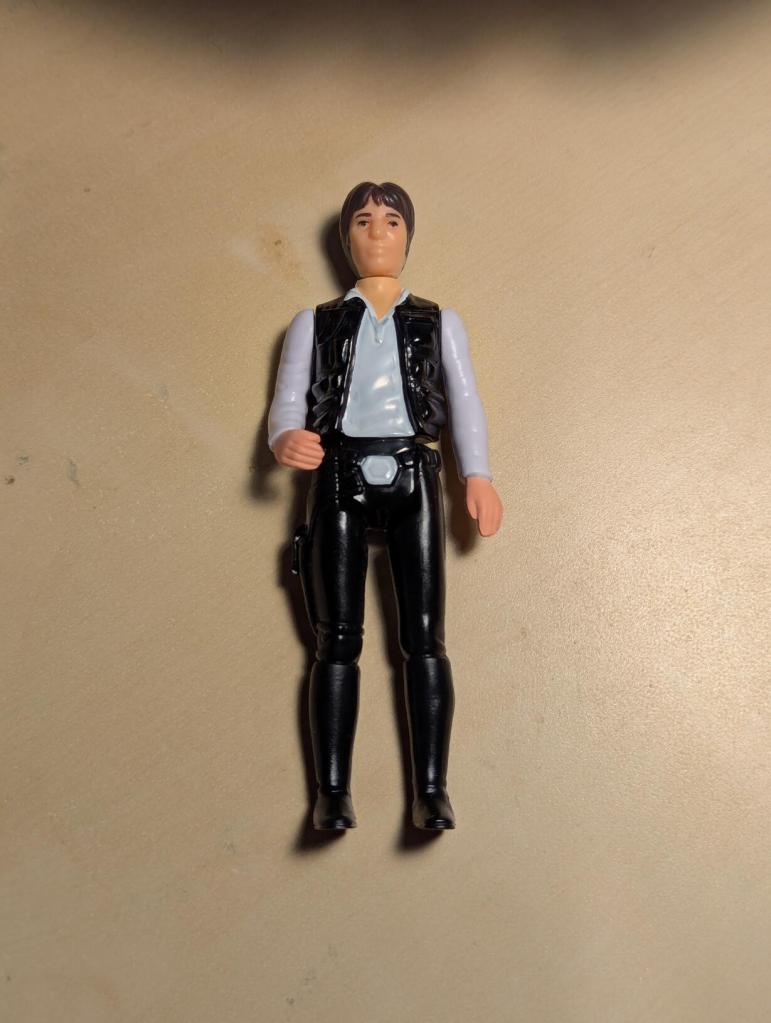
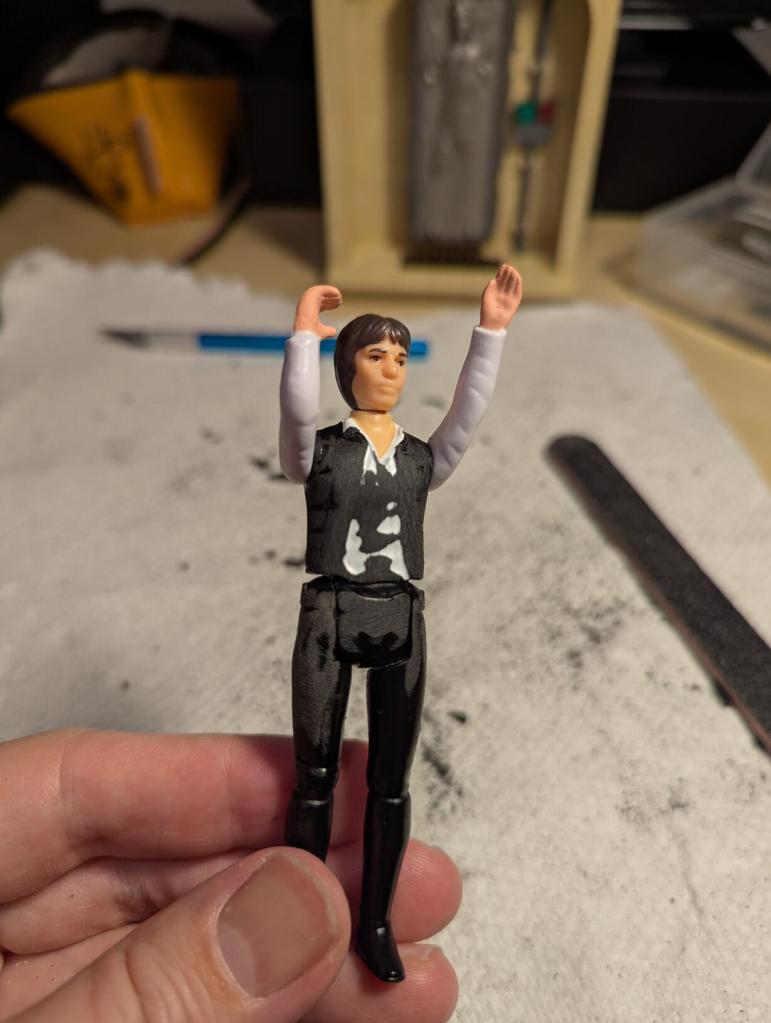
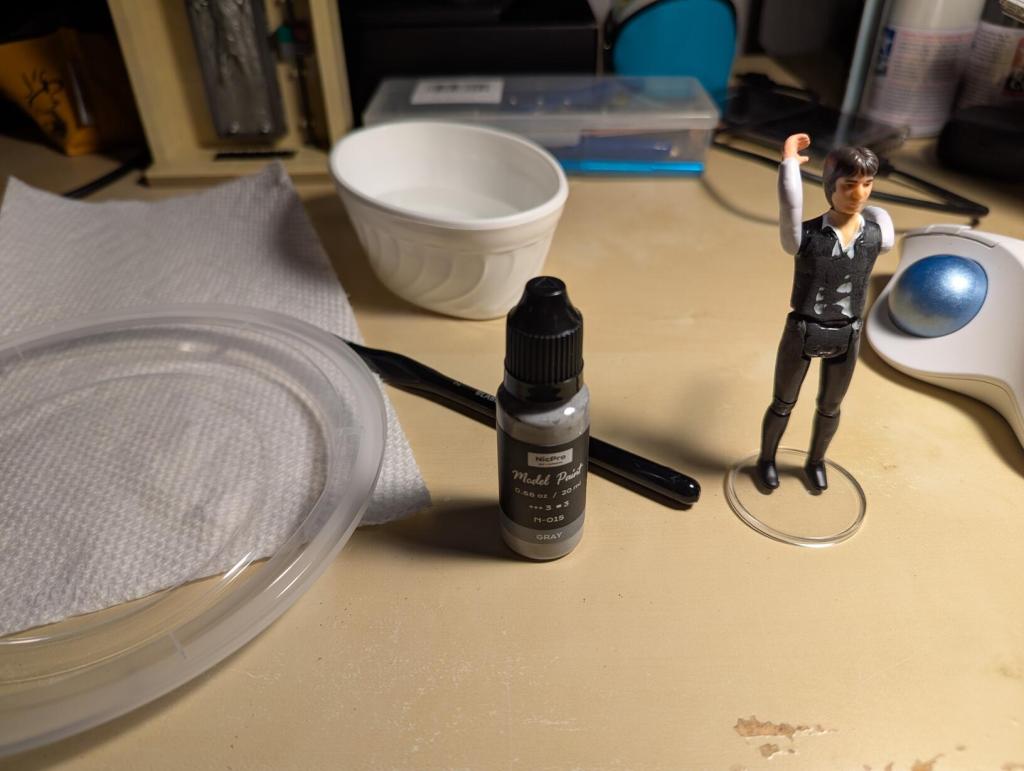
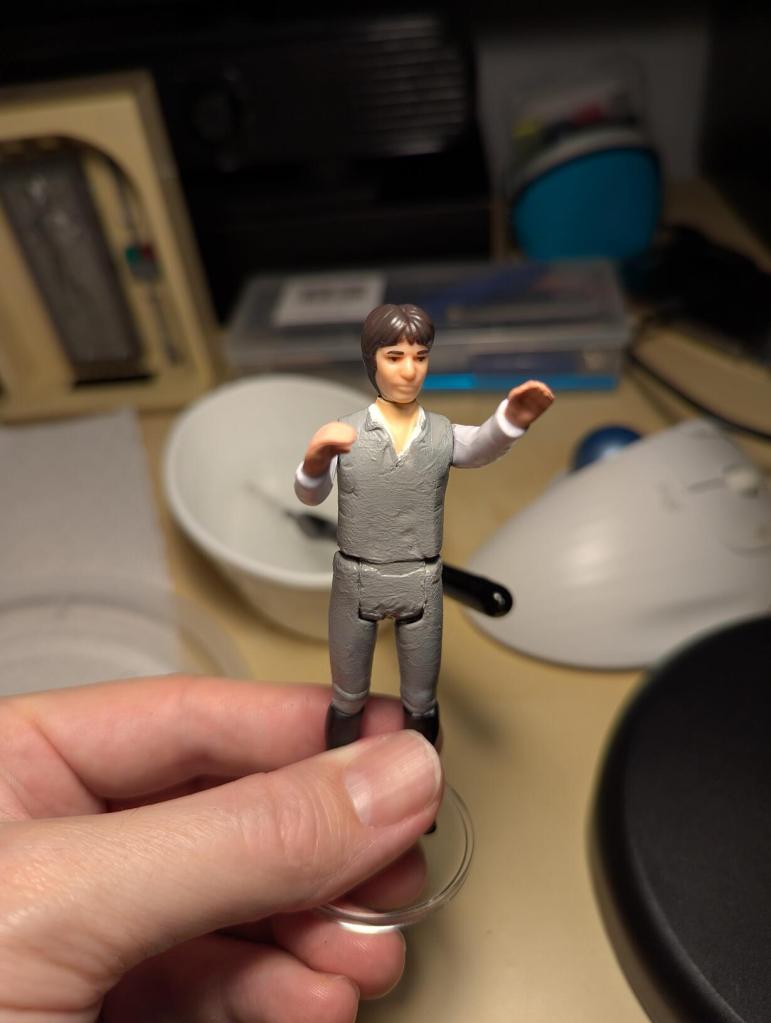
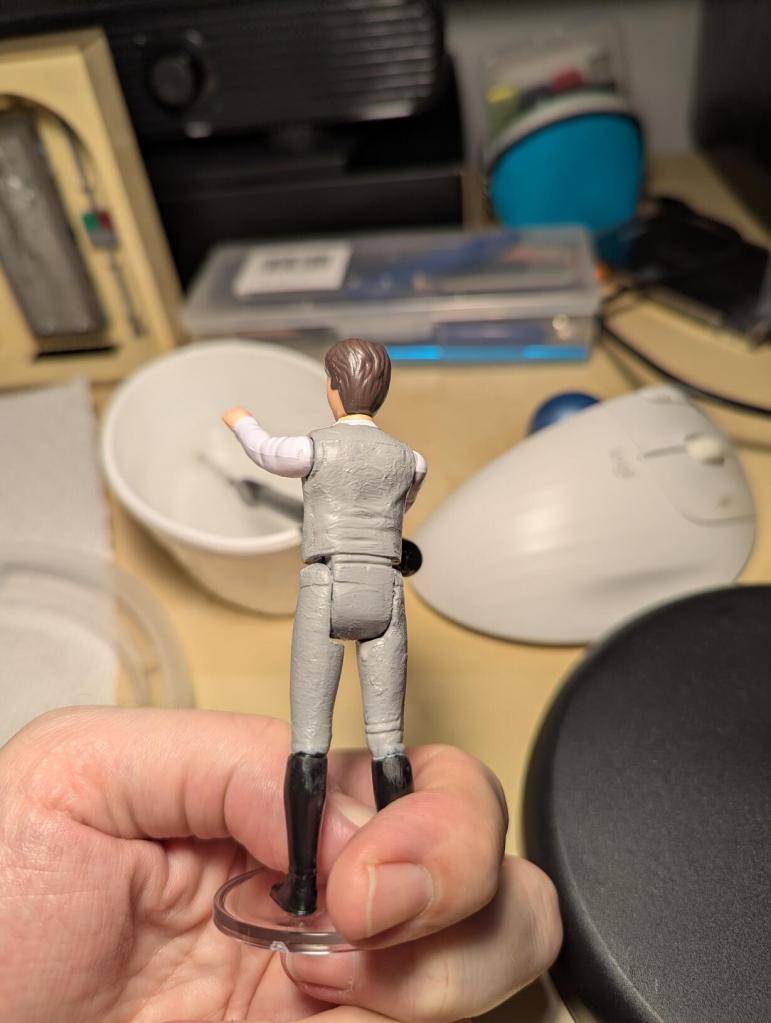
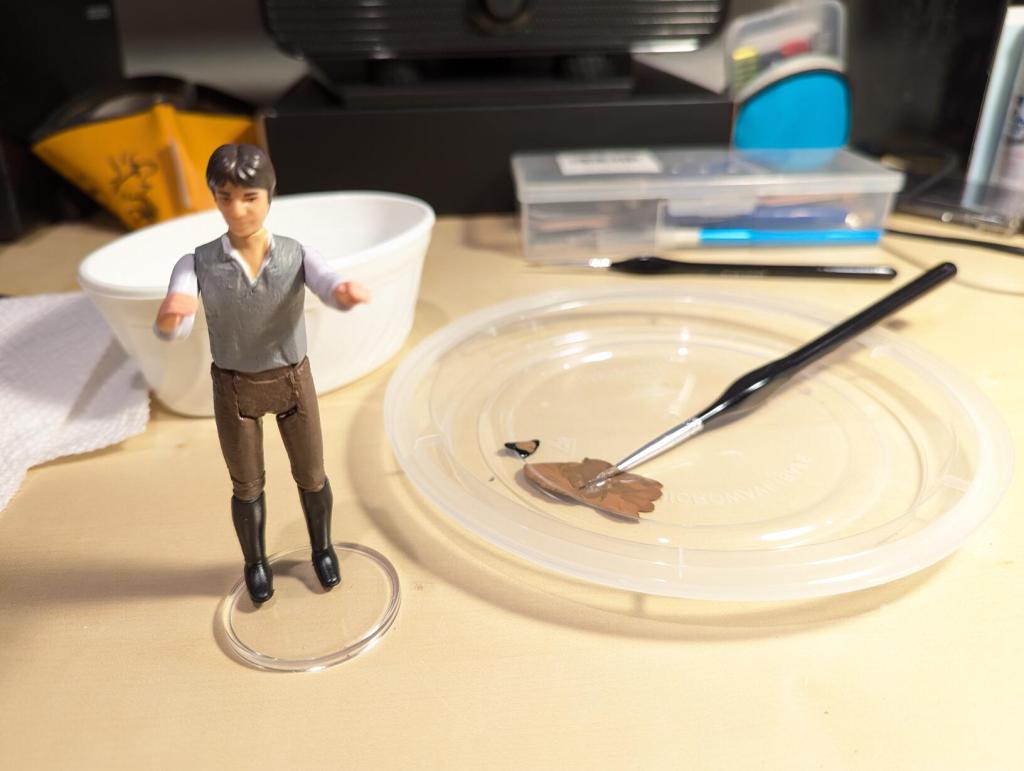
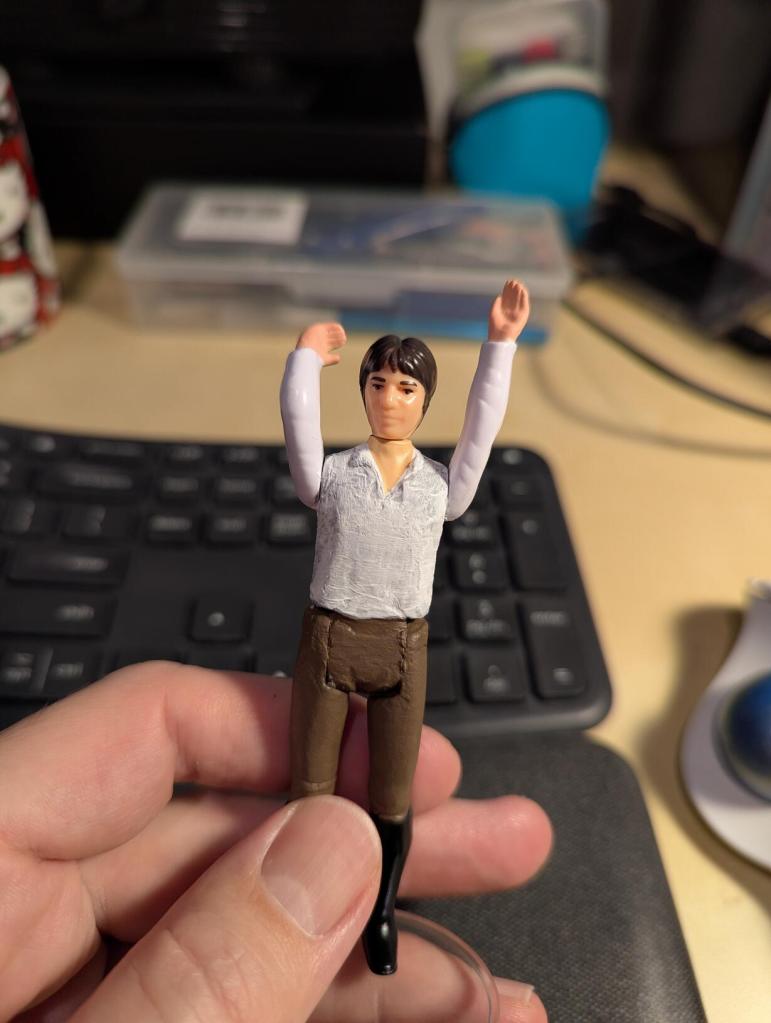
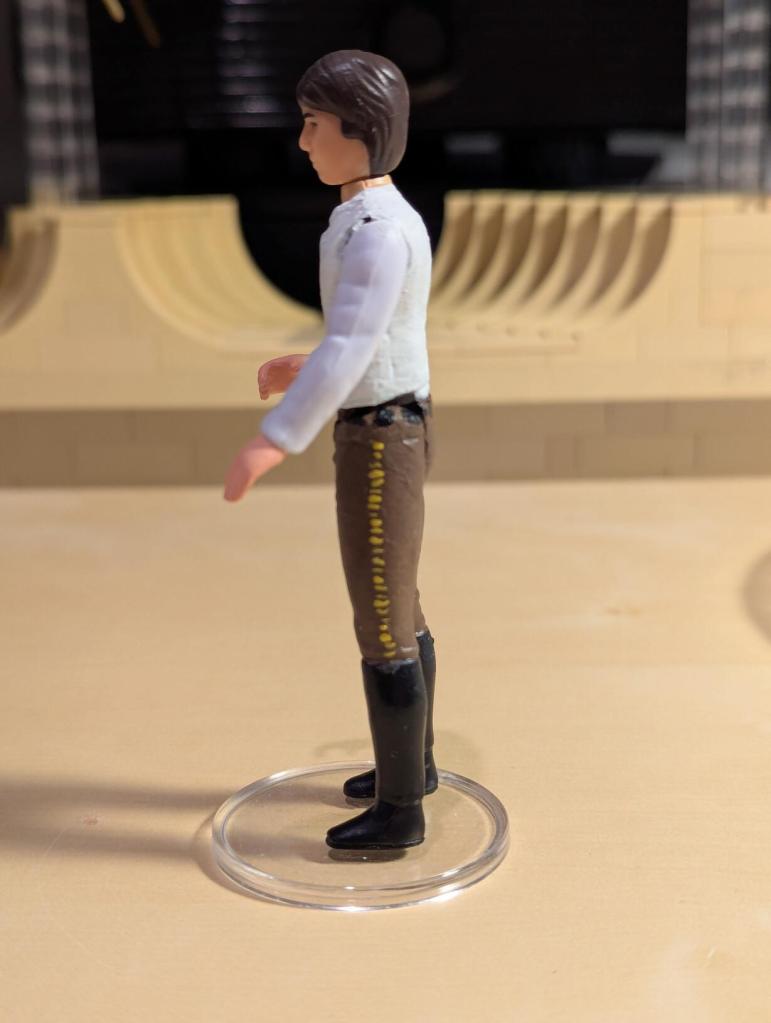
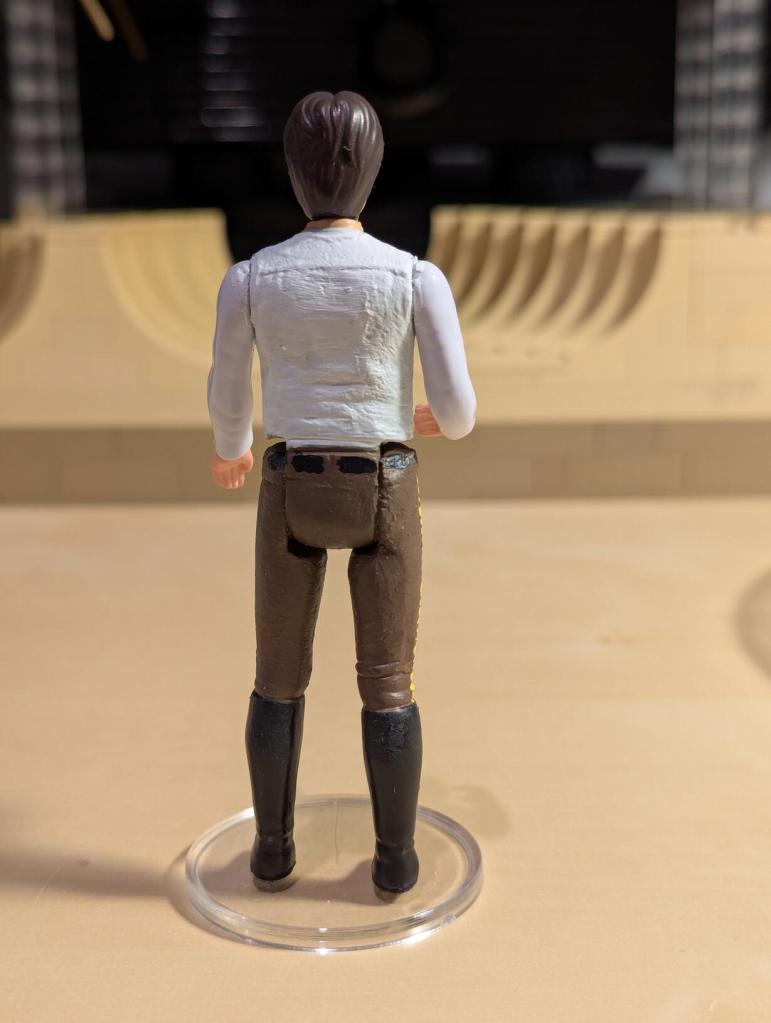
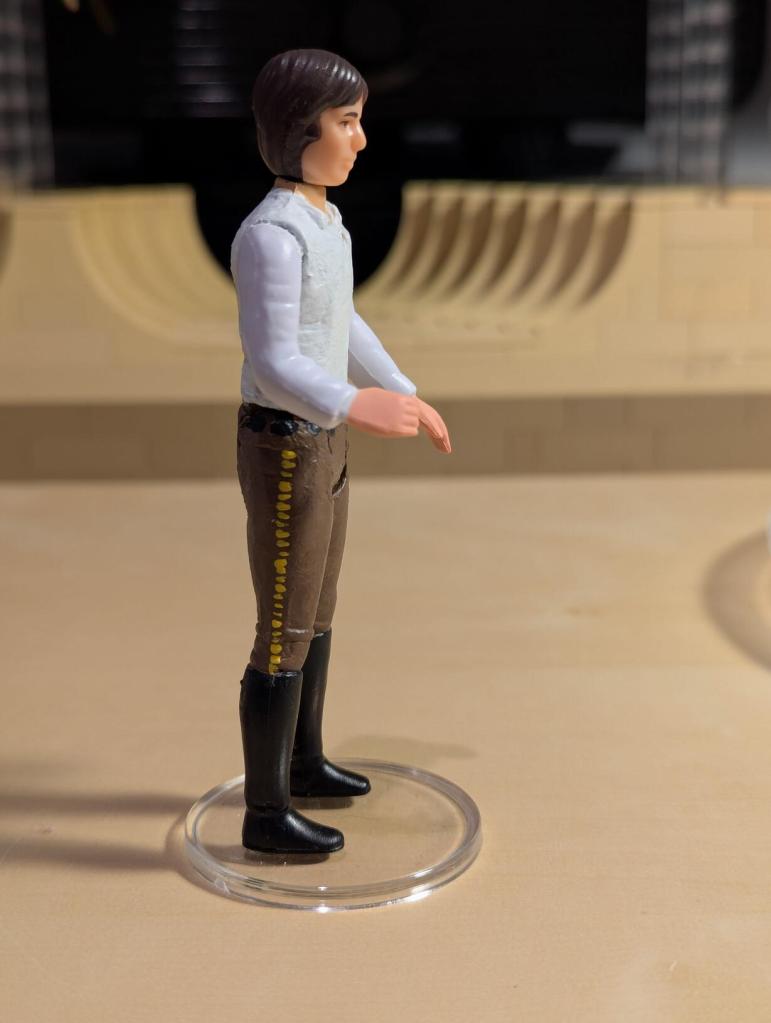
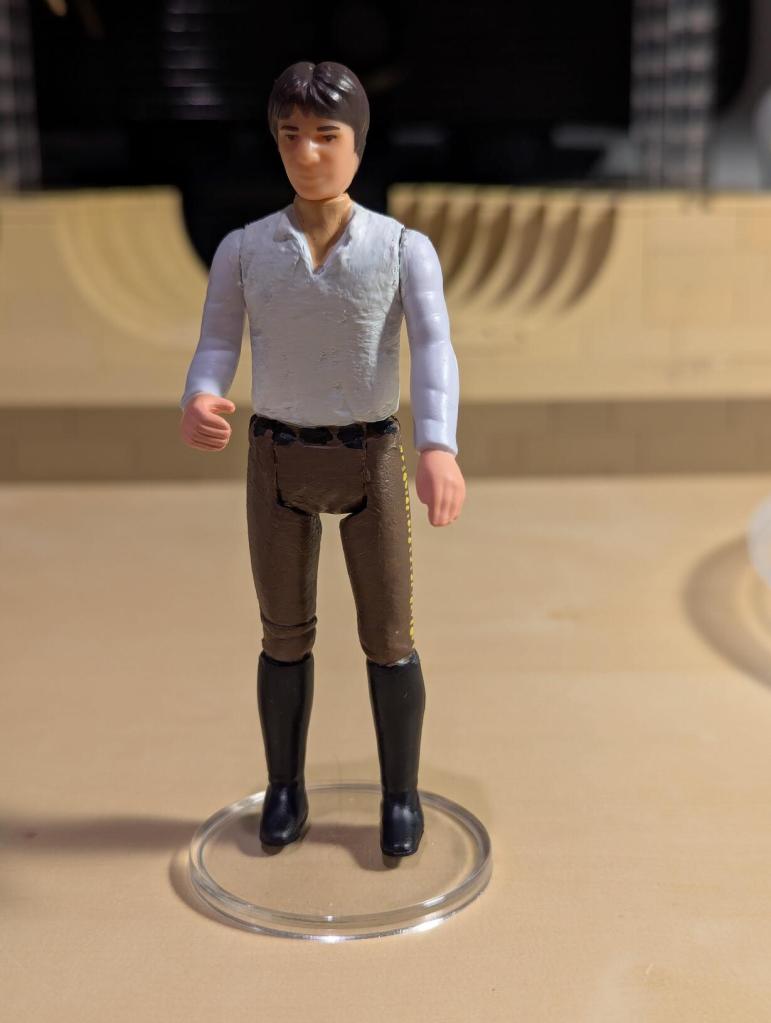
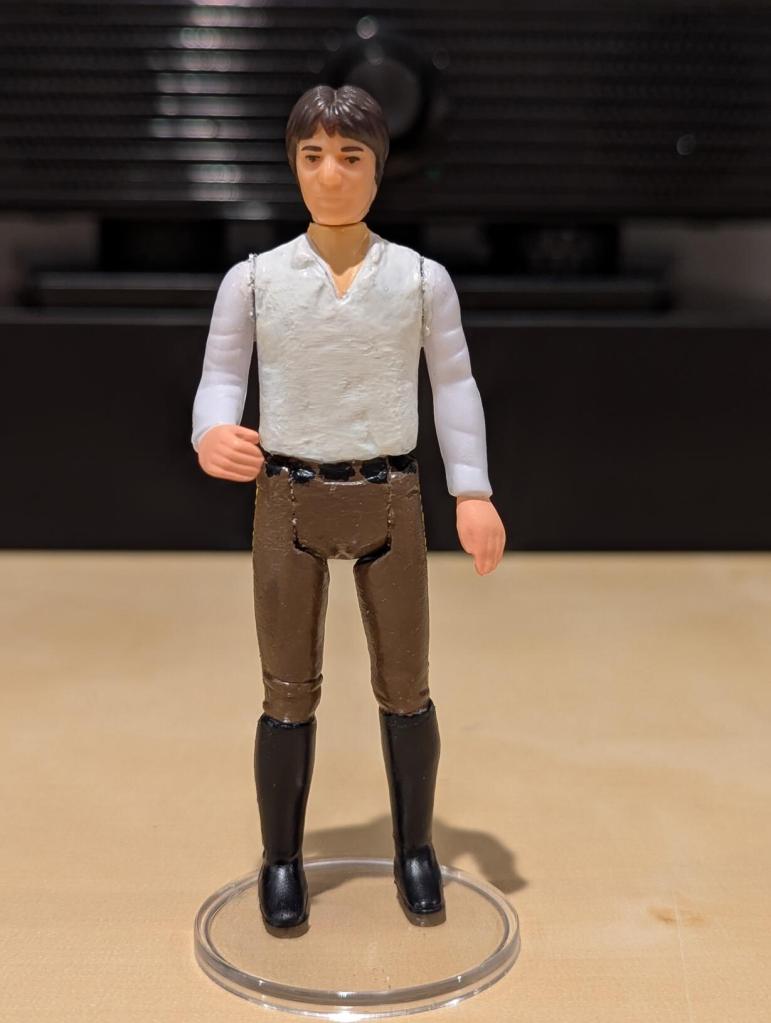
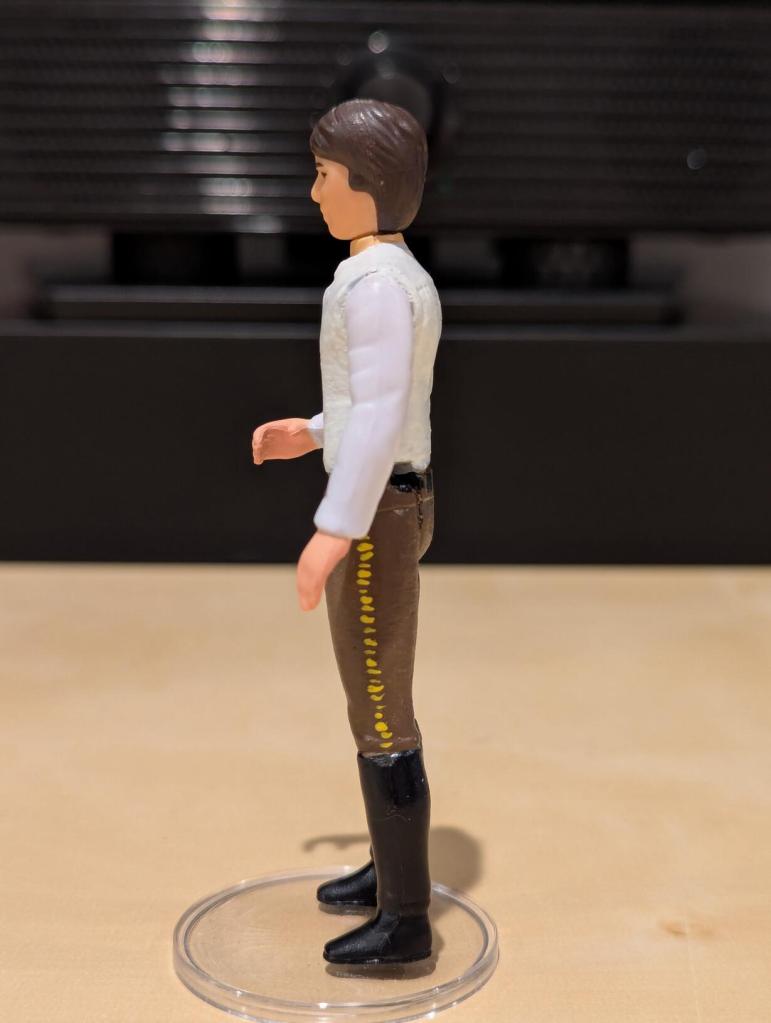
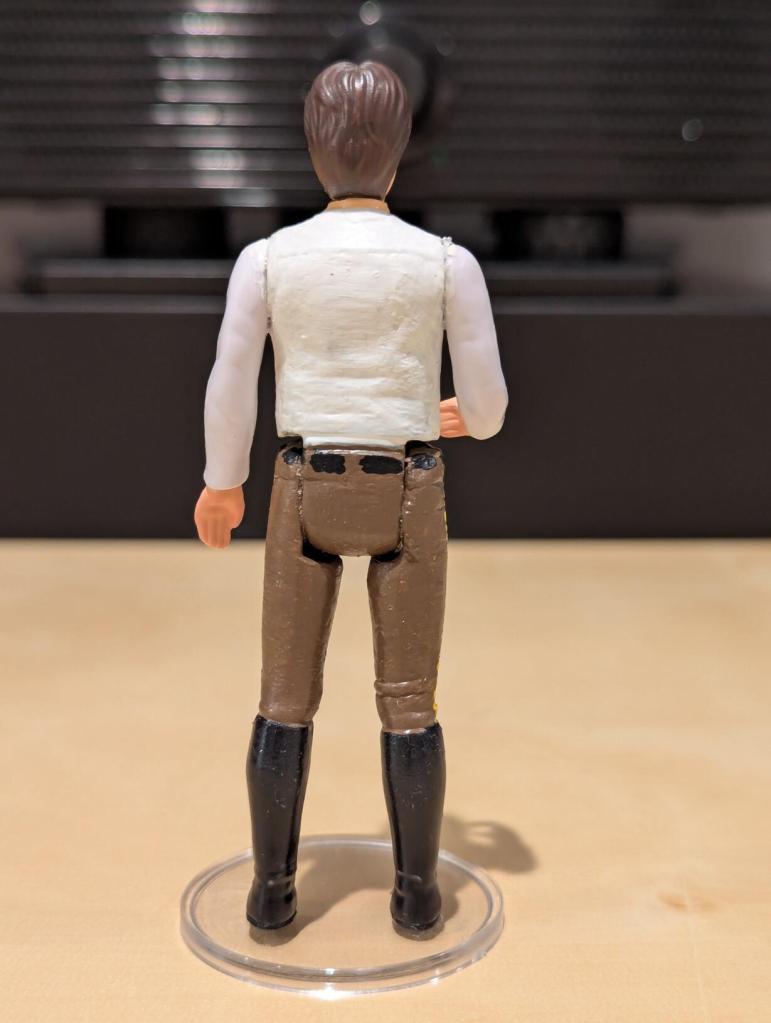
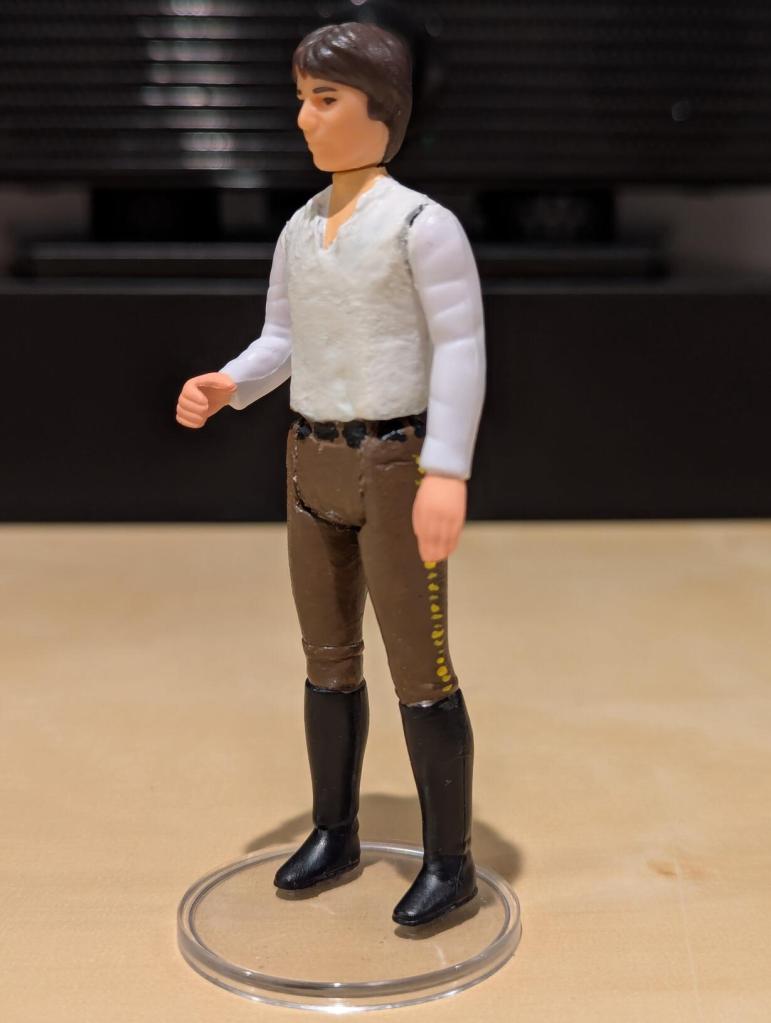
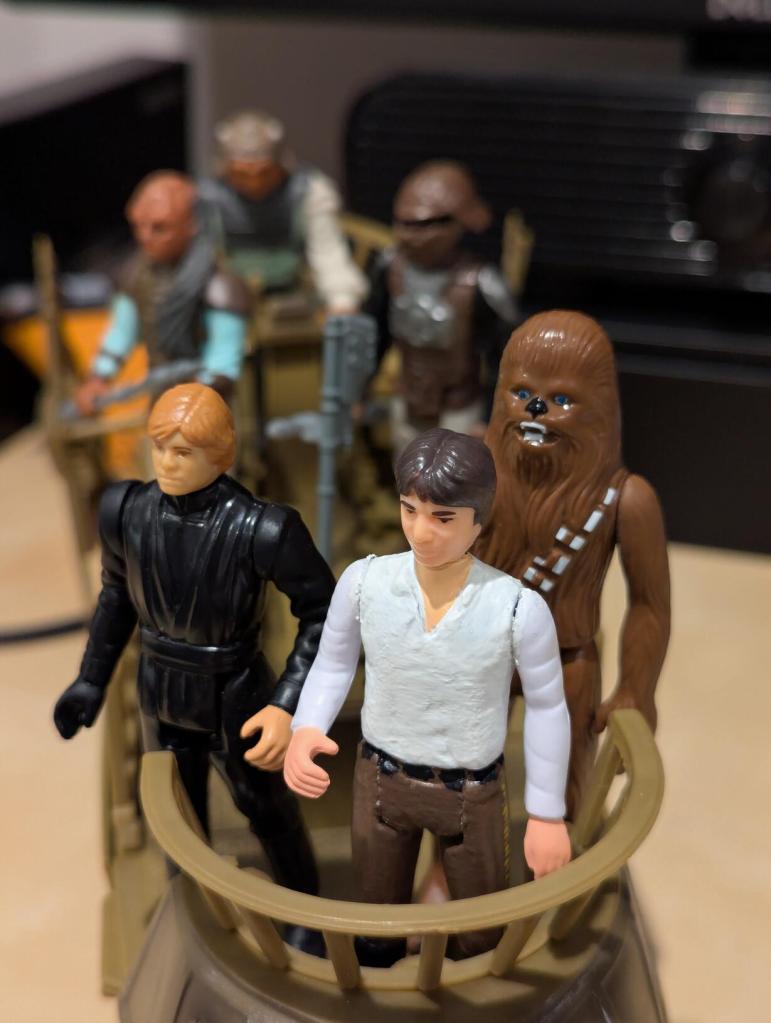
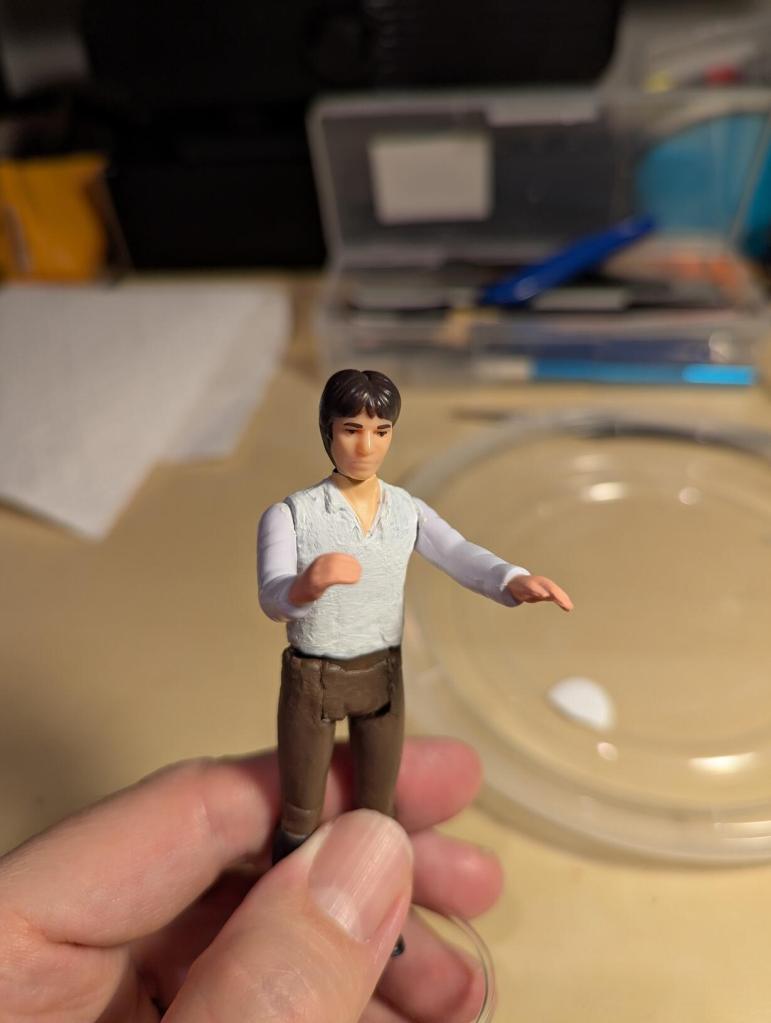
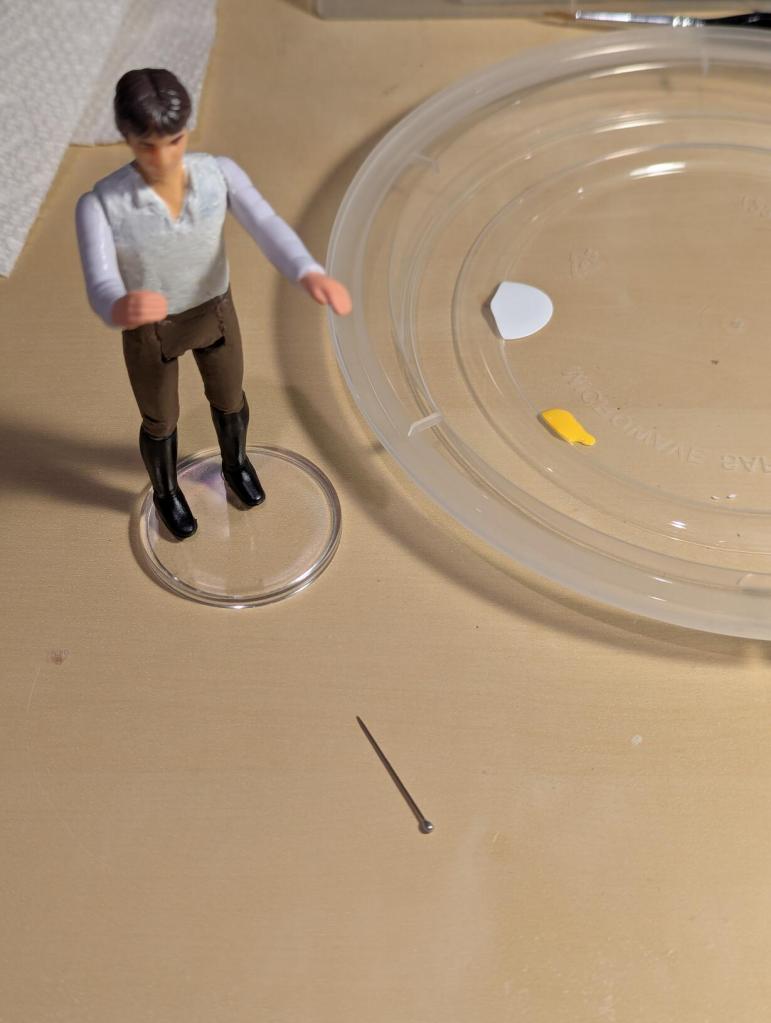
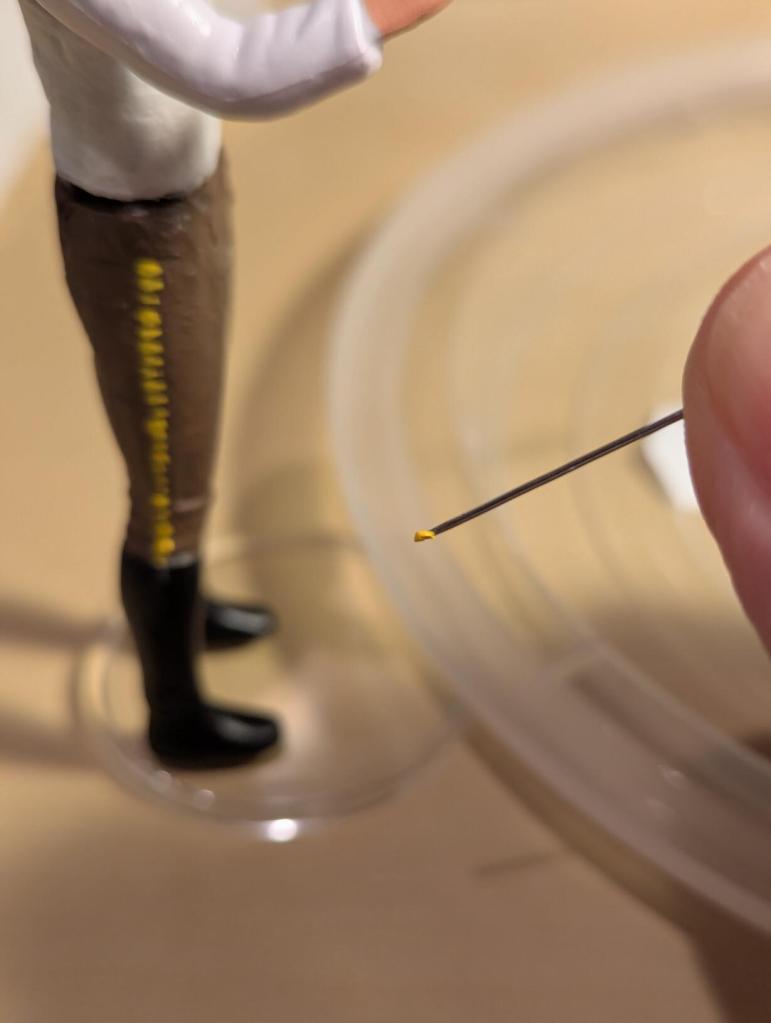
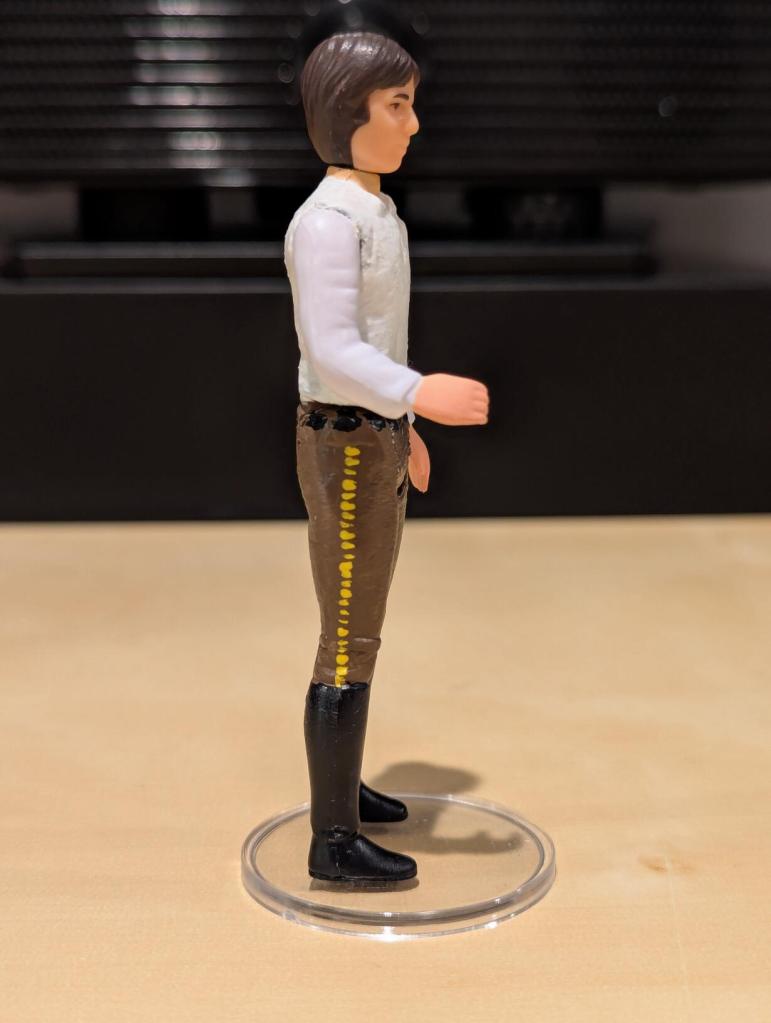
    Did you notice the Han Solo with white shirt and brown pants in the completed diorama? I’ll write about how I customized that action figure tomorrow.

    LEGO-Built Display Stand for Kenner's 1985 Tatooine Skiff or Hasbro's 2000 Re-Issue
  • LEGO-Built Alcove in Jabba’s Palace to Display Hasbro’s Han Solo in Carbonite and Kenner’s Boushh (Princess Leia)

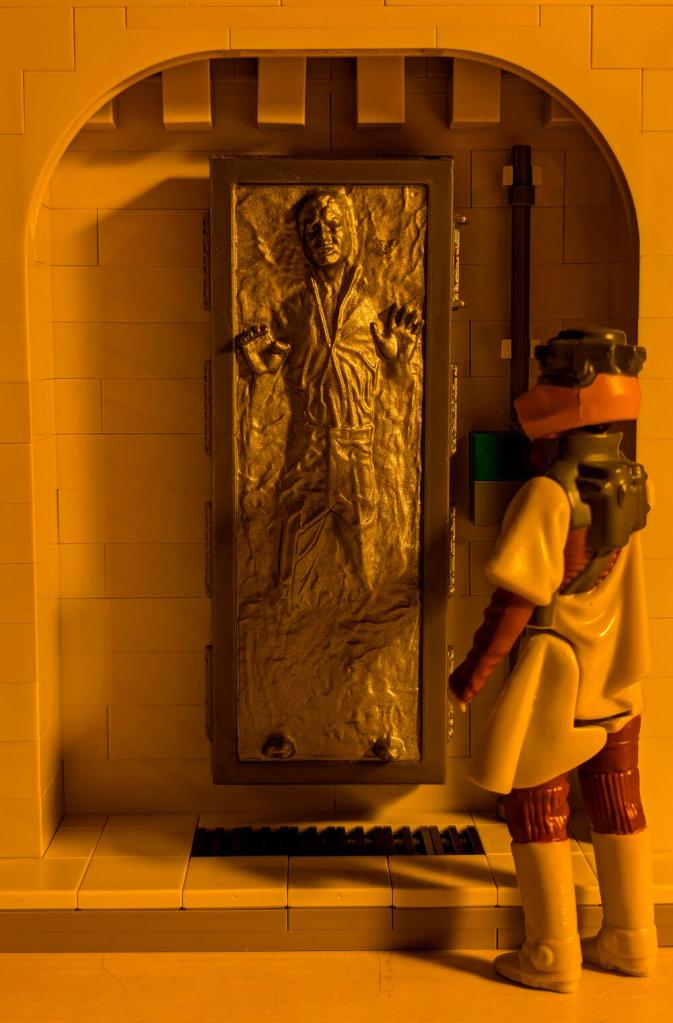
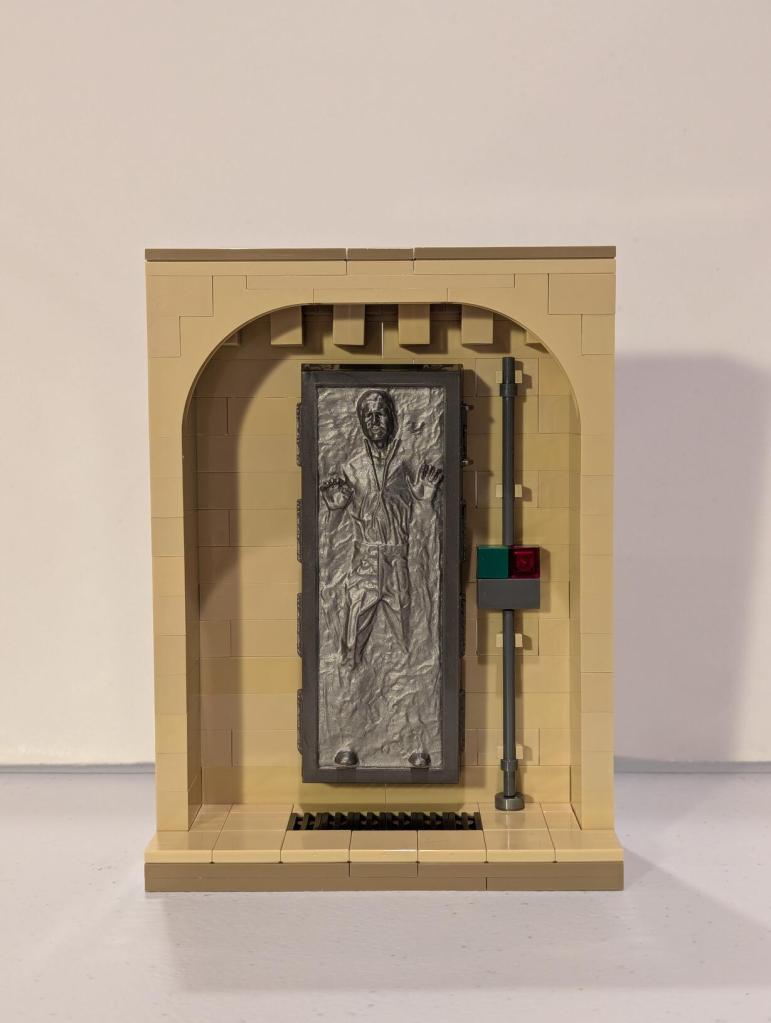
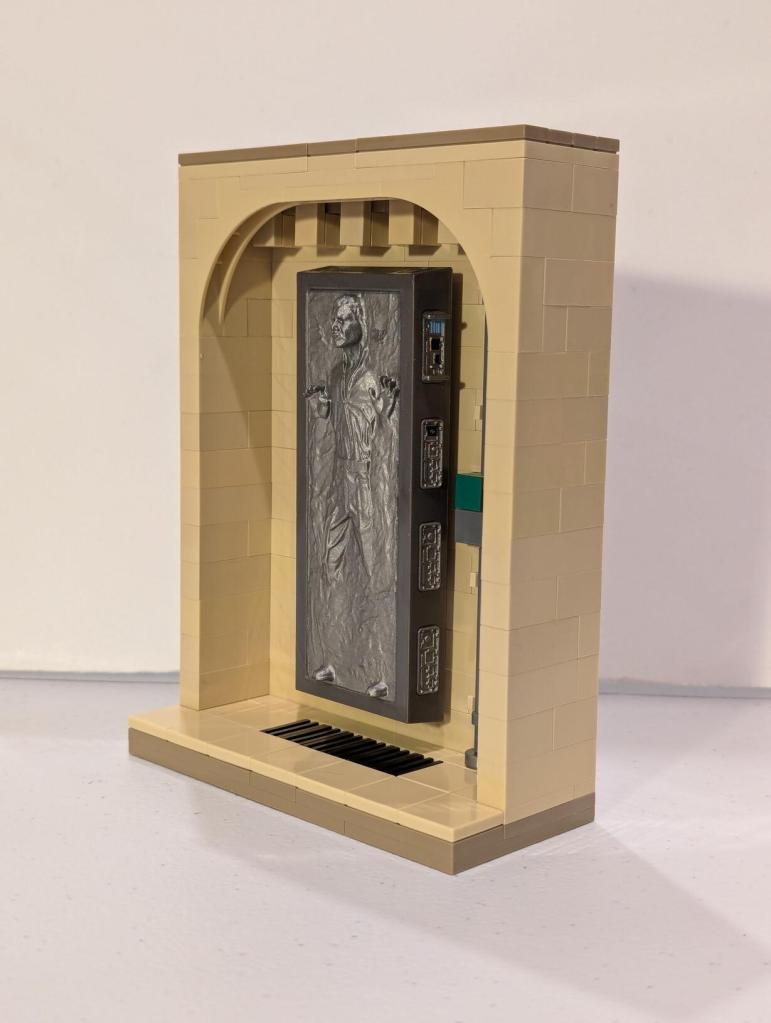
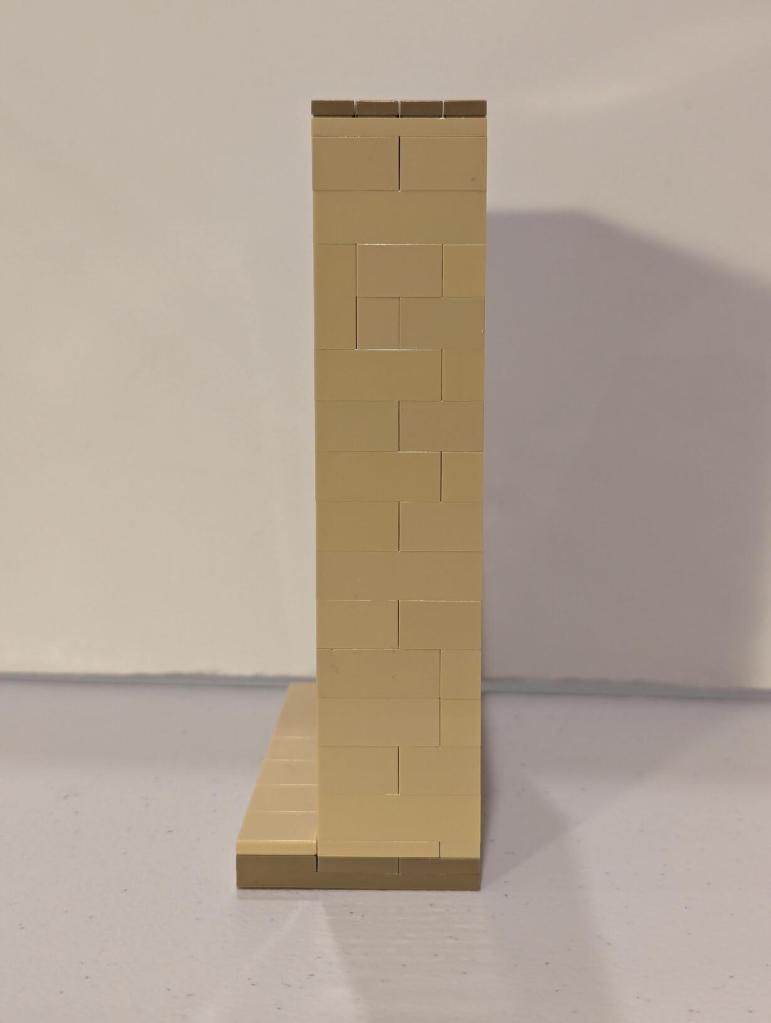
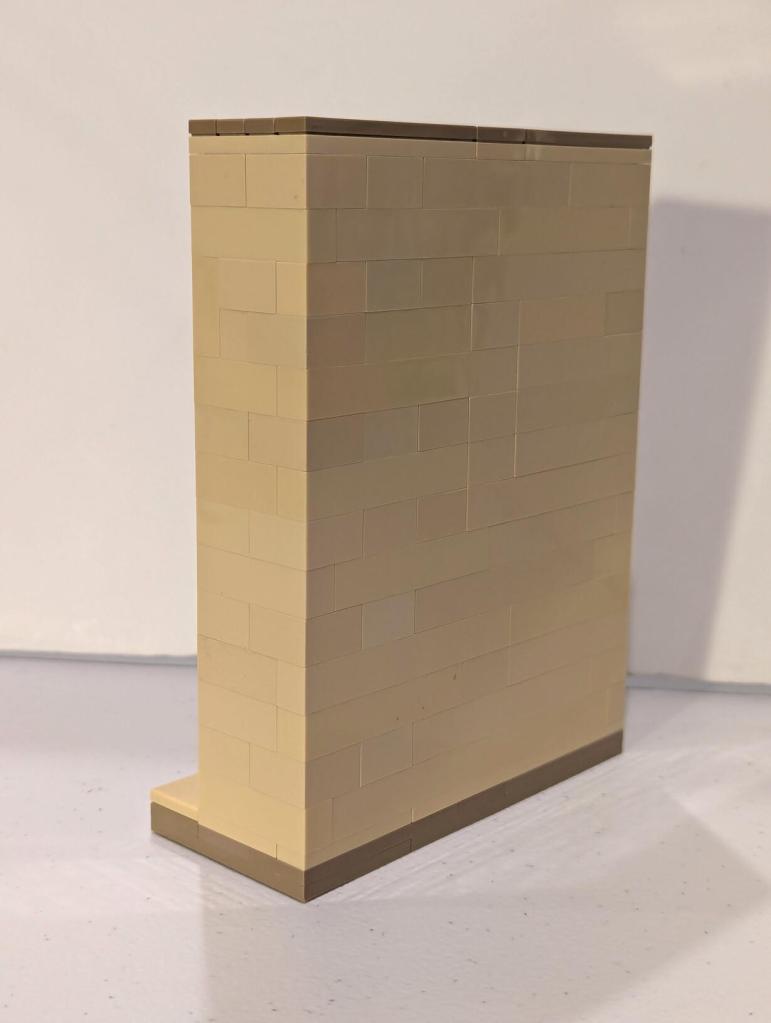
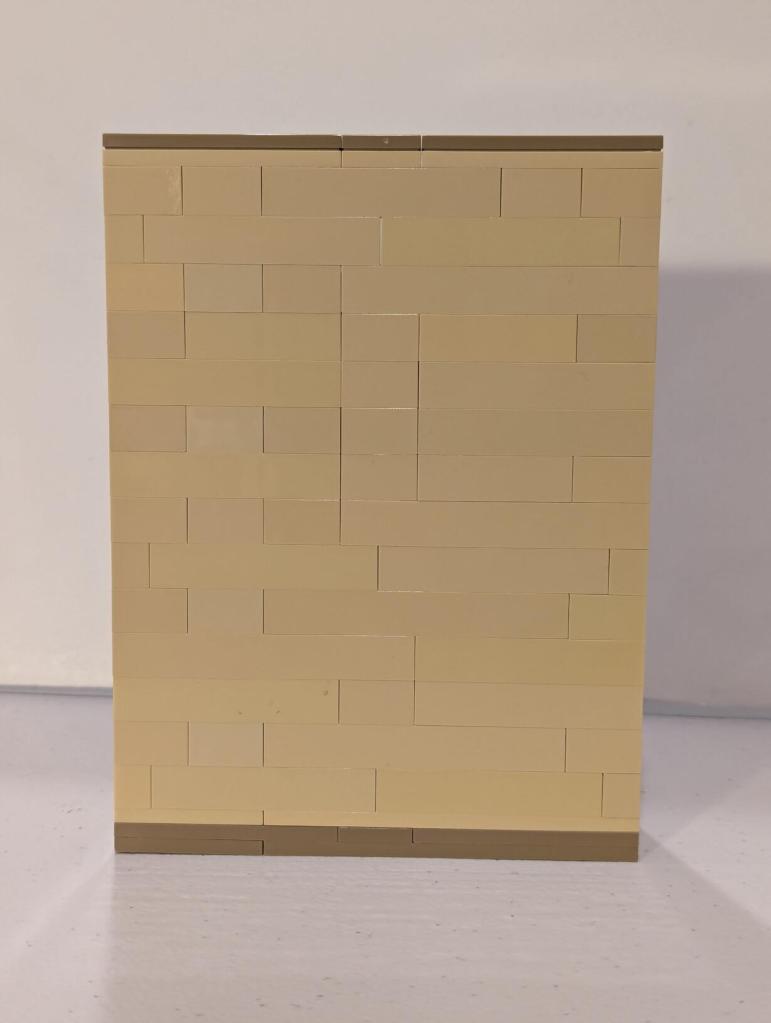
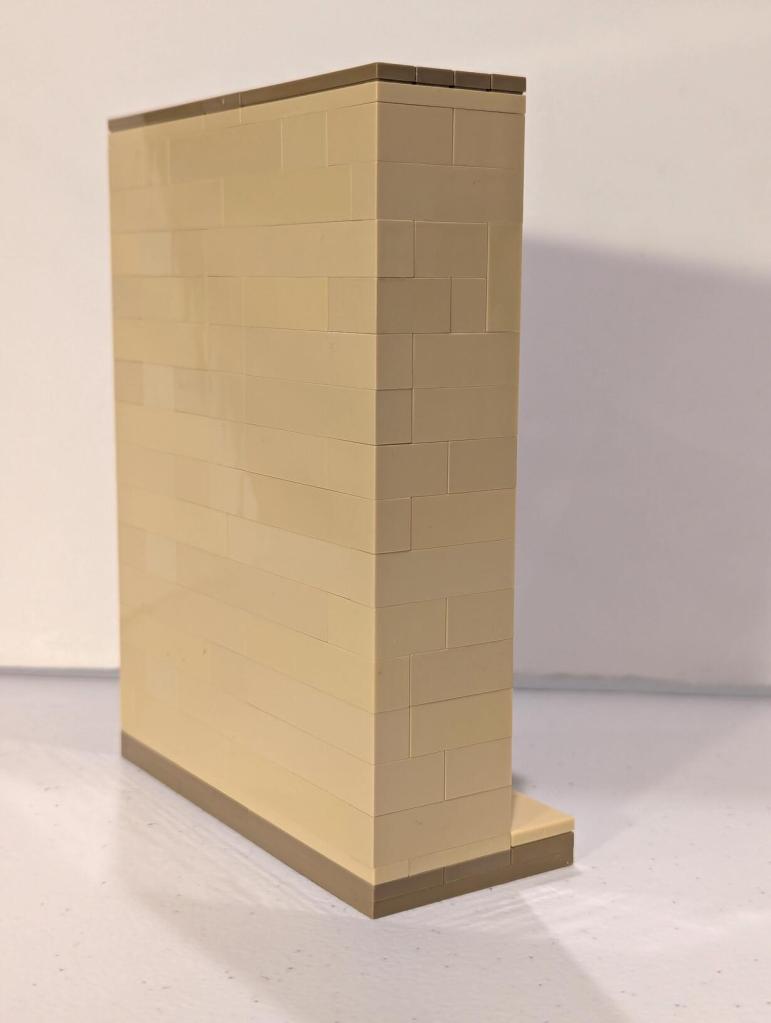
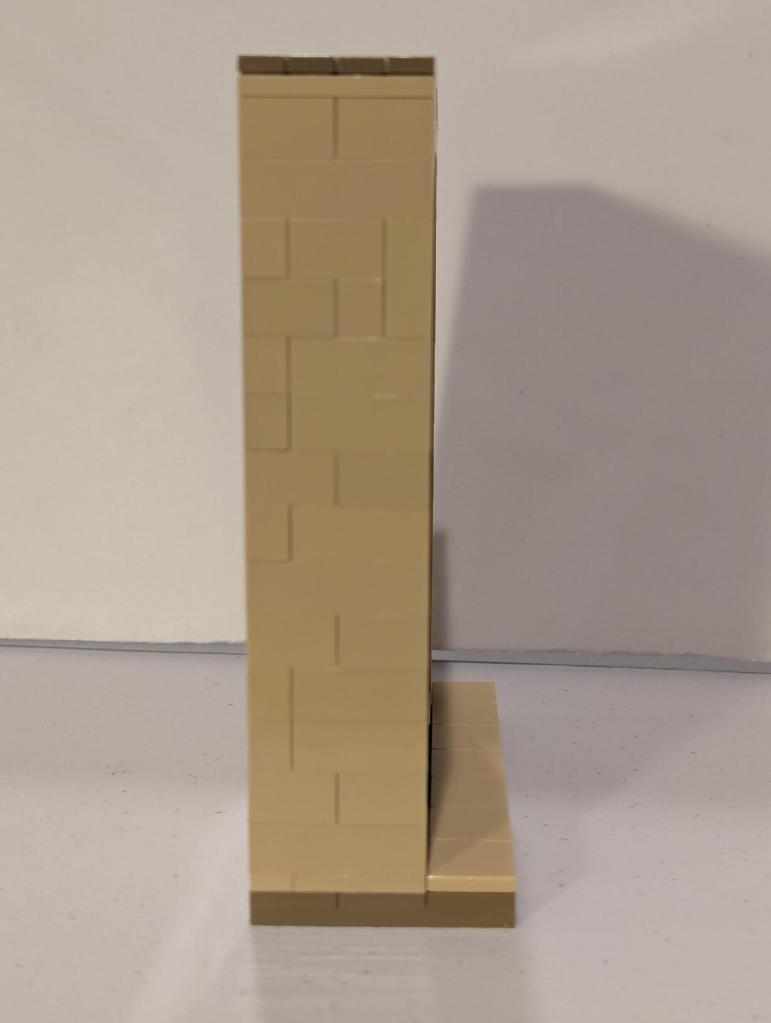
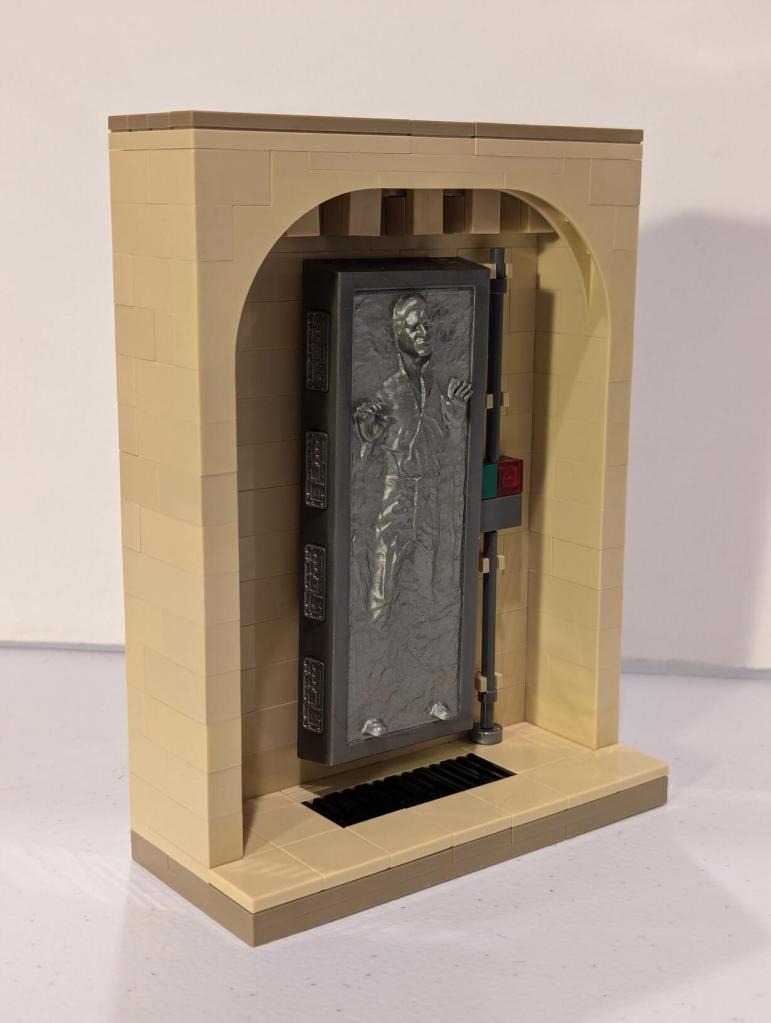
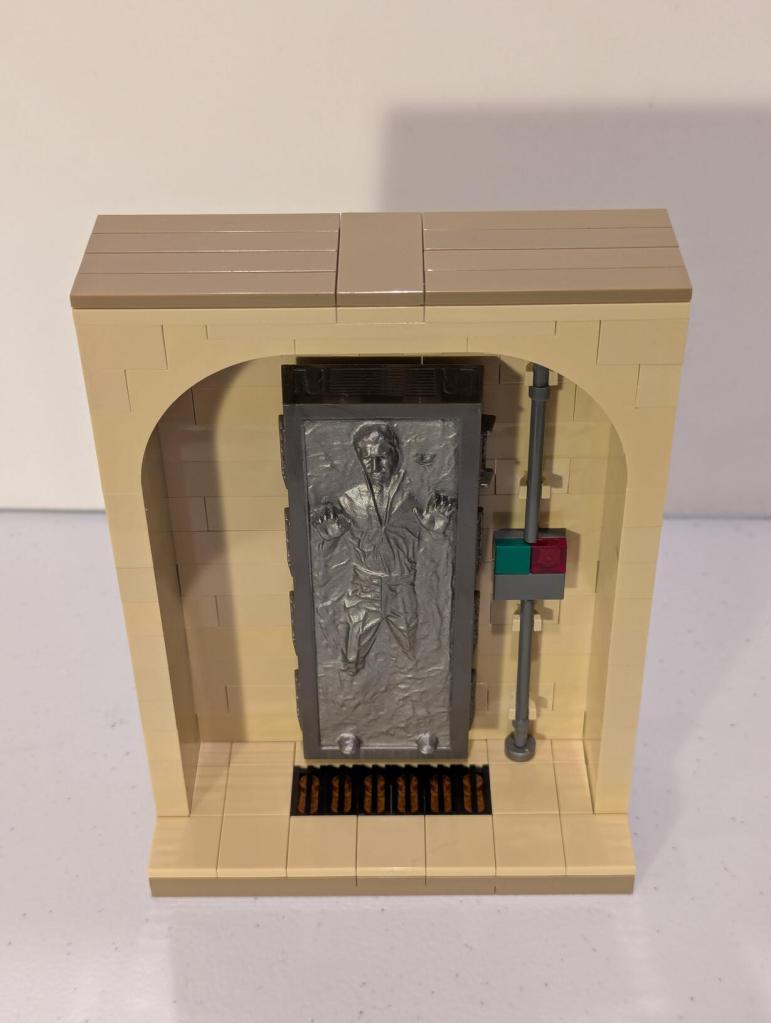
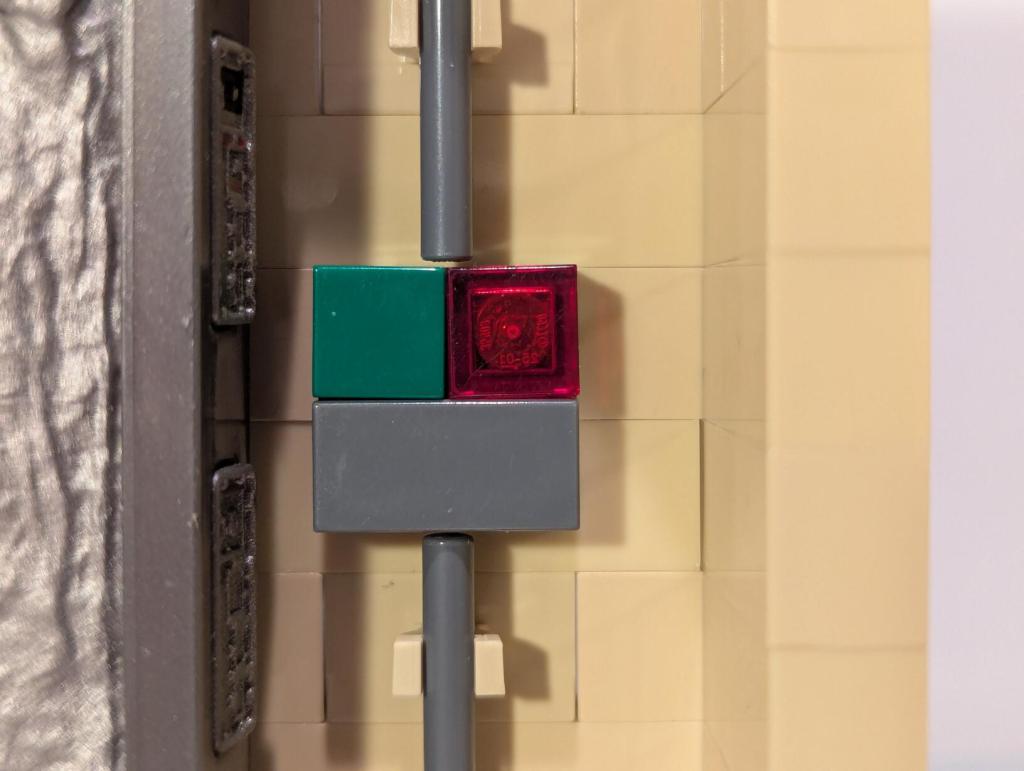
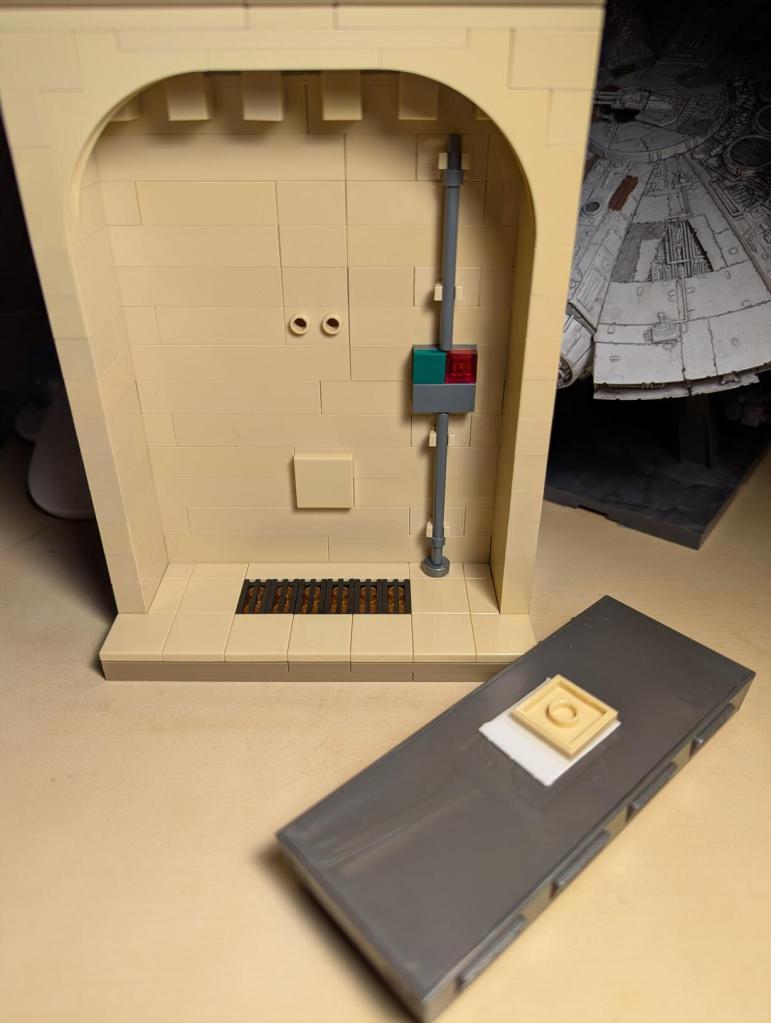
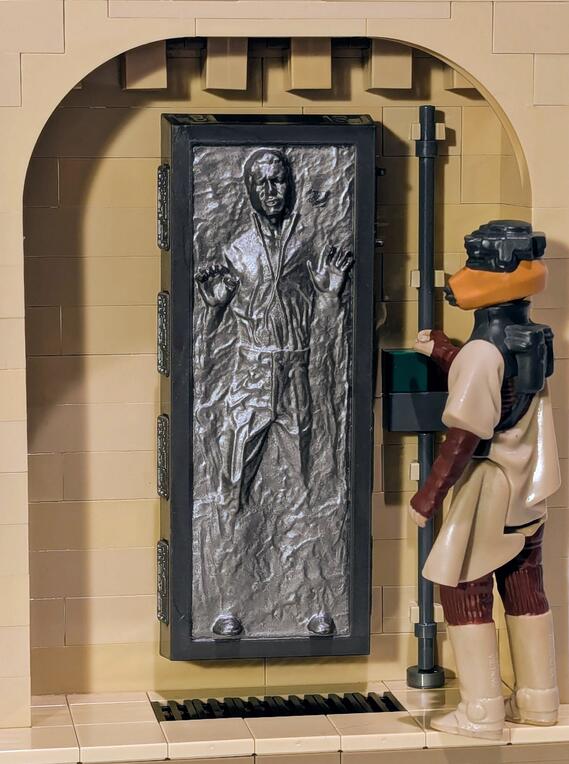
    Han Solo in Carbonite displayed in an alcove of Jabba's Palace built out of tan LEGO bricks.

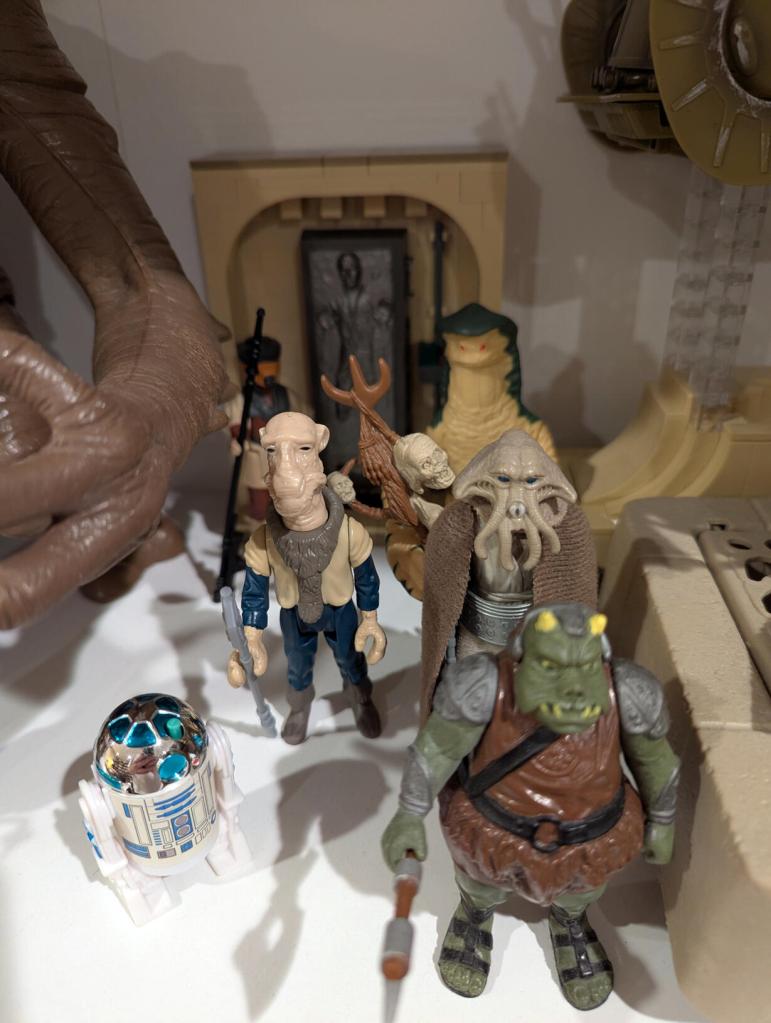
    I wanted to display Han Solo in Carbonite more prominently on my Return of the Jedi/Jabba’s Palace shelf of my Star Wars collection. There is Hasbro’s set that includes Han, and there are some third-party creations on eBay, Etsy, and other websites. However, I have a lot of LEGO, so I figured that I would see what I could do with what I have on-hand before spending money on a solution. After several iterations, I finalized the MOC shown in the pictures on this post.
    Han Solo in Carbonite displayed in an alcove of Jabba's Palace built out of tan LEGO bricks.
    Han Solo in Carbonite displayed in an alcove of Jabba's Palace built out of tan LEGO bricks.
    Han Solo in Carbonite displayed in an alcove of Jabba's Palace built out of tan LEGO bricks.
    Han Solo in Carbonite displayed in an alcove of Jabba's Palace built out of tan LEGO bricks.
    Han Solo in Carbonite displayed in an alcove of Jabba's Palace built out of tan LEGO bricks.
    Han Solo in Carbonite displayed in an alcove of Jabba's Palace built out of tan LEGO bricks.
    Han Solo in Carbonite displayed in an alcove of Jabba's Palace built out of tan LEGO bricks.
    Han Solo in Carbonite displayed in an alcove of Jabba's Palace built out of tan LEGO bricks.
    Han Solo in Carbonite displayed in an alcove of Jabba's Palace built out of tan LEGO bricks.
    Han Solo in Carbonite displayed in an alcove of Jabba's Palace built out of tan LEGO bricks.
    Han Solo in Carbonite displayed in an alcove of Jabba's Palace built out of tan LEGO bricks.
    Han Solo in Carbonite displayed in an alcove of Jabba's Palace built out of tan LEGO bricks.
    Han Solo in Carbonite displayed in an alcove of Jabba's Palace built out of tan LEGO bricks.
  • Unboxing Two MRE Cases: MRE Case A (10/27 Inspection Date) and MRE Halal Case (6/27)

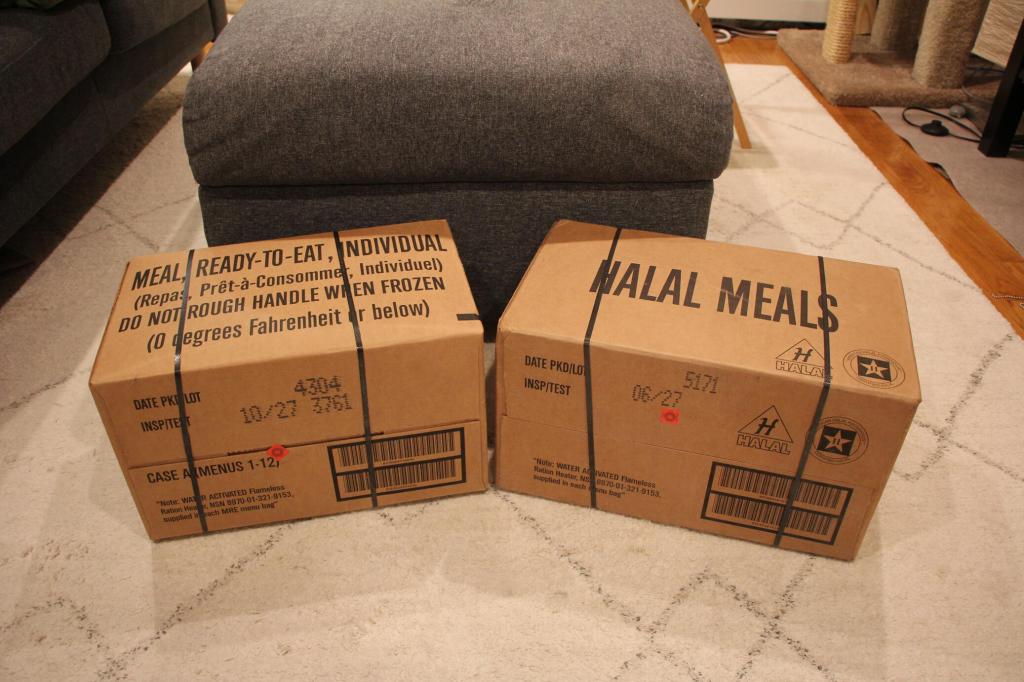
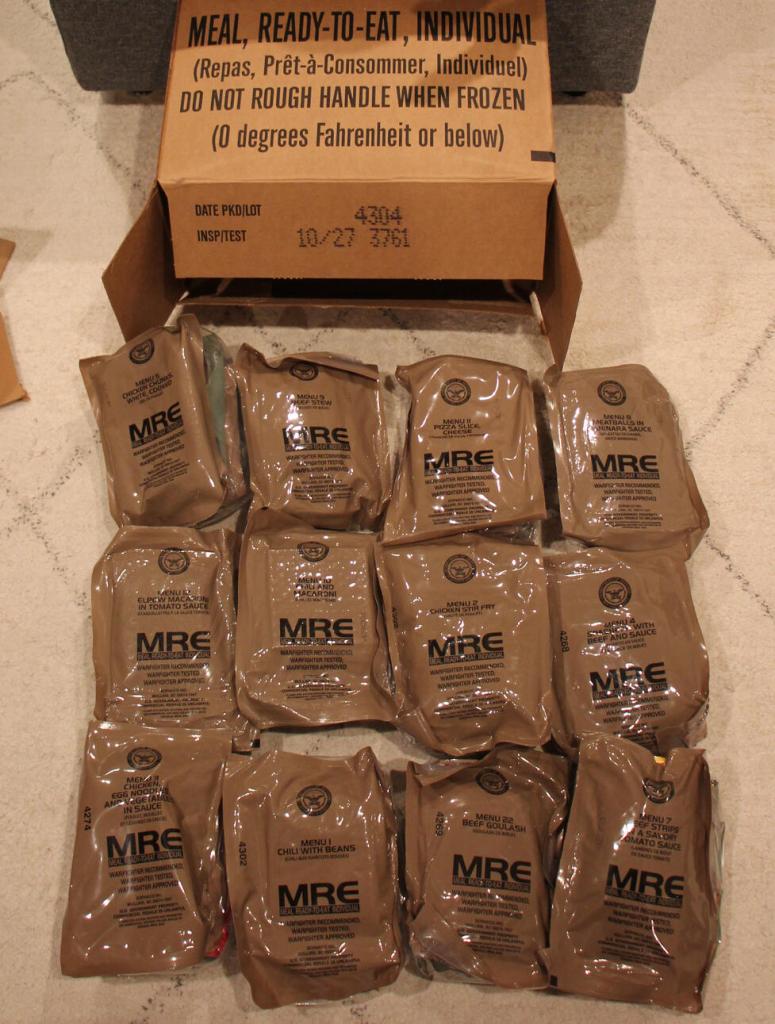
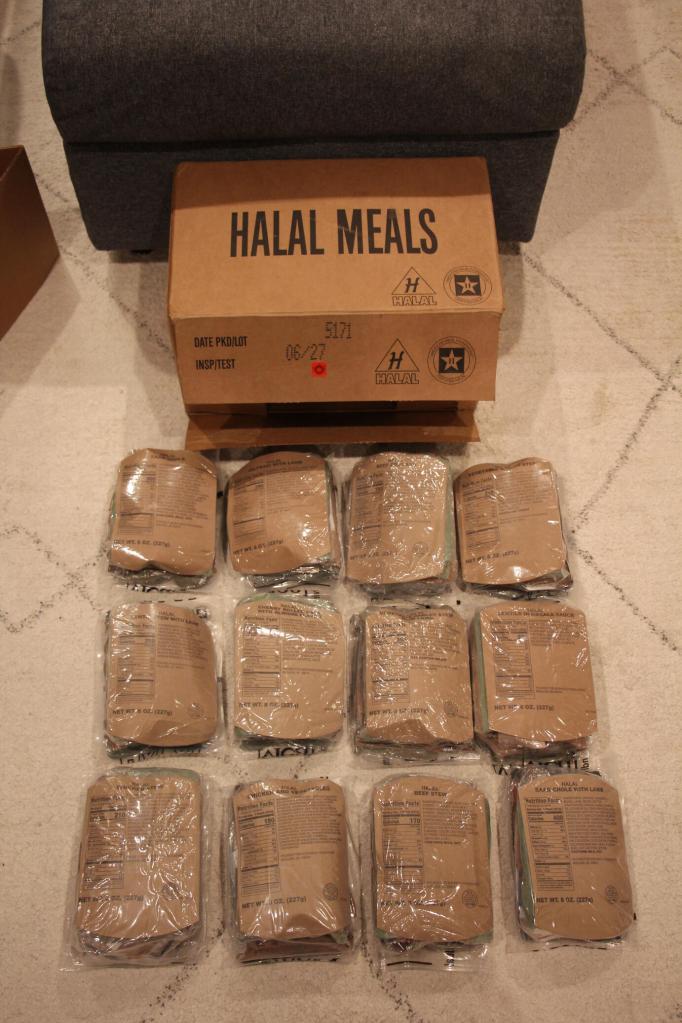
    I decided to dig into these two MRE cases that I bought last year: an MRE Case A (Menus 1-12) with an inspection date of 10/27 and an MRE Halal Meals case with an inspection date of 6/27.

    Both temperature reaction stickers were in good condition with no center shading.

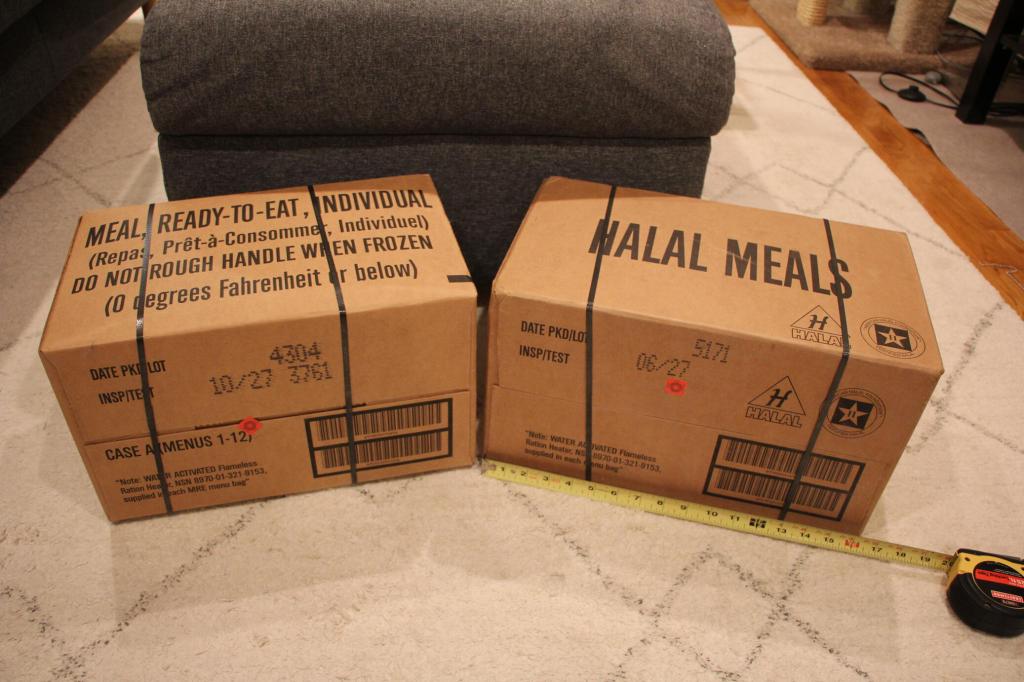
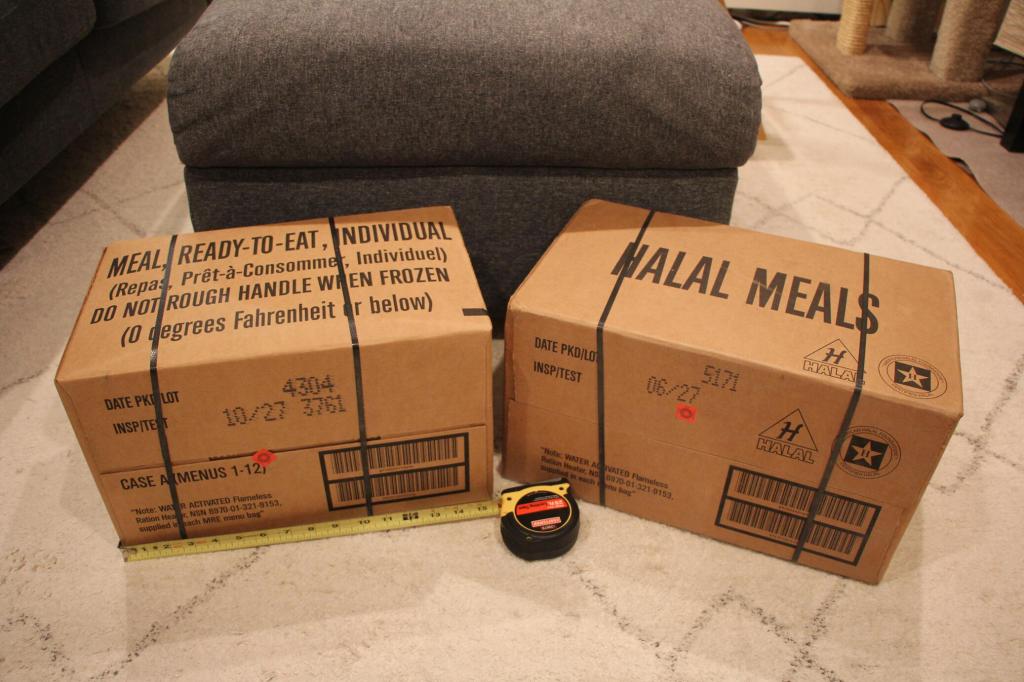
    As shown below, I was surprised to see that the cases were not sized the same. The Halal Meals case was about 16 5/8″ long, but the standard MRE case A was about an inch shorter at 15 5/8″. The compression of the standard MRE meals explains the smaller box size, but as I’ll explain below, this spoiled some meal components in the standard case.

    MRE Case A (10/27)

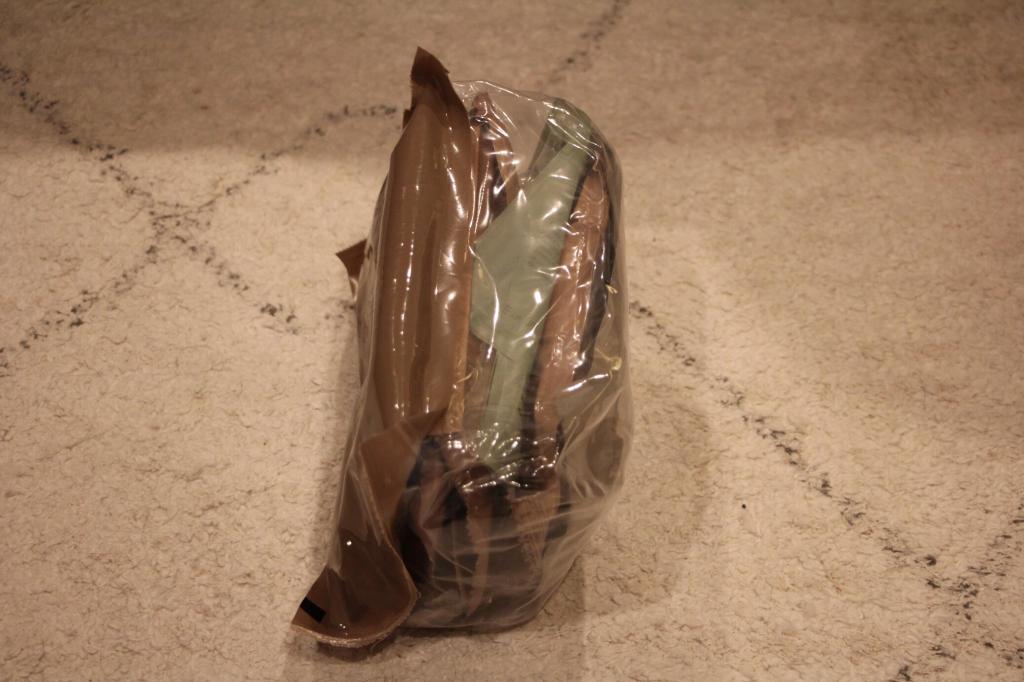
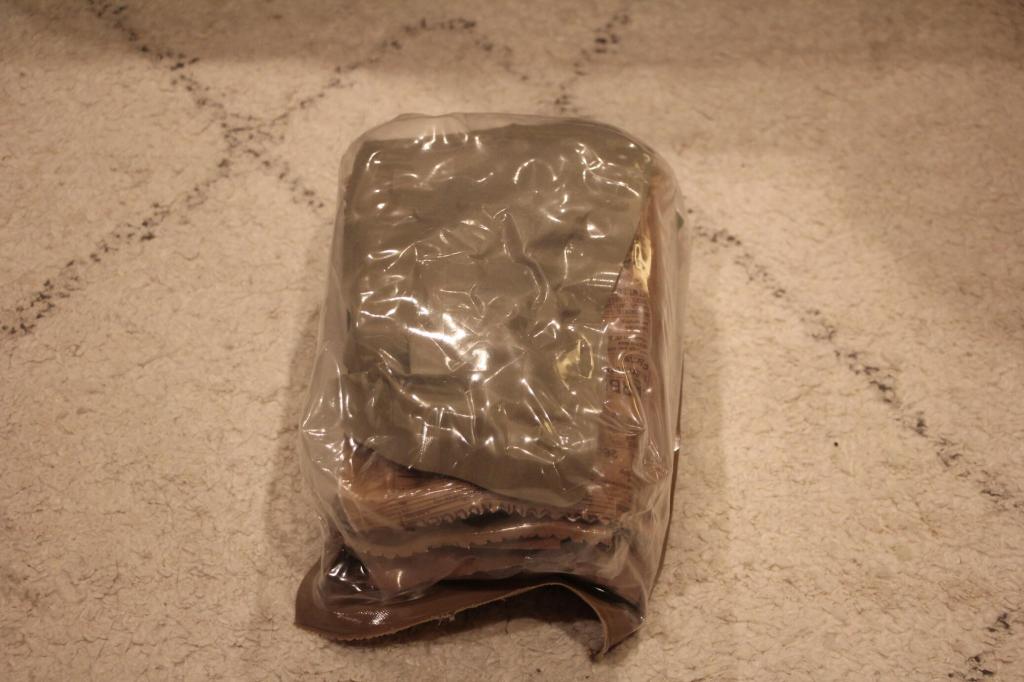
    I was disappointed by this case for two reasons. First, there was one substitution from Case B menu options as listed below instead of my favorite: Menu 6: Beef Taco. Second, compacting some MRE menus to save space caused those menu’s jelly packs to explode and spoil those individual meal components–thankfully, there the contamination was limited to just those items and not the entree.

    This Case A had these menus and substitutions:

    • Menu 1: Chili with Beans
    • Menu 2: Chicken Stir Fry
    • Menu 3: Chicken Egg Noodles and Vegetables in Sauce
    • Menu 4: Spaghetti with Beef and Sauce
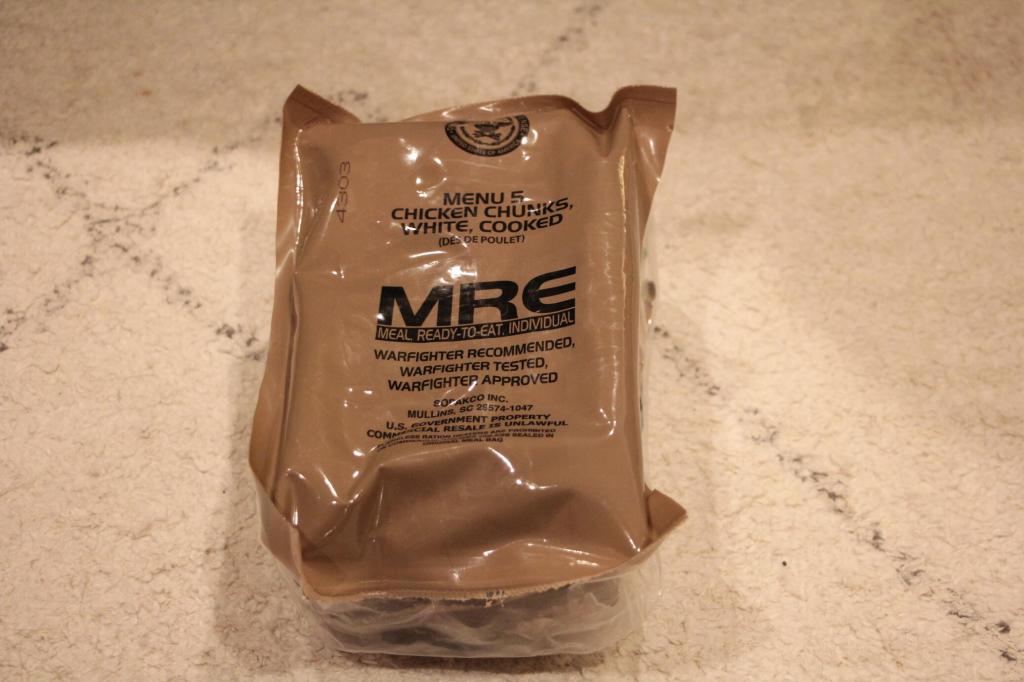
    • Menu 5: Chicken Chunks, White, Cooked
    • Menu 7: Beef Strips in a Savory Tomato Sauce
    • Menu 8: Meatballs in Marinara Sauce
    • Menu 9: Beef Stew
    • Menu 10: Chili and Macaroni
    • Menu 11: Pizza Slice, Cheese
    • Menu 12: Elbow Macaroni in Tomato Sauce
    • Menu 22: Beef Goulash

    As shown below, this was my first case with combination brown plastic with clear plastic backing. Perhaps this helps with inspections?

    I’ve already eaten the Beef Goulash, Chicken Chunks, Beef Strips in Tomato Sauce, Chicken Egg Noodles, and Meatballs in Marinara Sauce. All were tasty, but I did add extra tomato sauce to the Beef Strips and Meatballs, both of which I ate as a soup with bread.

    MRE Halal Meals (6/27)

    Each menu in the MRE Halal case was in a clear plastic bag. These are the menus included:

    • Halal Chicken Stew
    • Halal Chicken and Vegetables
    • Halal Beef Stew
    • Halal Saag Chole with Lamb
    • Halal Lentil Stew with Lamb
    • Halal Cherry Rolled Oats with Almond Flavor
    • Halal Vegetable Barley Stew with Lamb
    • Halal Lentils and Masala Sauce
    • Halal Saag Chole
    • Halal Jalfrazi with Lamb
    • Halal Beef Goulash
    • Halal Vegetable Barley Stew

    I’ve already eaten the Saag Chole (with Italian Breadsticks from a standard MRE case menu) and the Cheery Rolled Oats with Almond Flavor. I enjoyed both very much!

    I’m looking forward to trying the other Halal menus as the reputation of these having good, strong flavors is warranted.

  • How to Modify 3/8″ Threaded Bolt-On Caster Wheels to Fit Unthreaded 7/16″ Mount Points on Home Hospital Bed

    home hospital bed with messy sheets

    If you have a home hospital bed that needs to be relocated easily but can’t find unthreaded caster wheels, this guide might be helpful to you.

    The problem that I recently encountered was a very heavy home hospital bed that needed to be moved around easily without being dragged around on a new floor. The particular bed that I was dealing with was manufactured by Thill, Inc in the USA. It is at least 30 years old and exceedingly heavy.

    thill manufacturer label on steel frame of bed

    It sits on four feet capped with glued-in plastic inserts with 7/16″ holes. Judging by late model home hospital beds, there are caster wheels that lock into these holes. Unfortunately, I couldn’t source four of them within the tight time frame that I was needing to make this bed mobile.

    ruler showing mount point is 7/16"

    I knew that I could get threaded bolt-on casters with non-marking rubber wheels from Rural King in Waycross, Georgia. However, those caster wheels’ bolts were 3/8″ threaded. I needed a way to make those bolts larger and secure on the bed. I thought of how to build a sleeve that would increase the bolt’s diameter but not be easily compressed with use. I had just finished drinking a canned Starbucks Espresso when I imagined how I could use its aluminum can to build a sleeve.

    unopened starbucks espresso and cream drink

    My plan was to cut some of these aluminum cans into sheets that I could wrap around the 3/8″ bolt to increase its size to 7/16″ when it was pushed into the mount point on each foot of the bed. Any aluminum can would work, but I had a the Starbucks cans on-hand, so that’s what I used.

    drawing of sheet of aluminum being wrapped around caster mounting bolt

    Using a razor, I cut the top and bottom of each can off. Then, I carefully cut down the height of the can to create a sheet of aluminum. Then, I used tin snips to cut the sheets of the needed length and width to match the bolts on the caster wheels.

    cut up aluminum cans with tin snips and ruler on 12" board

    This is approximately what each sheet looked like, but I used ones with cleaner edges for the final assembly.

    sheet of aluminum can

    I tightly rolled the aluminum sheet around the bolt. Holding it in place with my fingers, I pushed the bolt into the mounting point. If it slid in too easily, I used a longer sheet of aluminum to bulk it up before trying again. The goal was to install the caster wheel securely so that it wouldn’t wobble or fall out if the bed were lifted off the floor.

    rolled sheet of aluminum

    Once the four caster wheels were installed, the bed could be easily wheeled around on the floor with minimal effort–far easier than trying to lift or drag its heavy mass!

    caster wheel installed on hospital bed
  • Star Wars Collection Additions from Emmitt’s Toy Emporium and eBay

    vintage star wars action figures arranged for display on a table

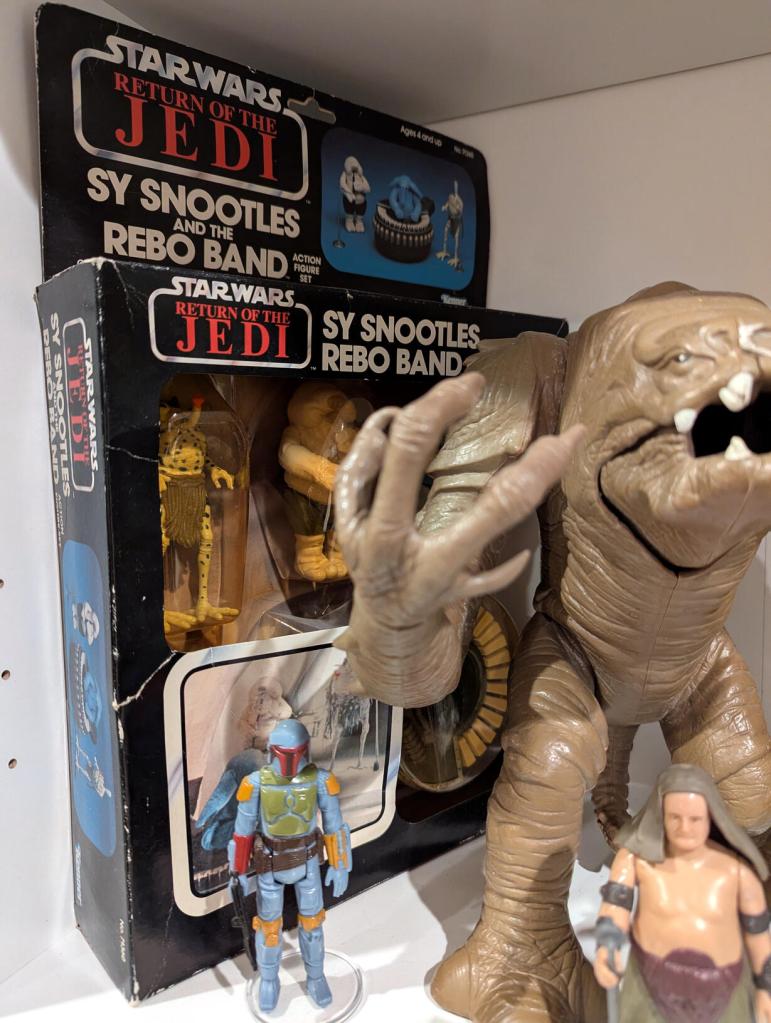
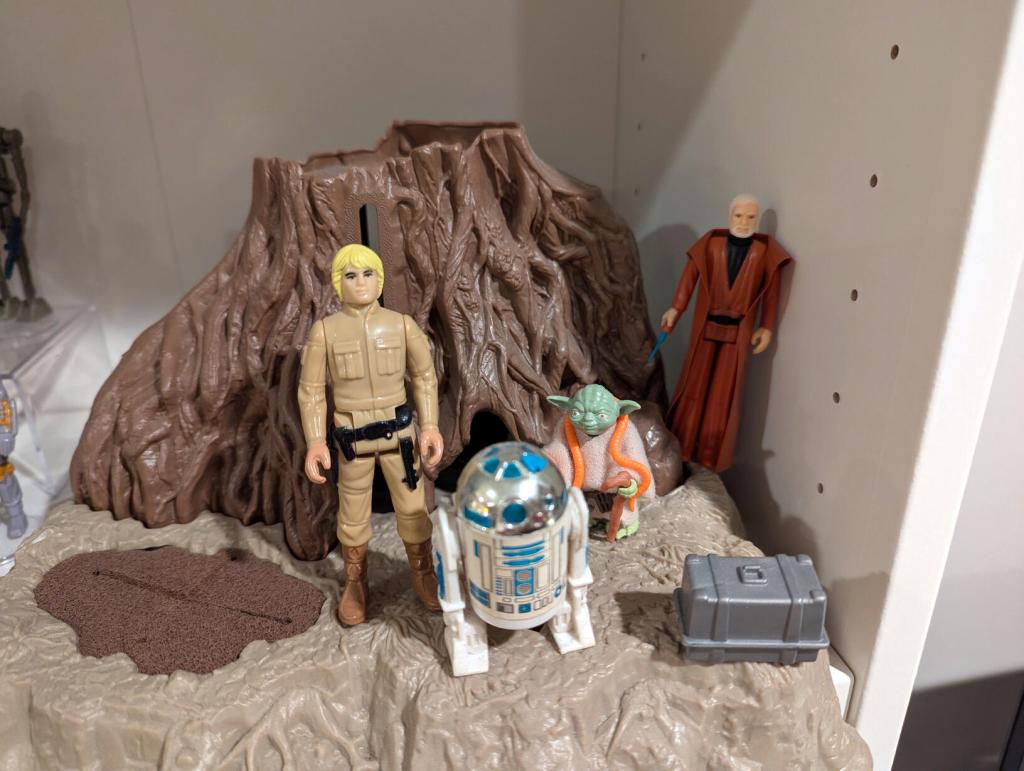
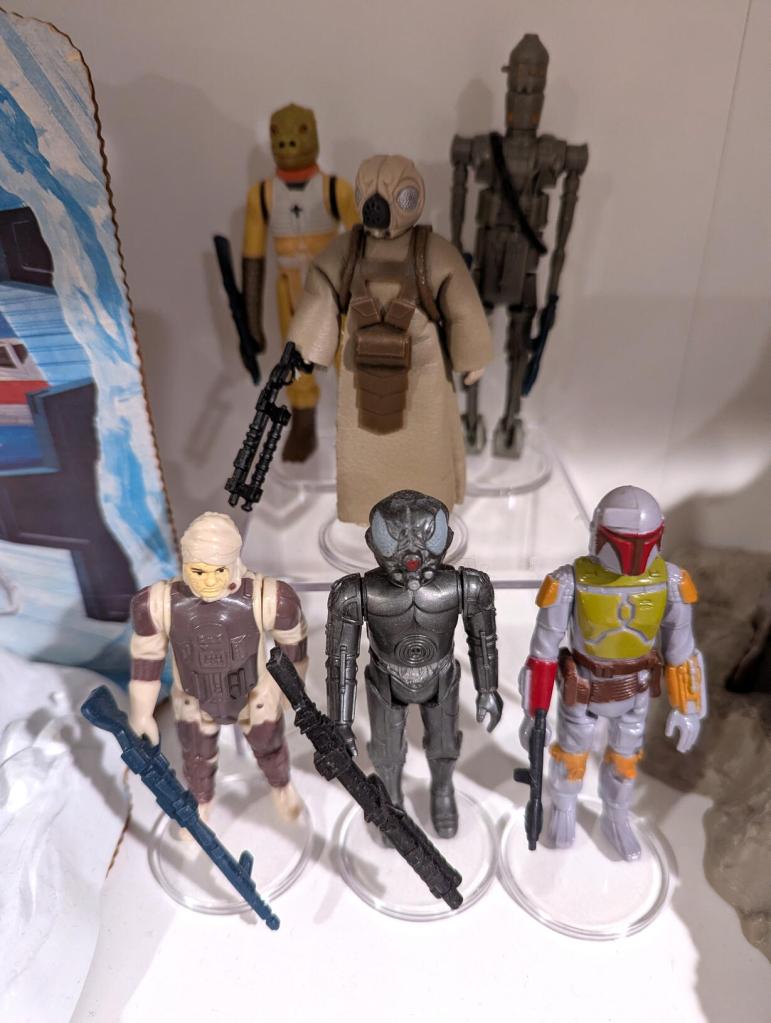
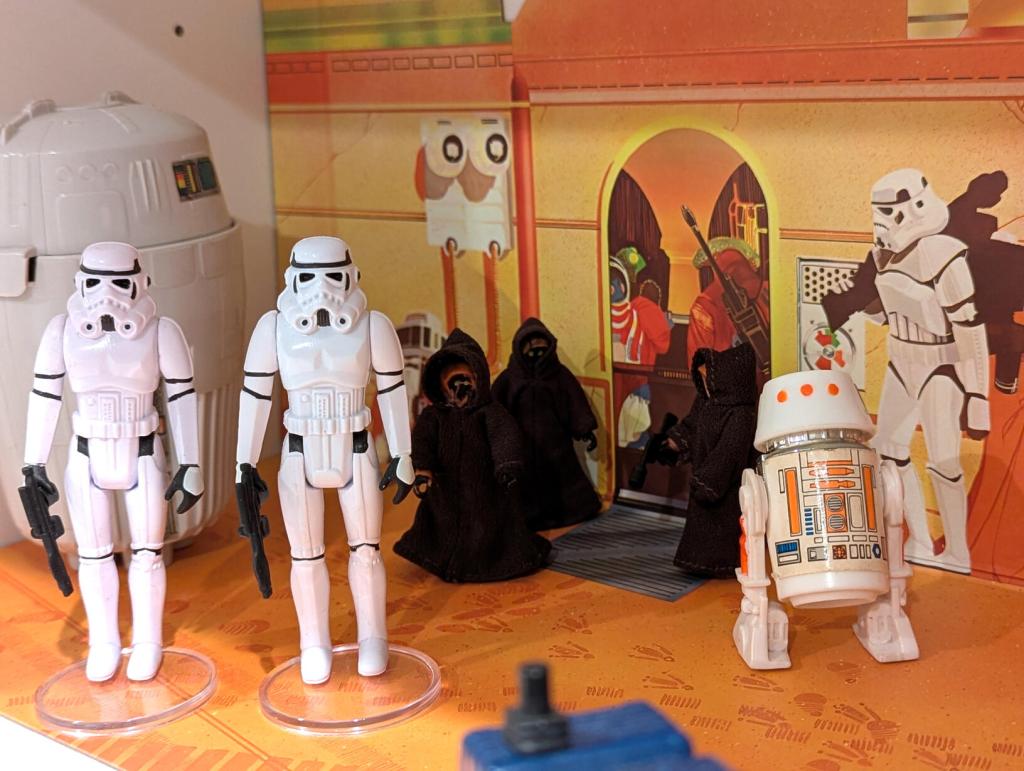
    While I was in Georgia visiting my parents this past month, I acquired a few more Star Wars action figures, playsets, and a vehicle to add to my collection.
    I knew that I needed to drive my mom to the Mayo Clinic in Jacksonville, Florida for tests and doctor’s appointments while I was there. I figured that I could visit comic shops or antique stores to look for Star Wars action figures for my collection.
    During my online research, I stumbled on Emmitt’s Toy Emporium and a photo of a glass product counter with a Kenner Star Wars Rebel Command Center in it. The photo was dated three months ago. I had been trying to find one of these at a fair price on eBay for a long time without any luck. I figured it was worth checking out even if the playset had sold before I arrived. Thankfully, he still had it in stock and the price for the playset sans action figures was $119. Emmitt and I worked out a deal for the playset and some figures.
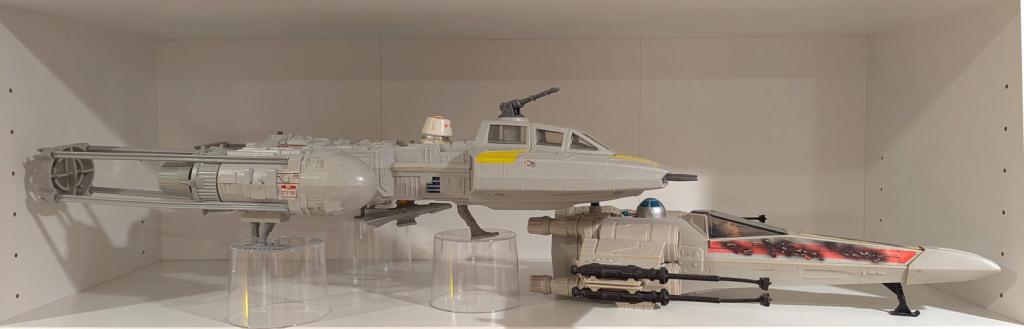
    While I was there, Emmitt showed me some of his other items for sale, and he let me fire the motorized cannon on a complete Y-Wing Fighter (1983).

    kenner rebel command center playset

    Before the third trip to Mayo Clinic in Jacksonville, my dad asked to see the toys that I scored, so I showed how they were setup and explained their release history. I suppose he saw how happy they made me and he acknowledged that I had done a lot of work (and there were still more left to do in the next two weeks), so he gave me his blessing to get a few other things that I had seen at Emmitt’s shop–the complete Y-Wing Fighter with motorized cannon (1983) and the Creature Cantina Action Playset (1979). It was a pleasure dealing with Emmitt, who knows how to bargain fairly.

    kenner creature cantina action adventure playset
    y-wing fighter and box

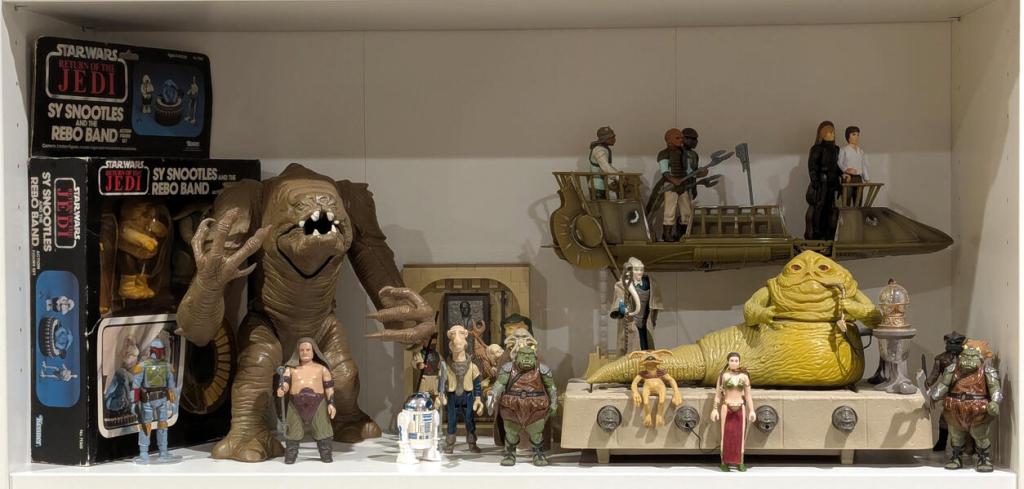
    I had a $10 off $50 purchase coupon from eBay, which I used to reduce the price on the Rancor monster (1984) from Wheeljack’s Lab. Now, I need the Rancor Keeper action figure (1984).

    rancor monster toy

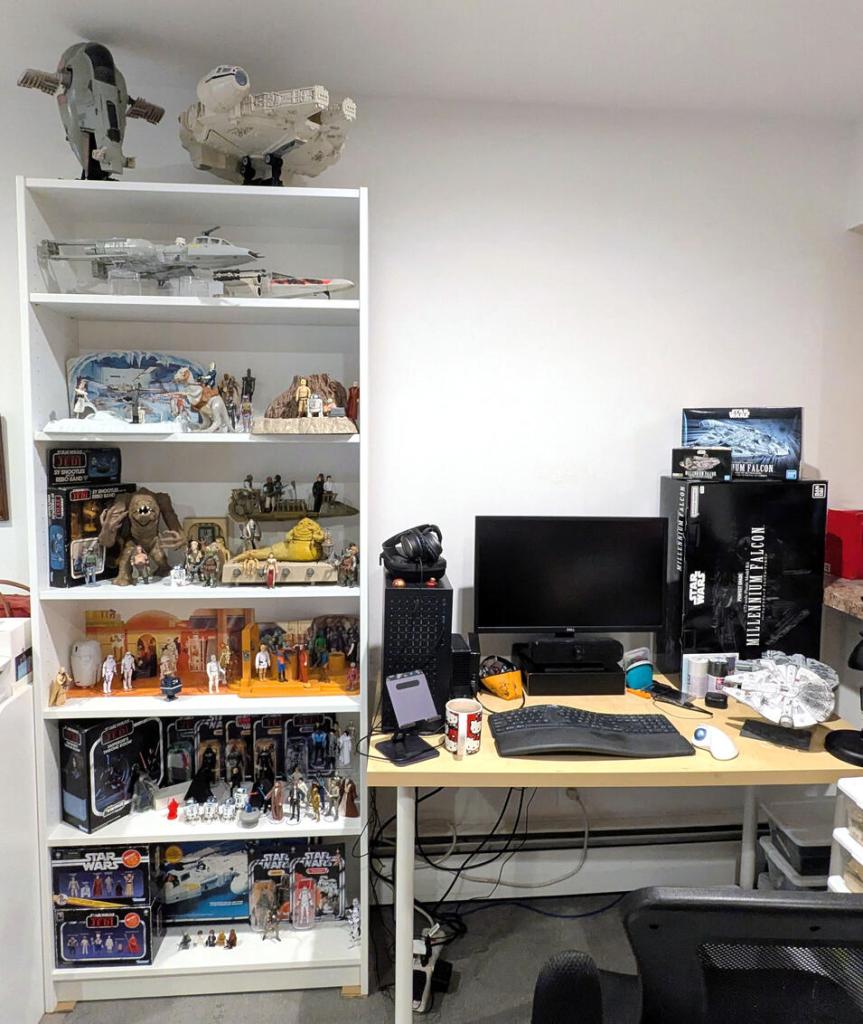
    I’ve still got a ways to go, but I wonder if I can rebuild my collection to be as robust and interesting as the collection that I had to sell off in the early 2000s.