
Introduction
This week, I created the composite image above of the Millennium Falcon midflight among the stars. This most recent exercise in making was made possible by the Falcon model at the center of the composition that I assembled in June 2021 while healing from a broke toe.
I like to think about how one project links to another, how one kind of making supports another kind of making. Making and culture go hand-in-hand. One new thing makes possible countless new things given tools, materials, and know-how.
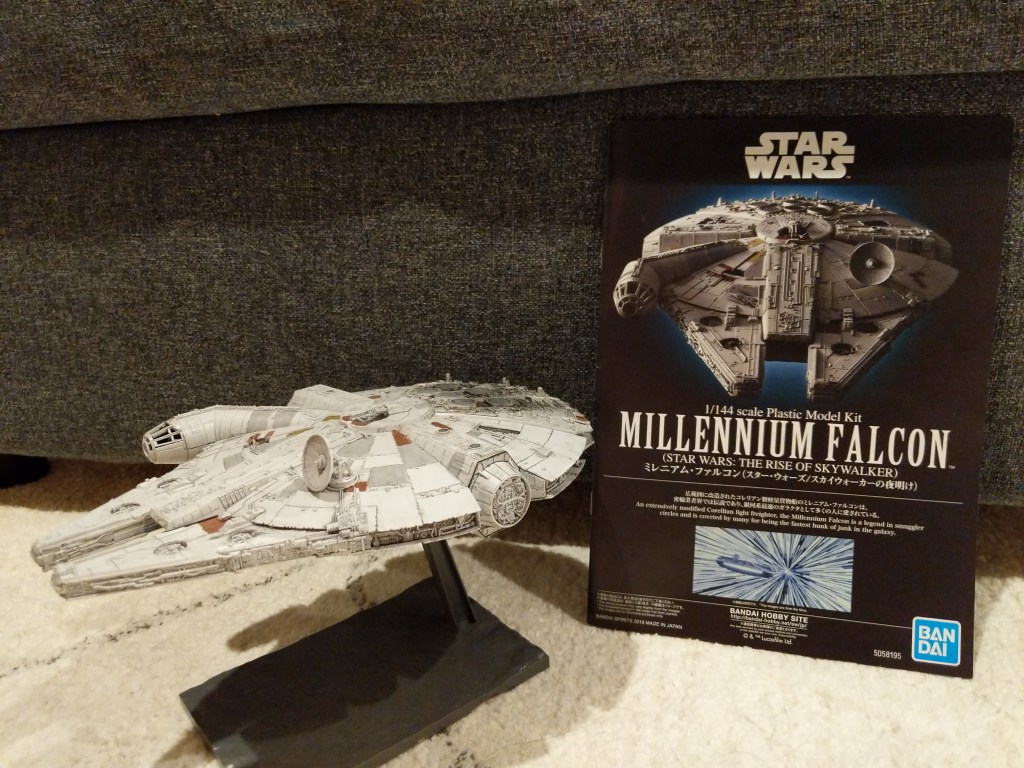
In this case, I assembled and painted a Bandai 1/144-scale Millennium Falcon plastic model set from Star Wars: The Rise of Skywalker. Proper assembly, though by no means professional, required tools (e.g., sprue cutter, paint brushes, and toothpicks), materials (e.g., plastic model glue, acrylic paints, and tape), and know-how (e.g., cutting, filing, gluing, and mixing paints and washes).
A year later, I created the science fictional composite image above. Its production required tools (e.g., Linux Mint-running desktop computer, GNU Image Manipulation Program, or aka GIMP, and the Internet), materials (e.g., the assembled model, a photo of the model in an orientation appropriate for the composite image, and a public domain photo of a star field), and know-how (e.g., an idea for what the finished product will look like, a workflow for using GIMP to achieve it, and an understanding of how to use GIMP’s affordances including layers, opacity, and filters for each stage of the workflow).
Assembling the Model
The completed Bandai 1/144 Millennium Falcon model is only about 9 1/4″ long. Hence, it and its constituent parts are very tiny. I built and painted the model over the course of a week. Given more time and equipment, I would have liked to have done a more professional job with lots of masking and airbrushed paint. Given my limitations, I decided to have fun and use what I had at hand to assemble and paint the model.
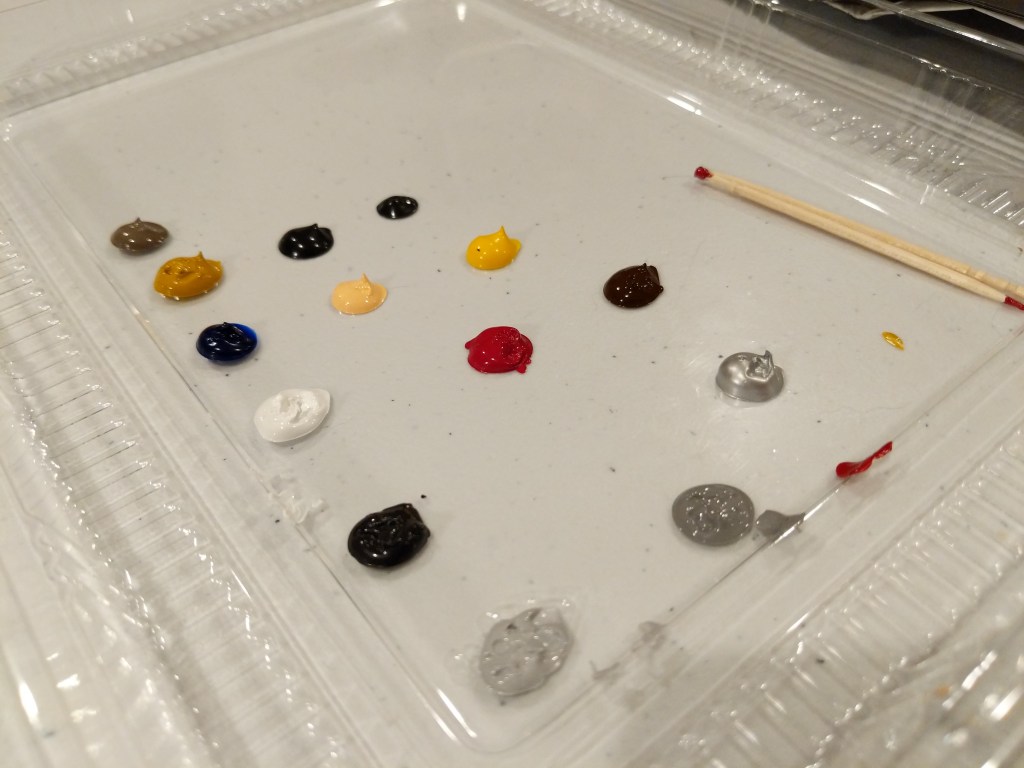
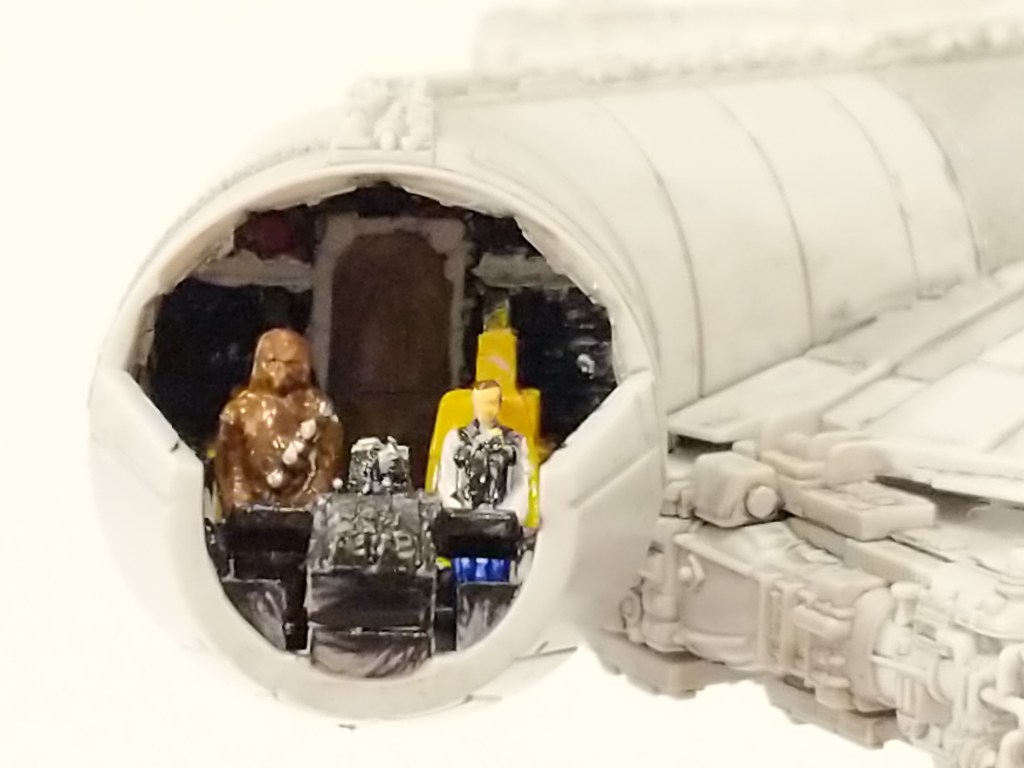
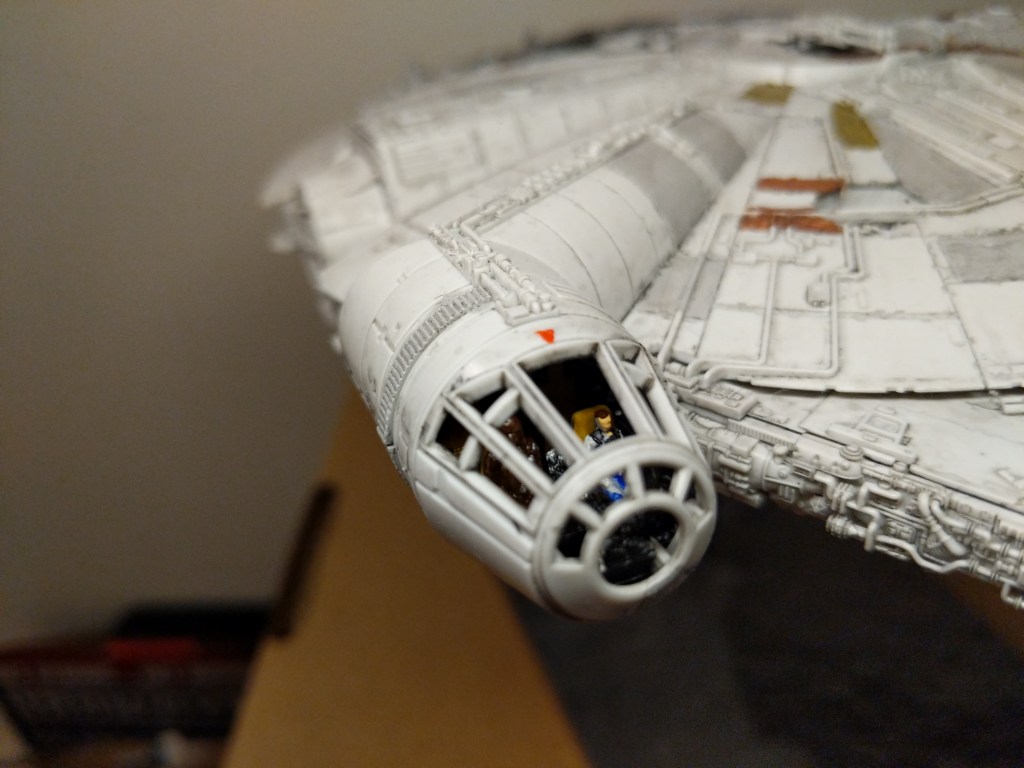
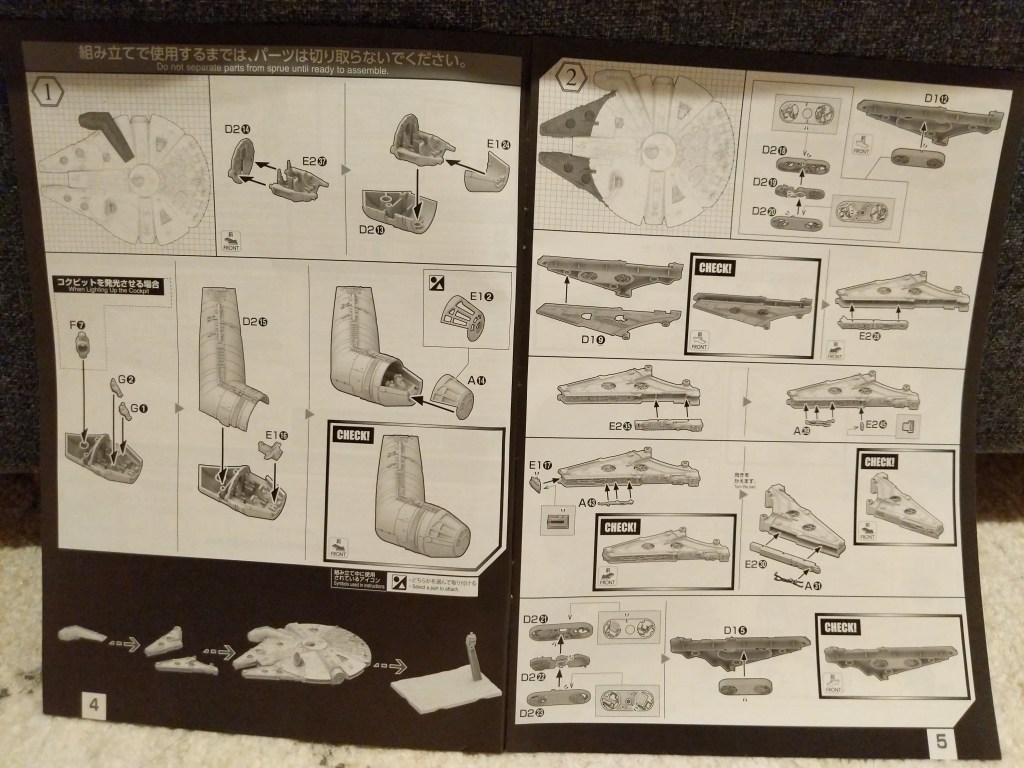
One example of the assembly process is pictured below. It involves the cockpit. Even though the model is sold as the Falcon from The Rise of Skywalker, it included Han Solo and Chewbacca figures, which I decided to use instead of the other cast miniatures. For these detailed elements of the model, I used a combination of toothpicks, very fine brushes, and dabs of paint to achieve the intended effect.
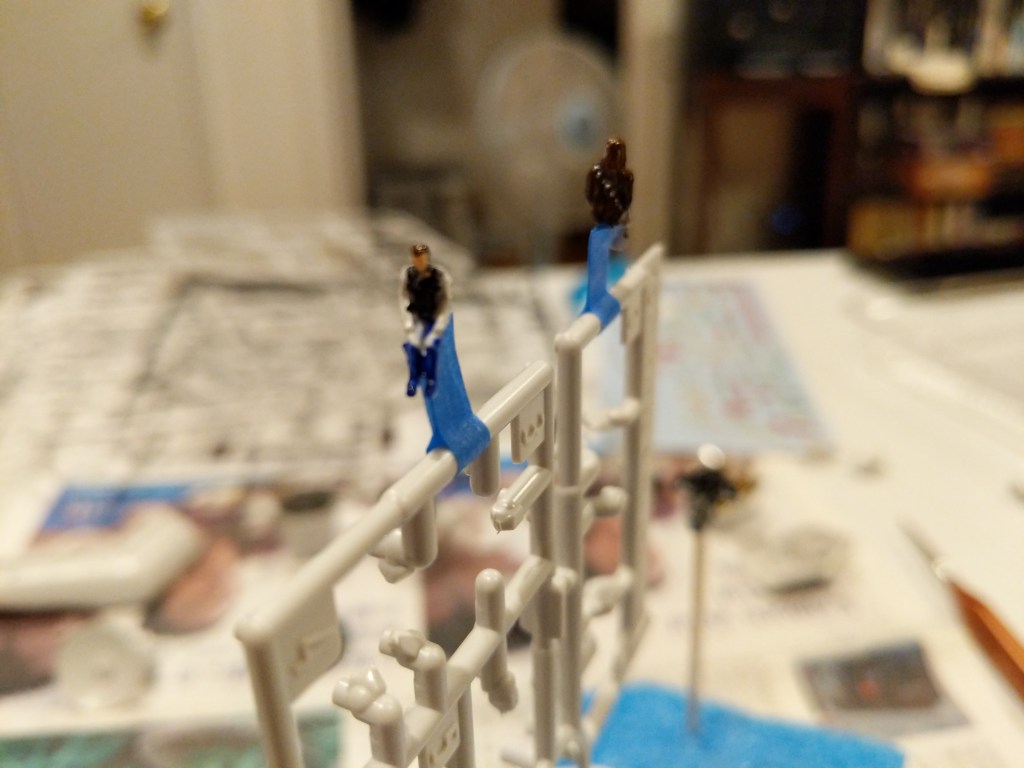
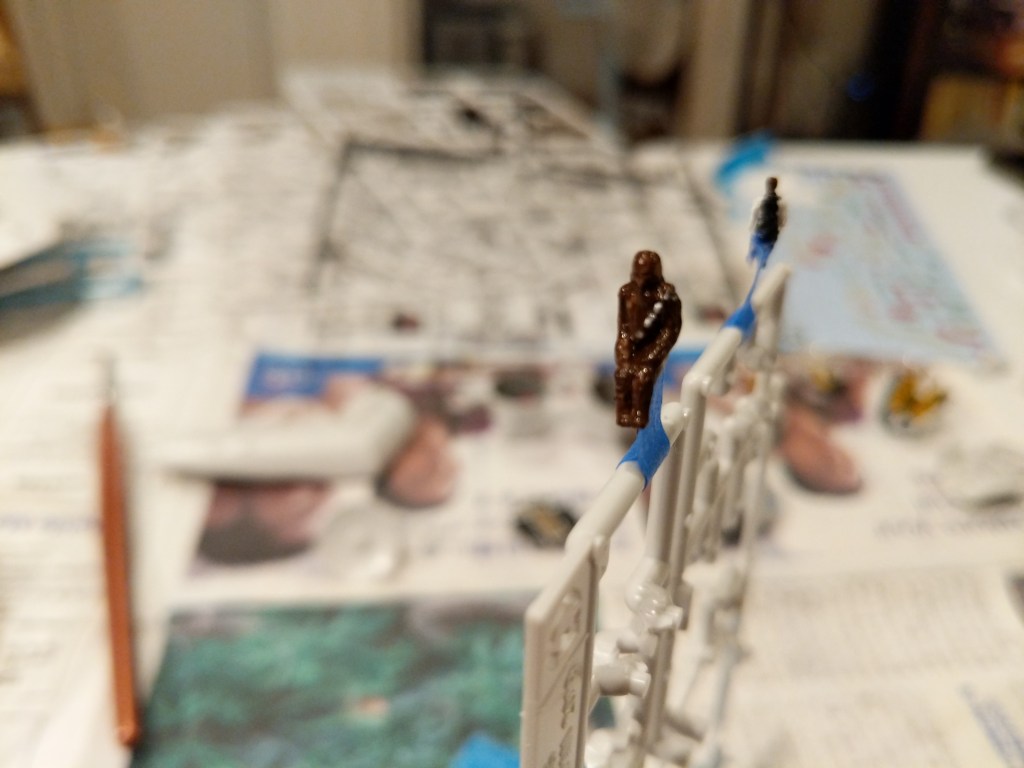
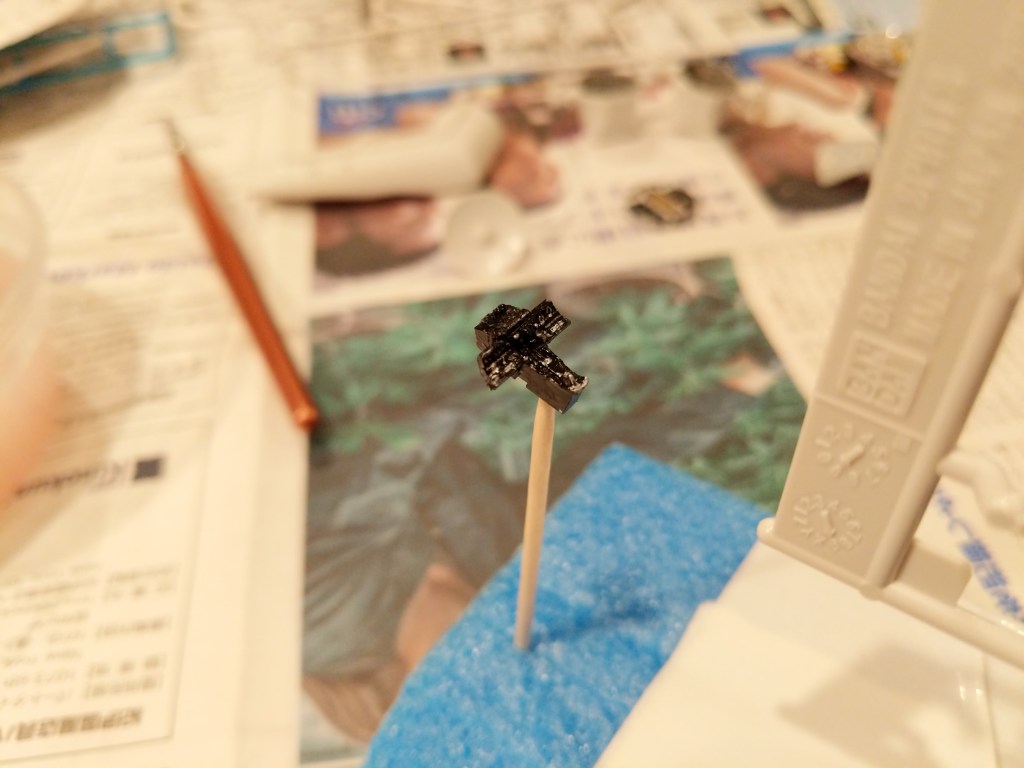
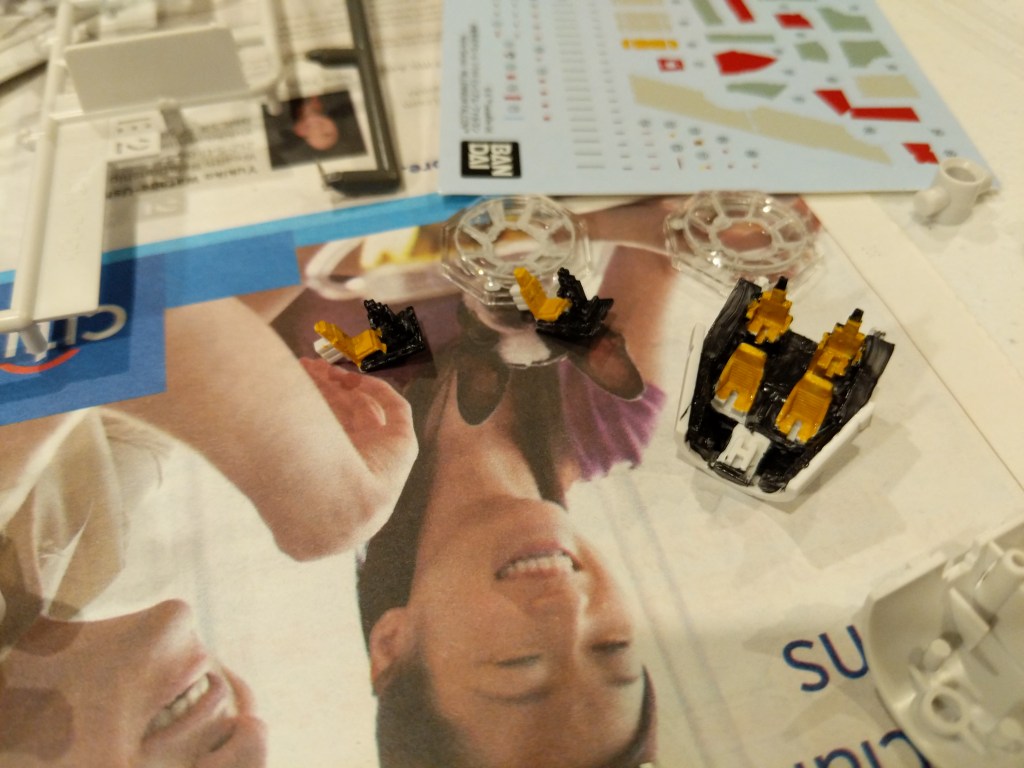
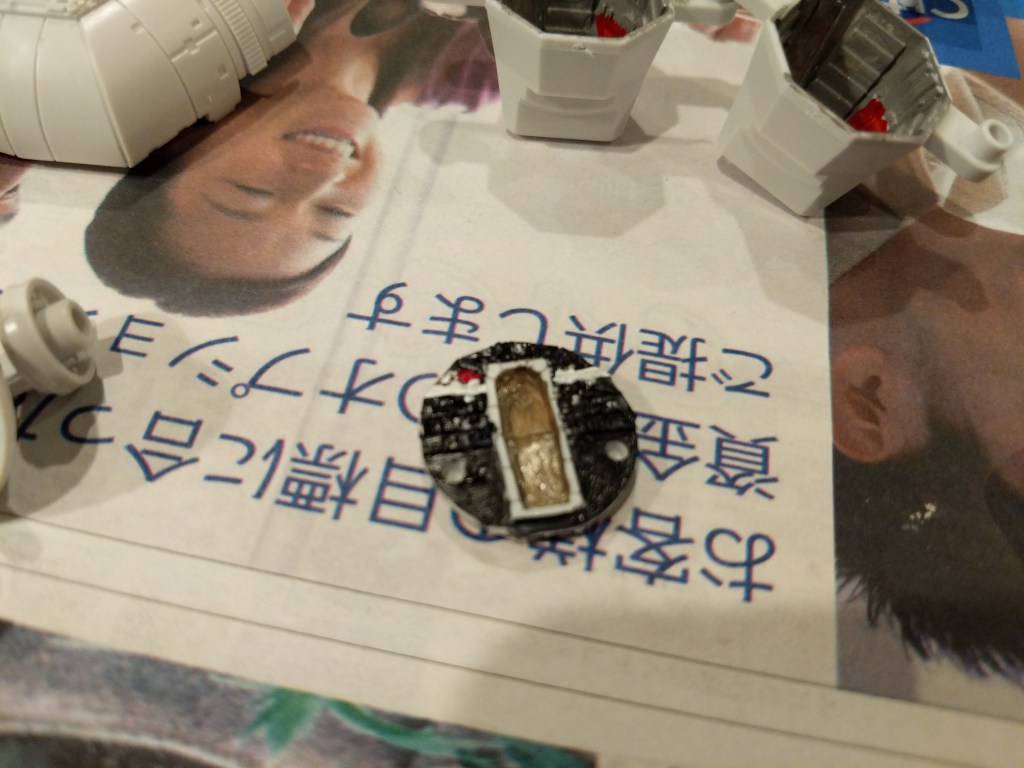
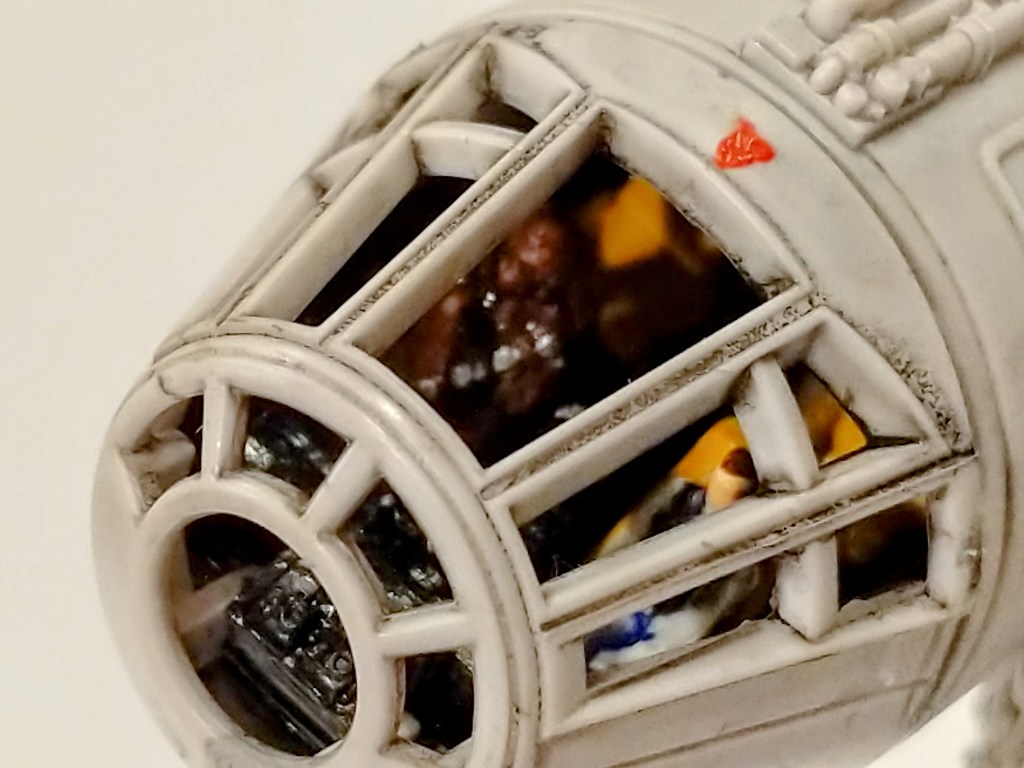
The pictures below show the assembled cockpit with shaky, imperfect paint application on the left and remnants of the dark wash that I applied to age and highlight lines on the model’s surface on the right.
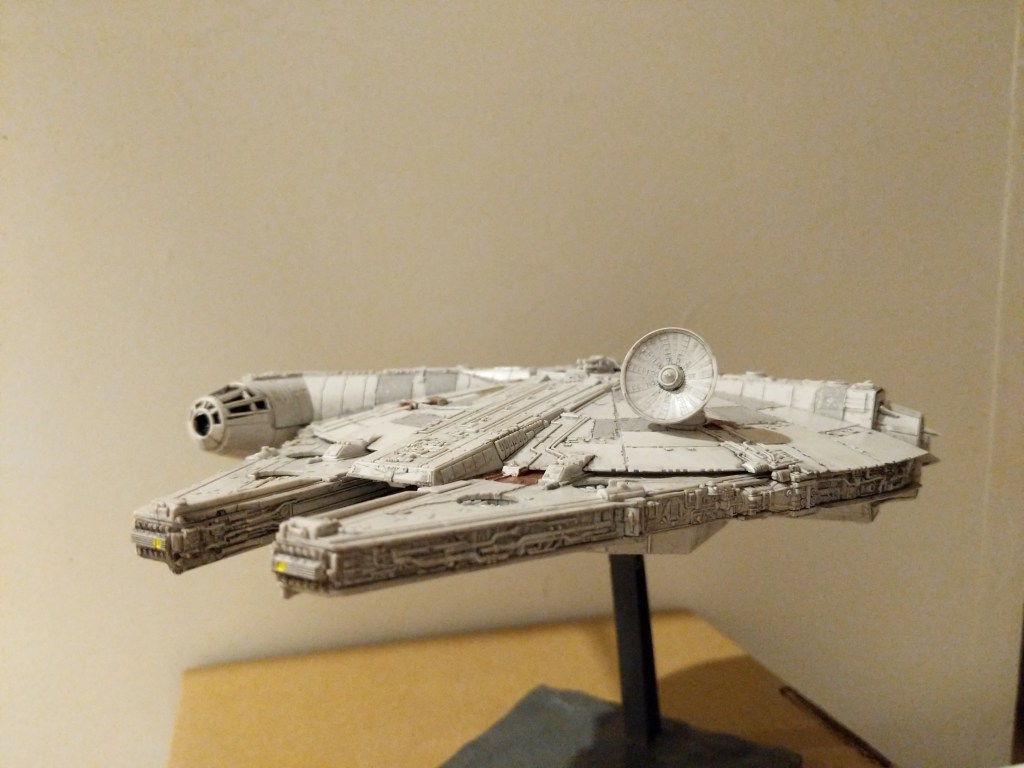
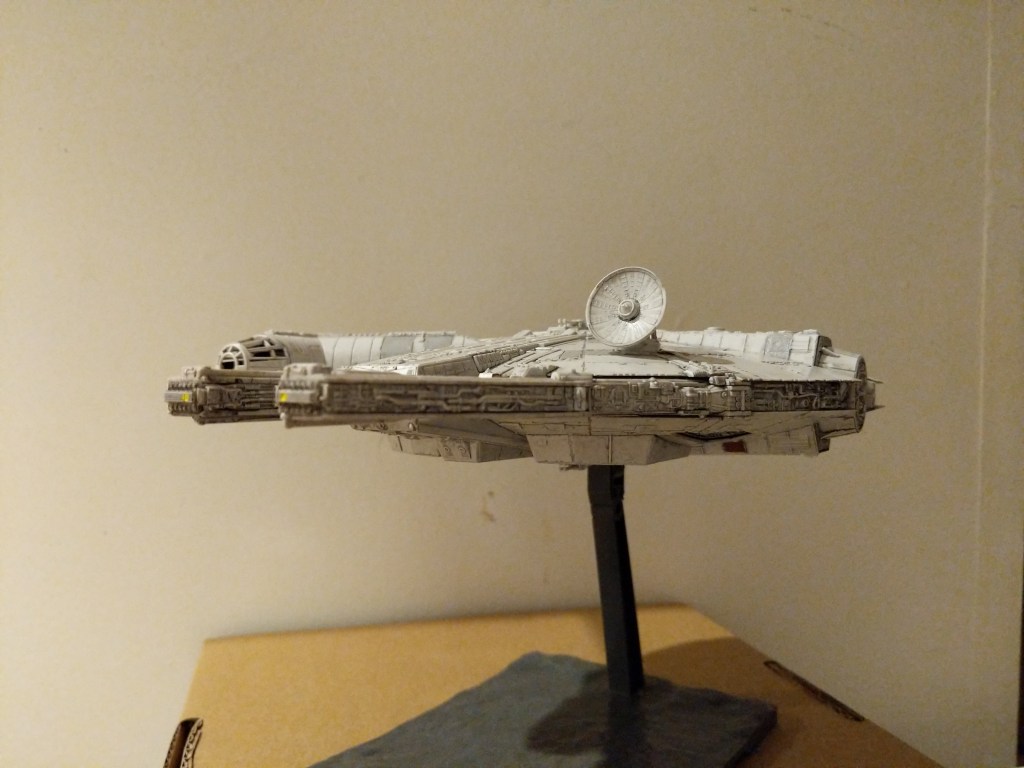
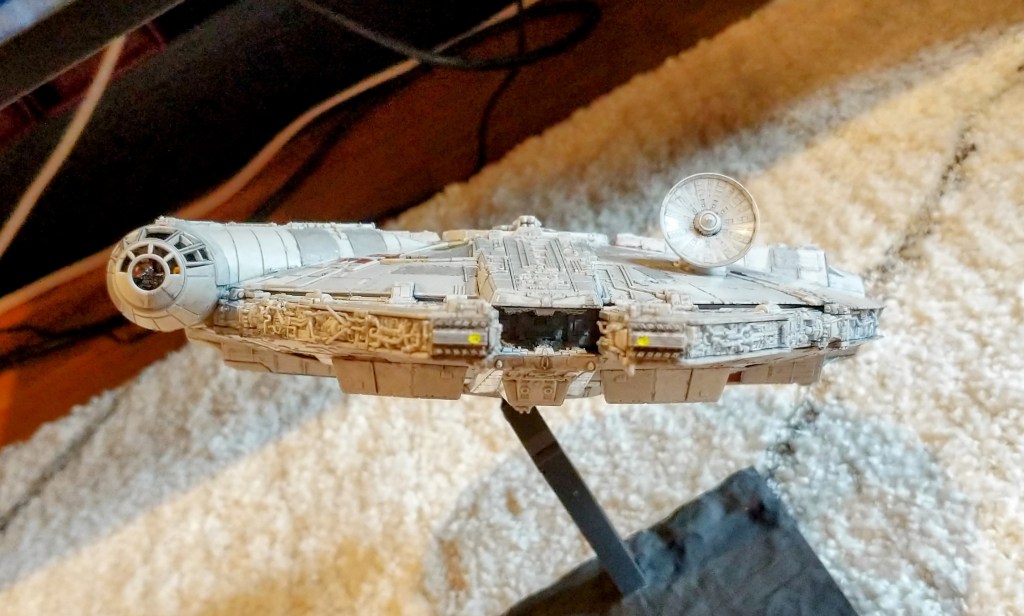
The photos below show the completed model perched on its included, adjustable stand.
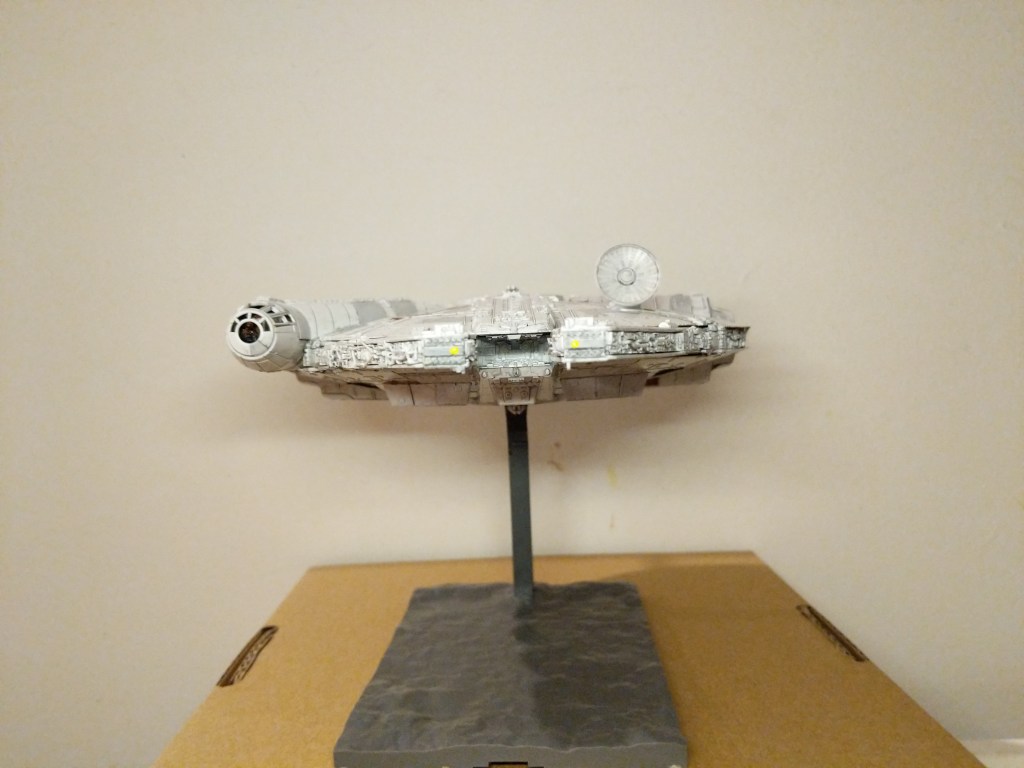
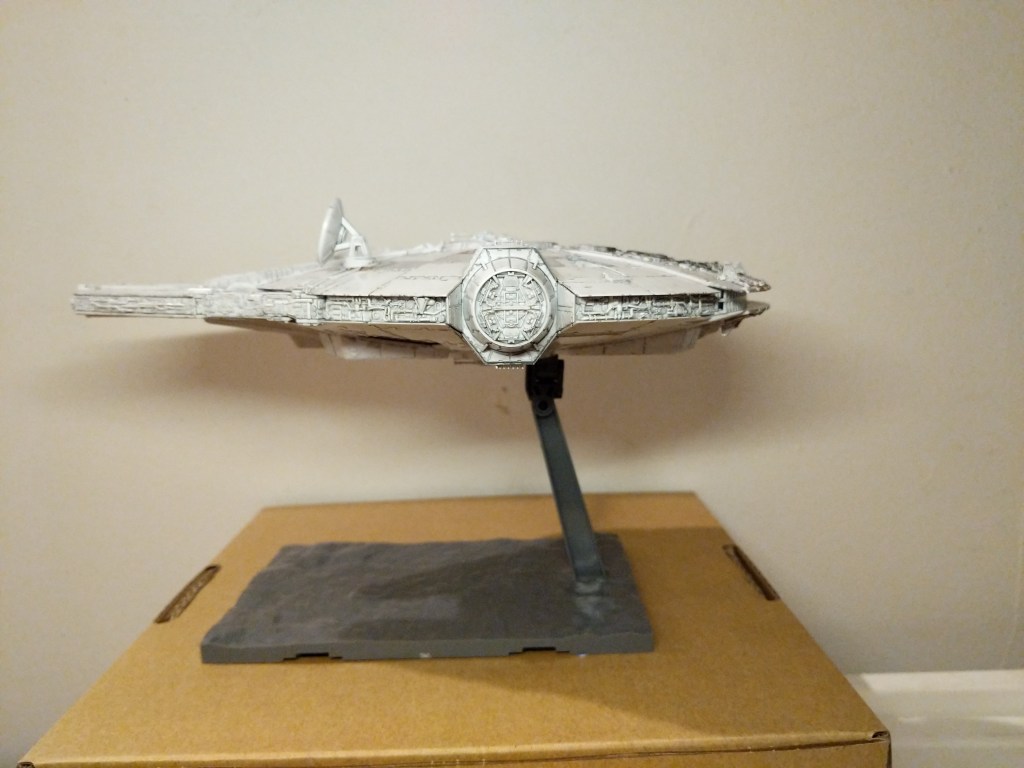
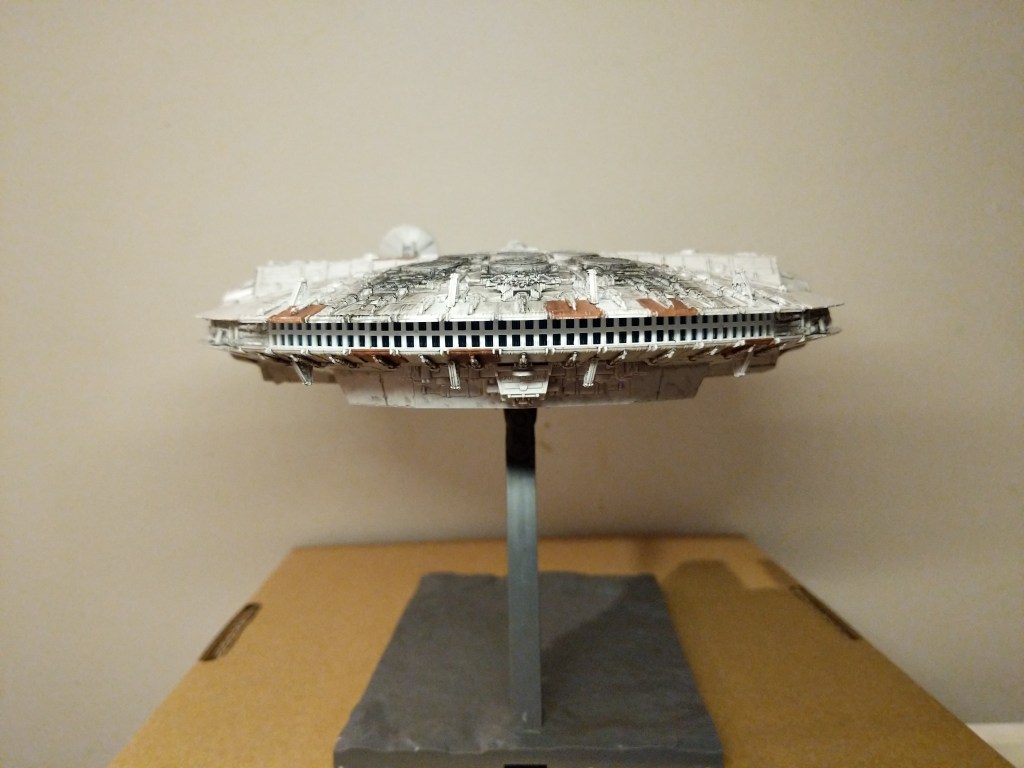
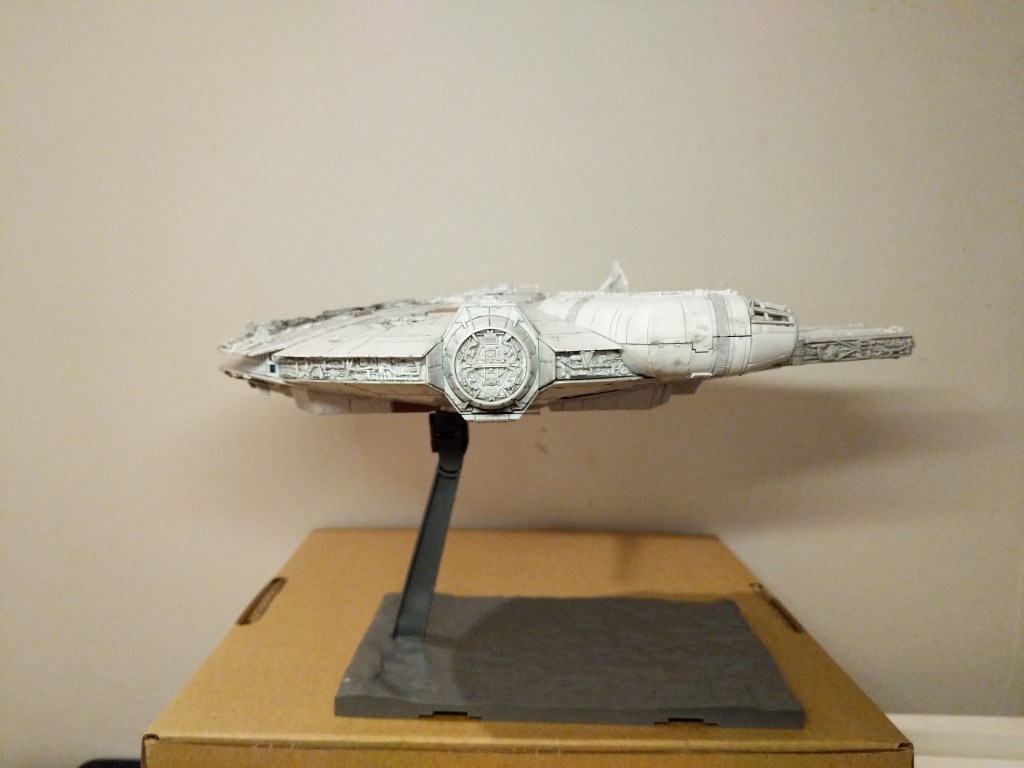
Overall, Bandai’s model was expertly designed, easy to assemble, and highly respectful of its source material.

Creating the Composite Image in GIMP
The Bandai 1/144-scale Falcon sits on my desk to the left of my keyboard between LEGO models of The Mandalorian’s N-1 and the Millennium Falcon from The Force Awakens (It’s safe to say that I aspire to have as cluttered and interesting workspace as Ray Bradbury has in the opening to Ray Bradbury Theater shown here). So, I see it everyday.
Recently, I was thinking wouldn’t it be fun to use it to create an in-flight image using the model. That stray thought picked up the thread from making the model and began creating a linkage to using the model to create something new–a fantastic image of the Falcon flying in outerspace.
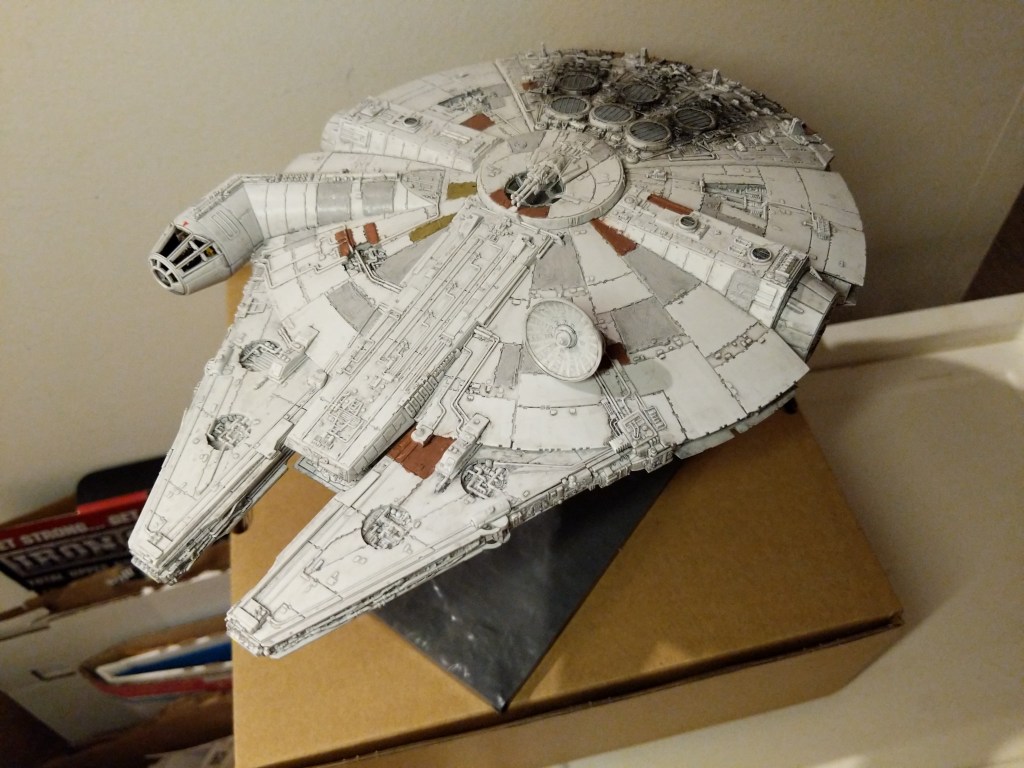
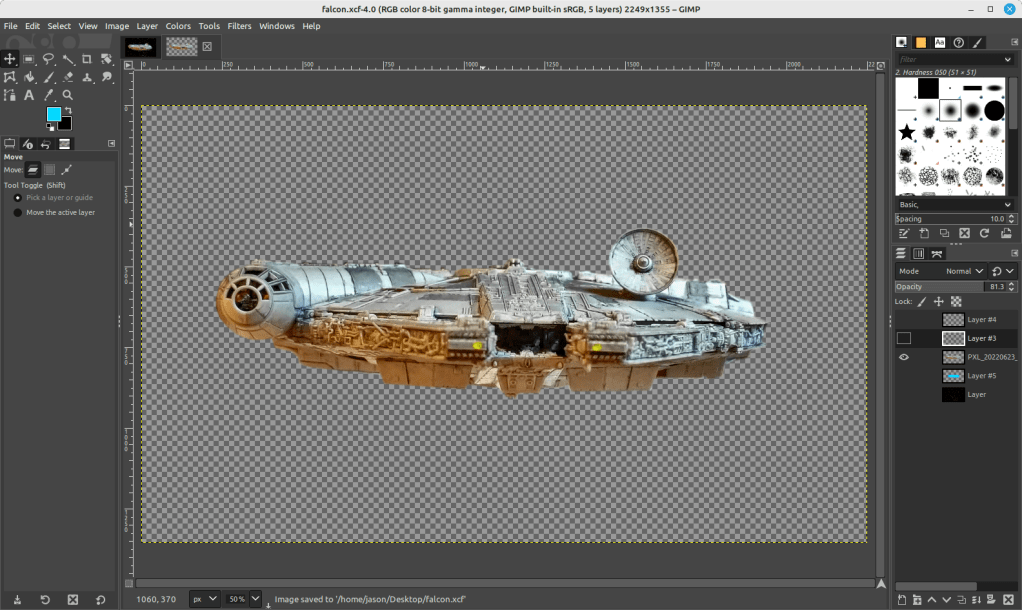
Looking through my photos, I selected the one below due to it’s orientation and composition within the photo’s rectangular frame.
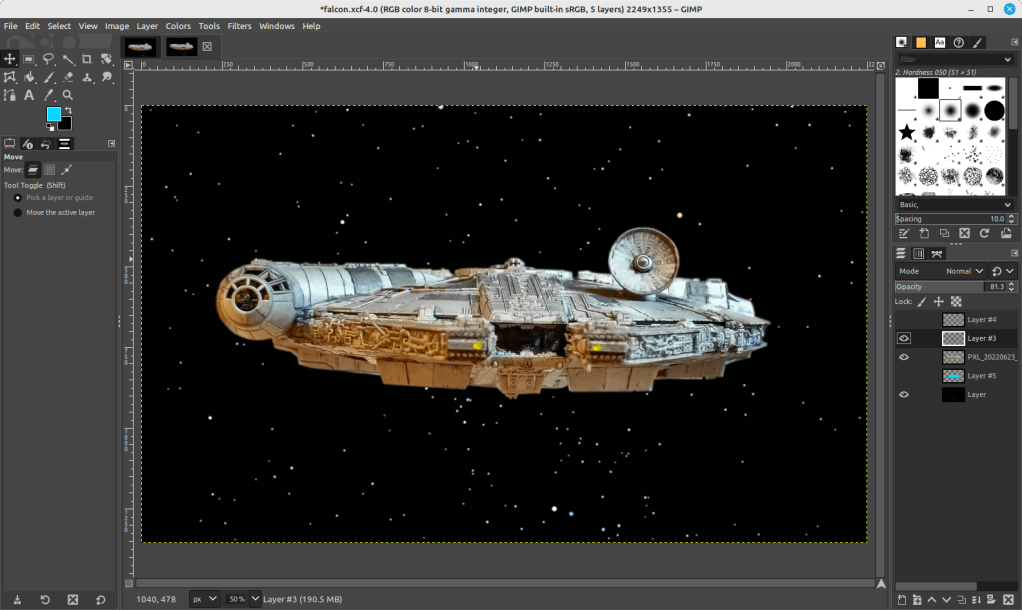
I cut out the Falcon and added it to its own layer with a translucent background in GIMP. I selected all of the window areas in the cockpit and adjusted the brightness and contrast to make the interior a little more recognizable. Then, I adjusted the shadows and exposure to make the Falcon’s exterior “pop.” Next, I used the clone tool to copy matte colors to hide some of the shinier/mirrored spots (especially in the dish and in the panels directly beneath the dish). And, I used the clone and smudge tools to fill in a gap between top and bottom parts of the cockpit (the black line as seen above).
To put the Falcon in outer space, I created a base layer and pasted a star field image from NASA (found here).

On the ventral side of the Falcon, you can see that the sides of the lower mandible are catching light that throws off the image if we’re imagining one light source (e.g., a star–of course, there could be two stars, but most of the ventral side of the Falcon is in shadow, so I wanted to stick to that). So I selected those bright areas and then used the clone tool to copy that coloration from either side–the left side looks redder and the right side more neutral–onto its own layer. I set the clone tool to 50% opacity to control the shade as shown below.
To make the scene appear more alive, I added layers for the headlights (a center circle of very bright yellow with crossed Block 03 brushes at 45 and 135 degrees for the diffraction spikes with a smidge of Gaussian blur).
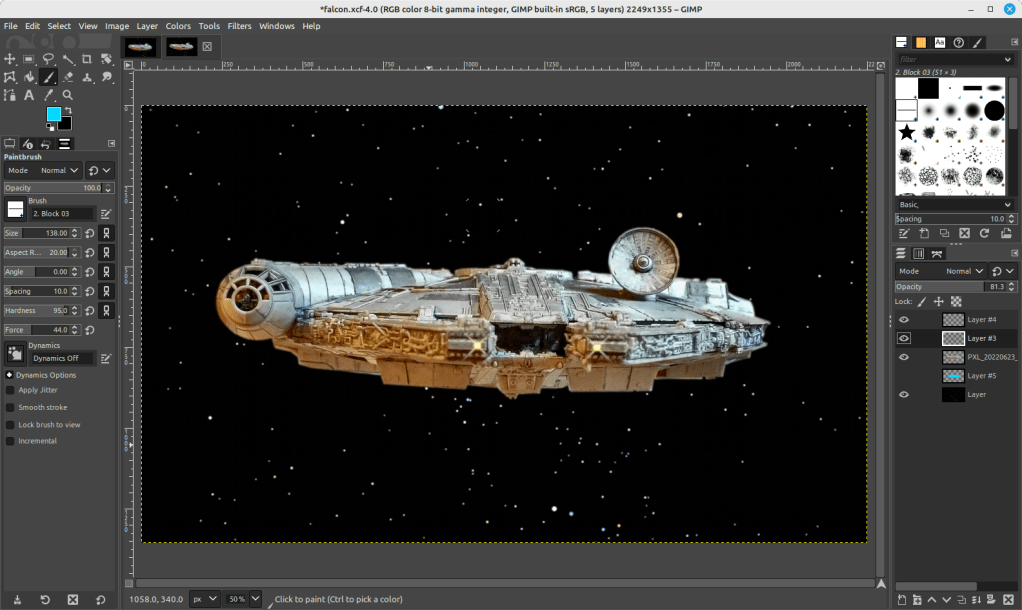
And finally, the Falcon needs its engines, which I created with a large, single brush stroke with neon blue light (##04d9ff) with 95% hardness but only 44% force (not that kind!).

Conclusion
A plastic model building project from the past makes another project of science fictional image manipulation possible. Making in the present is linked to making in the past. This is the general work of culture–linkages up and down time, across geographies and nations, circuitous and not always obvious. This blog post is a microcosm of the macrocosmic work of inhabiting and building our culture. I suggest in closing that we should all reflect and chart these linkages. We might not be able to map them all, but those that we do, pays a debt of gratitude perhaps both ways–we in the present rely on that we are given from the past and the past lives on through the work that we do today.
Download the full size composite Falcon image here.
