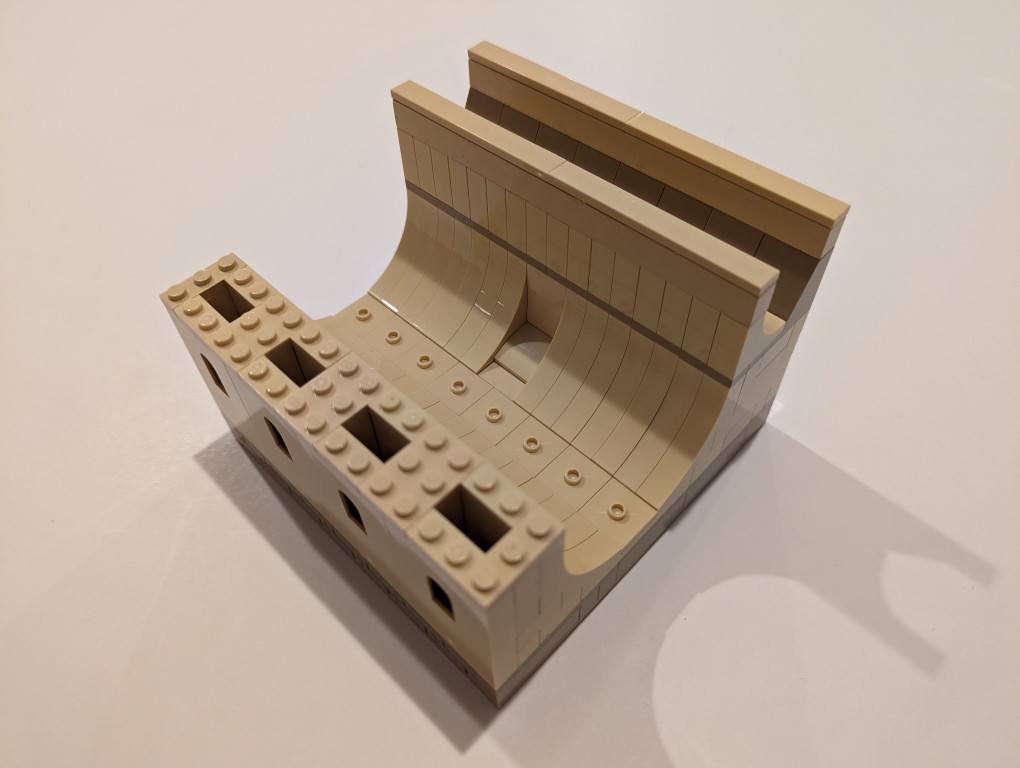
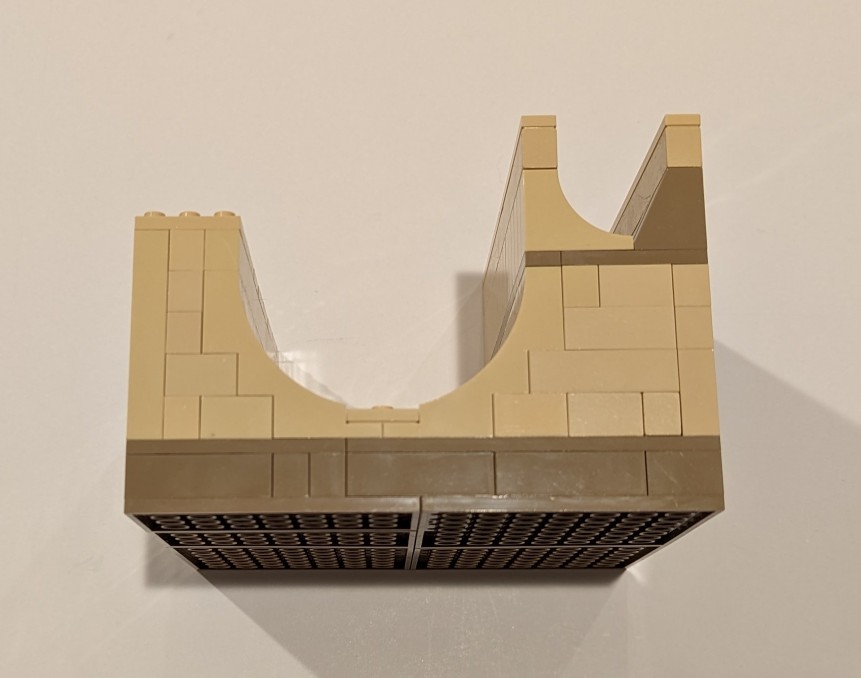
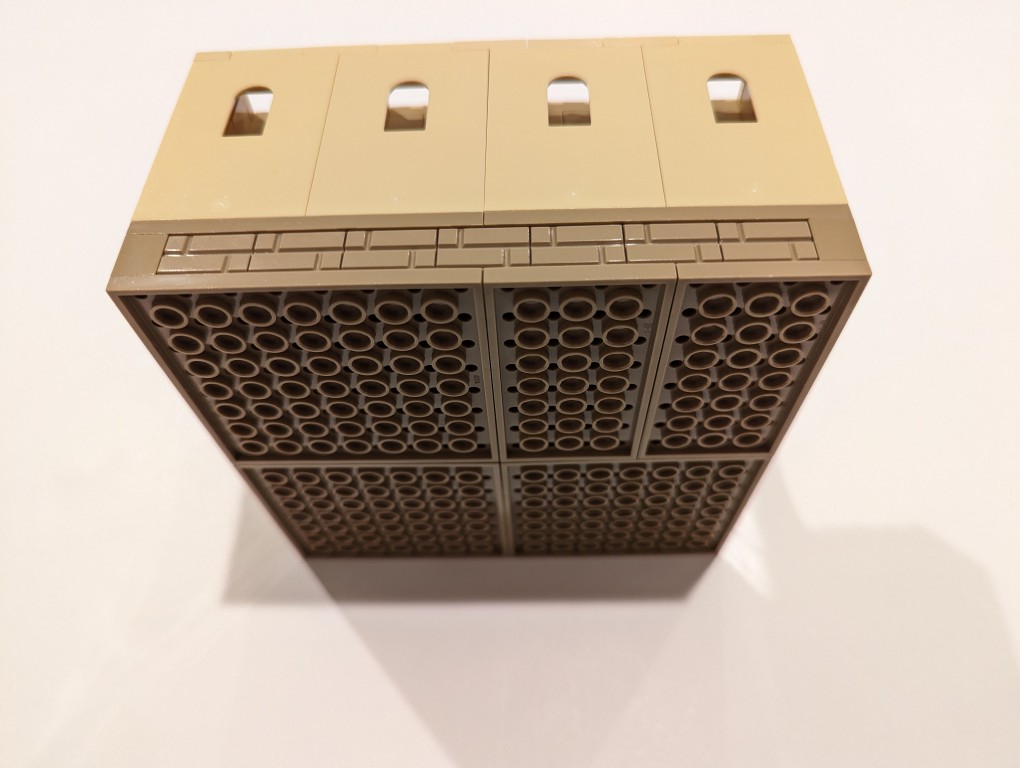
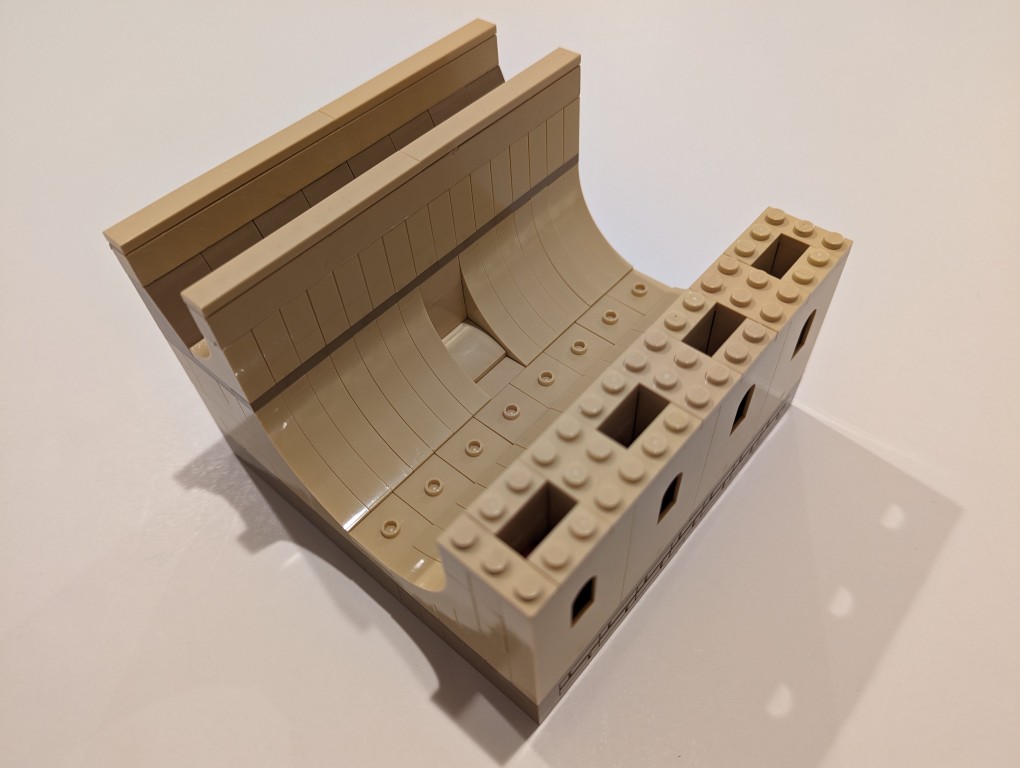
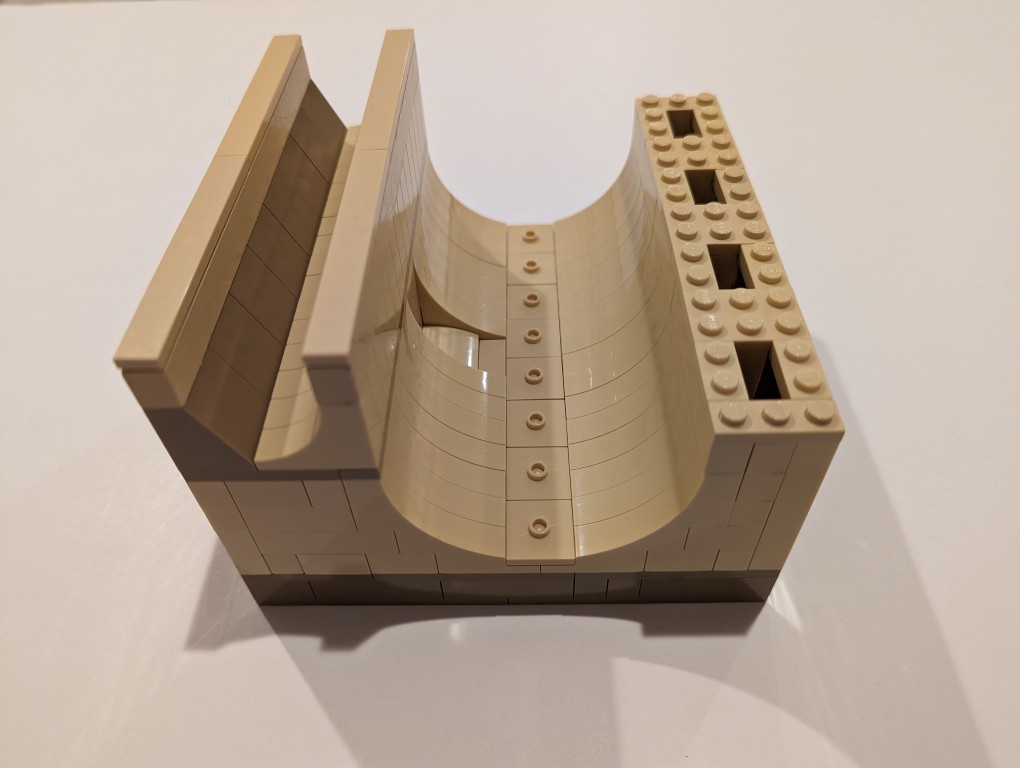
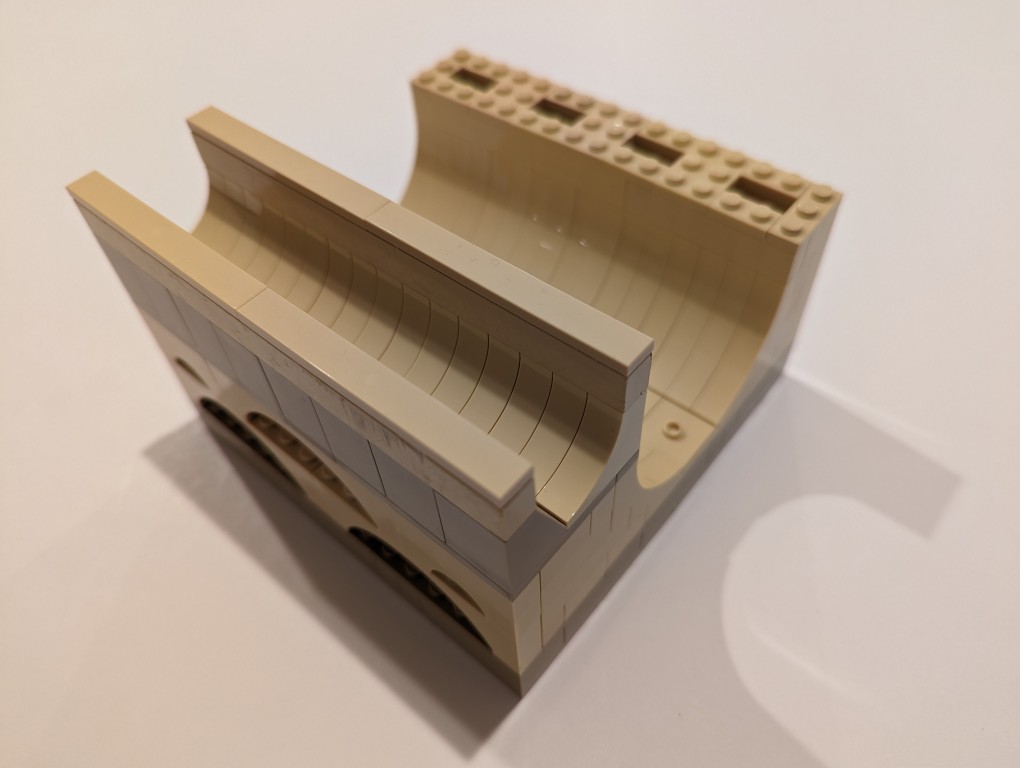
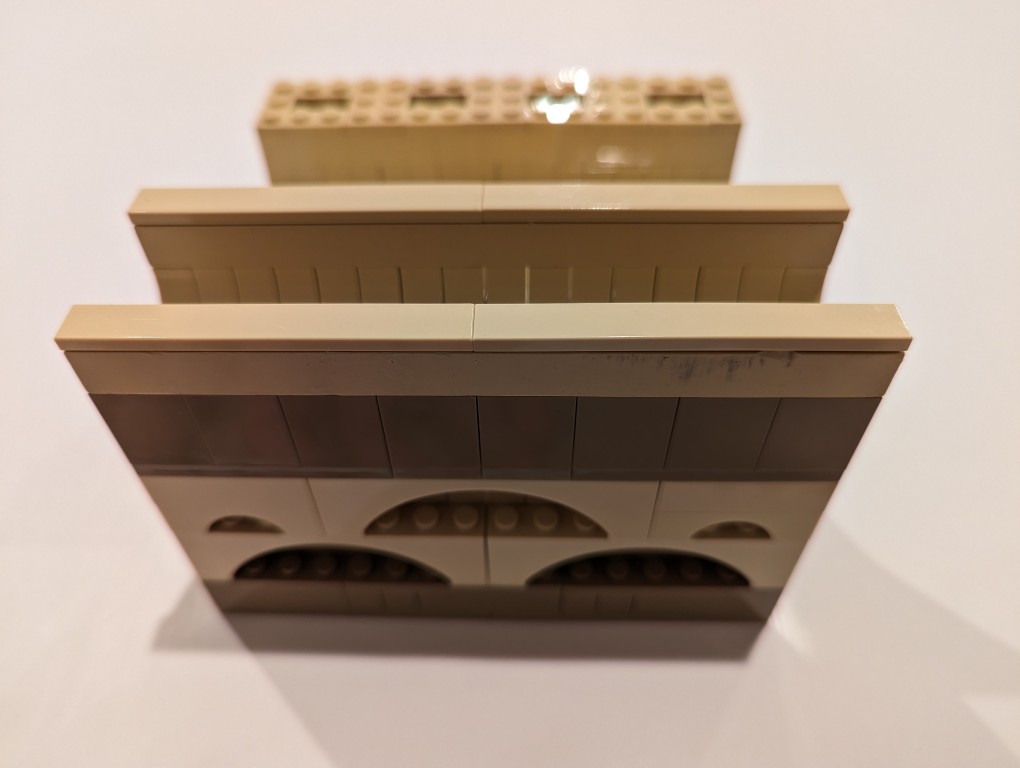
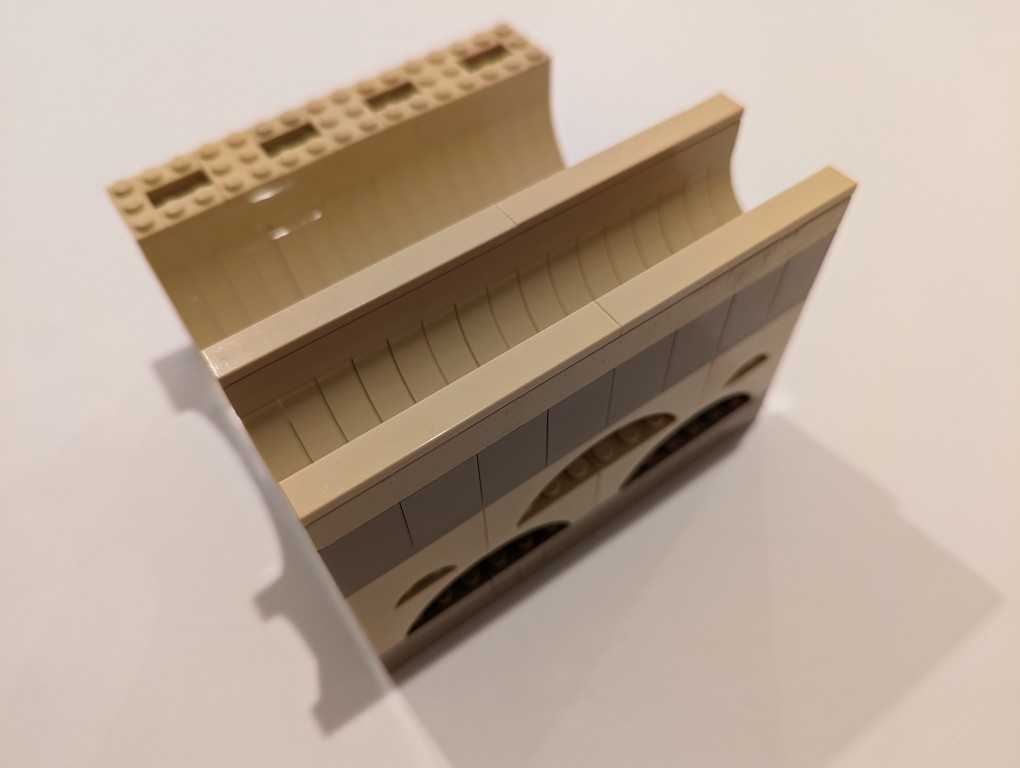
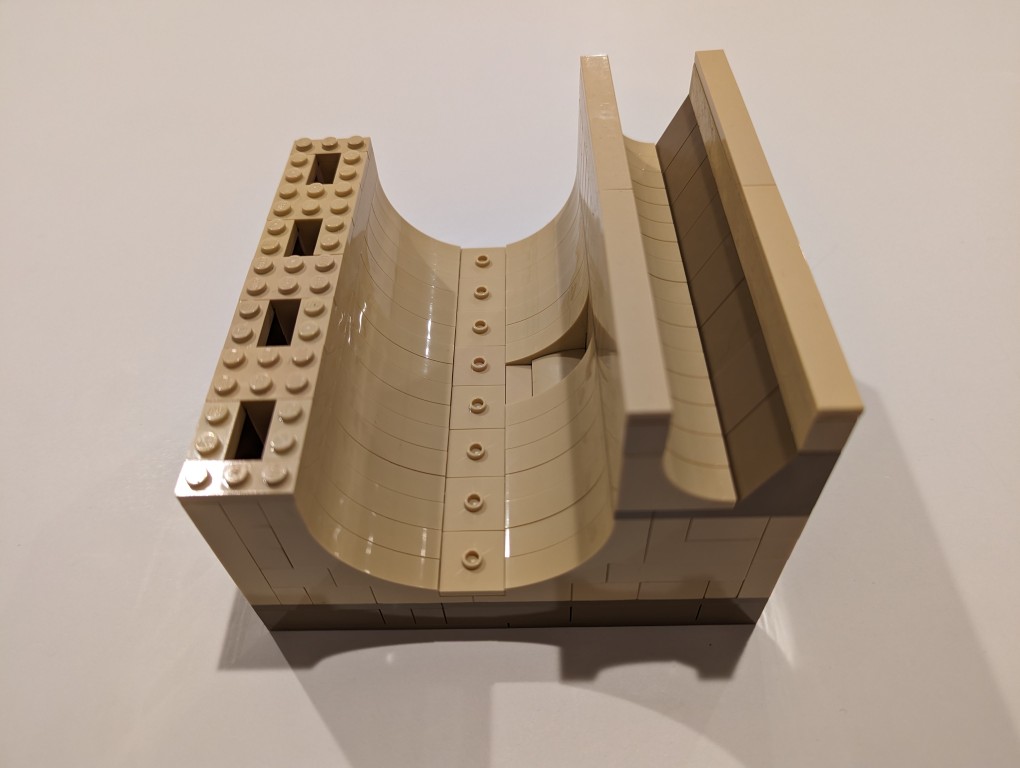
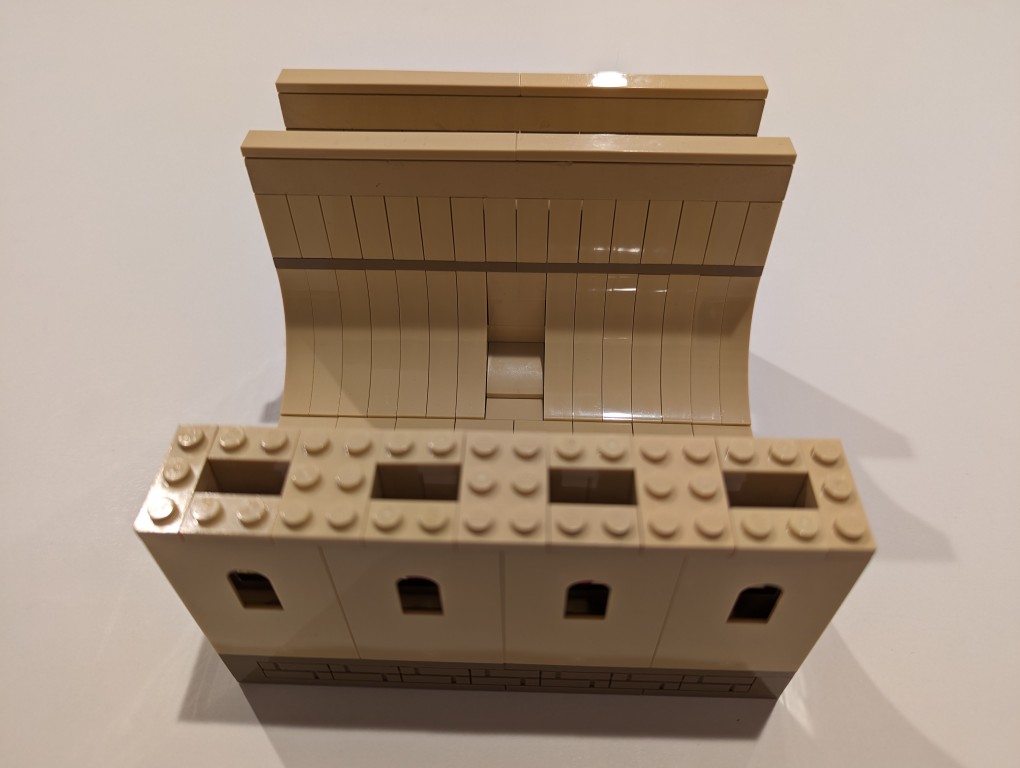
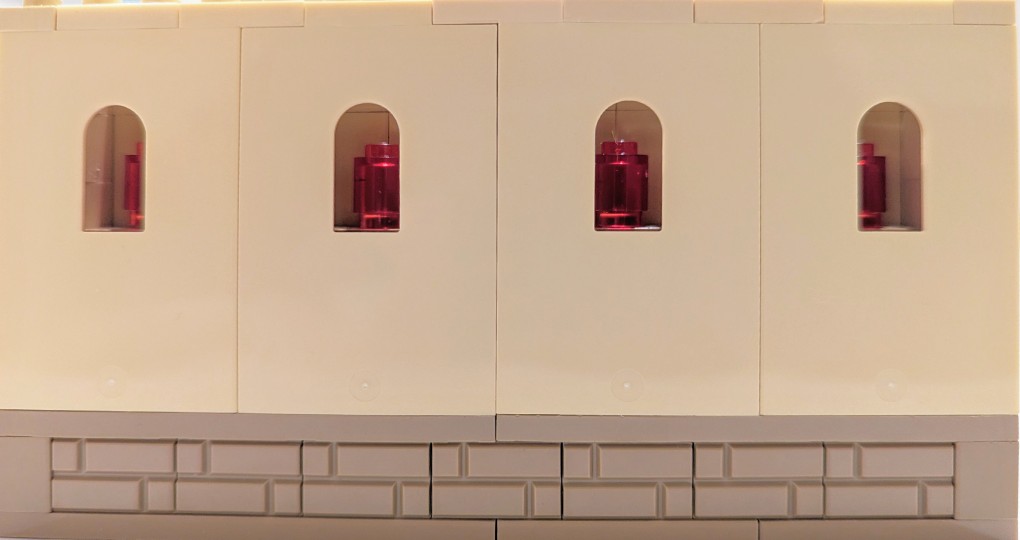
This past weekend, I dug through my LEGO to build a display stand that could hold two heavy objects on my desk between my monitor and keyboard. It has a wide, lower space and a narrow, higher space for the two objects. To add some visual details, I used window panels along the front with transparent red cylinders in each window center, illuminated by ambient light entered through the top of the front.
I’m including more photos below of all sides to inspire others. Since it was a trial-and-error build, I didn’t create instructions for the build.
Thermaltake’s Versa H17 MicroATX PC mini tower case is an excellent minimalist case with a relatively small footprint. I chose this case, because it doesn’t have a side window or excessive RGB lighting. I wish that I could disable the power light, which is a bright, room illuminating blue, but I simply cover it with a microfiber cloth.
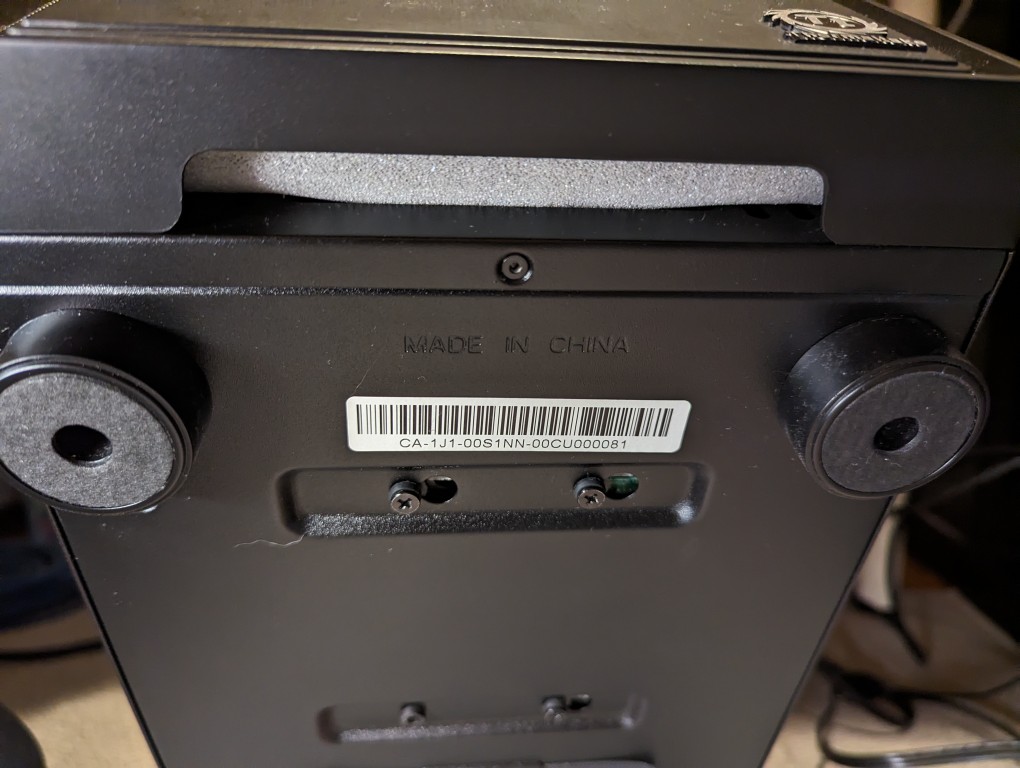
It’s designed to have air instake from the edges of the front face, which are covered with a fine grill, a 120mm opening at the rear bottom of the case with a magnetic dust filter for the PSU, and a larger approximately 3/4″ x 4″ opening at the bottom of the front plastic face assembly. The latter is a problem, because it’s basically a rectangular hole through which dust enters the entire case but especially in the shrouded PSU/disk zone in the bottom of the case.
While working recently on my desktop computer–swapping out video cards and installing a new SSD–I figured that I should do something about that air inlet. I used what I had on hand to create a DIY solution.
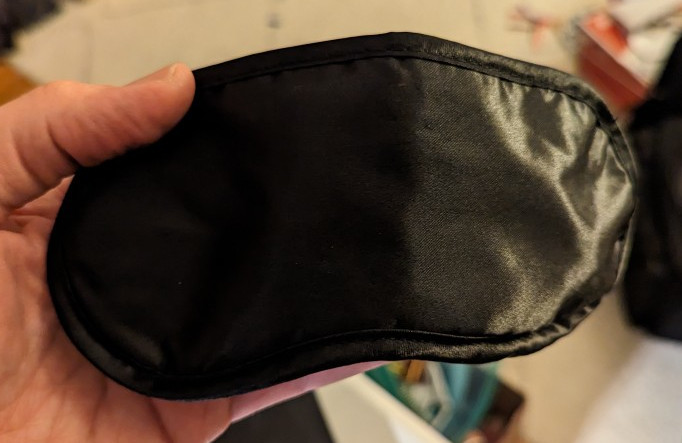
First, I took this airline supplied sleep mask. I could feel that it had foam underneath its outer fabric layer, which would work great for capturing dust before it enters the case. I used scissors to cut into the face of the mask within the sewn border.
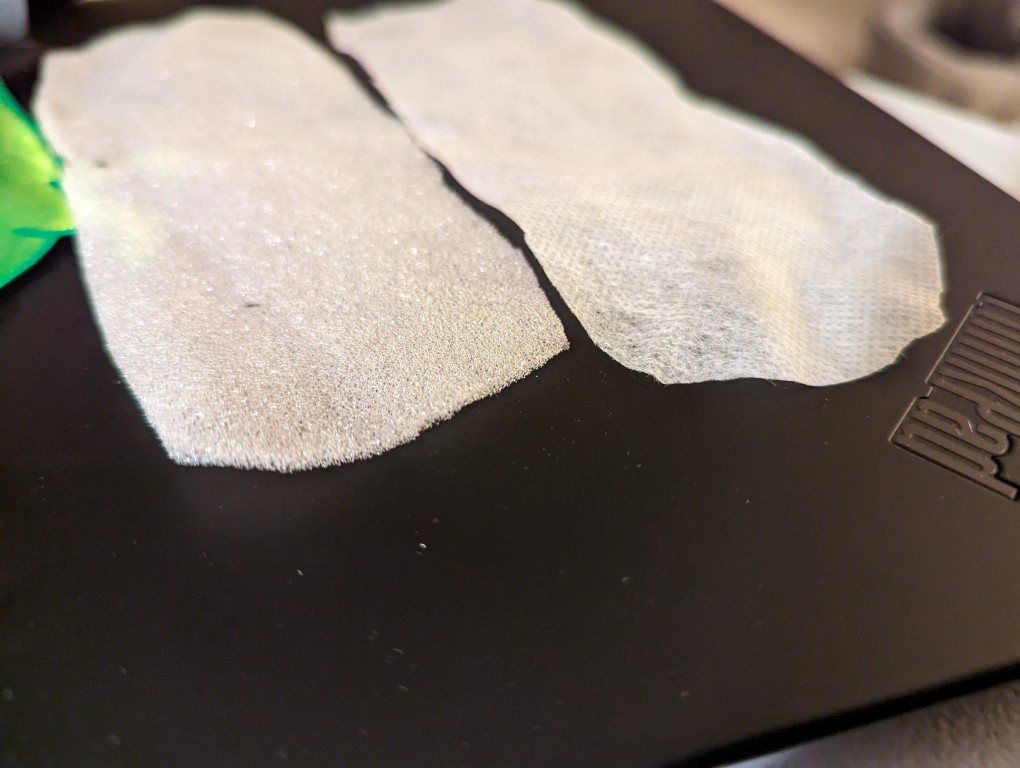
After cutting into the mask, I found two different kinds of material. On the left is a soft 1/16″ thick white foam and on the right is a thin cotton-like material that might also be used for face masks and personal protection equipment (PPE). For my project, I opted to use the thicker foam on the left. While it might not filter as much dust as the fabric on the right, I think it will give a better balance between airflow and filtration.
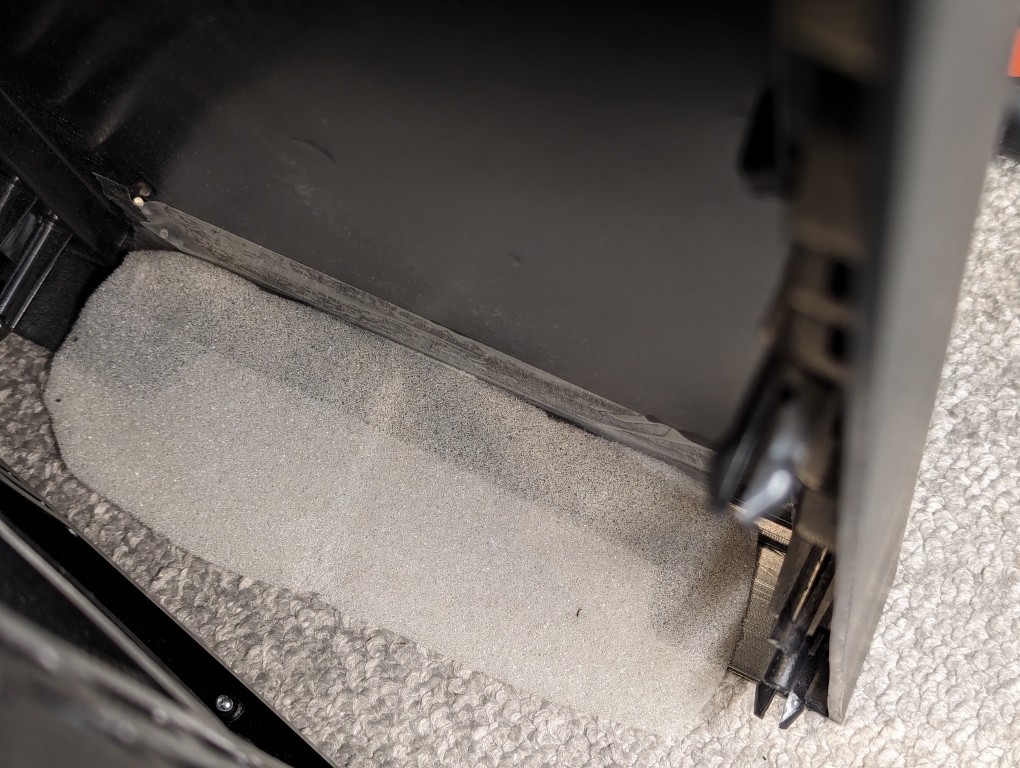
I pulled off the face of the Thermaltake Versa H17 case and taped the foam over the air inlet with a piece of packing tape.
After reattaching the face, the foam covers the air inlet. It might take a few tries to make sure the foam covers it completely. The use of additional tape on either end of the foam might help.
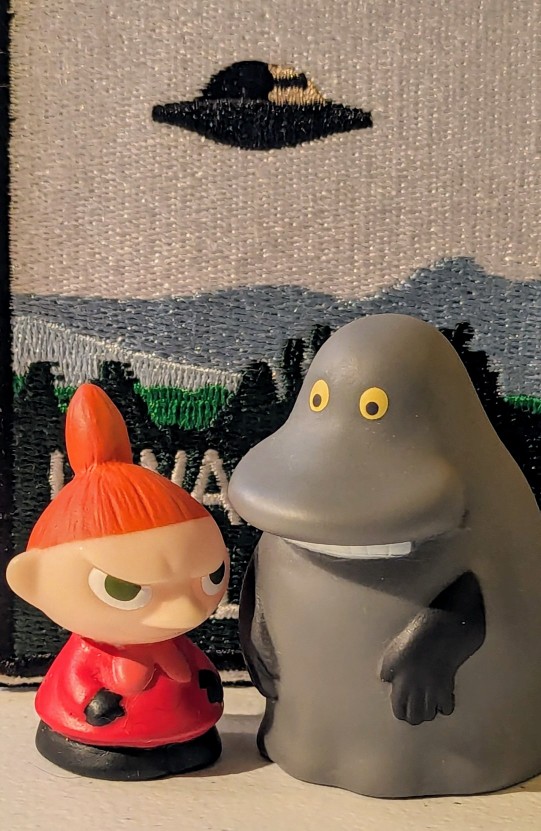
I was taking photos of objects on my desk and this configuration of Little My and The Groke from Tove Jannsen’s Moomin standing in front of Fox Mulder’s UFO poster from The X-Files gave me a chuckle. I thought, if only there had been a “The Moomins and the UFO” book. A quick Google search reminded me that there had been an episode of the Japanese 1990-1991 Moomin anime in which UFOs visited Moominvalley titled “A Close Encounter With Aliens.” A child alien visits, officialdom searches for him, the Moomin characters discover his technology, Moominmama is accidentally shrunk, Stinky steals the shrink ray machine, it is destroyed, and the child alien’s parents show up to collect their little one and set things right. I want to believe (in Moominvalley).
When I saw this image of a cyberpunk computer technician anthropomorphic cat that I generated with Stable Diffusion, the first thing that came to mind was the Bastard Operator from Hell. Having worked at a help desk, I think it would be an interesting experience to be his co-worker. It certainly wouldn’t be boring!
Kai’s SuperGOO 1.0 is a program geared toward children to easily manipulate images and generate images of human faces that can be further modified using its built-in image editing tools that are accessible through an interesting but not always intuitive user interface.
The “Getting Started with Kai’s SuperGOO” text file includes this explanatory information:
ABOUT SUPERGOO

SuperGOO is organized into two basic rooms: Goo and Fusion. The Goo Room provides you with a series of distortion tools, both brushes and global effects, to create 'funhouse mirror' distortions to your images.

The Fusion Room provides you with both cloning tools- to combine faces (and other images) from your own sources- and a library of facial components to create your own face for the Goo Room.

Both rooms have an In and Out dialogue for importing and exporting saved images, or importing images from a TWAIN device such as a scanner or digital camera.

Play around with SuperGOO once you've got it installed... click a button and watch what happens. That's the quickest way to get acquainted with SuperGOO. For more detail, consult the 'Quick Reference Guide' included with your software. This brief, but thorough, card will provide you with all of the basics you need to know about SuperGOO, from input to output and everything in between. For more detail, consult the SuperGOO User's Guide included on your CD-ROM.
Kai’s SuperGOO ReadMe file includes the following system requirements:
MINIMUM SYSTEM REQUIREMENTS

PC

Pentium Processor
Windows 95 (or higher)
Windows NT 4.0 (or higher)
16 MB Free RAM
25 MB HD Space for Install
40 MB Free HD Space (after Install)
CD-ROM Drive
16-bit video
14" Monitor

MACINTOSH

Power Macintosh
MacOS 7.6.1 (or higher)
16 MB RAM allocated to application
25 MB HD Space for Install
40 MB Free HD Space (after Install)
CD-ROM Drive
16-bit video
14" Monitor
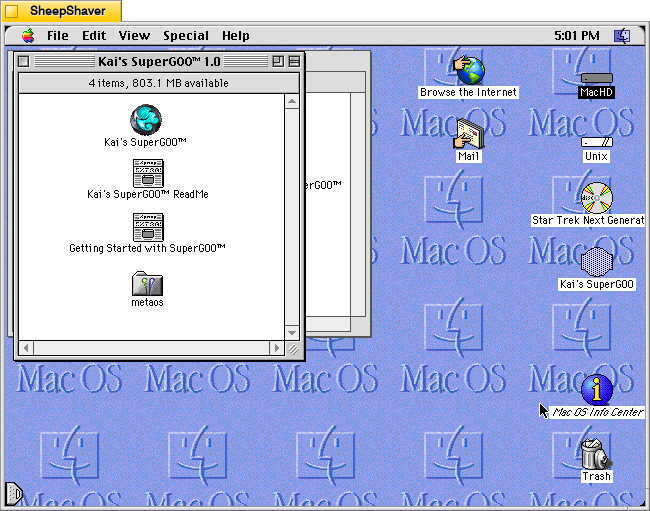
I installed Kai’s SuperGOO on MacOS 8.1 emulated by SheepShaver on Debian Bookworm.
After installation from CD-ROM, the Kai’s SuperGOO 1.0 application file is 976K and has a minimum memory size of 17,290K and a preferred size of 25,482K.
Installation
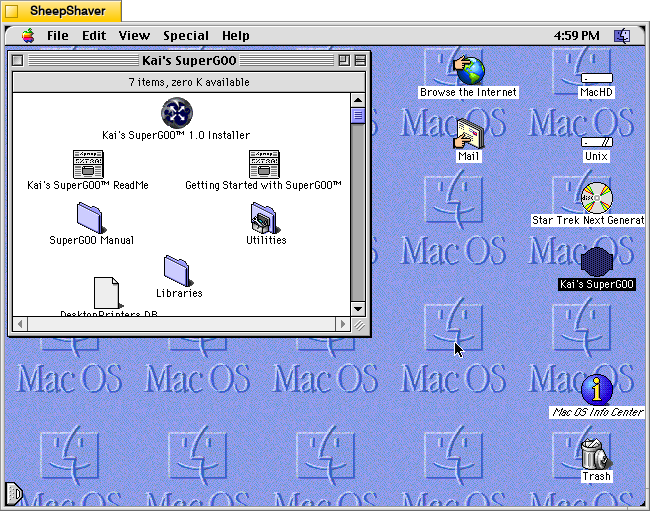
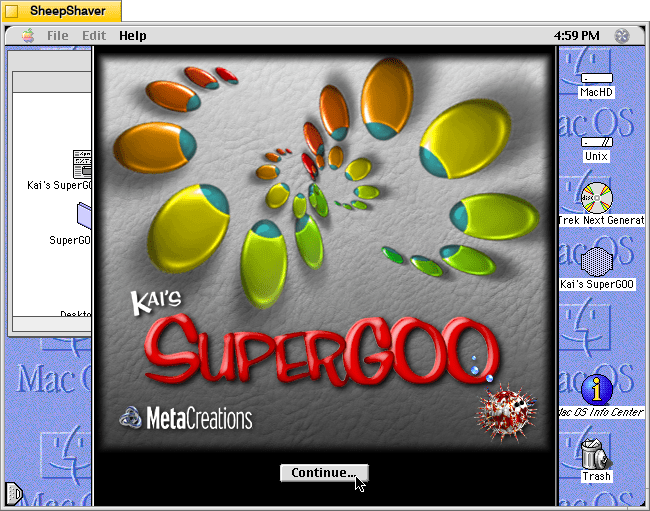
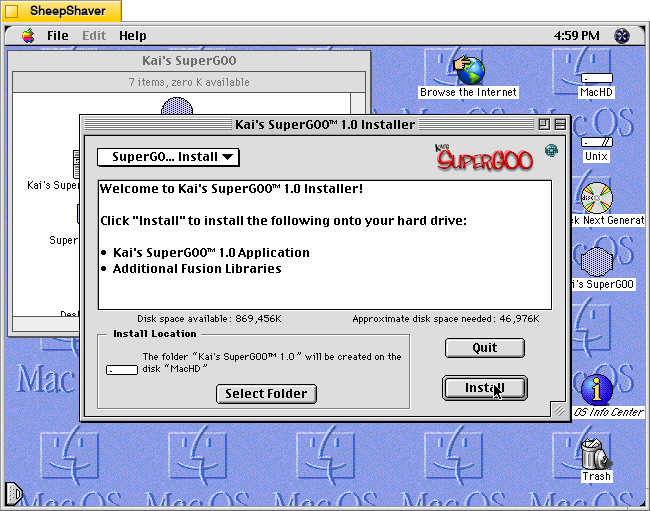
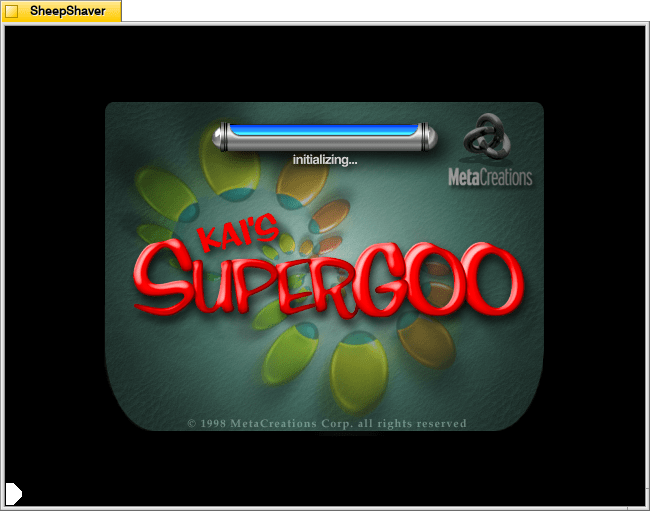
Installing Kai’s SuperGOO is as straightforward as other Mac software of the era that used a basic installer. However, the initial screens shown below gesture toward its inventive user interface. To launch the installer, the user double clicks on “Kai’s SuperGOO 1.0 Installer” located in the root of the CD-ROM disc.
The first screen after launching the installer is shown above.
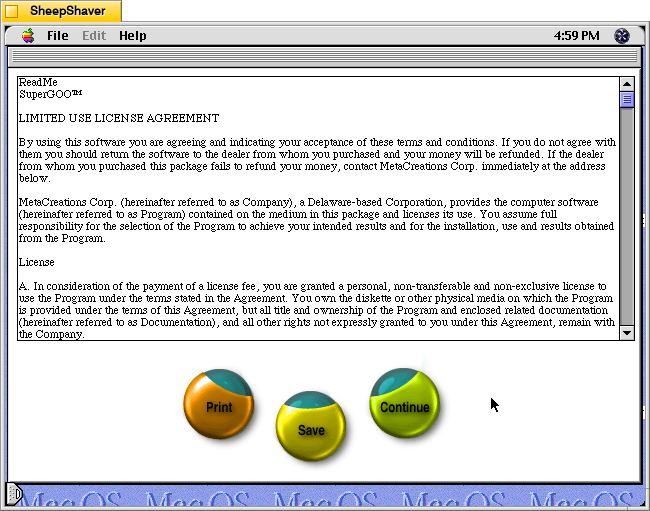
The license agreement screen notably has stylized round buttons for Print, Save, and Continue.
Clicking Continue on the previous screen takes the user to a traditional installer window. Clicking Install begins the installation of files to the selected folder on the user’s hard drive.
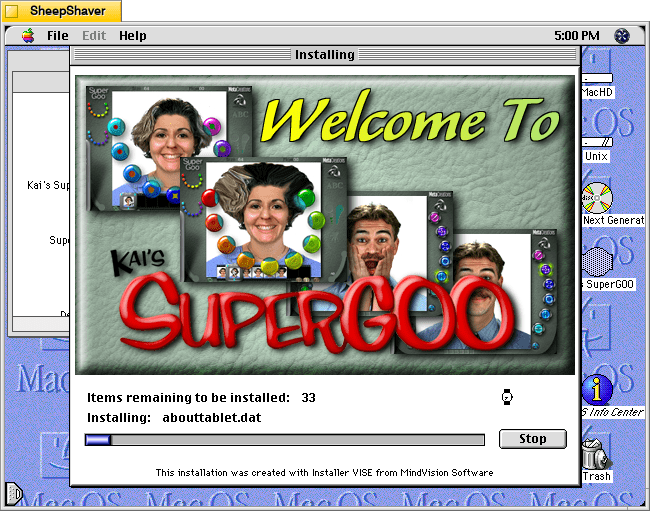
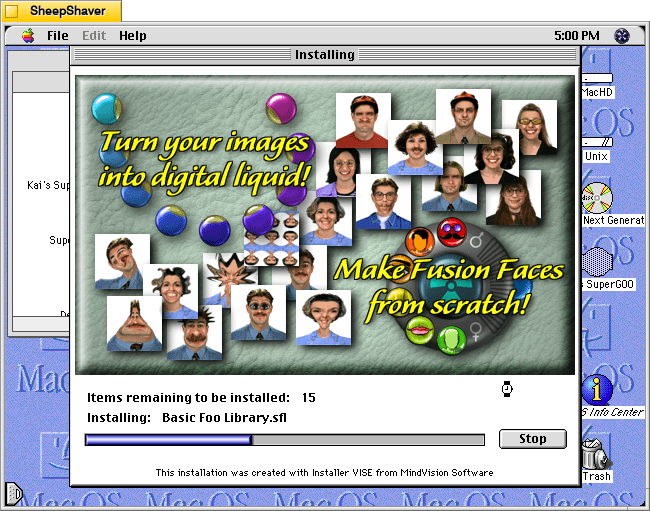
Several demonstration/prompting screens accompany the copying of files.
These screens preview key elements of SuperGOO, such as the brushes on the left and the Fusion Faces feature on the right.
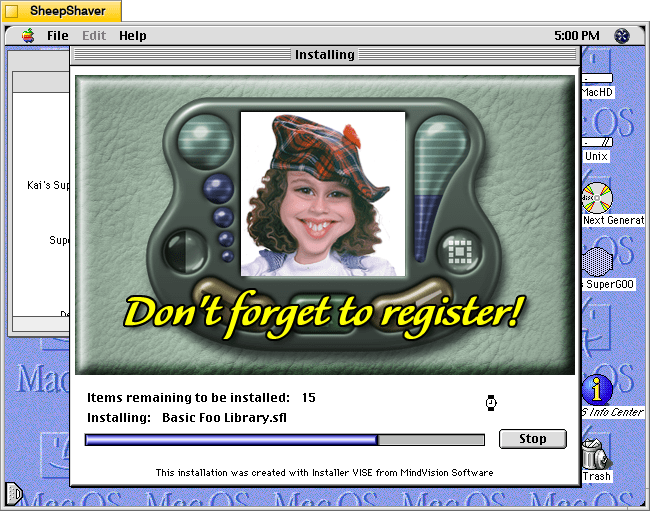
This final screen reminds the user to register, but it also shows a stylized, miniature version of the user interface.
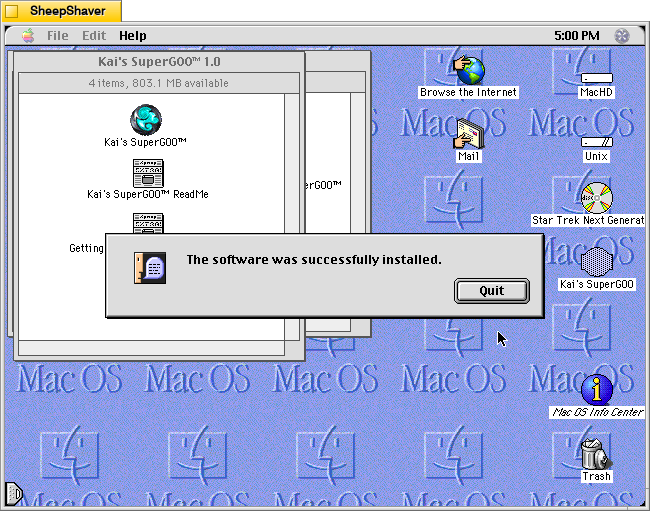
The software is installed and ready for use. In order to use the software, the CD-ROM has to be in the CD-ROM drive and mounted.
Use
When the user first launches the software, it prompts for a name to personalize it.
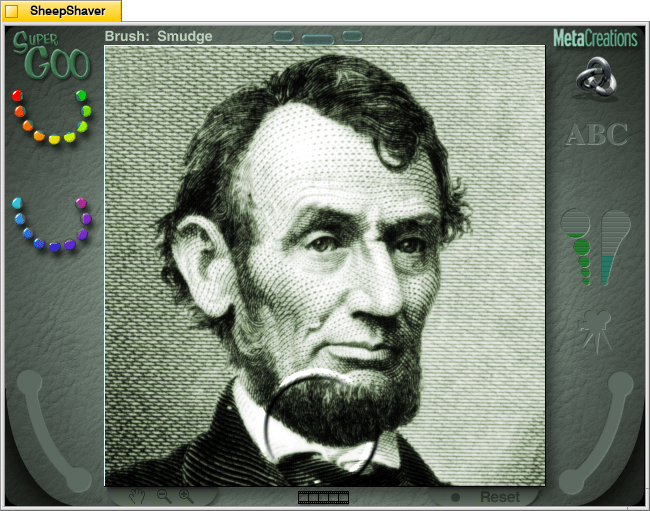
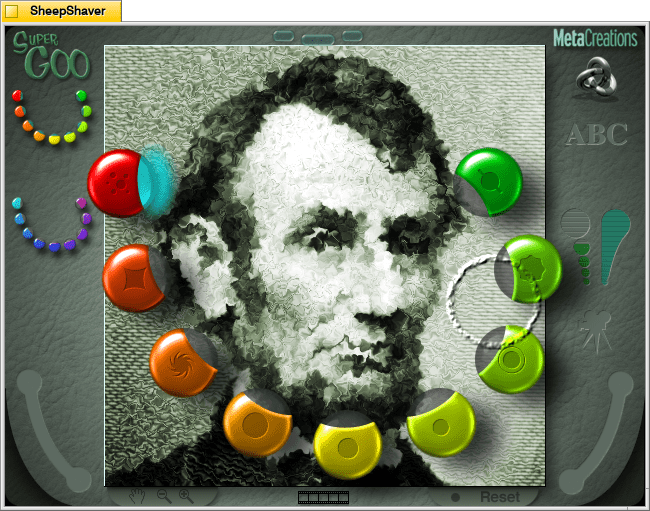
The main screen or what is called the “GOO Room” in the Read Me file. As suggested in that file, the UI invites the user to click on things to see what they do. Should the user find themselves backed inot a corner, there is an option to Reset in the lower right, or simply quitting the software with Cmd+Q and restarting the program. It opens with an image of Abraham Lincoln that can be manipulated using the tools on the left. The top set of tools are called Brushes.
I was left wondering why Abraham Lincoln’s face was selected for manipulation. Perhaps his image is well known and perhaps liked by children, but his important accomplishments as president and his tragic assassination seem to position his face as not deserving the more radical manipulation options available.
Using the Noise brush, I obscured Lincoln’s face as if it were seen through a primitive piece of glass.
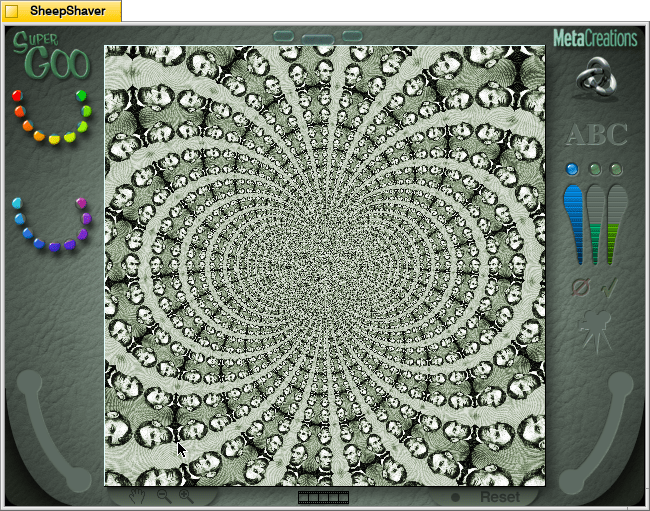
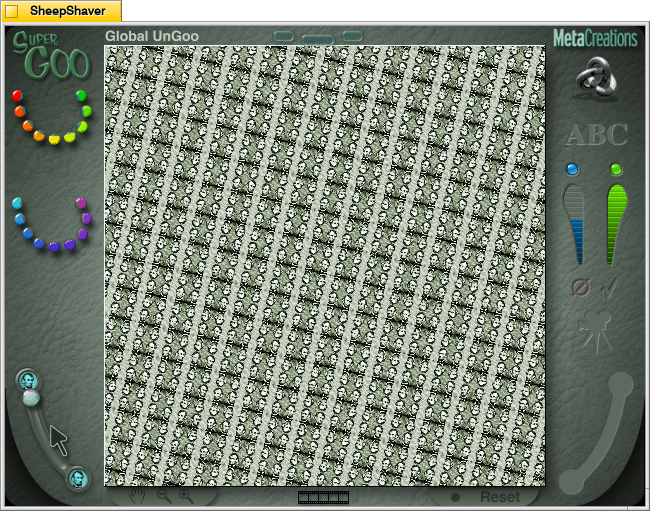
Below the Brushes on the left are the GOO Effects. These create videos using starting image. Above is one frame of Vortex Tiling GOO Effect.
Above is one frame of the Zoom and Rotate effect.
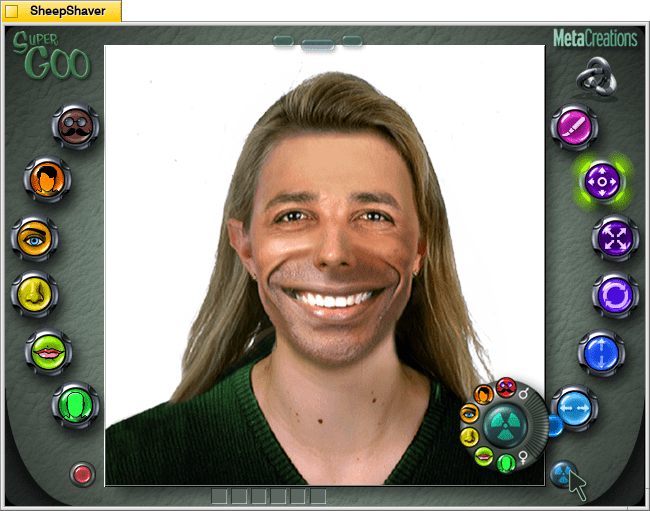
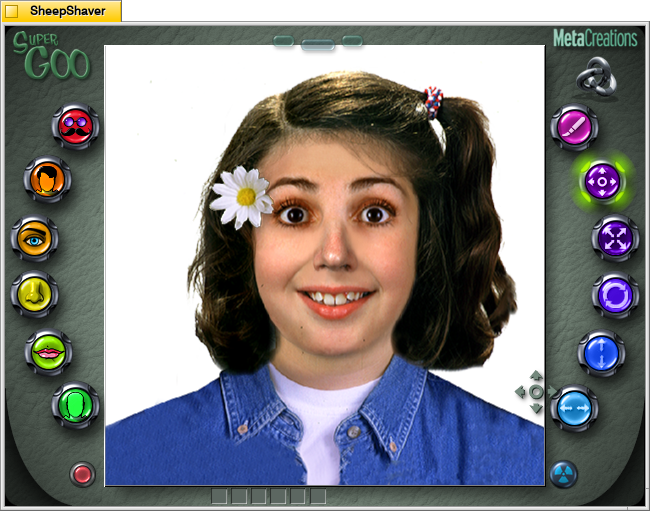
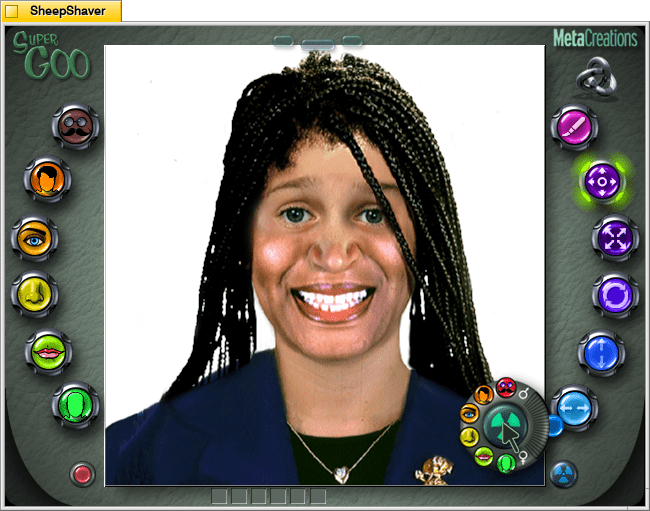
By clicking on the bubble in the top middle of the UI takes the user to the Fusion Room (from the GOO Room) or to the GOO Room (from the Fusion Room). By clicking on the nuclear symbol button in the lower right corner of the Fusion Room gives the user the option to generate a new human face that mixes and matches elements akin to a police facial composite or E-FIT.
The results are mildly uncanny.
Most random generations result in white faces, but after many, many iterations, I arrived at this face with epicanthic folds. When using the eye selector on the left, there are three female options with epicanthic folds and two male options.
This generated face appears to have darker skin, but there’s no option for changing skin color or adjusting tone. As the various facial features are assembled, there seems to be a kind of blending that makes them work together. However, there isn’t a clear cut way to create faces outside of a narrow skin tone range using the Fusion generator. The natural variety of faces with different skin tones has to be imported.
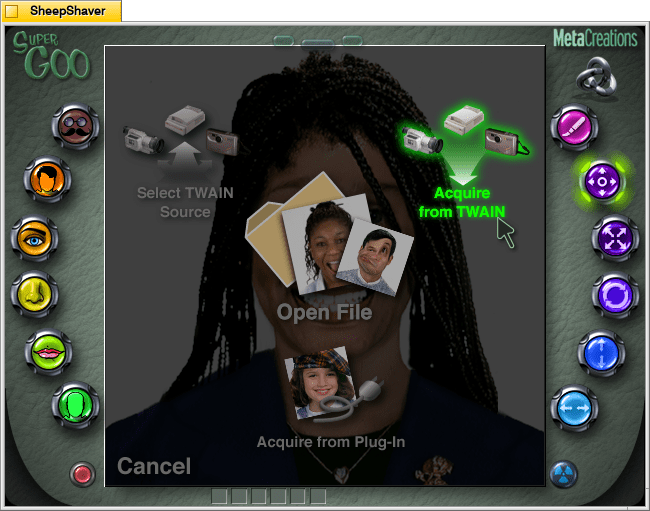
To import an image, the user clicks the bubble in the middle to the left, which opens the “In Panel.” It can interface with image capture and scanning devices that have a TWAIN driver, open an existing file, or acquire from another device plug-in.
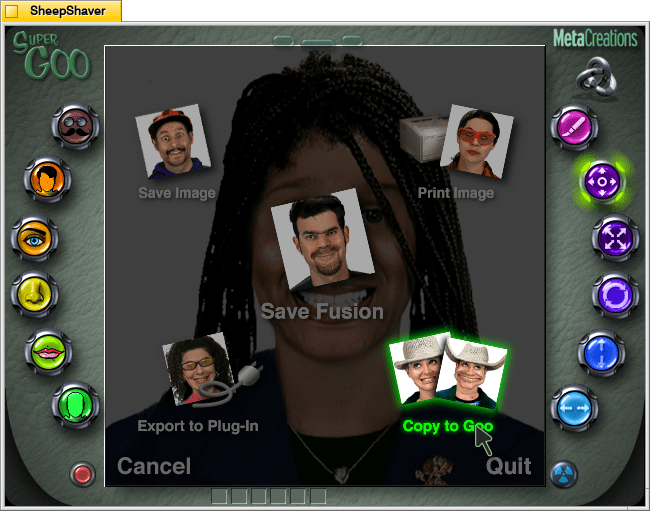
By clicking on the middle bubble to the right, the user comes to the “Out Panel,” which gives options to save the image, print the image, save the currently displayed Fusion generated face, copy the Fusion generated face to the GOO Room, or export the currently displayed image to a plug-in (if installed and selected by the user).
Kai’s SuperGOO is an interesting approach to generating images of people using algorithms. In this case, randomizing carefully edited pieces that seamlessly, more or less, fit together. Unfortunately, the available options for mixing and matching faces are homogeneous and tend toward lighter skin tones and limited facial features. While importing any face or image into the software is an option, the Fusion feature is crippled in terms of representation options available to the user.