Tag: Automobile

  • 2025 Toyota Camry Has Impressive Gas Mileage

    3/4 view of black late model toyota camry in a parking spot surrounded by other cars and shopping carts in background, parking lot ringed with trees with green leaves, blue sky with clouds above

    After visiting my folks for a couple of weeks in Georgia, I rented a car from Enterprise to drive back home to Brooklyn, because I wanted to load up on bulk-buy and shelf-stable grocery items that are difficult and/or expensive to purchase locally without a car.

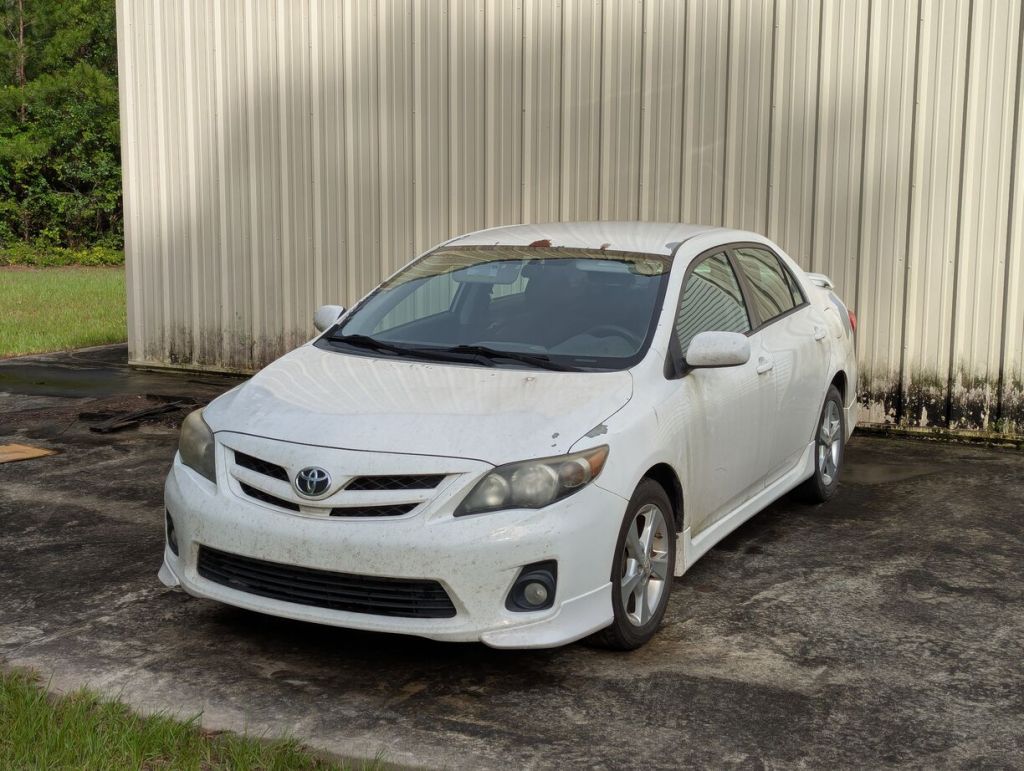
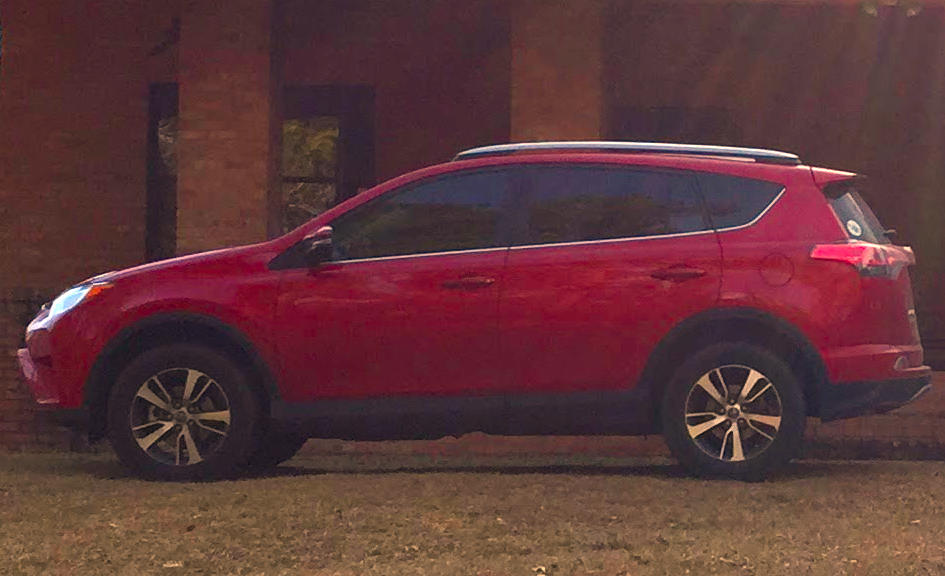
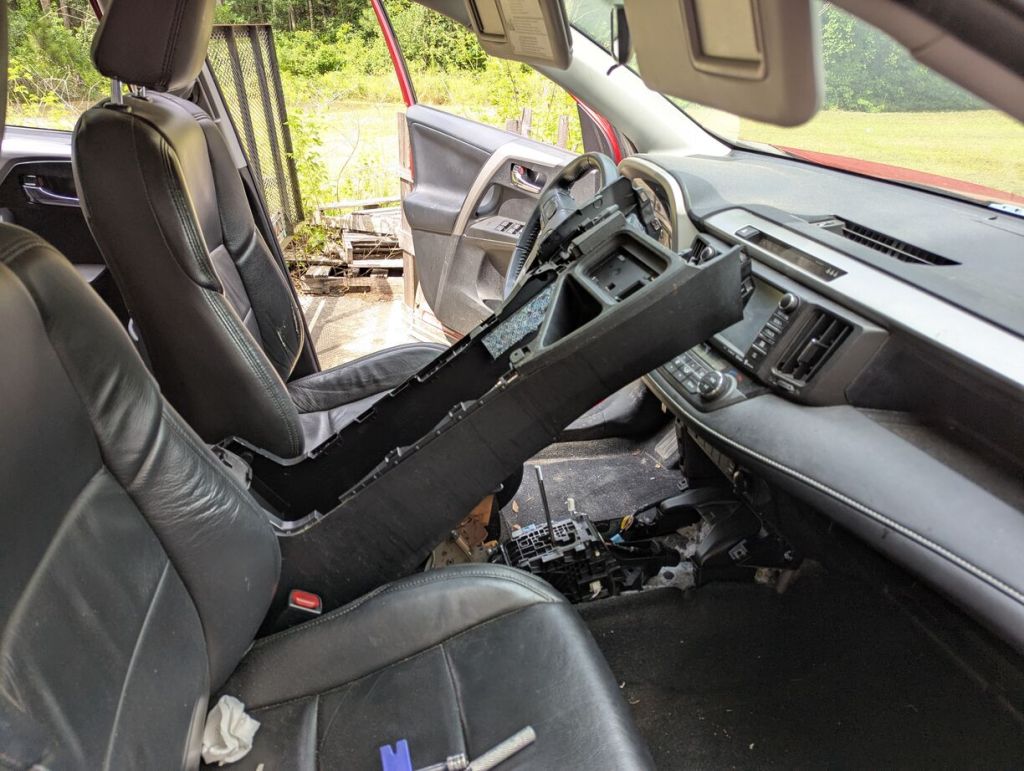
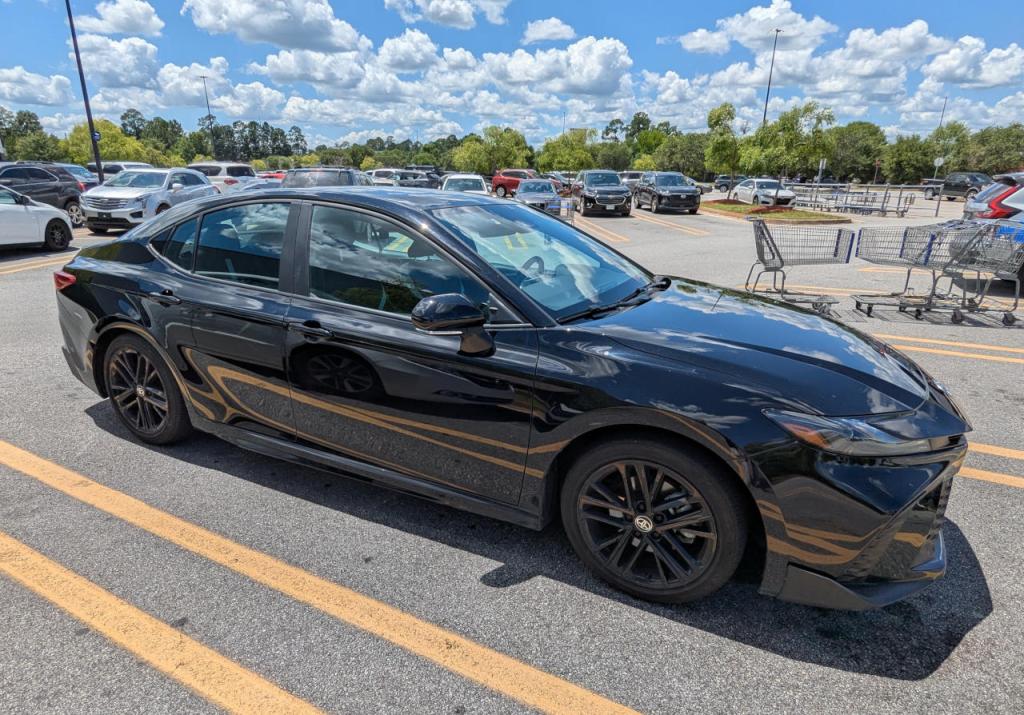
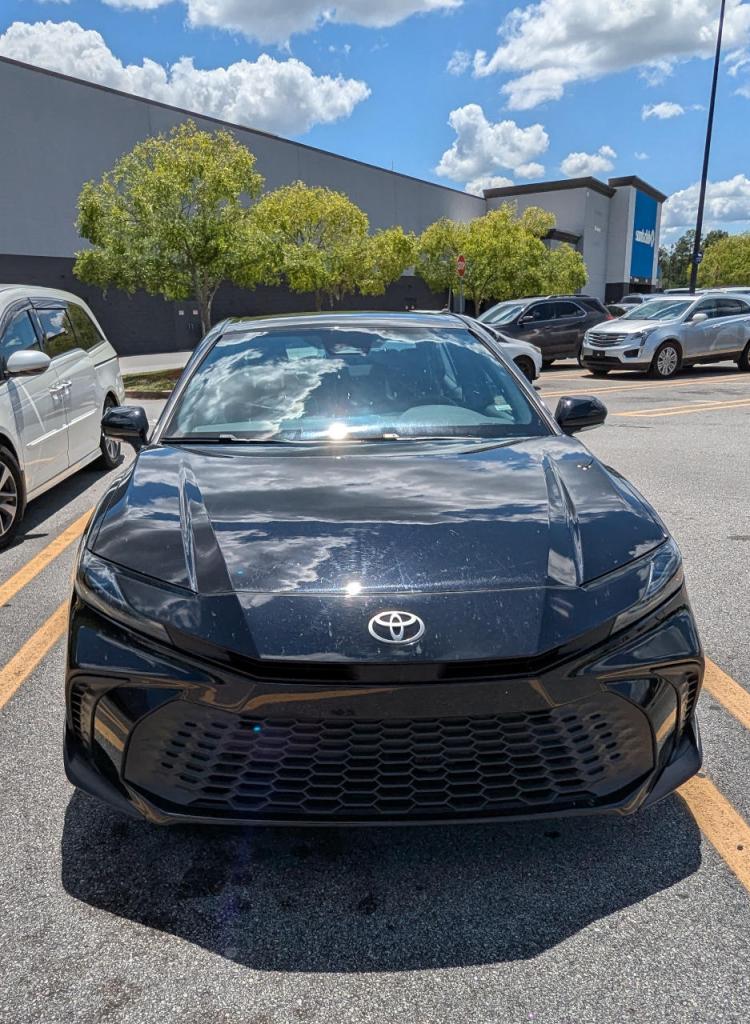
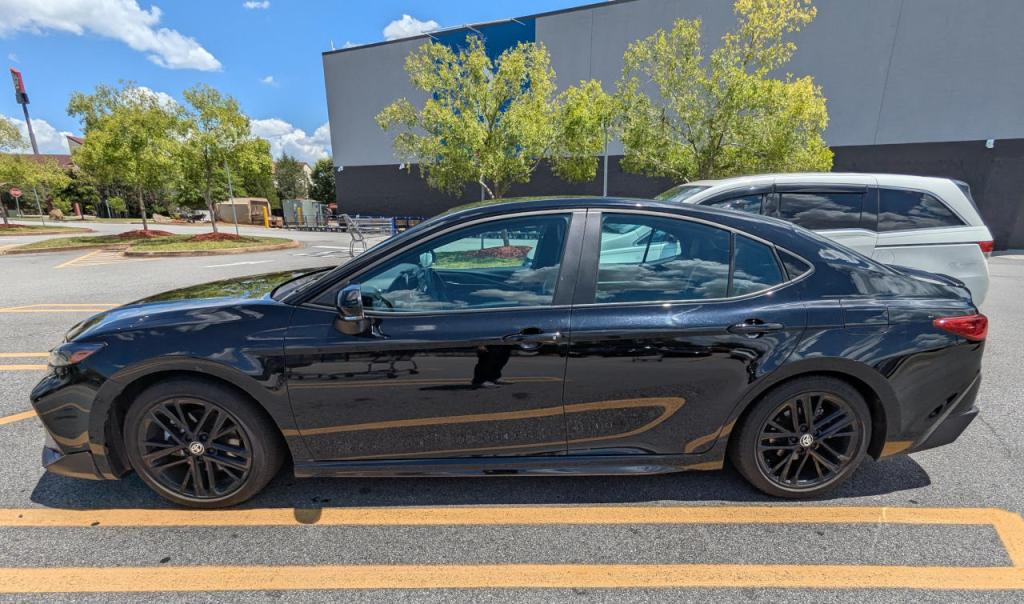
    I had reserved a Toyota Corolla or similarly sized midsize car, but none were available when I arrived at the Savannah-Hilton Head Airport location. They upgraded me to the 2025 Toyota Camry shown above. It has a hybrid gas-electric drivetrain with an estimated 51 MPG fuel efficiency.

    This post reports on my experience with the Camry’s fuel economy over a long drive.

    Google maps screenshot of map from Savannah to Atlanta to Brooklyn, NY for 16 hr 59 min drive over 1,113 miles

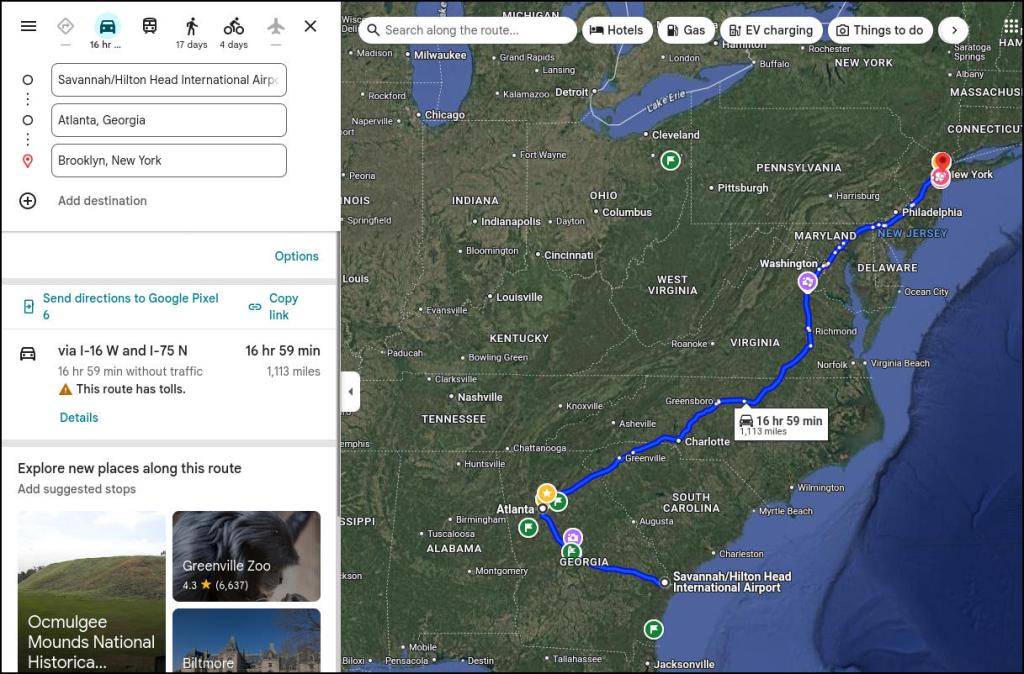
    My four-day trip route was from Savannah to Atlanta where I would spend a day, then drive to Delaware, and finally arrive in Brooklyn where I would return the car to the Park Slope Enterprise location. Going from point-to-point, the drive took about 16 hours 59 minutes over 1,113 miles. But, I did a lot of city driving in Atlanta over one day. I estimate that I drove an extra 50 miles for a total of 1,163 miles.

    When I picked up the car, I already had about 100 pounds of grocery items that I loaded into the trunk and backseat. While in Atlanta, I added another 20 pounds of items to the car’s overall load. This is combined with my weight and the weight of fuel.

    3/4 view of black late model toyota camry in a parking spot surrounded by other cars and shopping carts in background, trees with green leaves and building in the background, blue sky with clouds above

    The Camry has three different driving “modes.” I set the mode to “Eco” as opposed to “Normal” or “Sport.” I adhered to the speed limit and avoided using high-RPM, passing gear driving except in a couple of situations.

    Over the entire trip, I purchased about 25 gallons of gas (returning the fuel level in the car to the same level that I received it), which yields a combined 46.52 MPG efficiency. Considering the awful traffic conditions in Atlanta (congestion, stop-and-go driving, low speed, etc.) and its fuel use, I suspect that my highway driving is much close to the estimated 51 MPG fuel economy.

    side view of black late model toyota camry in a parking spot surrounded by other cars and shopping carts in background, parking lot ringed with trees with green leaves, building in background, blue sky with clouds above

    I was happy about the fuel economy of the Camry on this trip–it reduced its pollution footprint and it saved me some money. It is impressive how a larger vehicle achieves better fuel economy than the best gas mileage of my old gas-powered Corolla.

    Driving the Camry was comfortable for the most part. This was the first car that I drove with a fob/start button combination. It took me a few minutes to figure out how to disable the lane following feature of its cruise control, which I was fighting against (making me think there was something wrong with the steering before disabling this feature). The seat material–I think faux leather–wasn’t breathable, which made it uncomfortable for sitting against over long periods of time.

    One big complaint that I have about the car that has nothing to do with fuel efficiency is Toyota’s radio accessed via its in-car screen. It is designed to present radio stations as a series of square icons that can be browsed by scrolling with your finger and tuned to by pressing. By accessing a station, there are tuning plus and minus buttons at the bottom of the station’s screen. All of these things–scrolling and pressing different areas of the screen to access a station or tune to a different frequency–are difficult to do safely while driving and maintaining attention to the road. The wrong areas are pressed leading one to cycle back through the process from the beginning by turning it off and re-accessing audio source > radio > station. To toggle through stations, I perched my right hand on the lower air vent below the screen and reached my index finger up to tap the station up and down buttons. It was awkward and frustrating. If automakers insist on using screens, there are situations like this where skeuomorphism and button placement and size should be consistent and easily used by the driver.

  • How to Rat Proof a 2013 Toyota Corolla

    white 2013 toyota corolla with missing paint in spots, metal building in the background

    Last year, I wrote about removing a mouse infestation in my 2013 Toyota Corolla before driving it from Georgia to New York. At that time, I didn’t rat proof the Corolla, but since I recently did that work on my folks’ RAV4 as I wrote about yesterday, I figured that I should do the extra work to mouse proof the Corolla while I was primed to do it.

    Preventing mice from entering the Corolla is slightly more involved than the 2017 RAV4 as I couldn’t find any evidence for mice entering the pressure vents on the RAV4, but I did find that in the Corolla. So, I wanted to prevent mice from entering the cabin air vent under the windshield cowl and the two rear pressure vents on the rear quarter panels inside the trunk of the Corolla.

    metal mesh

    I used metal wire with a 1/4″ grid.

    tin snips and ruler

    I used tin snips to cut the metal wire.

    leather work gloves

    And, I wore leather gloves while working with the metal wire, because the cut end easily cut and poke skin.

    hood up on the corolla

    The first place to prevent rodents from entering the vehicle’s cabin is the cabin air intake under the windshield cowl. Unlike the 2017 RAV4, you don’t have to take off the windshield wiper arms to access it (I wasn’t paying attention to how the cowl was designed with a break, which would have saved me this trouble). The cowl is held on with plastic push pins and built-in snaps. Due to the plastic being brittle, the pins broke, but the built-in snaps remained usable.

    hood up on the corolla, windshield cowl on passenger side removed and pulled down

    Pulling the cowl out of the way, you can see the cabin air intake below the windshield on the passenger side of the vehicle.

    cabin air intake under windshield

    With the Corolla, the cowl has a metal mesh built-in mean to stop the entrance of rodents into the vehicle’s cabin. Unfortunately, mice can squeeze through where the cowl contours against the metal body of the vehicle on the edges, which is likely how some of the rodents got into my Corolla.

    rectangular piece of wire mesh cut with ruler underneath showing 14"

    I cut a 14″ x 6″ sheet of metal mesh to cover the cabin air intake.

    wire mesh pushed into and over the cabin air intake

    I shaped it with my hands and a hammer to enter the opening and contour around the body, and I used one zip tie to secure this first sheet.

    more wire mesh pushed into and over the cabin air intake and secured with zipties

    To further reinforce it, I cut a narrow and long piece that I wedged under the body lip under the windshield and under the lip where the cowl’s bottom edge sits. This applies pressure to the middle of the mesh covering the cabin air intake to ensure the mesh can’t move.

    I pushed the cowl back into place and secured its left edge with a zip tie through the push pin hole that had broke during removal.

    corolla trunk open with floor liner removed and upholstery on the sides pulled back

    Next, I worked on the pressure vents in the driver and passenger rear quarter panels, which are accessible via the trunk. To find them, remove the trunk floor covering the spare tire, pull out the plastic latch cover above the bumper, and pull out the pins holding the upholstery over the trunk’s sides. You’ll find one pressure vent on either side behind the upholstery.

    pressure vent on driver side rear quarter panel

    I worked on the driver’s side pressure vent first.

    cut piece of wire mesh about 14" x 7"

    I cut a 14″ x 7″ piece of metal mesh to cover this opening.

    wire mesh shaped over pressure vent and secured with zip tie

    Using my gloved hands and a hammer, I shaped the metal mesh to contour around all sides of the vent against the metal body, and I used a zip tie to hold it securely in place.

    passenger side pressure vent in rear quarter panel

    I worked on the passenger side pressure vent next.

    wire mesh shaped over pressure vent and secured with zip tie

    I cut the same size piece of metal mesh, shaped it around the vent against the body and fastened it with a zip tie run through the middle of the vent.

    I hope that we don’t have to deal with rodents in the Corolla again. When we purchase a new vehicle, I will secure these openings in that vehicle as the first thing that I do.

  • How to Keep Mice Out of a 2017 Toyota RAV4 SUV

    side view of a red 2017 Toyota RAV4 SUV

    Recently, my folks were unable to drive their 2017 Toyota RAV4 due to an unexpected and unbearable smell inside it. This post details what I did to resolve the situation and prevent it from happening again.

    Resolving the Odor

    Suspecting mice, I used a video endoscope that I purchased online for about $25 to find their nest under the center console below the radio and AC controls.

    To remove it and clean that area, it required disassembling the console and removing the panel covers under the dashboard on the driver and passenger sides. The main tools that I used were a plastic wedge tool to pop the plastic clips loose, a Philips head screwdriver to remove a few hidden screws toward the front of the console, and a socket driver with extension to remove four bolts in the armrest compartment. See this guide for more details and pictures of this process.

    center console of 2017 rav4 disassembled

    The mouse nest was positioned under the plastic air ducts that send air from the AC to the rear of the RAV4.

    rat nest under disassembled center console of 2017 rav4

    I removed all of the insulation underneath the nest as it had absorbed the odor from the nest.

    rat nest under disassembled center console of 2017 rav4

    To improve the smell inside the vehicle, I shampooed the carpets with a Bissell Little Green Portable Carpet Cleaner, vacuumed after it had dried, wiped down all the surfaces, and put out activated carbon pouches throughout the car.

    To ensure the AC system was clean, I emptied a bottle of A/C Pro Vent & Duct Cleaner Odor Neutralizer–half in the ducts and half into the blower with the cabin air filter removed. This released a lot of build up, which clogged the AC system drain. After failing to unclog it with a pliable wire, I used compressed air to unclog the drain (admittedly this probably pushed some of the matter back into the AC system, but I immediately ran the AC for about an hour to have ample water flow out the system). I replaced the cabin air filter with a new Fram filter.

    Finally, I opened the sunroof and windows while letting the car sit in the sun over several days.

    When the car is left to sit, it still has a slight smell, but this is quickly dealt with by opening the sunroof and windows, turning the AC on high, and leaving the car to ventilate for a minute or two. I think with time, the odor will decrease.

    Preventing Mice from Reentering the Vehicle

    Having spent days cleaning the mouse infestation from the RAV4, I didn’t want to have to go through this again. I read that the cabin air intake under the windshield cowl is the likely point of entrance.

    To access it, you need to remove both windshield wiper arms. There are windshield wiper arm puller tools that you can find for about $20, but I found applying ample WD-40 to the nuts (to remove them) and the bolts (after removing the nuts) permitted the removal of both arms. It’s important though before you remove them to mark the bolt head to align with the direction of the wiper arm (I scratched a line on top of the bolt with a flat head screwdriver).

    closeup of windshield wiper arm bolt assembly
    closeup of windshield wiper arm bolt assembly with nut removed

    With the wiper arms removed, there are a couple of plastic push pins that need to be removed and plastic tabs to pop out. Pull the cowl forward enough to see the cabin air intake on the passenger side. See this guide for more pictures and details for removing the cowl.

    under hood of 2017 rav4 with windshield cowl removed to reveal cabin air intake on left side

    After releasing the cowl, pull it down and out of the way.

    cabin air intake plastic grill with section missing likely chewed through by mice

    It’s easy to see all of the teeth marks on the plastic grill covering the cabin air intake. Obviously, plastic is insufficient for keeping rodents out of a vehicle.

    Wearing leather gloves and using large metal tin snips, I cut pieces of wire mesh to fashion into a cover over the air intake. I used a hammer to tap and push on the wire to mold it to the contours of the vehicle body, and I secured it with zip ties. I added extra wire mesh below the opening to push against the lower lip of this area to push and hold the wire mesh cover in place.

    metal mesh covering cabin air intake

    Just for peace of mind, I added a larger flat piece of wire mesh over the intake to ensure nothing could get inside through this opening.

    metal mesh covering cabin air intake

    The plastic pins securing the cowl broke during removal, so I used longer zip ties to hold the cowl in place through the pin holes.

    I used the video endoscope to explore the AC system ducts and areas under panels in the front and rear of the vehicle, but I couldn’t find any other evidence of rodent infestation. I hope that this guide might be useful to others dealing with this design issue with Toyota vehicles.

    Stay tuned, because I will post how to do this for a 2013 Toyota Corolla tomorrow.