LEGO 76038 Attack on Avengers Tower Modified with Two Extra Floors: Arc Reactor, Hall of Armor, and More!

IMG_20180810_194836

Recently, I decided to rebuild LEGO set 76038 Attack on Avengers Tower from the Avengers 2: Age of Ultra line. The trouble was that the elements for the set were strewn throughout my boxes of bricks and sorted drawers. I used some of the bricks in an Iron Man Hall of Armor MOC, which had to be disassembled for this project. A 511 piece set like this might normally take me a couple of hours to complete. As I had to sort and find the bricks while looking at the downloaded PDF instructions on my computer screen, it took the better part of a day to complete the impressive playset. Then, I started thinking about how to make this good set even better. One aspect that bothered me about it is how short it is. While I understand that LEGO considers cost, playability, and profitability in designing their sets, I thought that Avengers Tower should stand above the Manhattan skyline, which according to the logic of minifigure playsets would put this two or three levels higher. I decided to add two floors, because where the bottom floor extends to–following the slope established in the original set–is about as far out as the edge of platform at the top of the tower. To my mind, this seemed to work out well for a taller and proportionate LEGO Avengers Tower.

LEGO 76038 Attack on Avengers Tower Unmodified

IMG_20180810_162029

Barring the additional minifigures (and four Iron Legion instead of the stock two), the photo above is of the unmodified LEGO 76038 Attack on Avengers Tower. On the lower level, it has the Iron Legion docking area and medical bay. The middle level has the Iron Legion repair bay/Ultron’s first embodiment and the diagnostic bay with scanner for studying Loki’s scepter. The top level features the platform, entertaining space, and computer station. The tower’s pinnacle is a drone deployment system.

I like the design work that went into the overall design of LEGO 76038. The angular front of the tower and the curve flowing down the side from the platform is spot-on with the design from the film. Of course, LEGO’s designers embellished the design for playability, but the thought that went into what elements should be included such as the Iron Legion bays and the scepter scanner reveal how dedicated their designers are to creating a model that balances play with realism.

Planning Additional Levels 

IMG_20180810_161921

To begin my modification to Avengers Tower, I had to plan out how to extend the slope of the front part of the tower. Following the slope provided in the original model, I saw that the next level–if it were the same height as the previous level–would need to extend two studs past the previous level. This allowed me to plan how much area in studs I would have to work with for the new first or bottom most level, and the new second level. The rear part of each level–with curved, translucent windows would remain the same for the new fourth and fifth levels. The new first level features an interactive Arc Reactor and Computer Server Room. The new second level features Tony Stark’s workshop and the Iron Man Hall of Armor.

Arc Reactor

IMG_20180810_152803

I started building my addition to Avengers Tower on the bottom most, or new first level. Thinking back to the first Avengers film, I wanted the tower to have its own Arc Reactor. The first challenge was to think about what that would look like as it is only seen in the film as a 3D schematic on Pepper Potts’ computer monitor, and the second challenge was to integrate some interactivity into this part of the model. While the Arc Reactor doesn’t spin (just the plasma within its torus moves within its magnetic confinement rings), I thought a geared spinning mechanism might be fun to engineer. Due to the placement of the window, I added a series of three gears to move the work where it was needed to spin the reactor. A small knob on the right side of the tower is used to spin the reactor. I added gauges, pipes, valves, and supports to frame the Arc Reactor within its space.

Computer Server Room

IMG_20180809_153734

Opposite the Arc Reactor on the first level is the computer server room. I built the 19″ computer racks four bricks high, but I might make these higher later. I staggered their placement to imply depth to the space. In the back corner, Ant-Man is hiding out to see what Stark might be up to.

Tony’s Workshop

IMG_20180824_234218

I focused the new second level on Iron Man. In the front, sloped space, I created Tony Stark’s workshop. It has a desk with computer, parts, coffee mug. Next to the desk is a set of drawers with tools, and on top are two containers and Stark’s Mark V or Suitcase Armor from 76007 Iron Man: Malibu Mansion Attack. In the foreground, Tony Stark has a wrench, and a set of Iron Man armor is on the rotating work platform. Below are some false starts that I made while trying out different designs for this space, including a movable robot arm, which looked very nice but overcrowded the small area available.

Hall of Armor

IMG_20180809_192955

On the rear side of the second level is Tony Stark’s Iron Man Hall of Armor. I was able to fit six different Iron Man armors in this tight space by building two tiers for the armor–one lower and in the foreground, and one higher and in the background.

New Avengers Tower Assembled!

After completing the new first and second levels, I connected them to the bottom of the original Avengers Tower model. This took some time and massaging to get full clutch without accidentally breaking the model. I’m happy with the new, taller version of Avengers Tower. I wonder what role, if any, it might play in the upcoming Avengers 4 film.

The Avengers are down, but not out.

Avengers Assemble!

LEGO Playset MOC of Temple Island on Ahch-To in Star Wars: The Last Jedi

IMG_20180218_133943.jpg

Inspired by LEGO’s Death Star playset, which is both enormous and scene-focused, I built a 64 x 32 stud MOC of Temple Island on Ahch-To from Star Wars: The Last Jedi. First glimpsed at the end of The Force Awakens and explored in the latest installment, Temple Island is the home of the first Jedi Temple, and it is where Luke Skywalker has been hiding away during the rise of the First Order under the leadership of Snoke and supported by Luke’s former pupil, Ben Solo or Kylo Ren.

As a LEGO playset, it has to balance accuracy, playability, and scale. For accuracy, I based the island’s shoreline on Ireland’s Skellig Michael, which is the location where these scenes were shot for the film. Also, the island’s topography were adhered to as closely as possible by having the north peak slightly lower than the higher south peak, and designing a middle valley between the two peaks, known as Christ’s Saddle on Skellig Michael. Each major scene involving Temple Island has been placed approximately where it would be on the island according to The Art of The Last Jedi and my observations of the film. And, each scene is scaled for play with LEGO minifigures, except where the Millennium Falcon lands along the shoreline, which would otherwise dwarf the island or require building a much larger model! For this element of the MOC, I used the Falcon included in last year’s LEGO Star Wars Advent Calendar (75184).

Including all prep time, this build took me about 40 hours. In addition to studying books and magazines that showed glimpses of Temple Island and its topography, I watched YouTube videos such as these: one, two, and three. I leveraged Gimp’s grid rendering to plan the overall design based on a Google Maps’ satellite image of Michael Skellig. Also, I purchased additional LEGO to supplement what I already had on-hand: two 32 x 32 stud blue base plates to construct the MOC on, one green Creative set (10708), and two LEGO Ahch-To Island Training sets (75200).

Below, I am including highlights from the construction process and the completed model. At the end, there are links to these albums with more photos of the MOC: Google Photos and Imgur.

Designing the Shoreline Using Google Maps, Gimp, and Generated Grid

IMG_20180213_223514.jpg


Top and Side Views of Temple Island

IMG_20180218_134351.jpg

IMG_20180218_142459.jpg

IMG_20180218_143054.jpg


Rey’s First Encounter with Master Skywalker

IMG_20180218_142905.jpg


Luke Skywalker’s Hut and Village

IMG_20180218_160654.jpg


Rey’s Lightsaber Practice (at the Wailing Woman Rock)

IMG_20180218_142523.jpg


The Sacred Jedi Texts Within the Uneti Tree

IMG_20180218_143109.jpg

IMG_20180218_143125.jpg


The Jedi Temple and Meditation Rock

IMG_20180218_134836.jpg

IMG_20180218_134953.jpg


Rey’s Visit to the Mirror Cave

IMG_20180218_143030.jpg

IMG_20180218_134258_1.jpg


Portability of the Model 

IMG_20180218_135109.jpg


View more photos of the model and its development on Google Photos or Imgur.

New LEGO Millennium Falcon 75105 Customization with The Last Jedi Update

millennium-falcon-custom

Over the years, I’ve built several customized LEGO Millennium Falcons (including here and here). I like taking the stock models and making them more screen accurate combined with imaginative embellishment. With this customization of a stock 75105 Millennium Falcon, I initially tried working this model that I had built about a year ago. However, I got really frustrated trying to work out how to implement some of the customizations that I had in mind. So, I disassembled the model and rebuilt it. Doing this helped me remember the logic of its design and construction, and it enabled me to rebuild some of its foundational features more easily than the piecemeal way I first attempted to do. The way that I did this rebuild also jumped around the instruction booklet, because the LEGO process of building is generally height-by-height across the whole model. I needed to focus on the modular aspects of the model, which is helped by building each module (circumferential ring, cockpit, docking ports, etc.). Due to rebuilding it from the ground up, this project took several days. Scroll through this blog post to view detailed photos and descriptions of this customization.

Cockpit and Mandible Details

Taking inspiration from Flail’s Millennium Falcon mods on Brickshelf, I rebuilt the cockpit with chairs and control sticks. This looks really nice, especially with the windows affixed. However, the chairs don’t work with Chewbacca’s minifigure. 75105 includes a Brick 1X4 W. 4 Knobs on either side of the fore mandibles. The side studs invite customization, so I added extra detail to these.

IMG_3027 1.jpgIMG_3028 1.jpgIMG_2997 1.jpgIMG_3029 1.jpgIMG_3030 1.jpg

Gun Turrets, Dorsal Vents, and Ventral Covering

Inspired by Flail’s mods on Brickshelf again, I built these lower profile top and bottom guns. I beefed up the dorsal venting system by putting Plate Round 4X4 With Ø16Mm Hole with a Plate 2X2 Round in its center. The Disk Ø24 with vent sticker connects to the round plate in the center. The bottom of the falcon is buttoned up with plates covering the Technic support system–some of which I modified to remove the arm underneath the cockpit support system and added a staggered rounding to the four corners.

IMG_2994 1.jpg

IMG_3035 1.jpgIMG_3040 1.jpgIMG_3021 1.jpg

IMG_2993 1.jpgIMG_2996 1.jpgIMG_2995 1.jpg

Main Hold Entrance, Nav Computer, and Dejarik Table

Using 1×1 roof tiles and an upside-down technique that I developed for a diorama of the Falcon’s main hold, I built this entrance into the main hold leading from the passage way from the entry ramp. The Dejarik Table and seating is borrowed from 75192. The Nav Computer area is very tight in the size of this model, so I couldn’t fit as large tubes adjacent to it as in the diorama linked above. Instead, I used two short tubes and moved the Nav Computer one stud to the left to accommodate the Falcon’s machinery. The main hold’s med bay is raised to accommodate a drawer, which I detail further at the end of this post to avoid The Last Jedi spoilers for anyone who hasn’t seen it yet.

IMG_3022 1.jpg

Millennium-Falcon-mainhold-entrance.jpgIMG_3018 1.jpgimg_3017-1.jpgIMG_3016 1.jpgIMG_3015 1.jpgIMG_3014 1.jpgMillennium-Falcon-mainhold-tfa.jpg

Port and Starboard Docking Ports

One disappointing aspect of the 75105 model is the docking ports. It sandwiches 1×2 plates between two Plate 6X6 Round With Tube Snap and covers that with two Plate 2X4X18°. The trouble with this design is that it doesn’t really show the cone-like taper of the docking ports. Earlier Millennium Falcon sets 4504 and 7965 did a better job with the docking ports. I decided to keep 75105’s sandwich to give the ports height, and then built up a capped tube circled by 1×2 plates each topped with a Roof Tile 1 X 2 X 2/3, Abs.

IMG_3042 1.jpgIMG_2991 1.jpgIMG_2989 1.jpg

Wall Tile Extensions Around Circumference

The Millennium Falcon dorsal and ventral domed covering extends over the circumferential edge. The 75105 model comes with 1×6 flat plates to demarcate this edge overhang, but it doesn’t really look right. I picked up a lot of Wall Element 1X2X1 on Bricklink to replace these 1×6 flat plates. In addition to showing this circumferential trench around the edge of the Falcon, it gives the model an overall flatter look, which emphasizes the Falcon’s on-screen appearance.

IMG_3033 1.jpgIMG_2992 1.jpgIMG_3040 1.jpg

Engine Compartment

Instead of the Falcon having a monolithic motor, it seems more likely that it would have a segmented, modular aerospike engine. With this in mind, I designed the engine compartment to have a ring of engine modules with supporting hardware, cabling, and pipes. I created a larger, ringed passage way with an entrance way leading into the engine compartment.

IMG_3025 1.jpgIMG_3023 1.jpgIMG_3013 1.jpgIMG_3012 1.jpgIMG_3011 1.jpgMillennium-Falcon-aft-engineroom-entrance.jpgMillennium-Falcon-aft-engineroom-sideview.jpgMillennium-Falcon-aft-passageway.jpgIMG_2999 1.jpg

Entrance Ramp and Other Compartments

I stole the hydraulics from 75103: First Order Transporter and added to the Falcon’s entrance ramp (which makes the ramp look like the Kenner Millennium Falcon vehicle from the original Star Wars action figure line). Also, I shifted the entrance ramp one stud out from the central gunner turret assembly. There are two side compartments–one for storage with weapons in a crate, and one for another bunk (with a copy of the Death Star plans).

Millennium-Falcon-entryramp-interior-down2.jpgMillennium-Falcon-entryway-interior-down.jpgMillennium-Falcon-entryramp-exterior-down.jpgMillennium-Falcon-aft-storeroom.jpgMillennium-Falcon-aft-sleep-compartment.jpg

New Engine Exhaust and a Little Joke

Instead of using the ribbed, transparent blue tube that comes with 75105, I opted for white tile backgrounds covered by transparent blue flat tiles (1×2 and 1×4). As a hidden joke, I included a trailer hitch under the engines (isn’t the Millennium Falcon is a big rig in the stars?).

IMG_3038 1.jpgIMG_3039 1.jpg

The Last Jedi Update

At the end of The Last Jedi, Finn puts Rose in the Millennium Falcon’s med bay in the main hold. The camera focuses on the drawer under the bed when Finn looks for a blanket. The audience realizes that the drawer also contains the Jedi books on Ahch-To. To represent this, I raised the med bay, added a drawer beneath, and included a book (from The Hobbit set #79003: An Unexpected Gathering).

IMG_3024 1.jpgIMG_3020 1.jpgIMG_3019 1.jpg

How to Add a Shelf to an Ikea Table Top Desk for About $16, with Thoughts on Making

IMG_1835

I believe that it is important for everyone to make things. Making uses the brain and the body. Making acts on the world. Making is an expression of ourselves. Making can be for ourselves alone or it can be shared with others. Making can be meta, too–making about making (like this blog post). Making in all of its forms is a really big part of what makes us human.

Doing a bit of making today, I built a raised shelf for my IKEA table top desk using pine boards. It began as a thing for myself, and it continues as a thing shared with you here.

I like working with wood. Unfortunately, I don’t get to build things with wood as often as I would like. When I lived in Atlanta, I had space and tools. Here in New York, I have little of the former and few of the latter. Nevertheless, I find small ways to stay in the woodworking game by building things to solve problems such as the state of my work-at-home desk:

IMG_1810

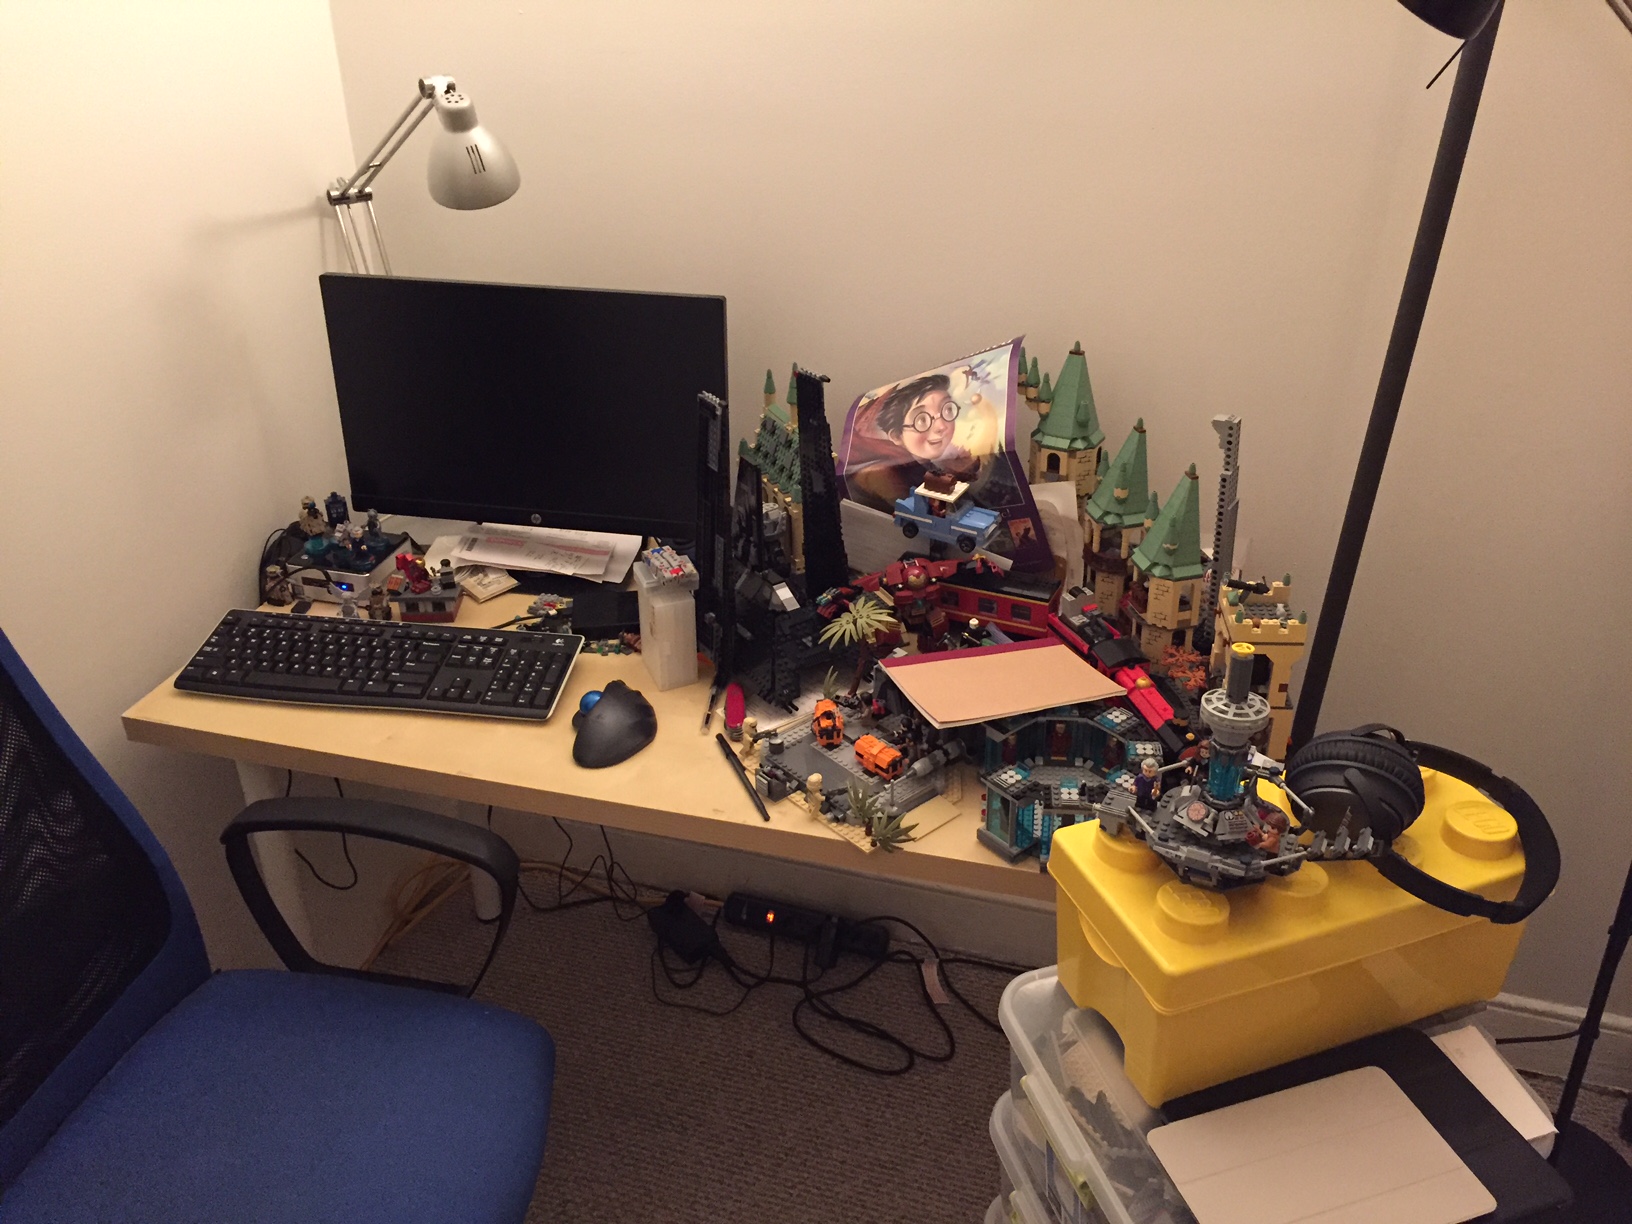
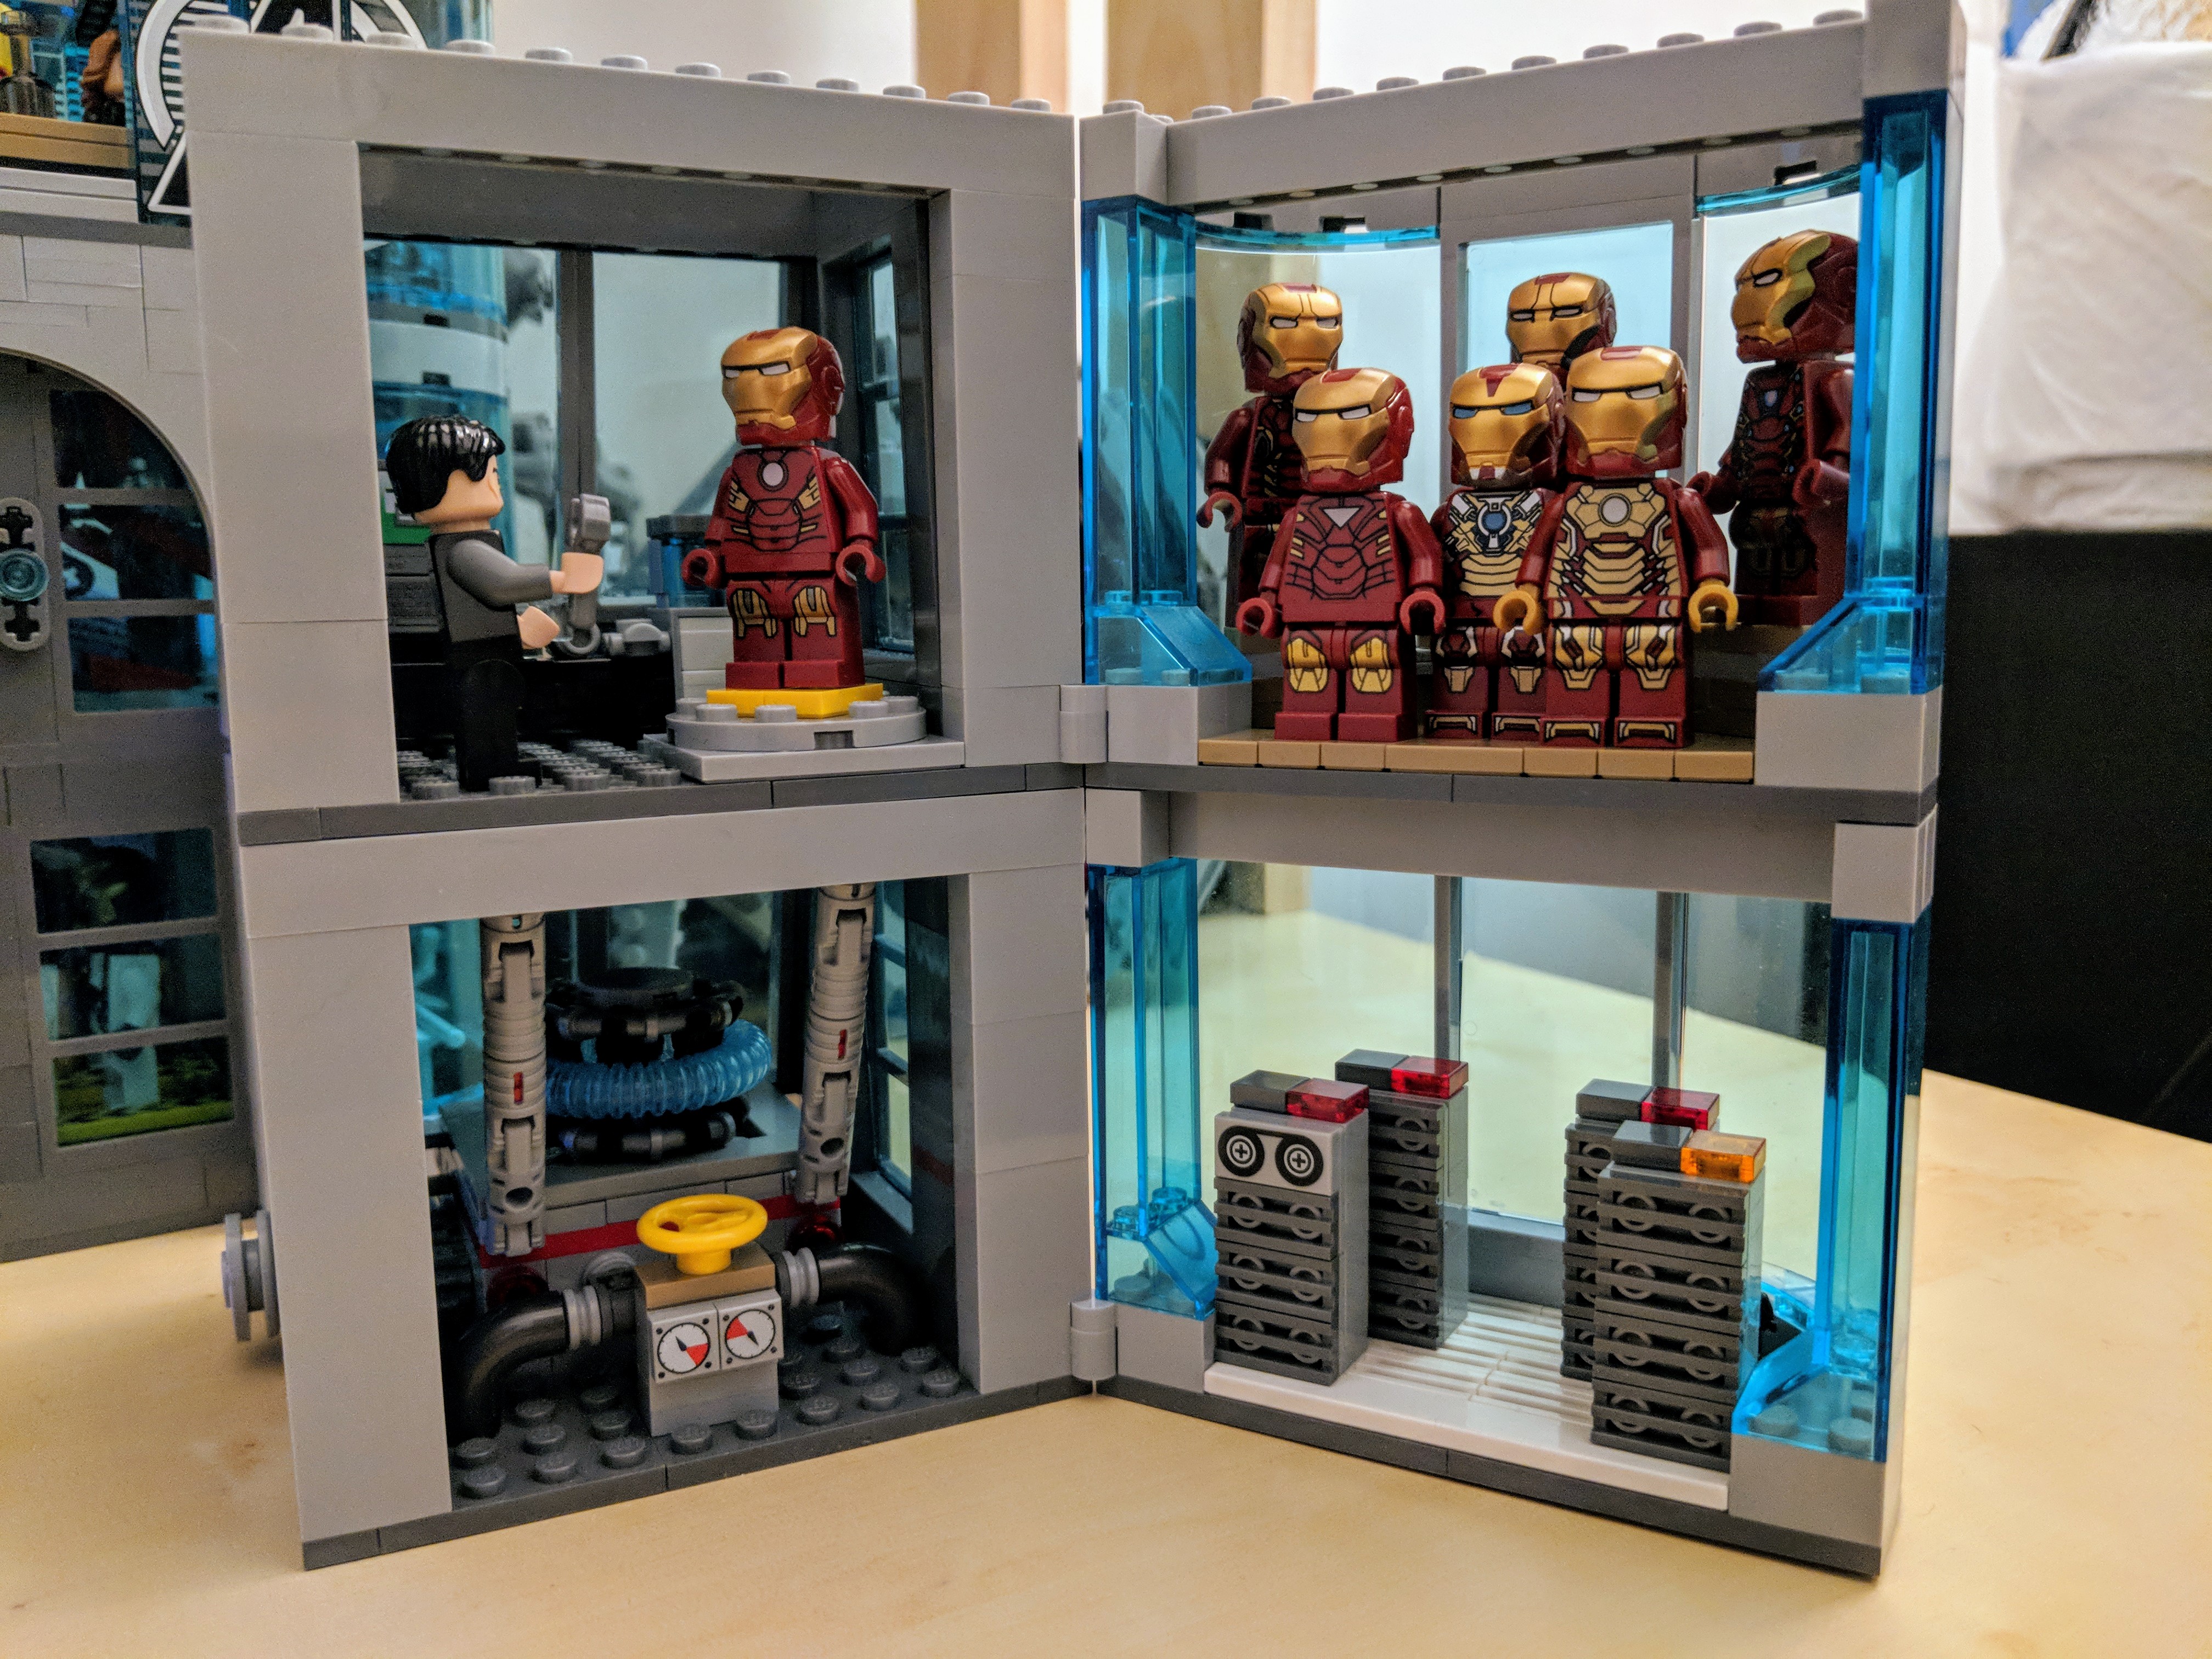
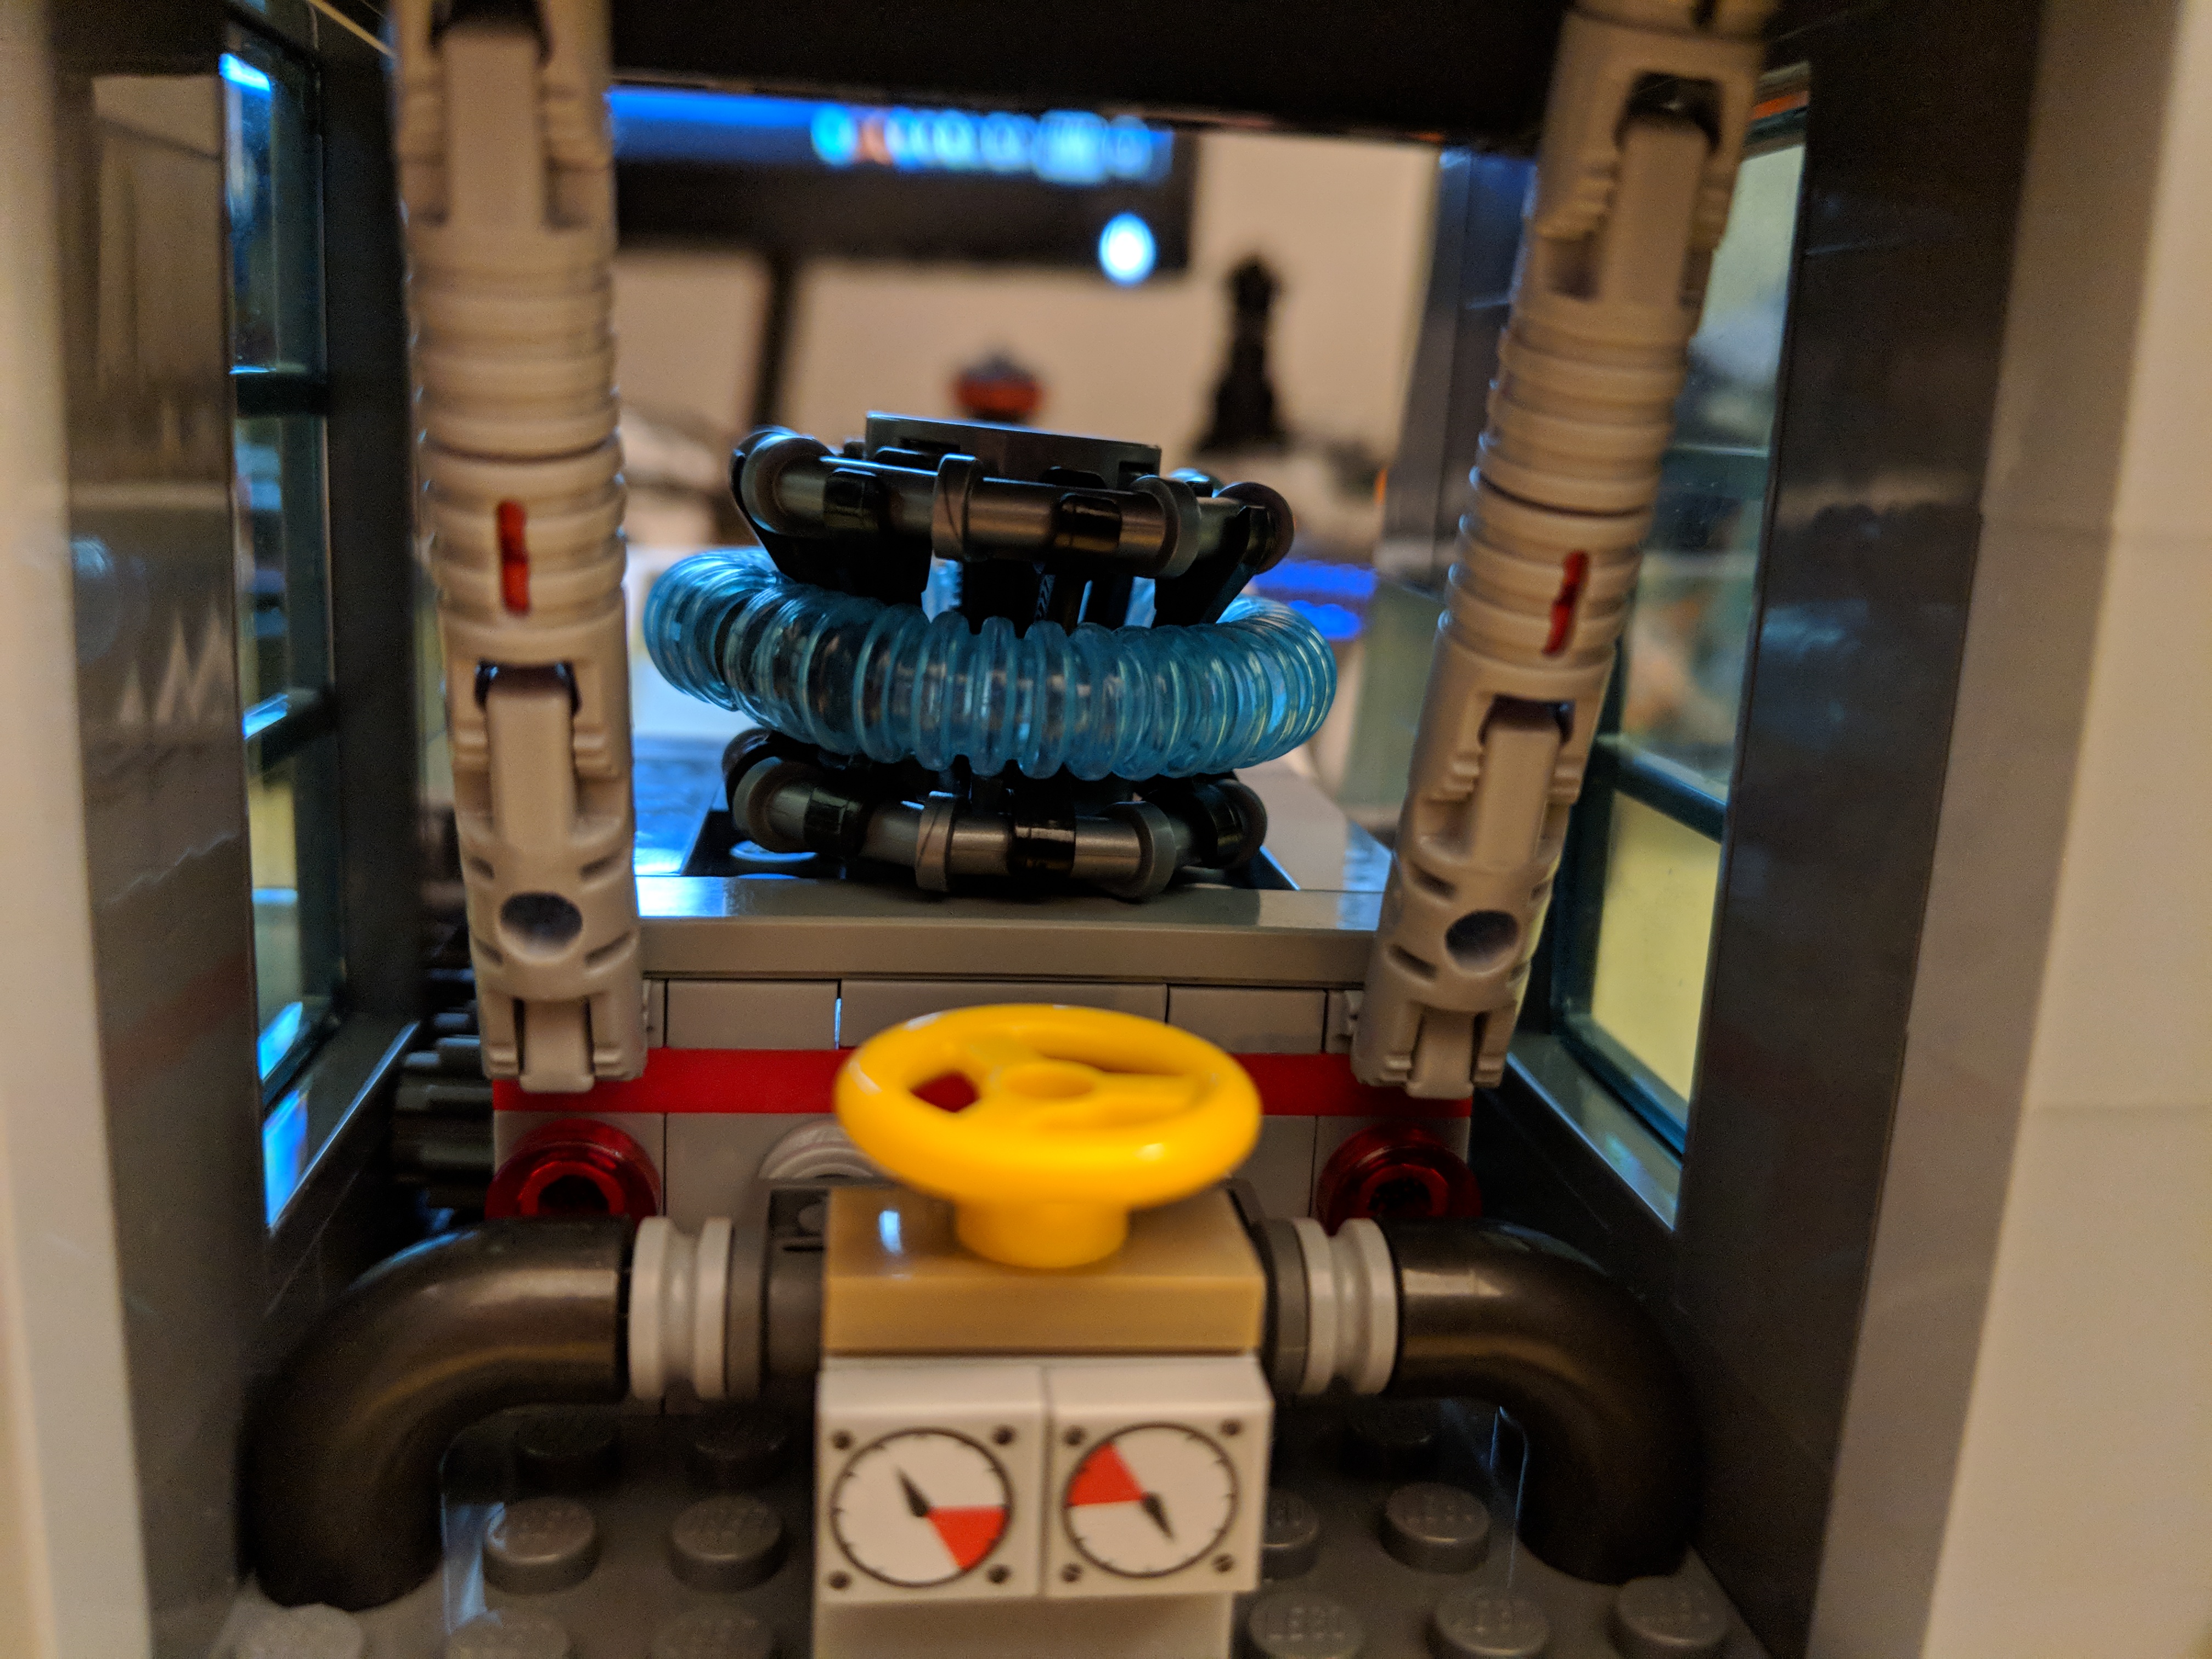
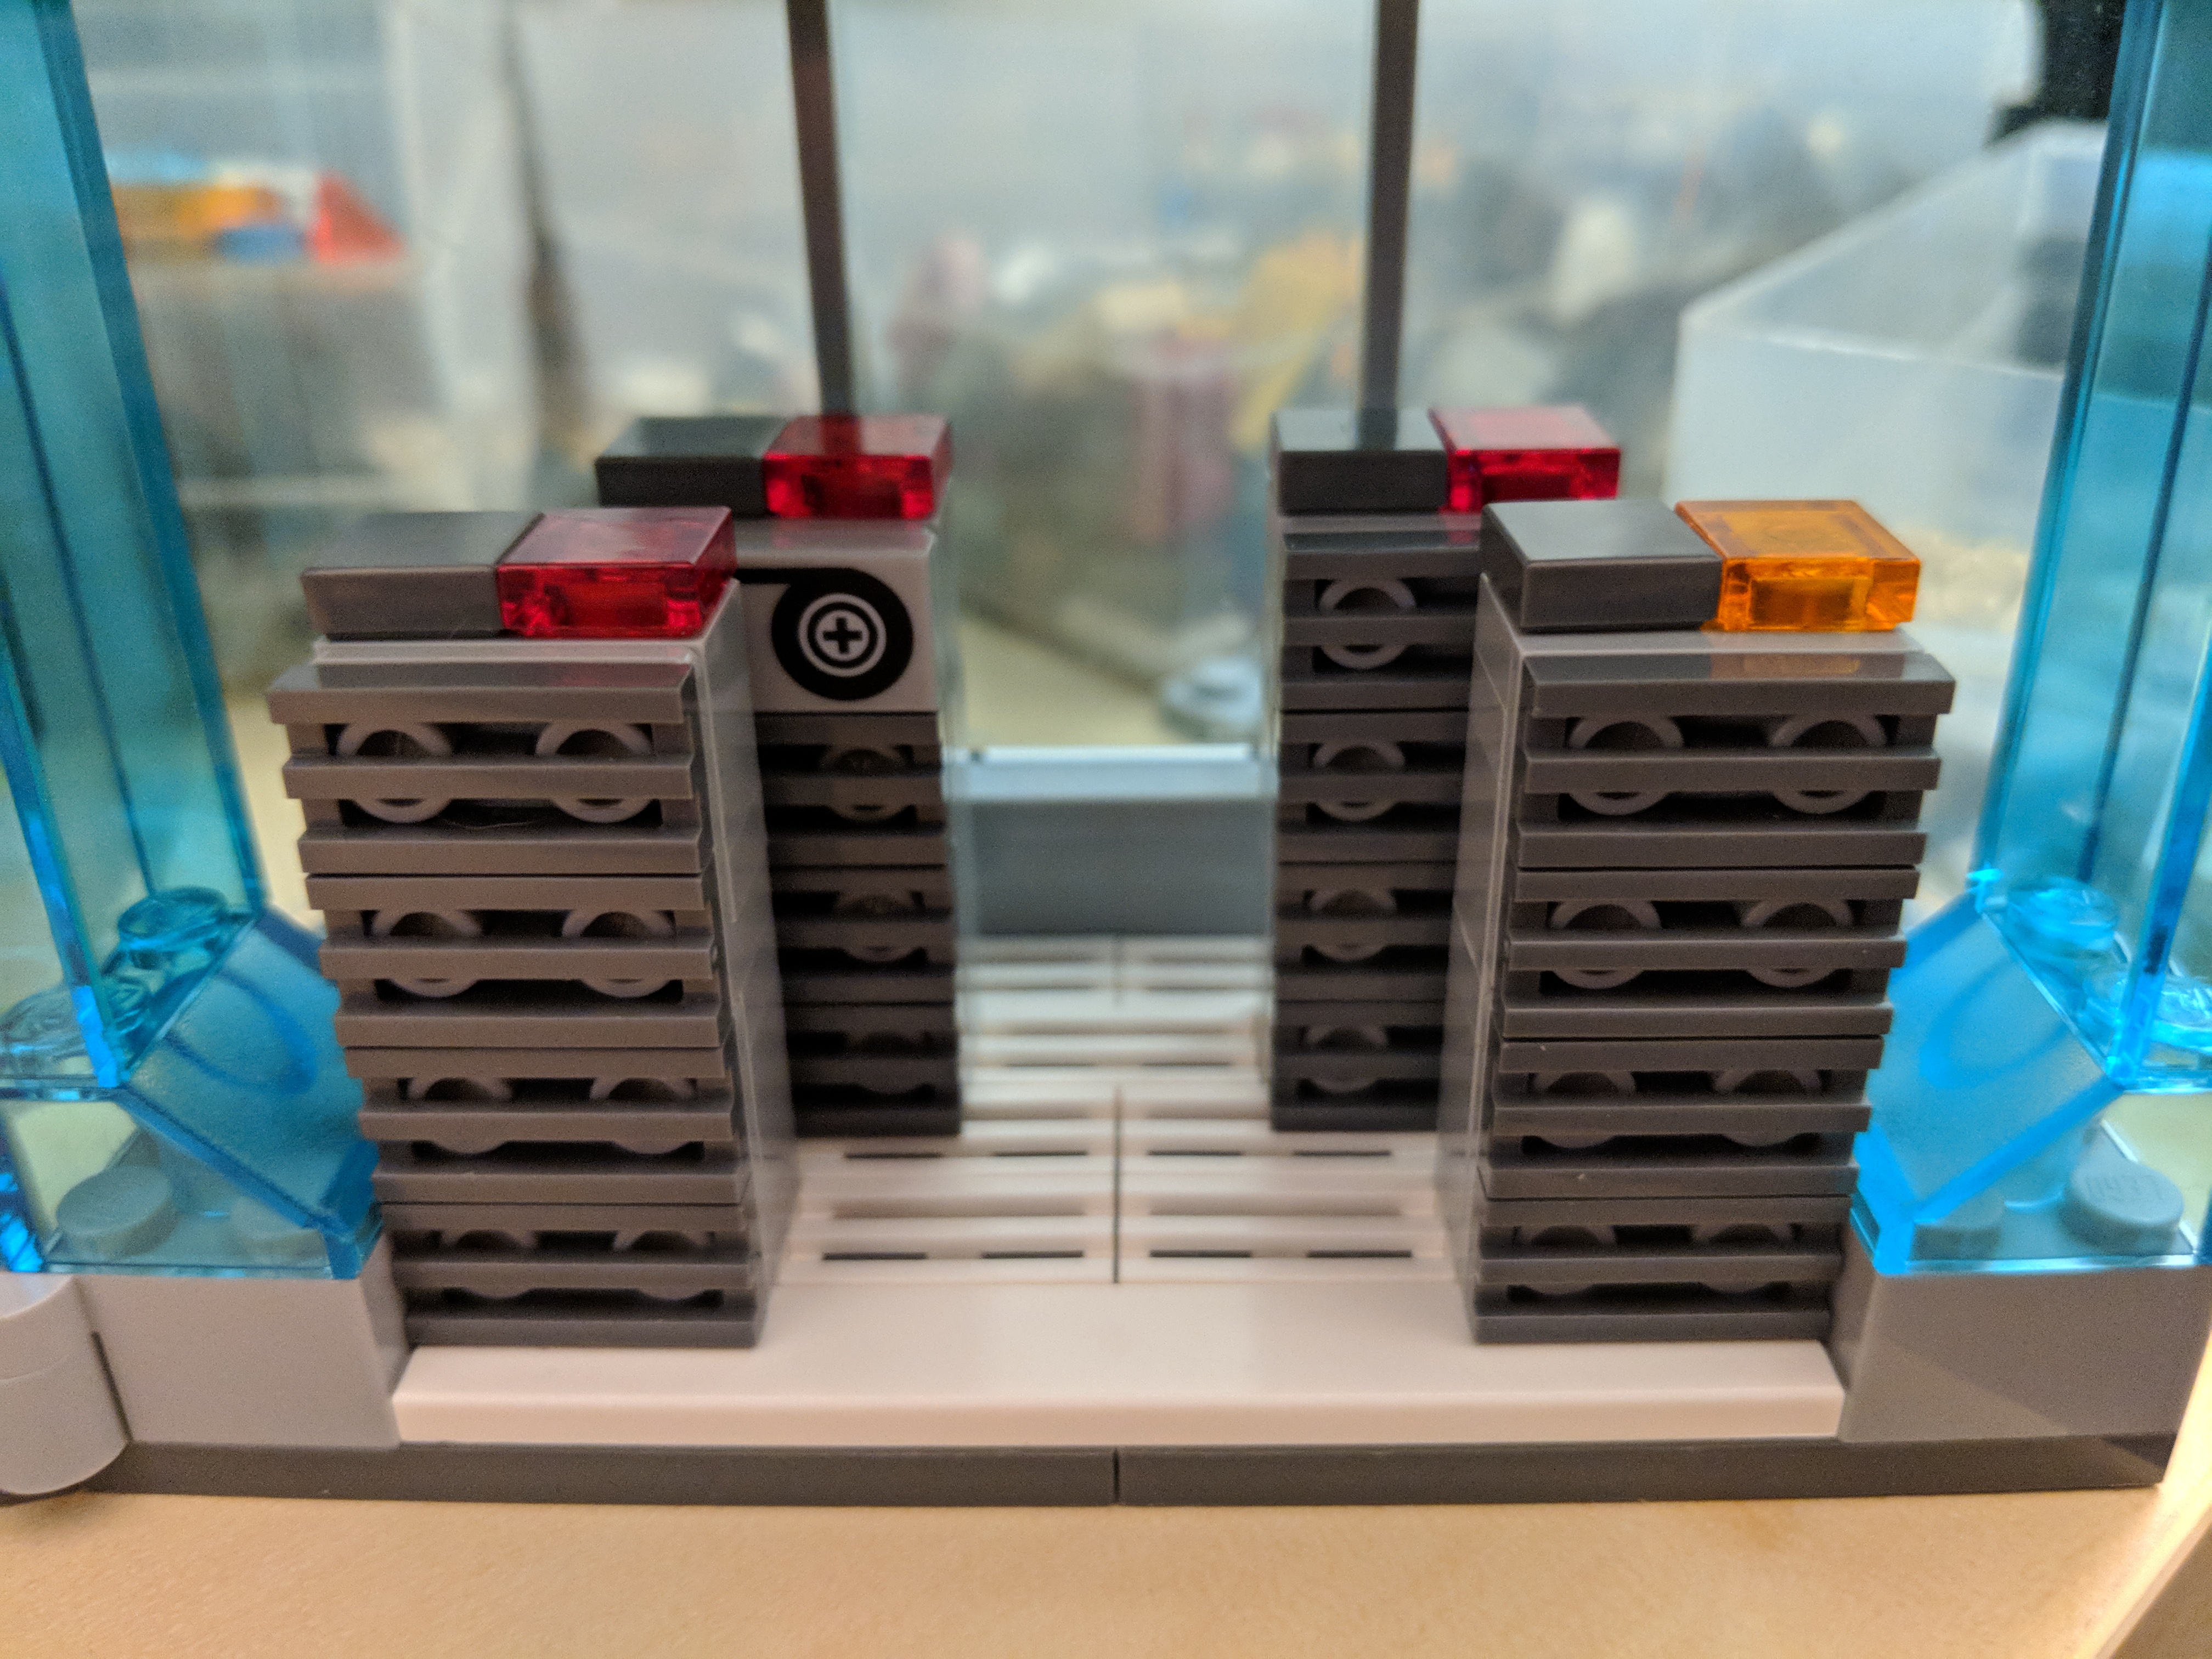
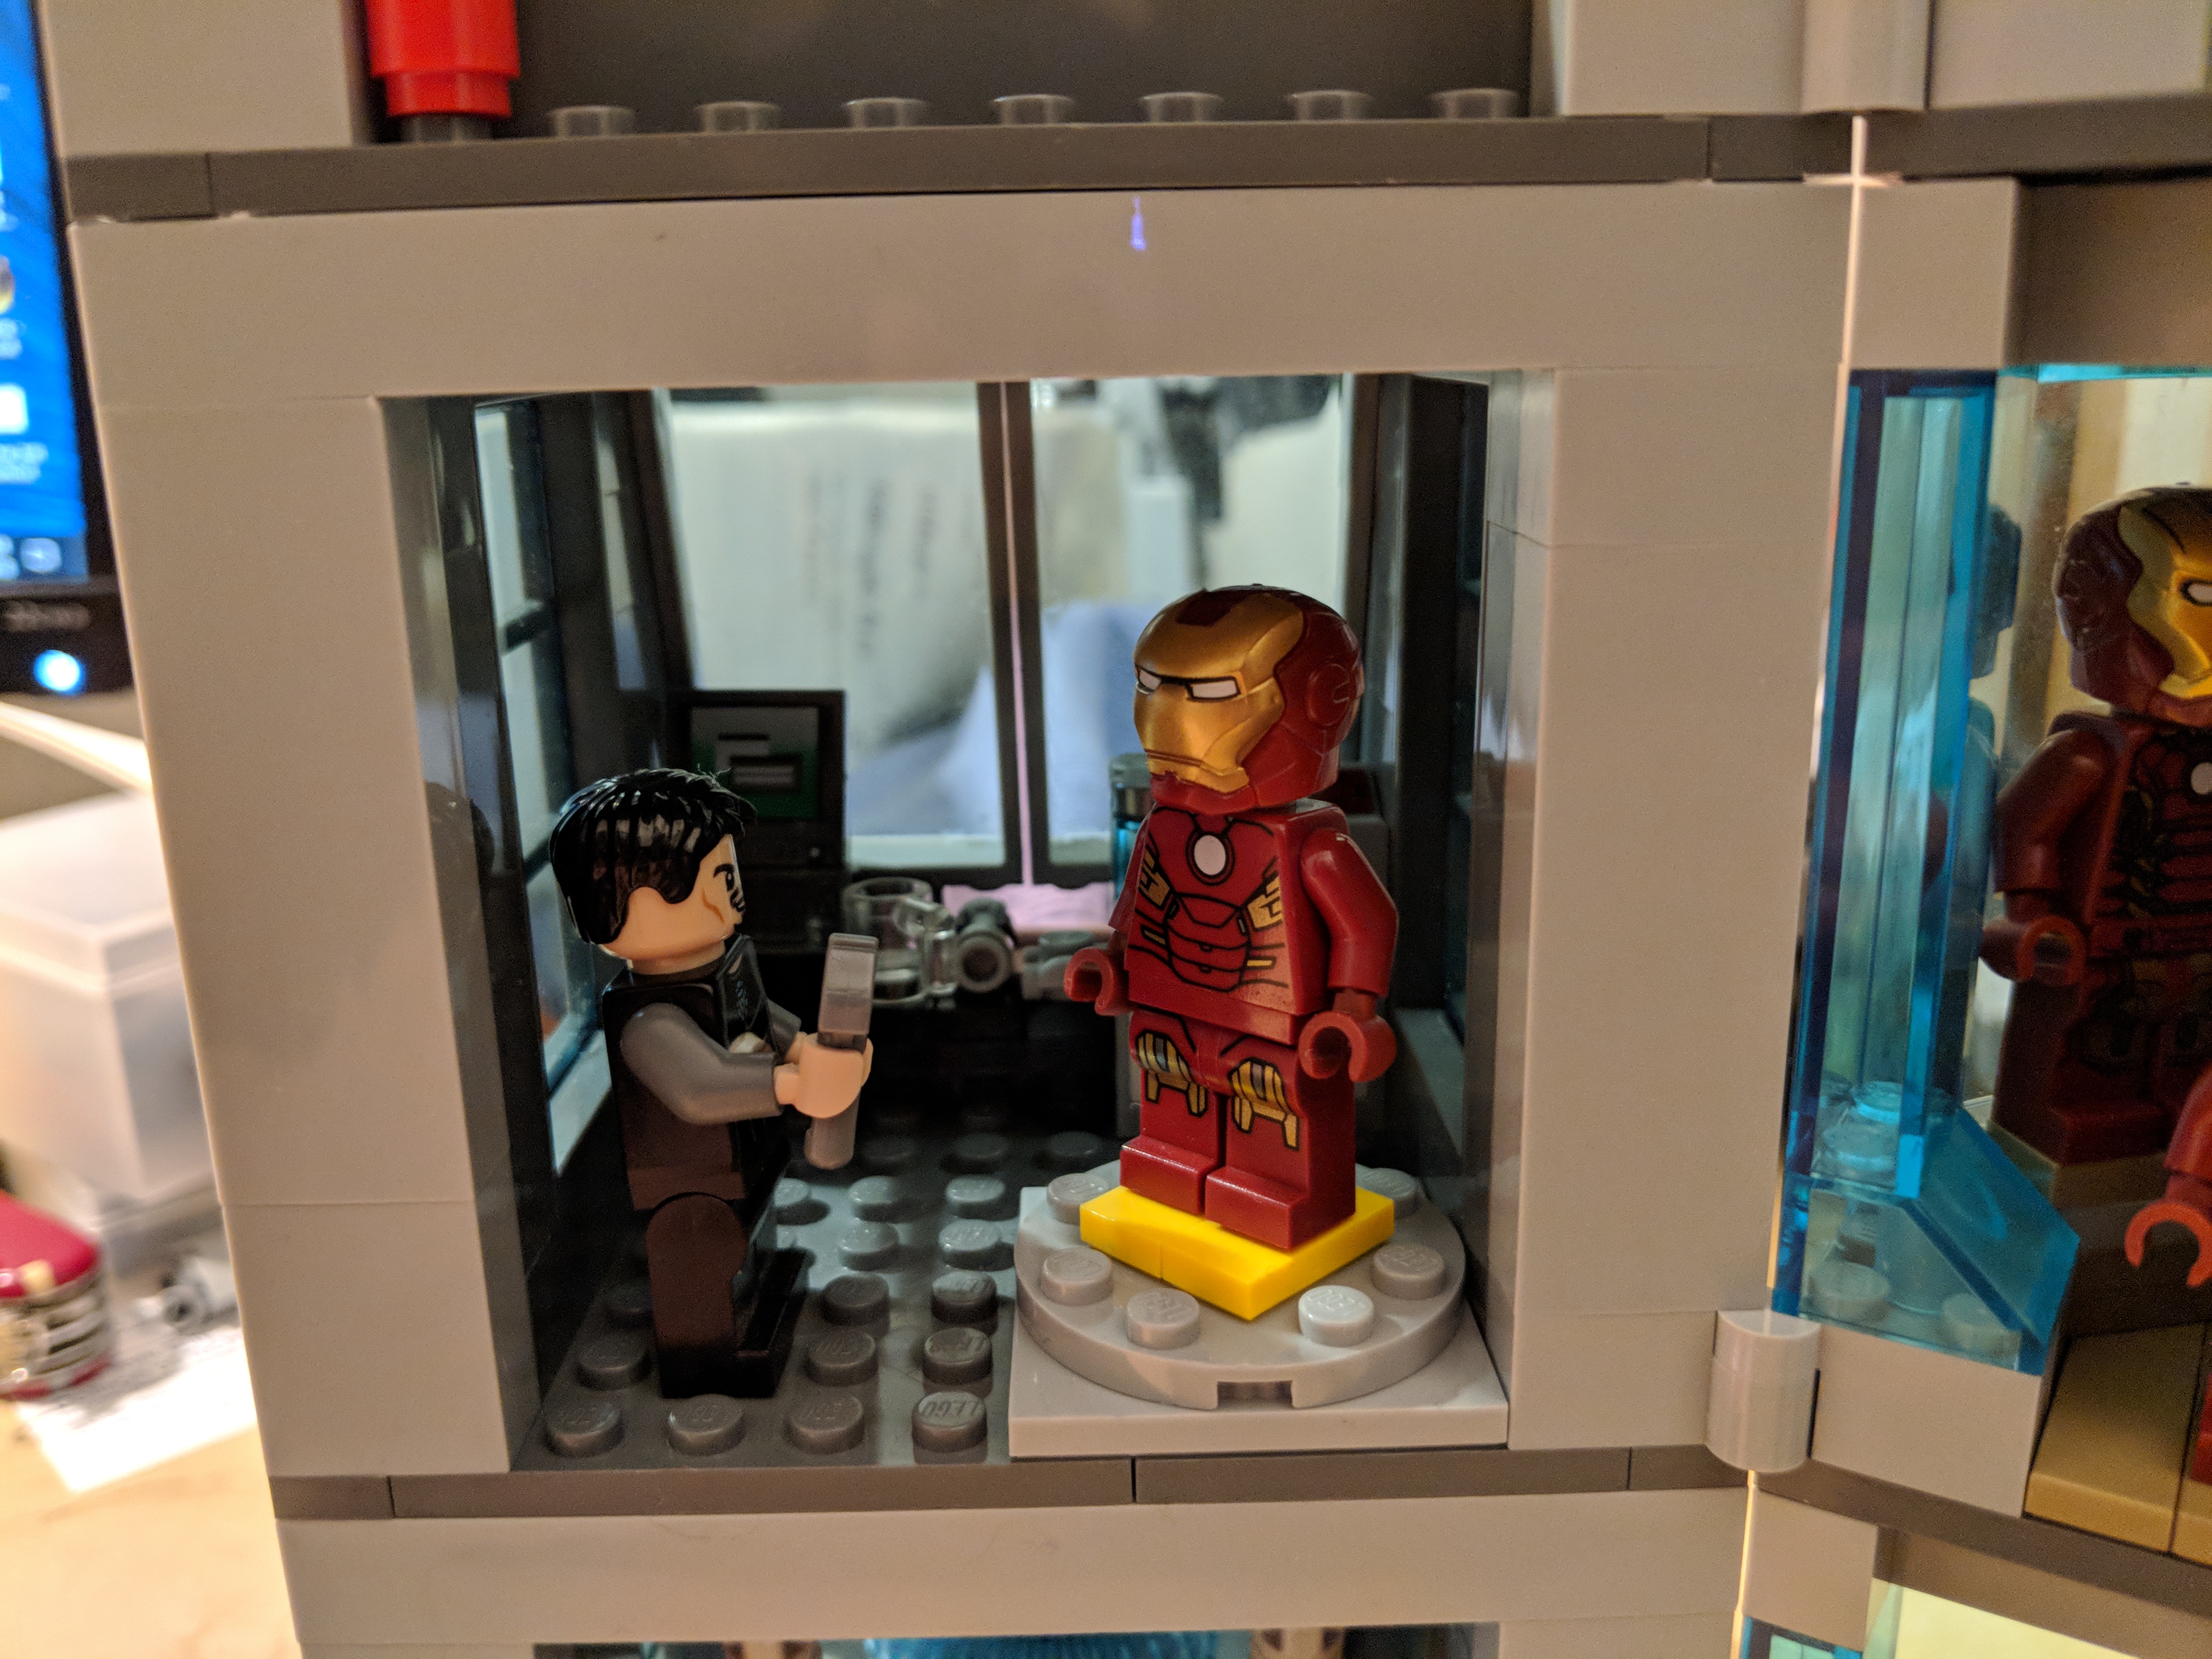
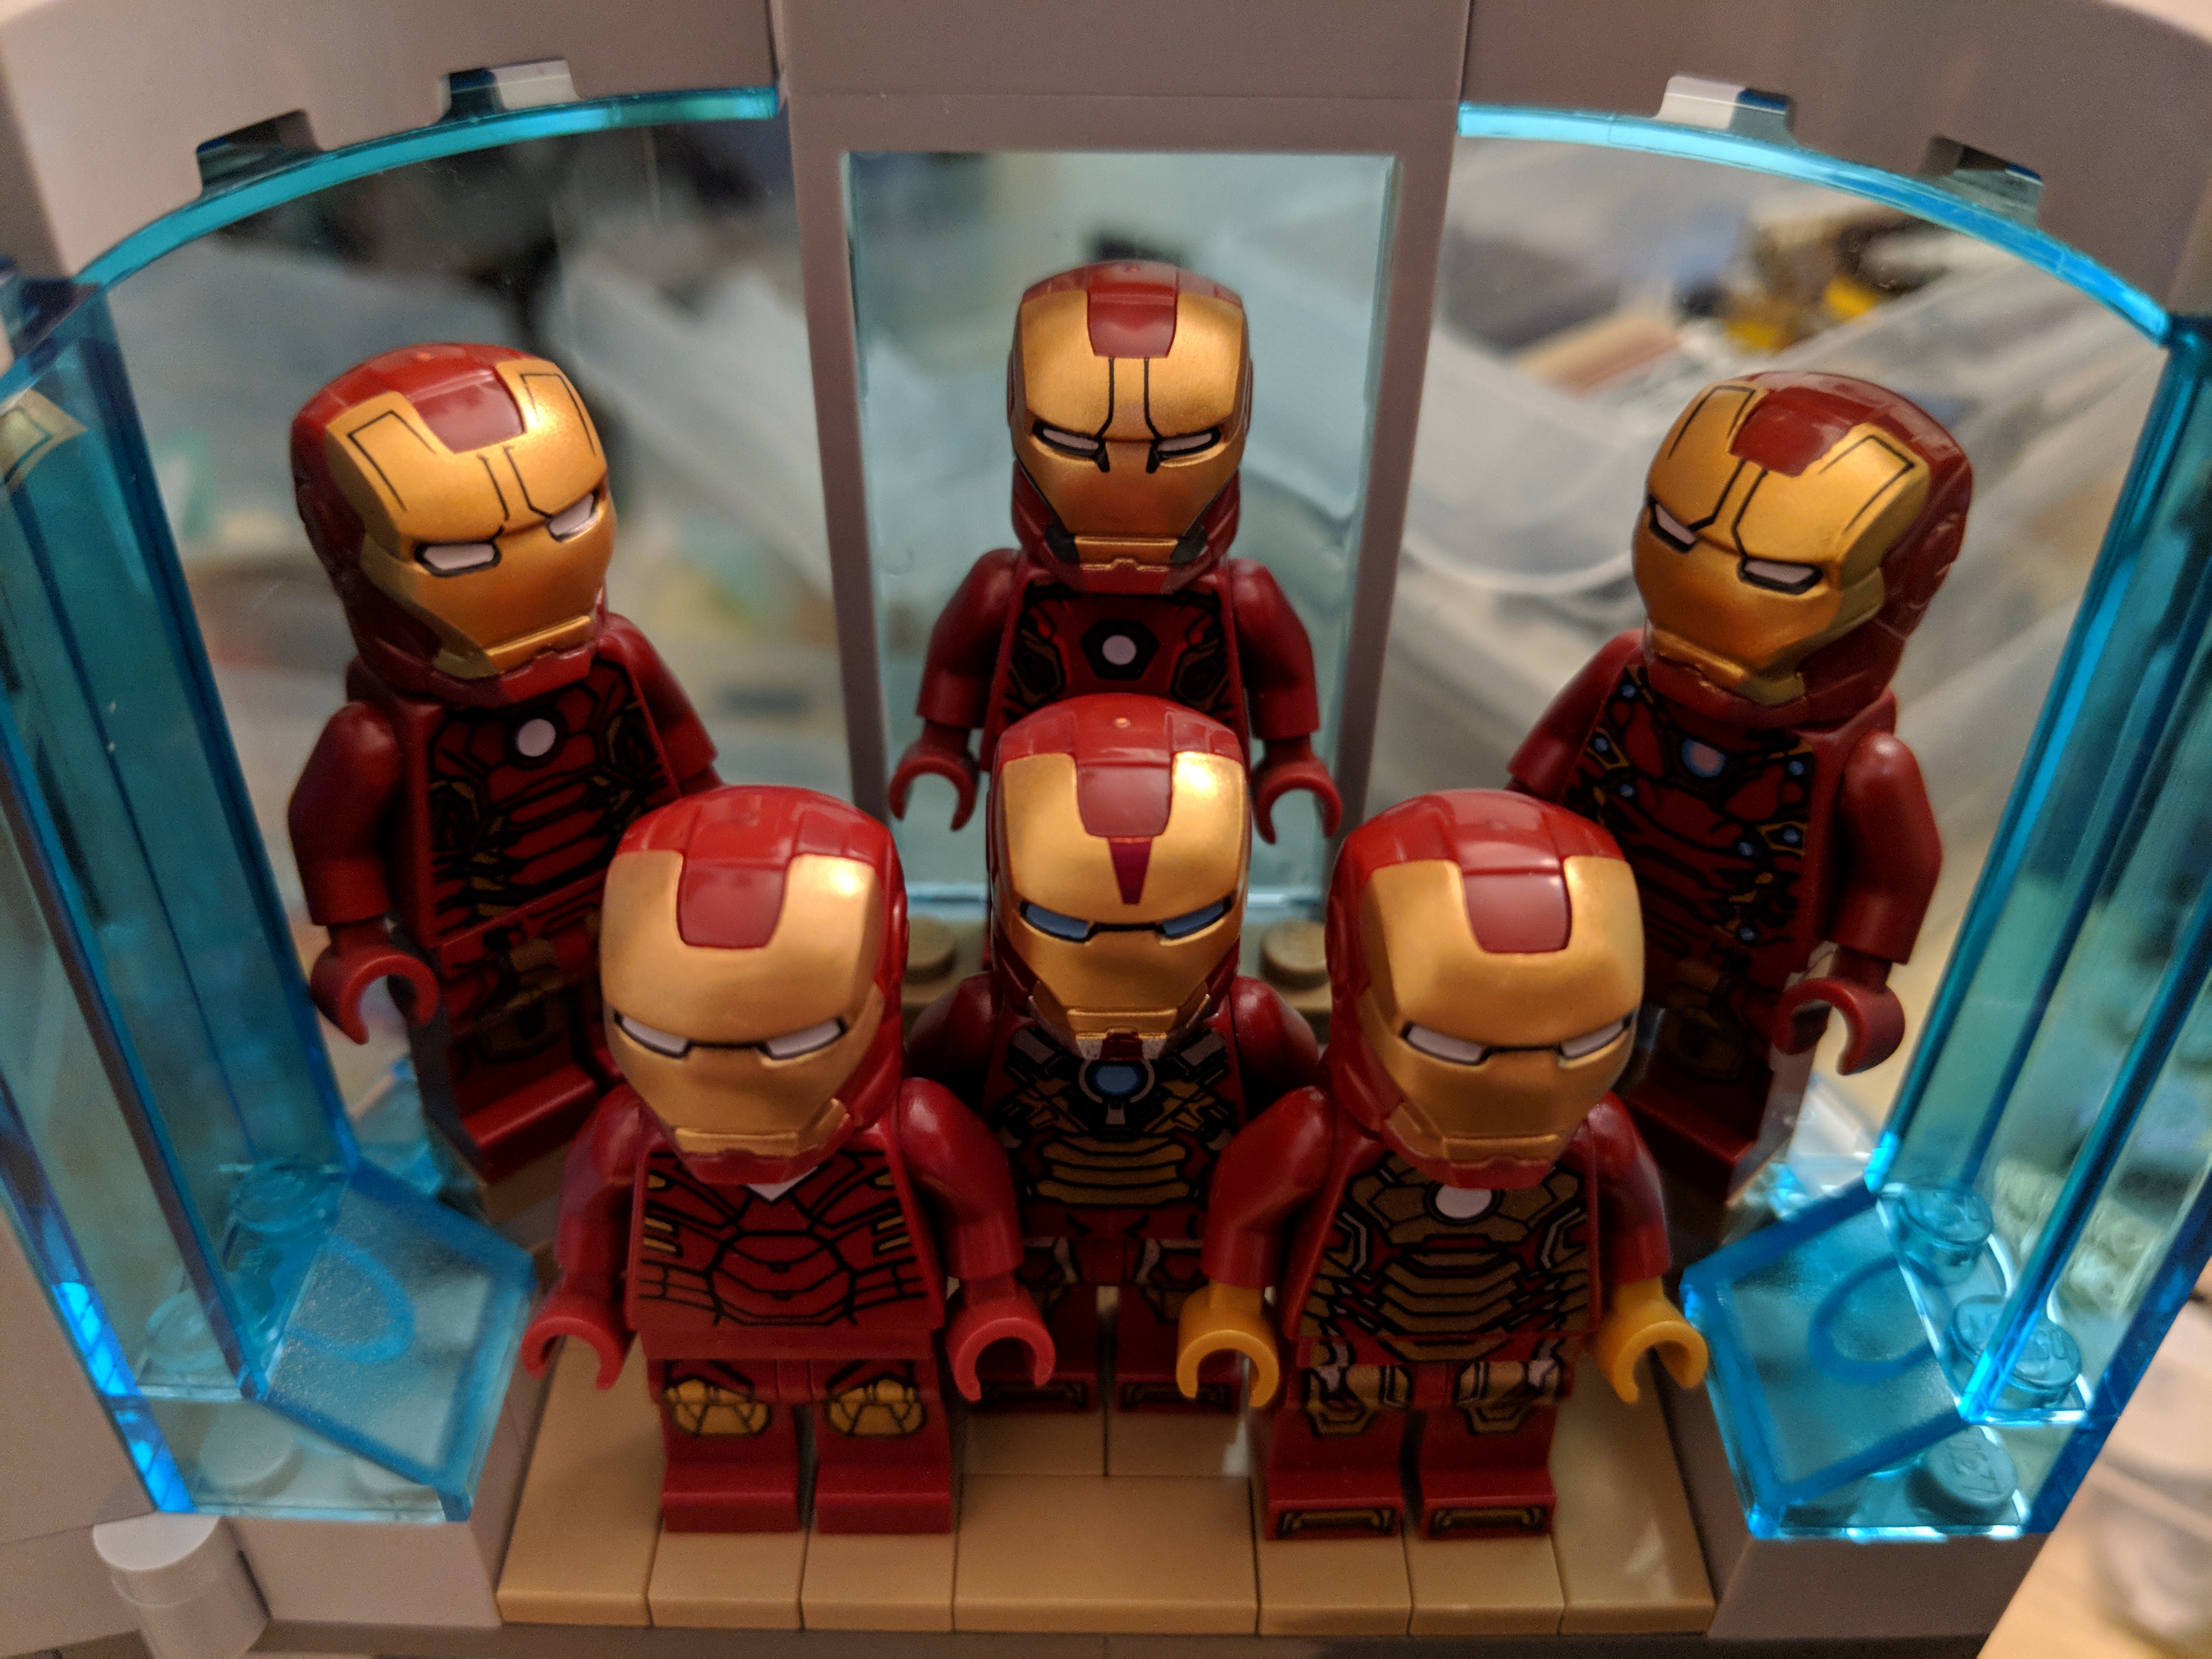
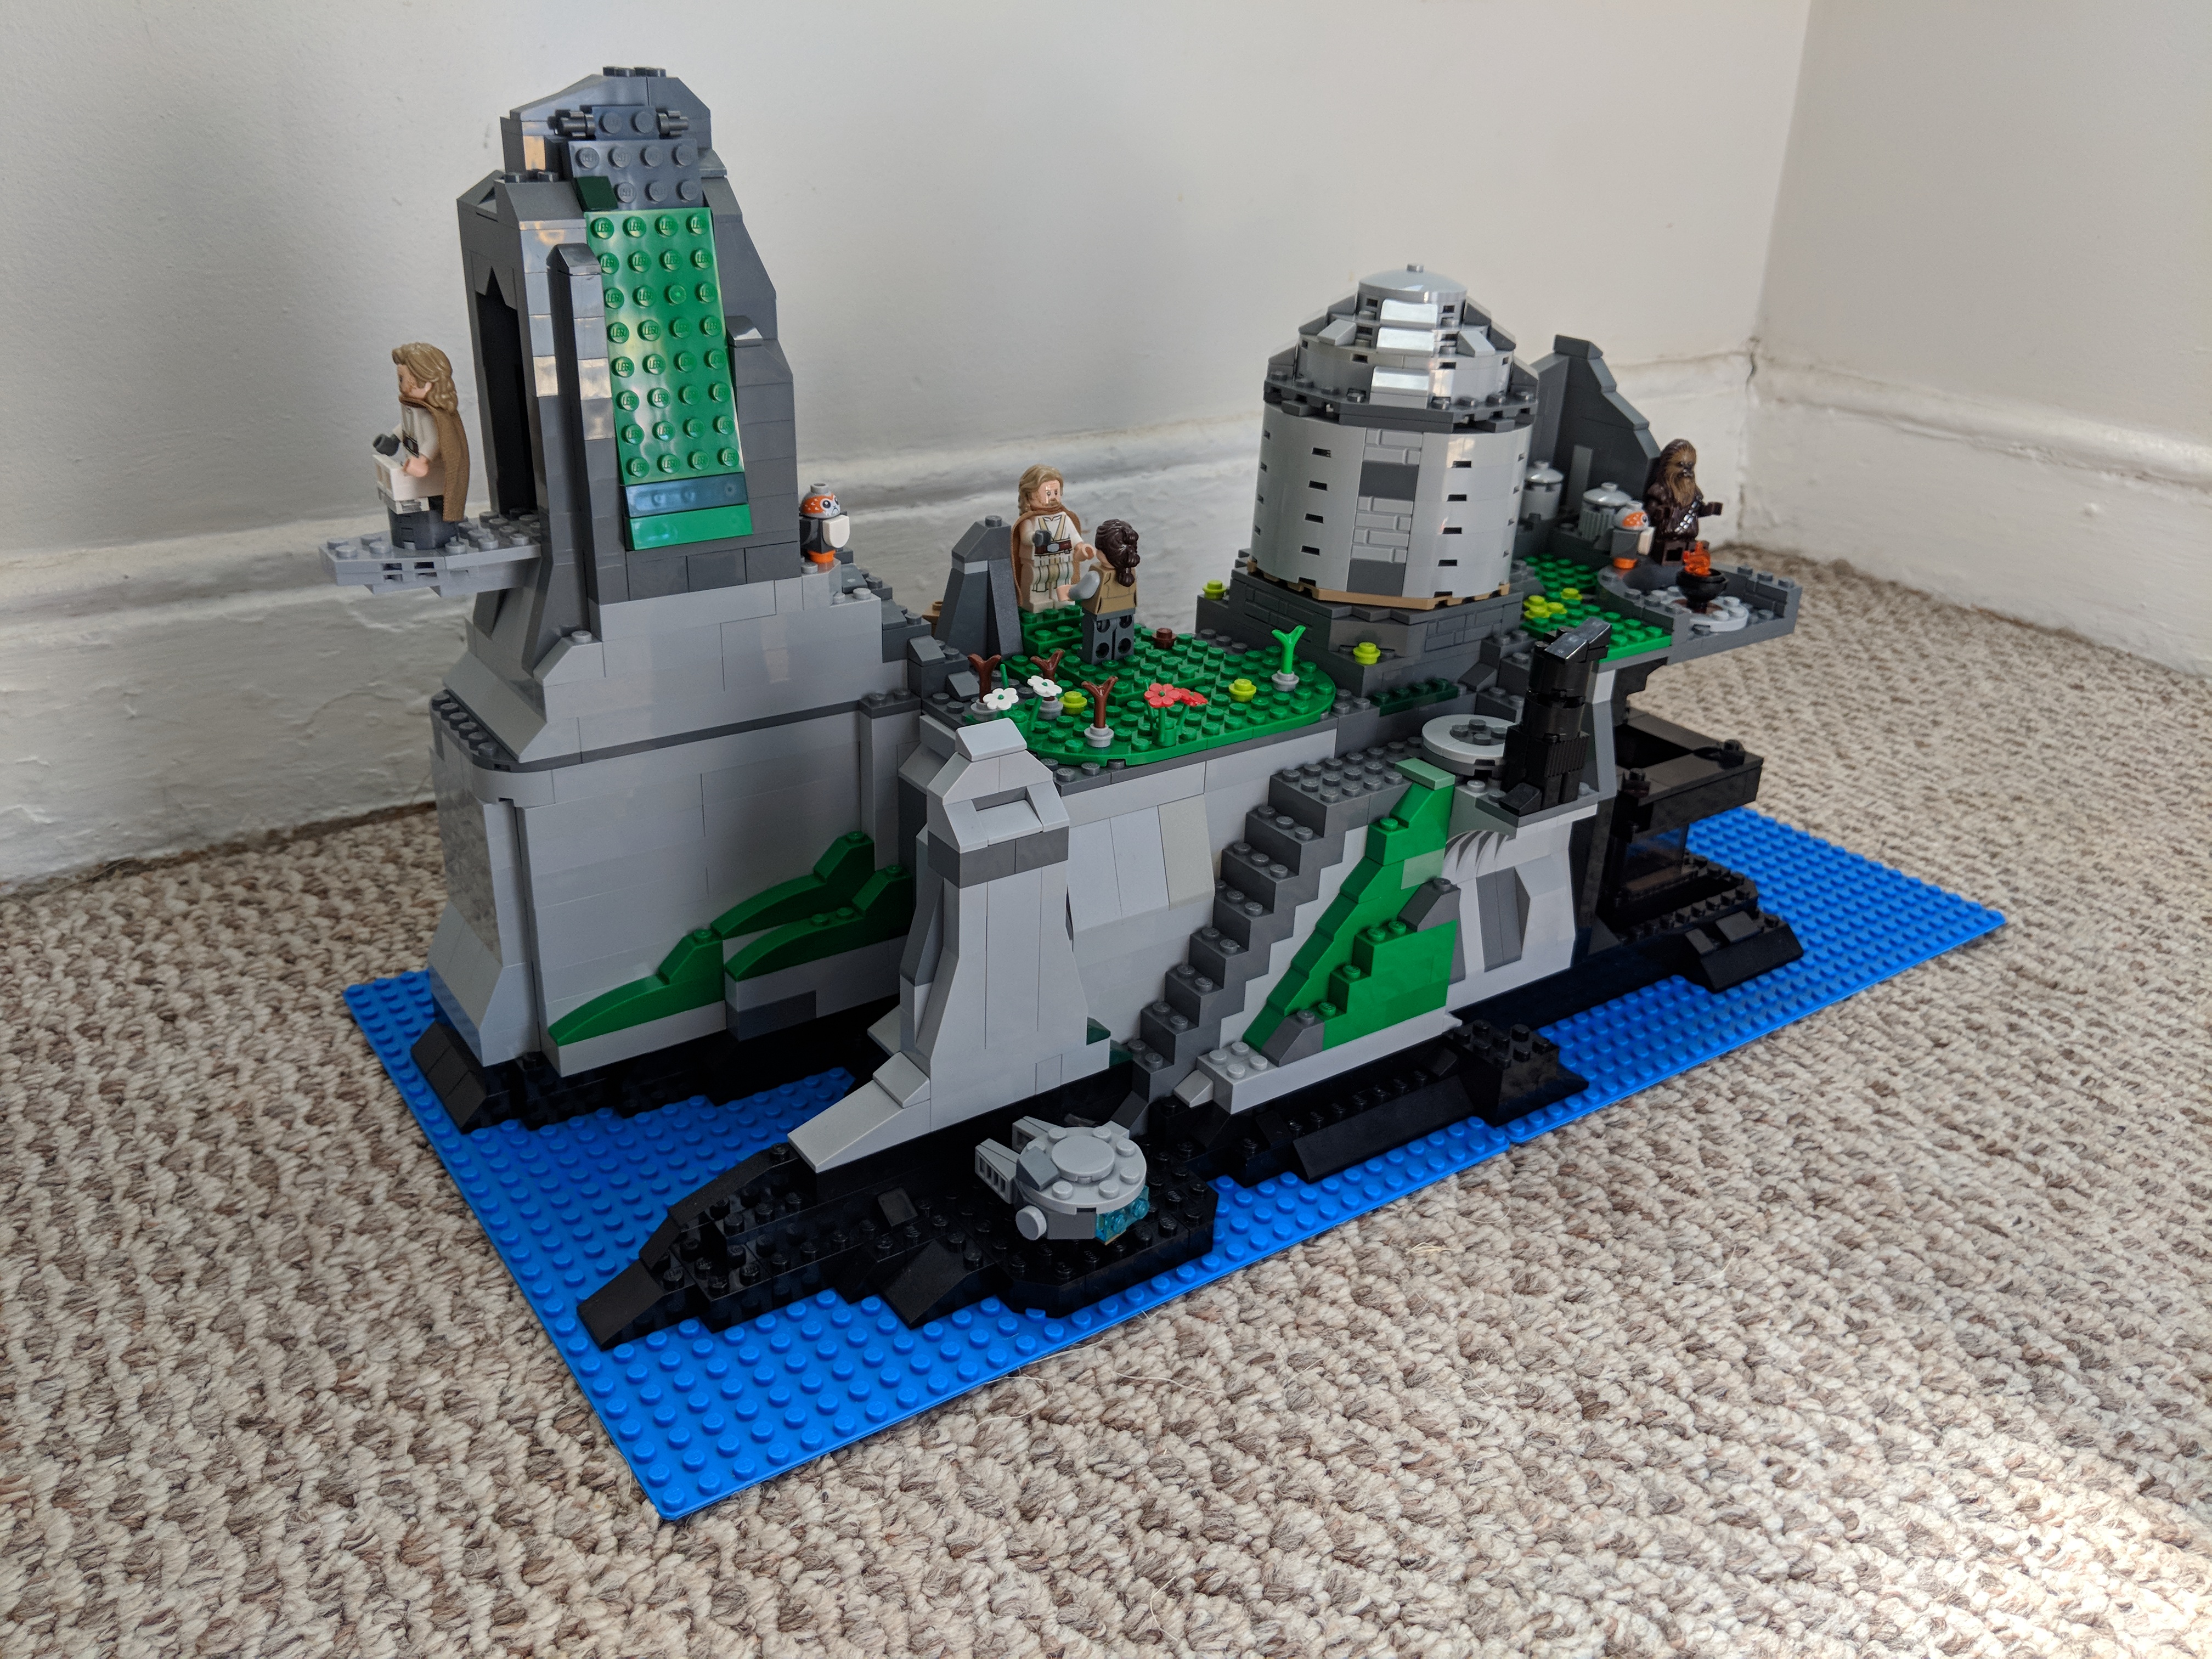
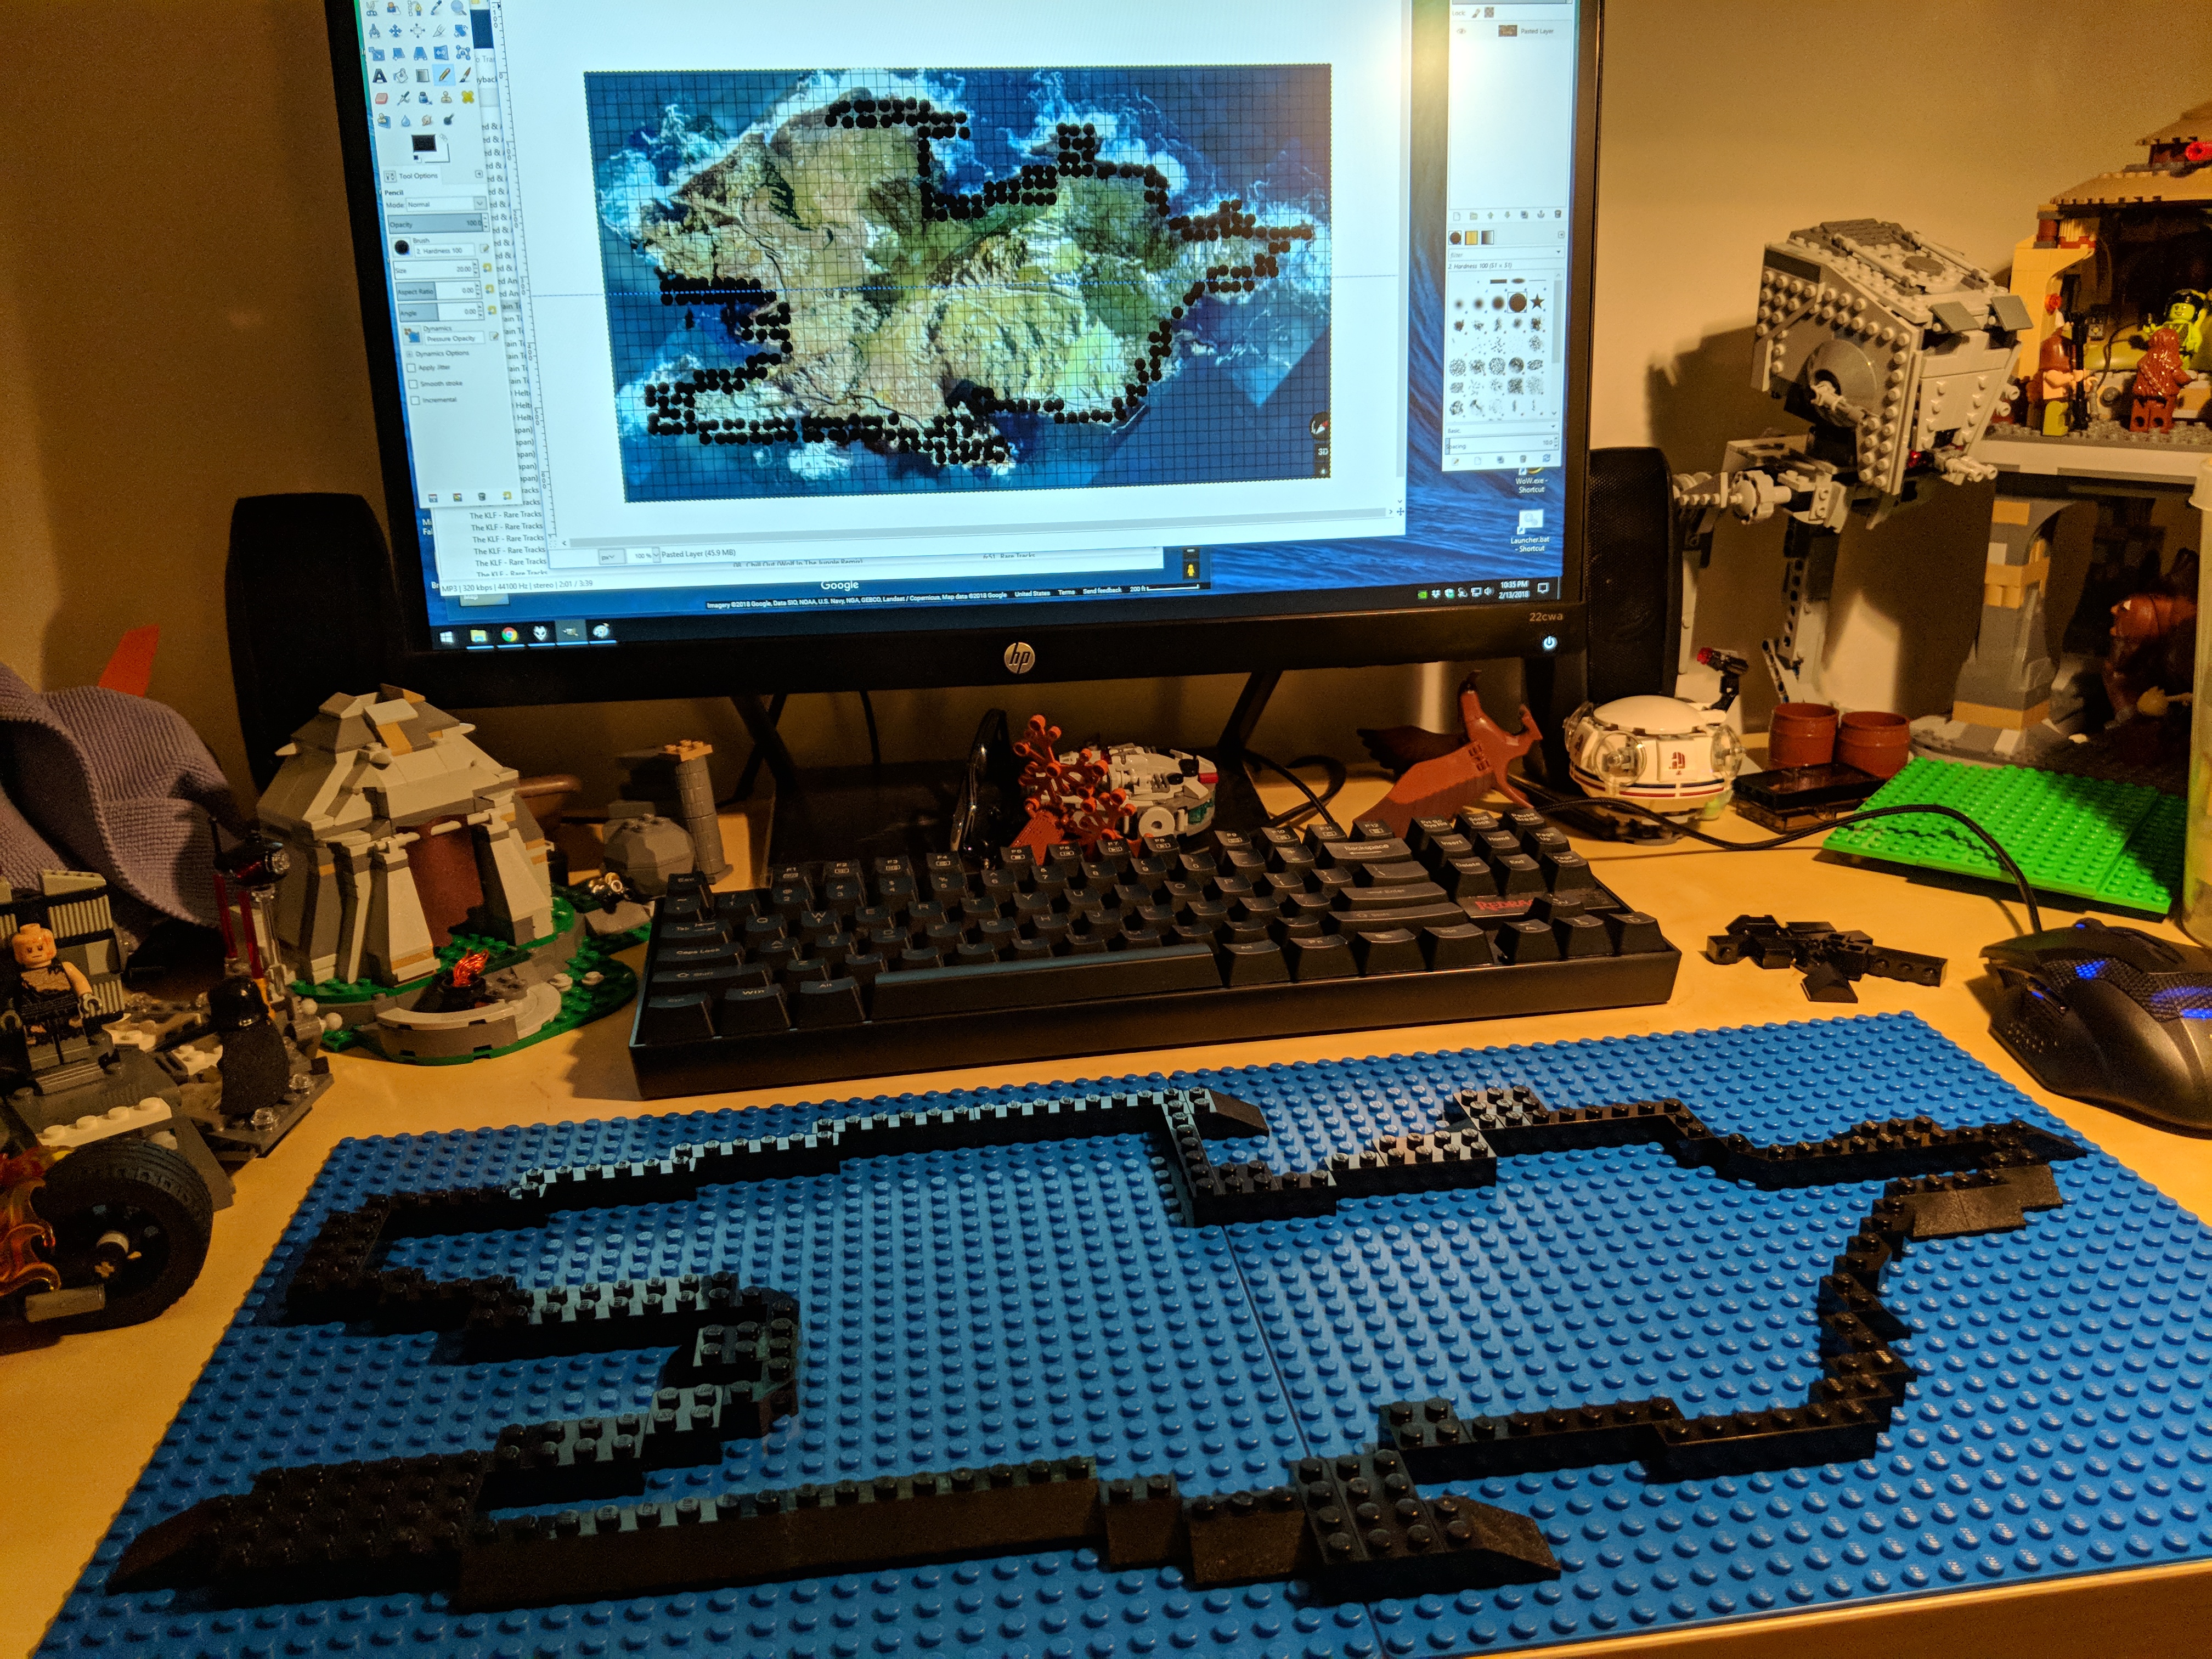
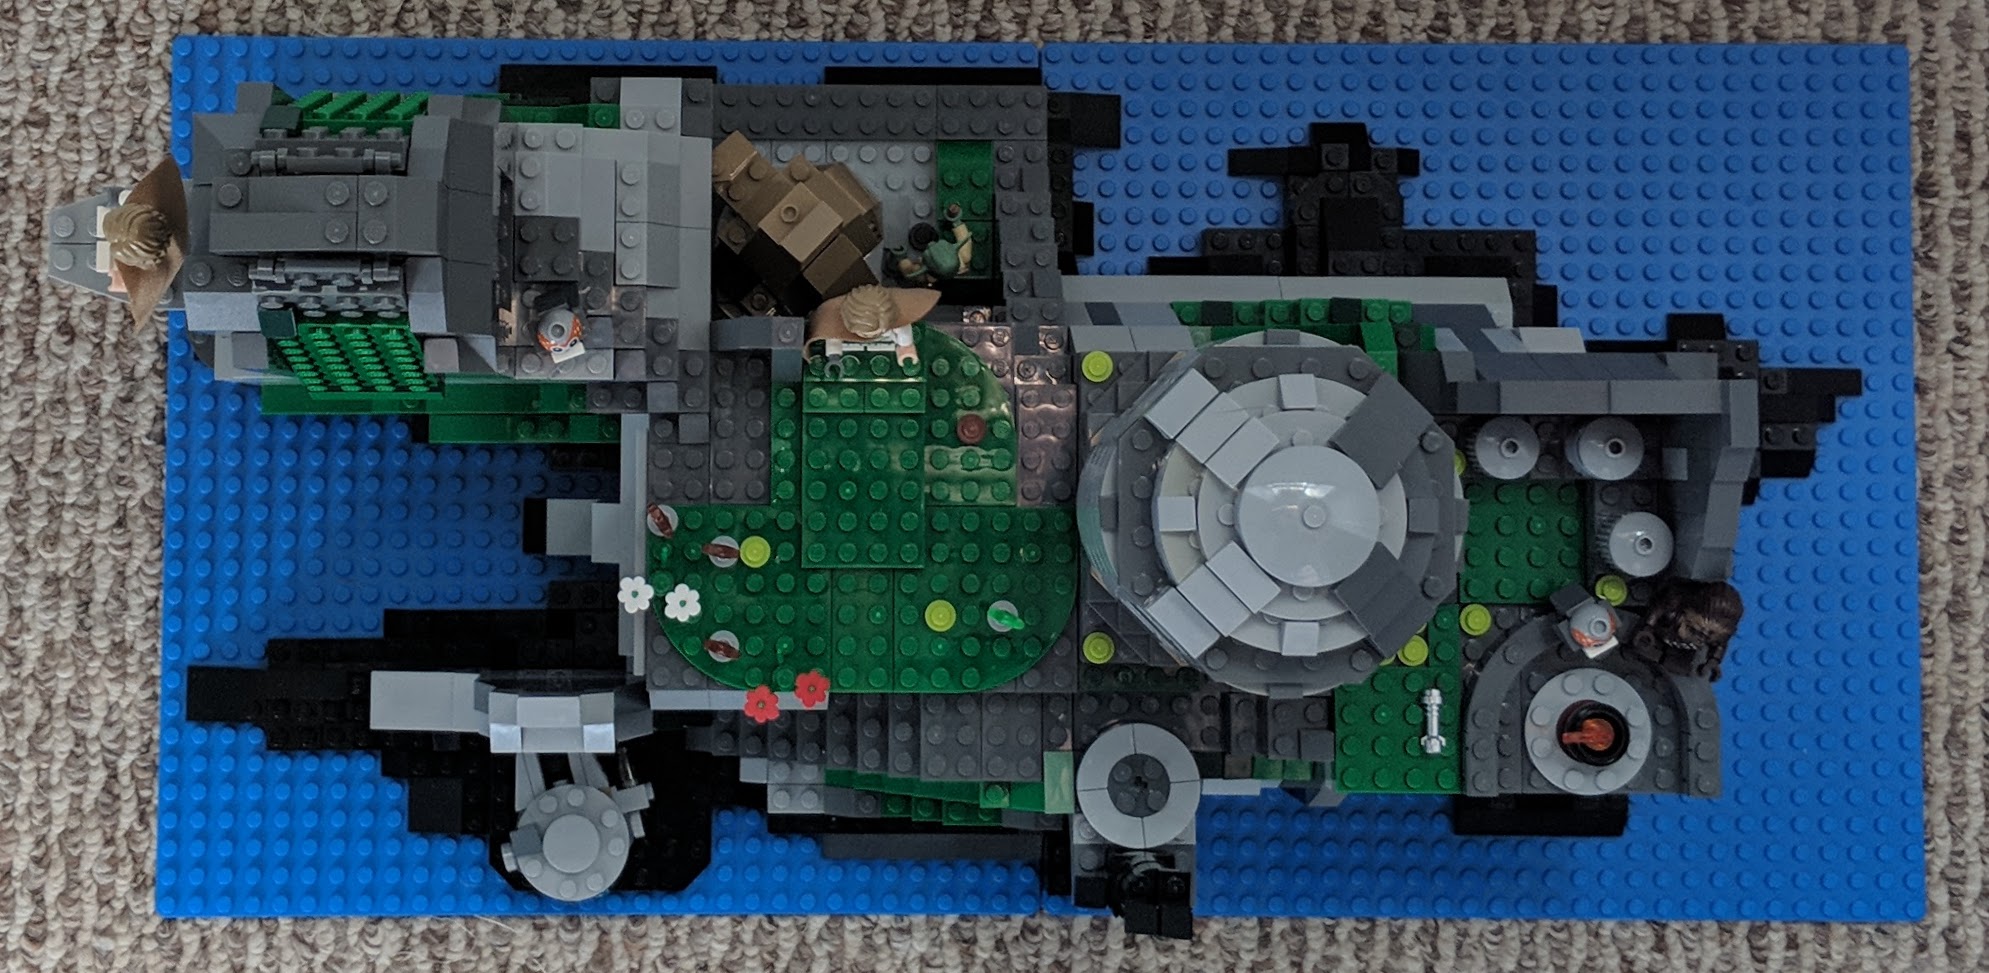
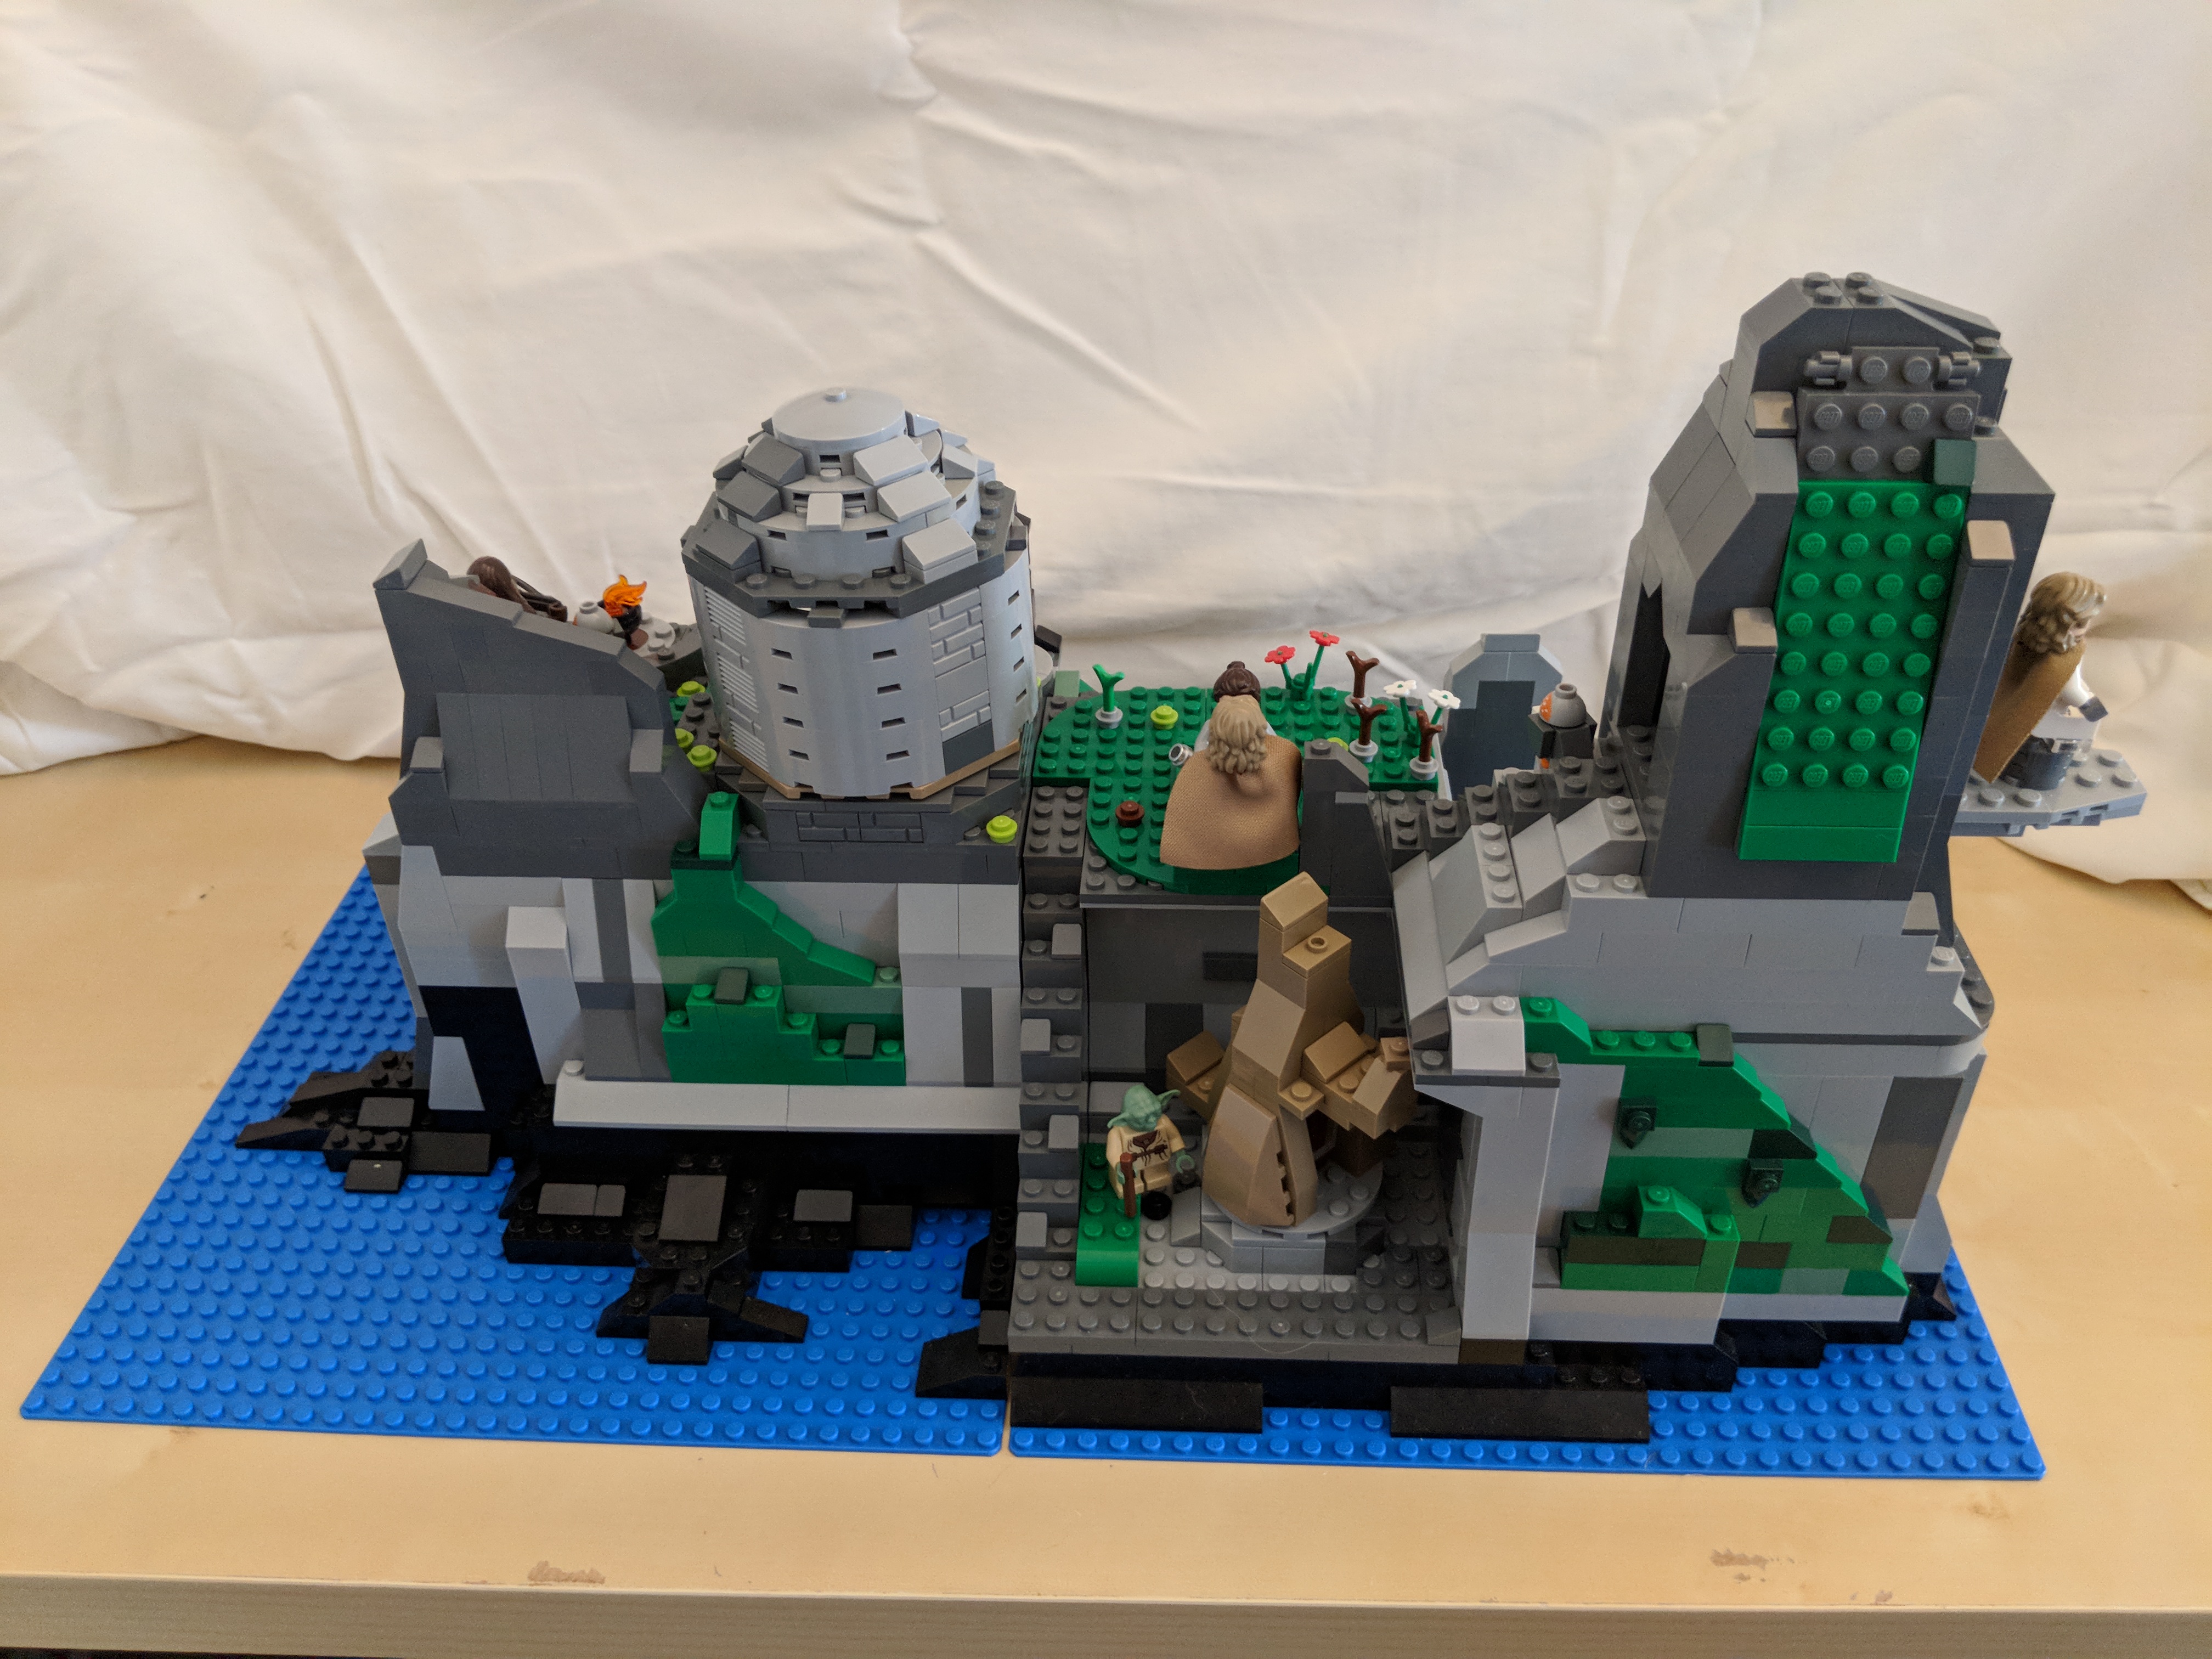
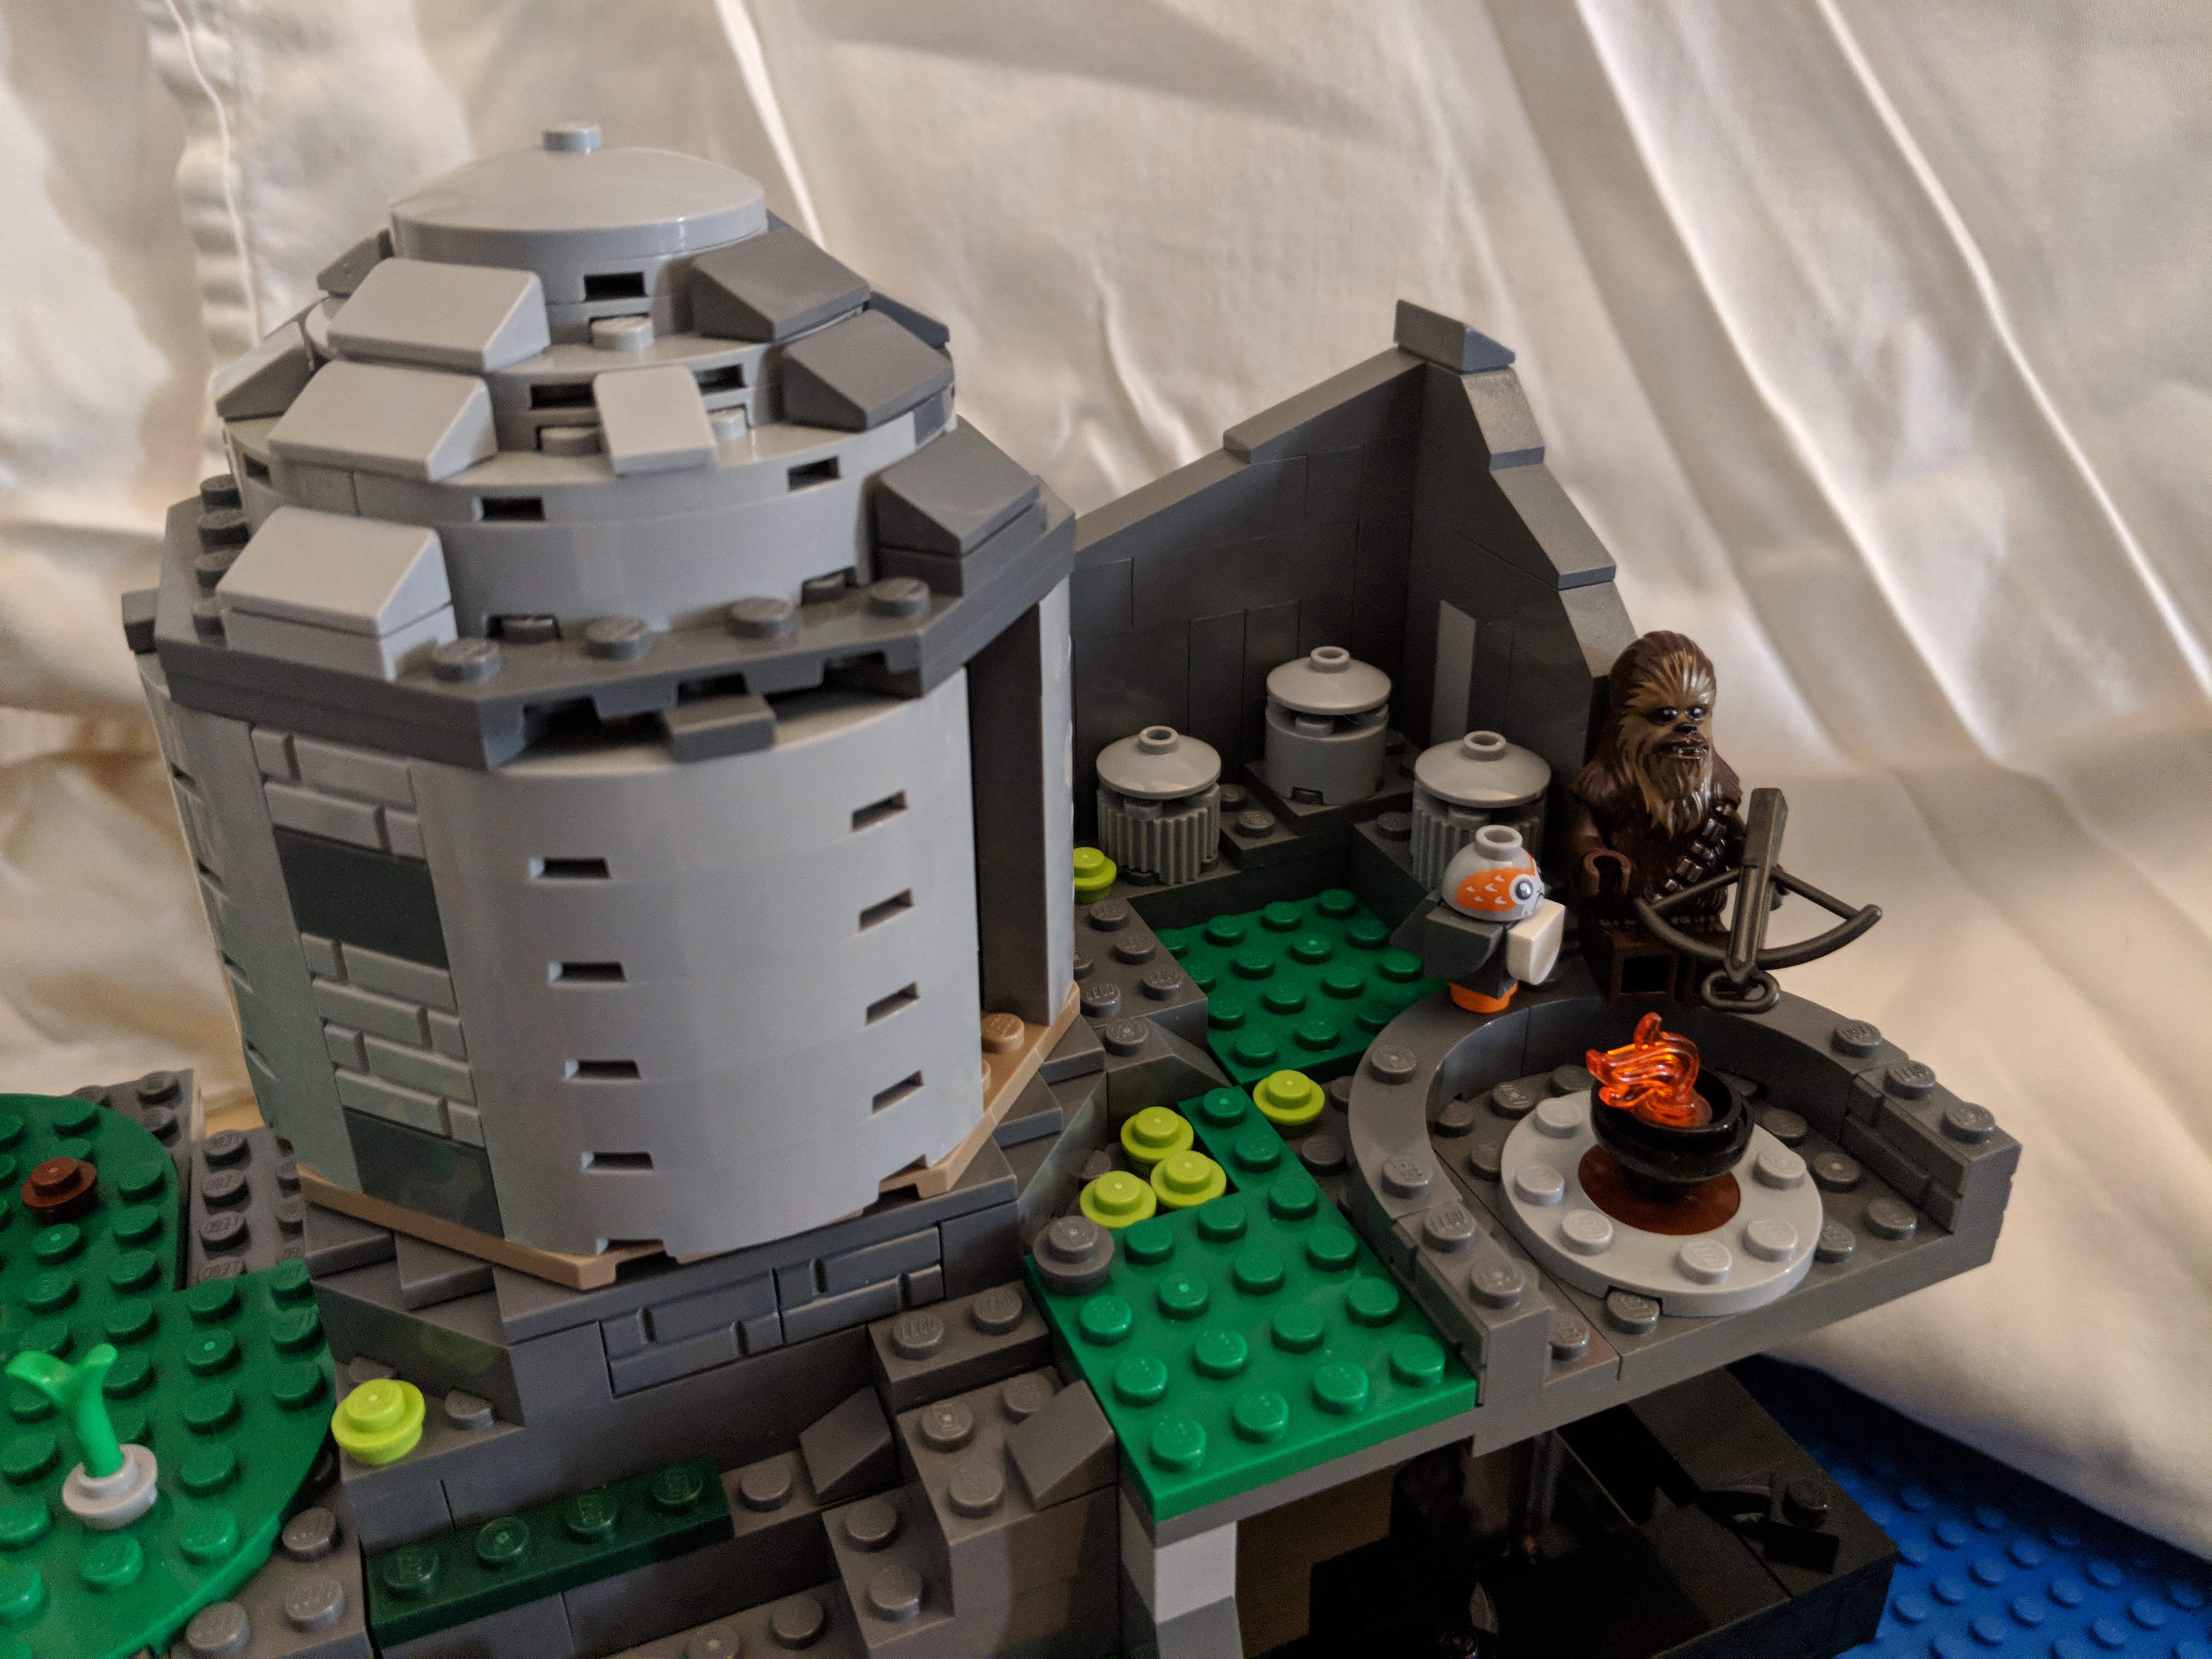
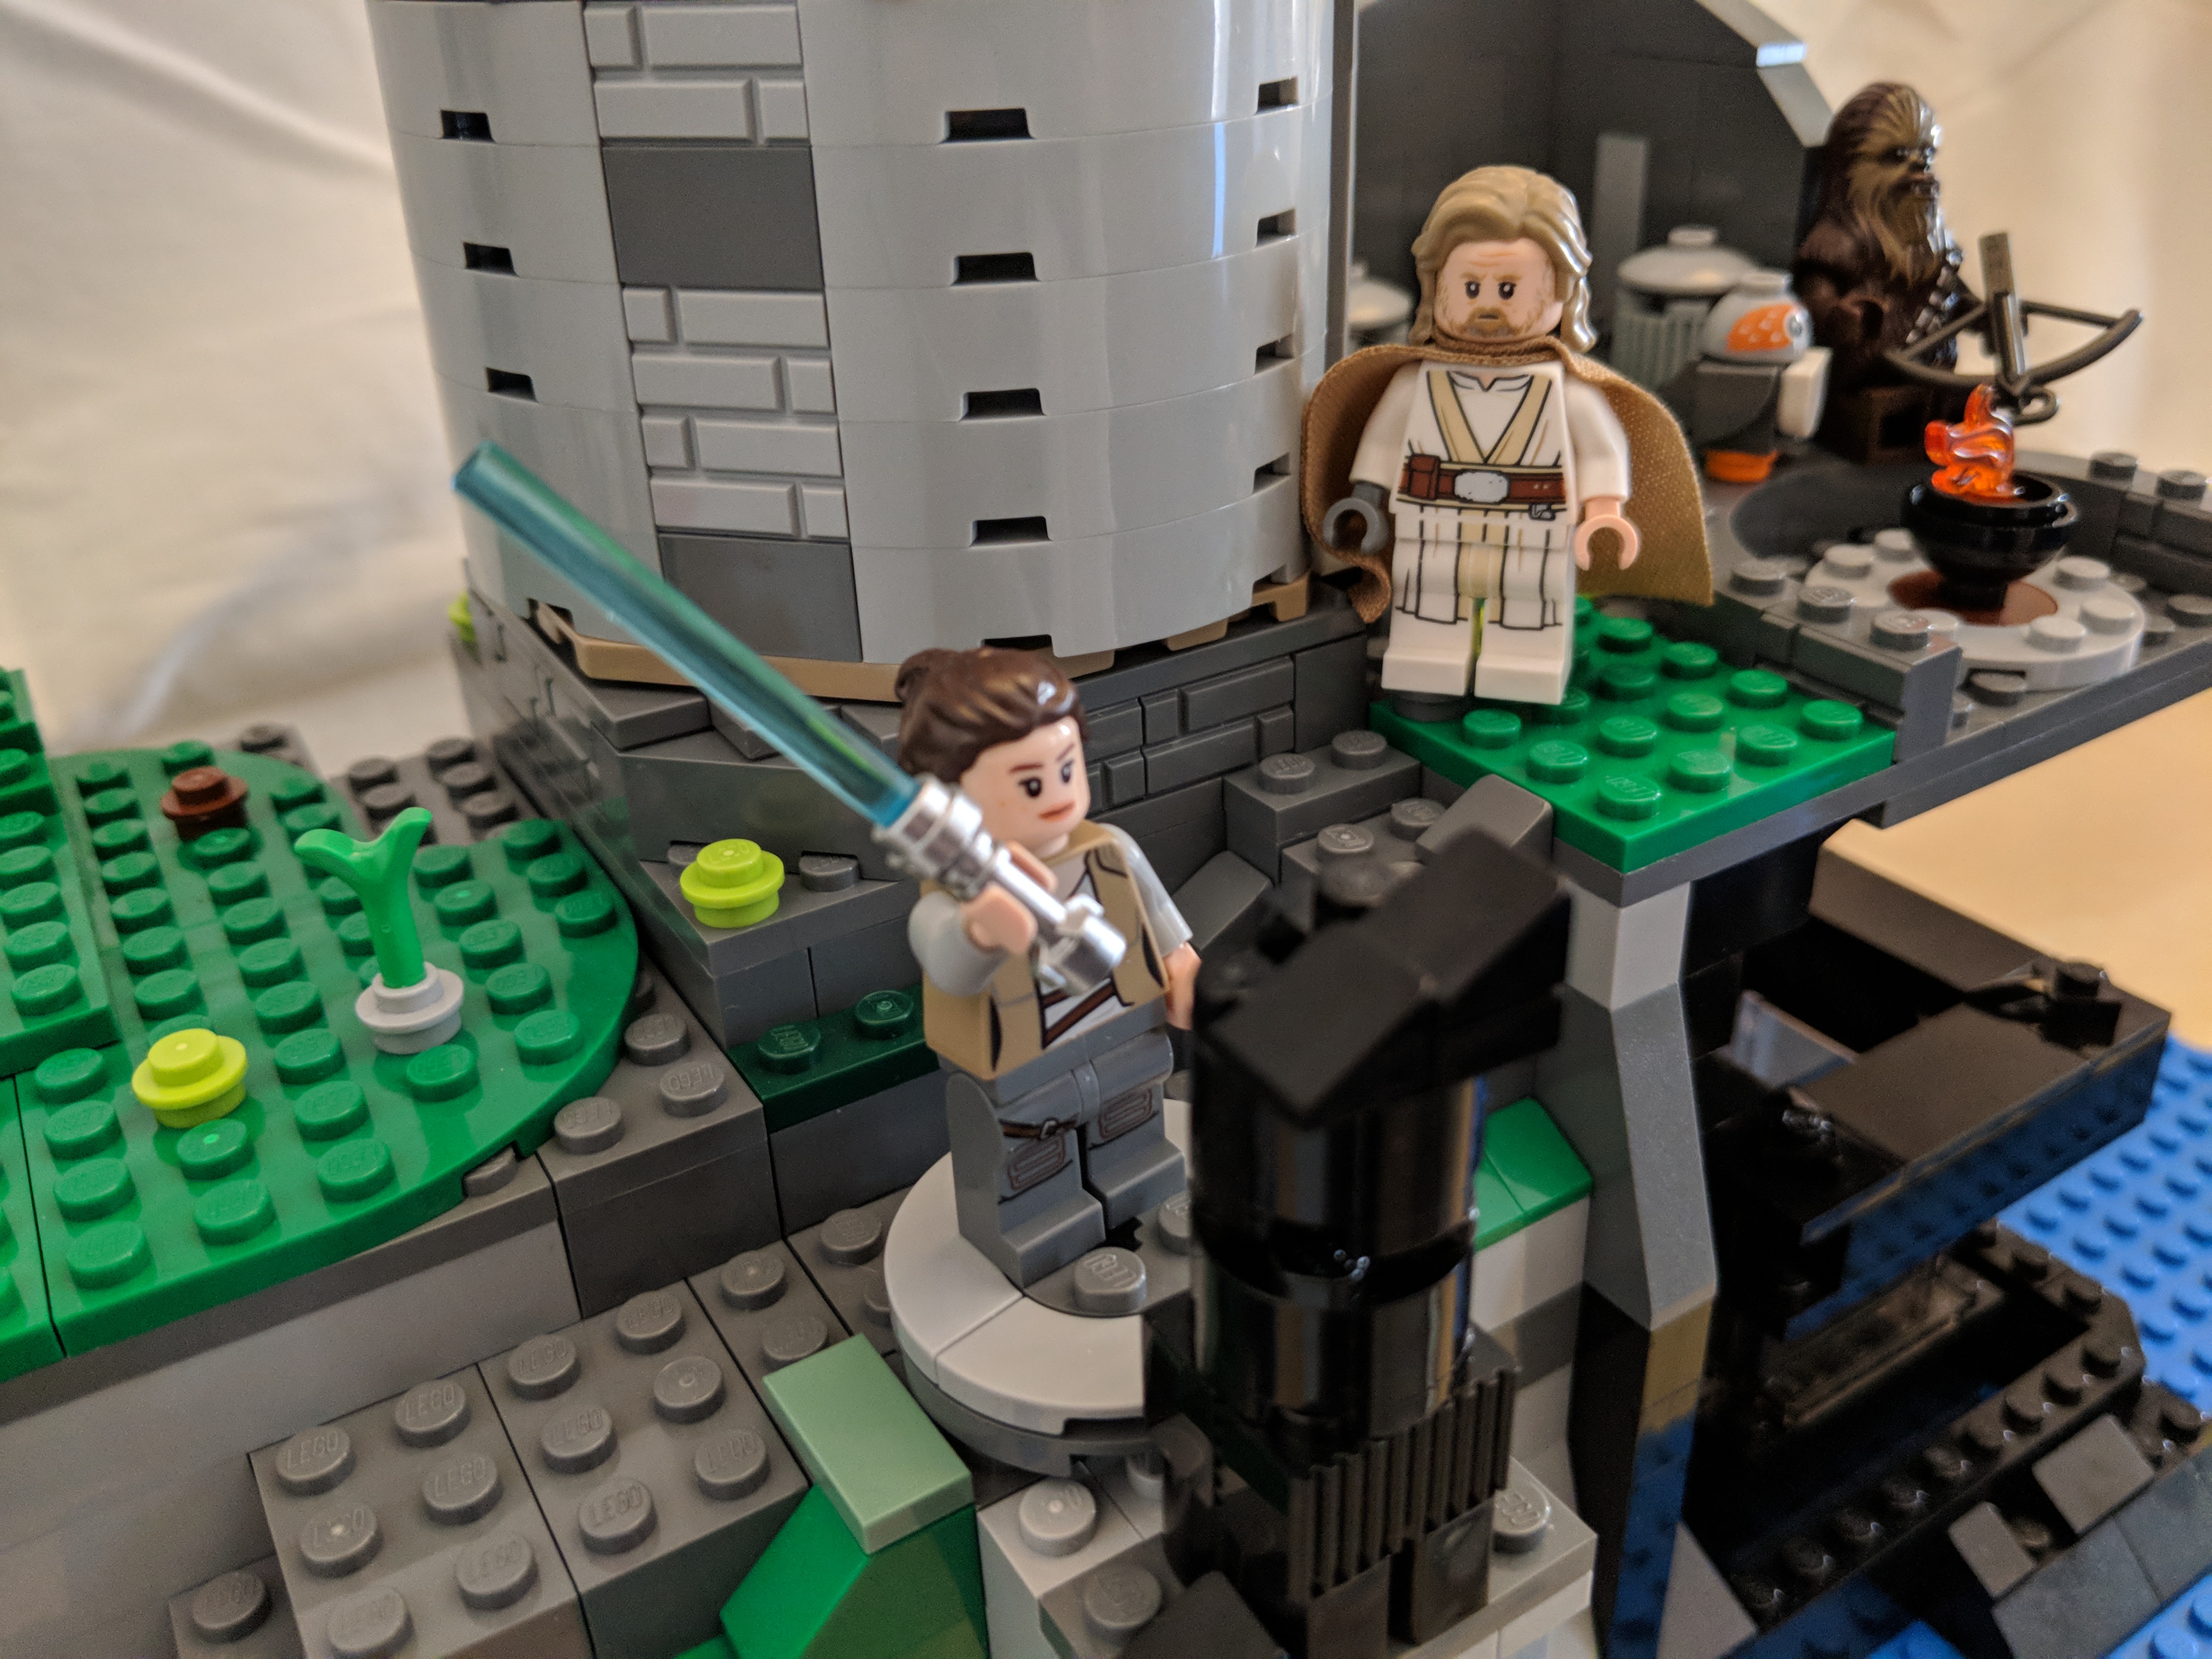
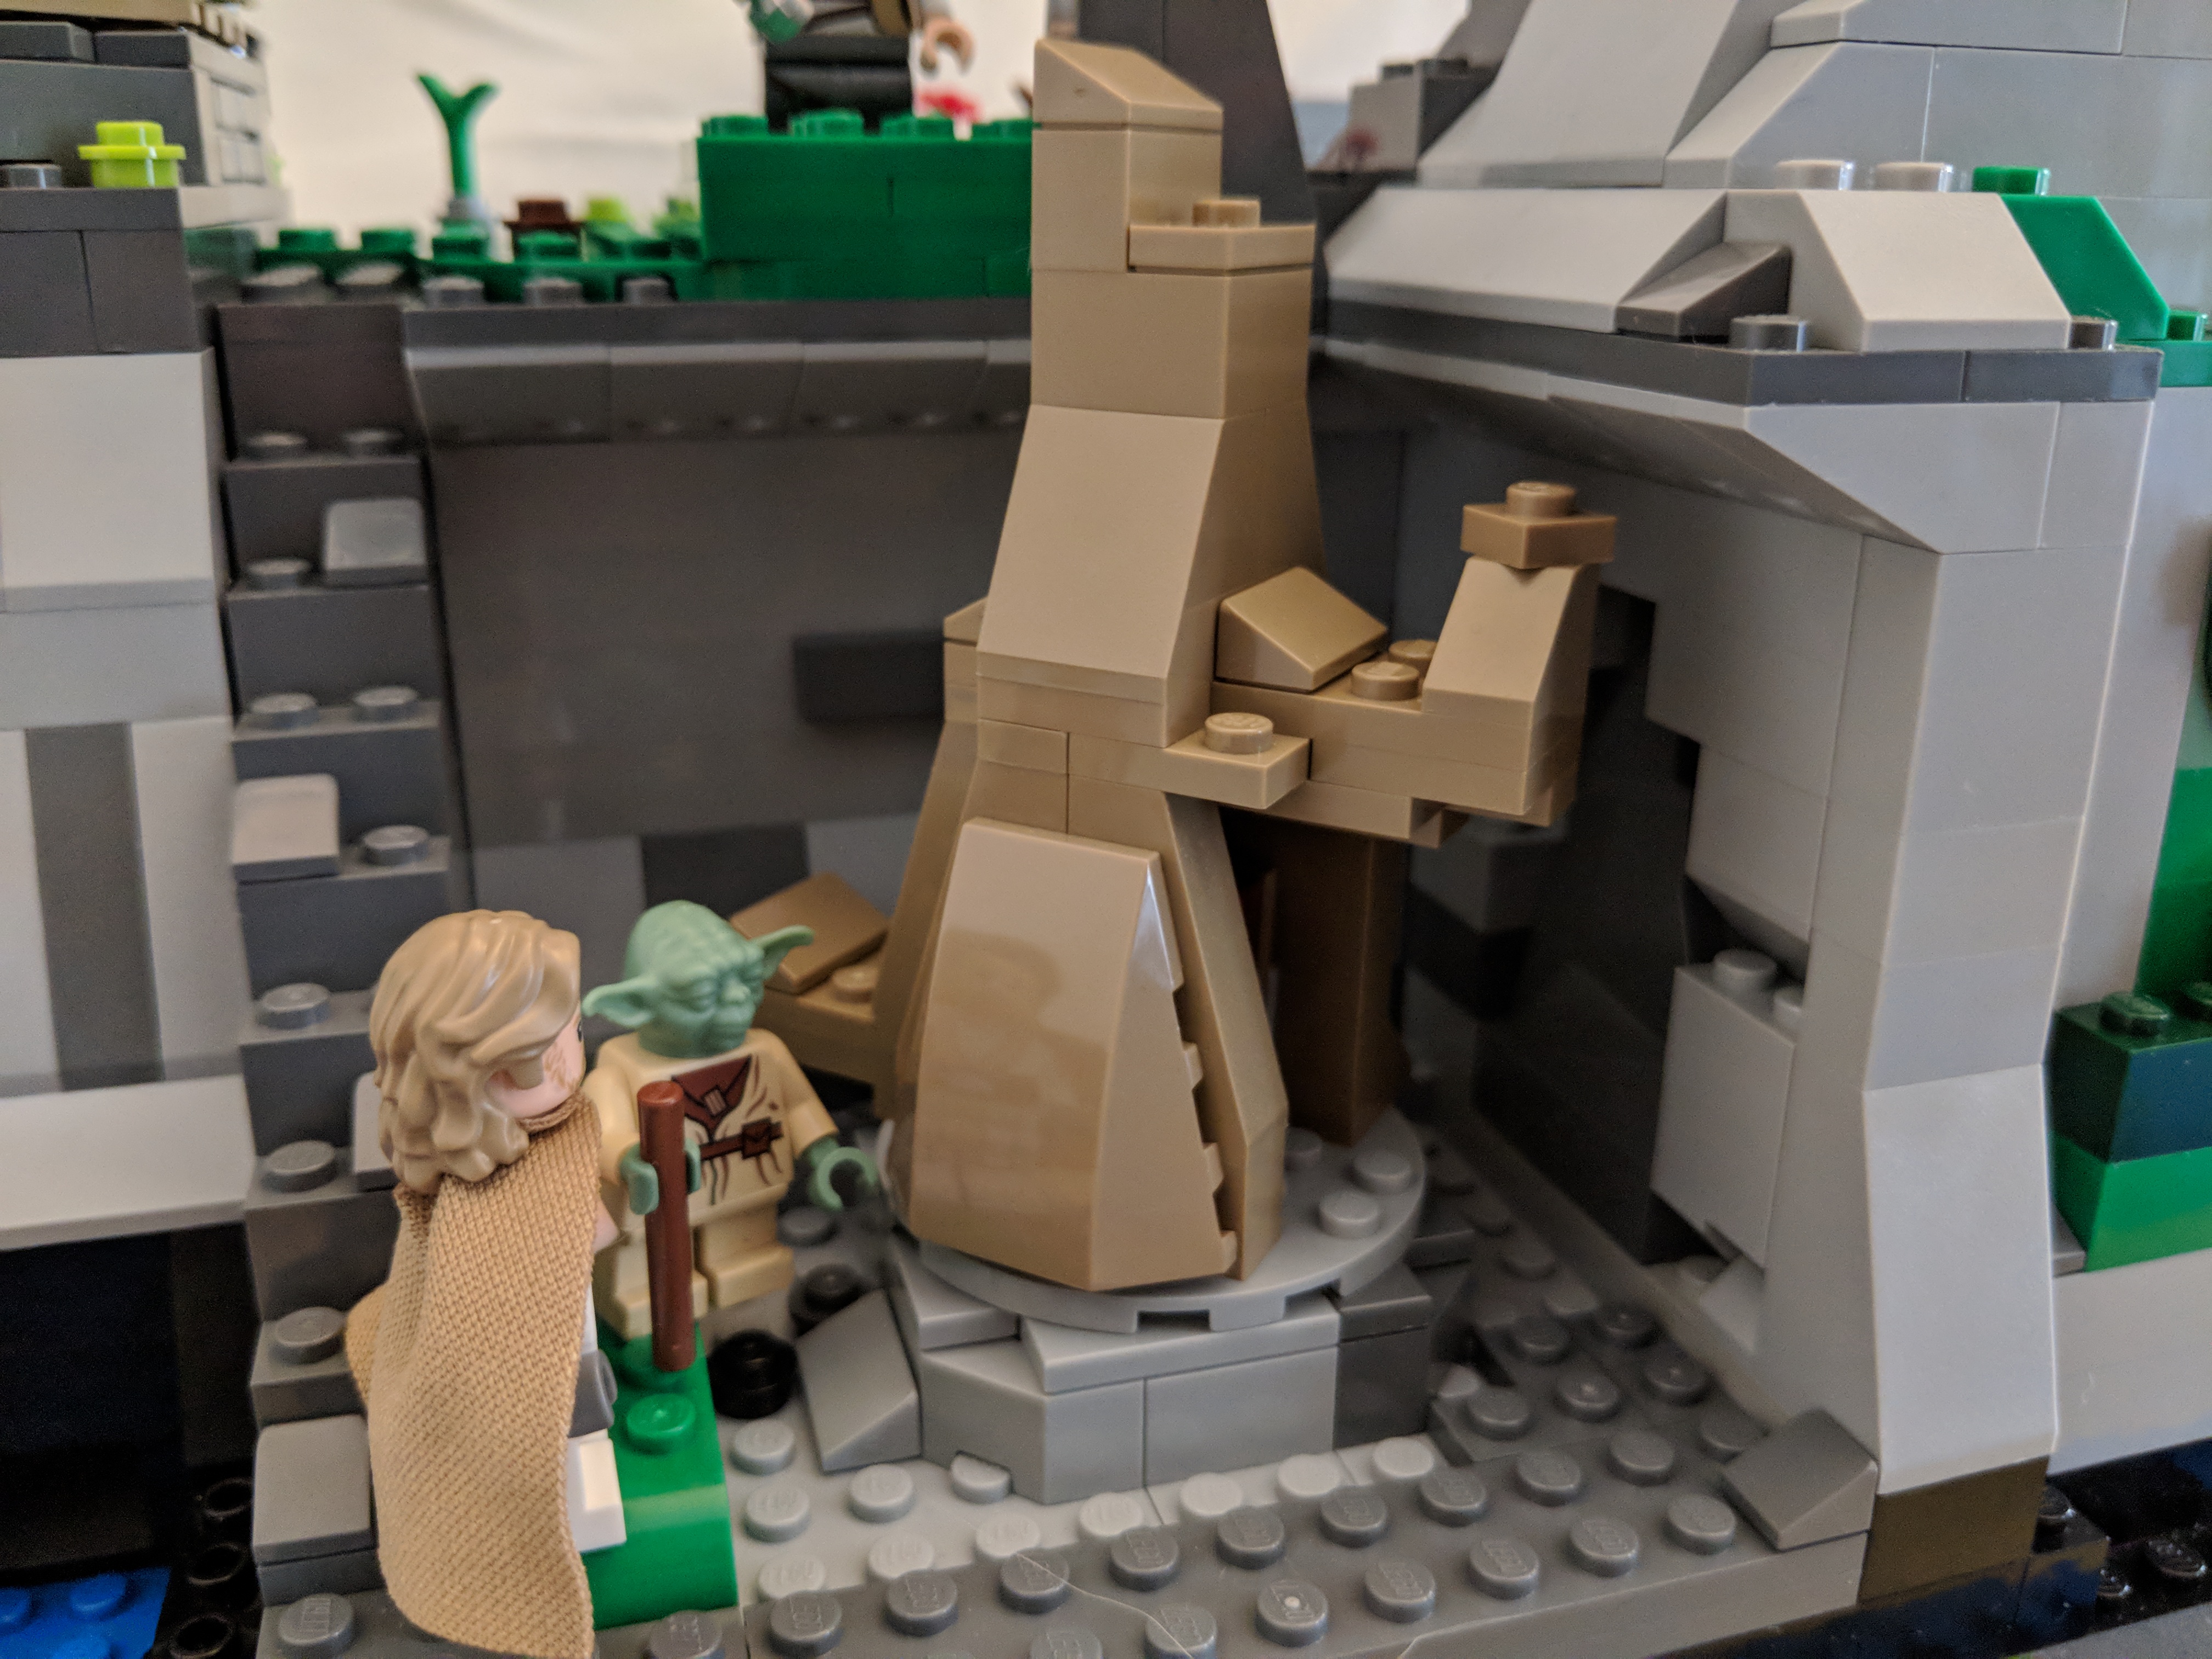
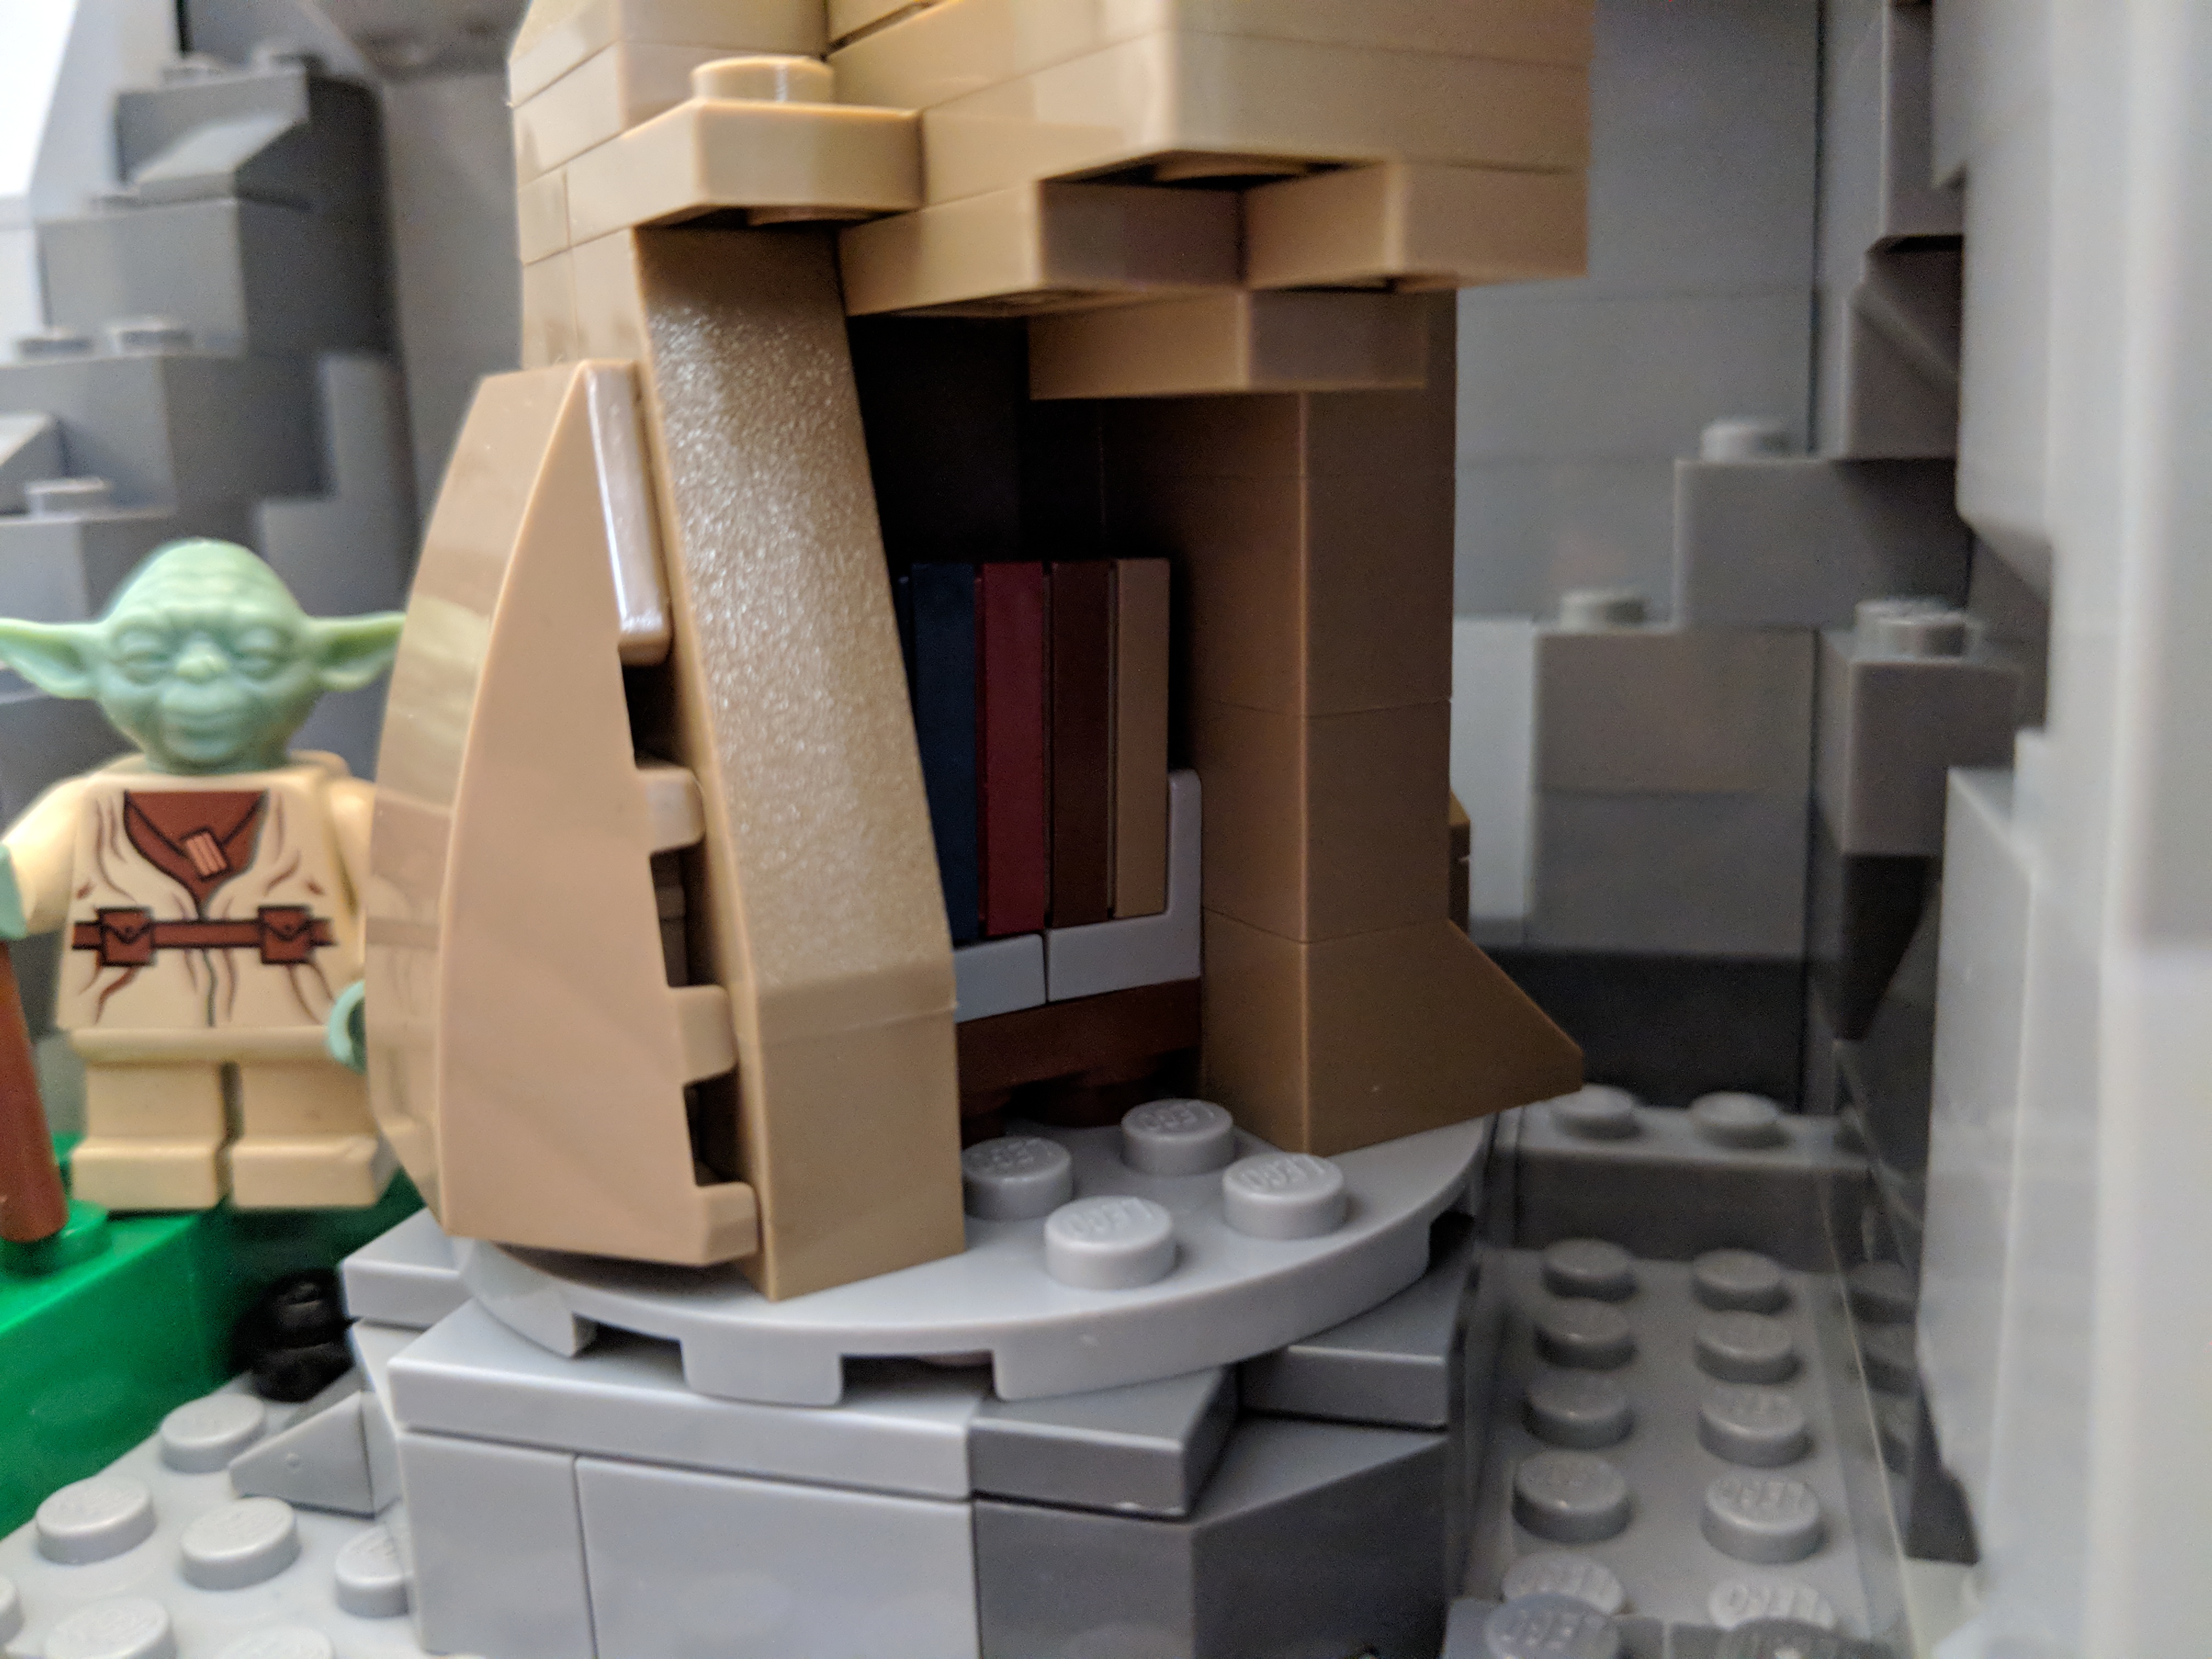
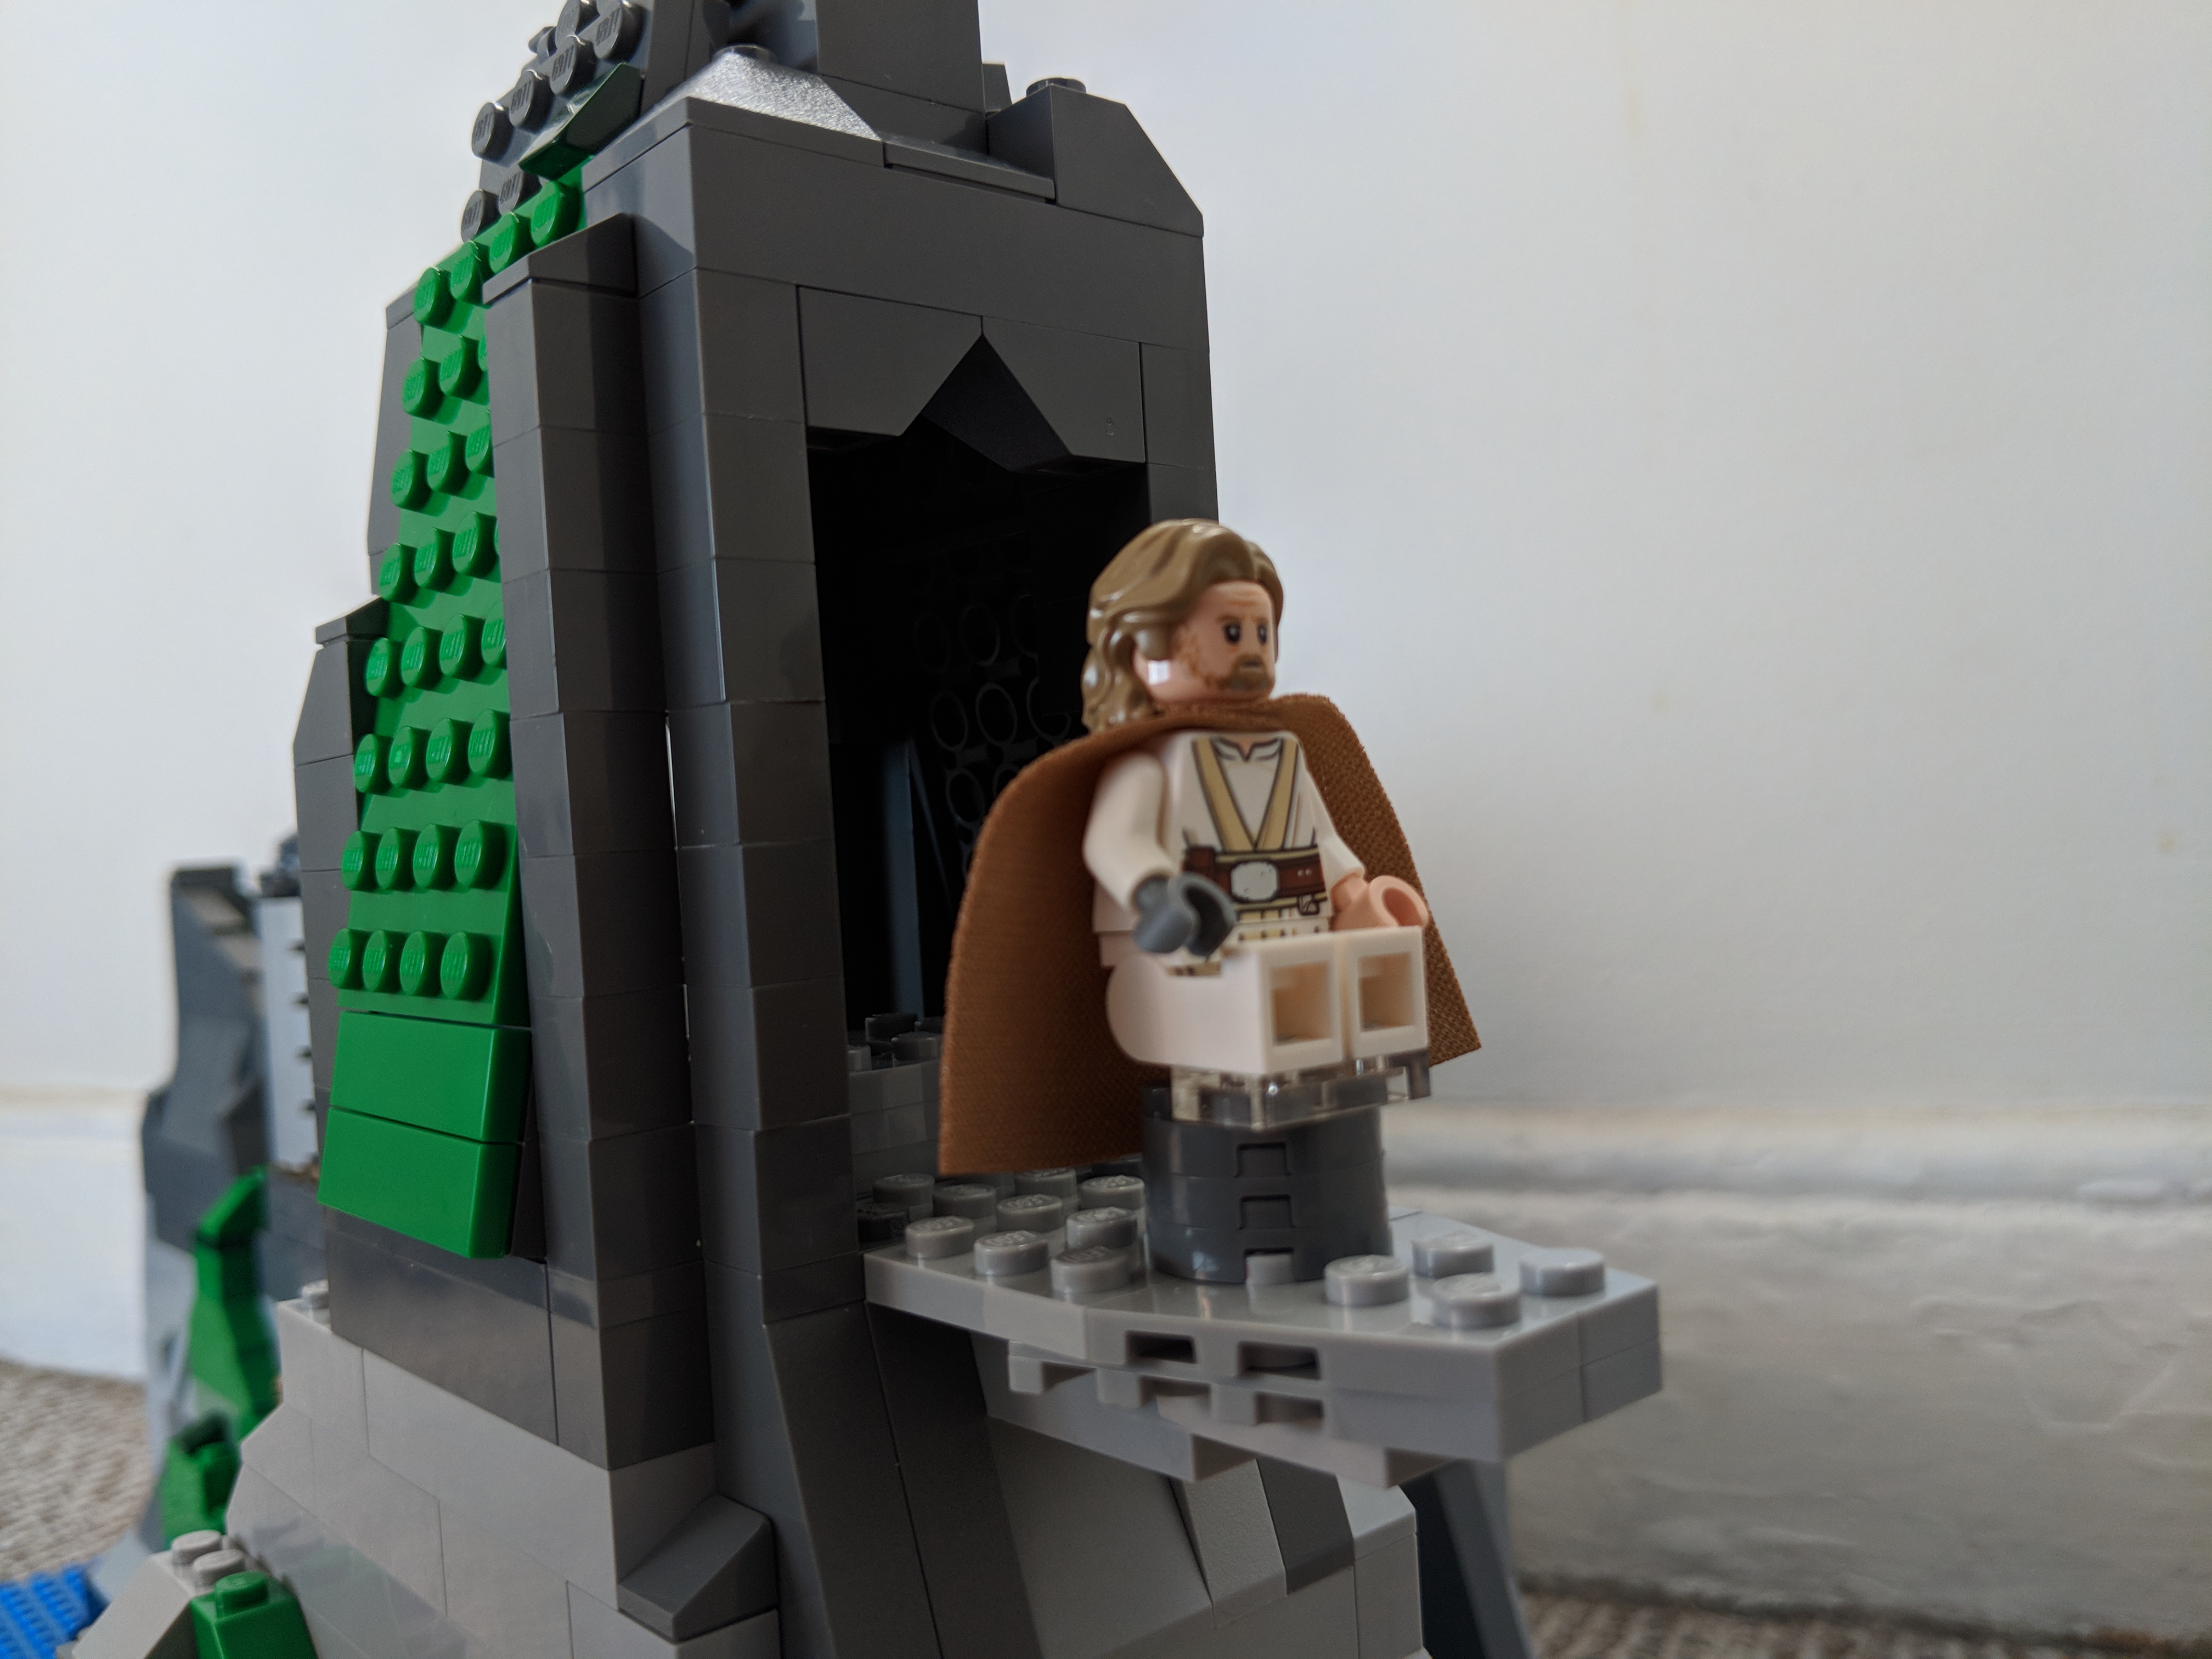
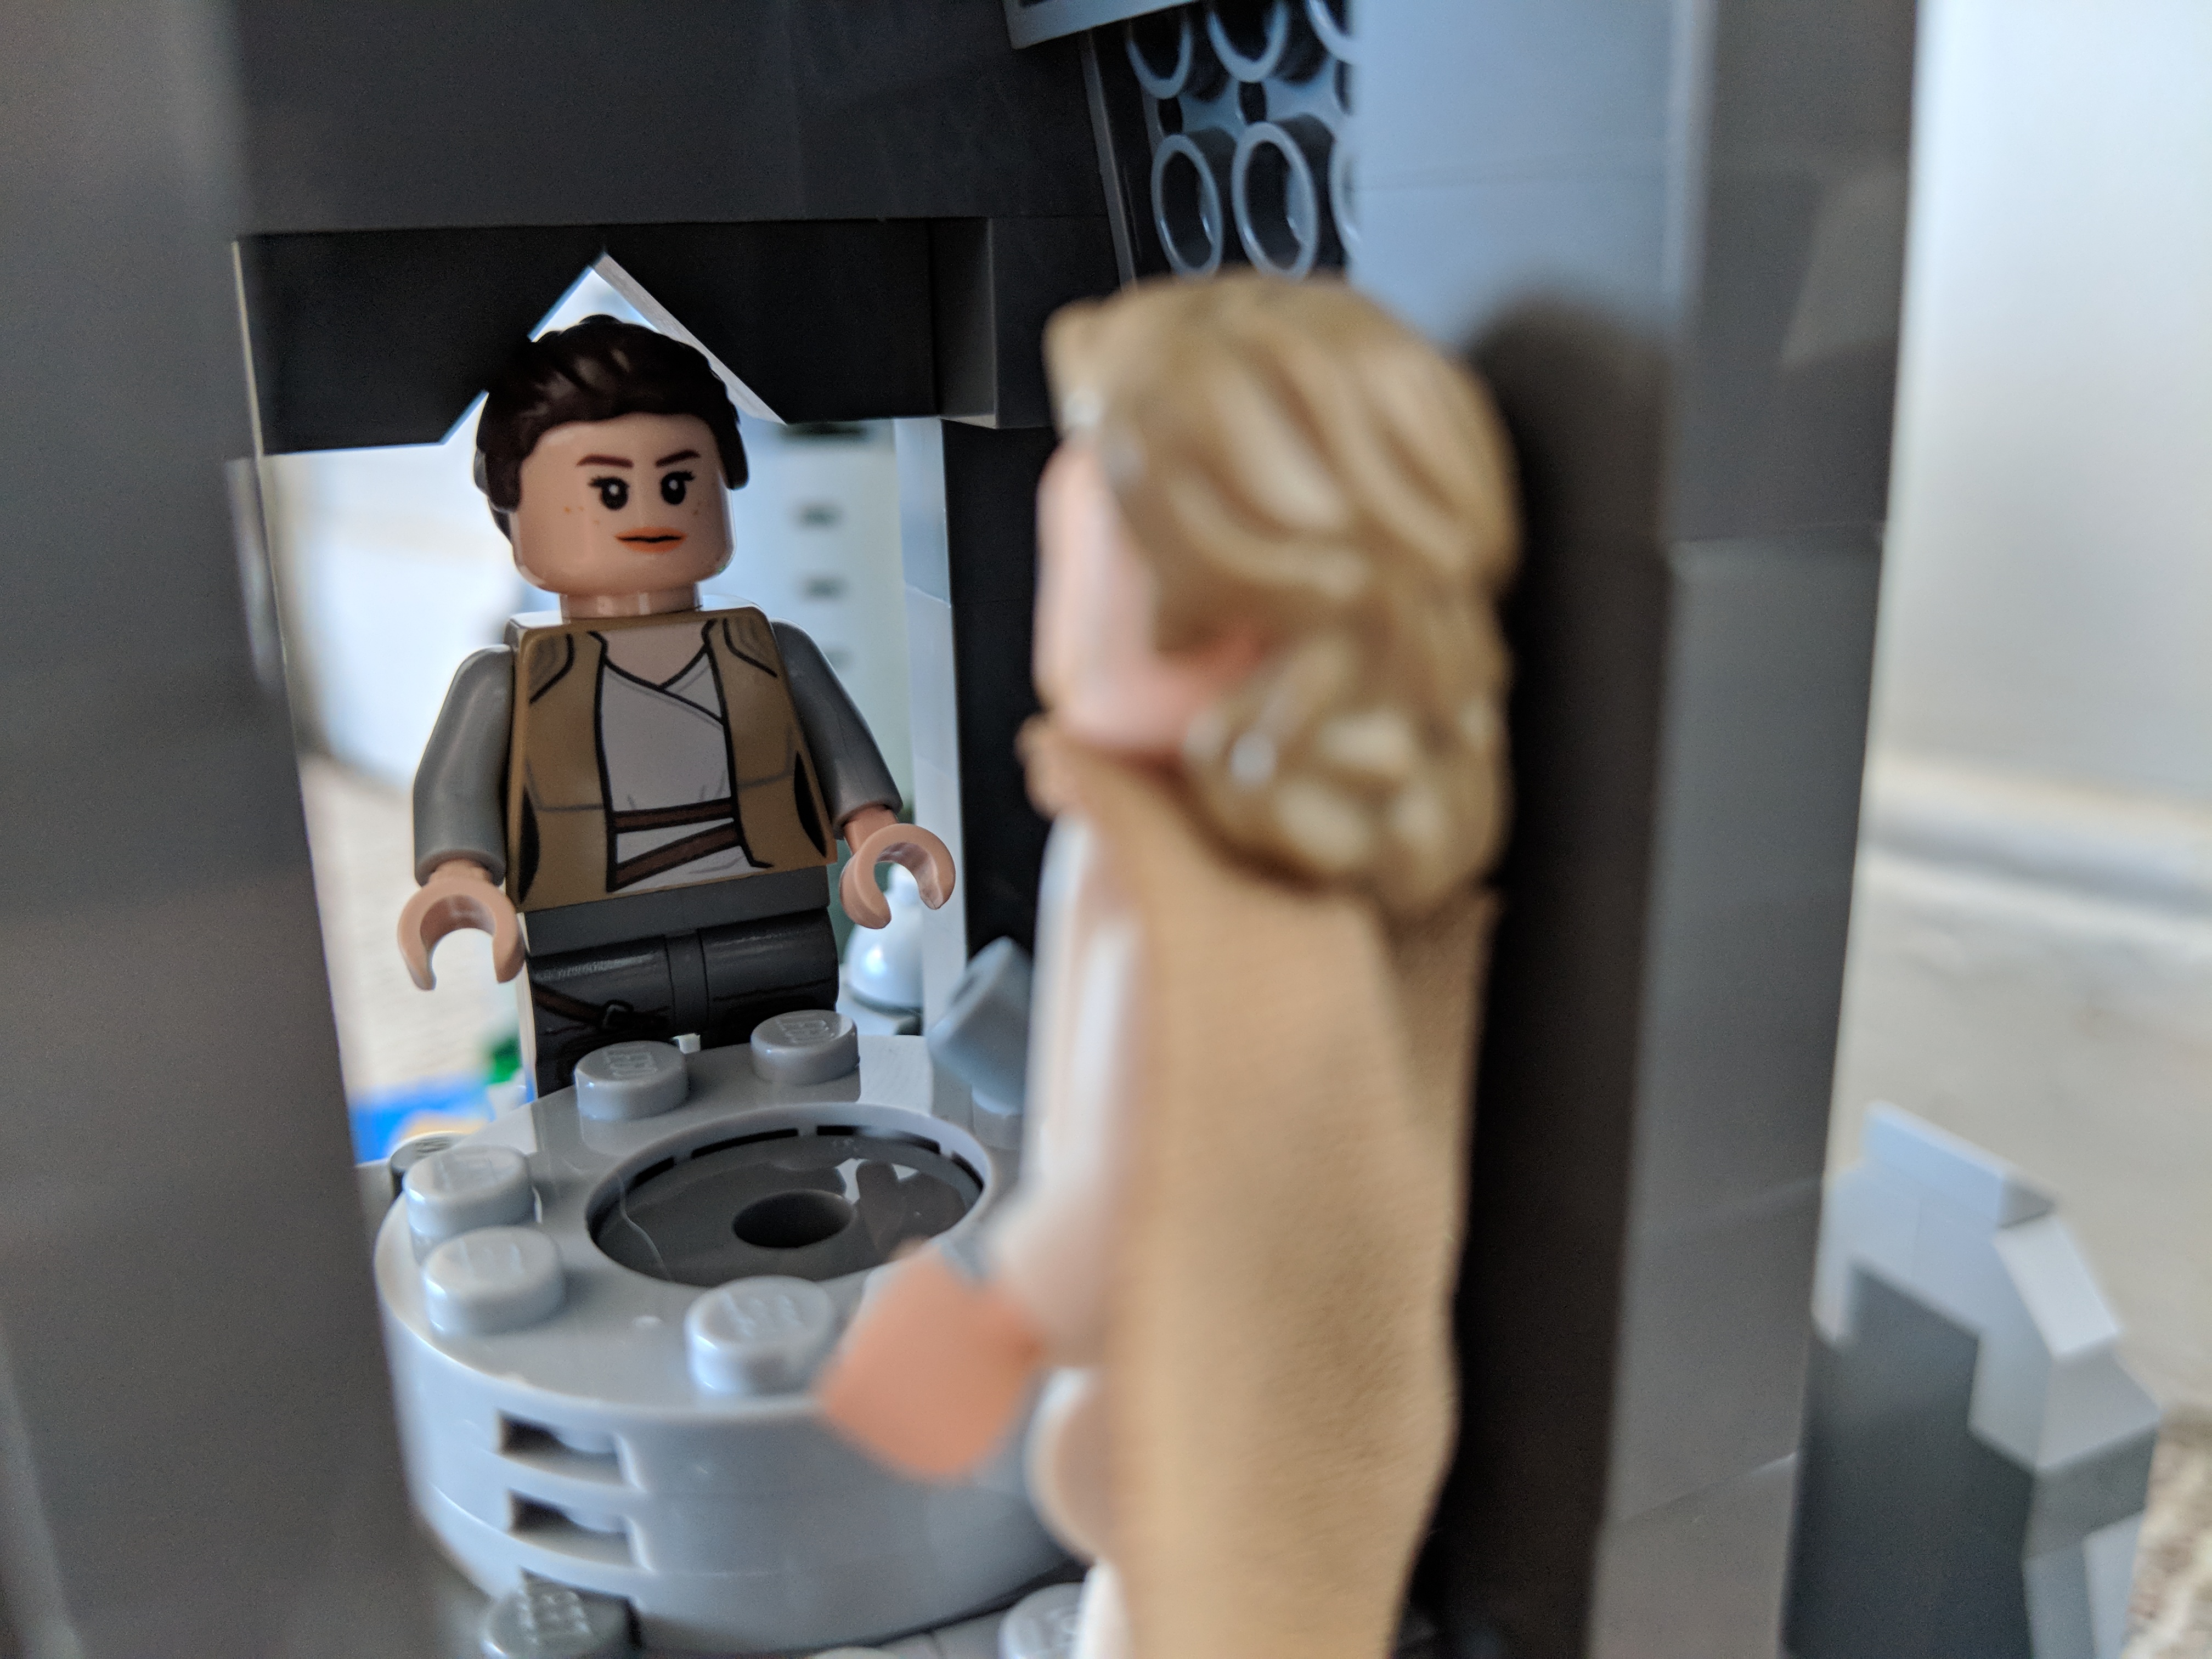
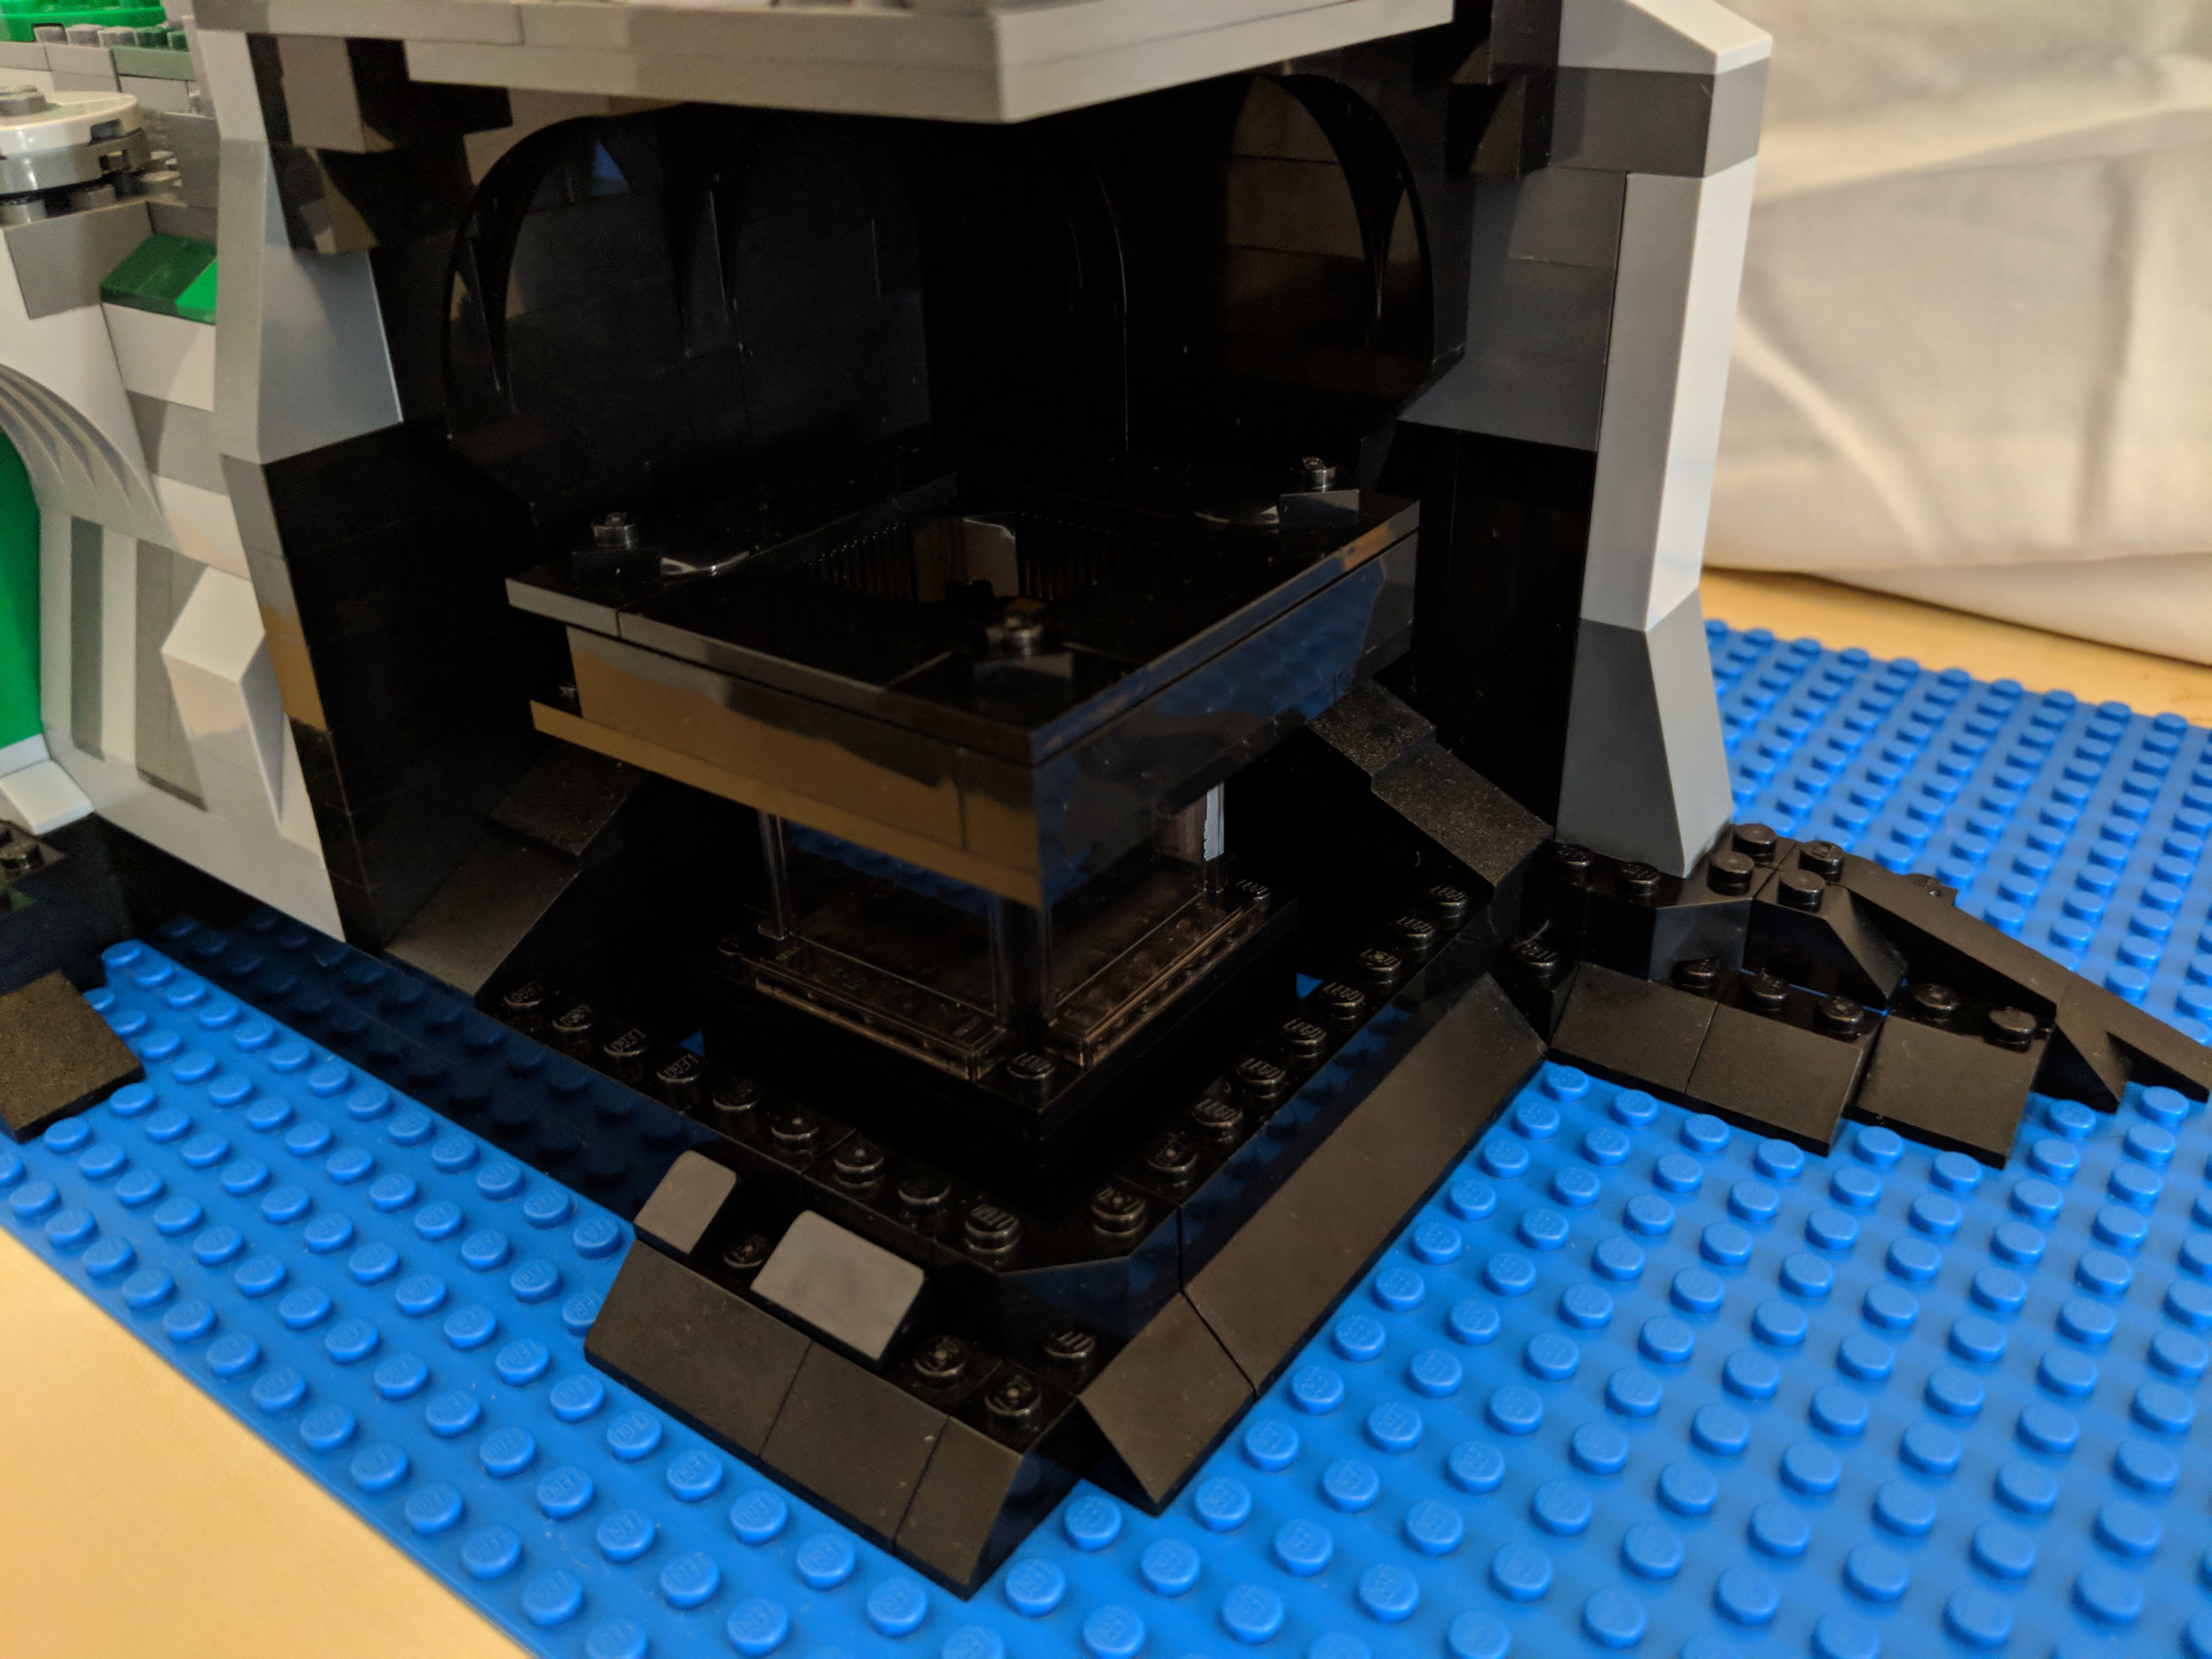
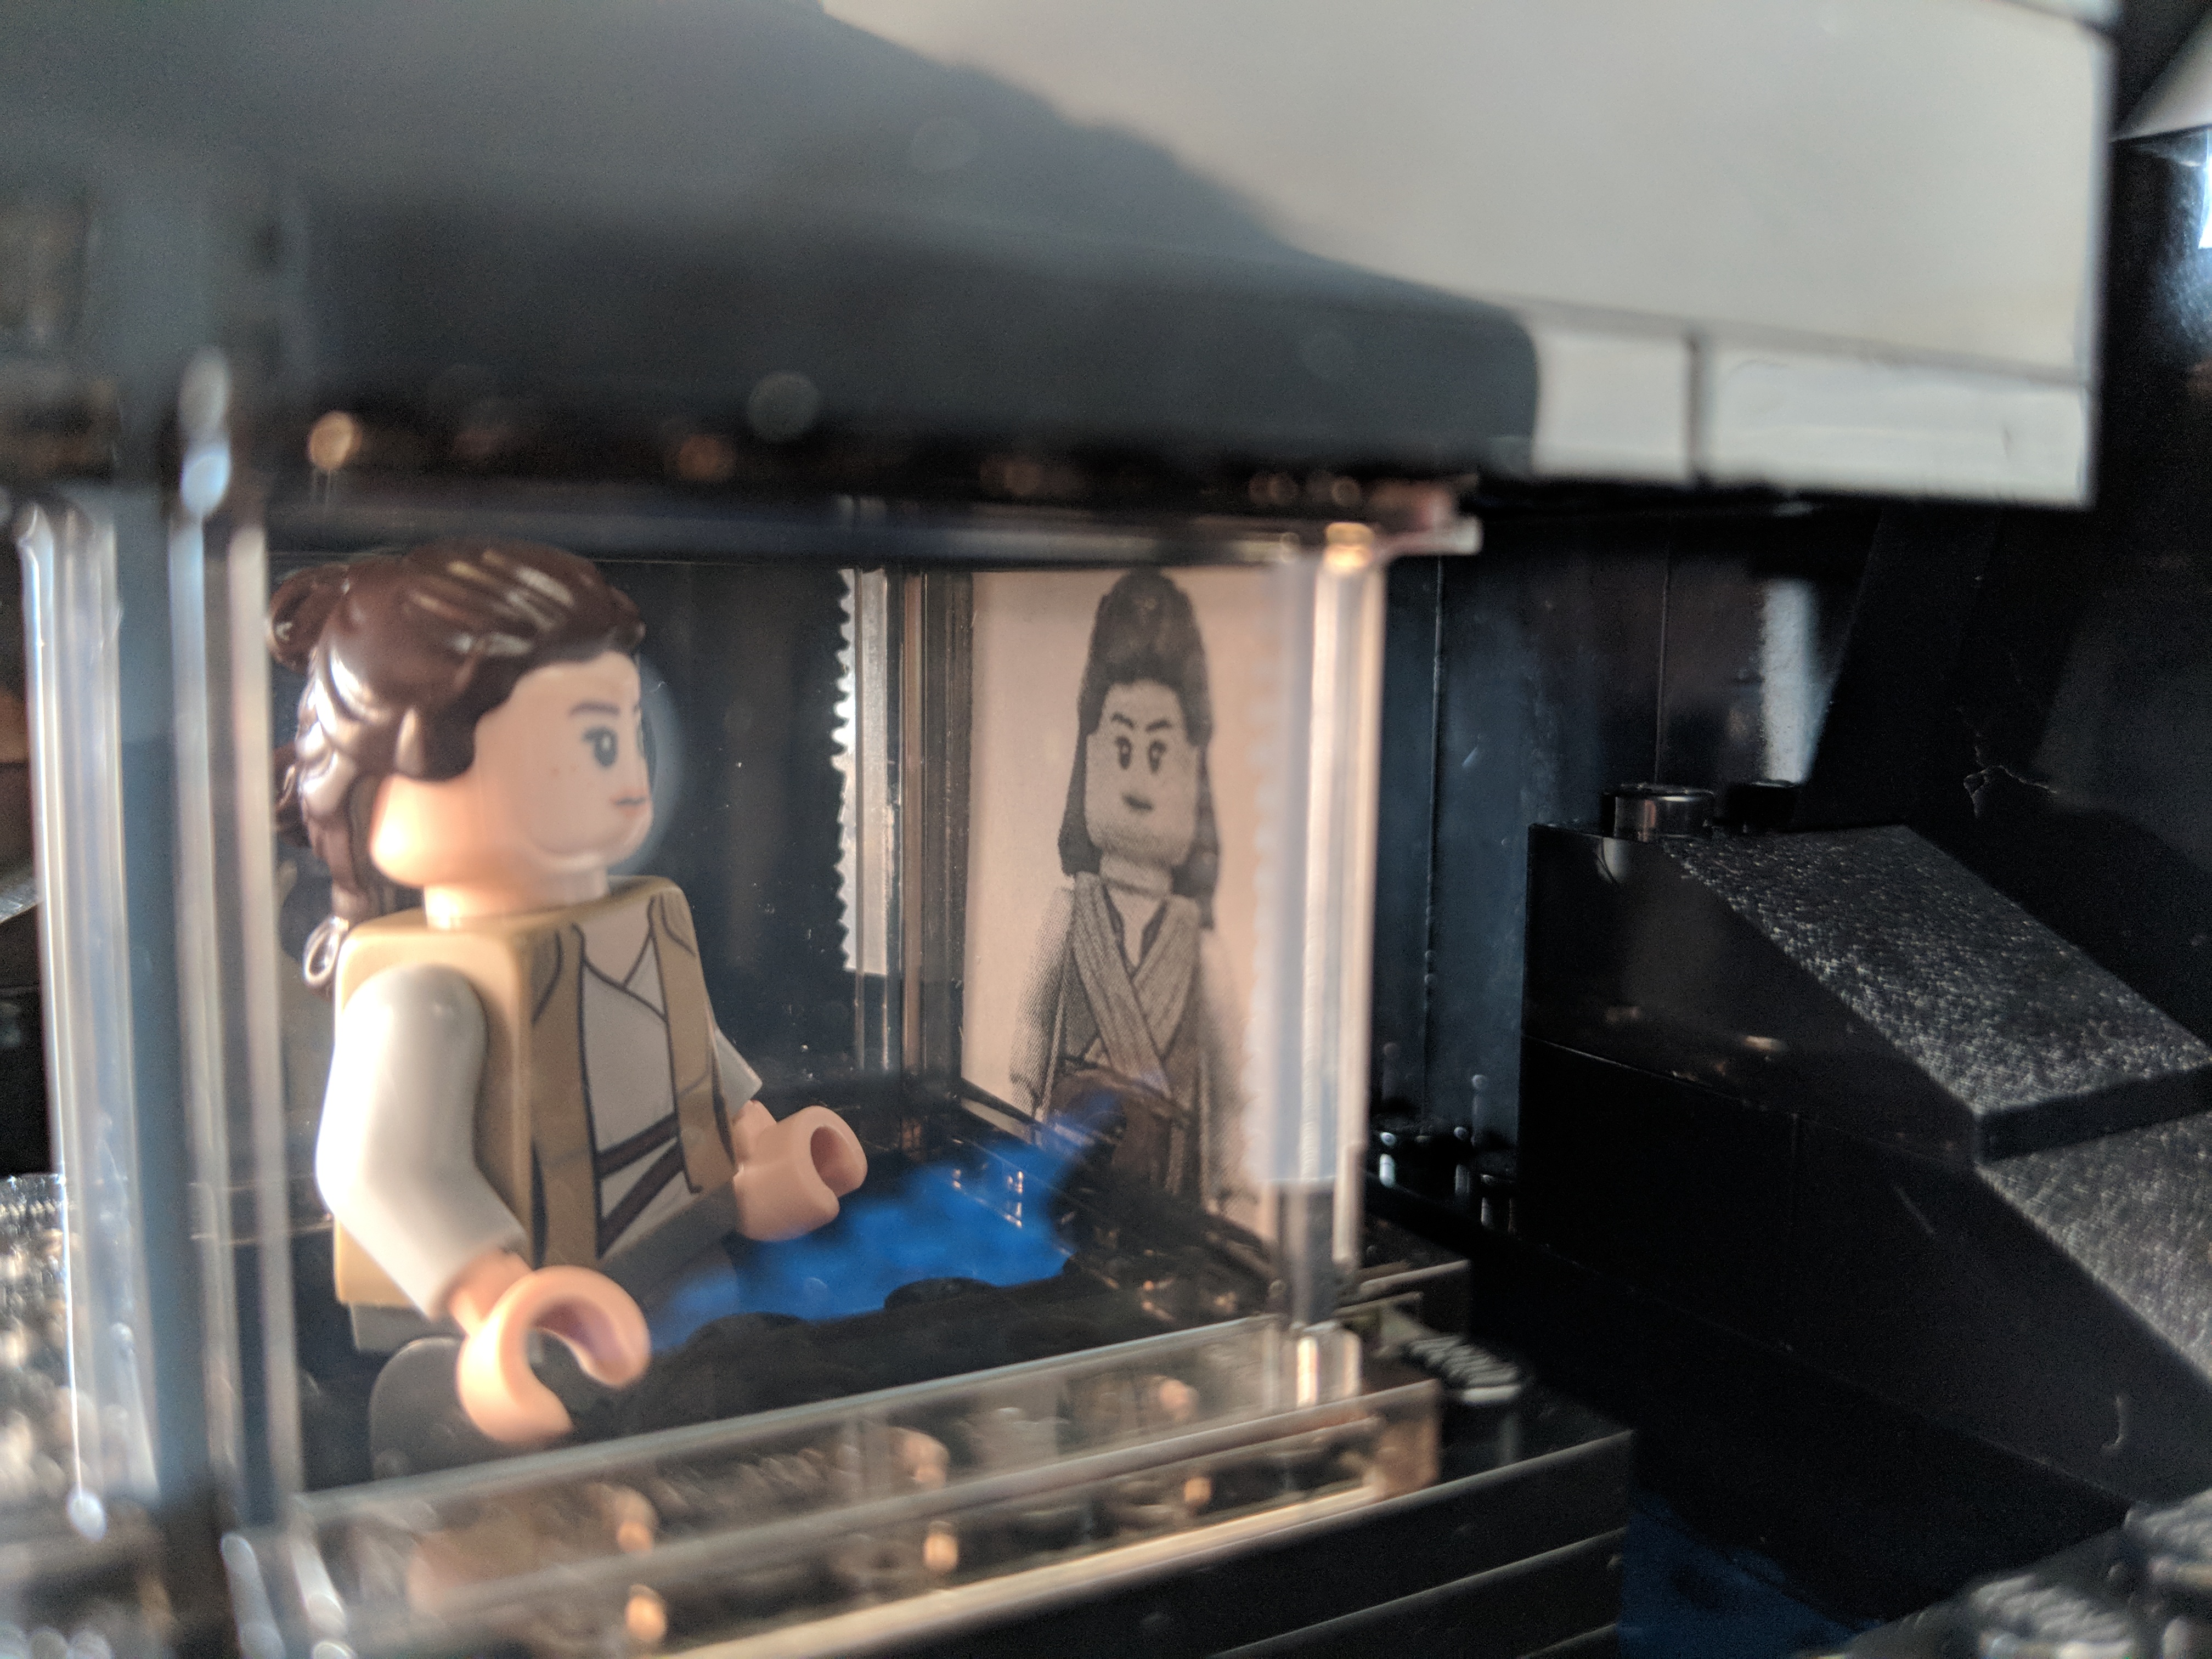
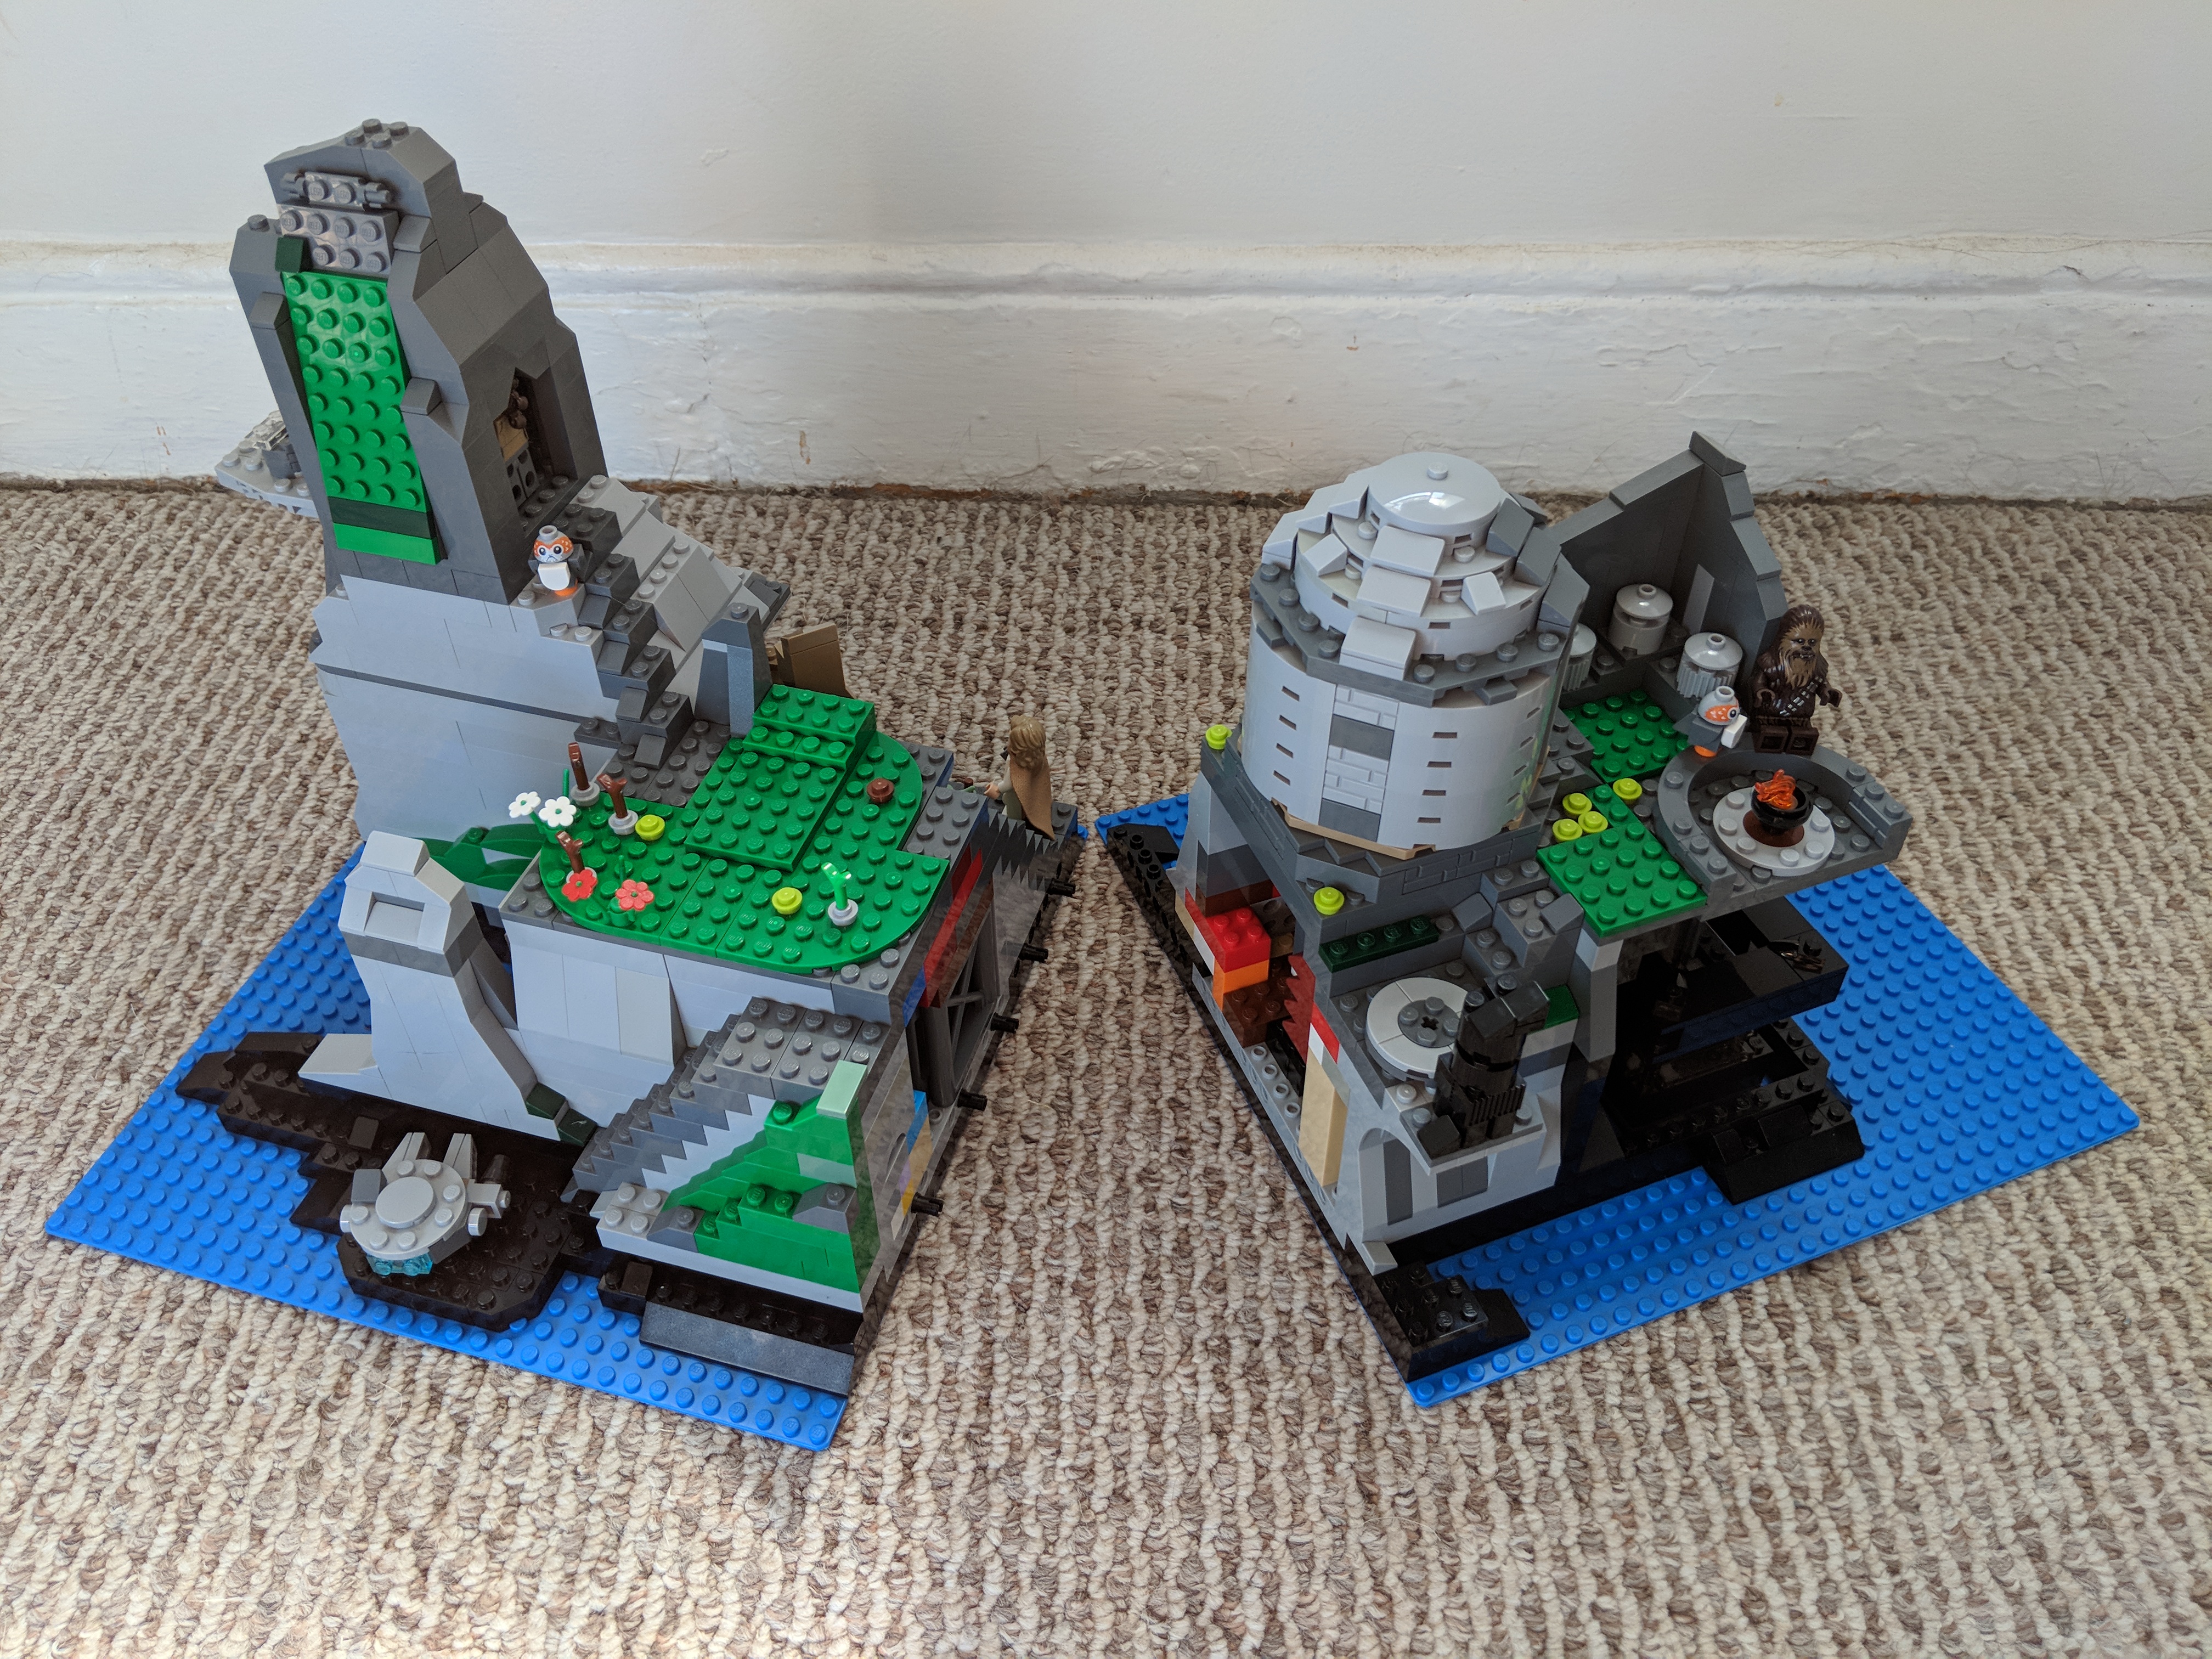
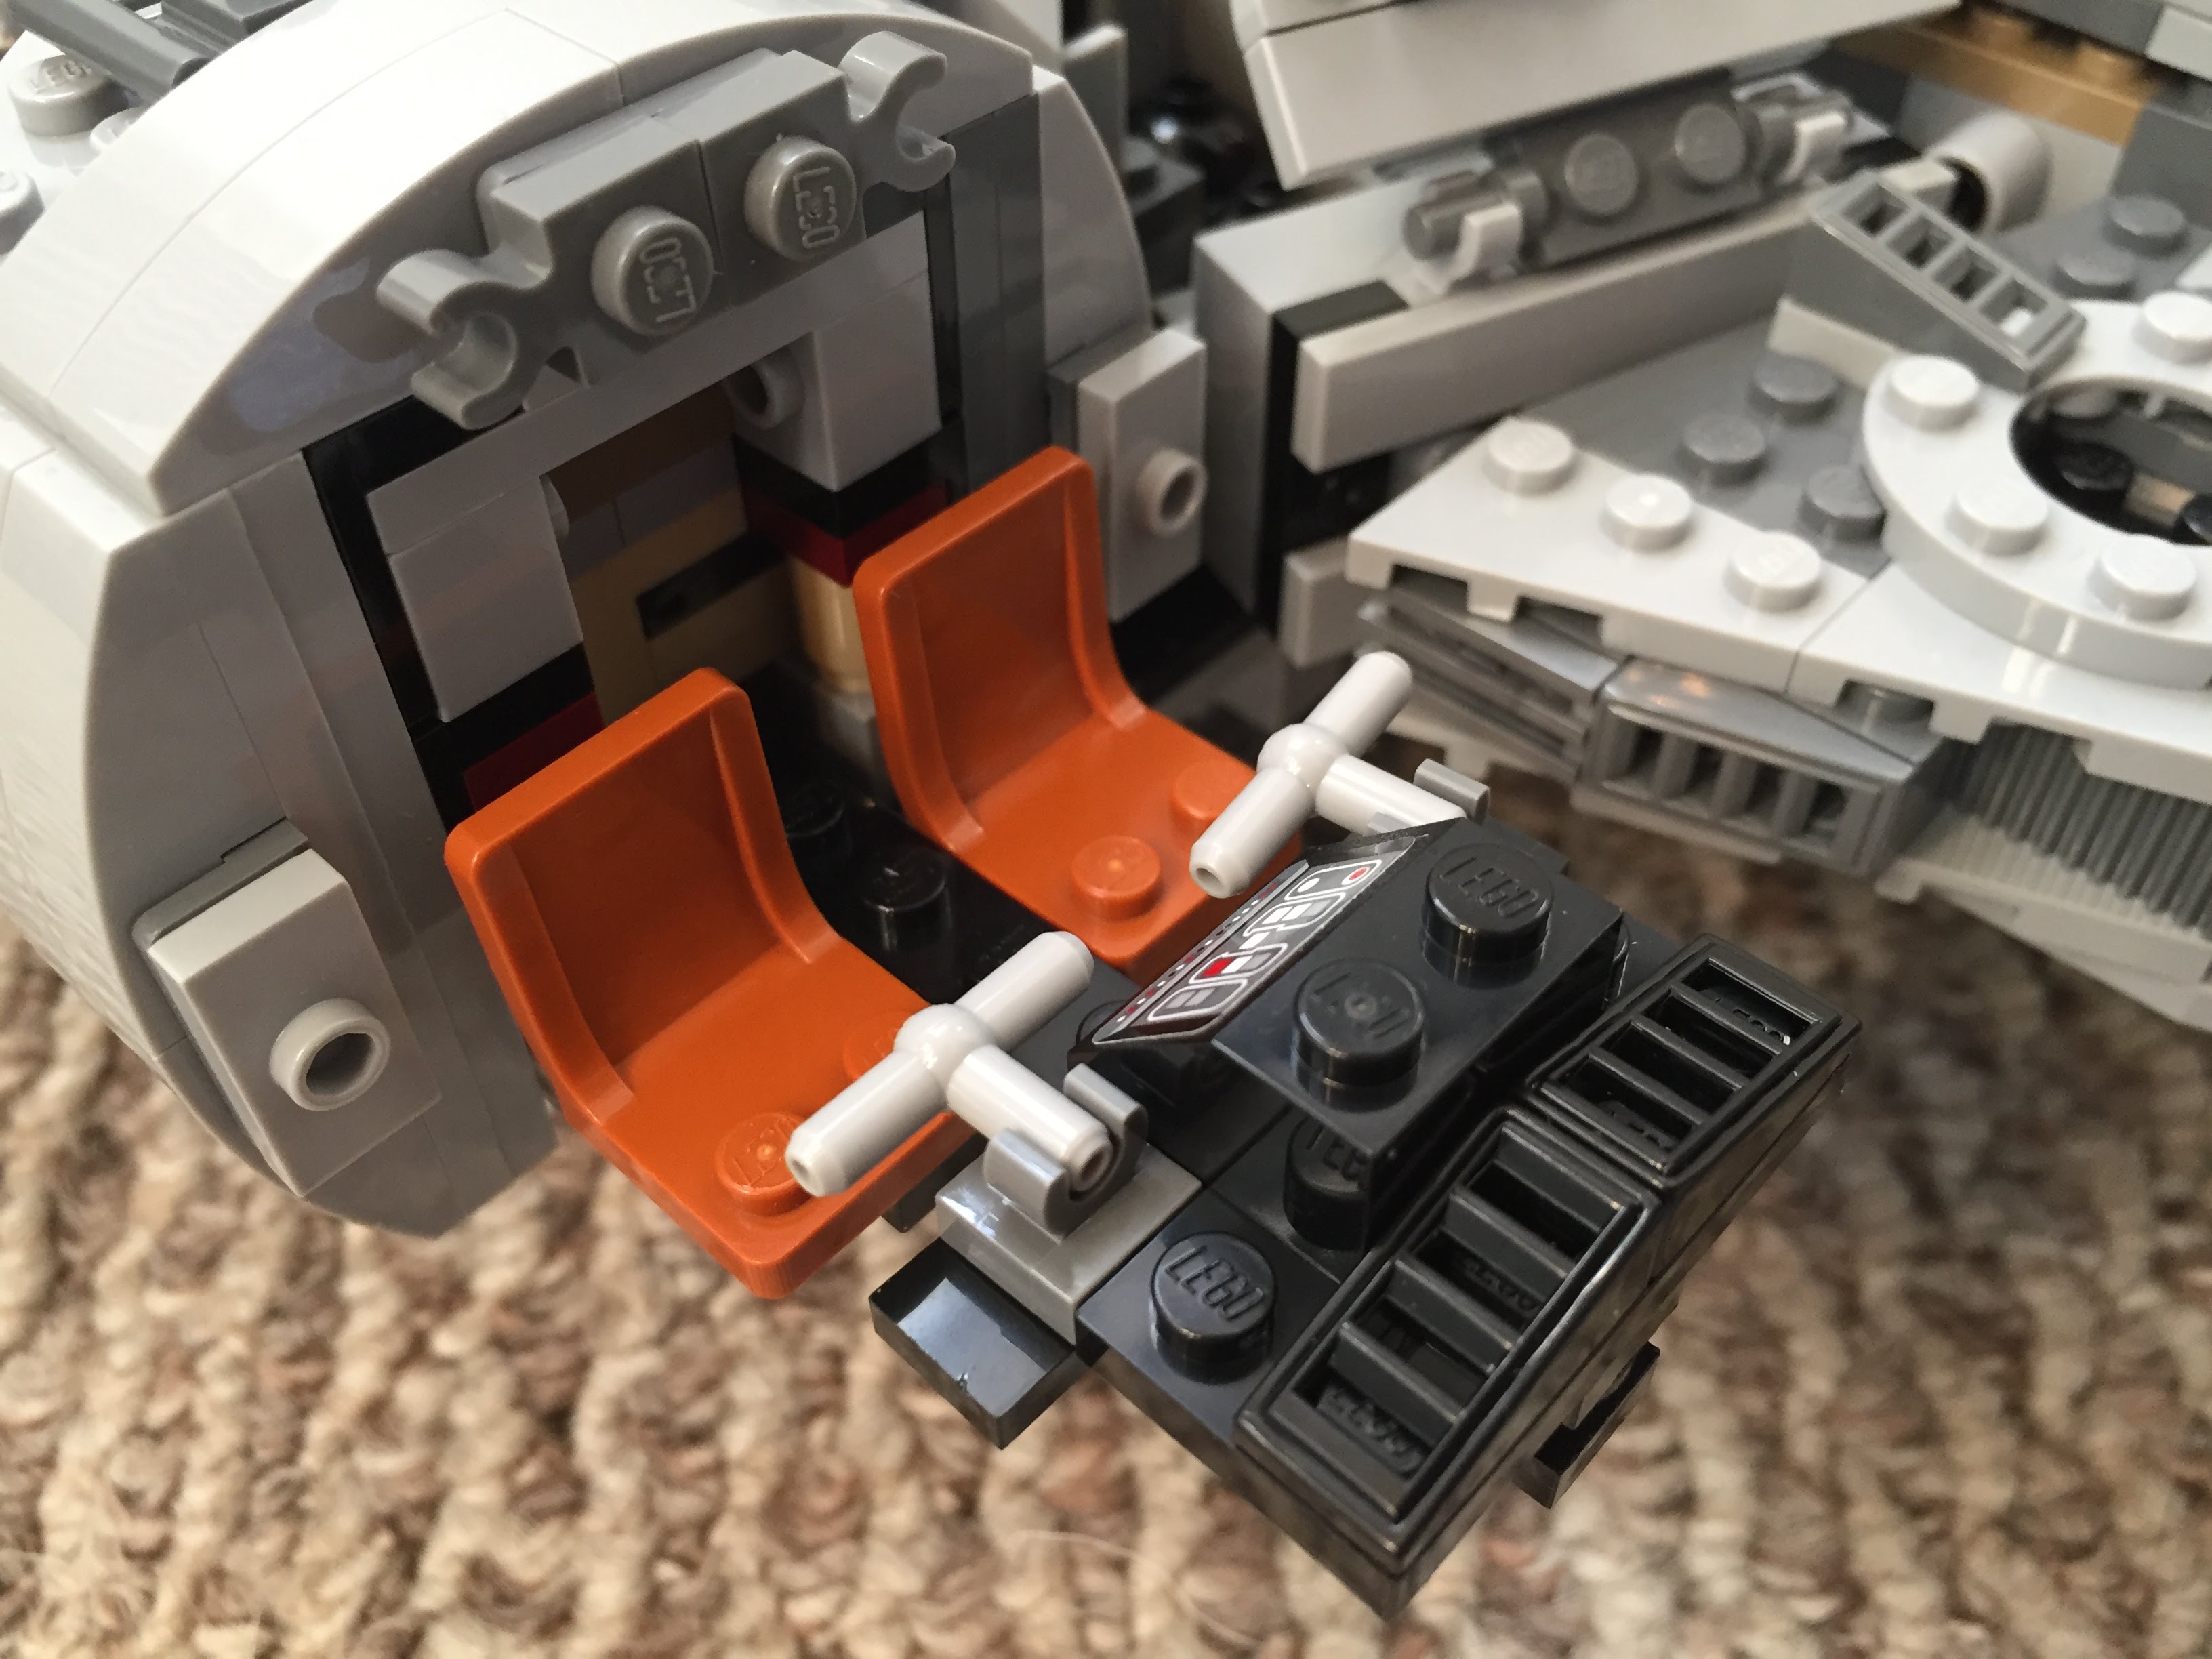
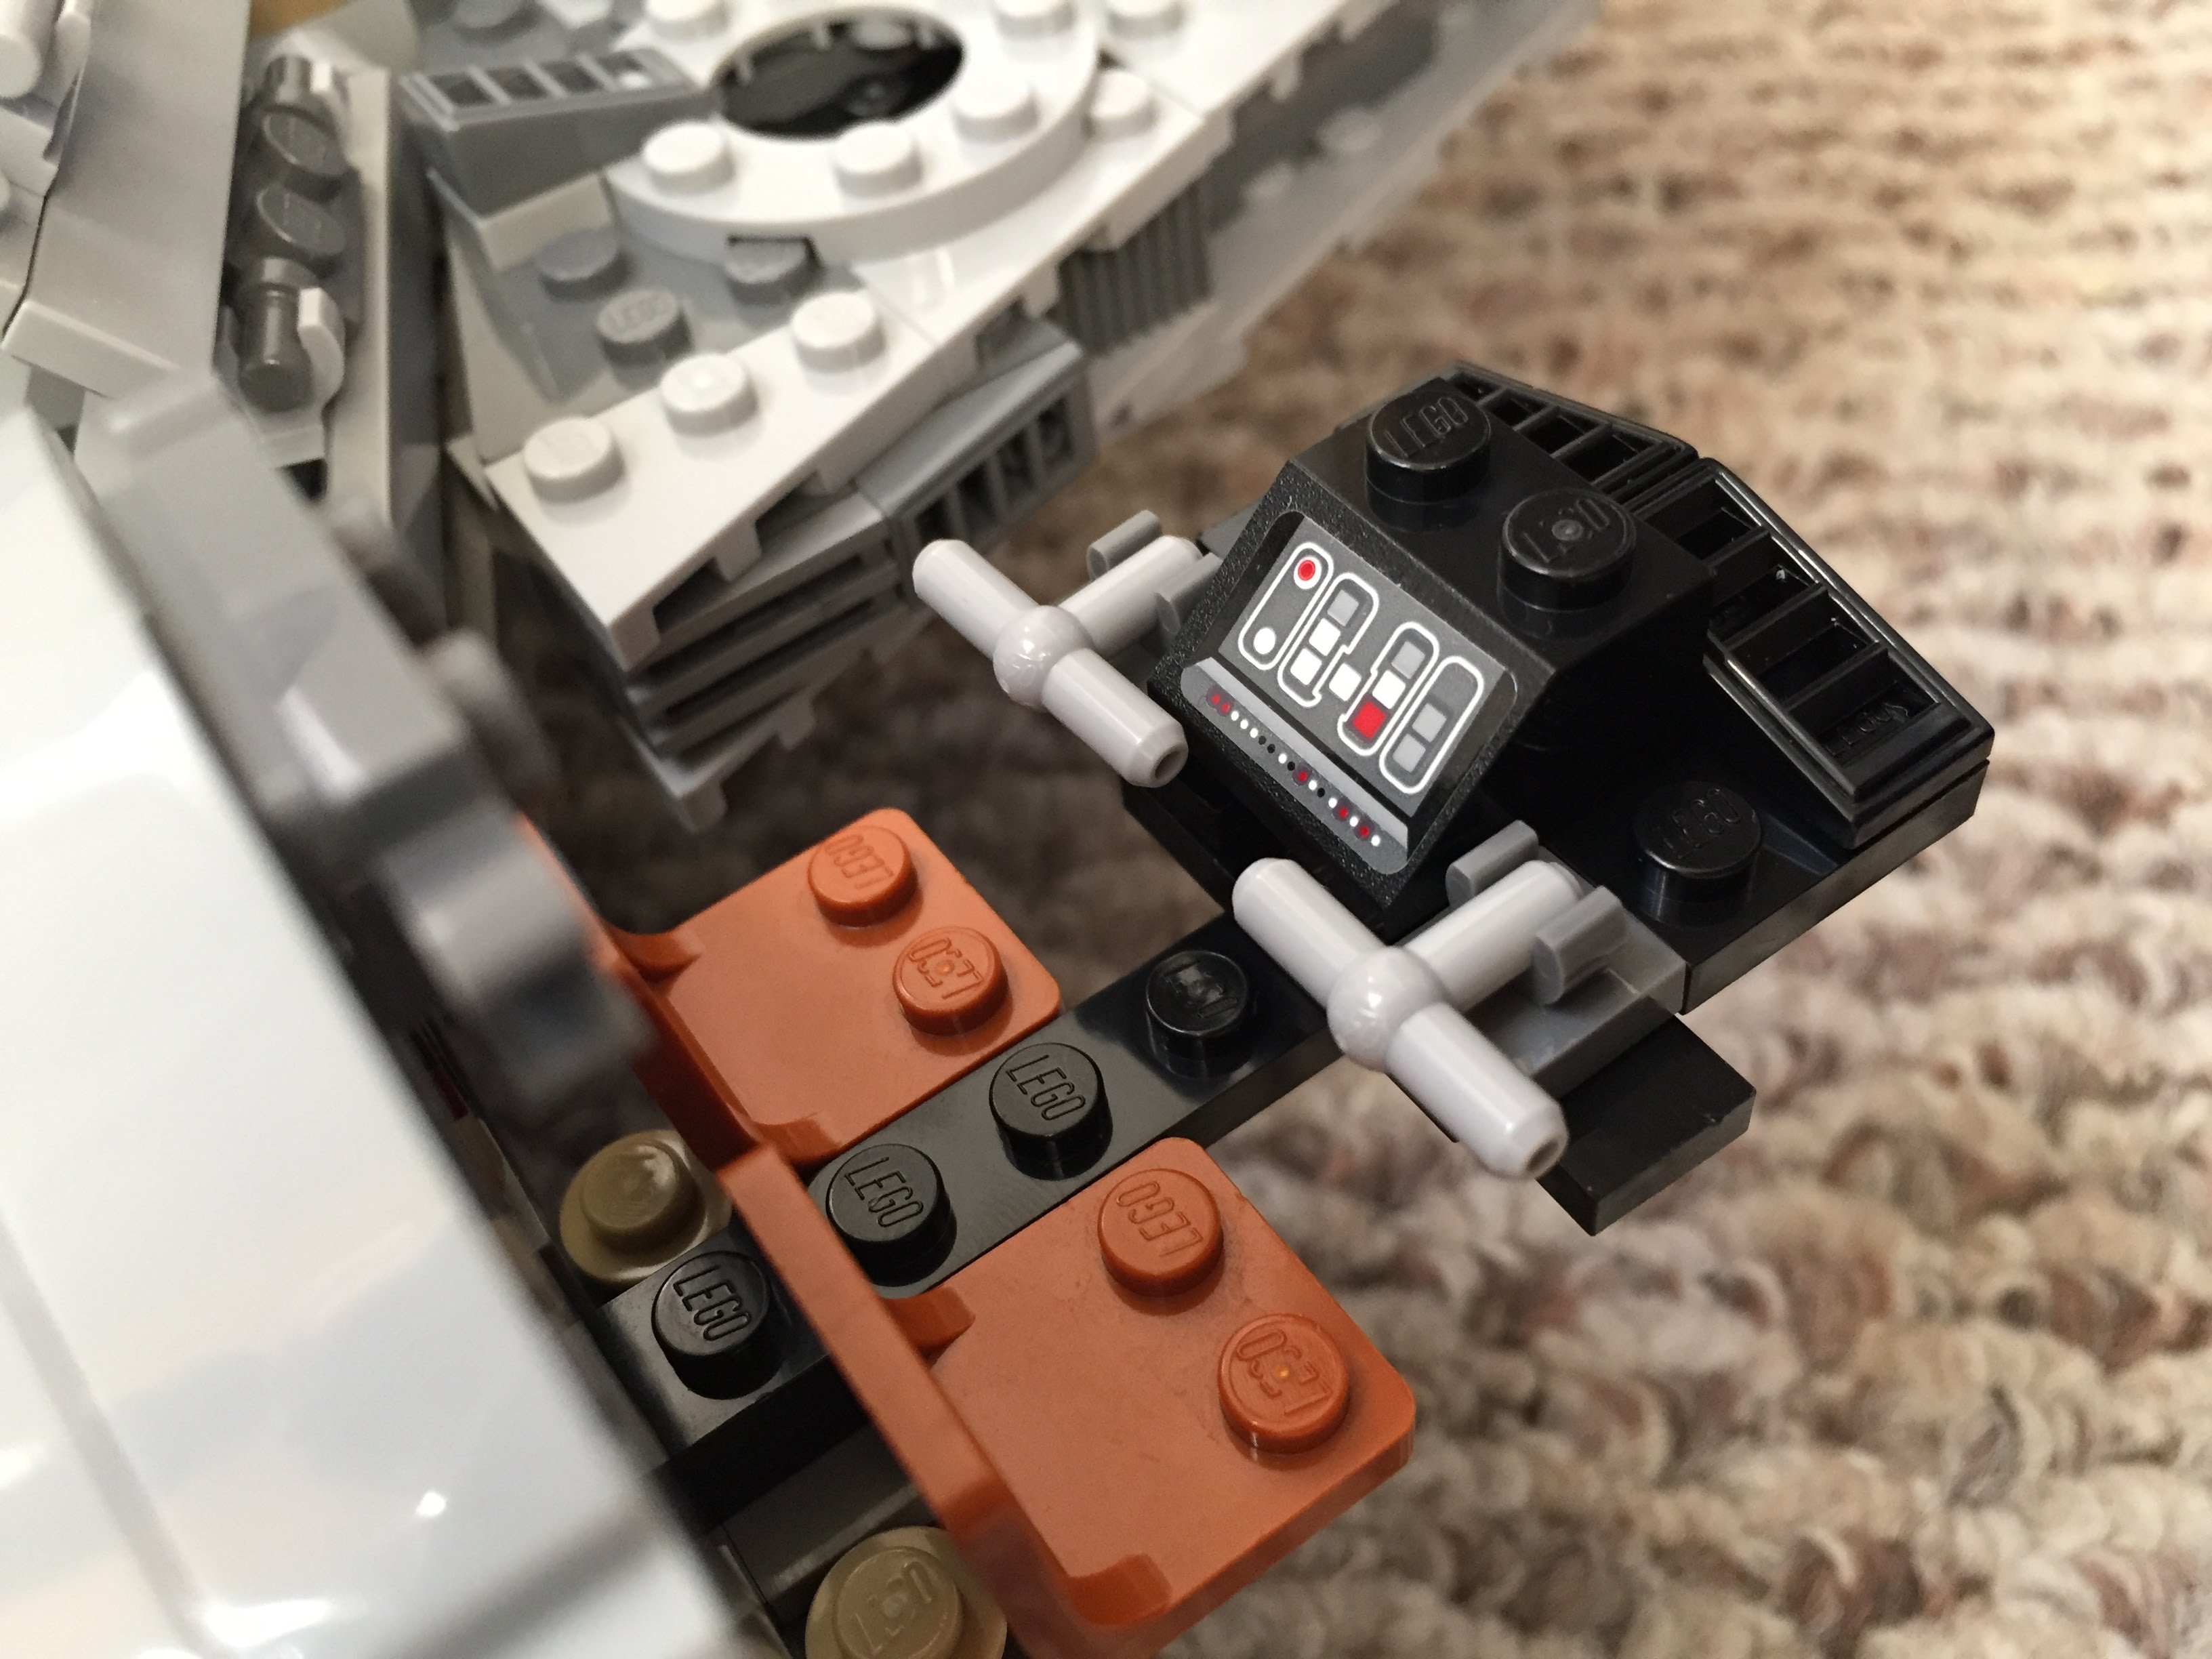
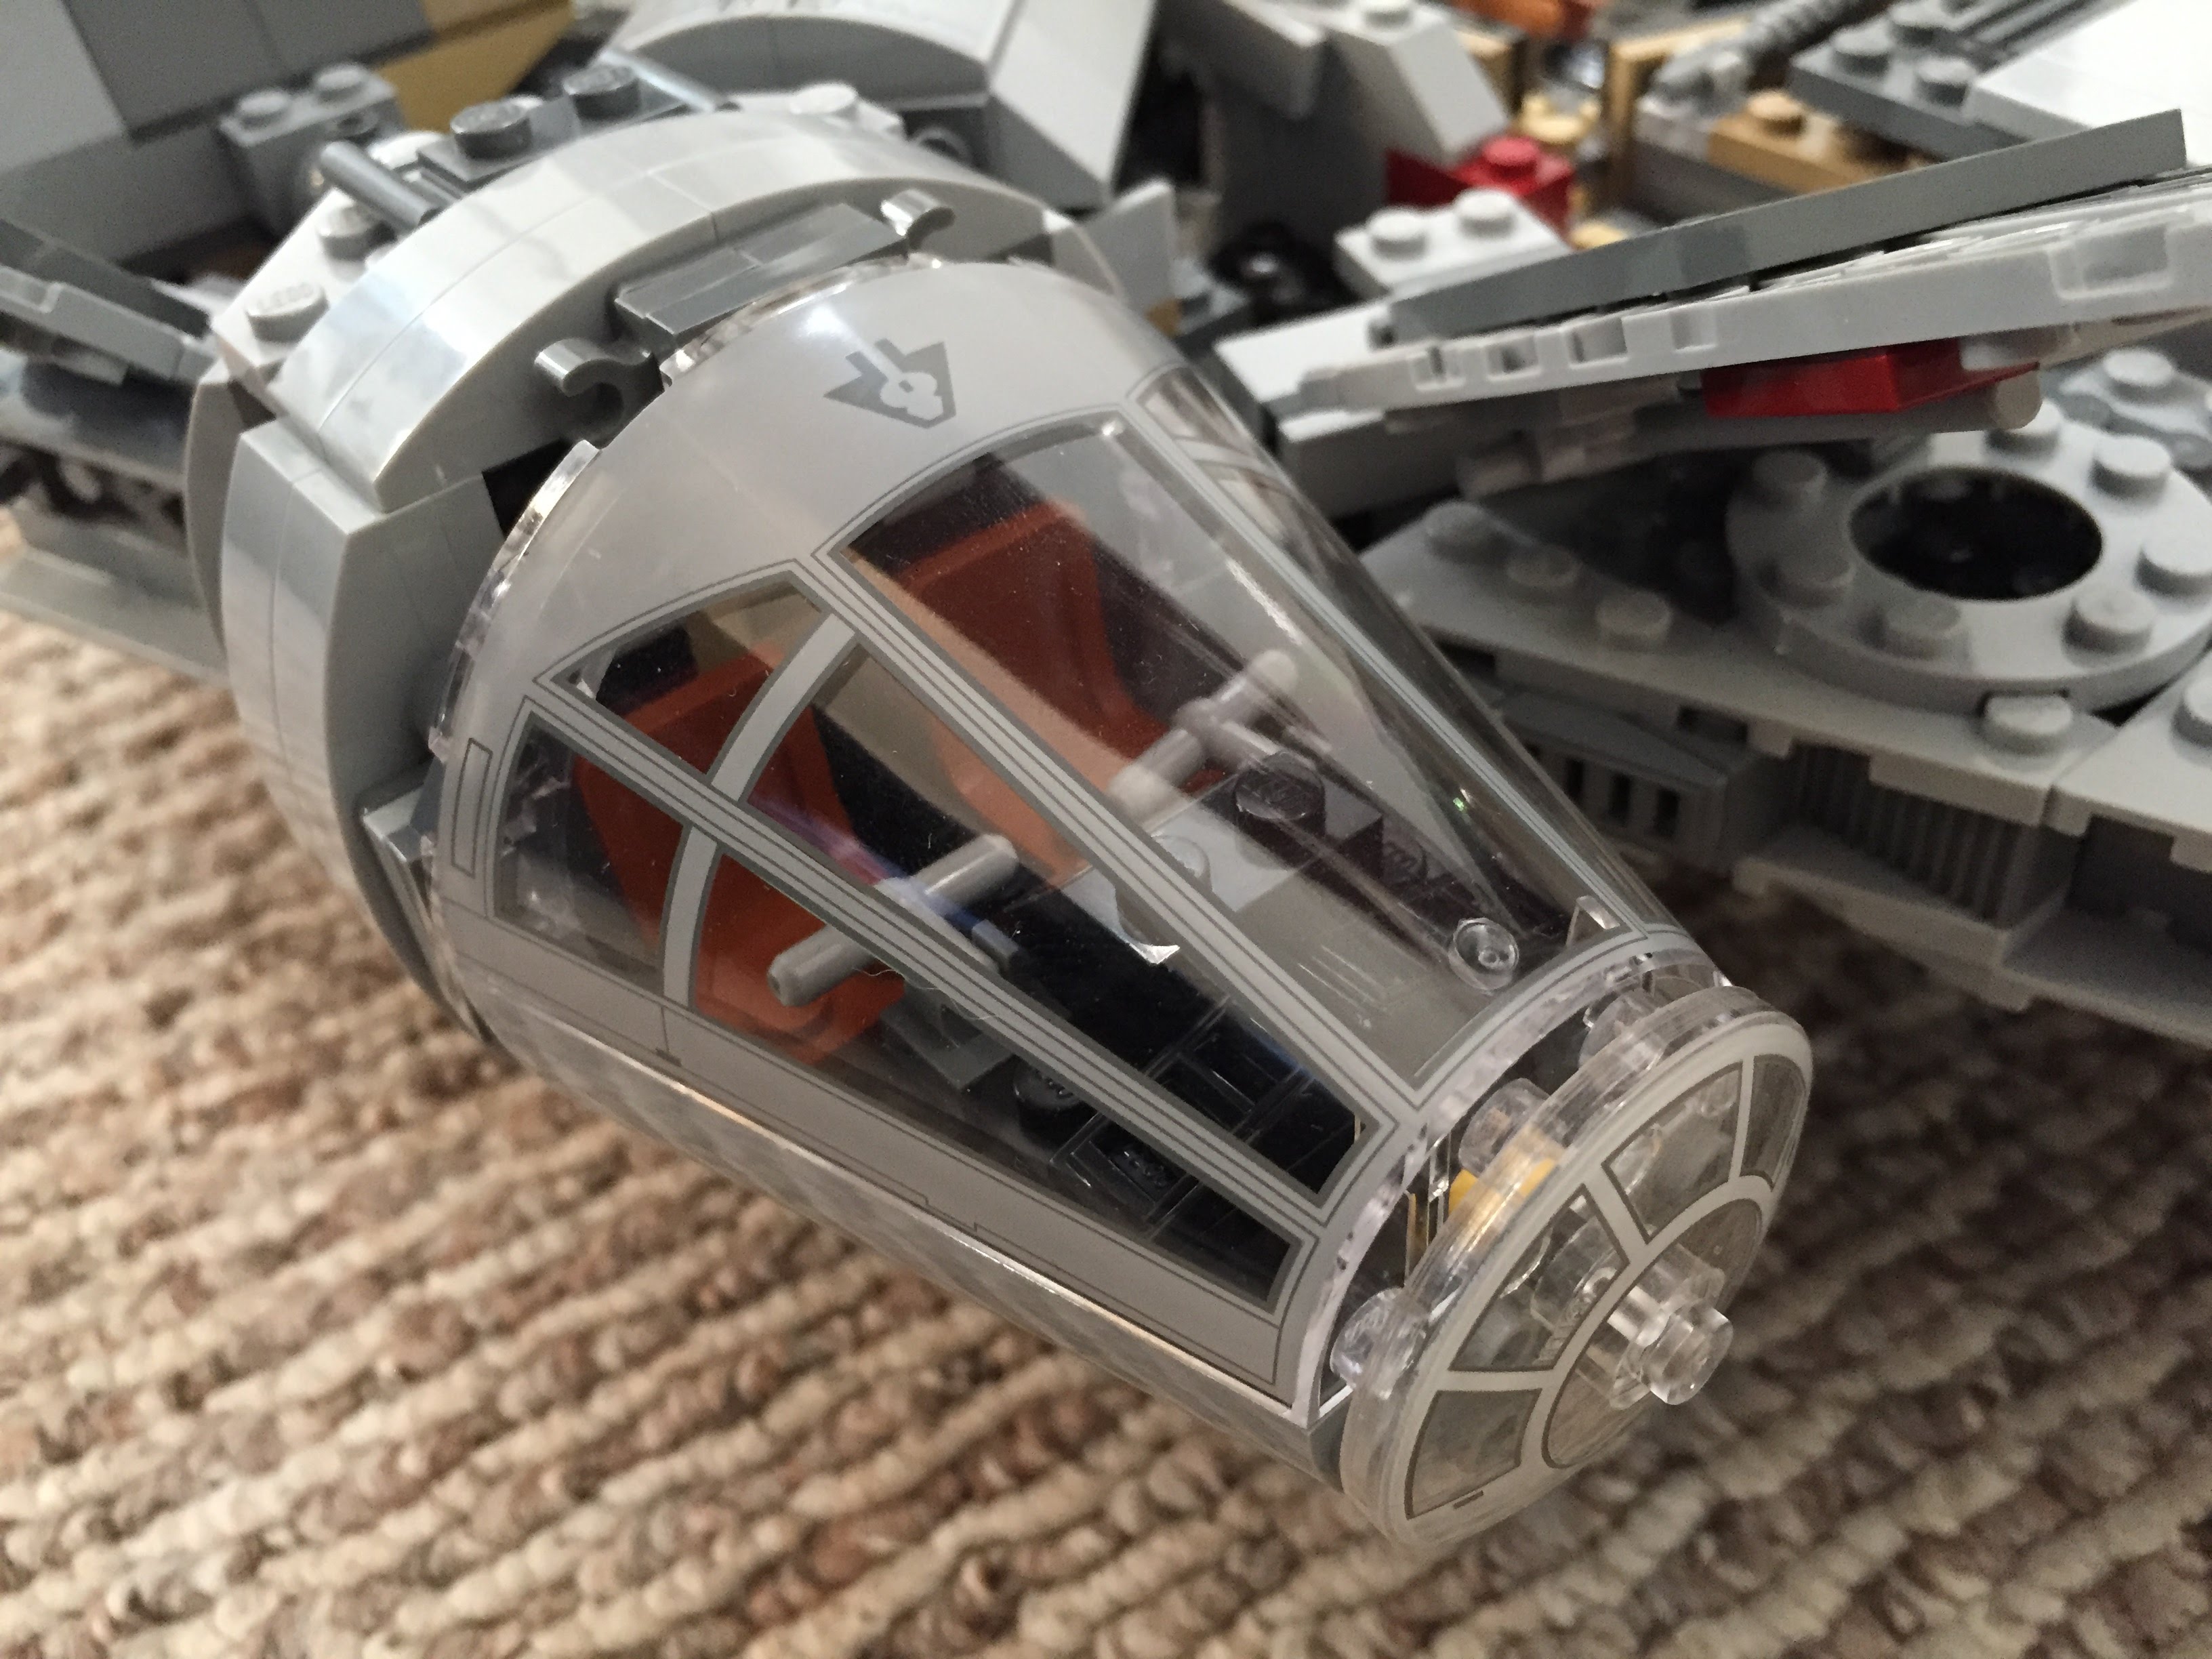
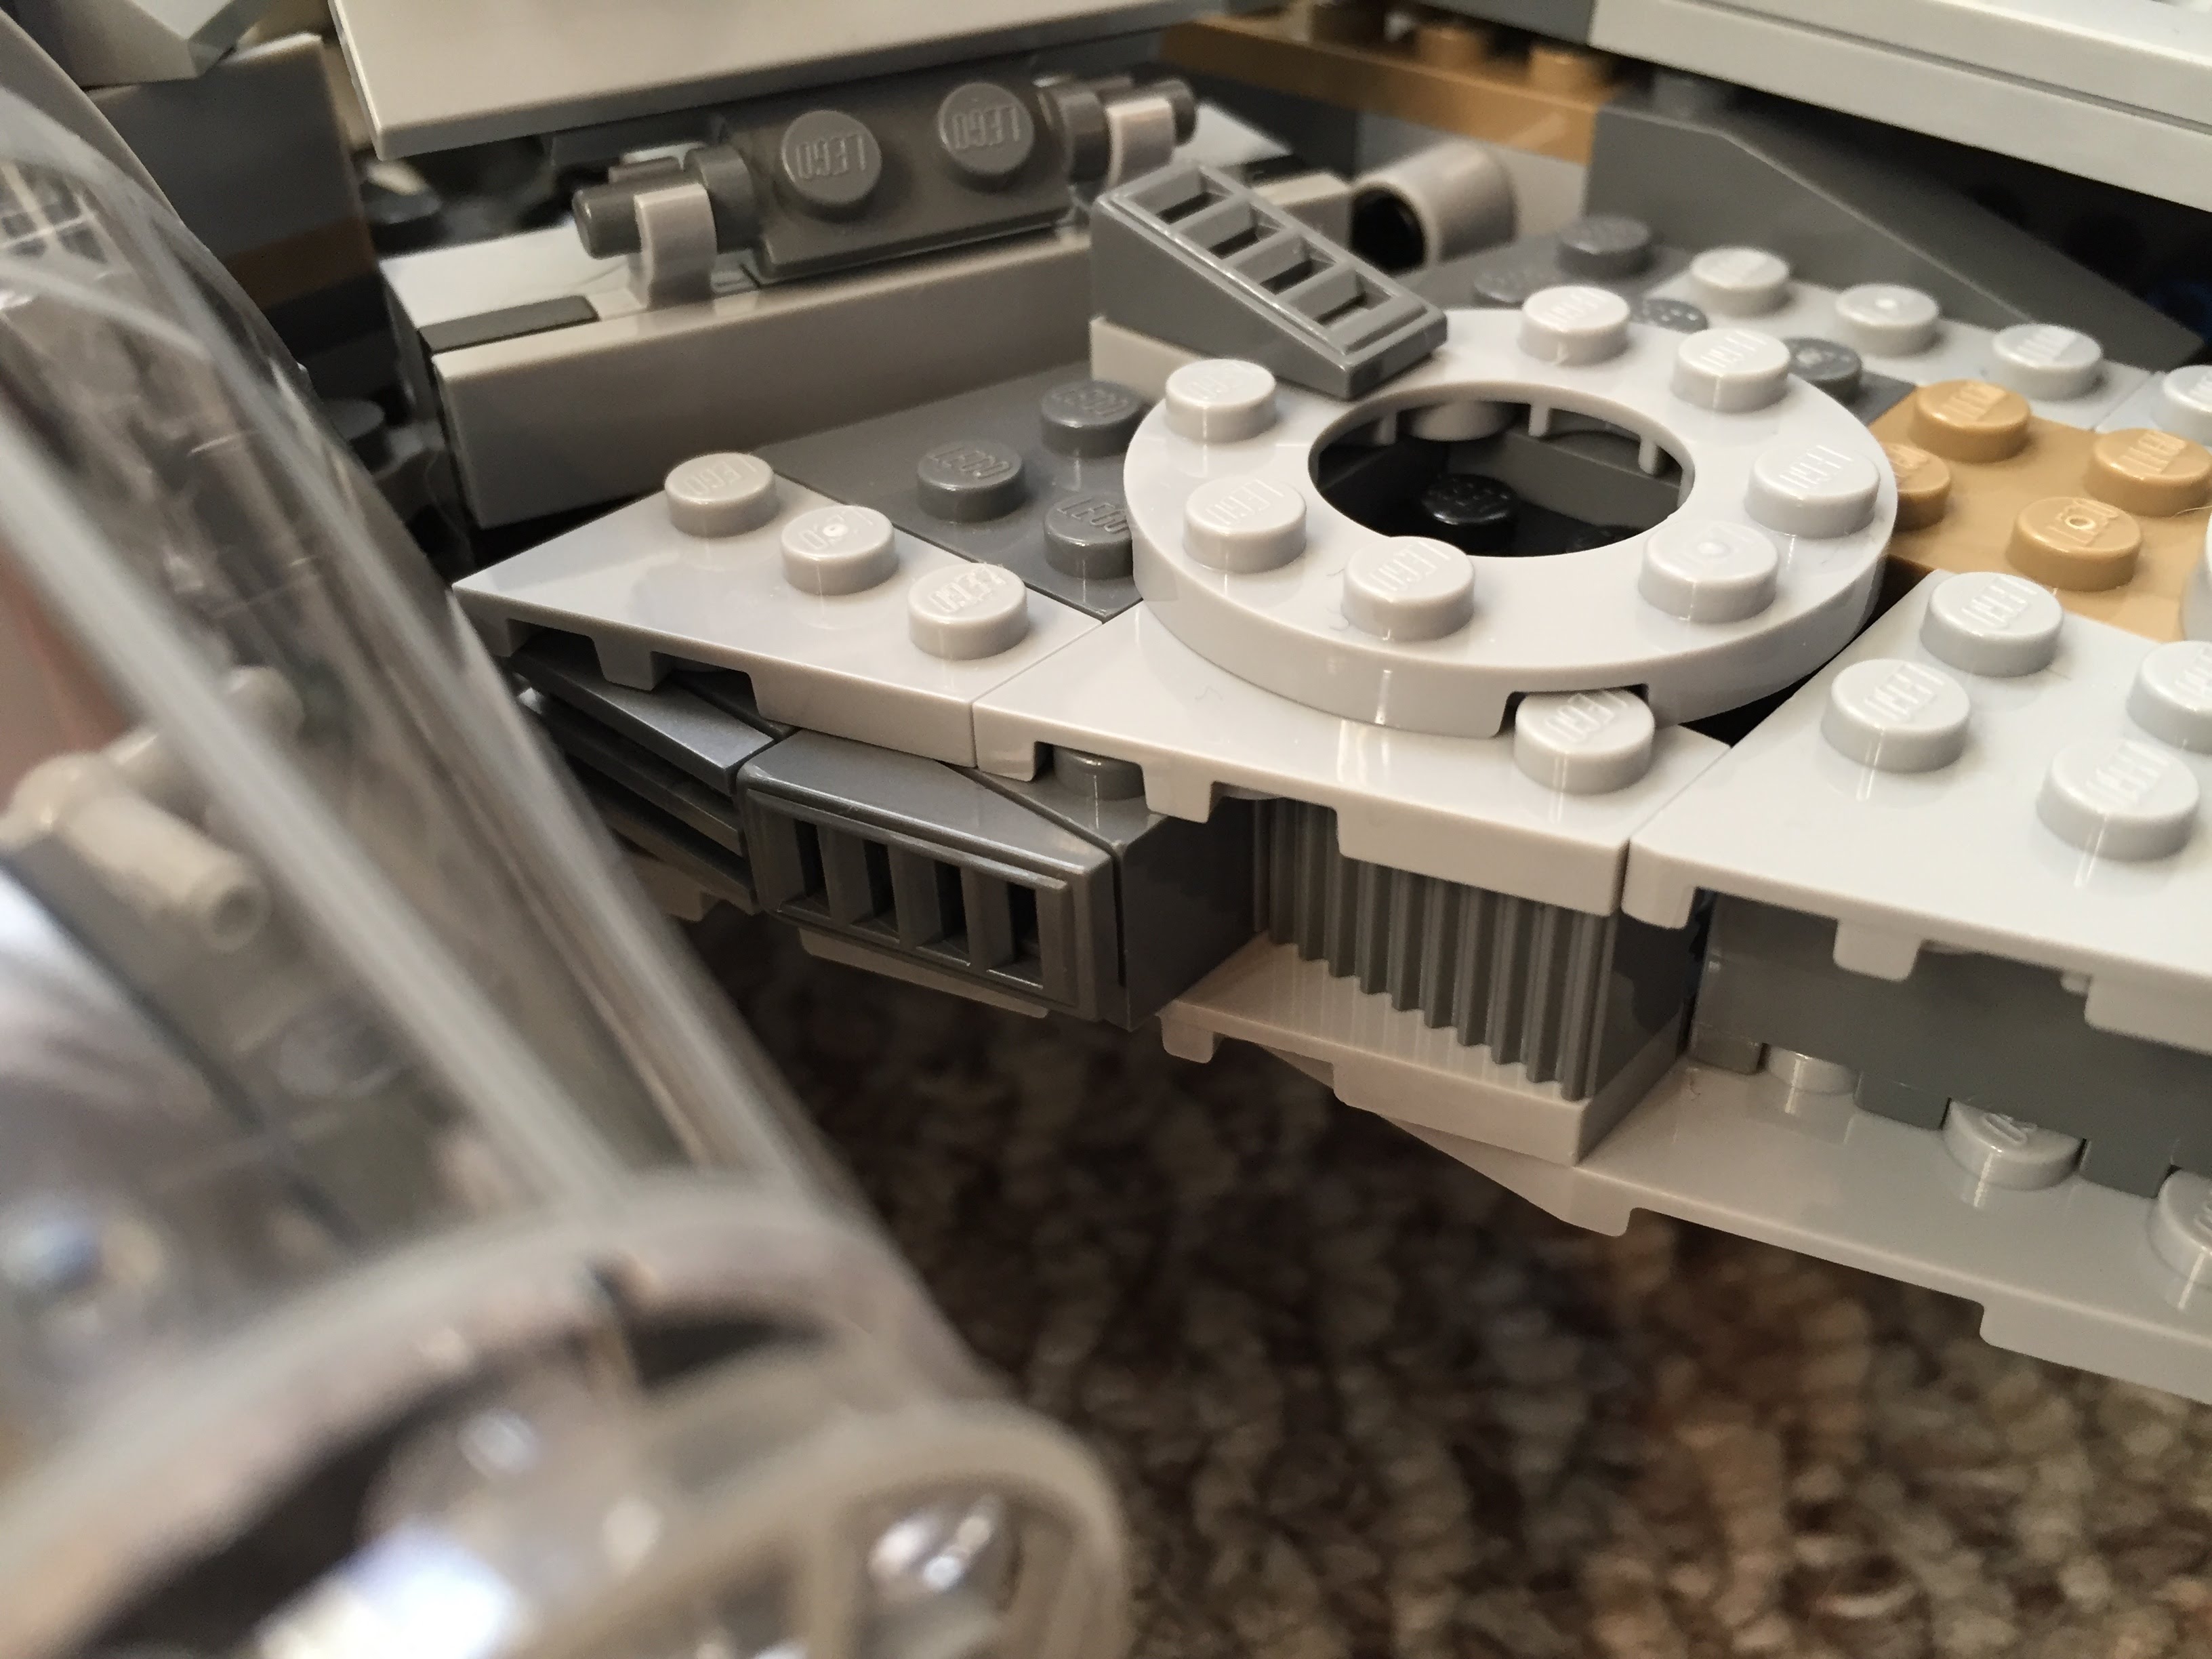
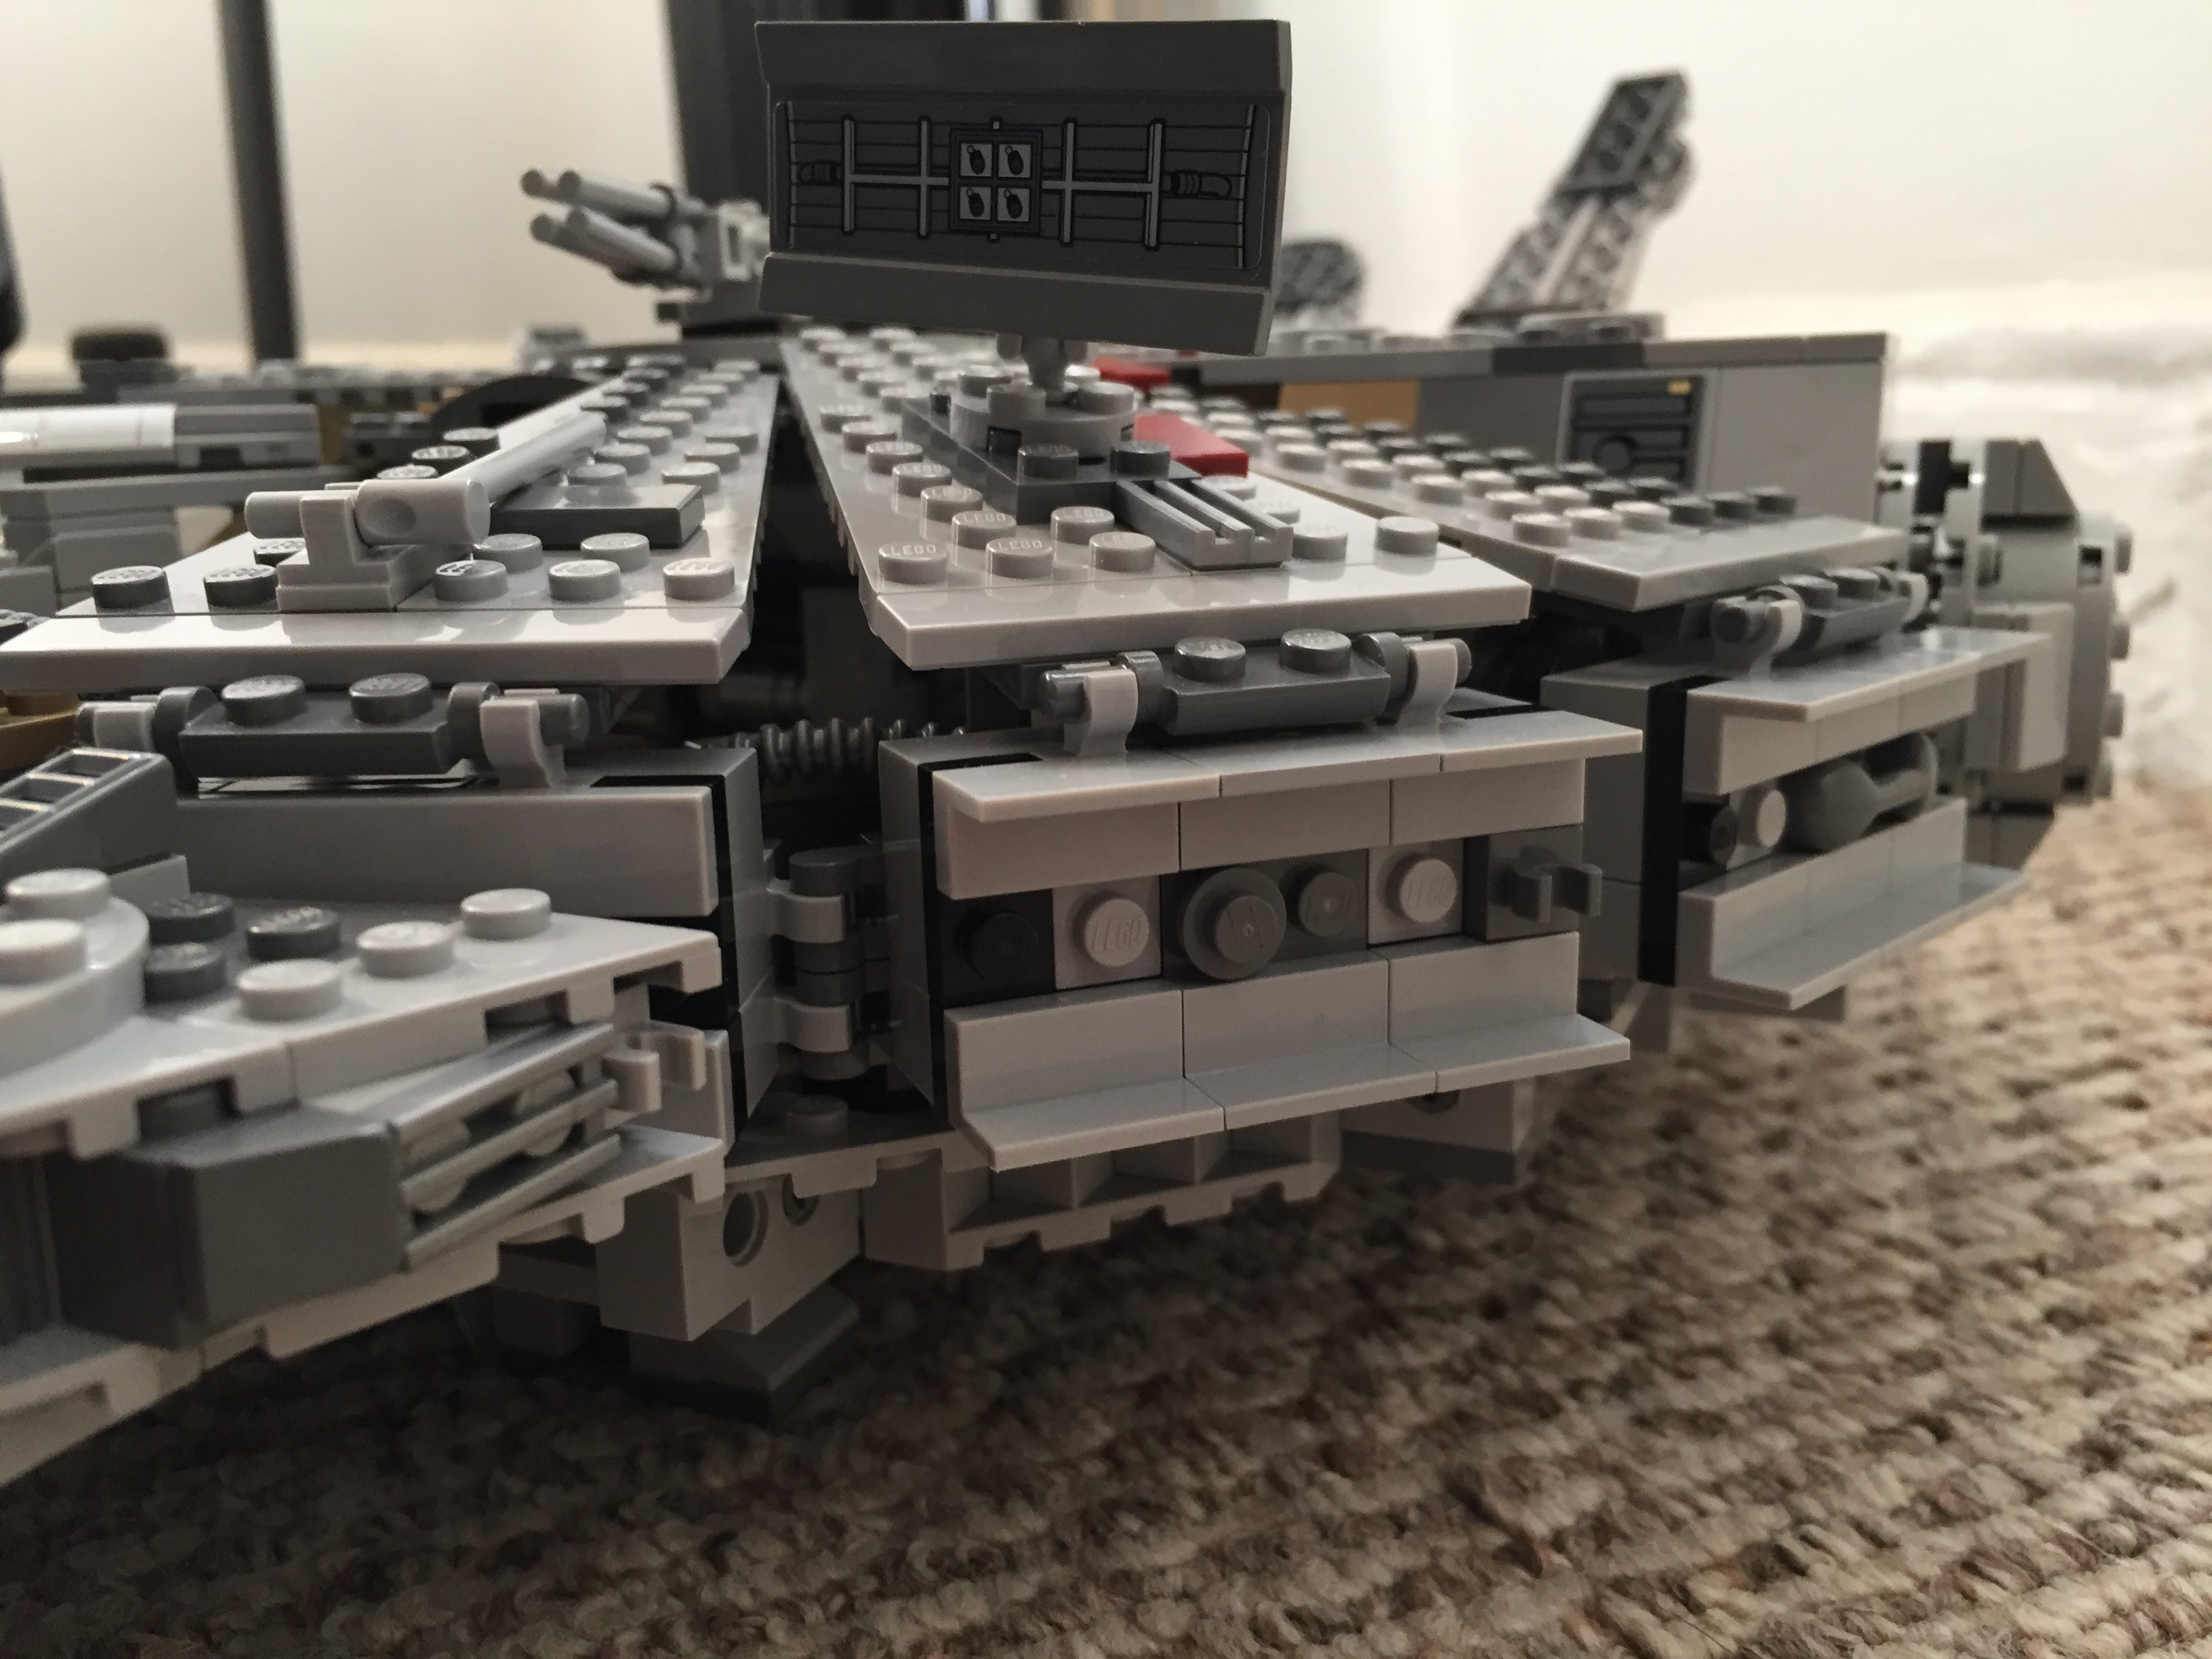
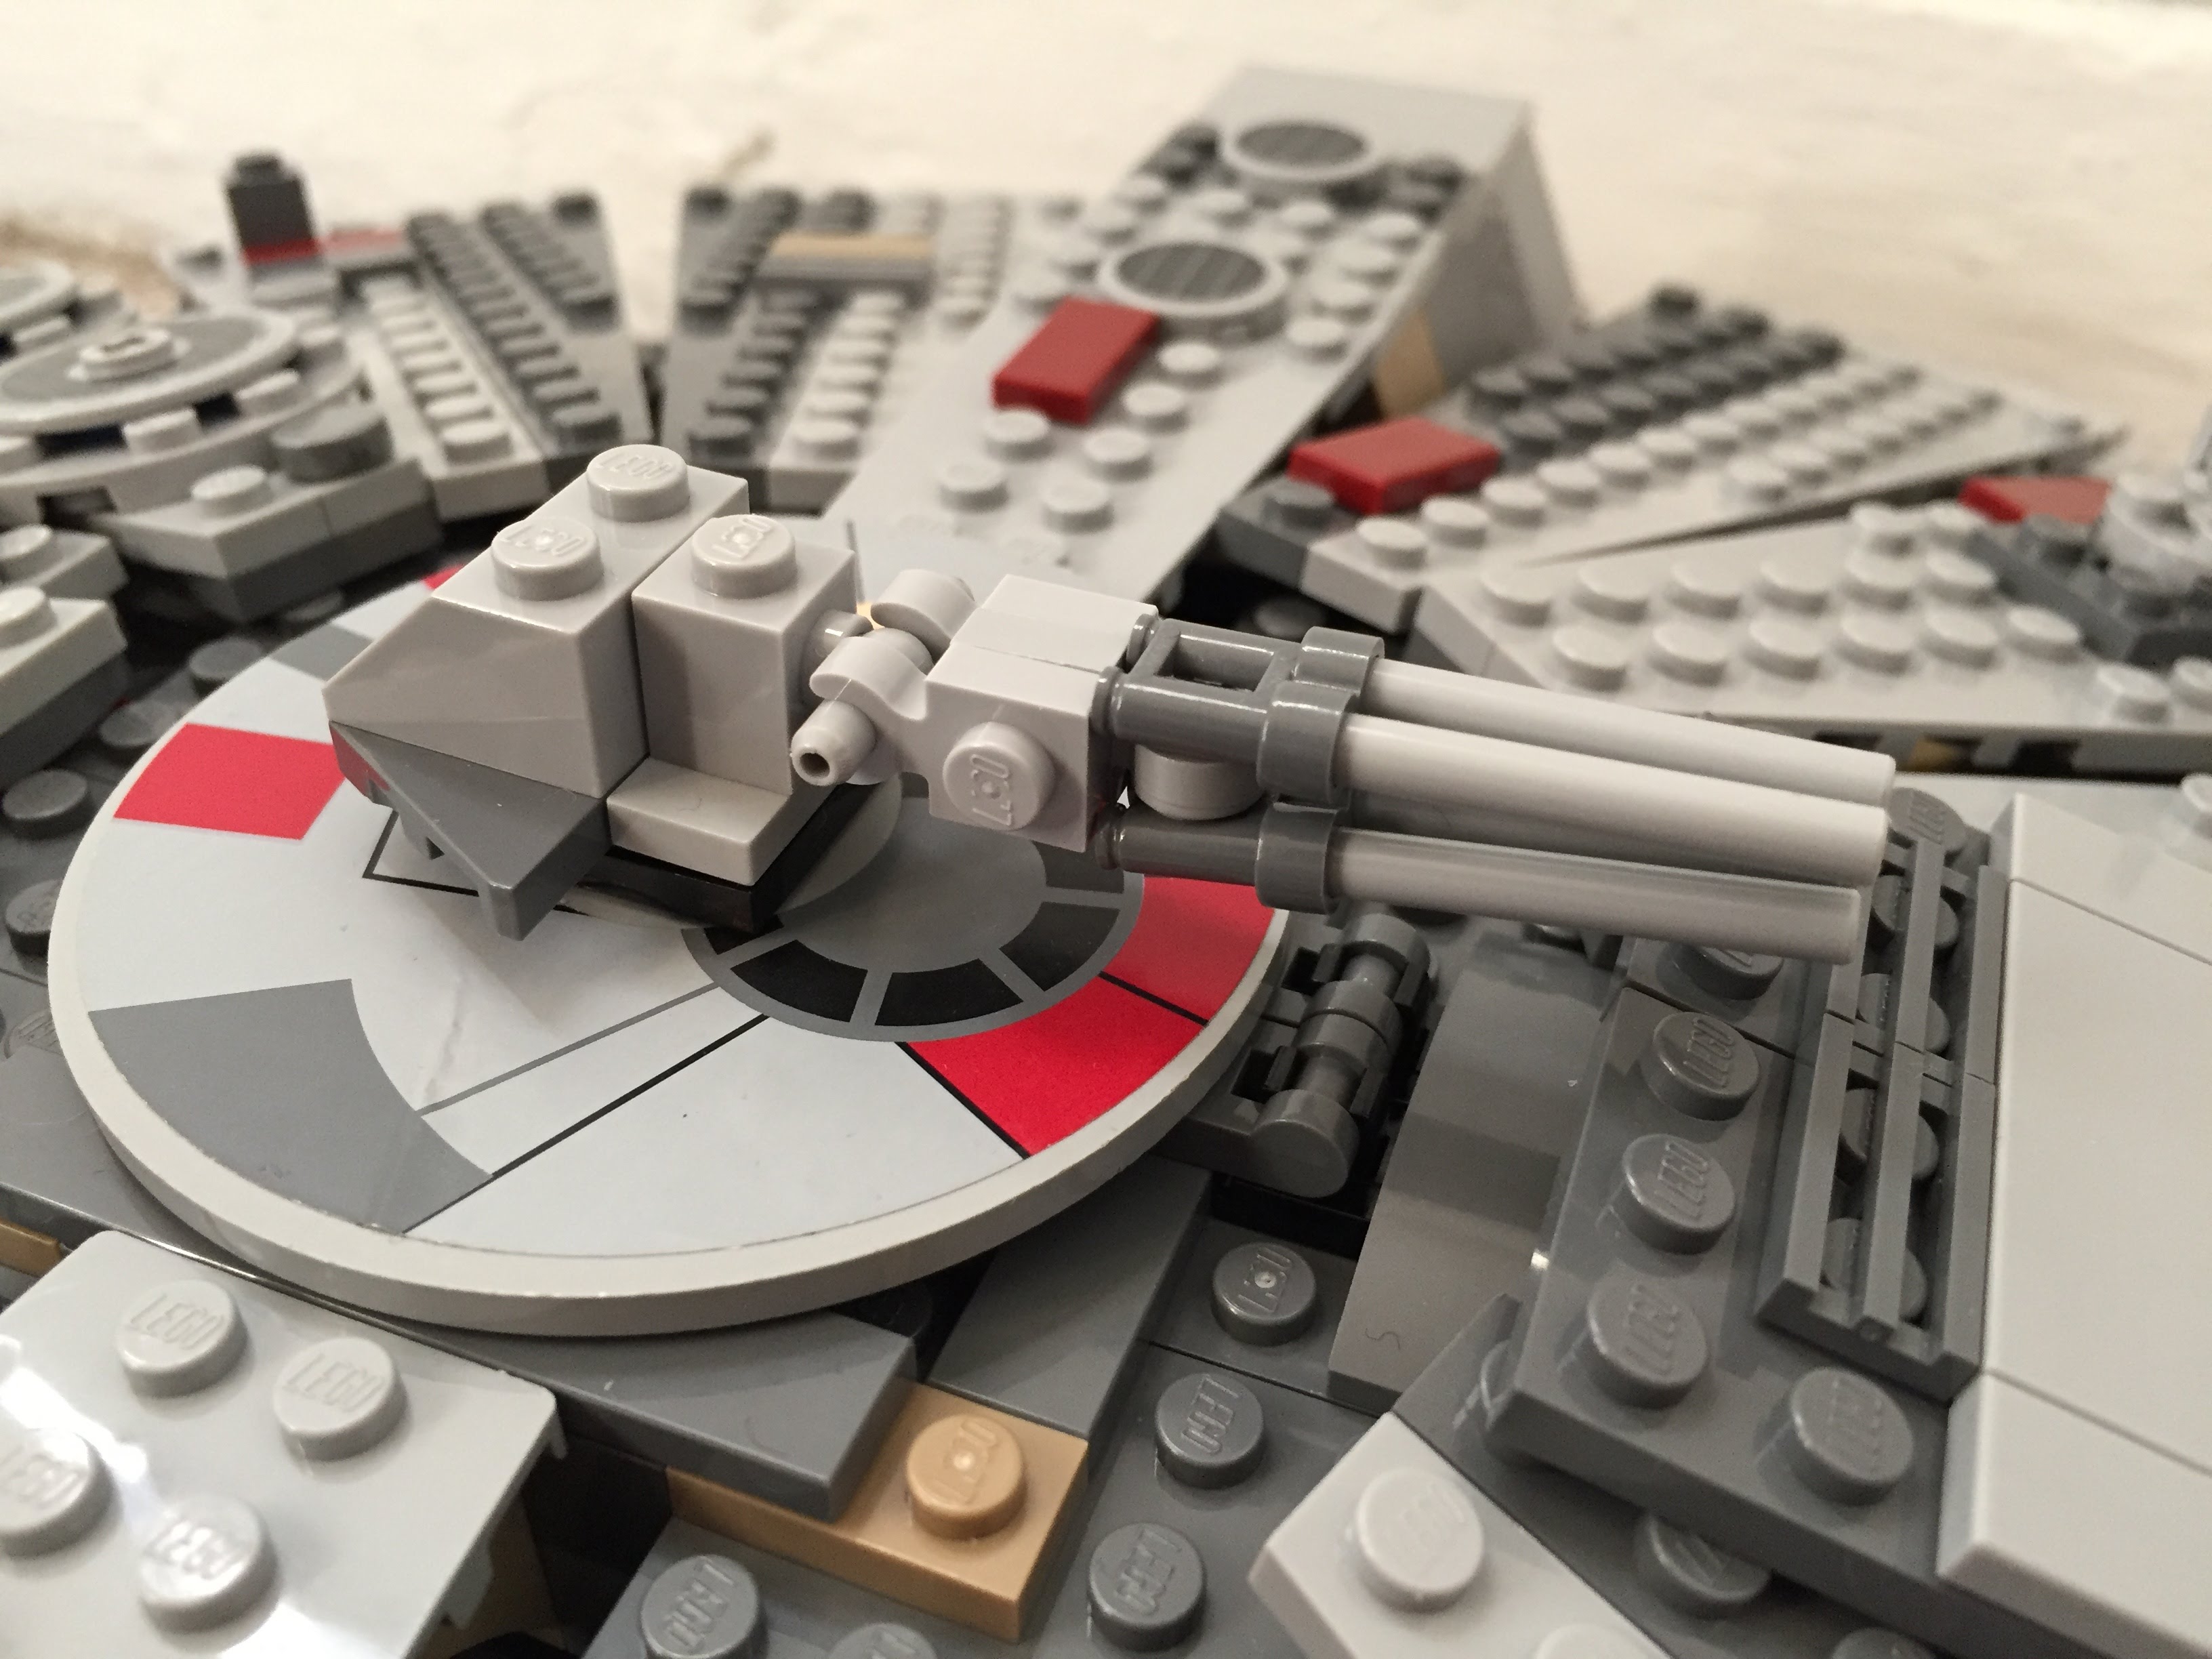
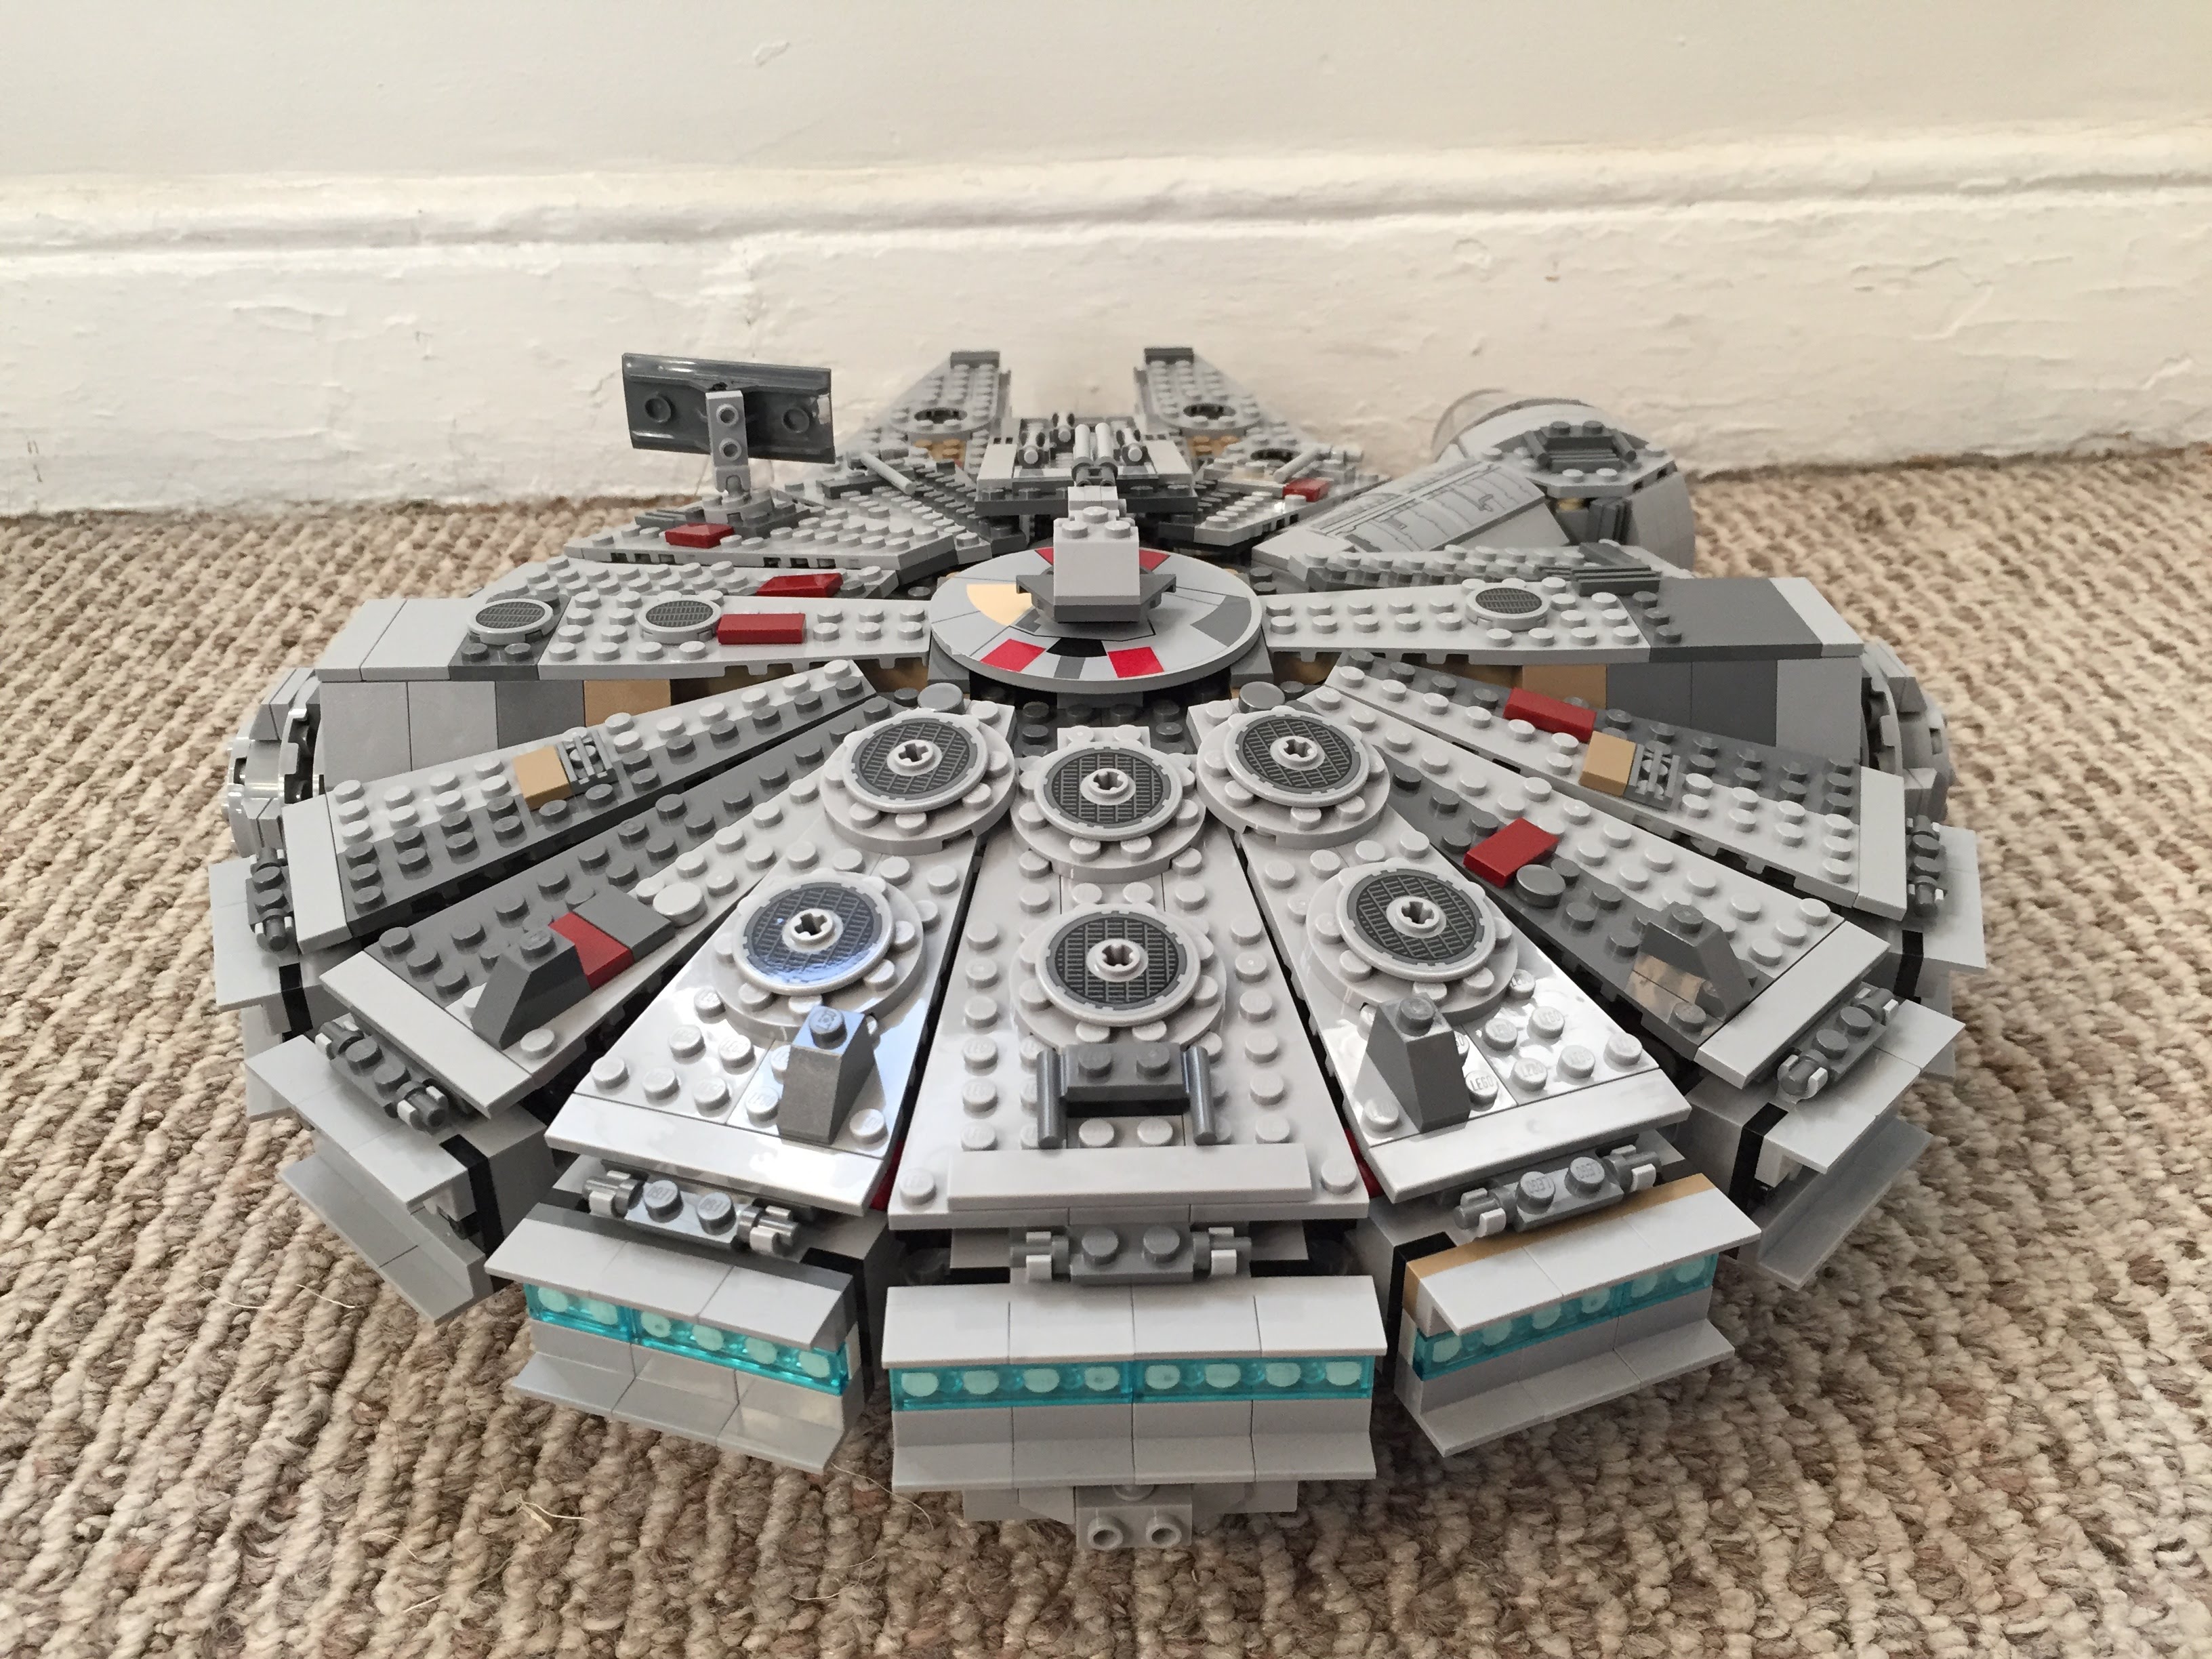
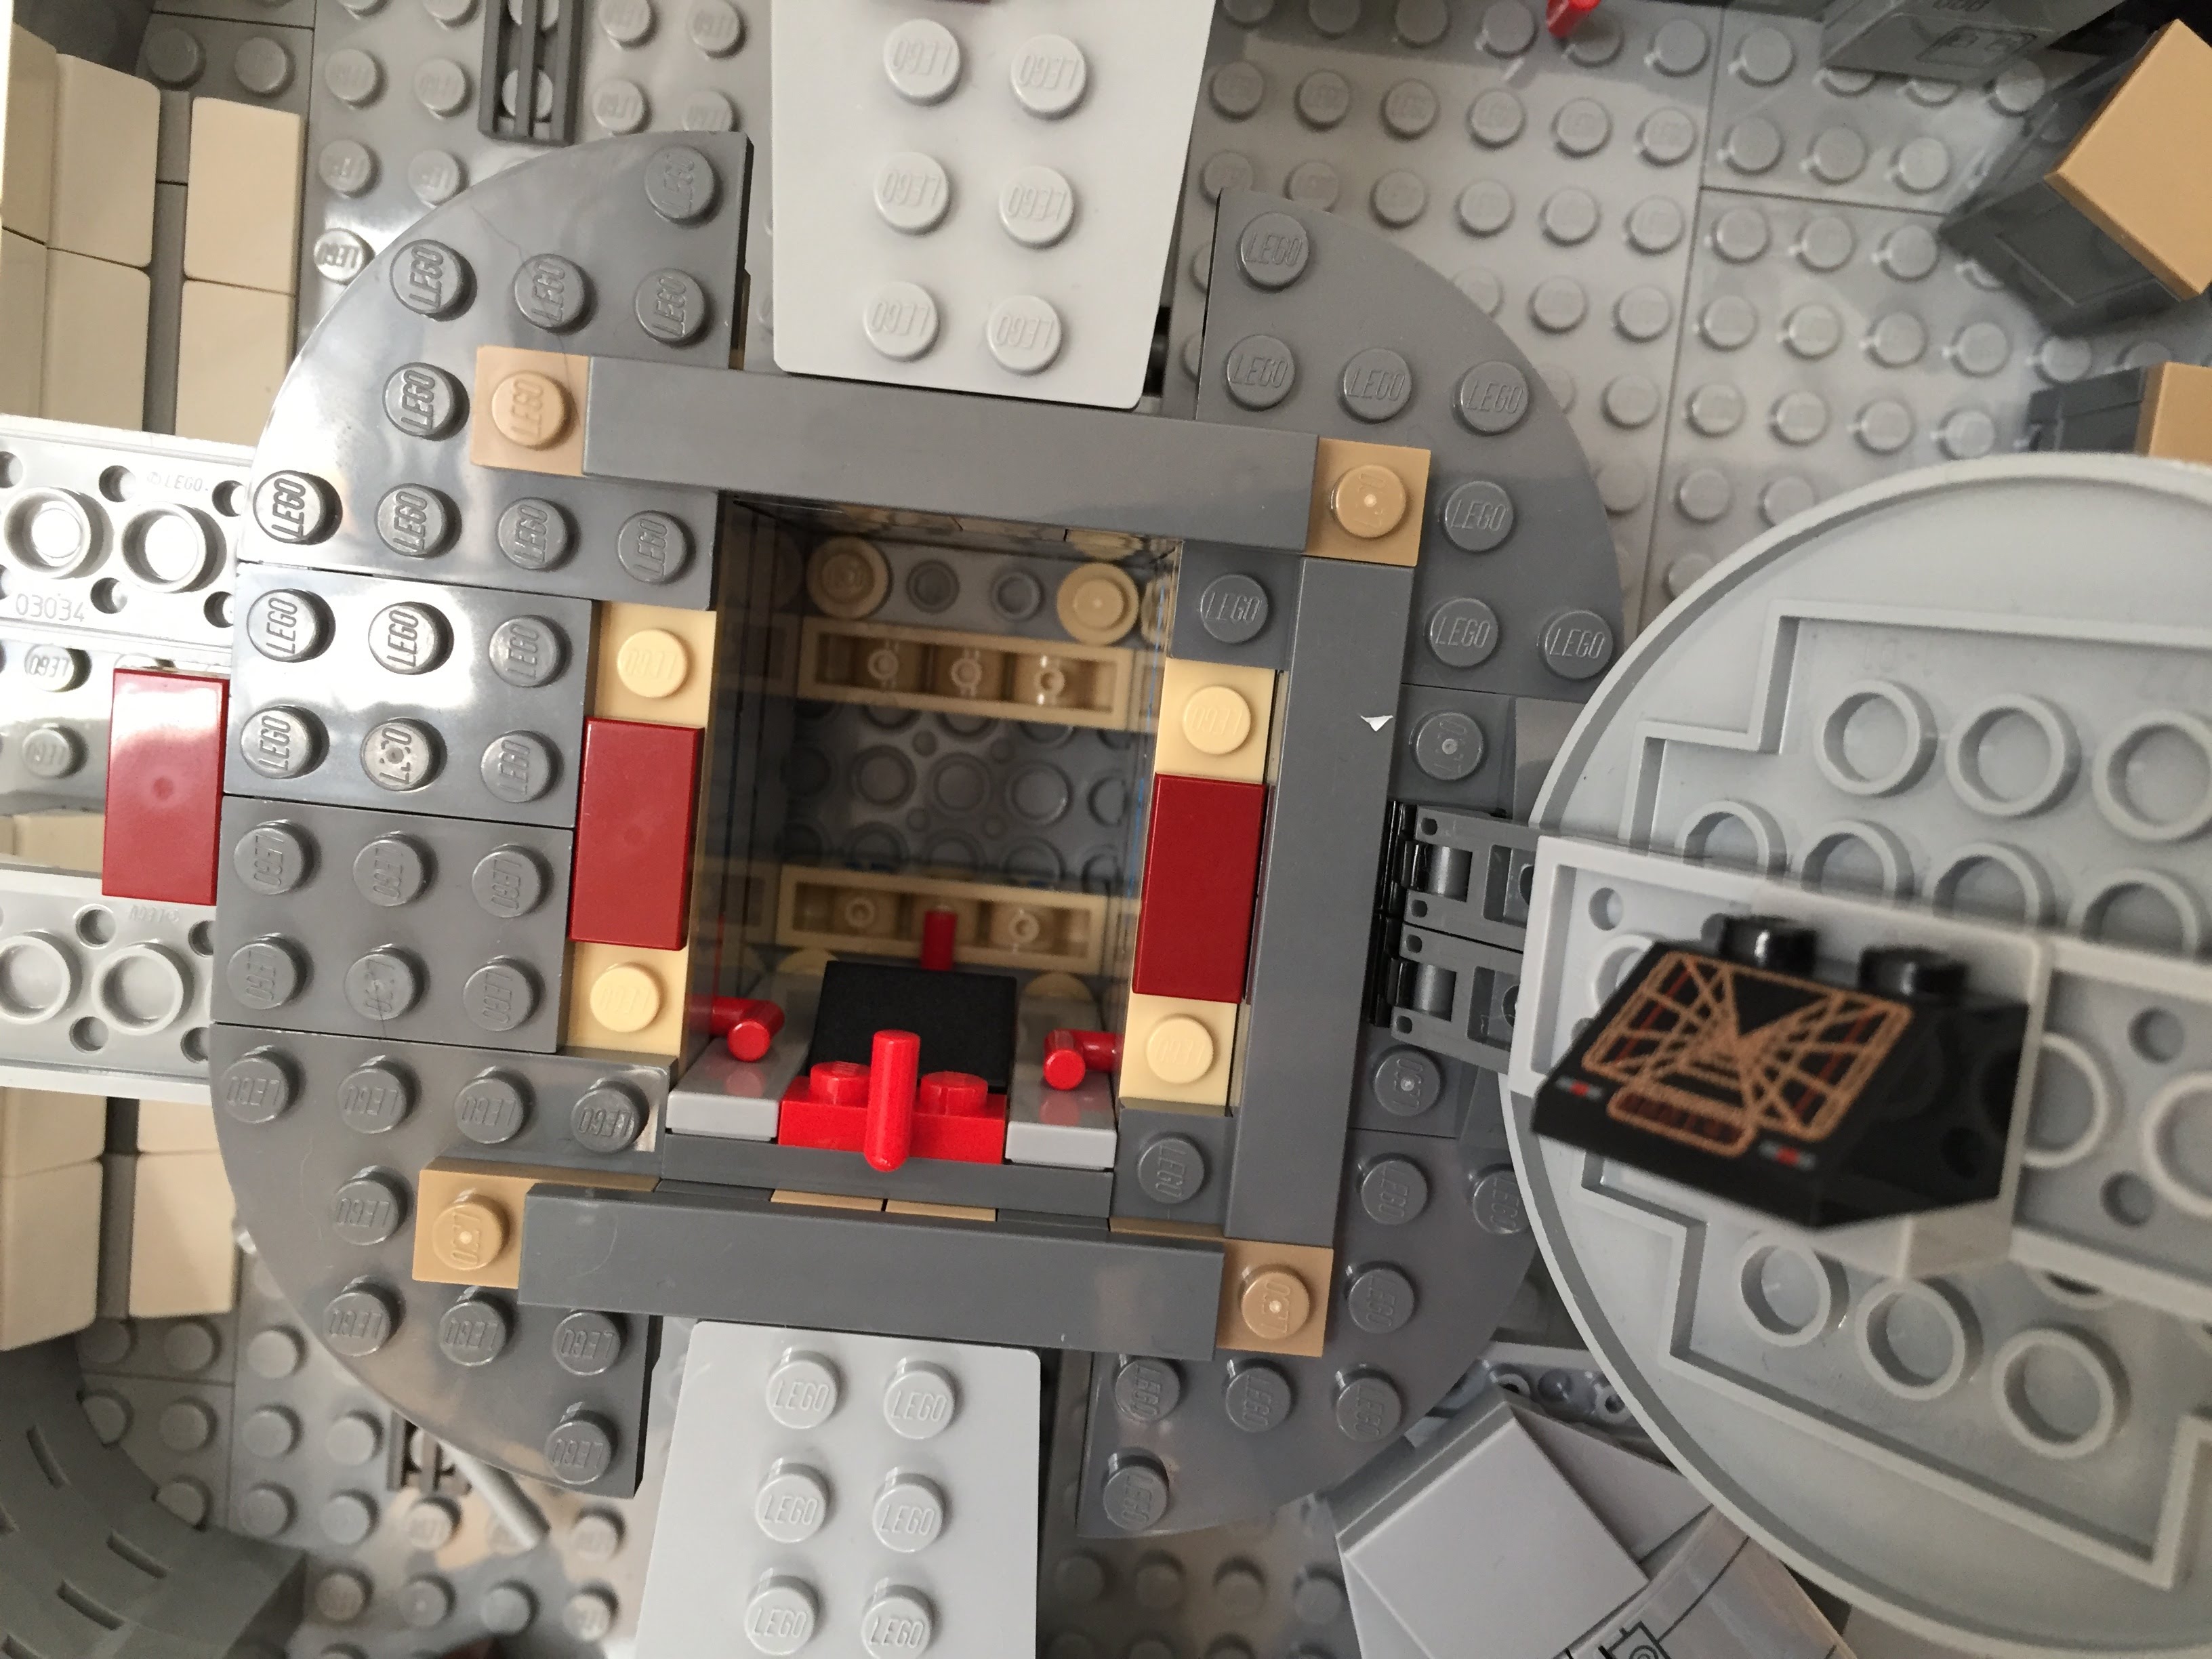
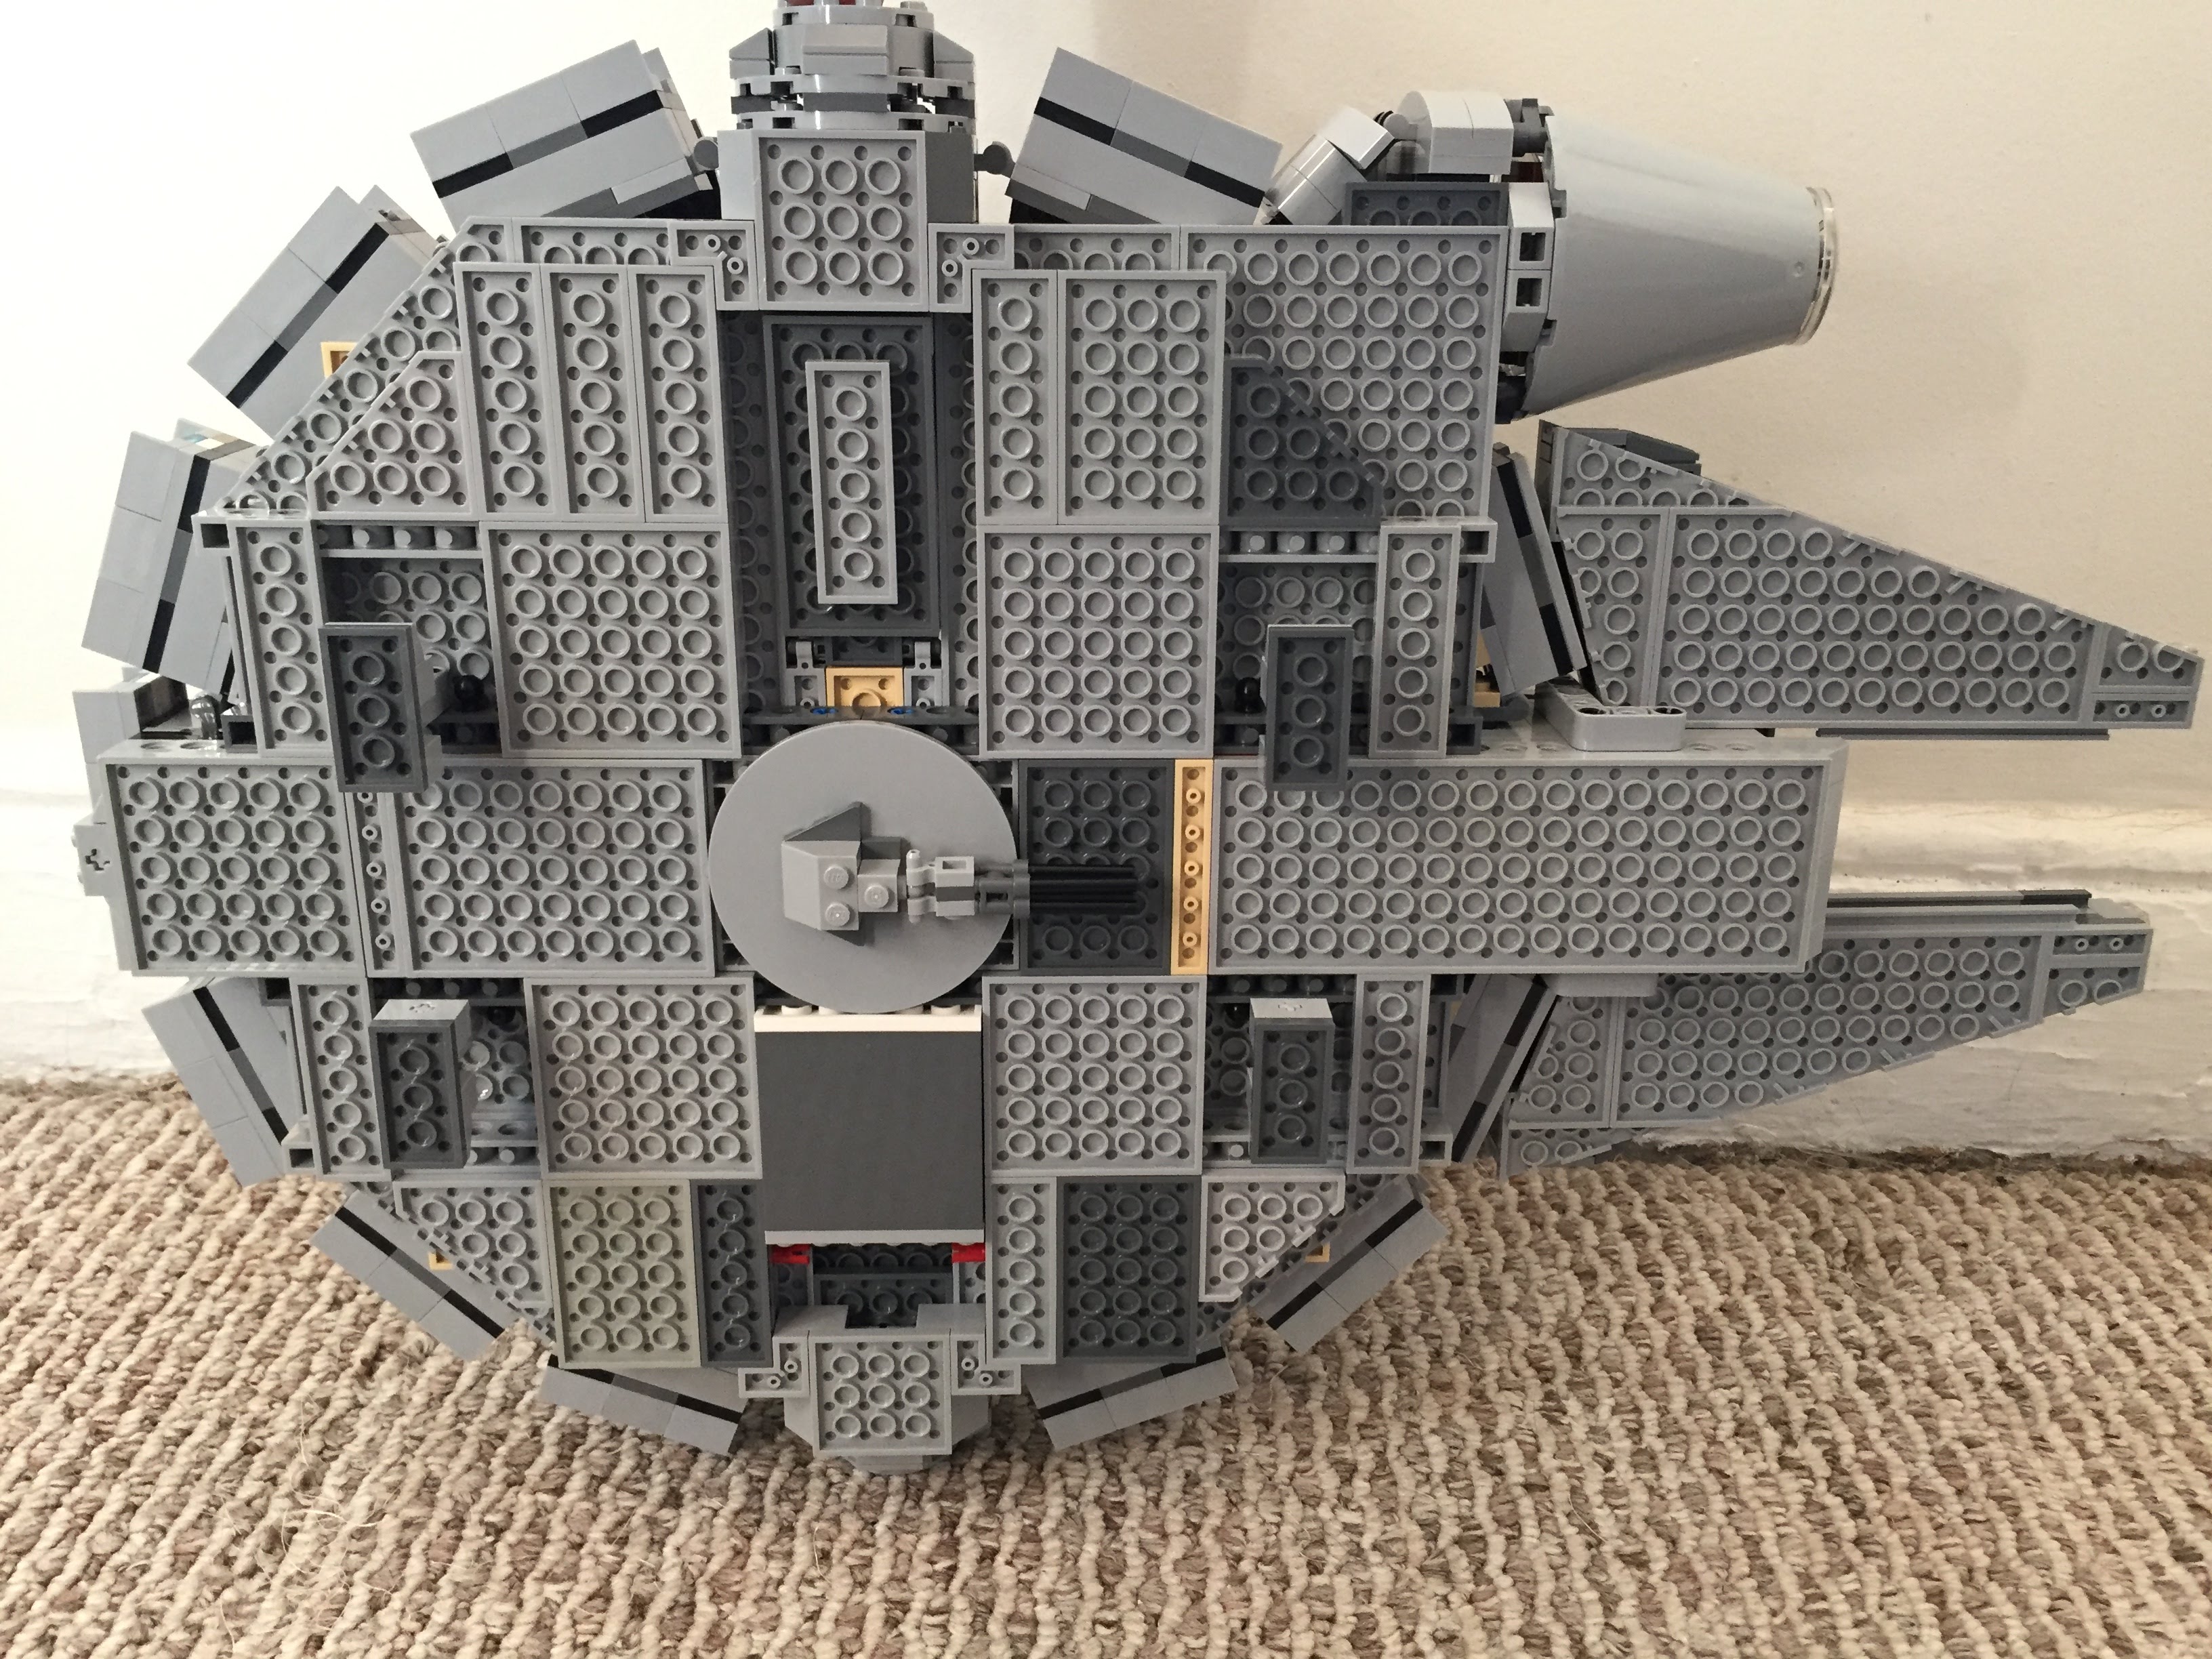
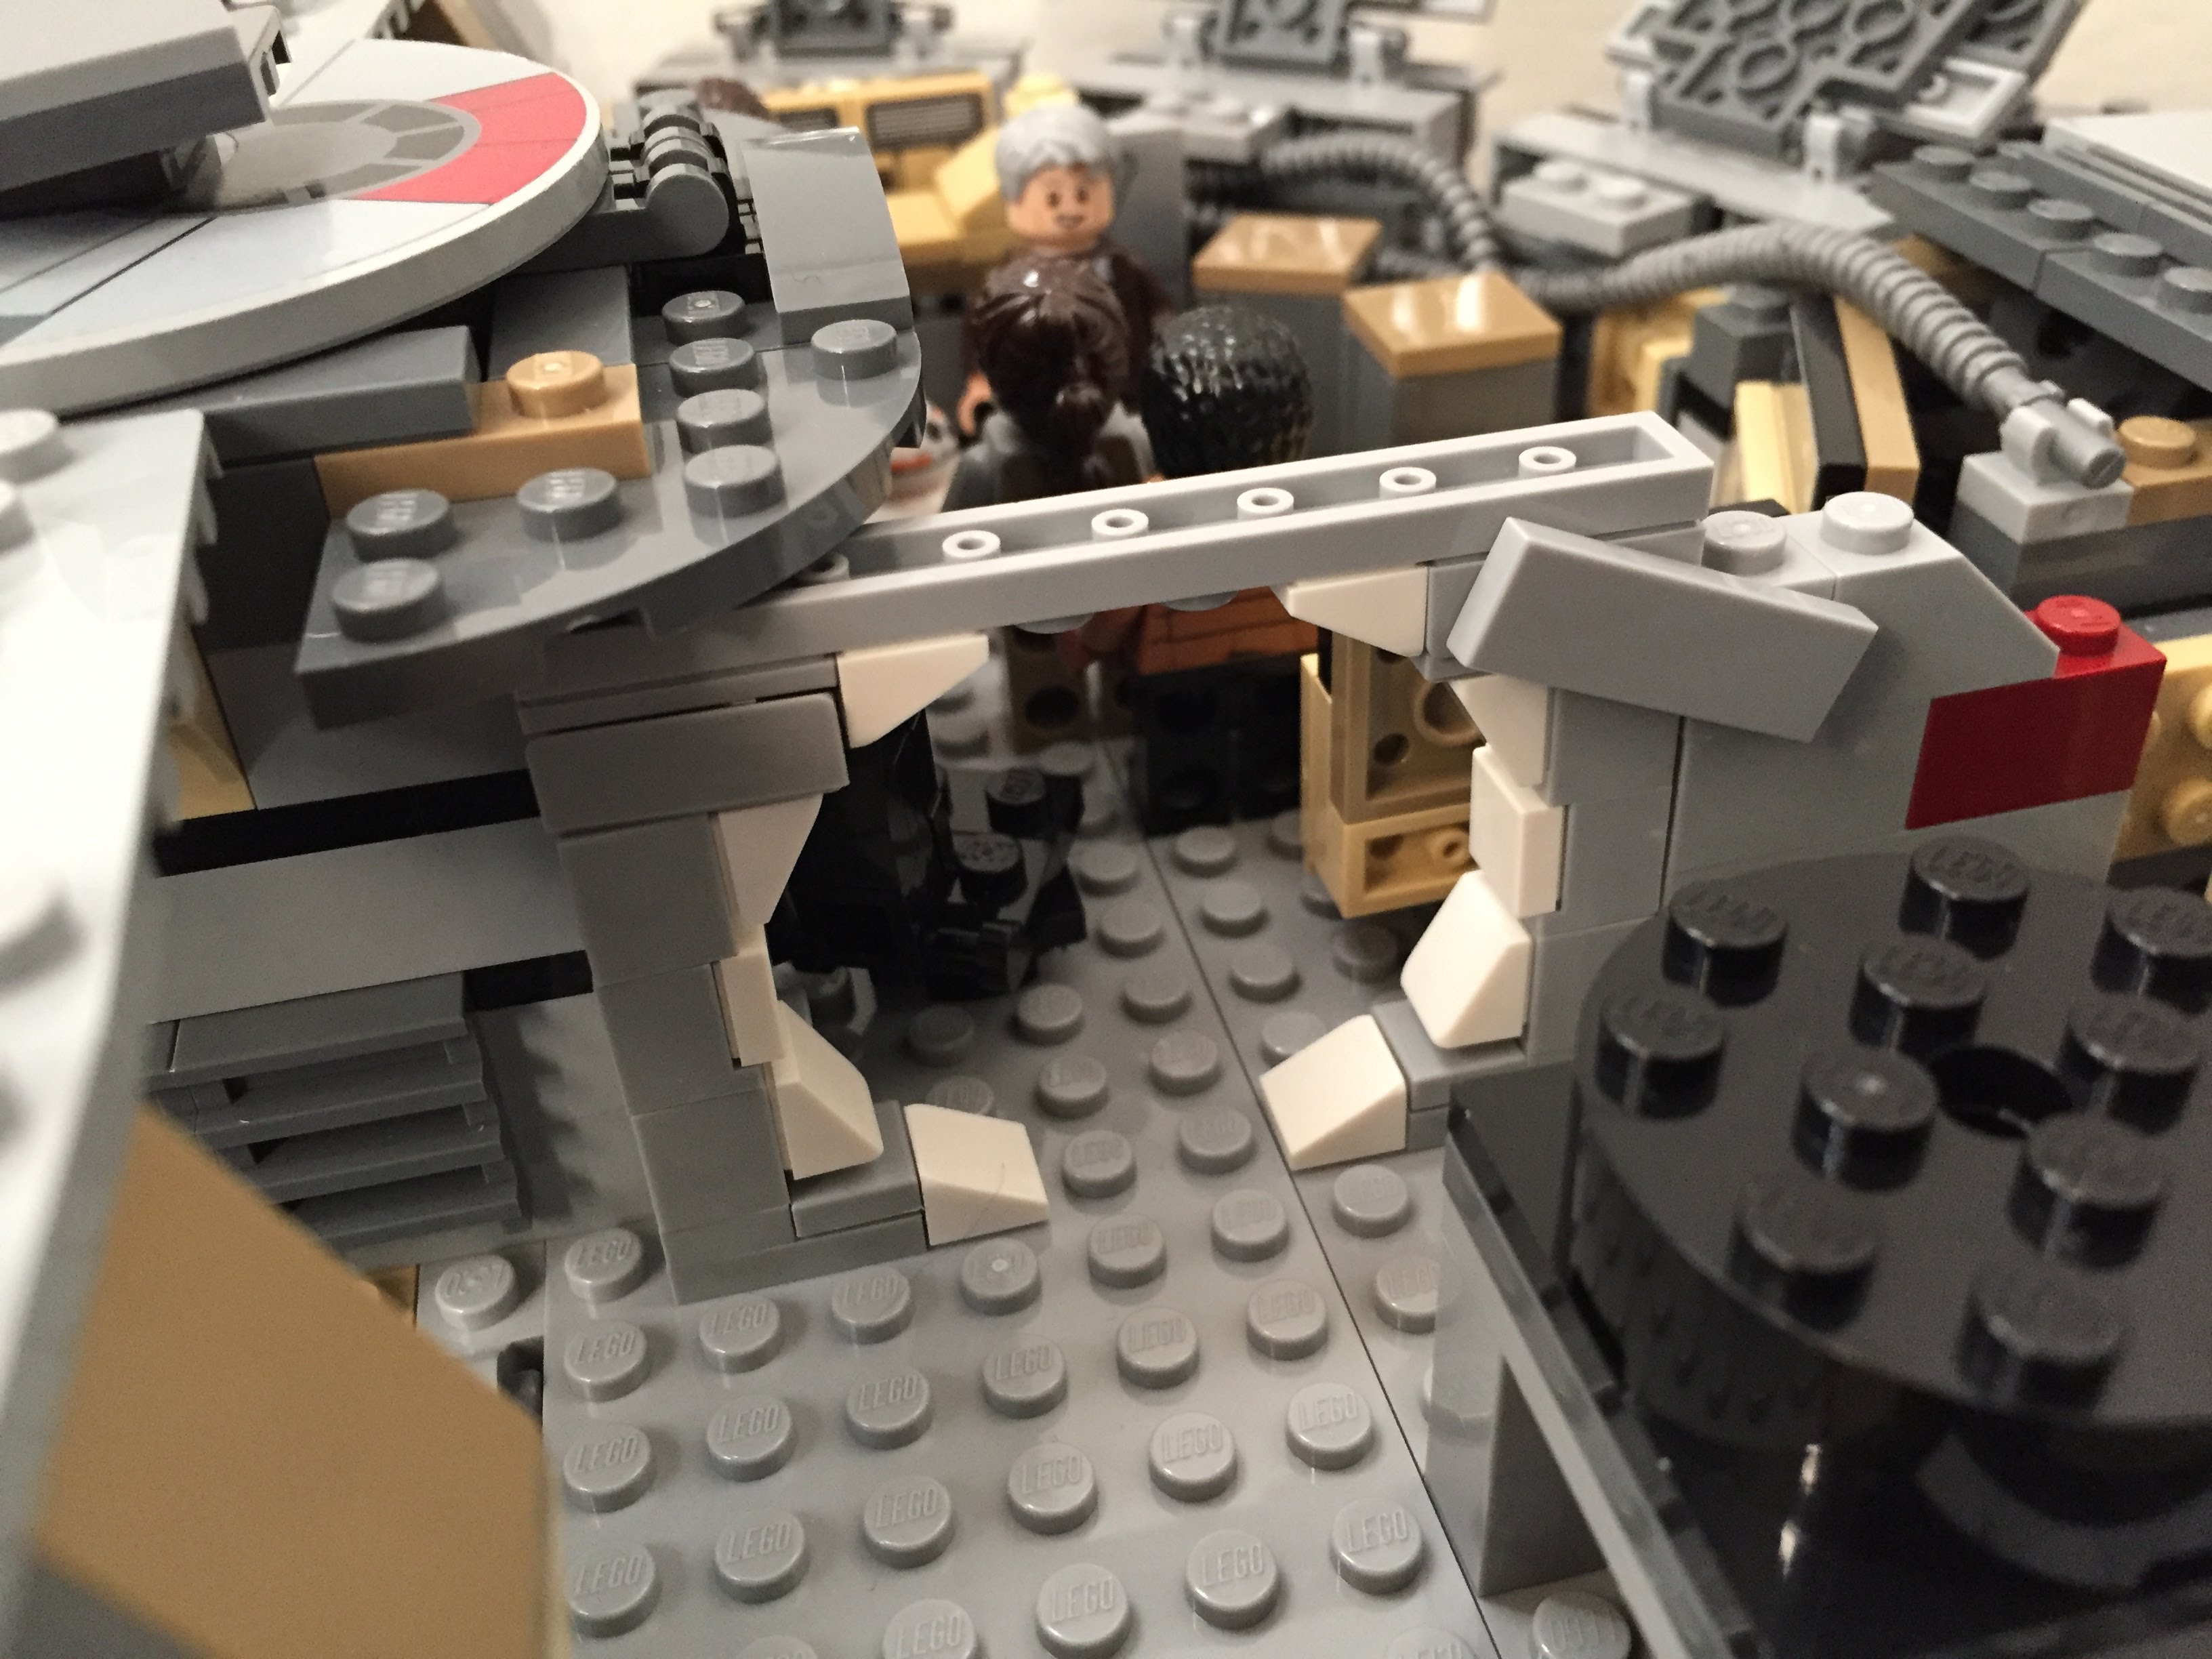
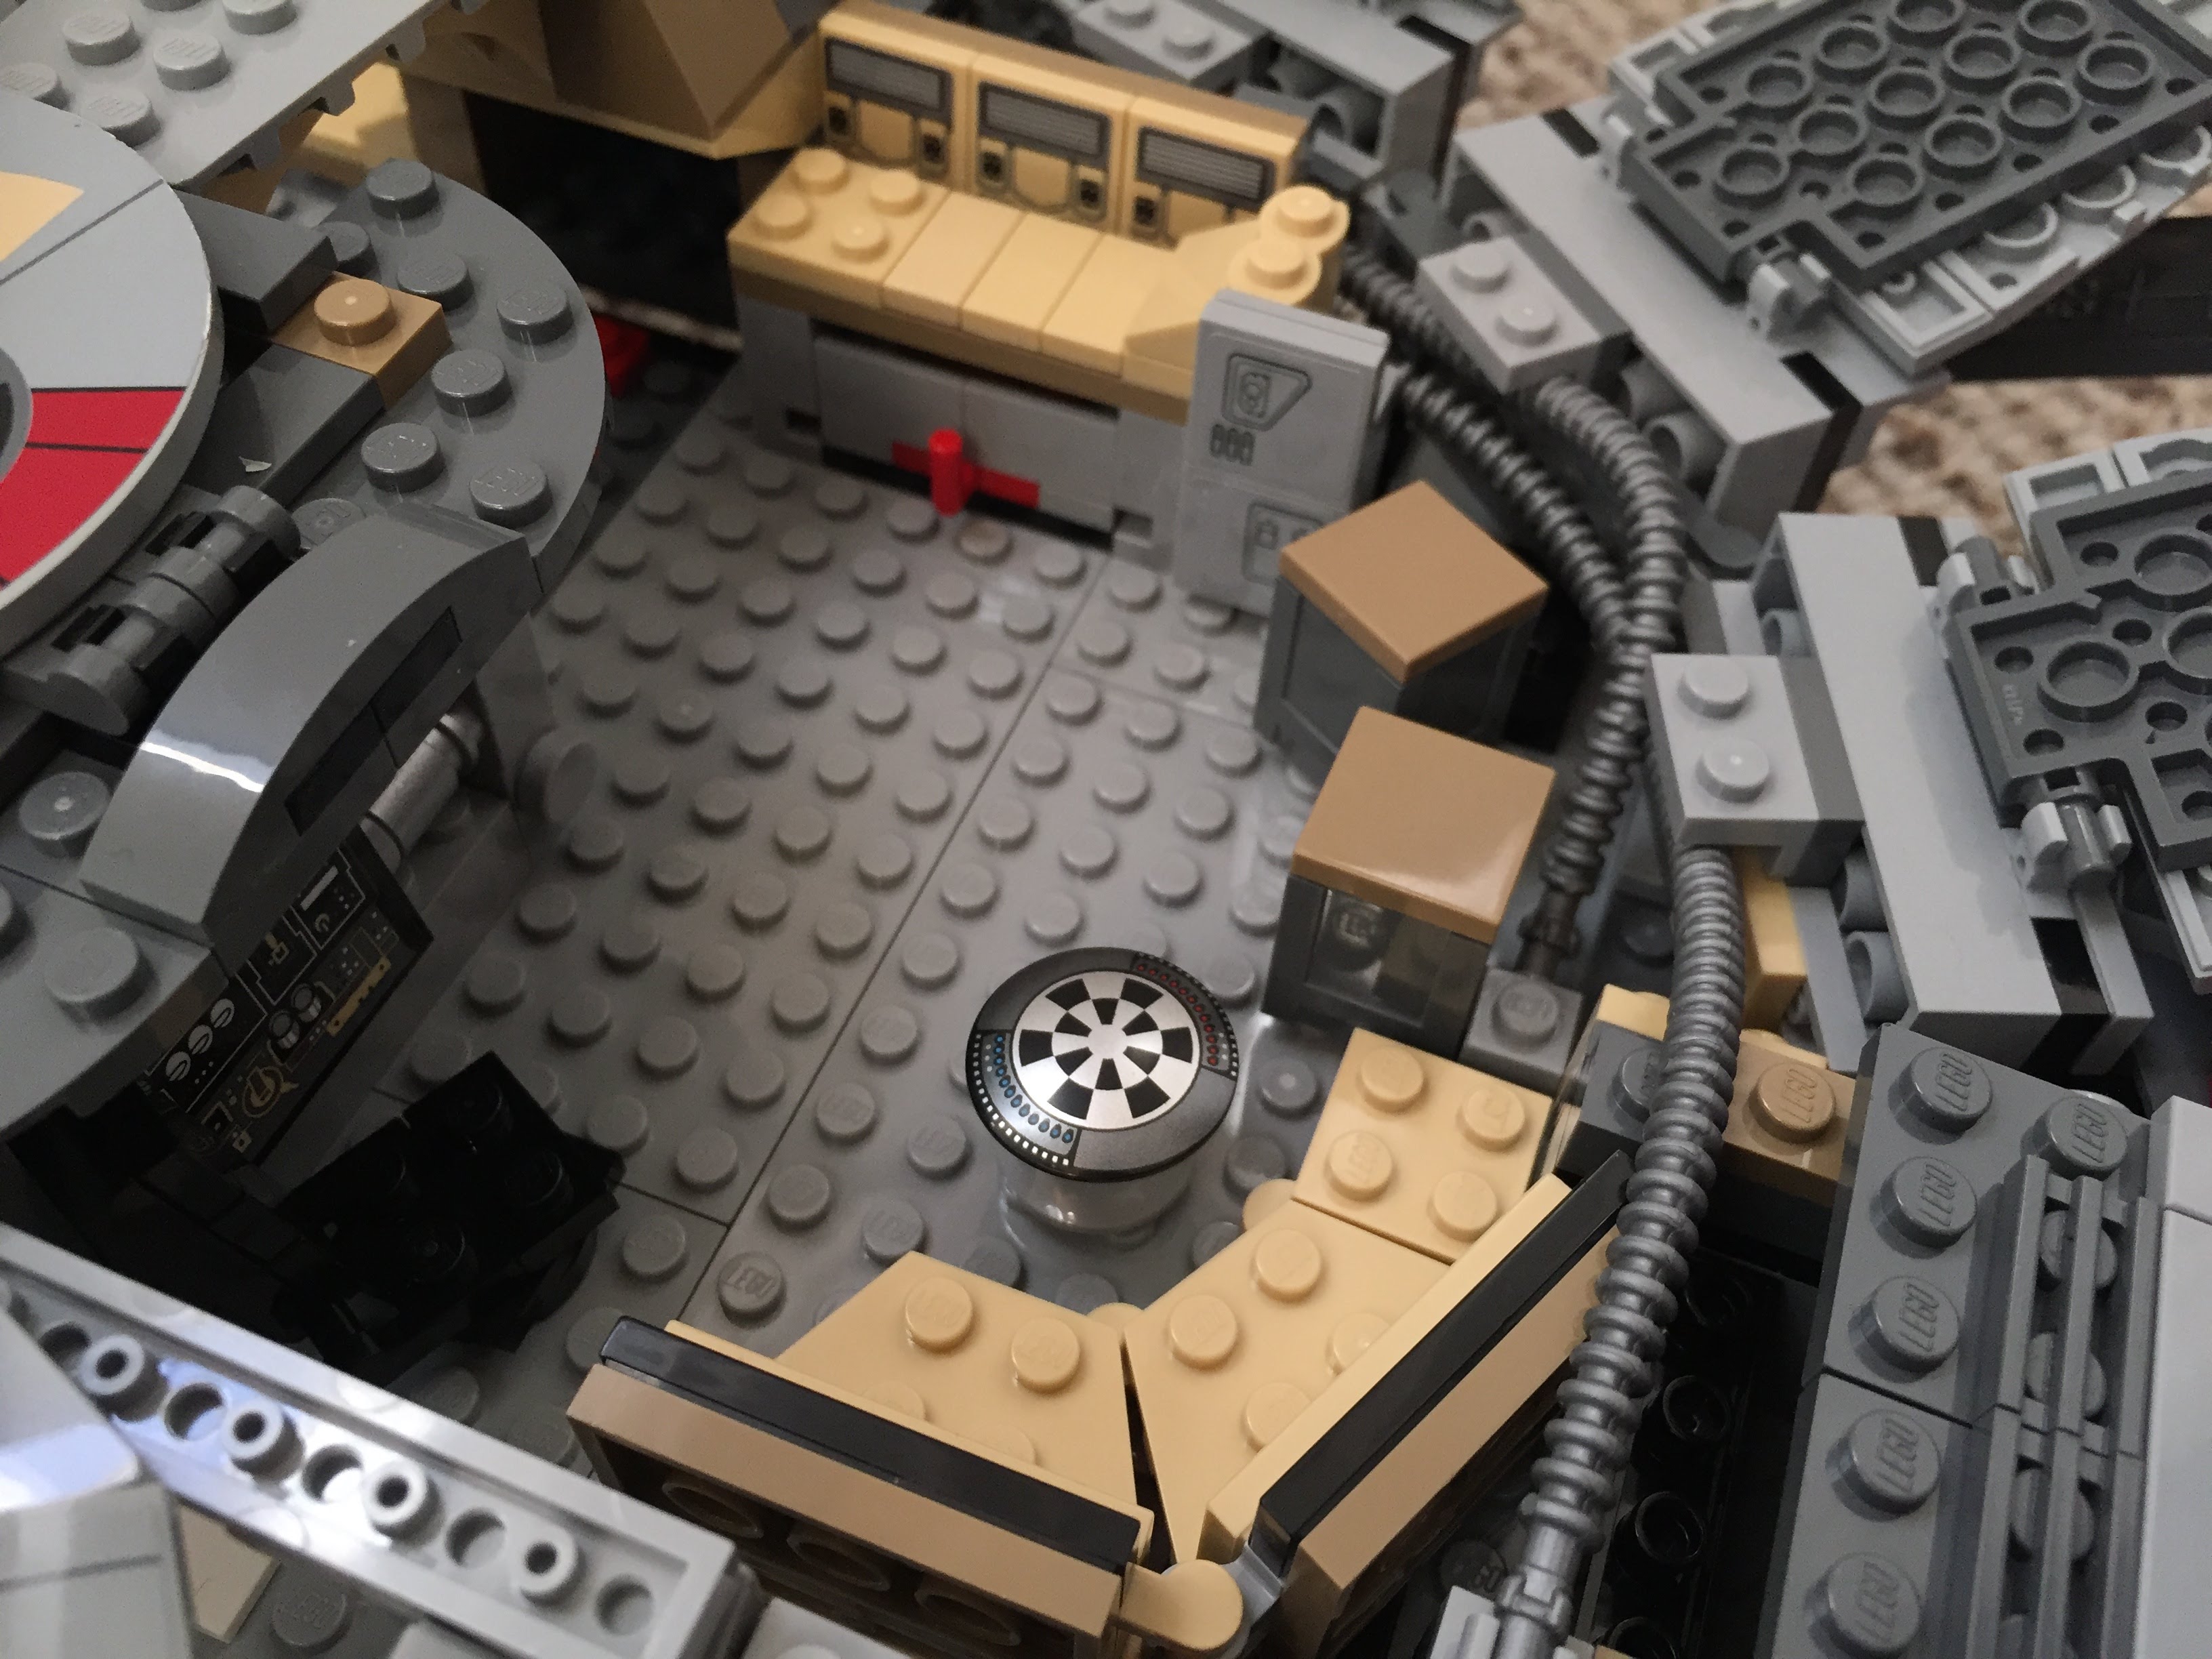
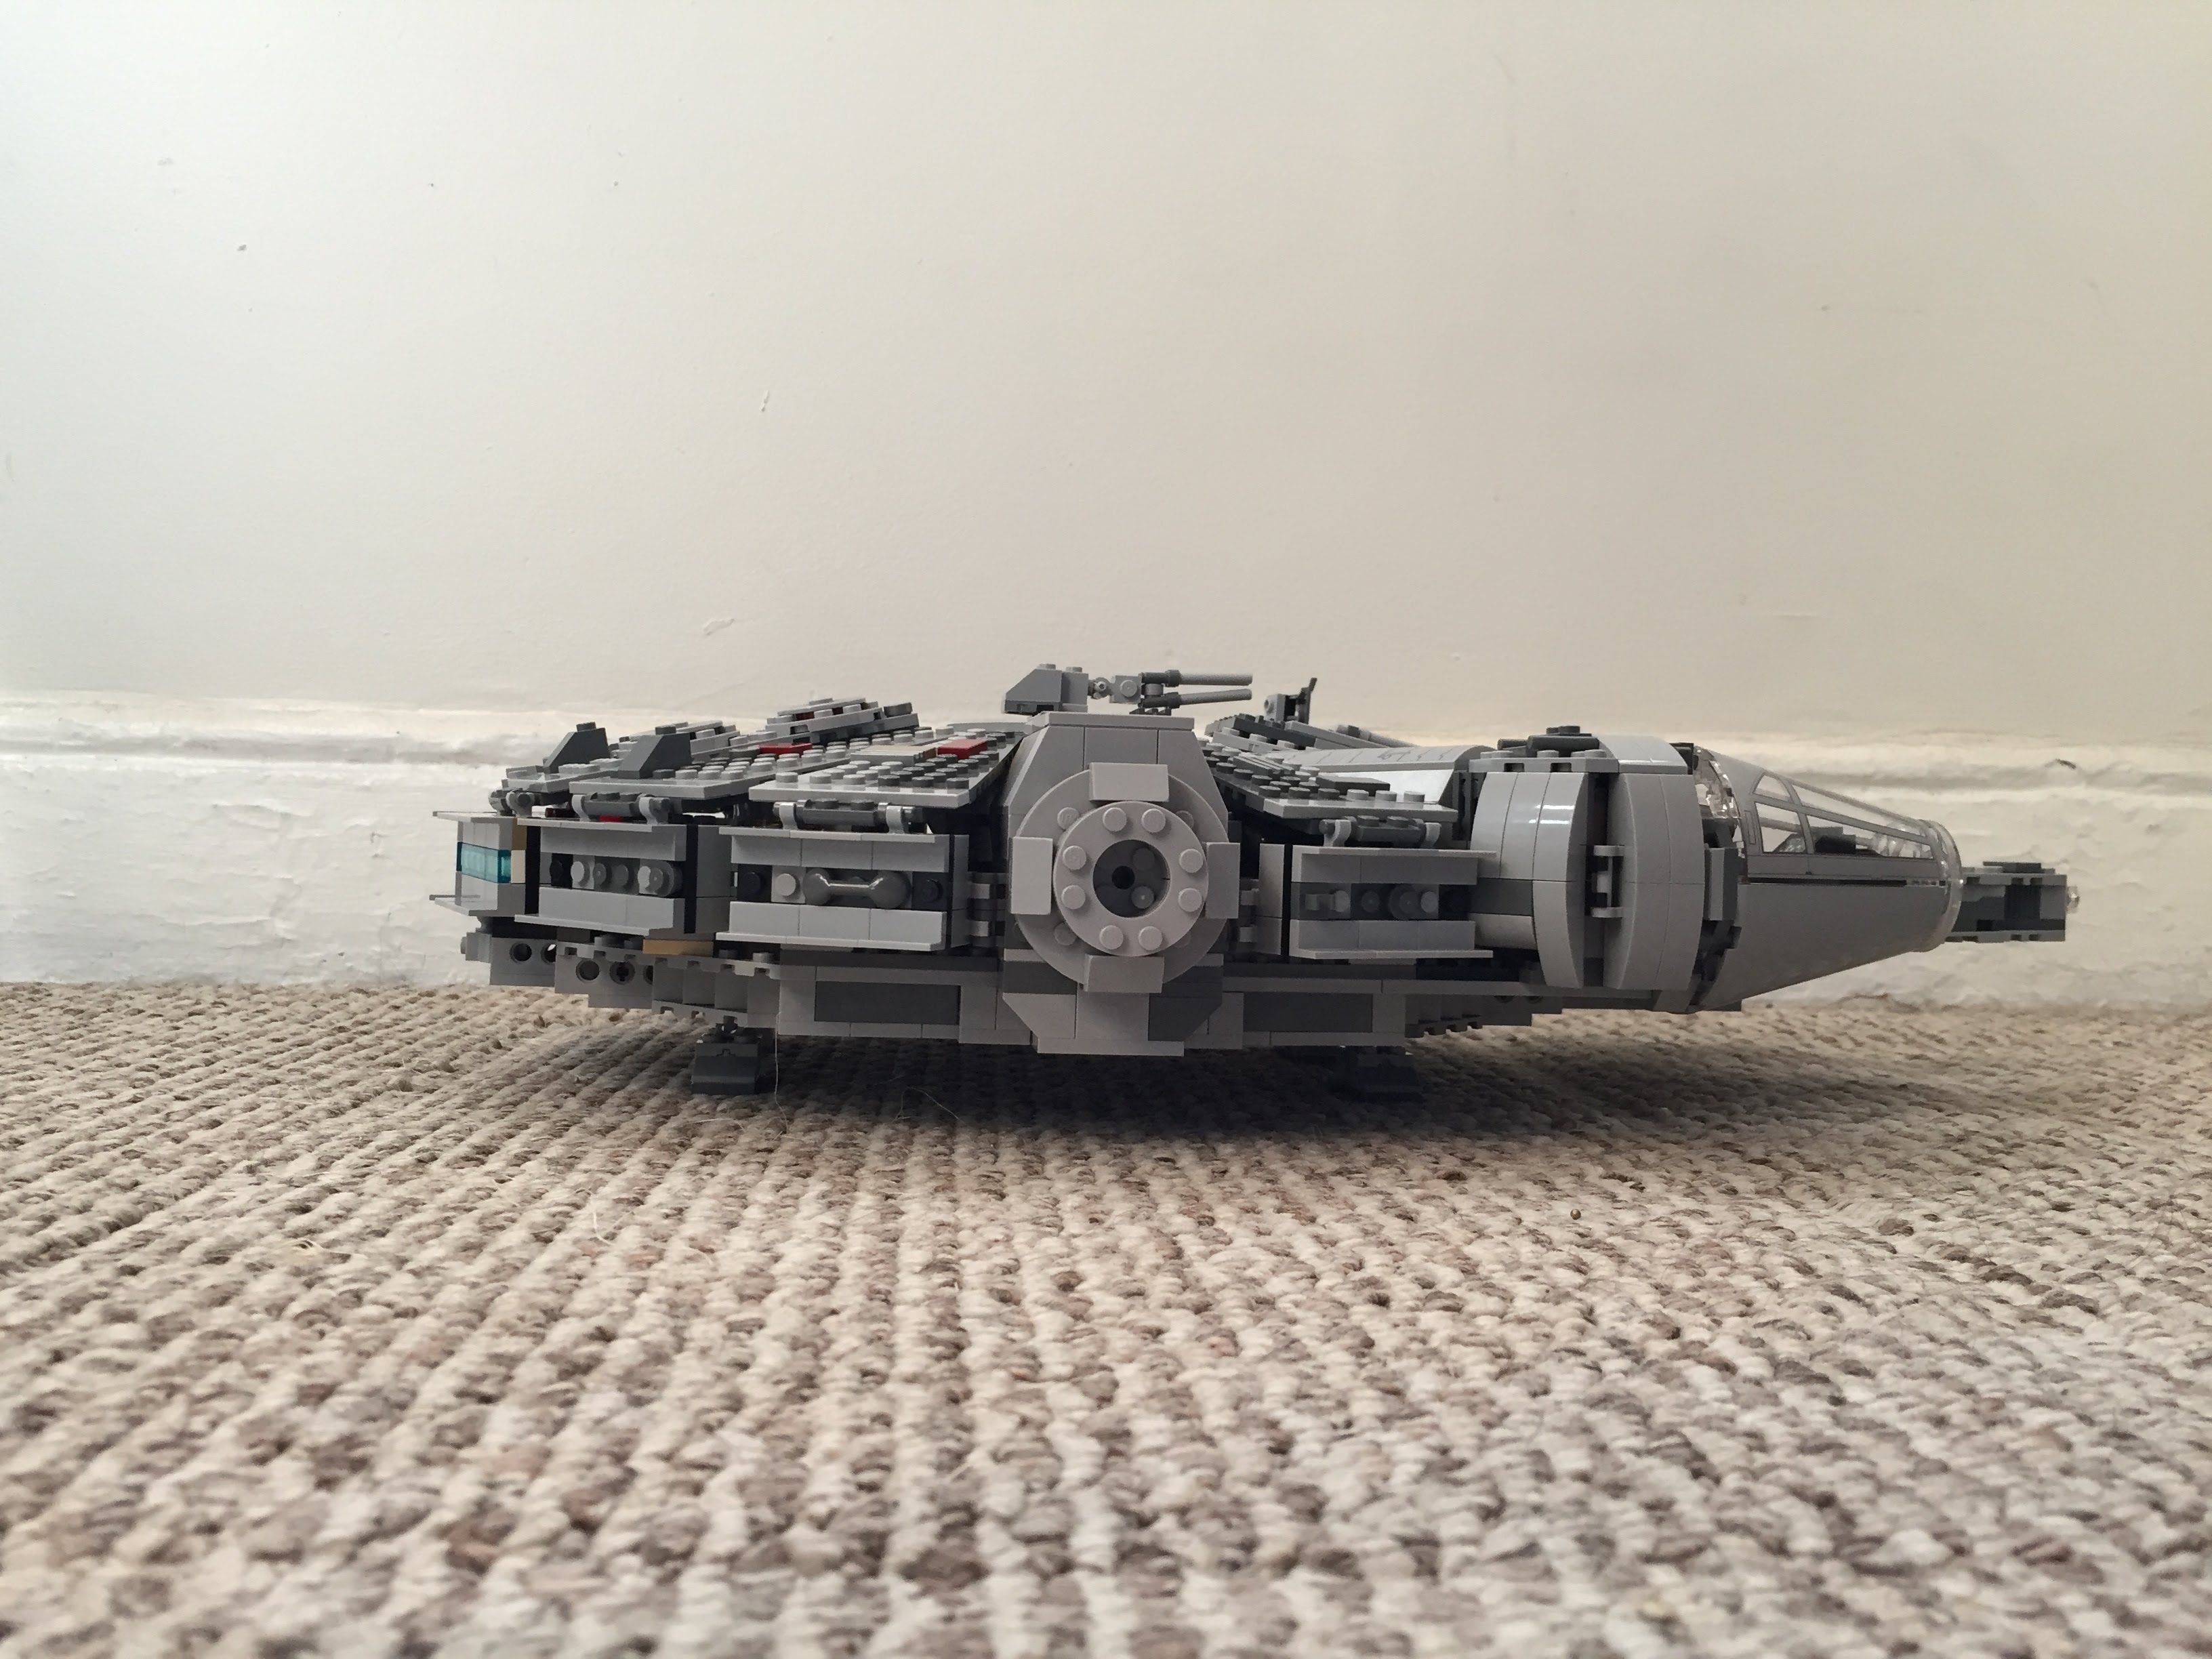
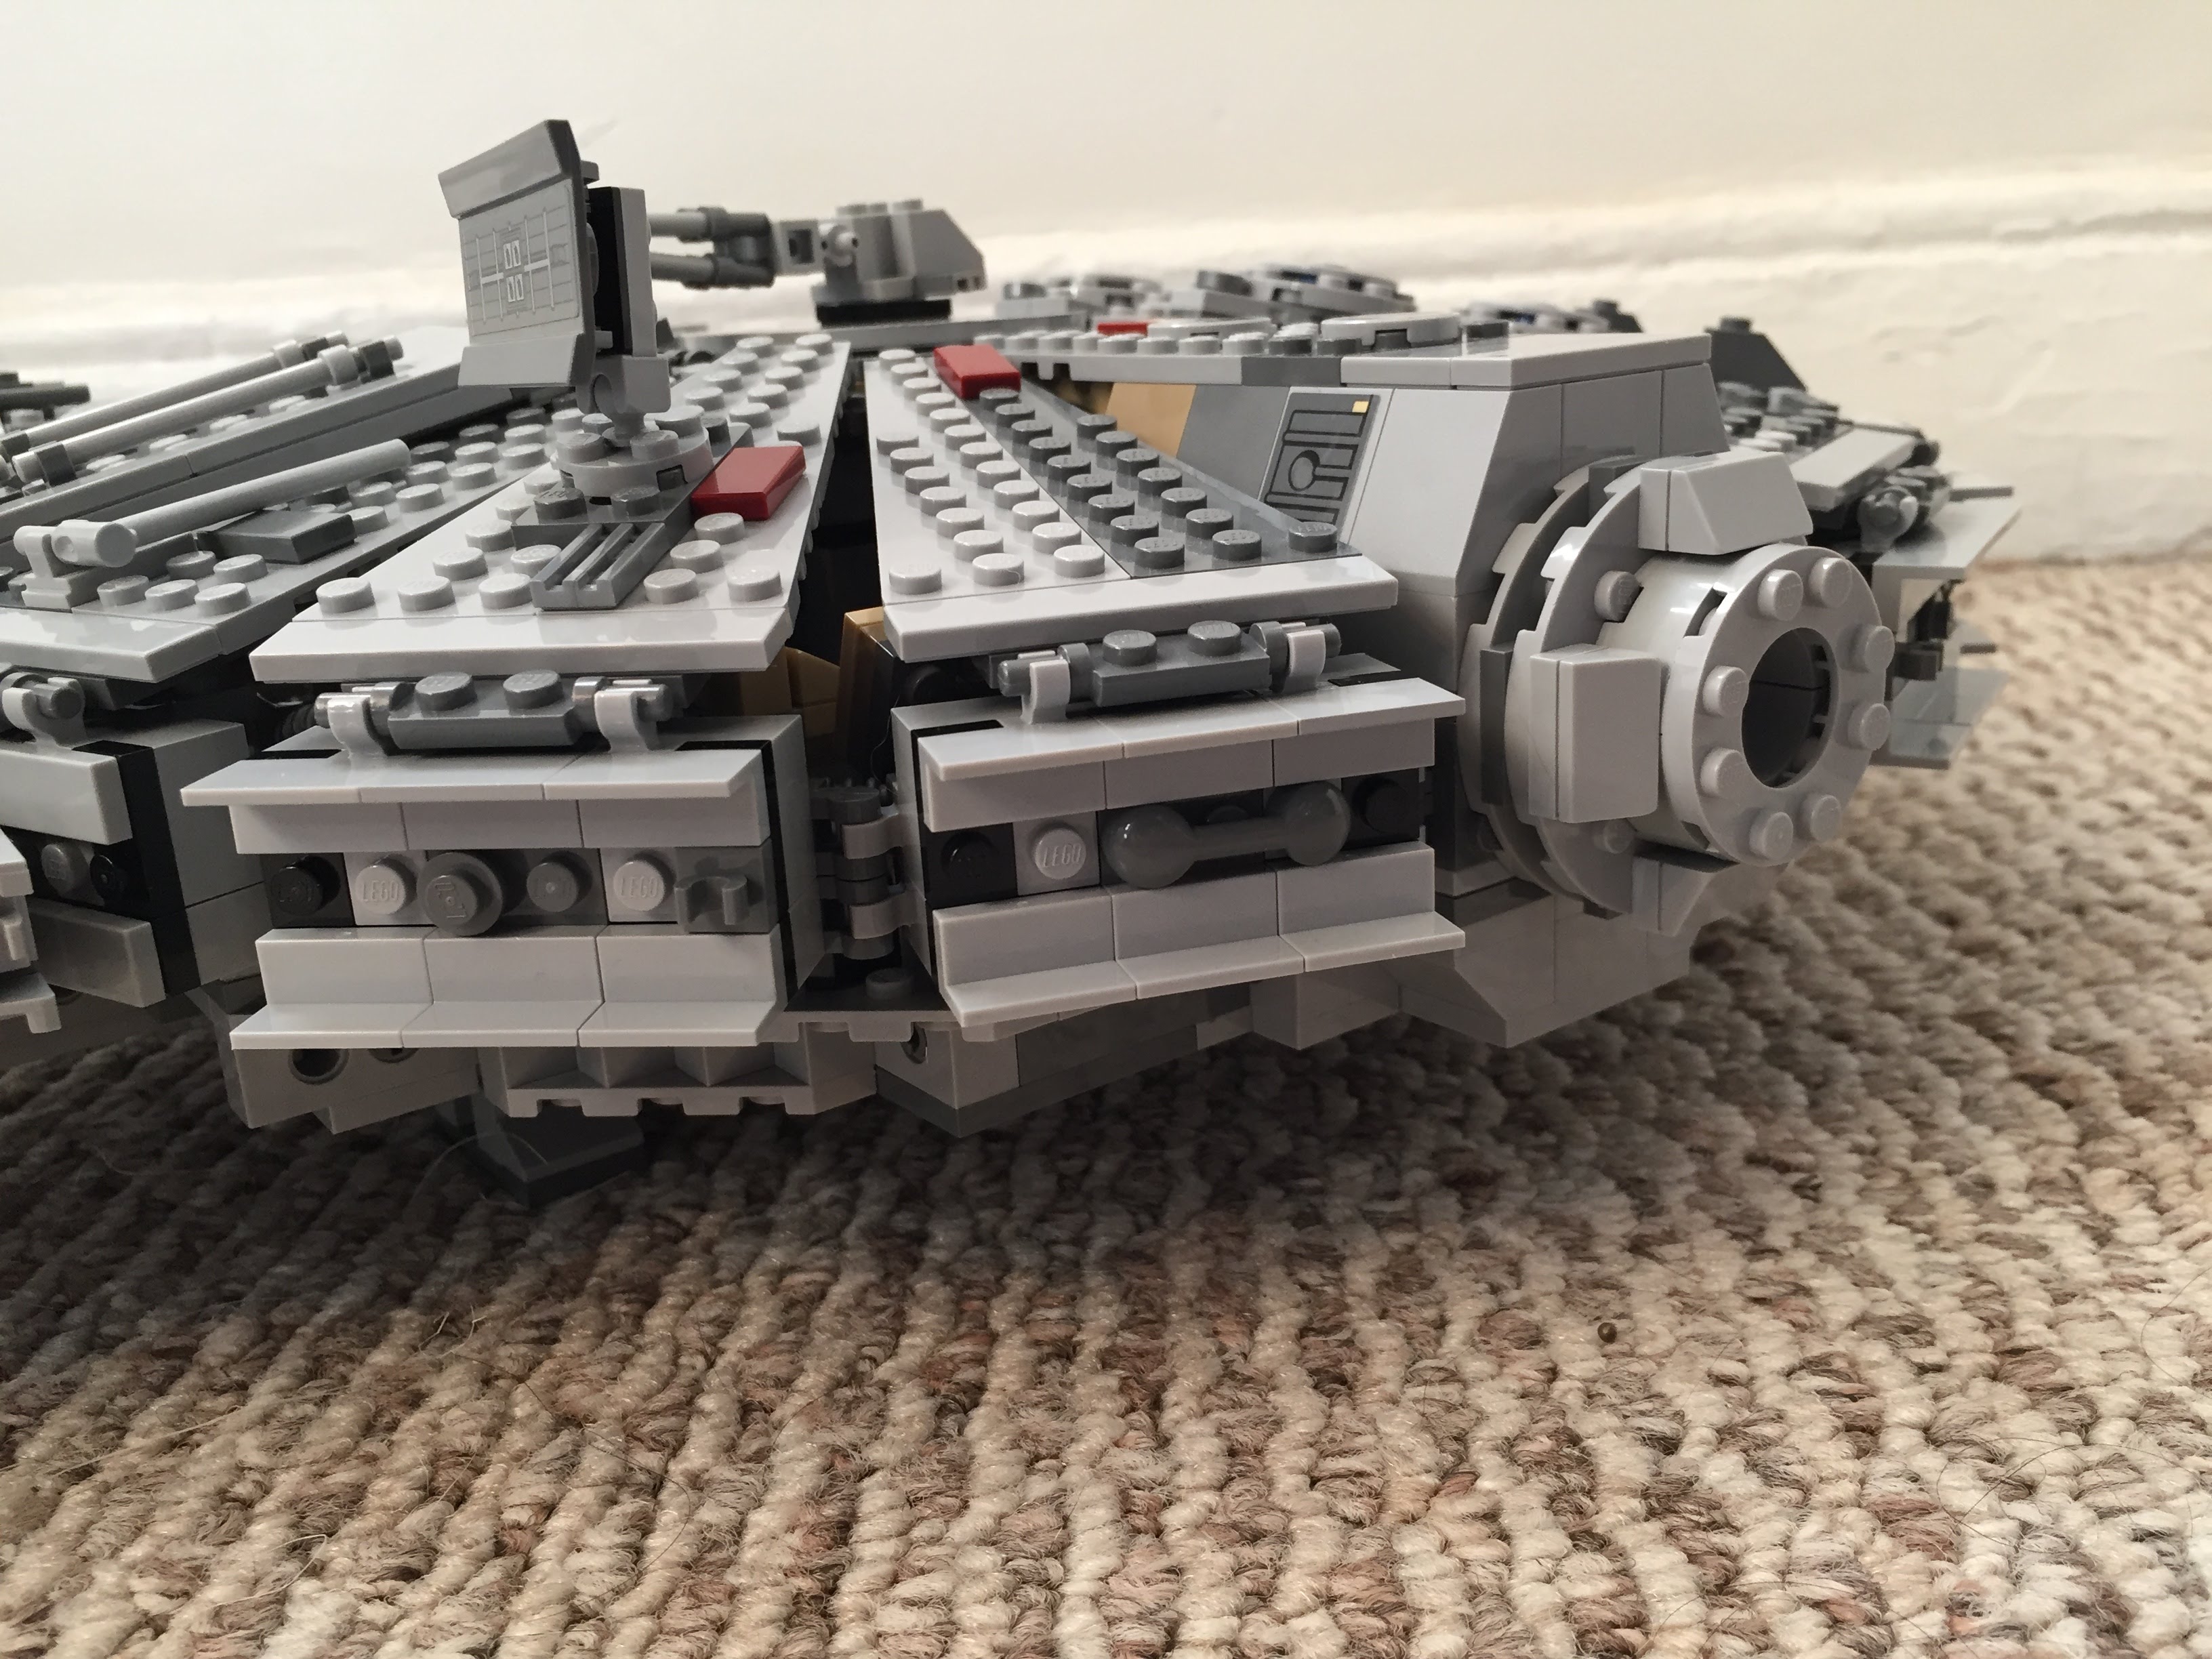
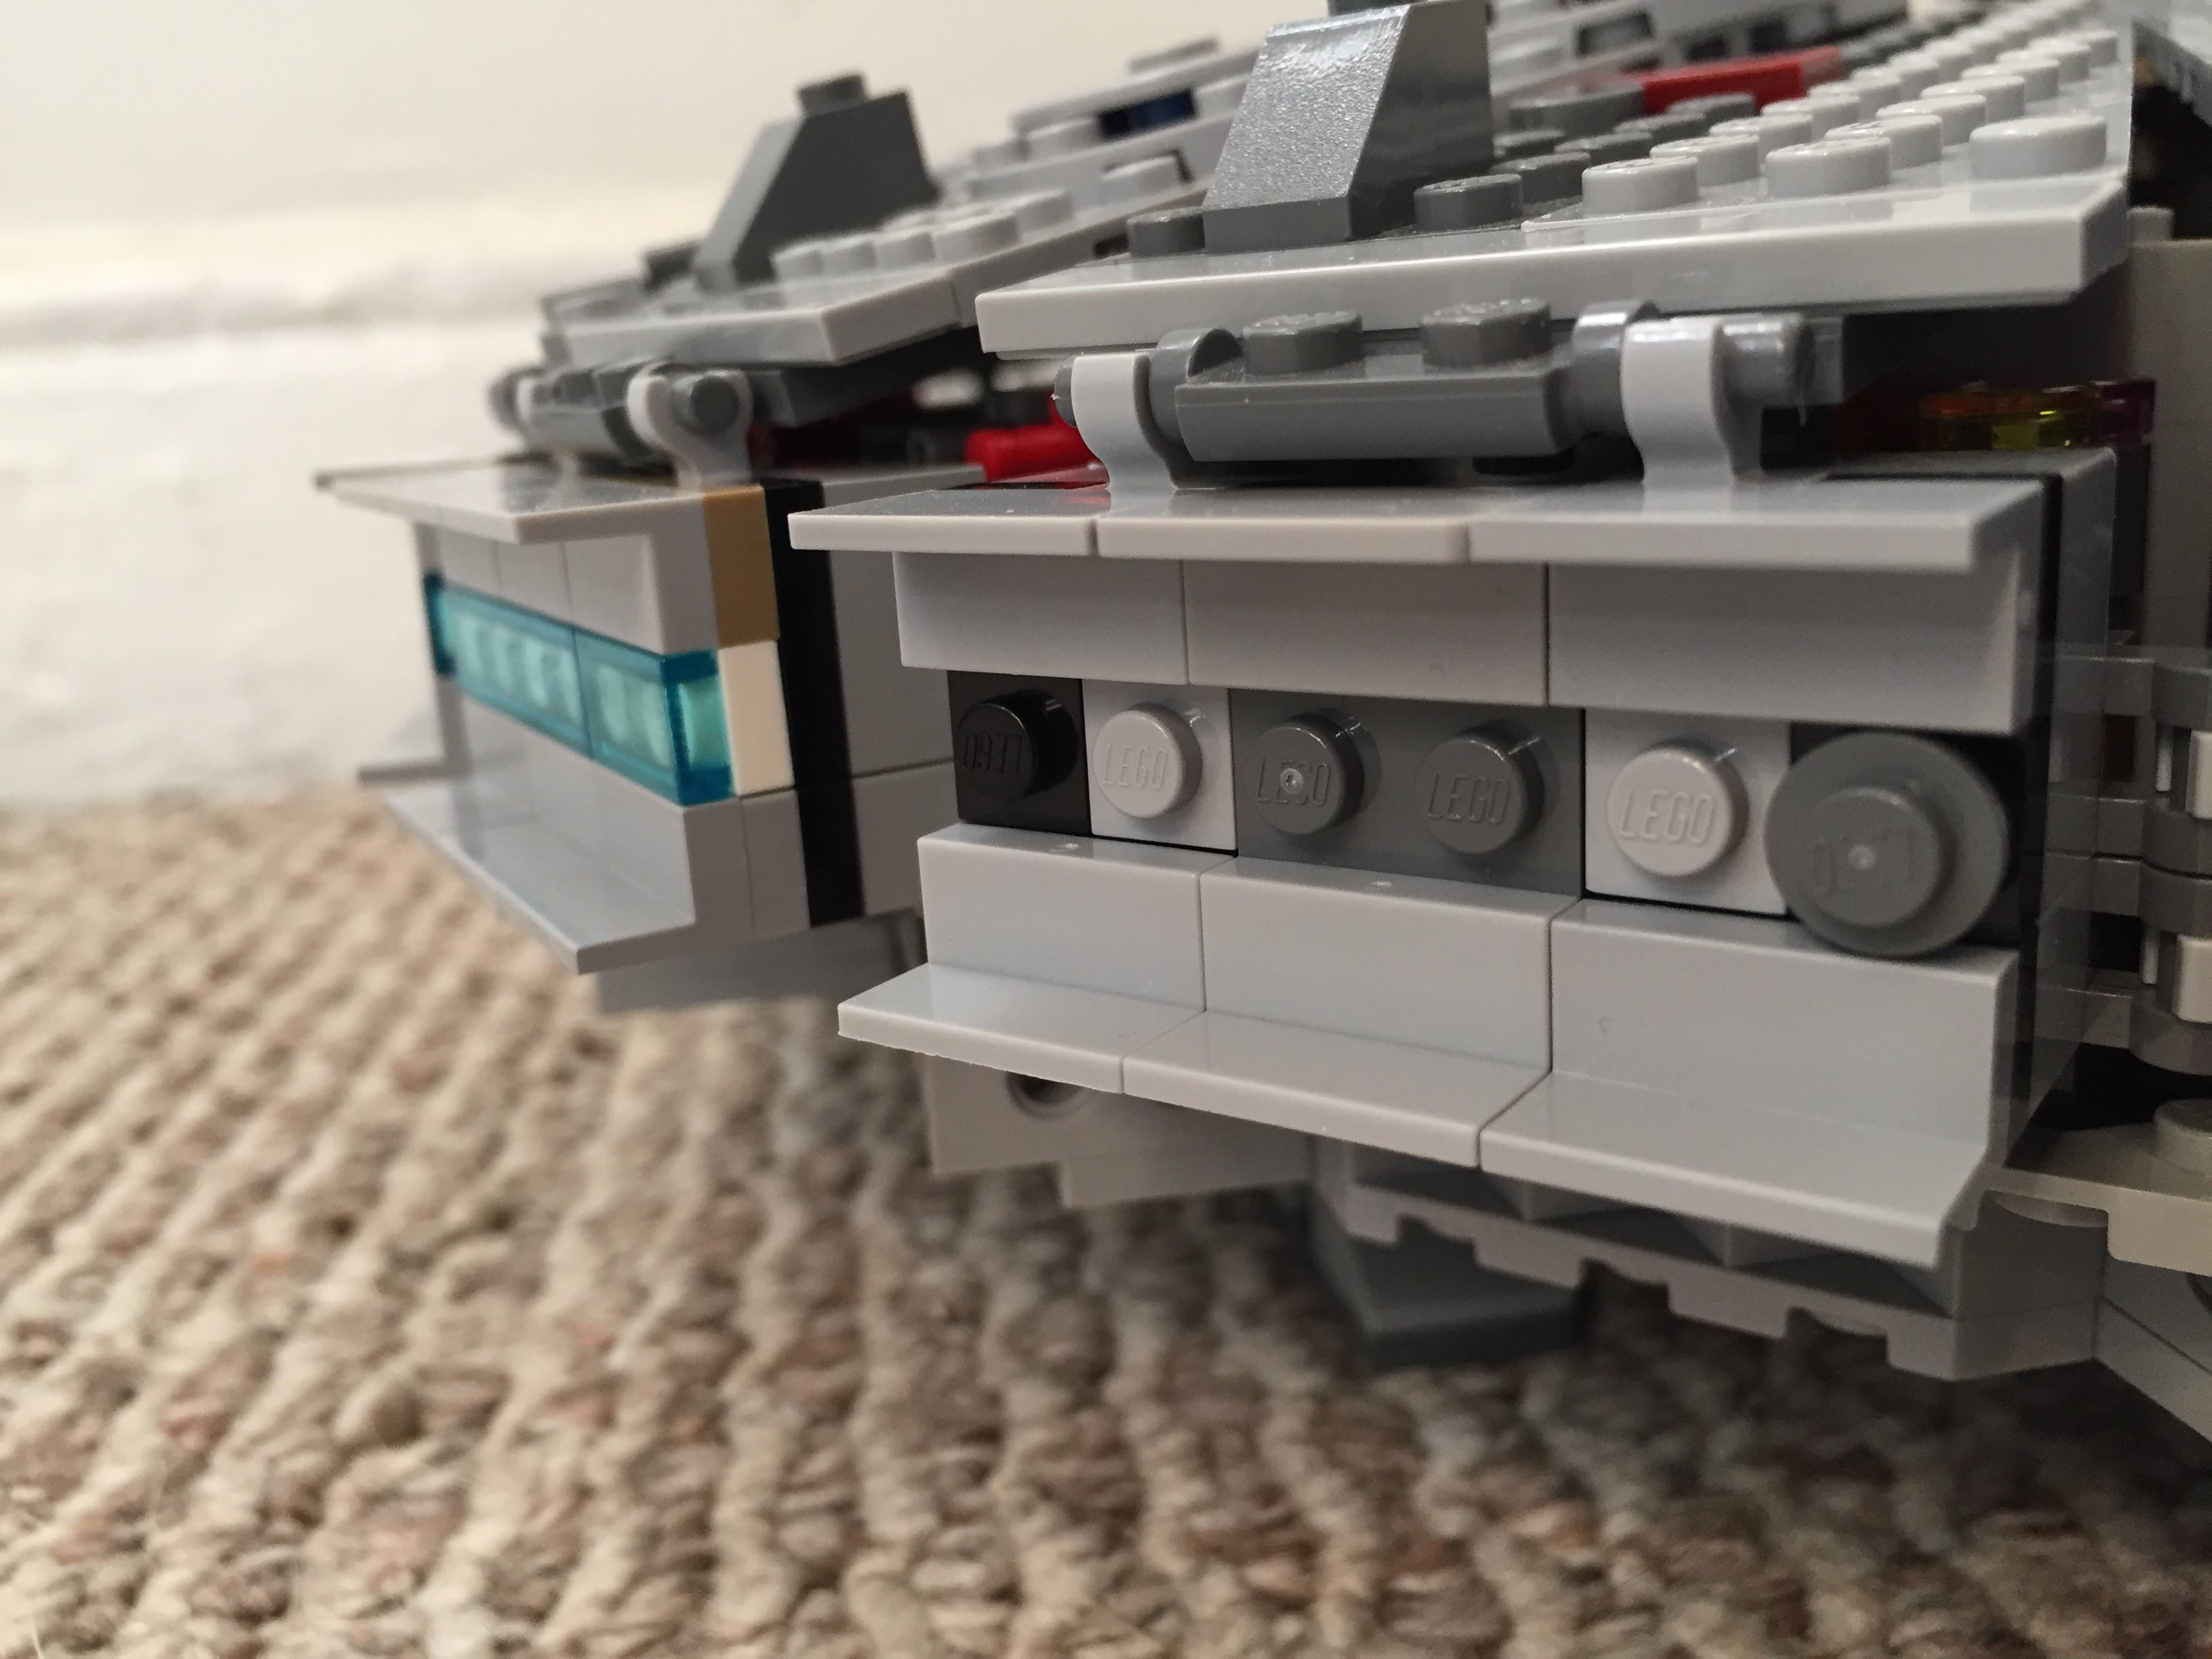
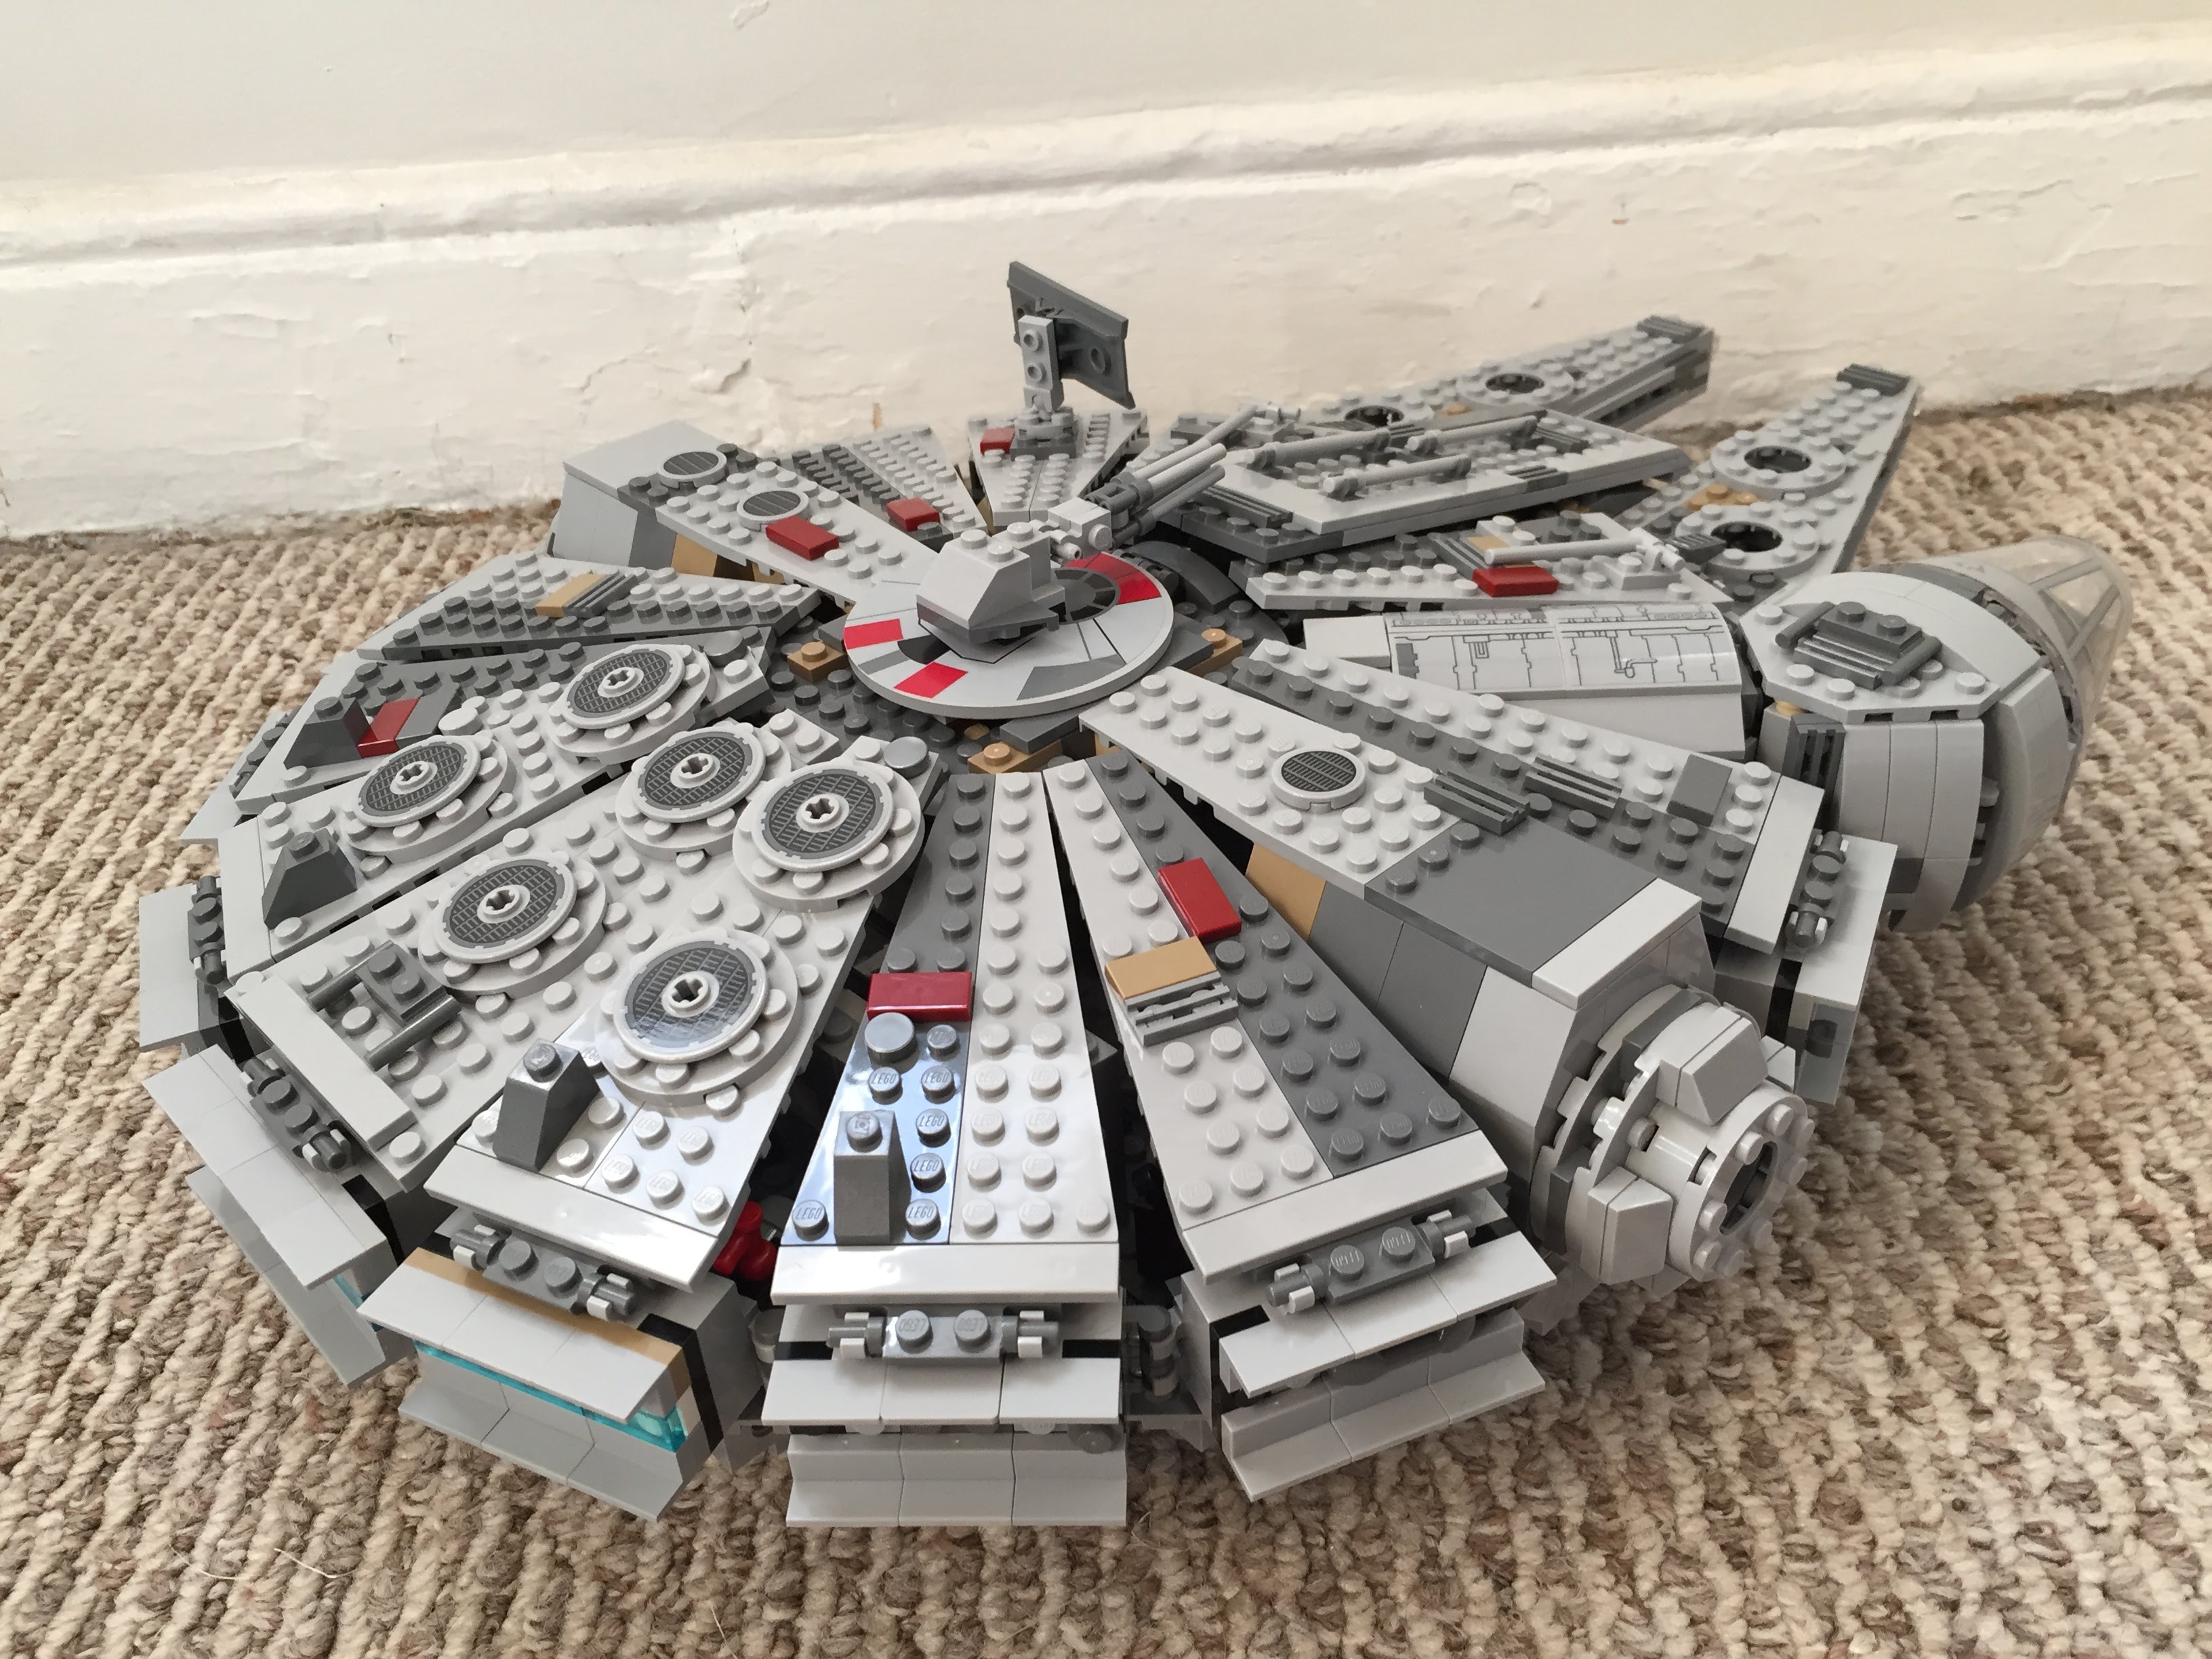
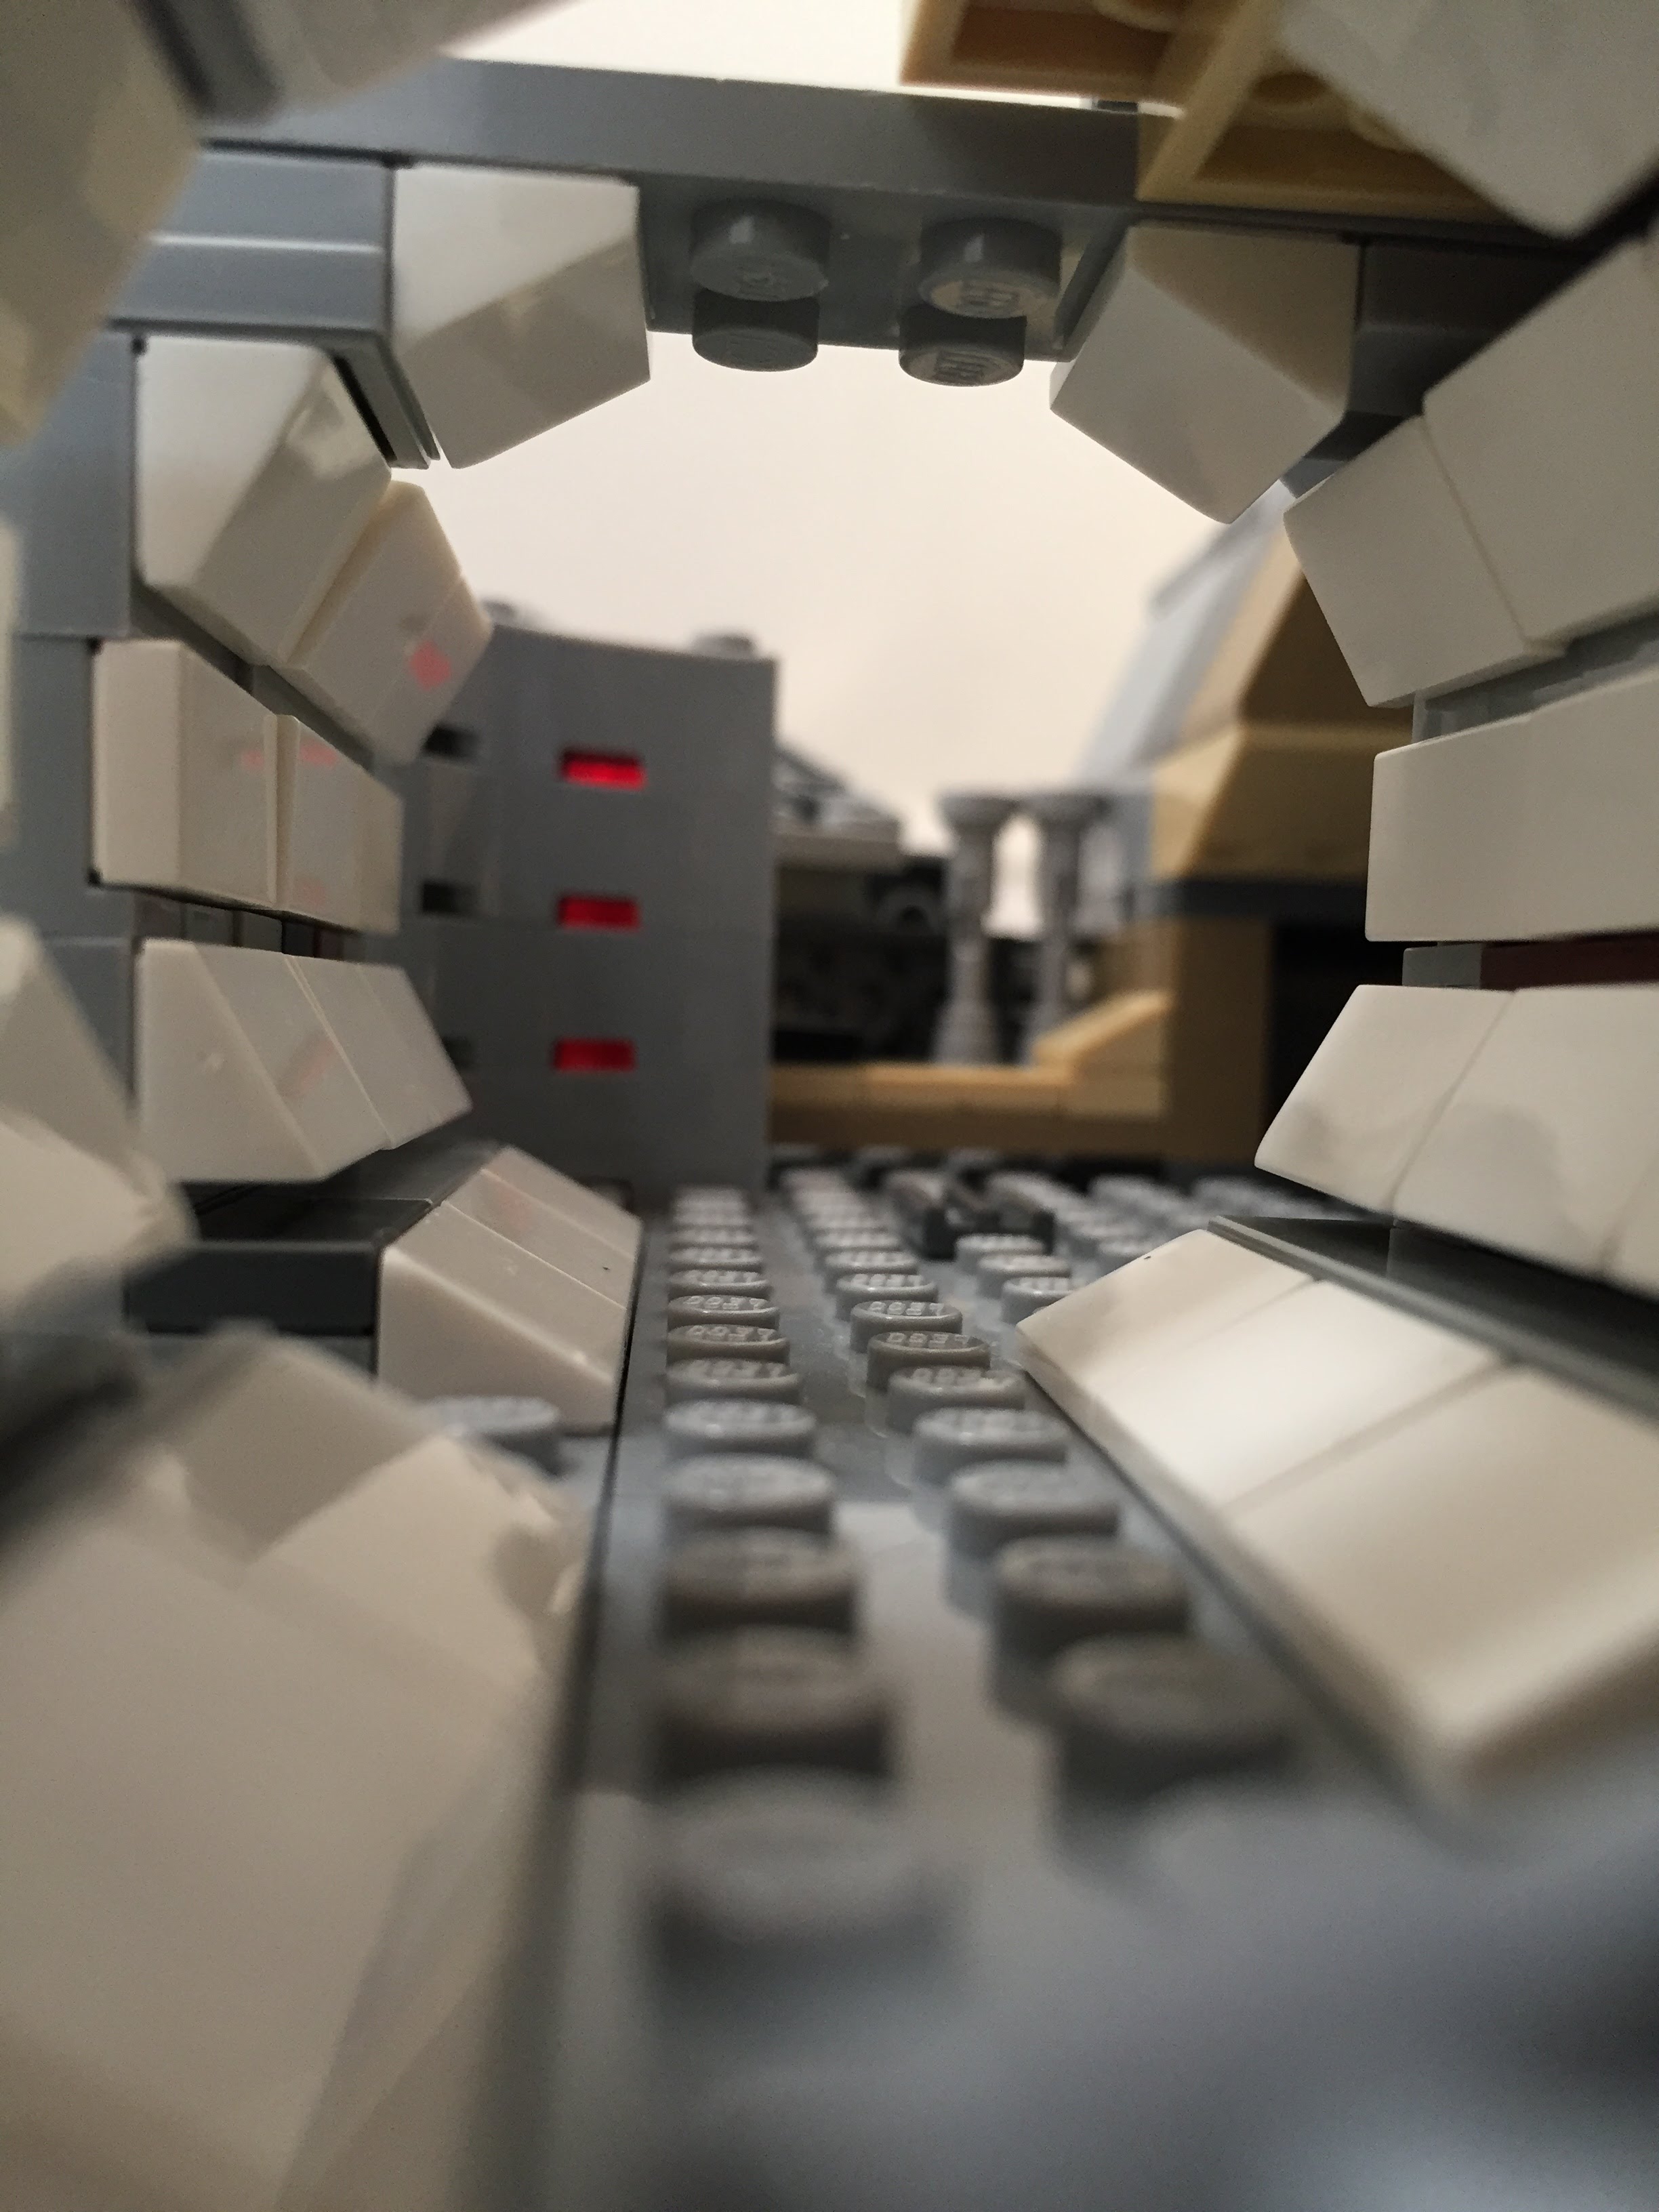
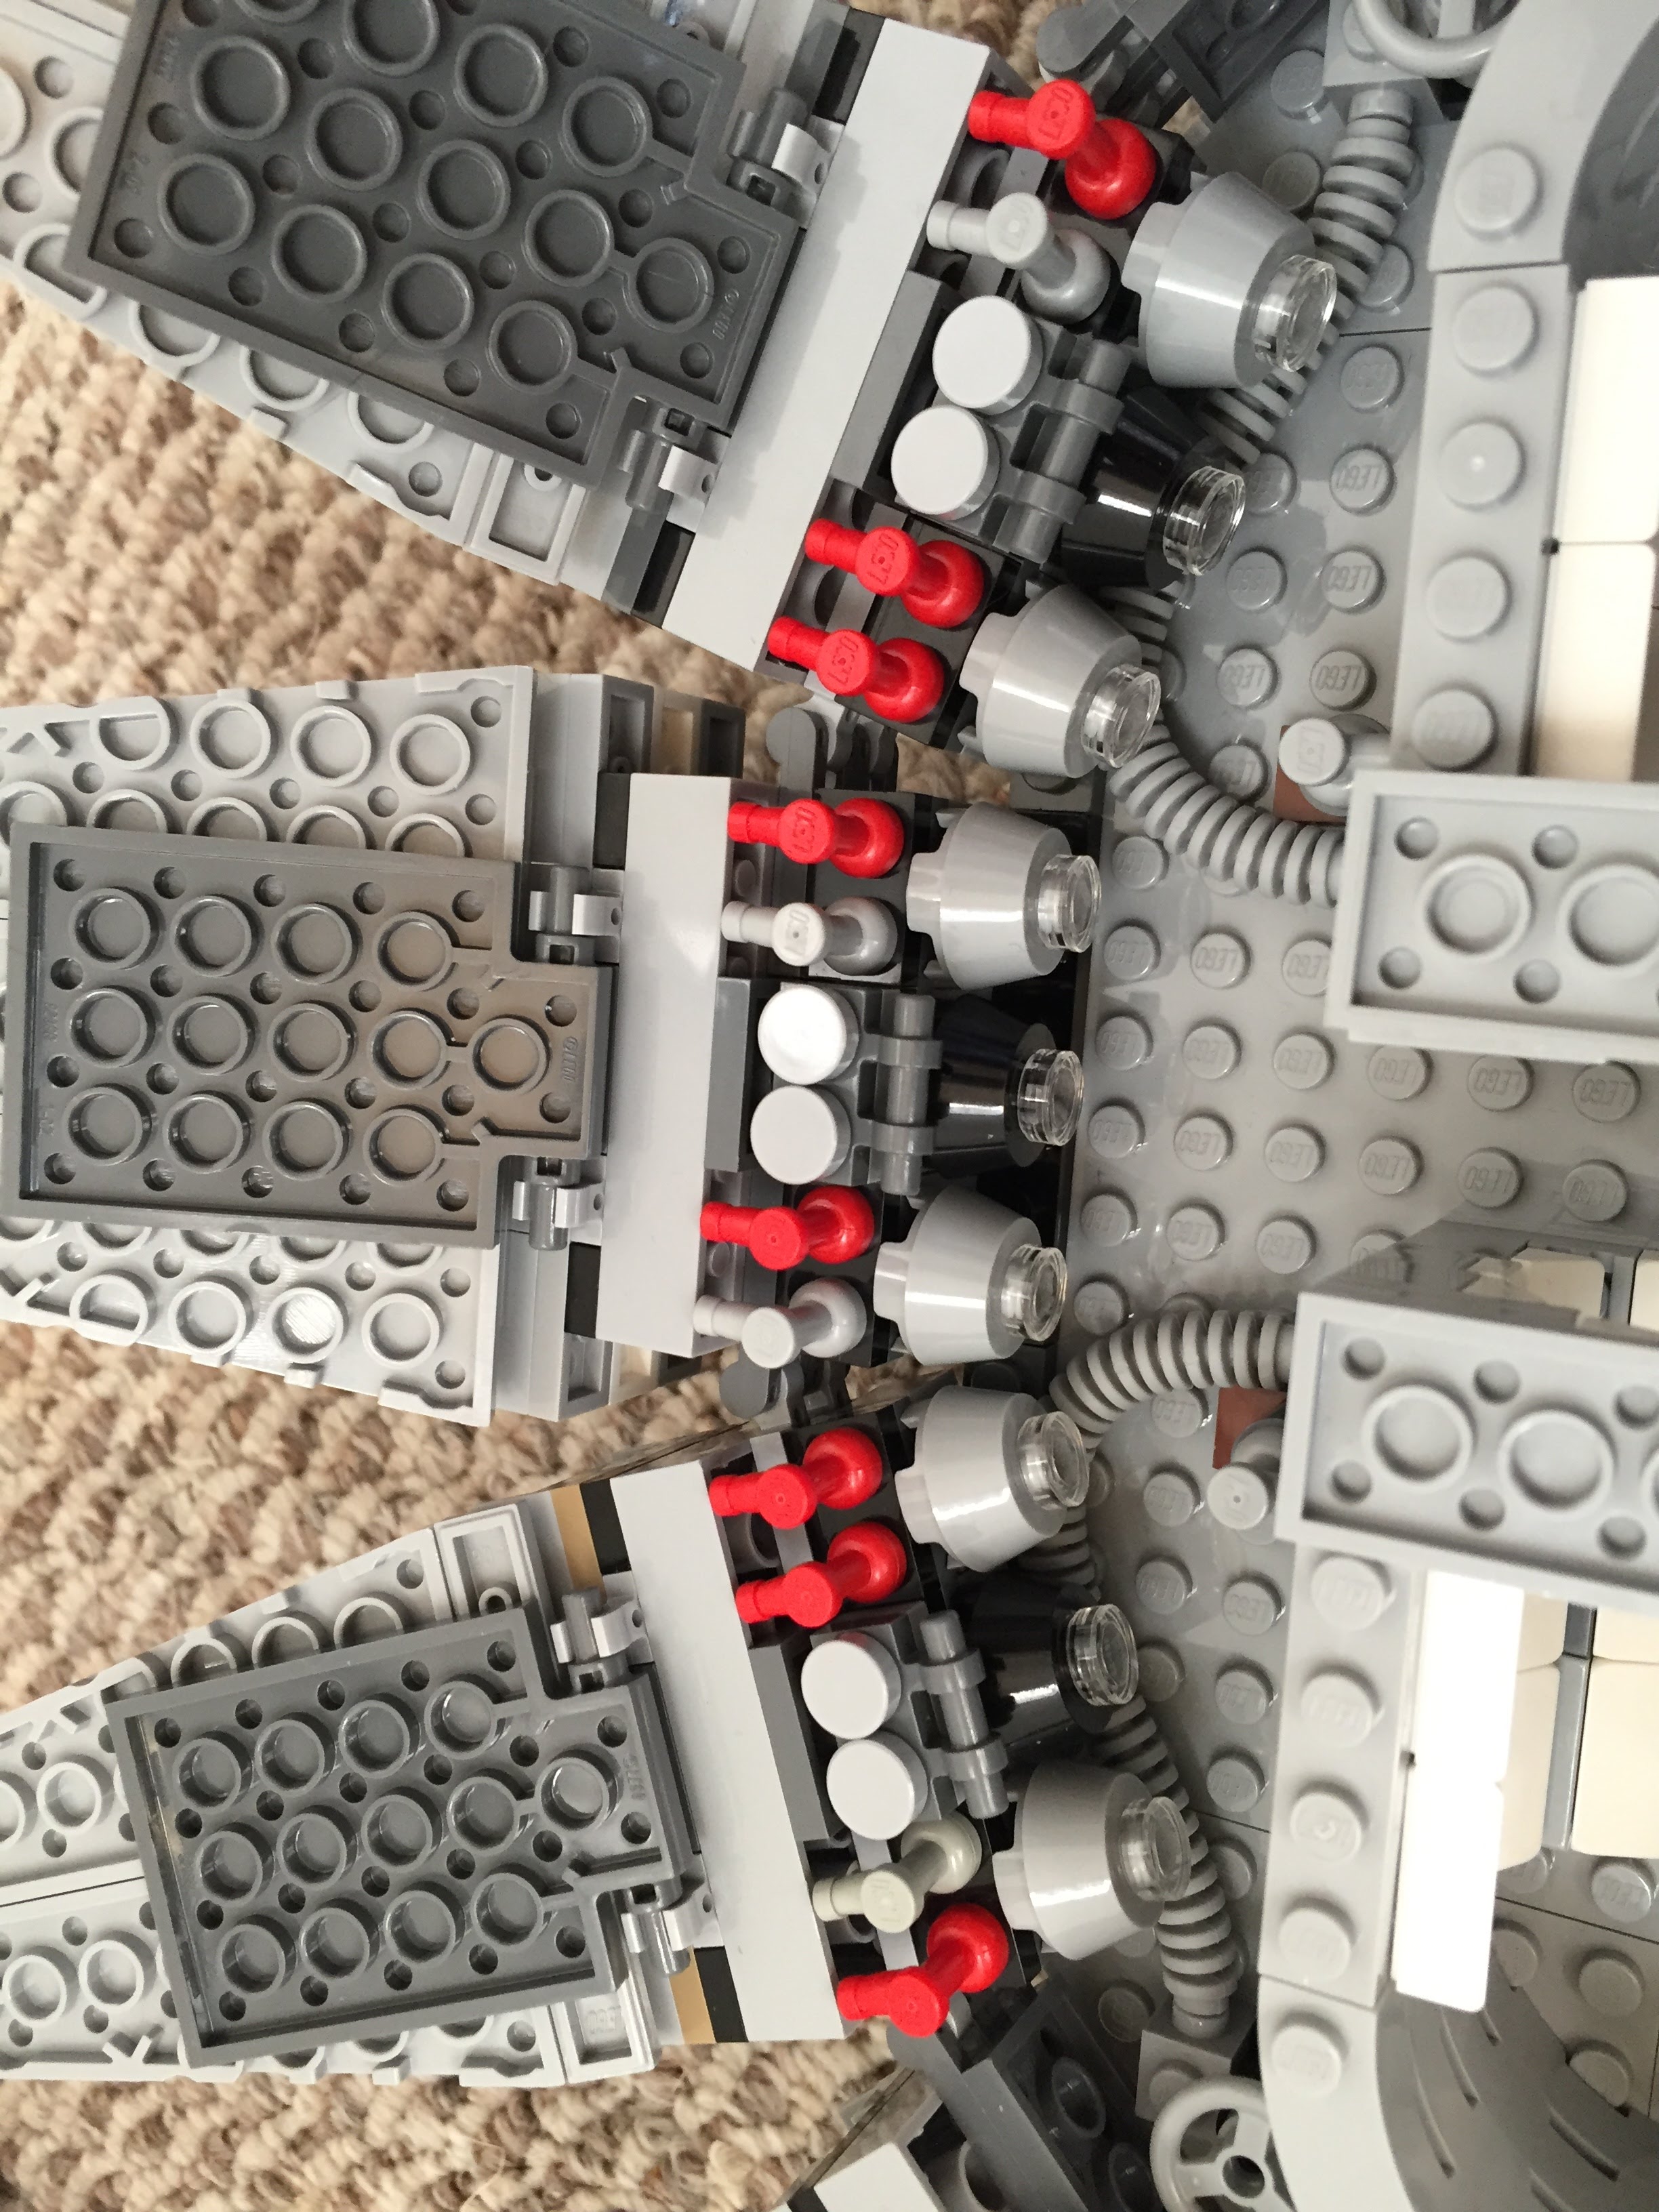
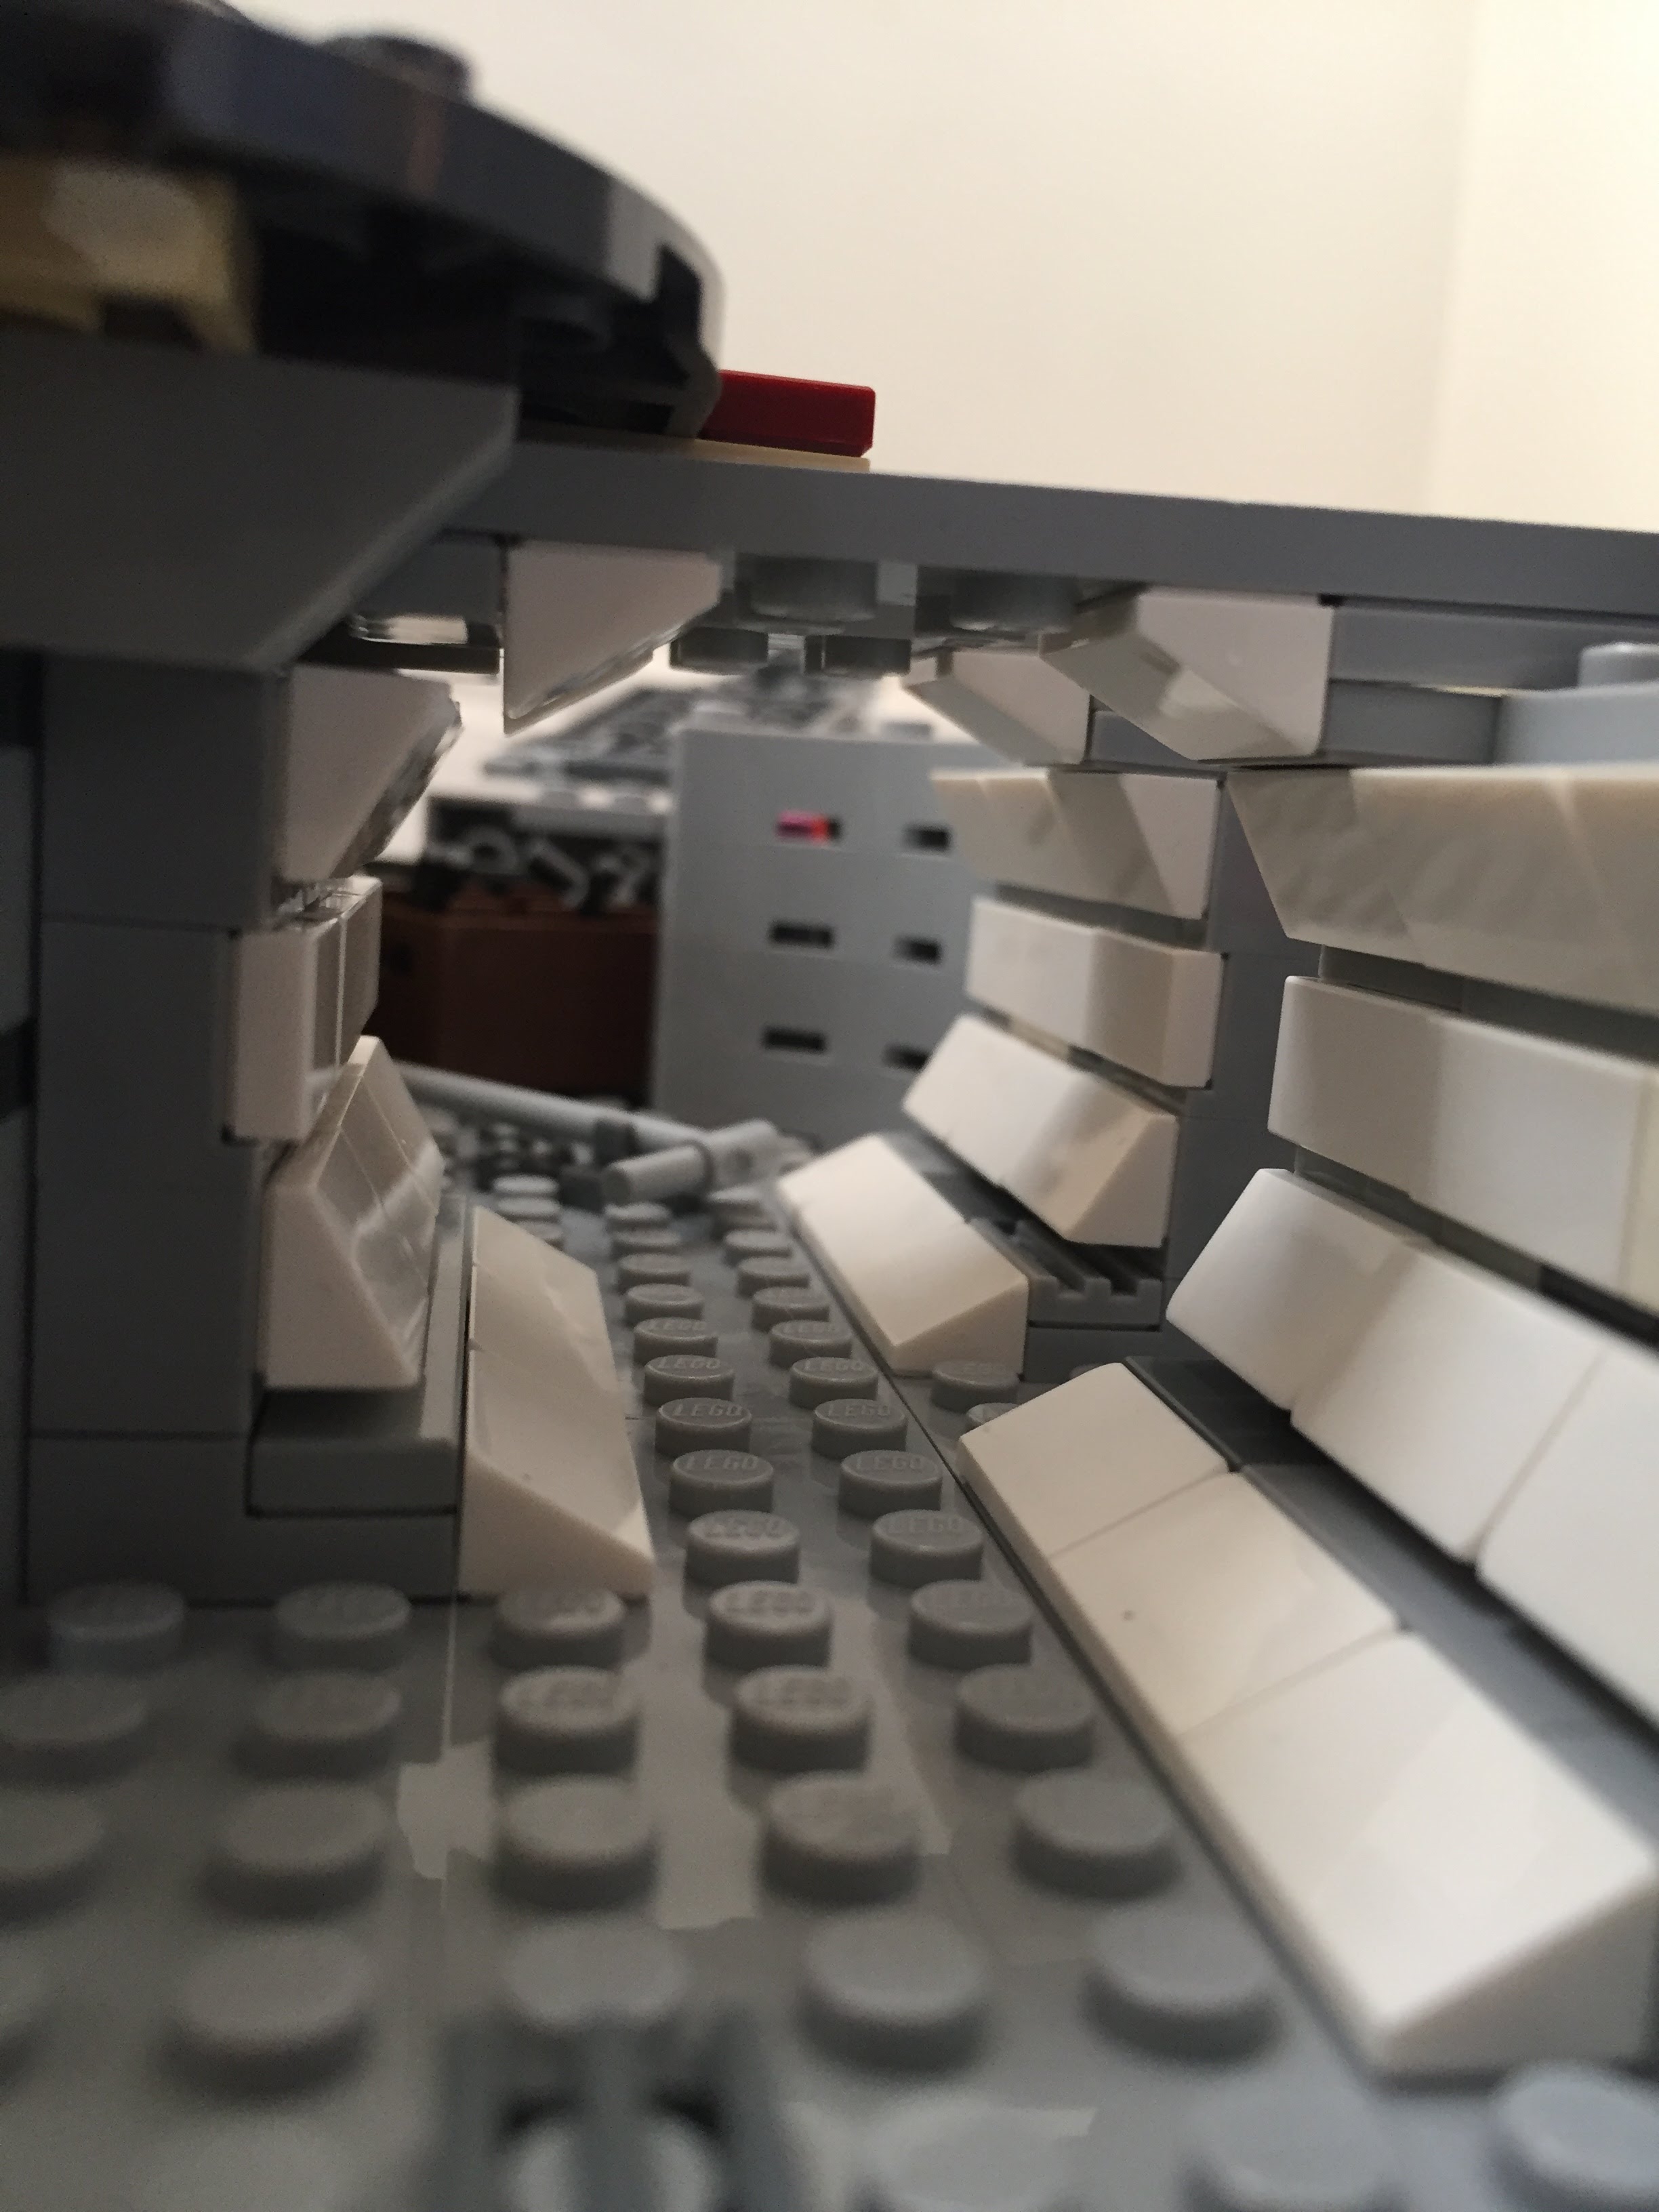
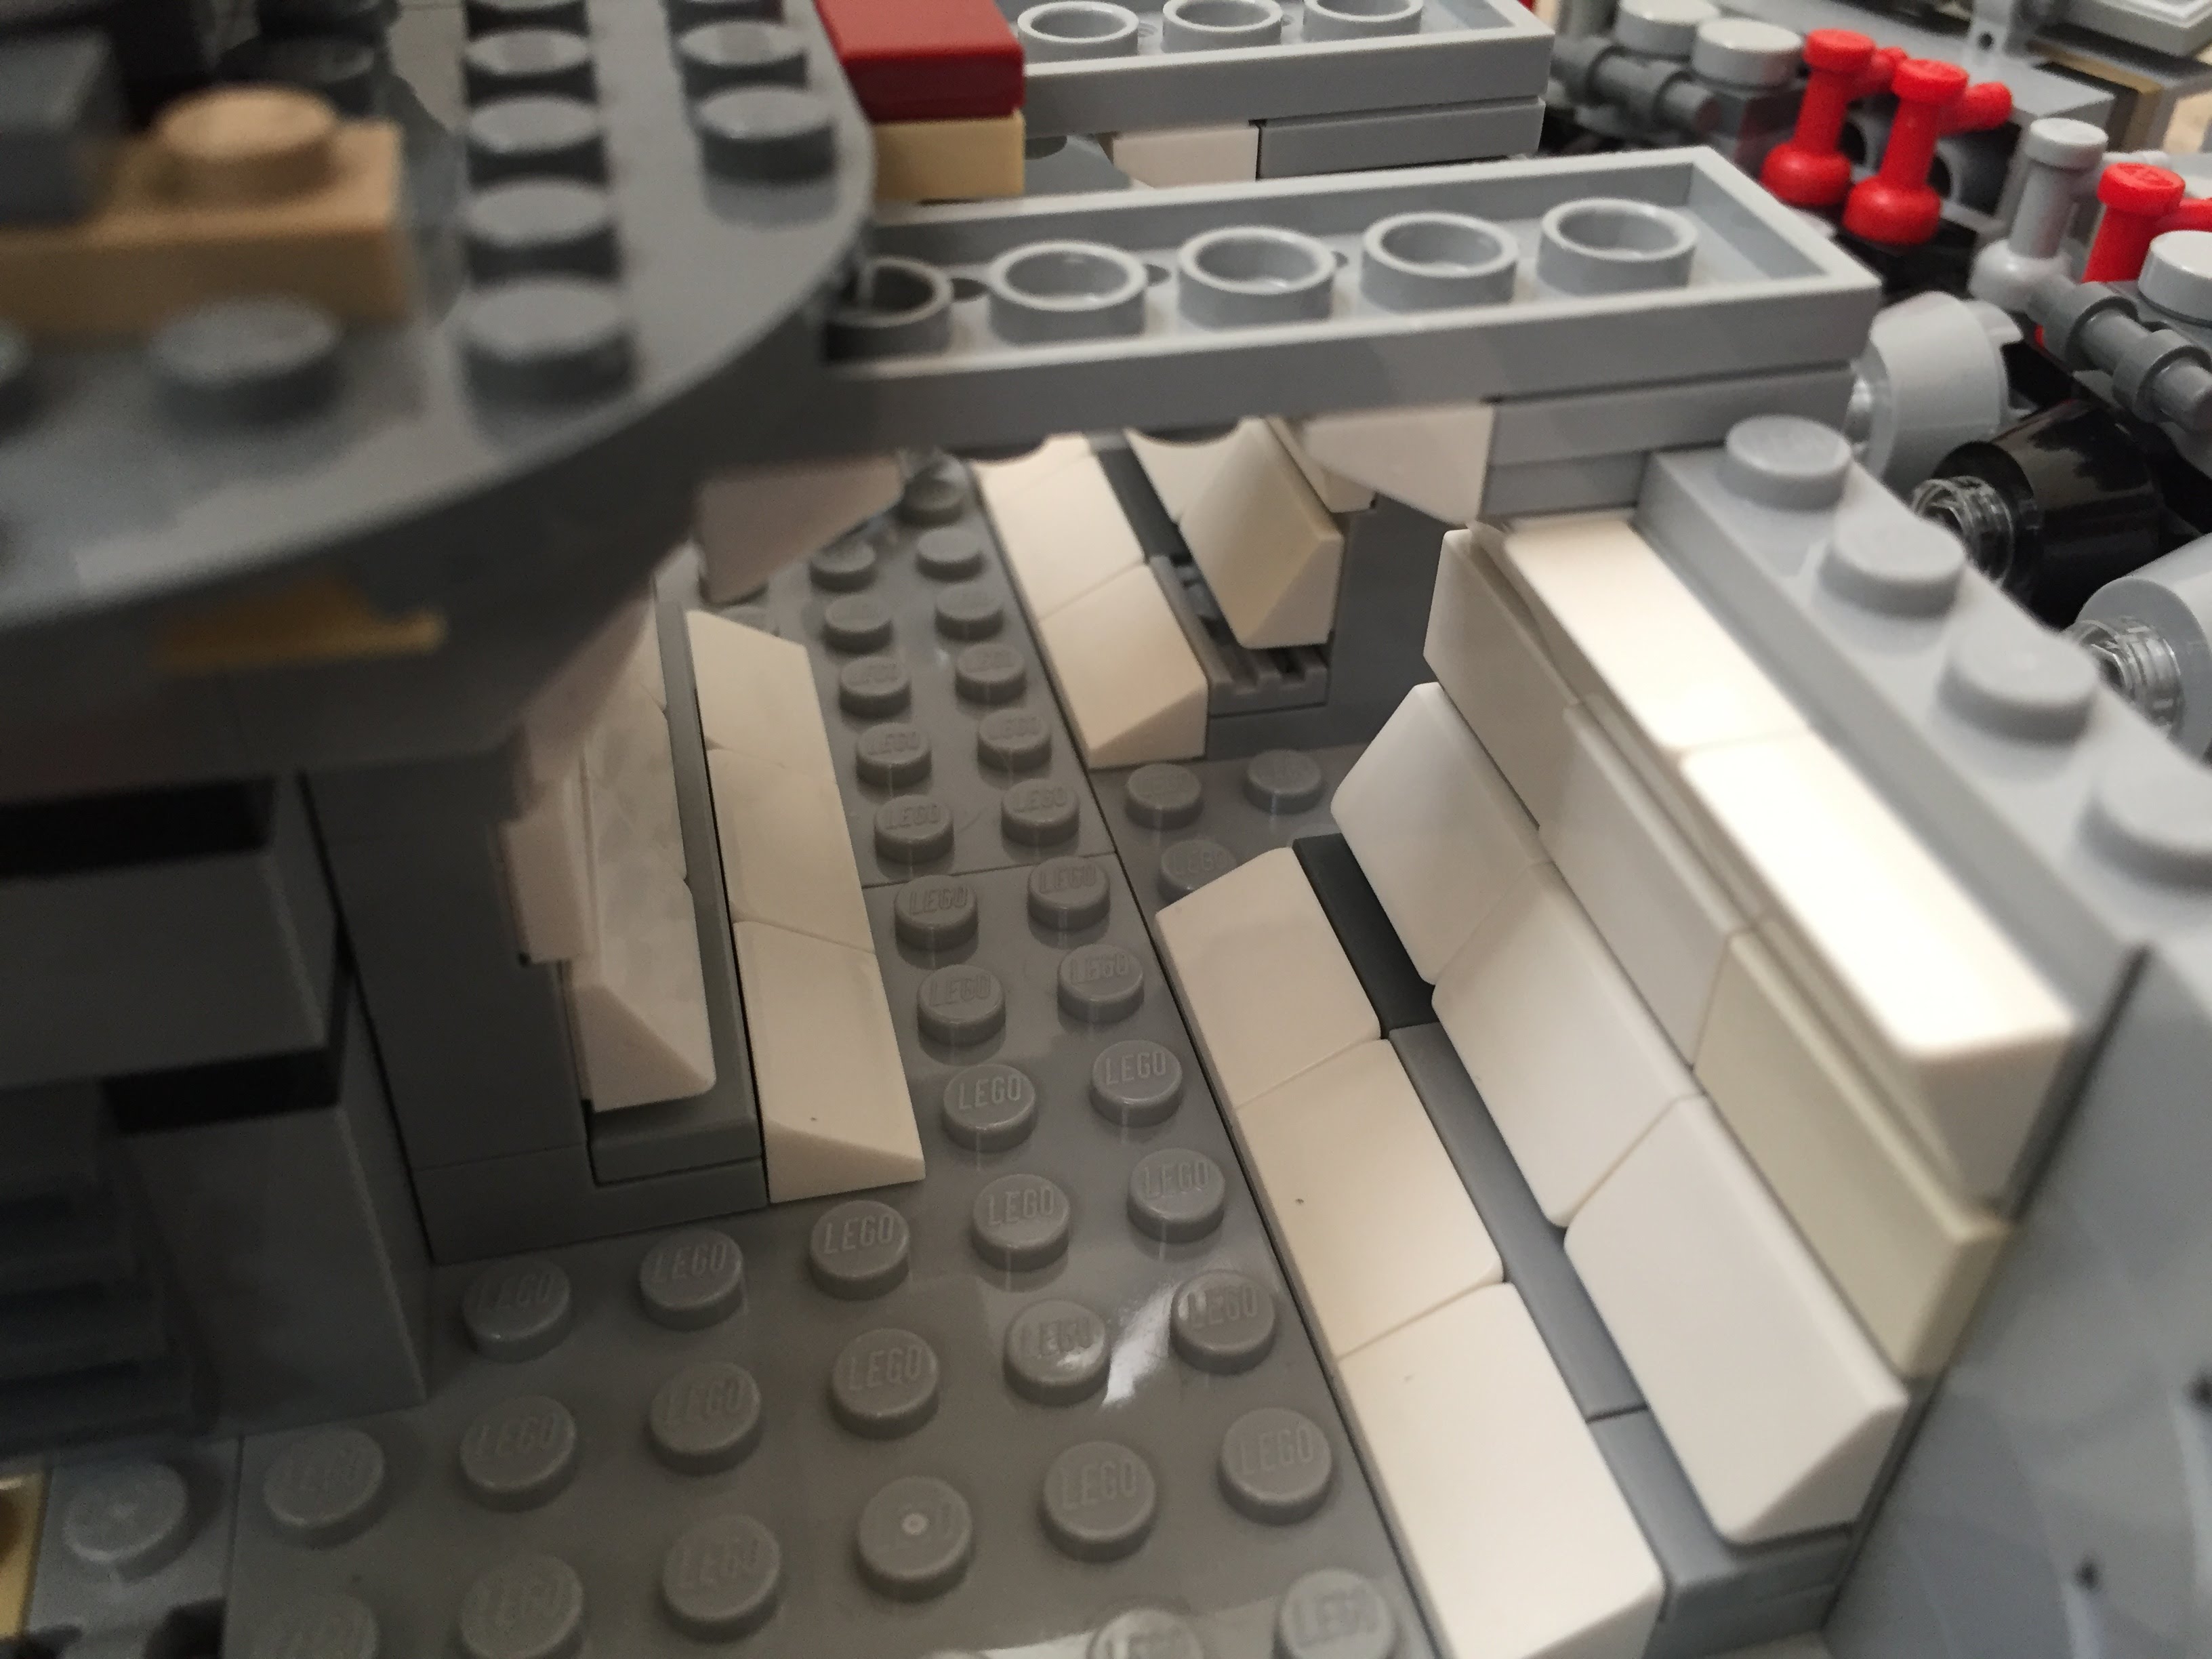
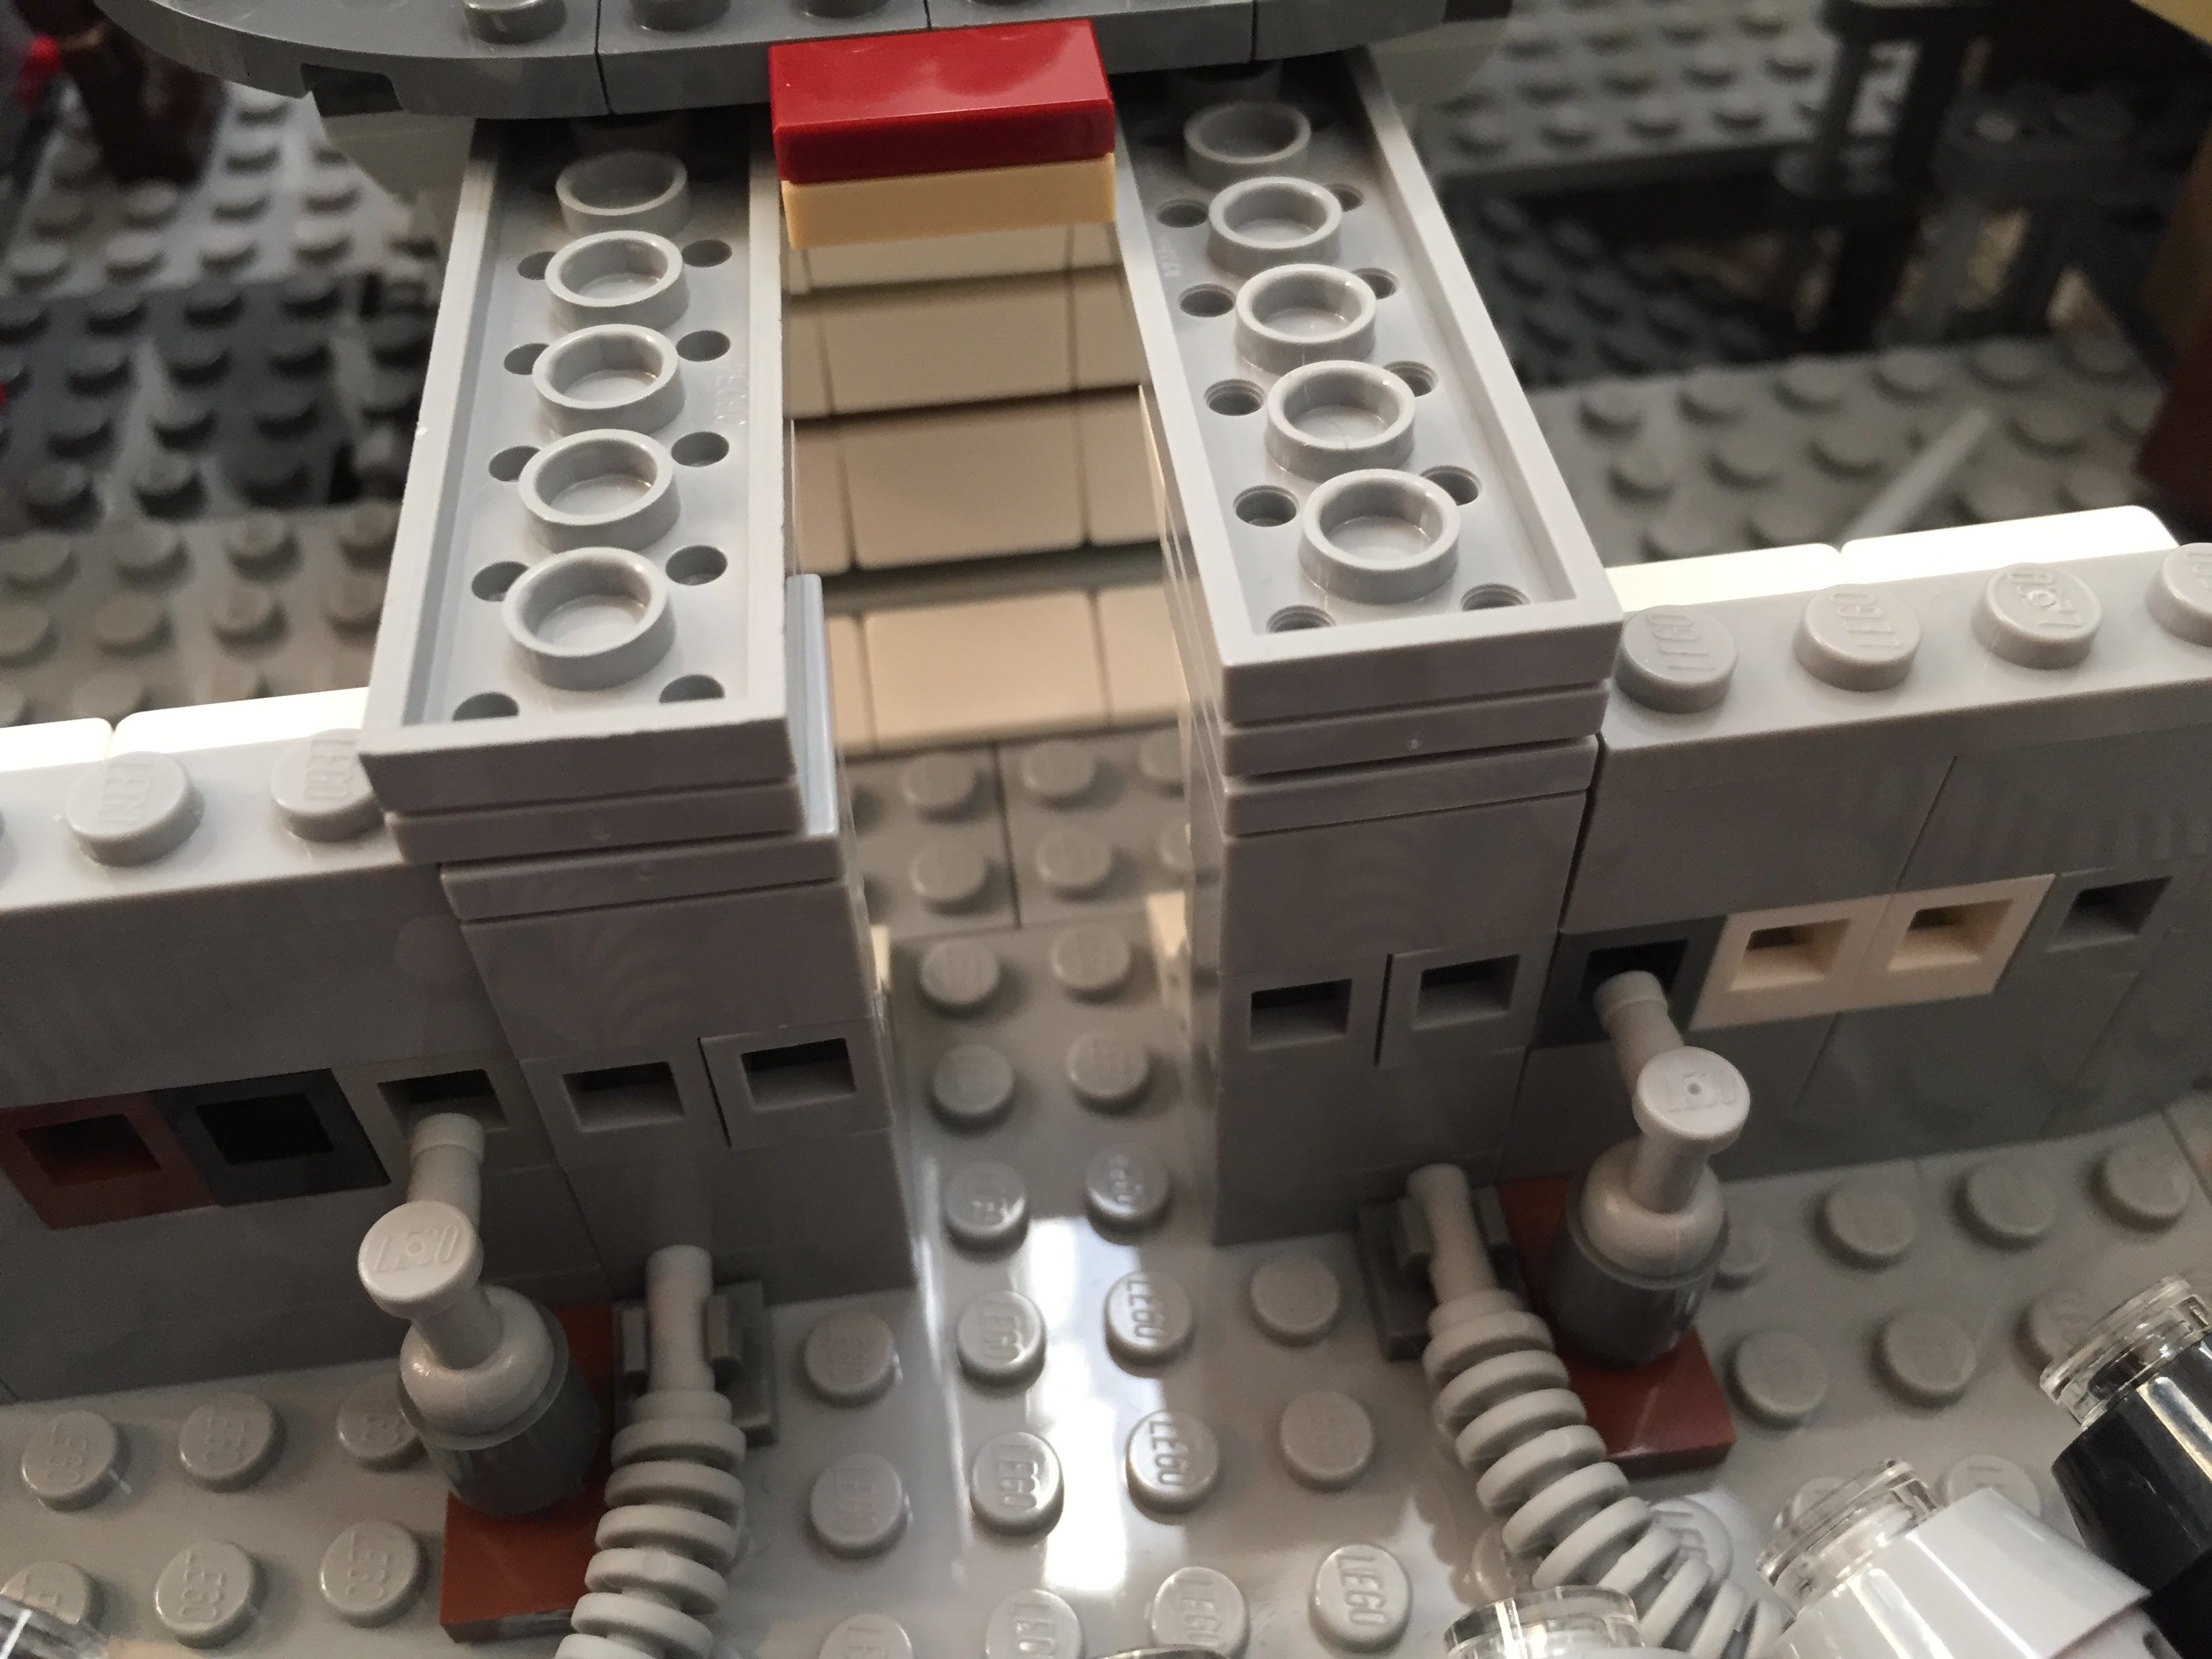
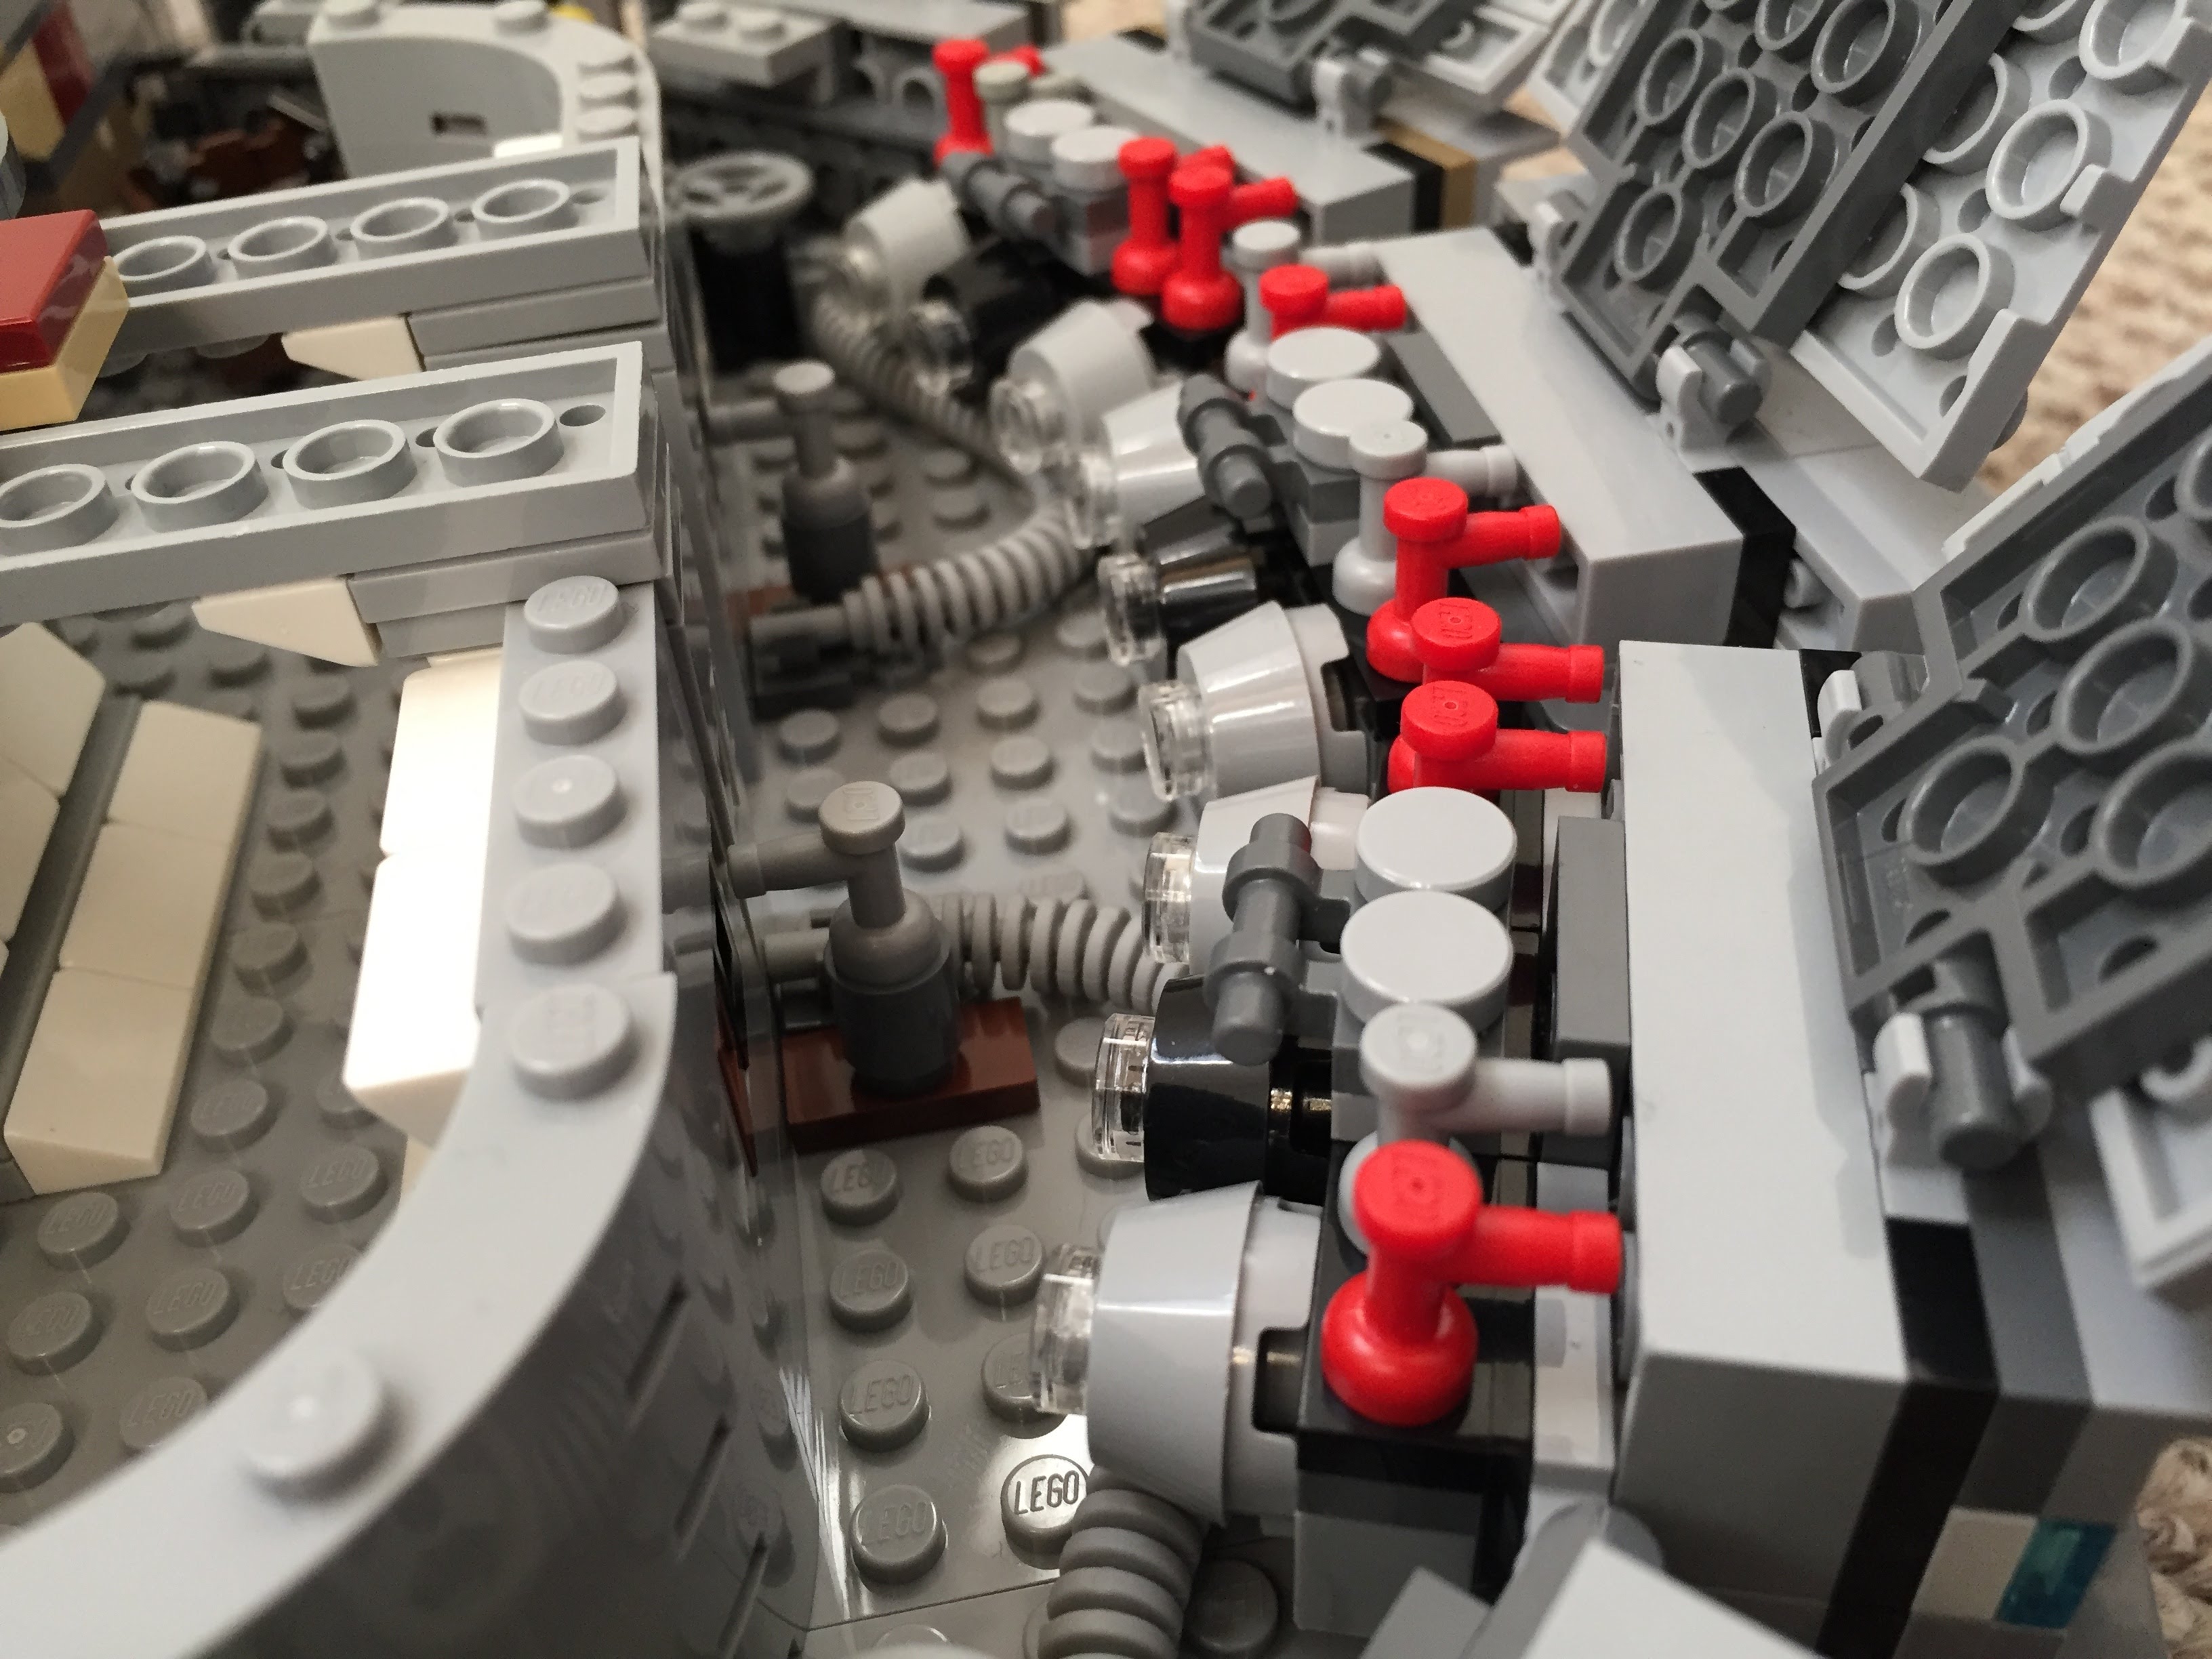
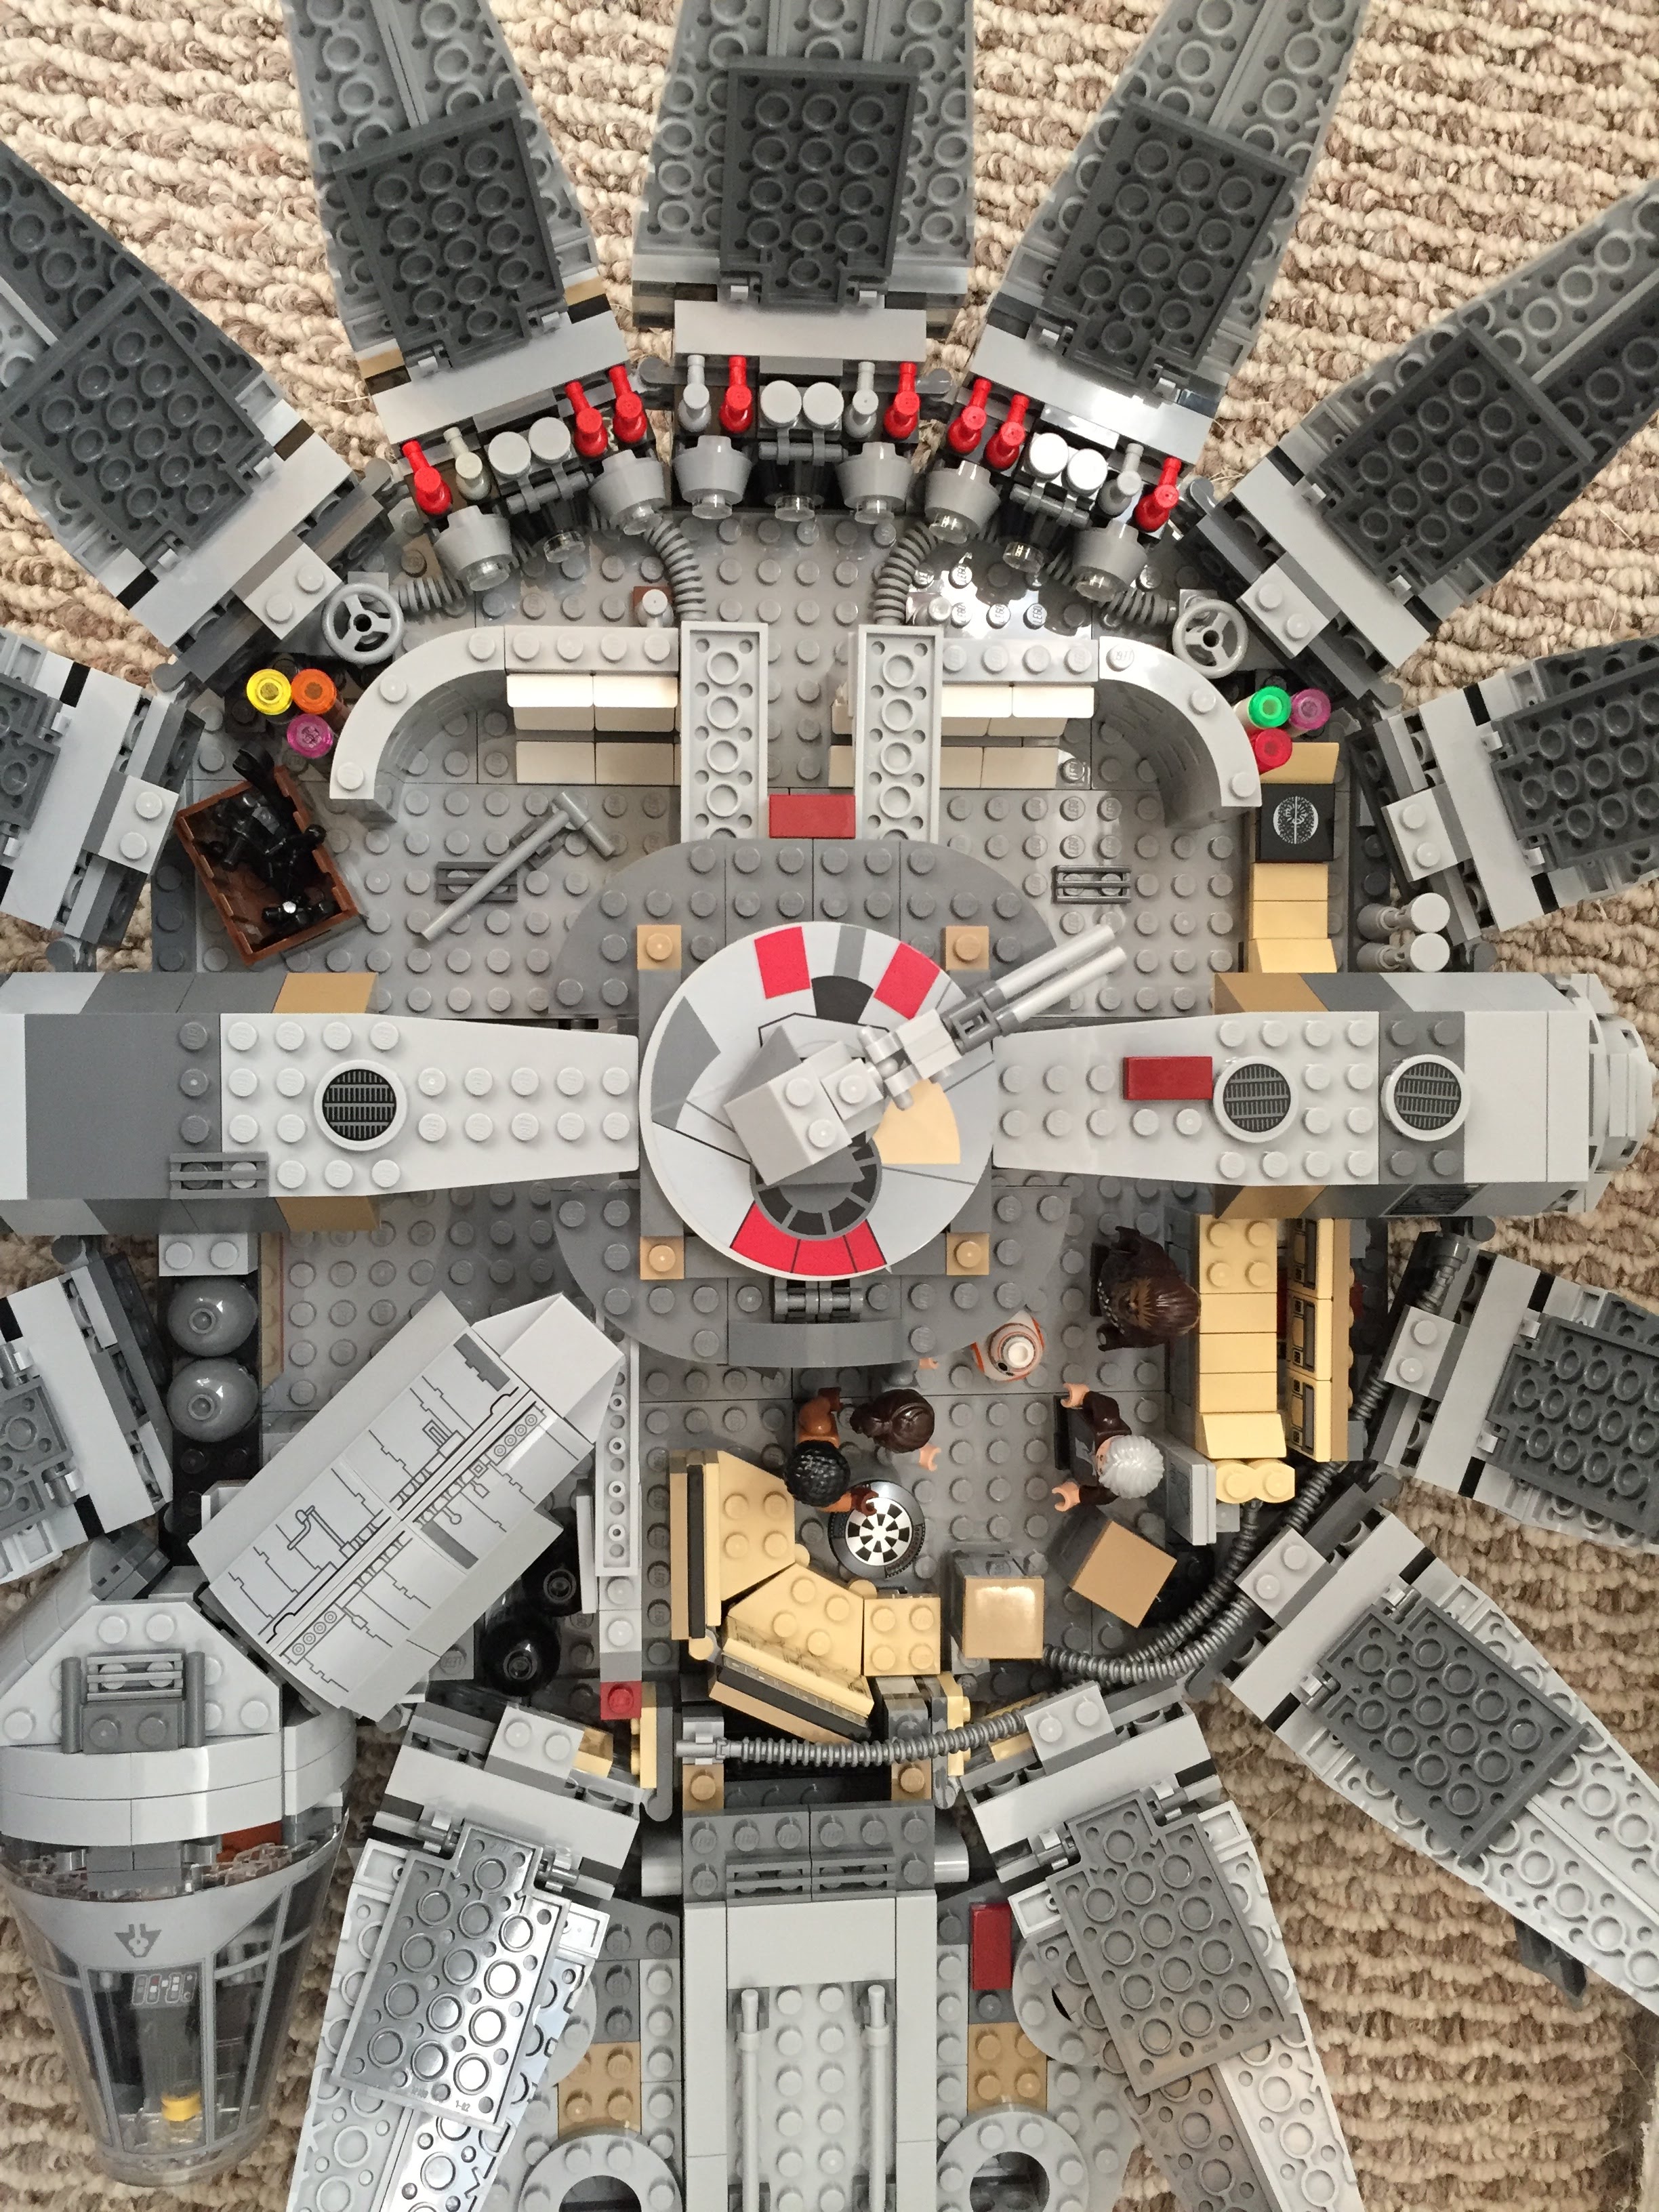
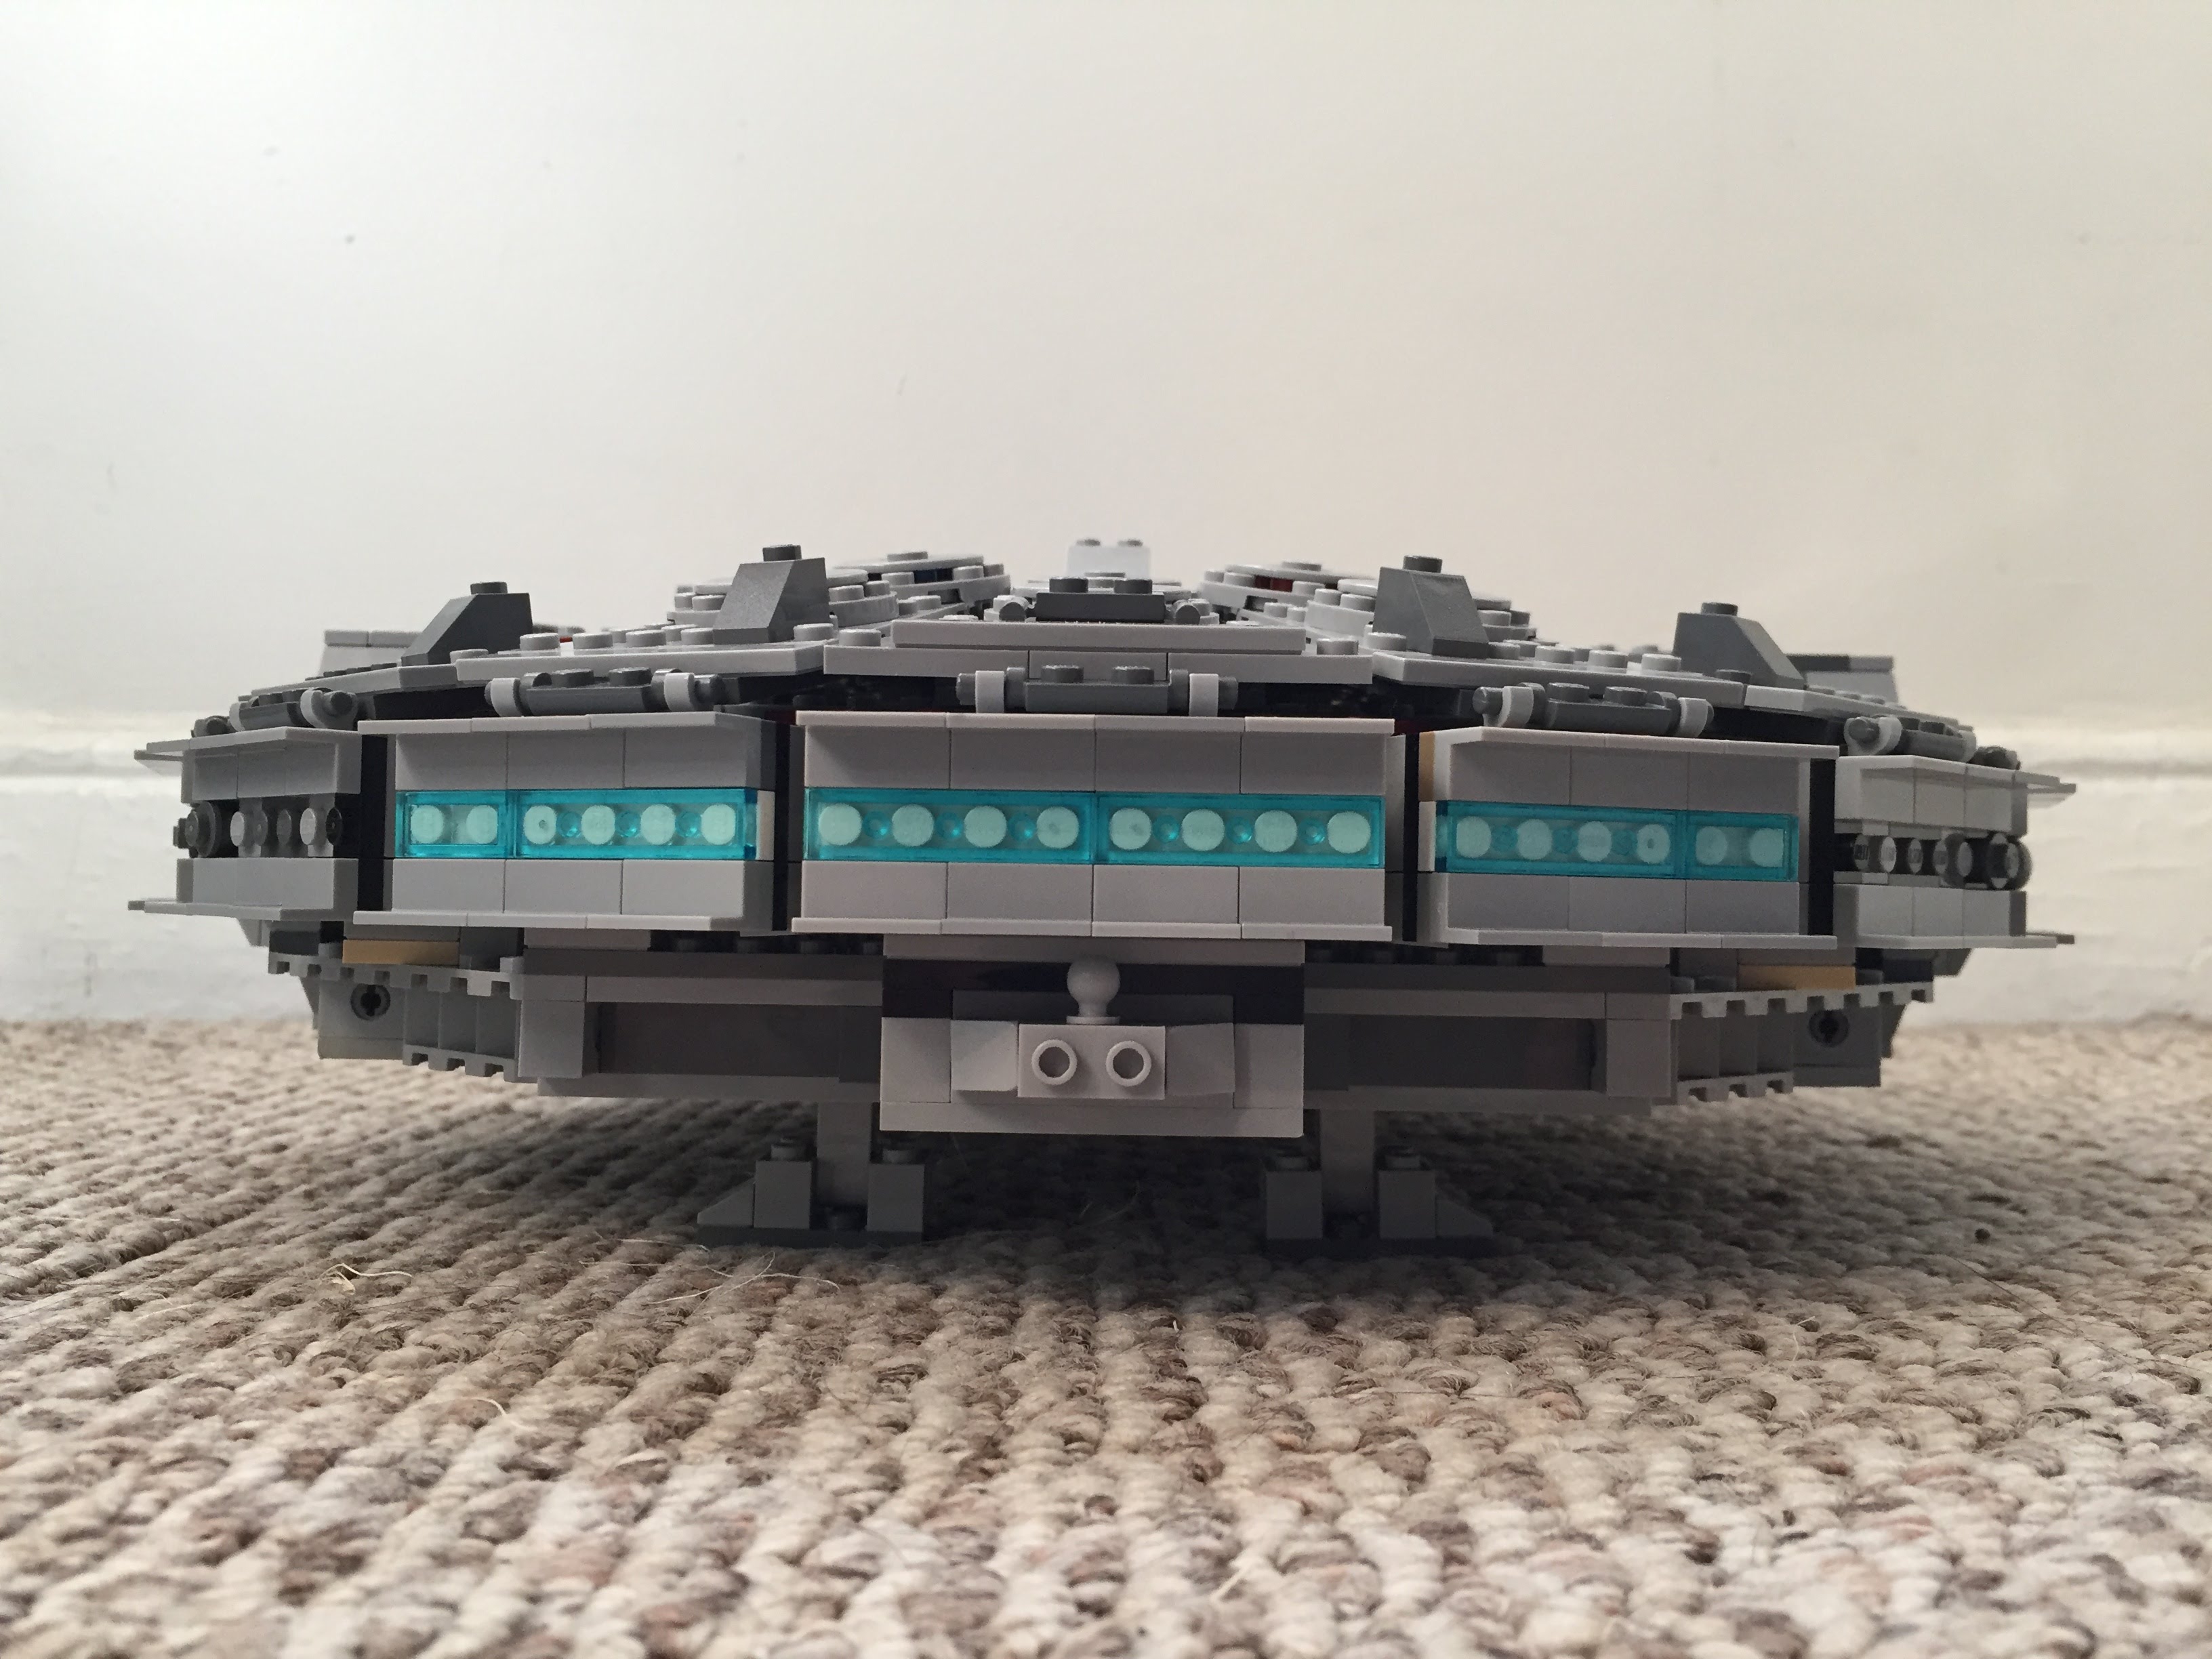
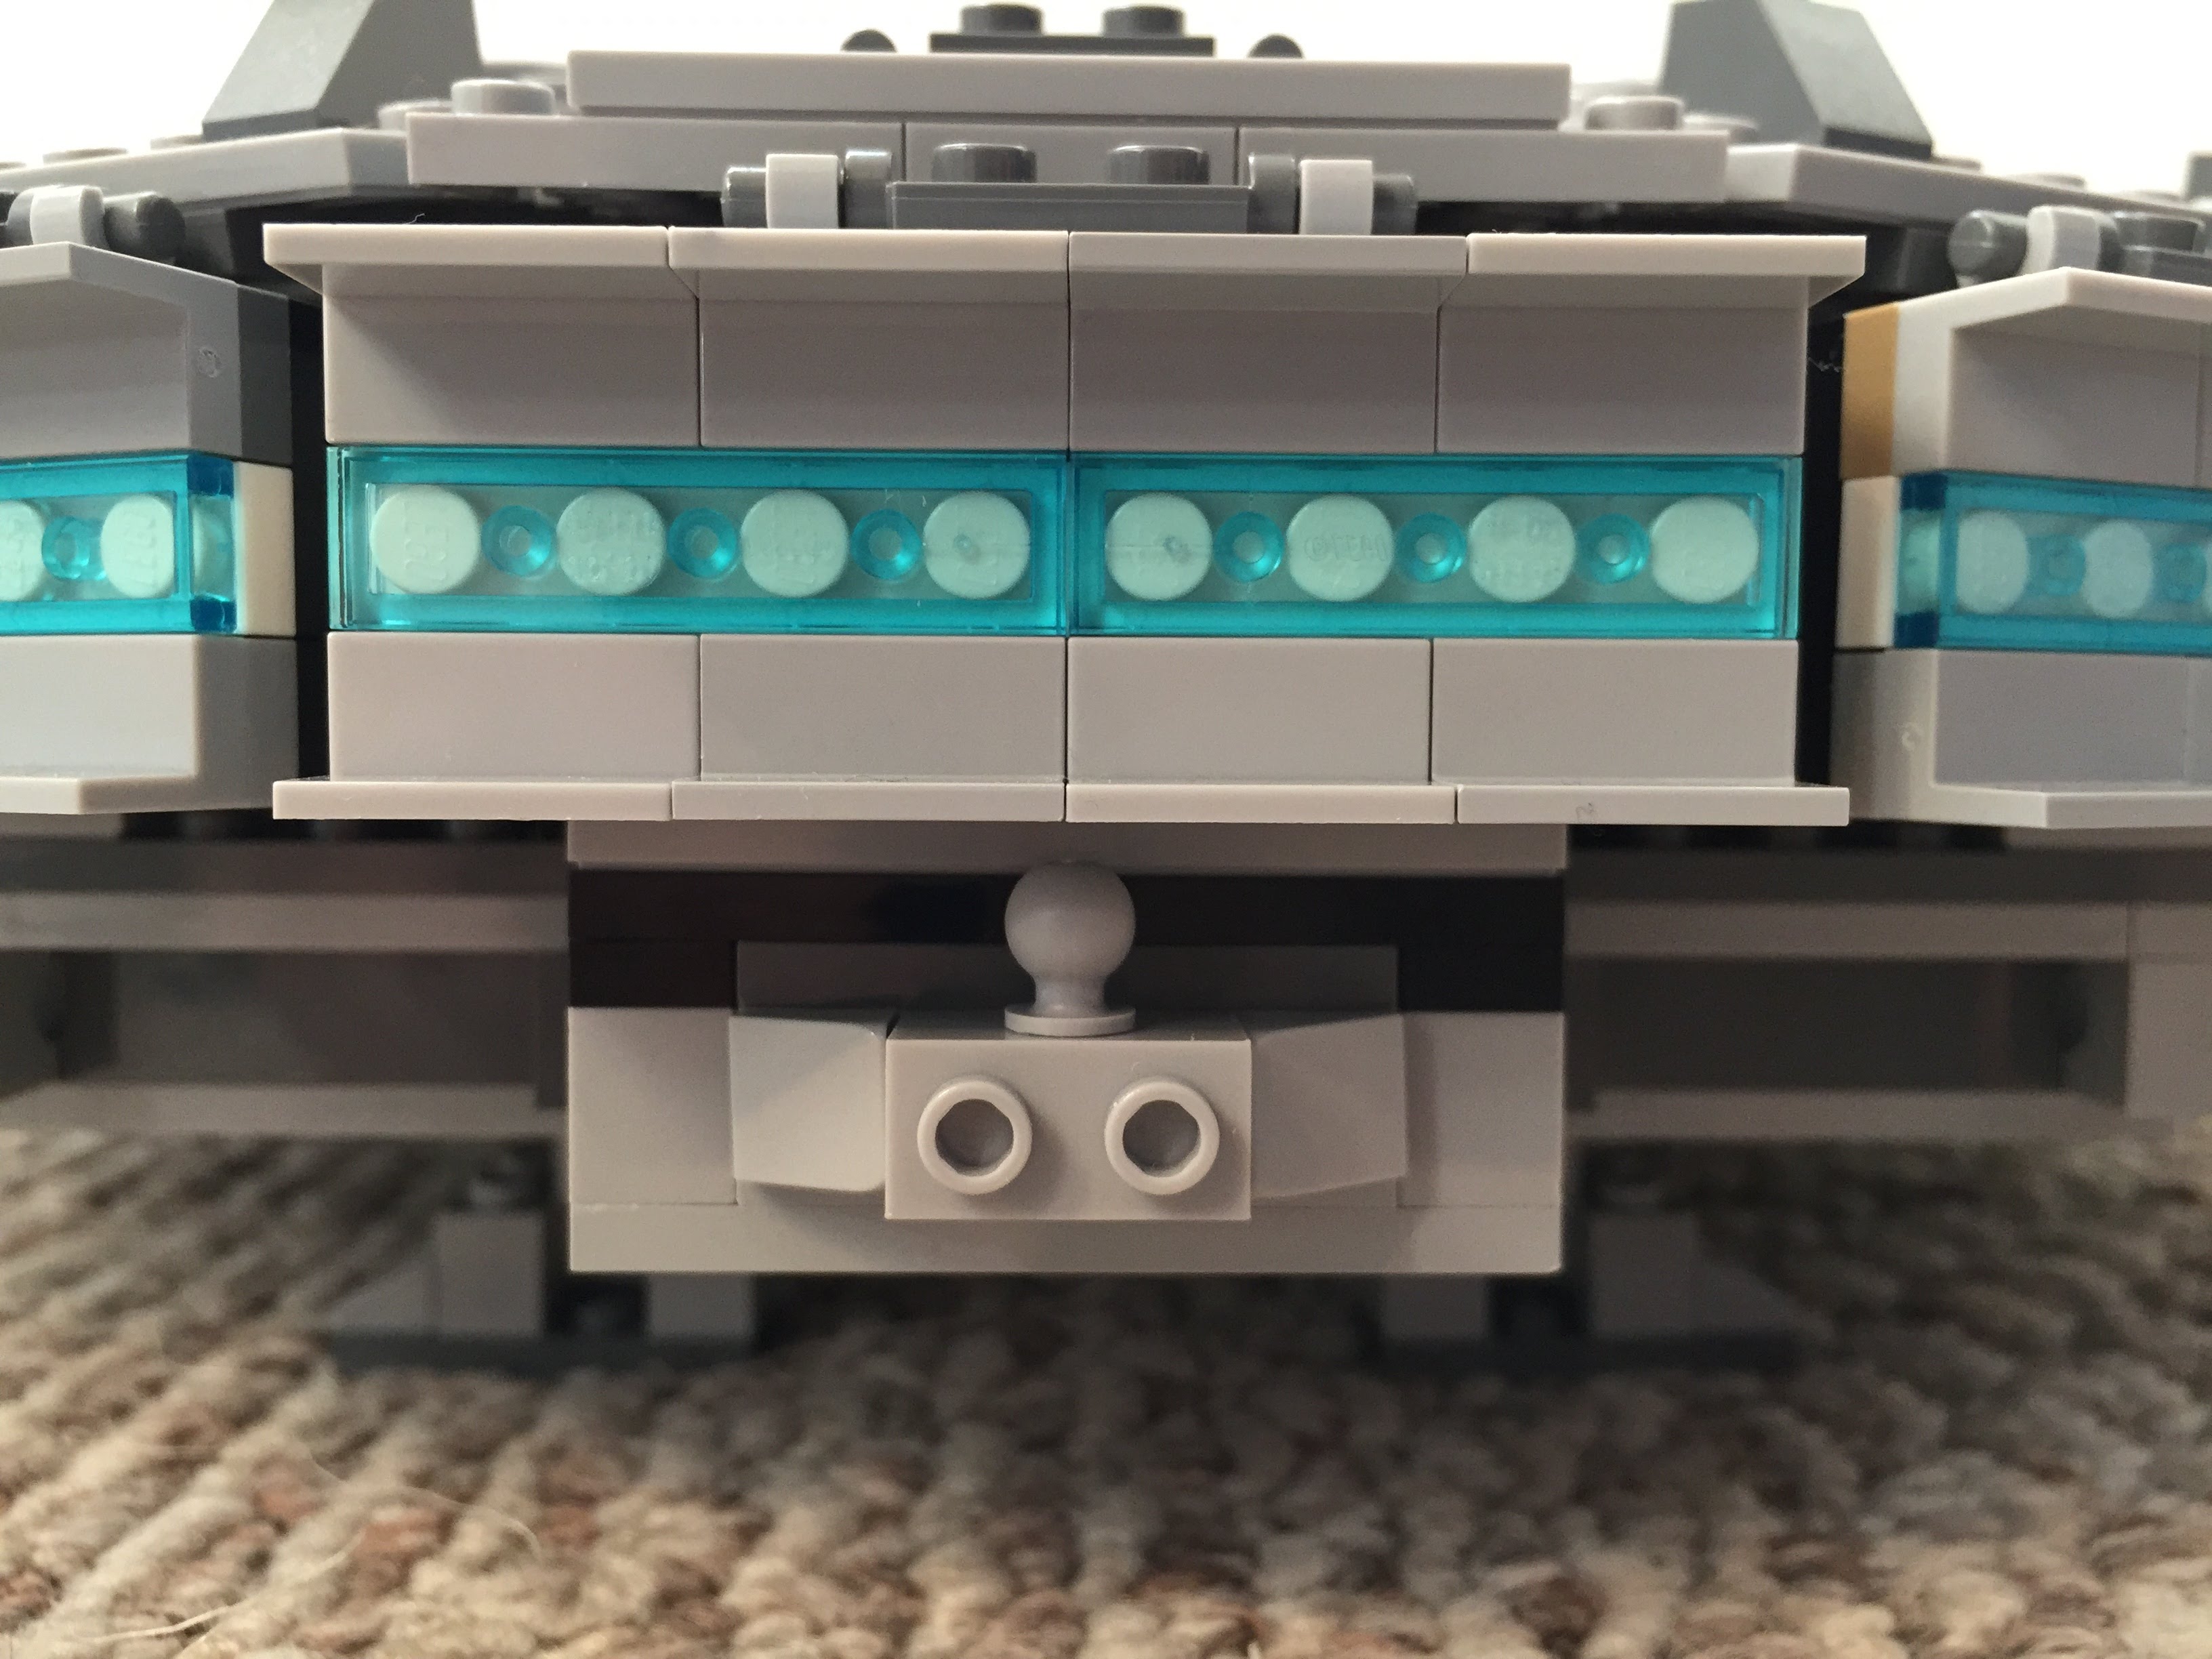
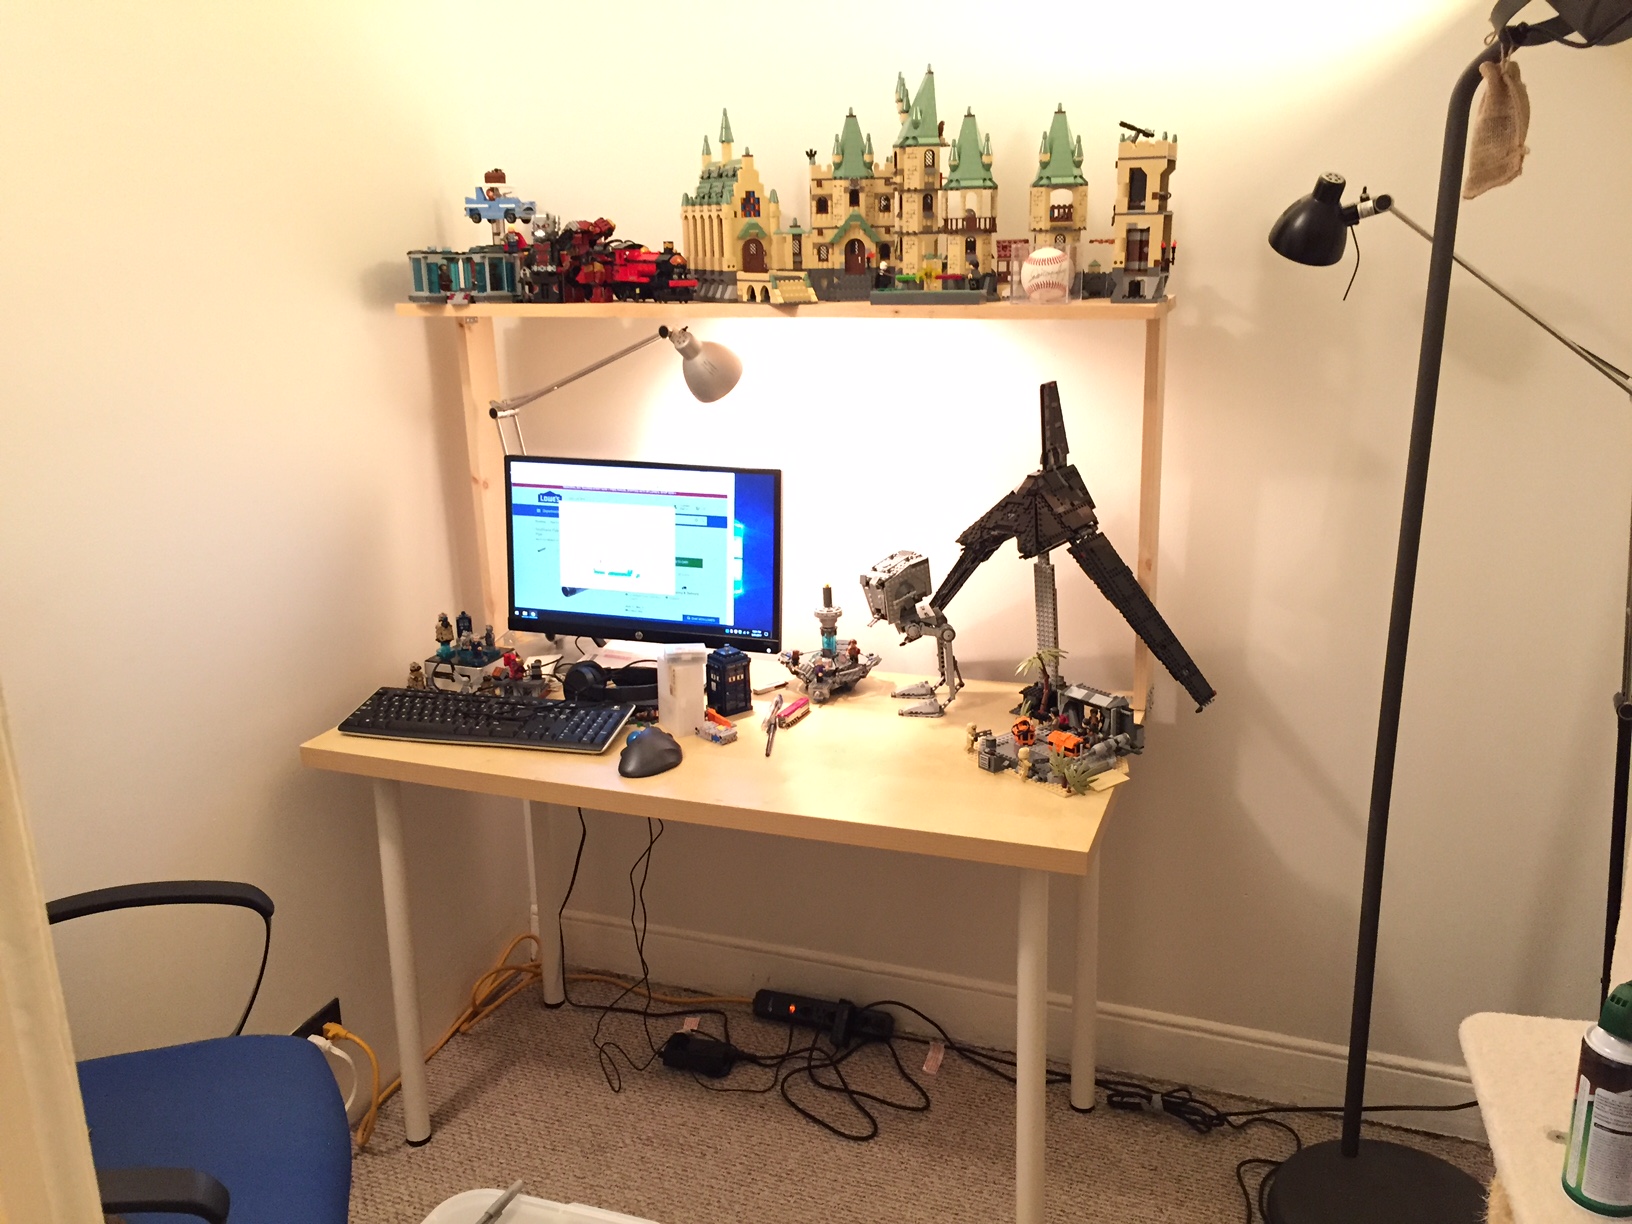
Even with my Intel NUC PC taking very little space on my desk, I felt overrun by my LEGO creations: Hogwarts Castle in the back, Rogue One scenes in the front, and Iron Man’s Hall of Armor to the right.

My LEGOs took the most amount of desk area, so I made it my goal to move them above my workspace onto a new shelf that I would build with materials acquired from the Brooklyn Lowes.

My IKEA table top measures 47 3/16″ wide  and 23 1/2″ deep. I wanted my new shelf to be high enough to clear my HP 22″ LCD monitor and tabletop lamp. I figured 24″ height would be enough clearance. Also, I wanted it to be deep enough to hold my LEGO models but not deep enough that it excessively shaded my desk or posed a problem for my forehead. So, I figured 10″ depth for the shelf was good enough.

IMG_1811

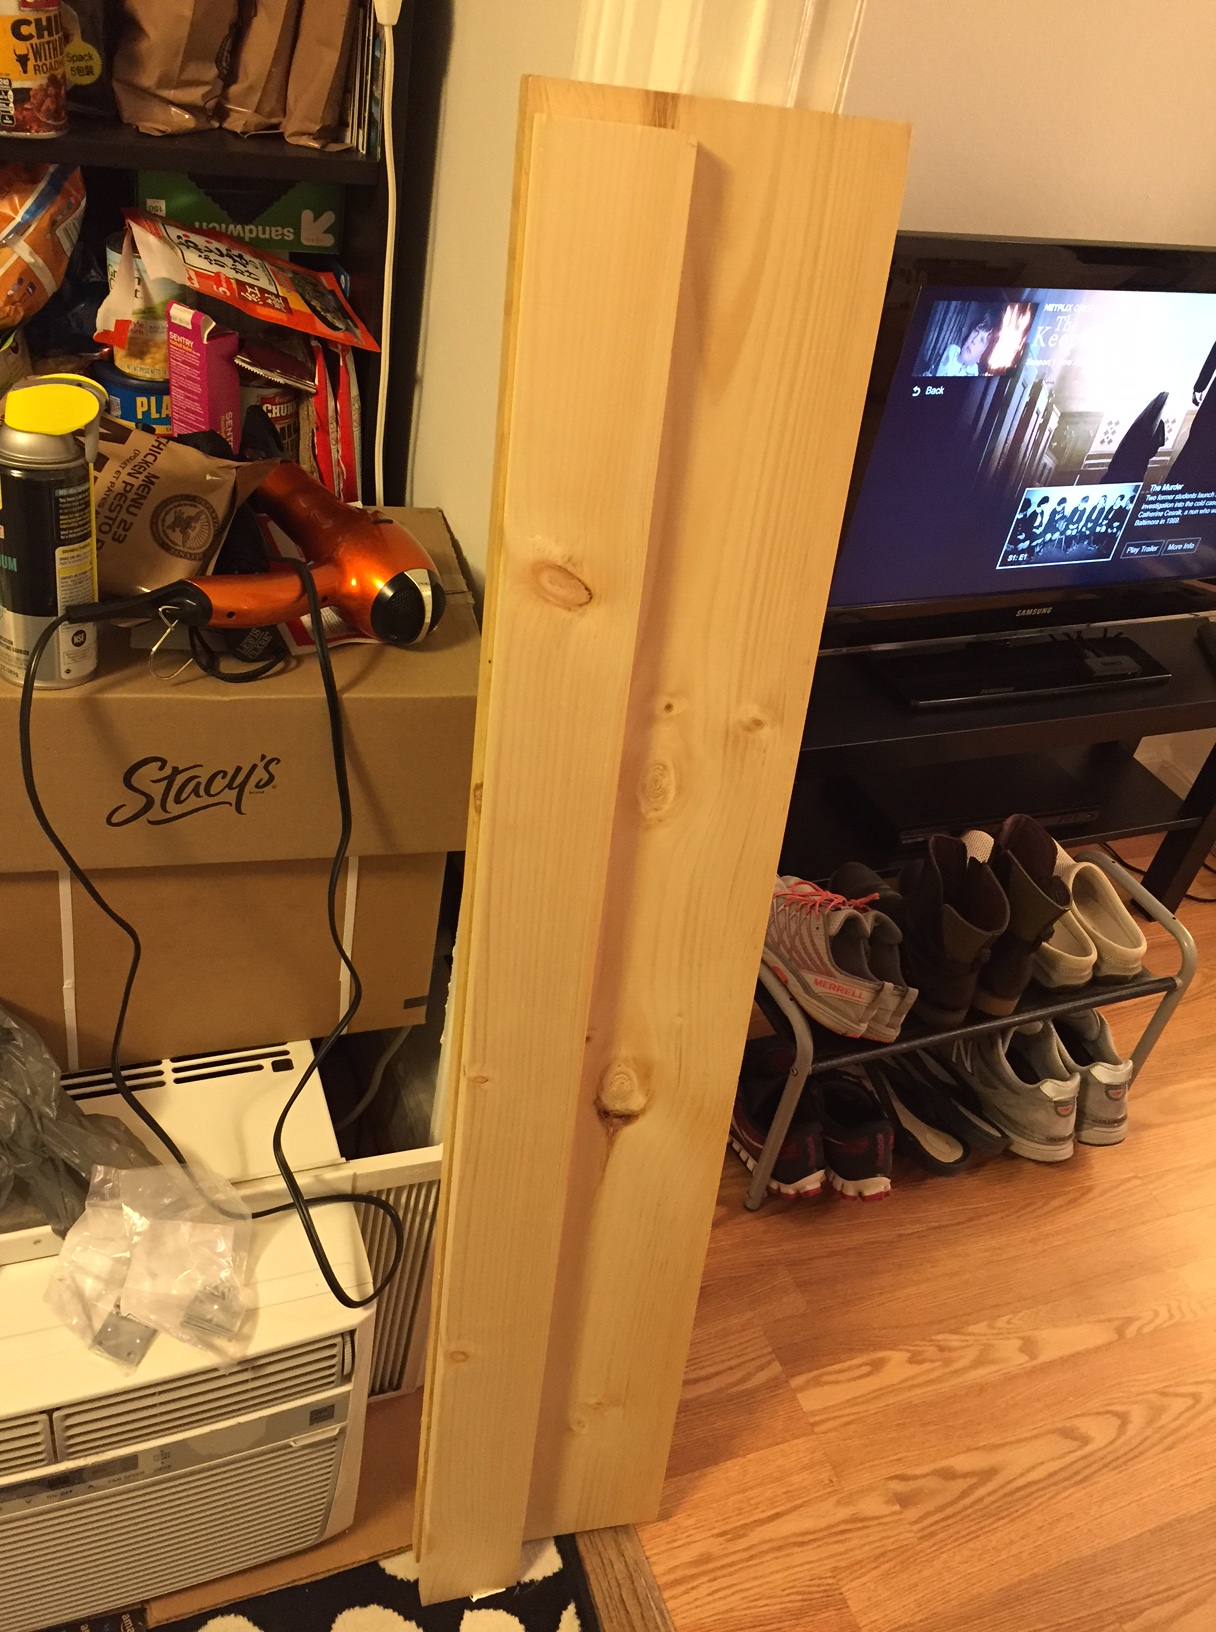
At Lowes, I purchased a 1″ x 10″ x 48″ pine board (to make the shelf supports), 1″ x 10″ x 48″ pine board (to serve as the shelf), 4-pack brackets (to support the shelf against the supports and the supports against the IKEA table top), and 4-pack braces (to affix the shelf’s supports to the IKEA table top). The total cost for these materials was about $16. Also, I used four deck screws that I had on-hand.

A note about selecting the shelf: If you’re doing this on the cheap like me, your selection of wood can serve in your favor. What I mean by this is that instead of building a shelf with some kind of support underneath it to prevent warping due to the weight of what you place on it over time, you can select a warped board and use the warp in your favor. To do this, find a board that is not overly warped but has some warp in its breadth. When building your shelf, have the warp pointing upward. Of course, running a support under the shelf and affixed to the shelf support on either side will strengthen the shelf to hold more weight, but with a light duty shelf like I am building, I chose to save the material and money.

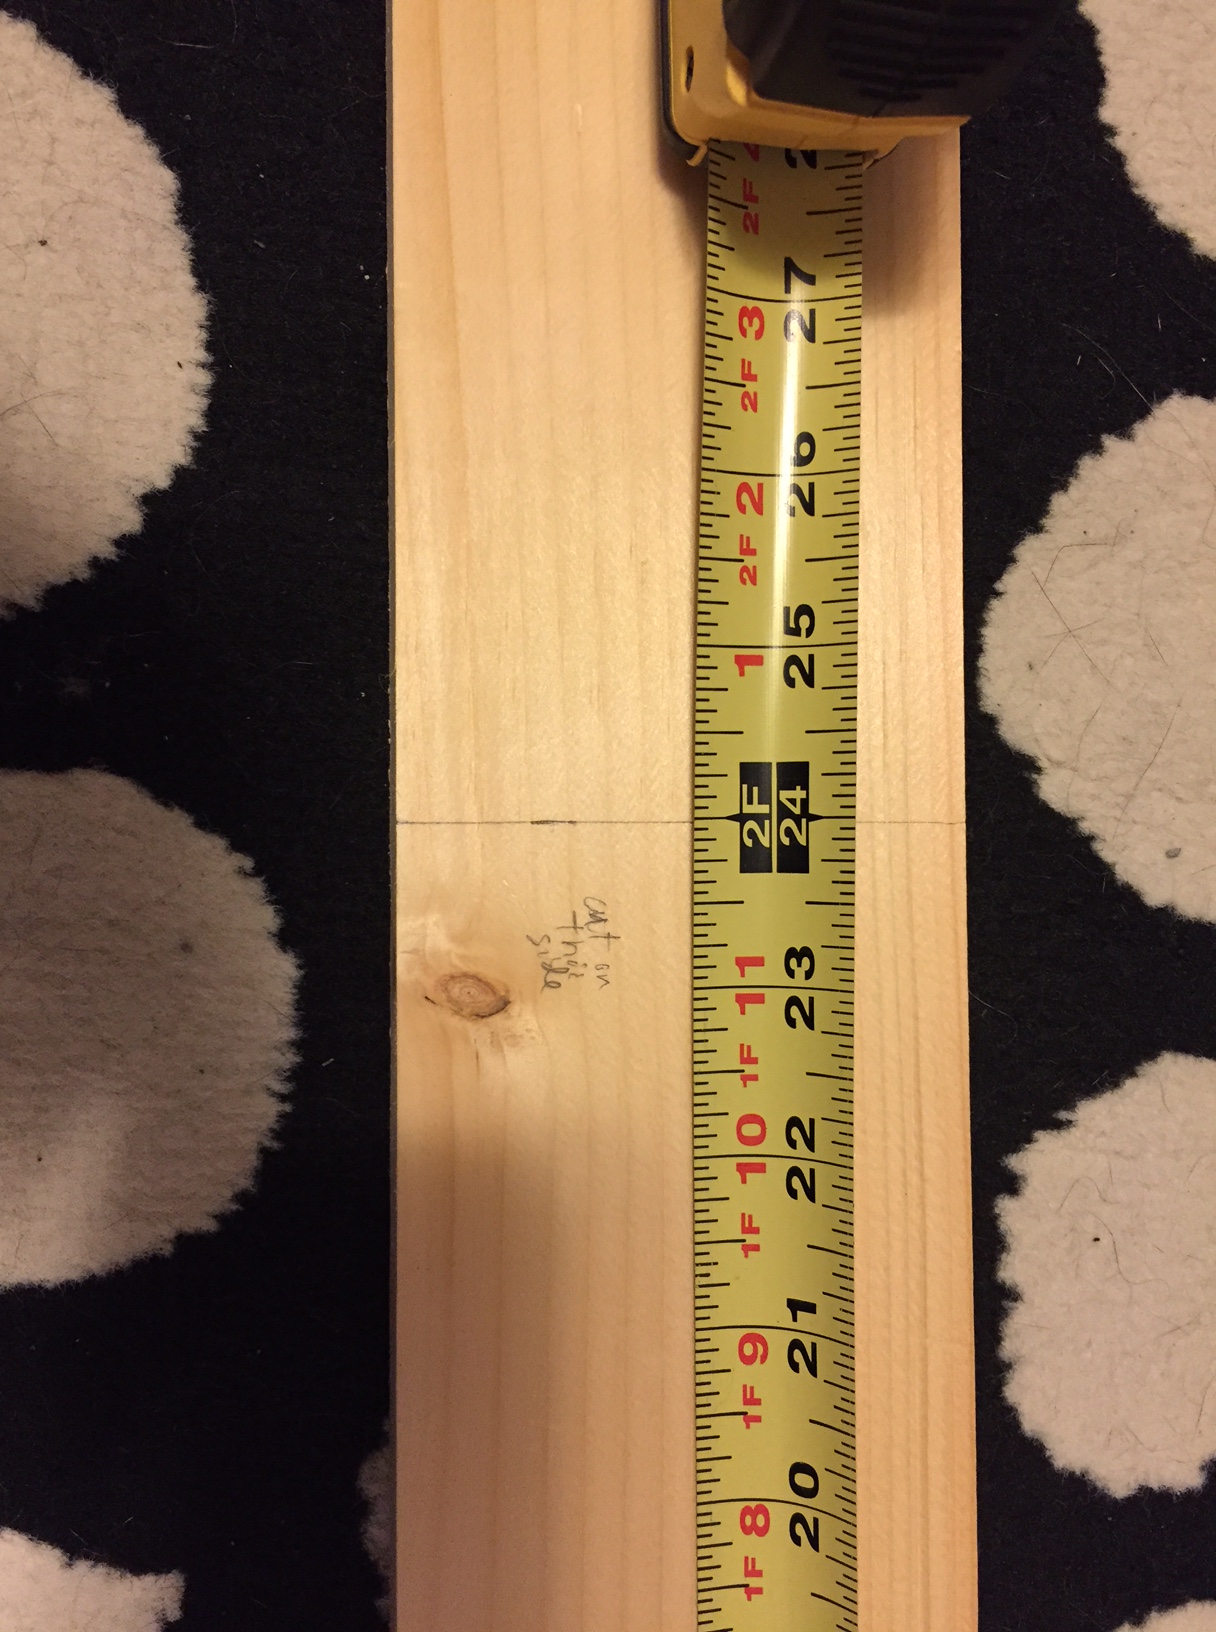
The 1″ x 10″ x 48″ pine board was actually 47 15/16″ long, which meant that it would overhang my desk by 12/16″, so I split the difference and marked the shelf supports 6/16″ or 3/8″ from either end of the shelf. Also, instead of centering the shelf supports, I placed them at the rear of the desk and the rear of the shelf. Again, this is a light duty installation, so I didn’t think this would become unstable with how I planned to use it.

Next, I cut the shelf supports out of the 1″ x 4″ x 48″ pine board. Surprisingly, it was 47 15/16″ long, which is closer than 48″ than I expected. To cut it in half as accurately as possible, I took my miter box saw width into consideration with planning my cut. As you can see below, I wrote on the board which side to cut on to offset the board’s odd measurement.

IMG_1812

The next step was affixing the supports to the shelf using deck screws that I already had on hand. Of course, pine is soft wood, but there is still the possibility of splitting it, so I pre-drilled four holes in the shelf (two on either end for each support) and two holes in the top of each shelf support. Before drilling, I drew a box on the shelf bottom for each support’s location. I halved this lengthwise and then marked 1″ from either end for my drill/screw locations. I did the same for the ends of each support board so that the holes would line up when I drove in the screws.

The final step of completing the shelf and shelf supports assembly before installing it on the IKEA table top involved installing two metal brackets to prevent shelf sway. These came with tiny philips-head screws, so I took a risk and did not pre-drill holes for these.

IMG_1837

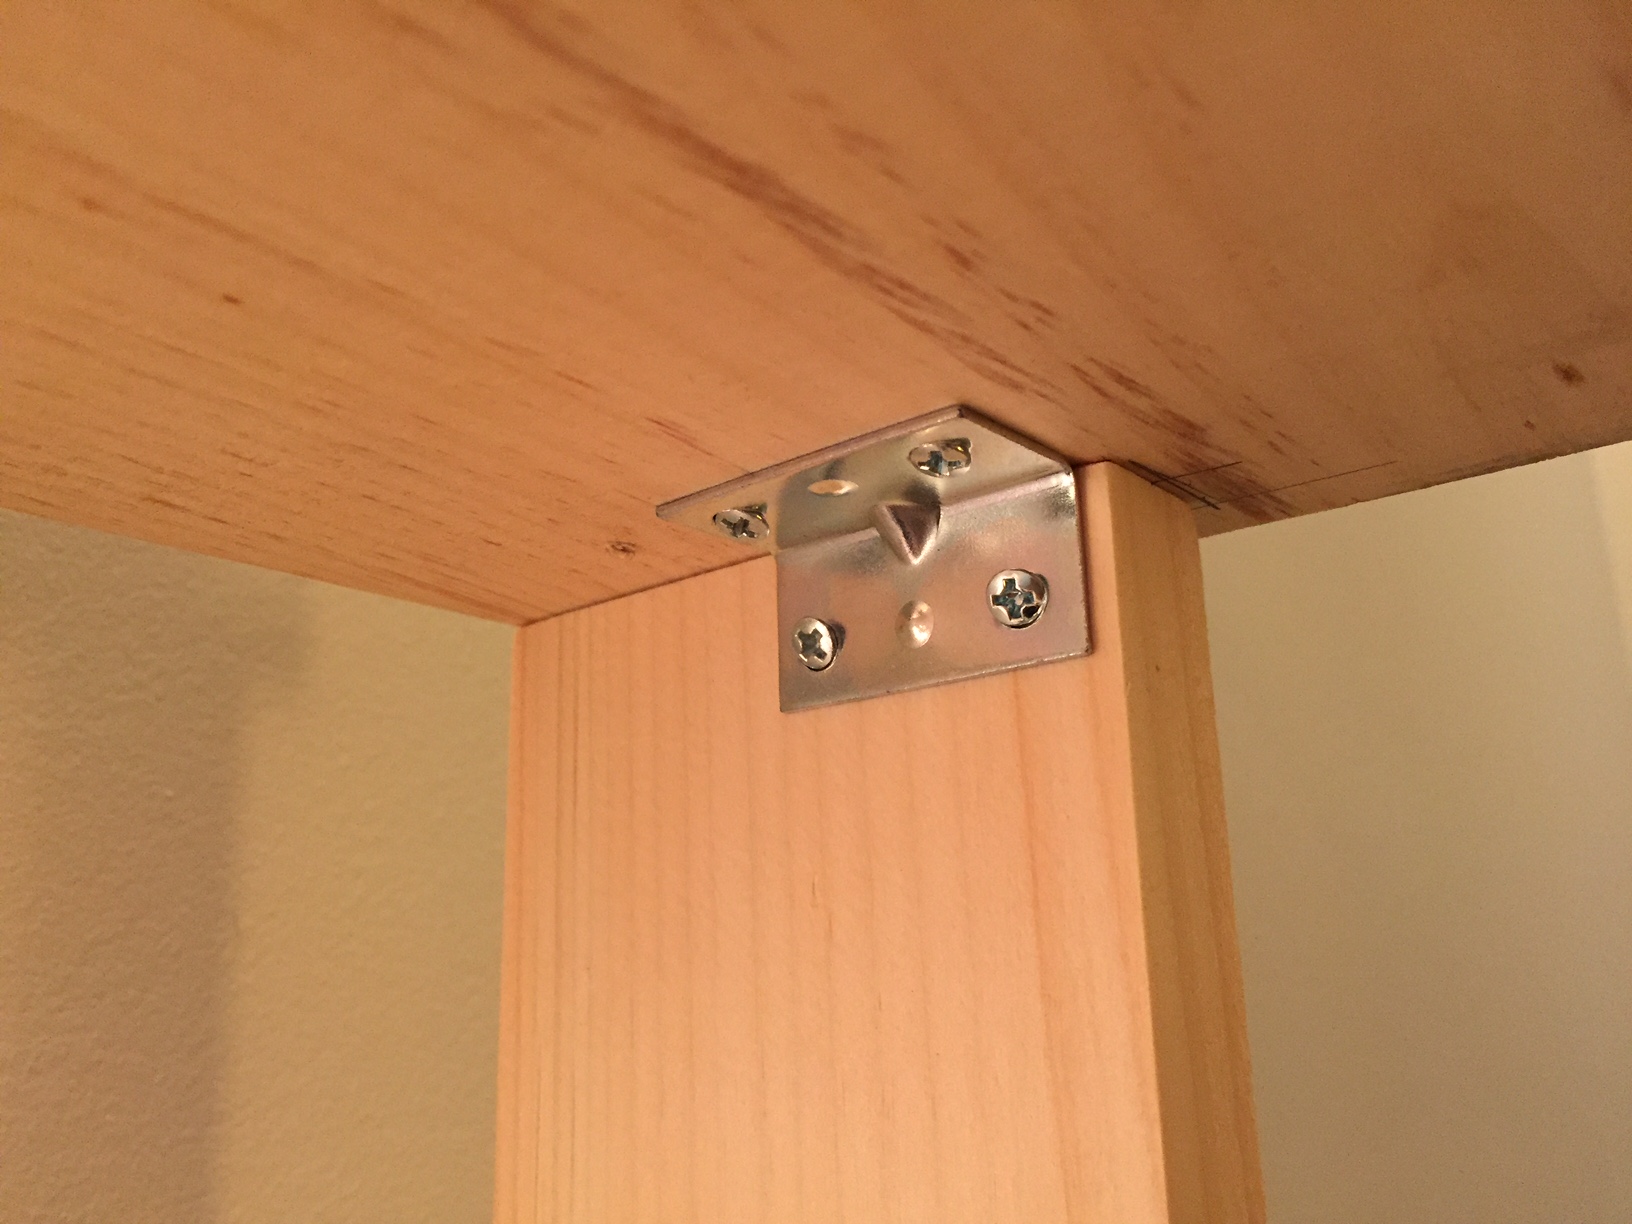
Finally, I installed the shelf assembly on top of the IKEA table top using four braces and two brackets. Each shelf support received two braces on the outside, and one bracket on the inside, centered. Again, I did not pre-drill holes in the IKEA table top or the pine board. I figured that the IKEA table top has a honeycomb structure inside with only parts of it being reinforced for the table legs and frame. I hoped that there would be enough material for the screws to dig into, and it seems to have been the case. However, I had to up the RPMs on my cordless drill to get the screws started and through the laminate covering the IKEA table top.

With the construction phase completed, I was able to begin enjoying my new shelf resting above my desk.

IMG_1834

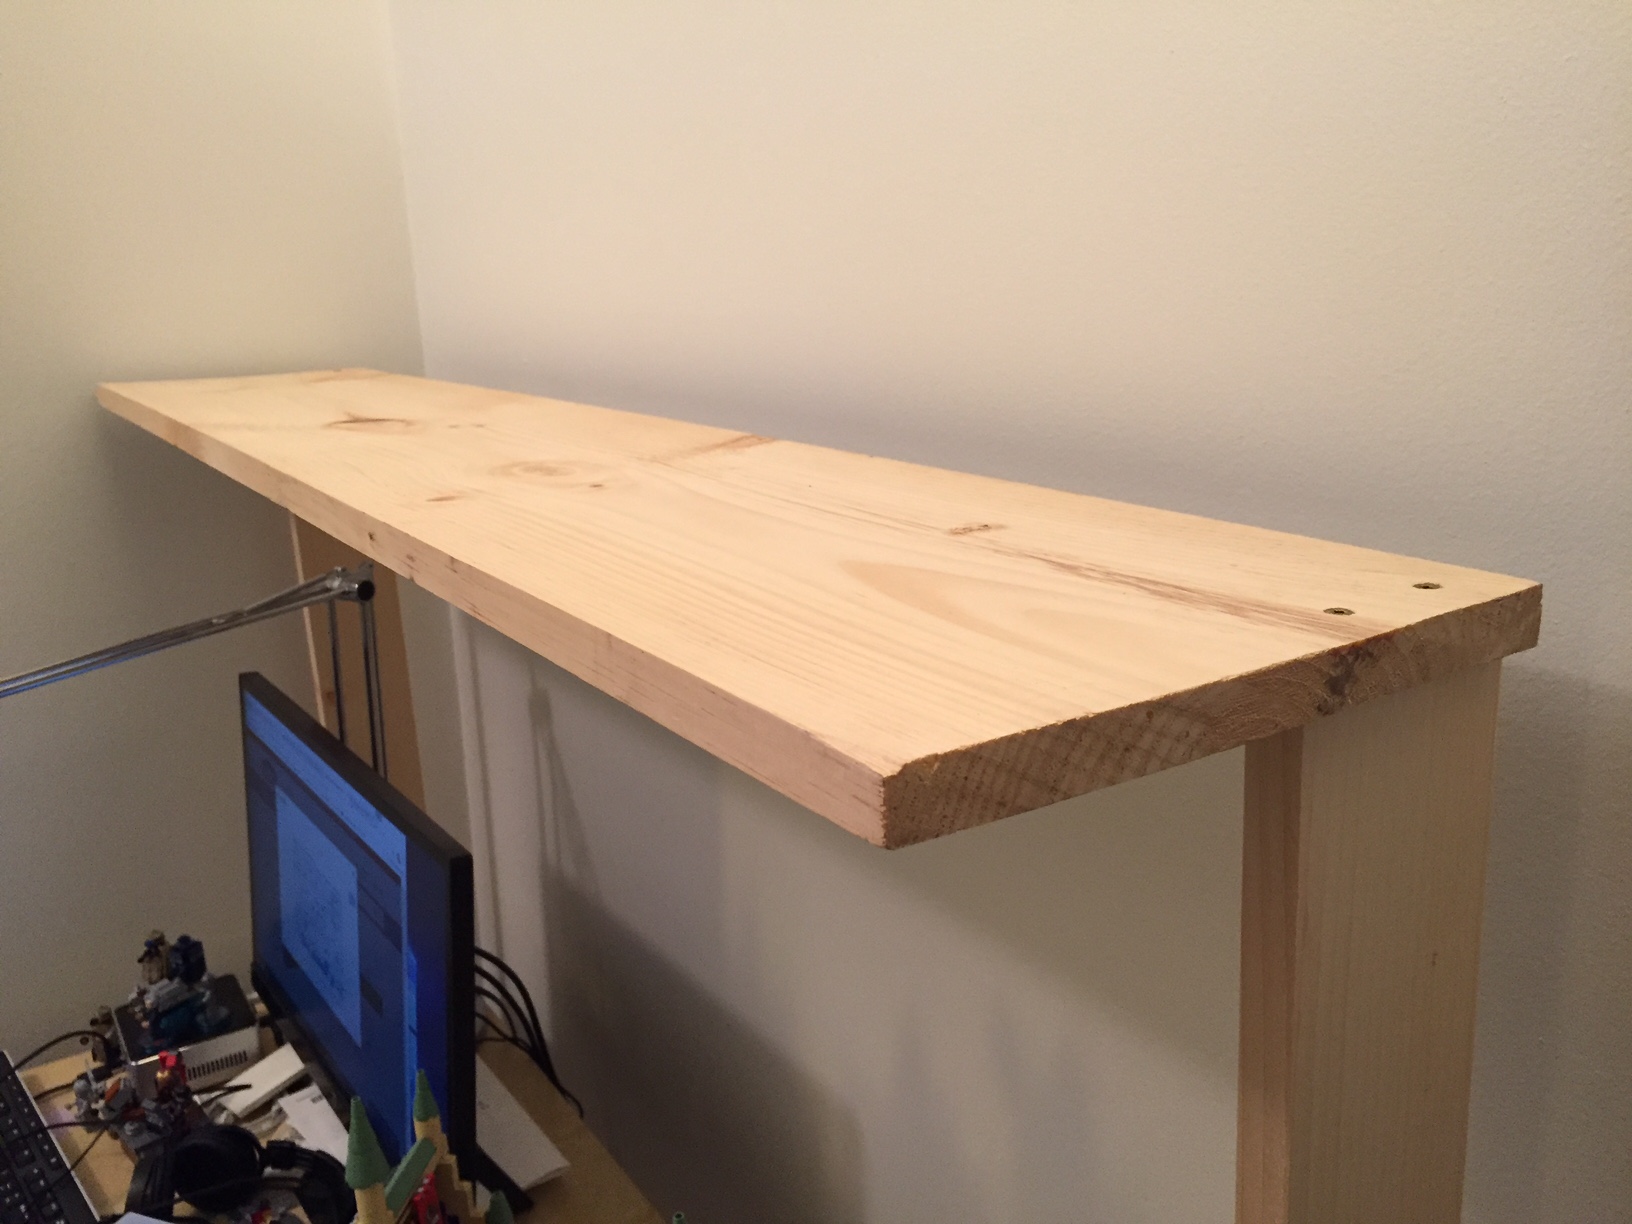
And move my LEGO models into their new home.

IMG_1836

The making, of course, didn’t end there. In parallel, Y and I took pictures of my building progress. Then, I began writing this blog post and embedding the photos to share with others (another form of making). Maybe now, you will go make something of your own!

Creating an Improved LEGO Iron Man’s Hall of Armor

IMG_1640

UPDATE: I expanded this design and reported on it here.

As I wrote in my previous blog post, I have been sorting my LEGO bricks. This has helped me organize the LEGO pieces that I have, and it has helped me count the quantity that I have in a given type or color brick. This greater knowledge about the bricks in my collection inspired me last night to build a better Iron Man’s Hall of Armor (above) using the “A-frame” plates or “Plate (A) 4M 45°” from 75137 Carbon-Freezing Chamber.

IMG_1084

My original Hall of Armor (above) was a play-oriented set, but it admittedly required care in its handling. It borrowed heavily from the Malibu Mansion and Avengers Tower sets. The curve of the armor display was accomplished with the central pad locked to the base with a 2×4 plate, each adjacent pad was connected to it with a plate hinge and supported beneath by non-locking flat plates, and the ends were connected to the base plate with 1×1 round plates. It worked, but it was fragile and admittedly very busy in its appearance. I thought that I could do better with a different approach focused on using system and Technics pieces, repetition, and strength.

First, I designed the display bad for each Iron Man armor suit. I based it around a 4×6 plate and leftover translucent blue elements from the Avengers Tower set.

I connected the five armor display pads at the top and bottom of each using the Plate (A) 4M 45°. The center pad and the end pads are built up to 1 brick height to accommodate the 3-hole Technic connector brick beneath the center pad. This is where the platform between the armor pads will connect.

The central platform has a 3-hole Technic brick at the narrow end. It connects to the hall of armor arc with three Technic connector bushings. I used 1×1 bricks with outward facing stud all along the front of the display (both ends of the Hall of Armor arc and the central platform). I affixed flat dark grey plates to these to create a contrast with the light grey of the platform surface.

This new design is more for display than playability. It is a much stronger model than my previous one, and it uses LEGO elements in new ways that I had not experimented with on a MOC before. In particular, I was very happy when the central platform perfectly interconnected with the sweep of the Hall of Armor arc. Also, I was able to build a MOC that utilized repetition in the design of the armor display pads, because I had an inventory and organizing system for my LEGO bricks. Had I not sorted my bricks, I don’t think that I would have been able to come up with this design and implement it as quickly as I did.

While you’re looking at the images, can you spot a spy in the model?

Building City Tech’s New Academic Building at 285 Jay Street With LEGO

IMG_1612

Over the past few days, I build a small scale model of the new City Tech academic building at 285 Jay Street. Still under construction, this model highlights its eventual glass-covered transparency (see this PDF for additional renderings of the building’s completed construction) with the model’s approximately 160 clear 1×2 bricks:

285jaystreet-render

My Serious Change Through Play collaborator Patrick Corbett original gave me the idea to build a model of the new building after we made our first grant-funded LEGO brick purchase. Here is what that first, simple model looked like:

IMG_0516 2

With only a few LEGO and Duplo bricks, I was able to capture the glass structure, upper floors overhang, and intersecting curve of the auditorium. Eventually, we incorporated this model into the Serious Change Through Play branding logo. While I like this smaller model, I wanted to build one that was larger and captured more detail without breaking the bank.

To begin my larger design and assess what extra LEGO pieces that I would need beyond those that I already own, I copied LEGO brick/plate design grids (see Duckingham Design’s grids, which are terrific) into Microsoft Windows’ Paint and drew in a rough sketch of each side’s elevation:

After these initial designs, I knew that I had most of what I would need to build the base and solid-color aspects. However, I didn’t have any of the clear bricks. Luckily, I saw a bin full of clear 1×2 bricks at the Flatiron LEGO store a week ago, so I returned there to purchase those and spare bricks that I thought might be useful during the build:

After disassembling all of the bricks in the pick-a-brick container (NB: if you purchase a pick-a-brick container from the LEGO store, you should assemble all of the bricks in order to maximize how many bricks can fit and minimize wasted empty space), I used plates and bricks to construct a 20×20 stud base with a height of 1 brick and two plates (one plate level on top and one plate level on bottom):

Next, I began the fun part of the build, which I like to think about as similar to the writing process–brainstorm, draft, and revise. While I had my elevations to work from, I thought of specific ways to put the bricks together that represented the building better and served to make a stronger model. For example, using overlapping joints and interlocking corners in the upper stories look good and make the model sturdier.

The intersecting auditorium provided some of the best challenges during this build, because it has an interesting curve that is like the forward leading edge of an airplane wing. This required a lot of digging through my boxes of bricks to find pieces that conveyed this as best as possible at this scale and appear close to the colors in the building design documents:

You might have noticed a white, silver, and blue structure in the rear of the building. I felt that I would be remiss if I neglected to include the spirit of the building that used to be at 285 Jay Street–City Tech’s previous auditorium with its Klitgord mosaic (see page 8 of City Tech Connections vol. 6 no. 2 here for more information, or speak to Dr. Mary Nilles, who taught me about the history of the mosaics). The original Klitgord mosaics, crafted by Nathiel Choate and Joseph von Tury in 1962 for the auditorium building, look like this (photo by William Avery Hudson):

8039626236_63e363ed36_o
Photo by William Avery Hudson.

Using the microscale of my model, I wanted to capture the color scheme and figures despite the extremely low resolution of the medium at this scale. Nevertheless, I figured that I could convey that there are six human figures and a color scheme of white, silver, and blue. Therefore, I built this model of the mosaic–perhaps the preserved mosaic will have a home in the new building?

IMG_1608

TUAW.com: Apple.com showing changes, Site Tweaks

According to The Unofficial Apple Weblog, apple.com underwent some changes last night. I have posted a screenshot of apple.com captured this morning. It appears that they have switched from a white background to an off-white, light noise background and they have darkened the menu bar at the top of the site. Is January the time for site redesigns and tweaks? Slashdot [I wrote about it yesterday here] and now Apple have made changes to their sites. However, Macupdate.com was ahead of the curve when they launched their new site late last year [I wrote about that here]. More details at TUAW here: Apple.com showing changes.

Lego Star Wars Millennium Falcon 7190 Custom Rebuild

And here it is–my custom rebuilt Lego Star Wars Millennium Falcon 7190 model. It took me several months of tinkering to get it in the shape that it is now–beat-up, derelict, and having it where she needs it.

In the following, I will show how the model began, how it evolved, and then a more thorough description of the changes that I made to the model.

Below, you can see how the 7190 Falcon looked after I initially built it. It gestures toward what the Falcon should look like, but it has too much non-battleship gray color and the design is aimed toward play more than appearance.

Below are two pictures of the interior with the upper hull removed. Again, the emphasis is on play instead of accuracy. The interior is segmented by straight walls and there is no visible engine, which I believe a big, fast ship like the Falcon should have.

Initially, I hadn’t planned on redesigning the interior. I thought that there was more to be done with the exterior, with the large quarter panel pieces that could make the 7190 rival the newer 4504 model.

Below you can see how I have selected a single color for the upper hull, reduced the profile for the gun turret, increased the size of the engine compartment at the rear, and changed the forward cargo loader from a single flat piece to a more accurate raised profile.

Also, I improved the cockpit so that it bends into the main hull and connects to it with a single flat round brick. Below are detailed photos of the cockpit redesign.

In the final version of the 7190 redesign, I opted to replace the cockpit with the same one found on the 4504 model, the parts of which I found on bricklink.com, an excellent resource for finding sets and bricks at reasonable prices. In the future, I may reincorporate the curve and passage way in the above pictures into the 7190 redesign. However, I do have some other ideas about how to make it look more accurate, following the ideas in the 4504 model, but I need additional pieces to make this work.

So, here are more detailed photos of the 7190 redesign as it now stands. I will include exterior shots first, and then I will show the extensive and exciting interior redesign that I made.

As you can see in the two photos above, I streamlined the front prongs into the main hull, extended the port and starboard hatch covers so that they are level, added surface color and detail to more accurately match the Falcon, and utilized the natural design of the quarter panel spacing for the rear engine compartment exhaust grills.

The cockpit is the same as the one in the 4504 model, but I used a different computer display brick in front of Han and Chewbacca. Also, I designed the cockpit-to-hull connector to indicate the connection while making it easy to remove the upper main hull. I believe that I will continue working on this in the next iteration of the model.

Below are images of the interior of the Falcon based on the films and my own ideas about the engine for such a large and fast ship. I departed from the designs in the 4504 model with my design of the engine with built-in hyperdrive.

Below, an all-inclusive shot of the interior of the Falcon. In the upper left, you can see everyone gathered around the Dejarik table. In the middle front you can see the cargo storage area followed by the passage way leading to the cockpit. The central column holds the gunner stations. In the rear, you can see the main engine with integrated hyperdrive.

Below, a detailed shot of the cargo area with a nod to the Lego Space series.

Below, a detailed shot of the crew area and Dejarik table and navigational computer.

Below, a detailed photograph of the main engine and its support structure, integrating it into the framework of the space craft.

Building my custom version of the 7190 Falcon model is something that I’ve wanted to do ever since I first owned the 7190 when it first came out at the end of the twentieth-century. The nice thing about Lego is that I can continue changing and altering the design as my imagination shifts and permutates.

Besides the awesomeness of building with Lego bricks, you may be wondering why I have devoted a good deal of space to my Lego work on dynamicsubspace.net. This is something that I am continuing to work on, but I see Lego as a transitional example of what Haraway calls the Informatics of Domination. Lego serves as a metaphor for the dilemma and its solution. Lego is a double edged sword, swinging both ways, but holding a promise greater than its representative ills. Expect to read more about these ideas in the near future.

Below, I have included a gallery of more images of my custom 7190 Millennium Falcon. Enjoy, and thanks for visiting.