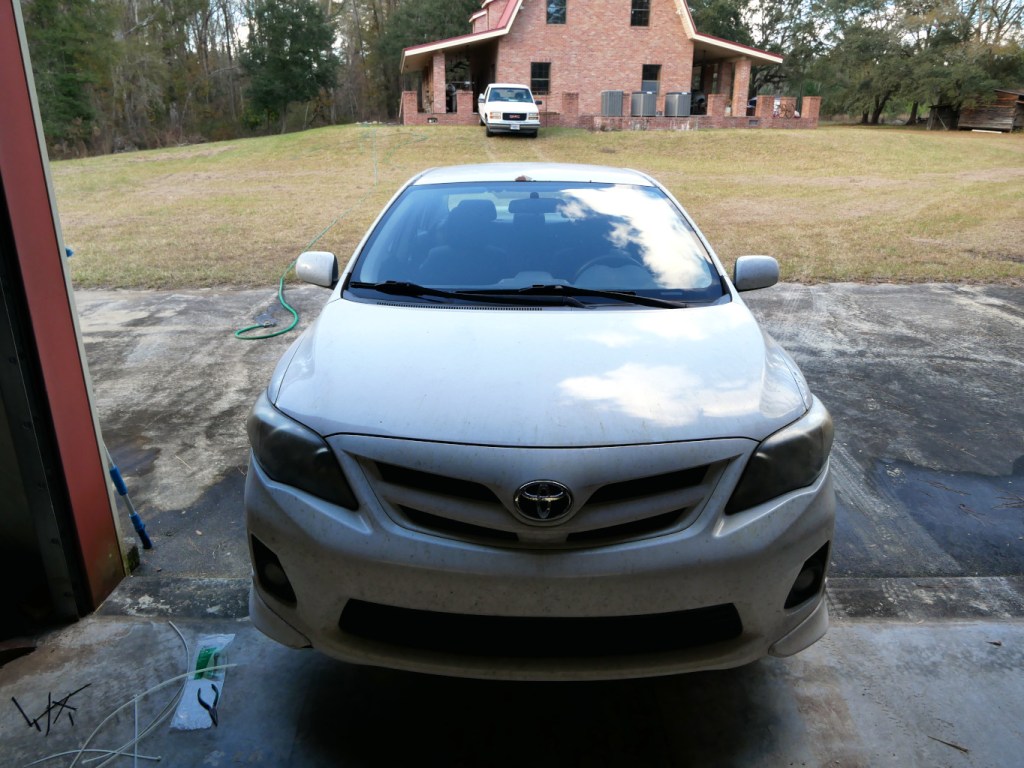
Before making the trek from Georgia to New York, I had a few things to do to the car’s interior. As I mentioned yesterday, Woodard’s Auto Center worked on the engine, drive train, and wheels, which with over 100k miles, it sorely needed. However, the car’s front bumper and interior needed some attention, too.

The first thing that I tried to address was the mess pictured above under the front of the car. My dad had accidentally hit a ditch in the yard some years back that pulled the passenger side bumper off and popped out the bumper from the front grills. The grills were easy to fix–pull them all out, align, and pop them in starting at one end and working toward the other. The trouble was getting the bumper connected to the car’s chassis since some of the bumper’s plastic parts and lower engine compartment cover had been ripped out and torn underneath the car. But, this is what we have zip ties for! I removed the ones shown above that I had used when I visited home a few years back. I did have to make one new hole with a drill to create a loop for one zip tie, but the others were able to use existing openings.
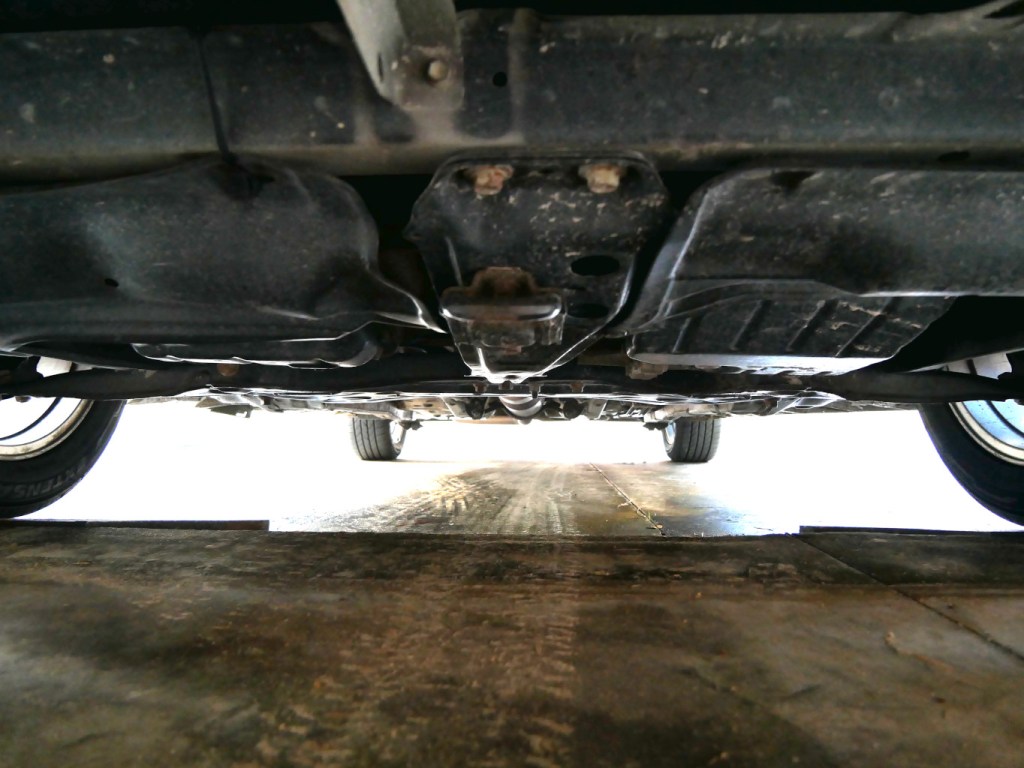
Now, there’s nothing hanging precariously–everything is pulled tight and secured to something substantial on the chassis.
Then, I turned my attention to the car’s interior.
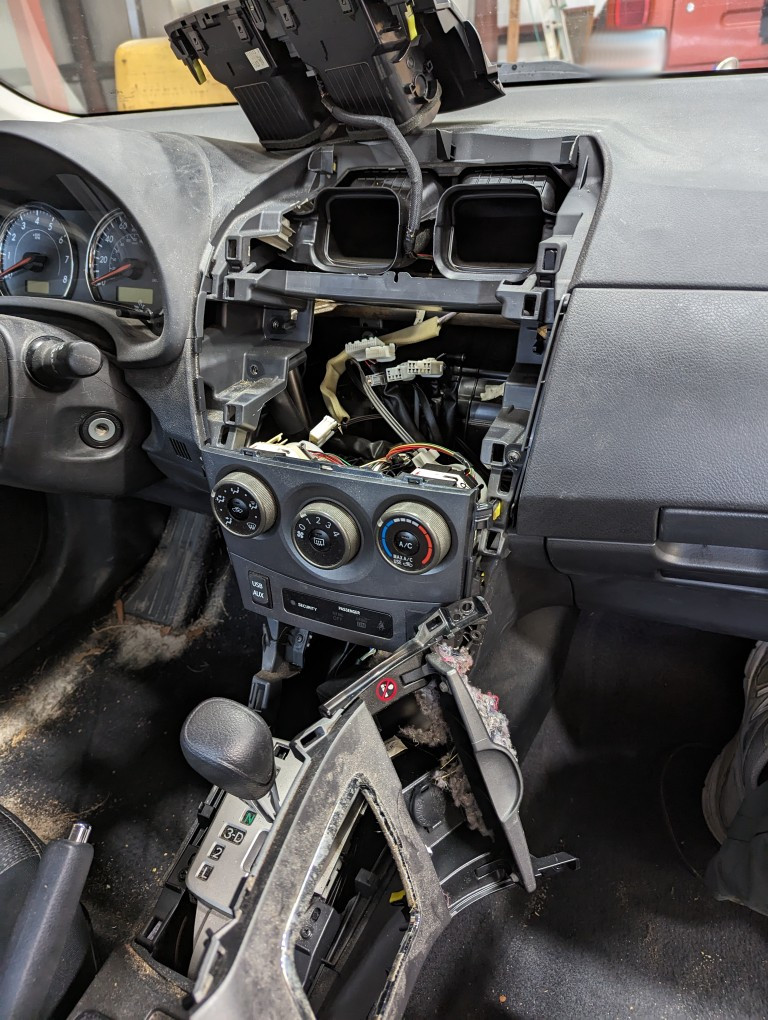
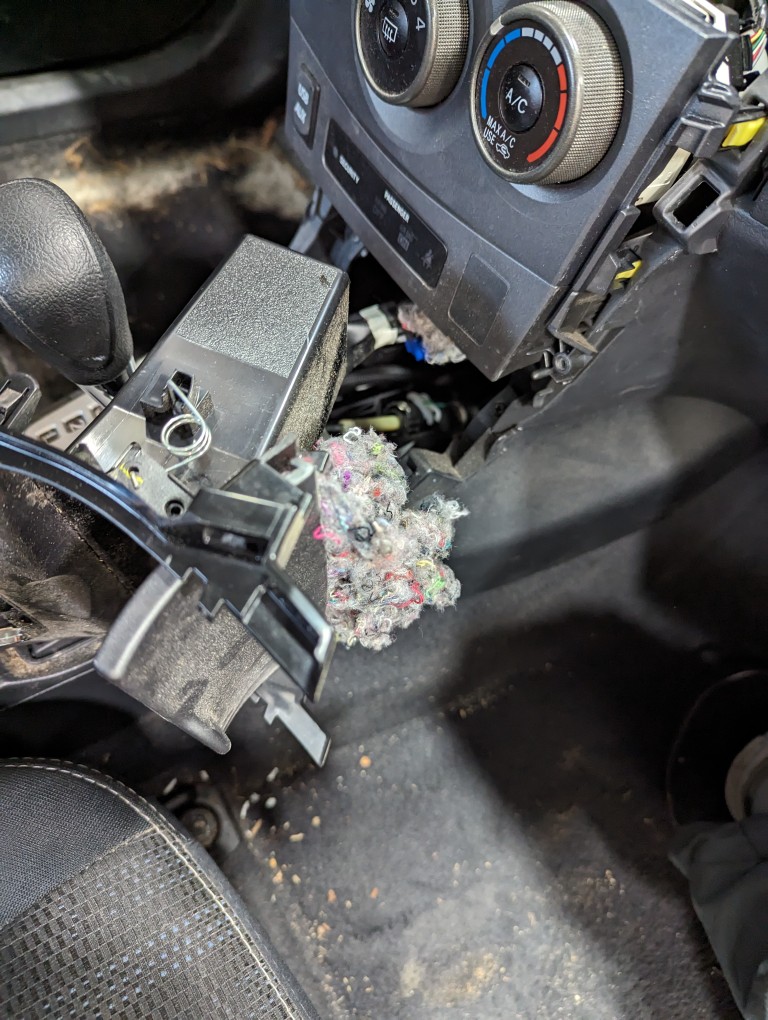
During the past nine years, rats or mice had infiltrated the car and built nests at the expense of the car’s interior insulation and air duct work. So, one of the first things that I did was pull apart the center console to vacuum and clean out the nest that I knew was there nestled on top of the storage compartment above the gear shifter and below the AC controls.
After copious use of disinfecting wipes, vacuuming everything several times over, and shampooing the carpet and seats, I turned my attention to the cabin air filter. As others have experienced, rats and mice find their way into these Toyota vehicles via the cabin air intake below the windshield wipers. Which means they work their way toward the cabin air filter before working through it to make their way into other areas of the vehicle. I don’t think the mice had been in the car for some years as I had removed the cabin air filter two years ago, found a rat’s nest, vacuumed it out, and replaced the filter.
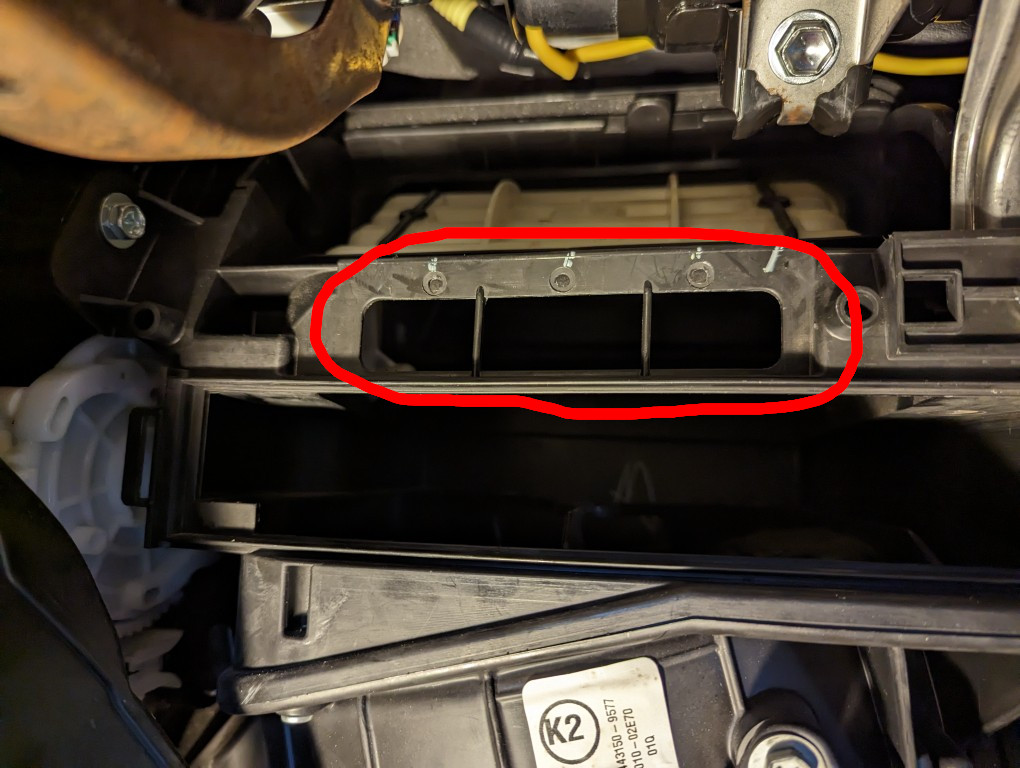
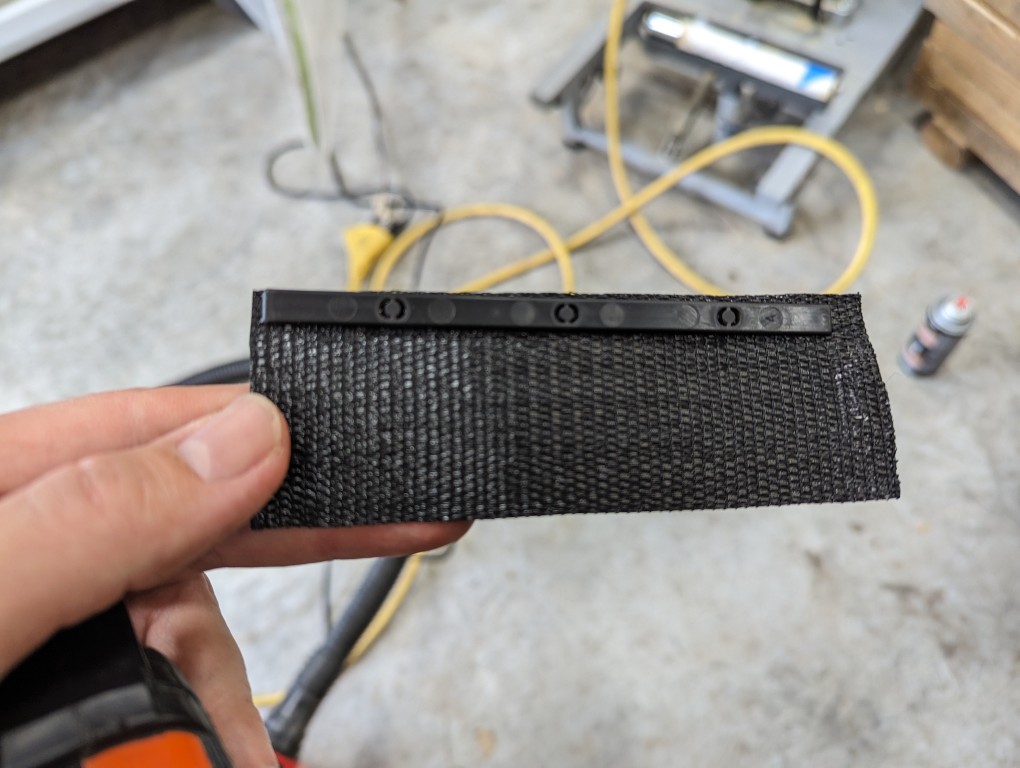
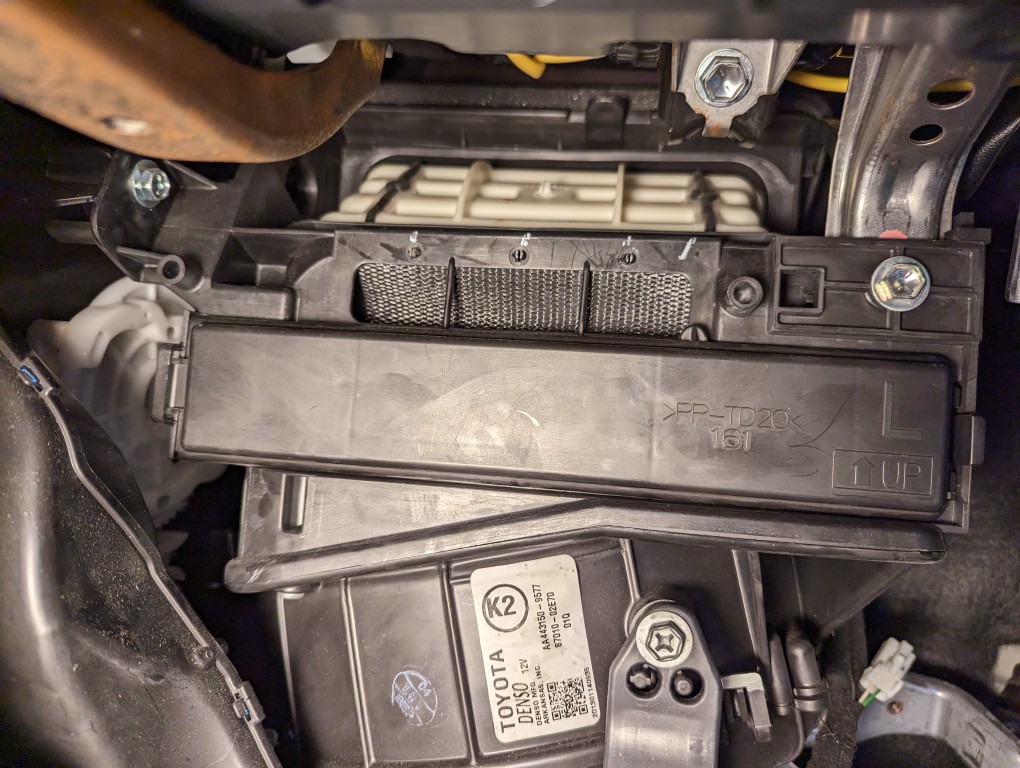
When I opened the cabin air filter compartment, there were no signs of rats creating a new nest there or any attempts at tearing it up. However, I noticed that they had ate their way through a thin piece of foam that had covered a duct above the cabin air filter so that outside air came through that duct before going through the cabin air filter. I created a new flap to cover this duct out of a piece of nylon strap that I found laying around my dad’s shop.

Behind those three holes inside the handler is a thin piece of plastic with three prongs that snap through those holes. I pulled it out and the remaining strip of foam. I matched up that piece of plastic with a piece of nylon strap cut to the length of the duct space. I used a belt hole punch to put three holes in the nylon strap.
I pushed the new nylon duct cover through the cabin air filter opening and up to where the plastic prongs would meet with the three corresponding holes and popped each into place in turn.
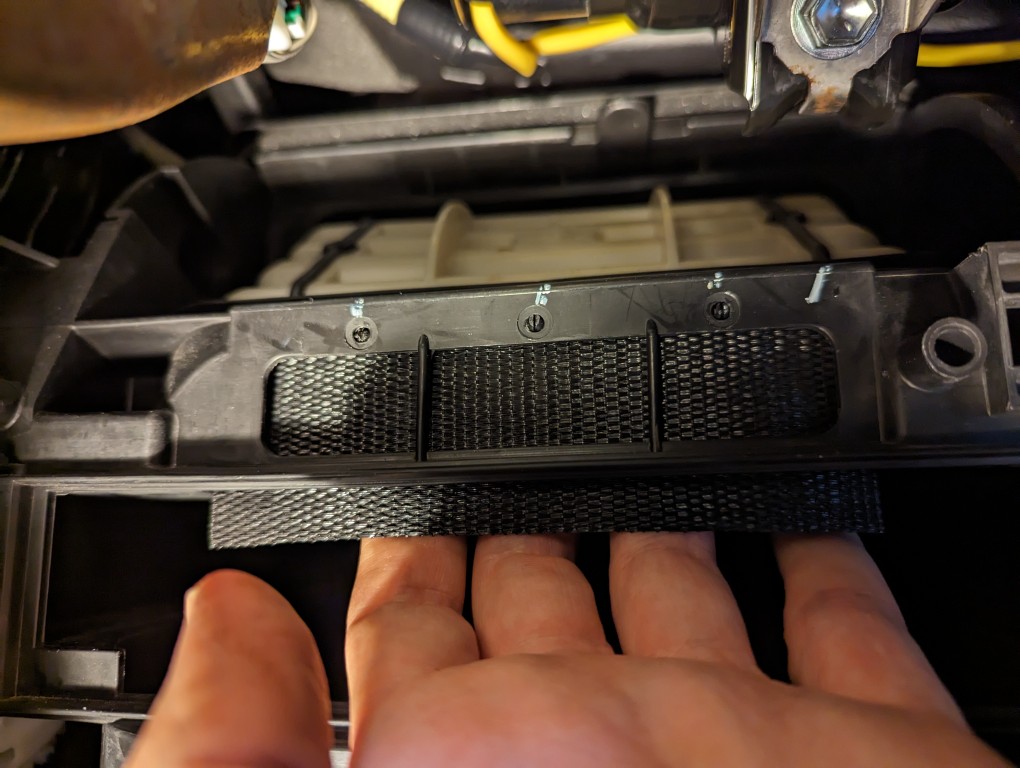
While holding the bottom of the bottom of the new duct cover, I slid the cabin air filter into place.
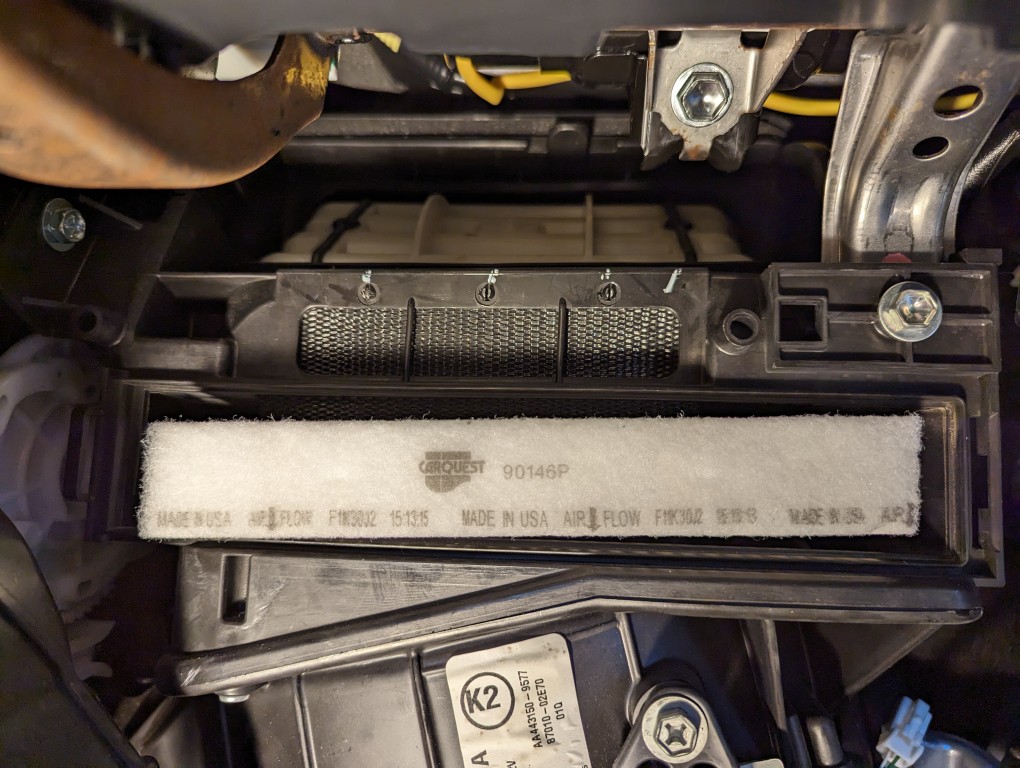
Then, I buttoned up the cabin air filter (immediately before my trip, I replaced this old CarQuest filter with a Fram True Air cabin air filter CV10285) by returning its plastic cover and snapping it into place. As you can see in the photo below, I noticed the duct flap had come loose at the bottom. After the photo, I opened the filter compartment cover again and pulled the duct cover tight before closing it up the last time.
While I was wrapping things up, I pulled out the rear seat to fix the seat belts; pulled out and cleaned everything in the trunk–discovering another rat’s nest in the process; and installed a dash cam with an extra rear-facing camera–running its wires behind the weatherstripping and cabin upholstery. I used Armor All Protectant Wipes and Glass Wipes to clean the build-up off the interior’s hard surfaces. There were also several layers of country road that had to be scrubbed off the car’s body.
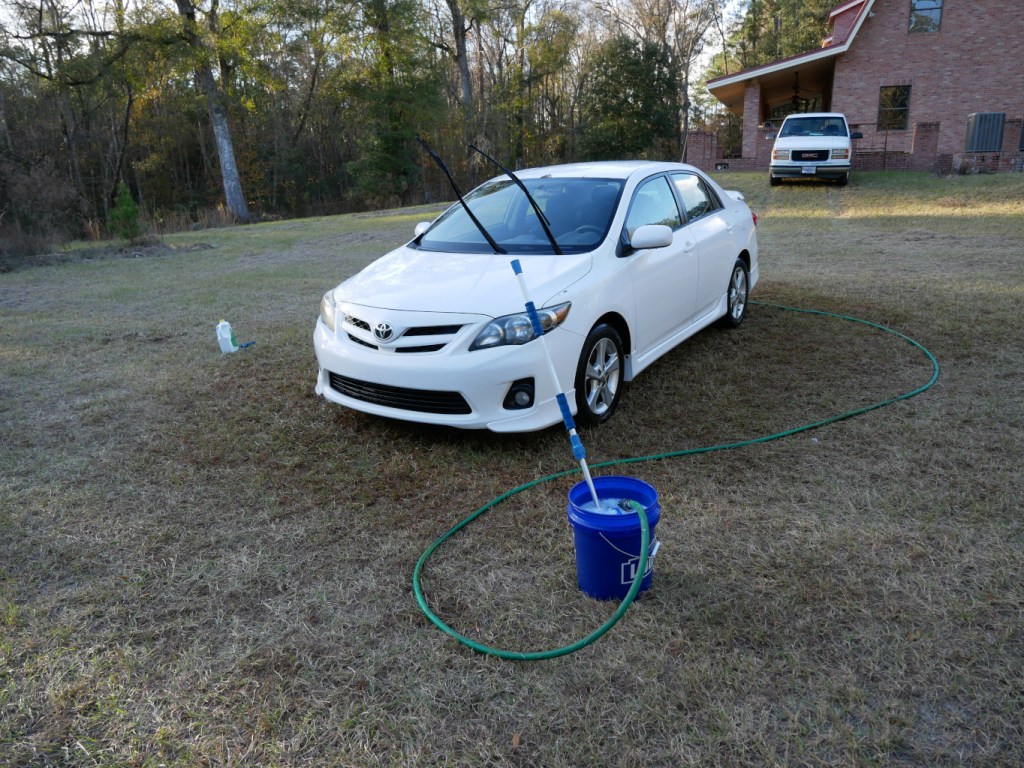
This past week, the car carried me majestically to my destination. I kept it on the speed limit out of concern for my safety, the aging engine’s struggles, and fuel economy.
Now, the tests are dealing with local drivers and their aggro, hunting for parking like a Neanderthal, and maintaining the alternate side parking schedule. Depending on how long I can put up with those things, Y and I can enjoy jetting around a little easier than we have done the past nine years for awhile. Eventually, though, I will lead the car back to the south where it can resume its carefree life in the country, but hopefully sans rats.
