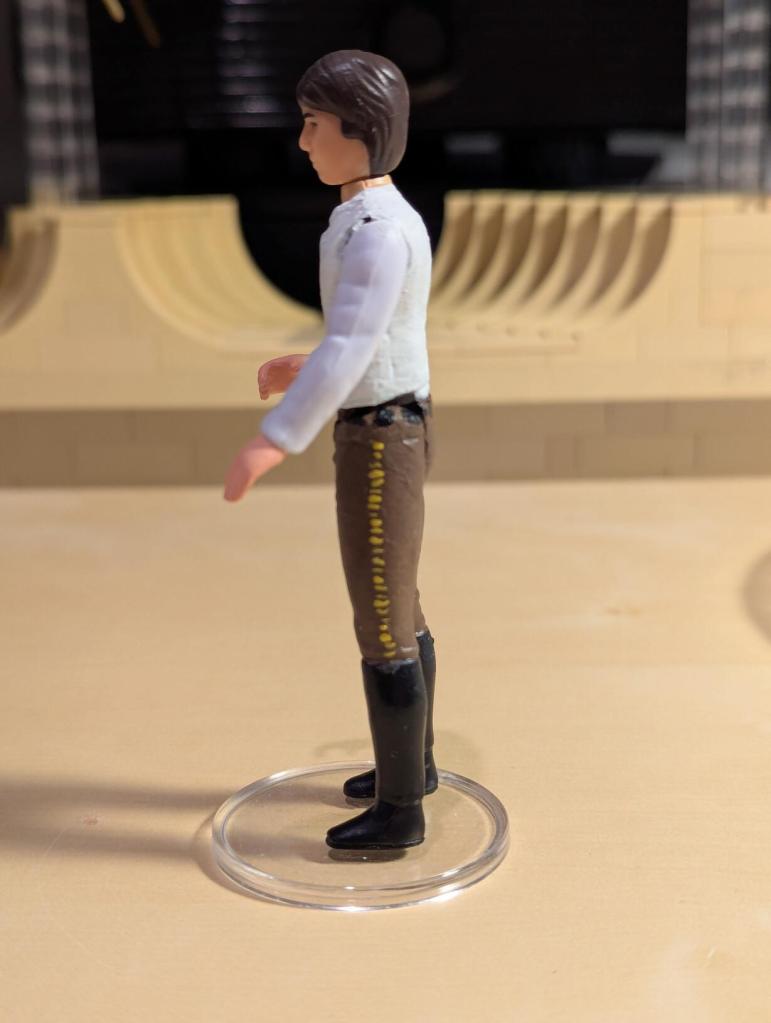
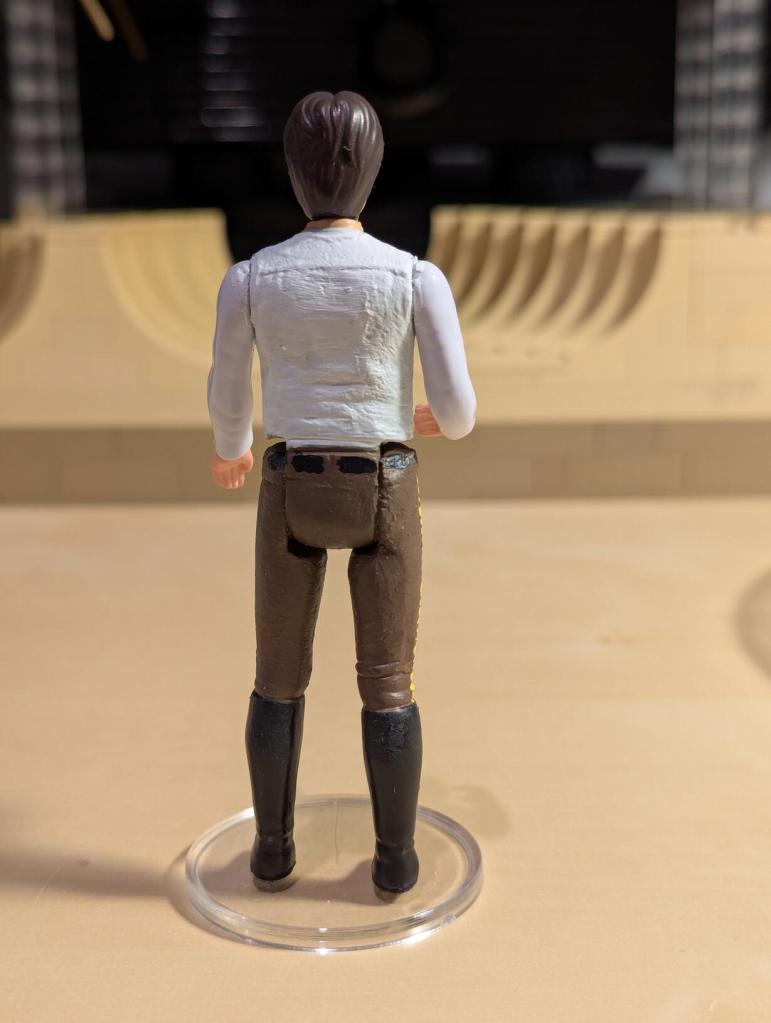
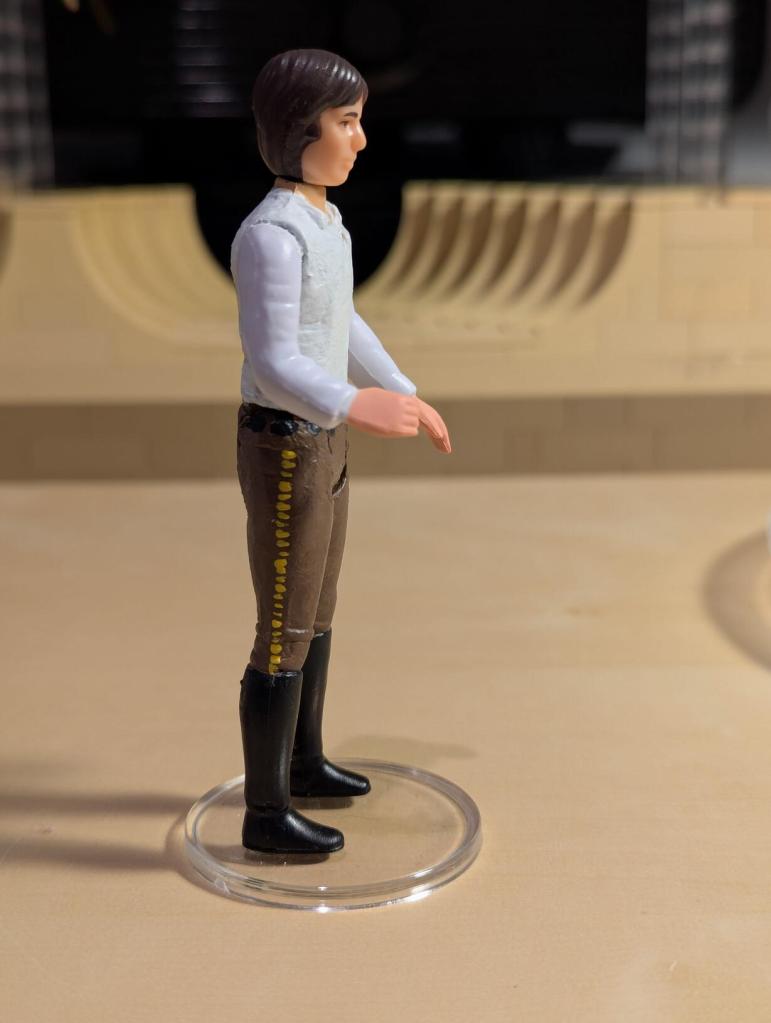
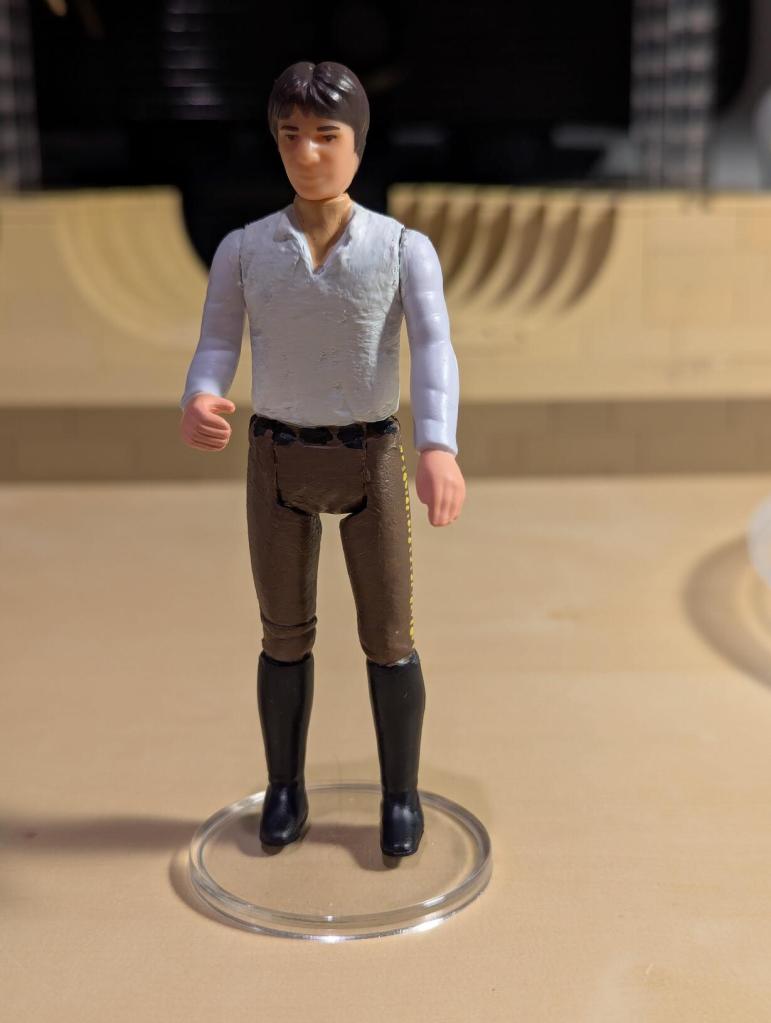
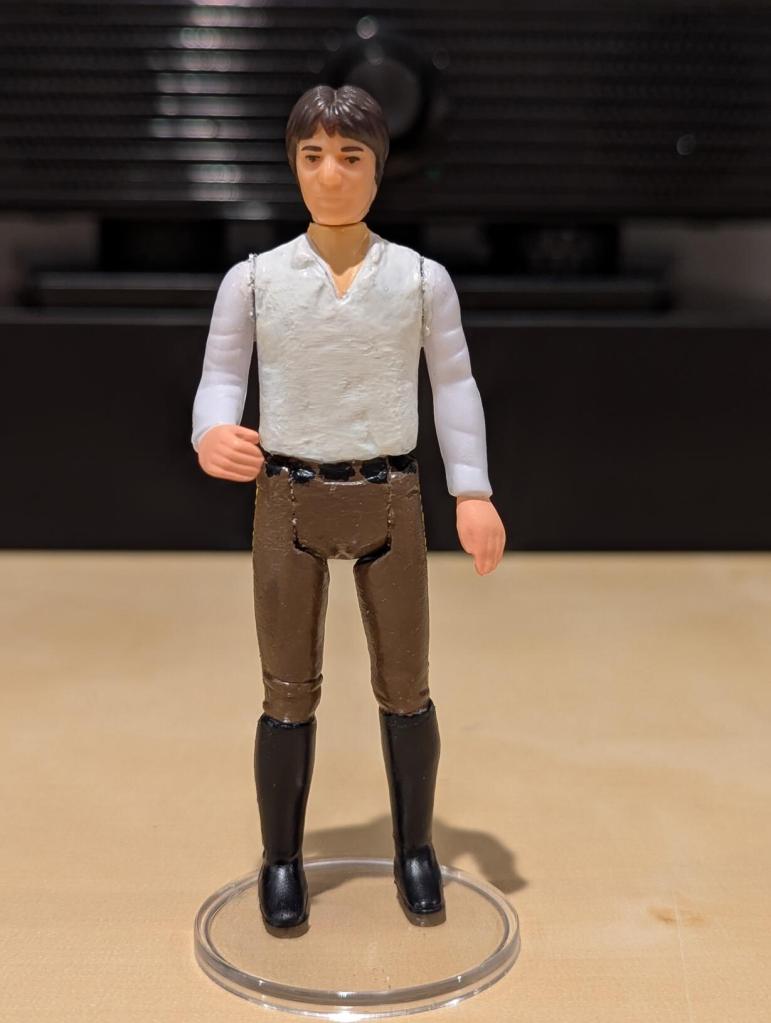
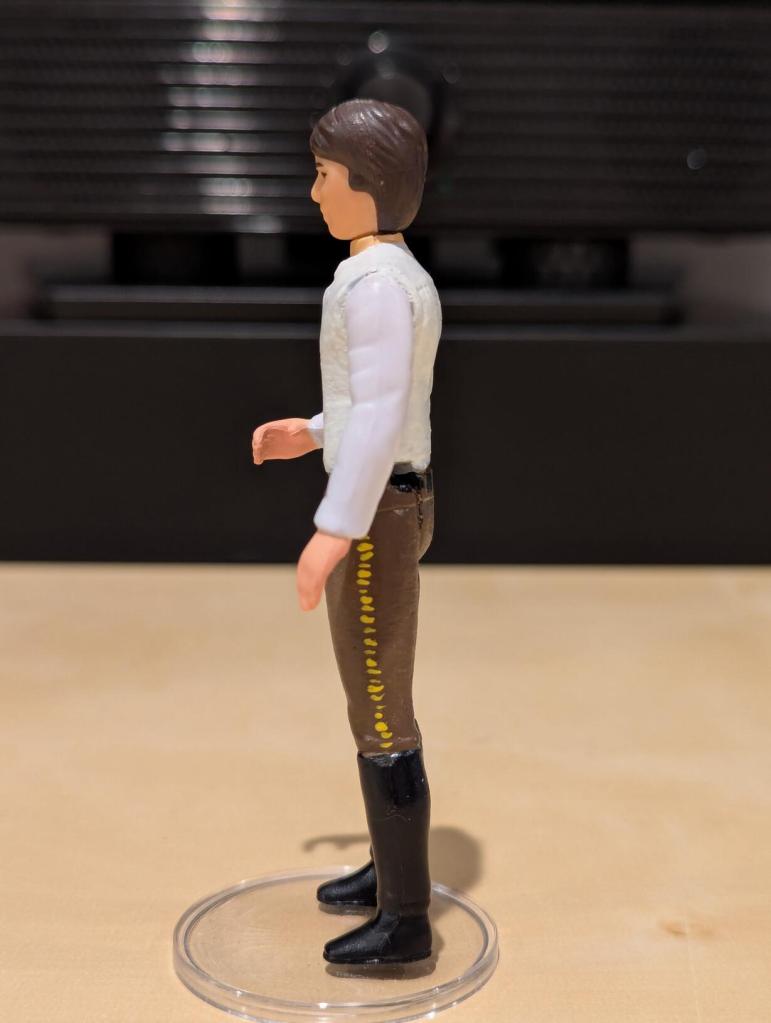
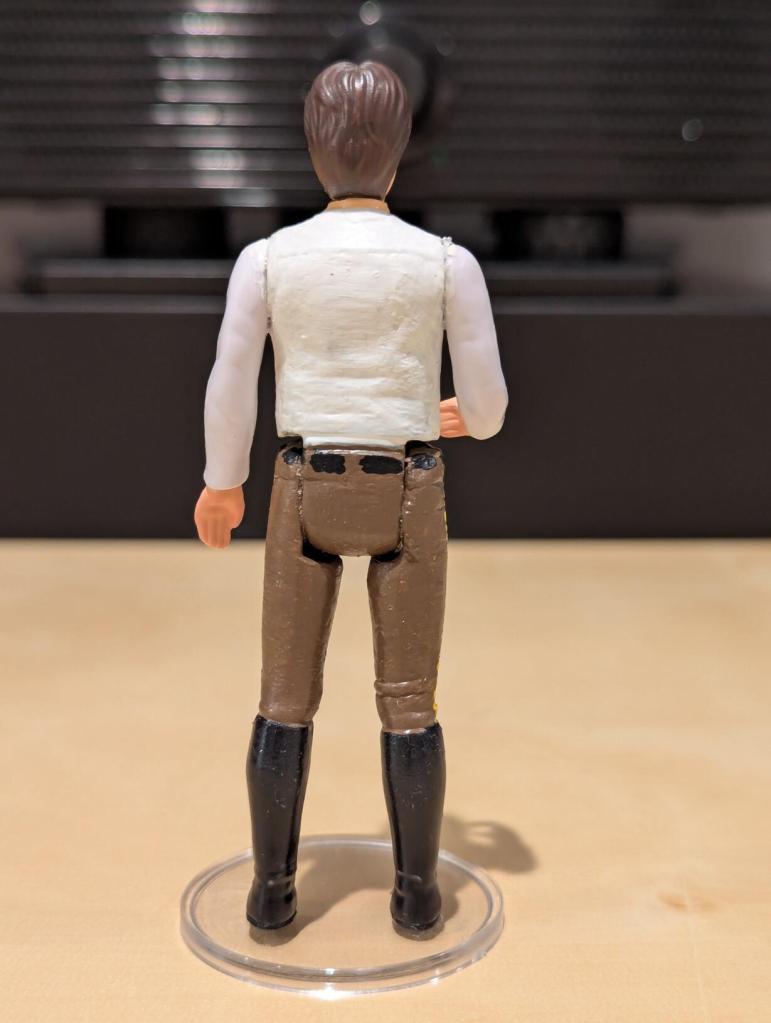
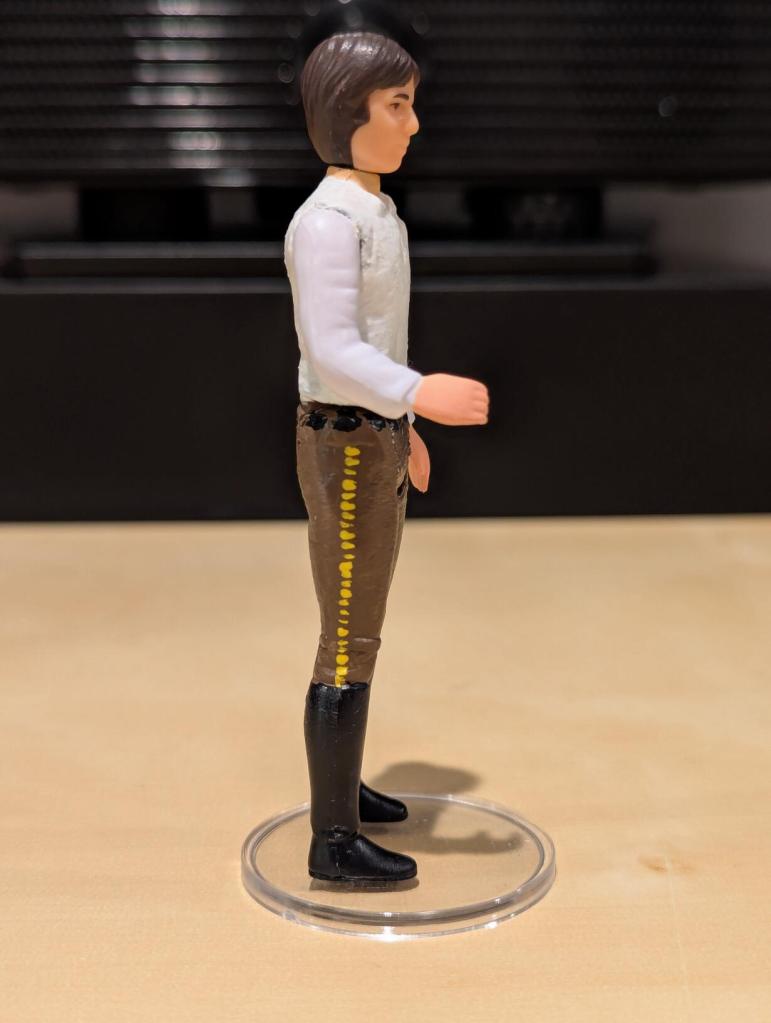
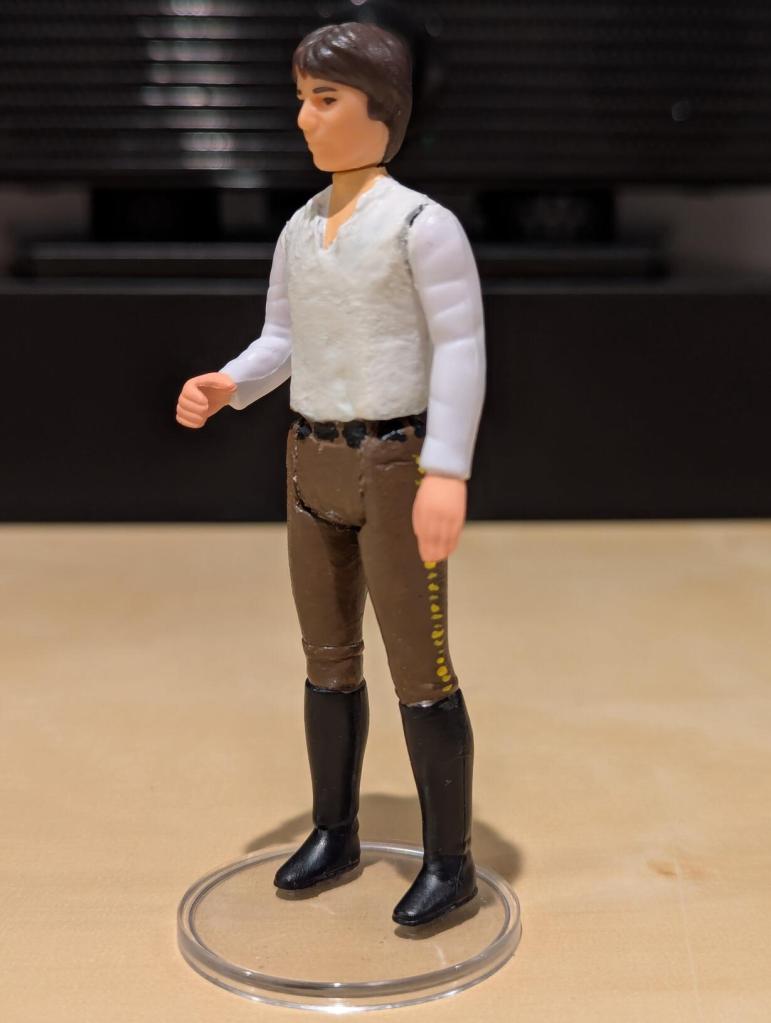
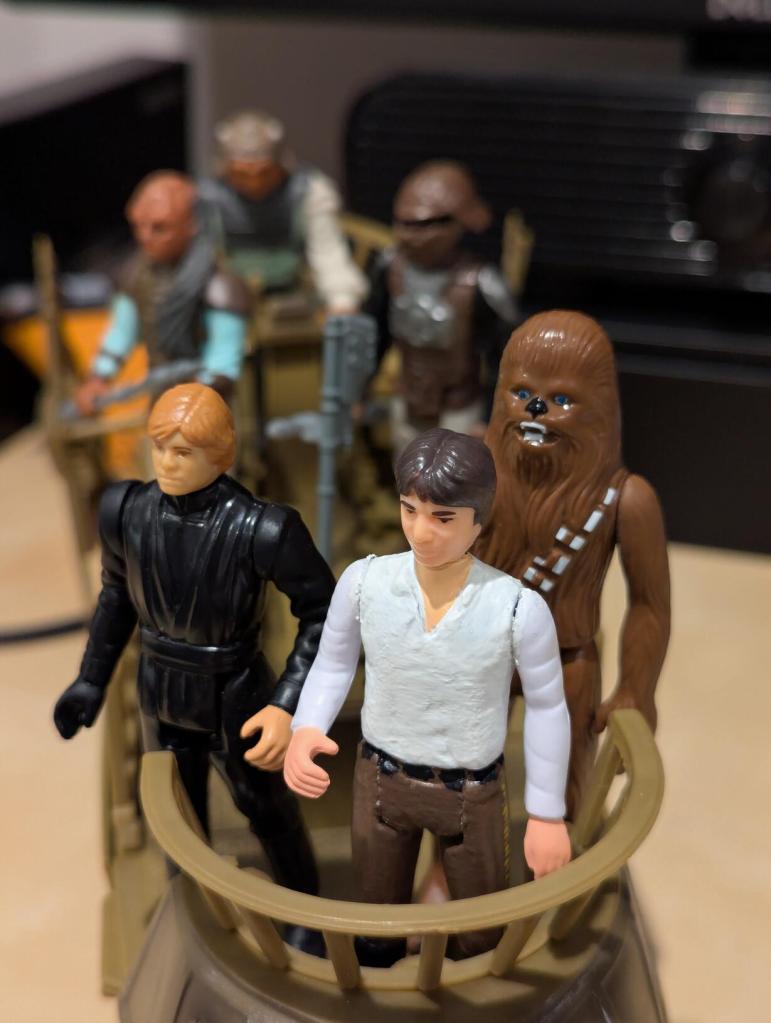
I wanted to build a custom action figure of Han Solo after he had been freed from carbonite in Return of the Jedi (1983), because I don’t like the “Last 17” version of Han Solo in Carbonite Chamber by Kenner (1985) and his NFL linebacker-like appearance (a complaint that I have about the evolution of Kenner’s action figure line from POTF–Barada (1985) is another not-true-to-screen-likeness–to its extreme in the POTF2 revival in 1995–consider the bulked-up Han Solo, for example).
If you remember the ending of The Empire Strikes Back (1980) and the first act of ROTJ, Han goes into and comes out of carbon freeze wearing a white shirt, brown pants with second-class yellow Corellian bloodstripes, and boots.
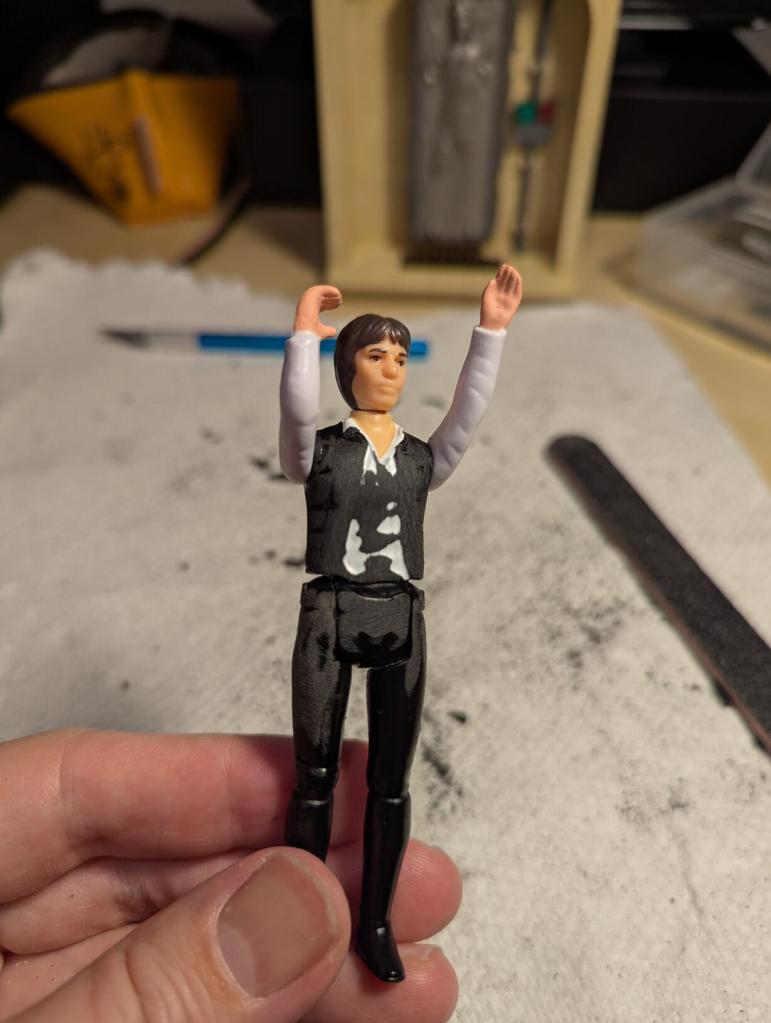
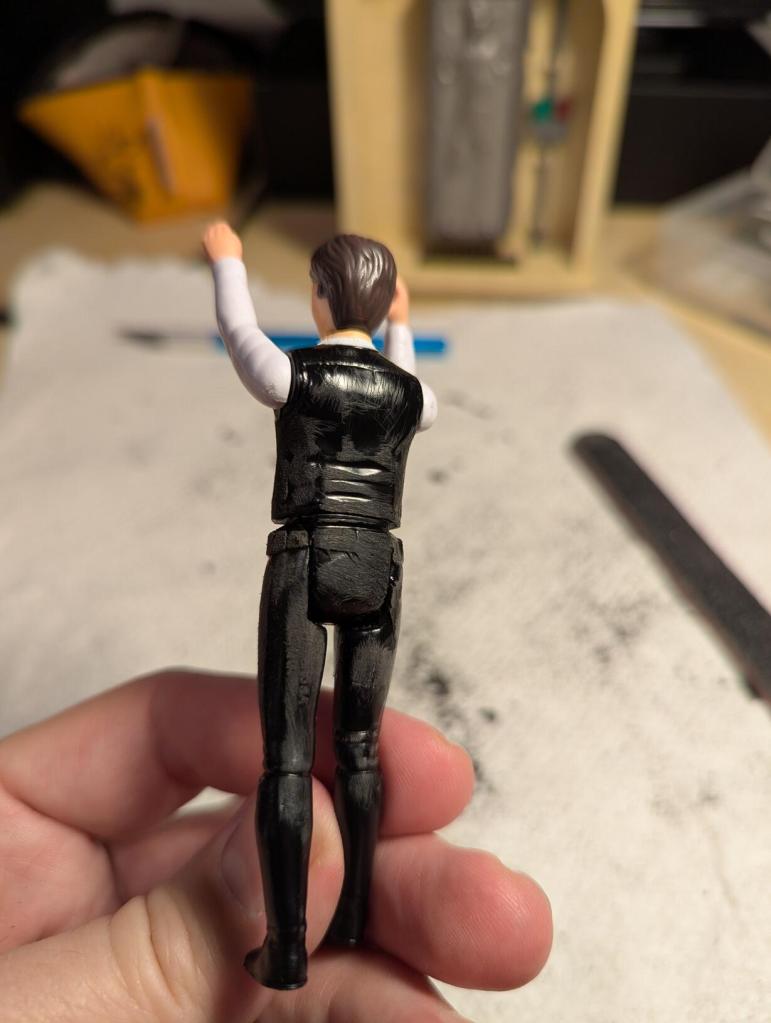
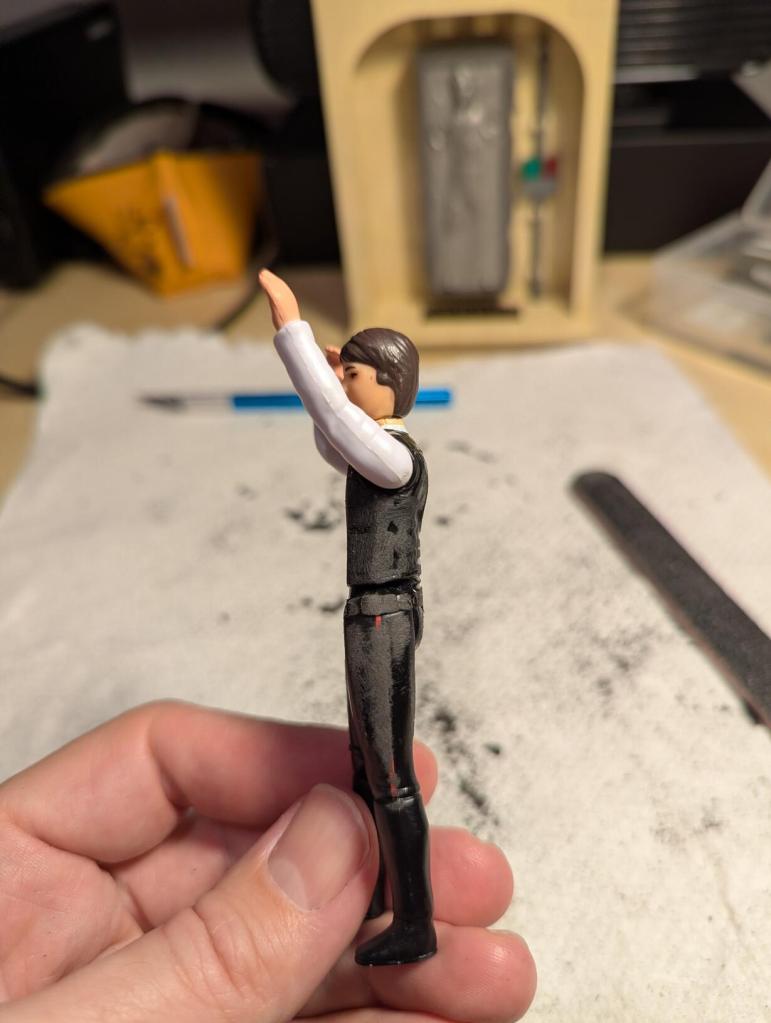
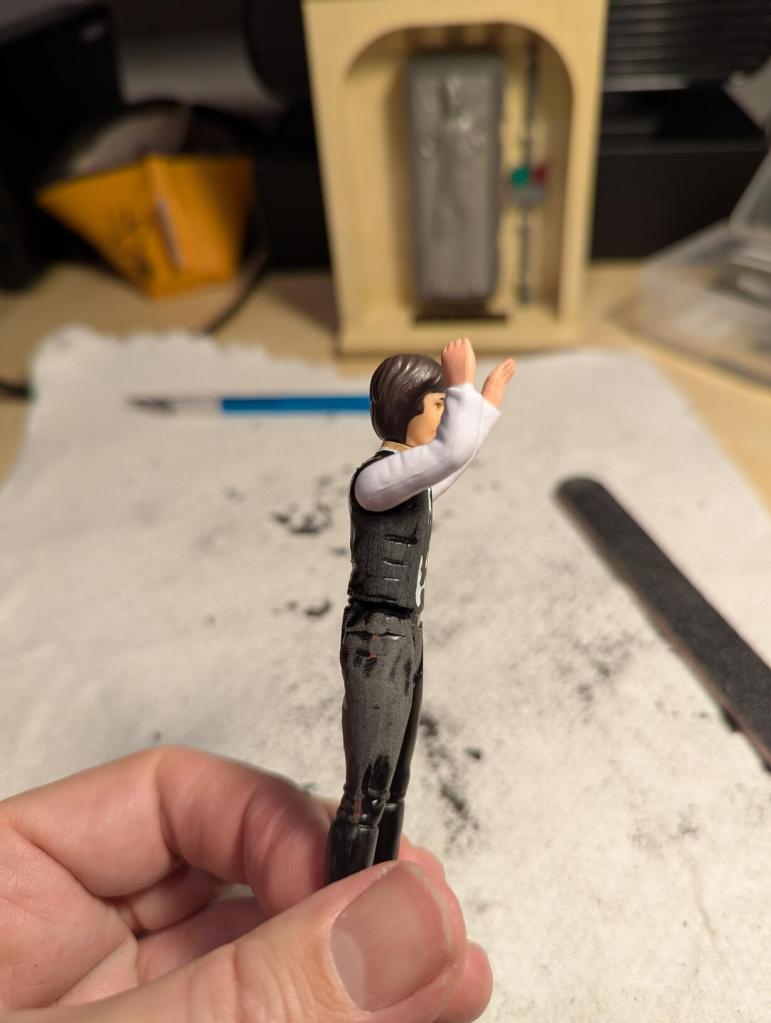
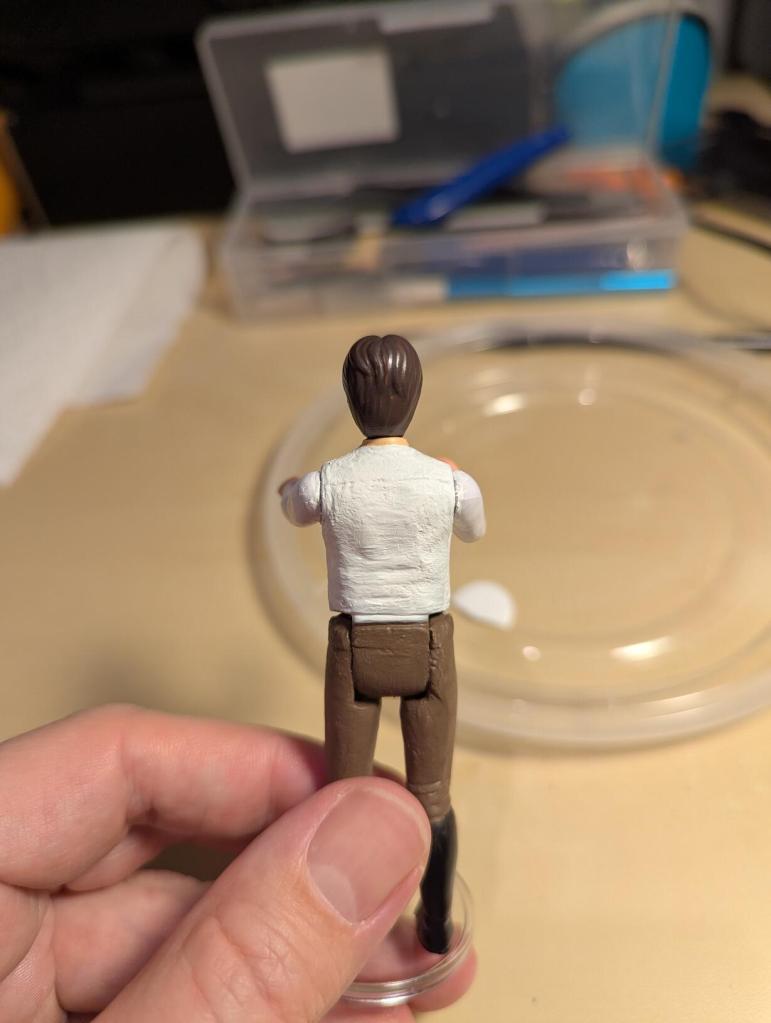
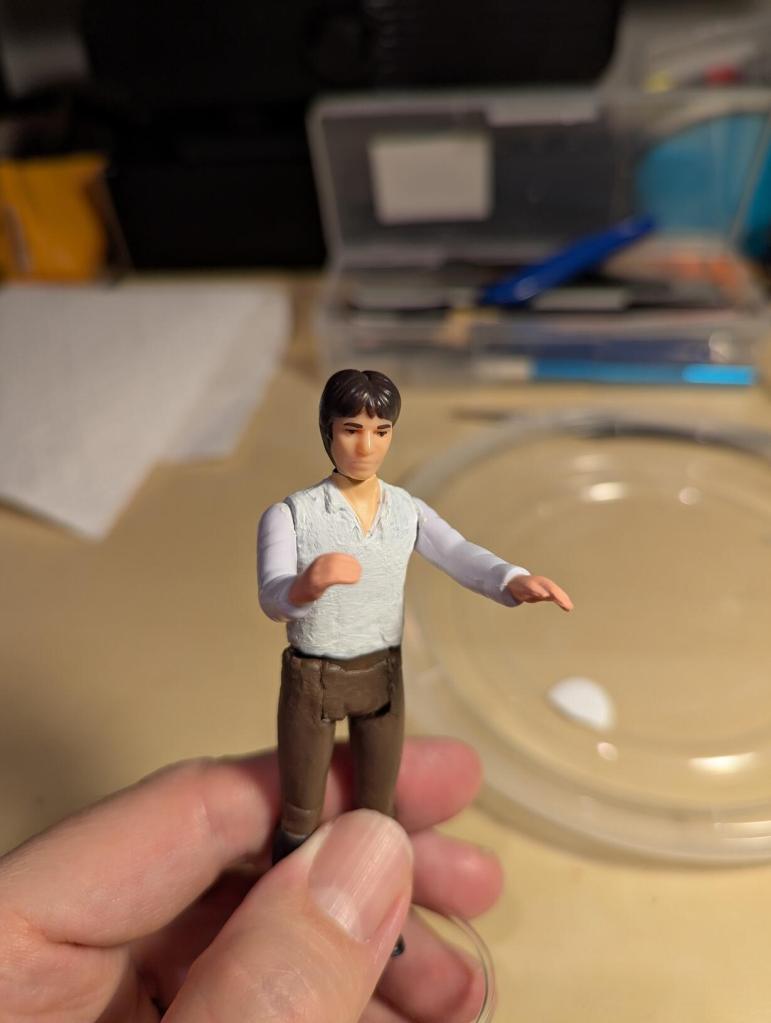
To customize the original Han Solo action figure, I needed to remove his vest and blaster holster and belt, smooth over those areas, prime, paint, and varnish. The following photos and notes detail how I customized Han for the beginning of ROTJ.
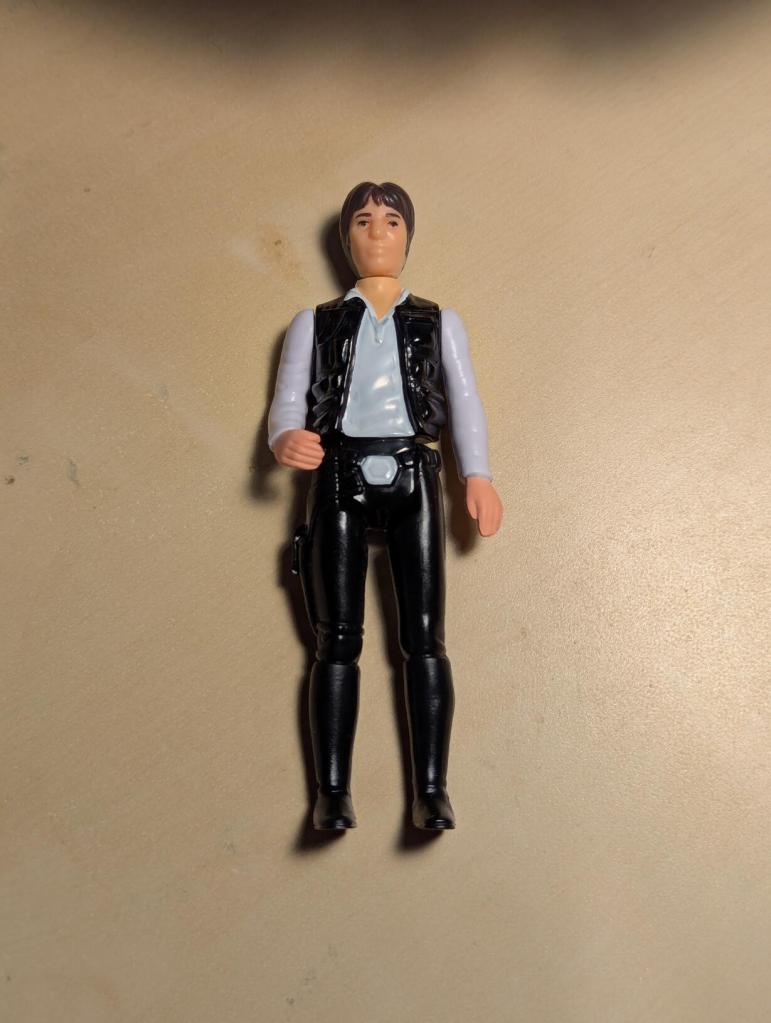
This is the Hasbro Retro Collection Han Solo with big head that I started with. I forgot to take a side view shot, but he has the first class red Corellian bloodstripe (according to Star Wars lore, Solo began wearing the second class yellow bloodstripe to draw less attention to himself).
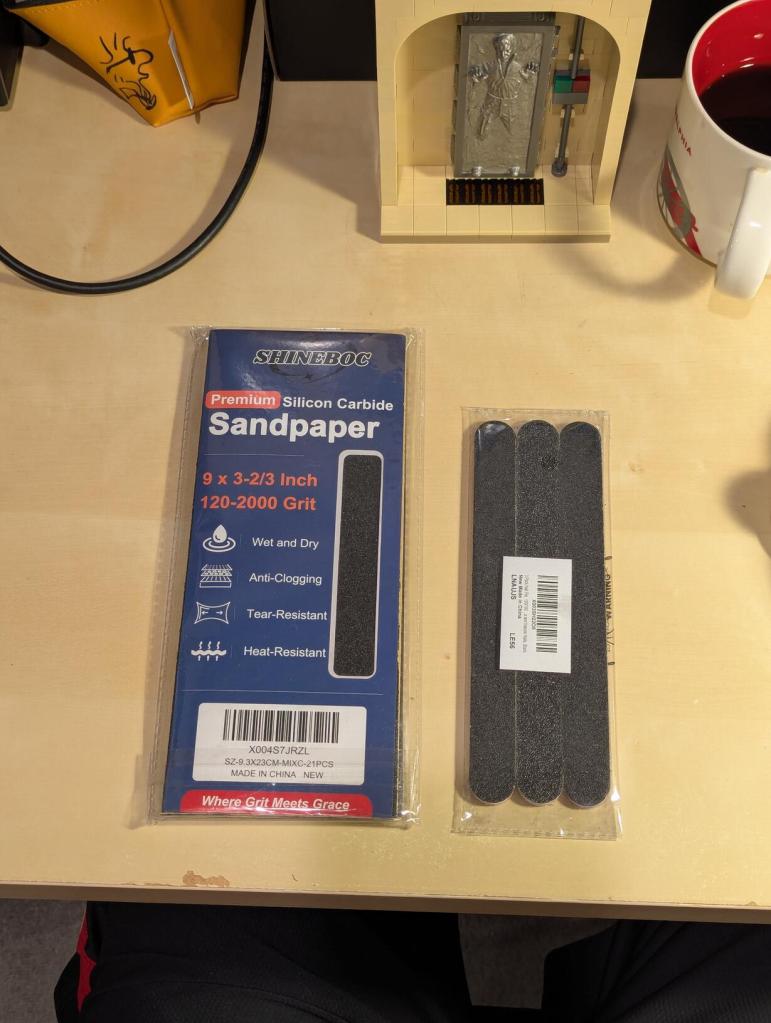
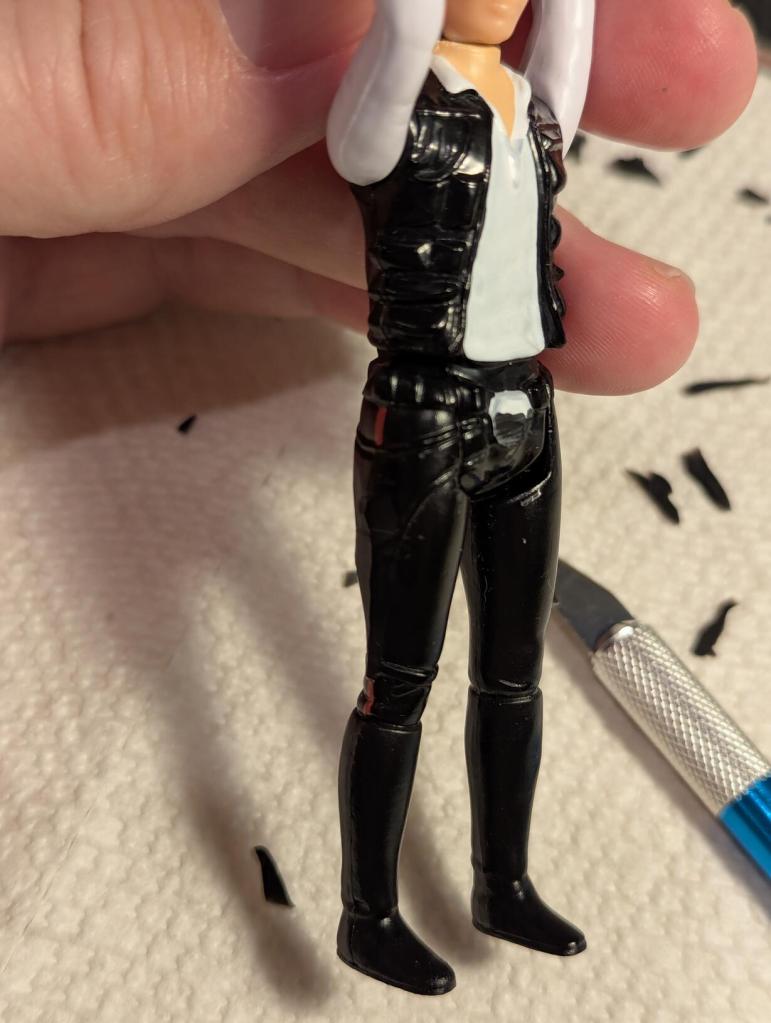
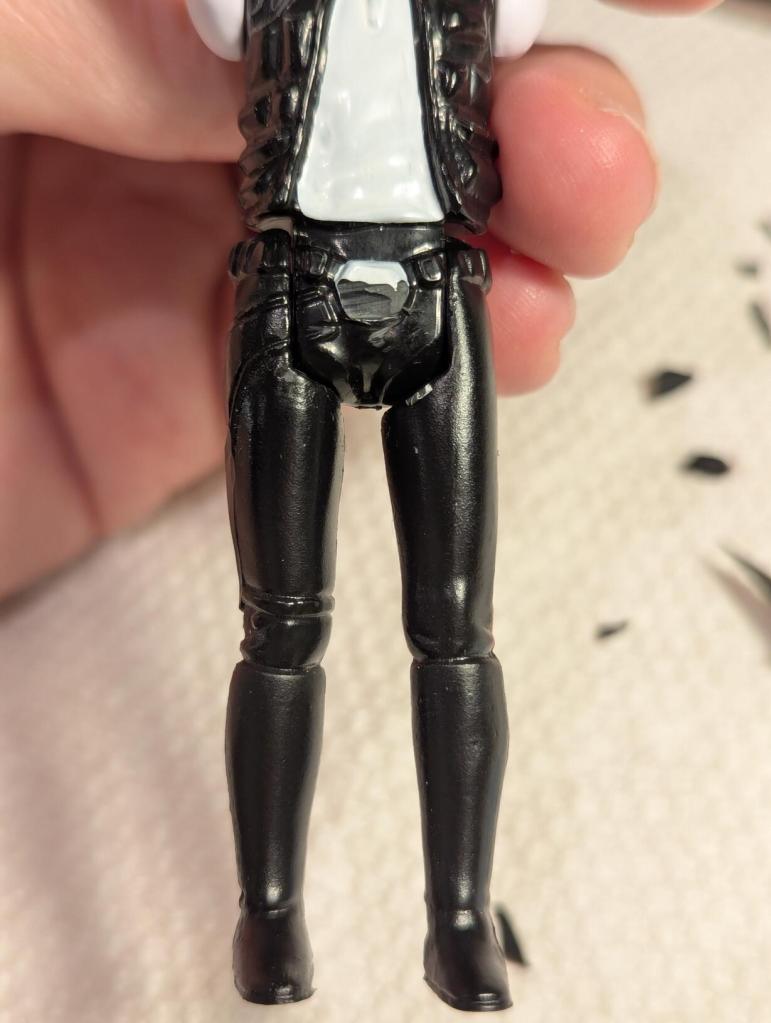
I used a hobby knife to remove as much plastic as possible before switching to files and sandpaper from heavy to fine grit sandpaper.
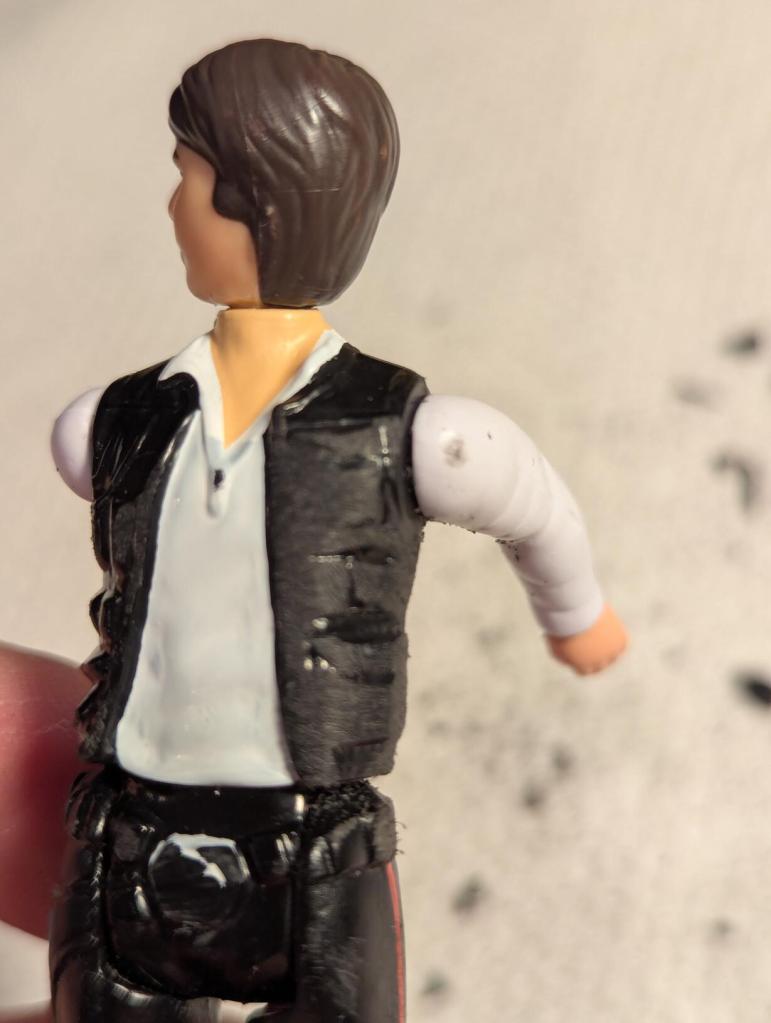
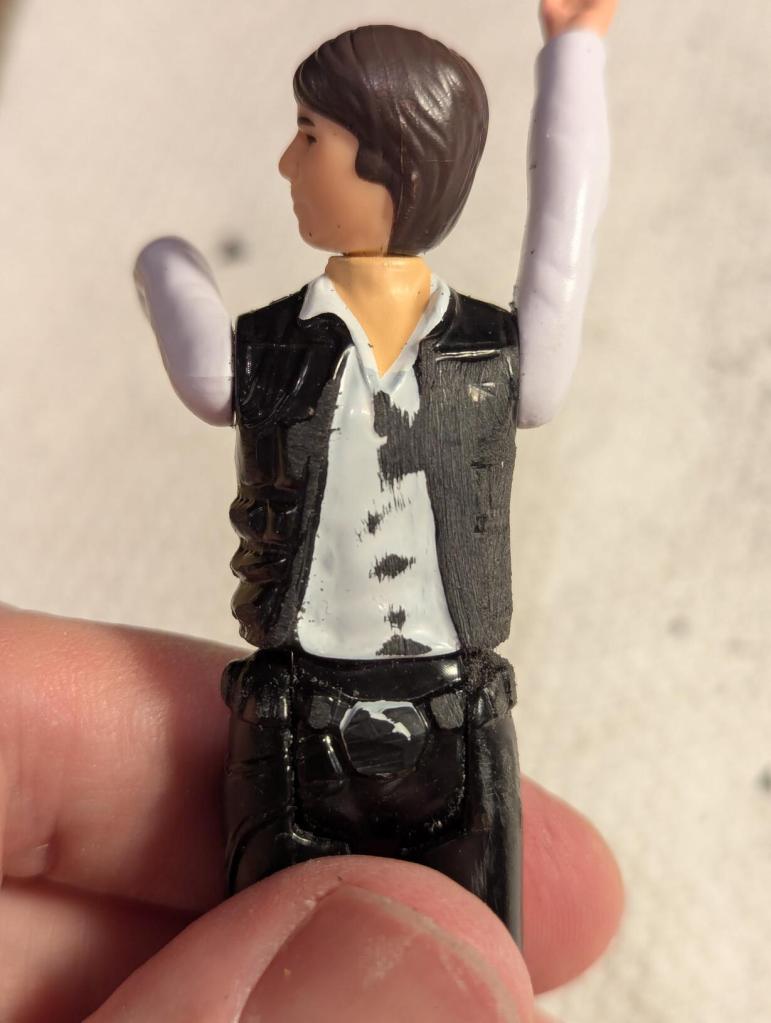
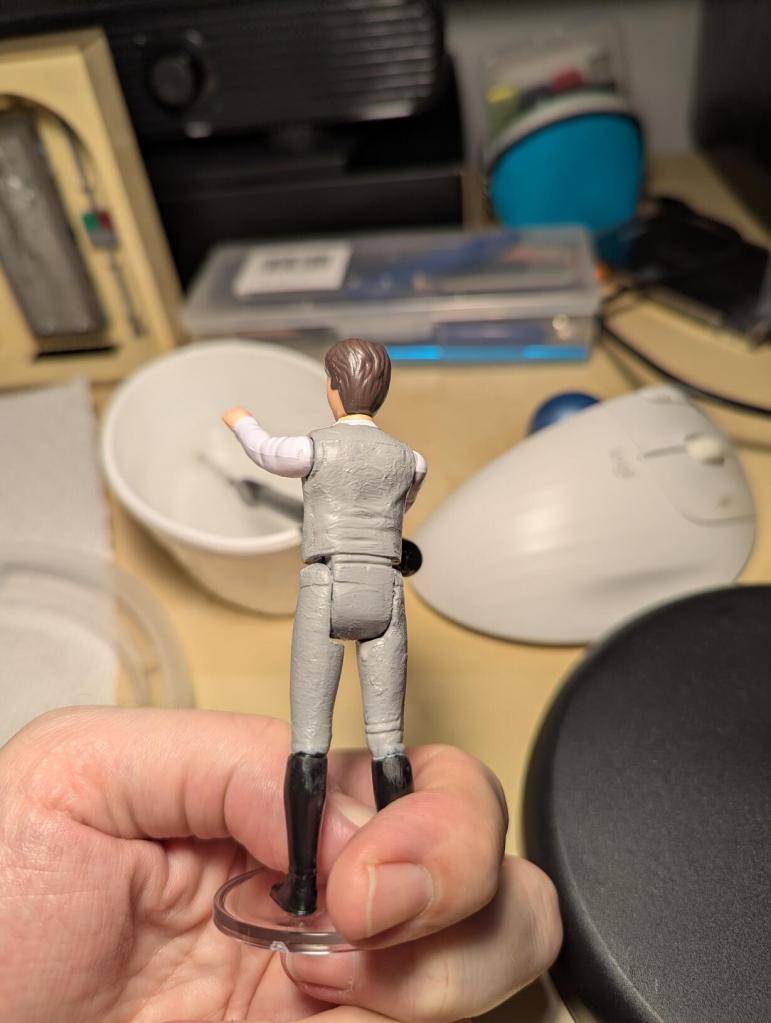
One regret is that I didn’t spend more time with the finer grit sandpaper. Priming and painting magnified imperfections that I couldn’t feel or see when I was working on the figure’s customized body shape.
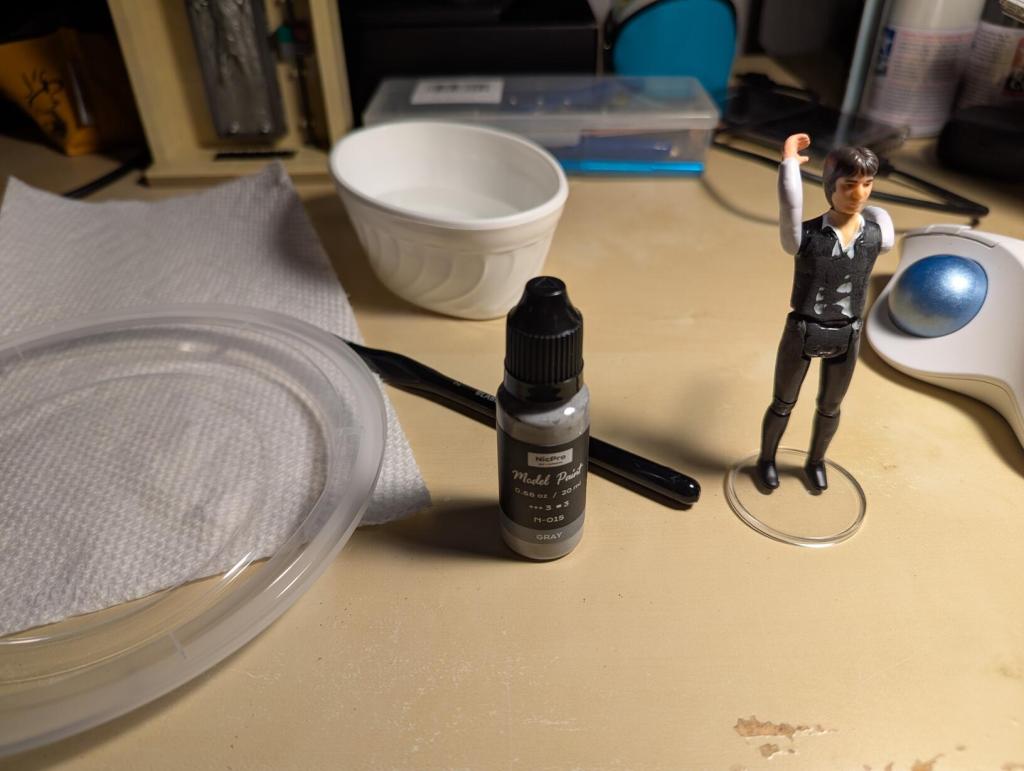
I further smoothed some of the ridged areas on his side and back before proceeding to apply a gray primer.
I applied two coats of primer–letting each coat dry 24 hours before applying the next. Then, I moved on to painting.
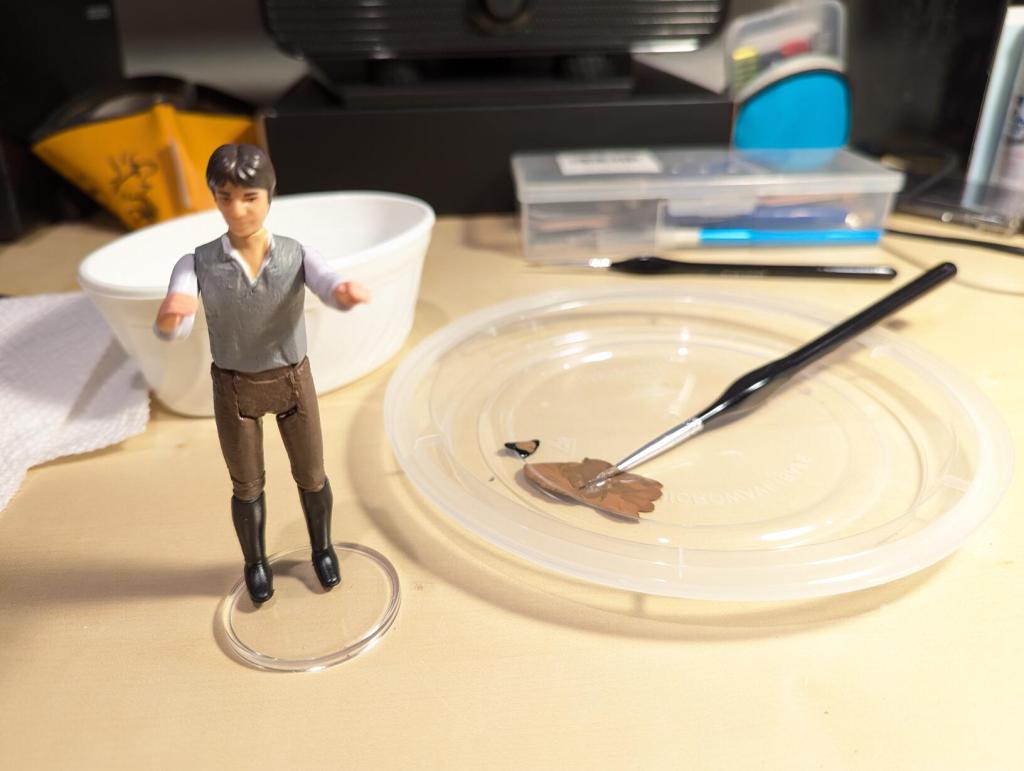
For his pants, I used Earth Brown with only a dab of Black mixed in. I only had matte finish paints when I worked on this customization. If I had to do it over, I would have went with glossy paints to improve the plastic-like appearance (e.g., so the shirt’s reflectivity would match the unpainted white sleeves).
I only did one coat of brown, but I let it dry 24 hours before proceeding with painting Han’s shirt.
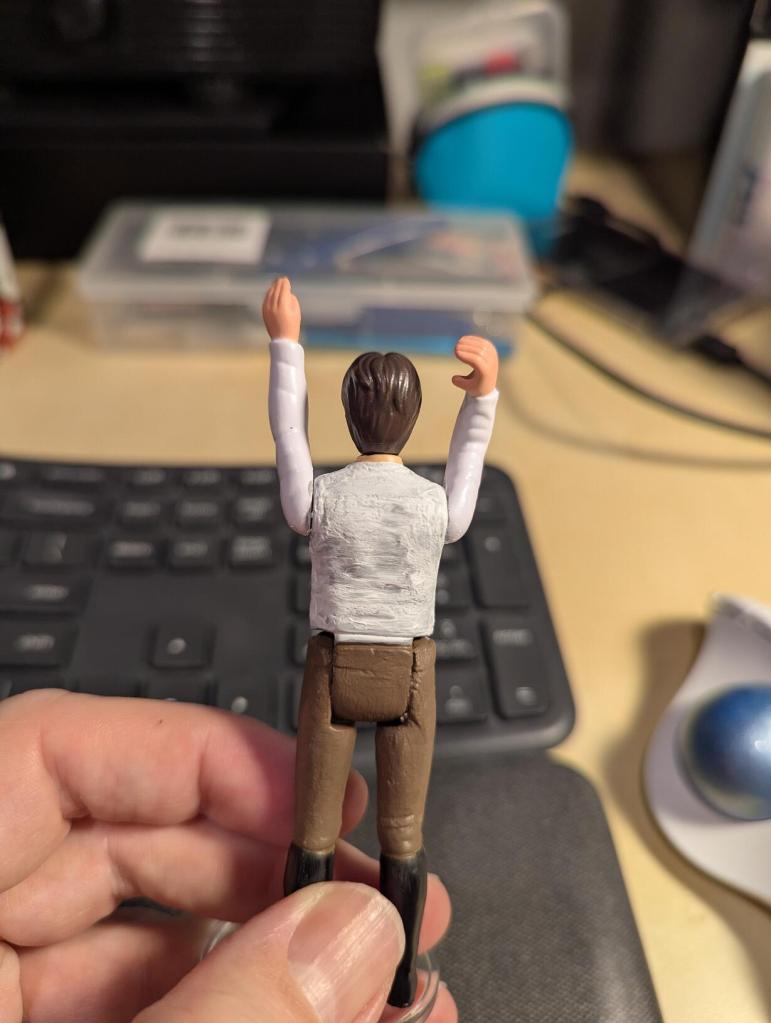
I had trouble with adhesion of the white to the primer–even letting a coat dry for 24 hours, I would get some white flakes to come off when I would try to lightly sand it before applying the next coat.
He ended up with three coats of white paint on his shirt.
Also, I wish that I had completely disassembled the action figure so as to avoid the bunching/tearing of paint around his arm/shoulder joints when I would move them.
The last paint applied was to create a black belt passing through belt loops. I used black paint and a very fine brush for this. Unfortunately, my hands shook a little too much and I couldn’t create good black rectangles for each belt segment appearing between brown “loops.”
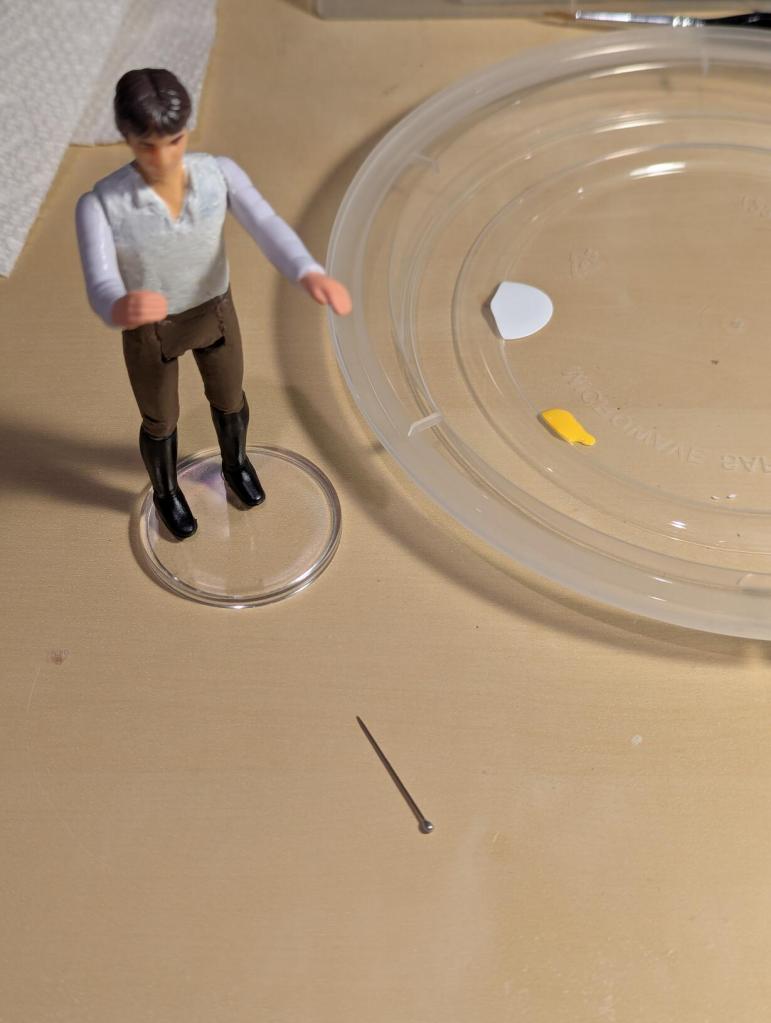
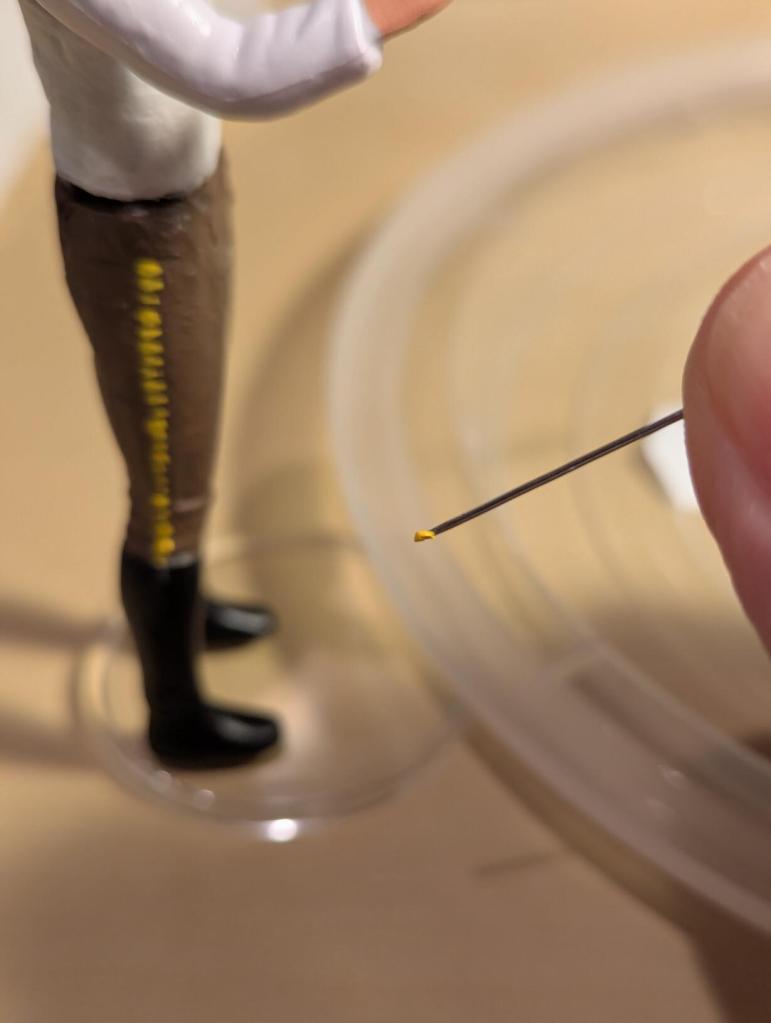
The trickiest painting application was the second class yellow Corellian bloodstripe. Each pant leg should have tiny yellow rectangular bars that go along the side of the leg from top to bottom. I used a pin and Medium Yellow paint. I put a tiny dab of paint on the pin and created 2-3 lines of the bloodstripe. I repeated this until both sides were done. I was happy with how the stripes turned out.
The last step was applying a Satin Acrylic Varnish by Vallejo. Following the instructions, I kept the brush wet with water while applying the varnish. I painted two coats–giving each coat 24 hours to dry.
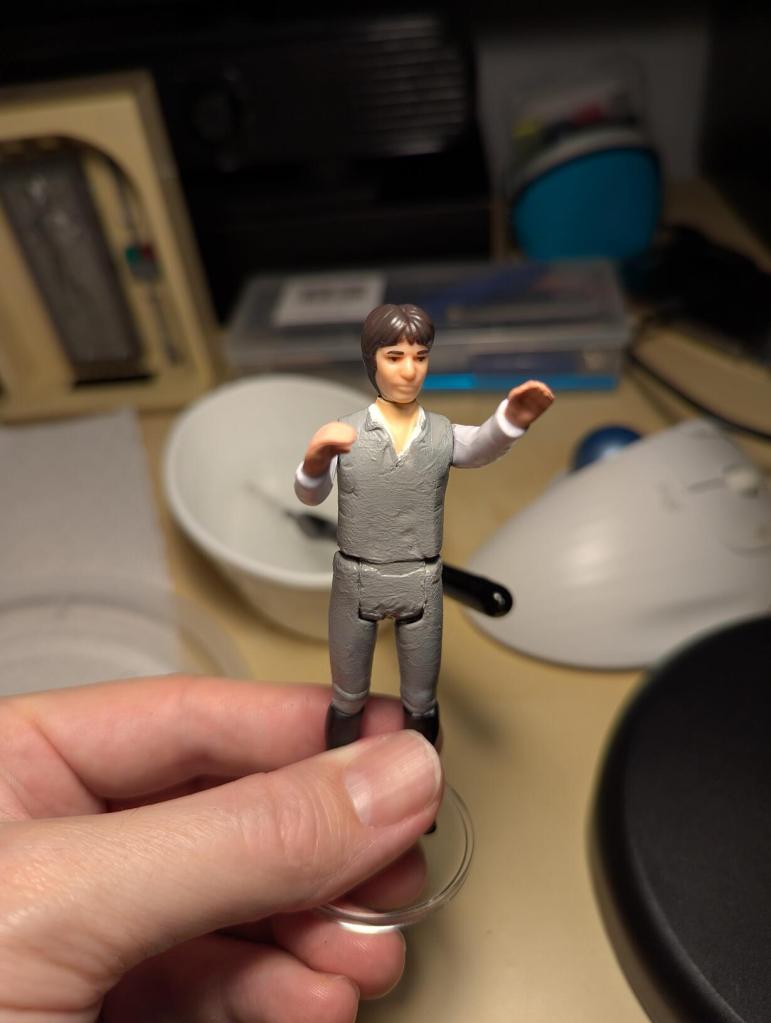
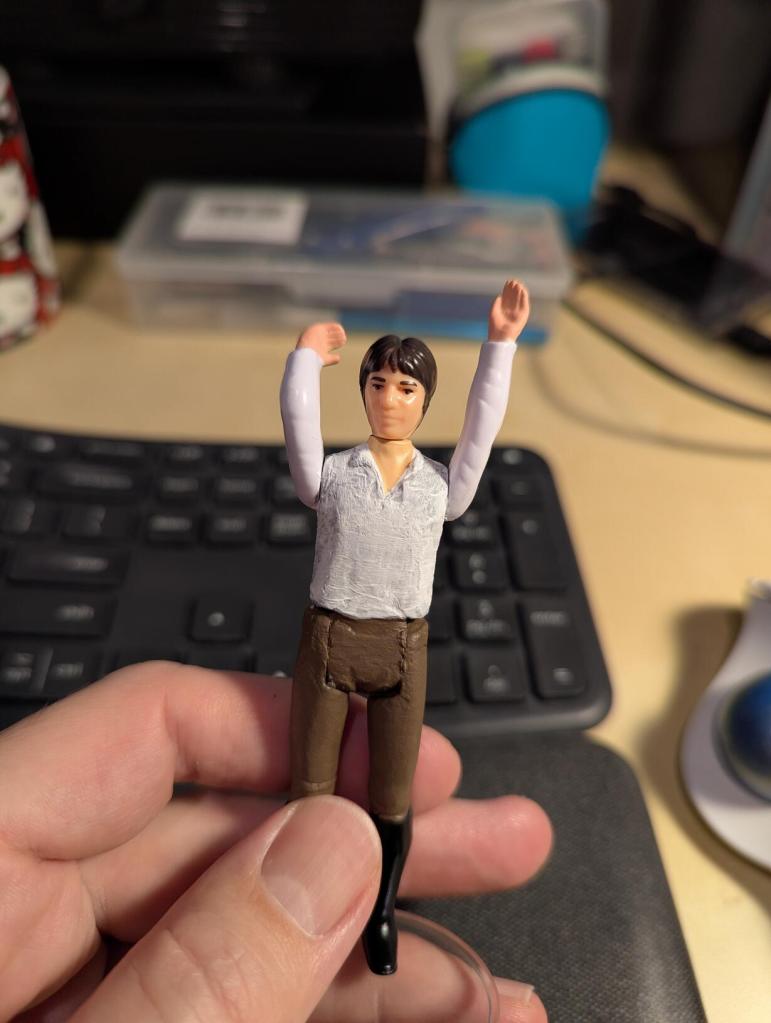
The finished customized Han Solo action figure is below:
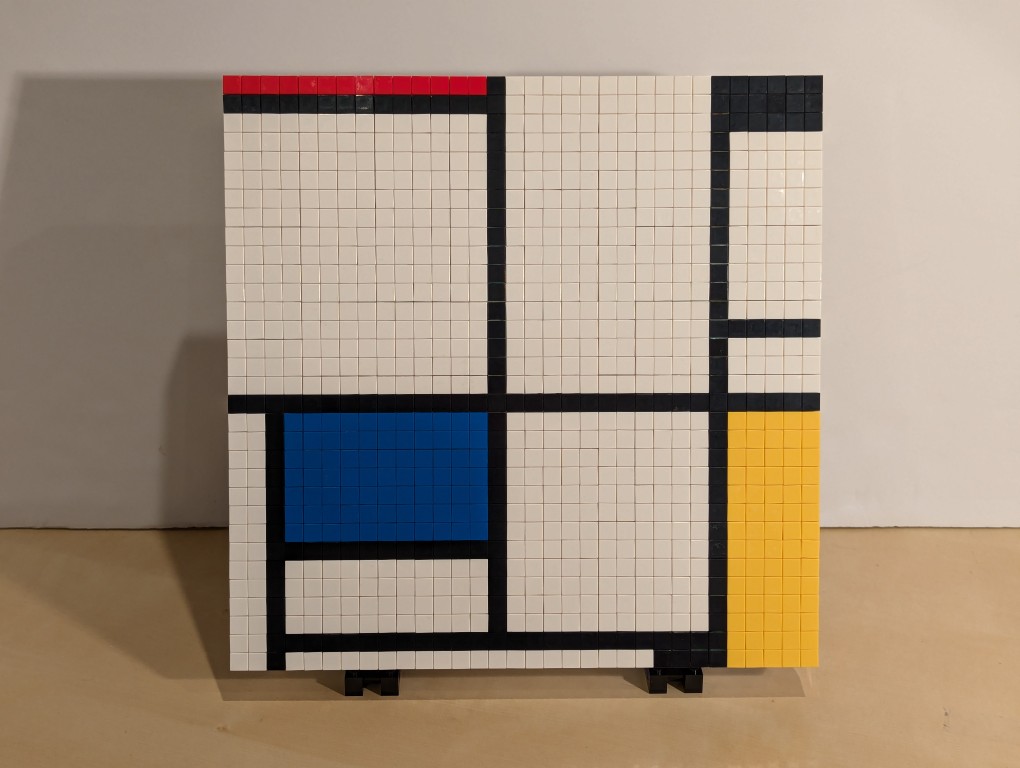
I have appreciated Piet Mondrian’s neoplasticism artwork for many years. As I wrote about here, I was glad to see his work shown in Lt. Cmd. Data’s quarters on Star Trek: The Next Generation. Then, after seeing some of his works in person at the Museum of Modern Art in Manhattan, I hatched a plan to copy his the painting from Data’s quarters–Mondrian’s Tableau I (1921) on display at the Kunstmuseum Den Haag–using a different medium: LEGO.
Planning with GIMP
Before creating a planning image using GIMP, I had to decide what size I wanted (and could afford) my build to be. I had already decided to use LEGO 1×1 flat tiles as the “painting medium.” Using LEGO’s Pick-a-Brick service online, these bricks cost $0.05 each in a variety of colors. If I went with a 32×32 stud “canvas,” that would give a surface area of 1,024 studs and therefore a need of 1,024 flat tiles to cover all of those studs. This would cost $51.20 for enough tiles to cover a 32×32 surface. Other options that I considered was enlarging each dimension by 1.5 to 48×48 for 2,304 studs and a cost of $115.20 for enough tiles or enlarging by 2 to 64×64 for 4,096 studs and a cost of $204.80 for enough tiles. Even using bricks that I already owned to create the canvas and stand, it was hard to spend more than the $51.20 for enough tiles to cover a 32×32 canvas and essentially fill the volume of your hands cupped together.
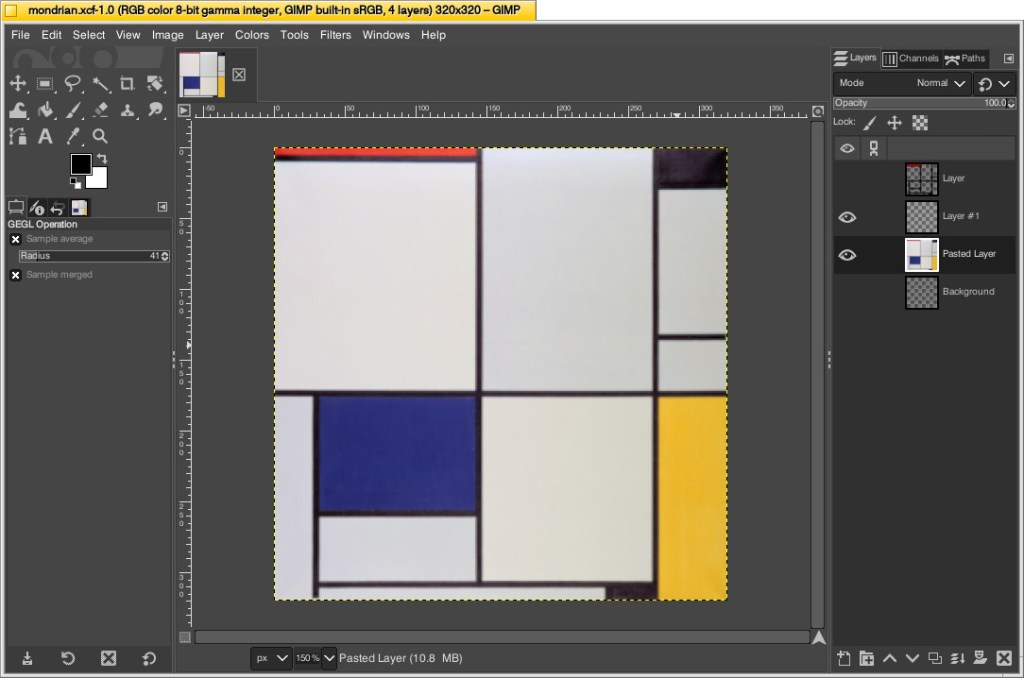
With that decision made, I could begin working in GIMP. First, I opened an image of Mondrian’s Tableau I (1921). The original is painted on a 103cm x 100cm canvas. Since I am creating a perfect square, I needed to square this image and resize it to match my calculations. To do this, I simply selected Image > Scale Image > unlinked the horizontal and vertical resolution > entered 320 for X and Y > clicked Scale. This made the image a perfect square with a resolution of 320 by 320.
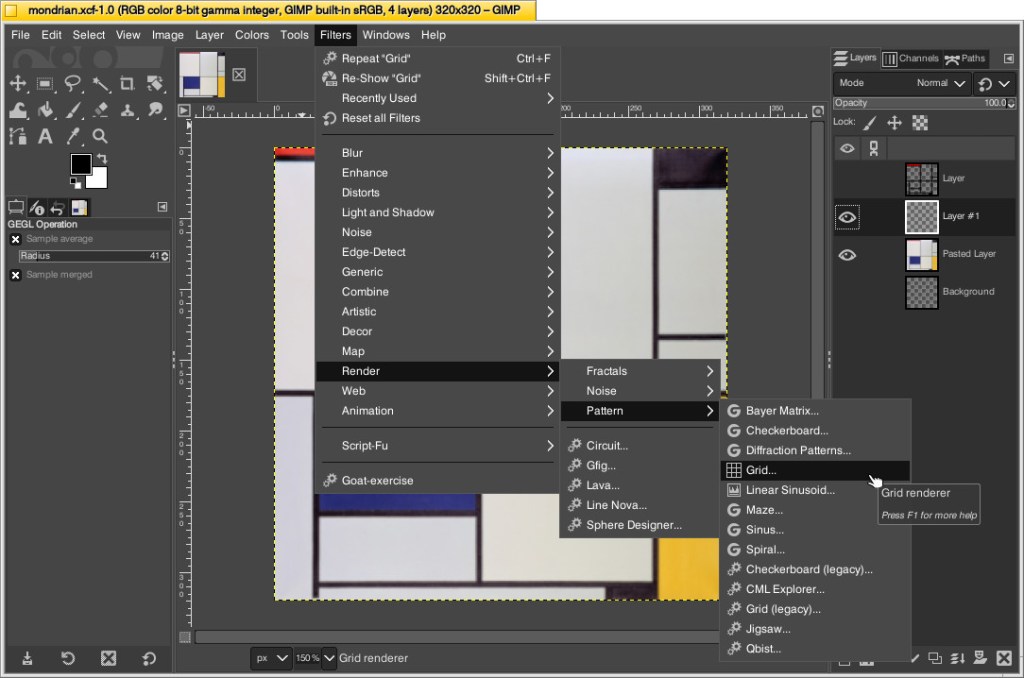
Next, I needed to make the image look more LEGO-like to calculate how many flat tiles I would need of each color. To do this, I added a new layer over the original image and then clicked Filters > Render > Pattern > Grid.
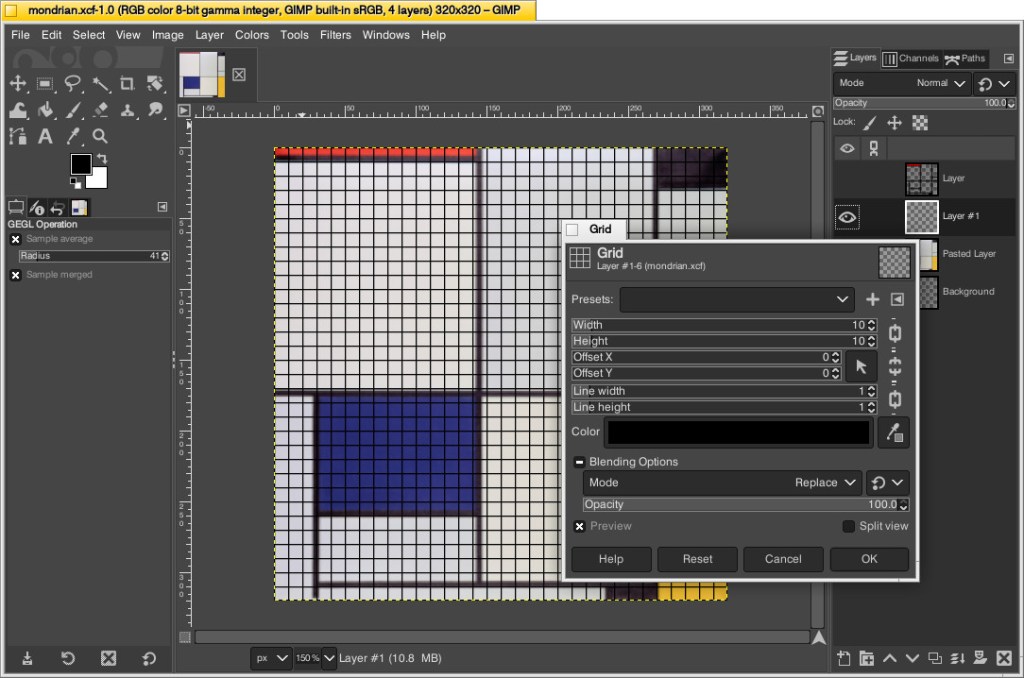
On the Grid pop-up window, I changed the Width and Height to 10–meaning that there would be a grid line every 10 pixels on the X and Y axes. Since I had already scaled the image to 320 pixels on each side, this grid would perfectly approximate the 32 x 32 grid of my LEGO canvas. Also, I set the line width and height to 1 pixel each so that it wouldn’t be too large and obscure the next step. After clicking OK, the grid appears over the image.
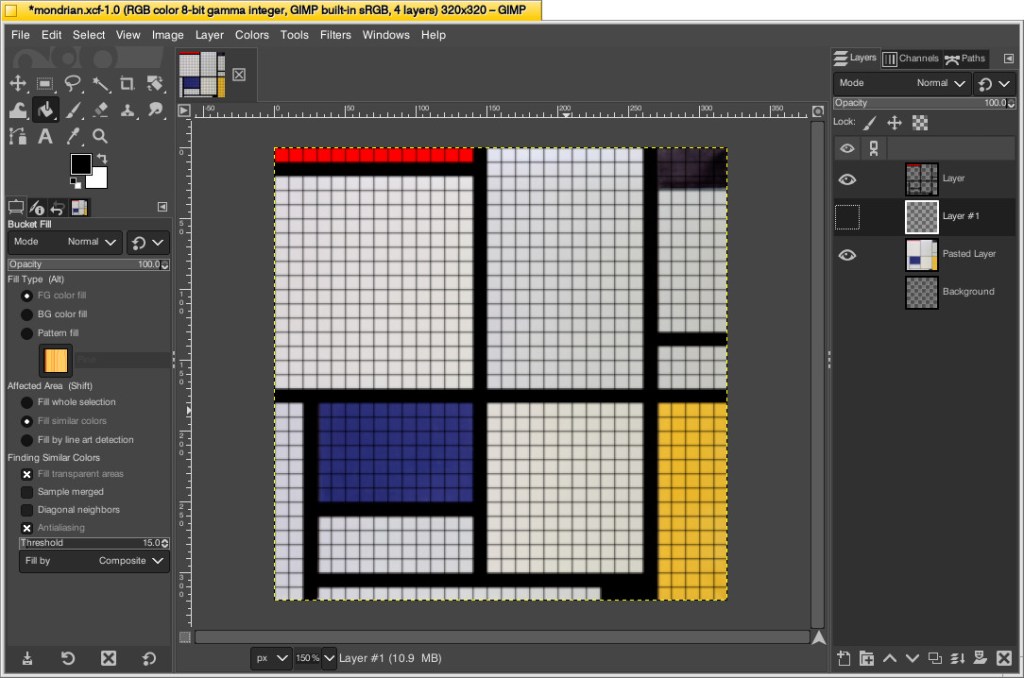
While remaining on the layer with the grid, I selected the paint bucket tool, selected the color of the target areas–black, blue, red, and yellow–in turn, and filled the appropriate squares to match the original painting underneath. I did this to make sure I was making the tile count as accurate as possible. If I hadn’t done this, the black lines would be less noticeable and what I might count as a colored square versus a black line might become confused. At a LEGO resolution of 32×32 studs, it was impossible for me to make it as accurate as the original, so this technique helped me approximate the original with a high degree of accuracy.
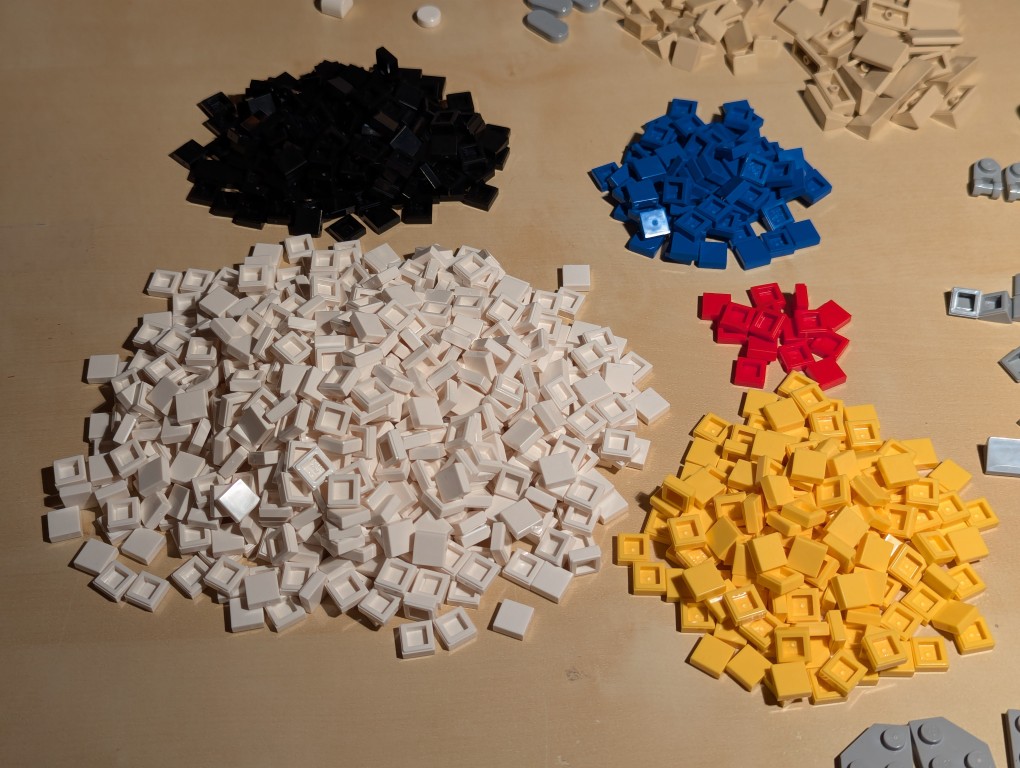
Then, I counted the squares of each color to make my LEGO order: 686 white, 177 black, 77 blue, 70 yellow, and 14 red. I ordered a extra flat tiles of each color in case my counting was incorrect.
Building the Canvas
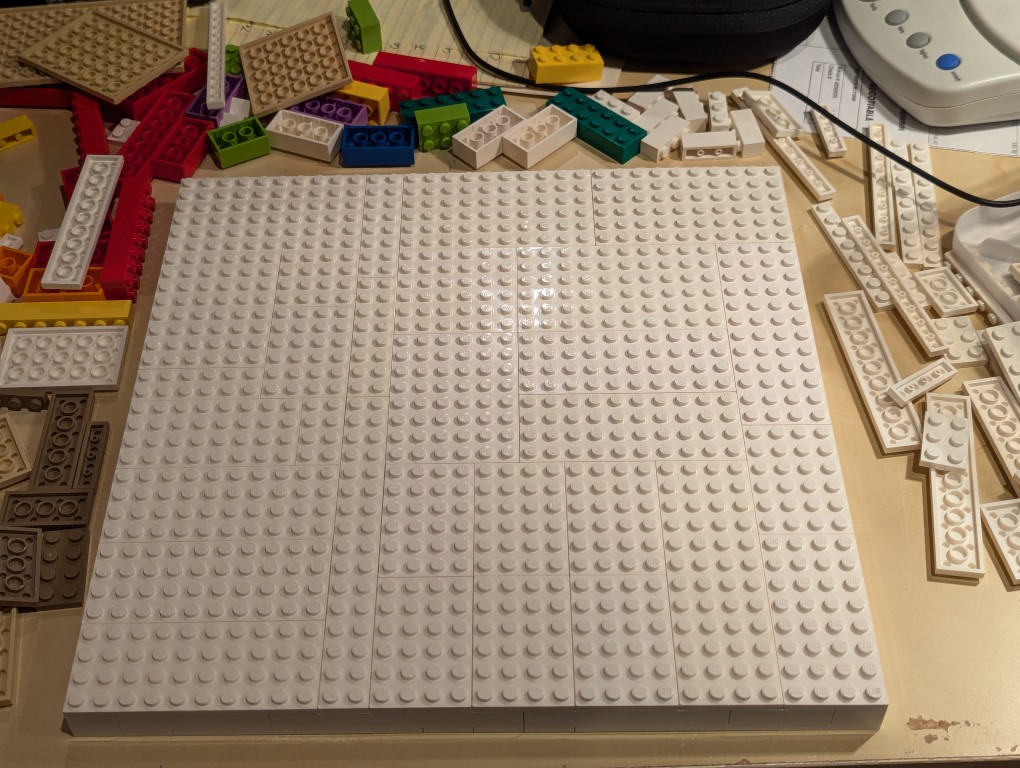
I wanted to build a substantial canvas for the Mondrian instead of using a 32×32 base plate. Also, I wanted to build with as many white bricks and plates as I could to reduce how much I had stored in plastic bins under my desk.
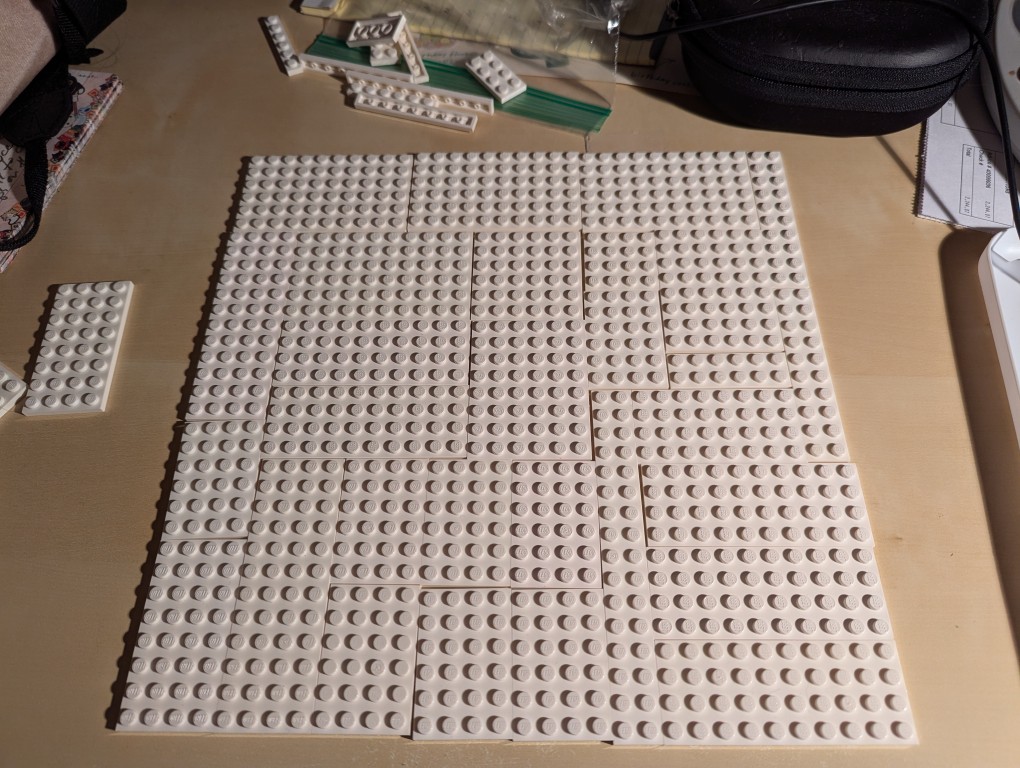
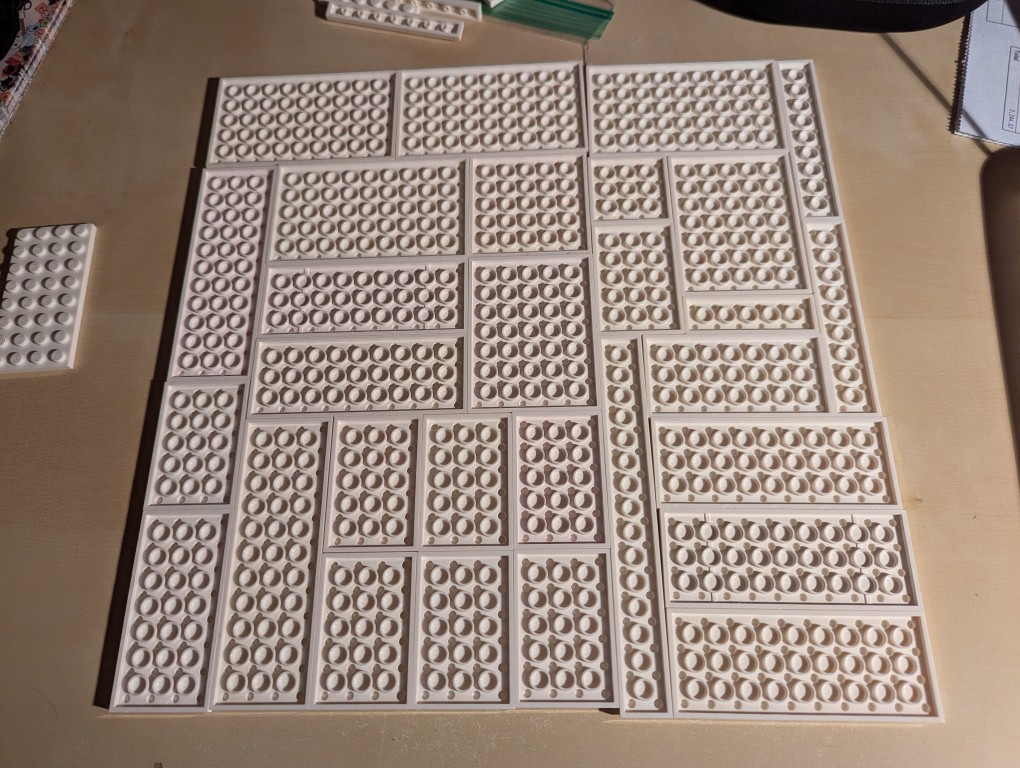
To begin, I laid out a 32×32 grid of plates. I didn’t have a large number of similar types of white plates, so I had to try different configurations before settling on one. If I had to do over again, I would have tried configuring it for more staggered stepping instead of long break lines as I did.
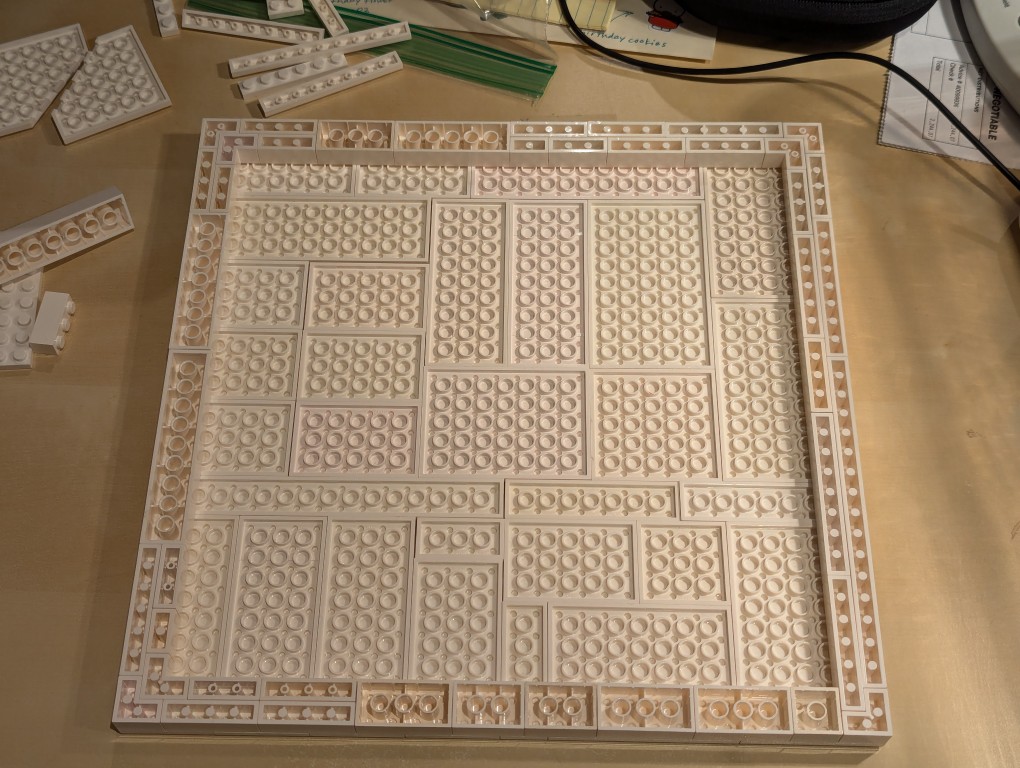
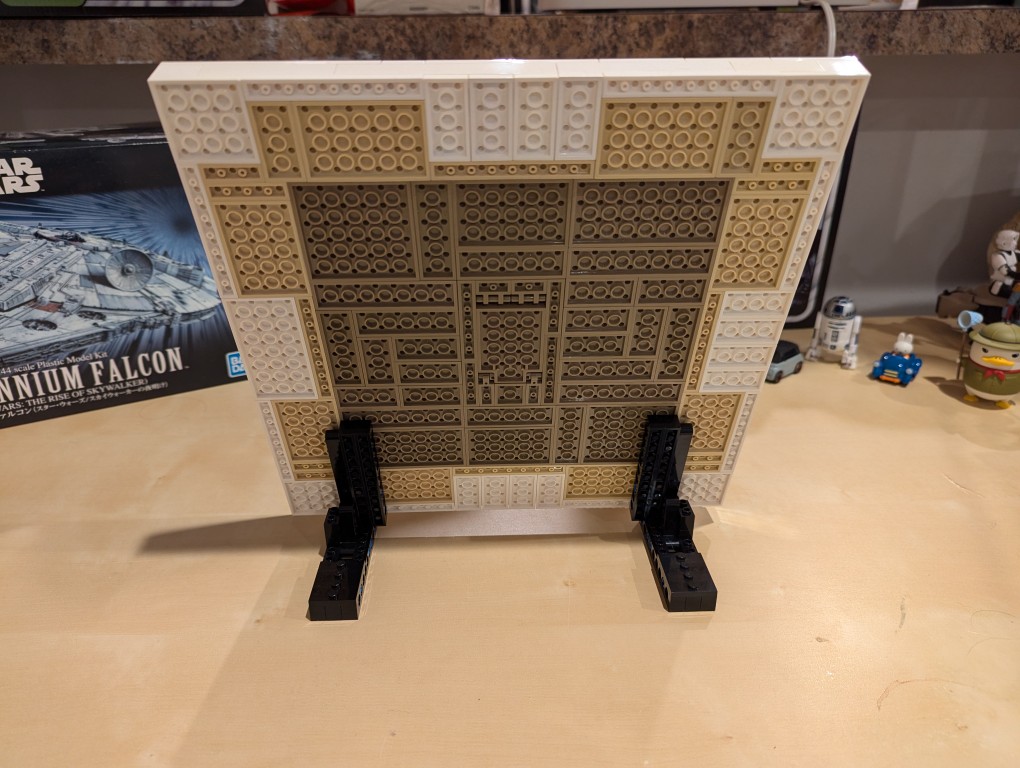
I flipped over the plates to begin building the support frame for the canvas using bricks.
I wanted the canvas to appear stretched, so I continued the color white from the canvas’ plates to the border.
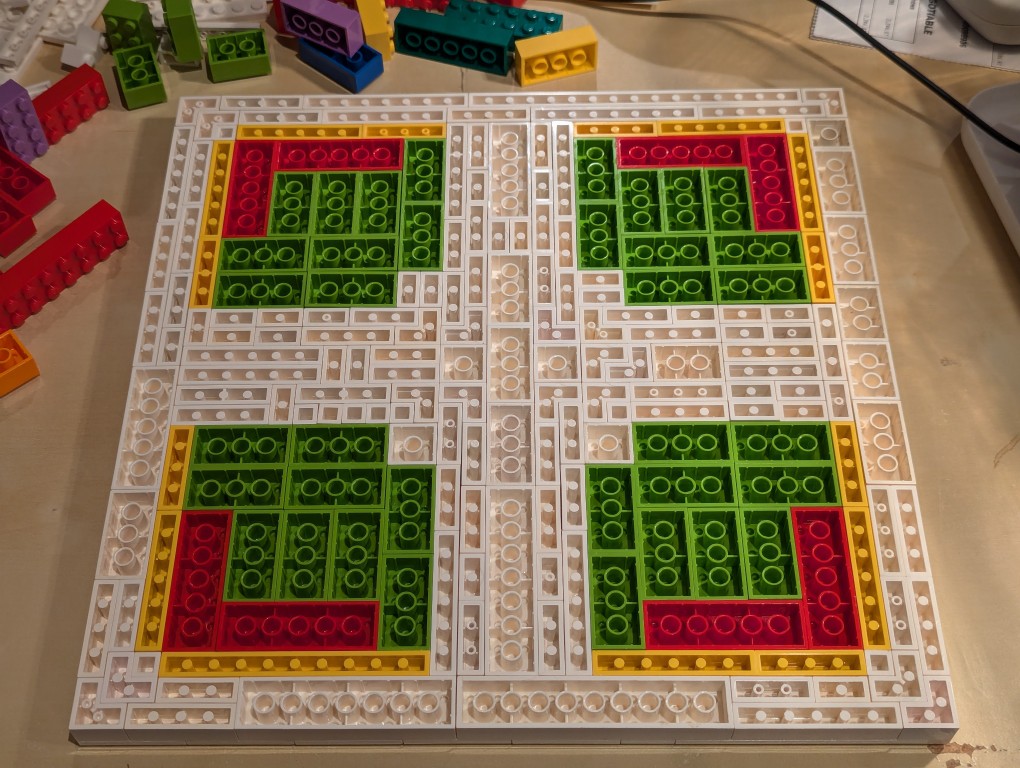
Knowing these other colors would be hidden, I used filler bricks in a mirrored pattern (I would know what it was like underneath even though no one else would).
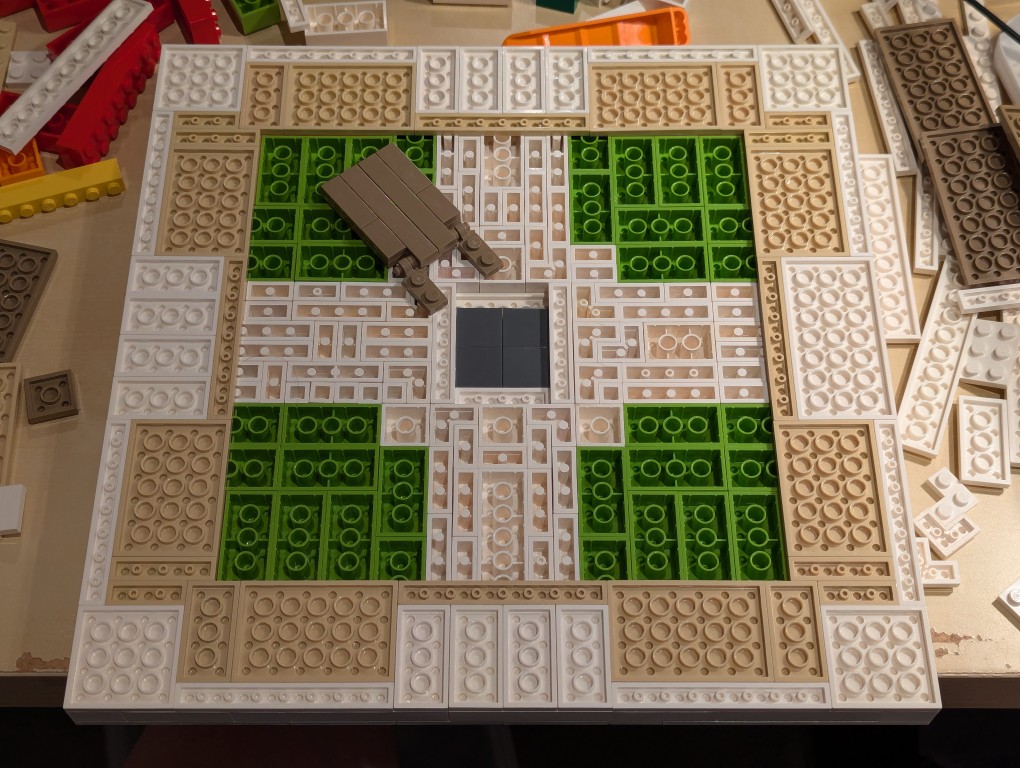
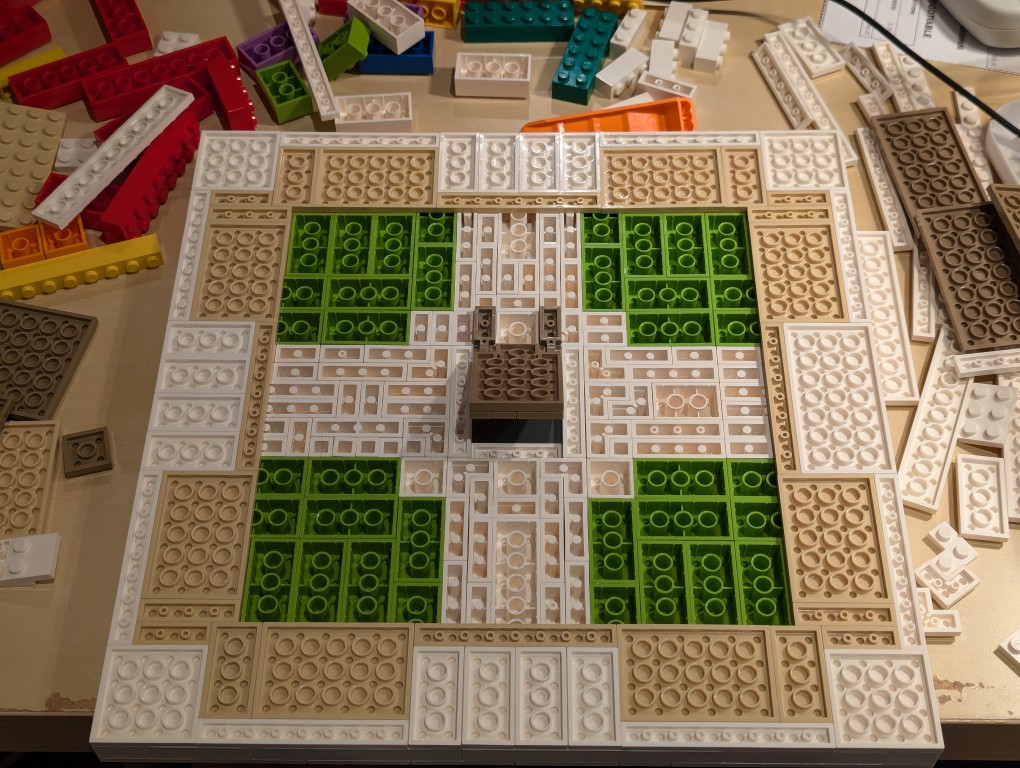
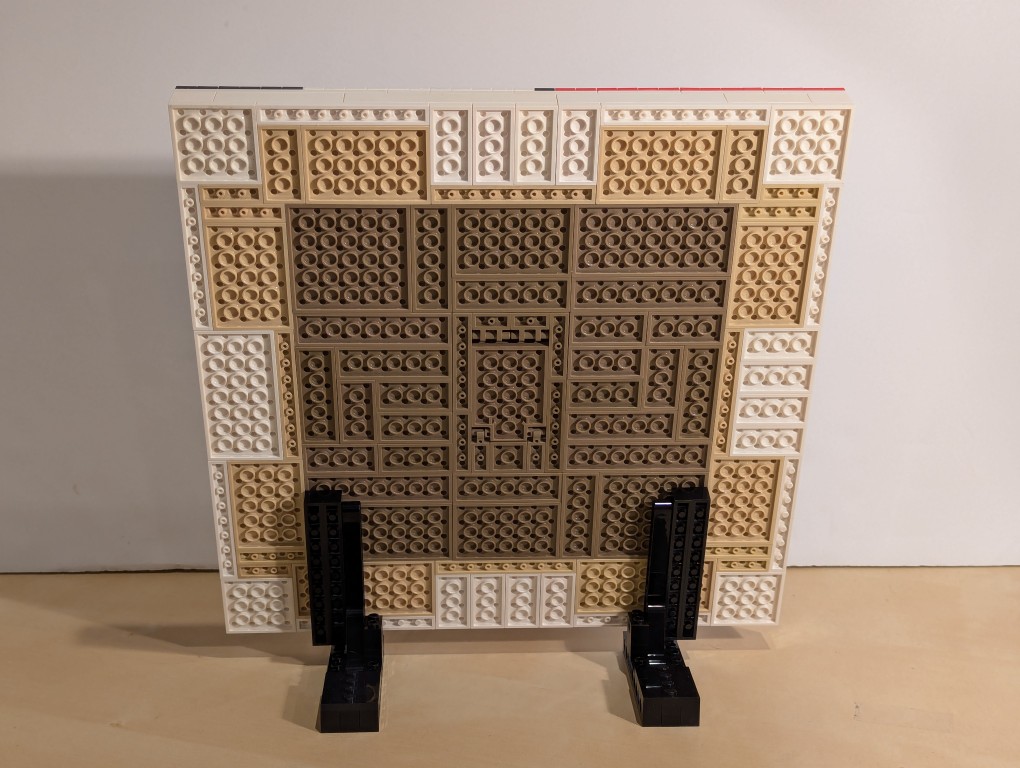
After beginning to cover the filler bricks with white plates (stretched canvas) and sand plates (wood frame), I thought that it would be cool to build a hidden compartment to hold a written statement about the artwork. So, I pulled out some central bricks, filled the center with inverted 2×2 flat tiles.
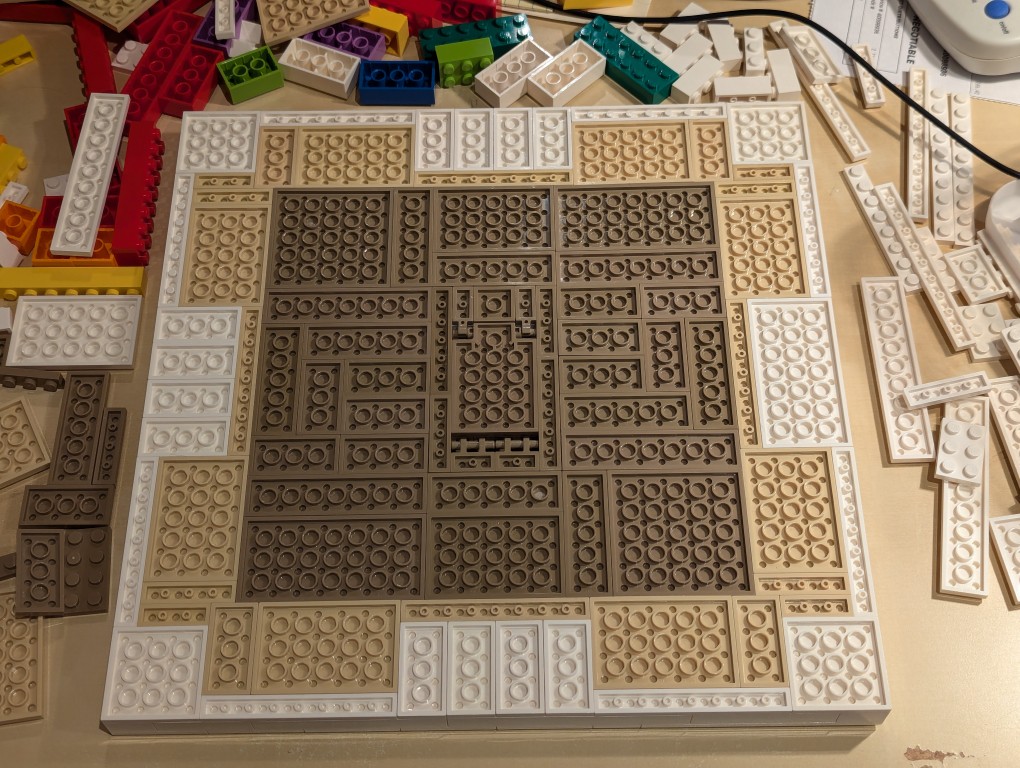
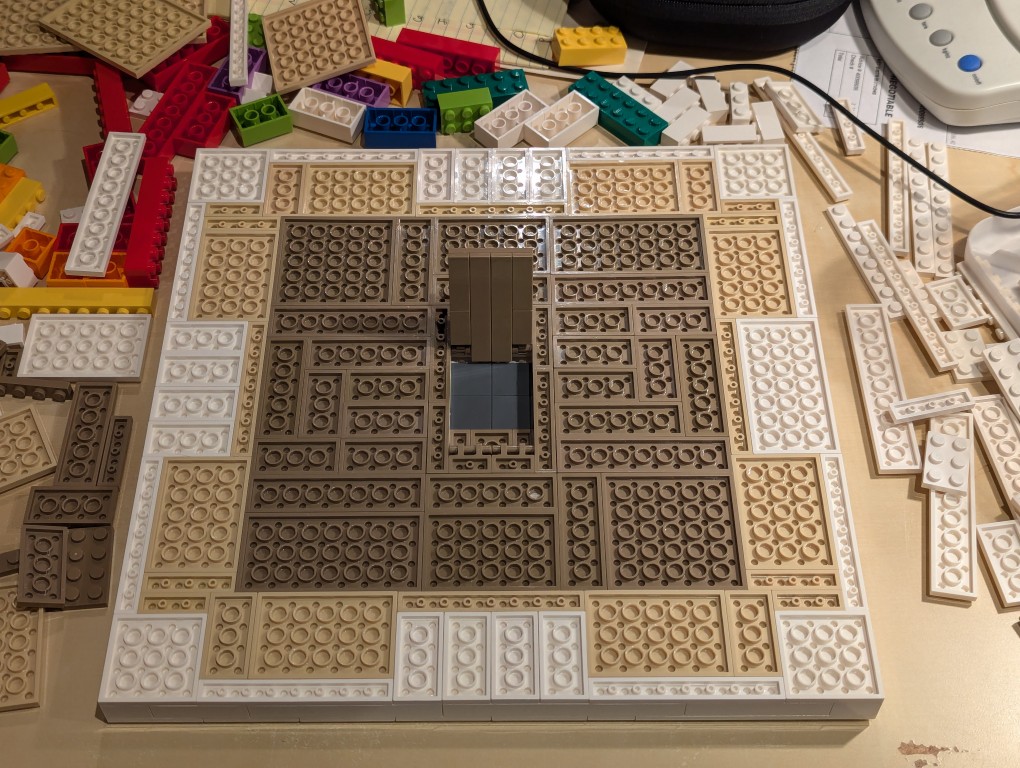
I constructed a compartment door on hinges in the middle of the back of the canvas and filled the rest of the space with dark sand plates (paper backing protecting the canvas).
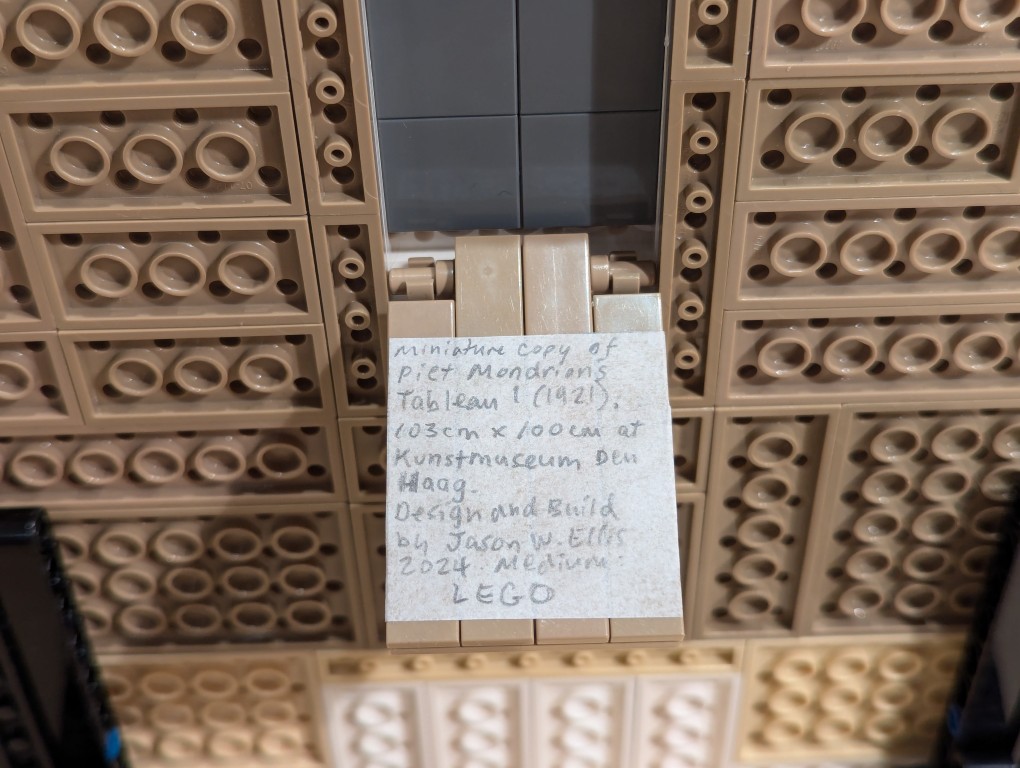
Here is the hidden compartment door open.
Flipped back over, the canvas is primed and ready for the “paint.”
Constructing Display Stands for the Canvas
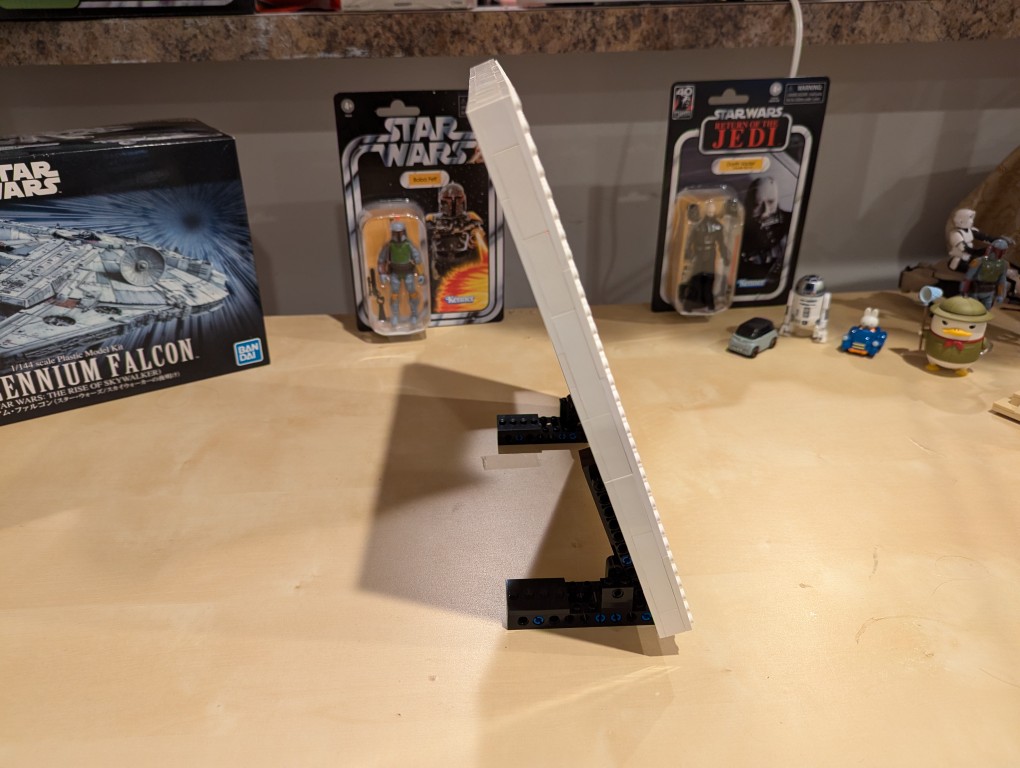
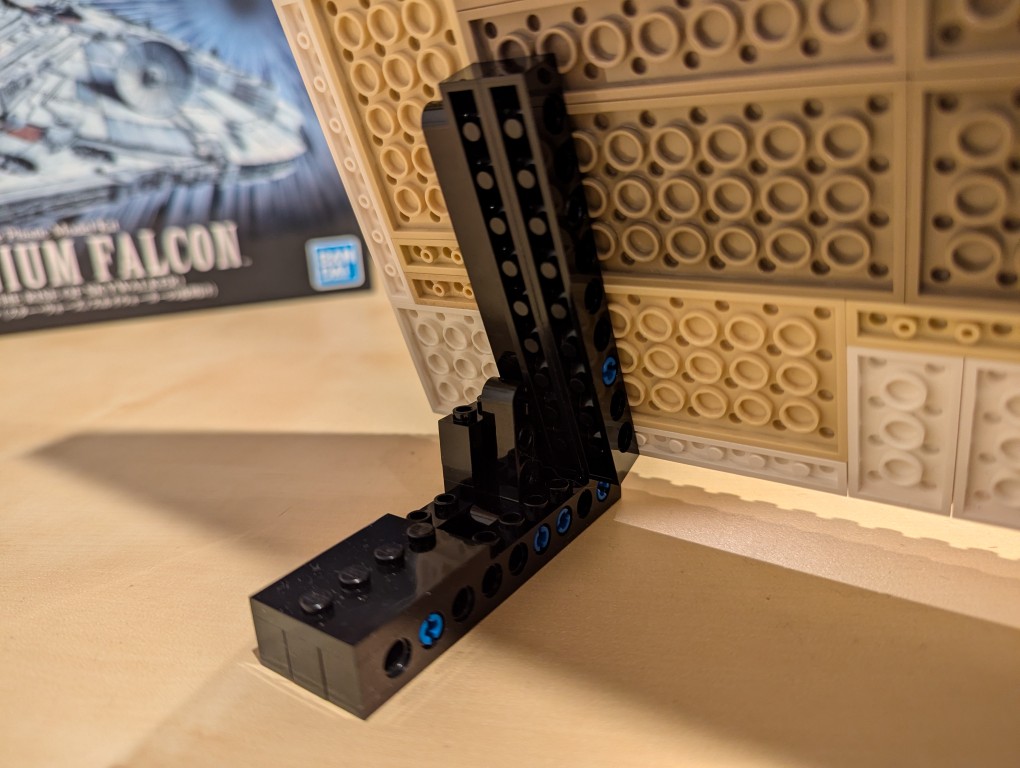
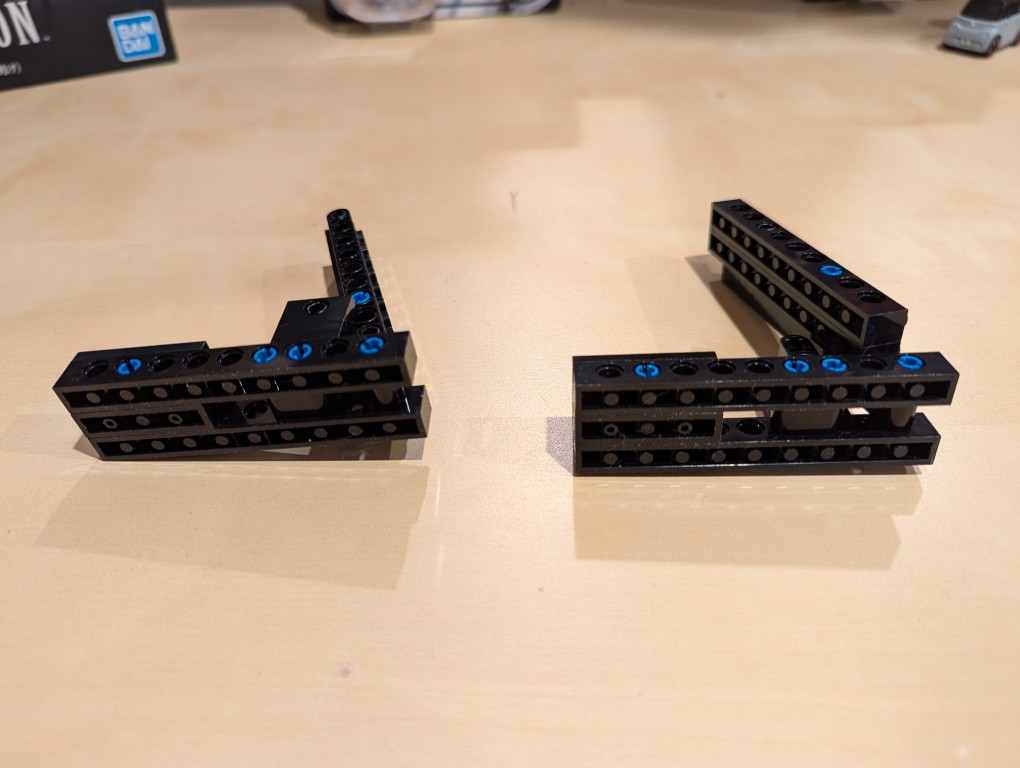
I used LEGO Technic bricks to build two stands for the canvas so that it was held at a stable angle.
It’s about 70 degrees from horizontal.
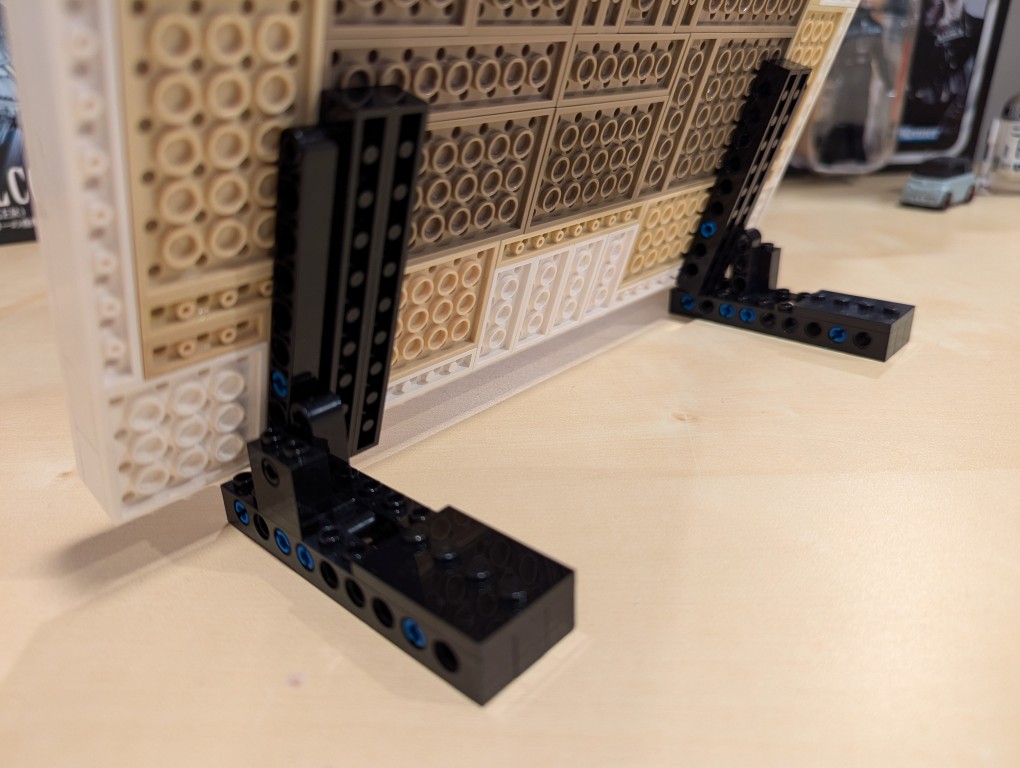
I beefed up the friction connection between the stands and the canvas by using two 1×10 Technic bricks that attach to the canvas.
From the blue color, you can see that I used a number of 3 brick width pins.
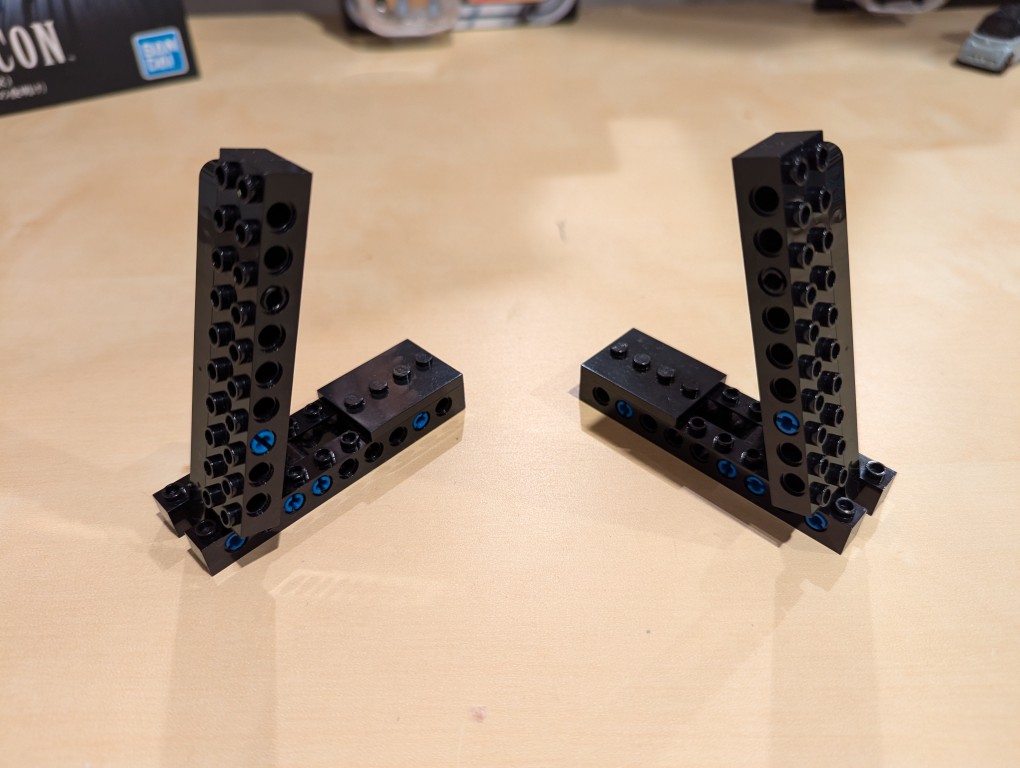
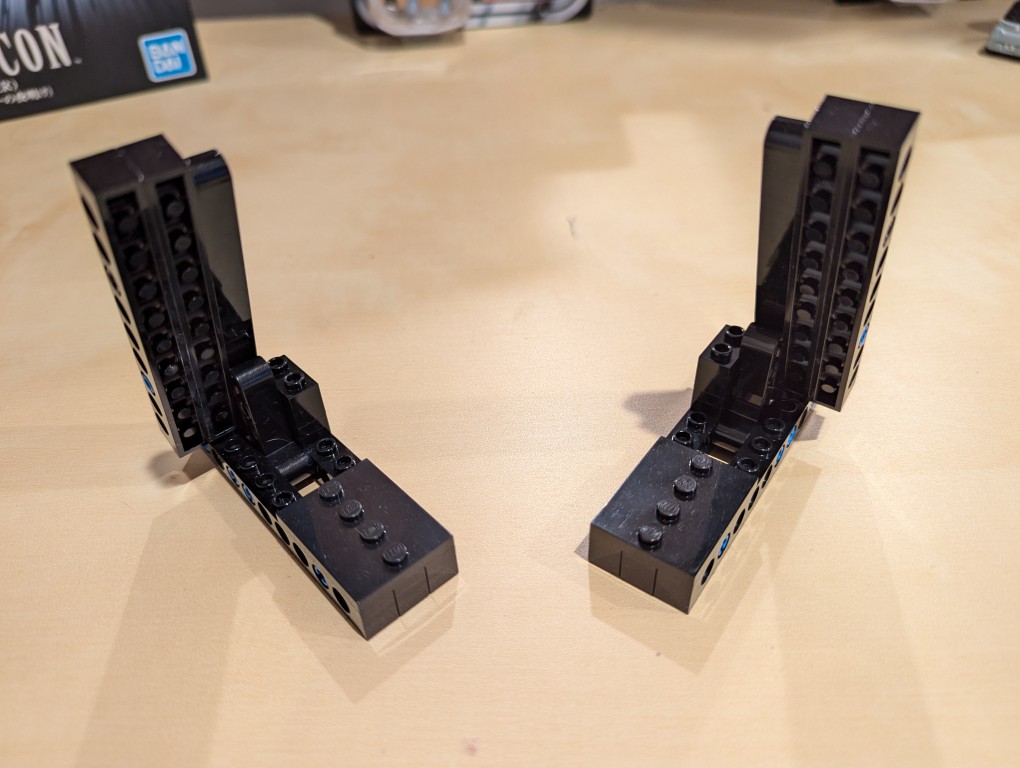
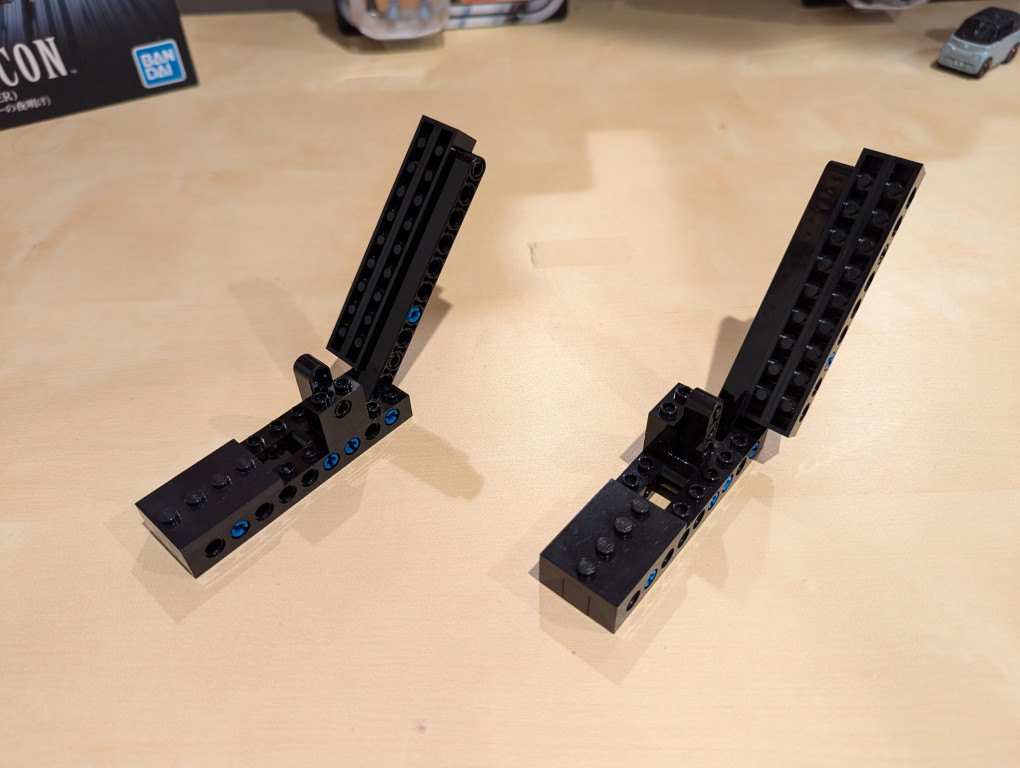
These photos show the stands in more detail detached from the canvas.
Note that the angle is achieved by having the long arm simply rest against a smaller L-shaped Technic support arm. Gravity holds things in place.
I added extra Technic bricks to the stand’s bottom support legs for extra strength.
Assembling Mondrian’s Tableau I (1921)
After placing my LEGO Pick-a-Brick order for the “painting” 1×1 flat tiles, it took about a week-and-a-half to arrive.
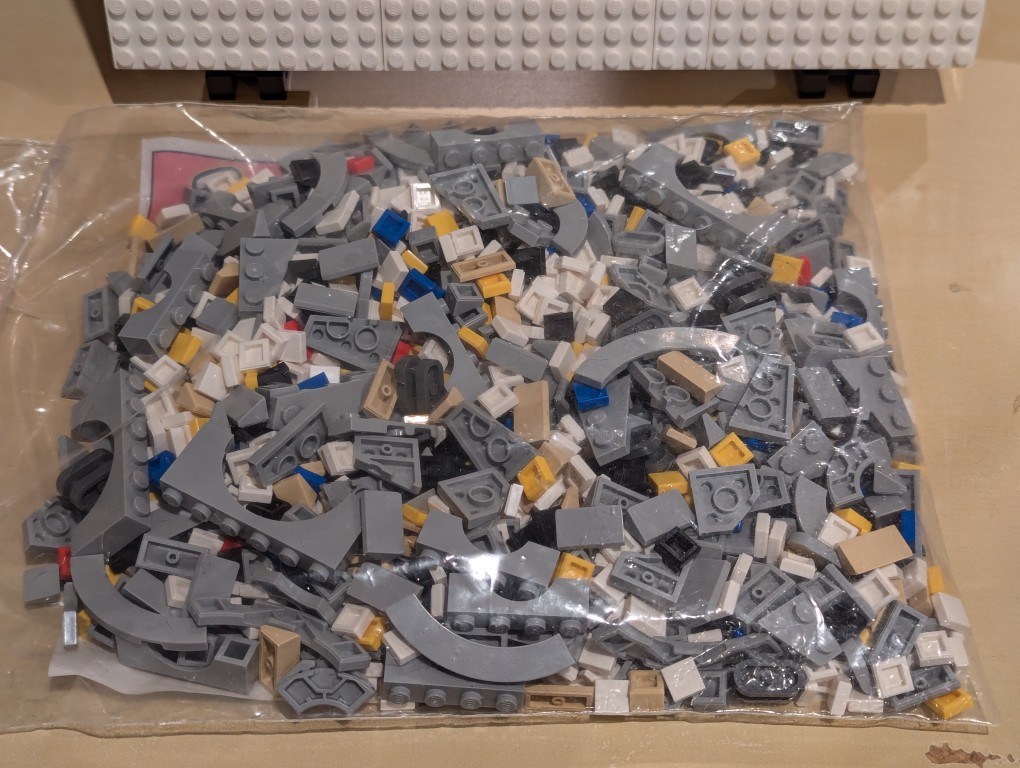
I ordered bricks for a custom Millennium Falcon that I am currently also working on, so I needed to sort everything out.
Here I am sorting the LEGO bricks.
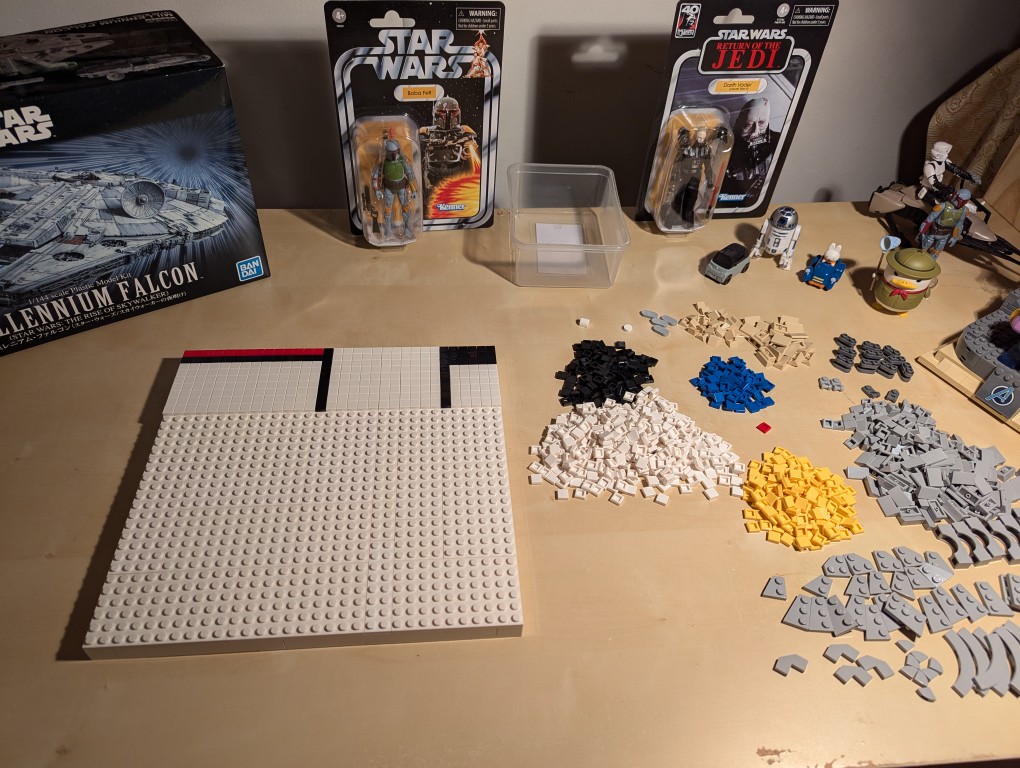
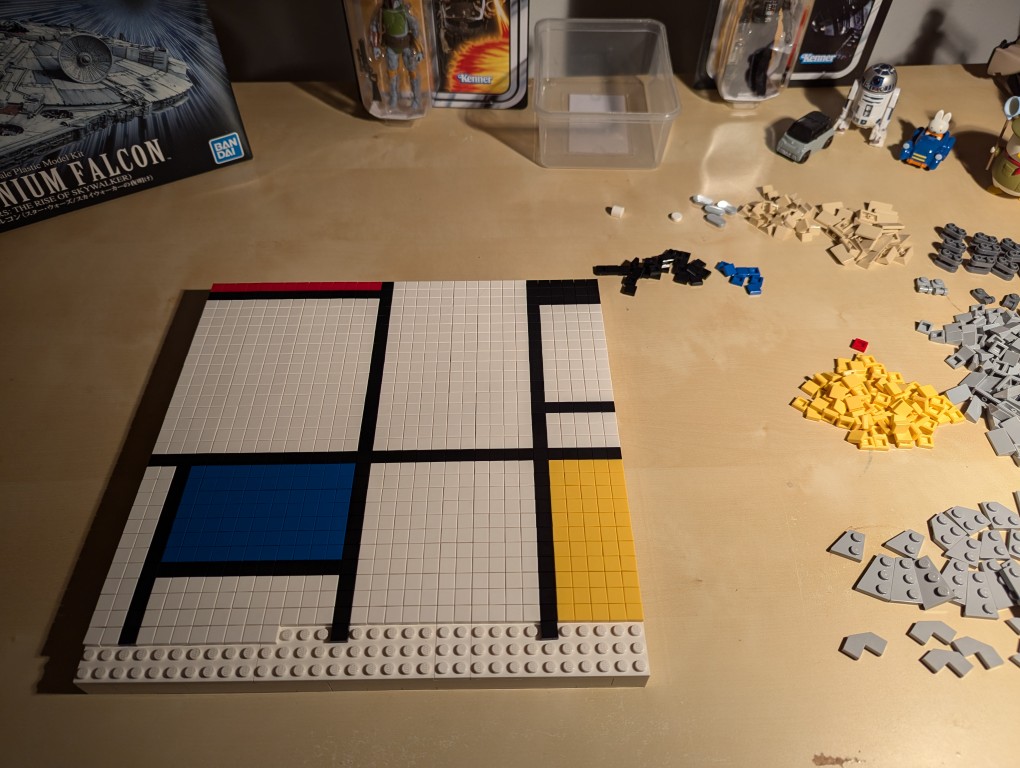
With the bricks sorted, I began to paint my recreation of Mondrian’s Tableau I (1921).
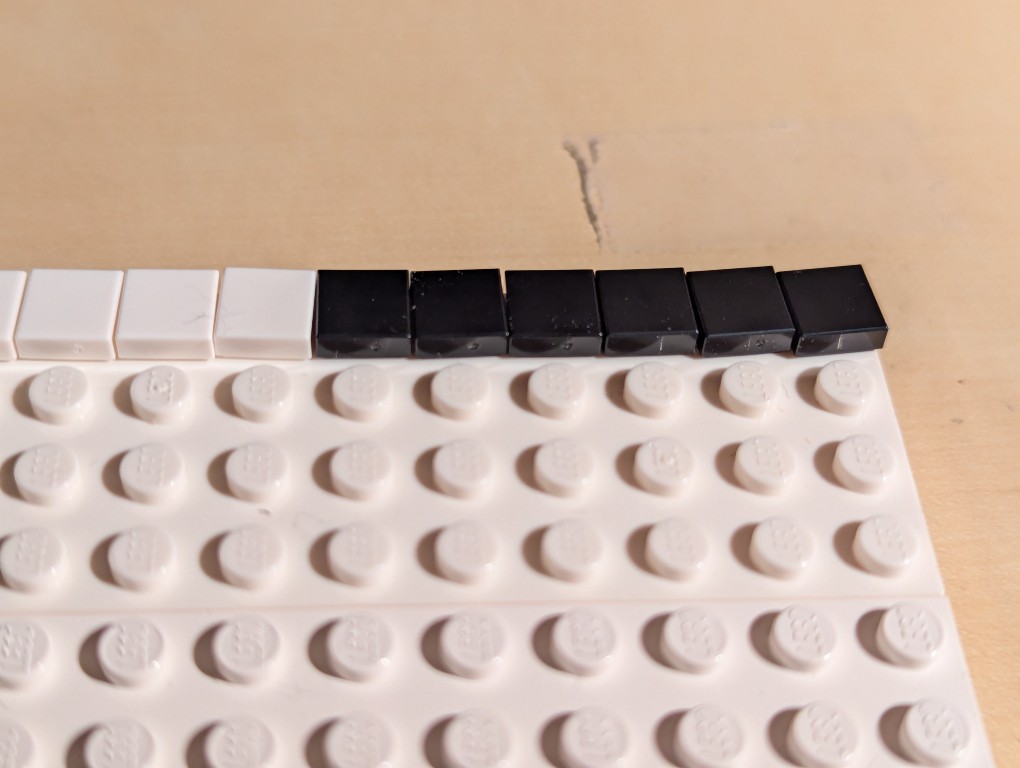
I began at the top horizontal line and created one line at a time–kind of like a CRT drawing a line of pixels across the screen one-at-a-time.
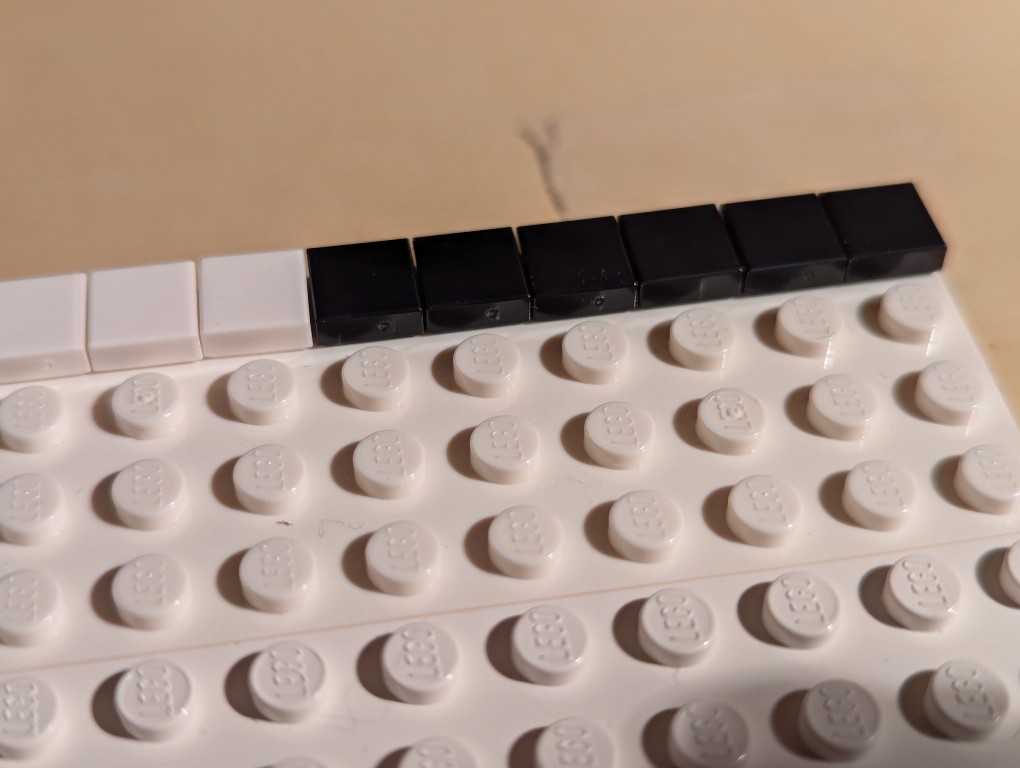
The problem with LEGO flat tiles is that they are difficult to align just by placing them on a stud.
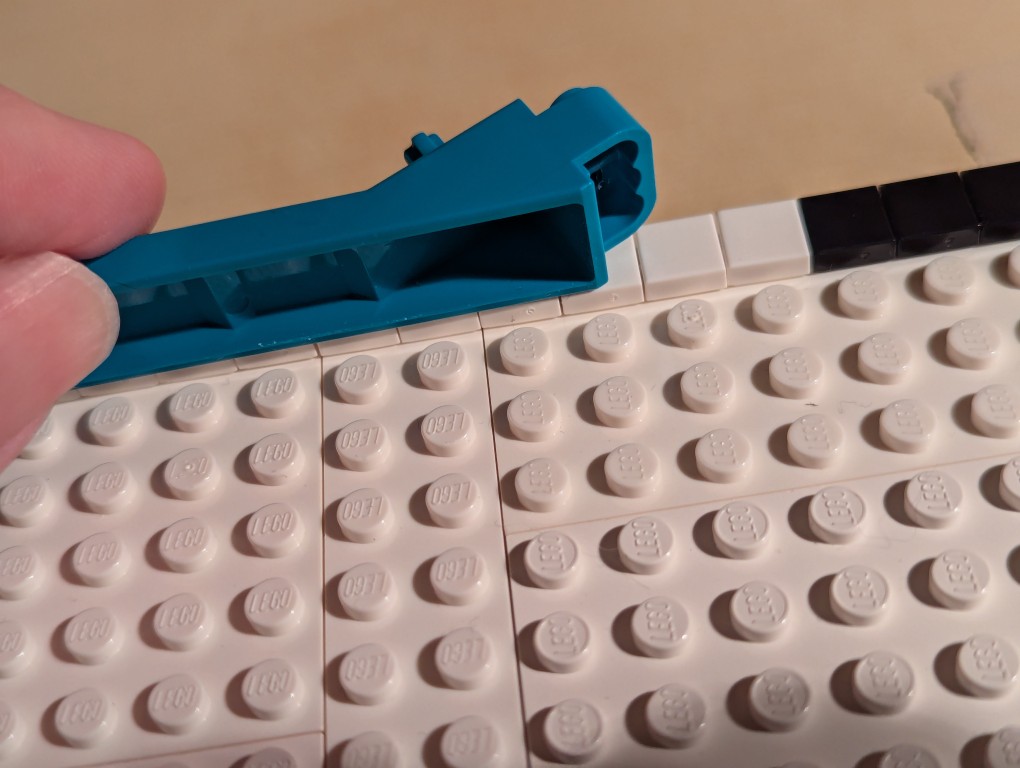
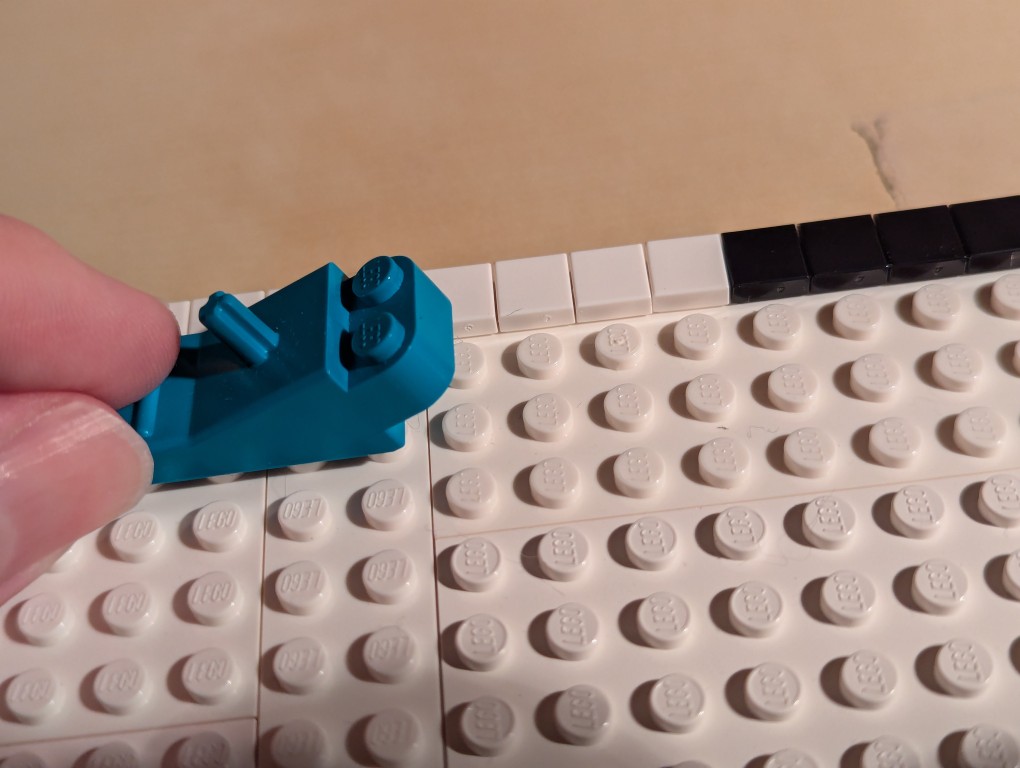
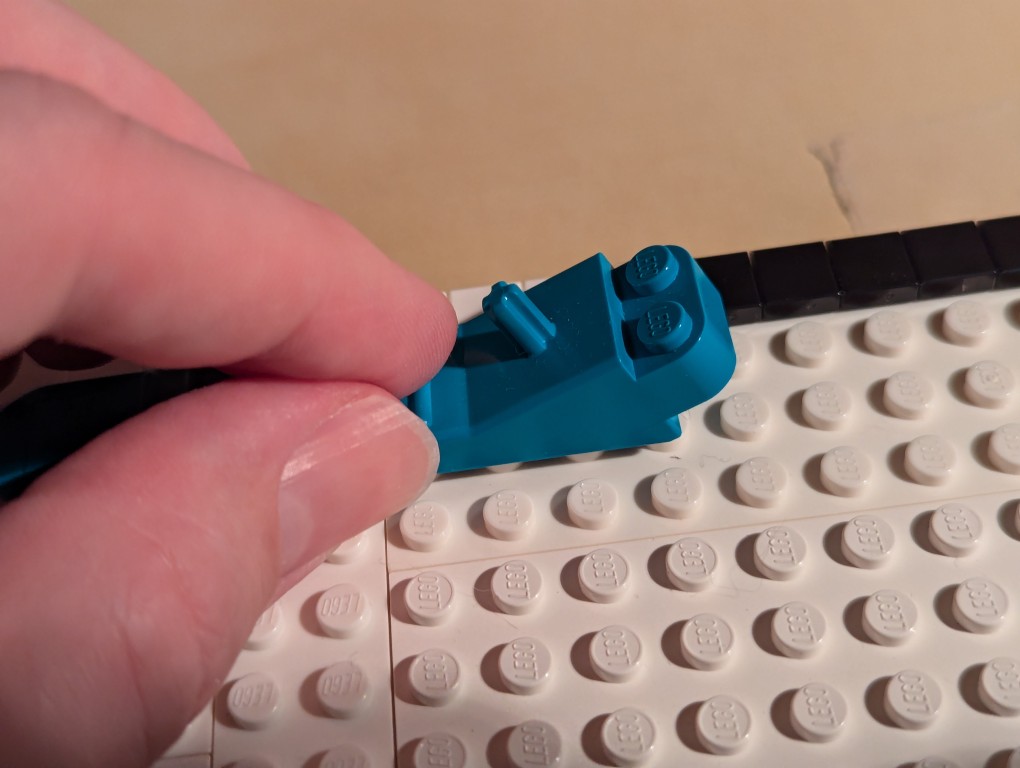
To align each line of flat tiles, you can take a brick separator, place it edge-wise along the flat tiles, and pull it back-and-forth lightly–hard enough to press against the flat tiles’ edges but not so hard as to keep it from moving above the adjacent studs as in the picture above.
As you can see, the flat tiles are now aligned better. I did this trick for each line of flat tiles as I worked down the canvas.
Nearing the end of the build, I discovered that I didn’t have enough flat tiles in white and black. I recounted and recalculated. My count was correct, but LEGO short changed me about 70 elements from my order and gave me 70 extra yellow tile that I didn’t order. I called their customer service the next day and asked that they correct the order. I received the missing parts after another week-and-a-half. I continued “painting.”
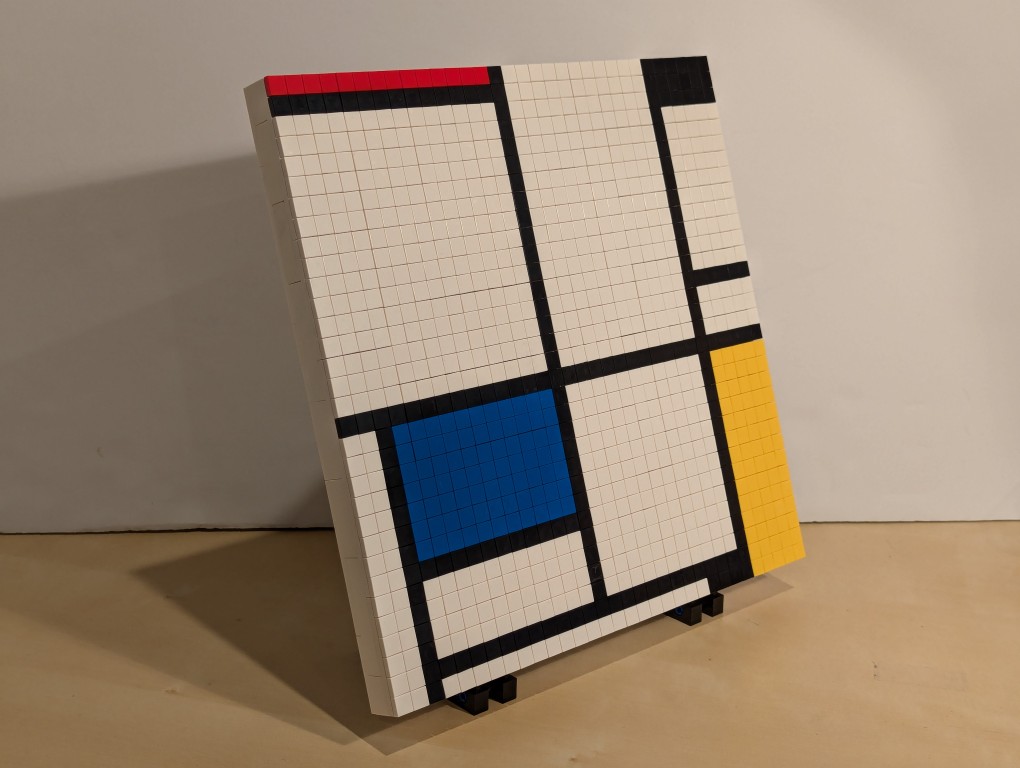
After several weeks, I had completed my copy of Mondrian’s Tableau I (1921) using LEGO!
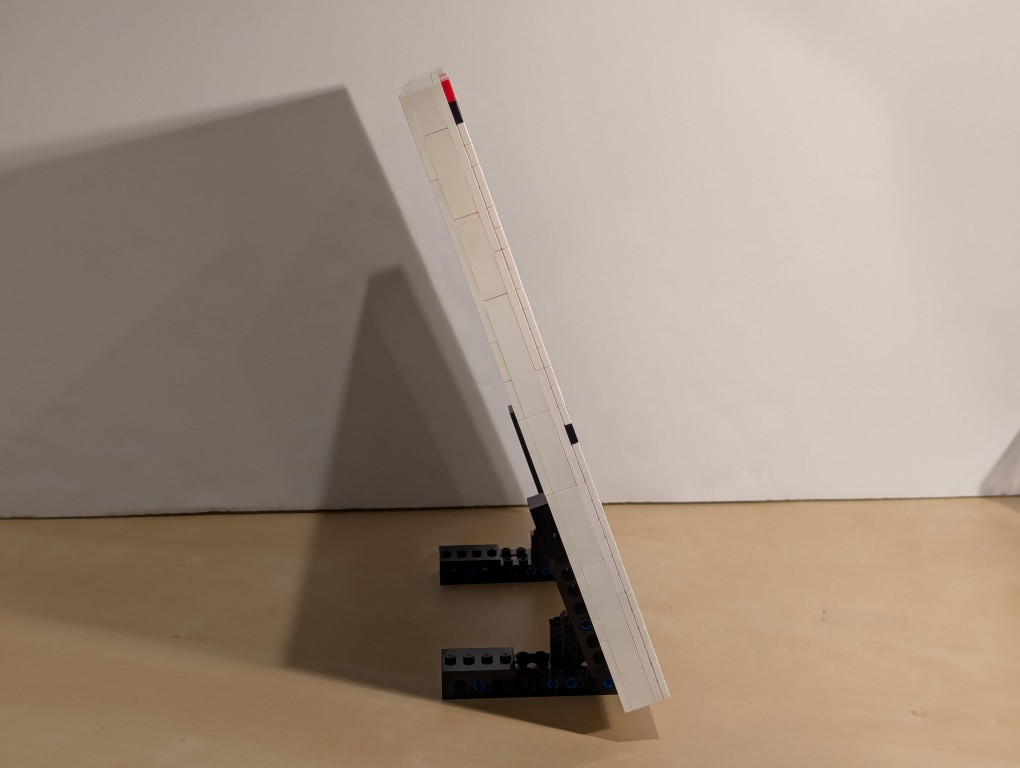
The side view reveals hints of the “paint” of the lines of 1×1 flat tiles.
The back of the canvas mounted on the display stands has its hidden compartment in the back center of the canvas.
For the hidden artist statement, I cut out a 4×4 square and wrote in pencil, “Miniature copy of Piet Mondrian’s Tableau I (1921), 103cm x 100cm at Kunstmueum Den Haag. Design and Build by Jason W. Ellis 2024. Medium: LEGO.” I pasted it on the flat tiles inside the lid of the hidden compartment.