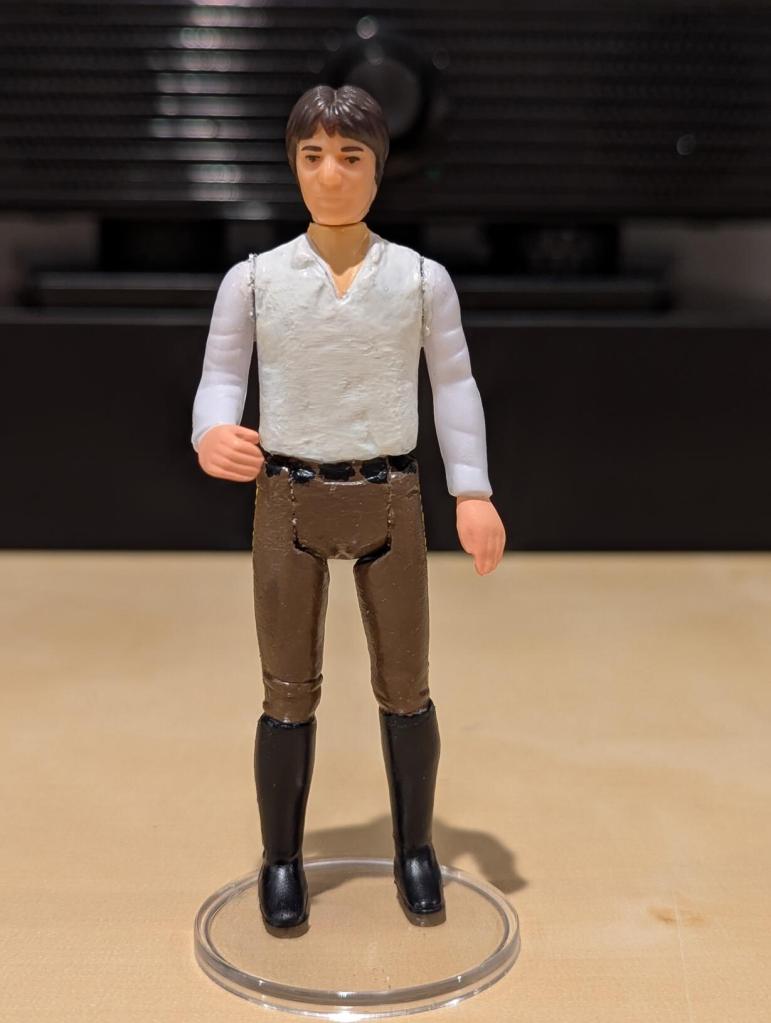
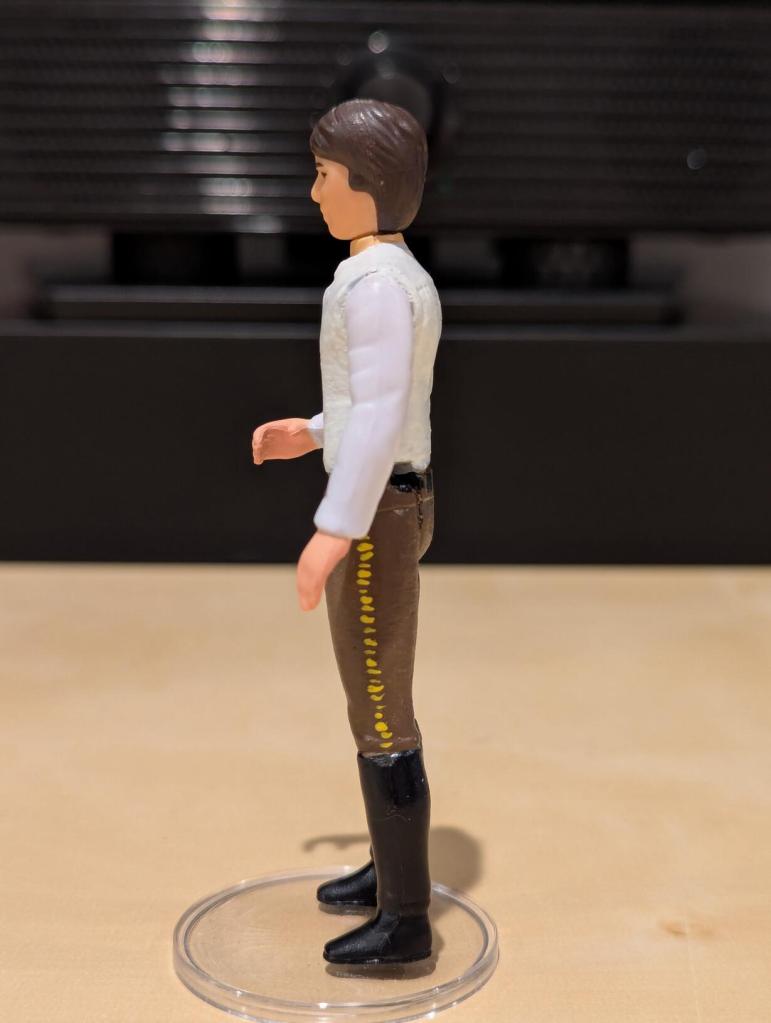
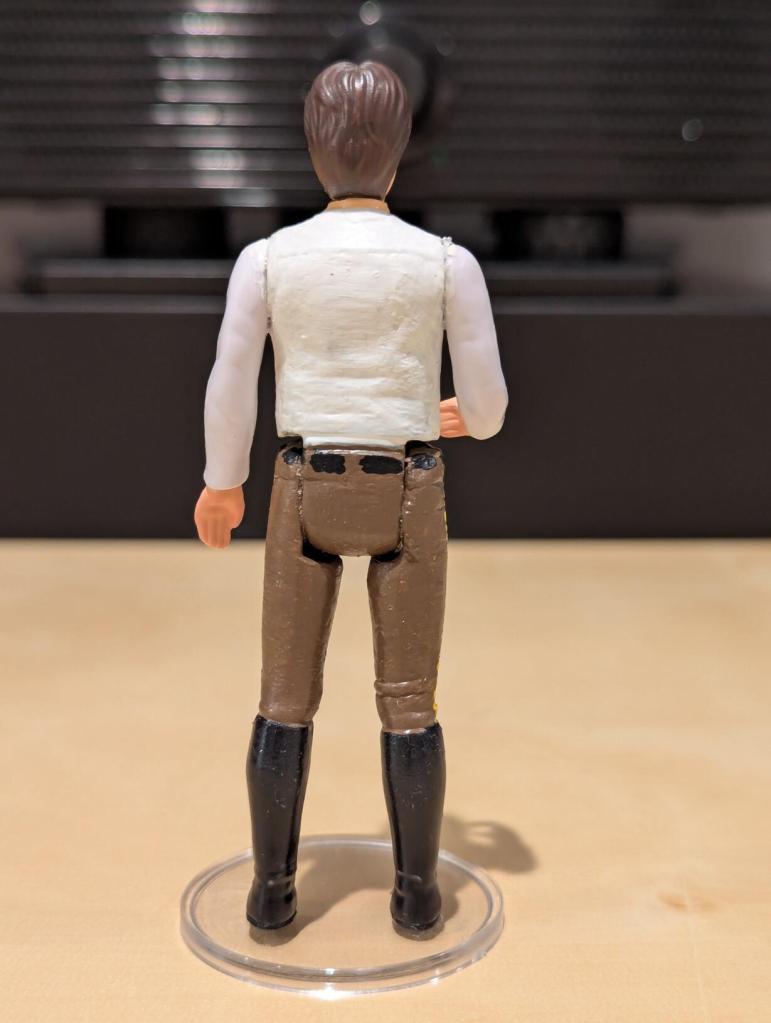
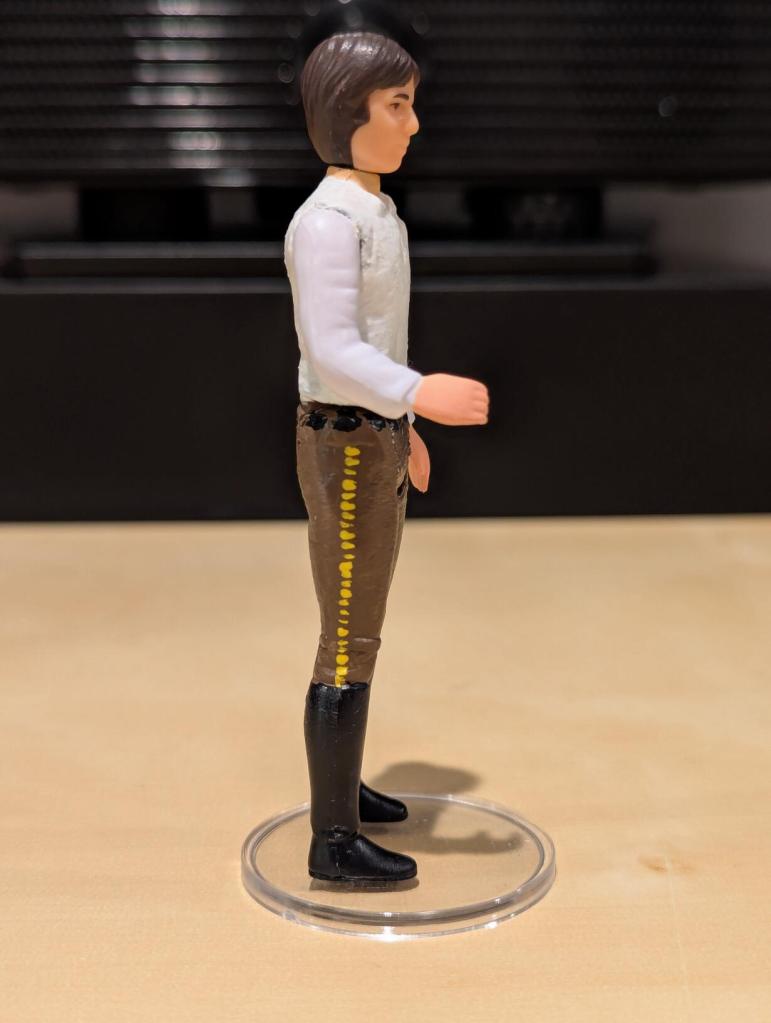
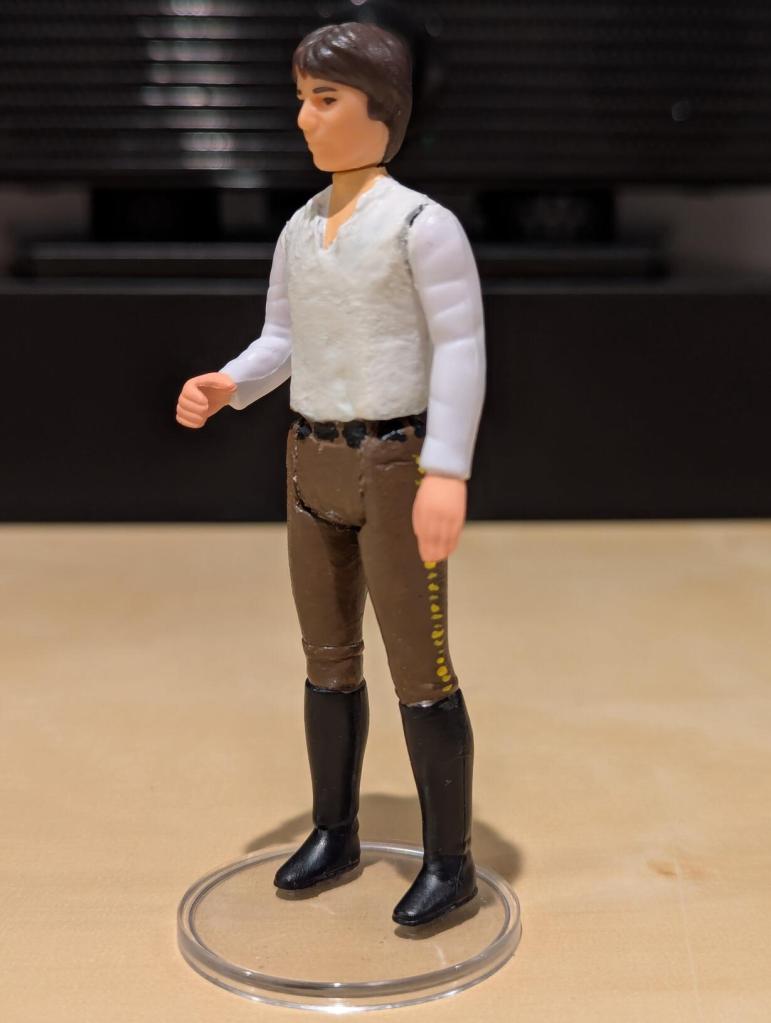
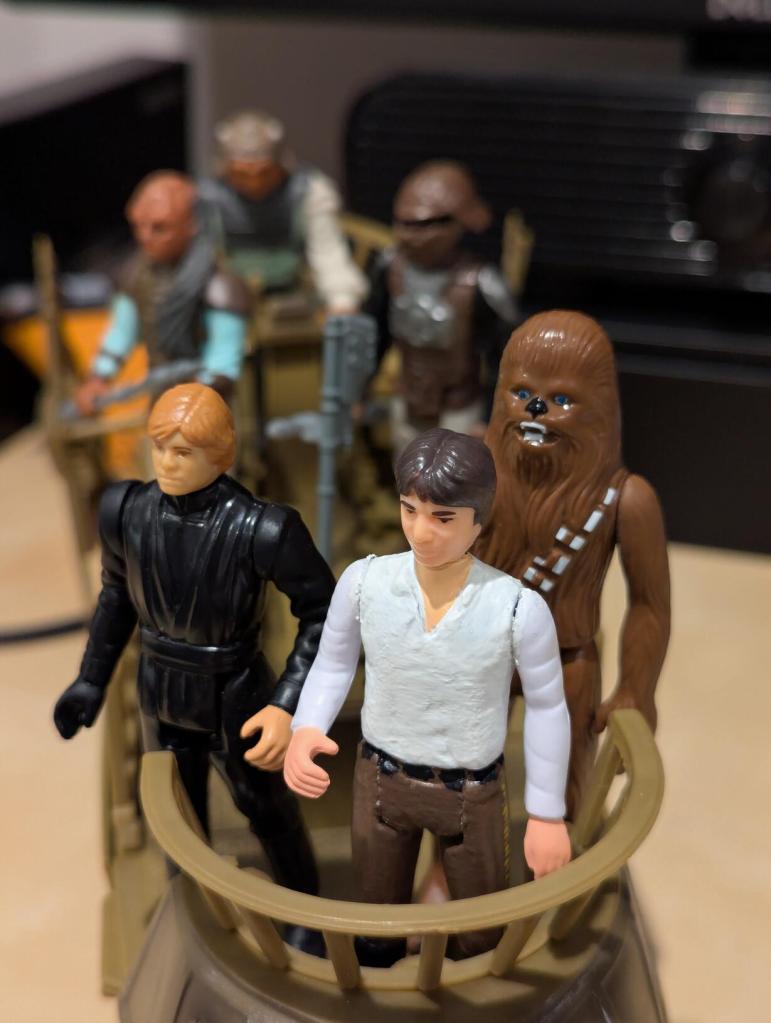
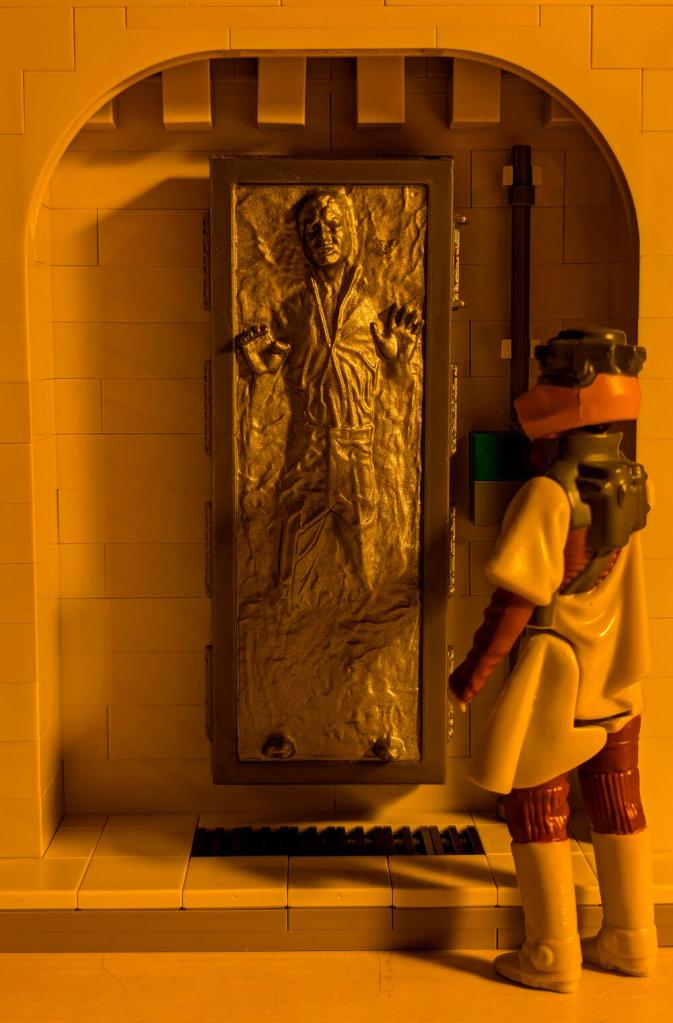
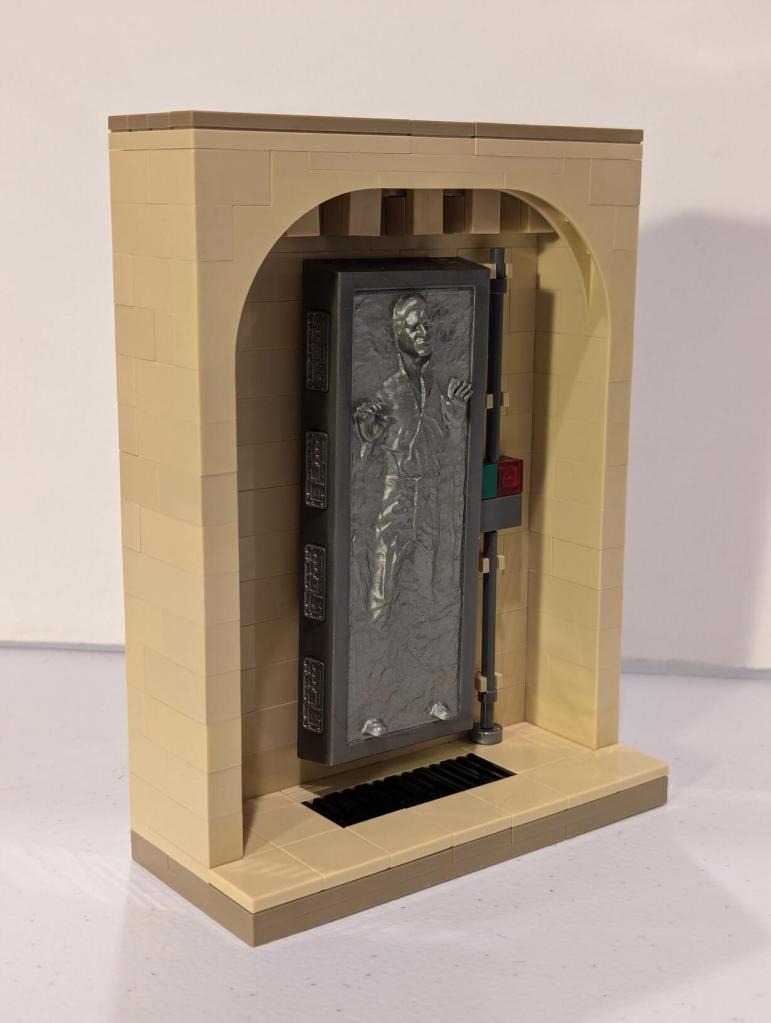
I wanted to build a custom action figure of Han Solo after he had been freed from carbonite in Return of the Jedi (1983), because I don’t like the “Last 17” version of Han Solo in Carbonite Chamber by Kenner (1985) and his NFL linebacker-like appearance (a complaint that I have about the evolution of Kenner’s action figure line from POTF–Barada (1985) is another not-true-to-screen-likeness–to its extreme in the POTF2 revival in 1995–consider the bulked-up Han Solo, for example).
Kenner’s original Han Solo action figure (1978) from Star Wars (1977) seemed like a good starting place for my custom action figure. Instead of butchering a vintage one, I opted for a Hasbro Retro Collection version of Han Solo with the “big head” (2019).
If you remember the ending of The Empire Strikes Back (1980) and the first act of ROTJ, Han goes into and comes out of carbon freeze wearing a white shirt, brown pants with second-class yellow Corellian bloodstripes, and boots.
To customize the original Han Solo action figure, I needed to remove his vest and blaster holster and belt, smooth over those areas, prime, paint, and varnish. The following photos and notes detail how I customized Han for the beginning of ROTJ.
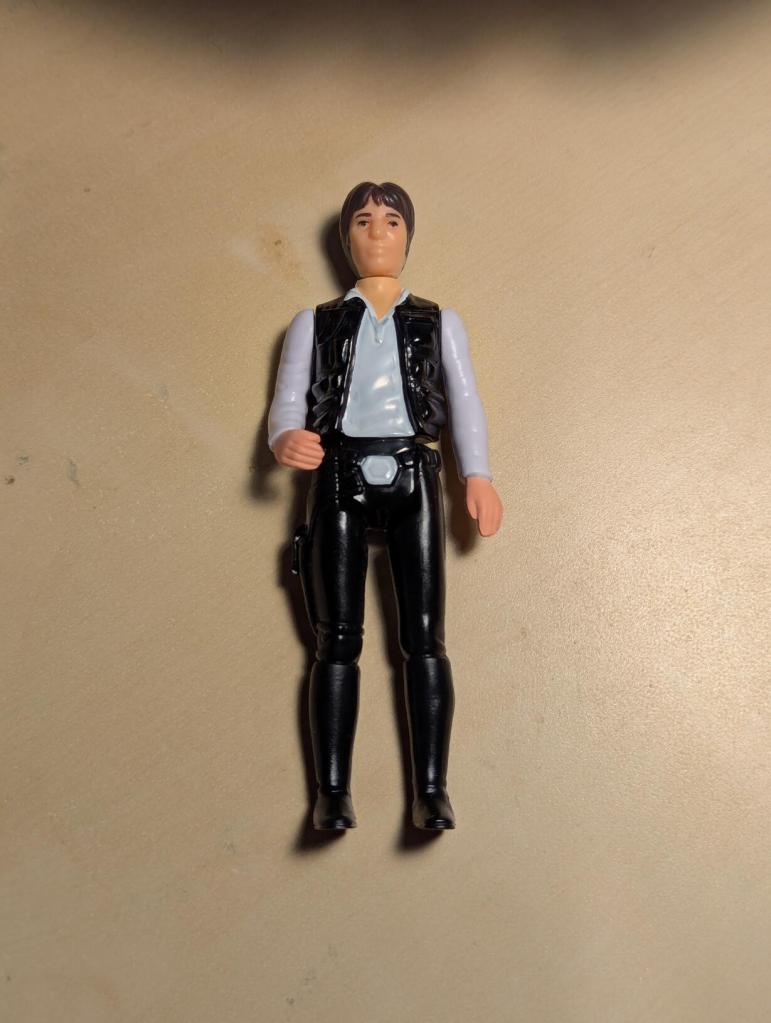
This is the Hasbro Retro Collection Han Solo with big head that I started with. I forgot to take a side view shot, but he has the first class red Corellian bloodstripe (according to Star Wars lore, Solo began wearing the second class yellow bloodstripe to draw less attention to himself).


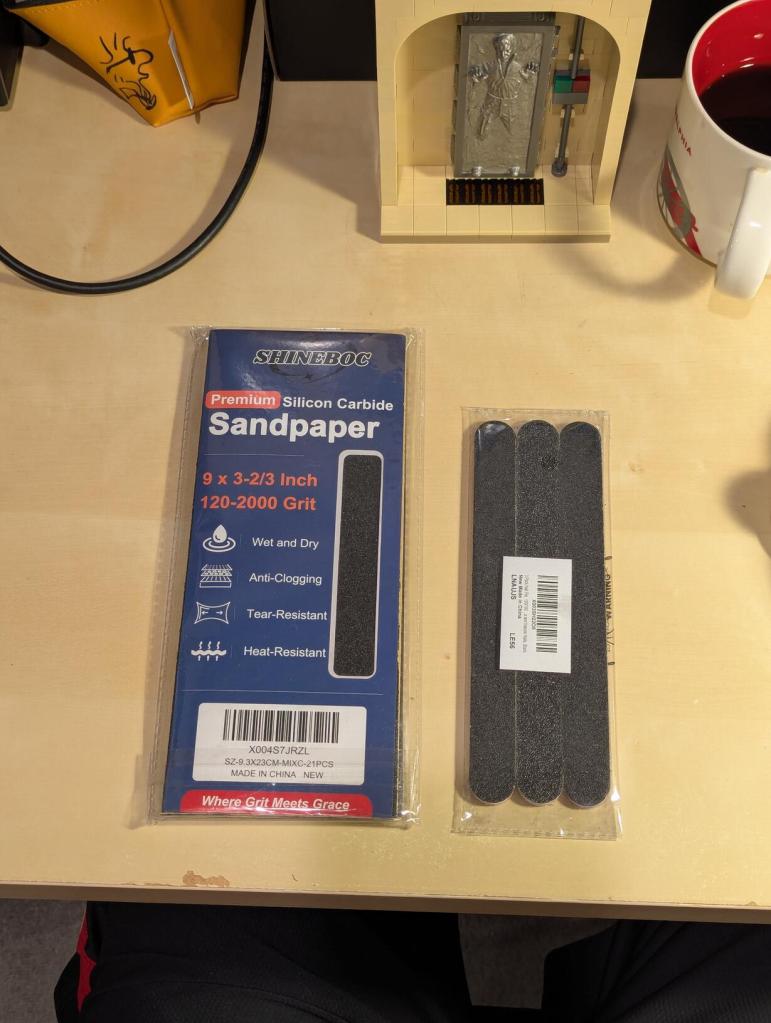
I used a hobby knife to remove as much plastic as possible before switching to files and sandpaper from heavy to fine grit sandpaper.
One regret is that I didn’t spend more time with the finer grit sandpaper. Priming and painting magnified imperfections that I couldn’t feel or see when I was working on the figure’s customized body shape.
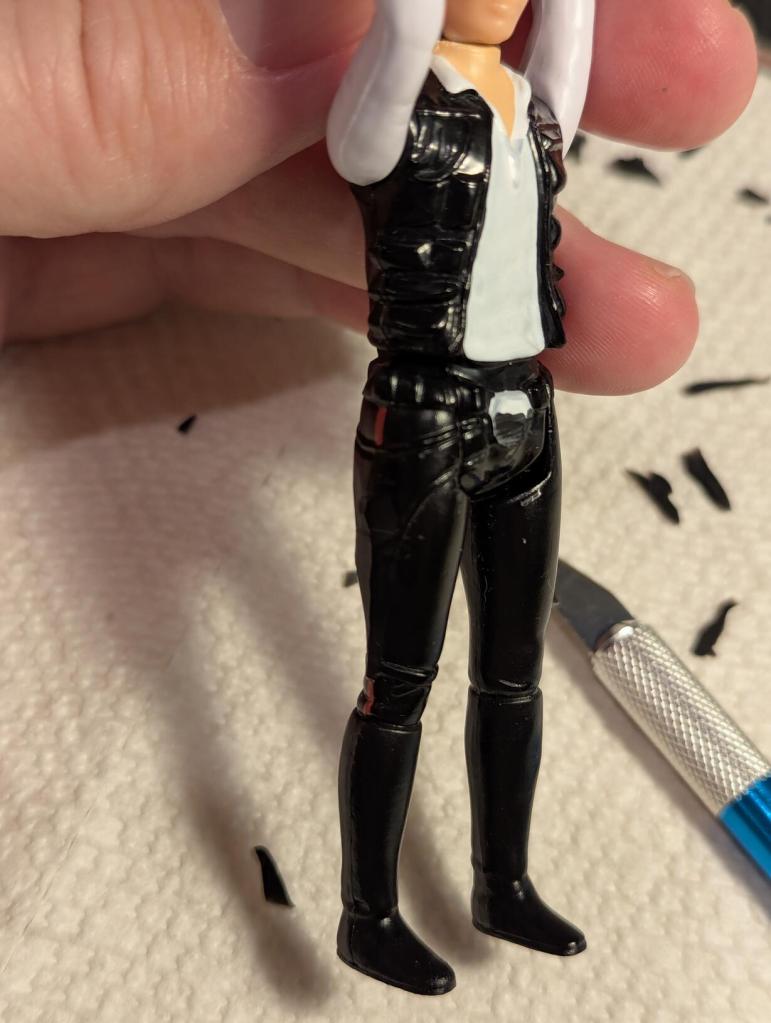
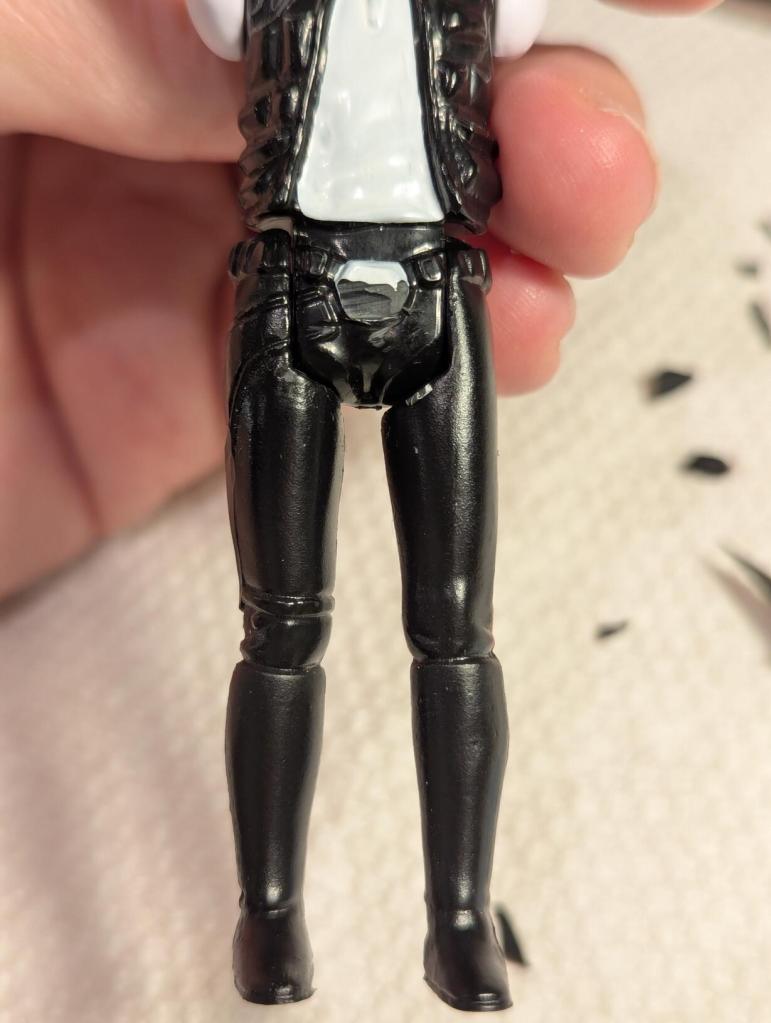
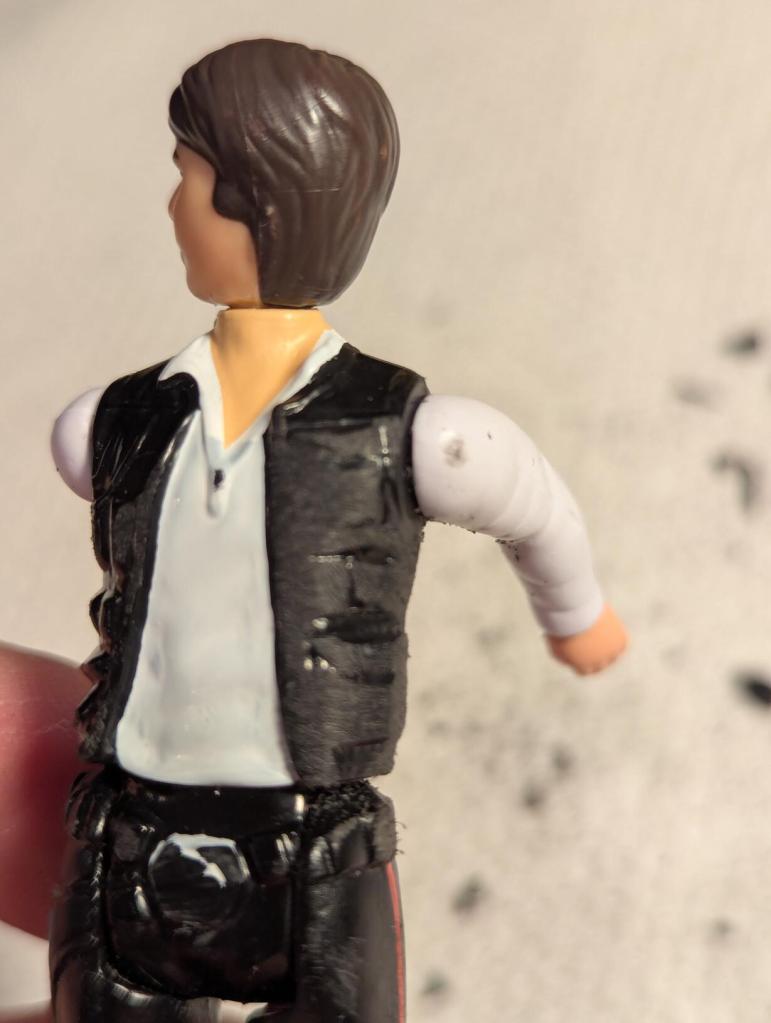
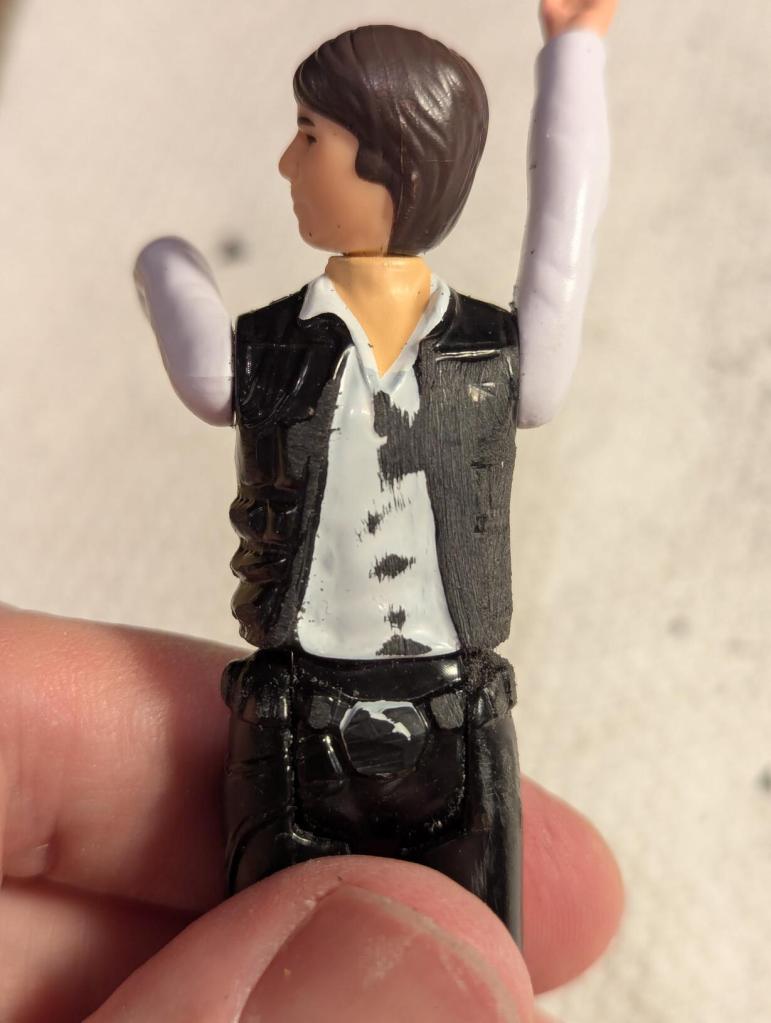
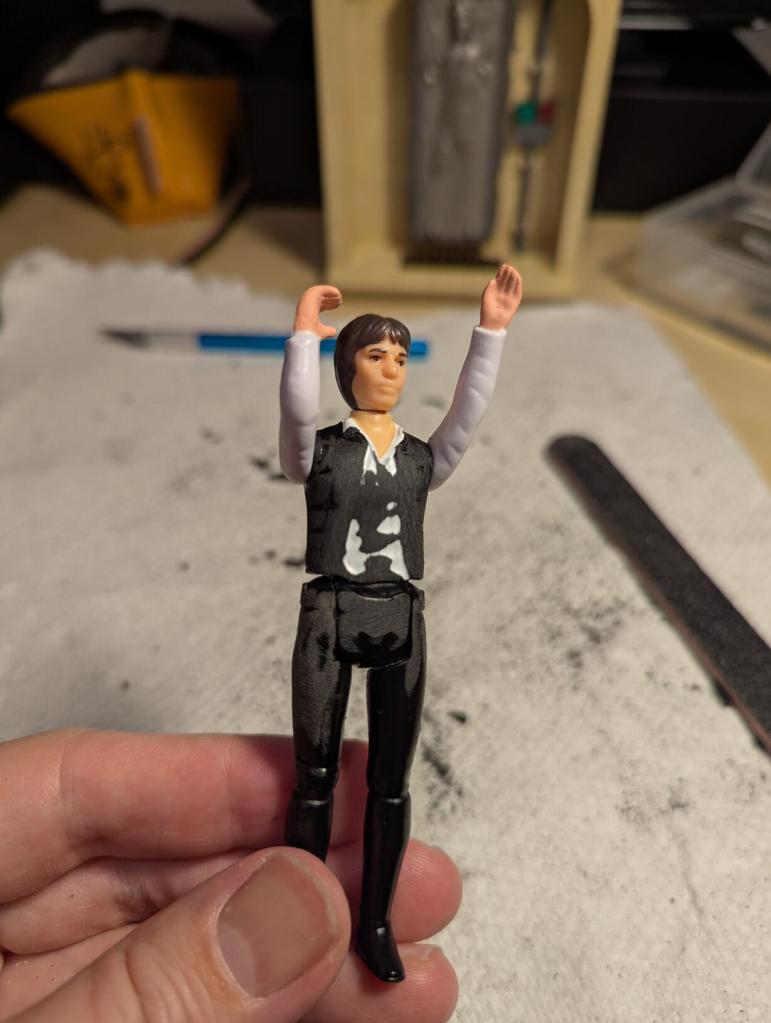
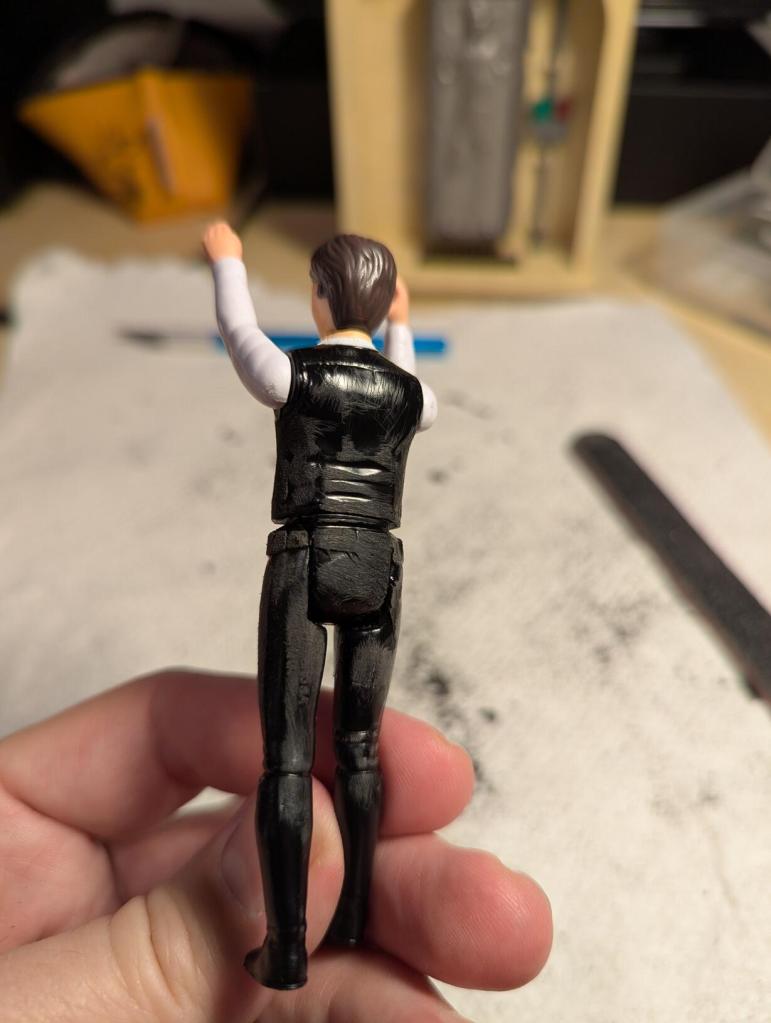
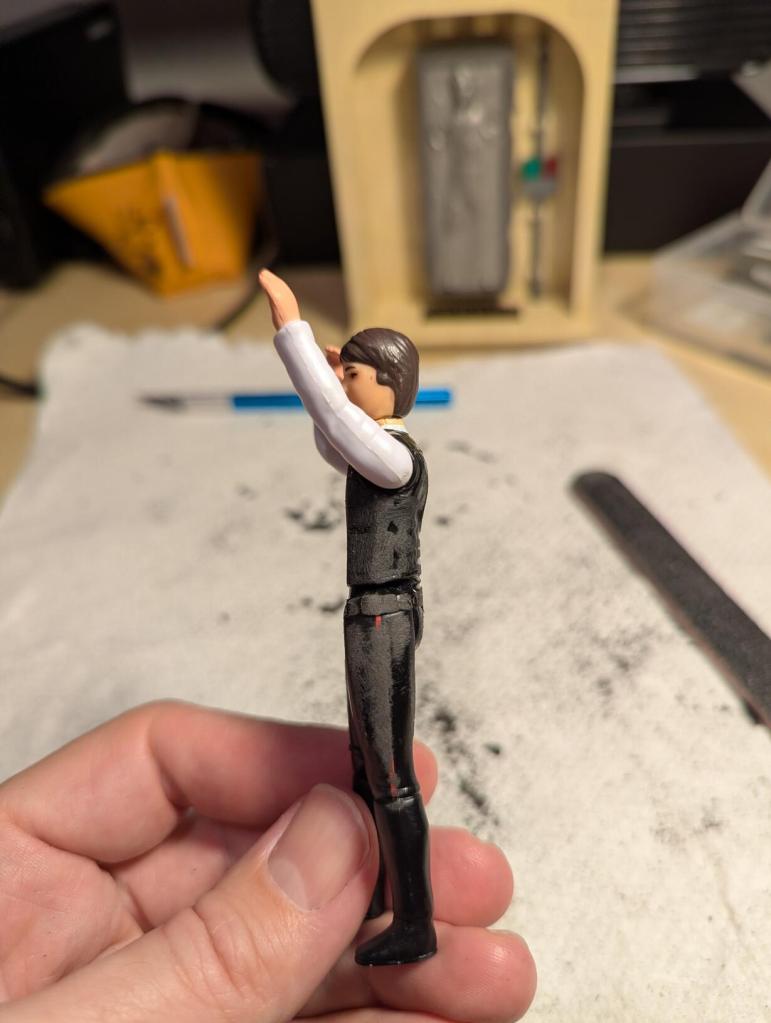
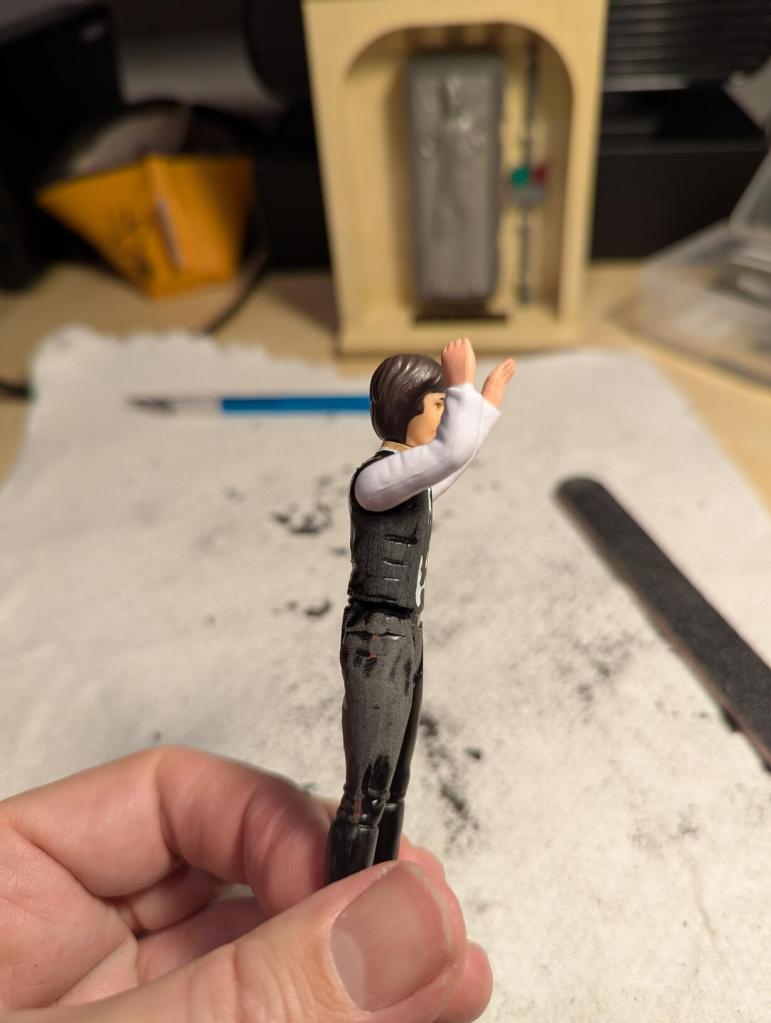
I further smoothed some of the ridged areas on his side and back before proceeding to apply a gray primer.
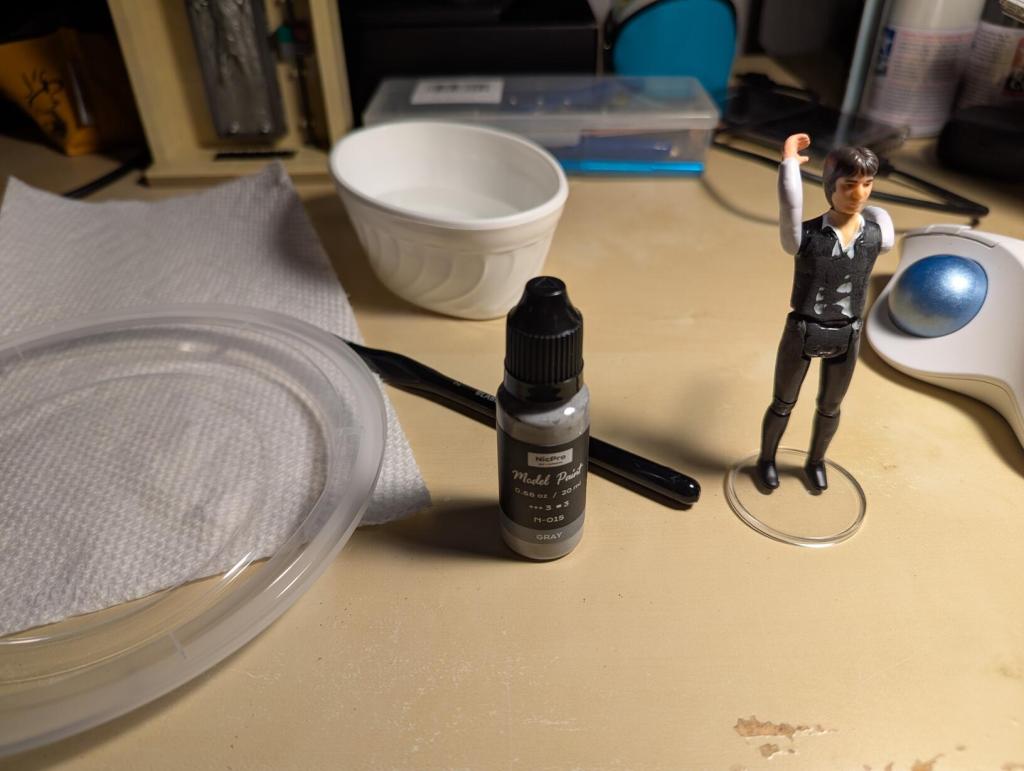
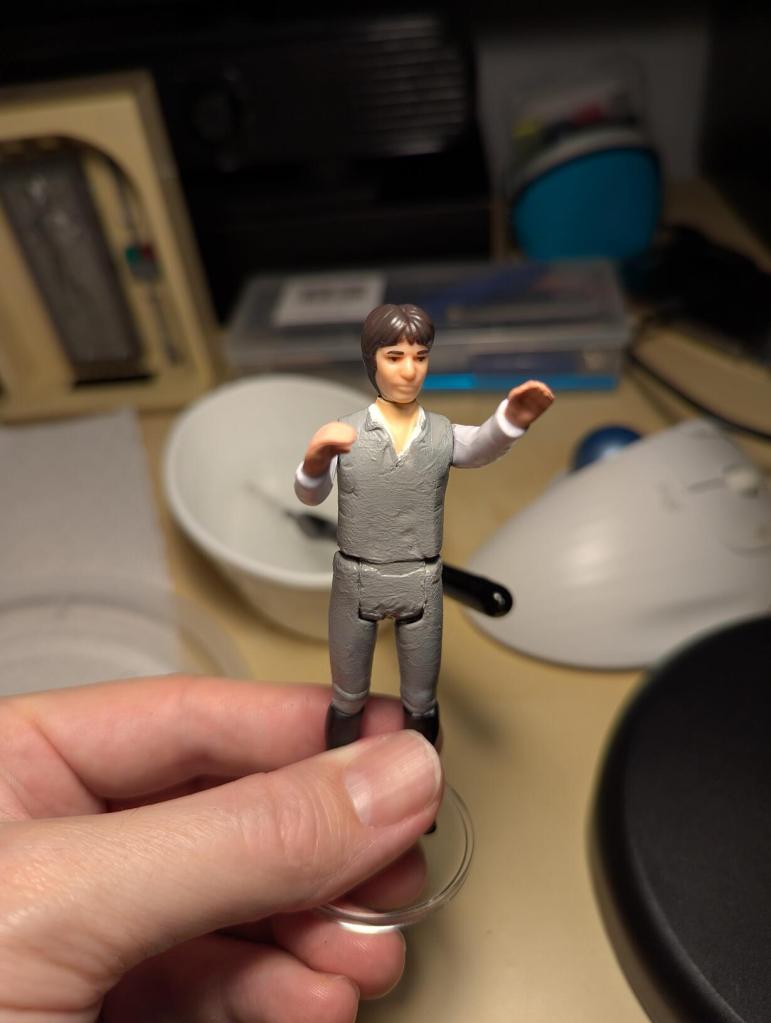
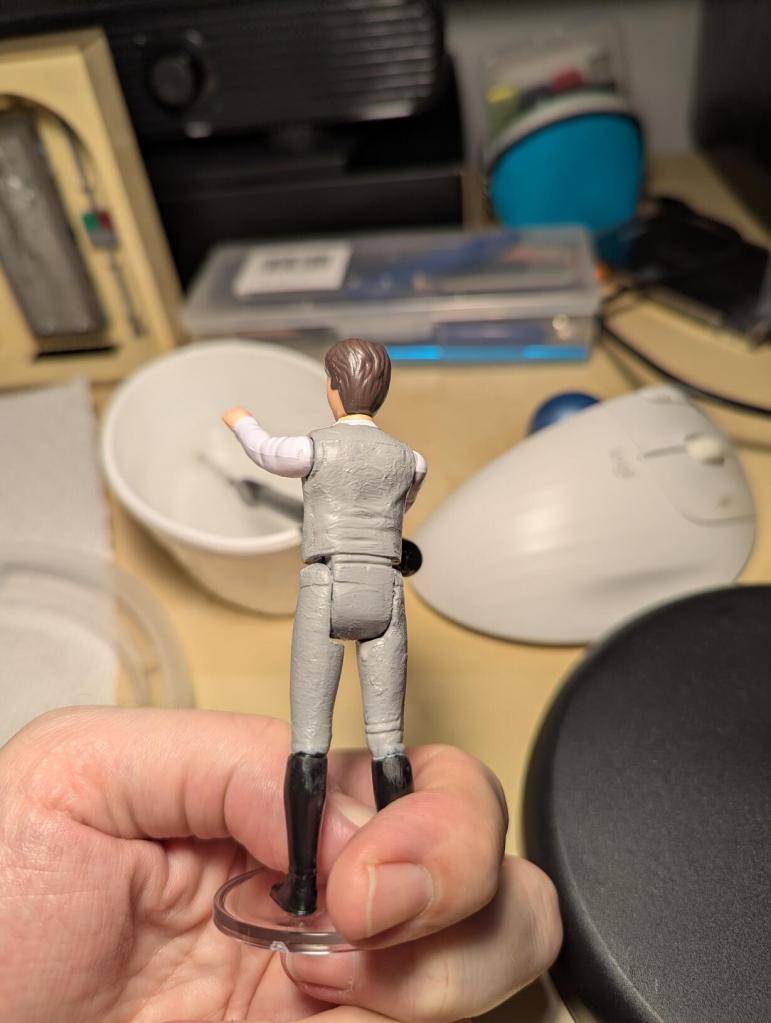
I applied two coats of primer–letting each coat dry 24 hours before applying the next. Then, I moved on to painting.
For his pants, I used Earth Brown with only a dab of Black mixed in. I only had matte finish paints when I worked on this customization. If I had to do it over, I would have went with glossy paints to improve the plastic-like appearance (e.g., so the shirt’s reflectivity would match the unpainted white sleeves).
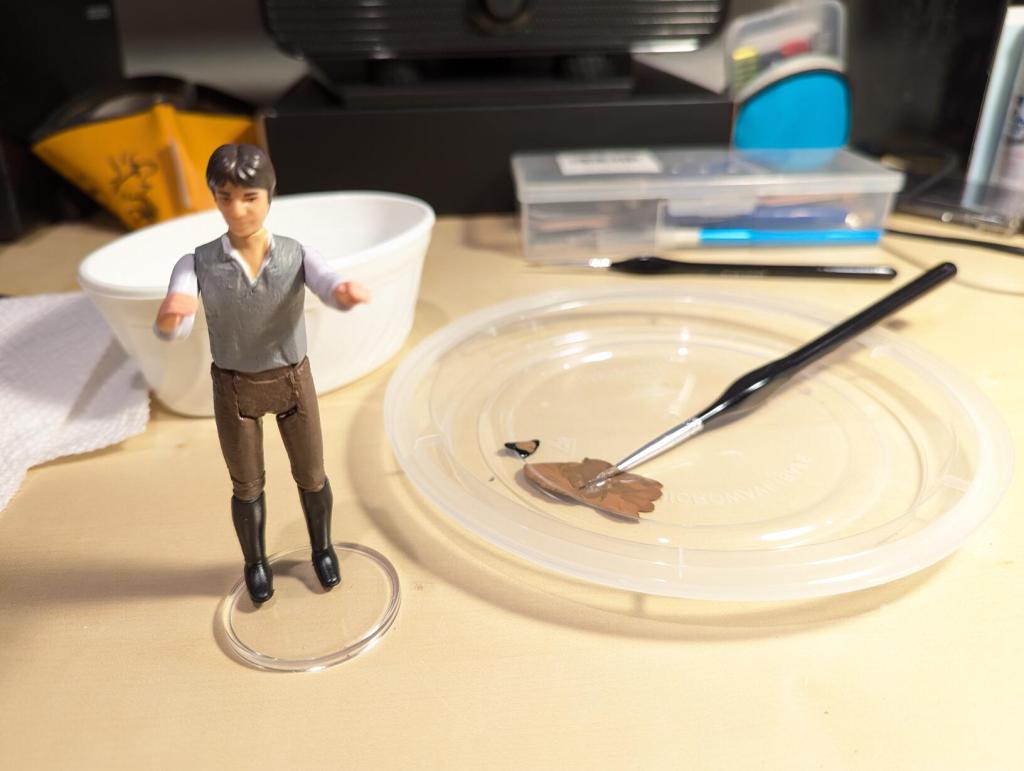
I only did one coat of brown, but I let it dry 24 hours before proceeding with painting Han’s shirt.
I had trouble with adhesion of the white to the primer–even letting a coat dry for 24 hours, I would get some white flakes to come off when I would try to lightly sand it before applying the next coat.
He ended up with three coats of white paint on his shirt.
Also, I wish that I had completely disassembled the action figure so as to avoid the bunching/tearing of paint around his arm/shoulder joints when I would move them.
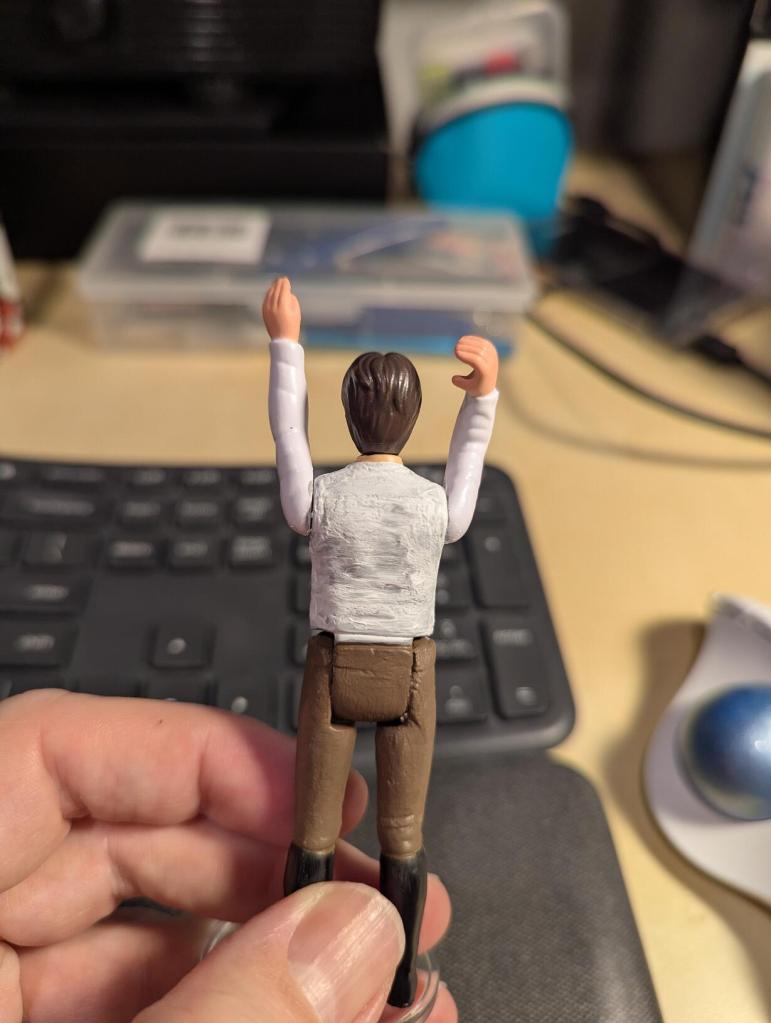
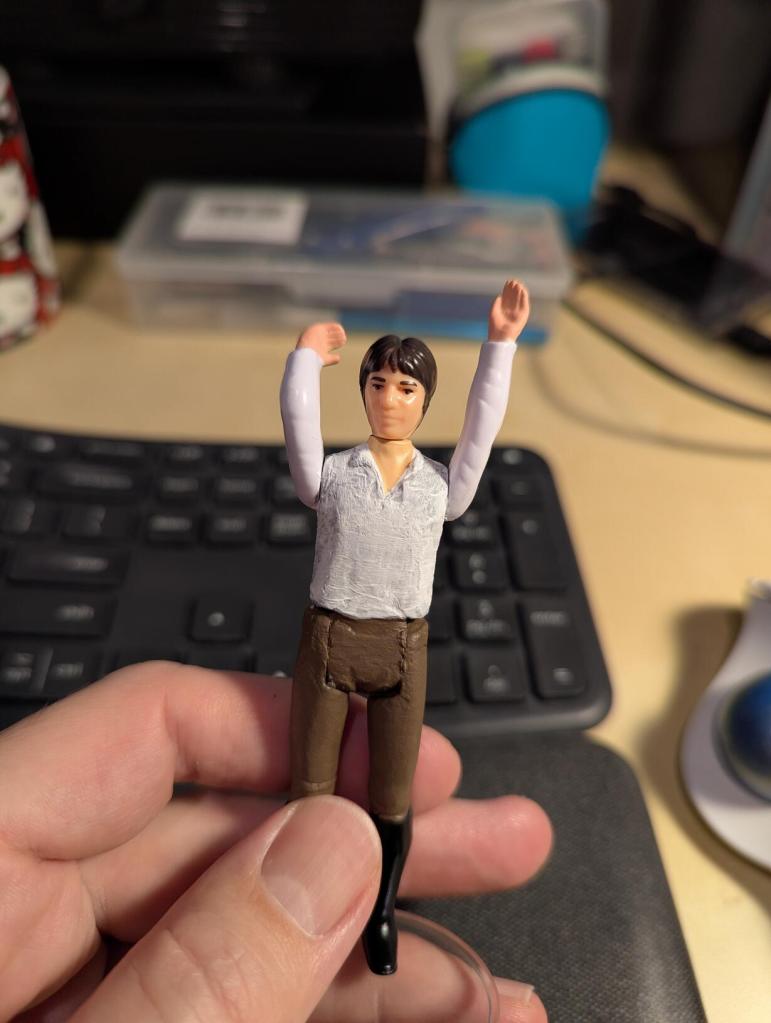
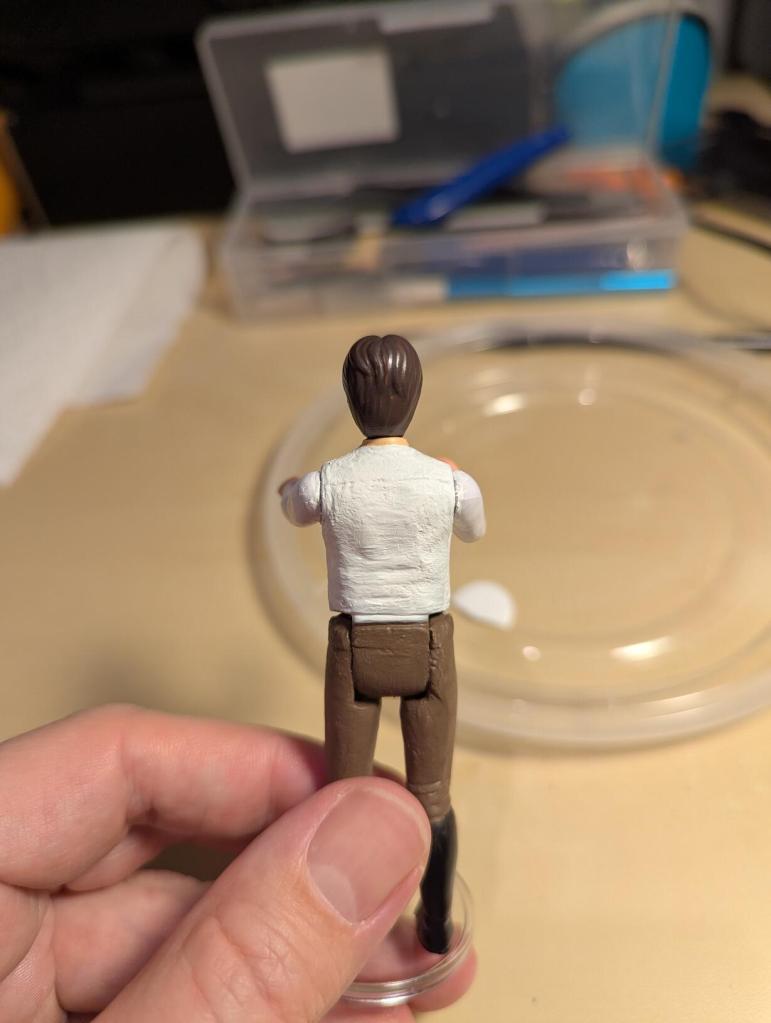
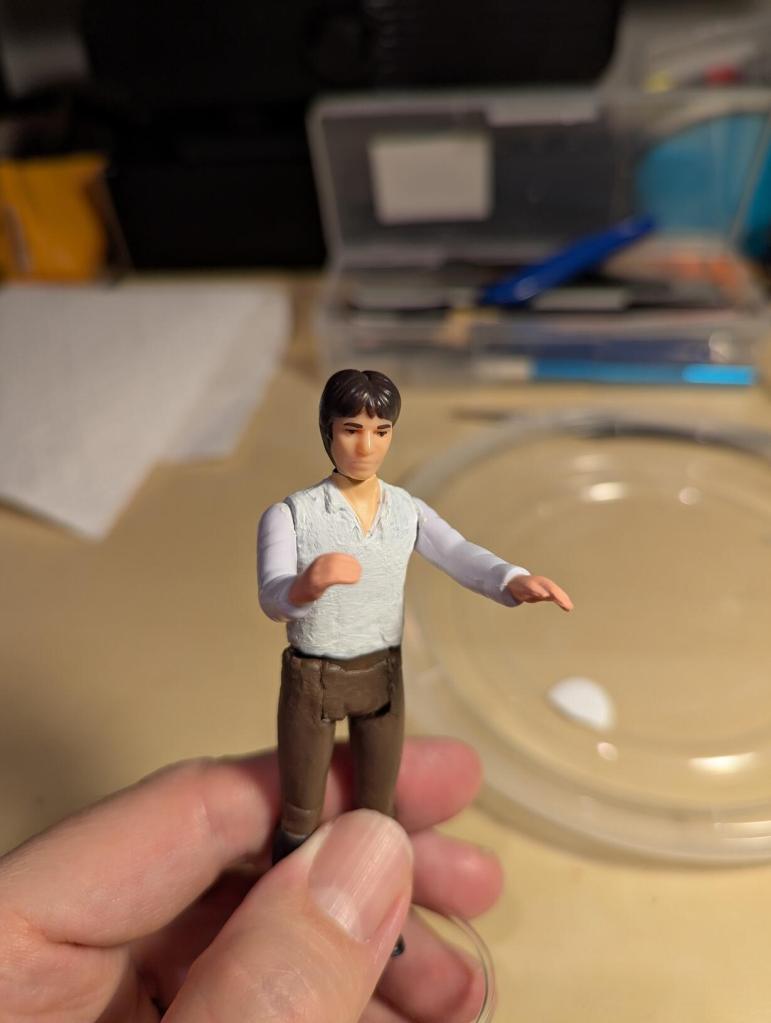
The last paint applied was to create a black belt passing through belt loops. I used black paint and a very fine brush for this. Unfortunately, my hands shook a little too much and I couldn’t create good black rectangles for each belt segment appearing between brown “loops.”
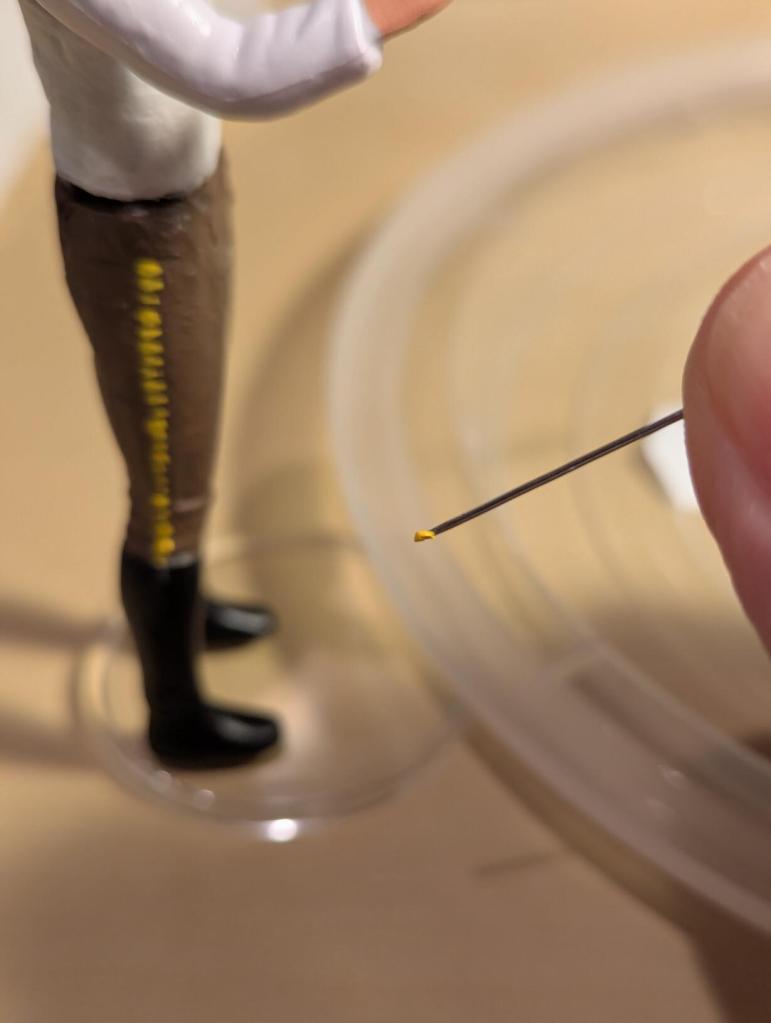
The trickiest painting application was the second class yellow Corellian bloodstripe. Each pant leg should have tiny yellow rectangular bars that go along the side of the leg from top to bottom. I used a pin and Medium Yellow paint. I put a tiny dab of paint on the pin and created 2-3 lines of the bloodstripe. I repeated this until both sides were done. I was happy with how the stripes turned out.
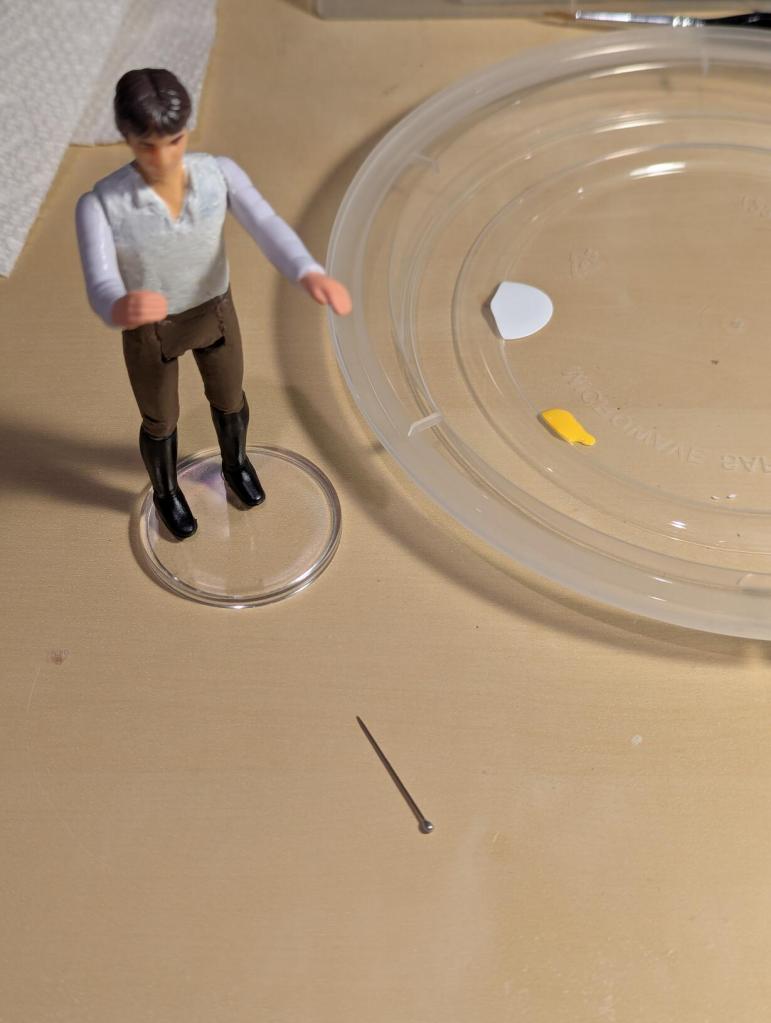
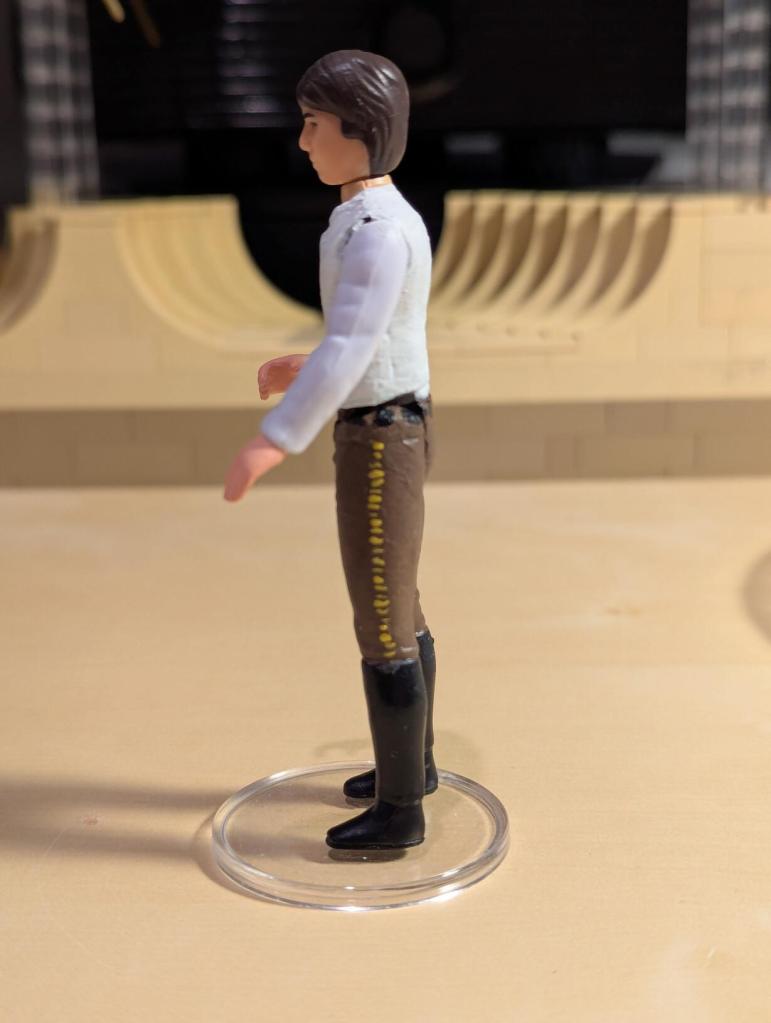
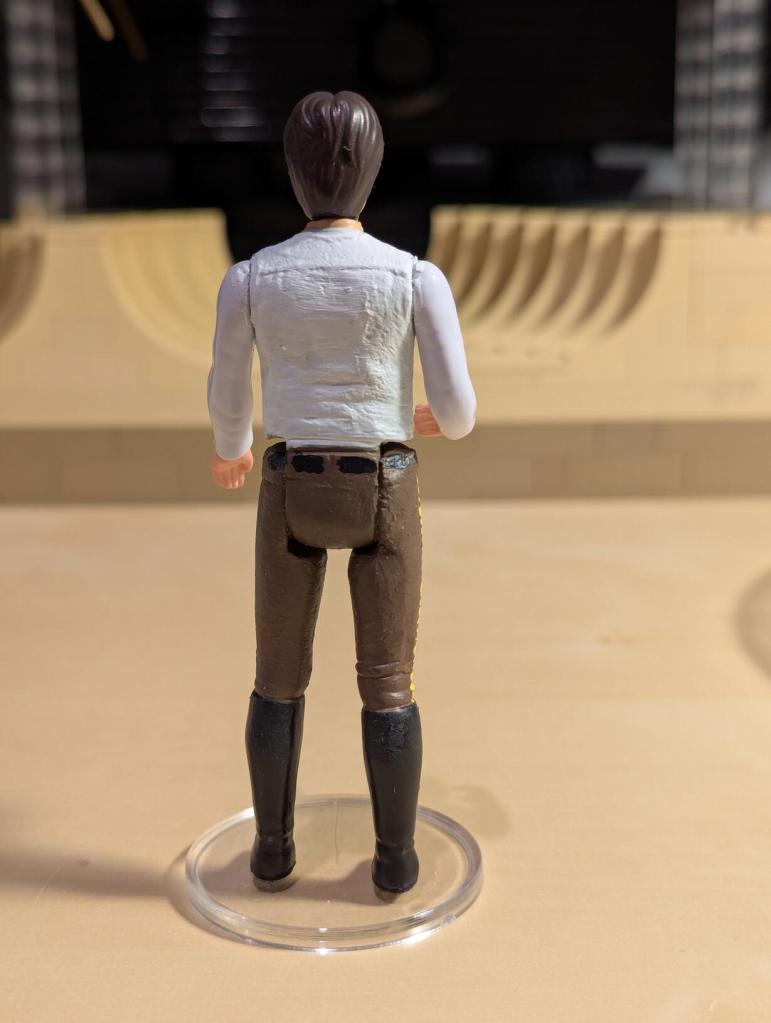
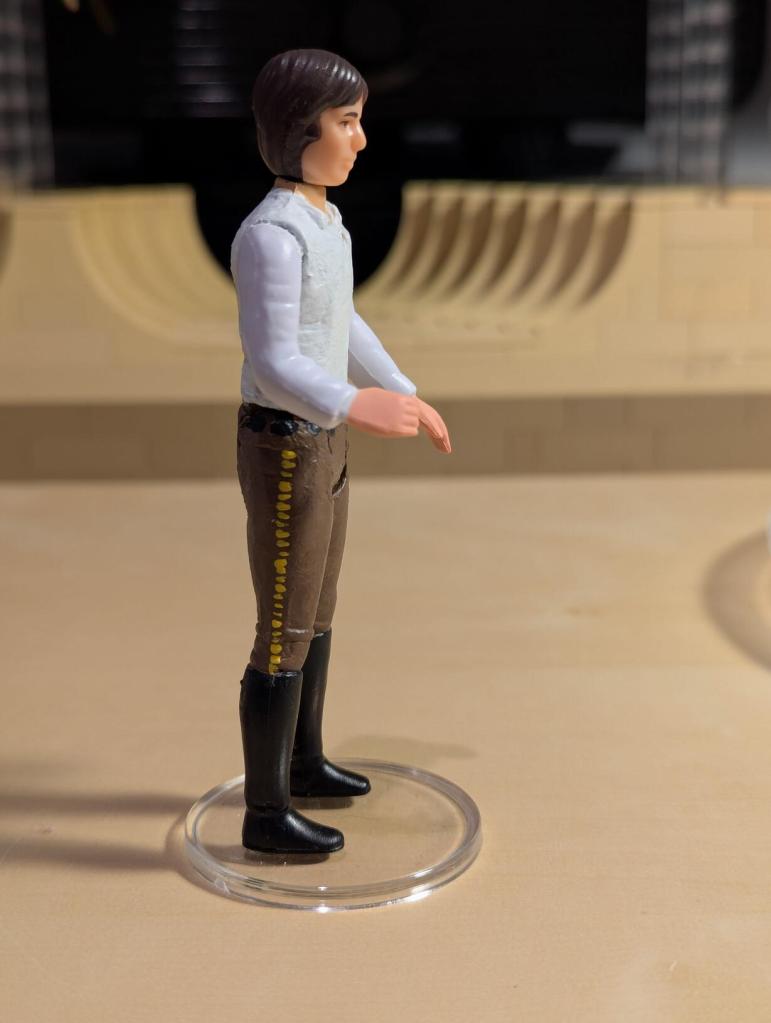
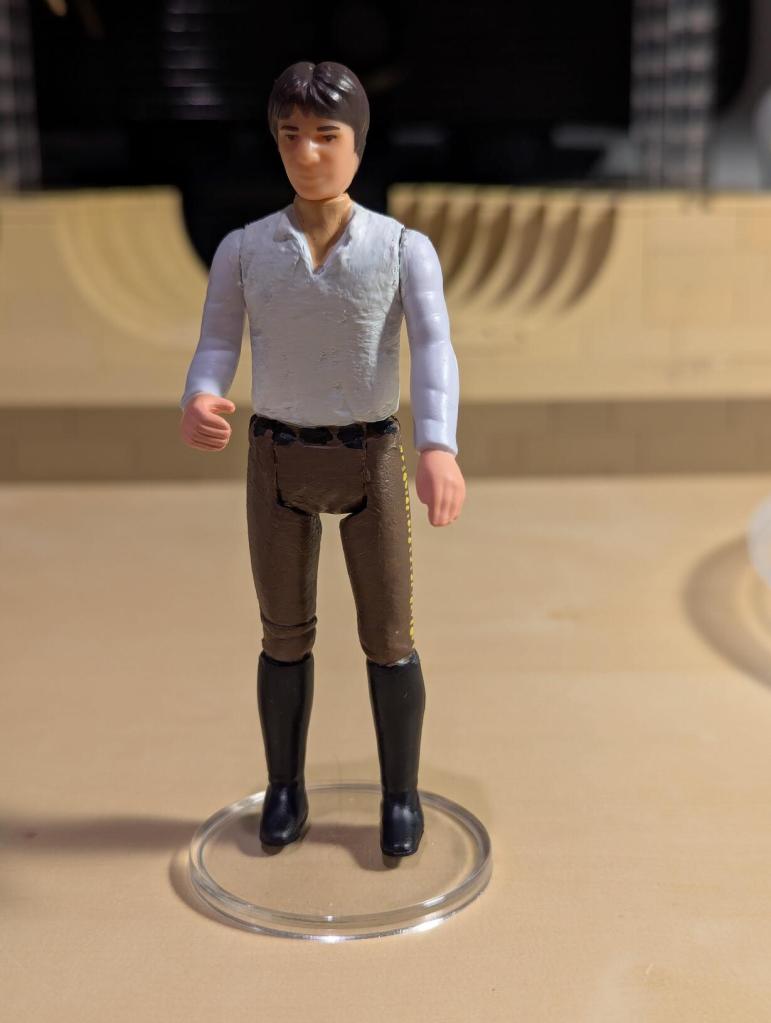
The last step was applying a Satin Acrylic Varnish by Vallejo. Following the instructions, I kept the brush wet with water while applying the varnish. I painted two coats–giving each coat 24 hours to dry.

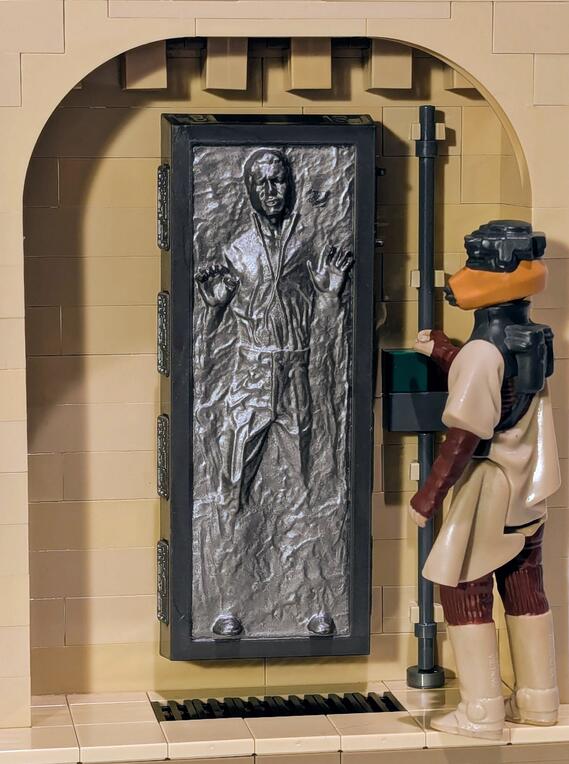
The finished customized Han Solo action figure is below: