Today, unfortunately, was the last day of my Science Fiction class at Georgia Tech.
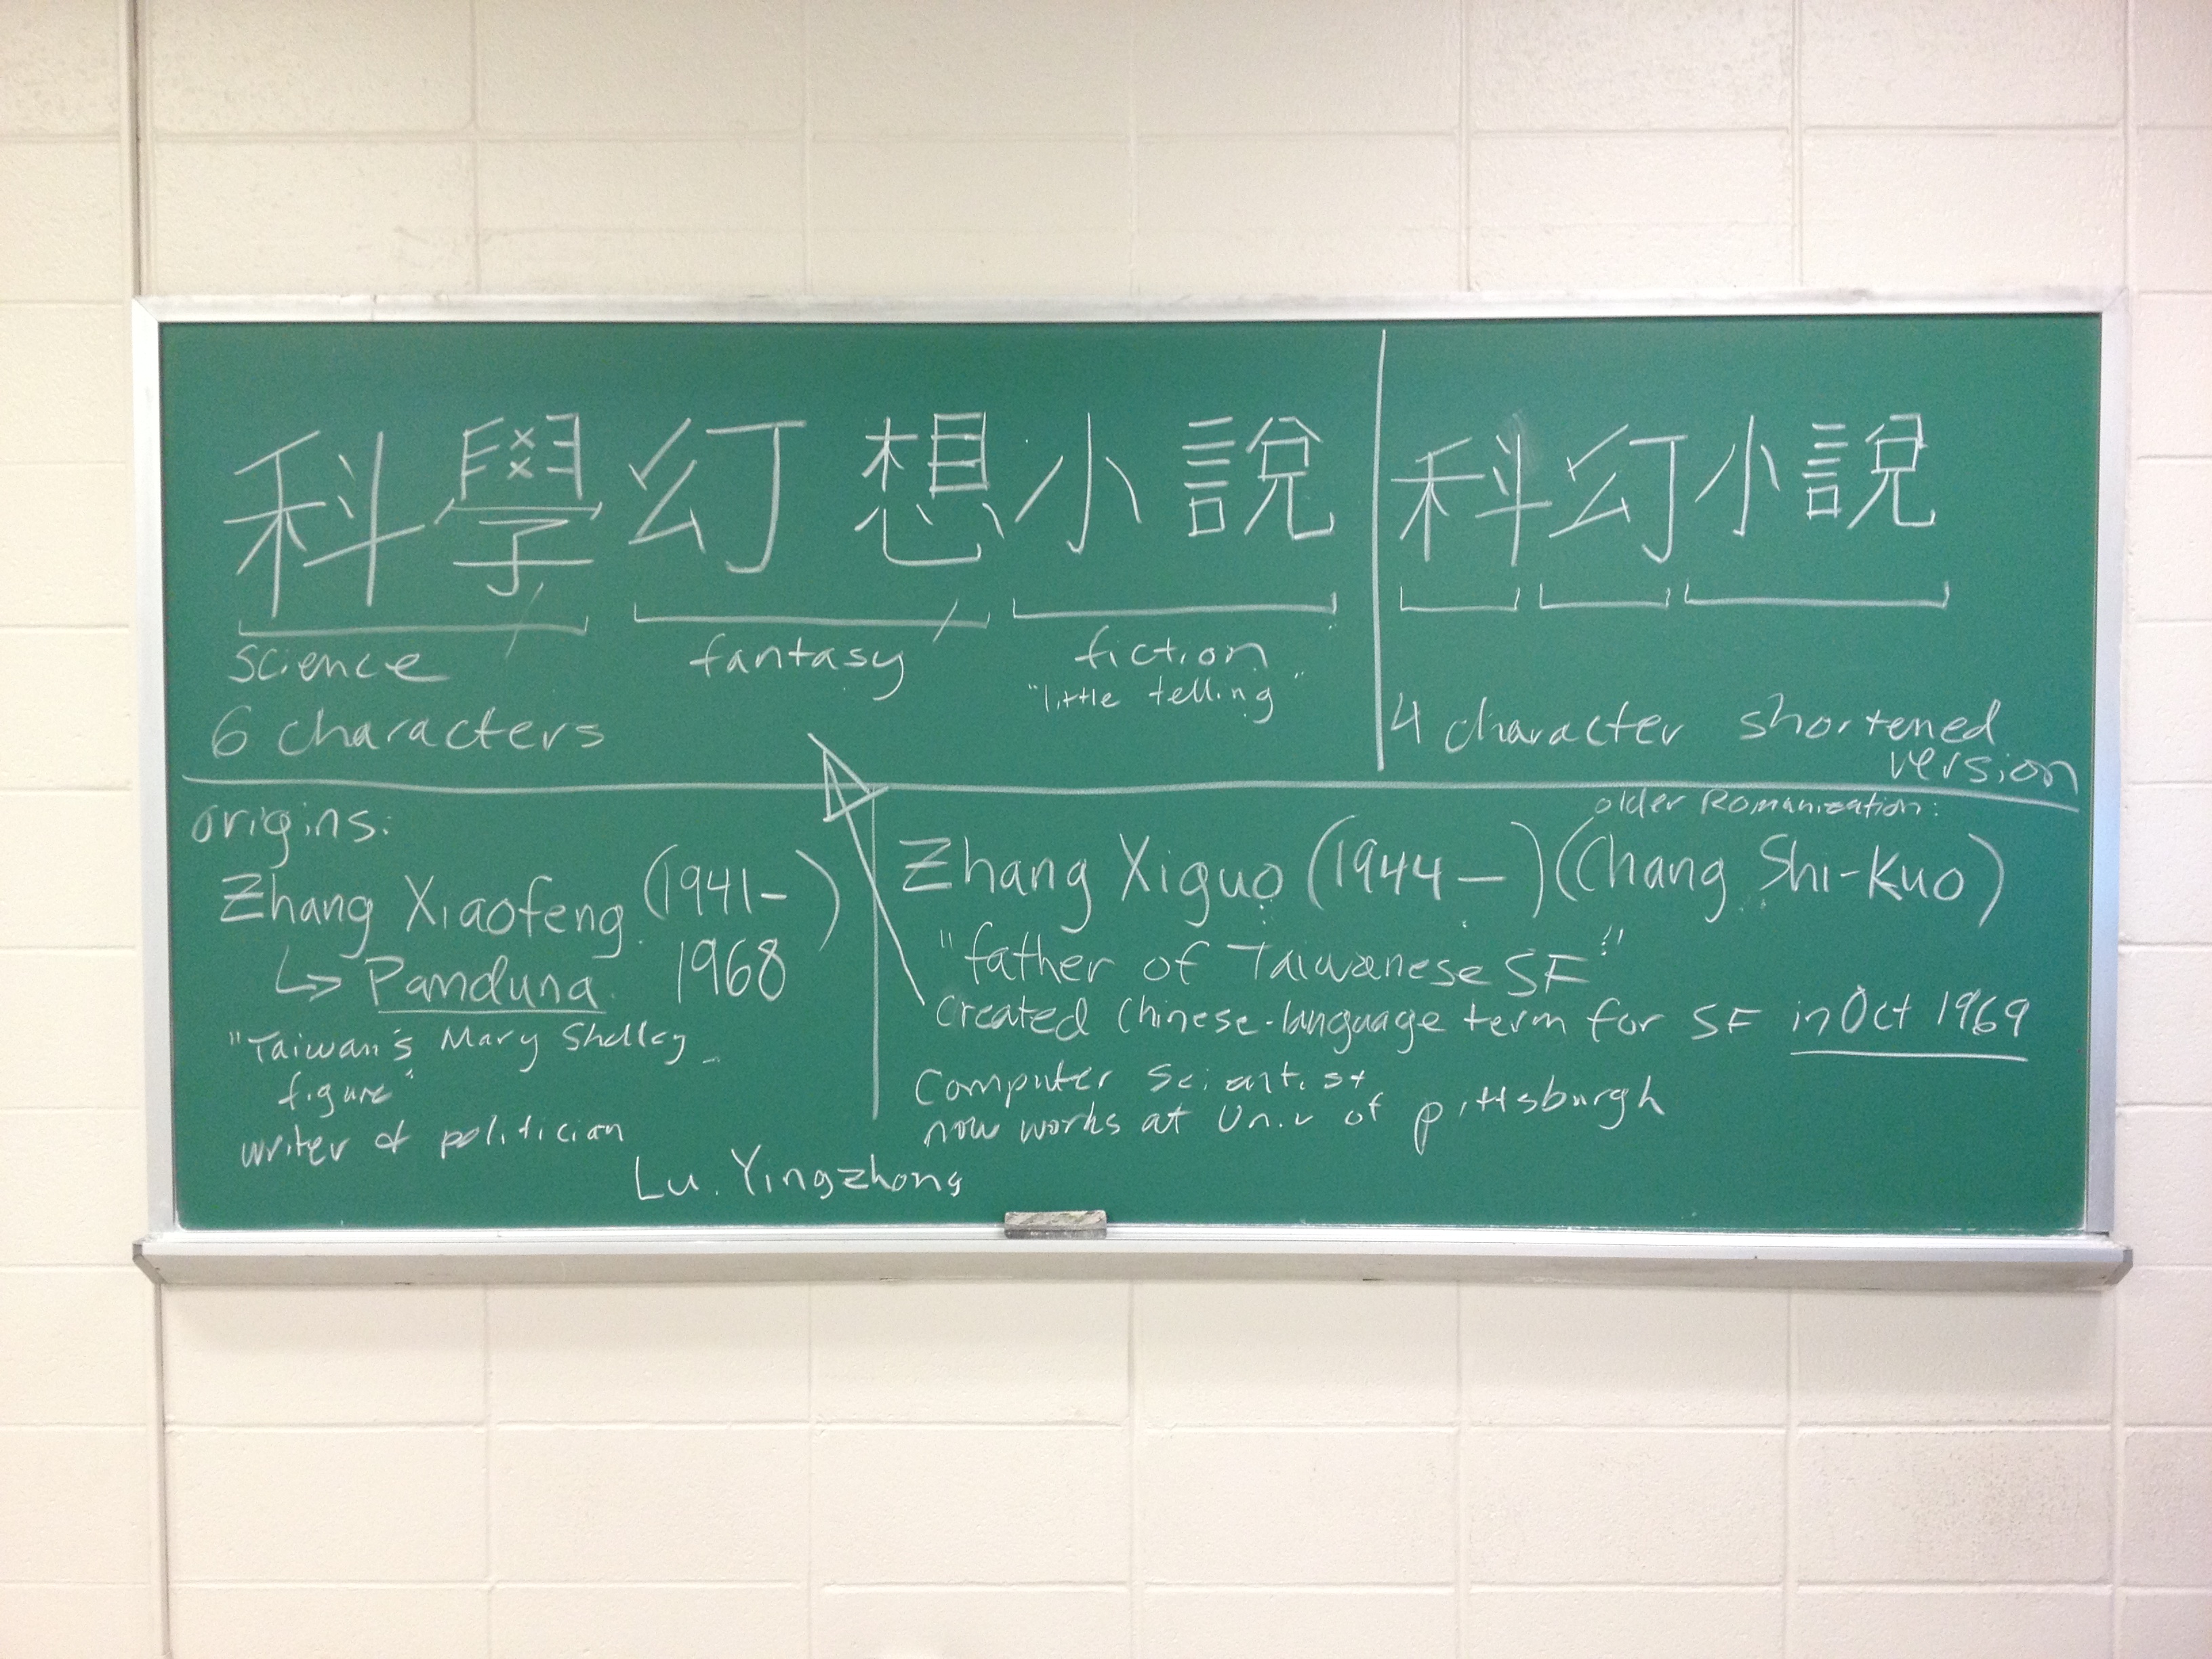
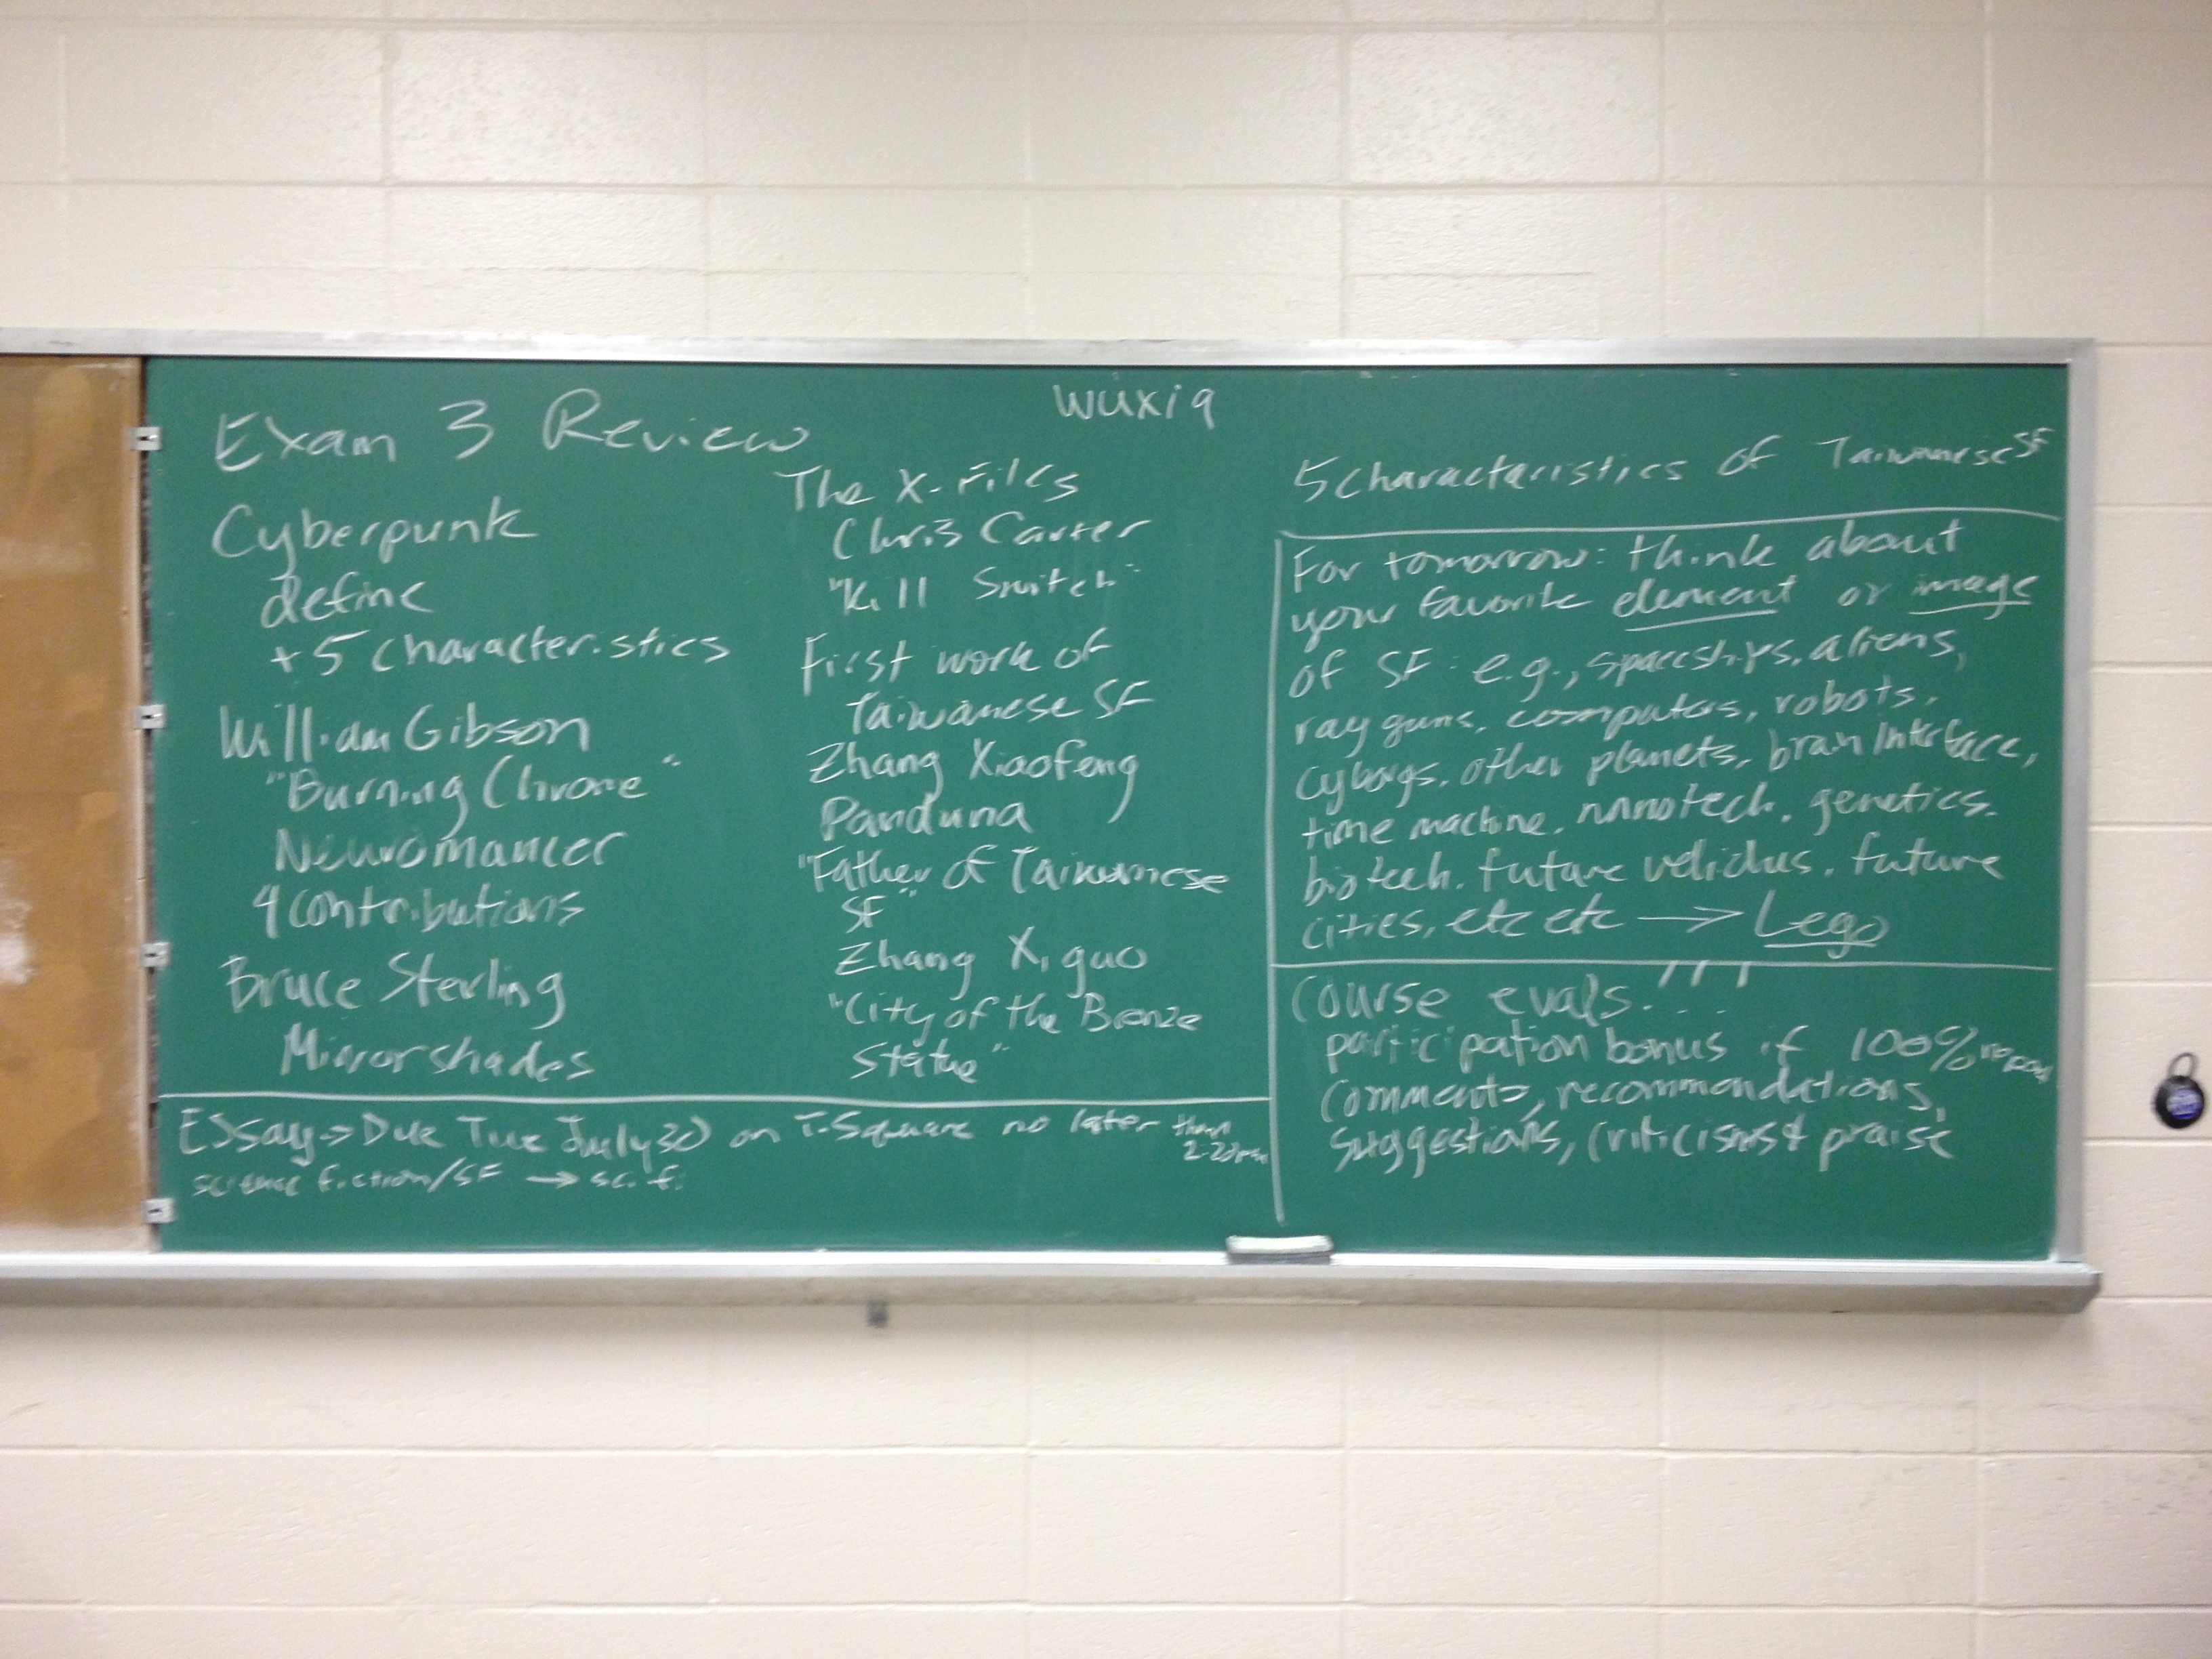
At the beginning of class, my students completed their third exam. Unlike the previous exams, it only covered the material discussed in class this week: cyberpunk and Taiwanese SF. And unlike the previous 1 hour long exams, it was 30 minutes long.
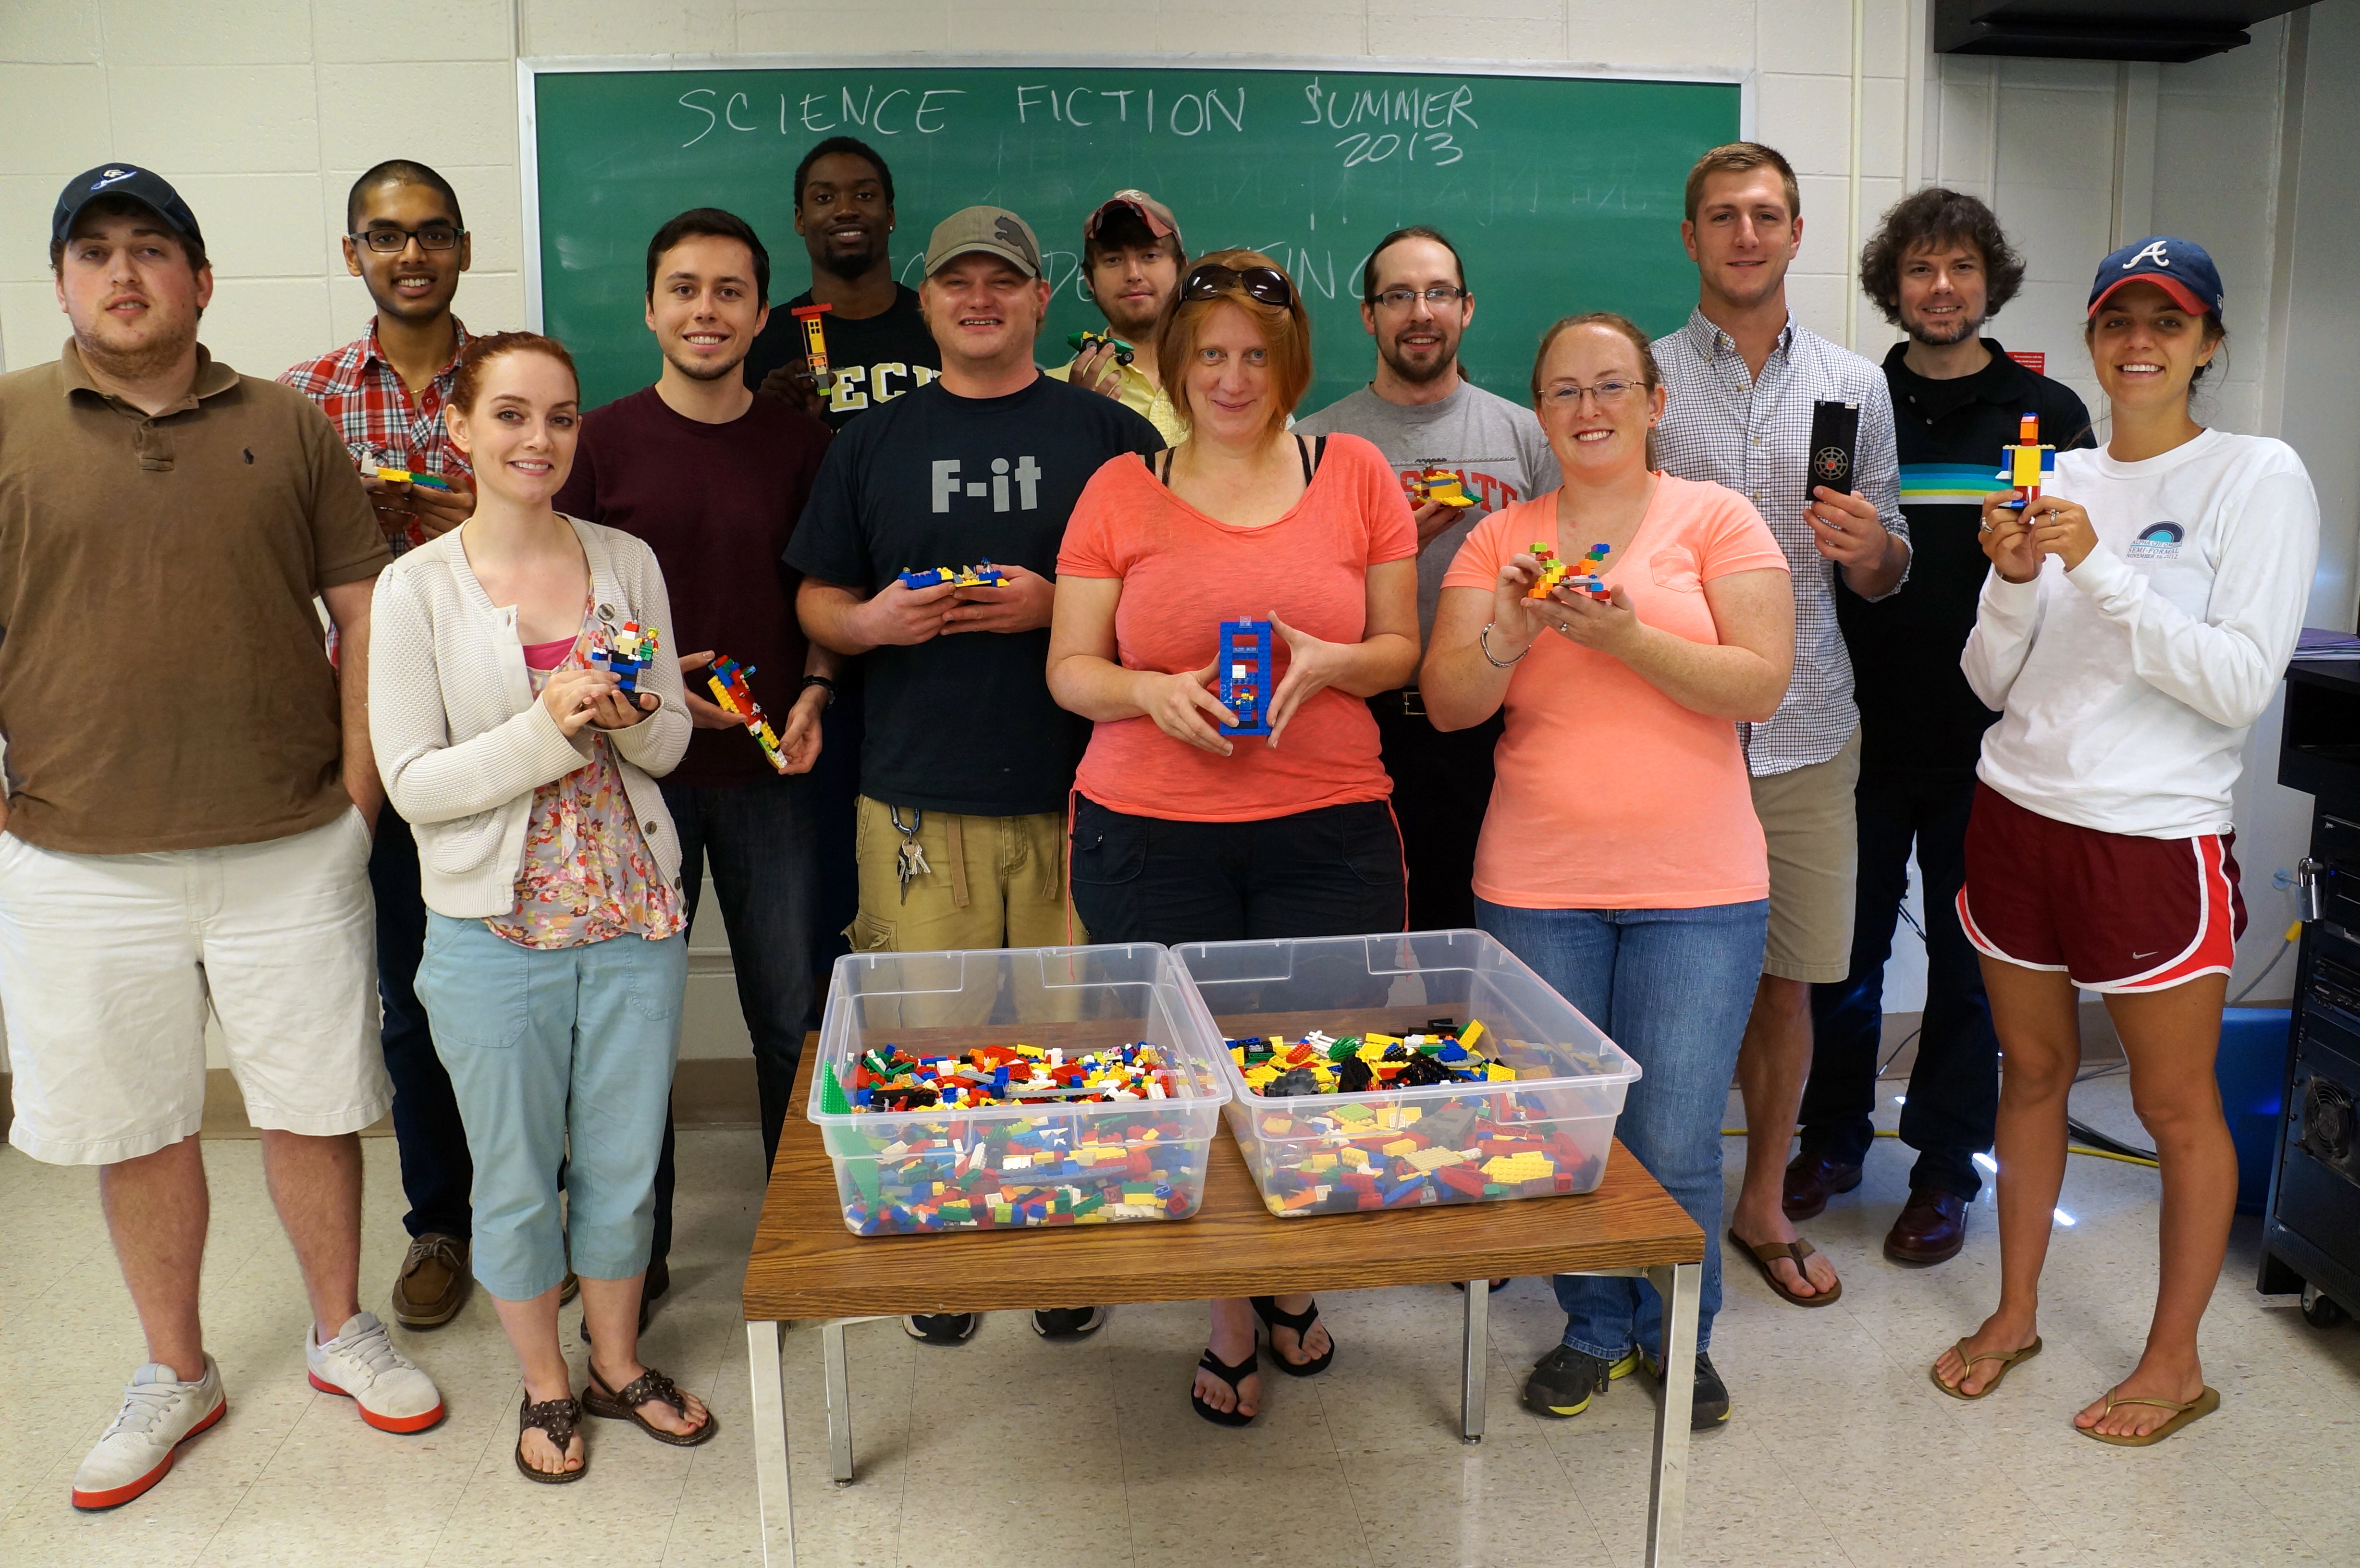
After the exam, we began what I called an SF debriefing with Lego. I framed this end of semester activity by having them think about WOVEN (written, oral, visual, electronic, and nonverbal) modes of communication. Then, I discussed the importance of one aspect of nonverbal communication: haptics. In the haptic mode, we touch, we build, and we visualize objects. It is an insanely important and often overlooked way in which our brains think, learn, and communicate with others. I told them that this activity was meant to allow them to think about and express some image or object from SF–either discussed in the class or not–that they liked or thought significant. To facilitate their work with haptics, I brought two bins full of Legos–some acquired from the local Lego Store and some from my secret stash. I told them to use up to 40 bricks/elements to build their model. After completing it, they would have a chance to hold it up and tell the class about it, and if they choose to do so, they could take it home as a gift and a memento of the class.
I gave the students about 30 minutes to build, and I encouraged them to get out of their chairs, stand around the bins to dig for bricks, and talk with one another as they worked–talk about what they were building, trade bricks, help one another, etc. It didn’t take much encouragement on my part to get them going–they took off like a fleet of rockets!
When each student had a chance to tell us about their creation, I would offer other connections and background information on their creation to further integrate it into the broader history of SF.
After class, Professor Carol Senf, who was observing my class, was kind enough to take a group photo of the class (see above).
I left my students with the encourage to continue their exploration of SF. I told them that I believe SF to be the most important contemporary literature. It examines the human condition, critiques our social relationships, imagines the effects of science and technology, and energizes our sense of awe and wonder. It can inspire us and it can teach us. Of course, it also can be smashing entertainment.
When class was over, the conversation continued with those students who had other questions about SF (Was PKD really a drug fiend? Who are important/good contemporary SF writers? etc.) and kind words to say about the class.
All that is left for my students is to complete their final papers testing a work of SF against definitions of the genre by others and themselves. I have to grade their third exams and their papers before I can submit grades next week. I am looking forward to reading their papers, but I am sad that this amazing class with these talented students is virtually at an end.