When Y and I lived in Atlanta, our house had a downstairs bedroom that we used for an office. However, it was an odd room. The kitchen and downstairs bathroom had tiled floors, and the rest of the downstairs–dining room, living room, and den–had hardwood floors. That downstairs bedroom had medium pile carpet. When our friend Masaya asked if he could visit us, we thought it was a good opportunity to refinish the downstairs bedroom as a guest room with hardwood floors. Here’s how we refinished its floor to match the stain of the rest of the downstairs.
First, I pulled up the carpet in the closet and a corner of the room to verify that it was the same kind of oak flooring as the rest of the downstairs. Having verified this, I began cutting and rolling the carpet and padding.
The padding had been glued down–thankfully not over the entire floor–but enough that I had to scrape some of it and the glue off the wood flooring using a paint scraper. However, I went slow and carefully to make sure that I didn’t gouge the wood with the tool. Whatever I didn’t get up, I knew that I could sand down eventually.
Then, I used a hammer to pull up the carpet tack strips around the edges of the room and vacuumed the floor clean.
For the next step, I went to the local Home Depot Rental Office to rent a stand-up belt sander for floors. This thing weighed about 100 pounds. It’s weight combined with a handle operated mechanism to engage the sanding belt against the floor and pull it forward made quick work of sanding the floor and removing all old paint, glue, and stains. As the wood wasn’t in too bad of shape, I used a fine grit sandpaper. Also note that when you use a floor sander like this, you want to move in the direction of the boards and give each pass a little overlap for an even finish across the whole floor. Also, you can see that I have the windows open. Even though the sander has a bag to catch the sawdust, it can’t catch it all. Open your windows and cover outlets and air returns to keep that dust from getting into places it shouldn’t be.
Halfway through, I changed out the belt for a fresh one. This probably wasn’t necessary, but I might have noticed some change in the sanded floor’s finish by this point in the project.
After using the belt sander over the whole floor, I saw some spots that needed additional work. When I did these spots, I went over the entire run as just using it in one spot might leave a dip in the floor. As I worked, I used the shop vac to keep the floor as clean as possible from the extra sawdust produced by the sander. And, around the edges of the room and inside the edges of the closets, we used a handheld orbital sander and sanding blocks to sand the 2″ or so on all sides that the belt sander was unable to reach due to its design.
After returning the belt sander to Home Depot, we cleaned the floor again and applied water to the wood with cloths to “pop the grain.” This makes the wood more receptive to the stain so less is needed to achieve the results that you want.
Before, we had taken photos of the existing hardwood floors in the house using natural light to capture the best image of the stain. We took this to Home Depot and matched it to a water-based stain and polyurethane combo so that we could finish the floor as soon as possible and give it time to cure and air out before moving furniture back in anticipation of our friend’s arrival.
With the wood damp, I stirred the stain/poly combo according to the instructions on the can and poured out some into a paint tray. Then, I dipped a foam paint/finish applicator into the stain/poly and gently worked it into the wood in the direction of the boards.
Once completed, give the floor enough time to air out and cure before moving things back in. If you don’t have to walk on it, just wait until its met the cure time as this will give you the strongest possible finish.
I didn’t want to pull up the baseboard, so I went back after the floor’s finish had cured and repainted the baseboard (putting down plastic, taping the edge, and putting enough coats to hide the stain that hit it). In hindsight, I should have taped the baseboard to protect it. However, the best option is to pull up the baseboard and reinstall after refinishing the floor.
We were very happy with the results. It was ready for our friend’s visit and we used it as an office again after he returned to Japan.
Since I’ve been writing about different kinds of software that generate text and images without using modern artificial intelligence (AI), I wanted to thread them together on their own page under the Research heading in the site menu above and available here.
Currently, the page collects together my posts about image generating software KPT Bryce and Evolvotron, and text-generating software Electric Poet, Kant Generator Pro, Mac Prose, and McPoet 5.1. I will update that page with additional links as I publish posts about other pre-AI generative software.
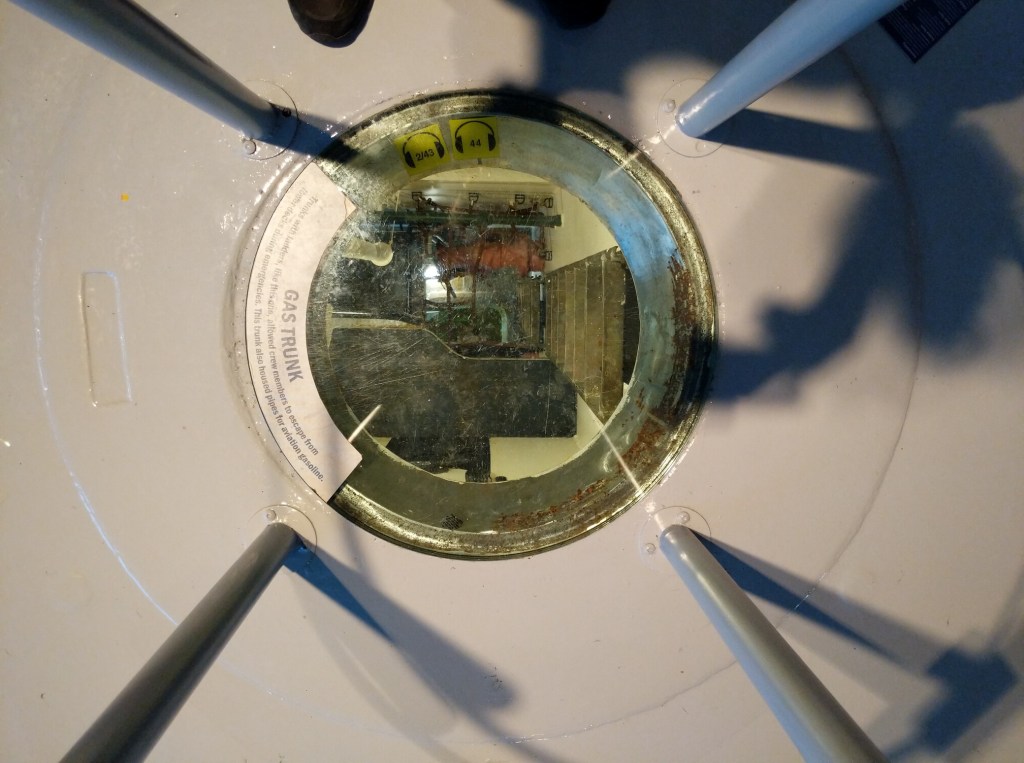
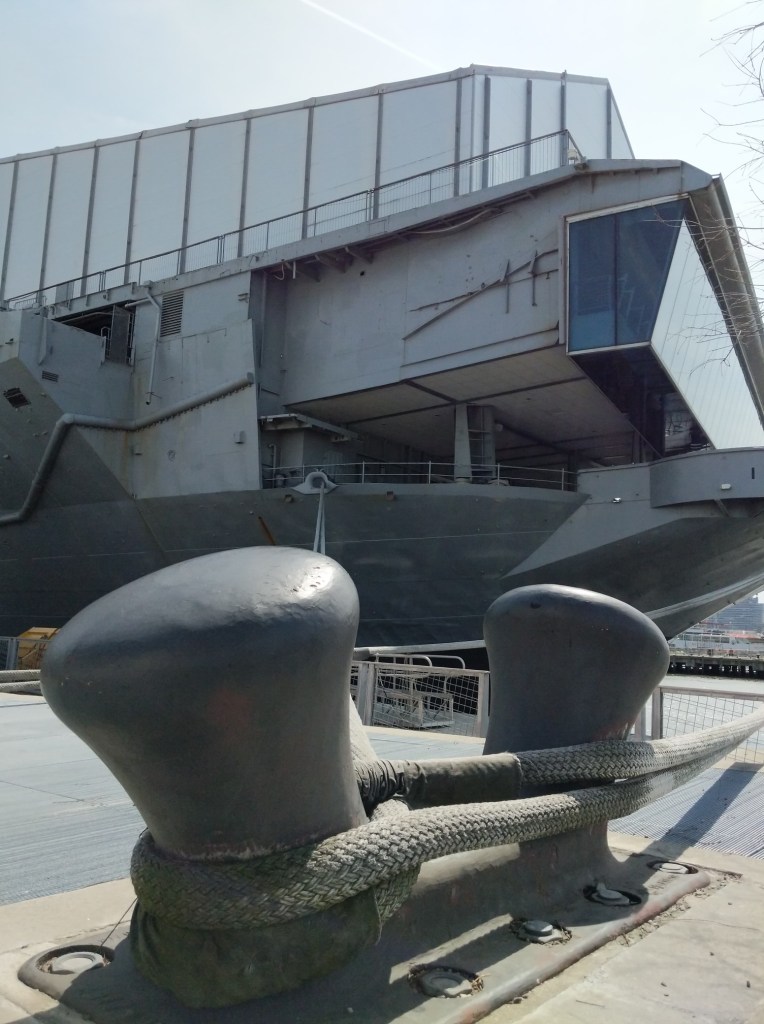
As I wrote about yesterday, I met up with my former City Tech colleague Alan Lovegreen in March 2019 on the west side of Manhattan to visit the Intrepid Museum and USS Growler submarine. My last post showed pictures of from the Intrepid. Today’s post is all about the Growler.
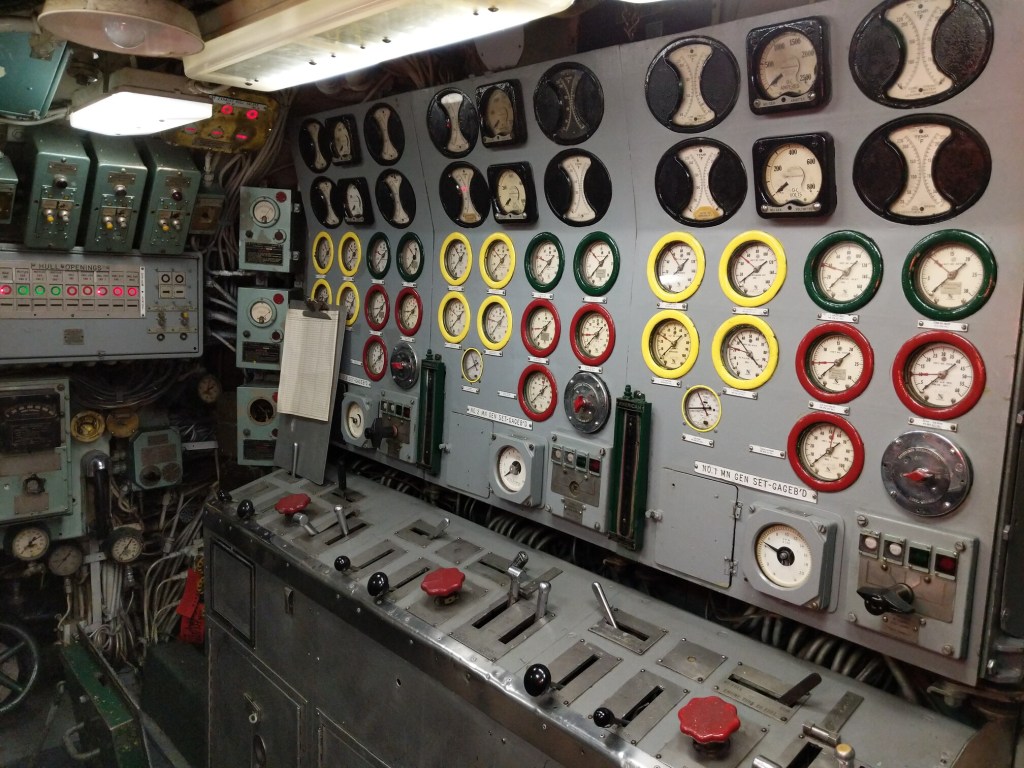
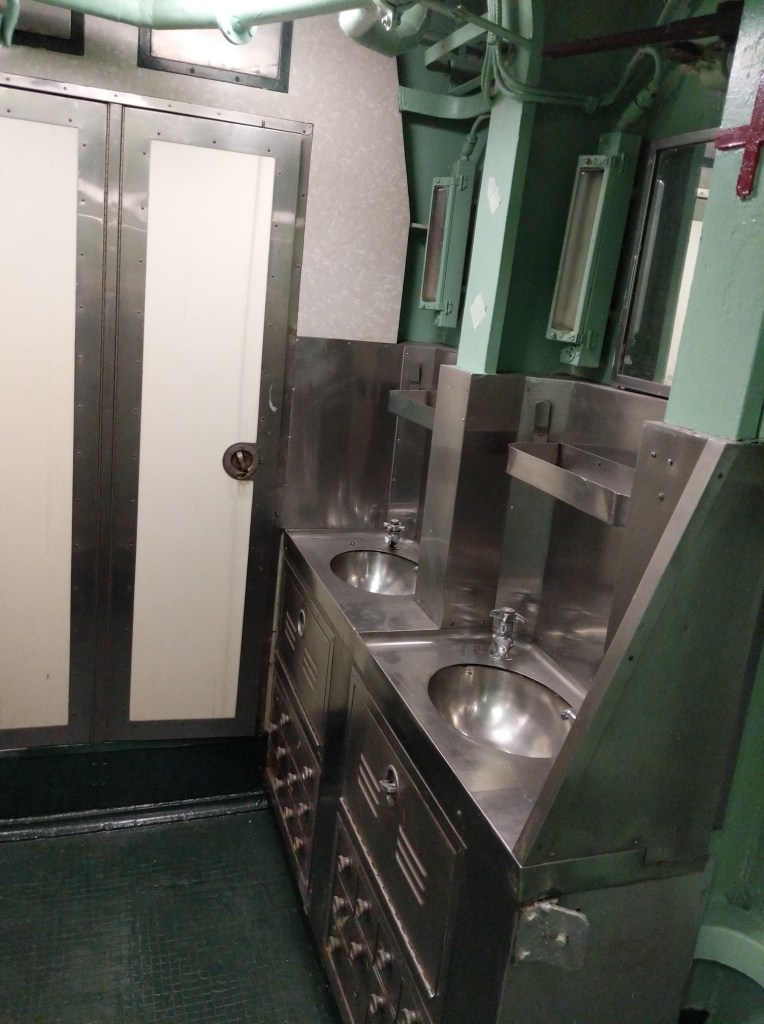
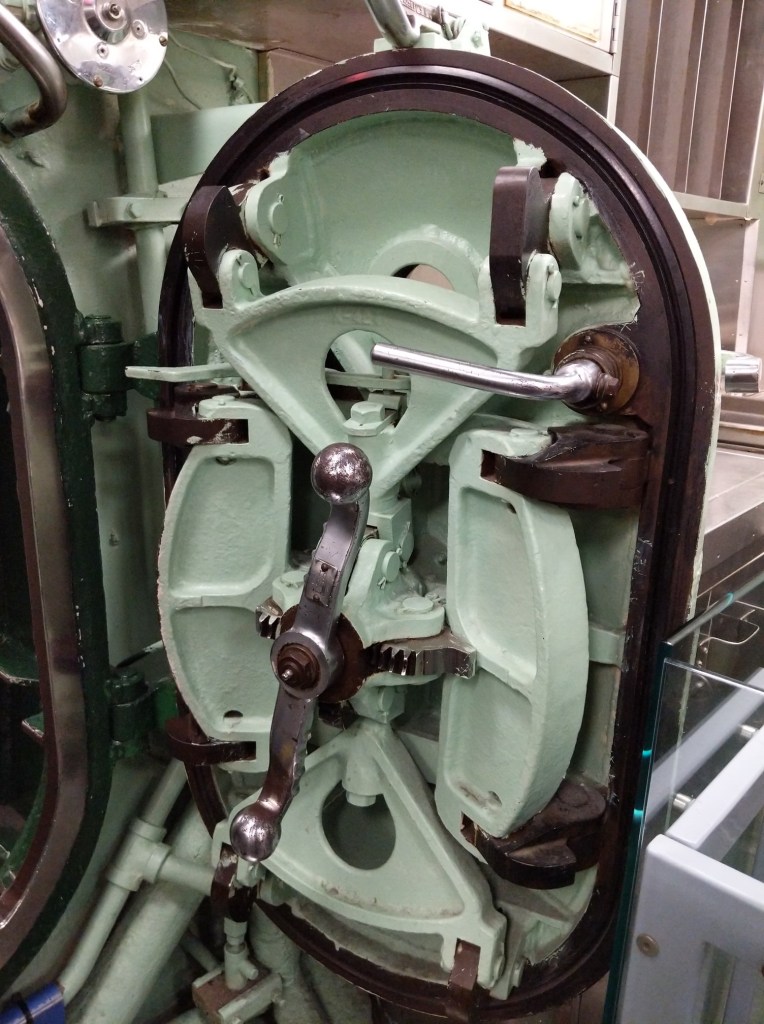
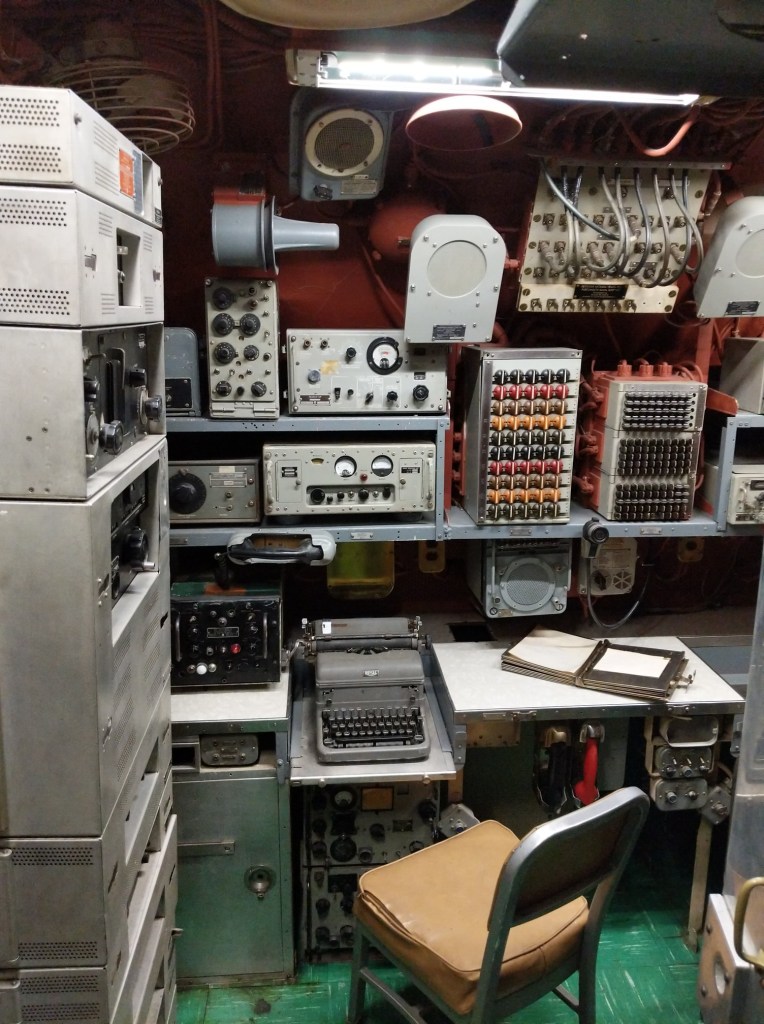
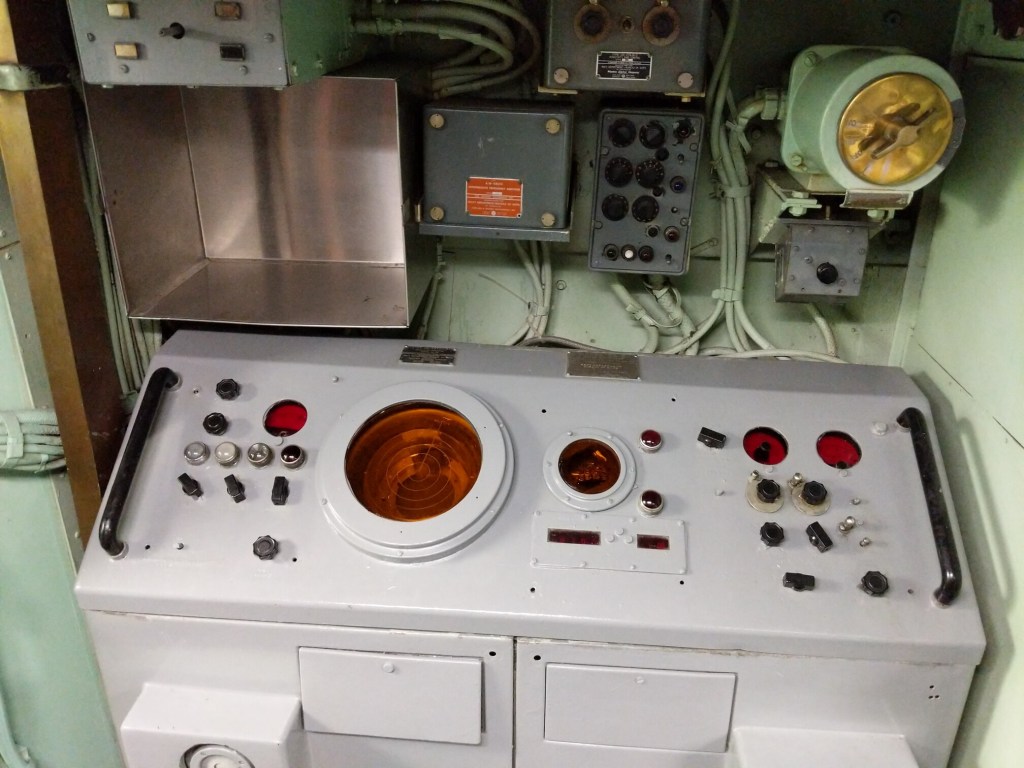
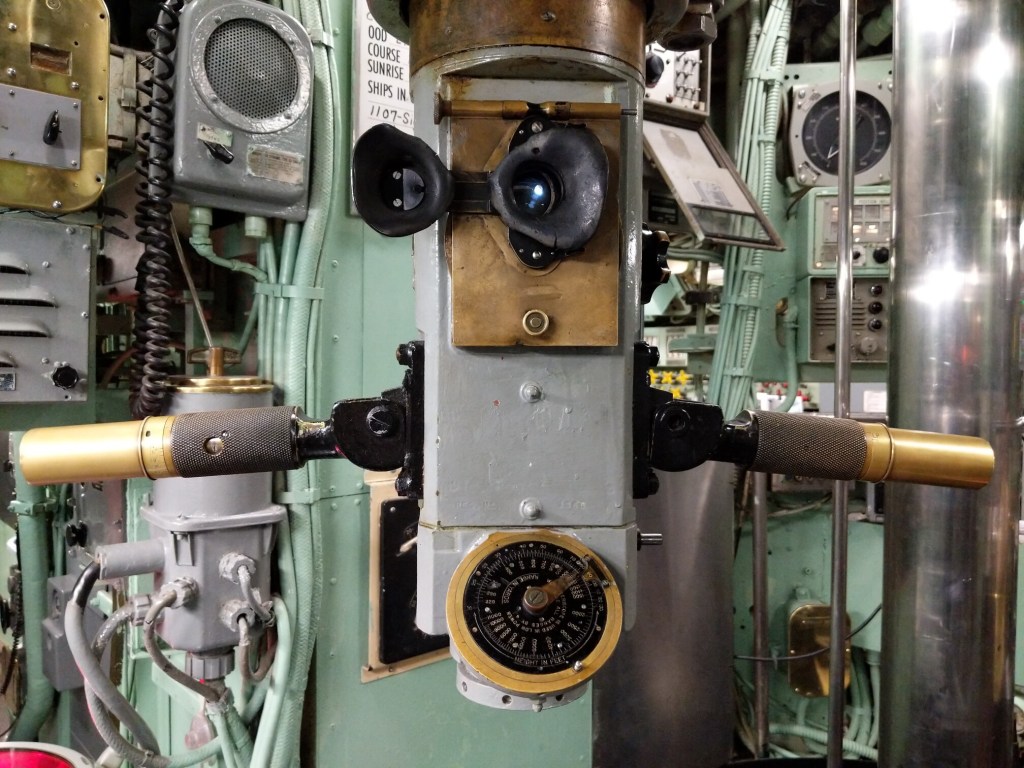
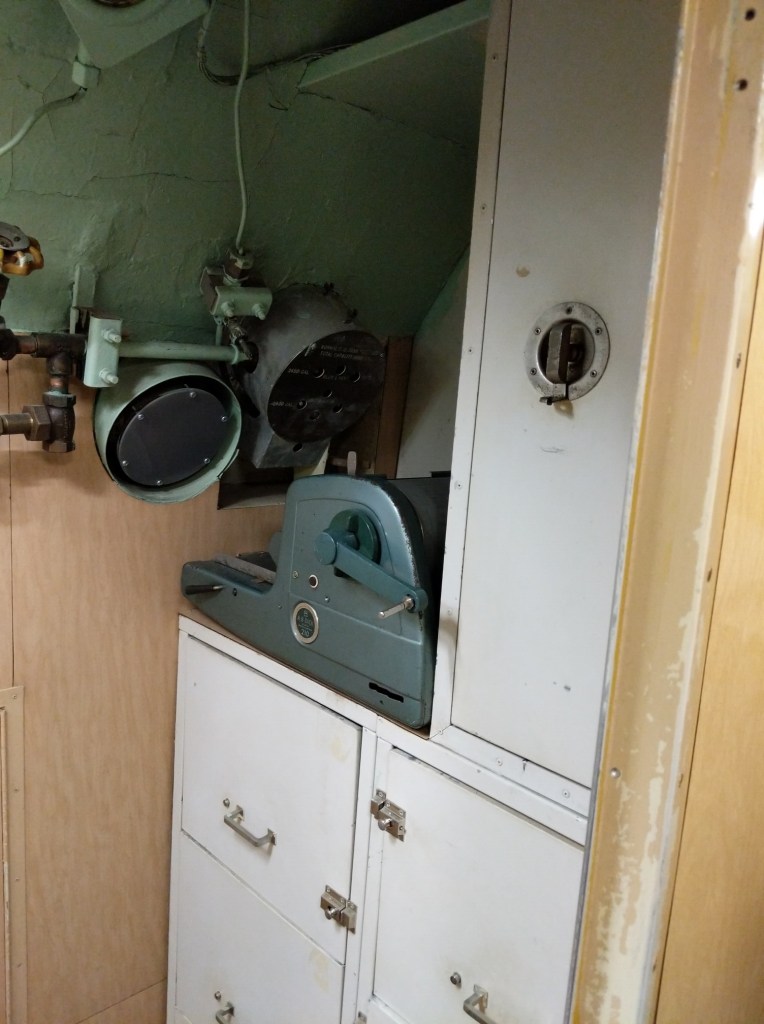
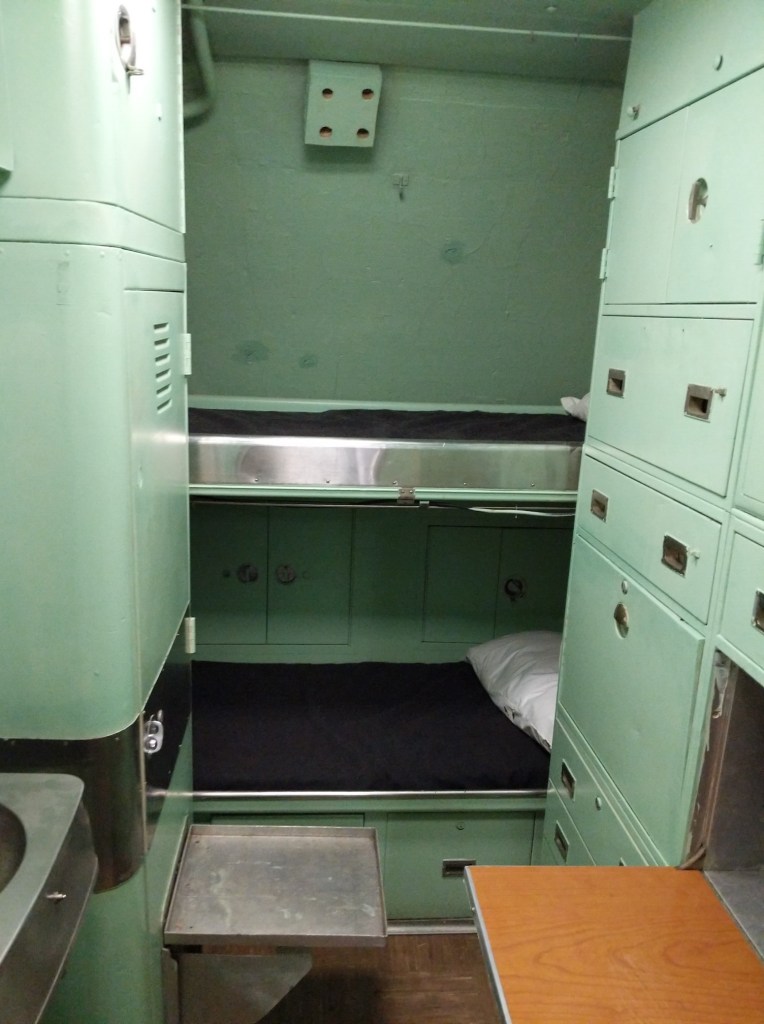
The claustrophobic interior of the Growler submarine was thrilling to walk through. Everything seemed to have its specific purpose and was made to go where it fit into the overall interior puzzle space. It’s hard to imagine the design work that went into building this (or the aircraft carrier next door for that matter) before computer aided design.
Also, I could more easily visualize the similarity between voyaging under water in a submarine and voyaging in outer space in a spacecraft. Both create a living environment for human beings in otherwise inhospitable environments. The former keeps pressure out and the latter keeps pressure in. Catastrophe is possible in a number of ways–some slow and others sudden.
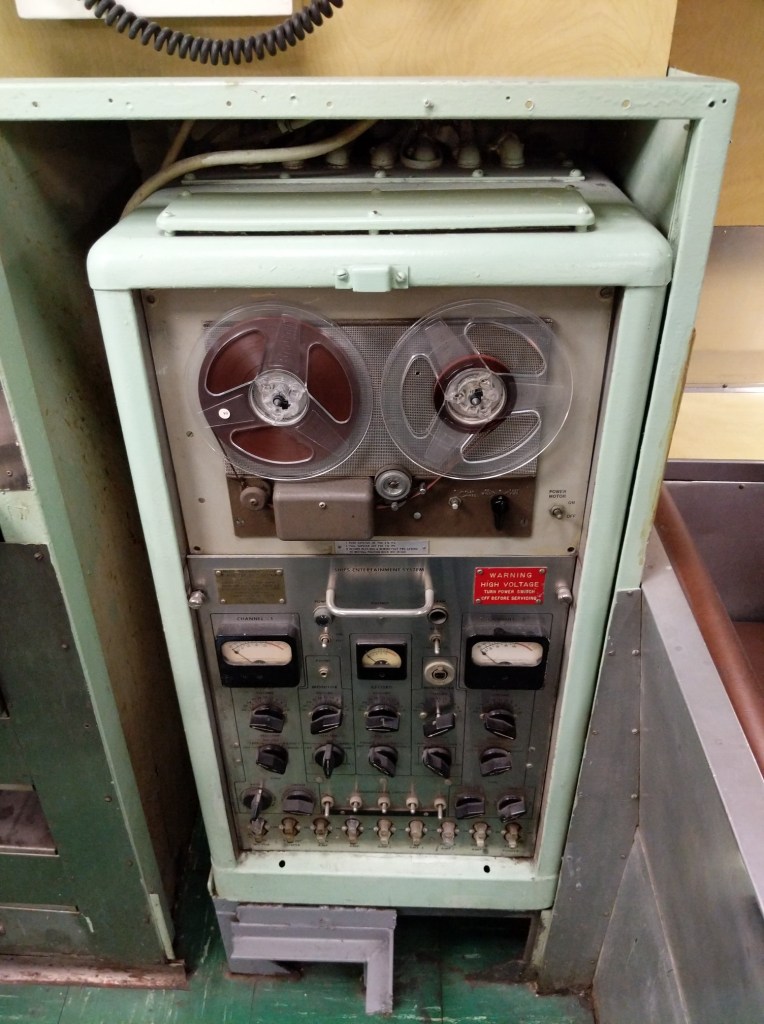
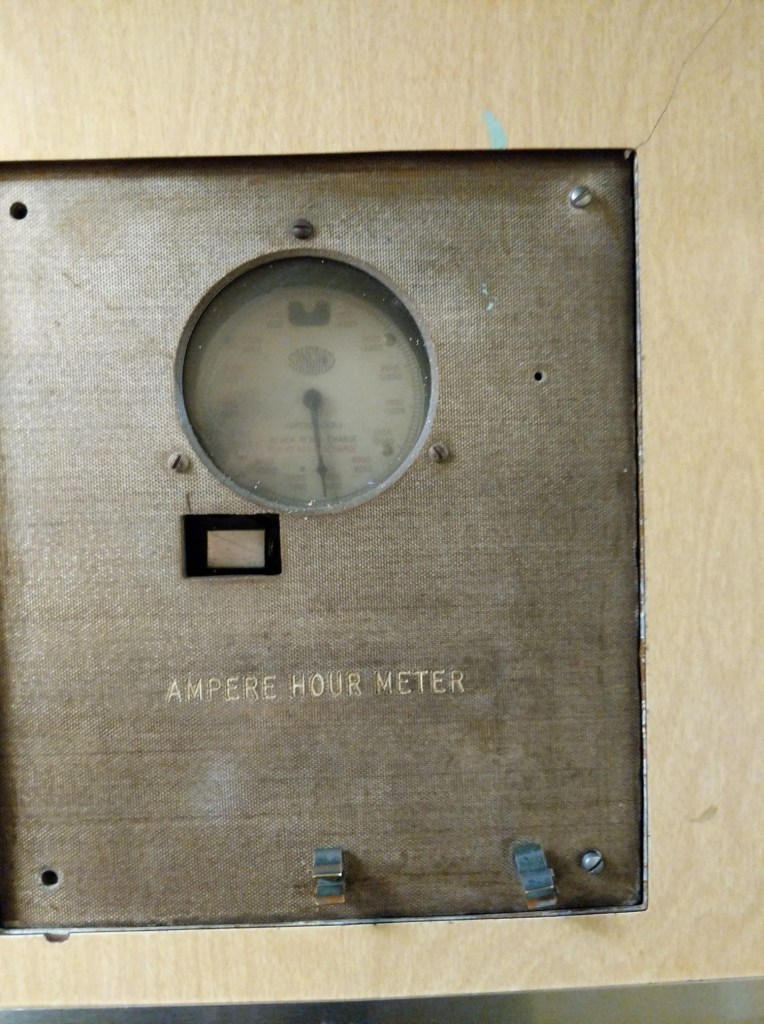
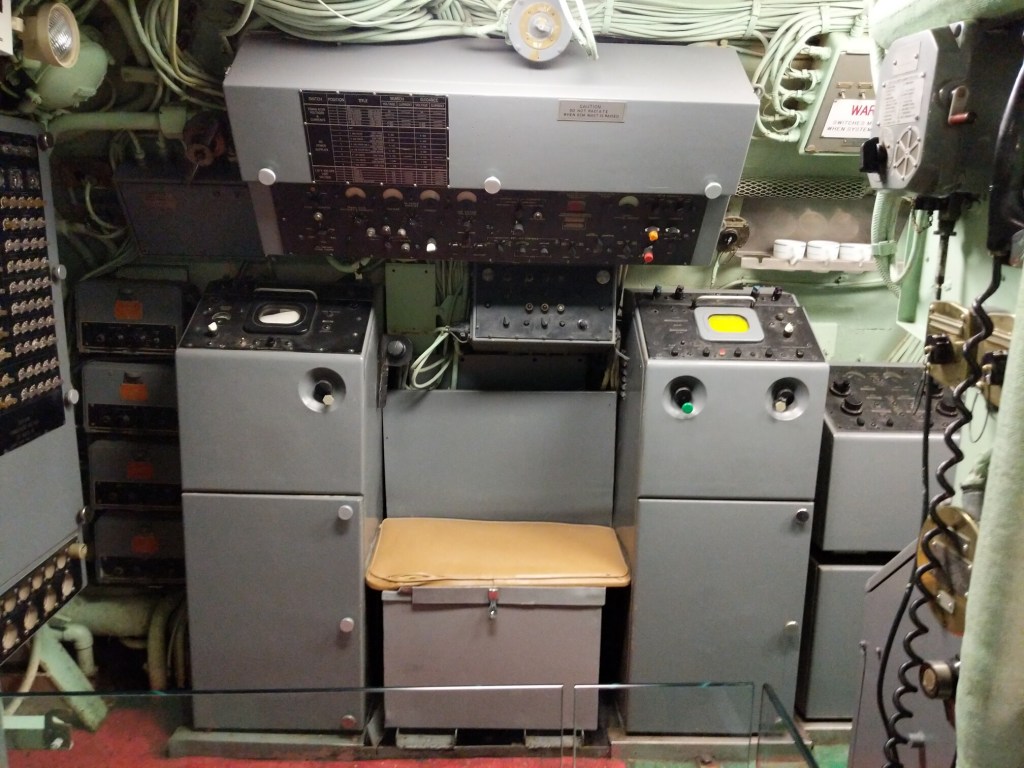
The Growler is also a communication technology museum–loud speakers, telephones, exterior microphones, recording and processing devices, radios, sonar, mimeograph machine, typewriter, gauges, and indicators.
When I’m willing to jump through the hoops of a CUNY class field trip, I imagine a multifaceted technologies of representation and technical communication gold mine at the Intrepid Museum and USS Growler submarine.
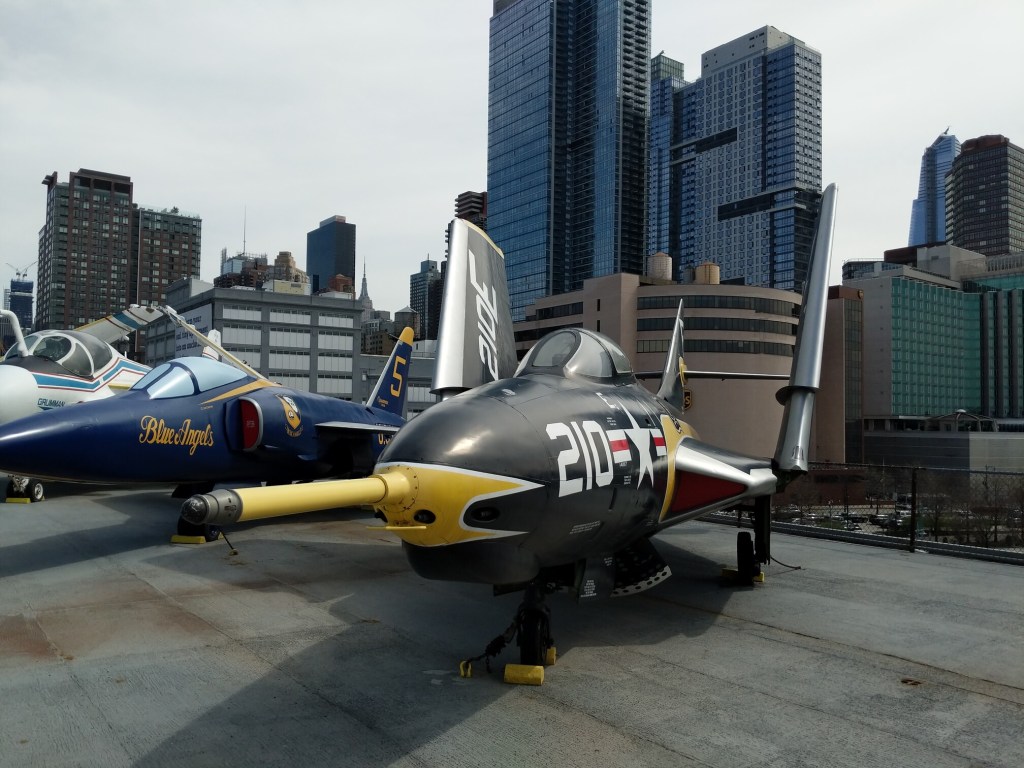
In March 2019, I met up with my buddy Alan Lovegreen to visit the Intrepid Museum, a WWII-era air craft carrier that had been repurposed as an air and space museum moored on the west side of Manhattan.
Alan and I had been hired the same year to work at City Tech in the English Department. While he was there, we worked together to inaugurate the City Tech Science Fiction Collection. Soon after that, he moved back to California for a new job. He was back in NYC to give a talk, so we picked a cool place to meet up.
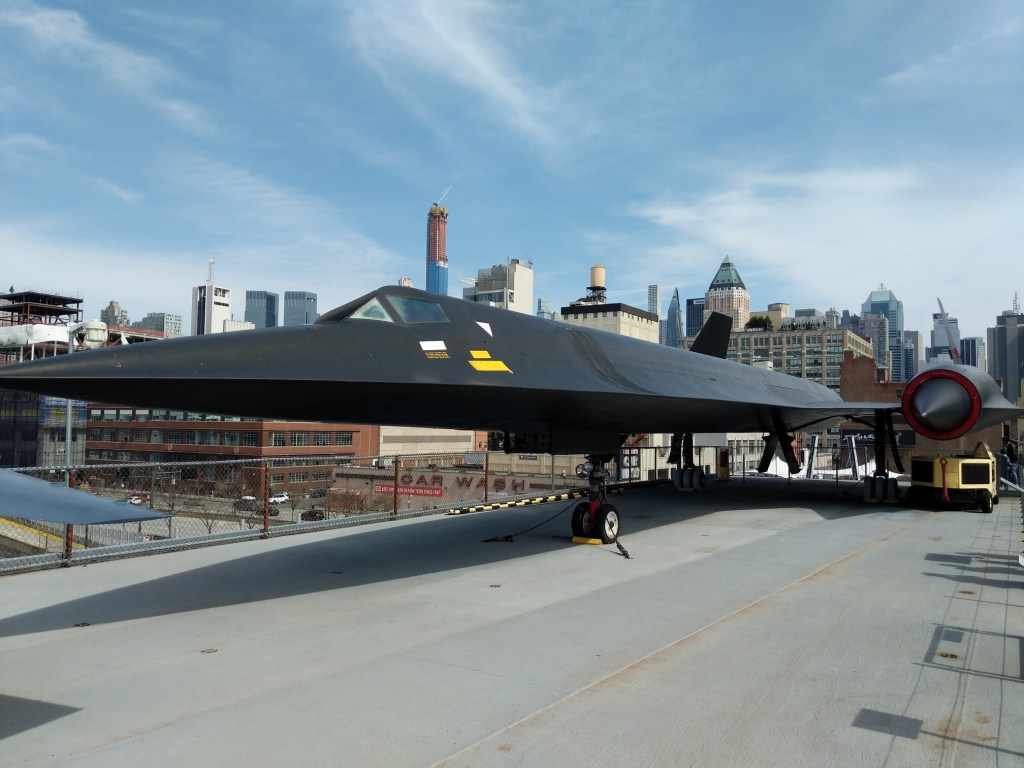
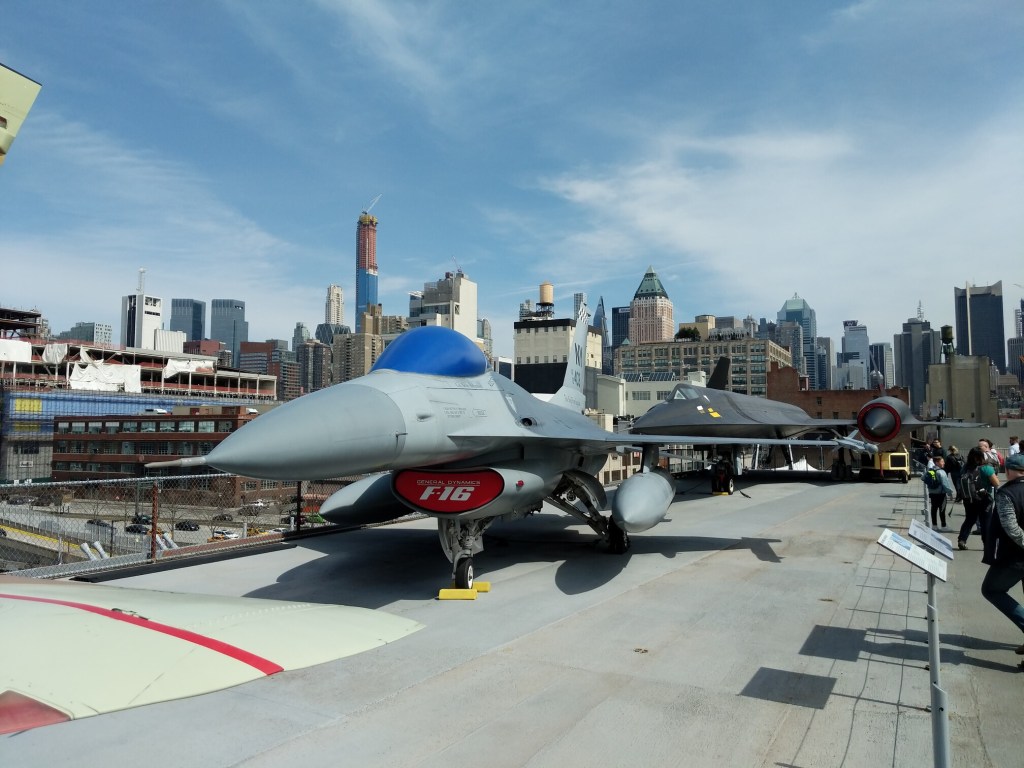
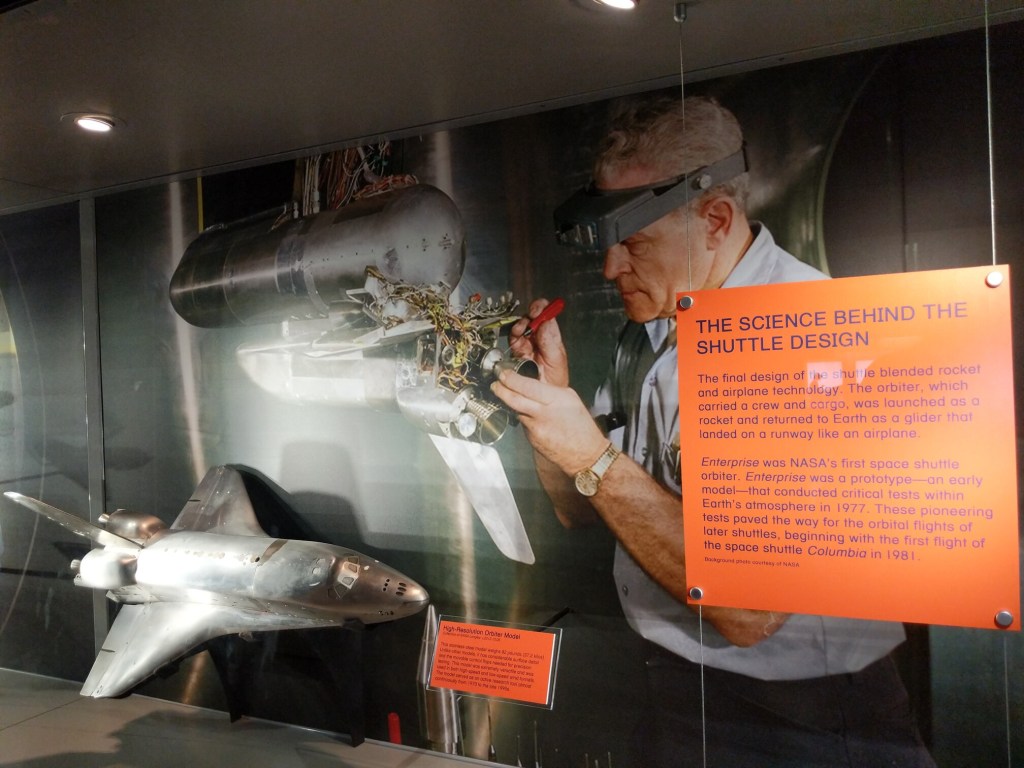
Some exhibits overlap those at the Smithsonian National Air and Space Museum and its Steven P. Udvar-Hazy Center that I wrote about last week, such as the latter also having a Concorde airliner. Also notable is that the Space Shuttle Enterprise, which had been at the Udvar-Hazy Center, is now at the Intrepid Museum. Space Shuttle Discovery is now at the Udvar-Hazy Center. But, some similar looking aircraft are actually experimental or specialized versions, such as the Intrepid’s Lockheed A-12 compared with the Udvar-Hazy Center’s SR-71 Blackbird. There’s also some other unique displays involving LEGO: a 1:40 scale model of the Intrepid and a 50,000 brick mosaic image of the Space Shuttle Enterprise flying over New York City atop a Boeing 747.
We couldn’t have picked a better day to go. It was a cool and clear day, so we spent most of our time on the outside exhibits on the flight deck and hanger deck, but we also went under the water line to explore the submarine USS Growler tied up at the same pier (I’ll post pictures of the Growler tomorrow).
Flight Deck
Conning Tower
Bell 309 KingCobra
Bell UH-1A Iroquois “Huey”
McDonnell Douglas AV-8B Harrier II
McDonnell Douglas F-4 Phantom II
Mikoyan-Gurevich MiG-17
Mikoyan-Gurevich MiG-21
Northrop T-38 Talon
Grumman F-11 Blue Angels
Lockheed A-12
Grumman F-14D Super Tomcat
Grumman F-9 Cougar
Israel Aircraft Industries Kfir/F-21A
General Dynamics F-16 Fighting Falcon
Anti-Aircraft Batteries
Hanger Deck and Interior
North American FJ-3
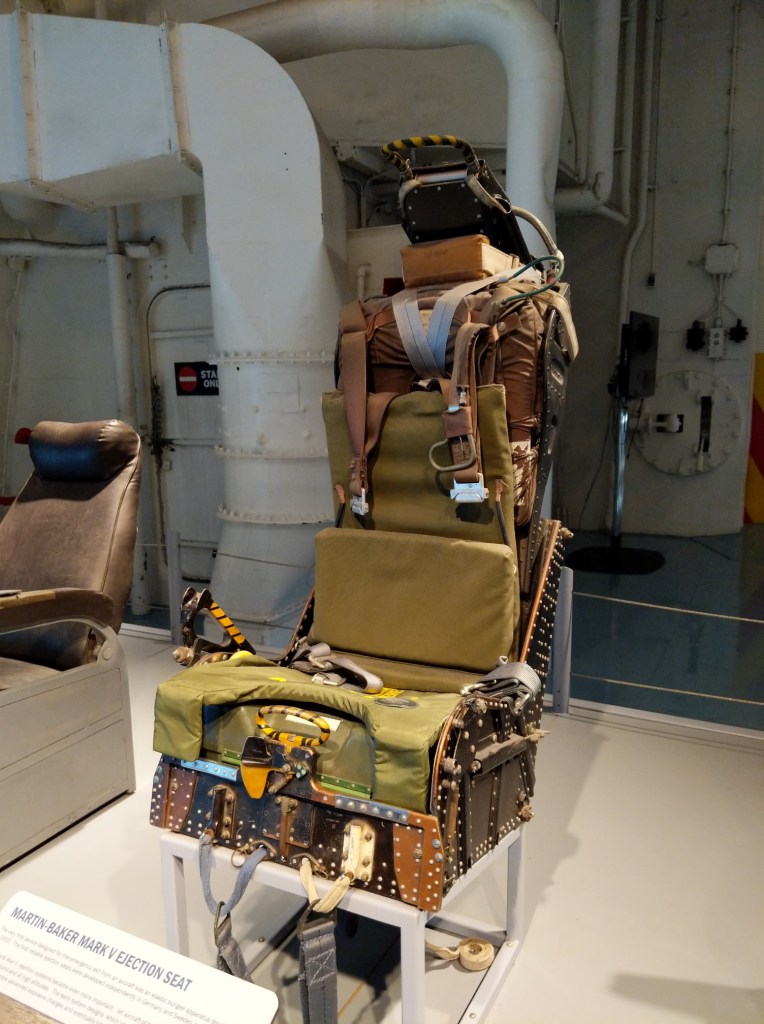
Martin-Baker Mark V Ejection Seat
Grumman Avenger Ball Turret
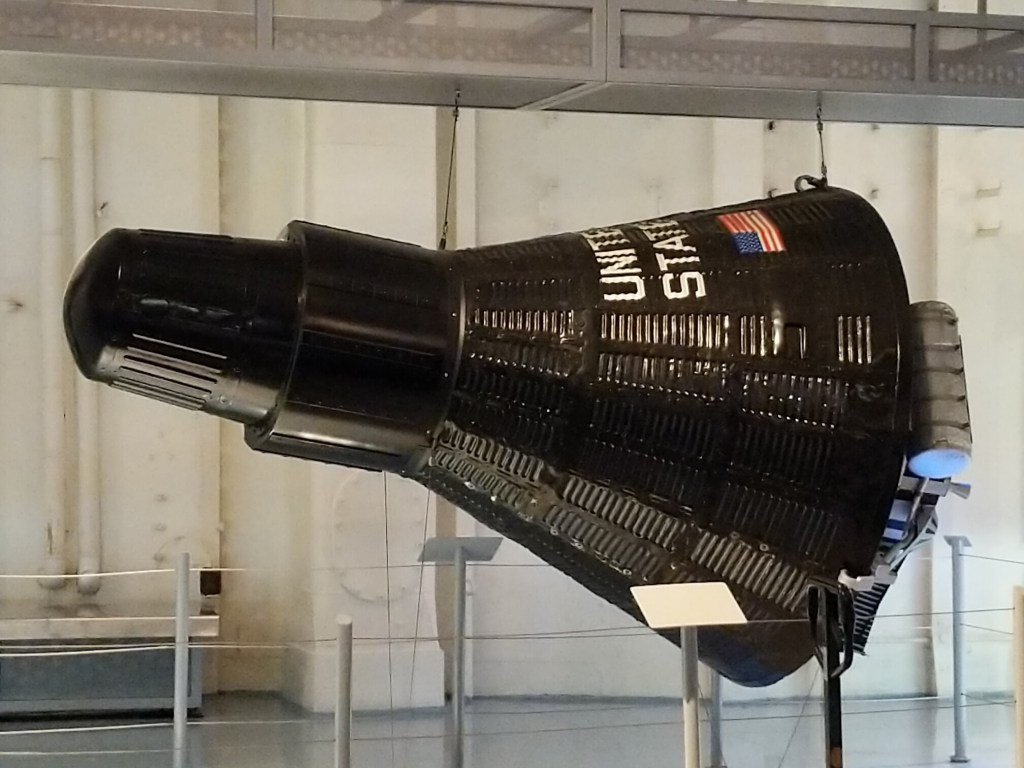
Mercury Capsule
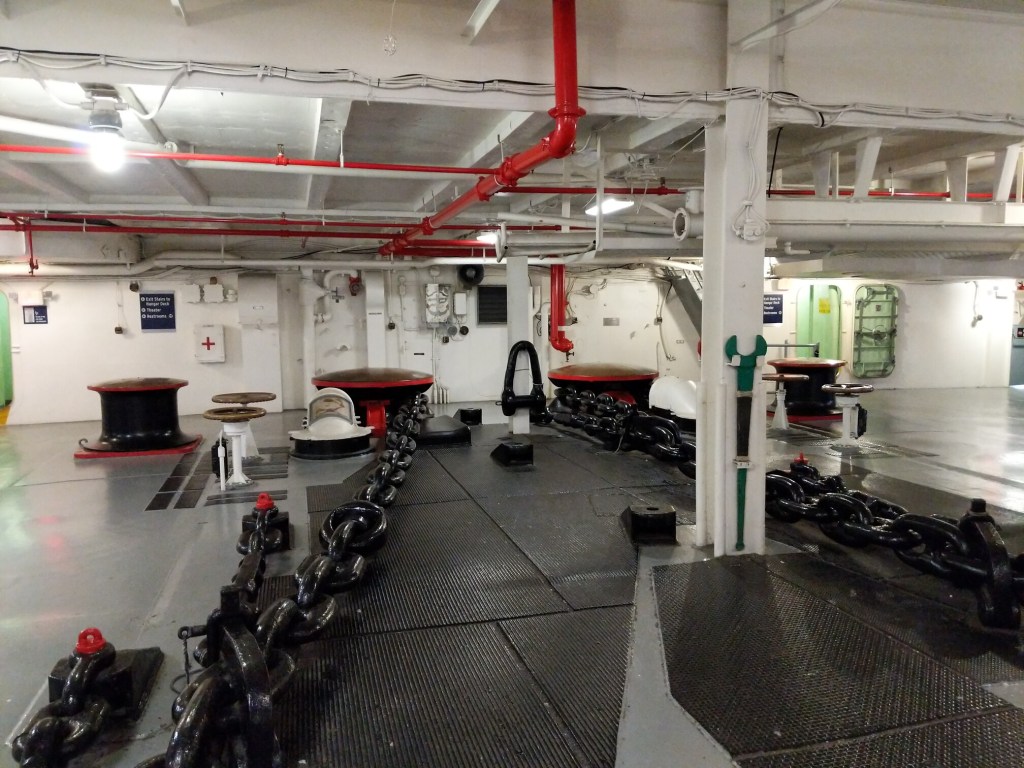
Ship Interior
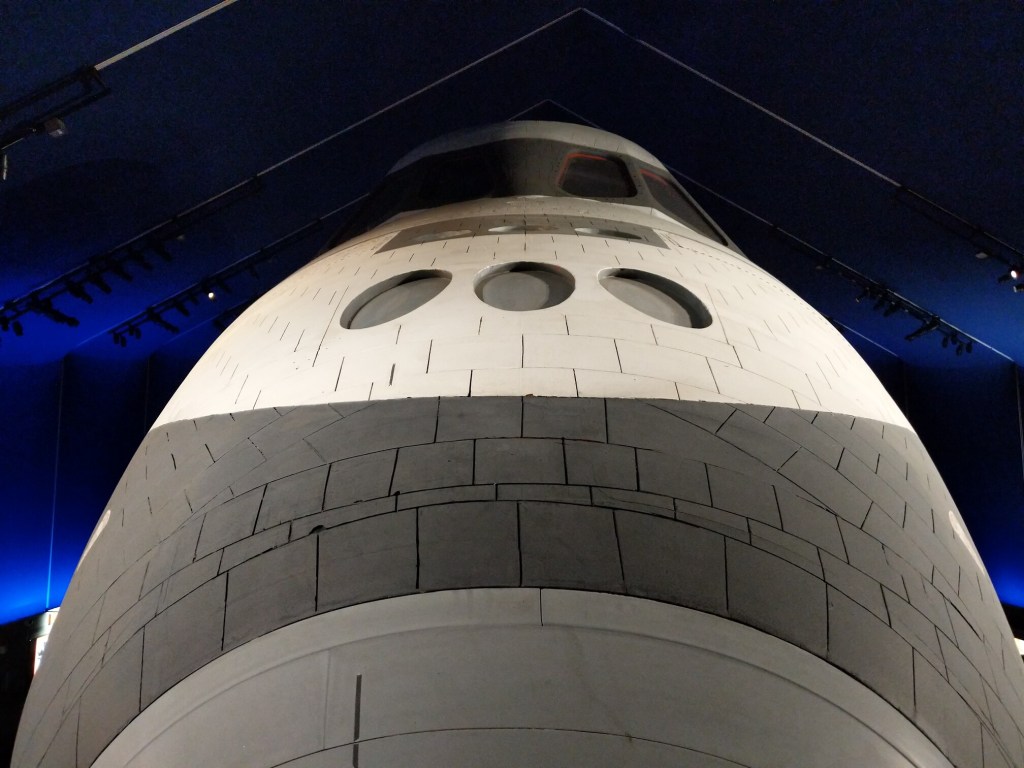
Space Shuttle Enterprise and Exhibit Area
The LEGO mosaic that capped off the Enterprise exhibit area was a cooperative construction project let by Ed Diment, who created the scale model of the USS Intrepid (below). The mosaic above depicts the Space Shuttle Enterprise’s flight over NYC before its arrival at JFK and eventual move to the Intrepid. It was constructed out of 50,000 LEGO bricks by hundreds of children and adults between July 26-28, 2013.
LEGO Build of the USS Intrepid
Built by Ed Diment, this recreation of the USS Intrepid with LEGO bricks is a 1:40 scale model. It is 22 feet long, 4 feet wide, and over 4 1/2 feet tall. It weighs 550 pounds and contains 250,000 pieces!