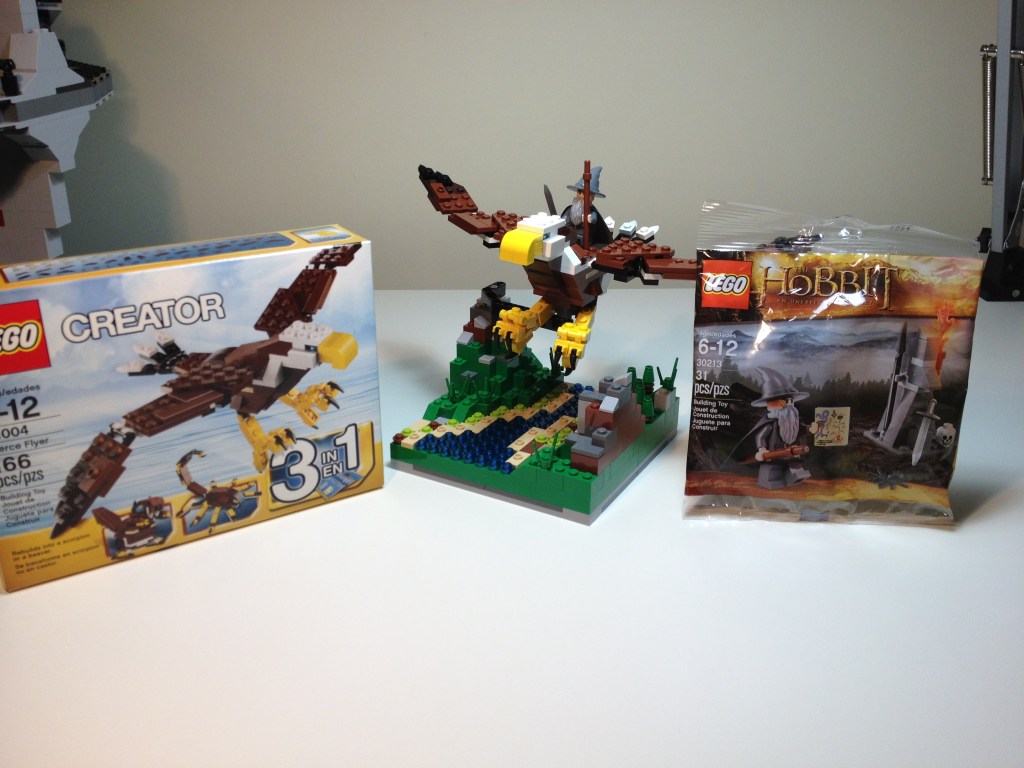
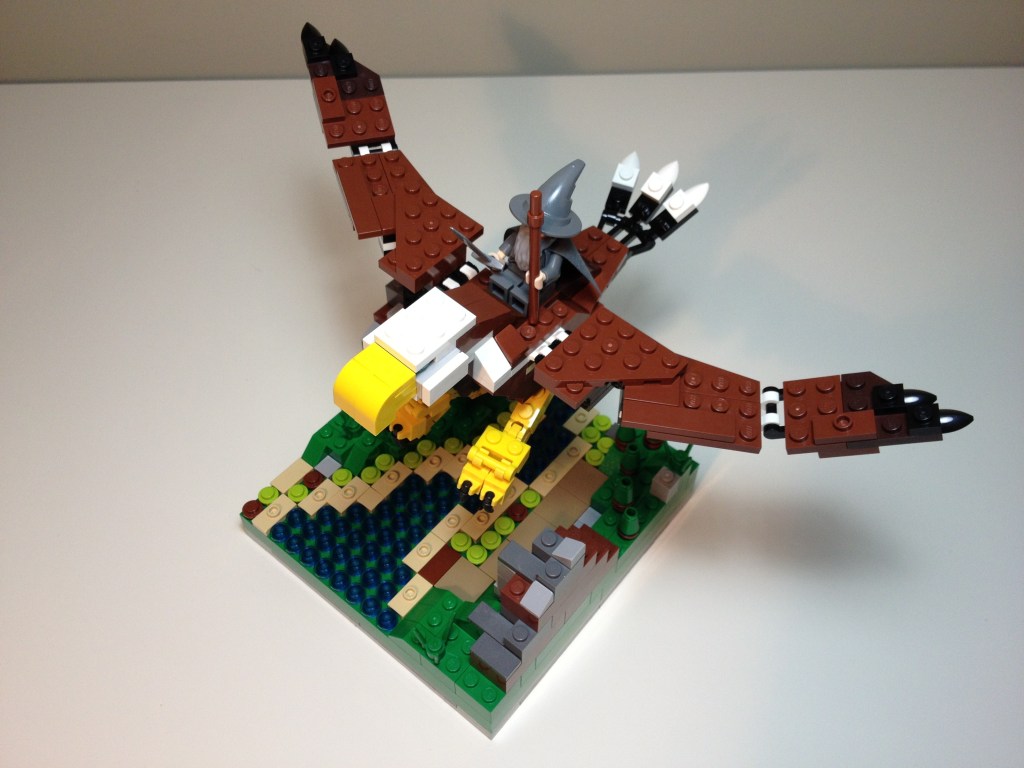
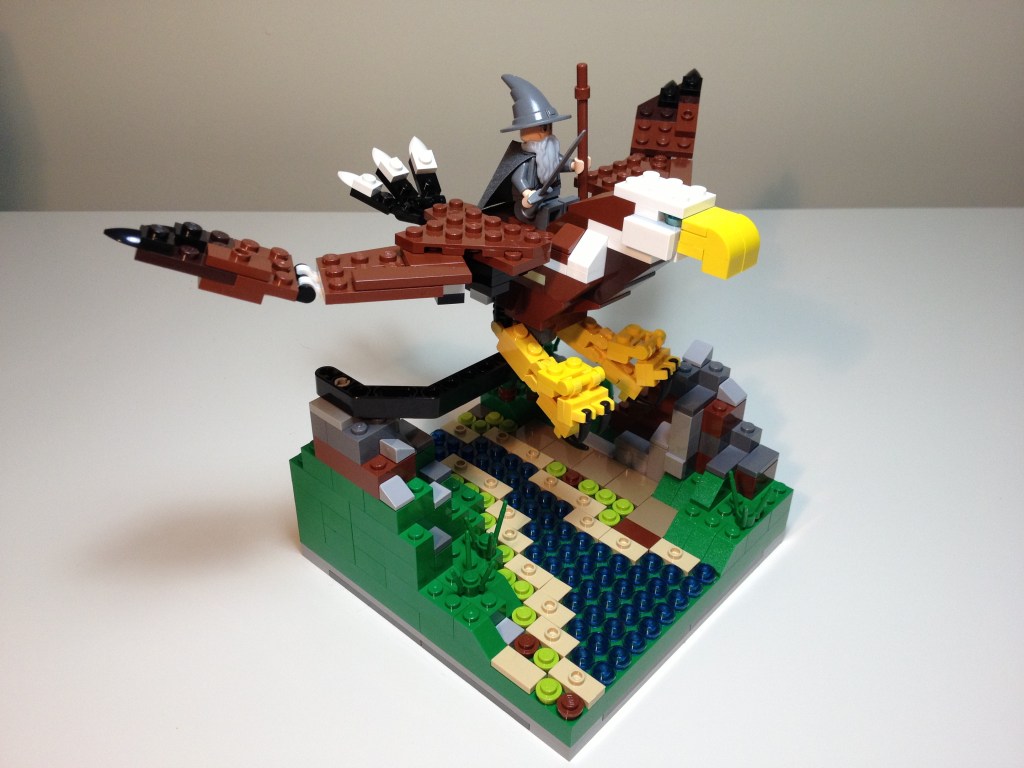
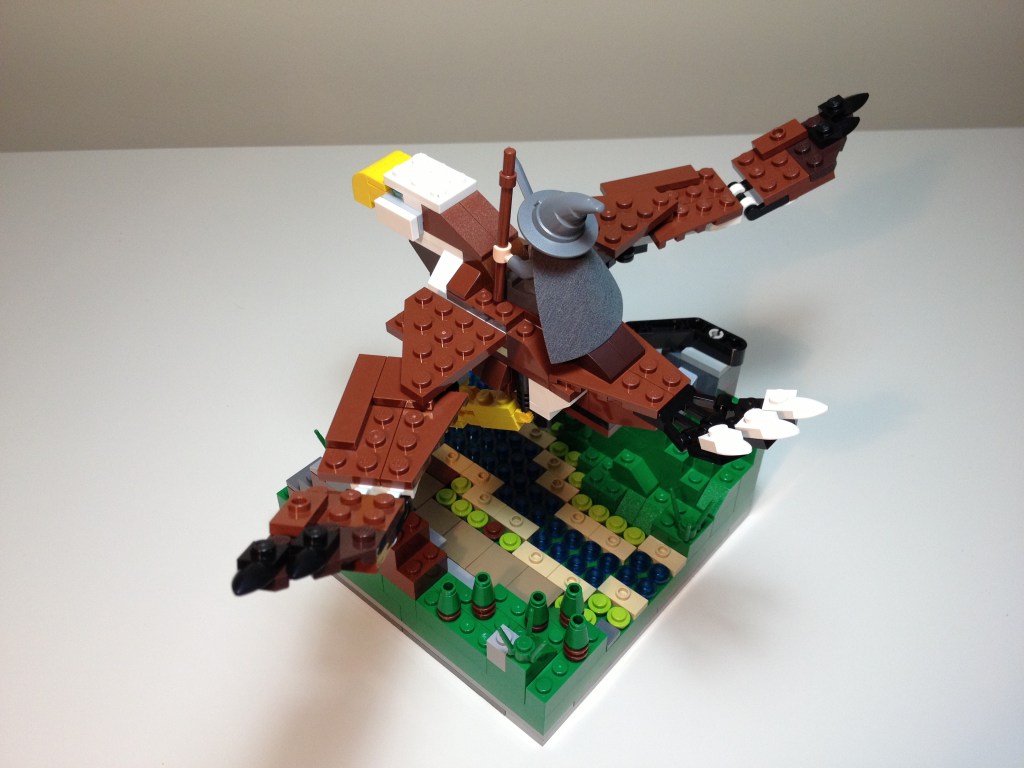
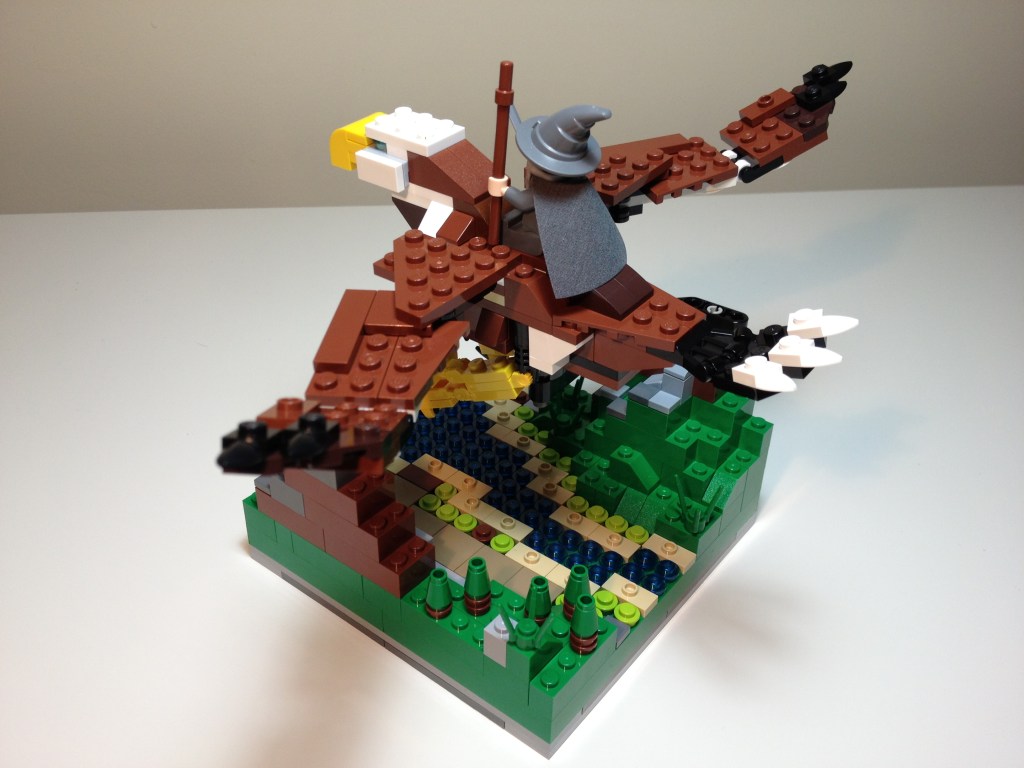
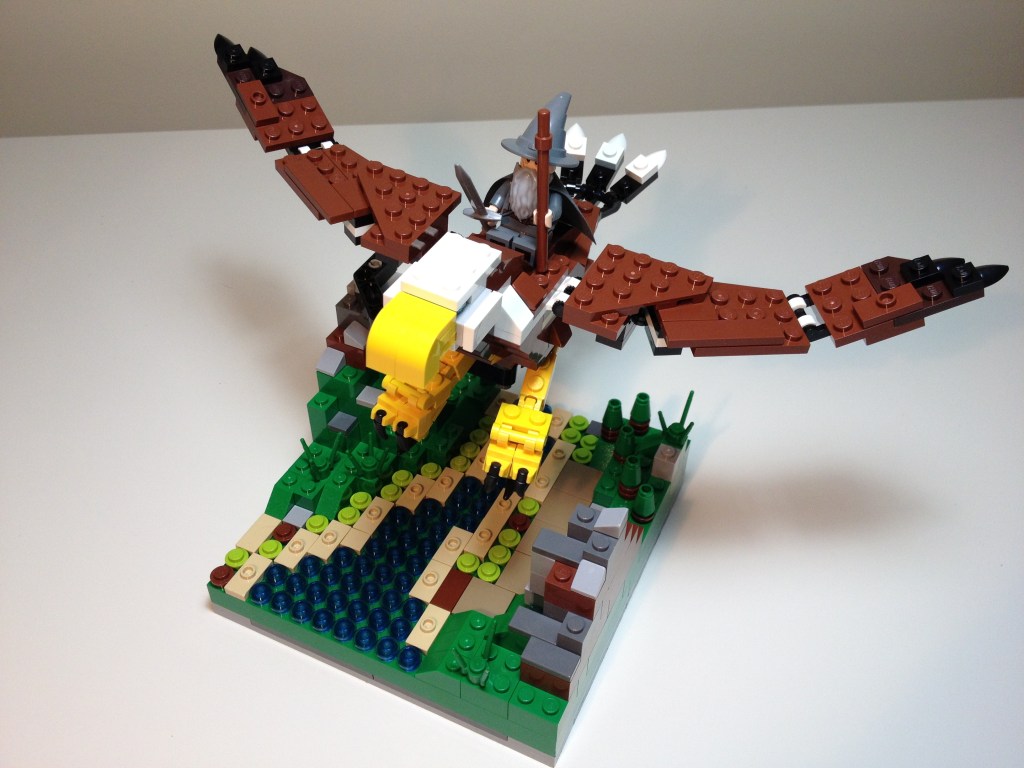
Back in 2013, I built a small LEGO MOC scene depicting Gandolf (from The Hobbit 30213 polybag set) riding on one of the great eagles (LEGO Creator Fierce Flyer 31004). The scene shows a miniature river flanked by mountainsides. I used one of the mountains to anchor a Technic support that buoyed the eagle carrying Gandolf on an important Middle Earth mission. Positioned correctly, the support isn’t seen and the eagle appears to be in midflight.
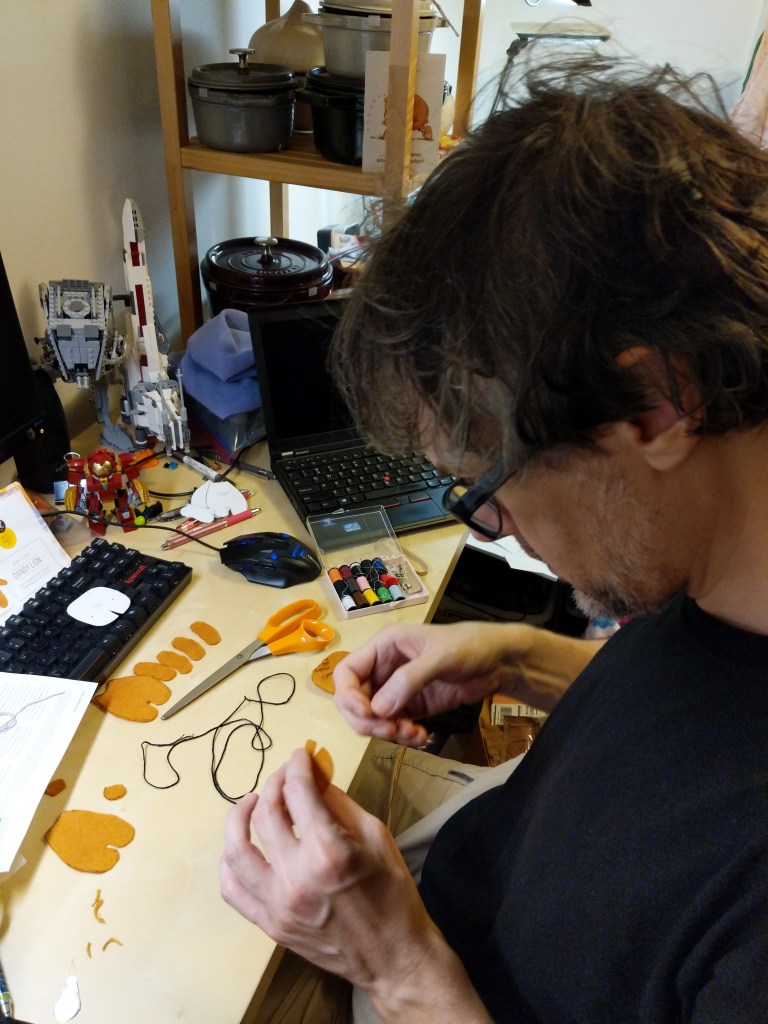
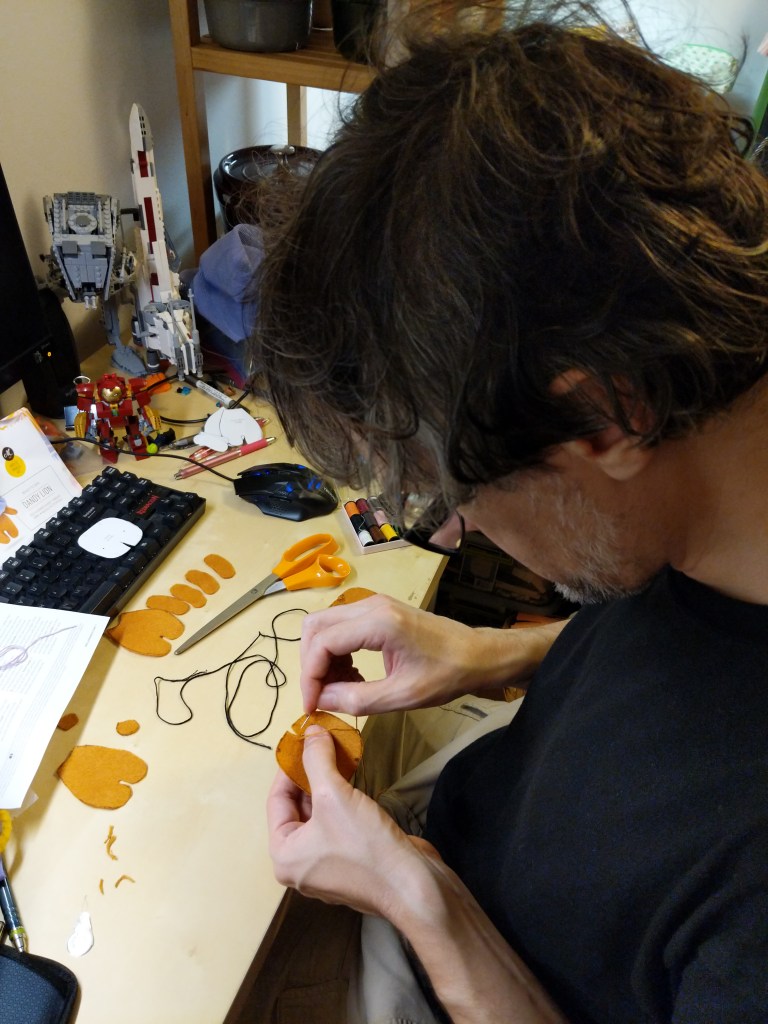
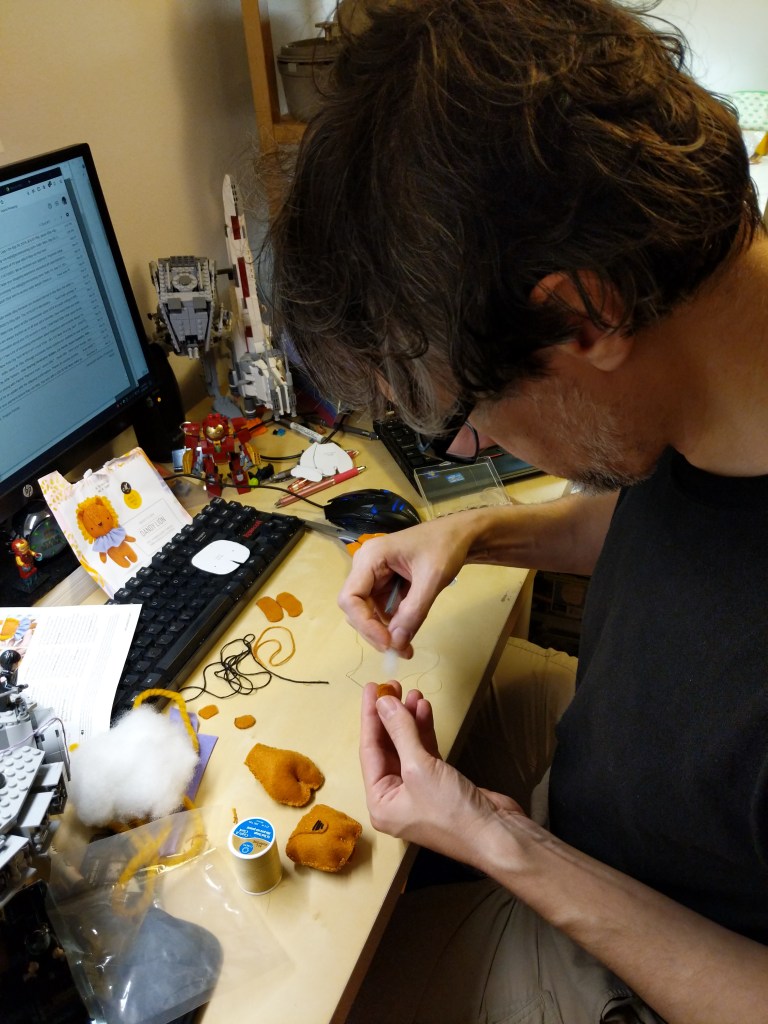
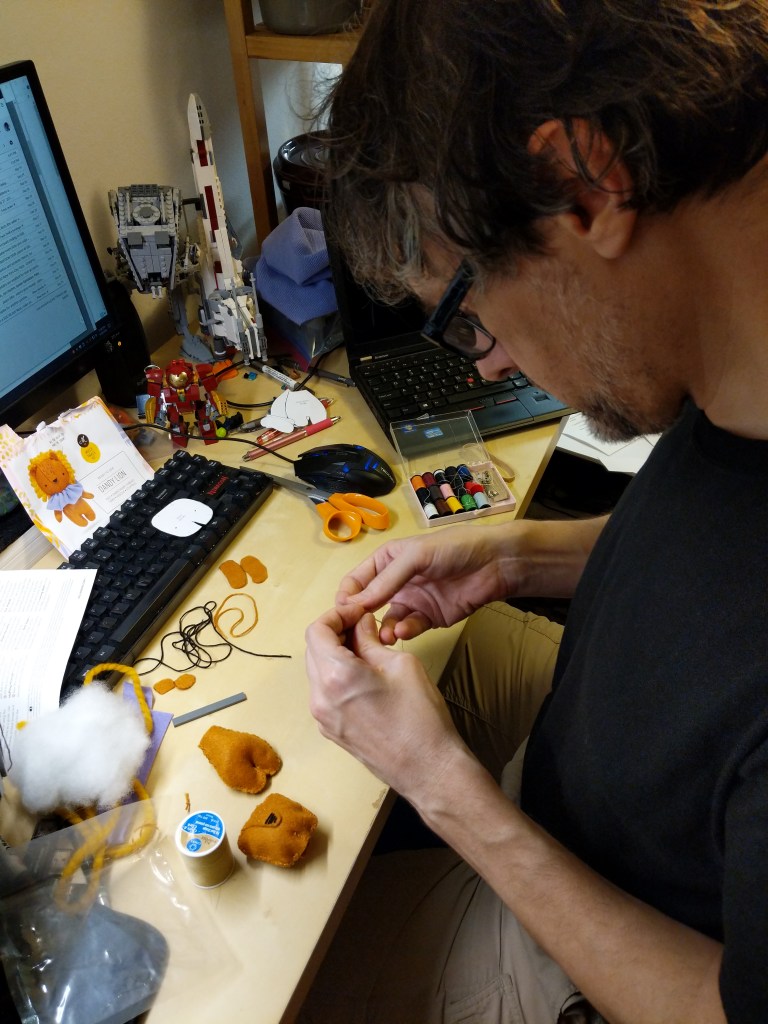
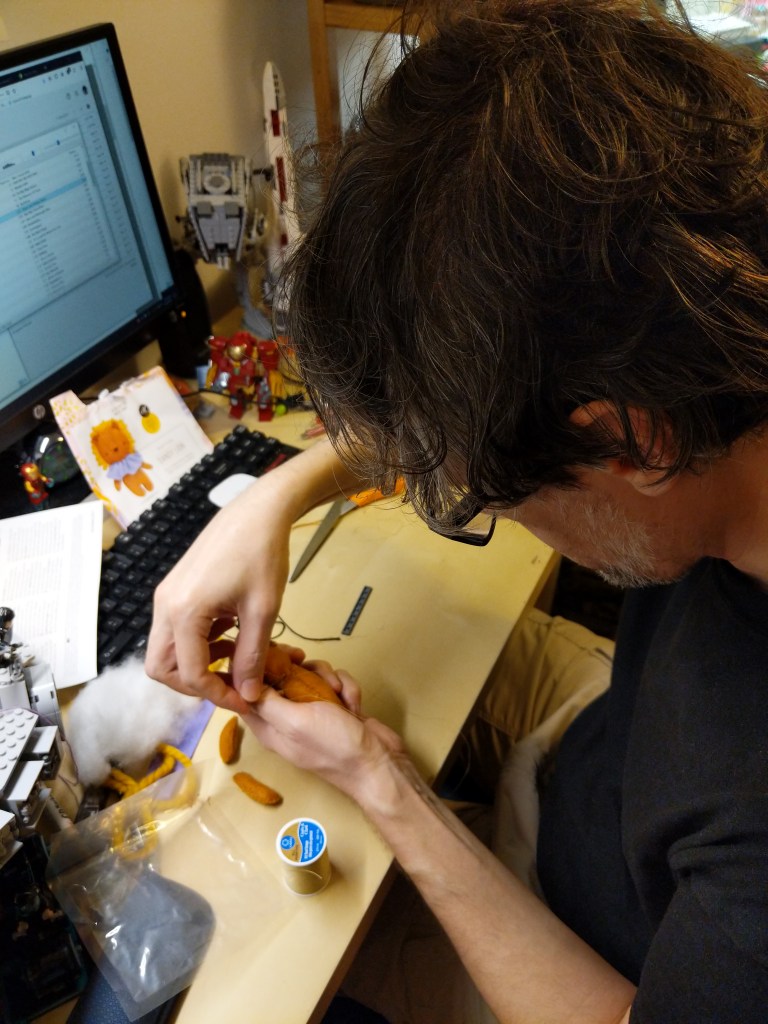
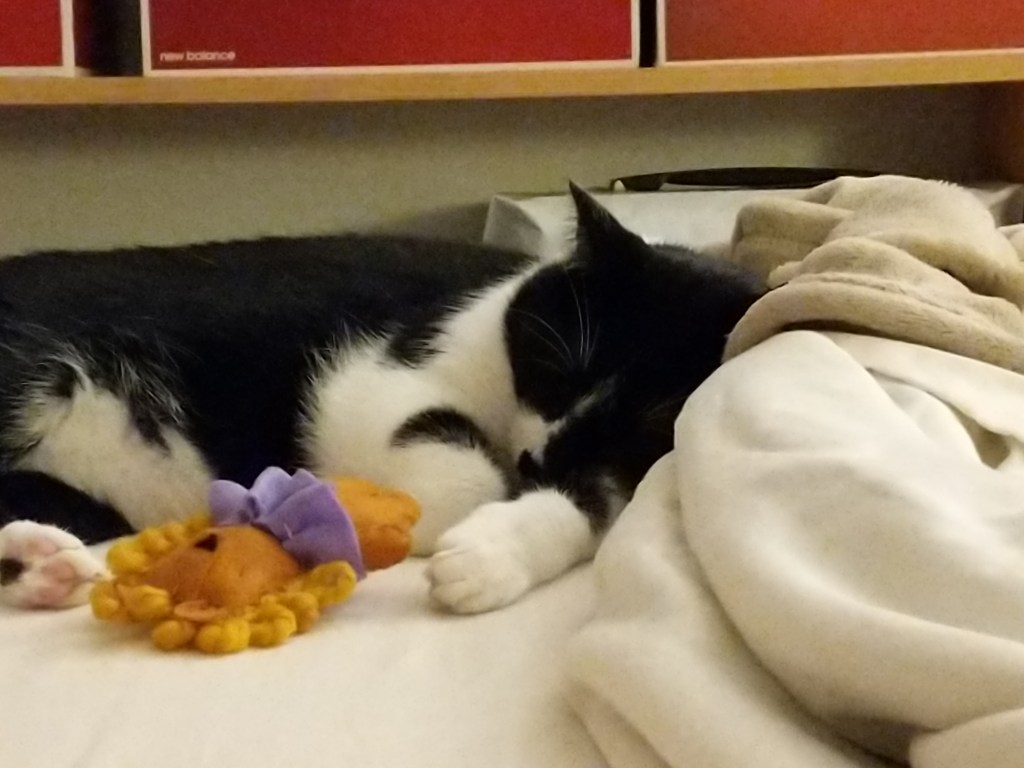
In my classes, I encourage students to visit their local bookstores to browse the magazine section for topics that might interest them. Back in 2019, Y and I were browsing our local Barnes and Noble’s magazine section when a sewing/crafting magazine with a free bonus caught my eye. It included instructions and material for a tiny plush lion. It seemed like it might be a good size for a cat toy, especially if I spiked it with catnip. I bought the issue and got to work sewing the lion for our Mose.
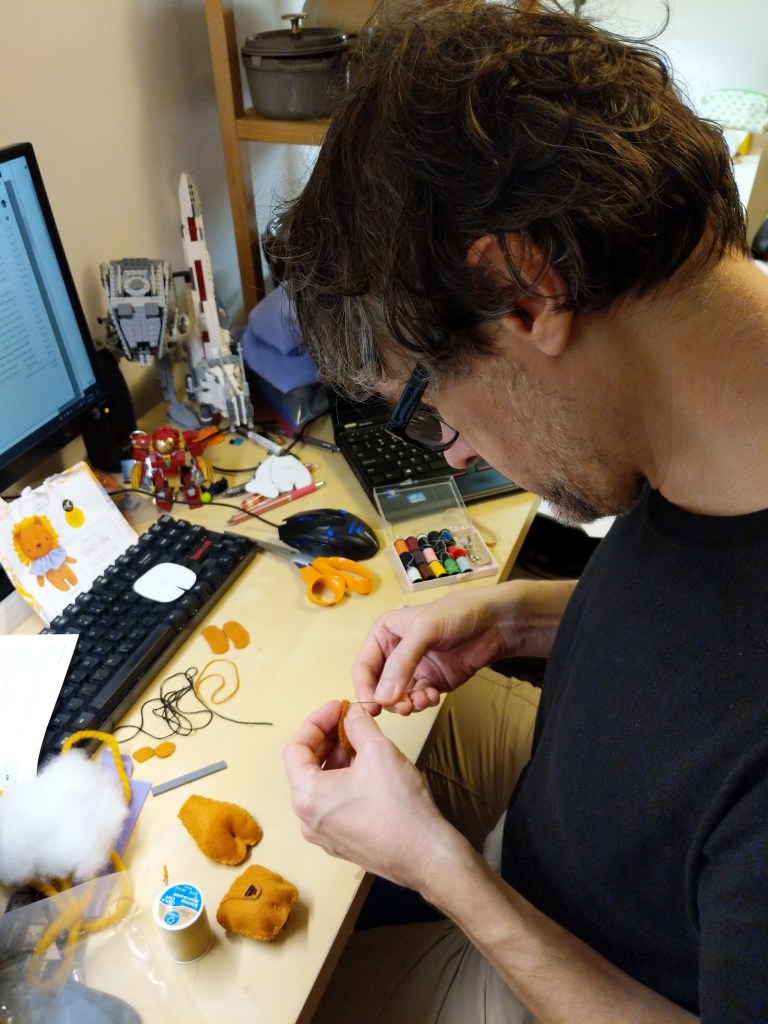
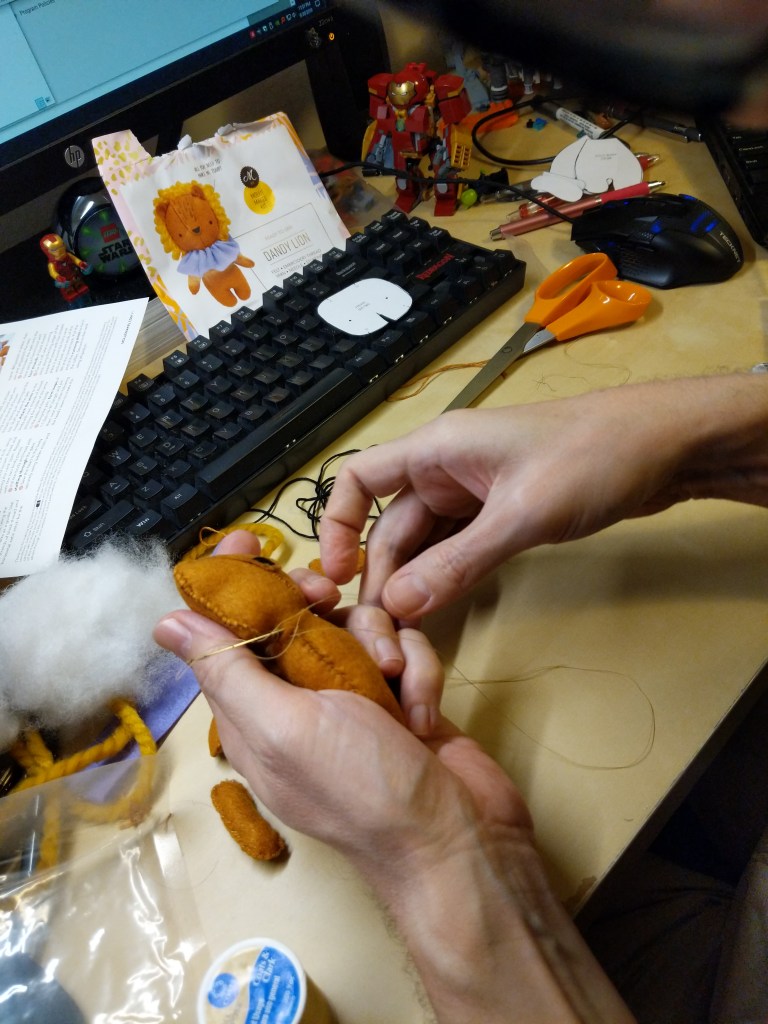
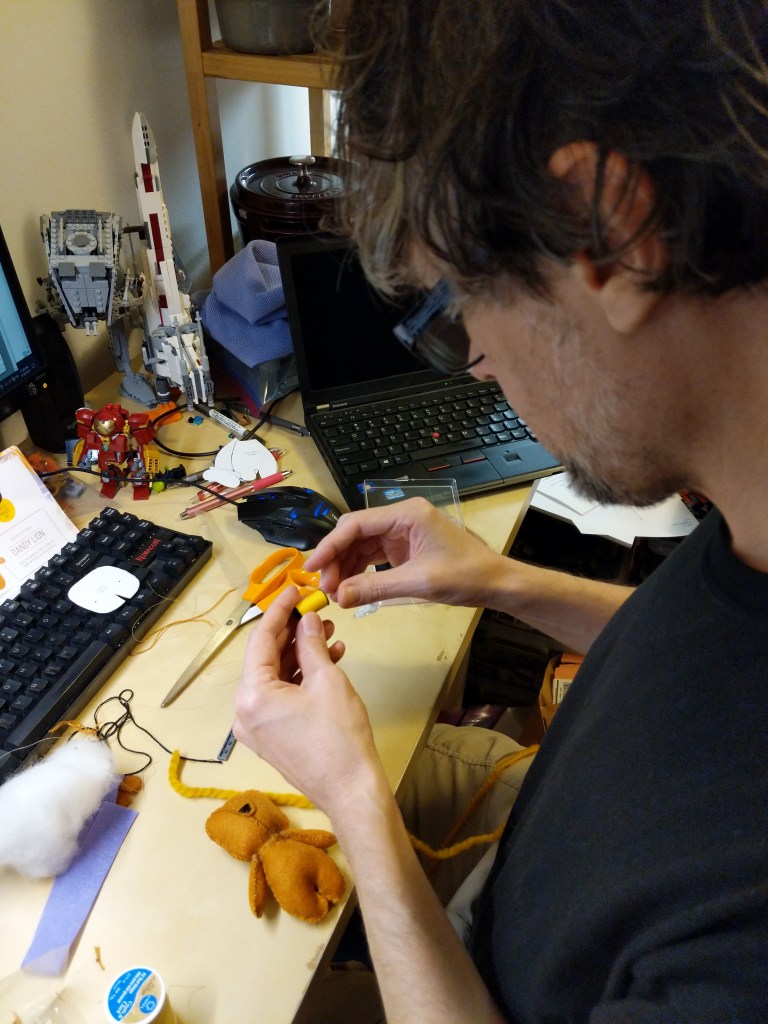
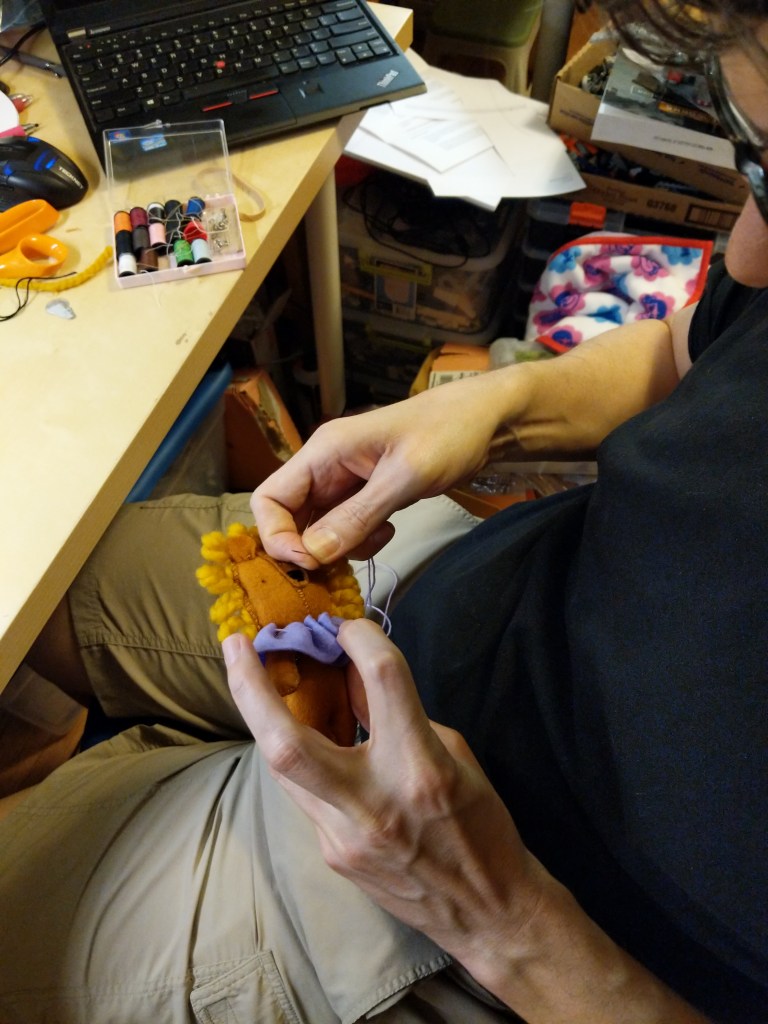
It included pieces of orange felt, purple felt, thick orange cord, and thread (orange, black, and purple). I marked the felt according to the instructions and cut out the pieces to build the lion. I had to Google some of the sewing patterns mentioned in the instructions that I did not know.
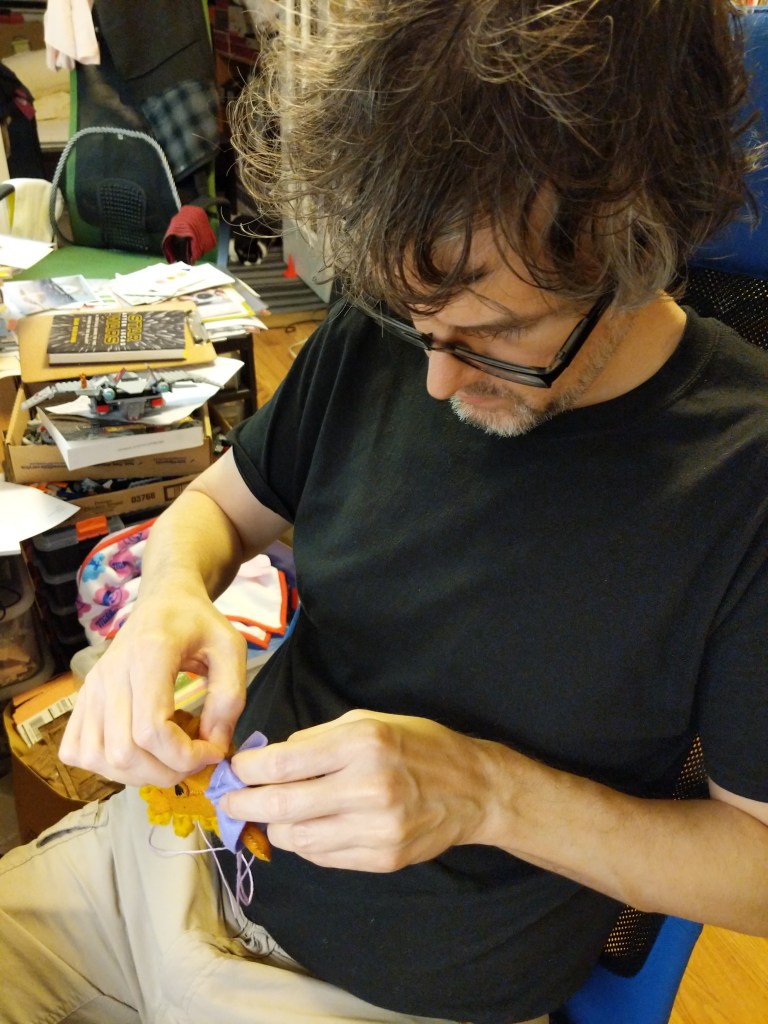
I can’t say that I nailed it, but our Mose seemed happy enough with it, at least until he took a nap. It’s still around here somewhere, but I don’t know where Mose has hidden it!
I enjoy displaying patches that mean something to me. Maybe someone else will see them and get a boost. But for myself, it’s carrying a little morale with me wherever I go.
I cut slightly more hook material than needed, positioned the patch on the opposite side of the hooks, sewed around the border of the patch through the hook material, and finally, trimmed the excess hook material.
Unless you’re planning to tape where you’re sewing patches directly to your bag, using hook-and-loop attachments like this will maintain its waterproof/water-resistance.
Pro Tips:
Verify what you need to attach to your patches (hook or loop backing) before you sew!
Use a sharp needle of size 2, 3, or 4 as patches are generally heavier fabric and some have thermal heat backing.
Absent a thimble to help push the needle through the fabric, use the corner of the table, a LEGO brick, or something else sturdy and not easily damaged by the back of the needle pressing into it.
A cheap travel sewing kit with a few needles (though they might be smaller gauge needles than ideal), different color thread to match the border of your patches, and a needle threader should get you started. But, you can create your own kit with a spool of black thread, a pack of needles, and a thimble.
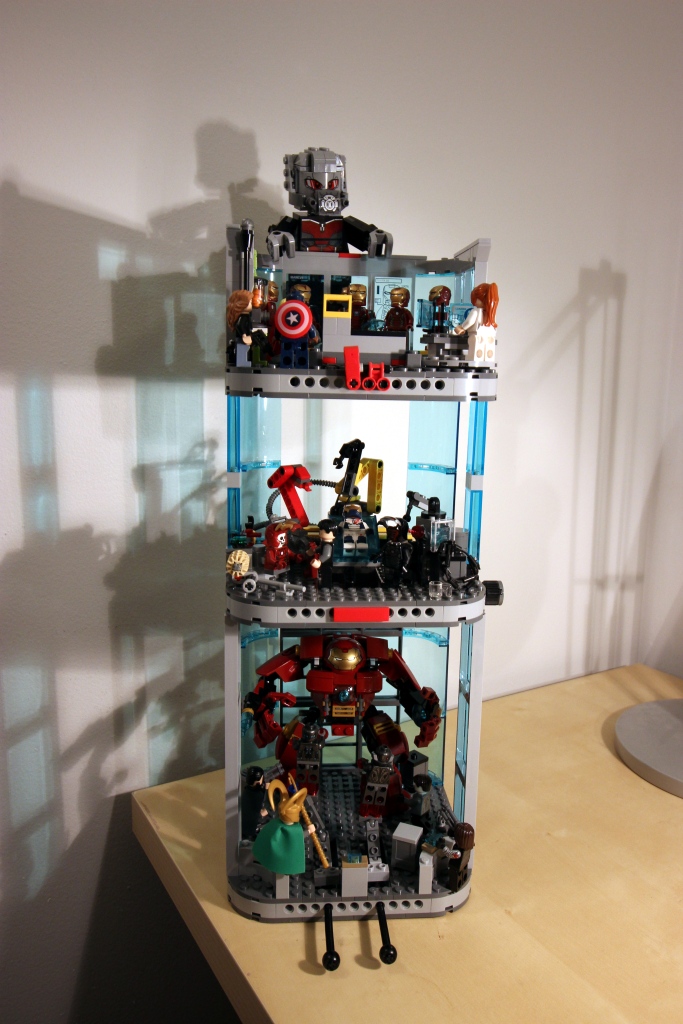
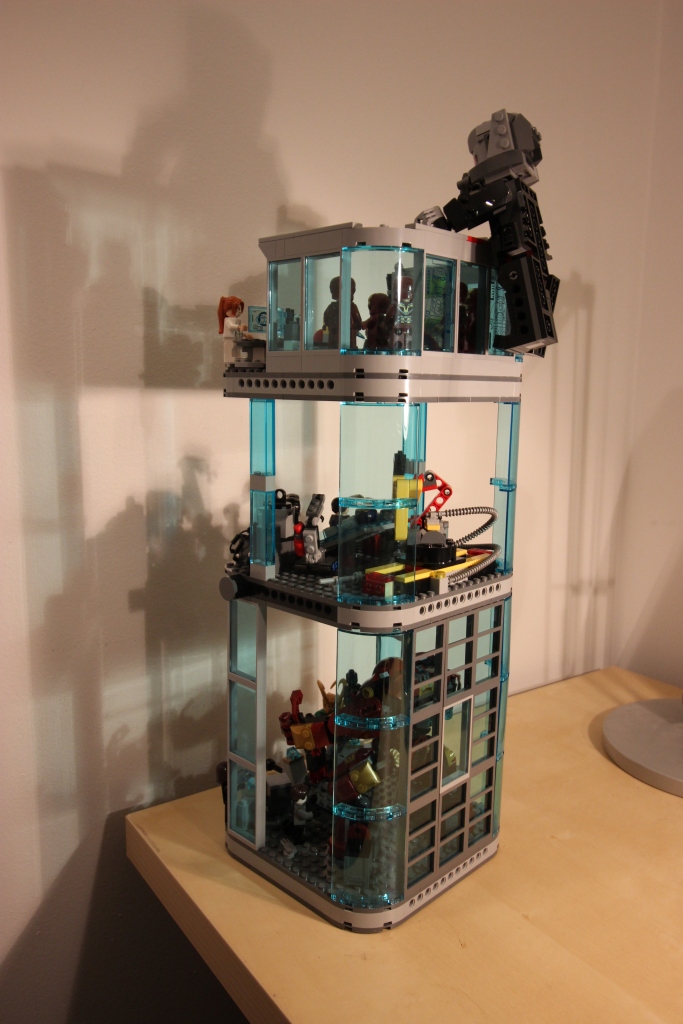
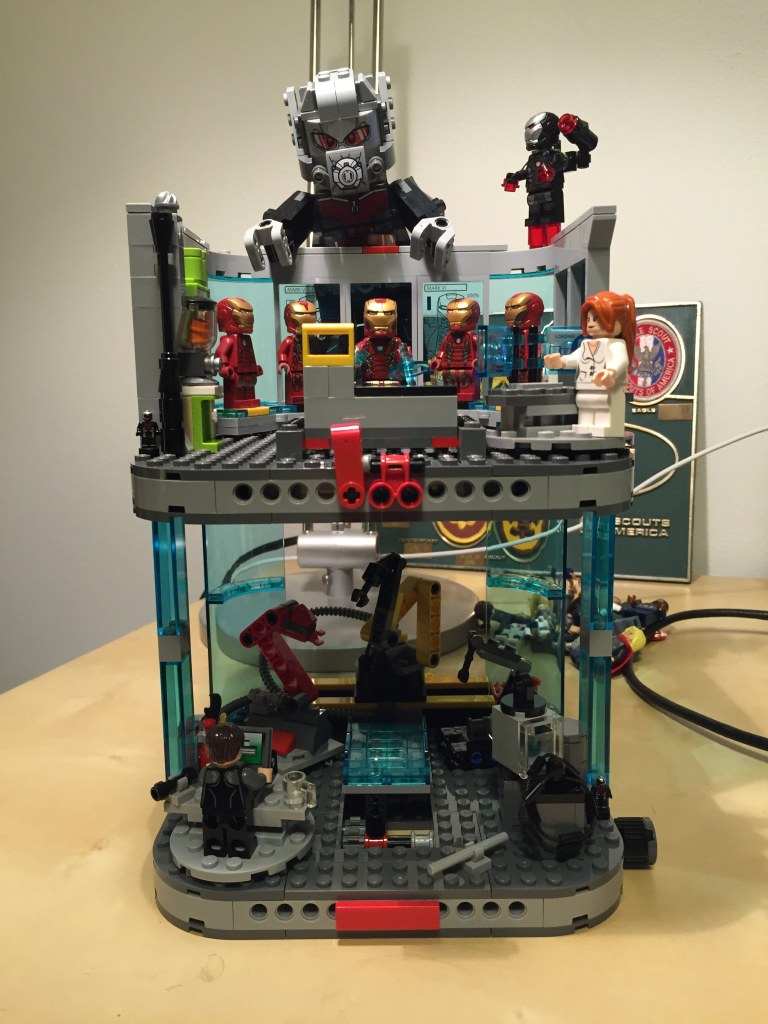
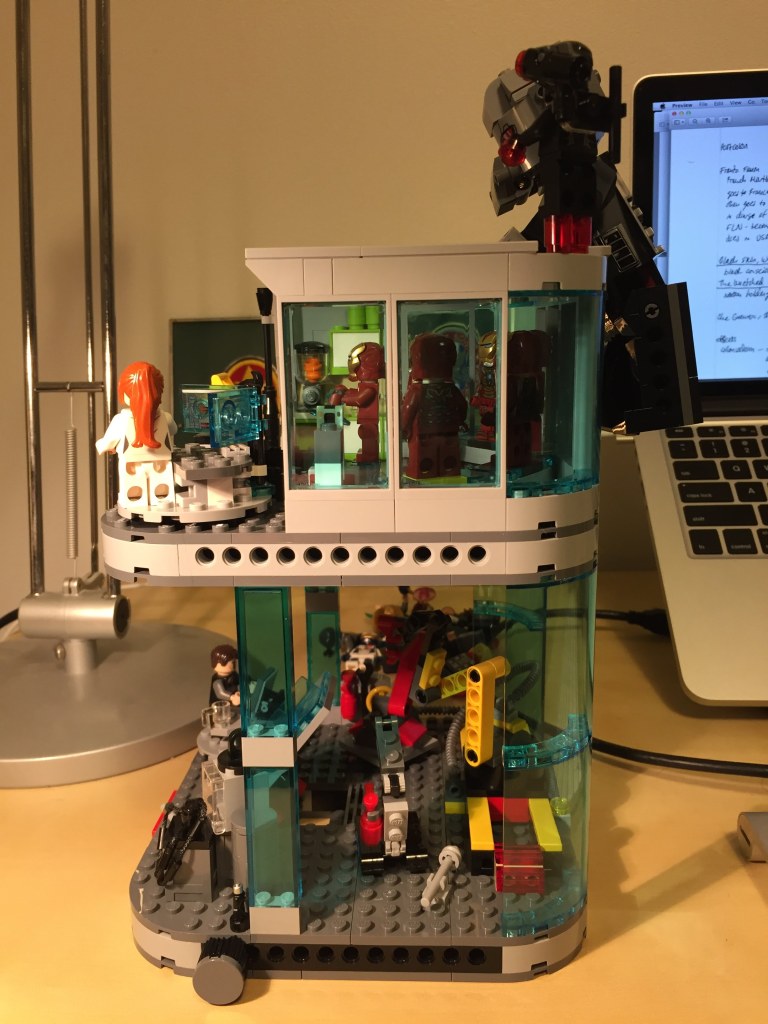
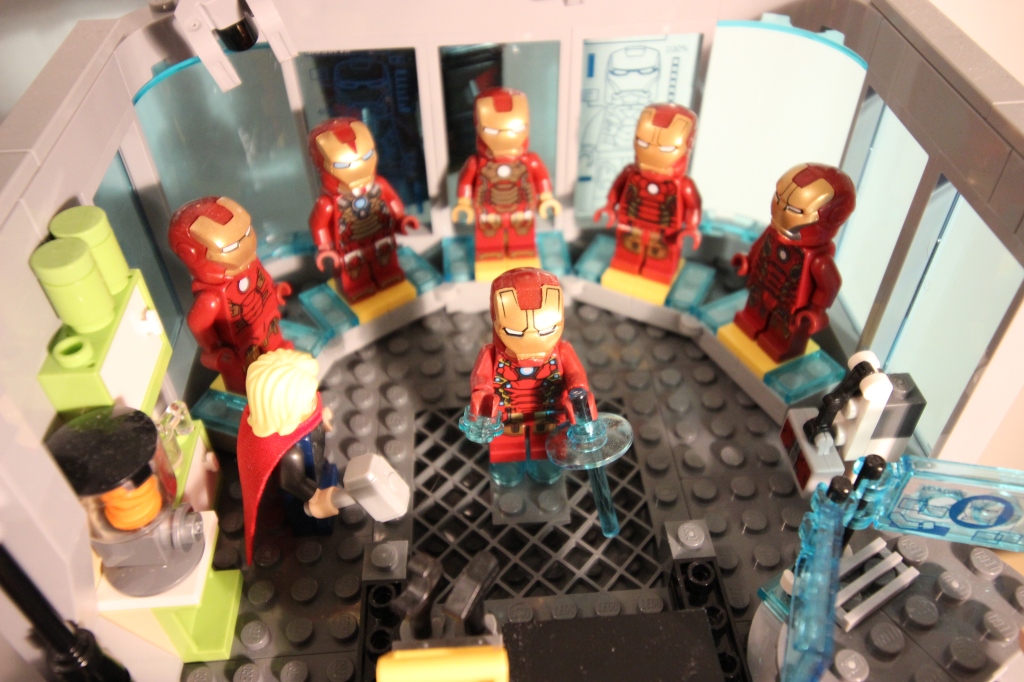
I built this gargantuan three-level Stark Tower LEGO MOC (my own creation) to bring together three concept spaces: Iron Man’s Hall of Armor, Tony Stark’s Workshop, and an X-Men Danger Room-like testing area. Also, it was a model that didn’t take up too much desk space, so I got the enjoyment of seeing it while working without it monopolizing my desk. I wasn’t going for accuracy to something canon-established. Instead, I was mashing up some different ideas into a single model with a high degree of built-in playability. Eventually, I disassembled it and used many of its bricks to create the taller Avengers Tower MOC that I built and wrote about here.
Two-Level Origin
The first iteration of the mode was only two-levels tall and focused on the Hall of Armor and Workshop.
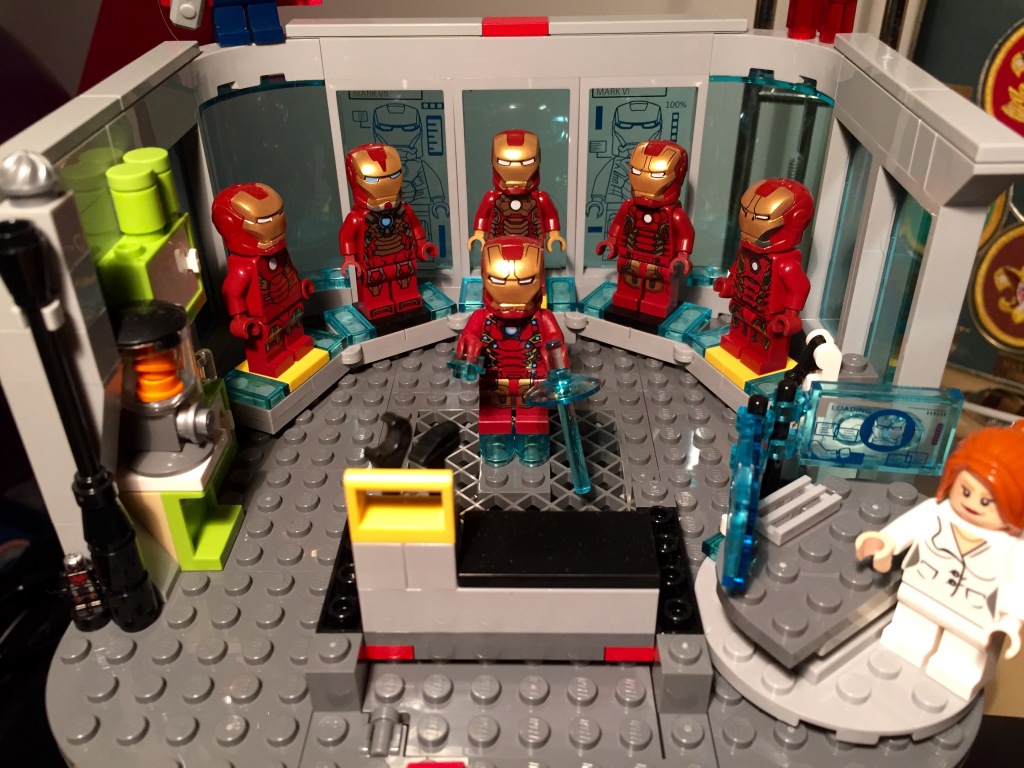
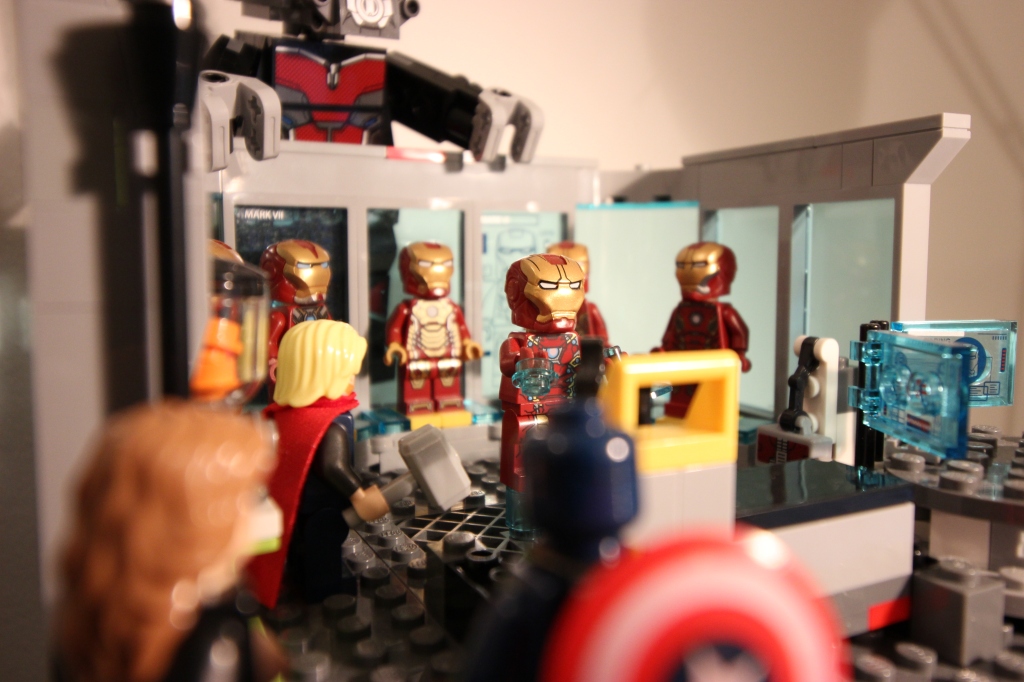
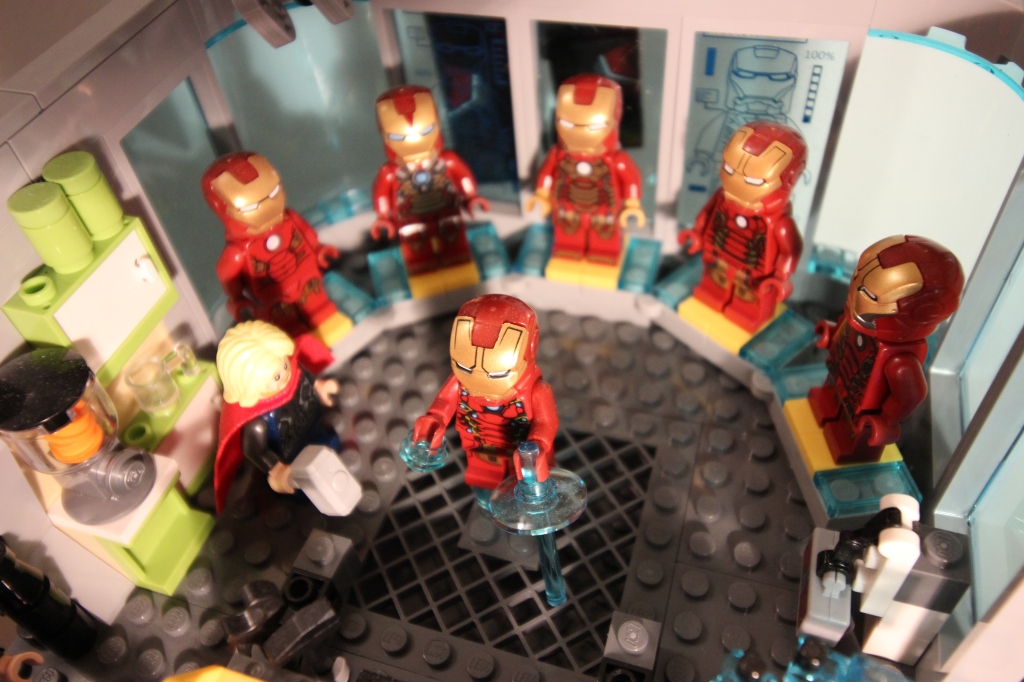
Top Level: Hall of Armor
Armor Display
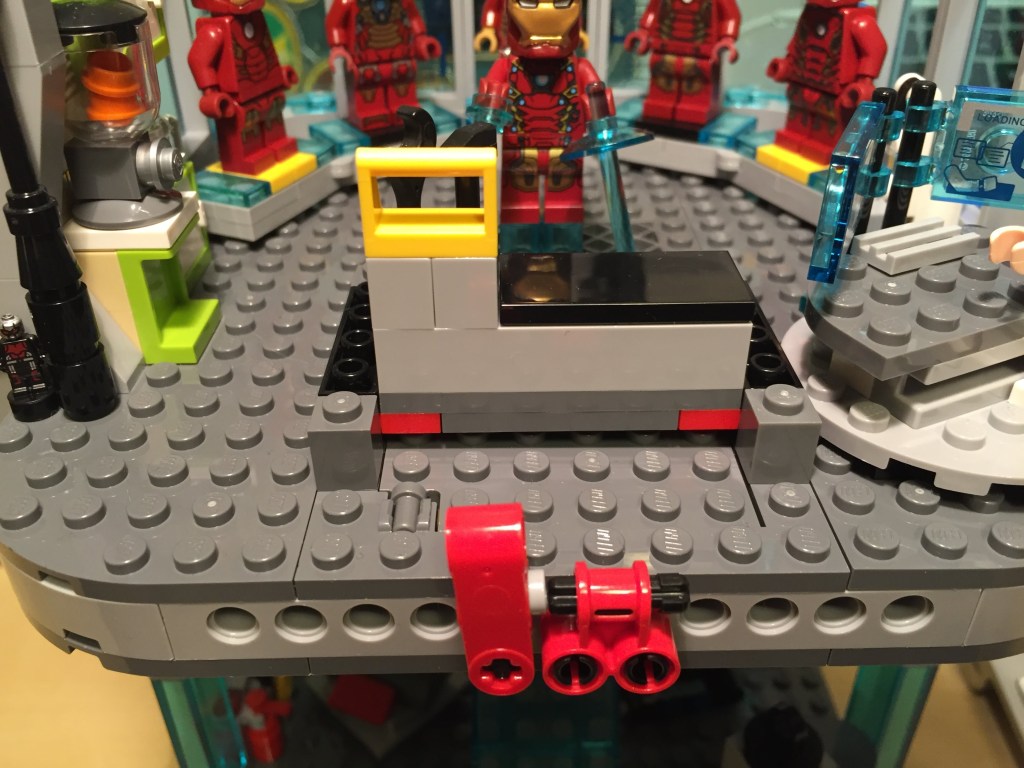
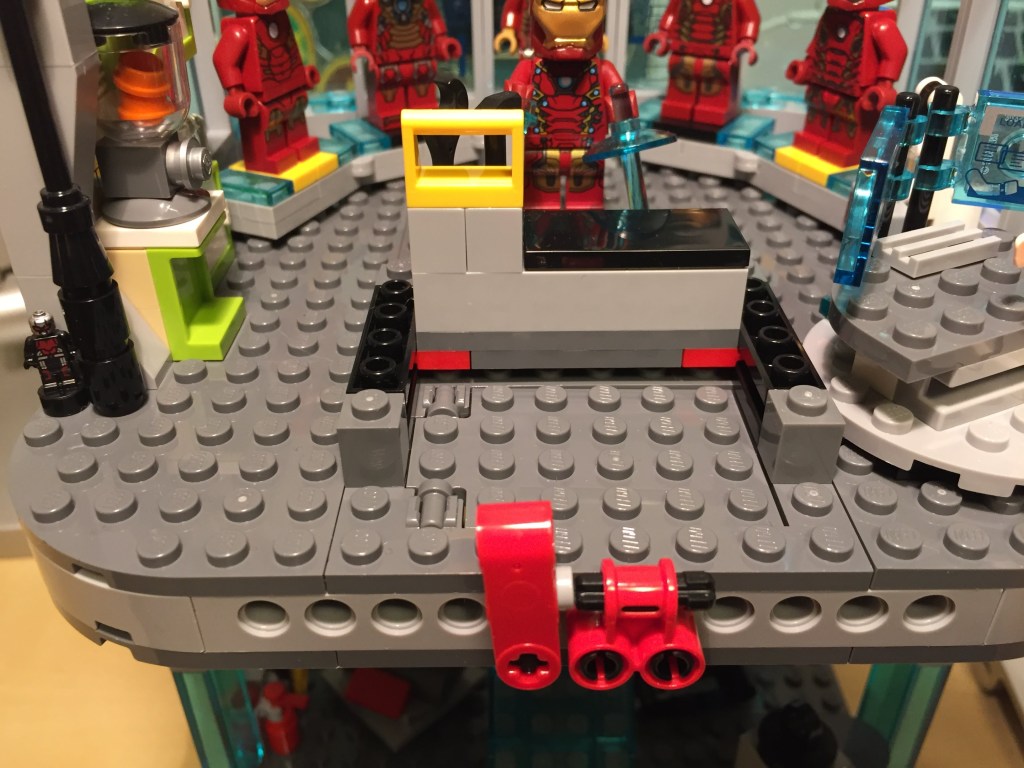
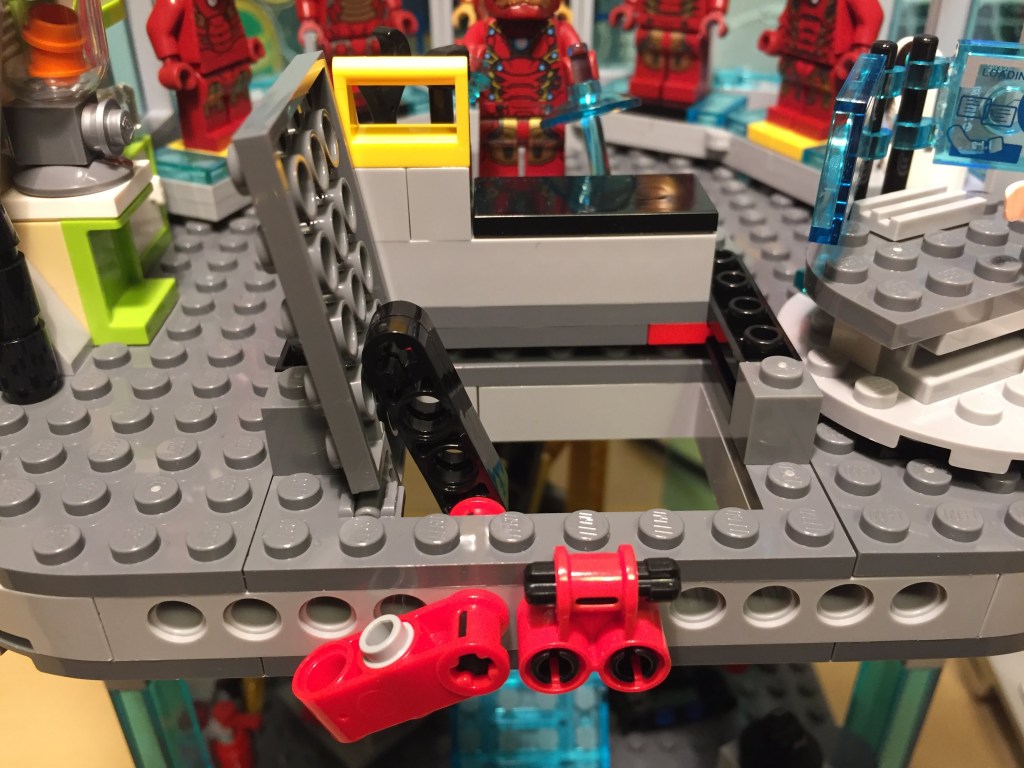
Trap Door
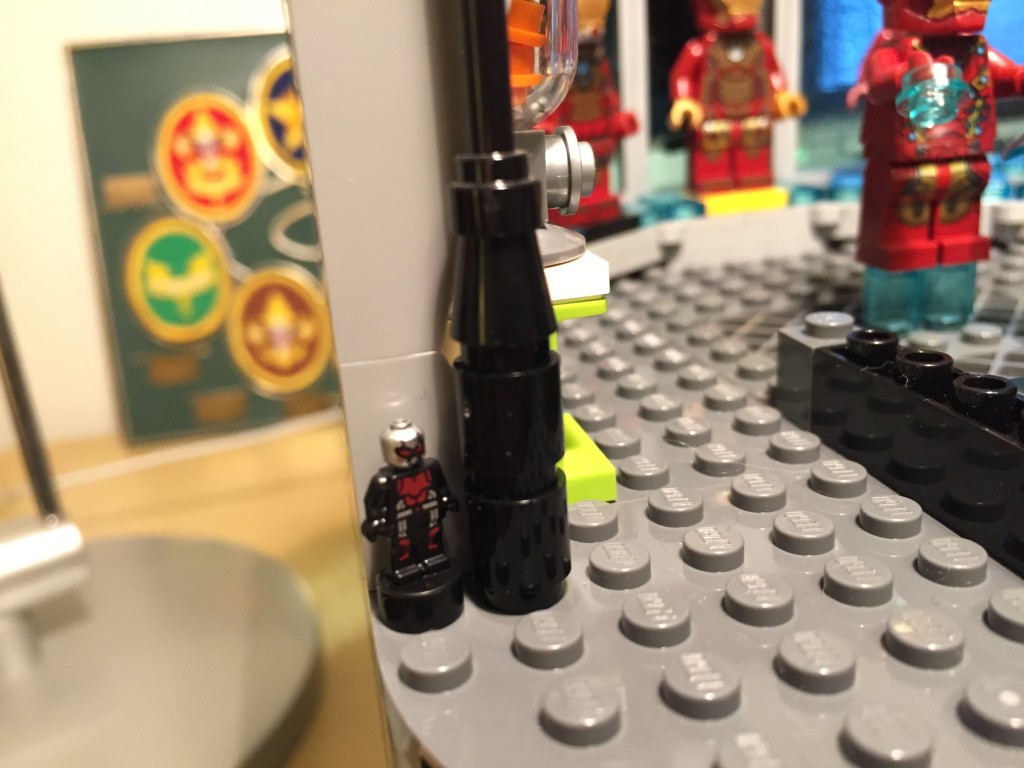
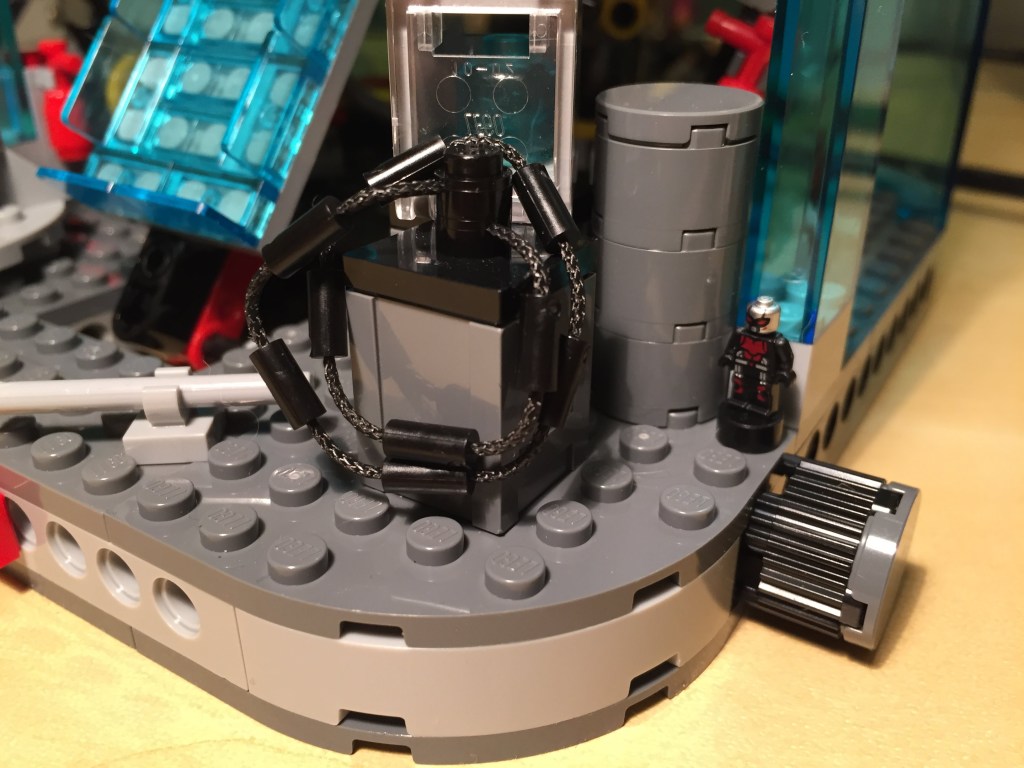
Ant-Man Hides in the Shadows
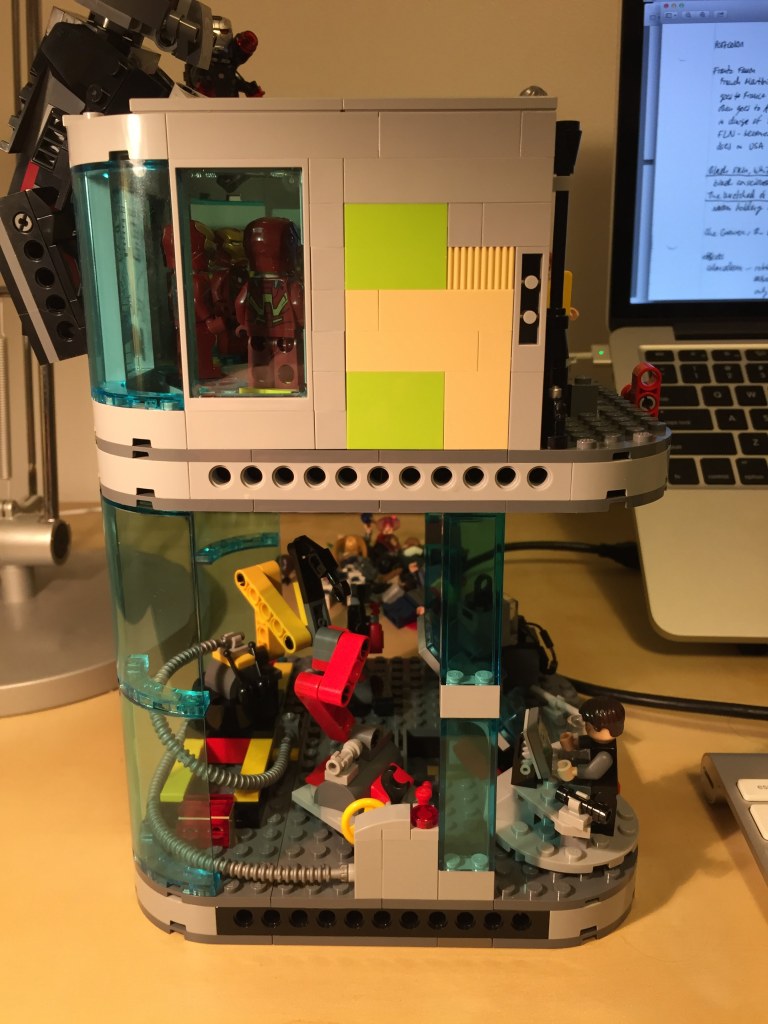
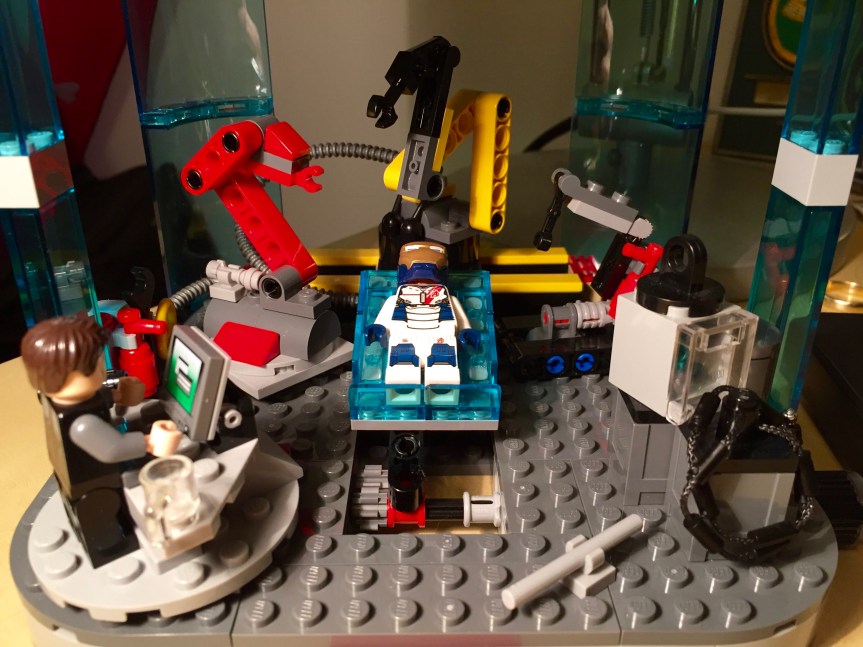
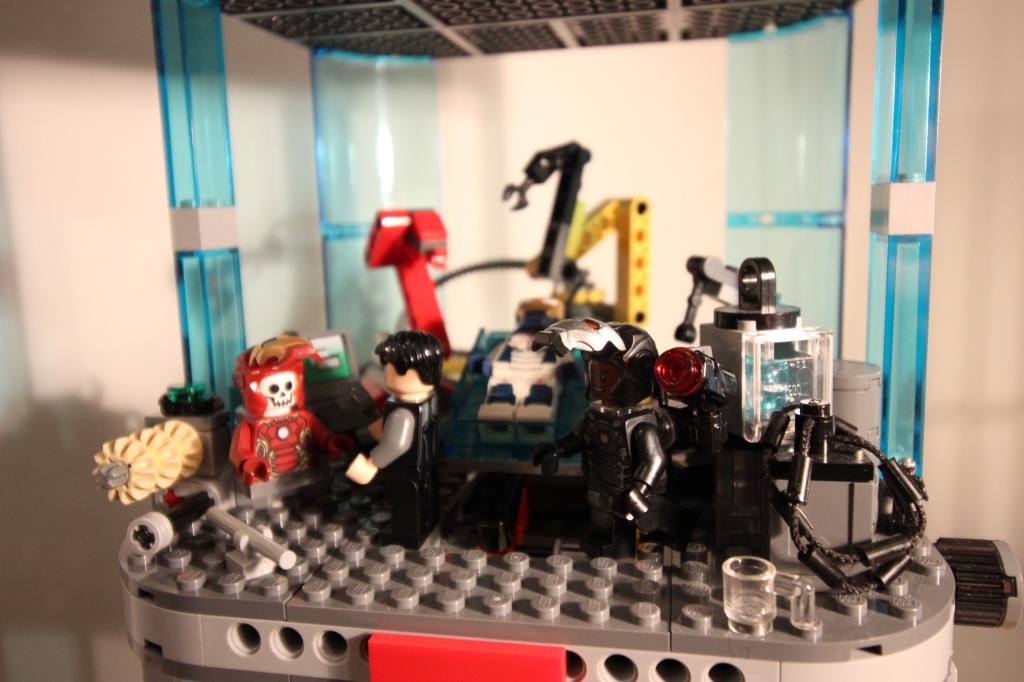
Bottom Level: Workshop
The Slab with Rotator Knob
Industrial Robot on Slider
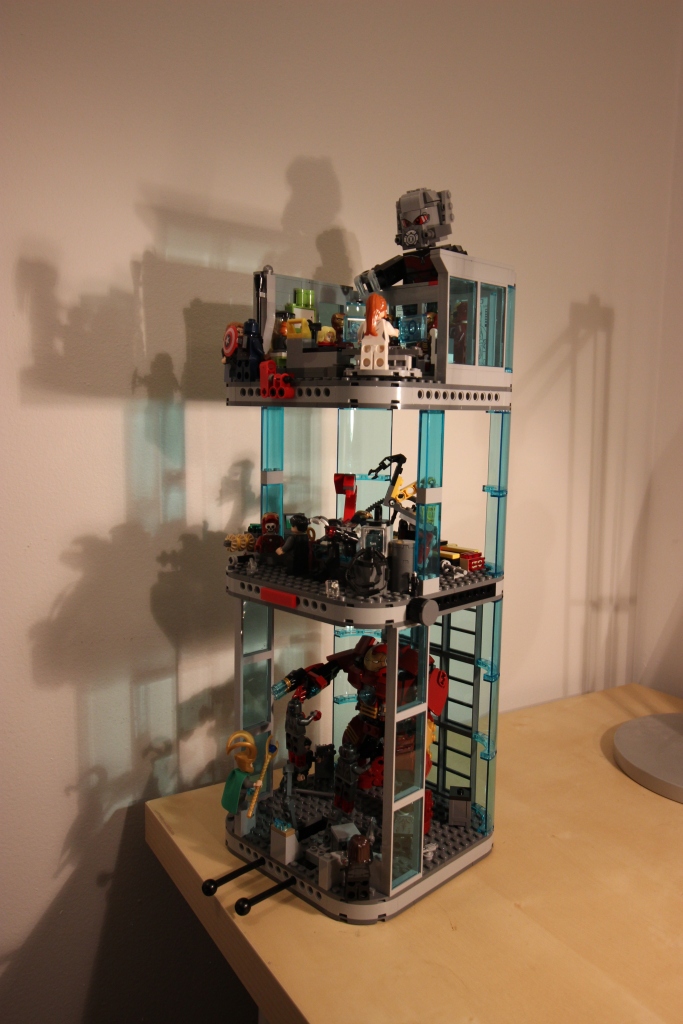
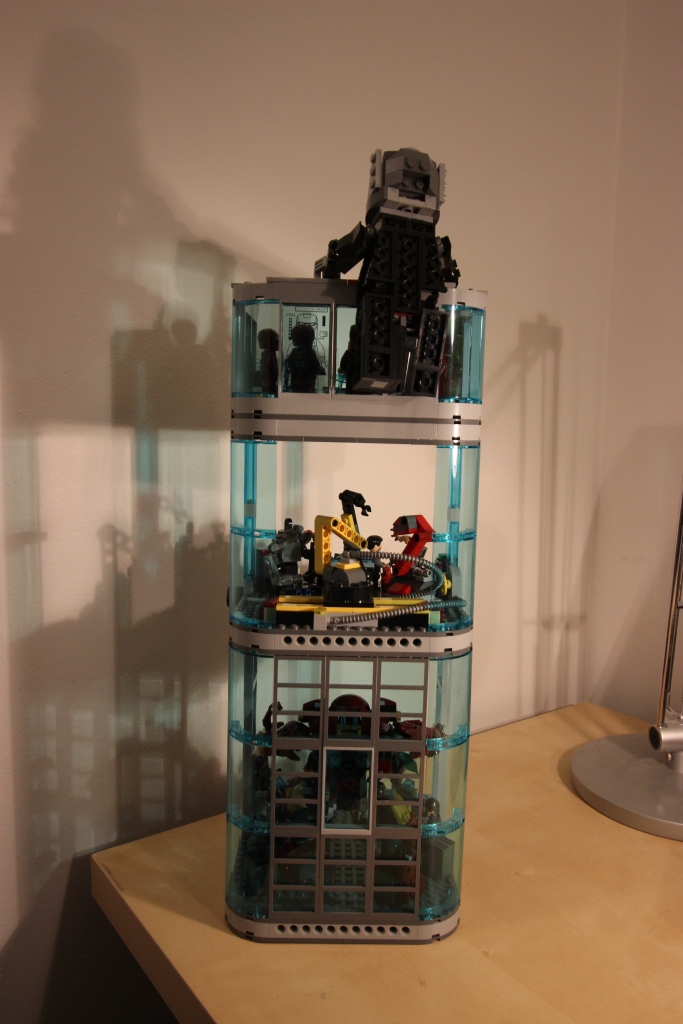
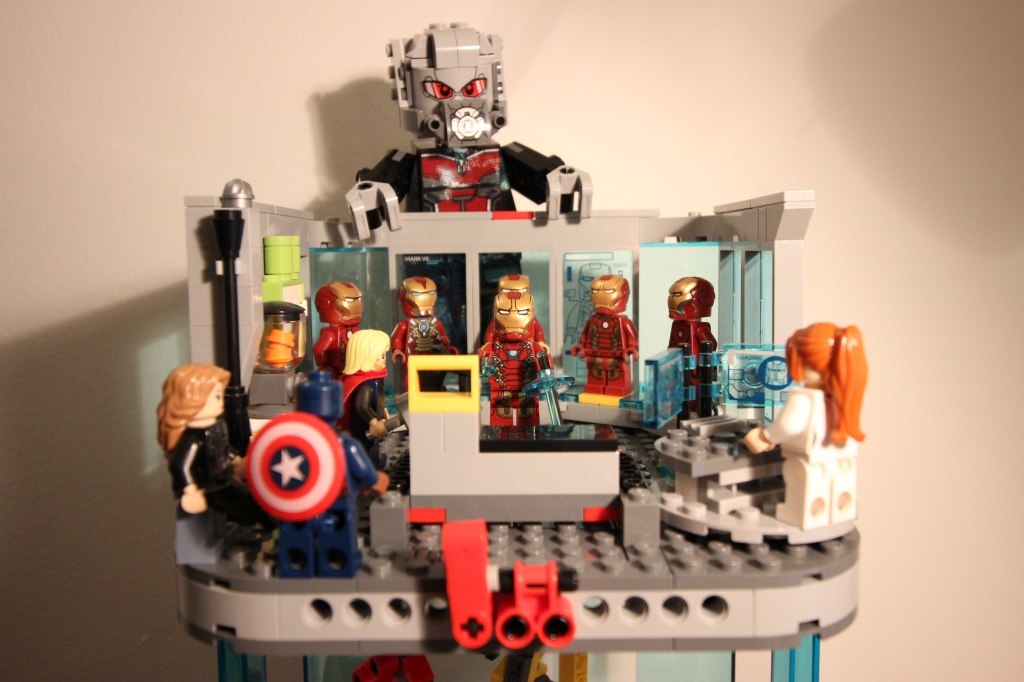
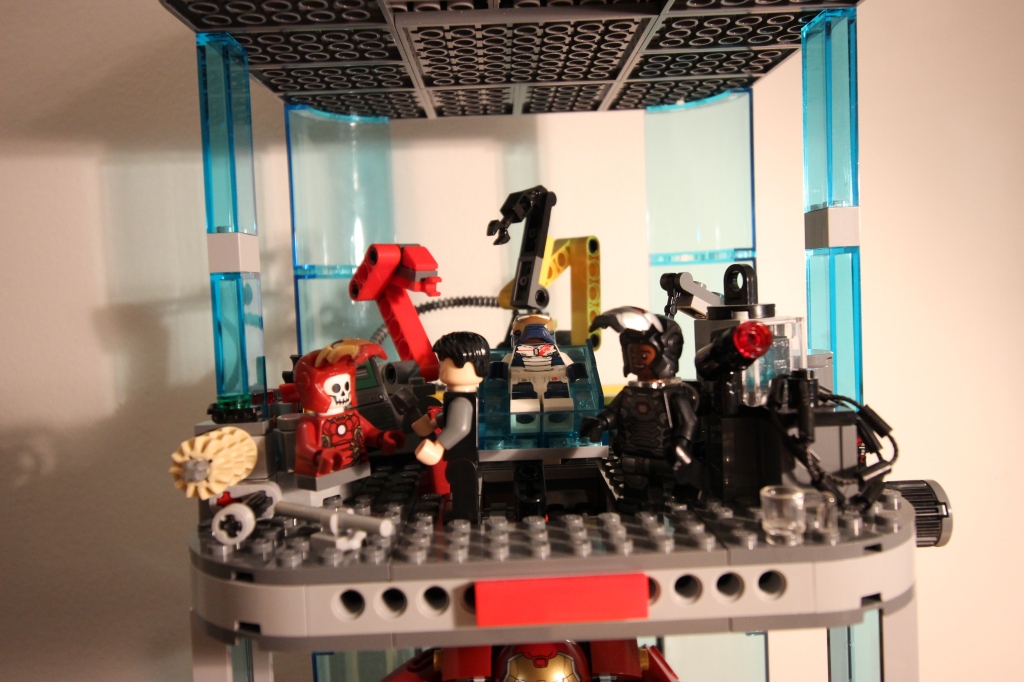
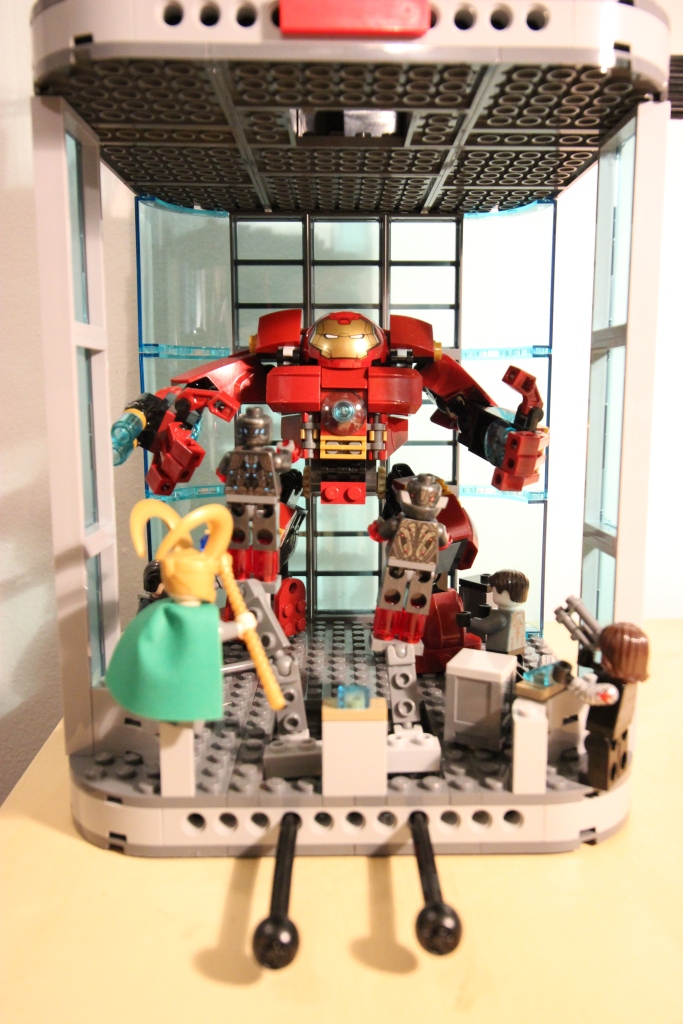
Three-Level Expansion
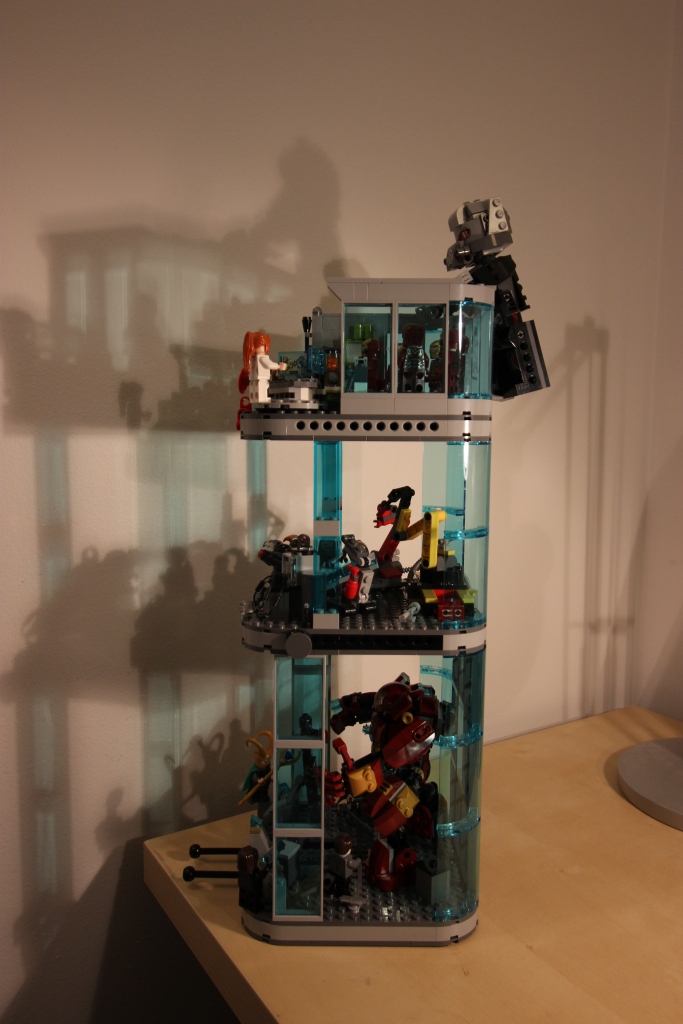
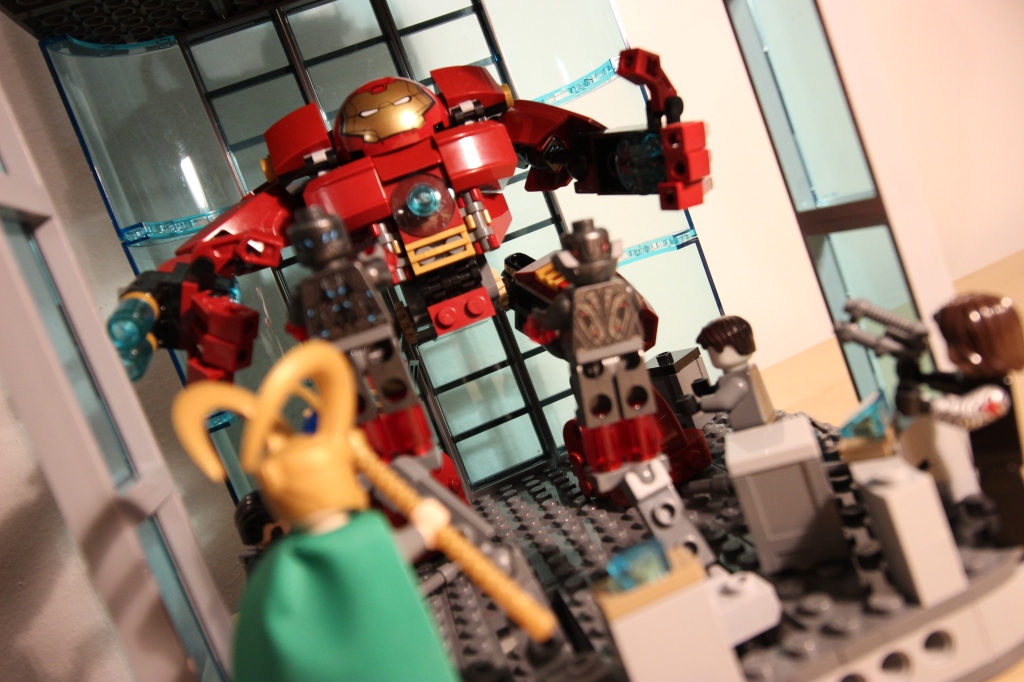
But, I thought adding a high ceiling level for testing and training, kind of like The X-Men’s Danger Room, would be cool. So, the build grew in height to enclose the Hulkbuster Armor facing off against Loki, the Winter Soldier, the Mandarin, Ultron, and an Extremis soldier.
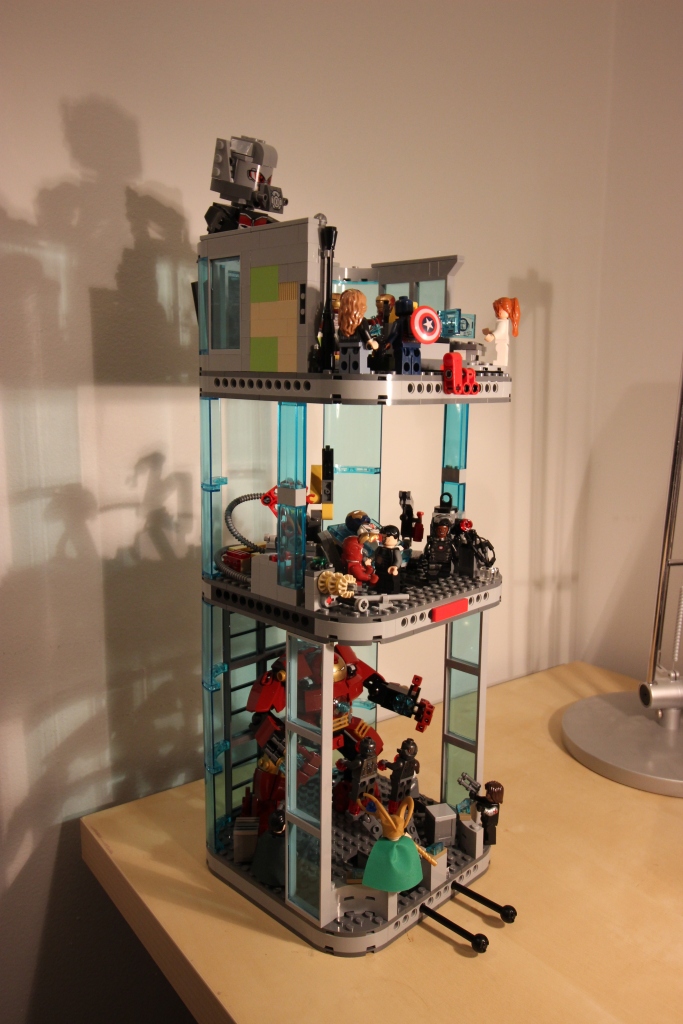
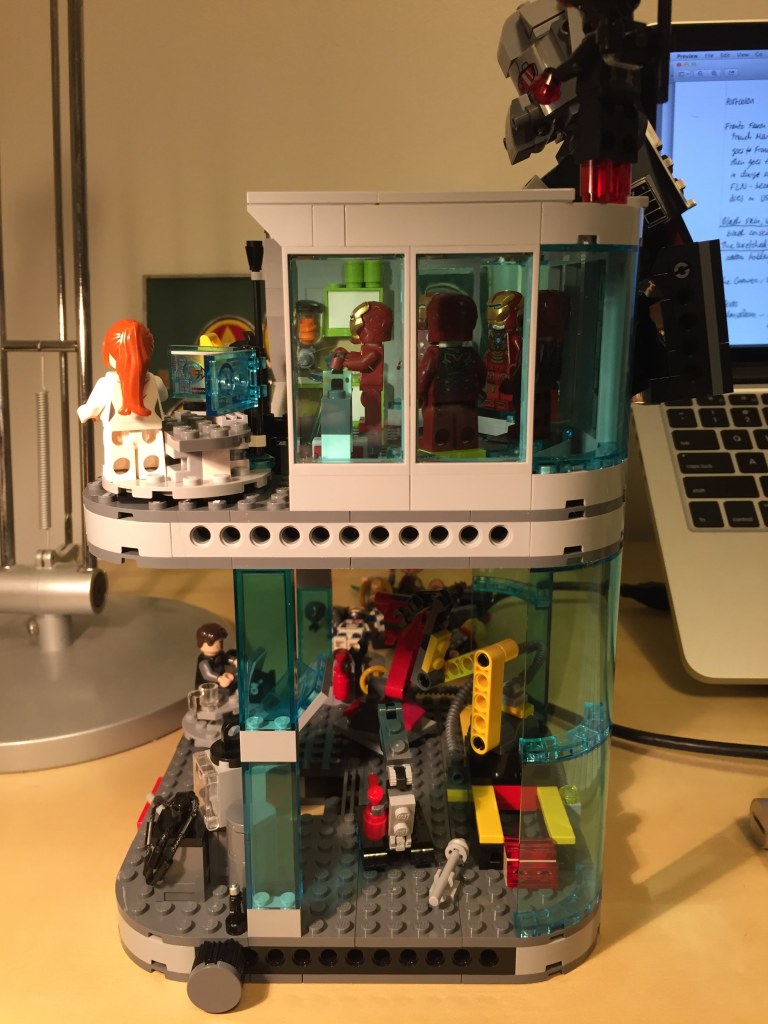
Hall of Armor Updates
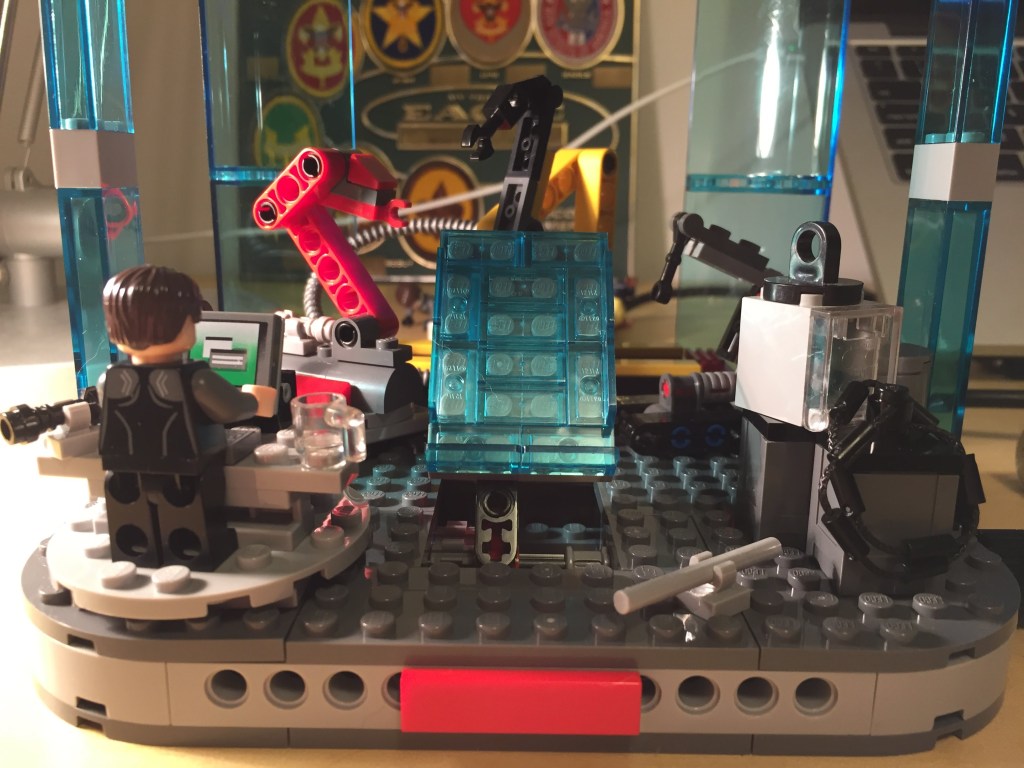
Workshop Updates
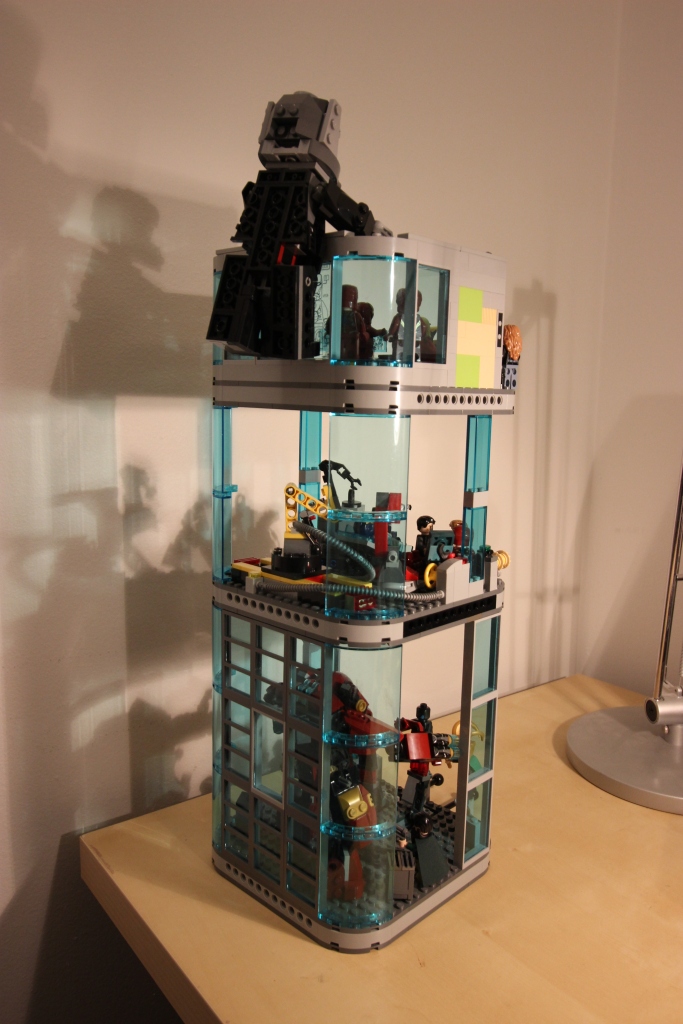
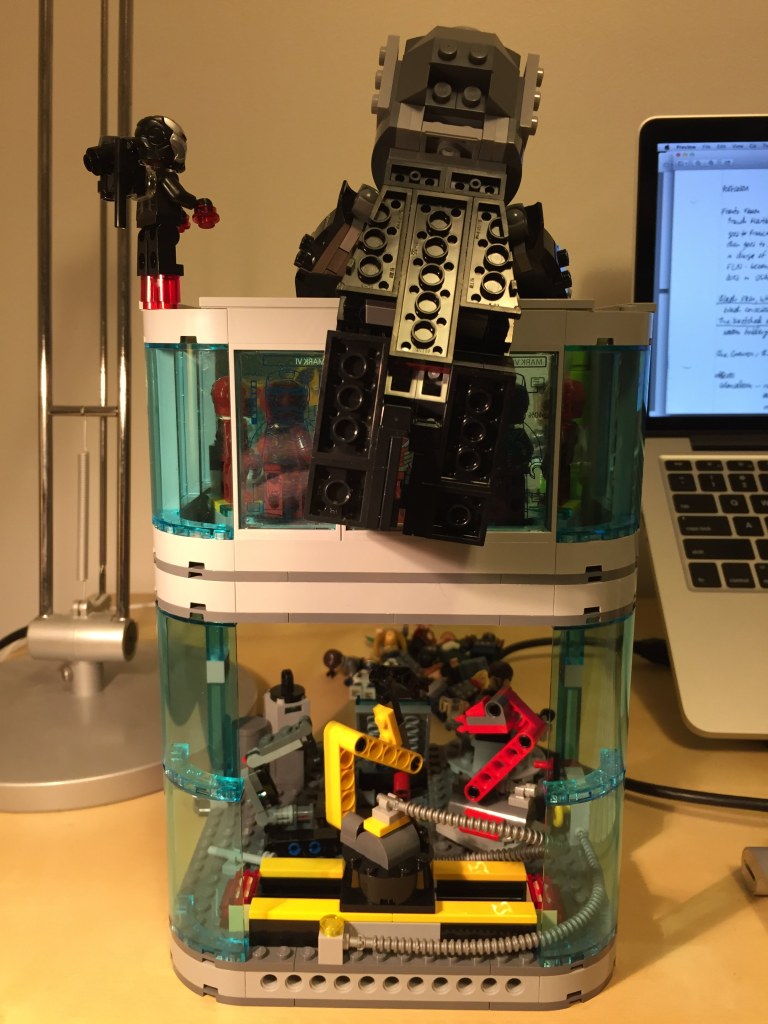
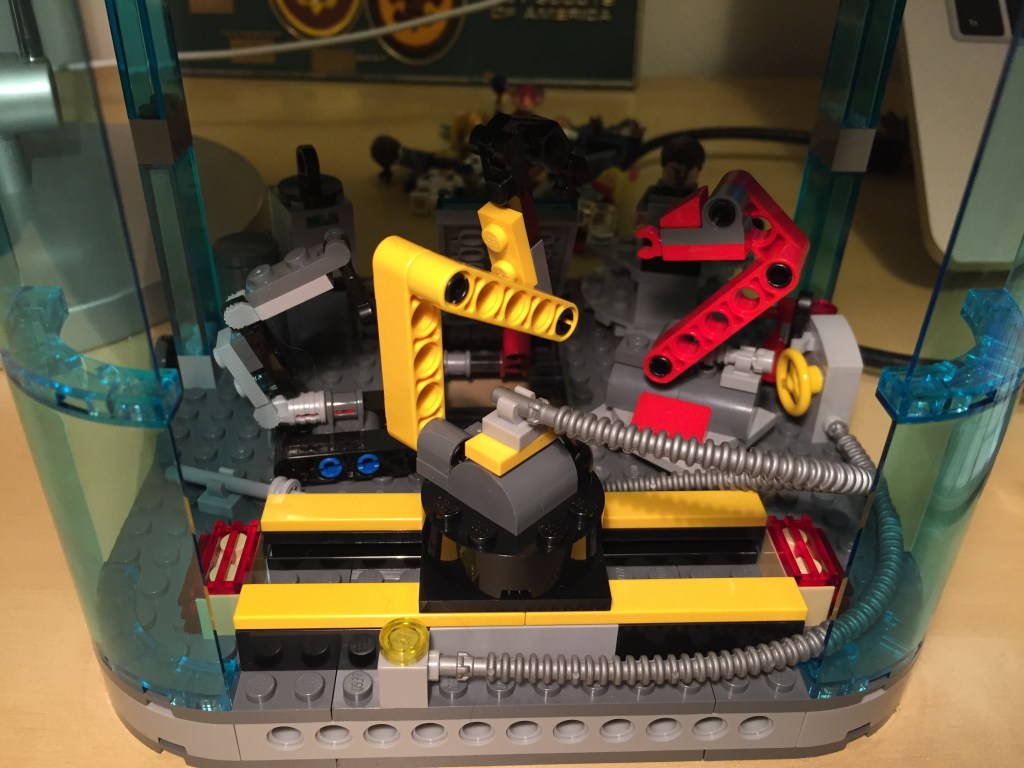
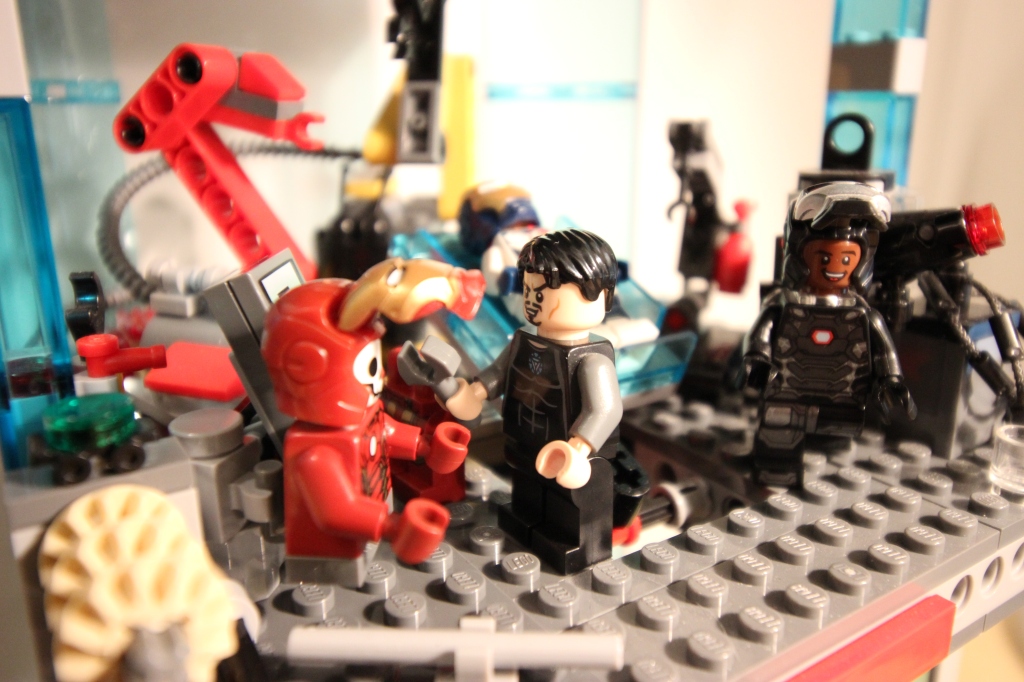
Danger Room
The knobs at the bottom center move the armatures forward and back for Ultron and one of his familiars.
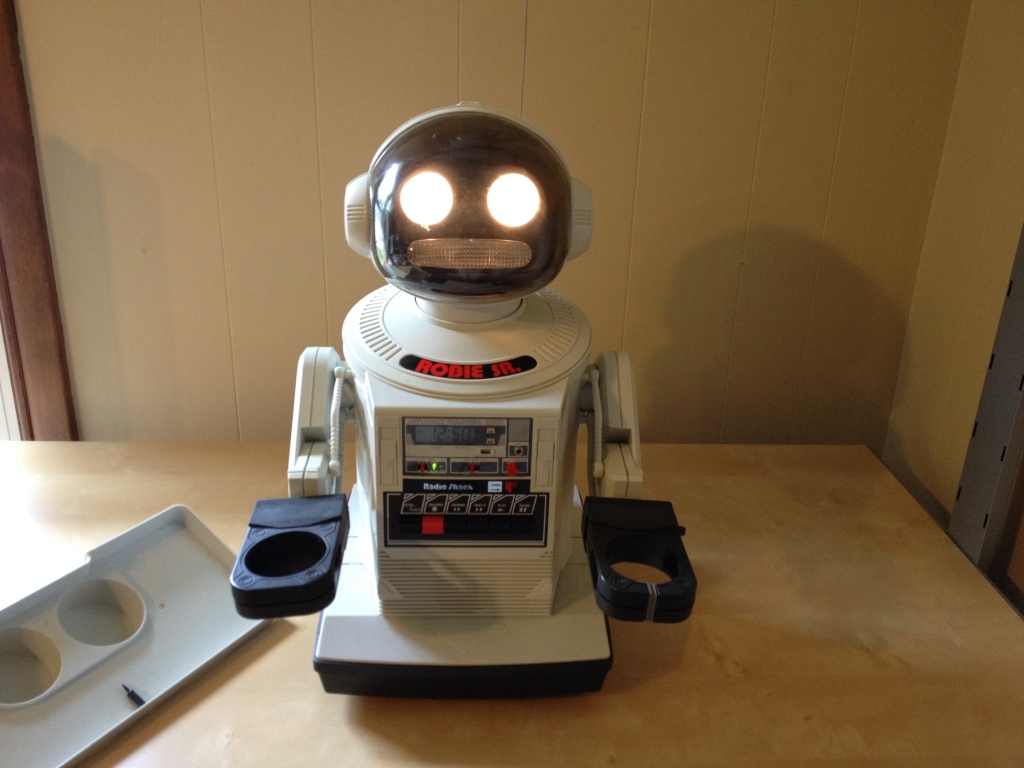
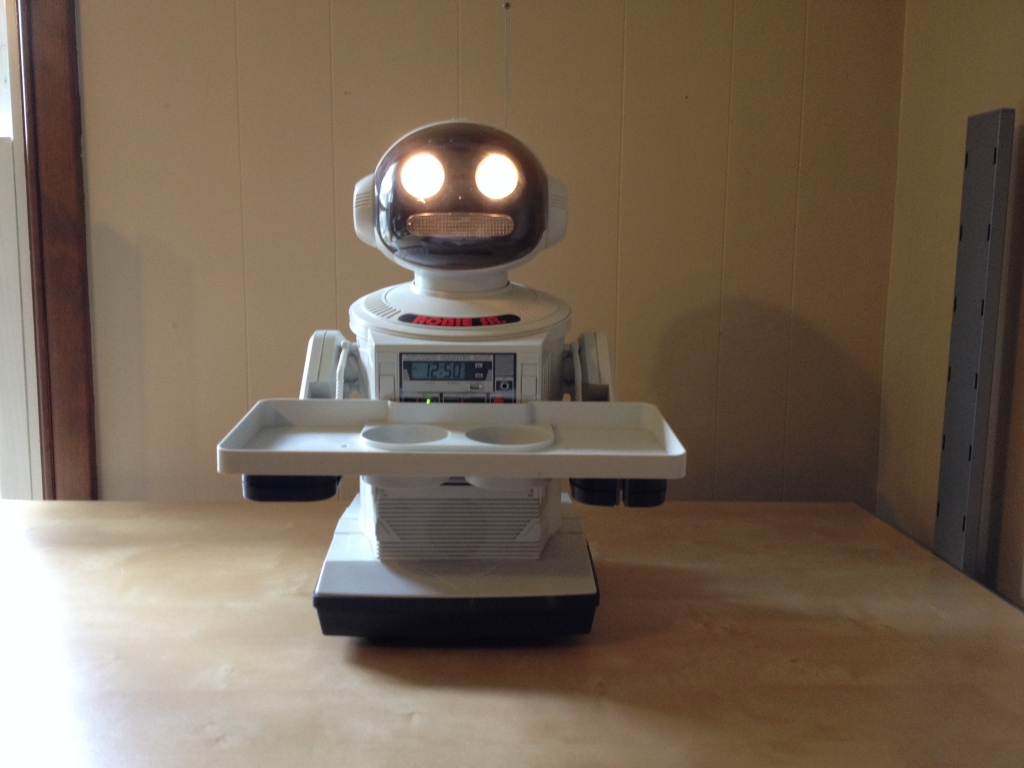
It is a less advanced version of Tomy’s Hearoid and OOM models. Robie Sr. can be remote controlled by a handheld transmitter that doubles as a walkie-talkie so that you can speak through Robie Sr.’s built-in speaker. Also, movements can be recorded to a cassette tape that can be played back to repeat the movements on command or by an internal alarm clock. He can grip items in his left hand, and he includes a tray supported by both hands for carrying larger or awkward items. You can read more details about Robie Sr.’s functions and features in the owner’s manual available at TheOldRobots.com here.
When I was a kid, I wanted one of these robots badly! I imagined it was like having R2-D2 as a friendly companion. Omnibot 2000 was the most advanced consumer robot that I was aware of at that time. Robie Sr. was a close second to my childhood imagination. The Heathkit Hero was the most astromech-like robot on the market at the time, but it was lightyears beyond my affordability and technical skill.
I remember playing for hours with a friend’s Armatron–imagining being the robot brain controlling the rattling rumble of gears moving the waldo arm according to my joystick maneuvers.
Patience and saved searches on eBay eventually led me to find this Robie Sr. to experience what this little robot was capable of. I brought him to my classes and had him in my office at school. Some students thought Robie Sr. was cool, but he didn’t seem to fire their imagination like he did me years before.
My Robie Sr. now belongs to someone else. When we were downsizing before moving to Brooklyn, I had to let go of him and put him up on eBay. Hopefully, he is continuing to live his best robot life with his new family.
Robie Sr. comes with a tray that can be held by both hands.
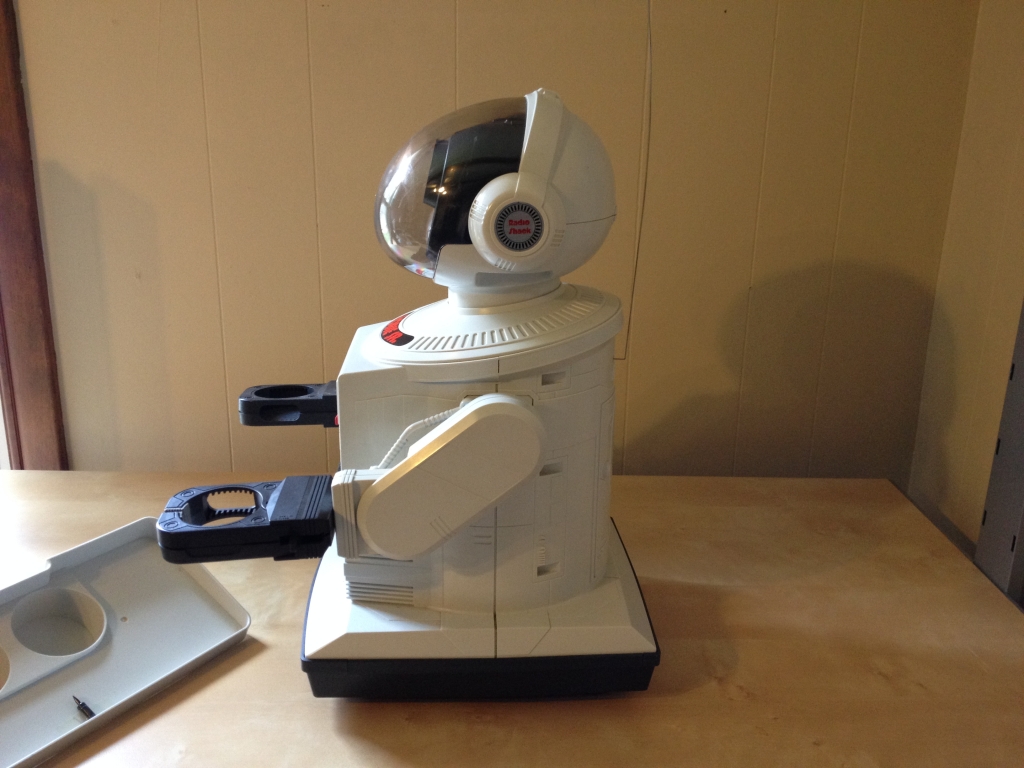
Left view with arm rotated to the height needed to hold a tray.
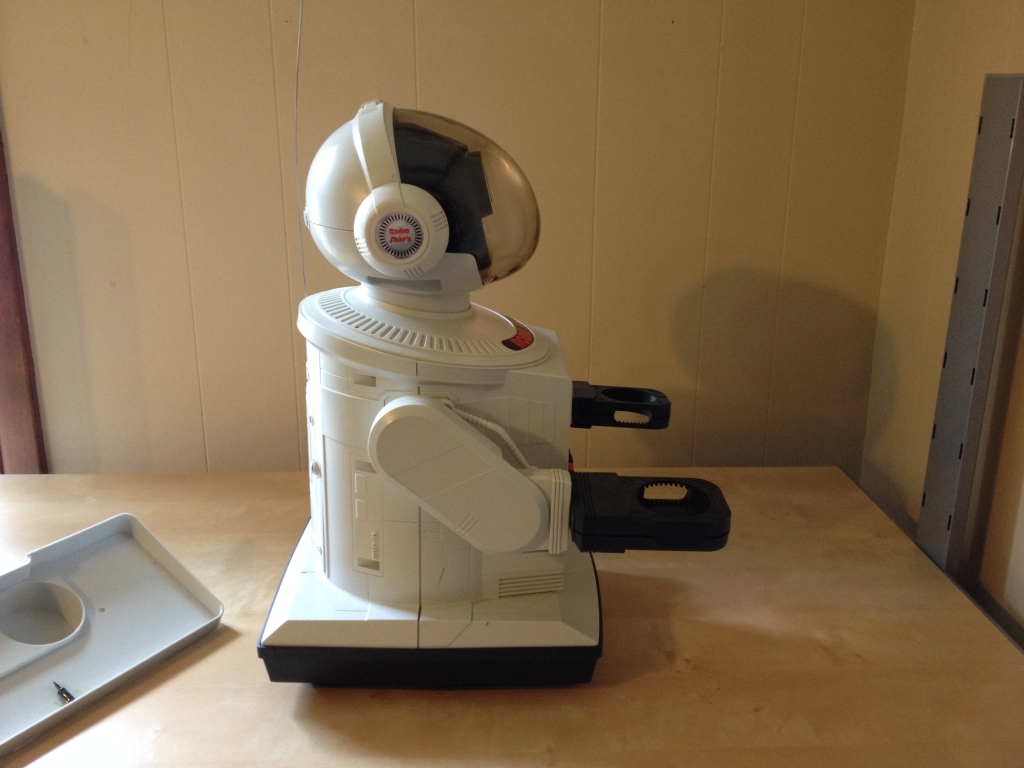
Right view with arm rotated to the height needed to hold a tray.
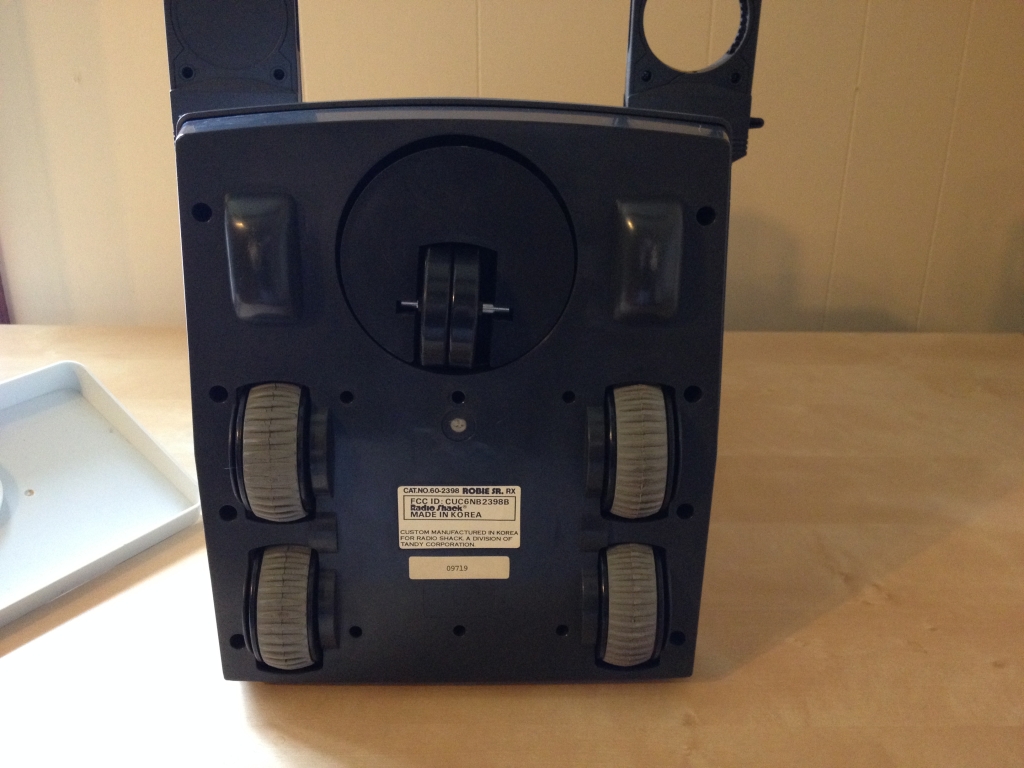
Bottom view of Robie Sr. Its wheels are for locomotion and tank-like steering. The black front wheel (at the top of photo) provides support and rotates based on the motion of the grey wheels.
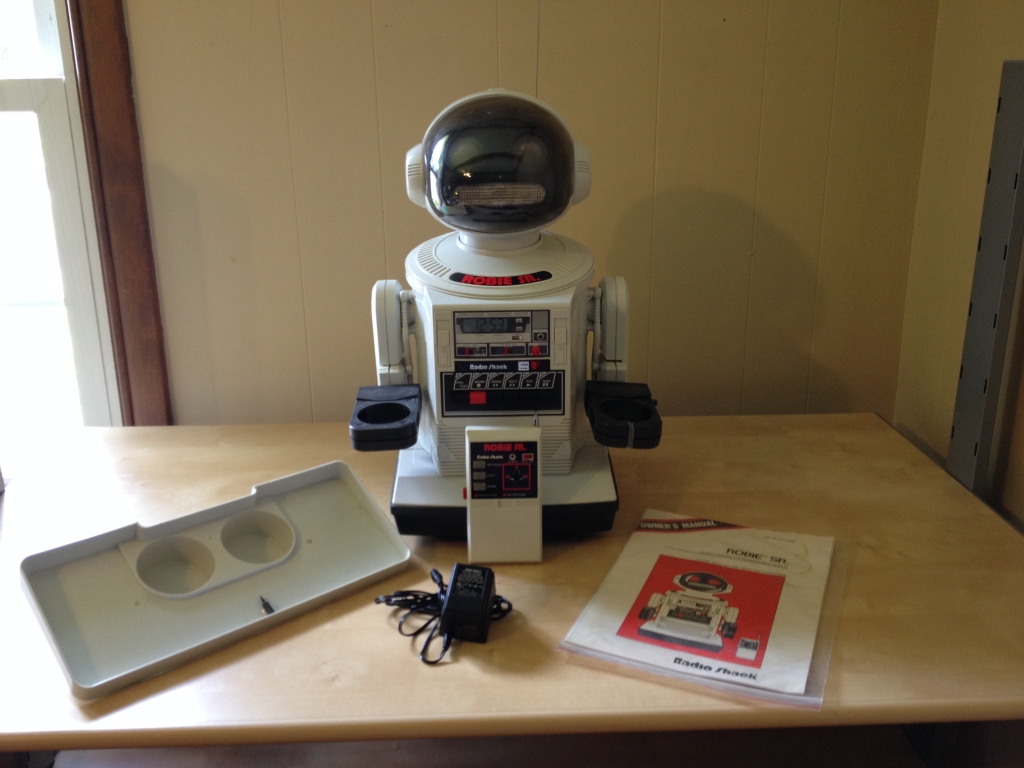
Robie Sr. is pictured here with his tray, AC battery charger, remote control, and owner’s manual.
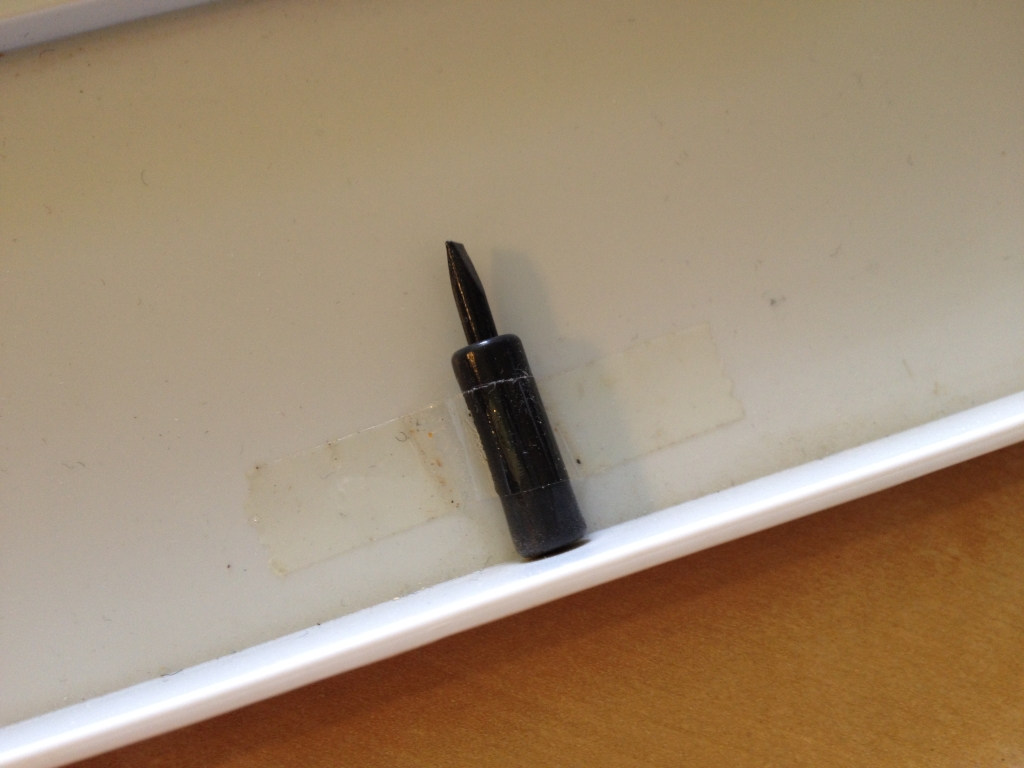
This screw is used for adjusting the steering alignment.
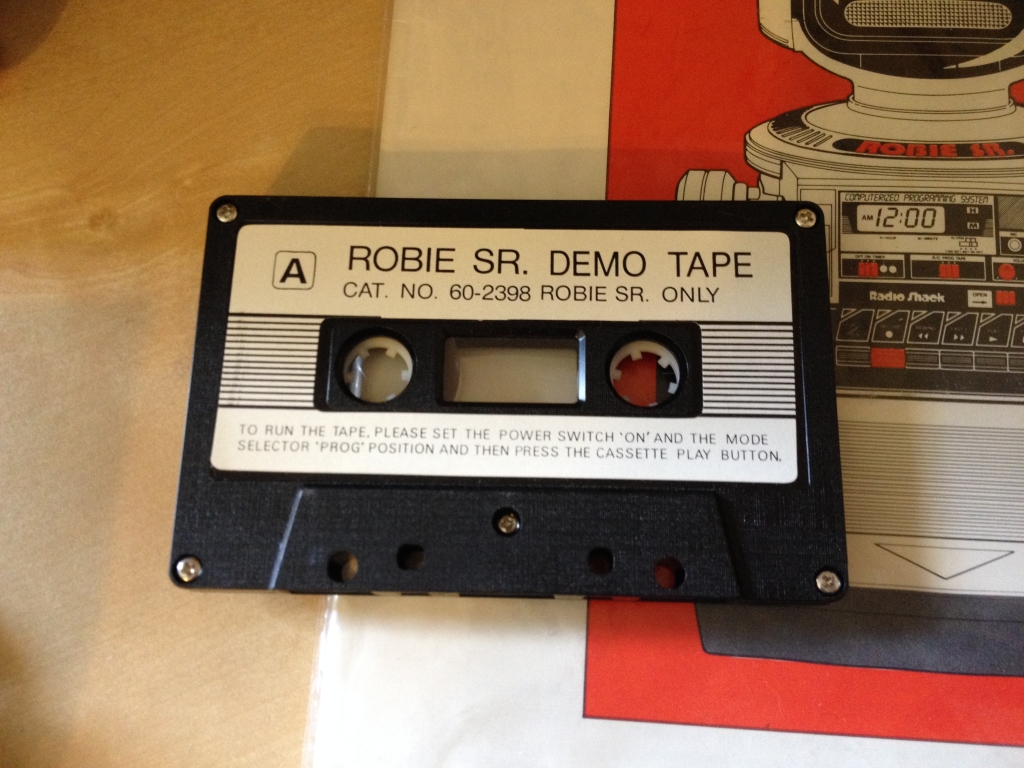
The Robie Sr. Demo Tape has a preprogrammed set of instructions for the robot to perform. To use it, you slide the cassette Open lever on the cassette tape deck on Robie Sr.’s torso, this slides the cassette tape mechanism out, place the cassette inside, push the deck back into Robie Sr.’s torso, and then push the Play button.
To recharge Robie Sr.’s big ass battery, the robot needs to be plugged into the included AC charging adapter.
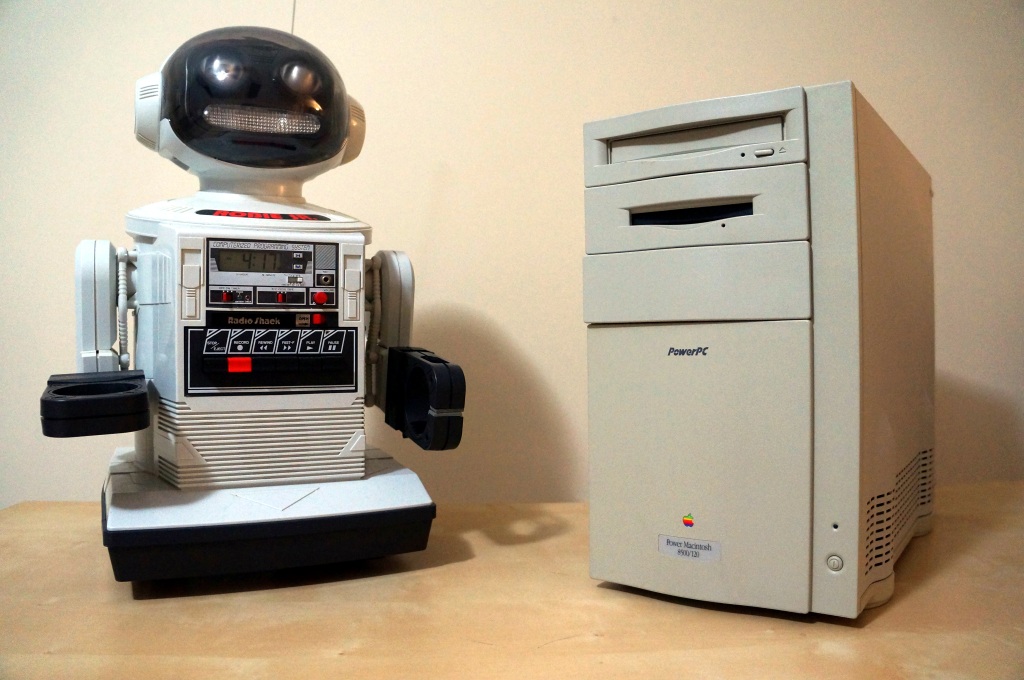
For comparison, Robie Sr. is taller than an Apple Power Macintosh 8500/120. Also, the robot is about 9 years older than this Power Mac model.
Finally, here is Robie Sr. in action! Y and I made this video to show at a friend’s overseas wedding that we were unable to attend. The audio is in Mandarin for the most part. The story is that Robie Sr. needs to deliver a special message. Our dearly departed cat Miao Miao takes the message from Robie and gives it to us, and we read the message to our friends.