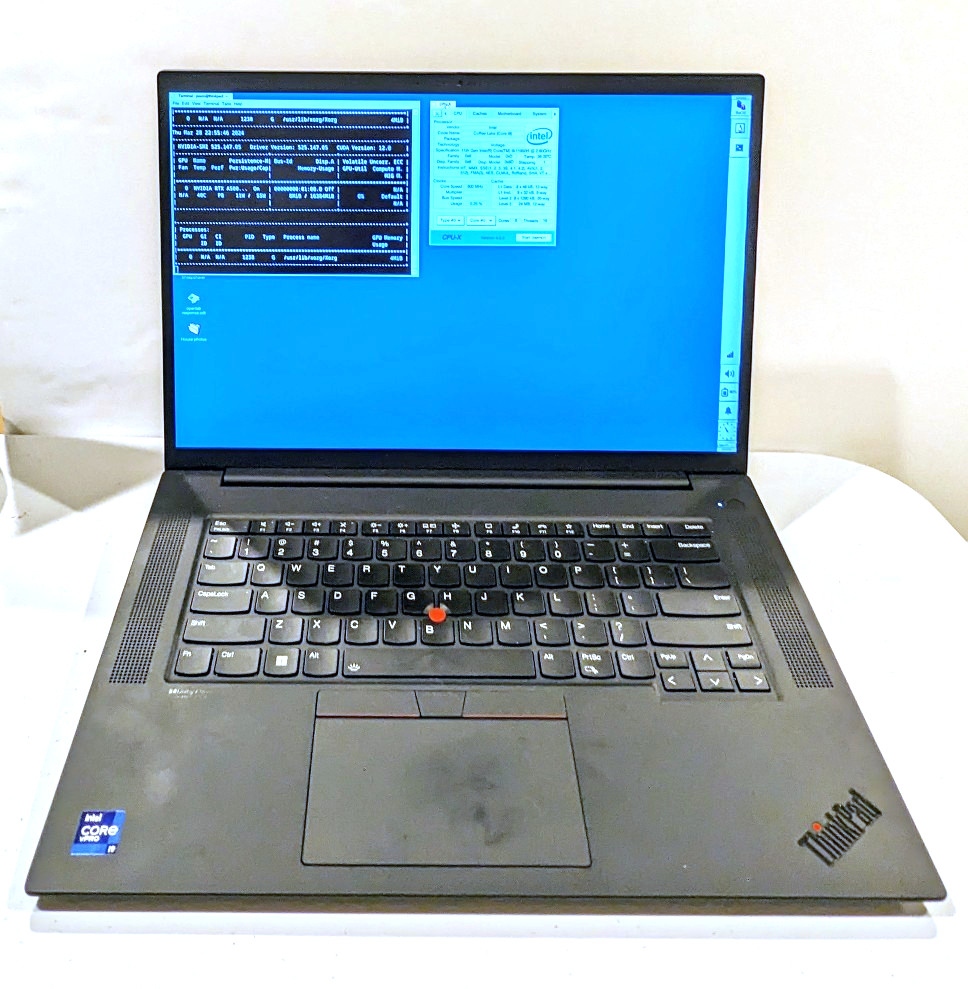
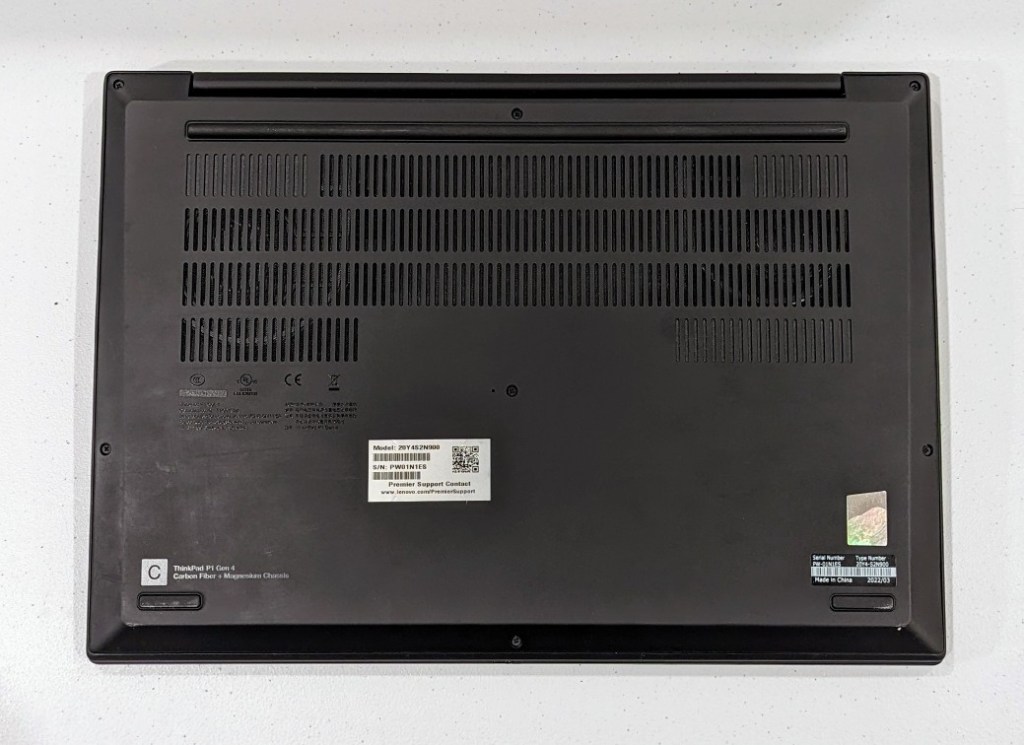
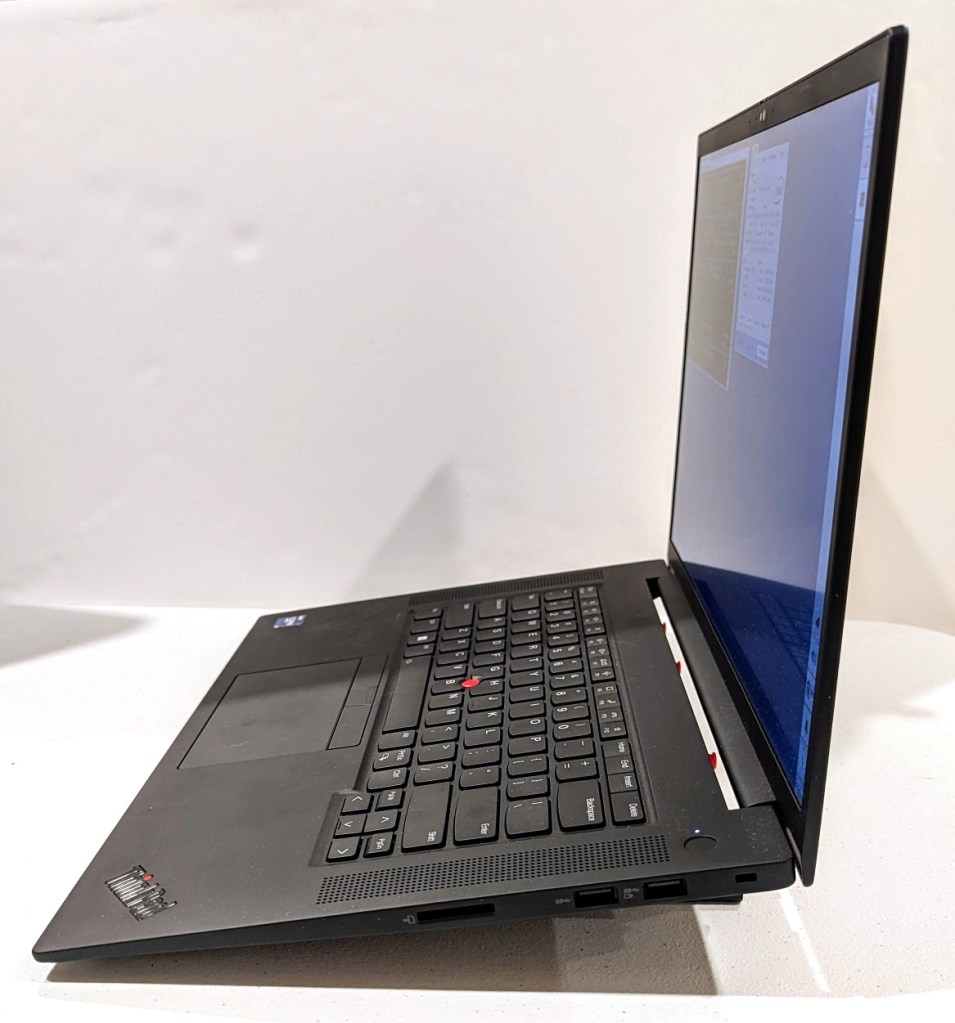
As I wrote about yesterday, my Lenovo ThinkPad P1 Gen 4 maintains lower temperatures when it has improved air flow under its body where the twin cooling fan intakes are. Without raising the laptop, the laptop’s support feet only give it about 3 mm of space underneath it, which chokes the intake fans. Since getting the laptop late last year, I’ve used a variety of at-hand objects–books and small boxes most often–to prop up the back of the laptop when I was stressing the laptop with a heavy workload.
I wanted a permanent solution, but the portable options available in retail are either bulky adjustable metal or plastic platforms or folding 4-point stands. The former takes up a lot of room and those with fans don’t always translate to lower temps, and the latter might not provide the support needed on the ThinkPad P1’s lengthy support foot at the rear of the laptop. So, I turned to LEGO to create a customized stand that gives the ThinkPad the support it needs while also being compact and easily carried in my backpack.
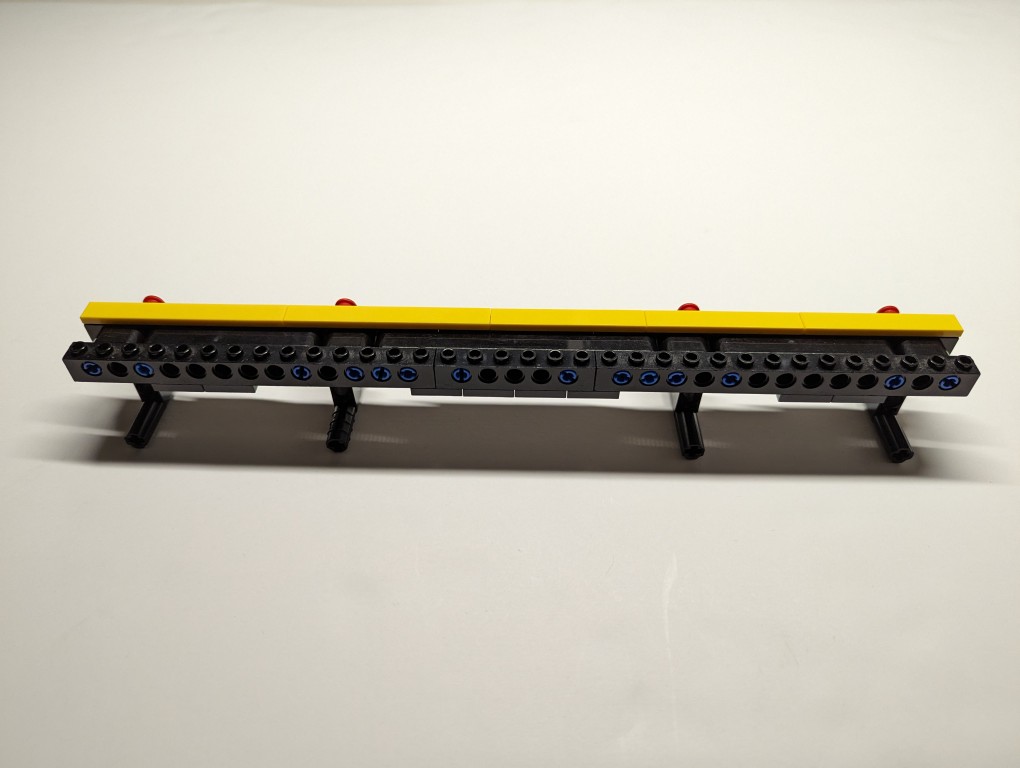
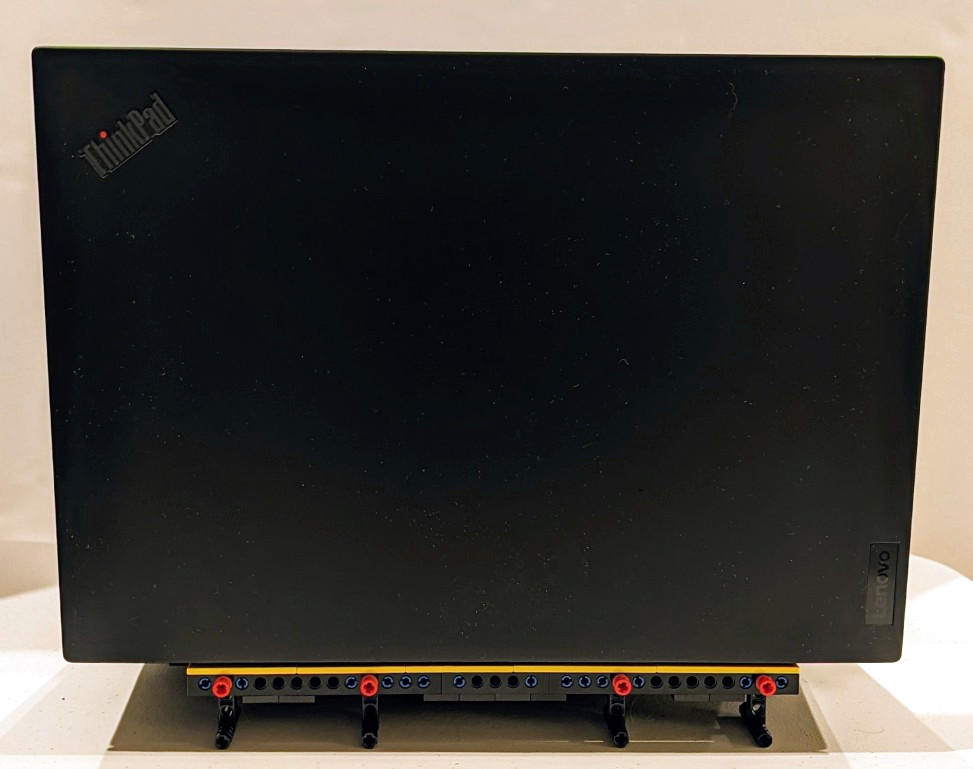
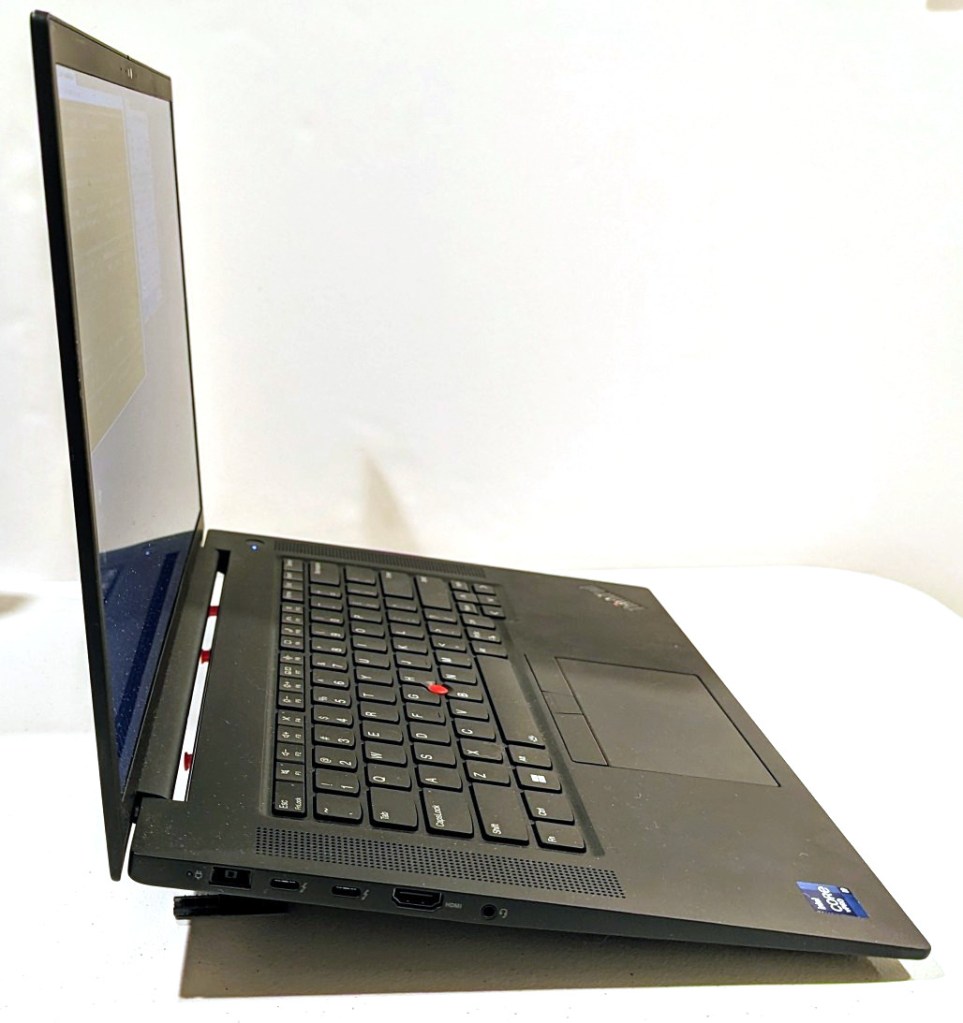
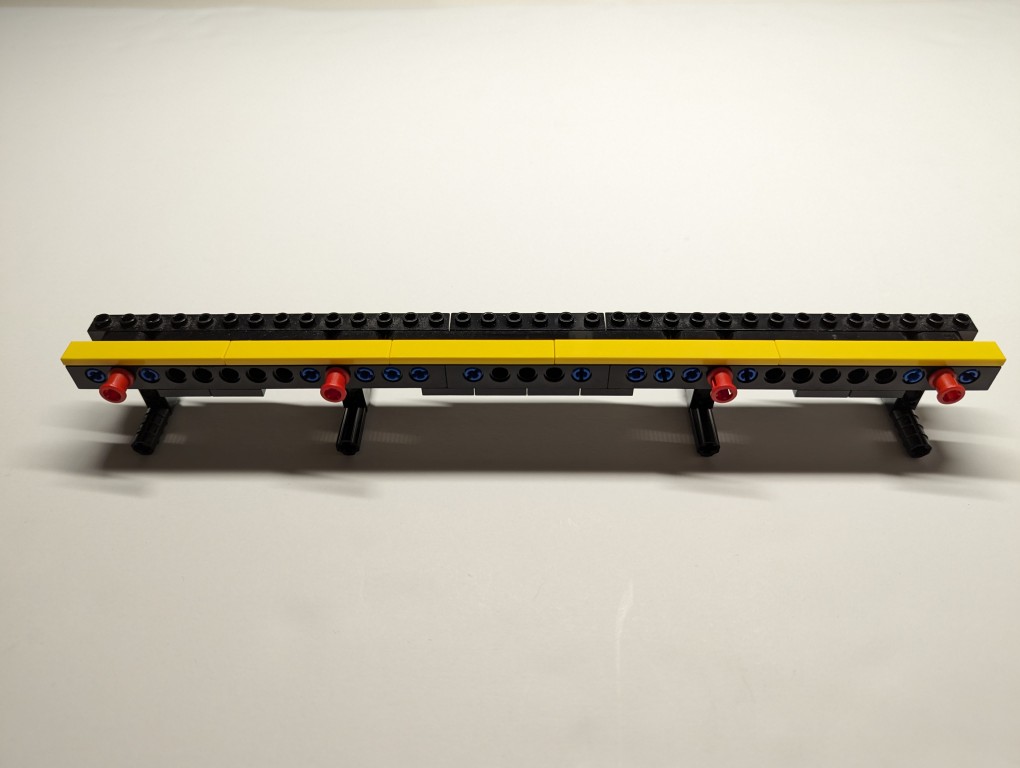
What I made to solve this problem mostly used LEGO Technic elements with some brick elements (plates to provide support underneath its joints and the bright yellow smooth plates on top to orient the stand and provide a stop against the ThinkPad’s support foot).
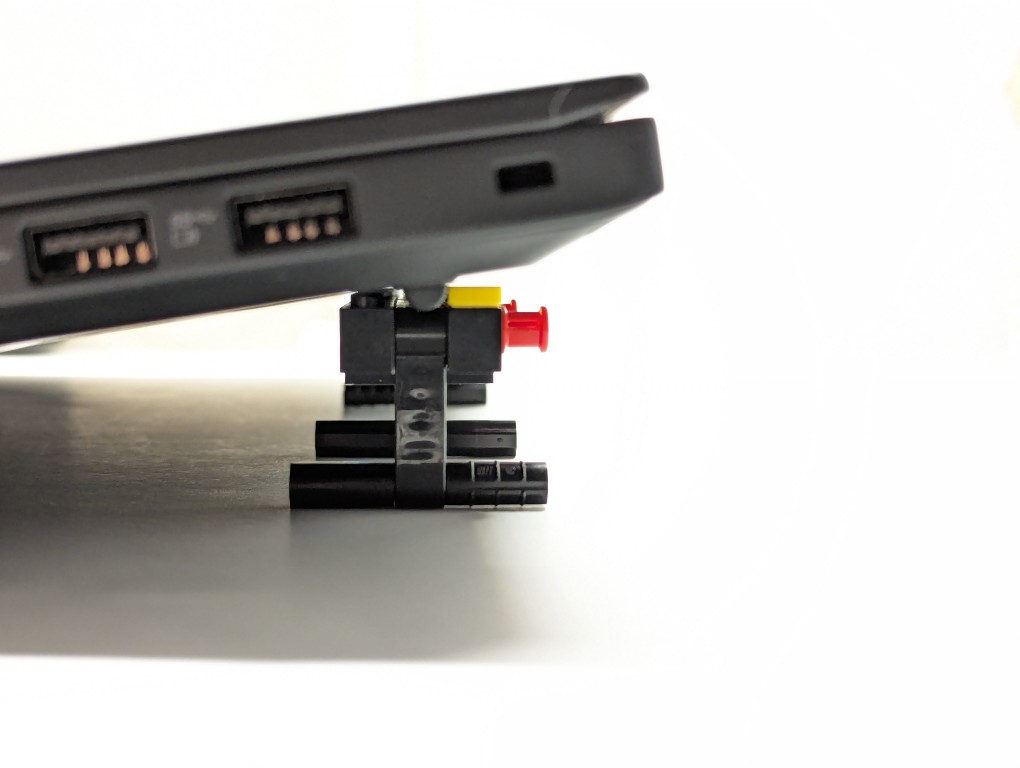
The ThinkPad’s support foot fits perfectly in the center of the stand without the studs toward the front or the flat plate in the back touching the laptop’s body.
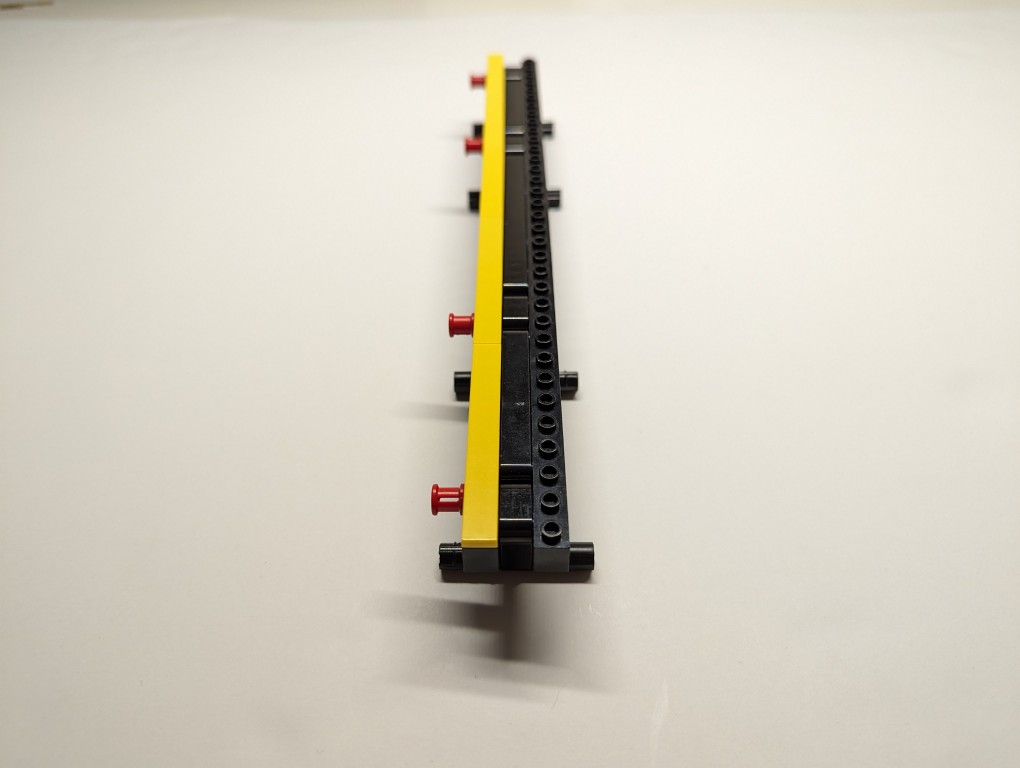
Essentially, the stand is built like a sandwich: the bread is the Technic bricks with holes on either side, and the filling is the Technic liftarms (straight and L-shaped). I used 3-stud wide pins to hold the sandwich together. The red pins are only used to provide stability to the support legs when they are deployed for use.
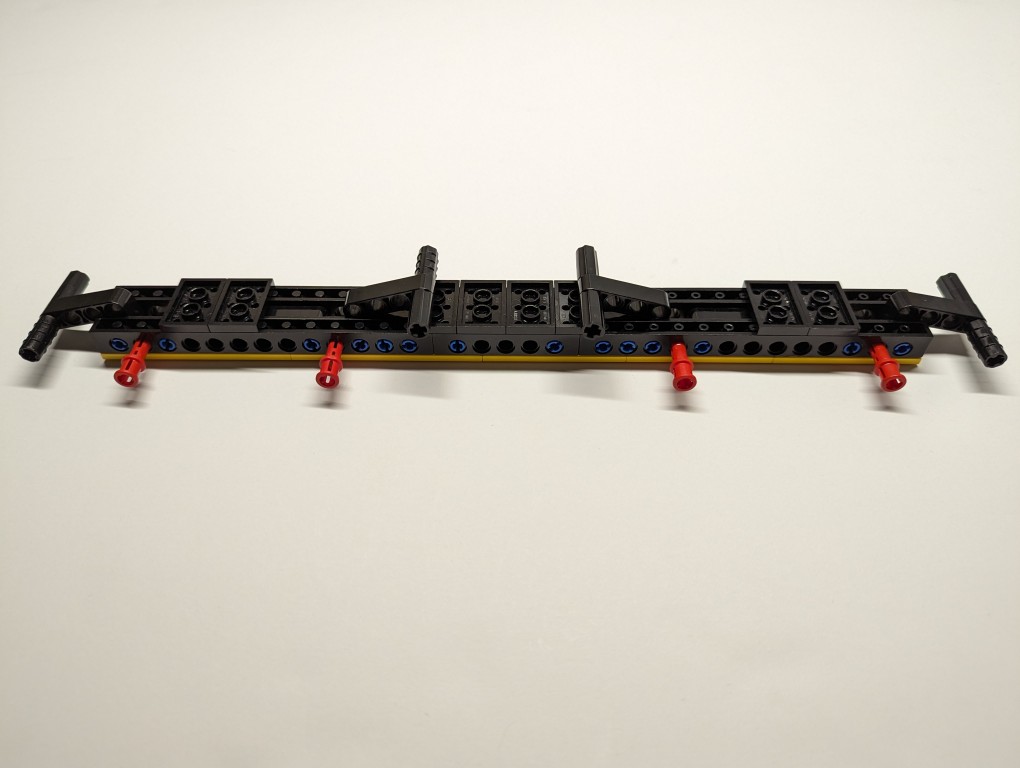
On the back of the stand, the red pegs can be partially pulled out and the feet folded.
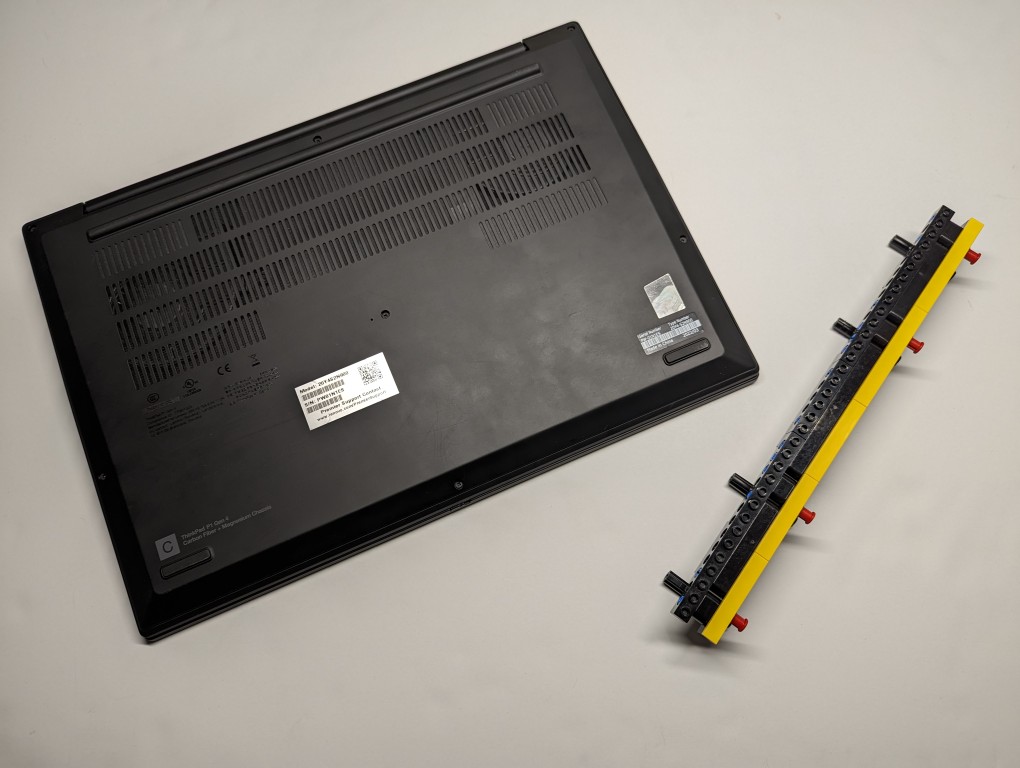
The LEGO stand completely covers the support foot at the rear of the laptop (seen at the top of the photo above). When folded, it easily slips into the backpack that I use to carry this ThinkPad.
LEGO is a versatile, rapid prototyping medium for building art, expressing ideas, and in this case, creating something practical to solve a specific problem.
If you have some LEGO bricks laying around idle, you might stop and think about what problem they might be able to solve for you!