Category: Lego

  • Lego Power Functions and Building a Remote Controlled Robot

    I have been interested in Lego’s Mindstorms robotics systems: RCX, NXT, and NXT 2.0, but I have been wary of investing the $200-300 in the base system without knowing if I could build a robot that would be interesting to me. Brick sorters, Rubix cube solvers, printers, etc. are interesting, but I would like to create a more intelligent version of Tomy’s Omnibot line or Heathkit’s HERO. I imagine having a robot that can navigate a space, learn it, and interact in meaningful ways with that environment. Perhaps I am thinking of the Roomba without the vacuum and brushes and with more pizzazz.

    Robotics is a series of interconnected systems that operate together to fulfill programmed functions and behaviors. To build a robot, you have to design the robot’s body and mechanical functions. How will it move? What kind of drive system (for those that move) will it employ? Next, you have to consider how will the robot learn from its environment? What kind of sensors will it use? How many sensors are needed to effectively navigate a space? What sensors will provide the robot special functions? Finally, you have to program the robot to control its body in response to sensor stimuli and execute other operations with arbitrary timings or responsive subroutines. What do you want the robot to do in a given circumstance? Is there a way to give the robot a series of choices in a given circumstance? How can it be made to decide what to do with a series of choices? Etc. In short, building robots that do more than very specialized functions can be an overwhelmingly complex endeavor.

    With any elaborate problem, I like to break things down into its constituent parts and learn by doing. As such, my first project is to build a remotely controlled robot platform so that I can learn design principles with Lego Technic bricks. More importantly, I need to learn how to use gears and motors to do work efficiently and reliably.

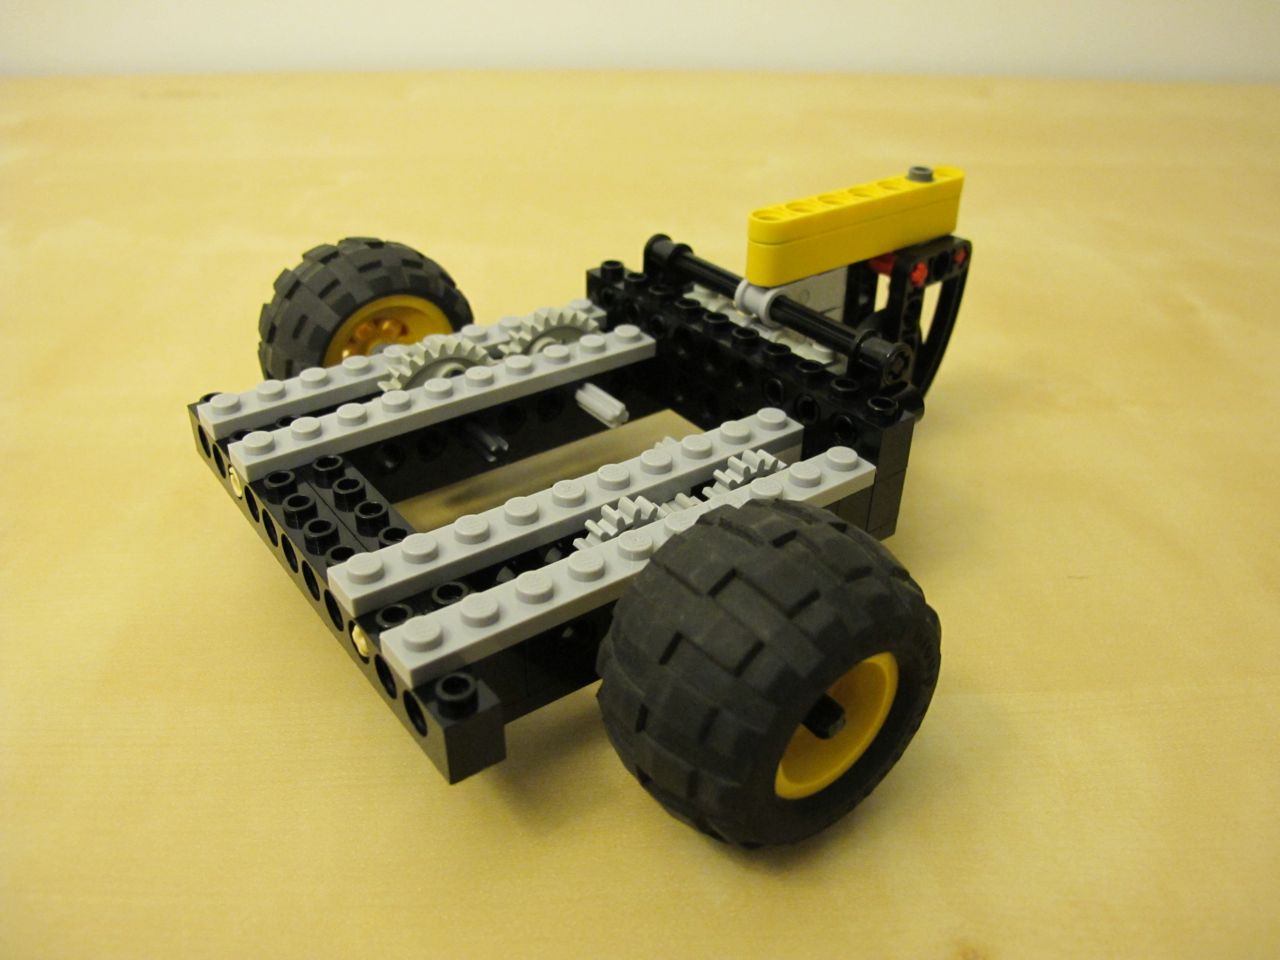
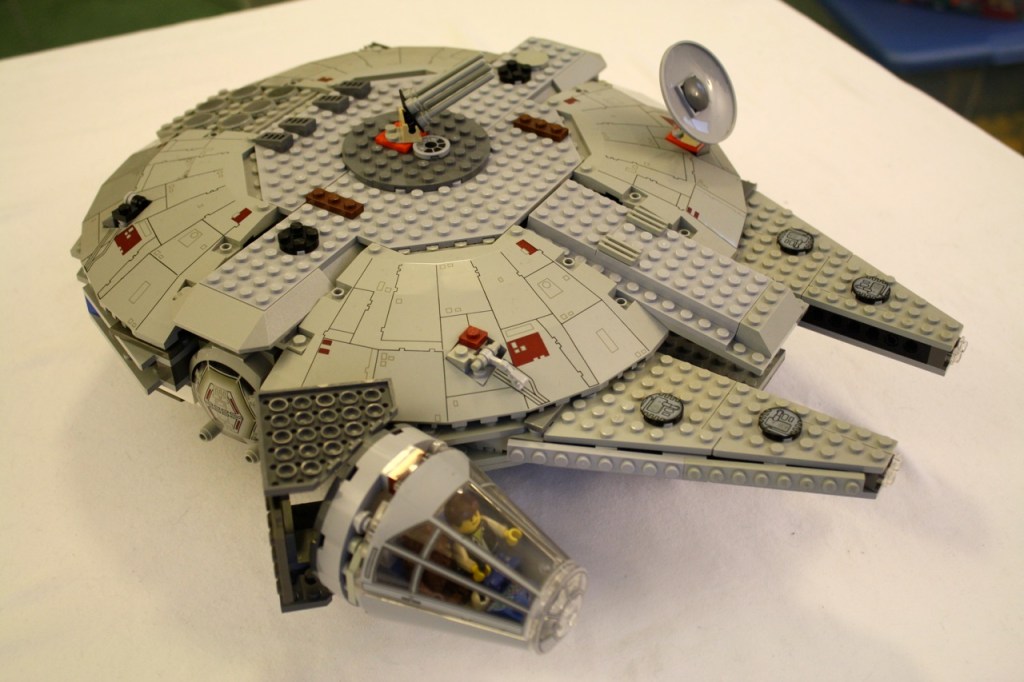
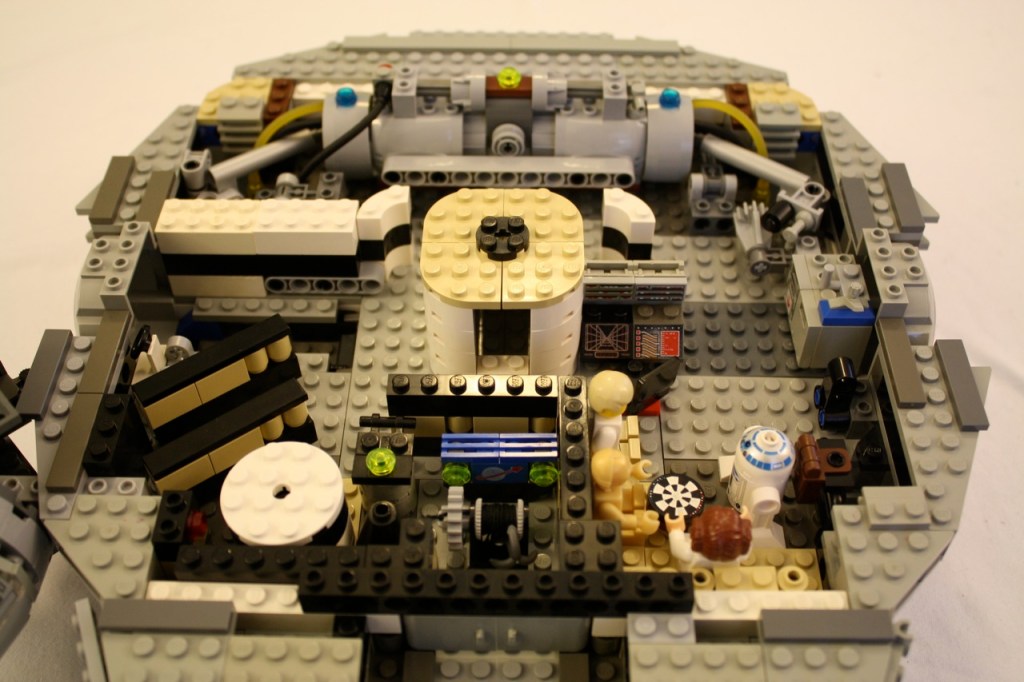
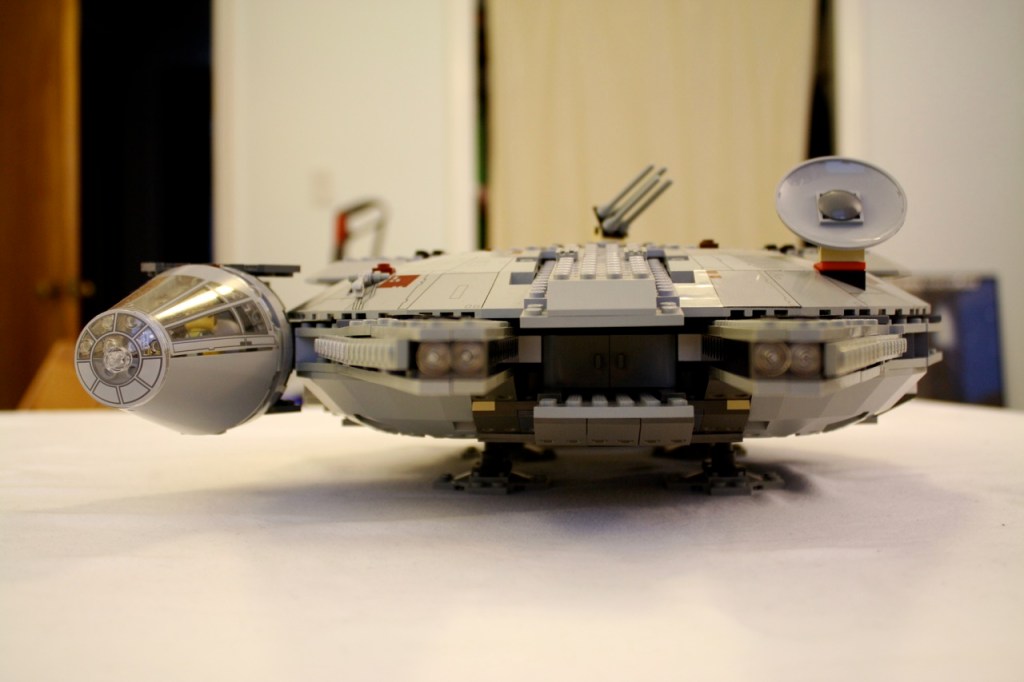
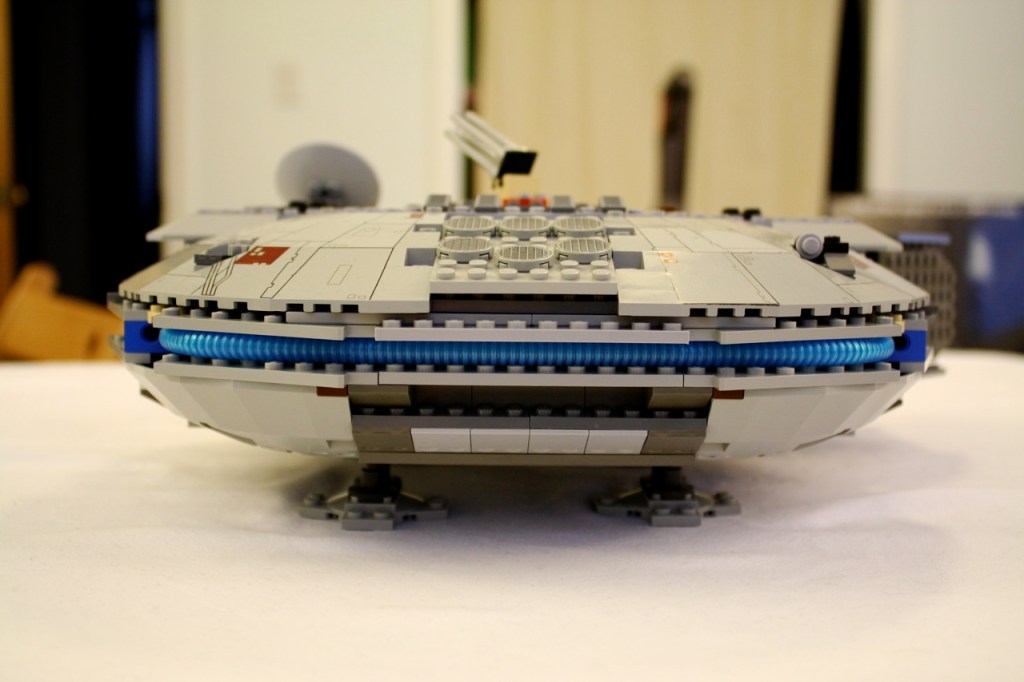
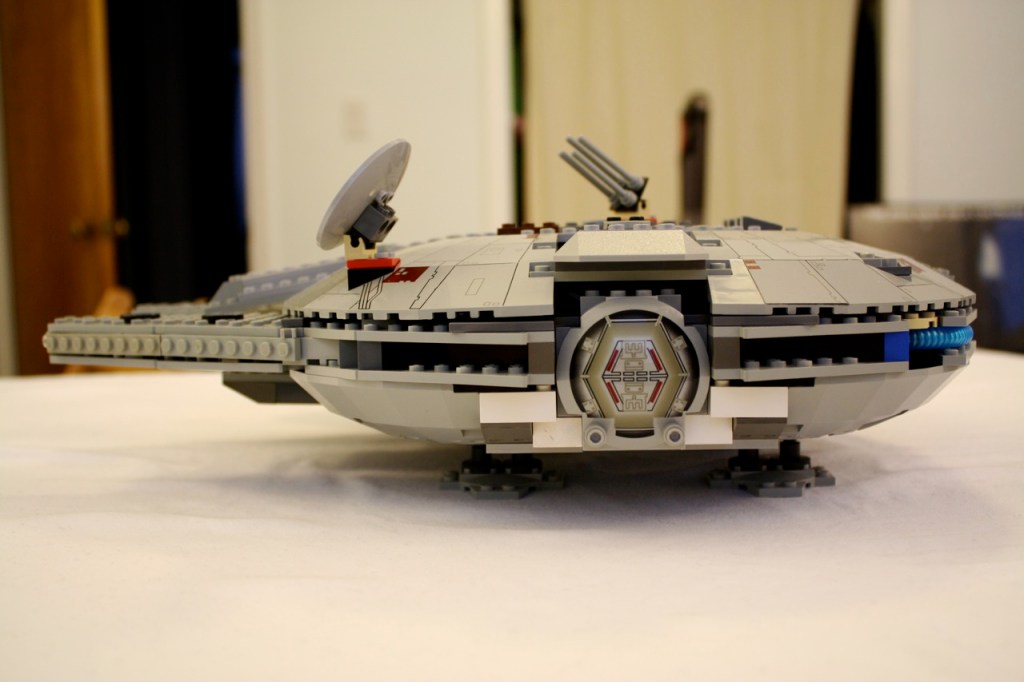
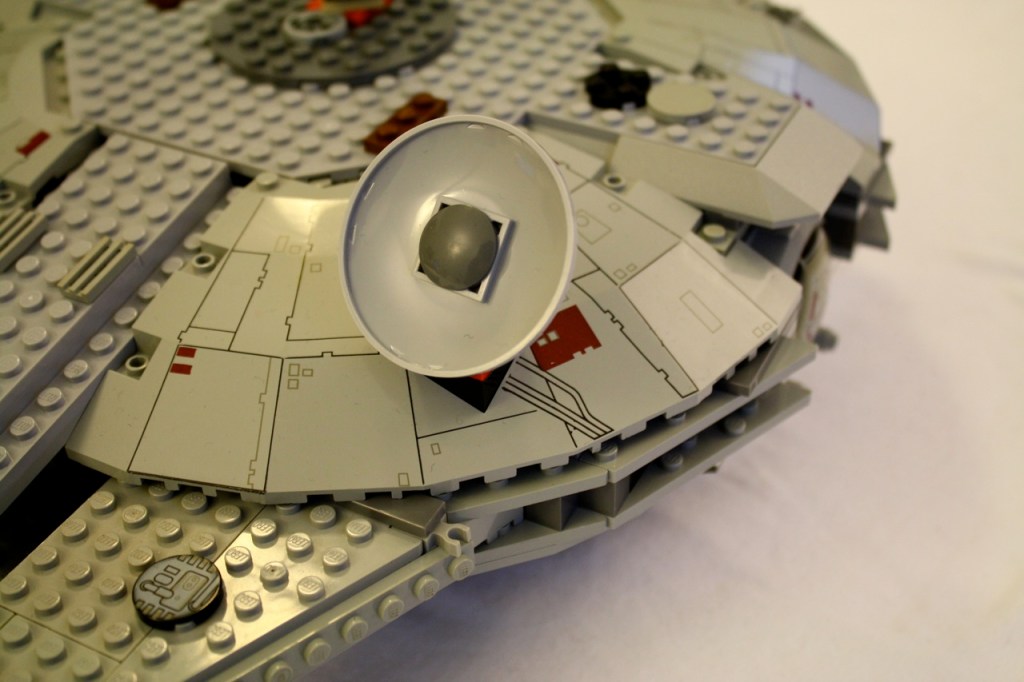
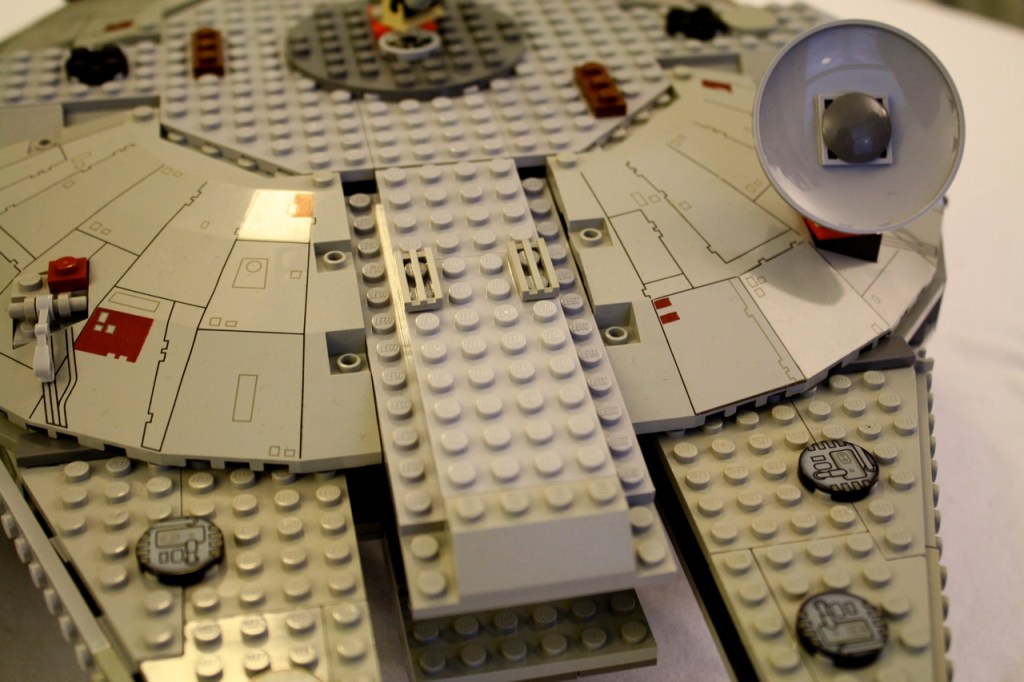
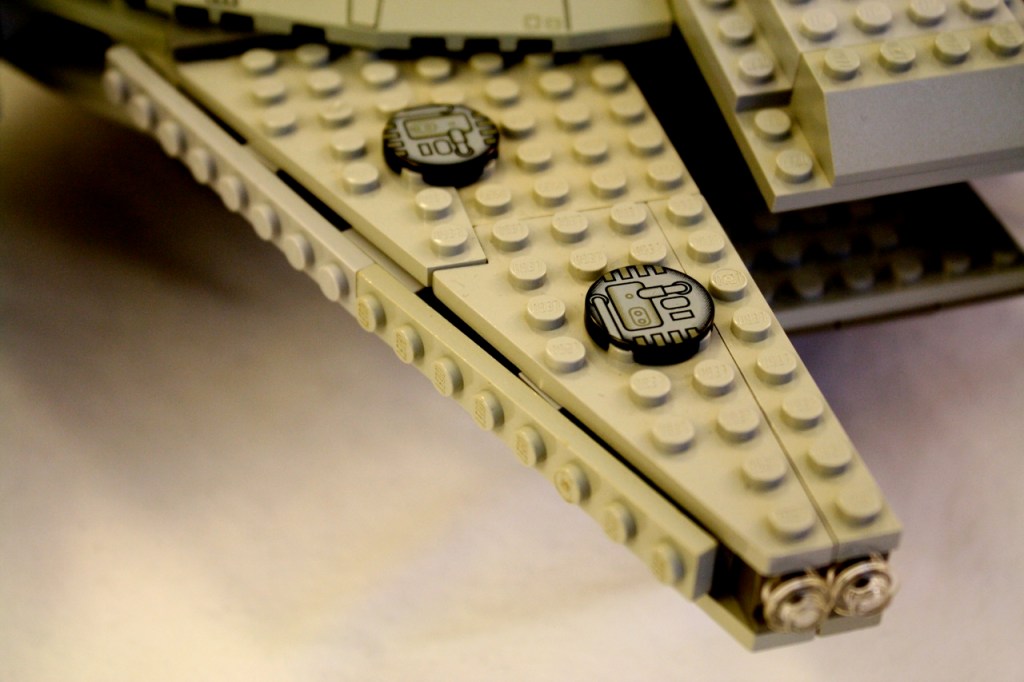
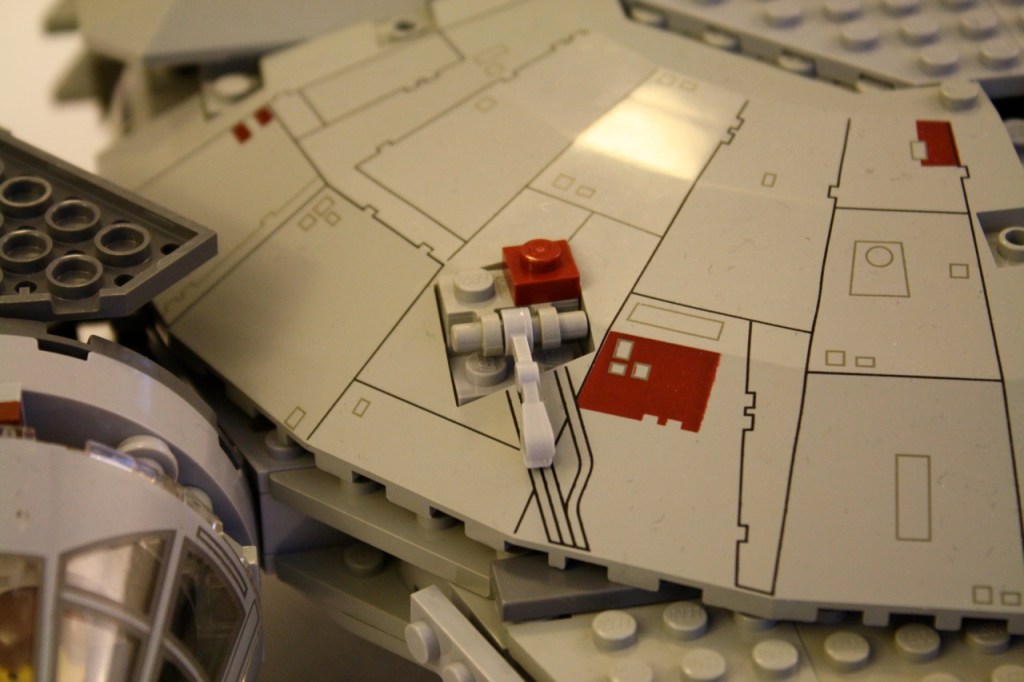
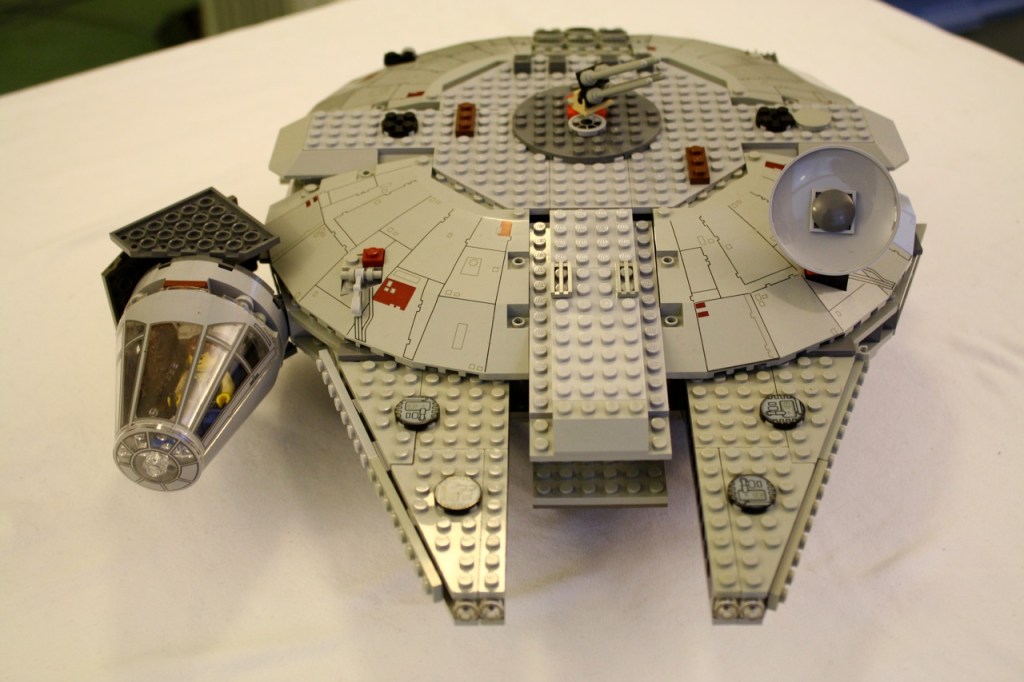
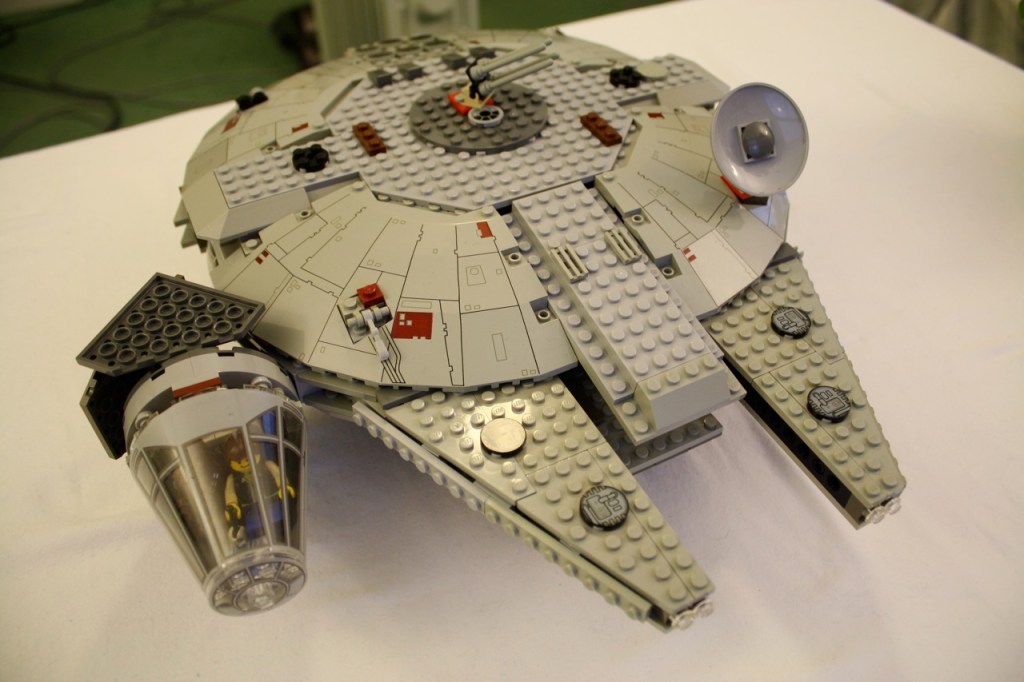
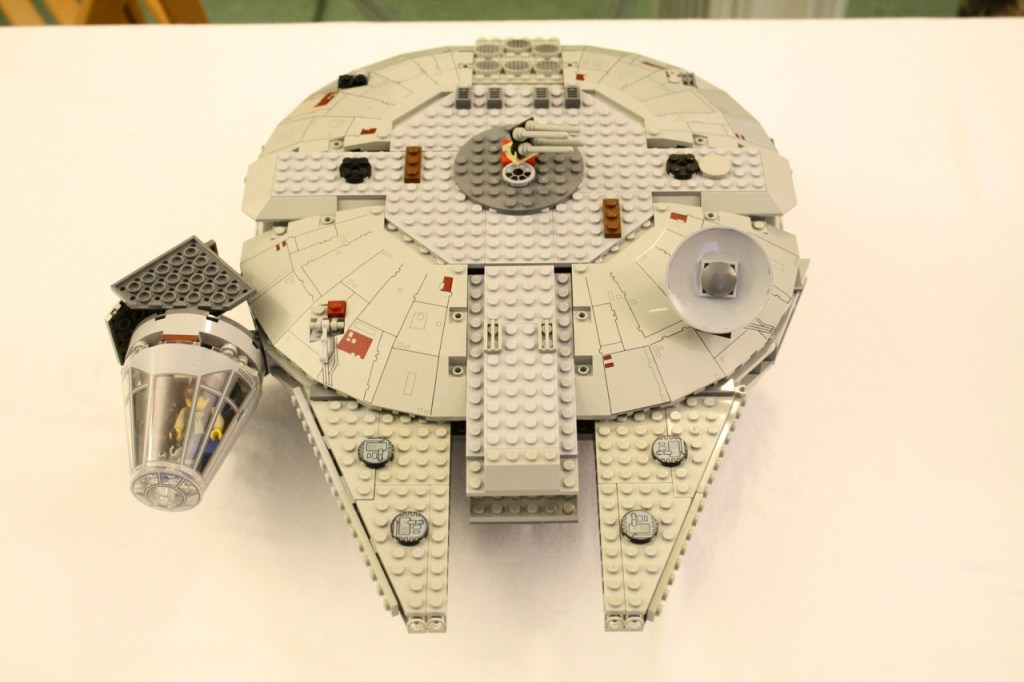
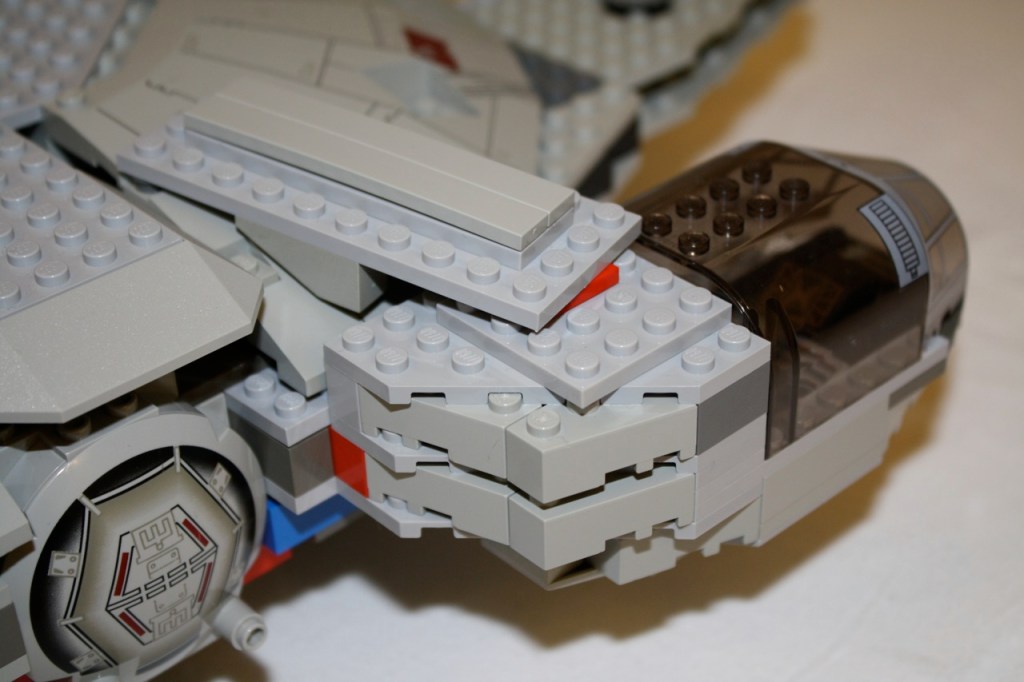
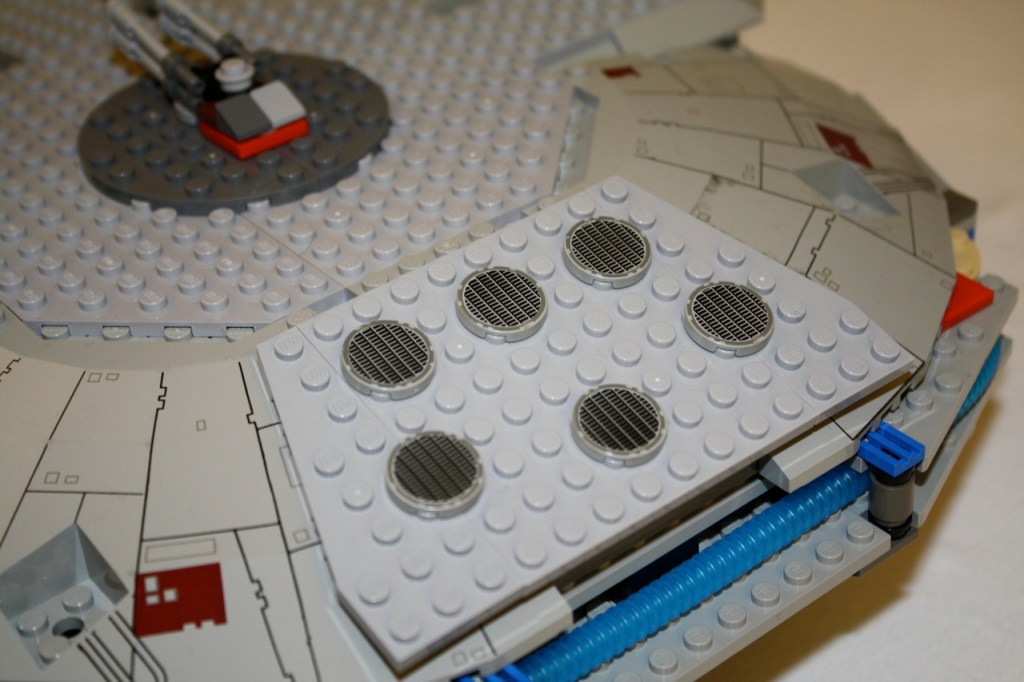
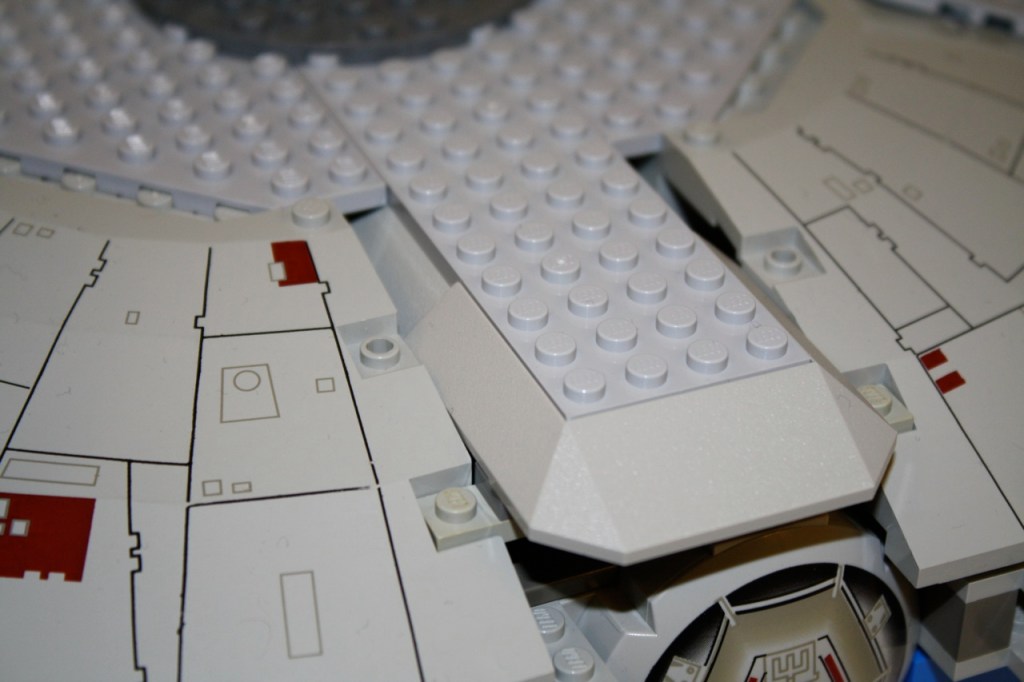
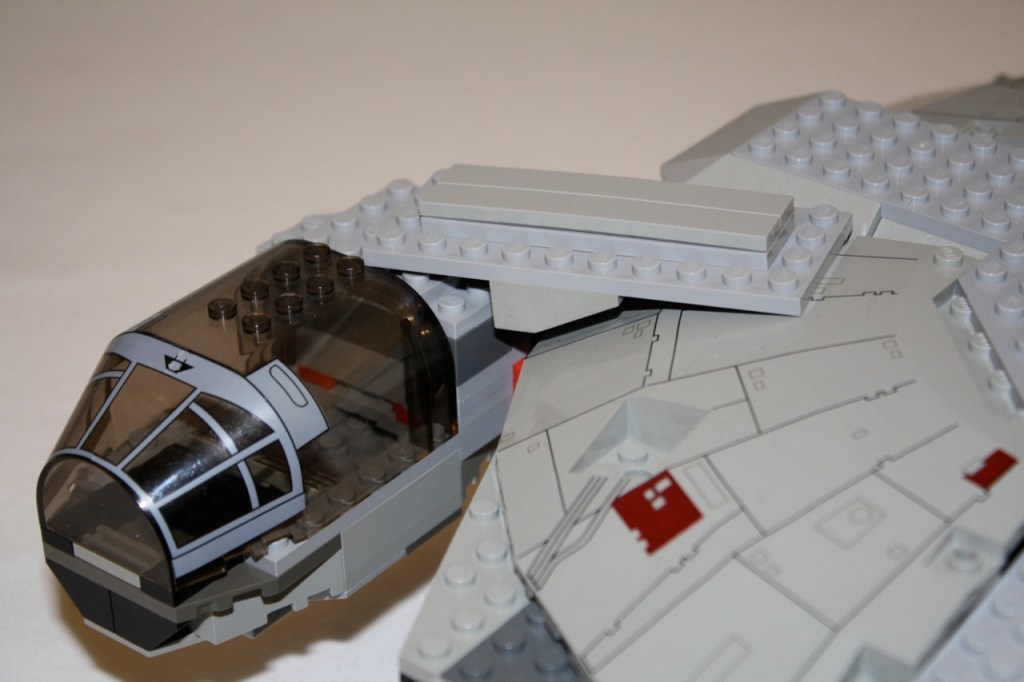
    In my first robot iteration, I decided to build a carrier robot that is inspired by the Tomy Omnibot line. Fred is a simple robot that carries a tray and has the ability to move around through a two motor powered dual differential drive system [based on the Hacienda Robotics Program’s compact design found here].

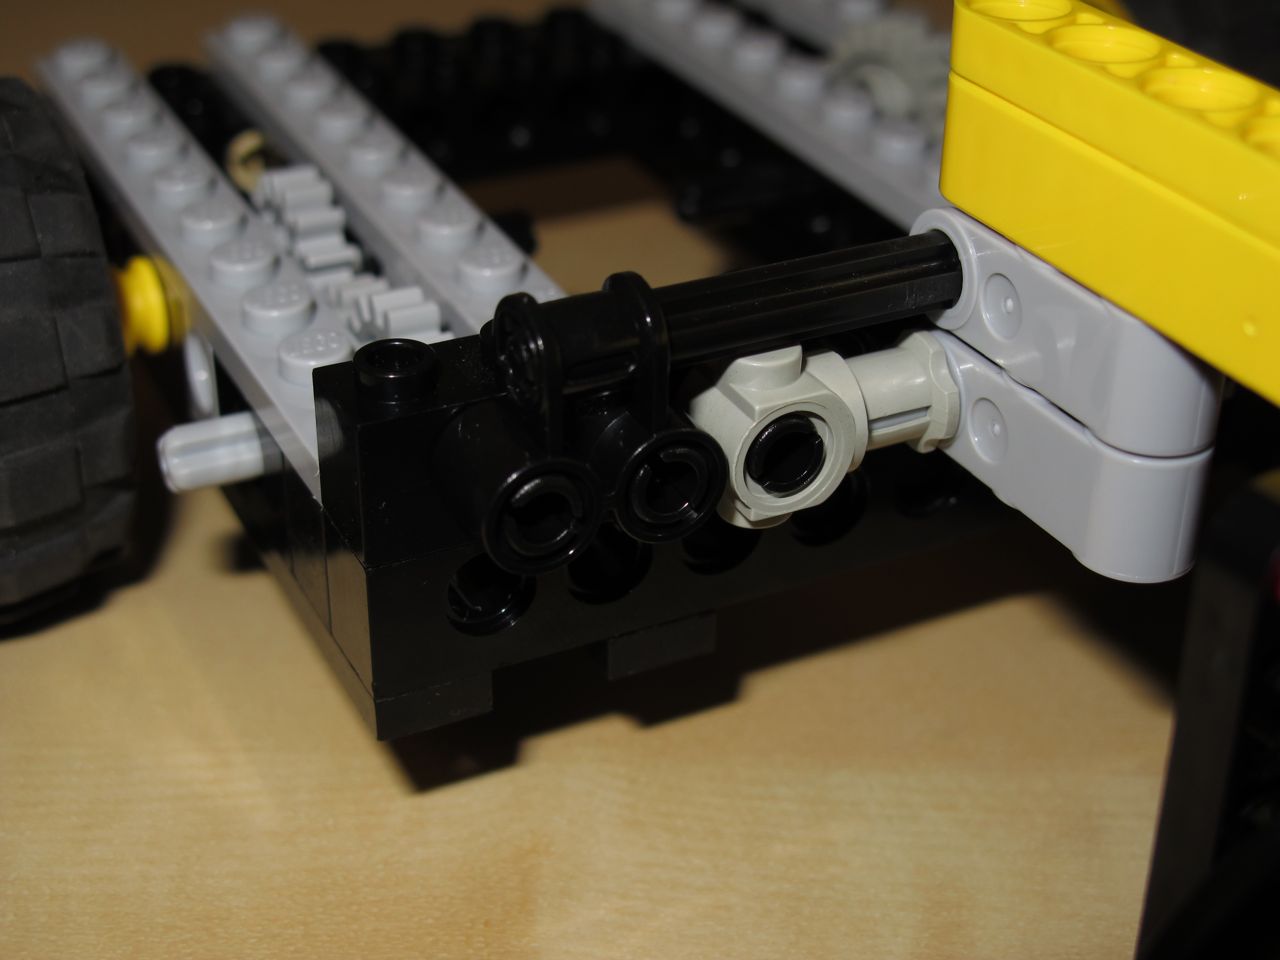
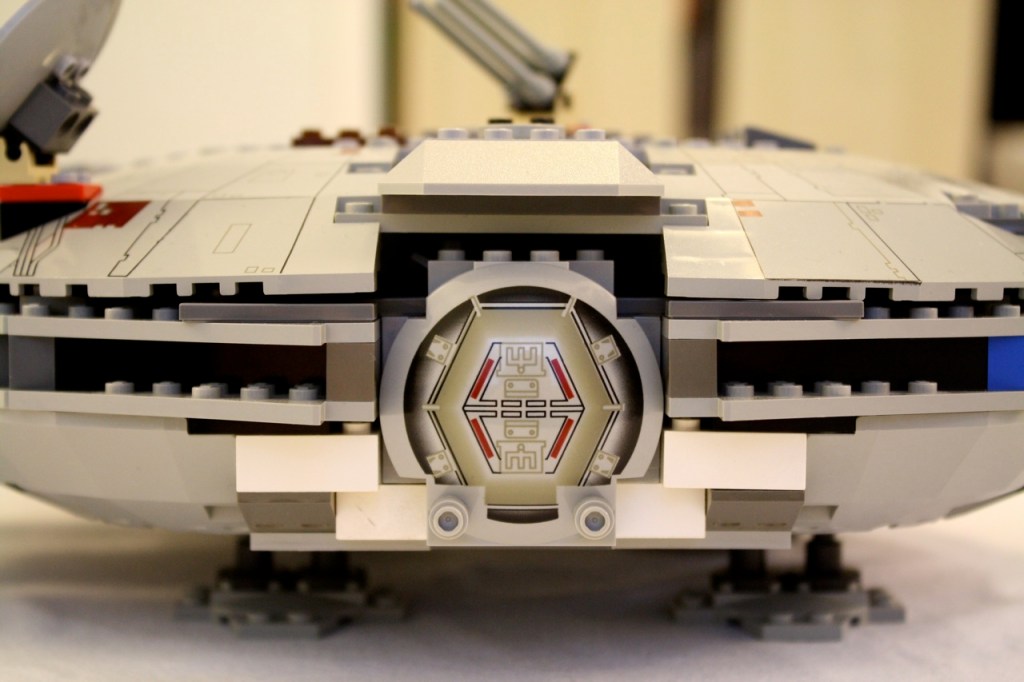
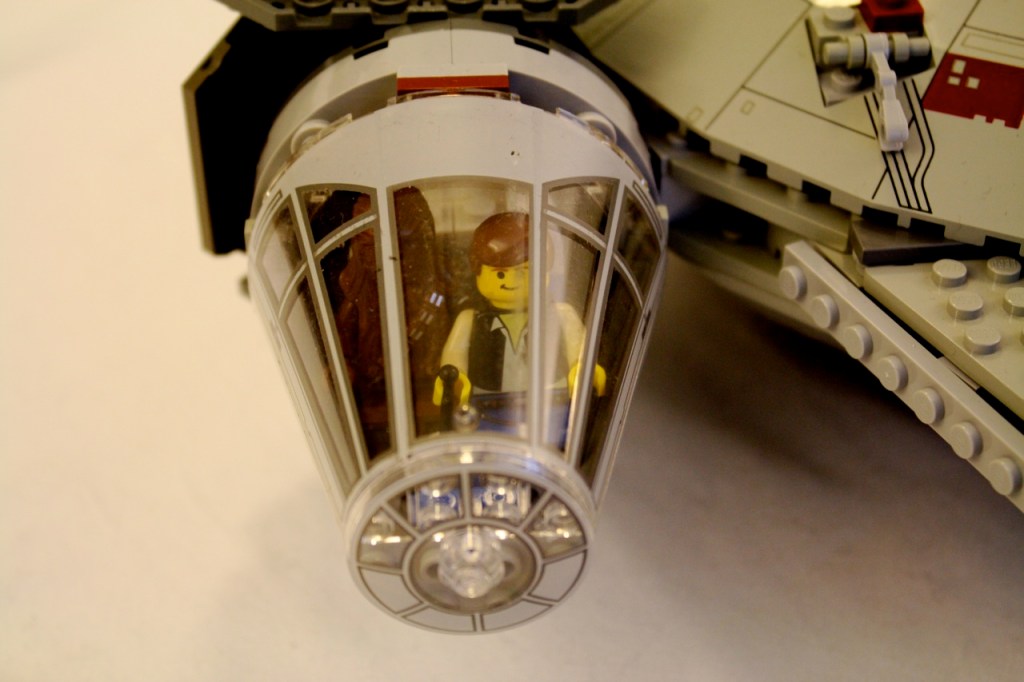
    The system will be powered by Lego’s Power Functions. I ordered two small motors, a battery pack, remote control, IR receiver, and lights from Lego. In the photo’s of Fred, you can see that I constructed his body so that the battery pack easily slides into a carrier so that it need not be locked down and it can easily be removed to replace its 6 AA batteries.

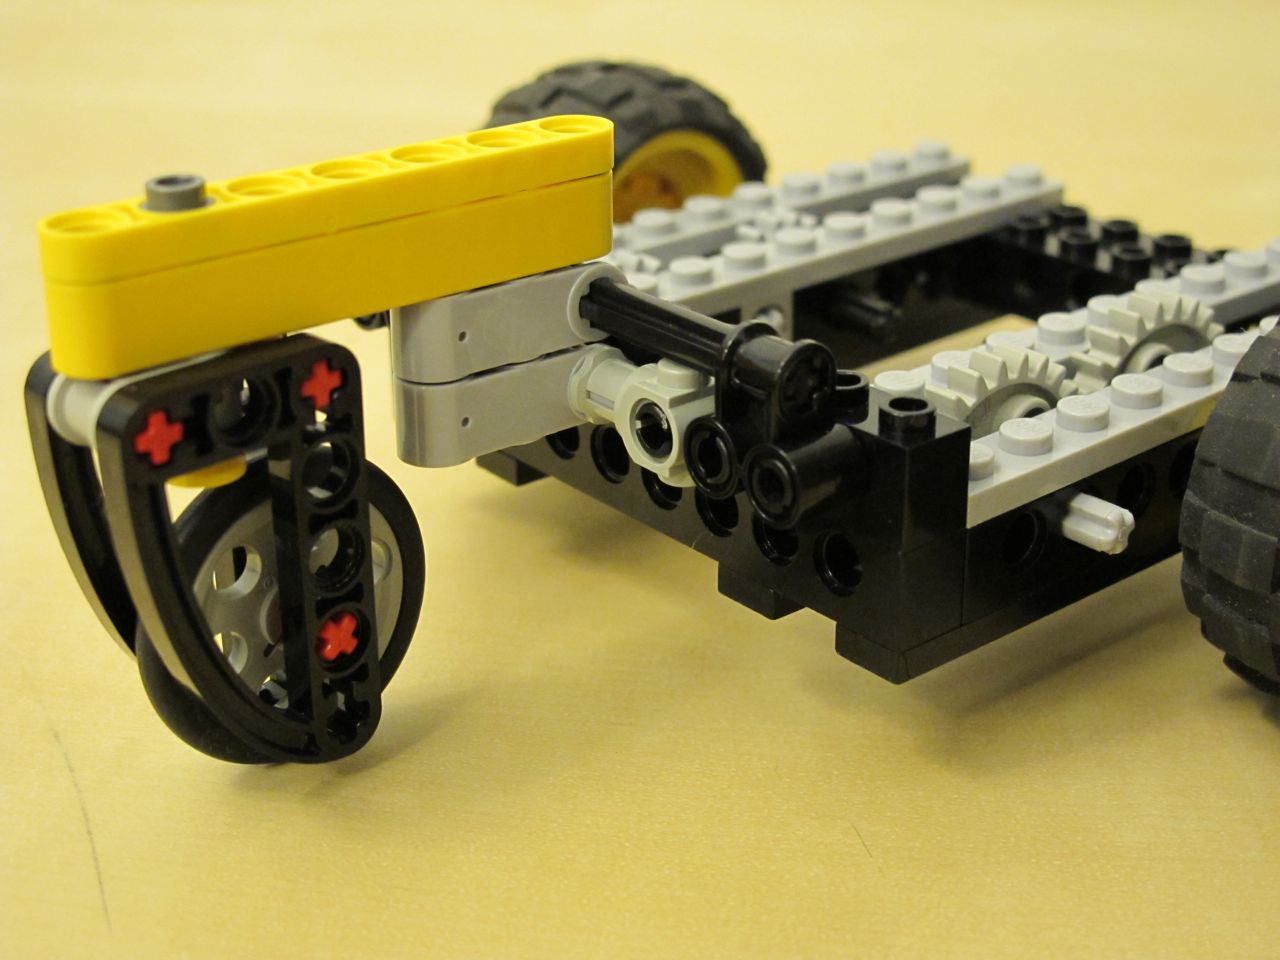
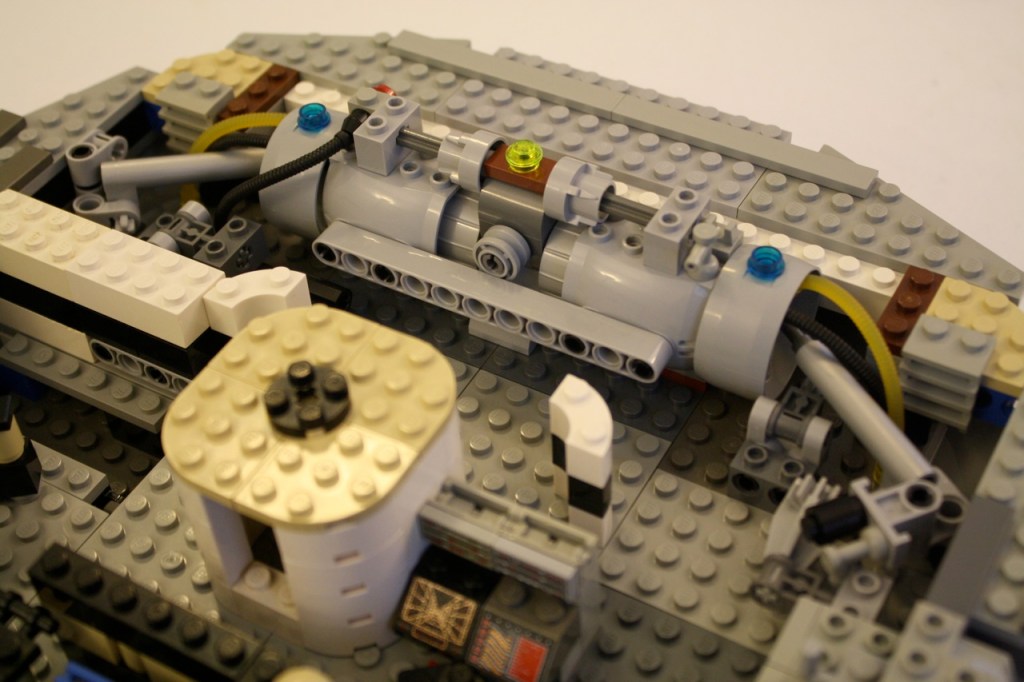
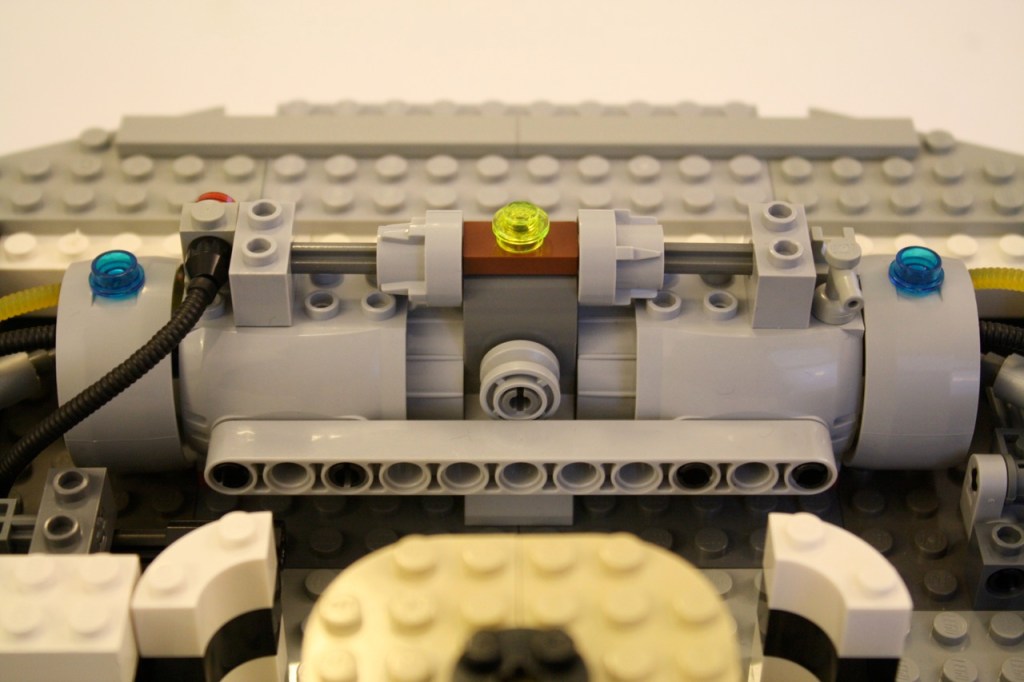
    Eventually, Fred’s head will swing back and forth using a piston drive that takes rotational power from the forward drive gears. I have built a prototype of this system pictured below.

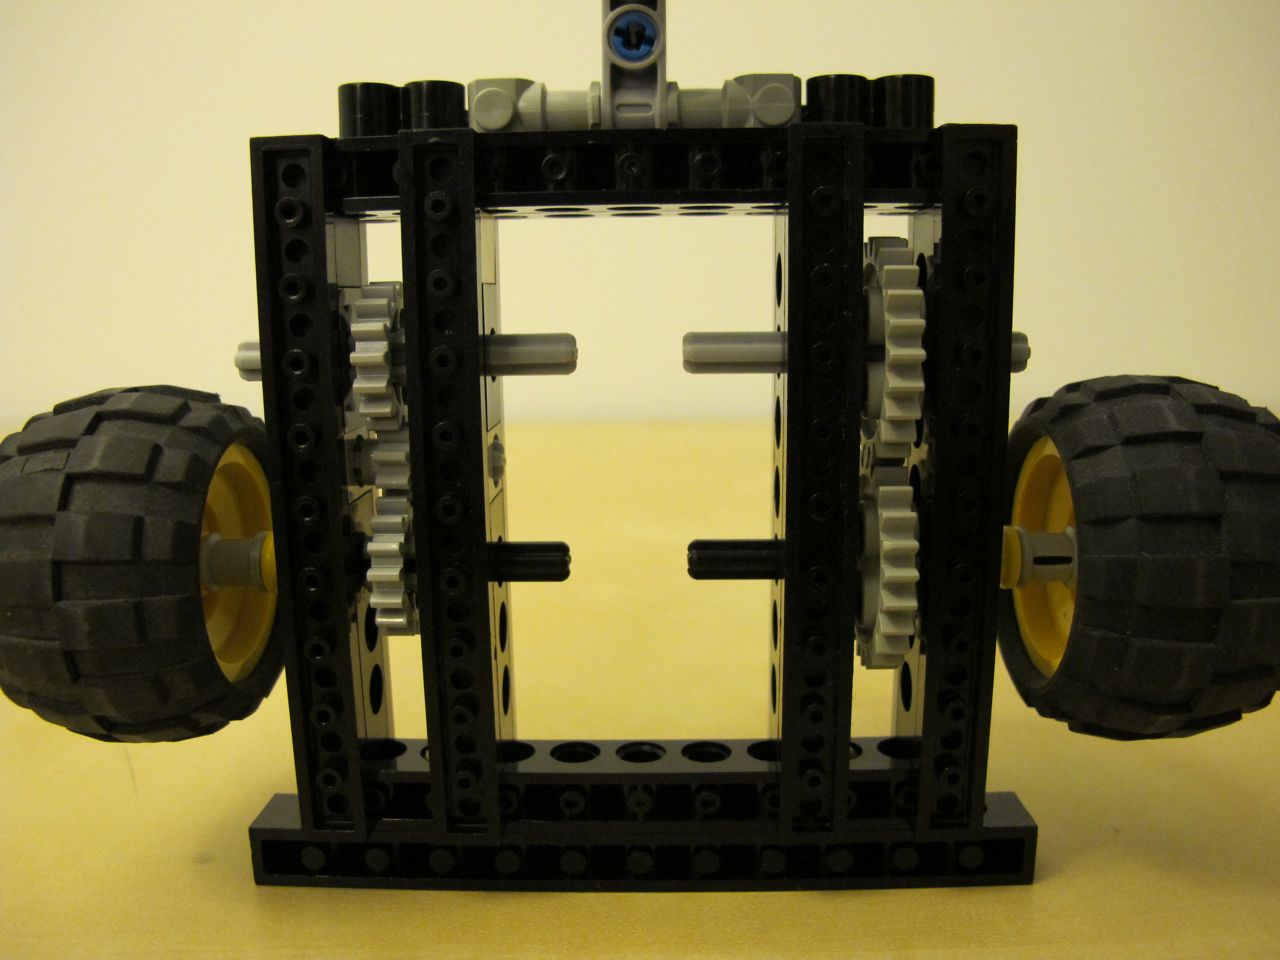
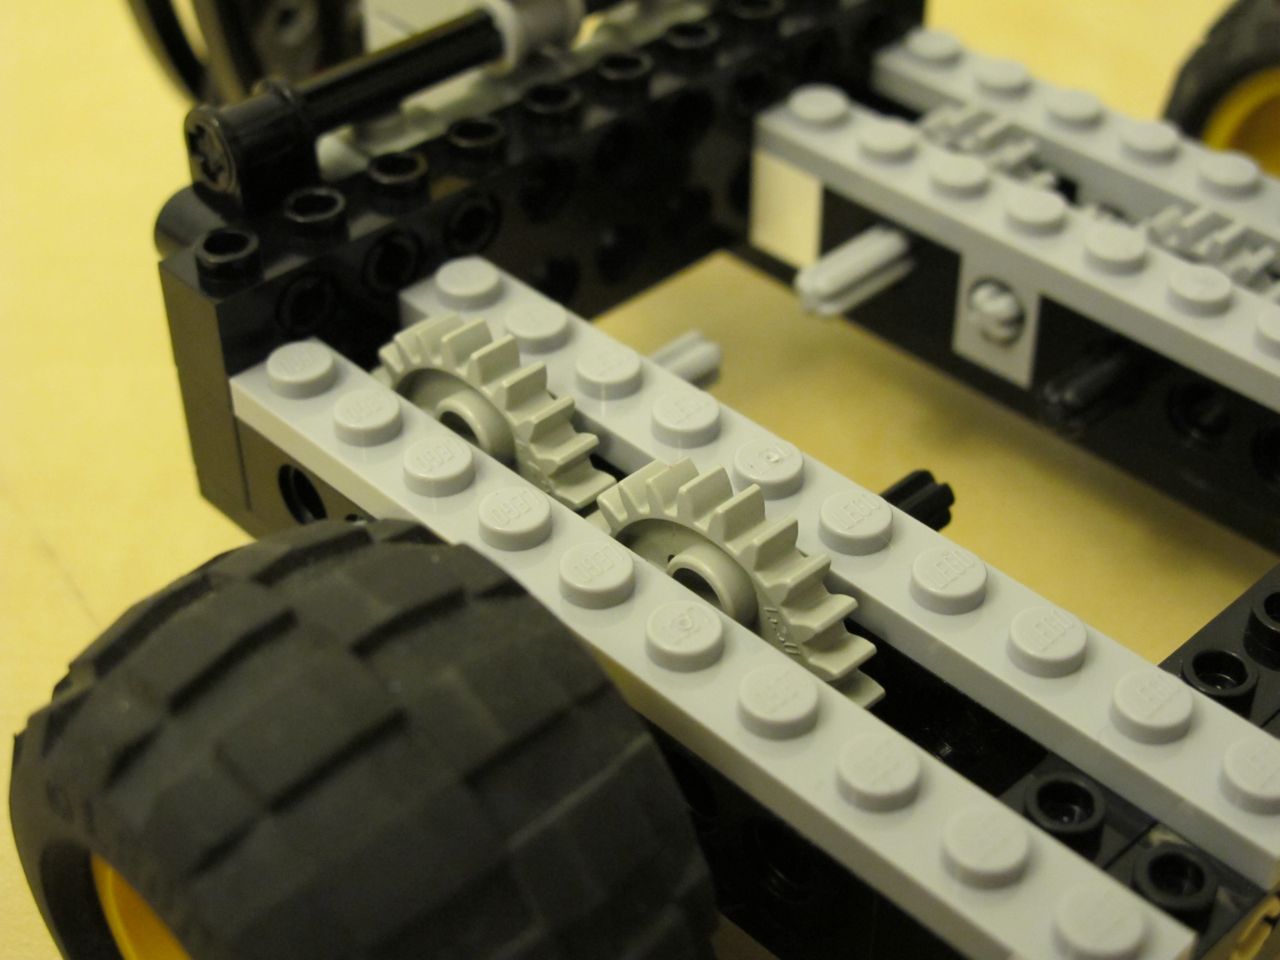
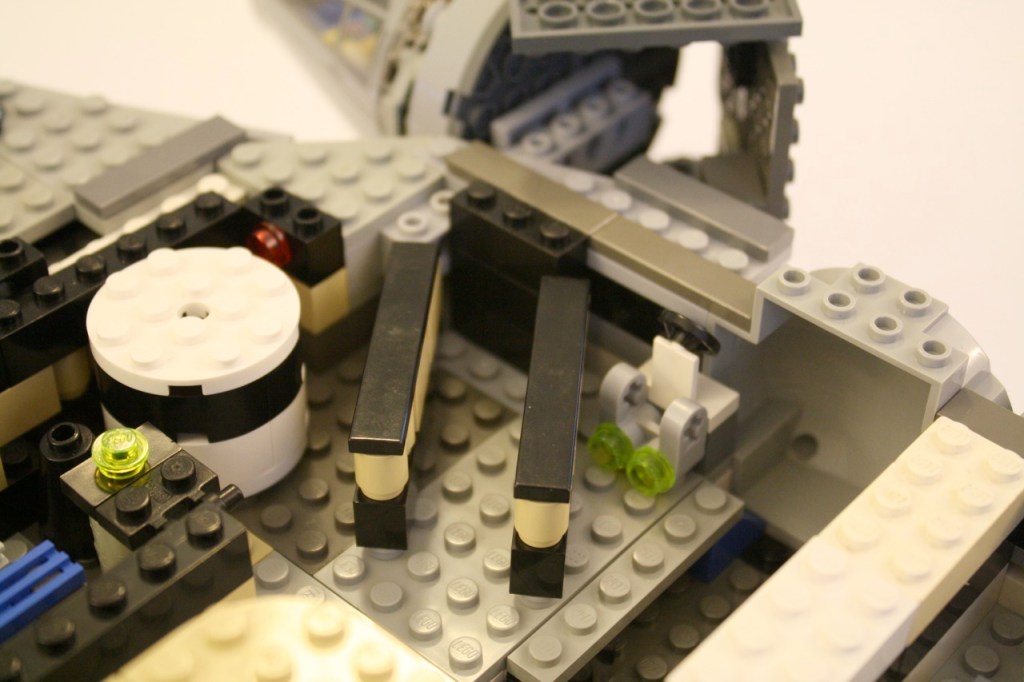
    As you probably noticed in the pictures above, I don’t have the differential gears in Fred’s drive platform. Unfortunately, my local mail carrier delivered them to the wrong house or they were stolen. USPS Delivery Confirmation shows that the package was delivered somewhere on Friday, June 18 while Y and I were at home, but we never saw the package. Until I know for certain that I won’t receive those gears, I have put further development on hold until after the SFRA conference and a trip to visit my folks in July. Fred is sitting on a bookshelf surrounded by the Power Functions gear.

    Eventually, I will take what I learn from building Fred and scale up to a larger robot that will use the NXT 2.0 Intelligent Brick to control itself. I will obtain experience with sensors and programming with the Mindstorms set [more info on this here]. I would like a robot to do more than carry things around the house, such as playing with Miao Miao, so I imagine his exterior design will change as I move forward with the project.

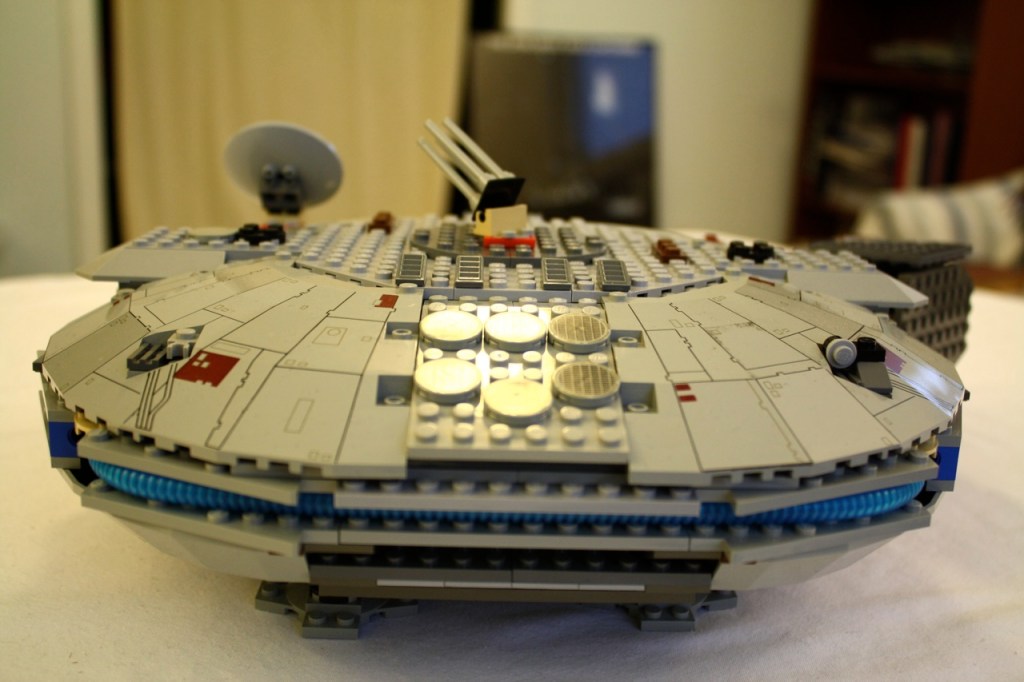
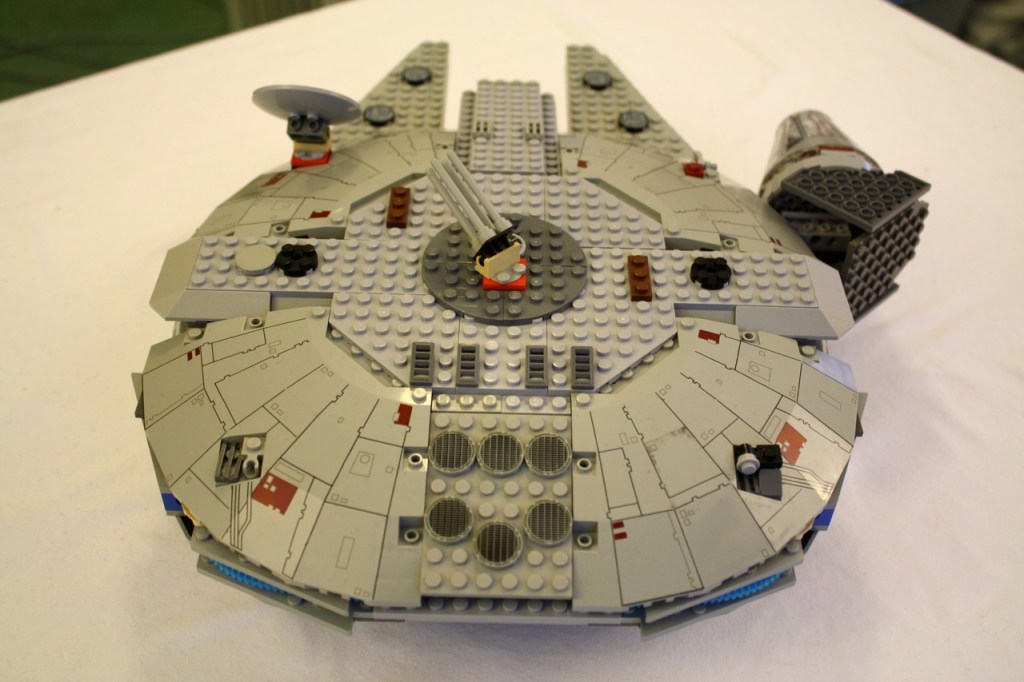
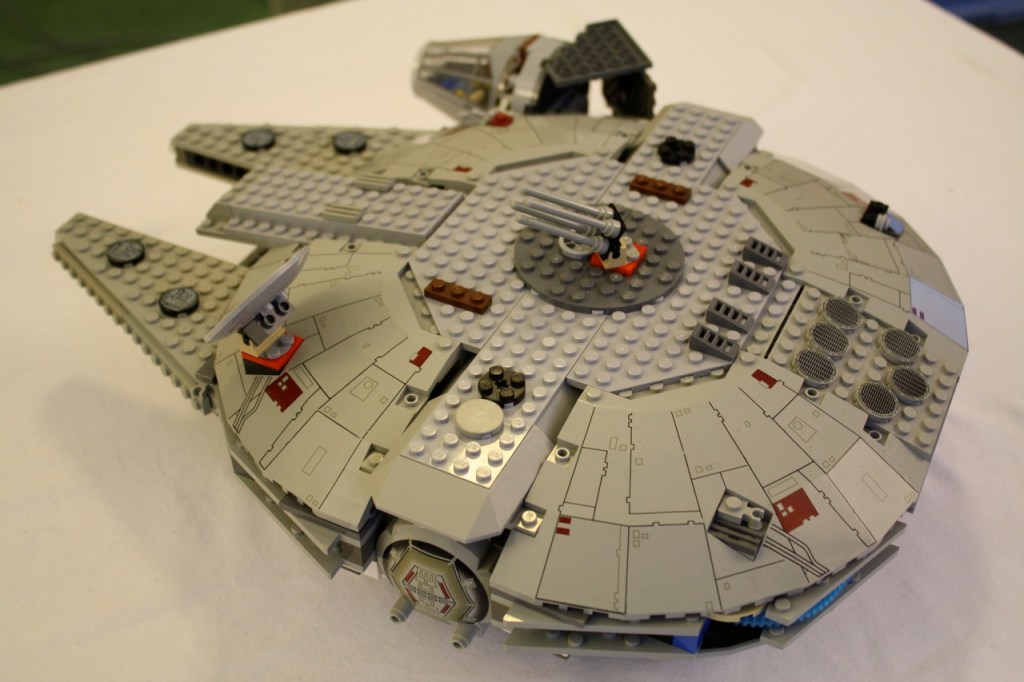
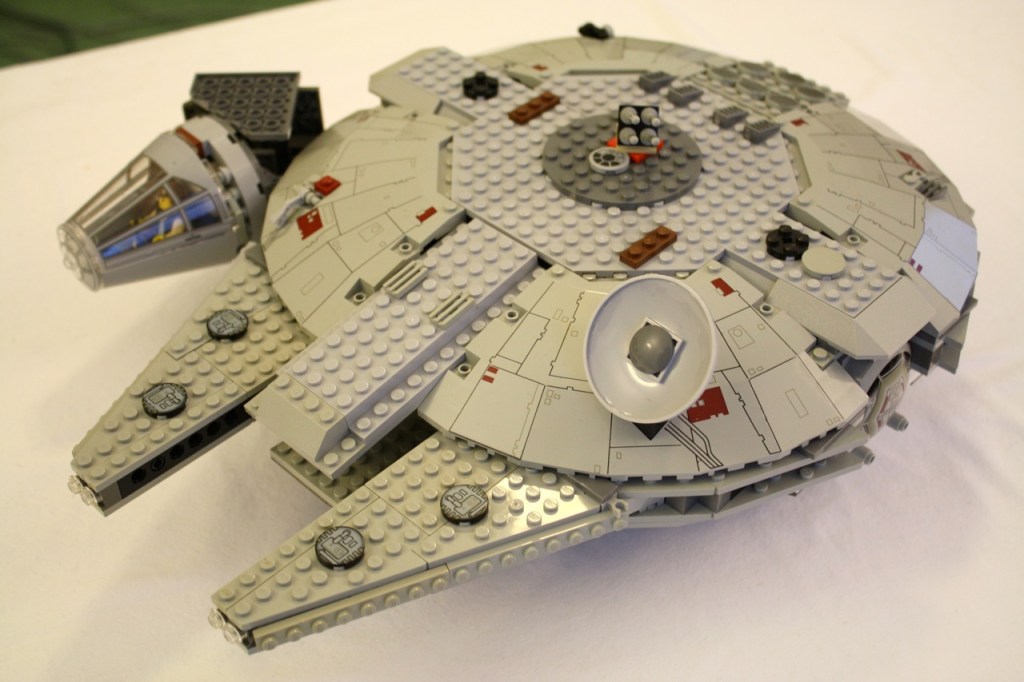
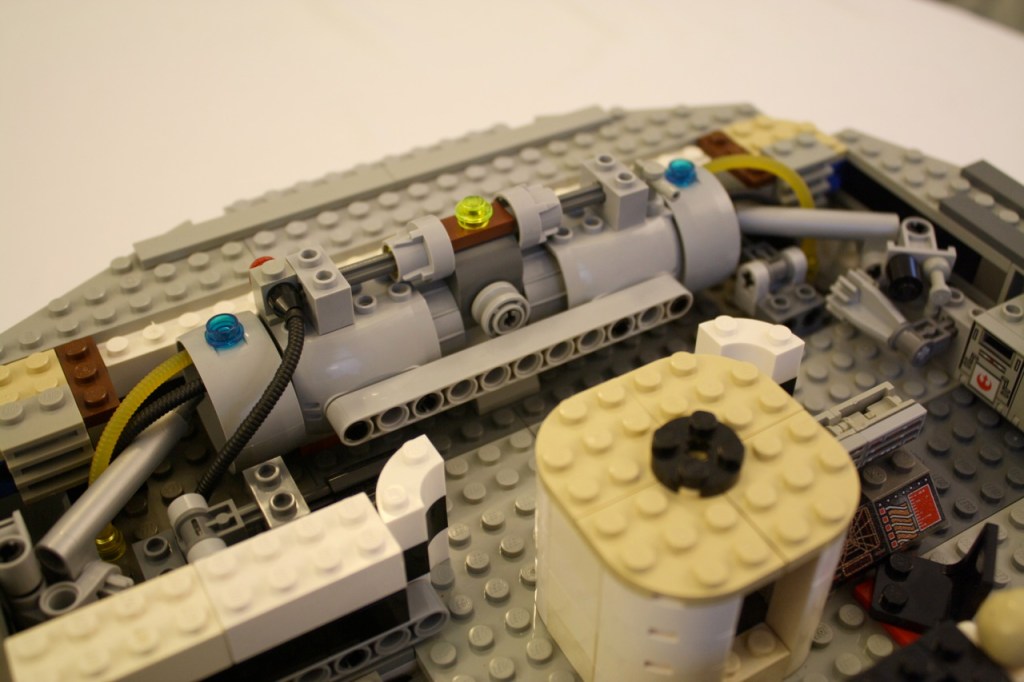
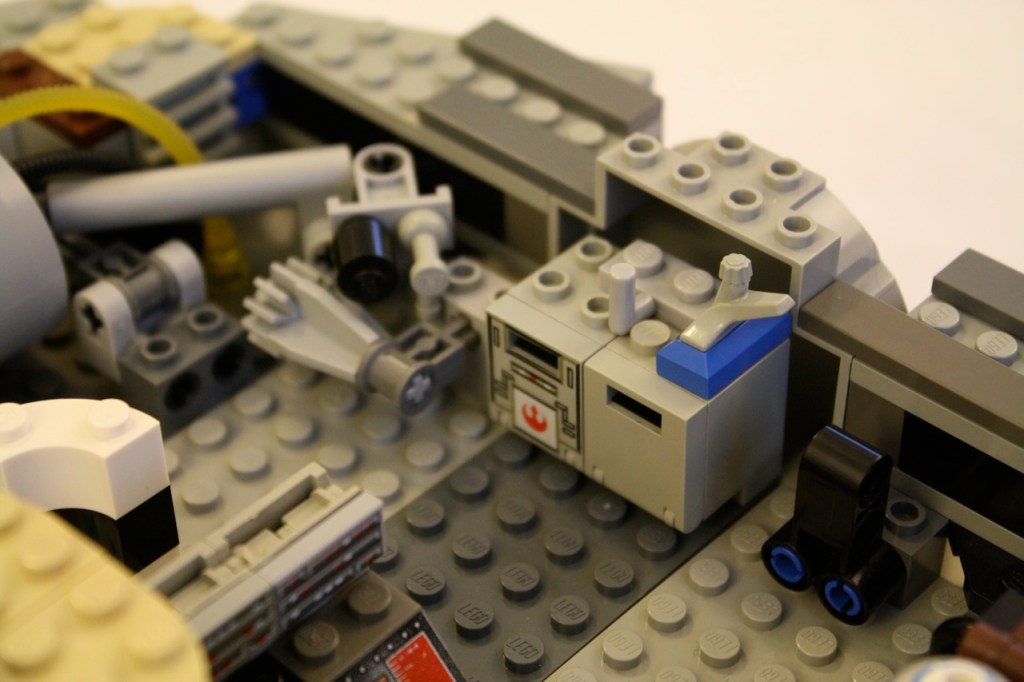
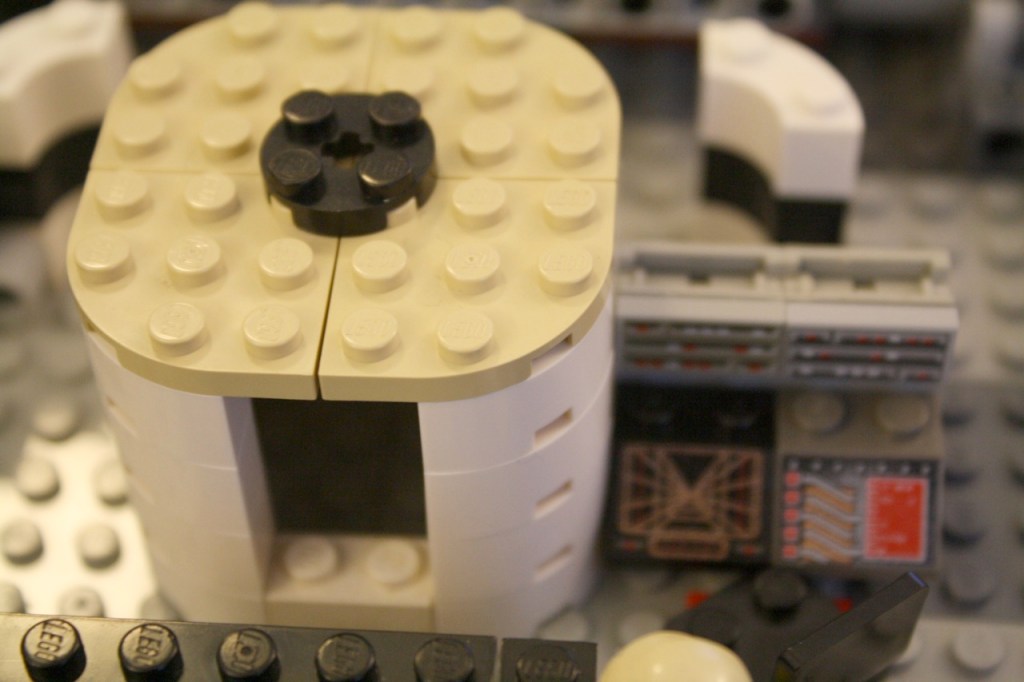
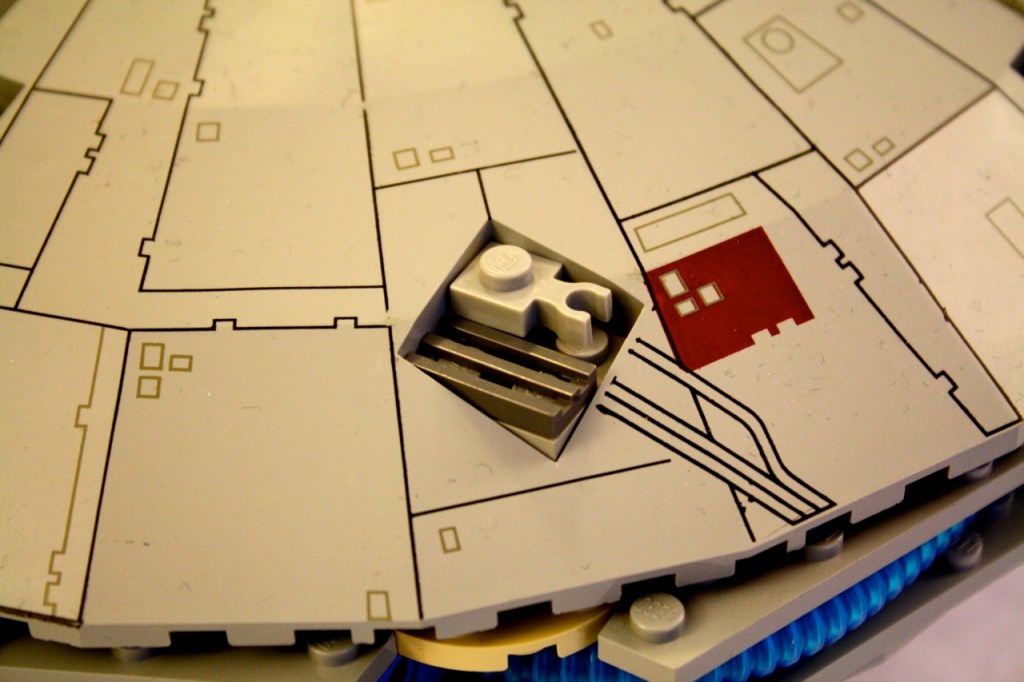
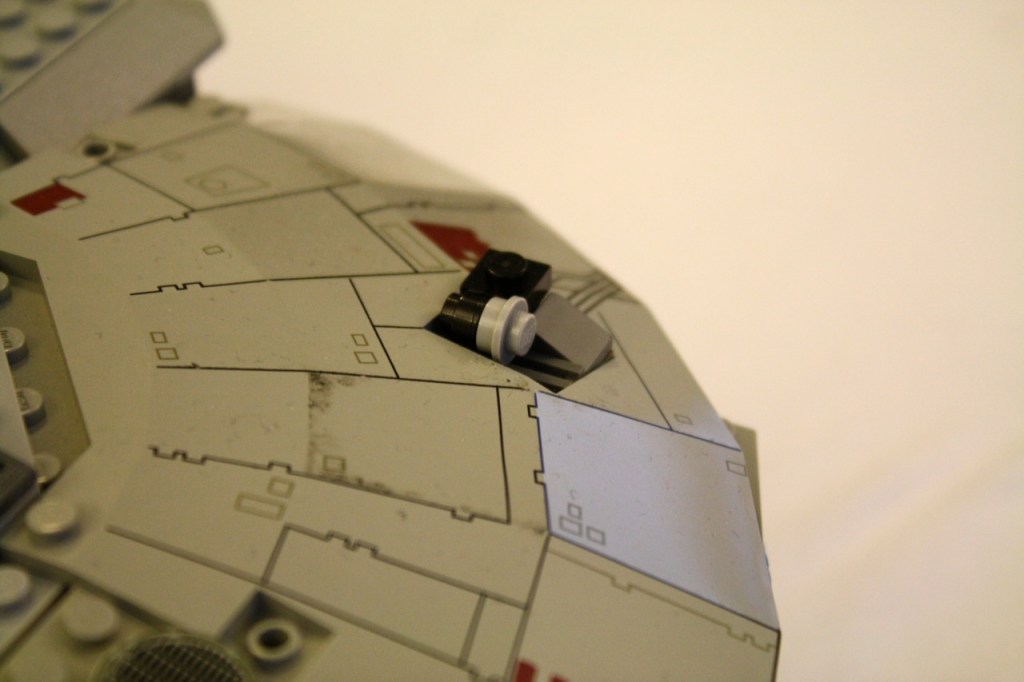
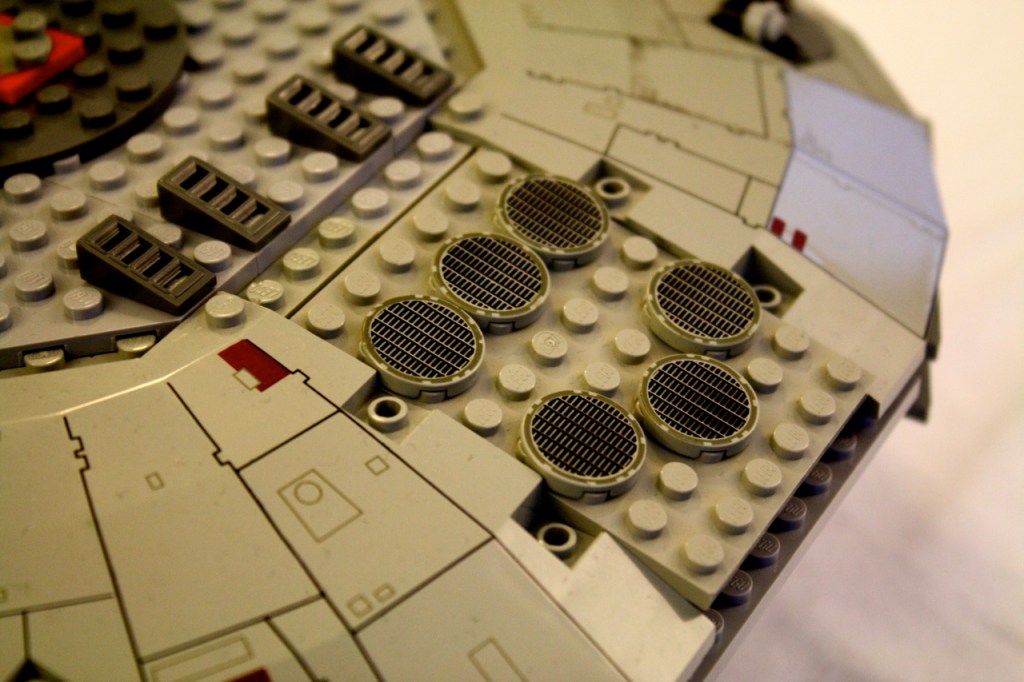
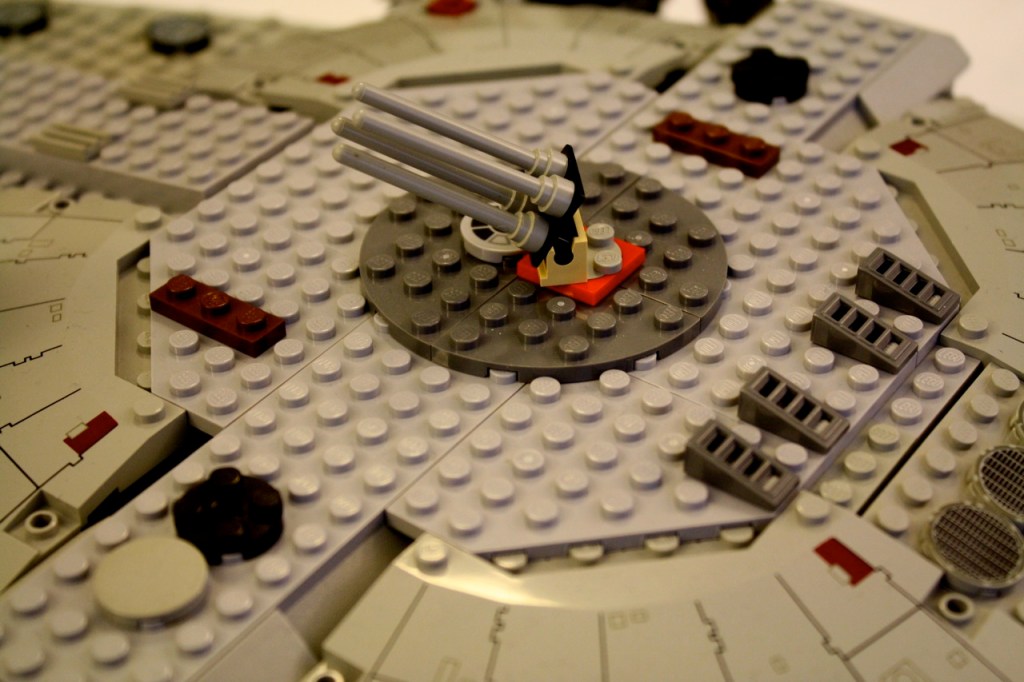
    See more pictures of the nearly-completed Fred in the gallery below. Your thoughts, suggestions, and helpful links are welcome in the comments.

  • Flying Around CERN in the Millennium Falcon

    This is a very rough cut of an image that I’ve had in mind to make for awhile, but I thought I would show off this early draft. There’s a poster of the Falcon flying into the heart of the second Death Star in ROTJ, so I thought I could recreate it with Lego. I pulled this image of the LHC tunnel 1 and applied a motion blur. Then, I cut out  photos of my 4504 Millennium Falcon and 6212 Luke’s X-Wing Fighter. I added engine effects and lights to the front of the Falcon. With more time and effort, I believe that I can turn out a very nice composite reproduction of the ROTJ poster. Though, I will need to take a new picture of the Falcon with Billie Dee and Nien Numb at the controls. If you know of a better tunnel image with exposed pipes, please mention it in the comments.

  • Lego Star Wars Millennium Falcon 7190 Custom Rebuild

    And here it is–my custom rebuilt Lego Star Wars Millennium Falcon 7190 model. It took me several months of tinkering to get it in the shape that it is now–beat-up, derelict, and having it where she needs it.

    In the following, I will show how the model began, how it evolved, and then a more thorough description of the changes that I made to the model.

    Below, you can see how the 7190 Falcon looked after I initially built it. It gestures toward what the Falcon should look like, but it has too much non-battleship gray color and the design is aimed toward play more than appearance.

    Below are two pictures of the interior with the upper hull removed. Again, the emphasis is on play instead of accuracy. The interior is segmented by straight walls and there is no visible engine, which I believe a big, fast ship like the Falcon should have.

    Initially, I hadn’t planned on redesigning the interior. I thought that there was more to be done with the exterior, with the large quarter panel pieces that could make the 7190 rival the newer 4504 model.

    Below you can see how I have selected a single color for the upper hull, reduced the profile for the gun turret, increased the size of the engine compartment at the rear, and changed the forward cargo loader from a single flat piece to a more accurate raised profile.

    Also, I improved the cockpit so that it bends into the main hull and connects to it with a single flat round brick. Below are detailed photos of the cockpit redesign.

    In the final version of the 7190 redesign, I opted to replace the cockpit with the same one found on the 4504 model, the parts of which I found on bricklink.com, an excellent resource for finding sets and bricks at reasonable prices. In the future, I may reincorporate the curve and passage way in the above pictures into the 7190 redesign. However, I do have some other ideas about how to make it look more accurate, following the ideas in the 4504 model, but I need additional pieces to make this work.

    So, here are more detailed photos of the 7190 redesign as it now stands. I will include exterior shots first, and then I will show the extensive and exciting interior redesign that I made.

    As you can see in the two photos above, I streamlined the front prongs into the main hull, extended the port and starboard hatch covers so that they are level, added surface color and detail to more accurately match the Falcon, and utilized the natural design of the quarter panel spacing for the rear engine compartment exhaust grills.

    The cockpit is the same as the one in the 4504 model, but I used a different computer display brick in front of Han and Chewbacca. Also, I designed the cockpit-to-hull connector to indicate the connection while making it easy to remove the upper main hull. I believe that I will continue working on this in the next iteration of the model.

    Below are images of the interior of the Falcon based on the films and my own ideas about the engine for such a large and fast ship. I departed from the designs in the 4504 model with my design of the engine with built-in hyperdrive.

    Below, an all-inclusive shot of the interior of the Falcon. In the upper left, you can see everyone gathered around the Dejarik table. In the middle front you can see the cargo storage area followed by the passage way leading to the cockpit. The central column holds the gunner stations. In the rear, you can see the main engine with integrated hyperdrive.

    Below, a detailed shot of the cargo area with a nod to the Lego Space series.

    Below, a detailed shot of the crew area and Dejarik table and navigational computer.

    Below, a detailed photograph of the main engine and its support structure, integrating it into the framework of the space craft.

    Building my custom version of the 7190 Falcon model is something that I’ve wanted to do ever since I first owned the 7190 when it first came out at the end of the twentieth-century. The nice thing about Lego is that I can continue changing and altering the design as my imagination shifts and permutates.

    Besides the awesomeness of building with Lego bricks, you may be wondering why I have devoted a good deal of space to my Lego work on dynamicsubspace.net. This is something that I am continuing to work on, but I see Lego as a transitional example of what Haraway calls the Informatics of Domination. Lego serves as a metaphor for the dilemma and its solution. Lego is a double edged sword, swinging both ways, but holding a promise greater than its representative ills. Expect to read more about these ideas in the near future.

    Below, I have included a gallery of more images of my custom 7190 Millennium Falcon. Enjoy, and thanks for visiting.