On May 4, 2014 at 11AM, Wendy Hagenmaier and I will give a co-presentation on Digital Archives and Vintage Computing @ Georgia Tech at the Vintage Computing Festival 2.0 in Roswell, Georgia. This post includes a support video embedded below, a link to our PowerPoint presentation, and a transcript of our talk.
During my part of the presentation, I will discuss this Google Glass captured demo of the Voyager Expanded Books series ebook of William Gibson’s Sprawl Trilogy on a Powerbook 145:
We have provided a transcript of Jason’s part of the presentation below (and Wendy’s follows):
Digital Archives and Vintage Computing at Georgia Tech
Jason W. Ellis and Wendy Hagenmaier
Jason:
[OPENING SLIDE-COMPUTERS]
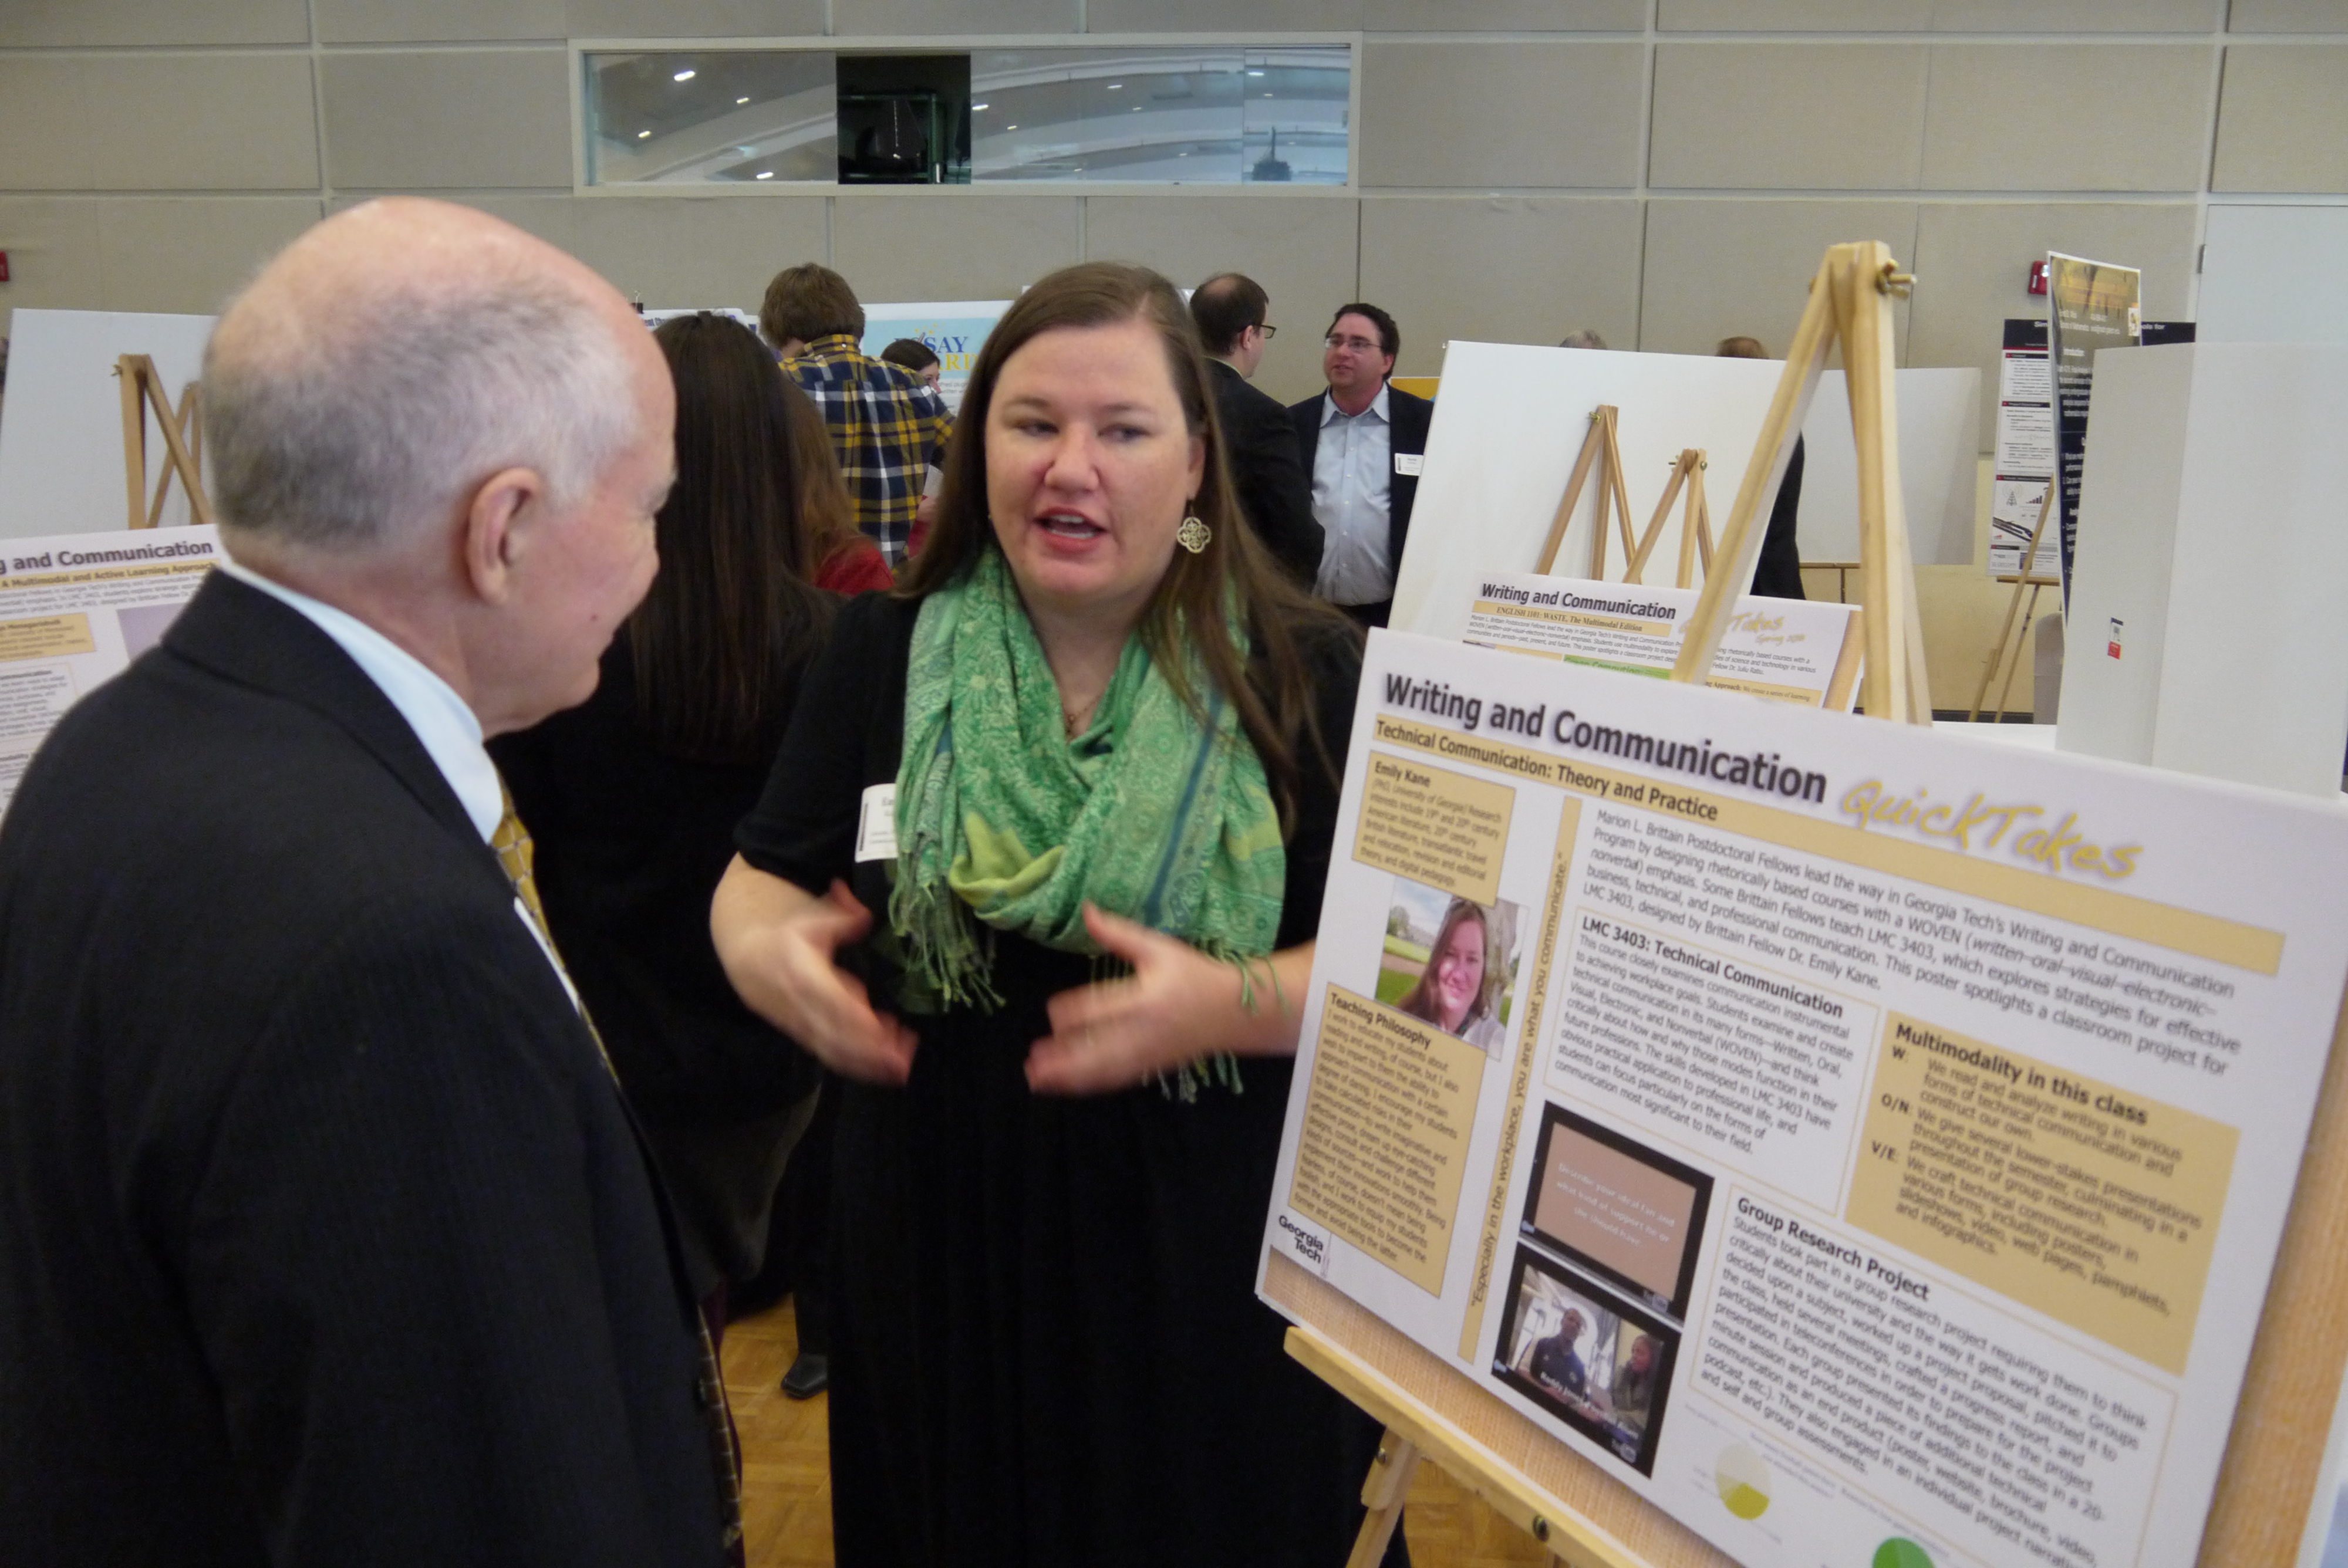
Hello and welcome to our presentation on Digital Archives and Vintage Computing at Georgia Tech. I am Jason Ellis, a Marion L. Brittain Postdoctoral Fellow, and this is Wendy Hagenmaier, Digital Collections Archivist at the Georgia Tech Library.
In the first part of our presentation on digital archives and vintage computing at Georgia Tech, I will describe how these fit into my research and teaching before suggesting how the library can fulfill those needs for the communities it serves. Wendy will conclude with a discussion of the trajectory of the Georgia Tech Library as a place of research, learning, and making beyond the traditional image of a library.
[JASON W. ELLIS]
My primary work at Tech is to teach first year composition, tech comm, and occasionally, science fiction.
[HOW I CAME TO FOLD VINTAGE COMPUTING INTO MY WORK]
While I have long considered myself a computer hobbyist and I was an IT professional before going back to school to finish my degrees, I have leveraged my interest in computer technology and the human brain to do innovative research on the interplay between the digital and the biological. This raises issues of accessing digital culture on older media and making meaning from these significant forms of culture. These things are important to my research, but I want to enrich my teaching and help my students develop their digital literacies, too.
[AUTHOR’S AFTERWORD]
What specifically led me down this path professionally was that I needed to find a citation for a text I found online. It was an intriguing article attributed to the cyberpunk SF writer William Gibson on a Russian website (cyberpunk.ru). In it, he talks about the ephermerality of technologies—a very interesting idea in light of the fact that he wrote his novel Neuromancer on a typewriter. The afterword seemed ephemeral, too, because I couldn’t find a trace of this afterword in any printed book. A friend of my tweeted Gibson (@GreatDismal) and gave me a lead on a floppy disk-based ebook by the Voyager Company. After a search in Worldcat, the massive library database, I found a copy at the Michigan State University Library: the pictured Voyager Expanded Book series floppy disk of Gibson’s Sprawl Trilogy (Neuromancer, Count Zero, and Mona Lisa Overdrive). Unfortunately, I had no way of reading it.
[POWERBOOK 145]
After calling around northeast Ohio area schools and libraries without any luck finding a Macintosh with a 3.5” floppy disk drive, I turned to eBay where I acquired this Powerbook 145 (one much like the first computer I carried to Georgia Tech as a freshman in 1995). While I could have purchased an external floppy disk drive that connects with USB to access the ebook software, I wanted to experience the ebook as it was meant to be.
[VOYAGER EBOOK SOFTWARE]
With my Powerbook 145 and the Voyager Expanded Books floppy disk, I copied the self expanding archive’s contents to the Powerbook’s 80 MB hard drive. I observed that the Voyager ebook software is Hypercard-based. While it is made for the Macintosh Portable, it works fine on the later model Powerbook 145.
You can navigate the complete text of the novels and afterword with the trackball or arrow keys. While it has a global search box, you can also search by clicking on a word to see where else the word appears (much like Apple’s iBooks today). It supports annotations and bookmarking with virtual paperclips—an issue of remediation.
[AUTHOR’S AFTERWORD IN VOYAGER EBOOK]
This was the prize that I was looking for—the original author’s afterword available only in this ebook. In fact, Gibson did not even include it in his recent collection of nonfiction writing—Distrust That Particular Flavor. If you visit my blog at dynamicsubspace.net, you can watch an experimental video that I made with the Powerbook 145, Gibson’s ebook, an iPad Air, and my Google Glass.
[LET ME DO THAT FOR YOU]
Besides my research with and on vintage computing, I believe that these technologies should be an important part of teaching. Our students and young people need to have an idea about how the technology we enjoy today came to be the way that it is and to know that the past is full of ideas that might be repurposed, retried, or rediscovered as we continue developing ever new digital technologies.
For example, when I was researching Philip K. Dick in the Eaton Science Fiction Collection at the University of California at Riverside—the largest SF collection in the US if not the world—I had to stop a young, special collections librarian-in-training from jamming a one-of-a-kind cassette tape interview into a VHS machine on the AV cart. I directed her attention to the record/cassette combo on the bottom rack and offered, let me show you how to do that. These issues of use, operation, and support are passed on through teaching and first-hand experience.
[HOW I CONNECT RESEARCH AND TEACHING]
In my research, I have built a personal “Retrocomputing Lab” of Macs and PCs that support my research in the development of reading on screens just prior to and after the widespread adoption of the Internet. You can learn more about these on dynamicsubspace.net.
Most recently, I have embarked on a new way of sharing my research with others. In addition to writing essays for publication in journals and online, I am using Google Glass to record my experiences as a raw dataset that I can share on YouTube to support my scholarship and connect with others.
In my teaching, I encourage my freshmen students to learn how our computing technologies in the past and present have an influence on our neurobiology—put another way how we create computers with our brains and how do computing technologies change the way that we think over time. In Tech Comm, I have students research problems on the Tech campus that can be fixed with a technical communication solution. In one case, students resurrected an online printing solution that had died before they were students. Finally, in Science Fiction, I invite students to read Gibson’s afterword on the Powerbook and play the DOS video game interpretation of Neuromancer on an IBM-compatible PC.
[A VISION FOR THE FUTURE OF GEORGIA TECH]
My suspicion is that the need for accessing older media, studying vintage computing hardware and software, and teaching others how to use and preserve these technologies is not limited to literary and cultural studies. Obviously, computing is an interdisciplinary endeavor— specifically, I am thinking what Steve Jobs said about Apple being at the intersection of technology and the liberal arts—I think that this is a long tradition in computing not confined to the fine work at Apple.
I told Wendy, Sherri Brown, Alison Valk, and Elizabeth Rolando about my hopes for the Georgia Tech Library to serve as a synthesis of vintage computing research and teaching. The library’s archival mission can simultaneously maintain access to knowledge while preserving hardware and software as important artifacts of study. The library’s learning mission can support theoretical issues such as archival work and the history of science and technology alongside practical issues of training, using, and making. The library can do this through acquisition and on-going support, providing space for this kind of work, coordinating across institutions and the private sector, outreach, and more. Already, the Georgia Tech Library is a nexus of research and teaching that evolves to meet the research and learning needs of the communities that it serves. Wendy will tell us more about that in the next part of our presentation.
We have provided a transcript of Wendy’s part of the presentation below:
Hi everyone, I’m Wendy Hagenmaier, the Digital Collections Archivist at the Georgia Tech Library. I’m responsible for digital archives (similar to the work Al and Anne have discussed).
Reimagining the Georgia Tech Library
In light of Jason’s insights, I want to talk about some exciting changes happening at the Georgia Tech Library—changes we’ve been referring to as “reimagining the Library.” Though some of these changes are unique to Georgia Tech, many of them reflect how libraries everywhere are evolving to anticipate the needs of future library users, including people like Jason and all of you, the attendees here today.
The GT Library is transforming into a technological research library for the 21st century, but its mission remains the same: to be a creative partner and essential force in the learning community and the Institute’s programs.
At the GT Library lately, we’ve been asking ourselves: How can we support the research and teaching needs of faculty like Jason and inspire the scholarship of our broader community? And how can we invite the community to explore the past and design the future? As an archivist, I’m always interested in what the past can teach us about the future, so let’s take a quick look at the GT Library of long ago…
The Georgia Tech Library of the Past
Welcome to the Library of the 1960s.
Like many research libraries of the era, the GT Library provided services to support traditional, print book and journal-based research. The emphasis was on creating the most massive collection of print material possible, to position the library as a secluded, exclusive repository of knowledge that could only be found within a print collection. Imagine the shushing librarian, no food, no drink, no talking.
This worked well for a while, but radical changes in research and daily life on campus—mobile/ubiquitous/wearable technologies, Massive Open Online degrees, flipped classrooms, project based learning, digital repositories, university history now enacted on YouTube and Twitter—have made it essential that the Library undergo its own transformation. Print book checkouts are declining, but the number of visitors to the Library is exploding and users are accessing our e-resources over a million times a year. So here we are, at the Georgia Tech Library of the Present:
The Georgia Tech Library of the Present
In light of the cultural shifts I mentioned, the Library is presently planning its own shifts, both literally and metaphorically, on several fronts:
Here’s the first literal shift: the GT Library and Emory Libraries are partnering to construct a large climate-controlled facility to house the majority of our collection. This means we’re moving perhaps as much as 90% of our print collection to Emory’s Briarcliff campus. Books will be delivered to users on demand, and traditional browsing of physical library stacks will have to be translated into the digital realm.
Another shift: the Library is conducting user research with students and faculty, including focus groups, interviews, and surveys, to develop a shared vision for the Library’s future.
The walls of our 1960s buildings are now covered with post-it notes from dozens of internal brainstorming sessions, where we’re defining and innovating future services.
And another literal shift: we’re working with an architectural team to completely redesign the interiors of our buildings over the next five years.
Through reimagined spaces and services, the Library is becoming an interdisciplinary platform for scholarship, an integrated network of human and technological resources, and a champion of innovation.
The Georgia Tech Library of the Future
My colleague Sherri Brown and I interviewed Jason a few months ago as part of the Library’s user research, and he brought up the idea that the GT community has unmet retrocomputing needs. Faculty members from all sides of campus are encountering the need to access information stored on outdated media and to teach their students about the history of technology.
This academic interest in retrocomputing parallels the digital archaeology work being conducted in libraries and archives—everywhere from Emory’s Digital Archives to the New York Public Library. Archivists at these institutions are using old hardware and software to access and preserve content created with obsolete technologies (such as Salman Rushdie’s manuscripts saved on floppy disks). To date, however, all of the retrocomputing work in the library world has been conducted by library staff. These digital archaeology labs are not accessible to the libraries’ user communities.
My colleagues Jason, Sherri, Alison Valk, Lizzy Rolando and I are trying to imagine how we might do something different at the GT Library: offer our technologically-savvy patrons a chance to use the retrocomputing equipment typically restricted to library staff.
This might take the form of one or two retrocomputing consoles—or perhaps a larger lab—within the Library, which would be available to users who would be vetted by Library staff.
The idea is to take the digital forensics and archaeology work occurring behind the scenes in archives, plus the rise of hacker and makerspaces in libraries, plus collaborations with campus and community partners (perhaps even you?)…to imagine creating a retrocomputing lab. This space would not only serve as a hands-on historical reference point; it could activate new ideas about future technology and preservation of tools and ideas.
So how could we make this space happen, and how might we collaborate? Collectors, experts, and community organizations like the Atlanta Historical Computing Society could support an idea like this through:
-equipment sourcing
-IT support and expertise, knowledge of the history of computing
-and mentorship
In return, a project like this might someday offer collectors, experts, and community organizations:
-a collaborative meeting and hacking space, for making connections with like-minded people and hacking the past, present and future
-space dedicated to preservation (libraries specialize in preservation environments in a way that most individuals and community groups can’t)
-as well as infrastructure, branding, and support for community organizations seeking institutional allies
In many ways, the retrocomputing space we’re envisioning resembles the high tech computing lab of Georgia Tech’s past, which once seemed so futuristic and advanced, bringing us full circle, so that imagining the future of our Library becomes an act of reimagining our past.