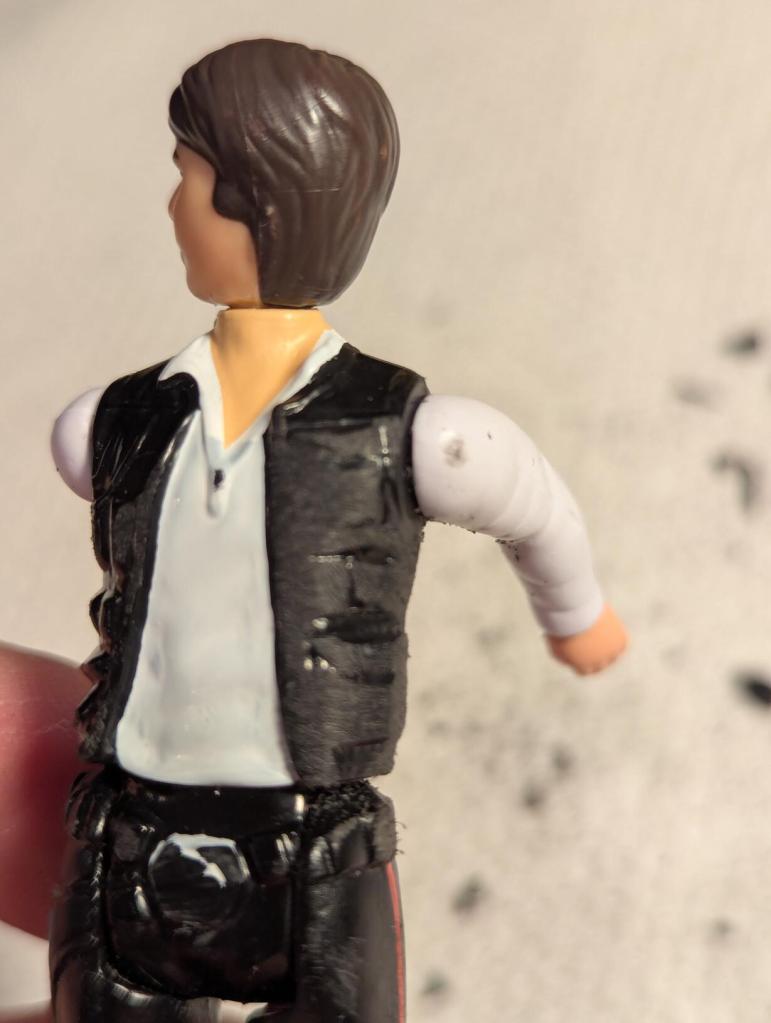
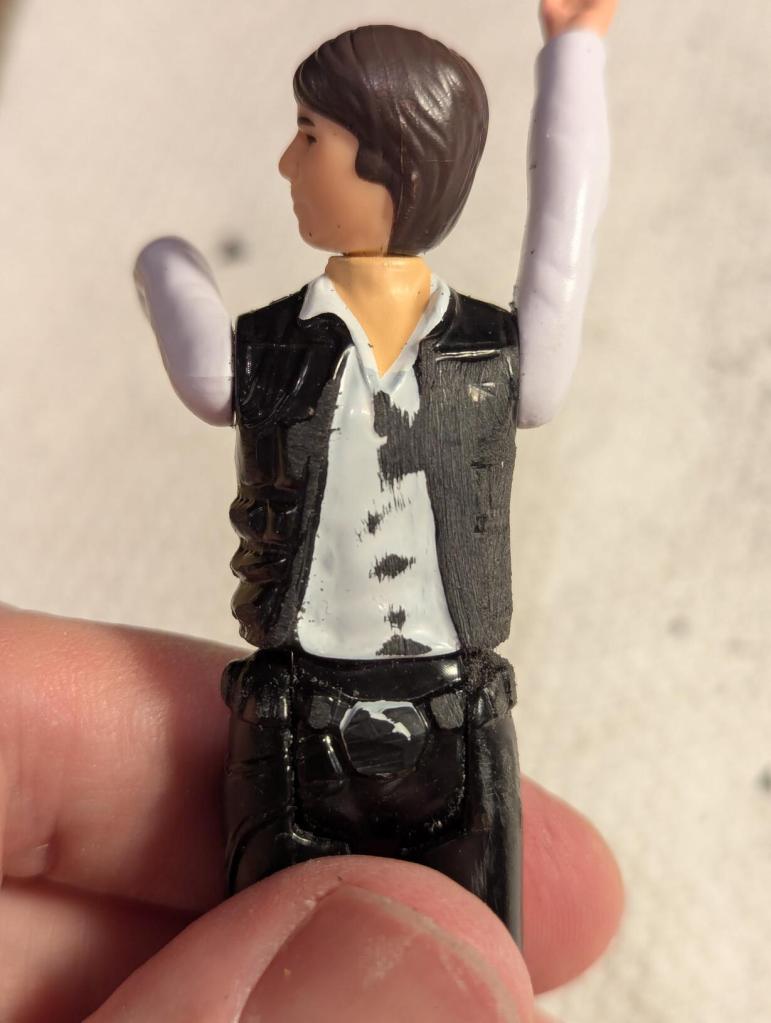
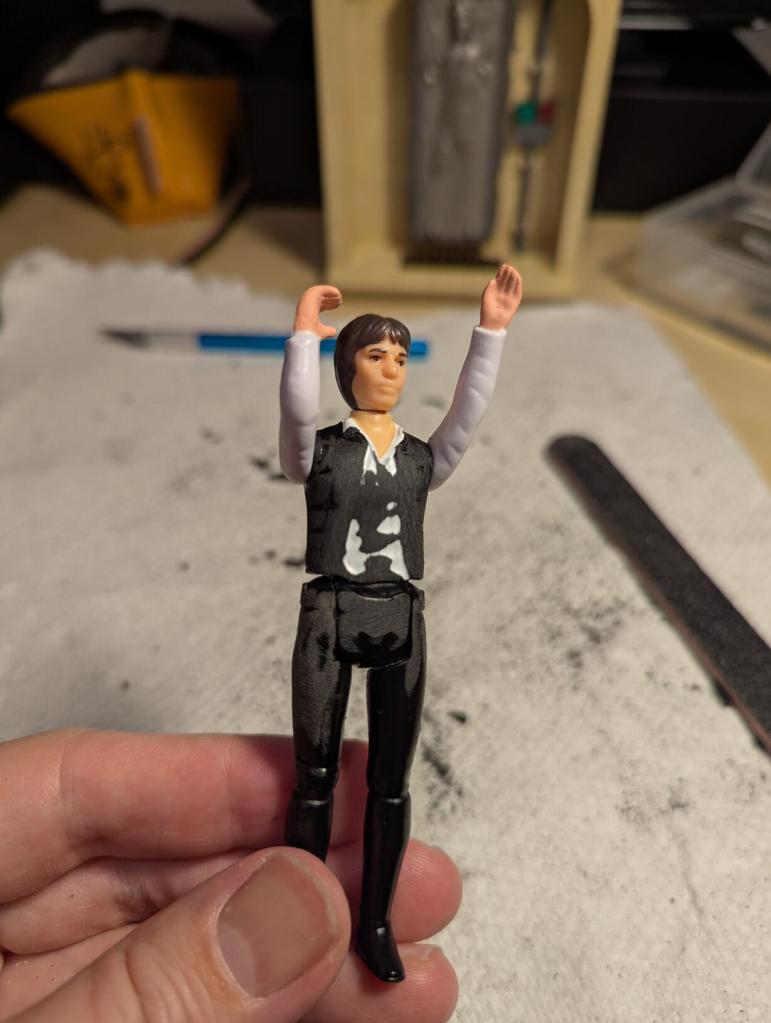
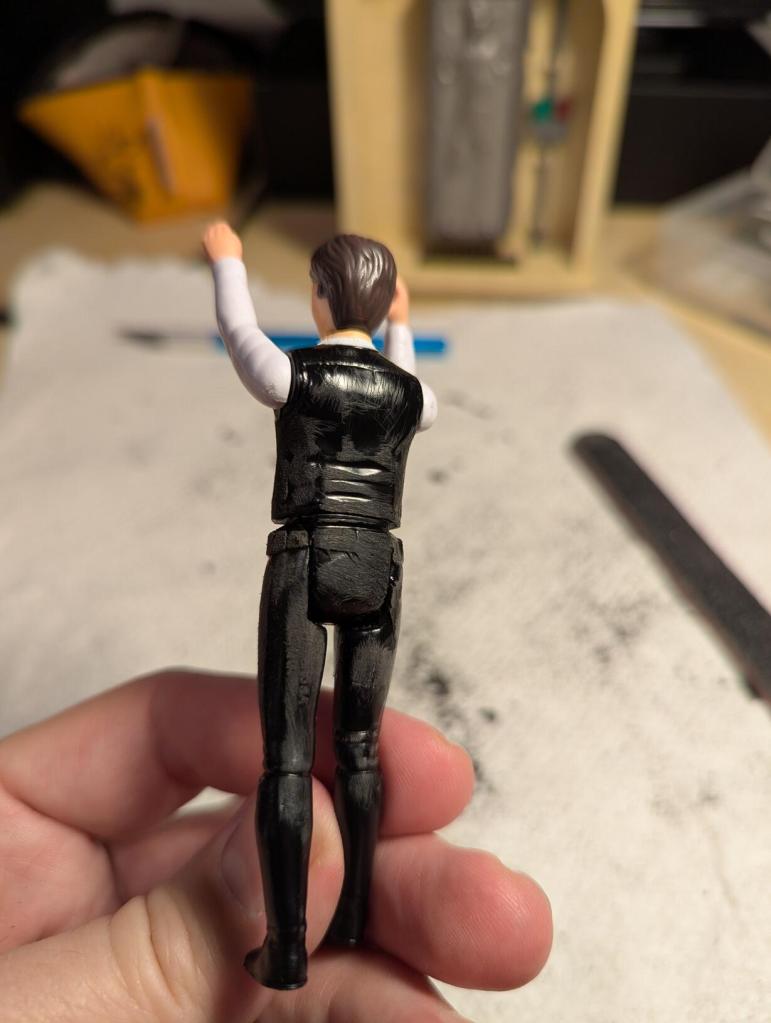
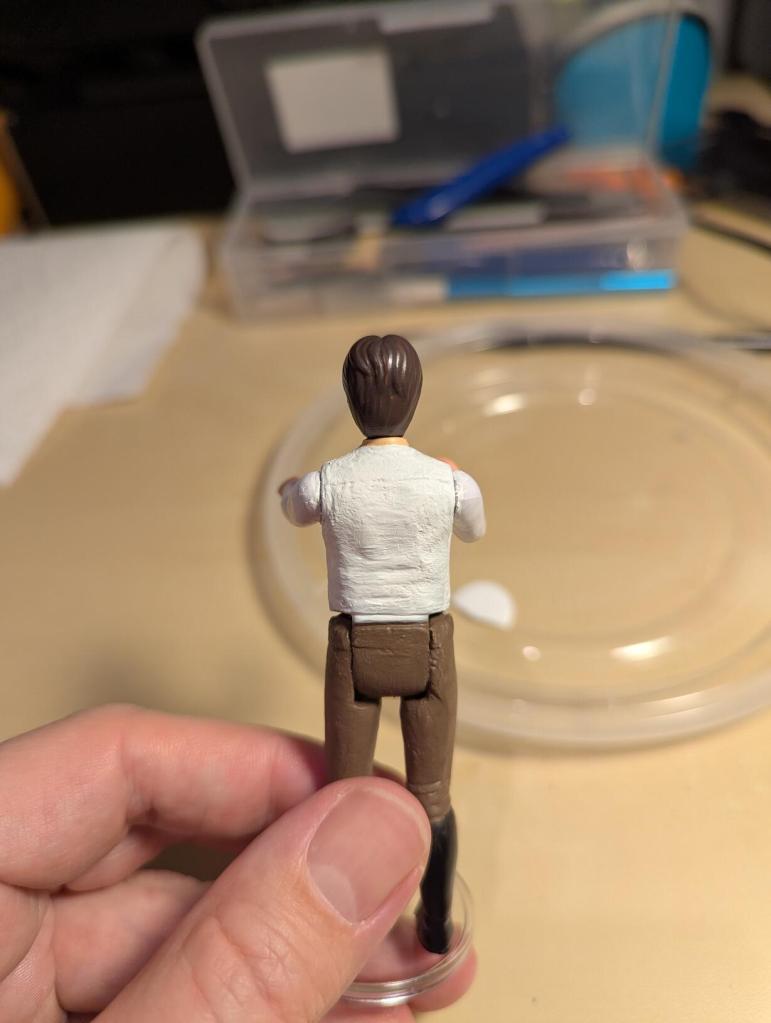
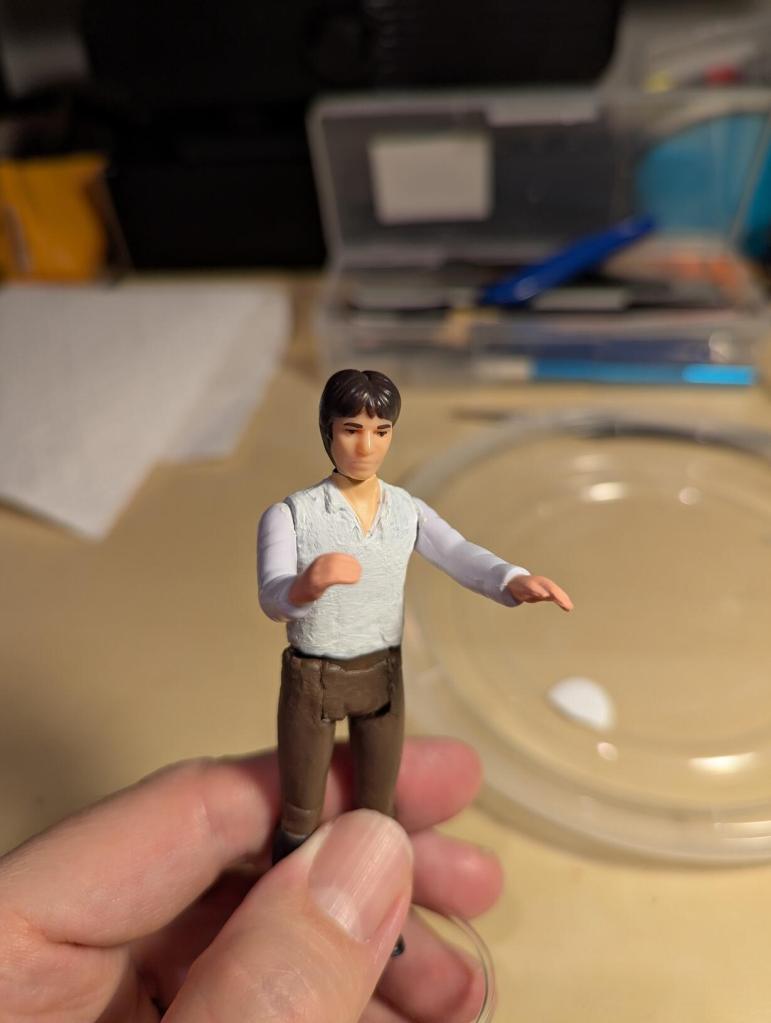
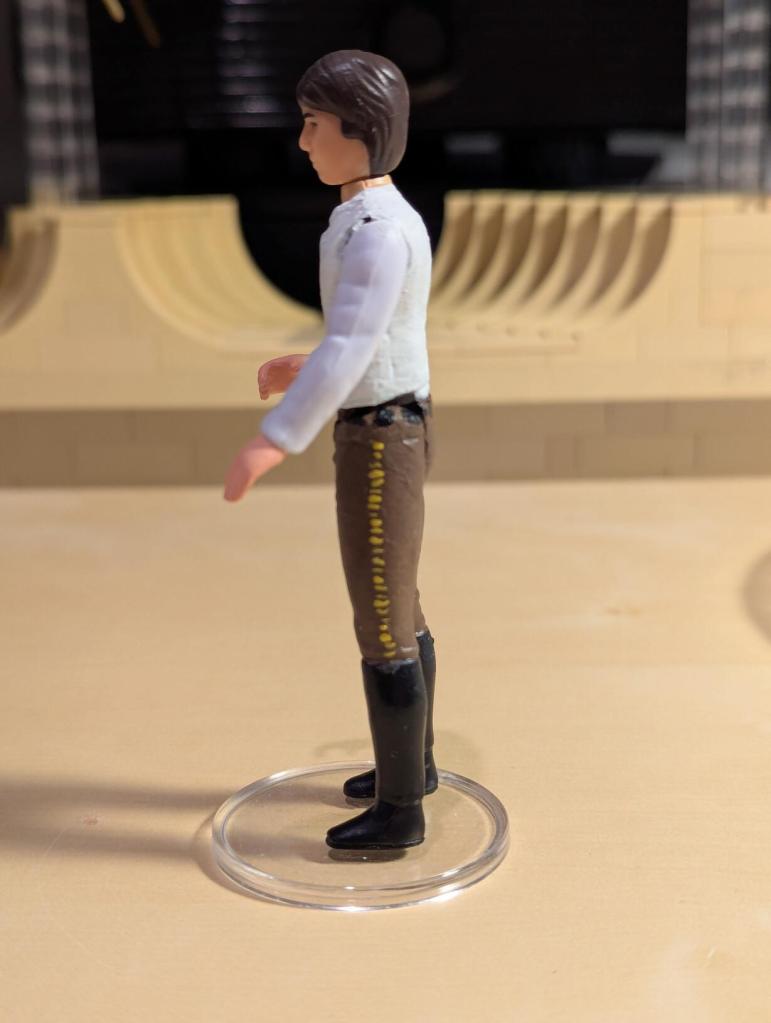
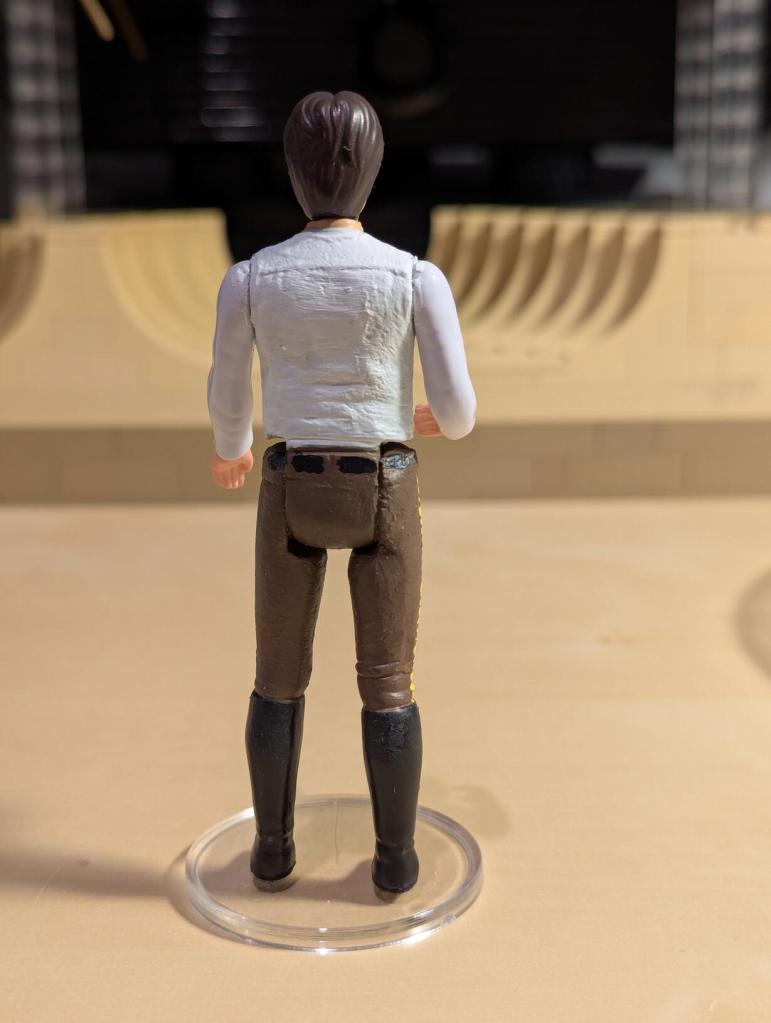
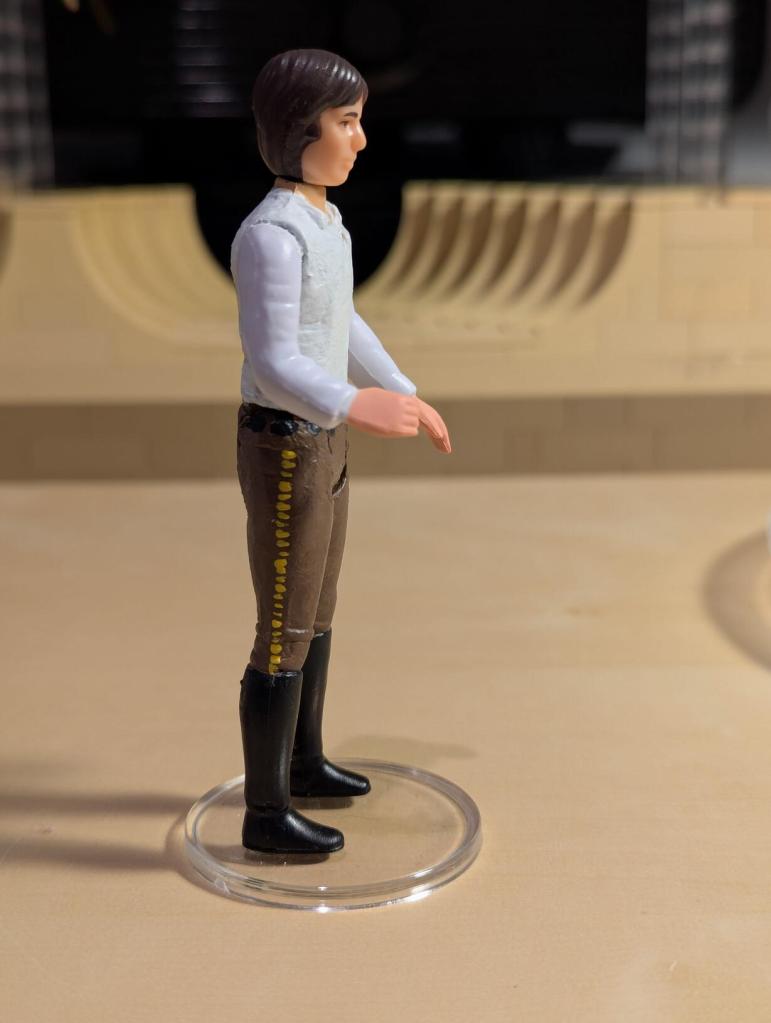
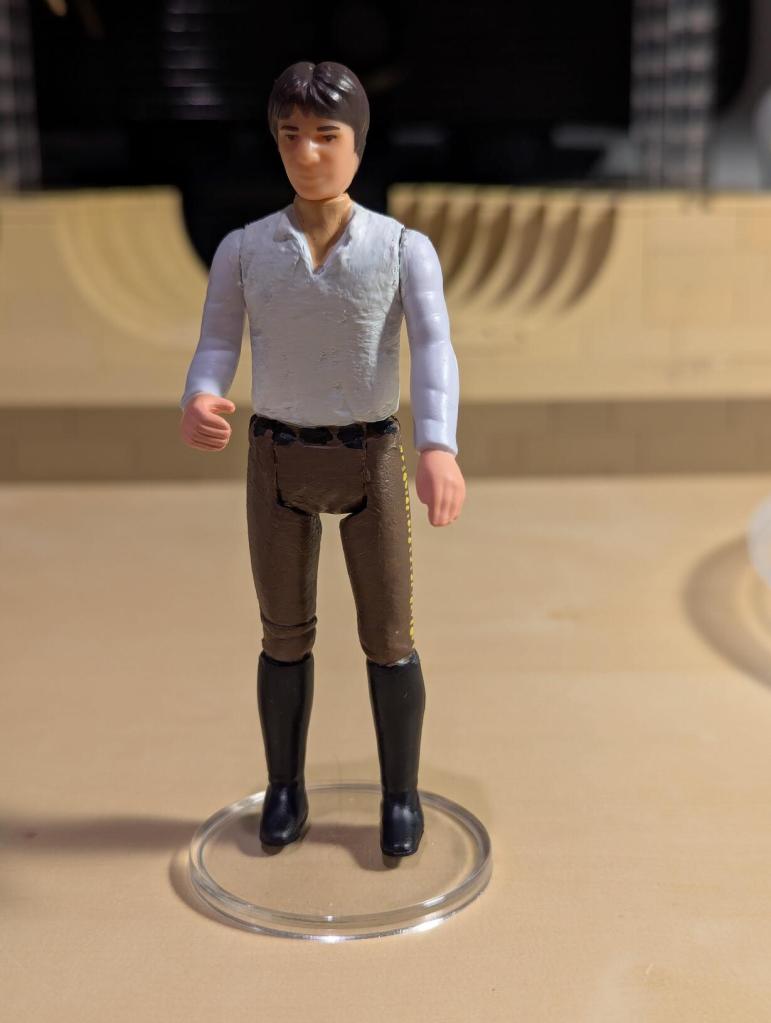
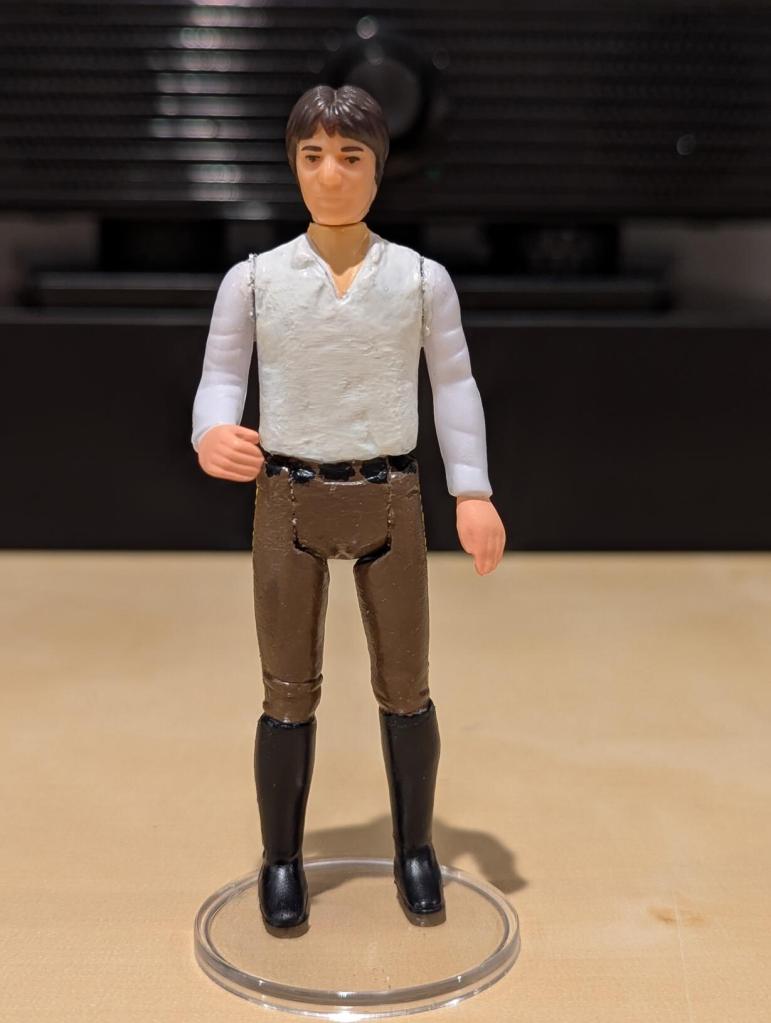
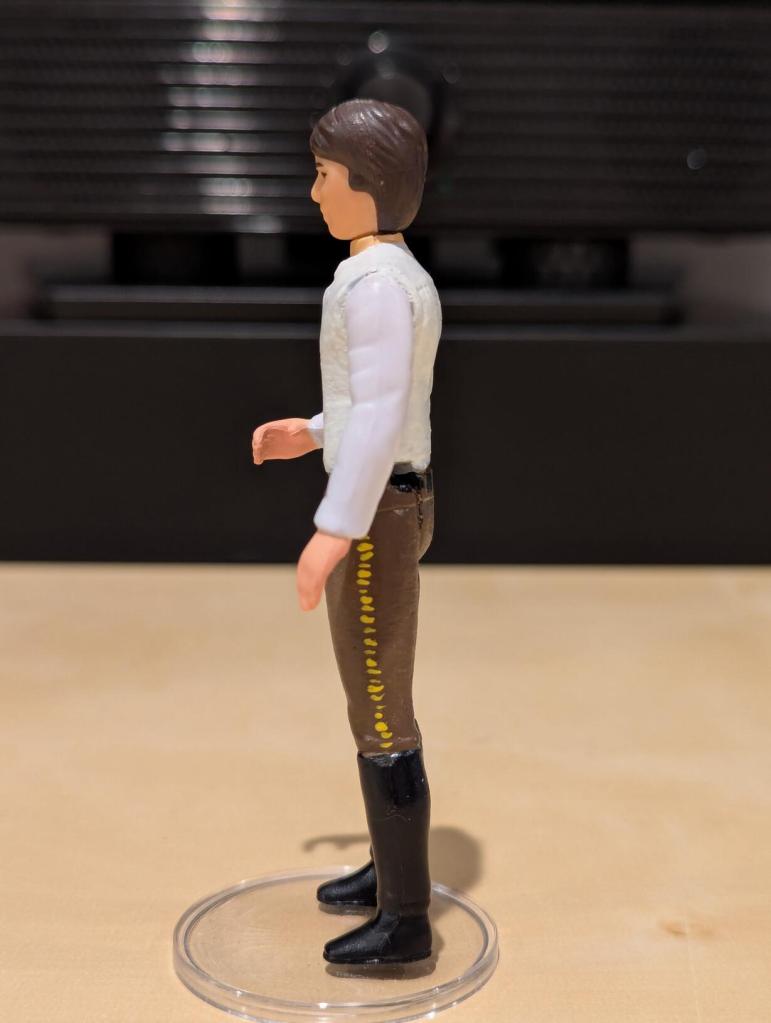
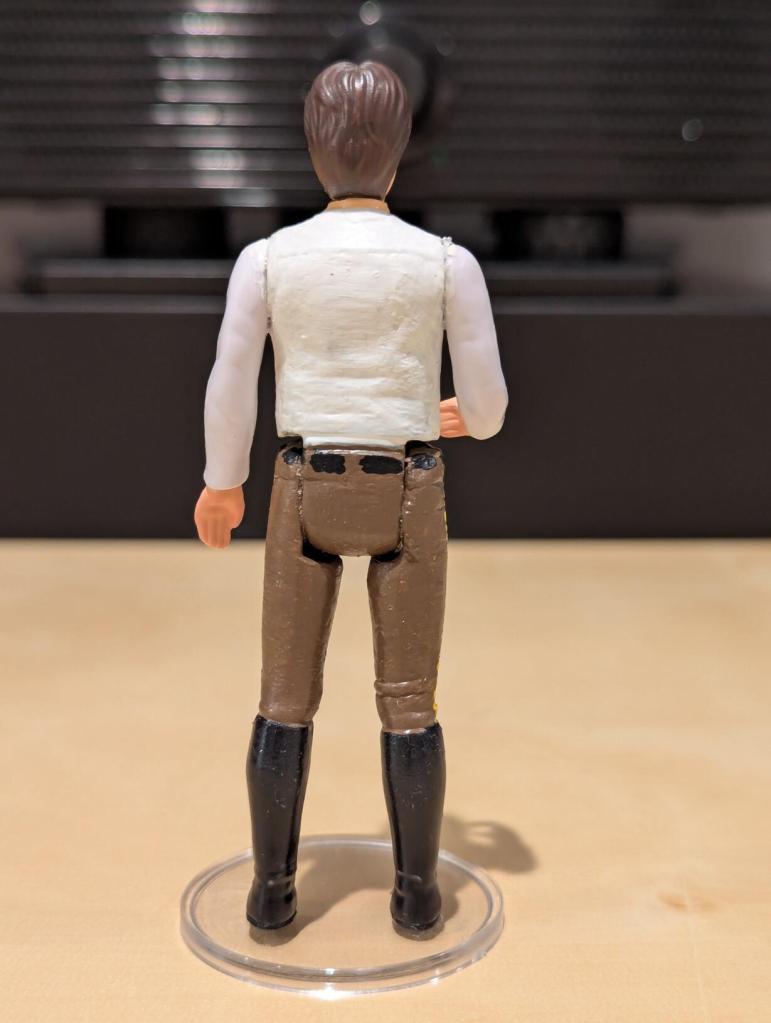
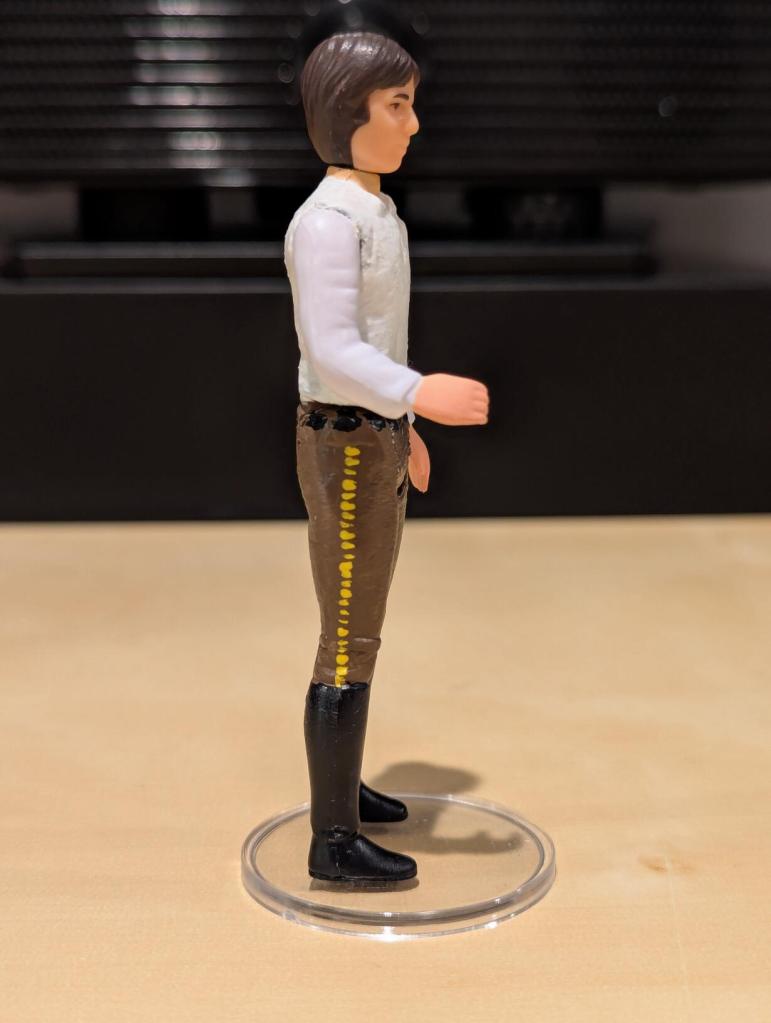
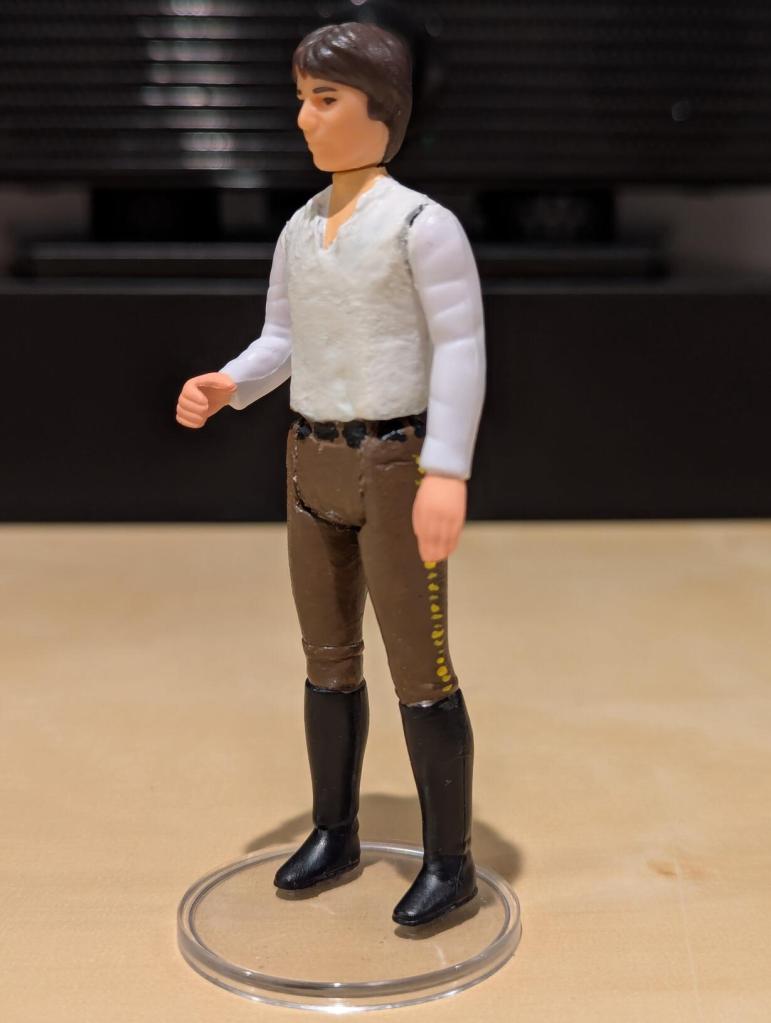
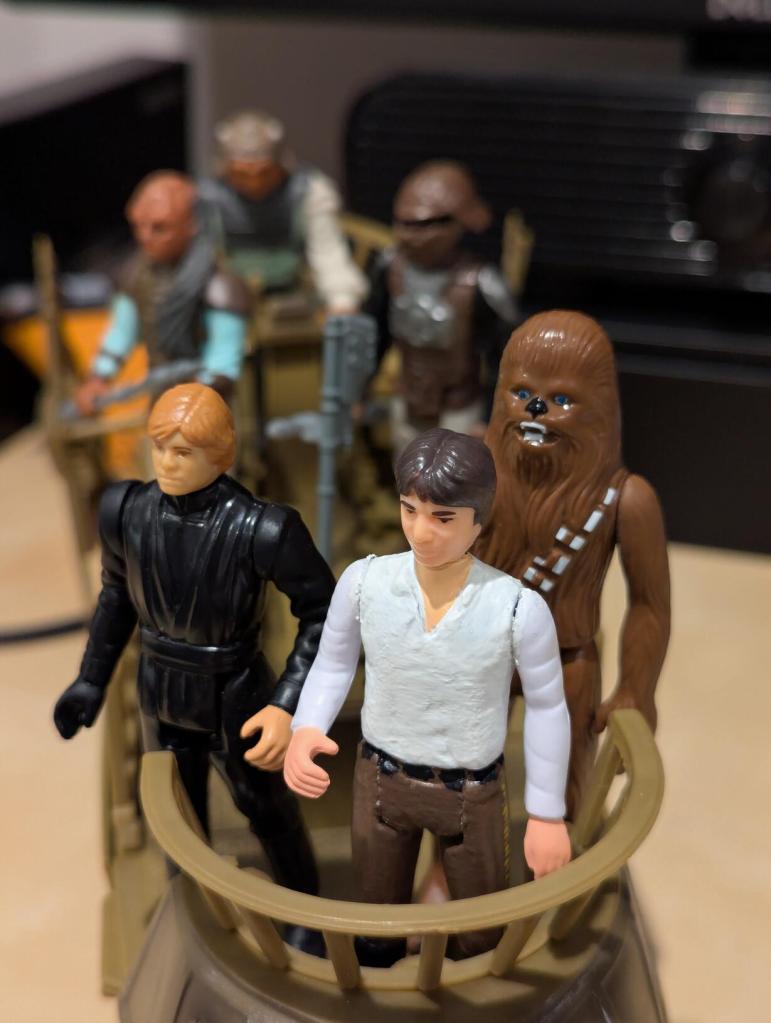
I wanted to build a custom action figure of Han Solo after he had been freed from carbonite in Return of the Jedi (1983), because I don’t like the “Last 17” version of Han Solo in Carbonite Chamber by Kenner (1985) and his NFL linebacker-like appearance (a complaint that I have about the evolution of Kenner’s action figure line from POTF–Barada (1985) is another not-true-to-screen-likeness–to its extreme in the POTF2 revival in 1995–consider the bulked-up Han Solo, for example).
If you remember the ending of The Empire Strikes Back (1980) and the first act of ROTJ, Han goes into and comes out of carbon freeze wearing a white shirt, brown pants with second-class yellow Corellian bloodstripes, and boots.
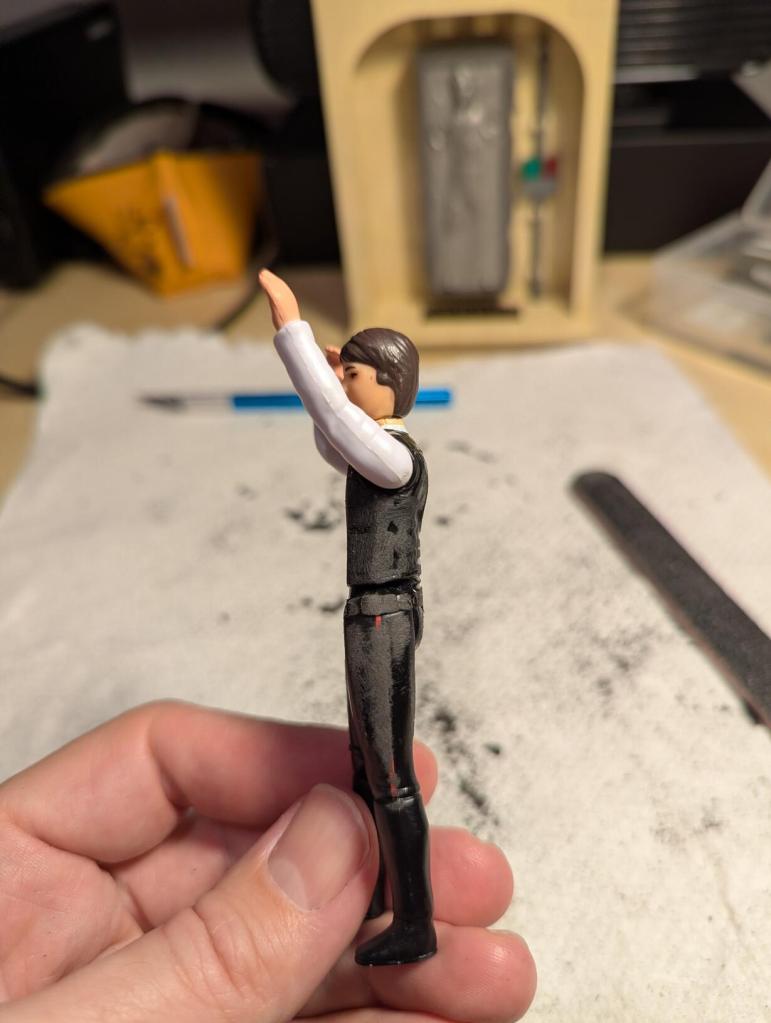
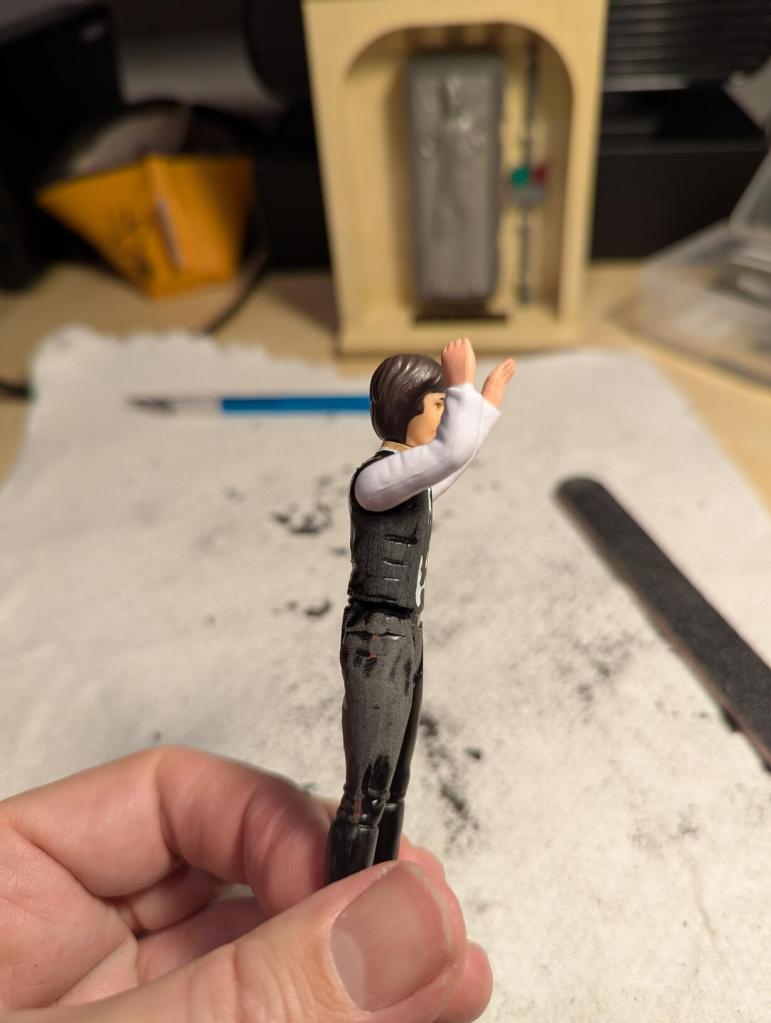
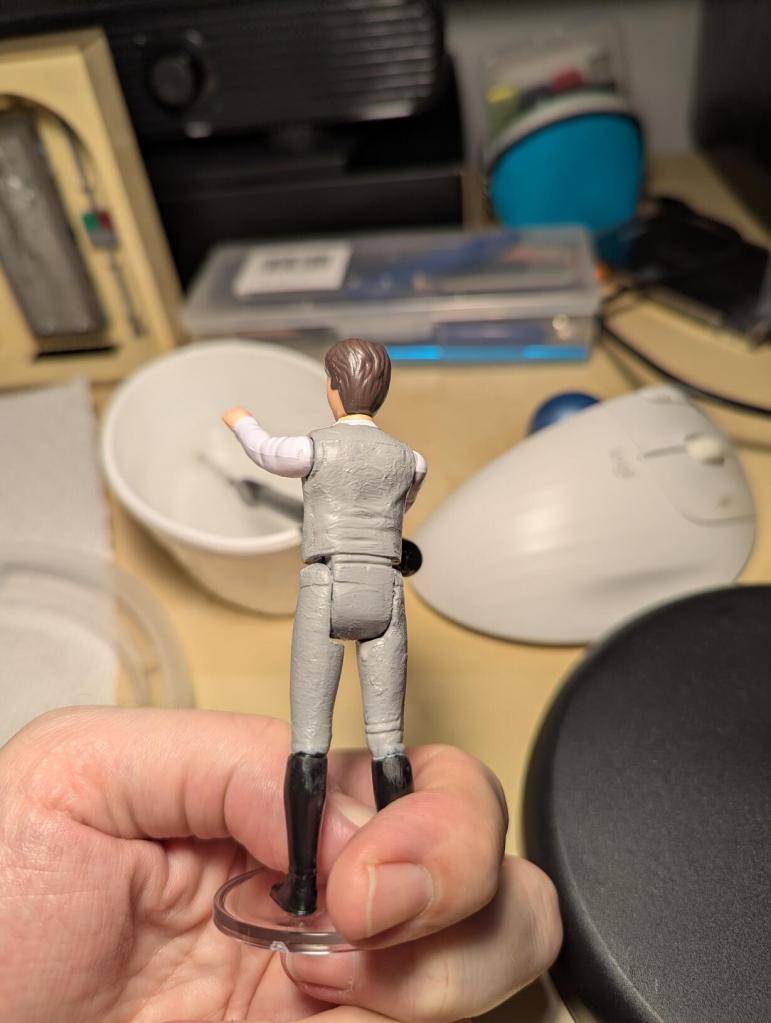
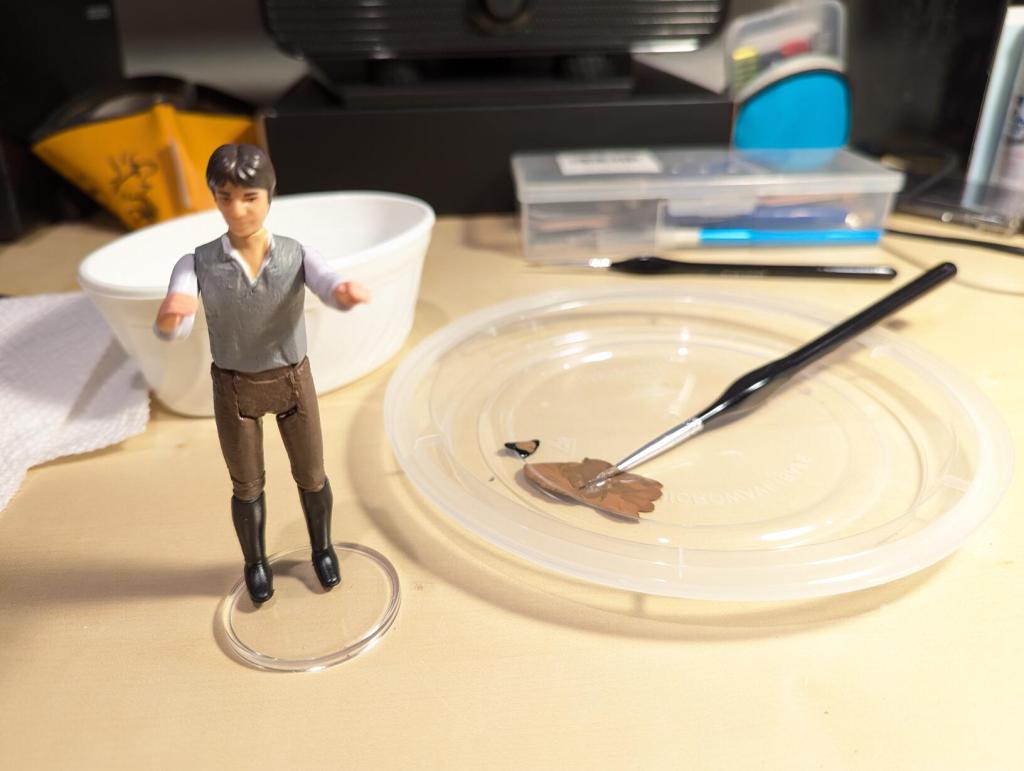
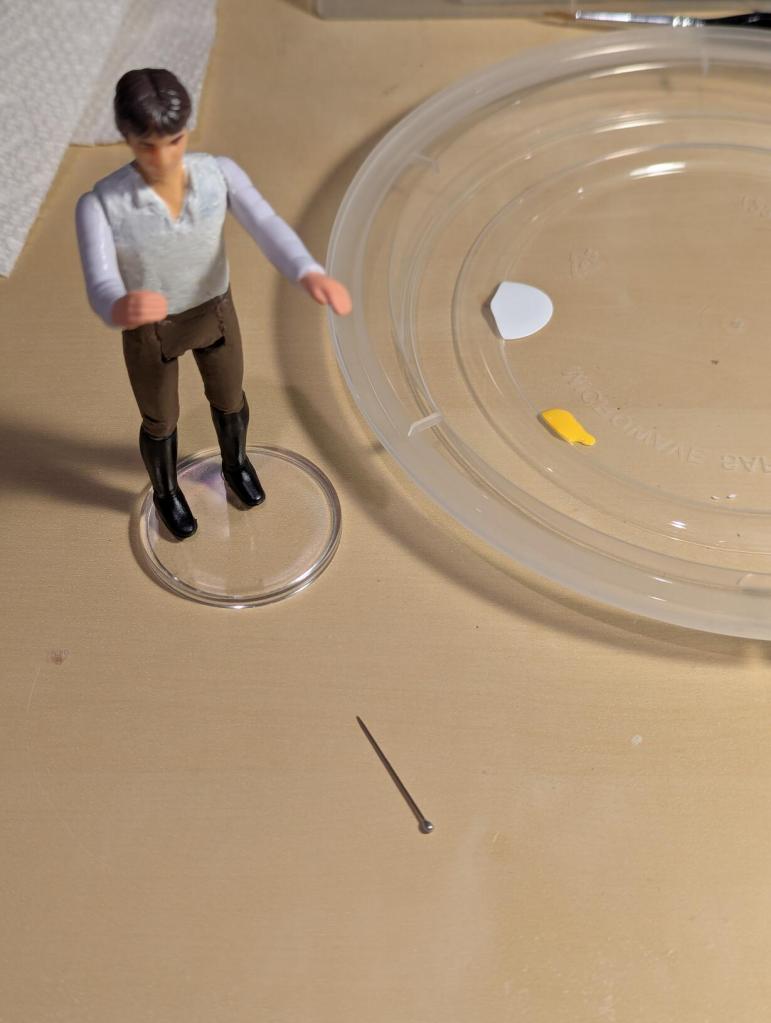
To customize the original Han Solo action figure, I needed to remove his vest and blaster holster and belt, smooth over those areas, prime, paint, and varnish. The following photos and notes detail how I customized Han for the beginning of ROTJ.
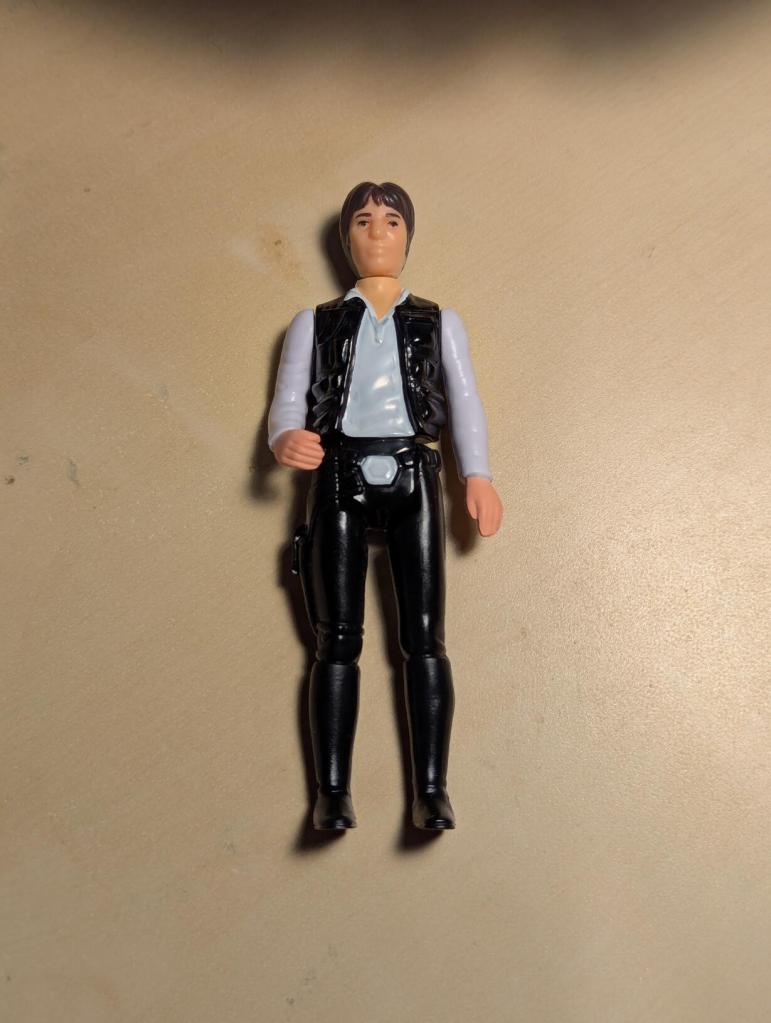
This is the Hasbro Retro Collection Han Solo with big head that I started with. I forgot to take a side view shot, but he has the first class red Corellian bloodstripe (according to Star Wars lore, Solo began wearing the second class yellow bloodstripe to draw less attention to himself).
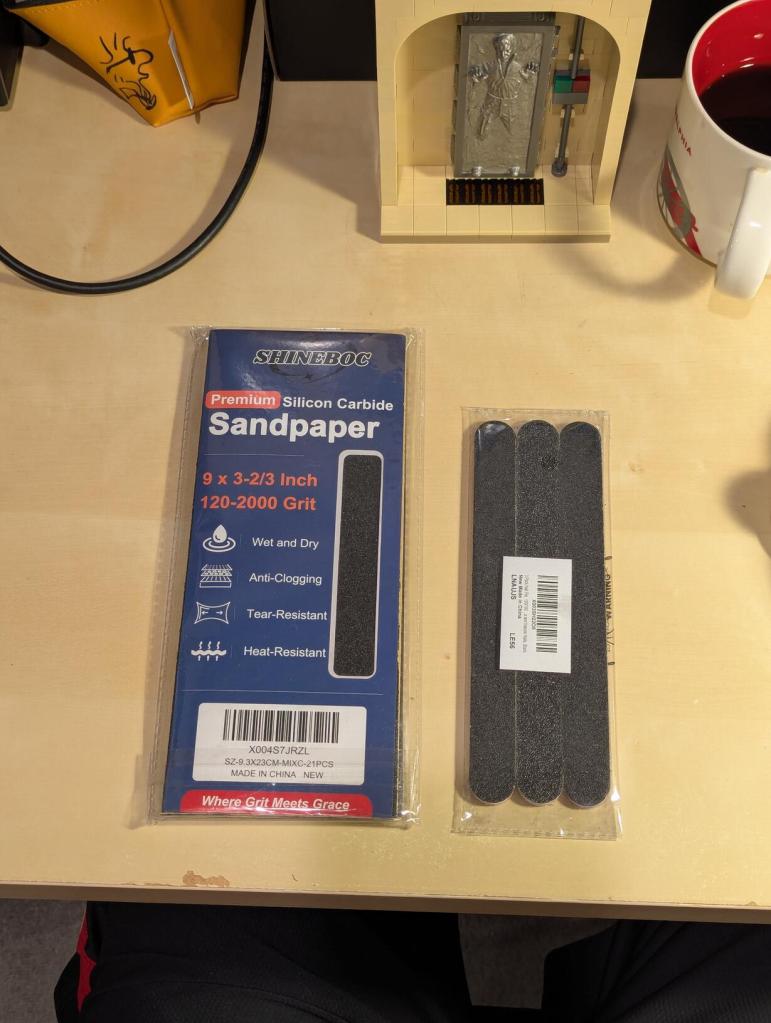
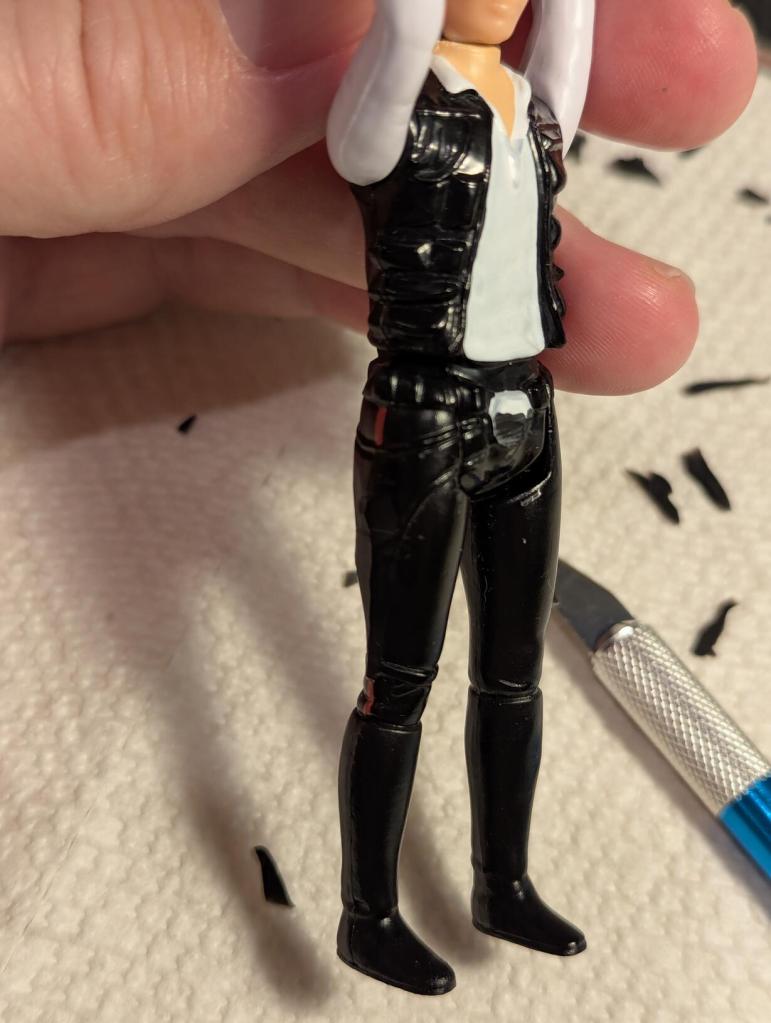
I used a hobby knife to remove as much plastic as possible before switching to files and sandpaper from heavy to fine grit sandpaper.
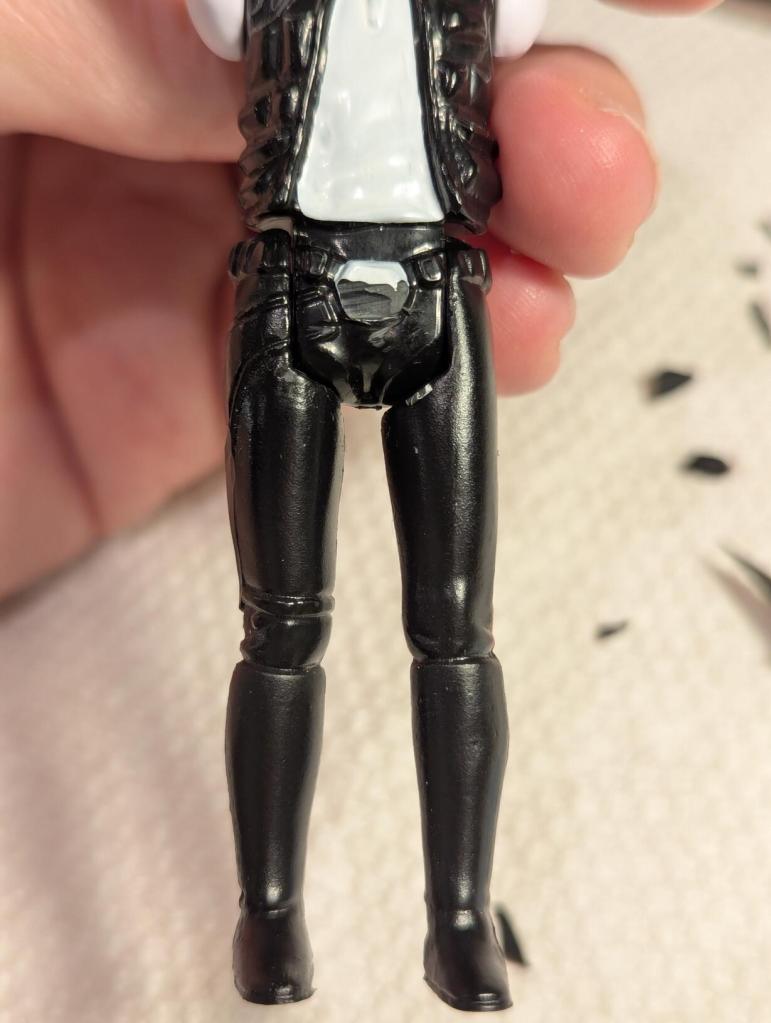
One regret is that I didn’t spend more time with the finer grit sandpaper. Priming and painting magnified imperfections that I couldn’t feel or see when I was working on the figure’s customized body shape.
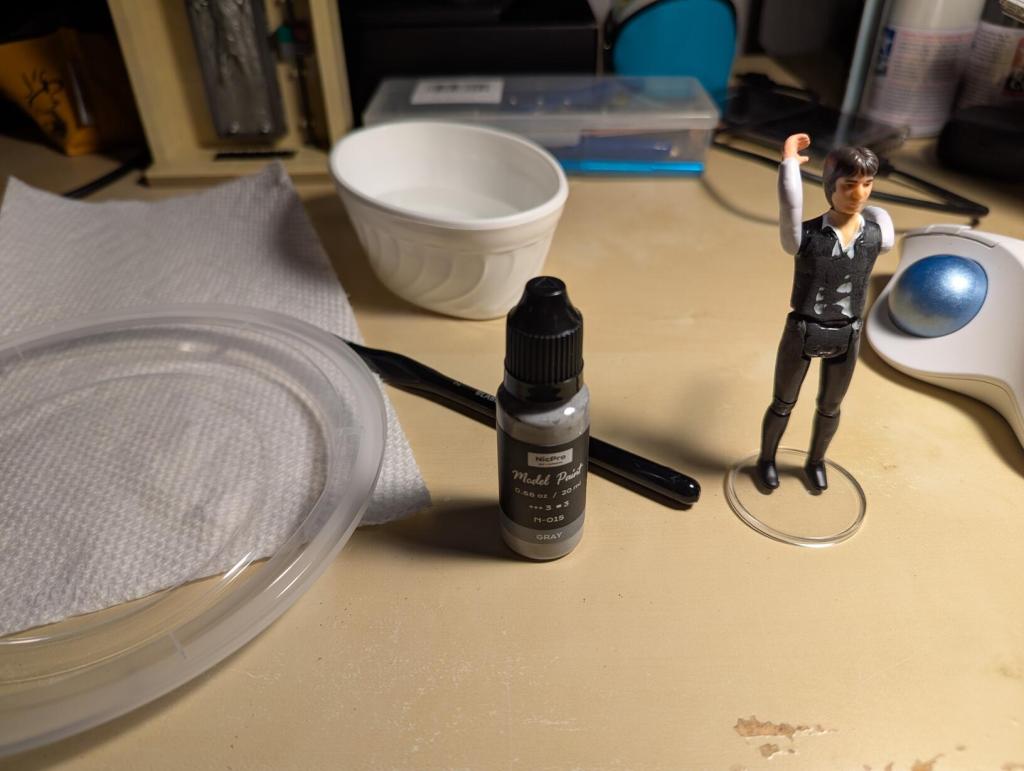
I further smoothed some of the ridged areas on his side and back before proceeding to apply a gray primer.
I applied two coats of primer–letting each coat dry 24 hours before applying the next. Then, I moved on to painting.
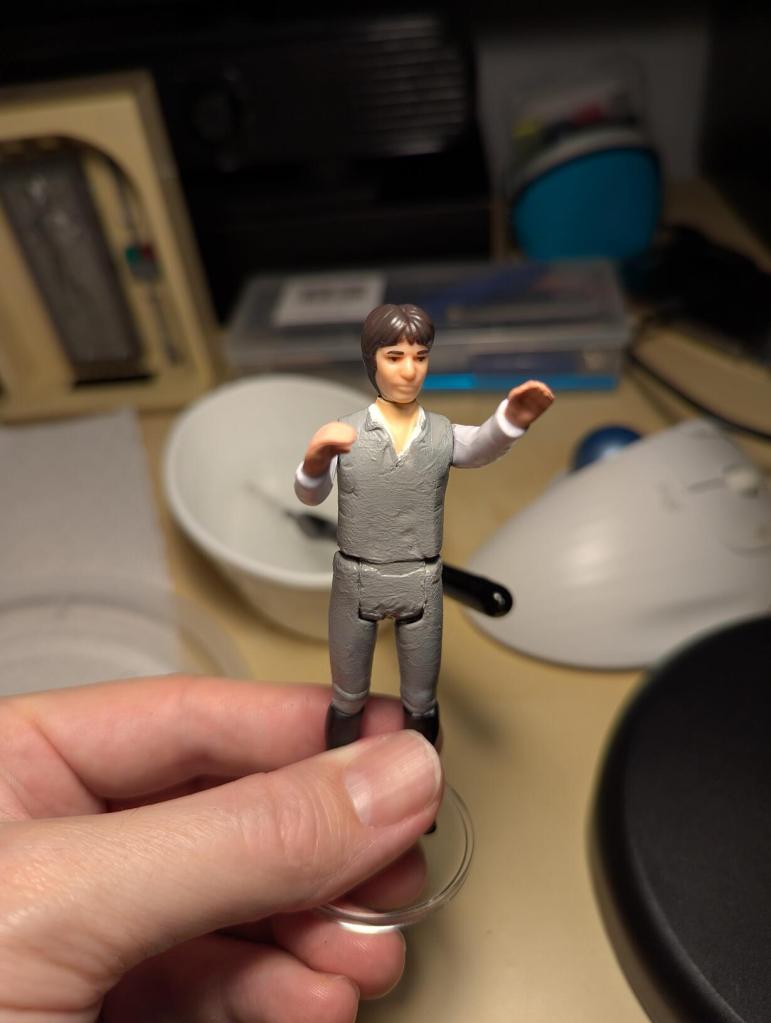
For his pants, I used Earth Brown with only a dab of Black mixed in. I only had matte finish paints when I worked on this customization. If I had to do it over, I would have went with glossy paints to improve the plastic-like appearance (e.g., so the shirt’s reflectivity would match the unpainted white sleeves).
I only did one coat of brown, but I let it dry 24 hours before proceeding with painting Han’s shirt.
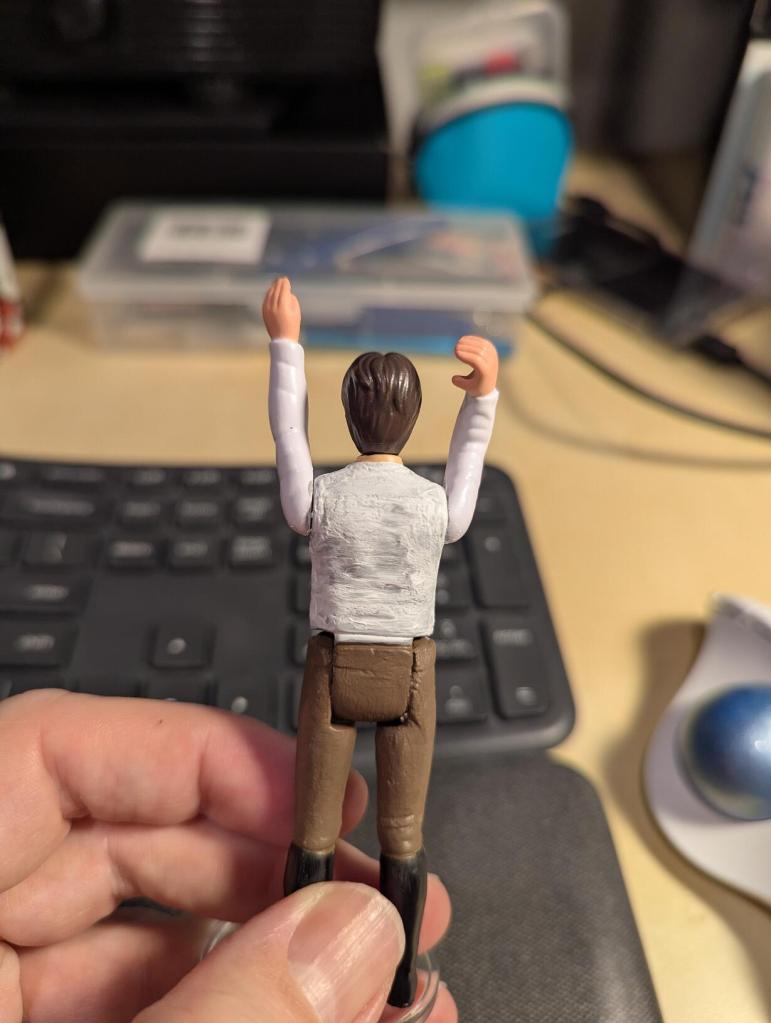
I had trouble with adhesion of the white to the primer–even letting a coat dry for 24 hours, I would get some white flakes to come off when I would try to lightly sand it before applying the next coat.
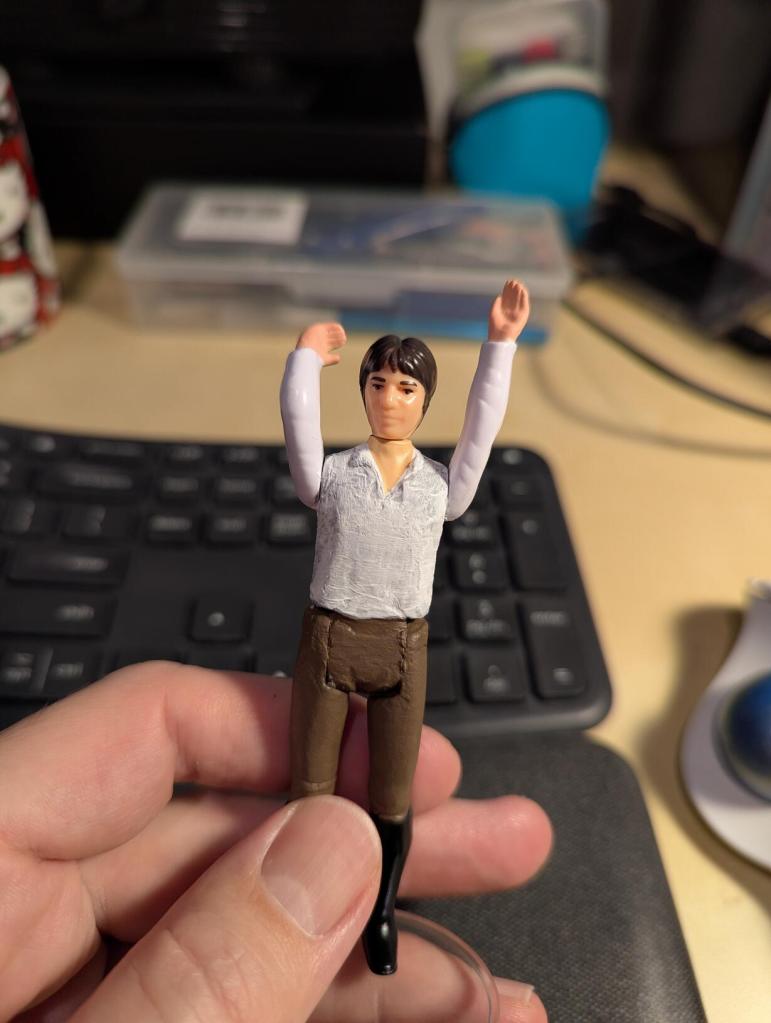
He ended up with three coats of white paint on his shirt.
Also, I wish that I had completely disassembled the action figure so as to avoid the bunching/tearing of paint around his arm/shoulder joints when I would move them.
The last paint applied was to create a black belt passing through belt loops. I used black paint and a very fine brush for this. Unfortunately, my hands shook a little too much and I couldn’t create good black rectangles for each belt segment appearing between brown “loops.”
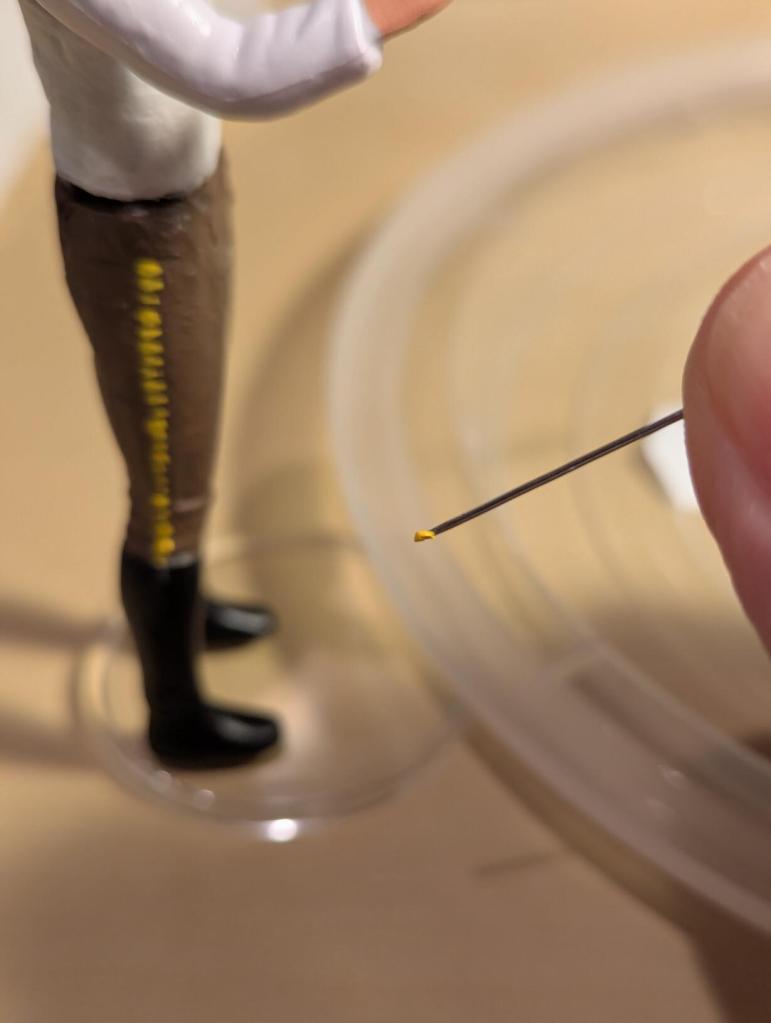
The trickiest painting application was the second class yellow Corellian bloodstripe. Each pant leg should have tiny yellow rectangular bars that go along the side of the leg from top to bottom. I used a pin and Medium Yellow paint. I put a tiny dab of paint on the pin and created 2-3 lines of the bloodstripe. I repeated this until both sides were done. I was happy with how the stripes turned out.
The last step was applying a Satin Acrylic Varnish by Vallejo. Following the instructions, I kept the brush wet with water while applying the varnish. I painted two coats–giving each coat 24 hours to dry.
The finished customized Han Solo action figure is below:
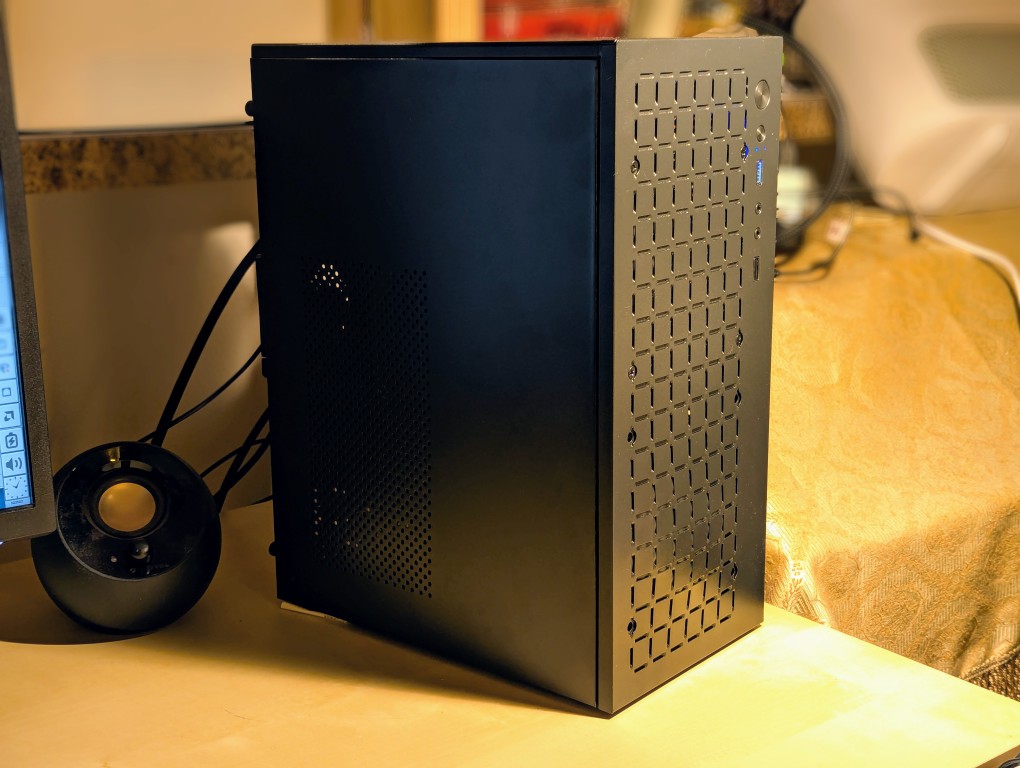
I recently built this new, energy-efficient AI workstation to replace the much more power hungry workstation that I built a year ago. While my old workstation had substantially more VRAM and compute than my new workstation, it was as loud as a jet engine and used a considerable amount of electricity each month. The new one handles my workloads adequately, runs whisper quiet, and sips electricity by comparison.
Below, you can see some pictures of assembling the workstation and advice based on my experience building this system.
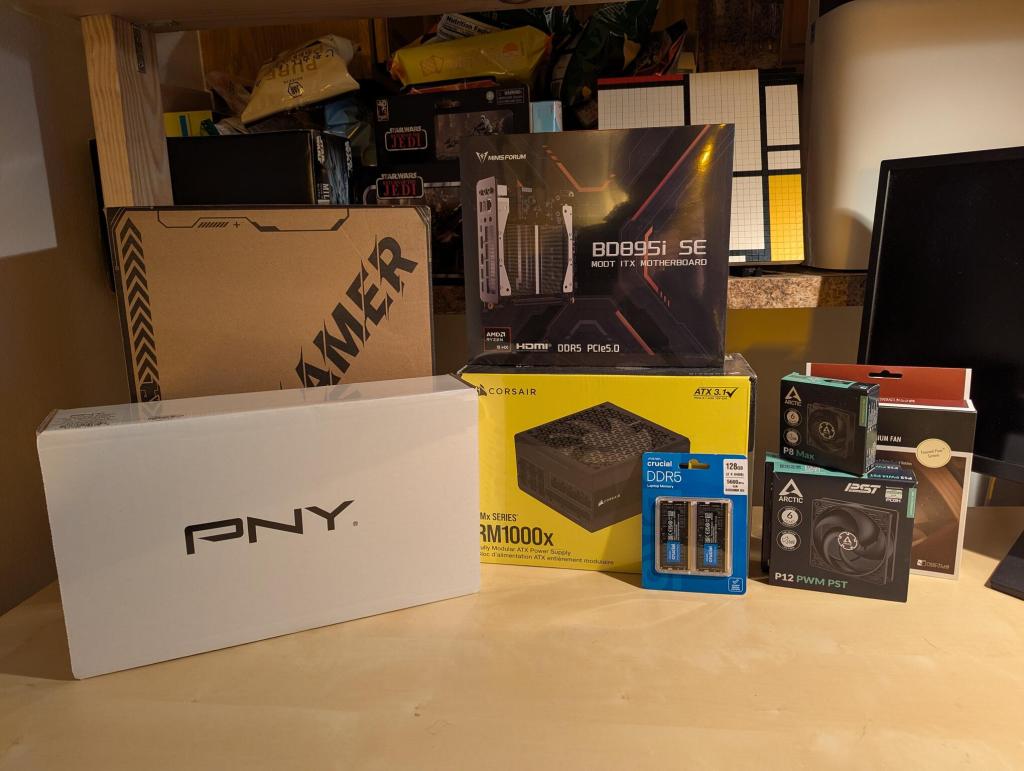
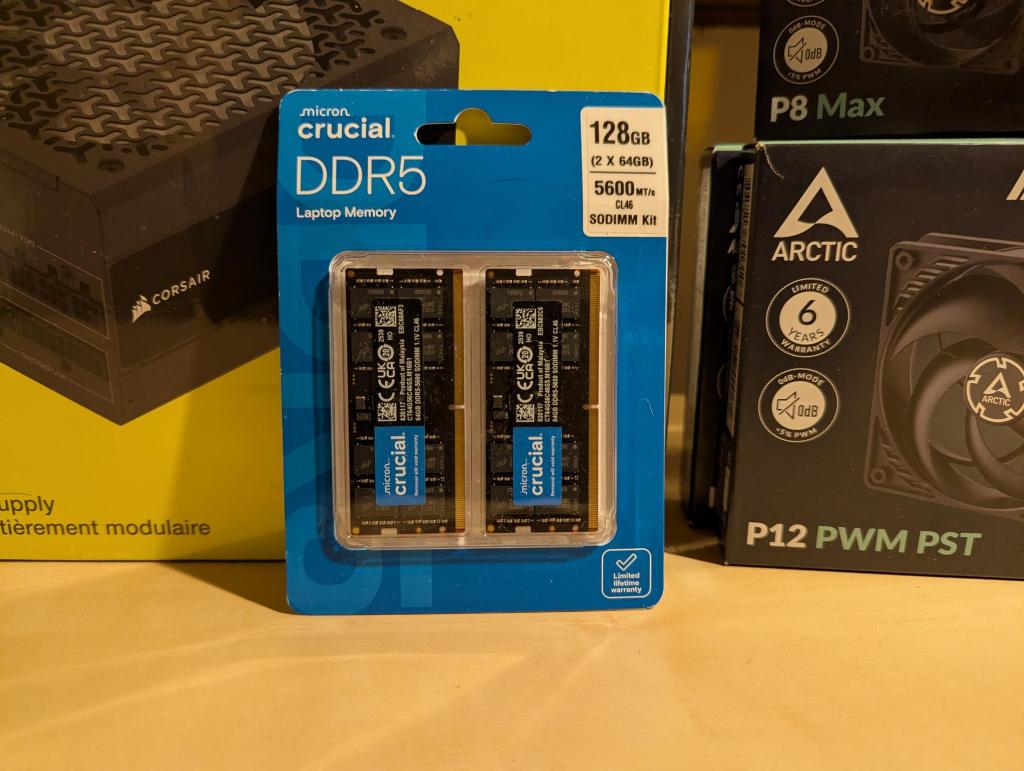
When I began researching this build, the price of RAM and video cards began to rocket into the stratosphere. I considered keeping the old workstation’s motherboard and CPU and swapping out the 64GB of RAM for a matched pair totaling 128GB DDR5 RAM, but the price of desktop DDR5 RAM was incredibly expensive (adding 2 sticks of 32GB RAM would reduce the memory bandwidth, which I didn’t want to do). I also weighed waiting for Minisforum’s upcoming AMD Strix Halo mini-itx motherboard with a x16 PCIe slot for a discrete GPU and its 8-channel RAM, but its release date was uncertain and the rising price of RAM might price me out of purchasing it. These two alternatives led me to another motherboard made by Minisforum–a mini-itx motherboard paired with a laptop processor, laptop SO-DIMM DDR5 RAM slots, and an x16 PCIe slot, which together provided me enough memory bandwidth for my needs and the ability to add a discrete Nvidia video card. So, I decided to part out and sell off the entire old workstation and build the new one from scratch with these components:
Corsair RM1000x 1000 watt PSU (updated 2024 version, it has 12V-2×6 Connector, so you don’t need the adapter included with the video card). $209.99, Amazon
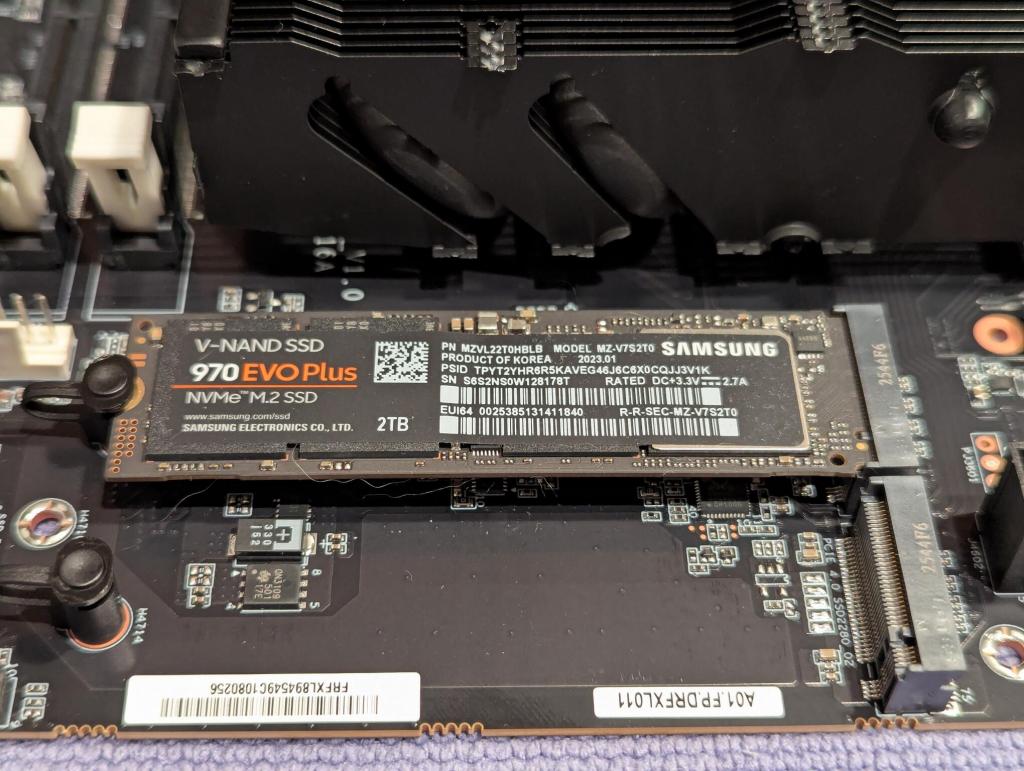
2 x 2 TB nvme drives that I kept from the old workstation
The total for all the parts was $3,355.59.
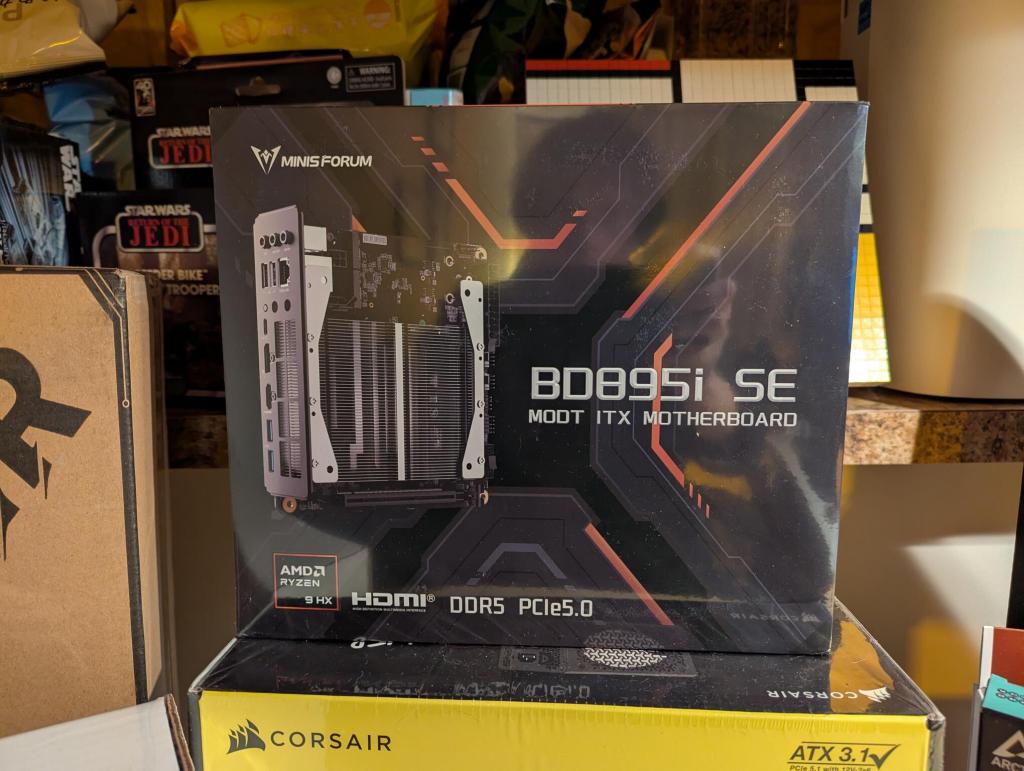
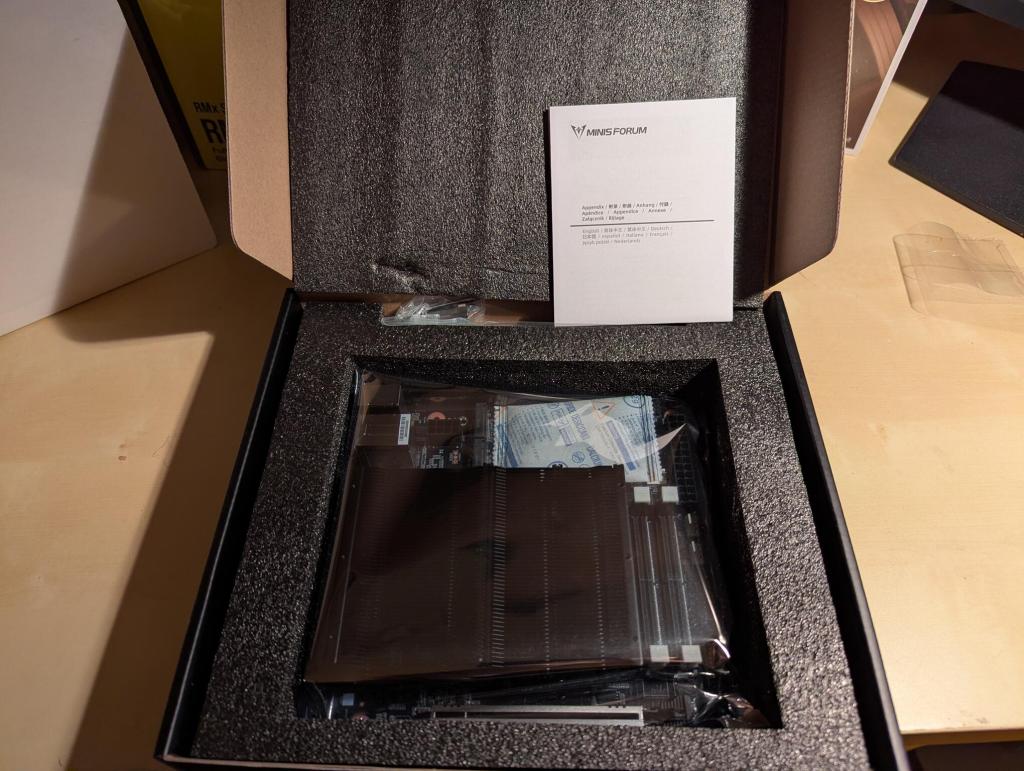
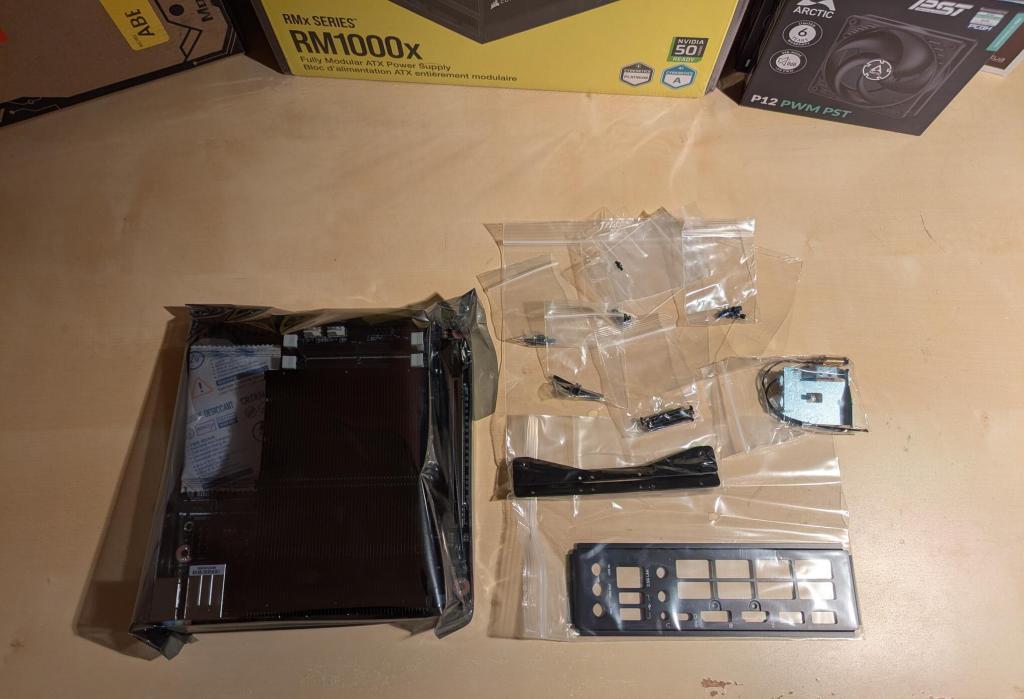
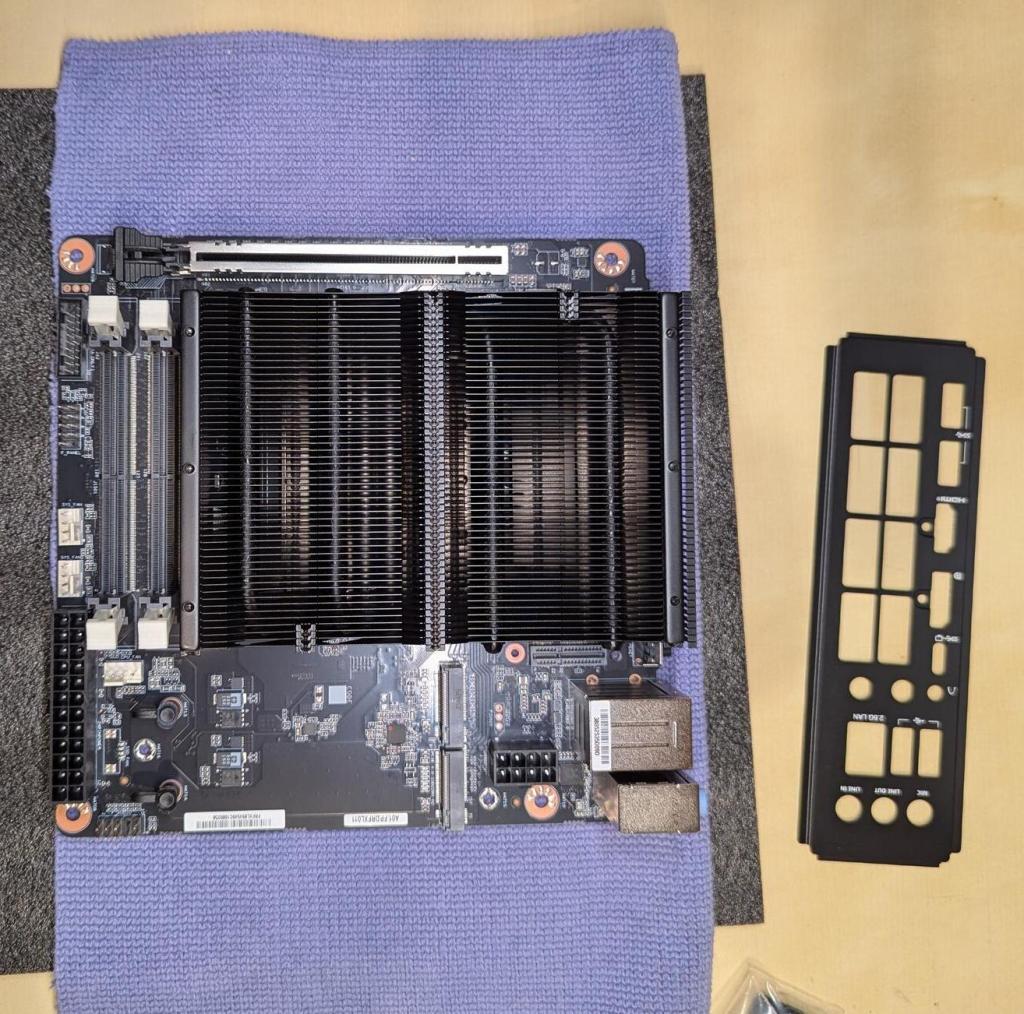
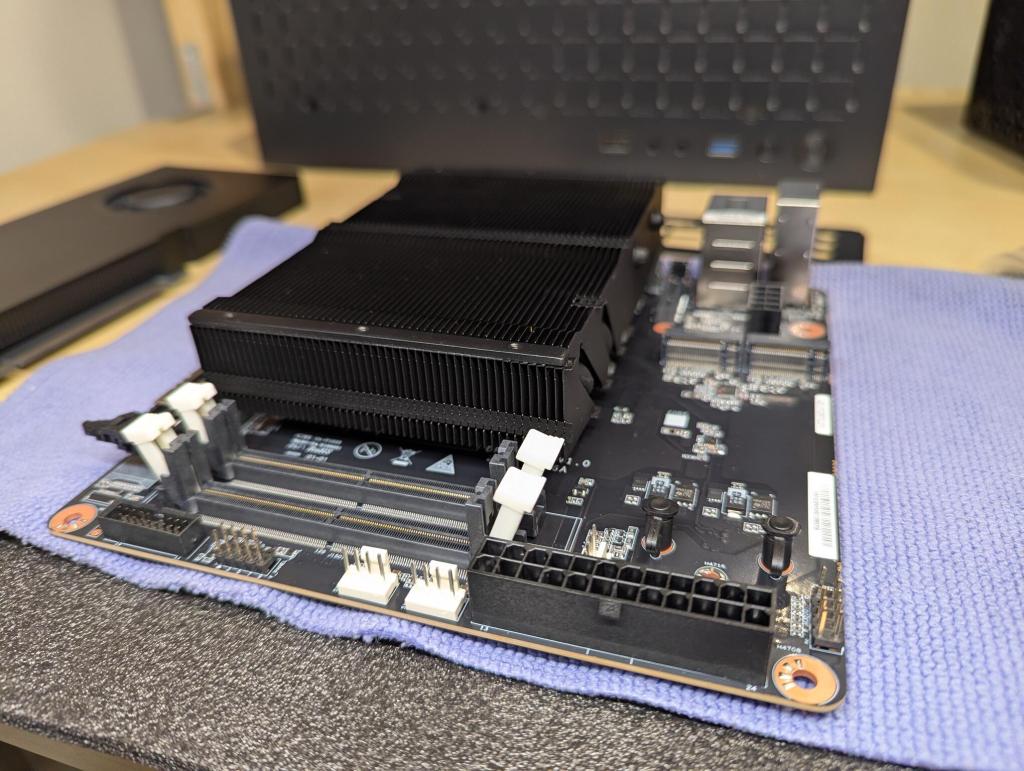
I began by setting up the Minisforum BD895i SE motherboard.
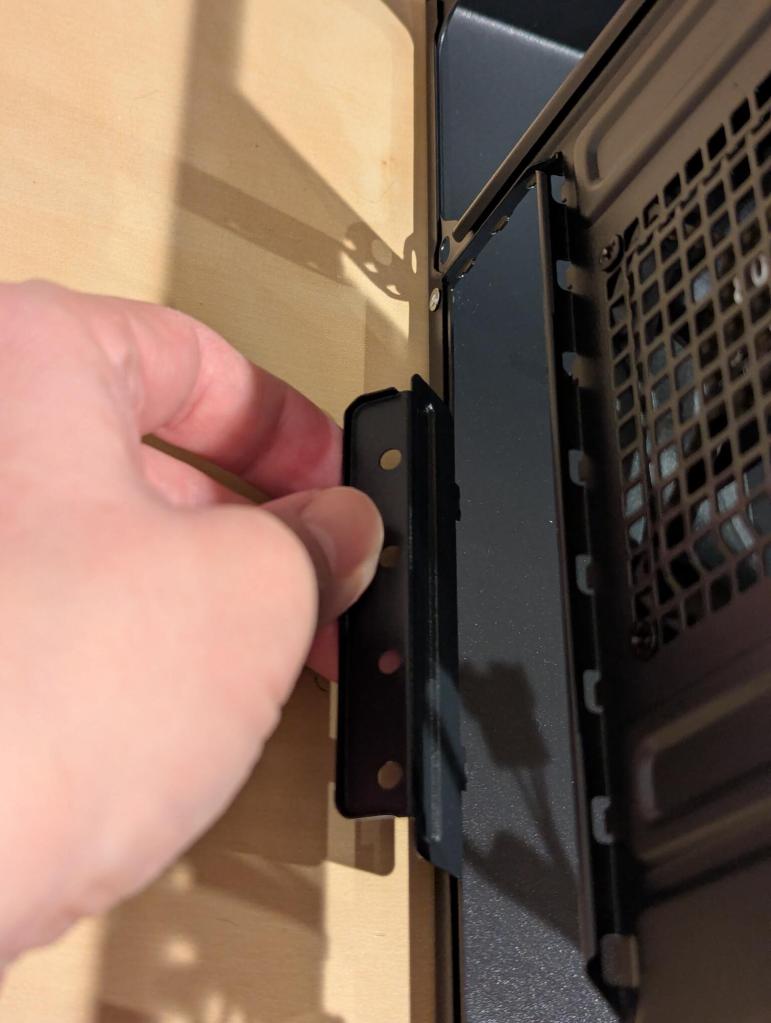
I installed the nvme drives in the two slots at the top edge of the motherboard. The plastic retainer pins are difficult to open with my hands. I used a Gerber multitool’s plyers to grab the wings at the top of the pin and pulled straight up while holding down the board with my other hand. Reinstalling each pin is very easy–just line it up with the hole and press down firmly on the pin until it makes a click sound.
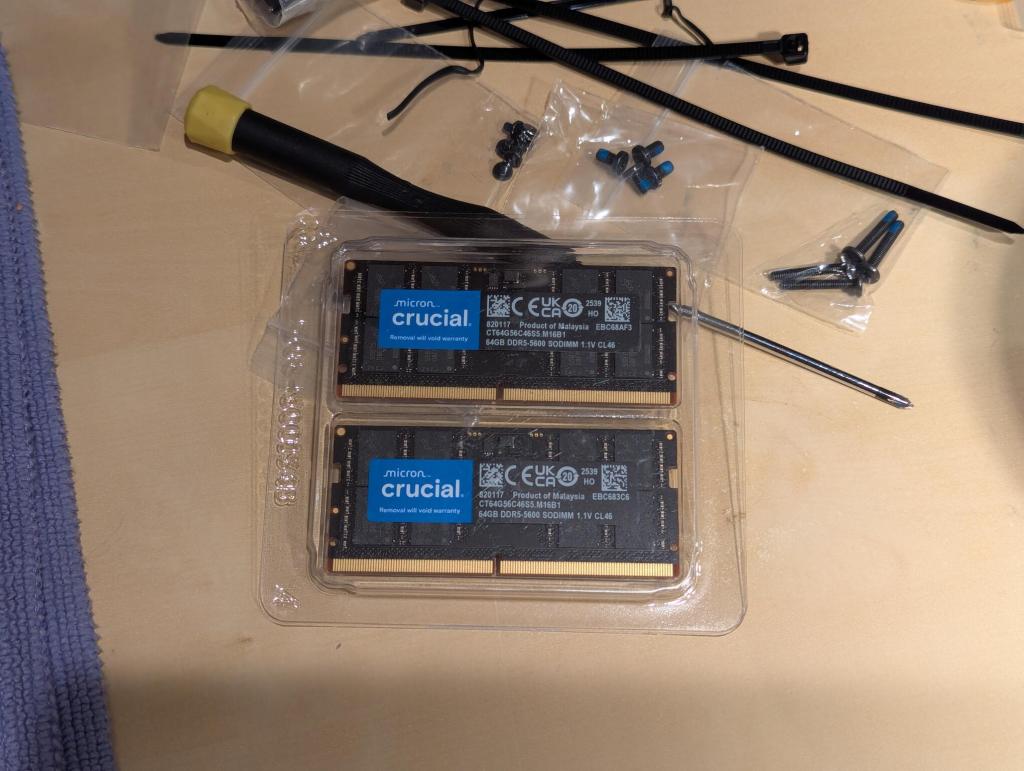
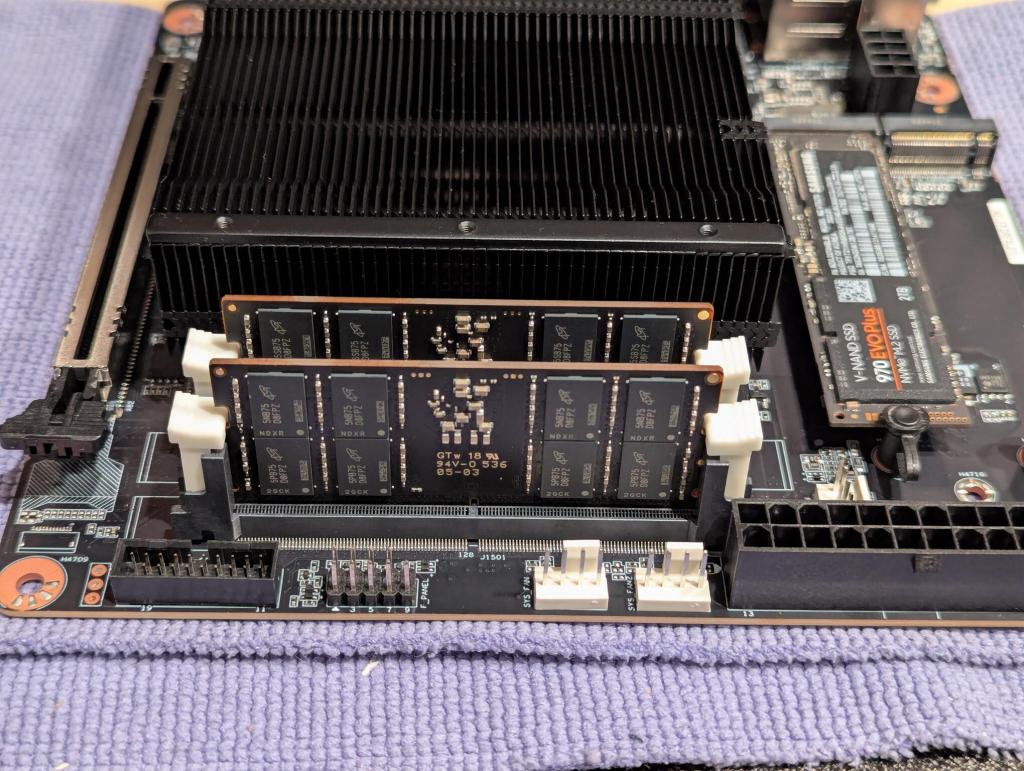
Then, I installed the two sticks of DDR5 memory that I had read others had used with this motherboard. It pays to read the experience of others through Google, Reddit and Amazon reviews to find the optimal parts for your build so that you don’t have to worry about making returns for incompatibility issues.
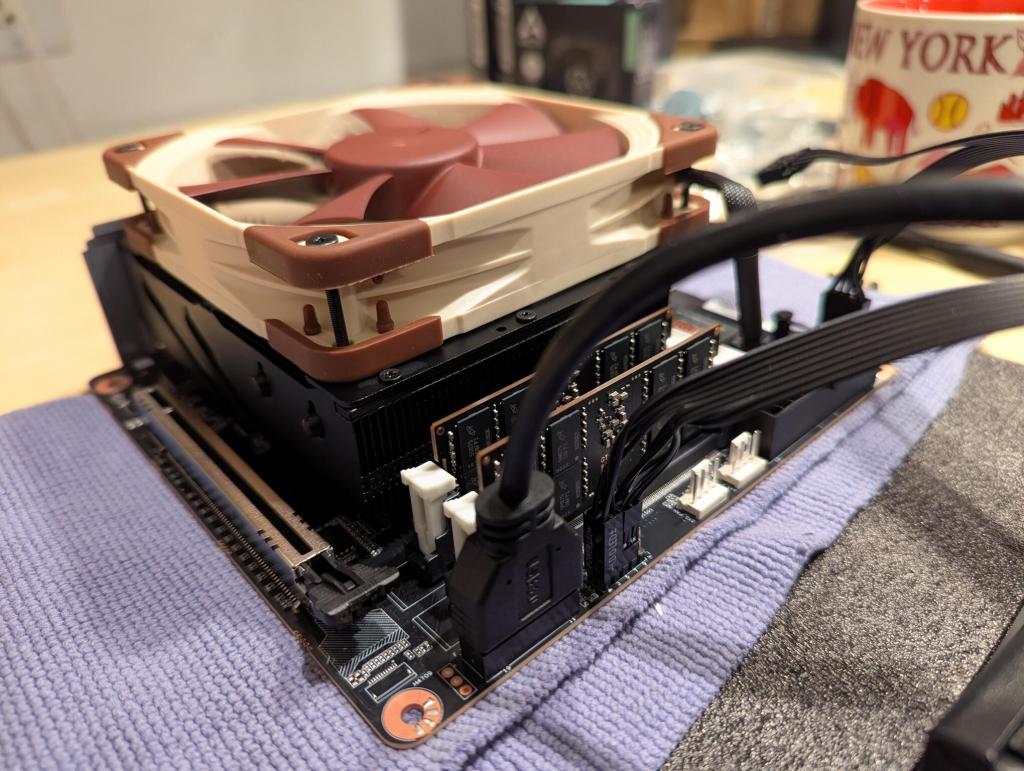
Installing the RAM is easy. The white clips on each slot need to be opened first. Then, check the orientation of each RAM stick’s notch with the slot (the notch is in a different place for DDR4 and DDR5 RAM making them mechanically incompatible to enforce the electrical incompatibility). Finally, line up the RAM stick with the slot and push down firmly until the arms on either side click into place and hold the RAM stick in place.
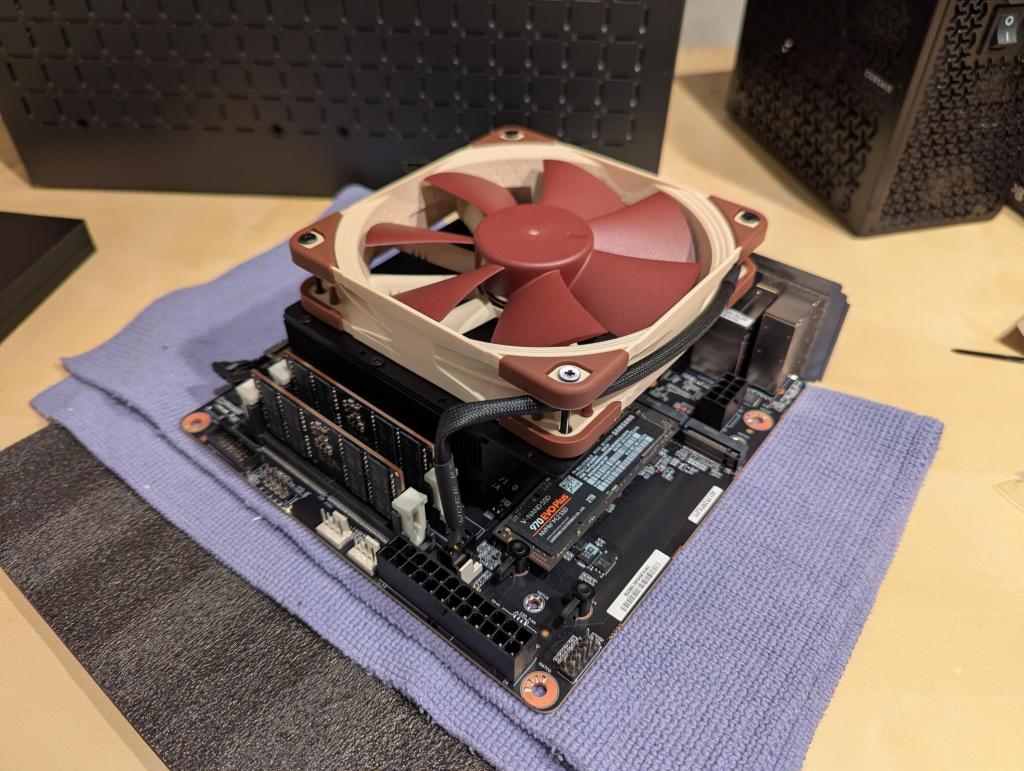
I missed taking a photo of installing the fan brackets on to the CPU’s heatsink. There were no instructions in the box showing how to do this, but it is easy to see how the two metal brackets included align with the six holes–three on each side of the top of the heatsink–and finding which bag has six screws of the appropriate size. Once the brackets are installed, the 120 mm fan’s mounting holes line up with screw holes on the brackets. The motherboard box has a selection of screws of different lengths to accommodate popular heights of fans. Find the one for your fan and install the four screws. The motherboard is ready for mounting.
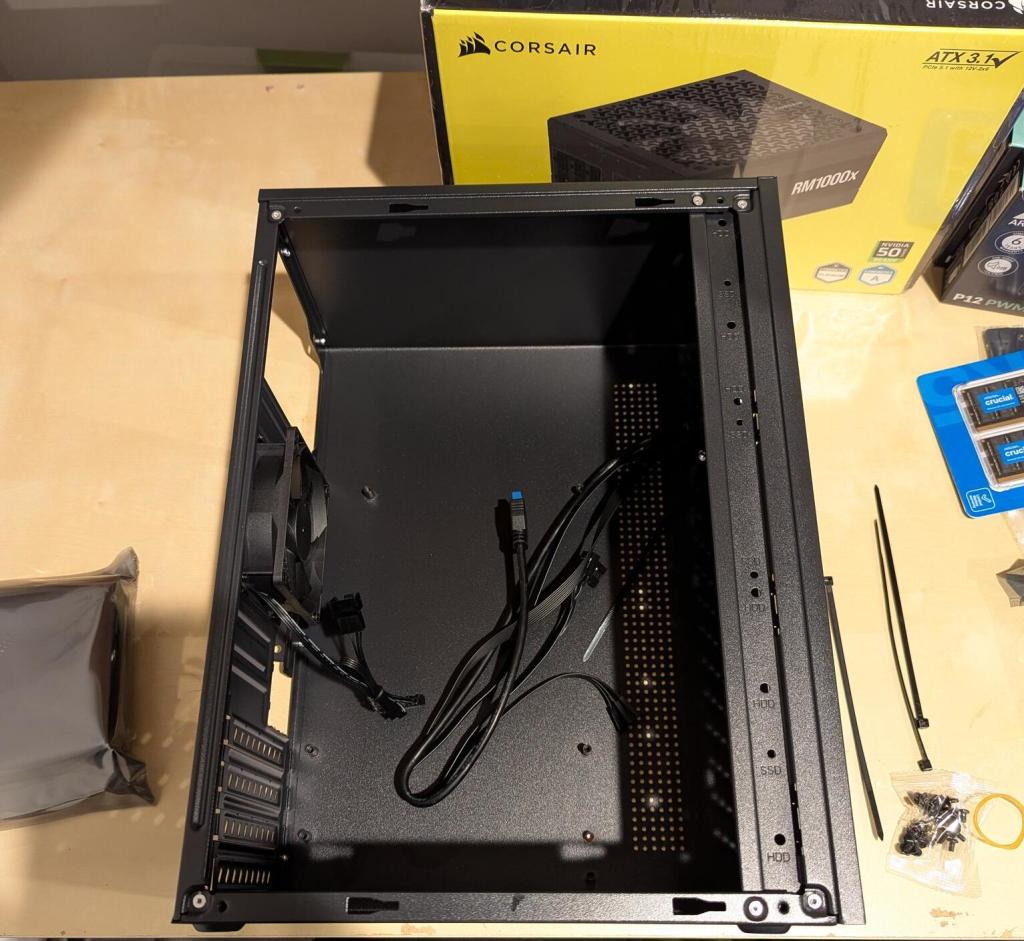
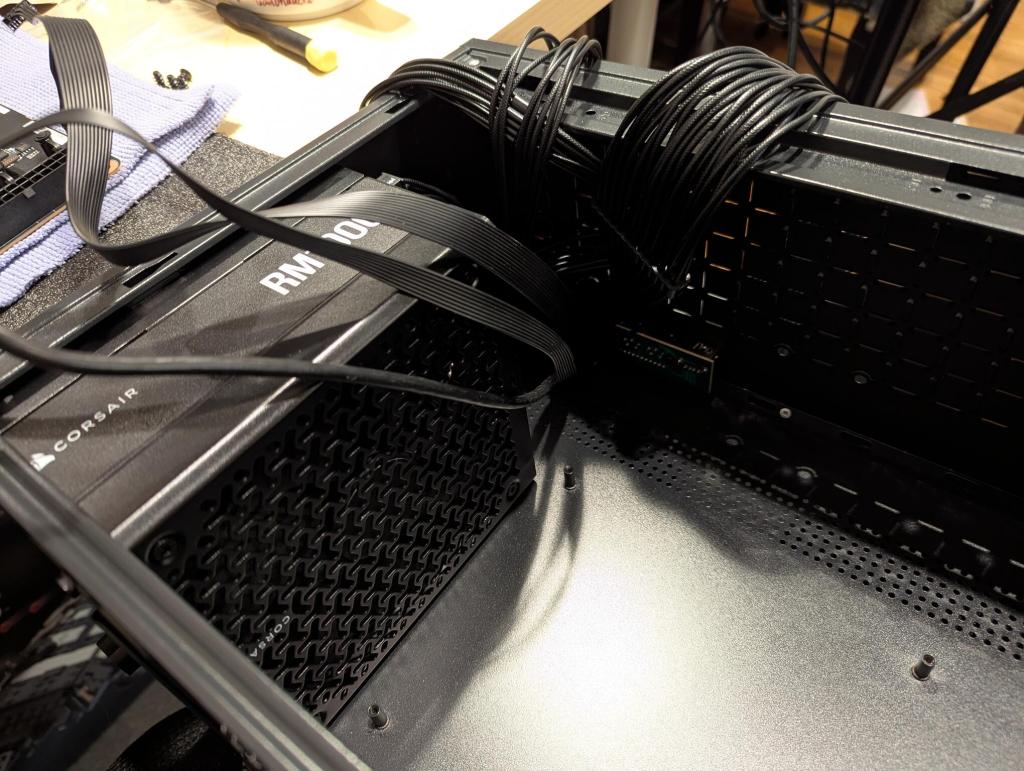
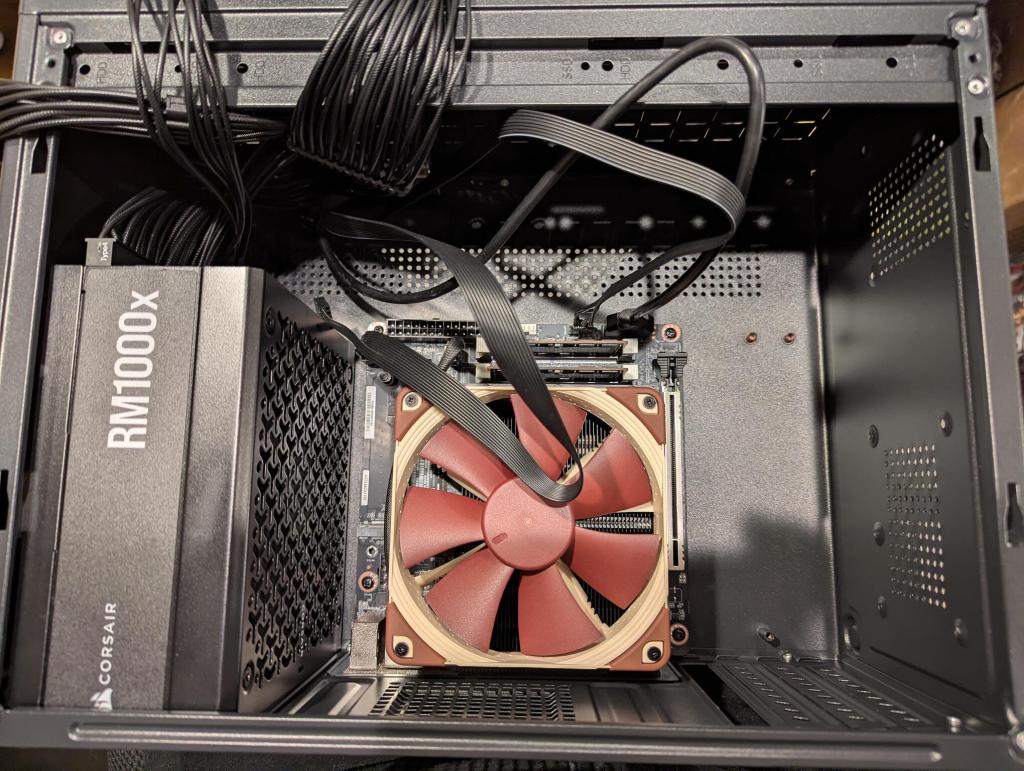
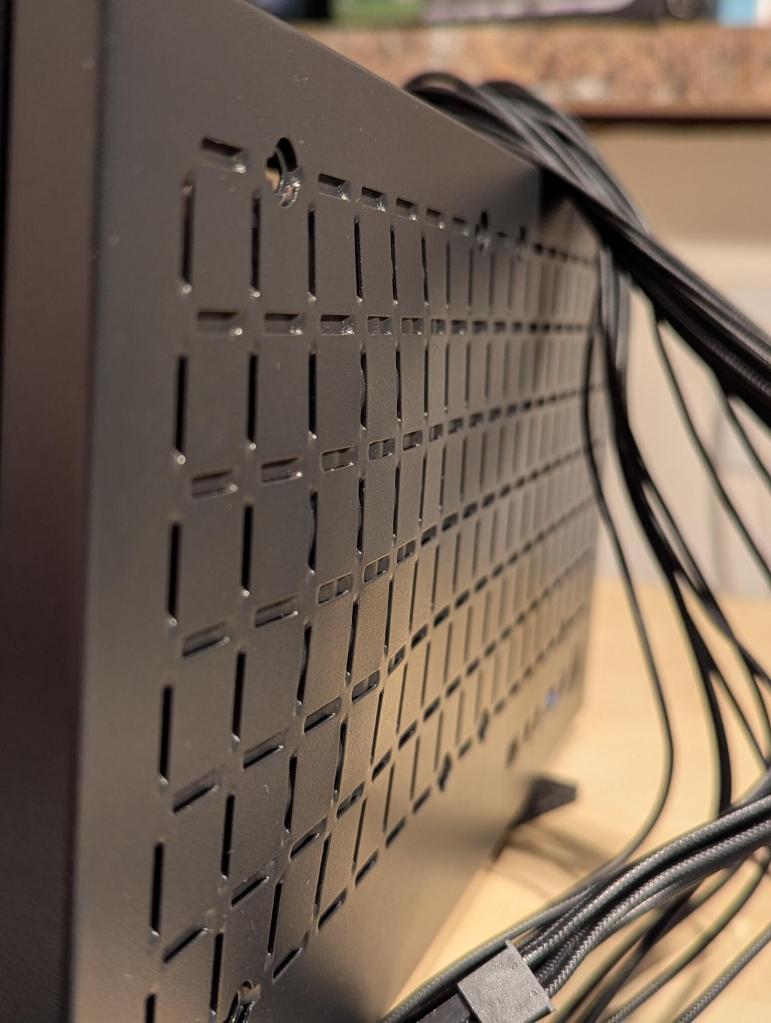
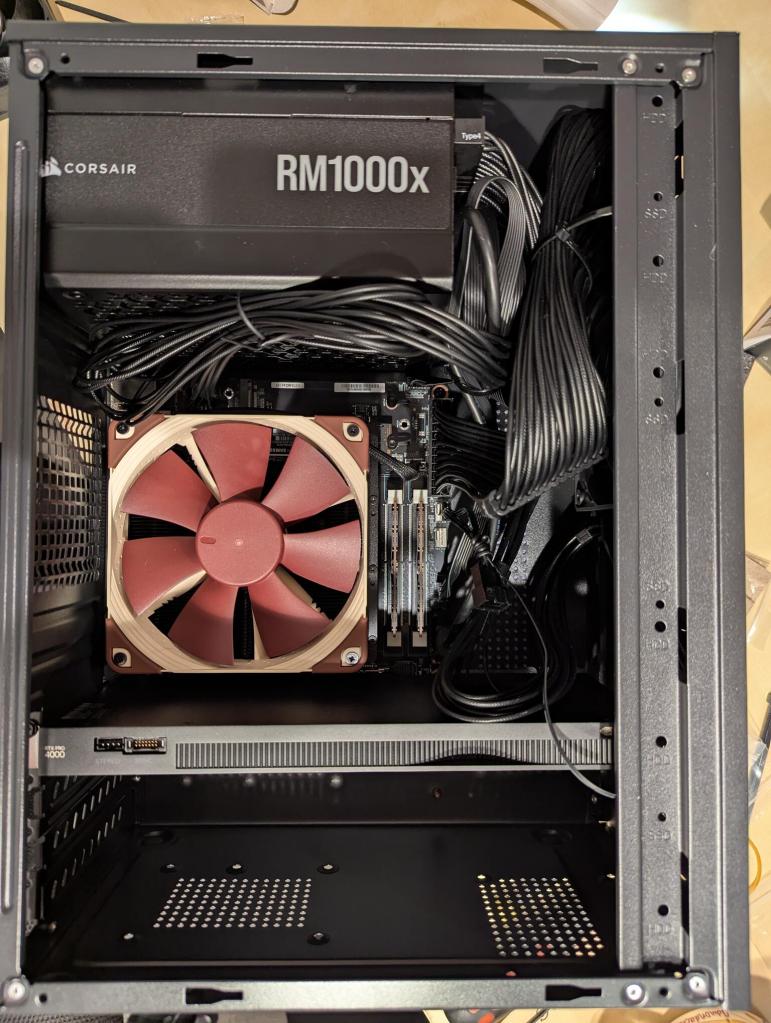
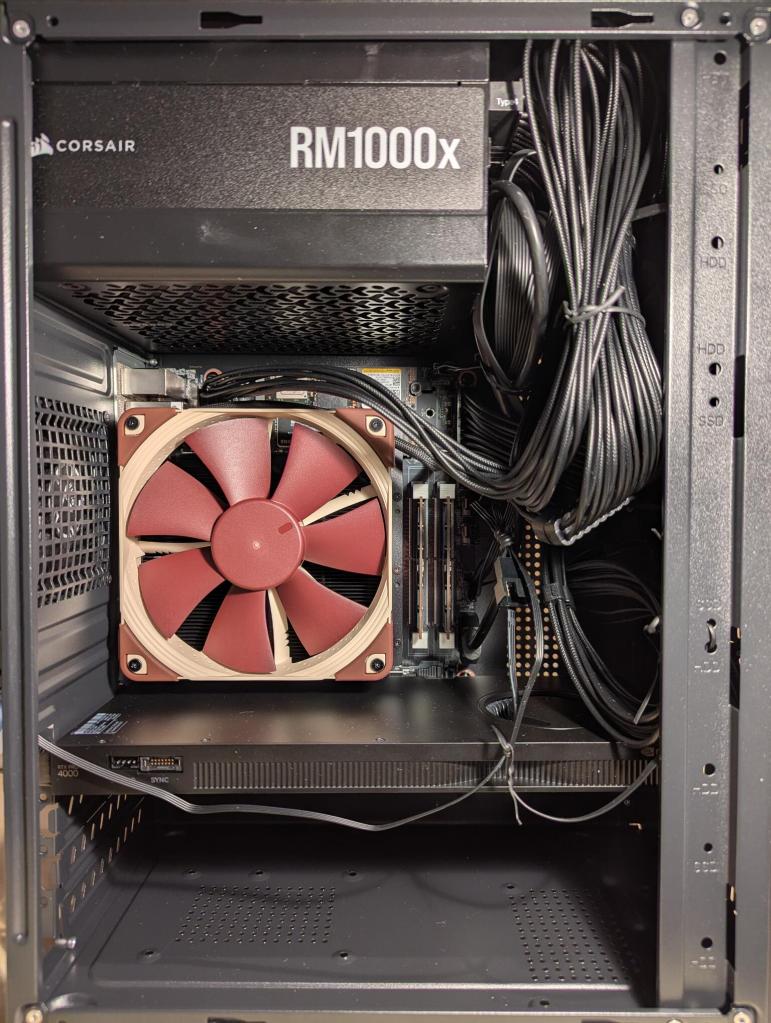
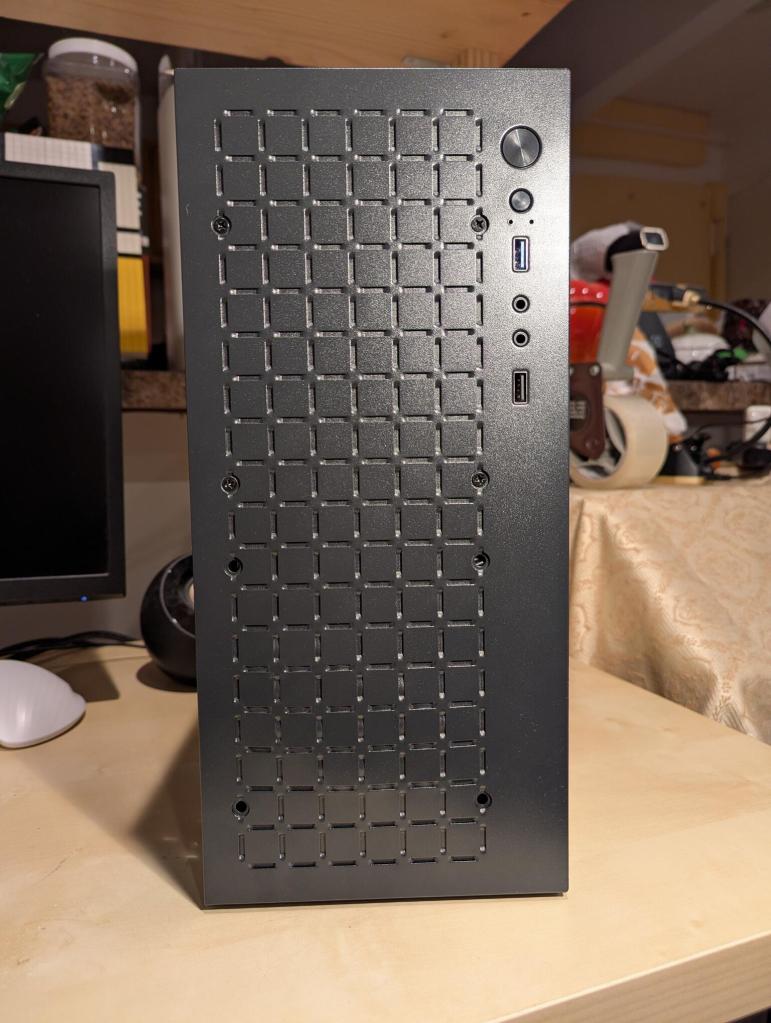
The TGDGAMER 15 liter Micro-ATX case can accommodate mATX and Mini-ITX motherboards. Like old school towers, the PSU is mounted at the top of the case above the motherboard. In this orientation, the PSU draws air from inside the case and pushes it out the back of its housing at the rear of the case.
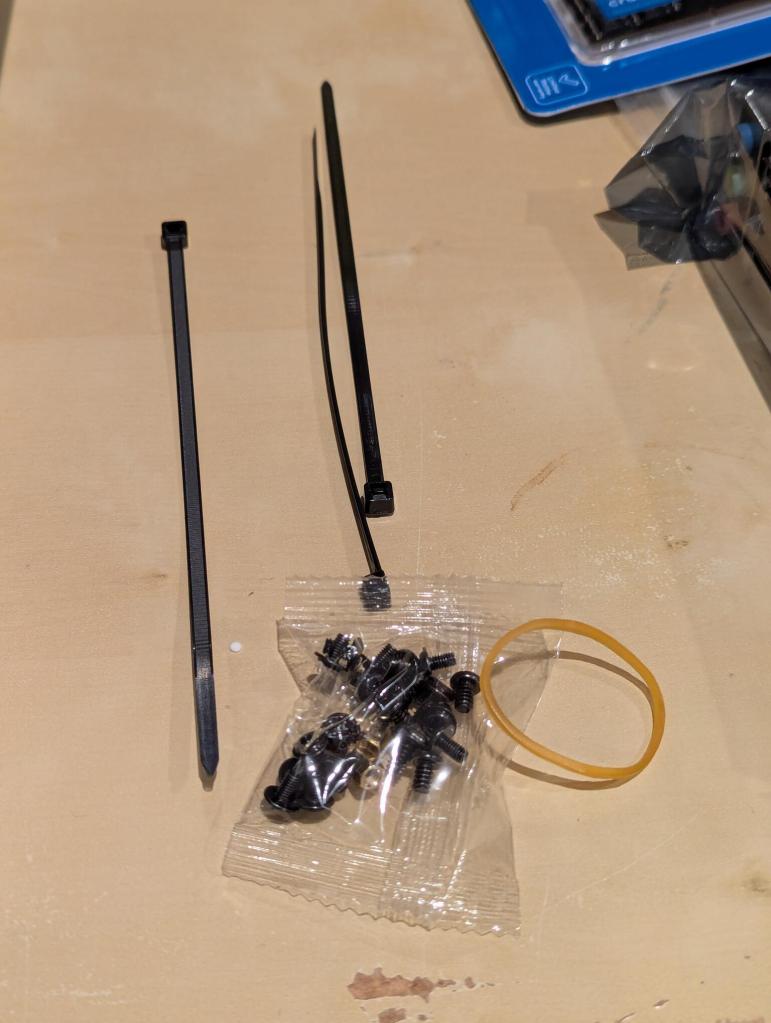
It included all the hardware needed to install the motherboard and tie straps for cable management.
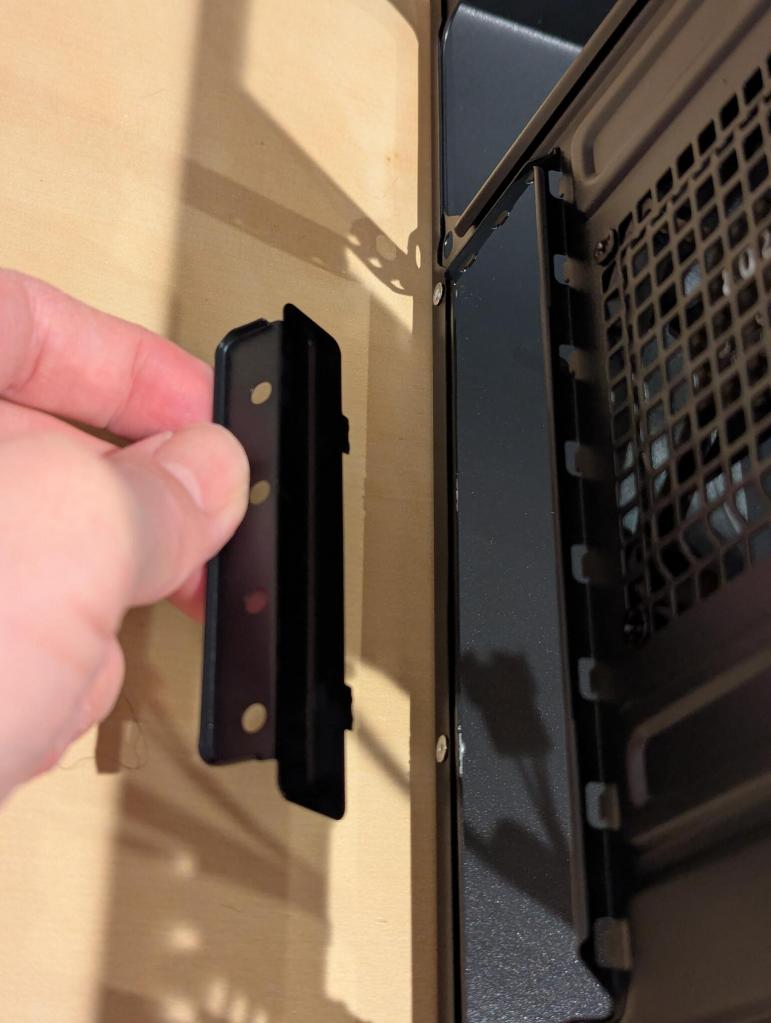
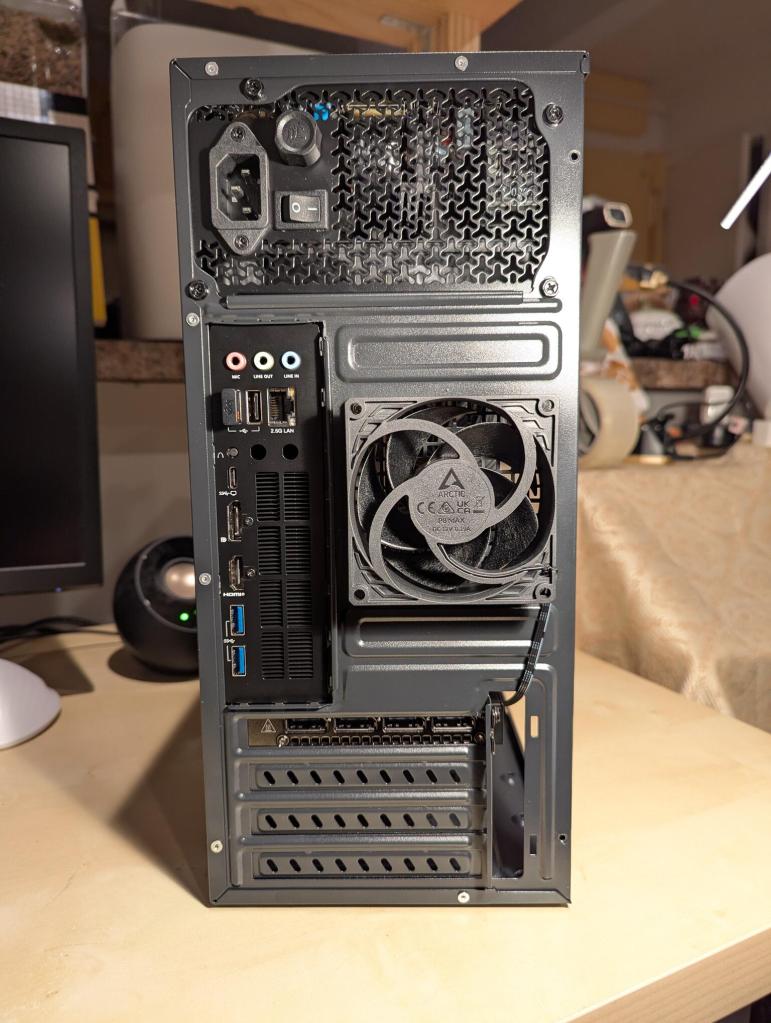
Before installing the motherboard, there is a metal L-shaped plate that needs to be removed from the opening where the motherboard’s ports are exposed at the rear of the case. Bending this piece back and forth a few times makes it snap off. It’s purpose is to secure the expansion cards, but despite bending it and the case, I couldn’t get it to line up correctly without putting too much stress on the installed video card, so I left it off.
The Corsair RM1000x (2024 version) is an updated PSU that adds a 12V-2×6 connector for modern video cards so that you don’t need an adapter–fewer cables and fewer obstructions to air flow.
Before installing the PSU, I added one 120 mm Arctic fan to the inside-front of the case in the upper position (there’s room for two 120 mm fans, but my video card is too long to accommodate the second fan).
I connected the power cords to the PSU that I would need–two for the CPU and one for the video card.
With the motherboard still outside the case, I connected the sound, USB, and front panel power and reset buttons and power and HDD LEDs.
I maneuvered the motherboard into place and installed it with the case’s included mounting screws.Then, I connected the two power cables for the motherboard.
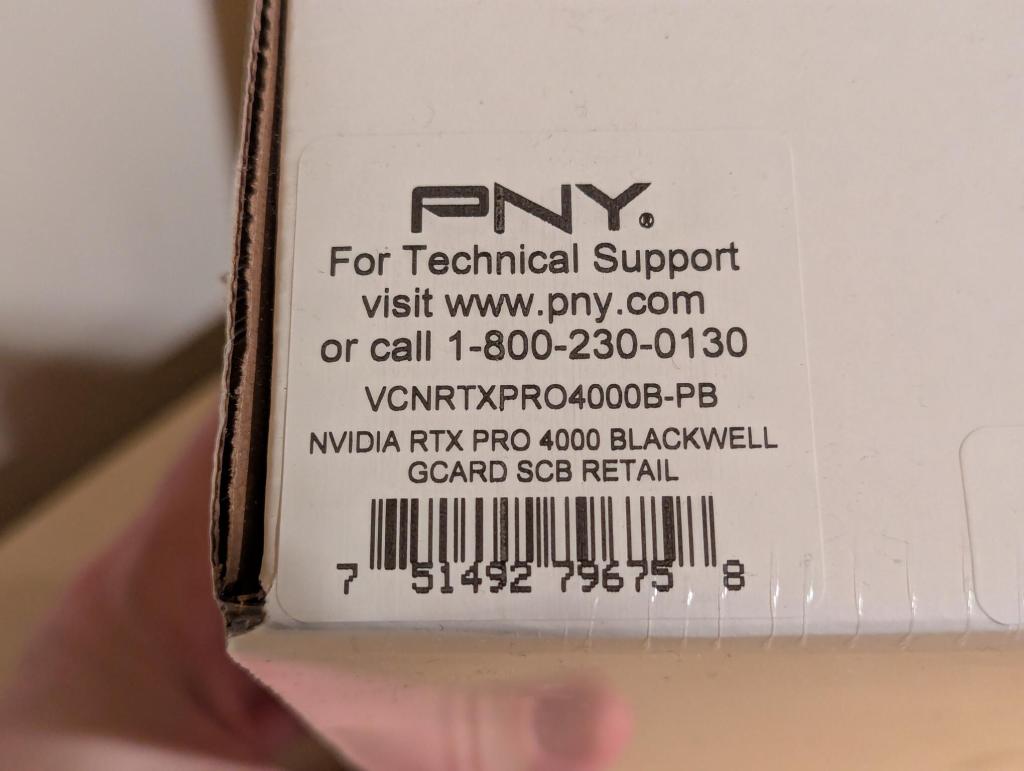
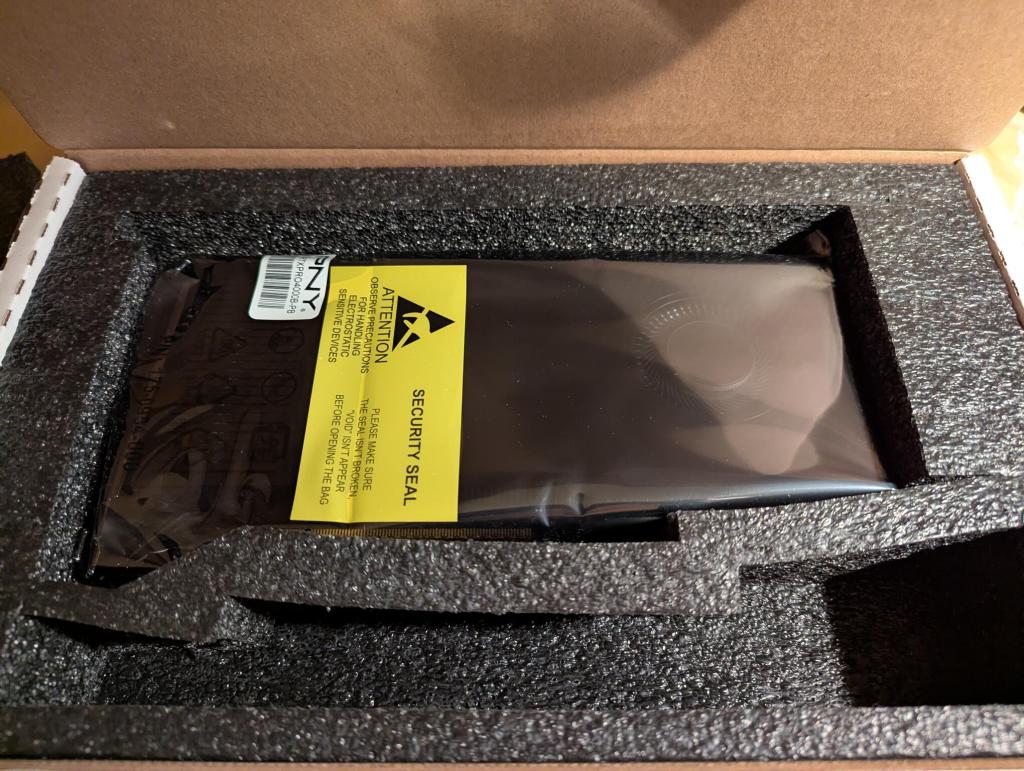
The last part to install was the PNY Nvidia RTX 4000 Pro Blackwell video card.
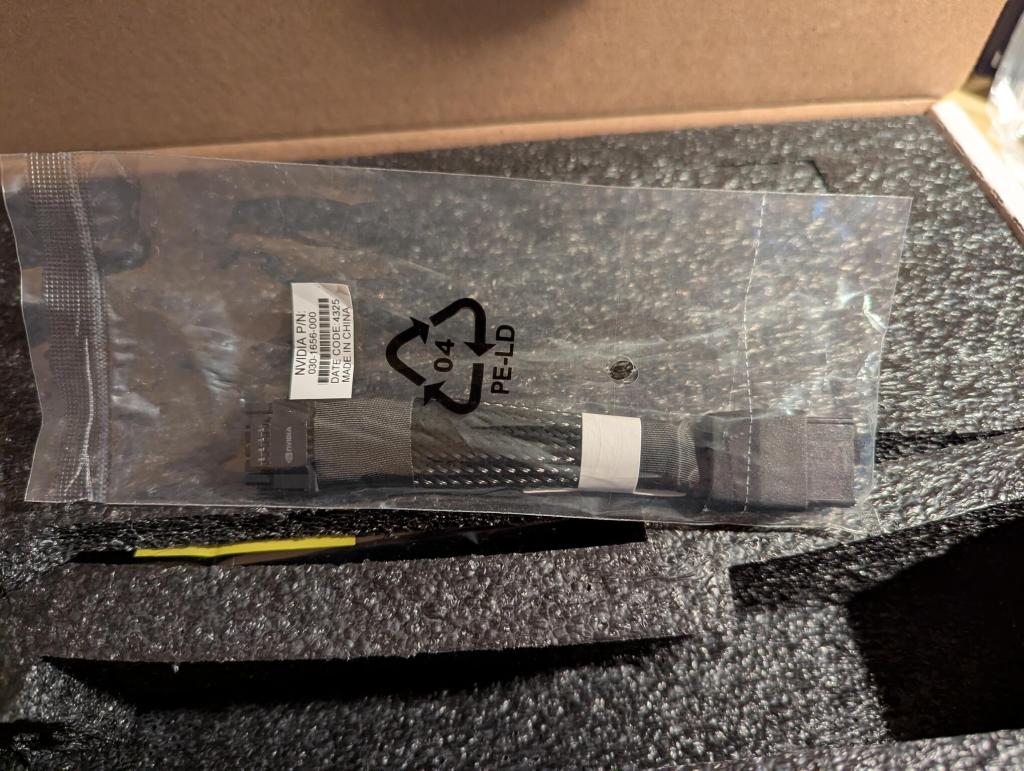
It comes with a 2 x PCIe power to 12v 2 x 6 connector adapter, which I didn’t need to use thanks to the new Corsair PSU.
After some experimenting with installing the video card, I wanted a little bit of extra room for the 12v 2×6 cable that plugs into the front of the video card. It fit, but I would sleep easier knowing that those cables weren’t pressed hard up against the metal front of the case. My solution was to take out the video card and using the handle of a large screwdriver, I pressed on the front of the case from inside to create a bump of about 1/4″ in height to give that cable a little extra breathing room in front of the video card.
Before positioning the 9.5″ long video card into the 9 27/23″ space, I connected the power cable to the card and went through contortions to line it up with the PCIe slot and pushed it in until it clicked into place and then screwed it into the case.
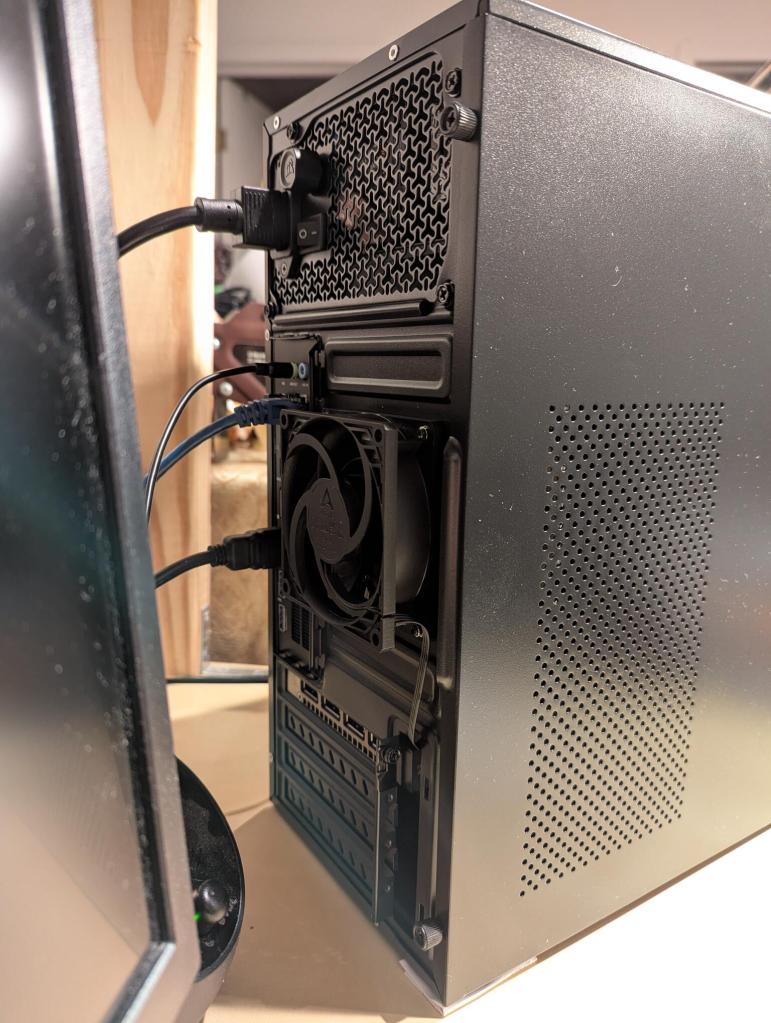
While installing the motherboard, I realized that it wouldn’t fit into place with an 80 mm fan installed inside the case, so I removed the 80 mm exhaust fan that the case came with, bent the exhaust fan cover of the case so that it wouldn’t obstruct installing the 80 mm on the outside of the case pulling air from inside the case and pushing it out. I ran the power cable for the fan through the hole above the expansion card slots.
With the workstation assembled, it was time to power it up.
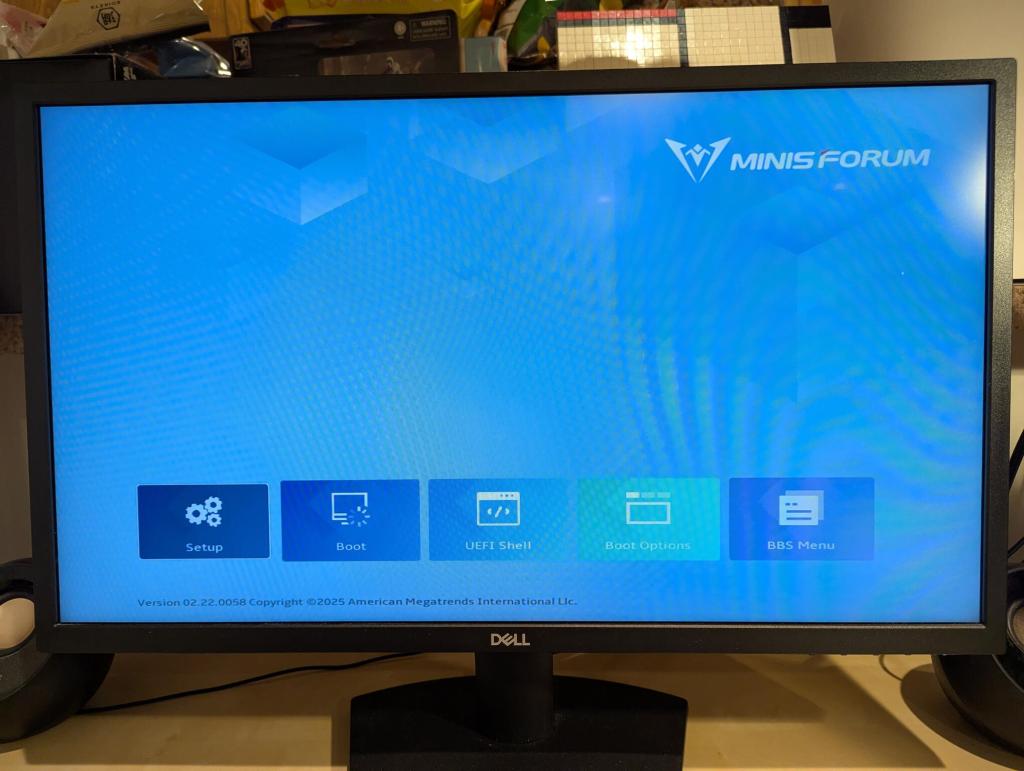
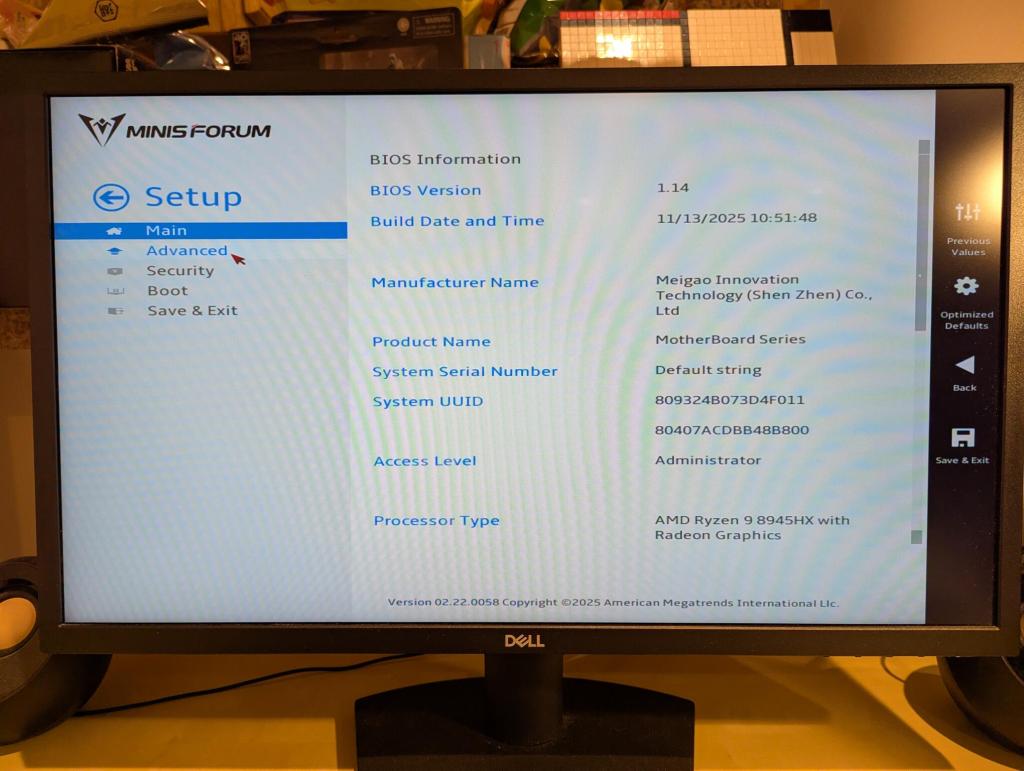
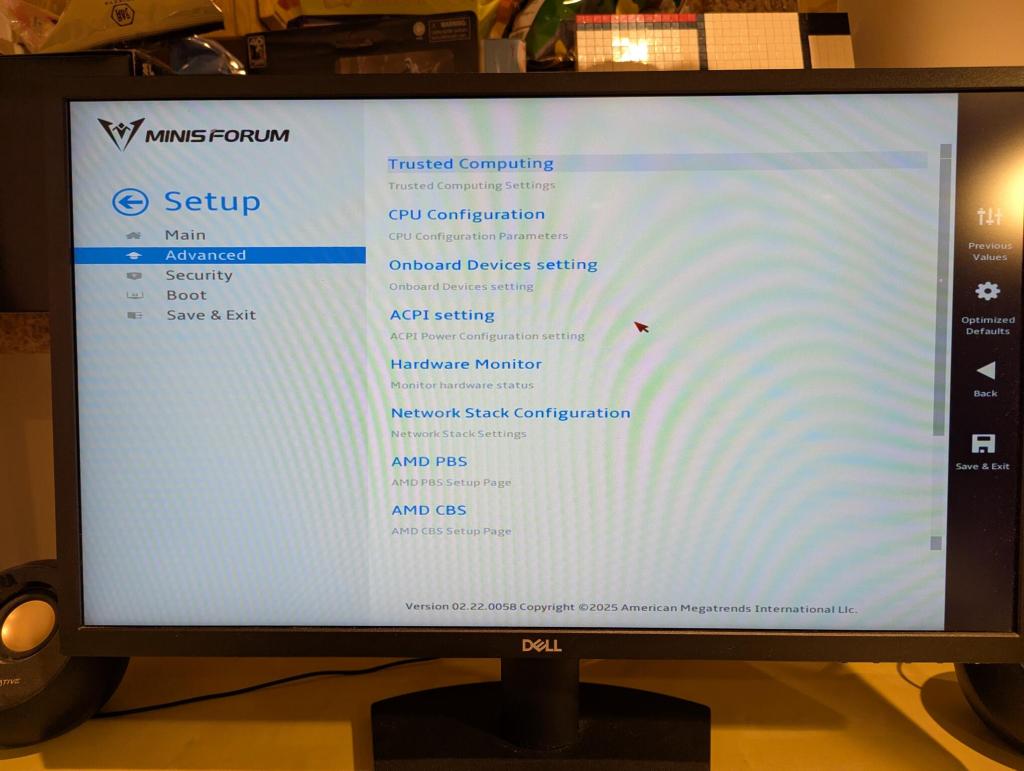
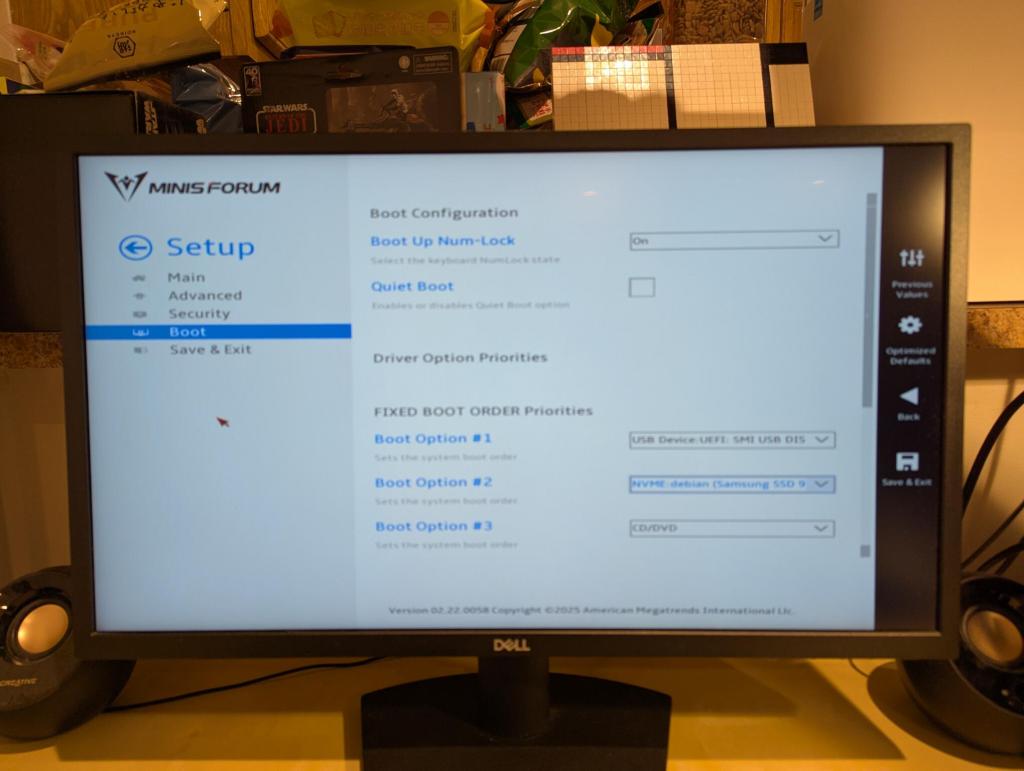
The BIOS isn’t as robust as some other manufacturers’, but I was able to quickly find where to change boot options so that I could boot from a USB drive.
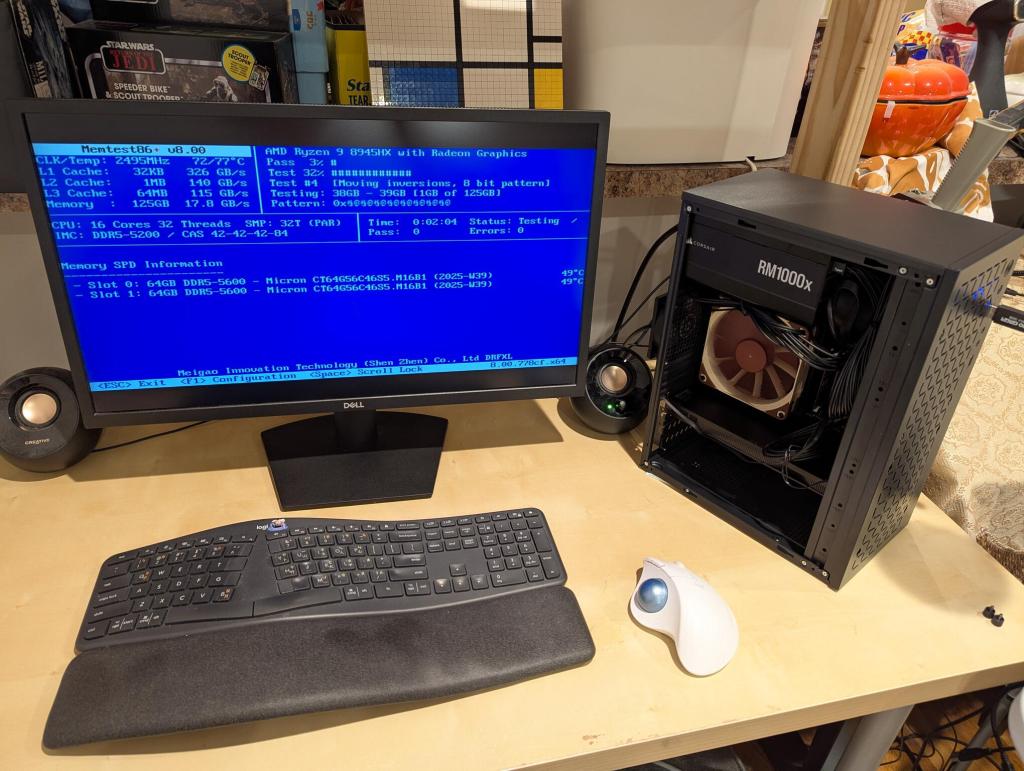
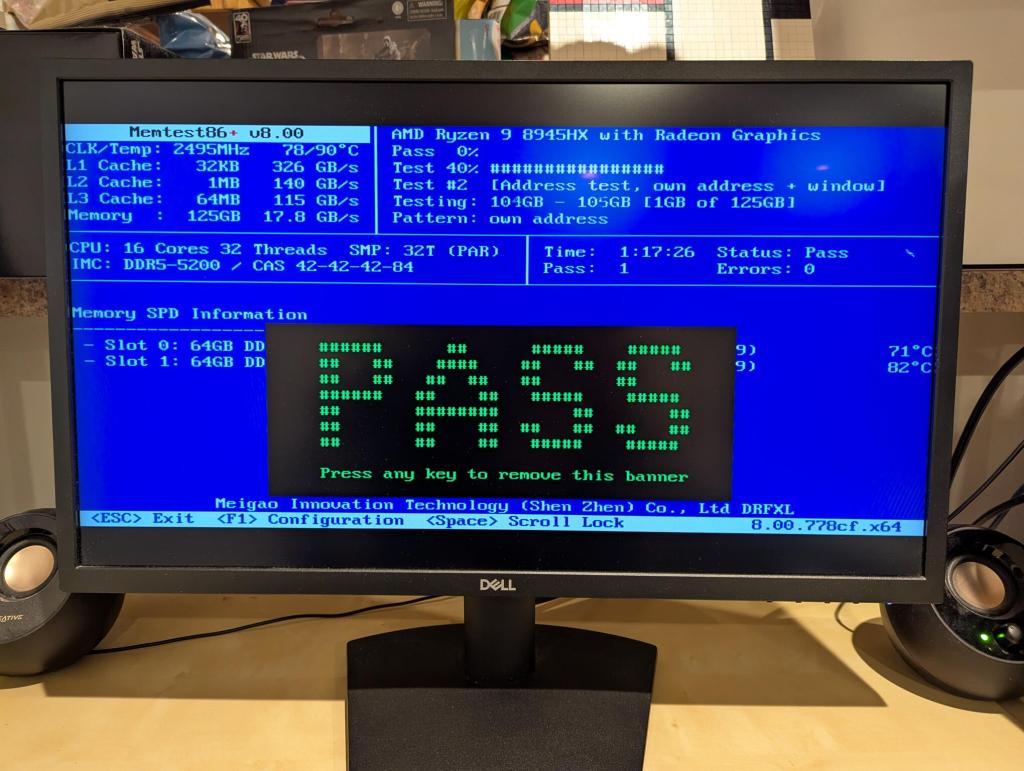
The first order of business was verifying the system’s 128GB DDR5 RAM with memtest86+. Thankfully, it passed!
Feeling confident about the system, I began installing Debian 13 Trixie. Unfortunately, after spending about 8 hours, I couldn’t get Debian to play well with using the AMD integrated graphics for video out and using the Nvidia RTX 4000 Pro only for compute.
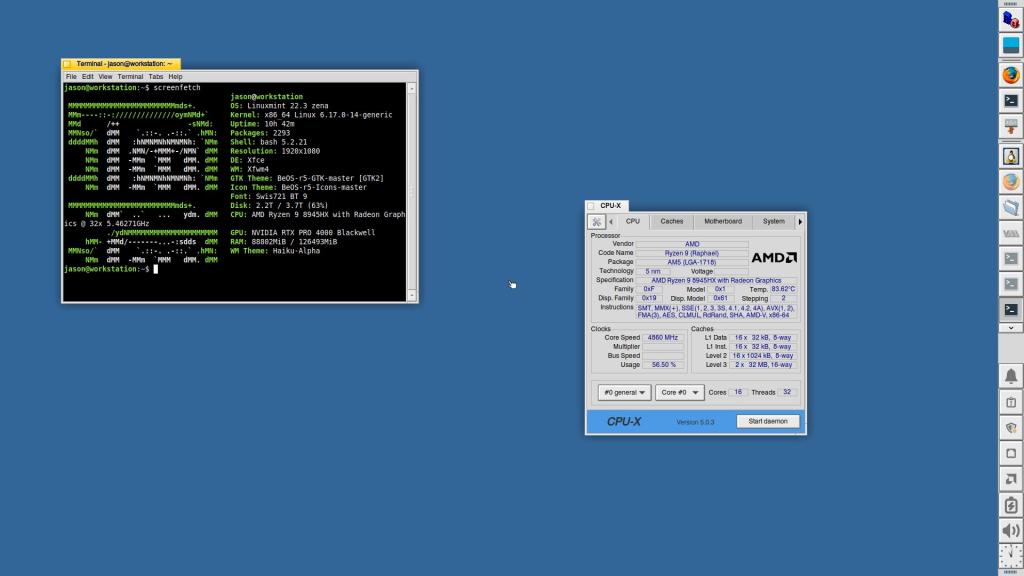
I figured that I would give my former favorite distribution Linux Mint a try with their latest 22.3 version with Xfce. I wish that I had installed it to begin with. It was a turn key experience! I installed the 590 Nvidia drivers without any trouble and Linux Mint maintained video out with the AMD integrated graphics while using the Nvidia GPU for AI tasks.
I’m sure that a solutions exists for Debian 13, but I don’t know enough and couldn’t find relevant advice for this particular setup. After waiting some time for software updates and more sharing of troubleshooting advice, I might try installing Debian on this machine again. For the time being, I’m happy with Linux Mint with Xfce, which I’ve configured to look like BeOS.
After installing text-generation-webui (for llama.cpp) and ComfyUI, they have worked flawlessly on the new workstation. For text generation, I am able to run models in the 103 to 120B parameter range at 4 bit quantization, or 70B models at 8 bit quantization. For ComfyUI workflows, I purge the GPU’s VRAM to make the most out of its 24 GB GDDR7 memory without having to offload to the CPU/RAM.
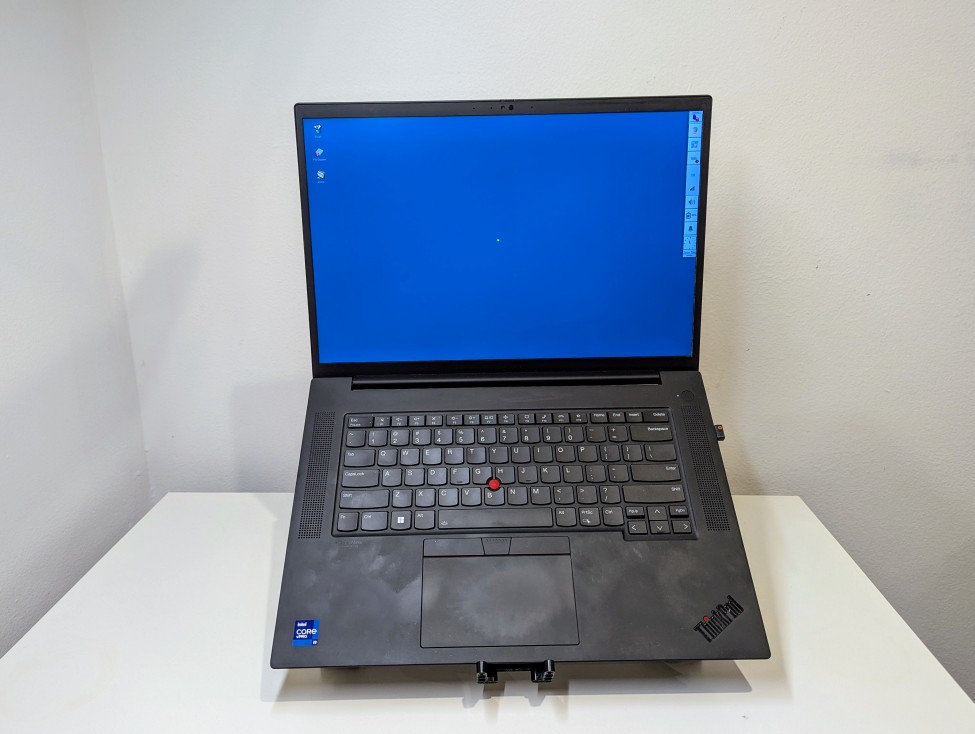
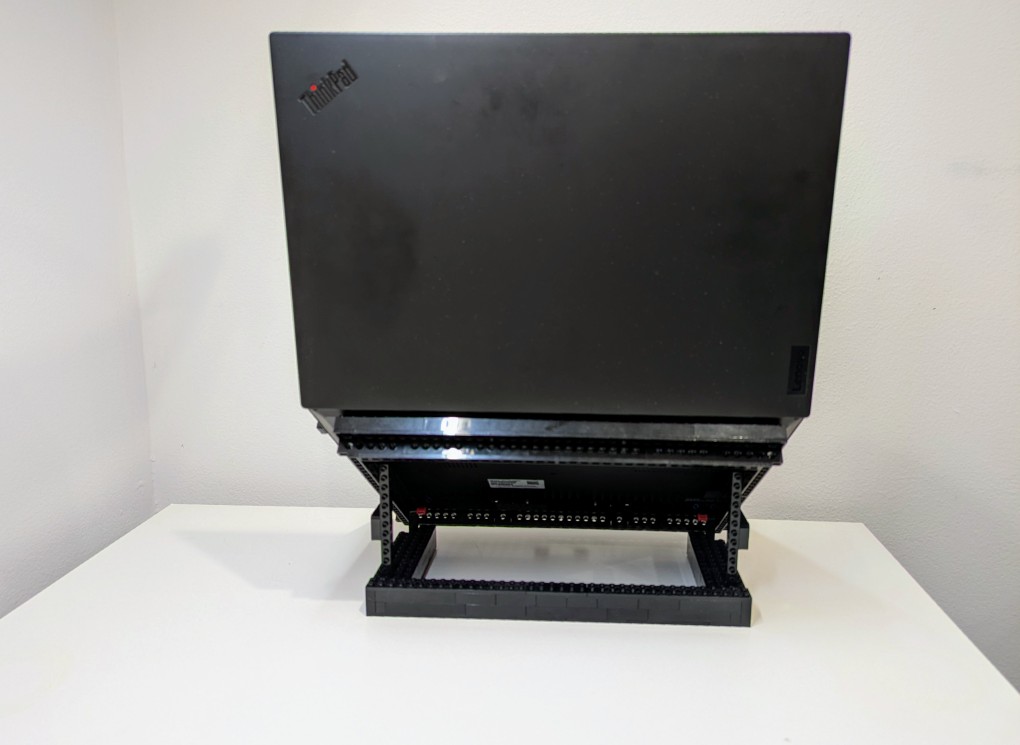
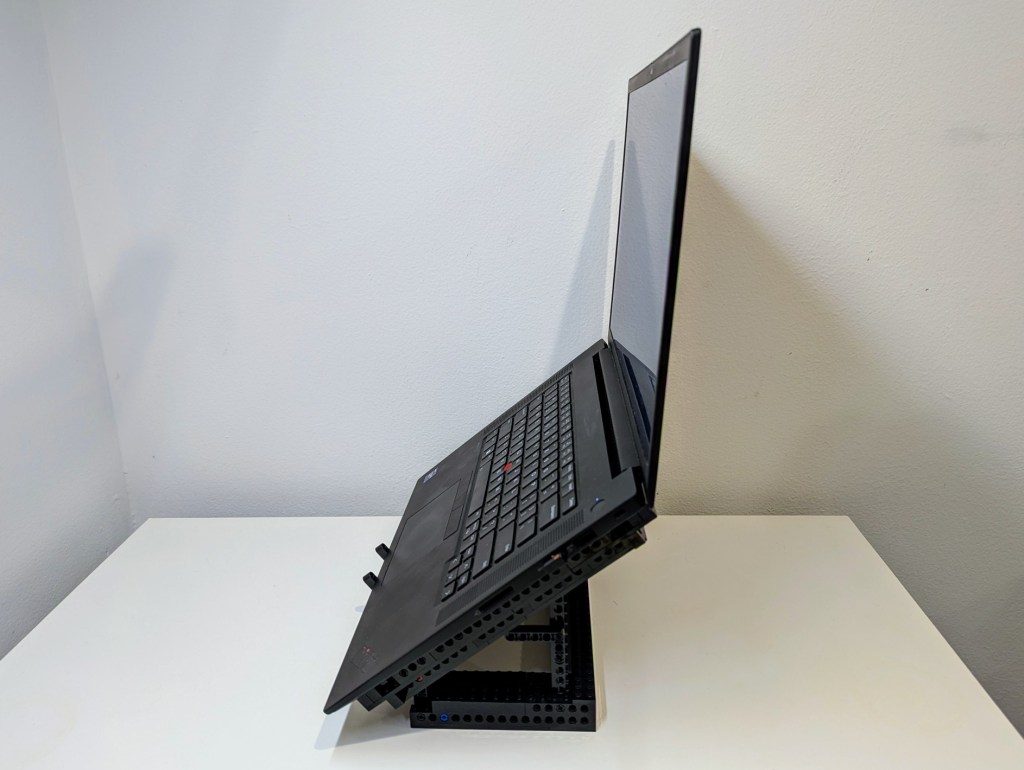
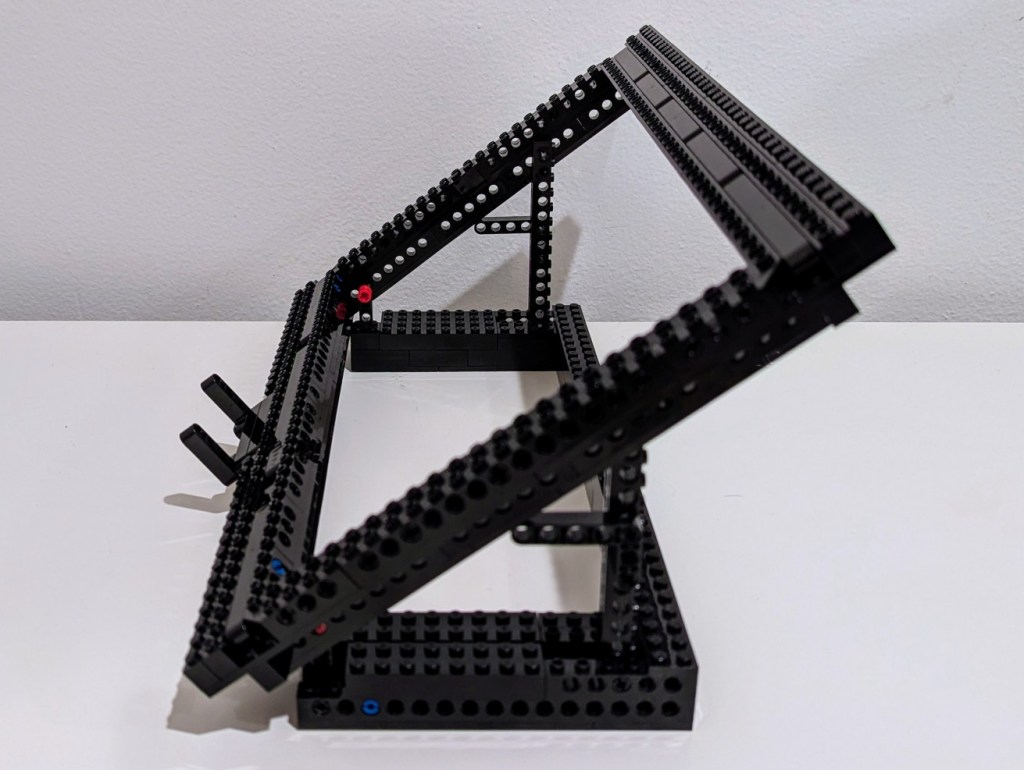
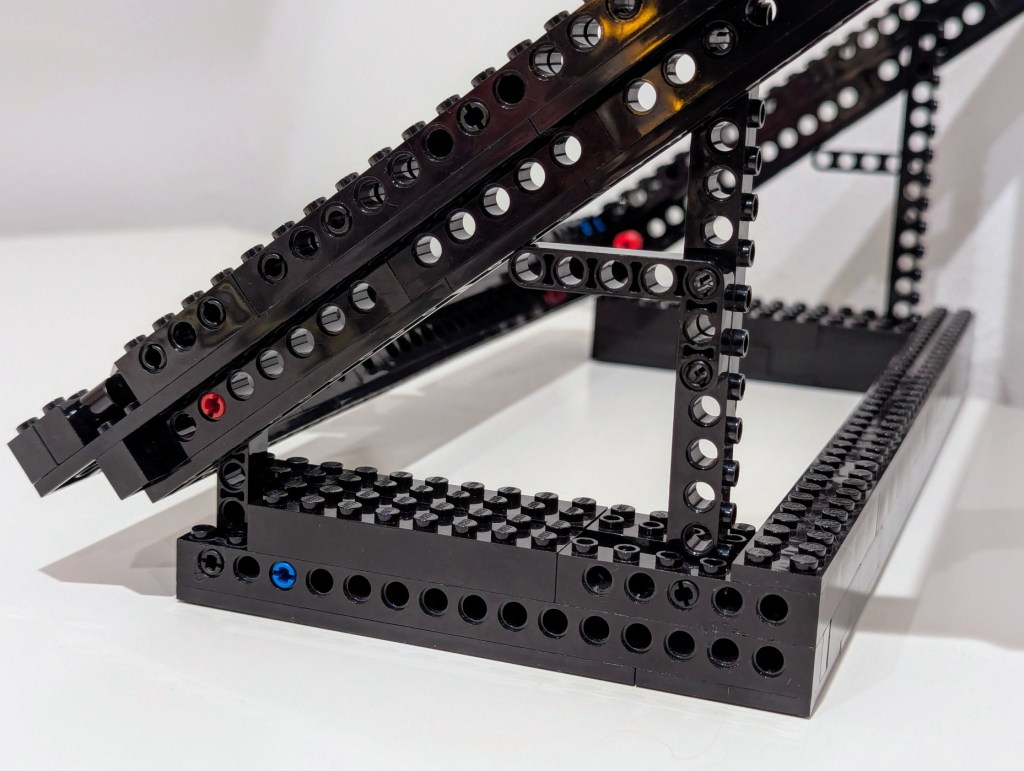
I’ve been using my Lenovo Thinkpad P1 Gen4 laptop as a desktop replacement system lately, so I wanted to raise its screen higher to avoid slouching and subsequent neck and shoulder pain. While there are lots of solutions to buy, I opted to use the LEGO Technics that I had on hand to build a stand. My goals for the project were facilitating maximum air flow and reliably holding a 4 lb. 5 oz. laptop.
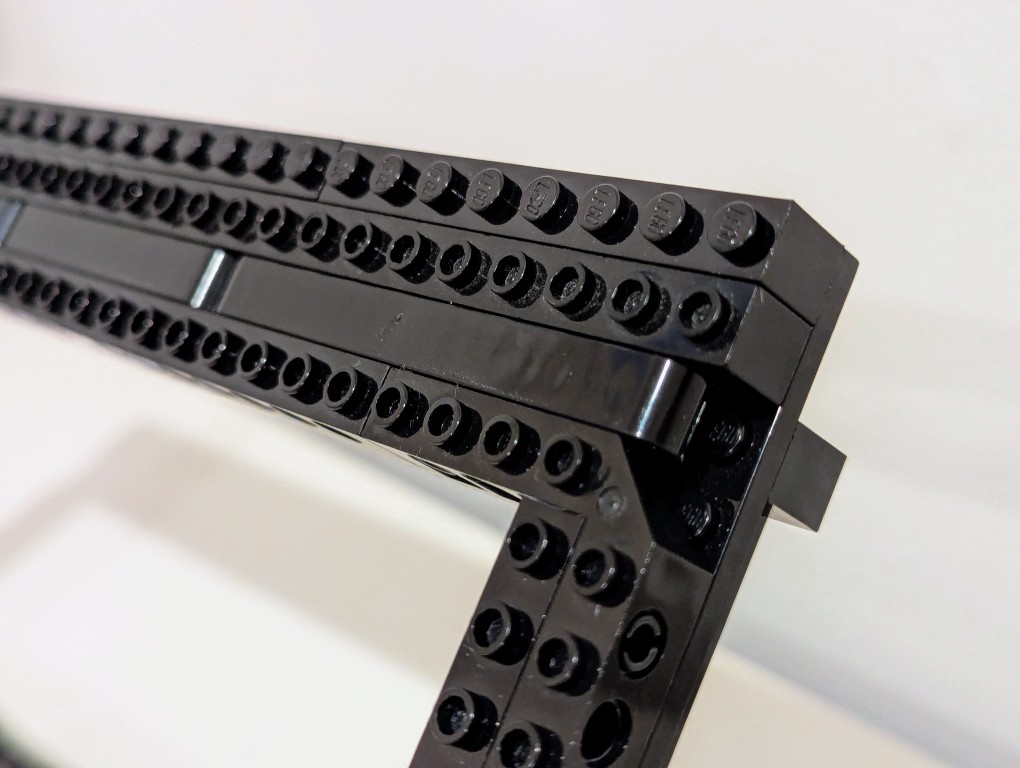
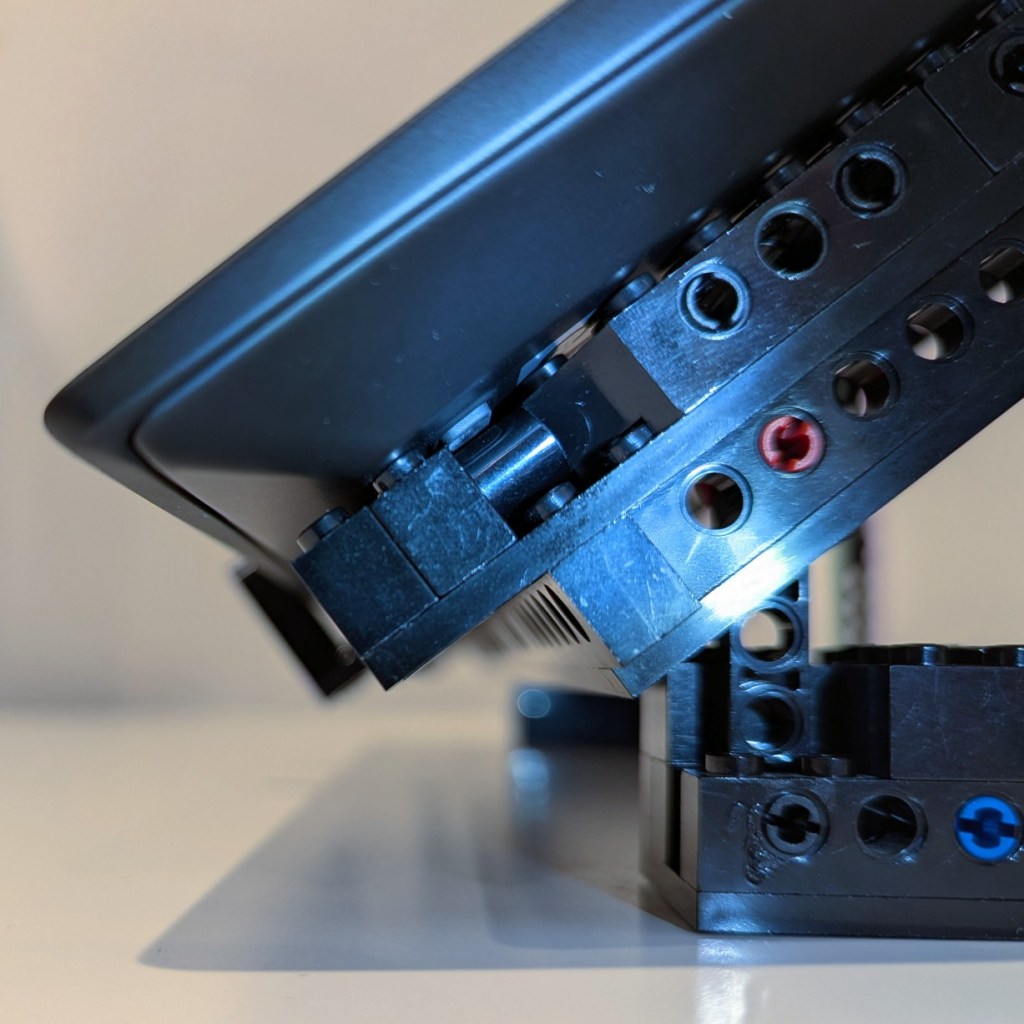
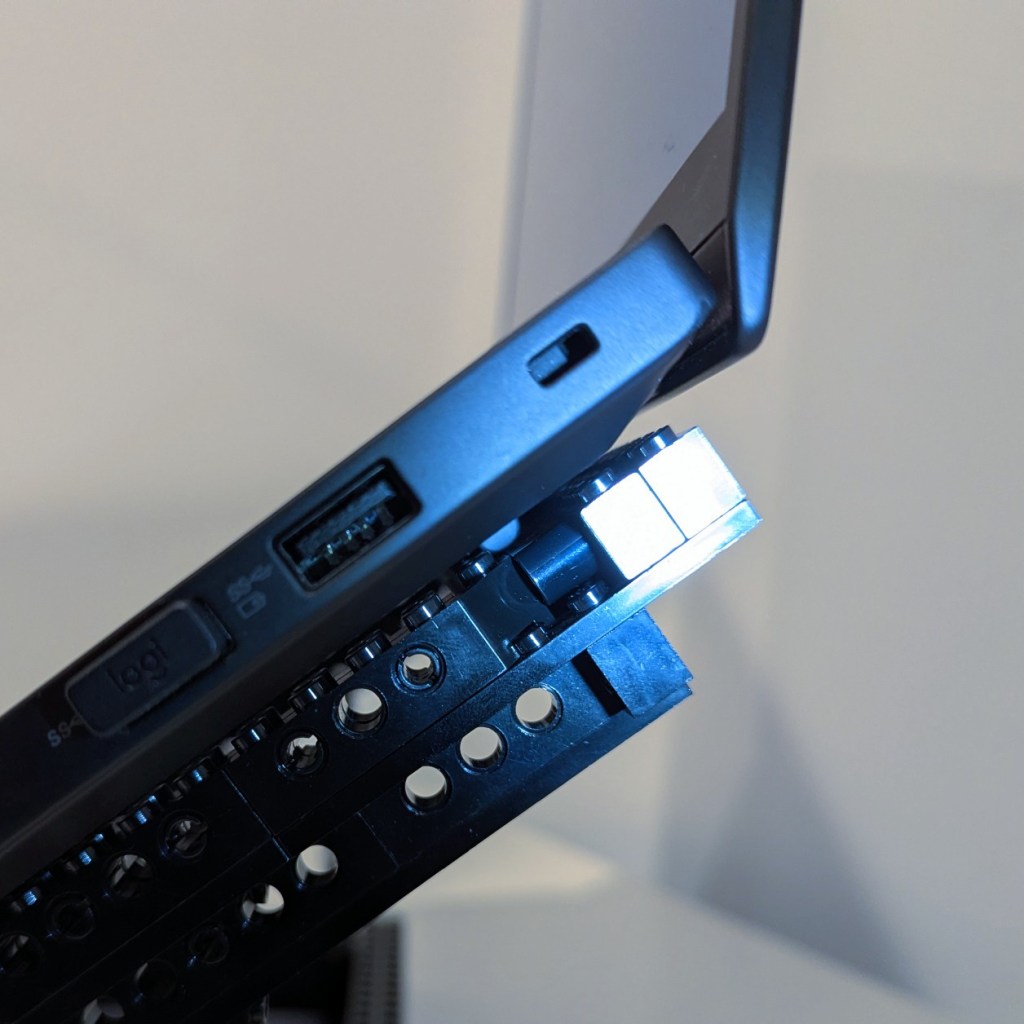
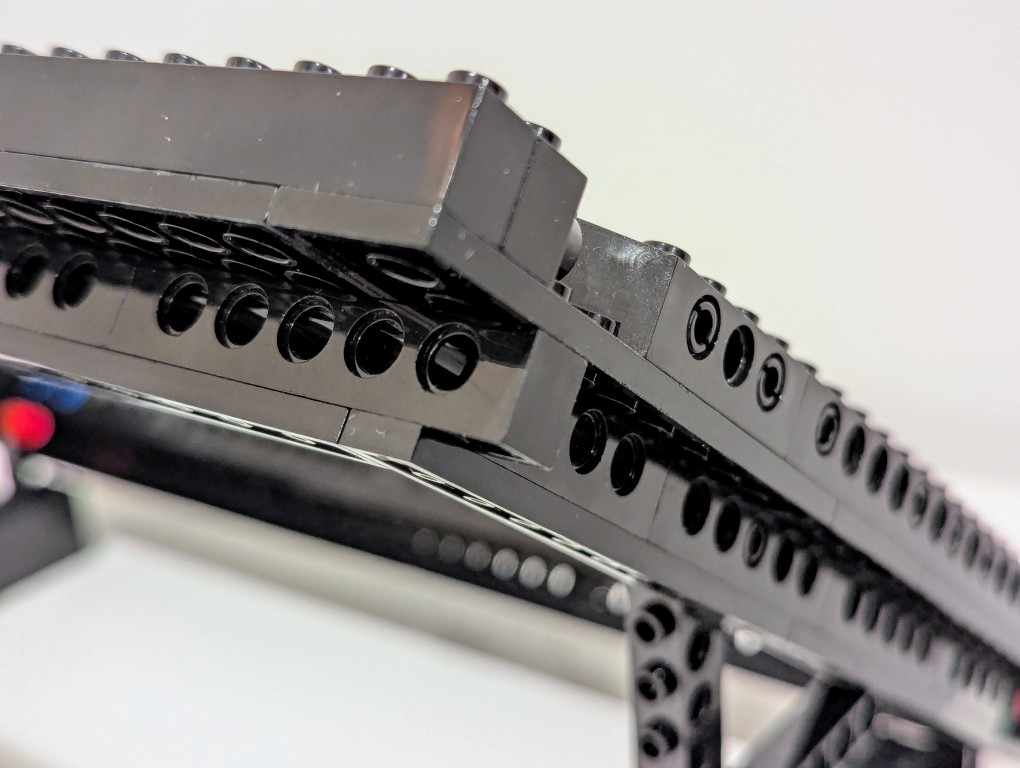
I started by disassembling the folding stand that I had built in 2024, but I noted how I sandwiched a Technic beam between two Technic bricks. The beam’s lower dimension provided a smooth shelf for the laptop’s feet to rest on and the studs on the bricks kept the laptop from sliding off the beam toward the front or rear. I planned to replicate this design in the new laptop stand.
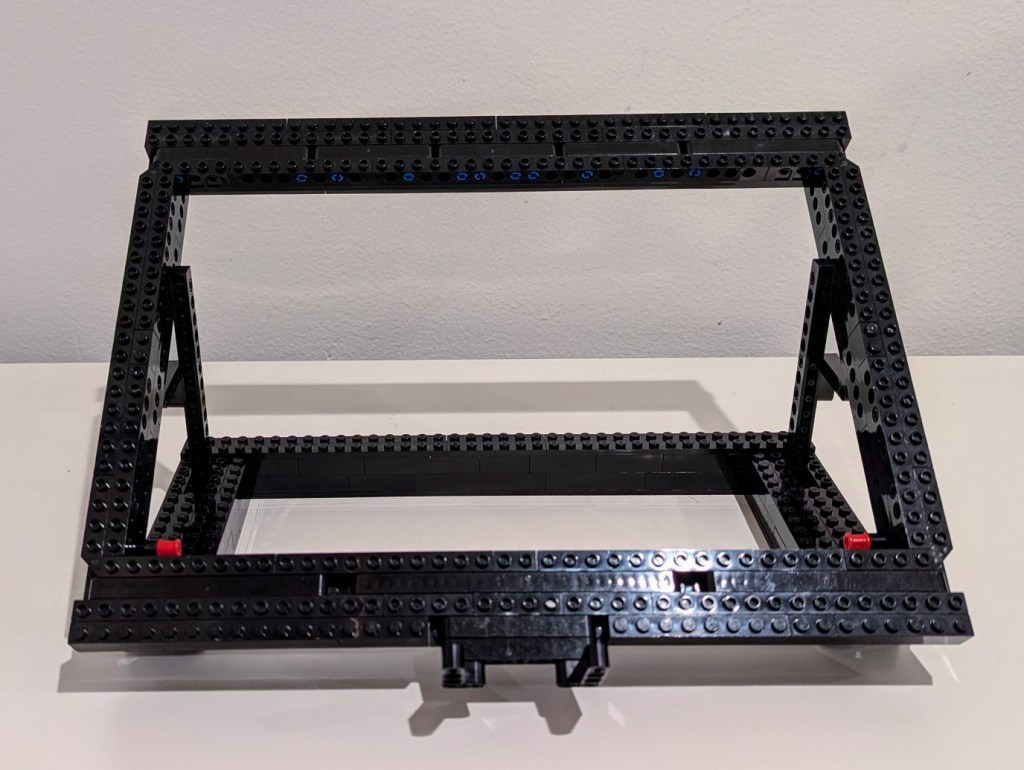
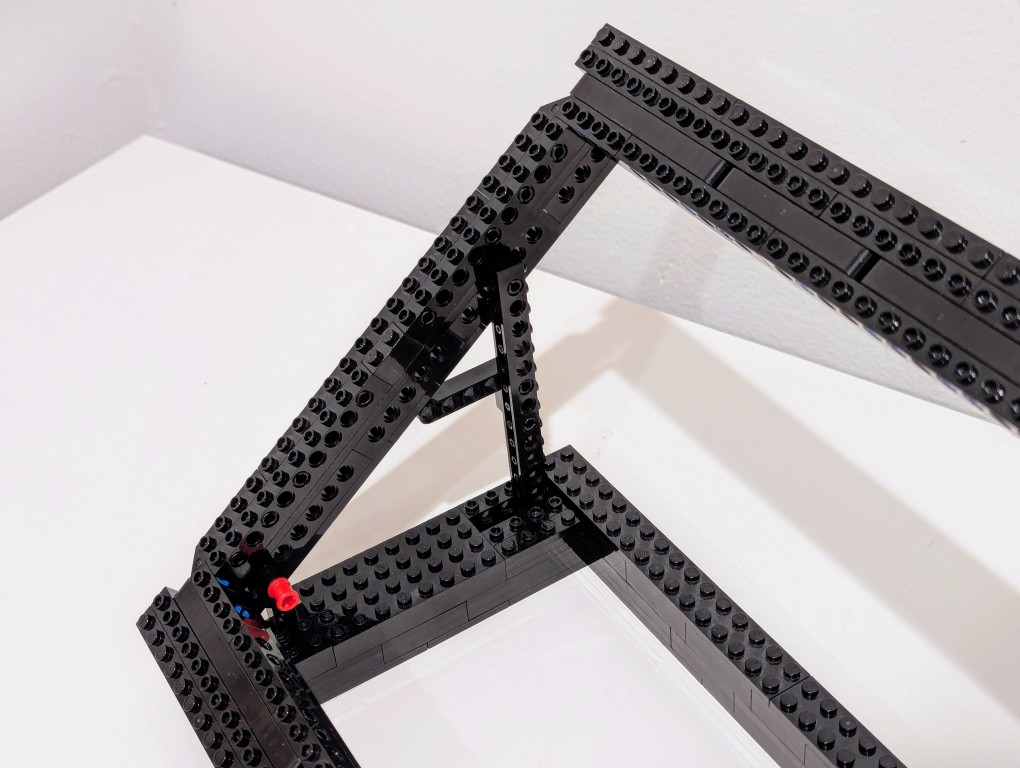
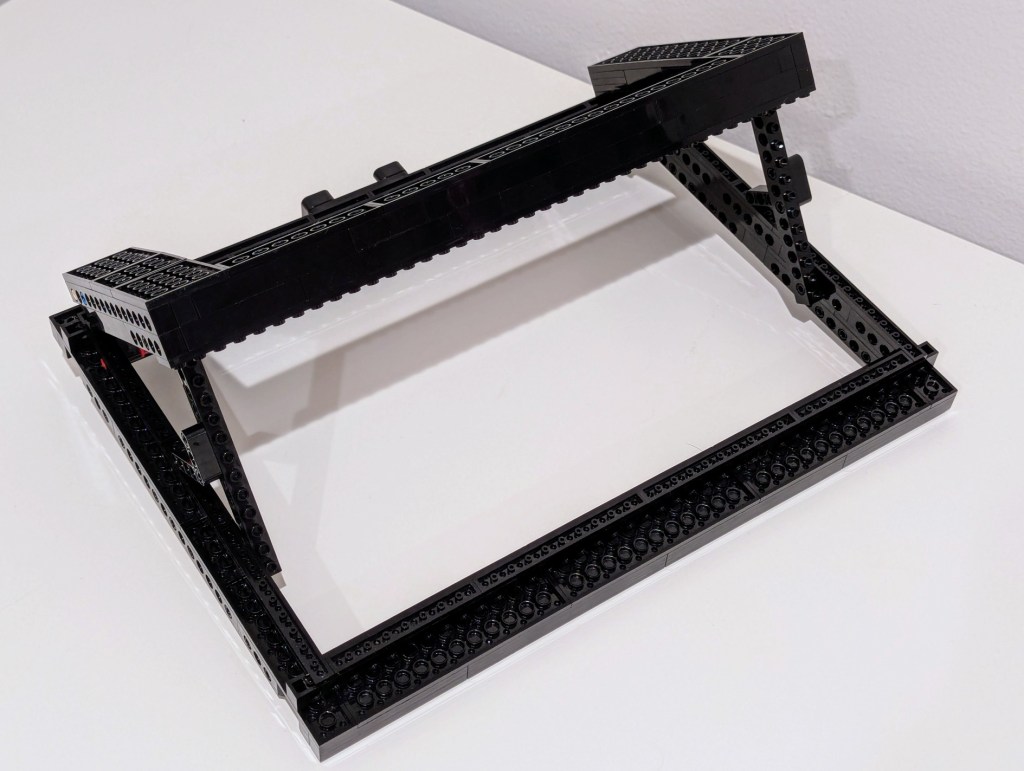
Another important element of the design was an open space beneath the laptop for maximum air flow (this laptop has an NVIDIA RTX A5000 16GB video card that I use for AI workflows). I figured that a rectangular holder for the laptop would work best and allow me to use the black Technic bricks that I had on hand in limited numbers (I have far more light and dark gray elements thanks to all of the Star Wars sets I’ve built over the years).
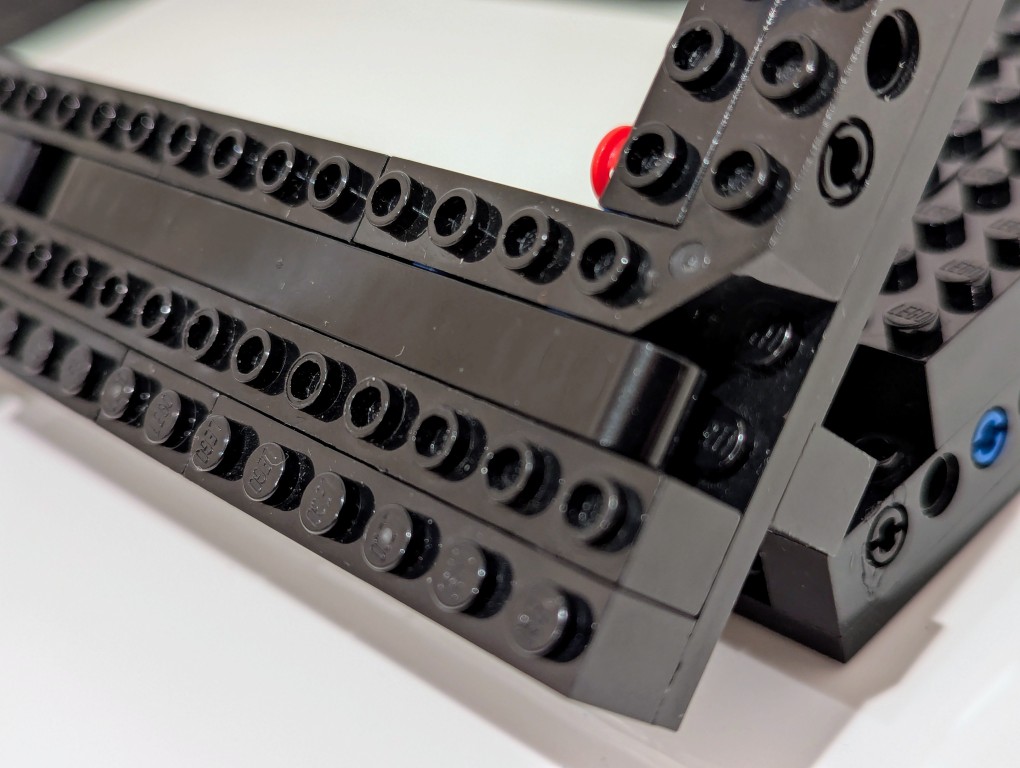
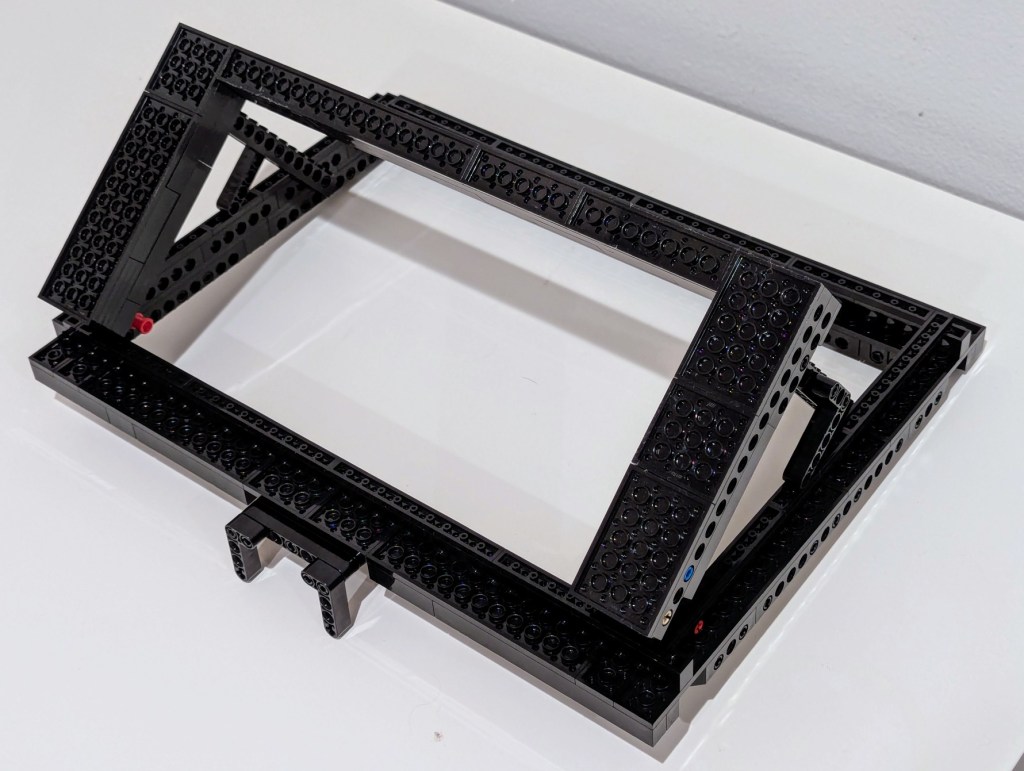
To strengthen the rectangular frame, there are four layers: top-most brick structure, plates, substructure bricks, and plates. All joints are overlapped, which further strengthens the design.
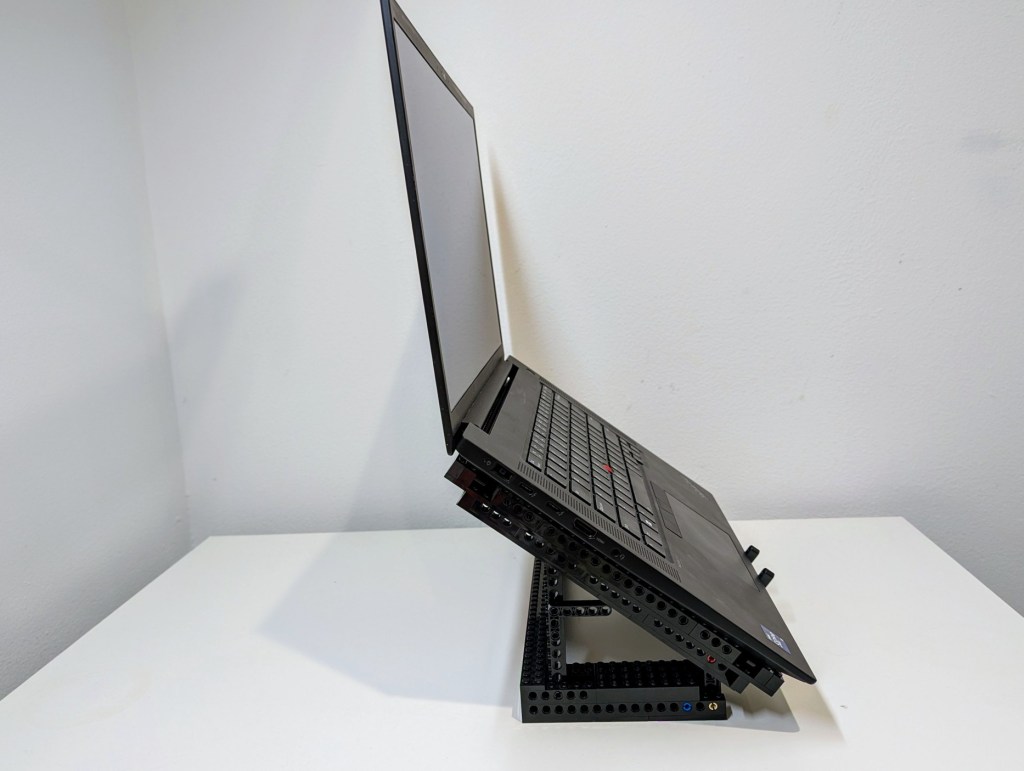
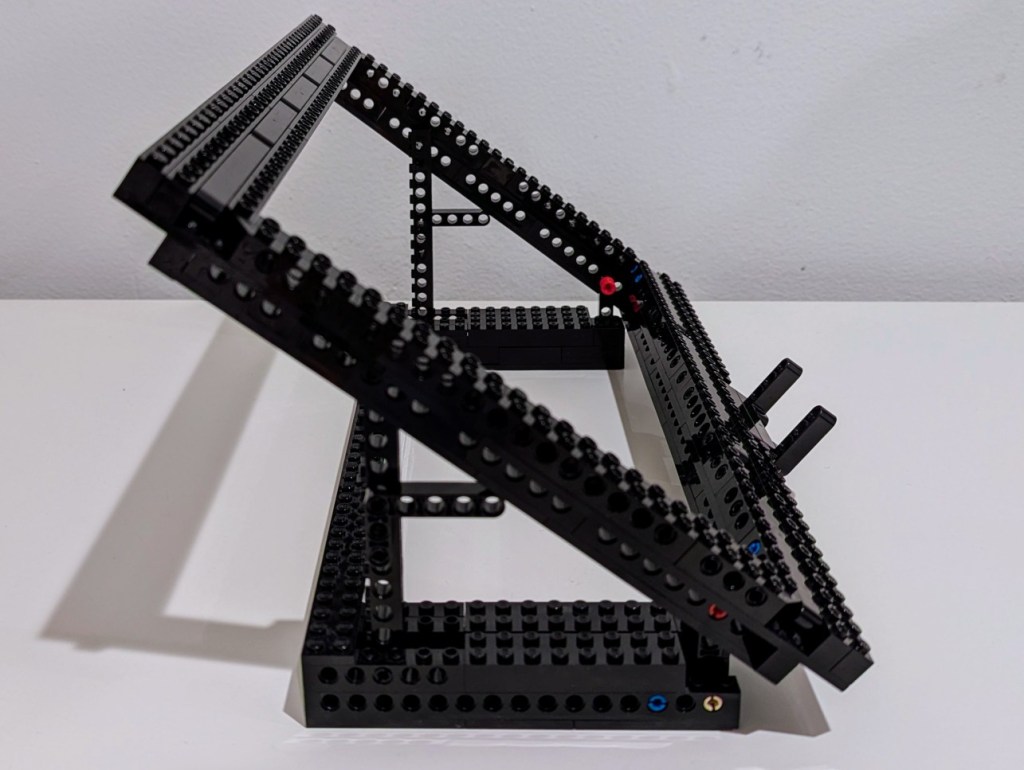
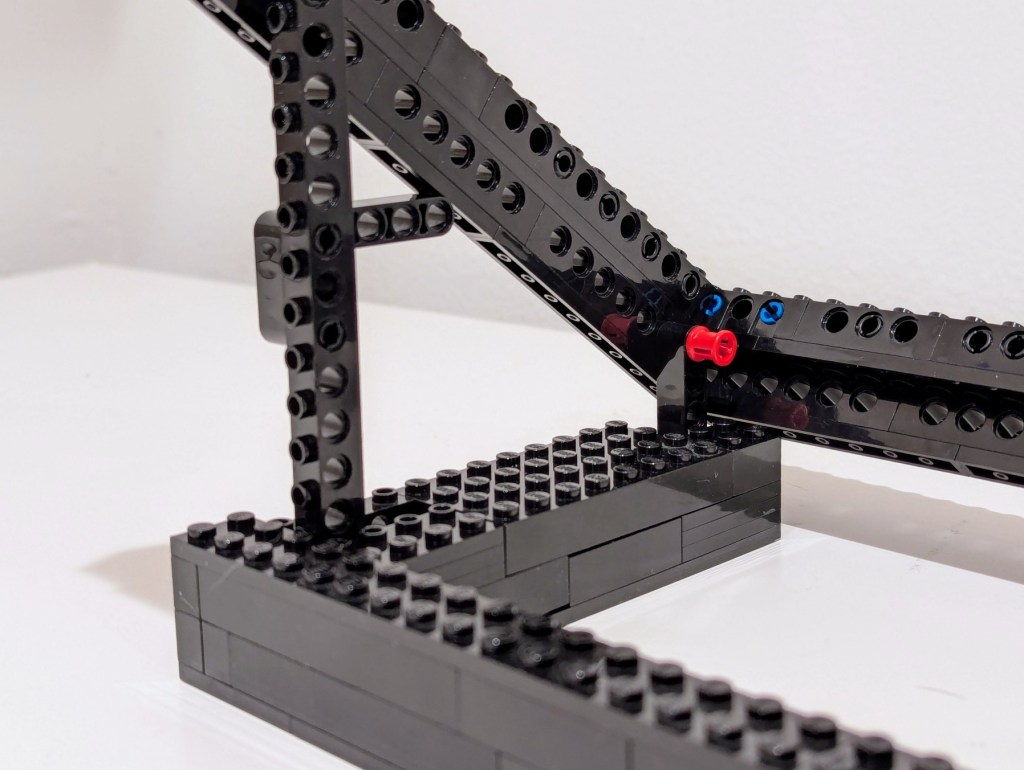
To support the rectangular laptop frame, I used one L-shaped beam to hold the frame at the bottom and a long Technic brick at 90 degrees to raise the back. As an added support to the back Technic brick, I put a L-shaped beam to apply pressure to the rectangular frame when under the weight of the laptop.
The base of the stand is U-shaped to hold either side’s base in place to prevent any lateral movement, which could cause one of the supports to unhinge.
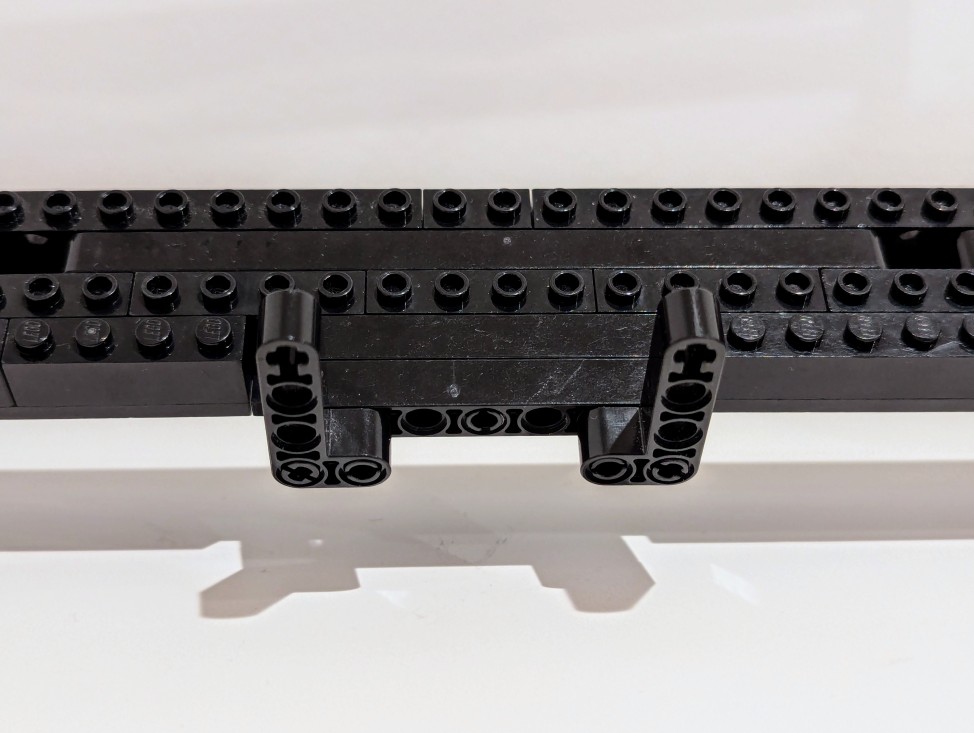
As a safety measure, I added two Technic L-shaped beams to the bottom center of the laptop frame if not to hold the laptop in place should it slip off then to slow it down as it crashes forward on my desk. I’ve also found this useful for holding paper, such as printed articles, which makes it easy to read and type by looking down-and-up instead of to the left or right.
The stand raises the back of the laptop up 7″, which makes the top of the monitor about even with my eye line. I’ve only been using it a couple of days, but it seems to fit the bill perfectly for my needs.
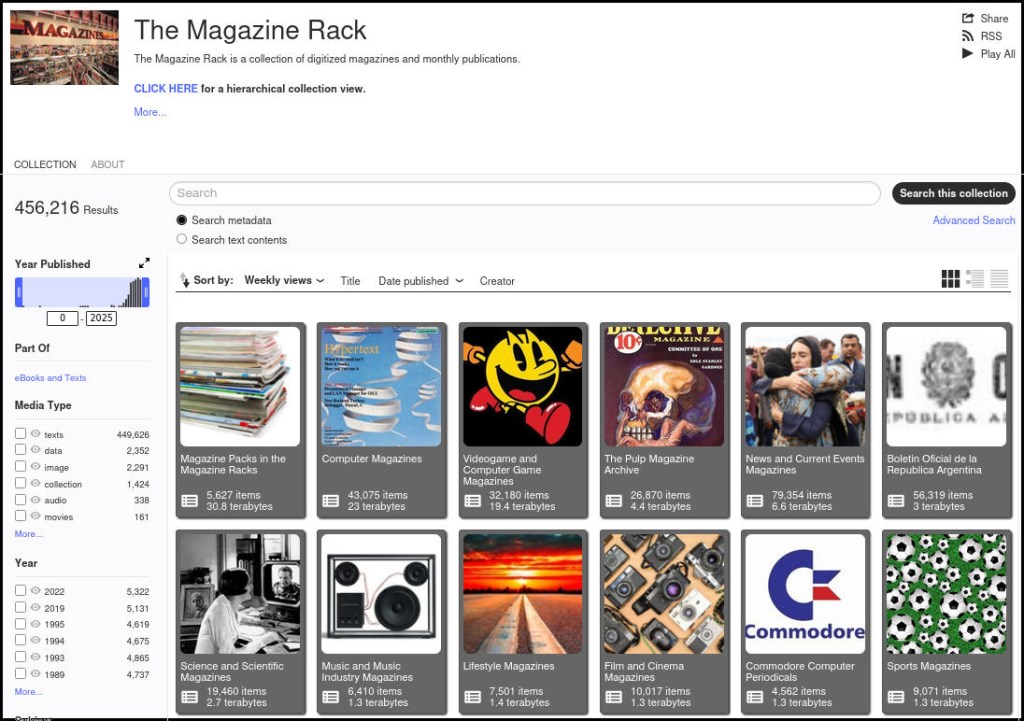
The Internet Archive has a tremendous collection of magazines across all disciplinary possibilities. Most are contained in The Magazine Rack. You can read them online, download them individually, or bulk download them using Jeff Kaplin’s instructions from 2012. Though, I have modified Kaplin’s wget command when files stopped downloading due to changes at archive.org, wget, or both:
I’ve been unhappy with Roku’s increasing advertising through images and now full-motion video and their lack of support for a variety of codecs in their media player app. So, I’ve been looking for awhile for a good deal on a mini pc that could replace the Roku for playing media and also support some light gaming. Also, considering the impending tariffs (i.e., a tax on Americans), I hoped to find something as soon as possible.
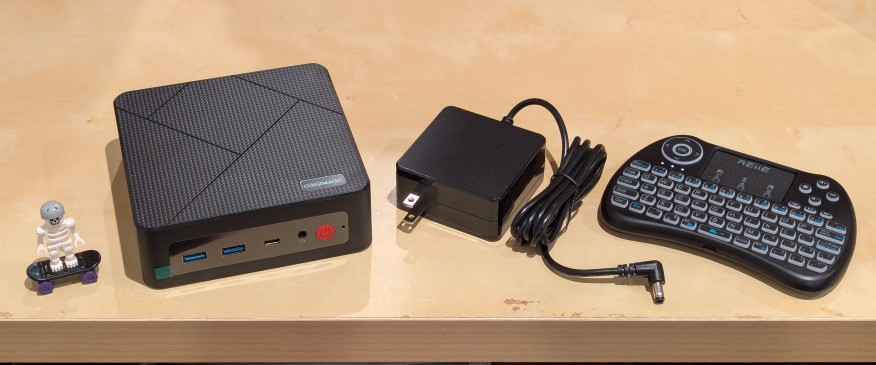
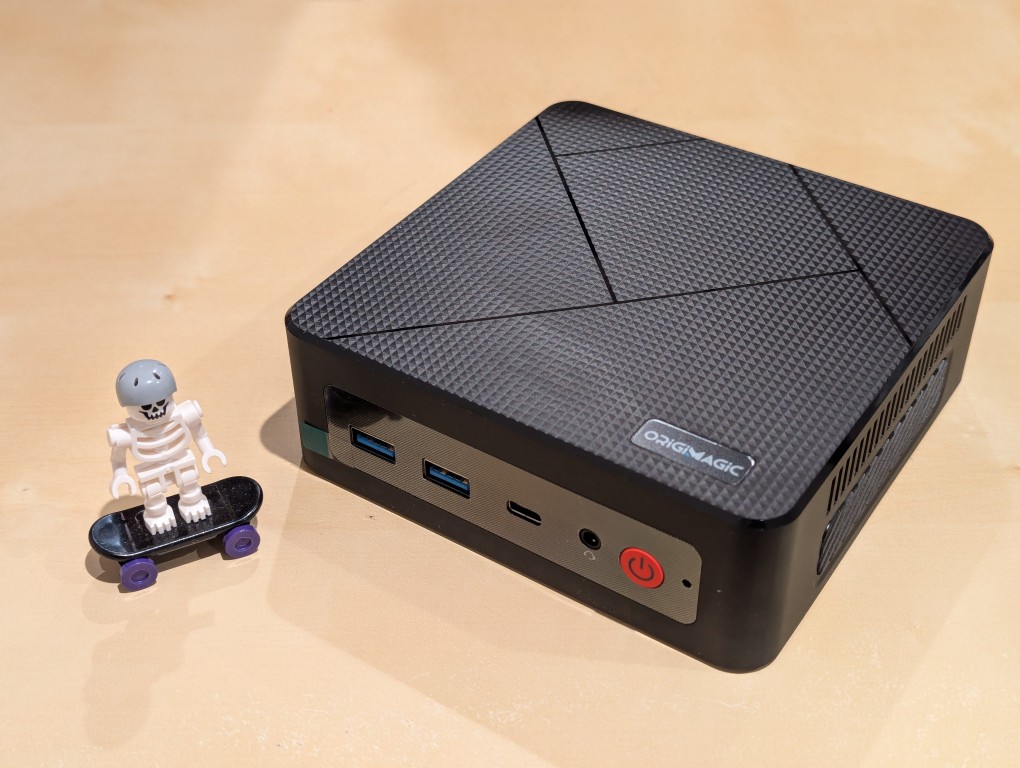
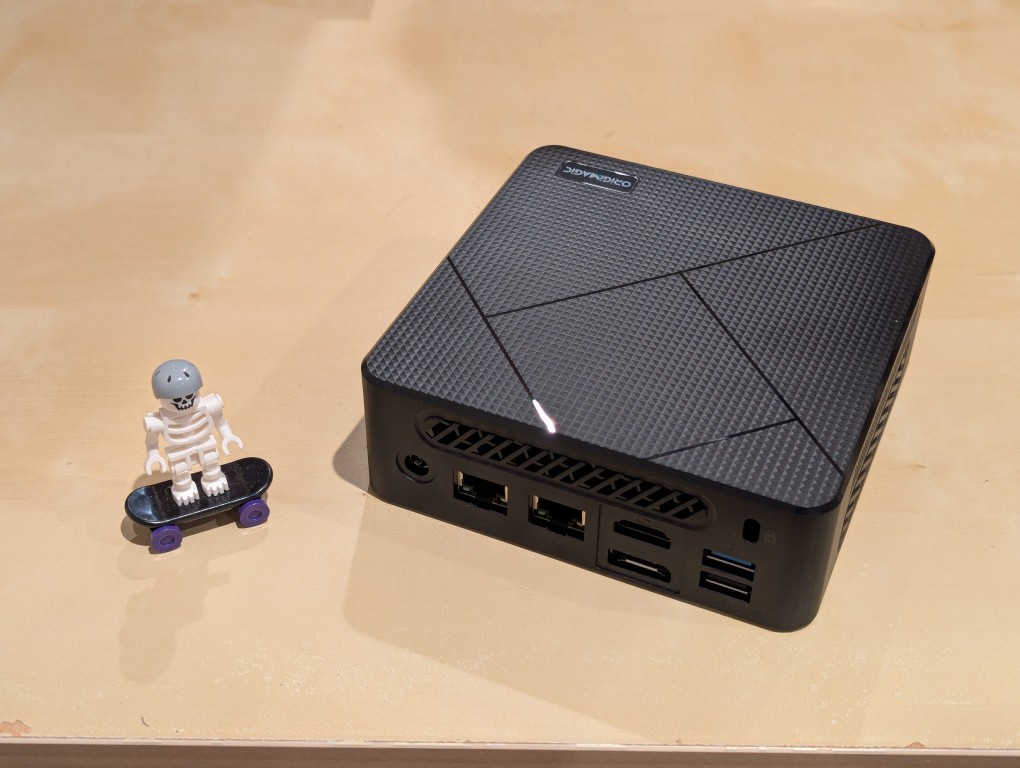
After tracking several mini pcs on Amazon and eBay for a few weeks, I finally pulled the trigger when Amazon offered the Origimagic C4 Mini PC with a Ryzen 5 3550H (4 core, 8 threads) on sale for $153. It’s CPU has a lot more horsepower while using 25 watts of power than Intel’s similarly priced mini pc processors. It came stock with 16GB DDR4 RAM, 512GB PCIe SSD, 1 x Type-C USB, 4 x Type-A USB (3 are USB 3 and 1 is USB 2), headphone jack, HDMI, DisplayPort, and dual ethernet.
To operate it from the sofa, I got a $10 reiie H9+ Mini Keyboard with Touchpad that uses a wireless USB adapter to connect to the mini pc.
Before setting anything up, I created a flash drive with Debian 13 Trixie, the latest version that was released over the weekend on Saturday.
To do this, I inserted a 16GB flash drive into my workstation, but I didn’t mount the device. I downloaded the network install ISO for Debian 13 from here. Then, I ran lsblk in a terminal window to see what device address corresponded to the flash drive. It’s important to not make a mistake here, because it’s easy to overwrite another drive using this method. lsblk lists the devices, which are all in the “/dev/” folder, so when I saw that my flash drive was assigned the address “sdb”, I knew that its full address was “/dev/sdb”. With that info, I then wrote the downloaded Debian 13 netinstall ISO directly to the flash drive using this command:
sudo cp debian-13.0.0-amd64-netinst.iso /dev/sdb
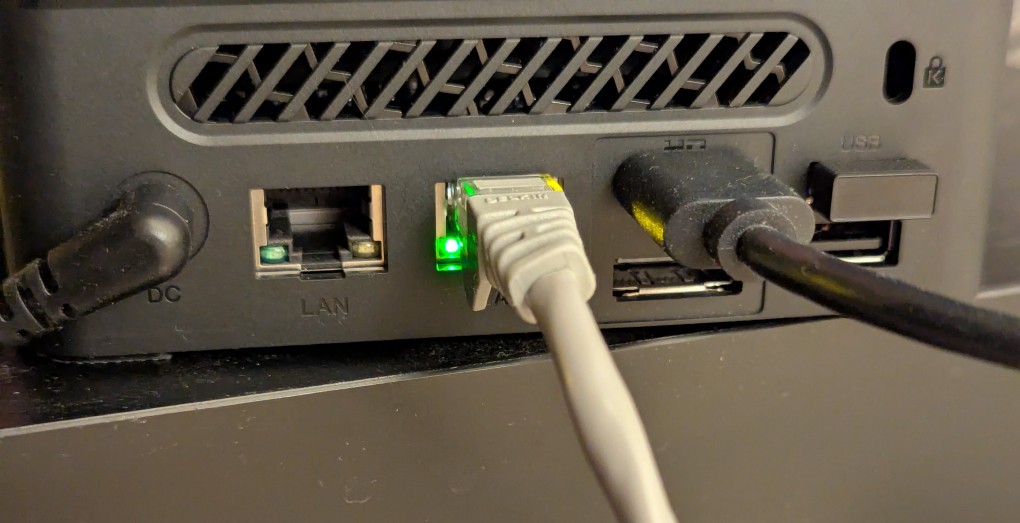
After the copying to the flash drive had finished, I ejected it from my workstation and took it over to the mini pc. I plugged in the power adapter, ethernet cable (I arbitrarily picked the one furthest from the power plug), HDMI cable to the TV, the keyboard receiver USB, and the Debian 13 installation flash drive.
I did experience some frustration with getting the Debian 13 flash drive to boot the mini pc. As soon as the mini pc booted, I was unable to enter BIOS or open the boot menu. Instead, it kept booting into the Windows 11 setup, which I did not want to use. At first, I thought it might be a problem with the tiny wireless keyboard and trackpad, so I switched to my Logitech keyboard and trackball, which are both tied to one Logitech USB receiver. I tried different USB plugs on the front and rear of the mini pc until I was finally able to enter bios (pushing DEL at boot) when the keyboard USB receiver is in the top-right USB port on the rear of the mini pc as shown below (it is a USB3 port). It might have been bad luck on my part with the other ports, so I can’t say this is a peculiarity with this hardware for certain. Nevertheless, it’s good to exhaust all possibilities like this.
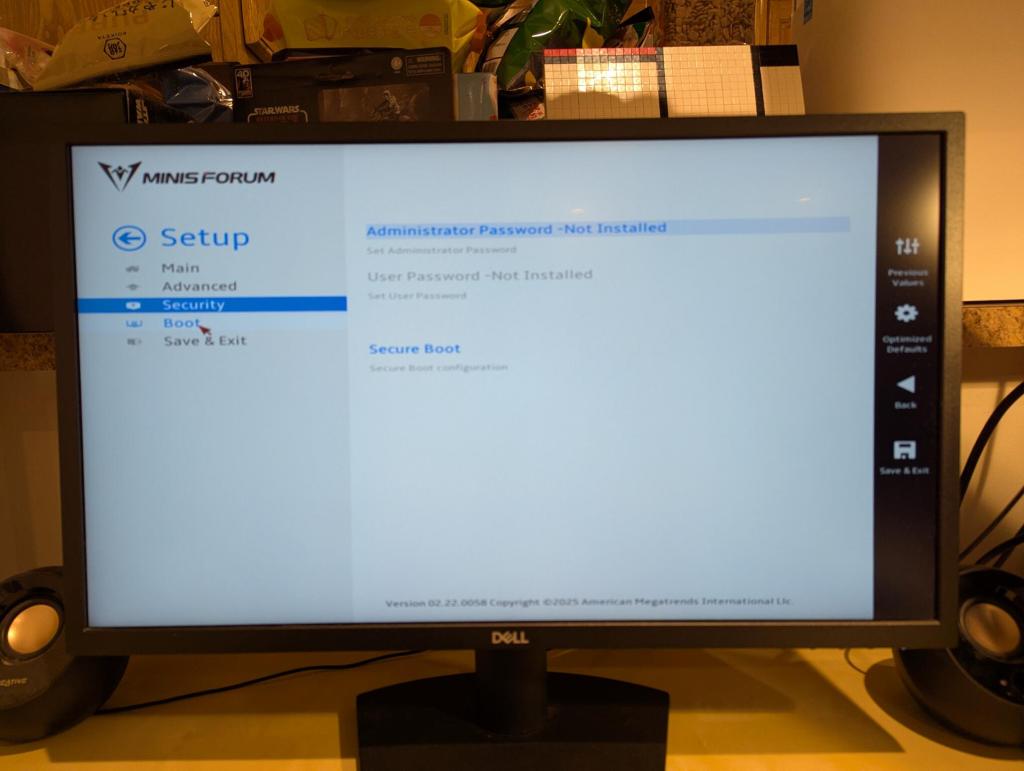
Once in the BIOS, there’s not many options except for disabling hardware (I disabled WiFi), turning off Secure Boot and the Trusted Computing Module, and other odds and ends. I saved the settings, rebooted, and went into the Boot Menu (F7), selected the Debian 13 netinstall flash drive, and began the installation (a full nuke-and-pave: erasing the NVMe drive and setting up Debian 13 as the only operating system).
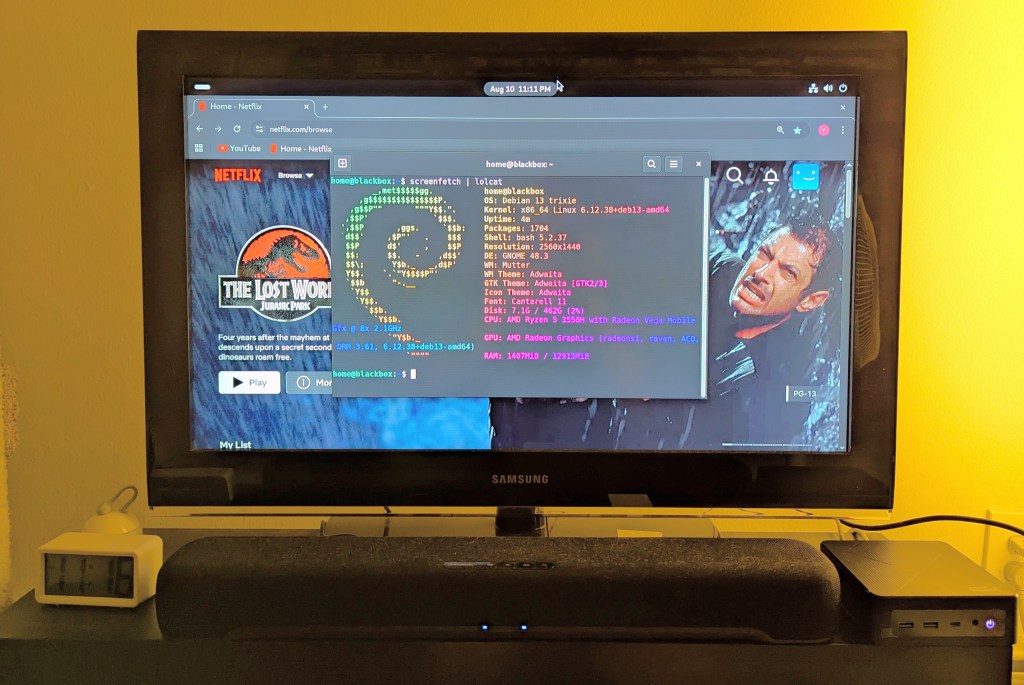
While I use XFCE on my laptop and workstation, I opted for the GNOME desktop environment on the mini pc, because I thought its screen controls and overall user interface would be easier to see and navigate from across the room. If I don’t like it, I can always install XFCE.
Because two of the main sources of media for us is Netflix and YouTube, I installed Chrome to handle those sites. I have VLC and Kodi for everything else.