Category: Technical Communication

  • All in a Day’s Work: New AI Workstation Build Completed

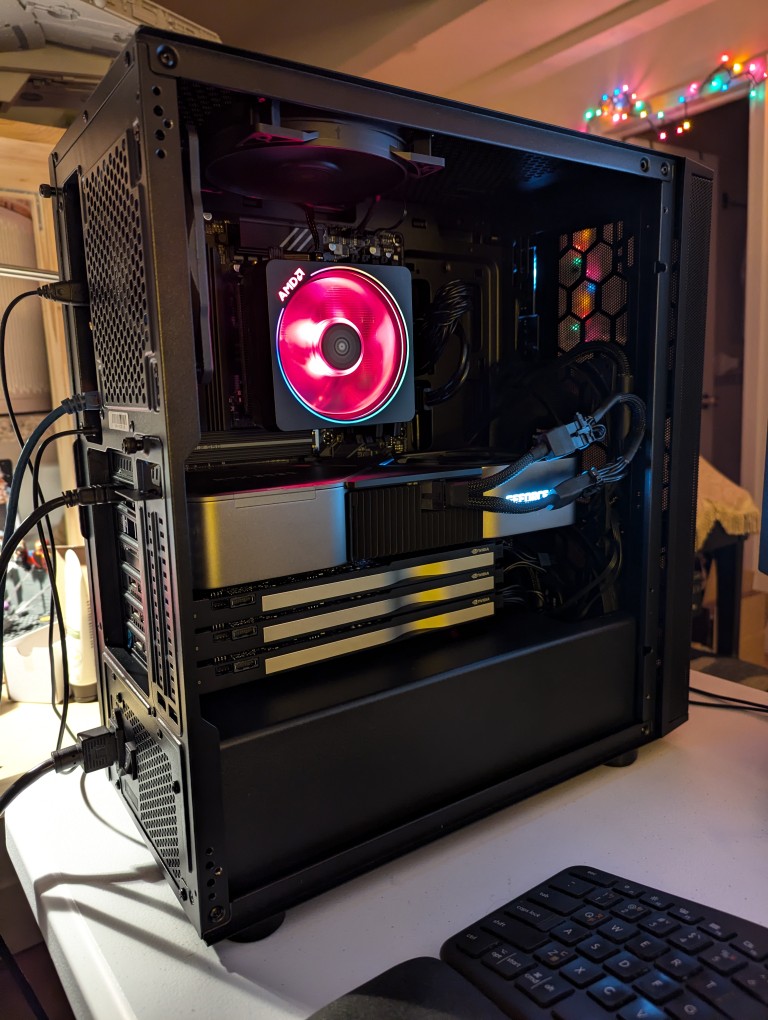
    black computer tower with side panel removed showing the internal components

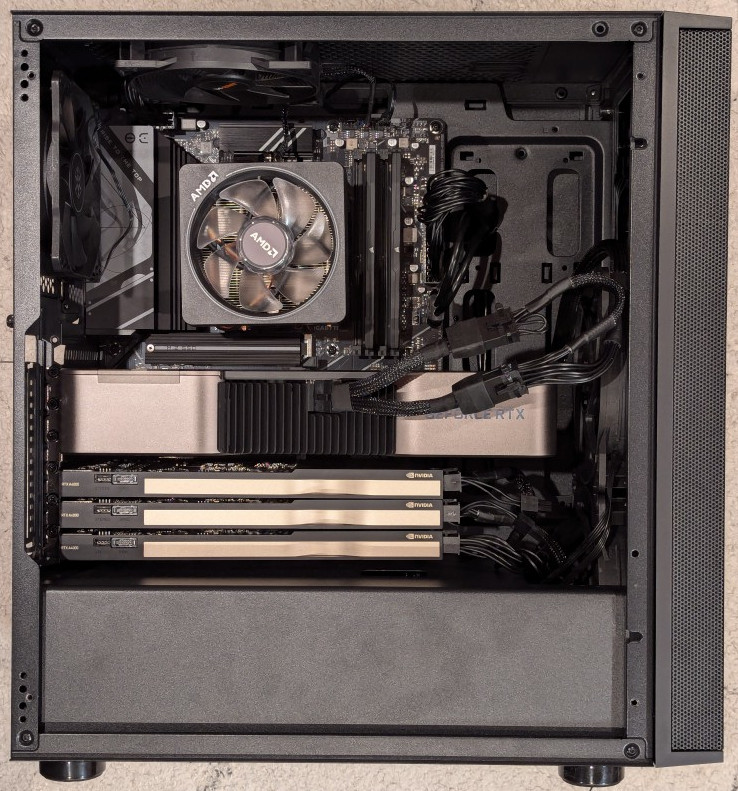
    This past weekend, I got the final part that I needed to begin assembling my new AI-focused workstation. It took about a whole day from scrounging up the parts to putting it together to installing Debian 12 Bookworm. As you can see in the photo above, it’s running strong now. I’m installing software and testing out its capabilities especially in text generation, which without any optimizing has jumped from 1 token/sec on my old system to 5 token/sec on this system using a higher quantanized model (70B Q4_K_M to 70B Q6_K)!
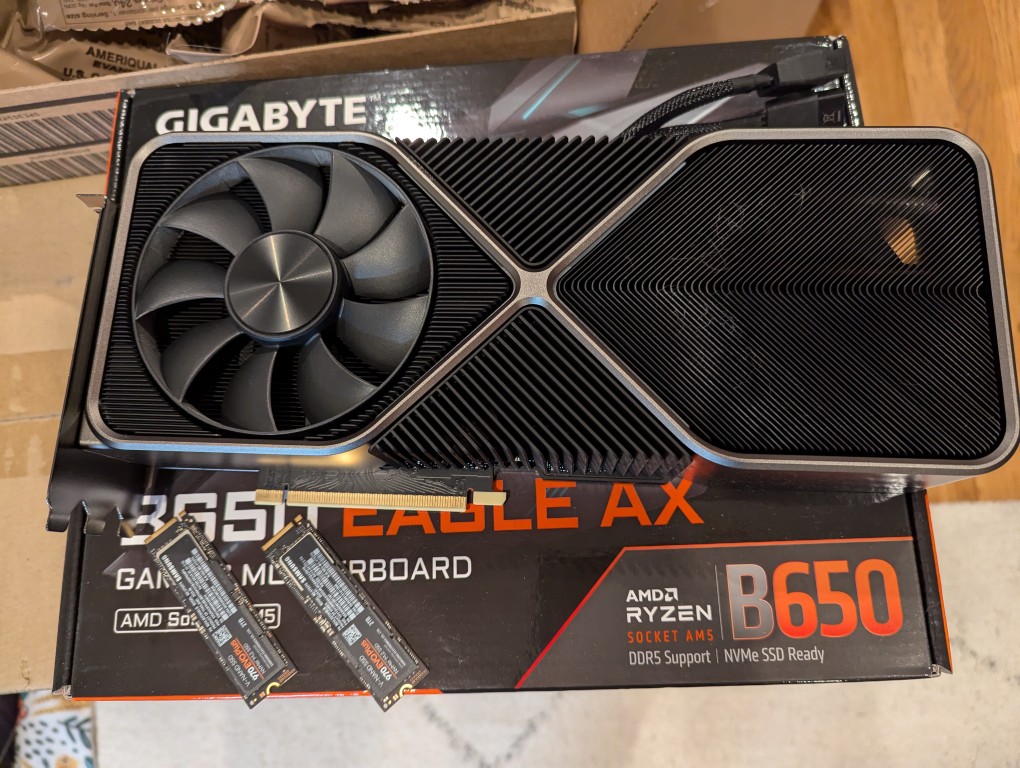
    RTX 3090 video card and two nvme SSDs on a cardboard box

    The first thing that I needed to do with my old system was to remove the components that I planned to use in the new system. This included the NVIDIA RTX 3090 Founders Edition video card and two 2TB Samsung 970 EVO Plus nvme SSDs.
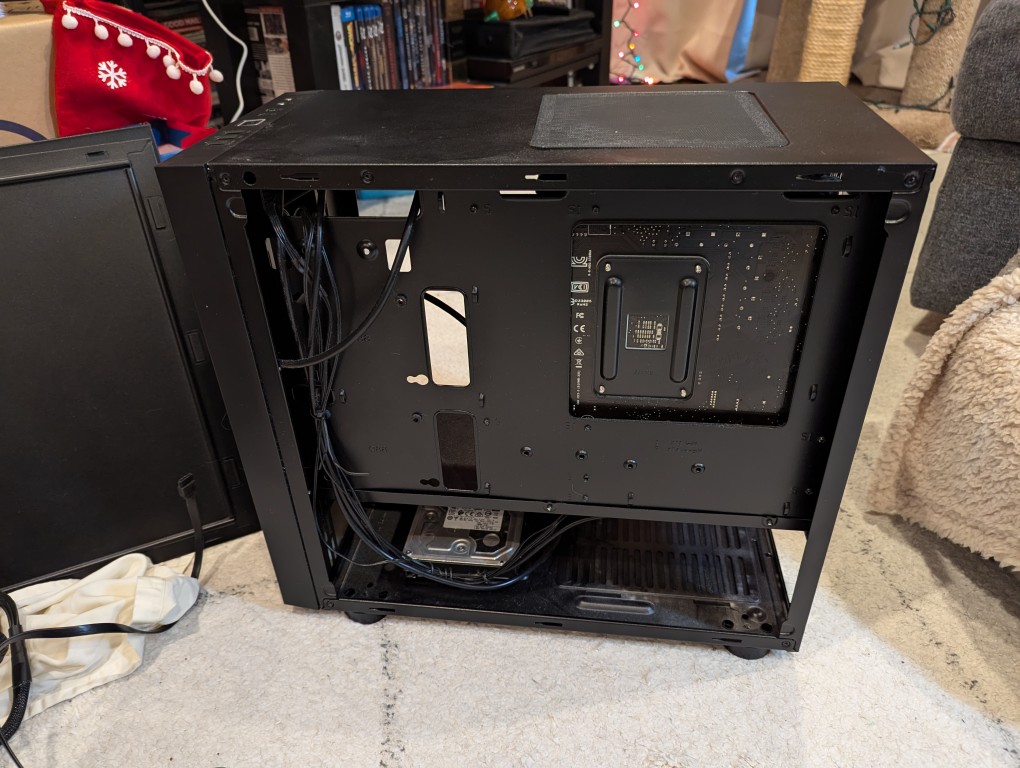
    micro atx case with back side panel removed revealing cables and hard drives

    I almost forgot my 8TB Western Digital hard disk drive that I had shucked from a Best Buy MyBook deal awhile back (in the lower left of the old Thermaltake case above).
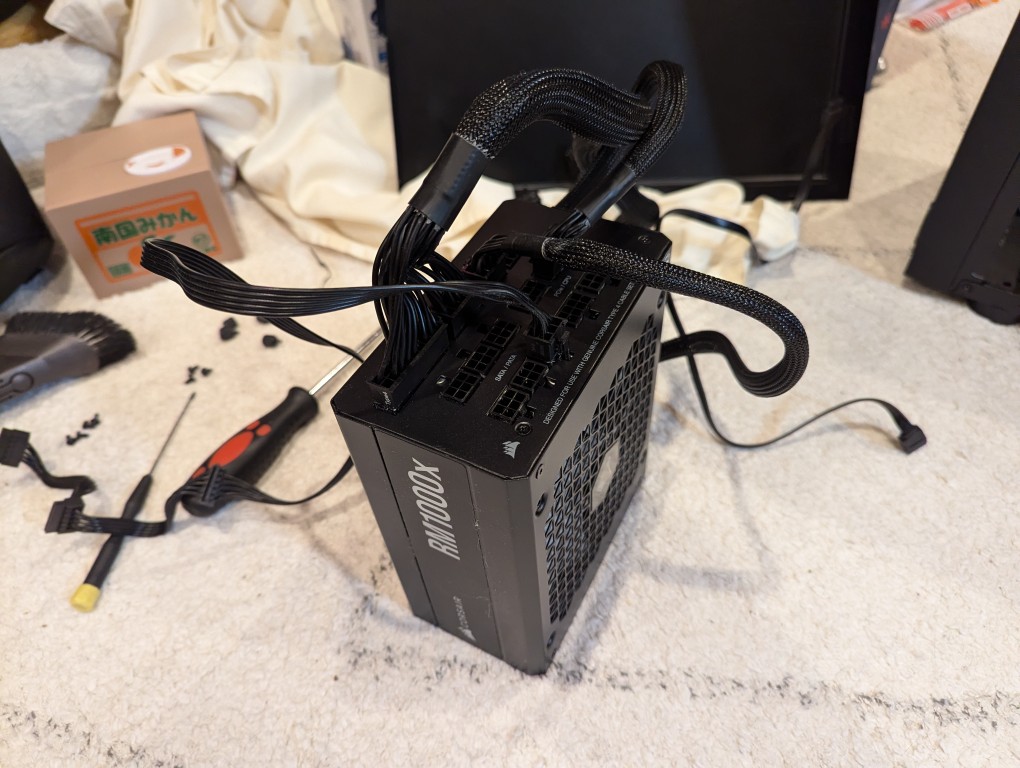
    computer power supply with power cables plugged in

    Finally, I needed the Corsair RM1000X 1000 watt power supply and its many modular connections for the new system’s four video cards.
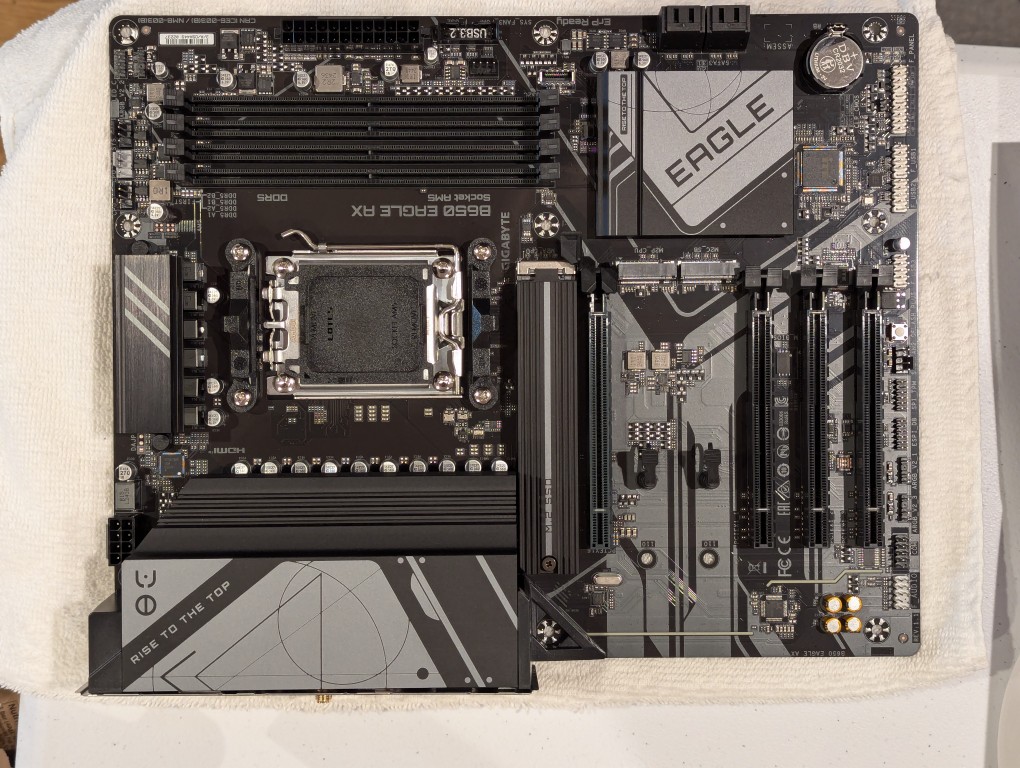
    am5 socket atx motherboard

    The new workstation is built around a Gigabyte B650 Eagle AX motherboard. I selected this motherboard, because it has a unique 16x PCIe slot arrangement–the top one has space for a three slot video card like my 3090, and its lower three slots would support the three NVIDIA RTX A4000 16GB workstation video cards that I had purchased off of eBay used. The lower slots do not run at full speed with 16 PCIe lanes, but when you are primarily doing AI inference, the speed that even 1x PCIe lanes provides is enough. If you are doing AI training, it is better to have a workstation-class motherboard (with Intel Xeon or AMD Threadripper Pro CPUs), because they support more PCIe lanes per PCIe slot than a consumer-based motherboard like this one is built to provide.
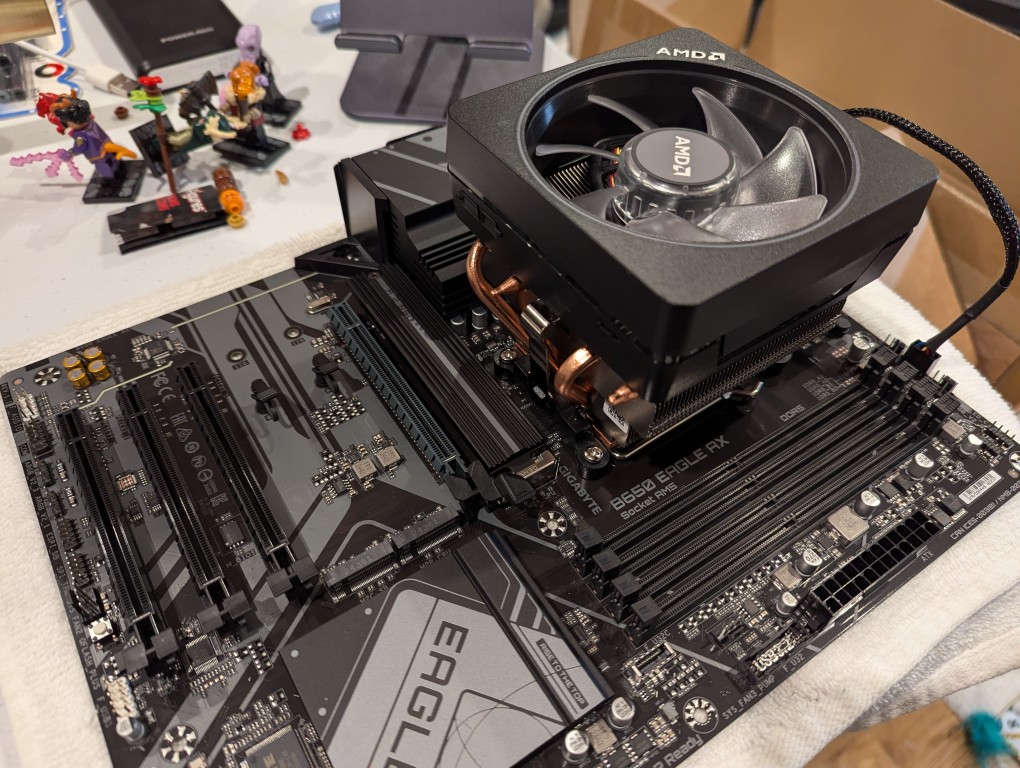
    motherboard with cpu and cpu cooler mounted on top

    The first step with the new motherboard was placing it on a soft surface and installing the CPU. I purchased an AMD Ryzen 7 7700 AM5 socket CPU. It came with AMD’s Wraith Prism RGB Cooler, which is a four heat pipe low-profile CPU cooler. I don’t care for its RGB colors, but it reduced the overall cost and provides adequate cooling for the 7700, which isn’t designed for overclocking.
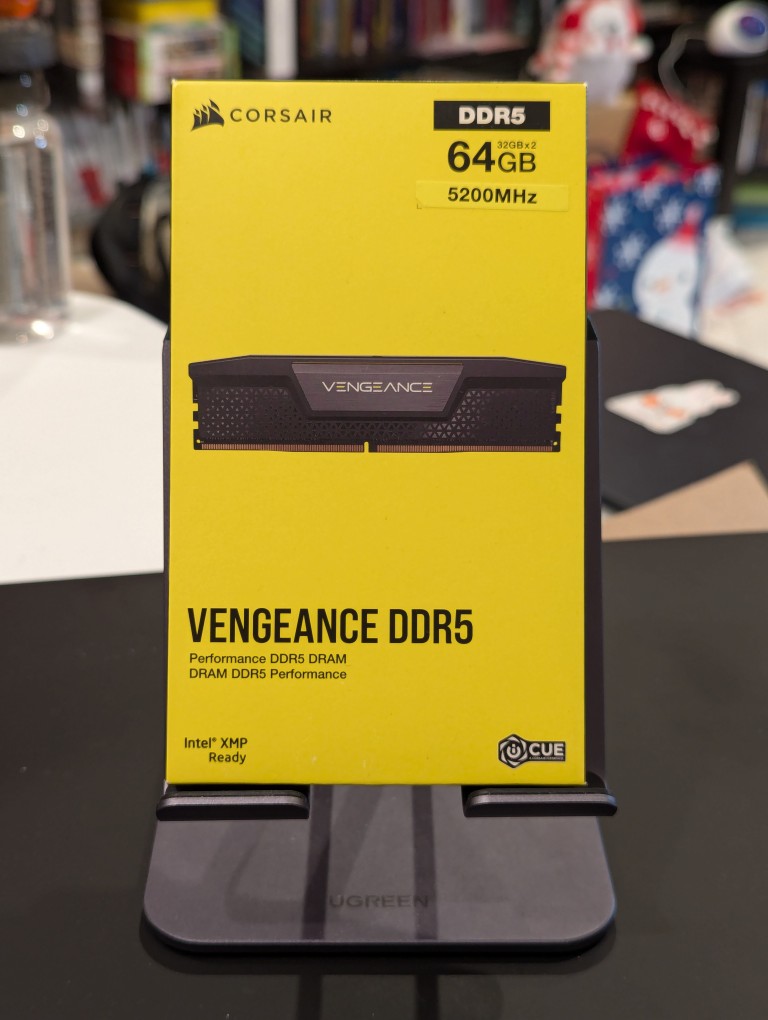
    corsair ddr5 64GB RAM vengeance product box

    Next, I installed the RAM that I just received–64GB Corsair Vengeance DDR5-5200 RAM (32 GB x 2).
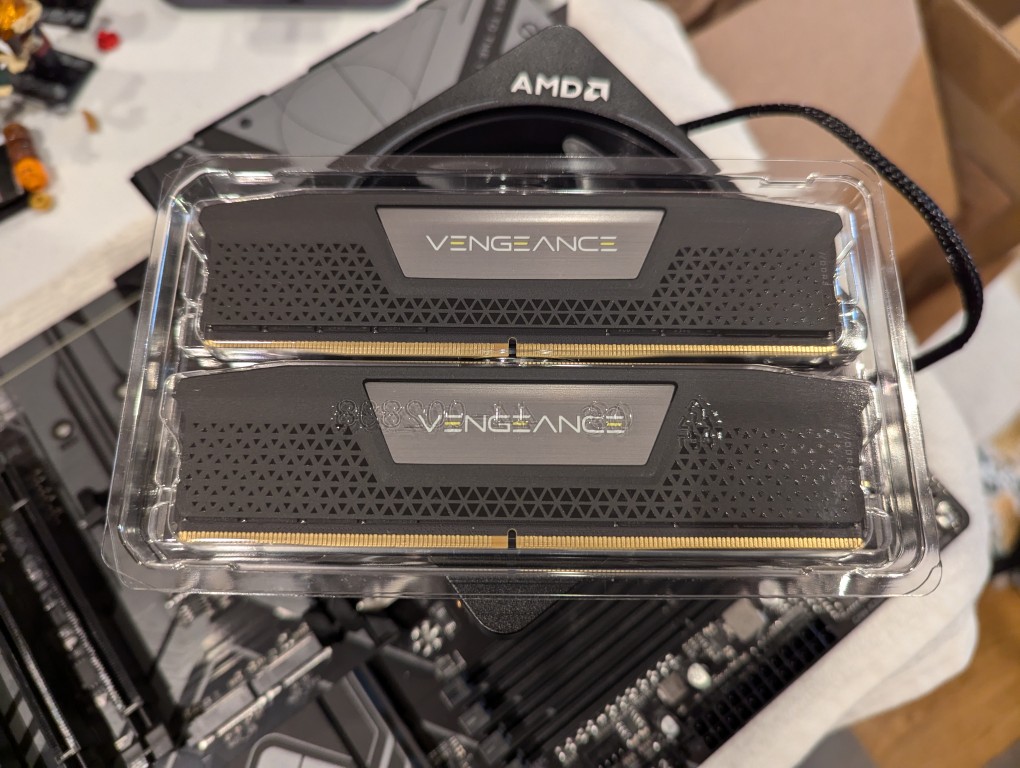
    2 sticks of DDR5 memory in a plastic case sitting on top of a motherboard

    This RAM runs at the stock highest speed for the 7700 CPU (though, I had to manually change the multiplier to 52x in the BIOS as it was registering as only DDR5-4800–it passed memtest86+ at the higher setting without any errors). As you can see above, it has nice heat spreaders built-in.
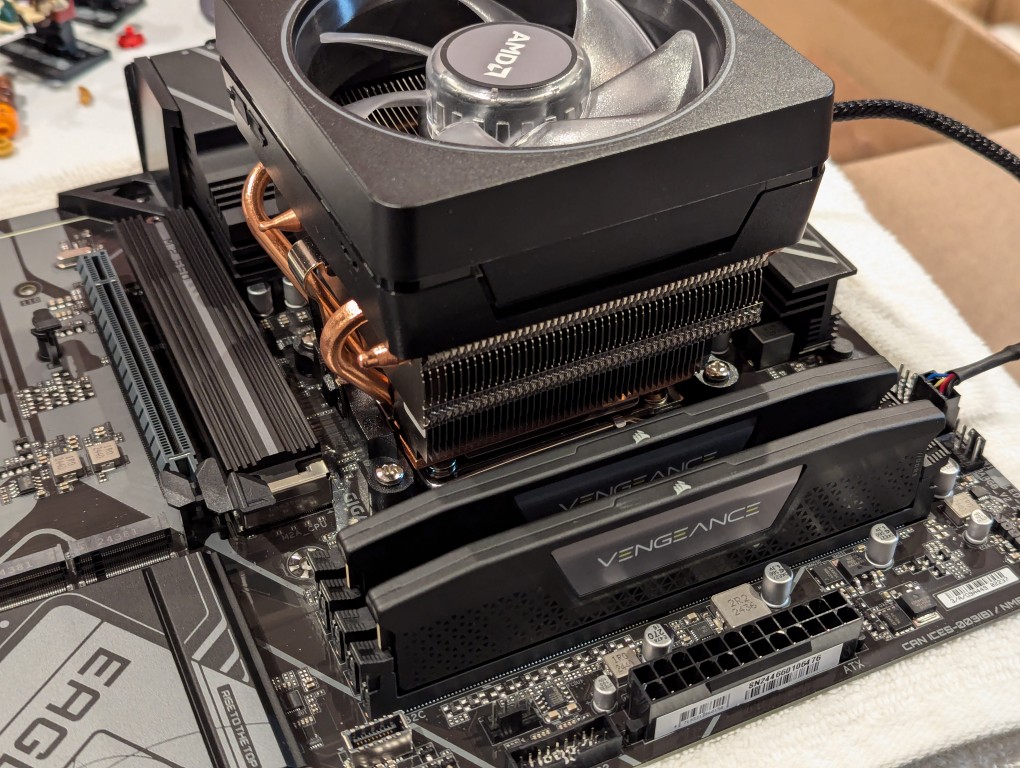
    2 sticks of ddr5 ram installed on a motherboard next to cpu and cpu cooler

    It’s important to note that I went with less RAM than my old system, because it’s well known that the AM5 platform and its current processors are not good at supporting higher RAM speeds for more than two RAM sticks. Since I’m focusing on doing inference with the video cards instead of the CPU (as I had done with the old system), I didn’t need as much RAM. Also, I figured that if I make the leap to a workstation-class CPU and motherboard, I can make a larger RAM investment as those systems also support 8-channel memory (more bandwidth, meaning faster inference) as opposed to the 2-channel memory (less bandwidth, slower CPU inference) on this consumer-focused motherboard.
    atx motherboard mounted inside a midtower computer case

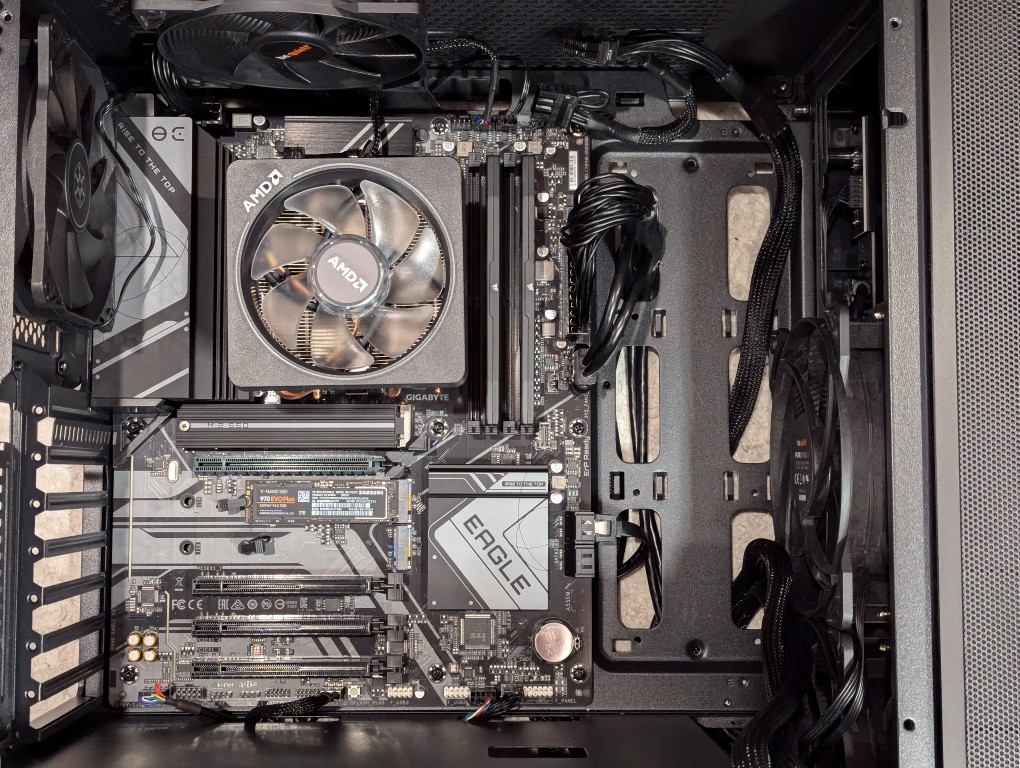
    Then, I installed two Samsung nvme SSDs on the motherboard–one under the headspreader directly below the CPU in the photo above and one below the top PCIe slot before installing the motherboard in my new, larger Silverstone FARA R1 V2 ATX midtower case after adding the few additional standoffs that were needed for an ATX motherboard.
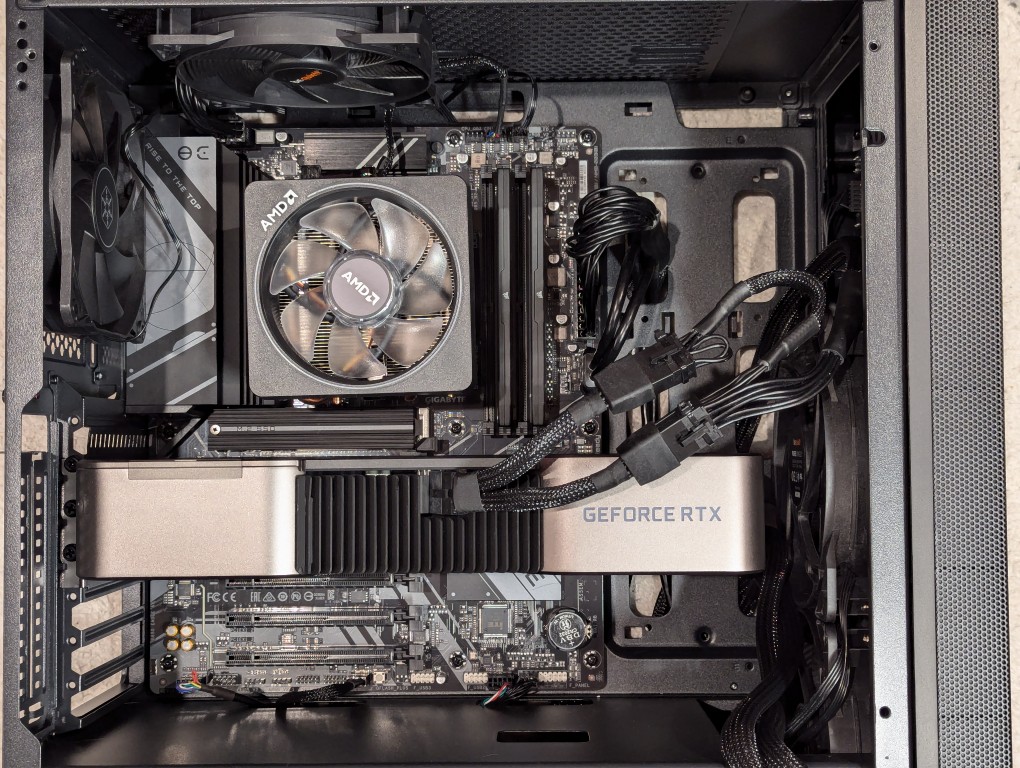
    RTX 3090 video card installed on motherboard inside a midtower computer case

    Out of frame, I installed the Corsair PSU in the chamber below the motherboard compartment after connecting the extra power cables that I needed for the three additional video cards. Then, I plugged in the 3090 video card and connected its two 8-pin PCIe power connectors.
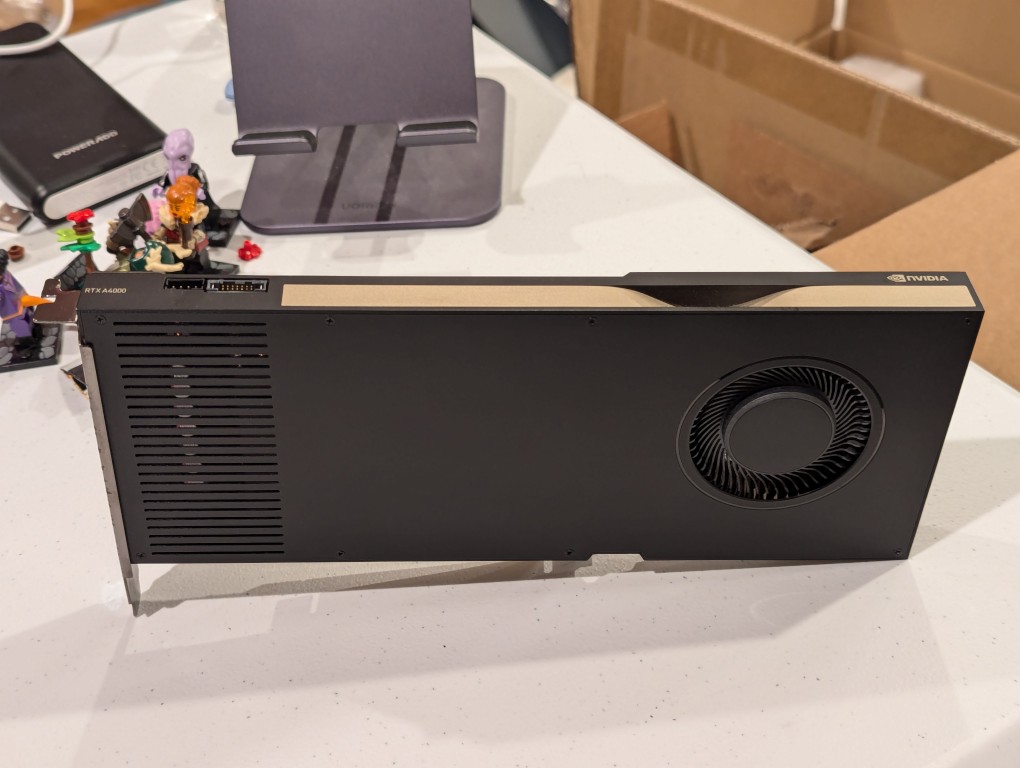
    thin long single slot video card with a single blower fan front

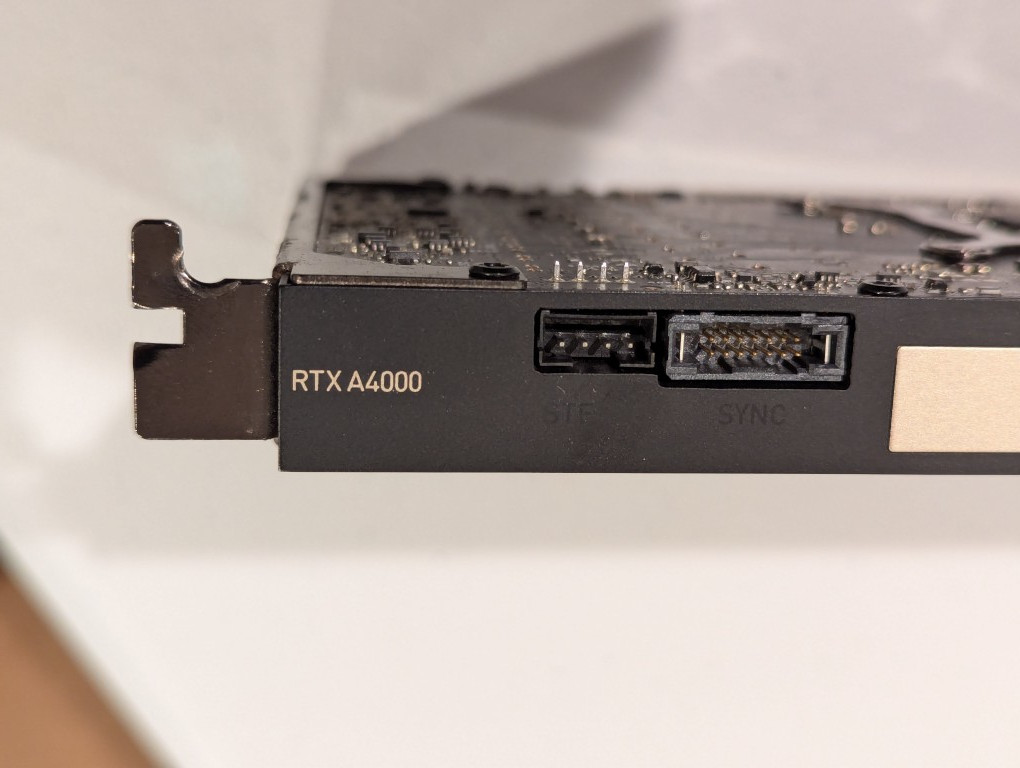
    Then, I turned my attention to the three used RTX A4000 video cards that I got off of eBay. They are single slot PCIe cards with a 6-pin PCIe power connector built into the front of the card close to the top edge.
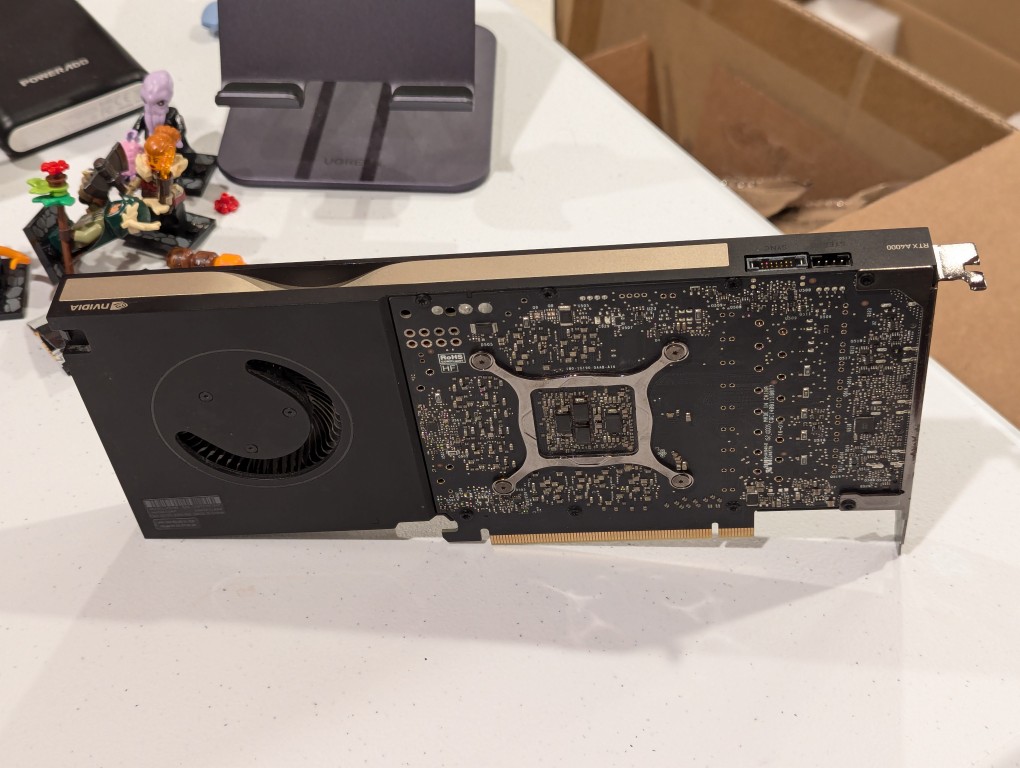
    thin long single slot video card with a single blower fan back with circuit board exposed
    close up of corner of single slot RTX A4000 logo on top edge of video card
    RTX 3090 and three A4000 video cards installed on ATX motherboard in a midtower PC case

    I installed the three RTX A4000s into the lower three slots and connected a 6-pin power cable to each one.
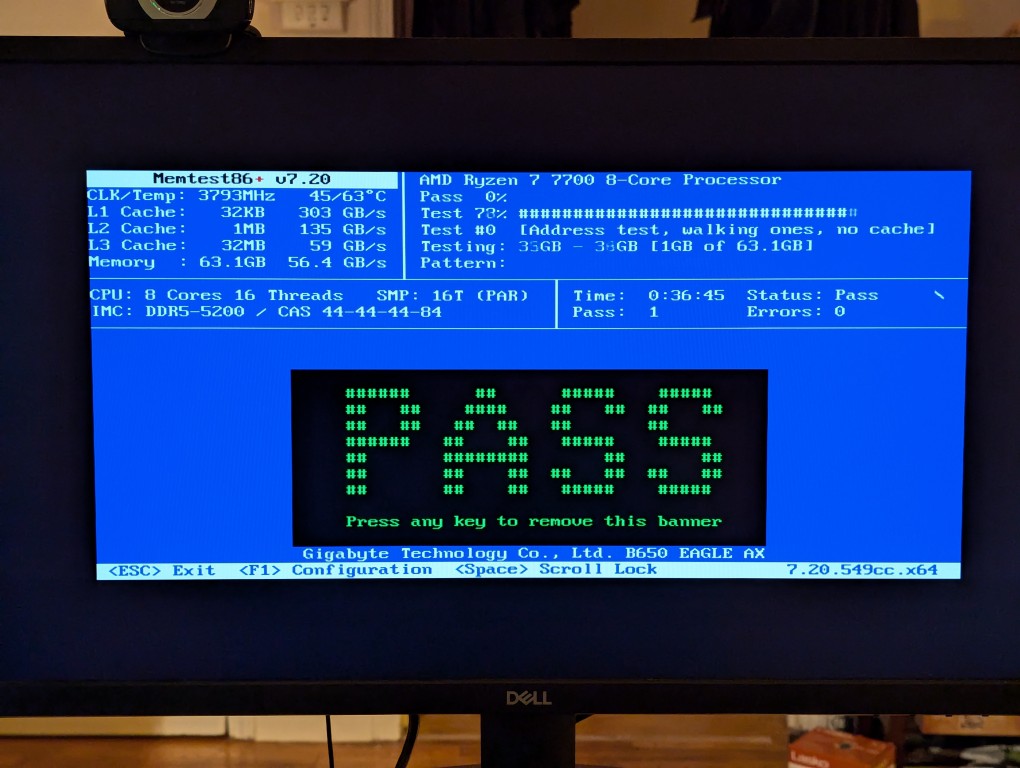
    memtest86+ RAM test screen with the large word "PASS" in the middle of the screen

    After double checking all of the connections, I powered up the system and booted from a thumbdrive loaded with memtext86+ after disabling Secure Boot in the BIOS. Before going to the trouble of installing an operating system, I wanted to make sure that the new RAM was error free.
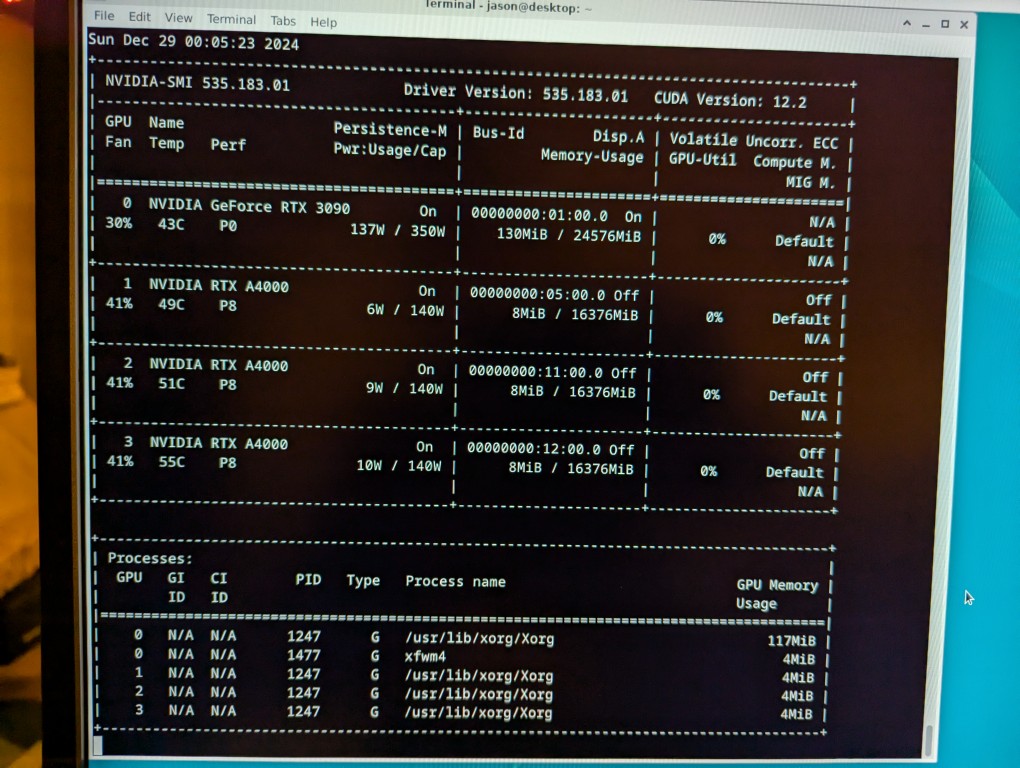
    nvidia-smi screen indicating the presence of four video cards: RTX 3090 and 3x A4000s

    With the RAM checking out, I proceeded to boot from another USB thumb drive loaded with the Debian 12 Bookworm installer. I formatted one of the 2TB Samsung nvme SSDs as the boot drive (LVM with encryption), installed Debian 12, configured the non-free repos, installed the closed source NVIDIA drivers, and checked to make sure all of the video cards were being recognized. nvidia-smi shows above that they were!
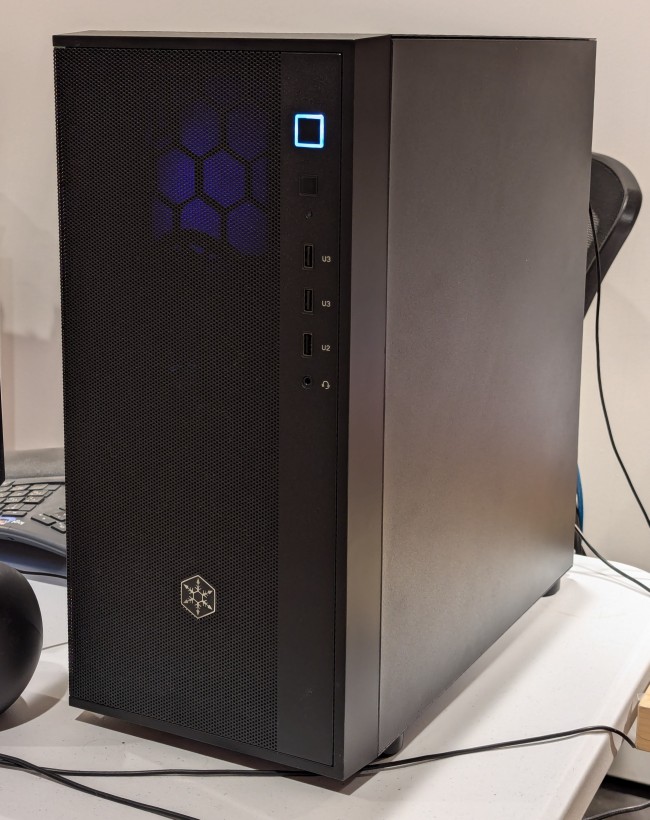
    black midtower atx computer case on a desk

    While testing it, I have it situated on my desk back-to-front, so that I can easily disconnect the power cable and open the side panel.
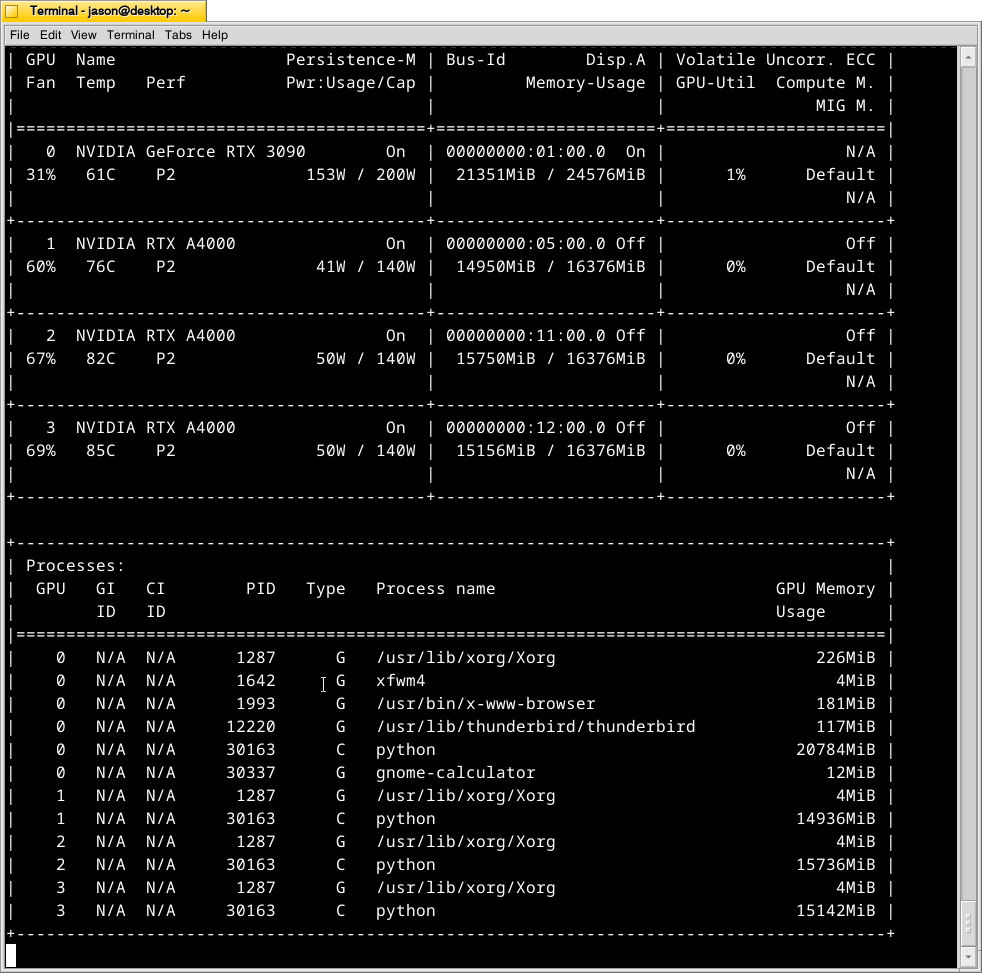
    nvidia-smi screen reporting higher temperatures in each lower video card in the system than the one above it

    The immediate fix that I need to make is improving the cooling for the video cards–especially the three RTX A4000s that are tightly packed at the bottom of the case. Looking at the second column from the left under each video card named is a temperature measurement in Celsius on the nvidia-smi screen captured during a text generating session, each lower card is running hotter than the one above it: the 3090 at the top is reporting 61C, the A4000 beneath it is reporting 76C, the A4000 beneath it is reporting 82C, and bottom most A4000 is reporting 85C. Besides the fact that they are right against one another in the case, there are two other concerns. First, the PCI slot supports on the case are partially covering the exhaust vents on each card. Second, the cooler outside air might not be making it to A4000s as well as I would like even though there are two 140mm fans positioned in the front of the case bringing in cooler outside air, which is exhausted by a 120mm fan in the back above the video cards and a 120mm fan on the top of the case above the CPU cooler. One option is to drill a large hold in the side panel and mount a 120mm fan there to blow outside air directly onto the A4000 cards. Another option that I might try first is rigging a channel from the back of the case to the A4000s to blow air from a two slot port above the A4000 cards to the top edge of those cards. The latter will require less work, so I’ll try it first and see if it changes the temperatures at all.
  • New AI Workstation Build Continues: Three NVIDIA A4000 Video Cards

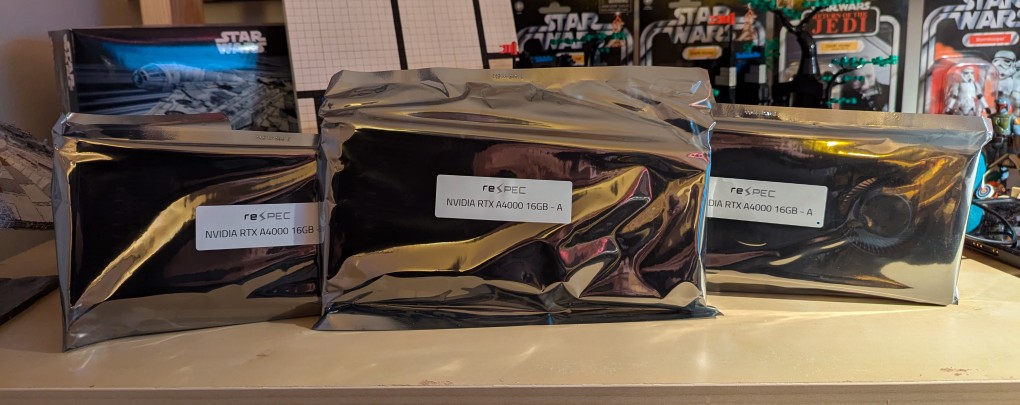
    After receiving a new AMD Ryzen 7 7700 CPU earlier this week, I received the three NVIDIA RTX A4000 16GB VRAM video cards pictured above in antistatic bags today for my new AI workstation. Brand new, these cards run just over $1000, but I got these refurbished ones from an eBay seller for just under $600 each. These three video cards will work alongside my NVIDIA RTX 3090 Founders Edition 24GB VRAM video card for a total of 72GB VRAM, which will allow me to run low-or-no quantized large language models at a much faster output rate than I currently can using the 3090 with system RAM. The limited PCIe lanes on the Gigabyte motherboard that I ordered shouldn’t be too limiting as far as inference work is concerned.

  • New CPU, New Computer Build Begins

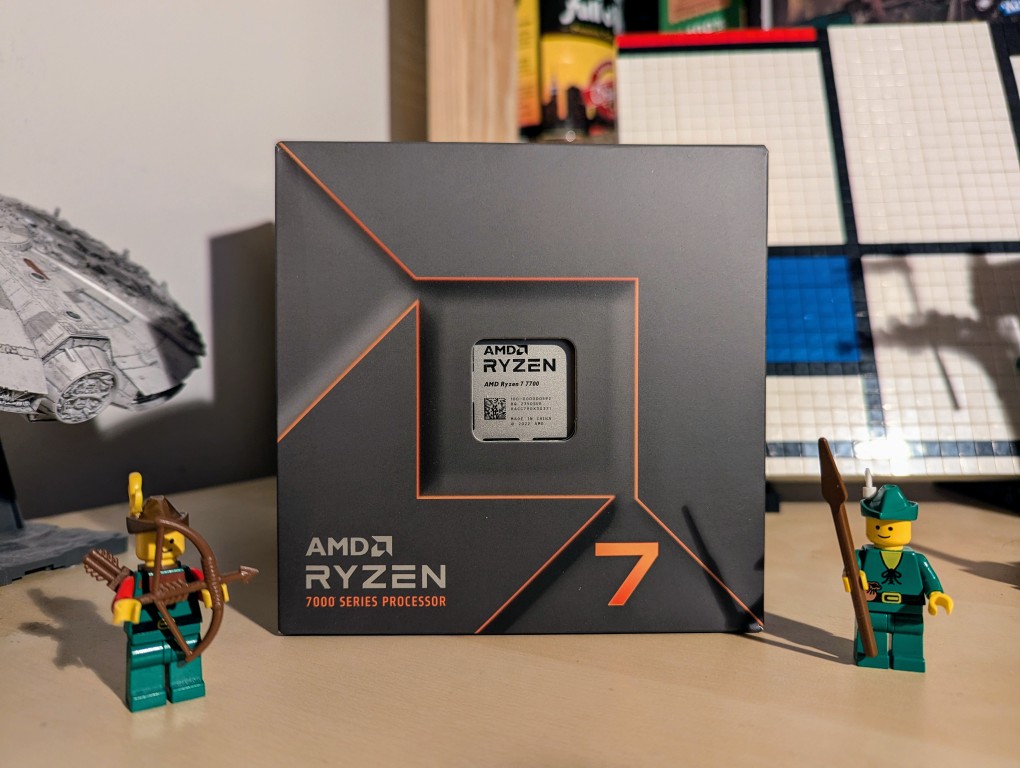
    boxed amd ryzen 7 7700 cpu on a desk, lego forestmen on either side, millennium falcon and mondrian painting in lego in background

    Knowing that tariffs, or a tax ultimately paid by those who buy those imported goods, are coming, I planned out a new workstation for doing LLM and Generative AI work. The first part arrived today: an AMD Ryzen 7 7700 CPU. While I would have certainly loved to build a system around an AMD Threadripper Pro with its 8-channel memory and numerous PCIe slots and plenty of lanes to support maximum throughput, I am just an English professor of simple means, so I opted to build around the least expensive options available to me and using a combination of new and used parts. Therefore, I am upgrading from my current AM4 socket system to an AM5 socket motherboard that supports DDR5 memory and this lower-wattage, non-overclocking CPU. I’m currently waiting on the arrival of a motherboard with 4 PCI slots (spaced to allow the four video cards that I plan to run), three NVIDIA RTX A4000 video cards with 16GB VRAM (used via eBay), 64GB (2 x 32GB) Corsair DDR5 RAM, and an ATX mid-tower case. I’ll use my current drives, 1000 watt power supply, and NVIDIA RTX 3090 Founders Edition video card in the new system. Most of my work focuses on inference, so the slower PCI slots in this build won’t hurt too bad–it should far exceed CPU inference even with faster RAM.

  • There and Back Again on Amtrak

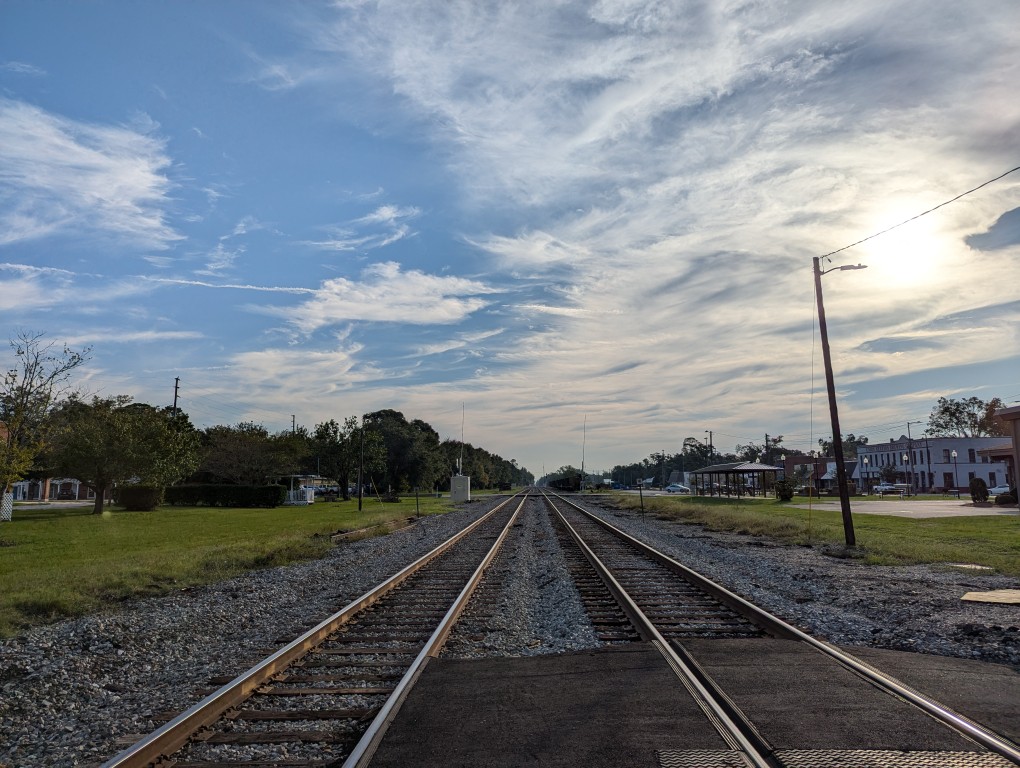
    railroad tracks extending to the horizon

    Before we knew about Hurricane Helene, I had planned to visit my folks for two weeks to help out after my dad got out of the hospital for a back ailment. I took Amtrak’s 97 Silver Meteor from NYC to Jesup, Georgia (Sept. 24-25, 2024), and returned via the 98 Silver Meteor from Jesup to NYC (Oct. 8-9, 2024). Here are some pictures of the trains, sleeper car rooms, and meals.

    97 Silver Meteor (NYP to JSP)

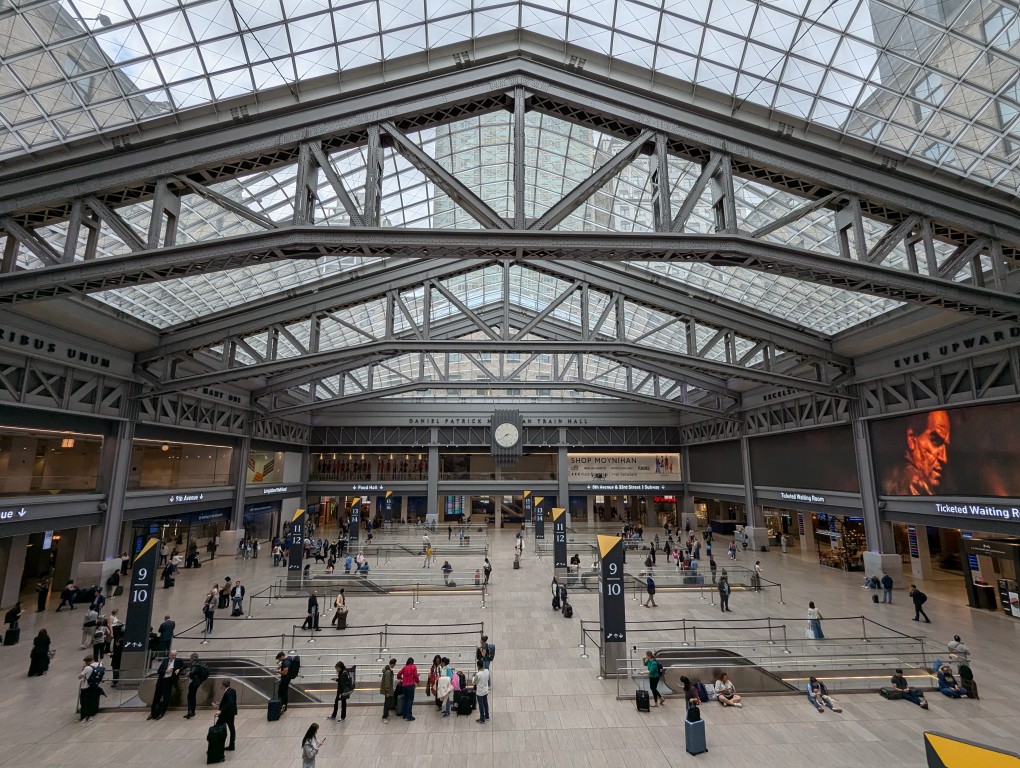
    steel trusses holding up the glass roof over a floor with escalators going down

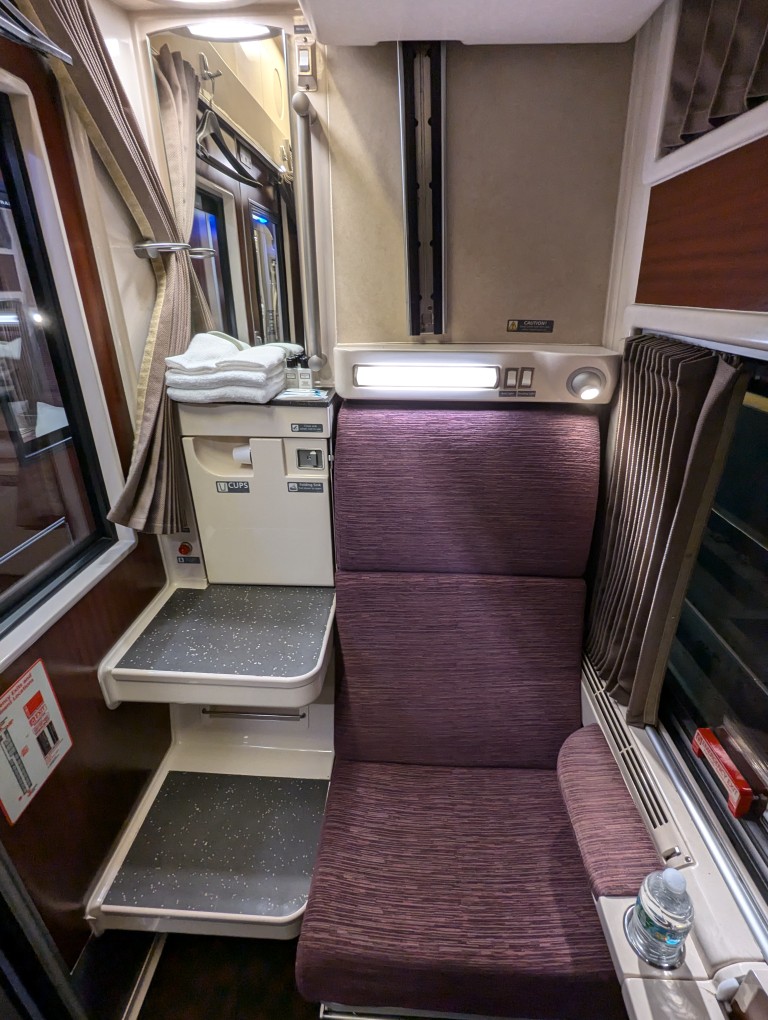
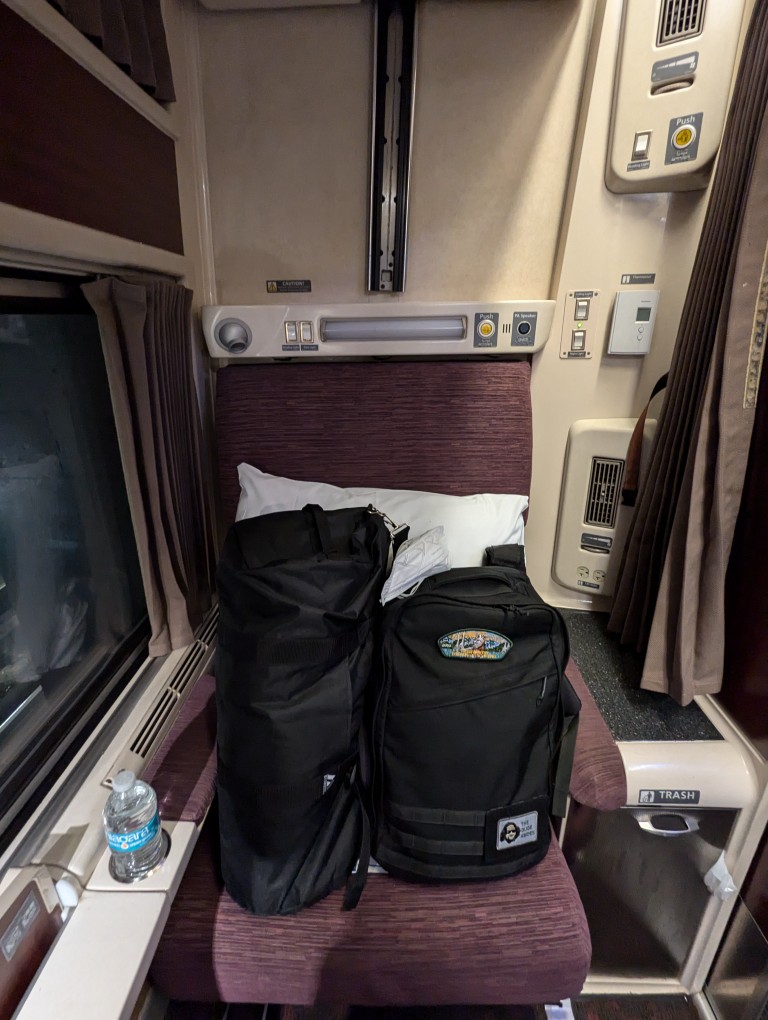
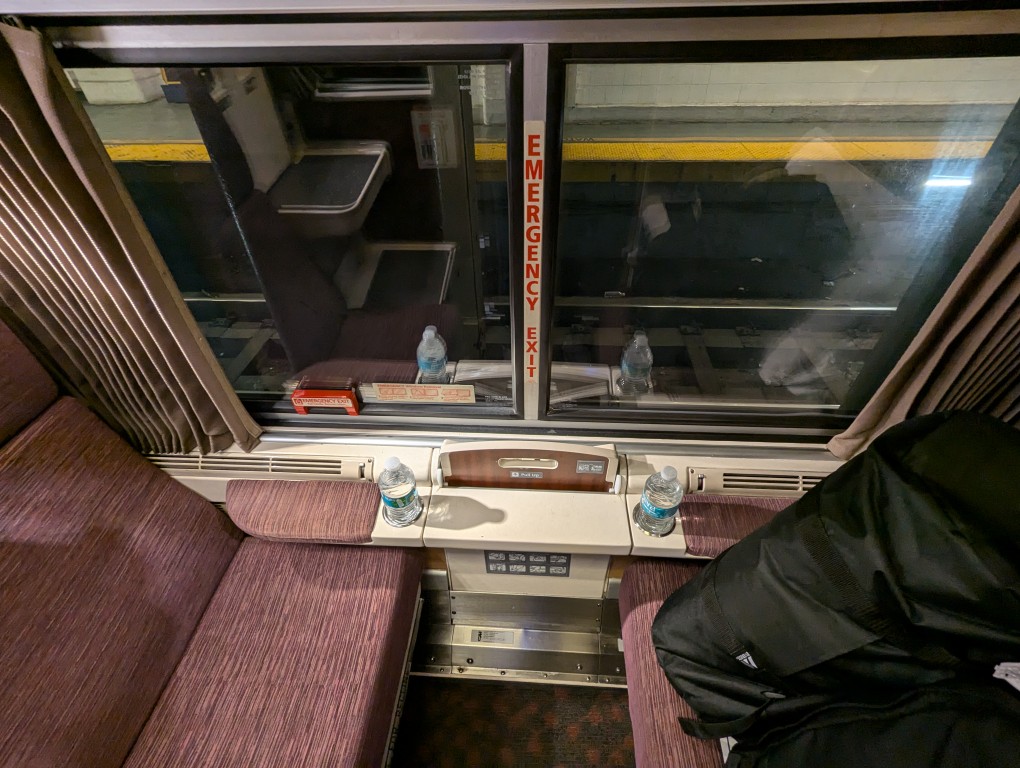
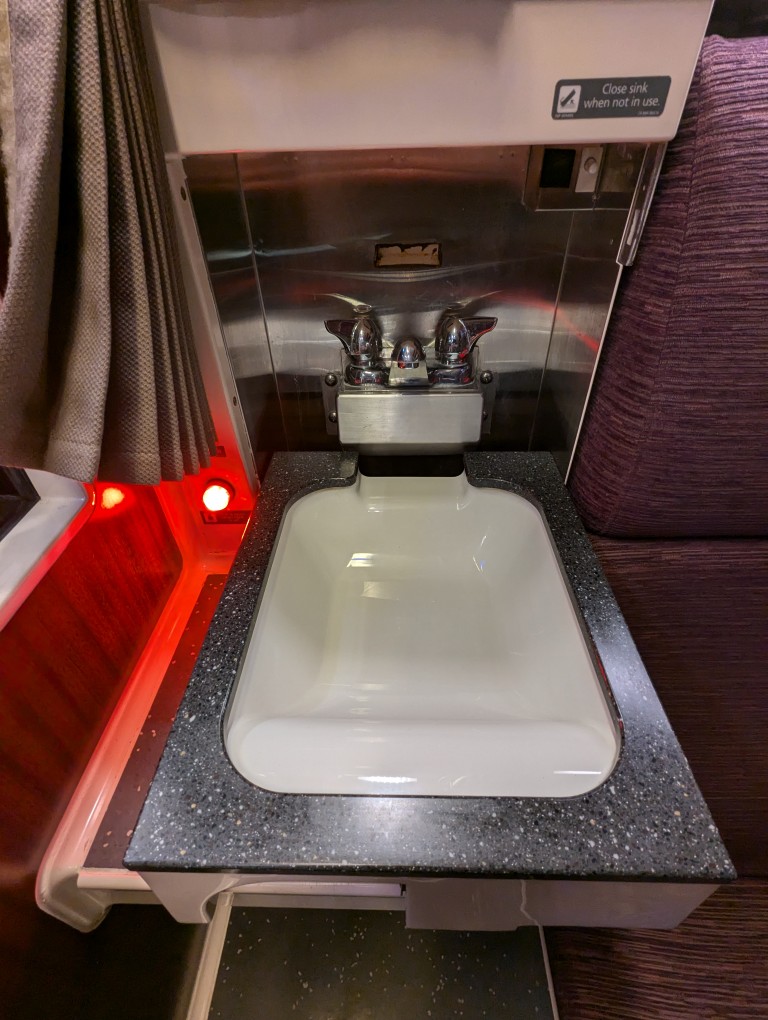
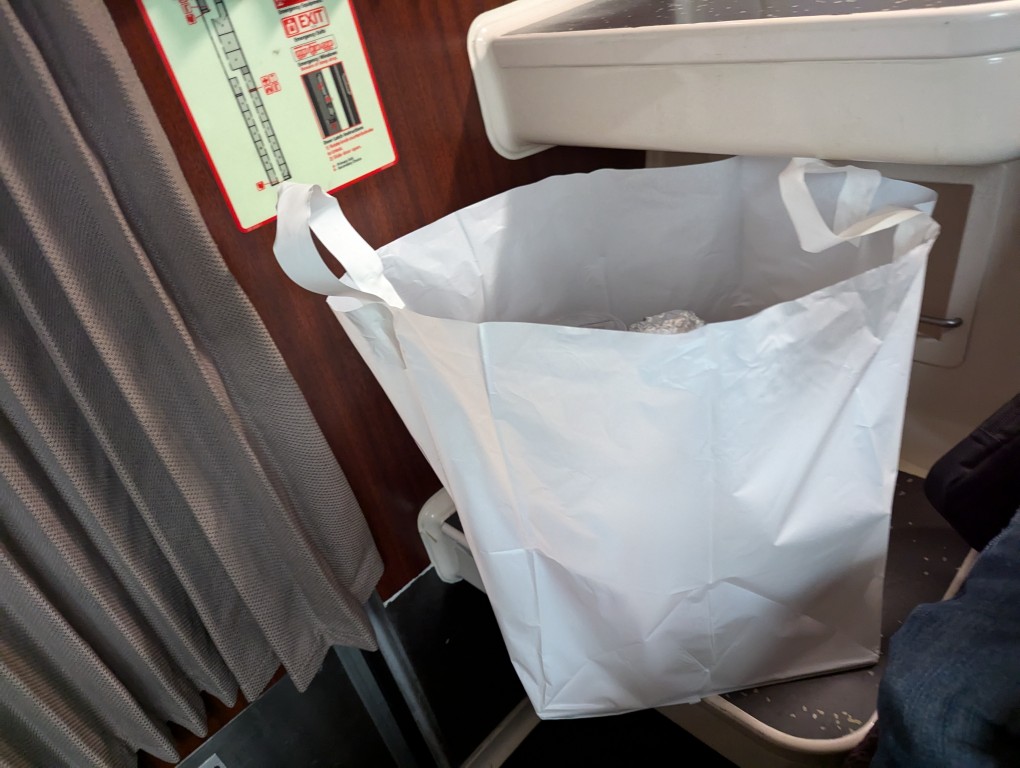
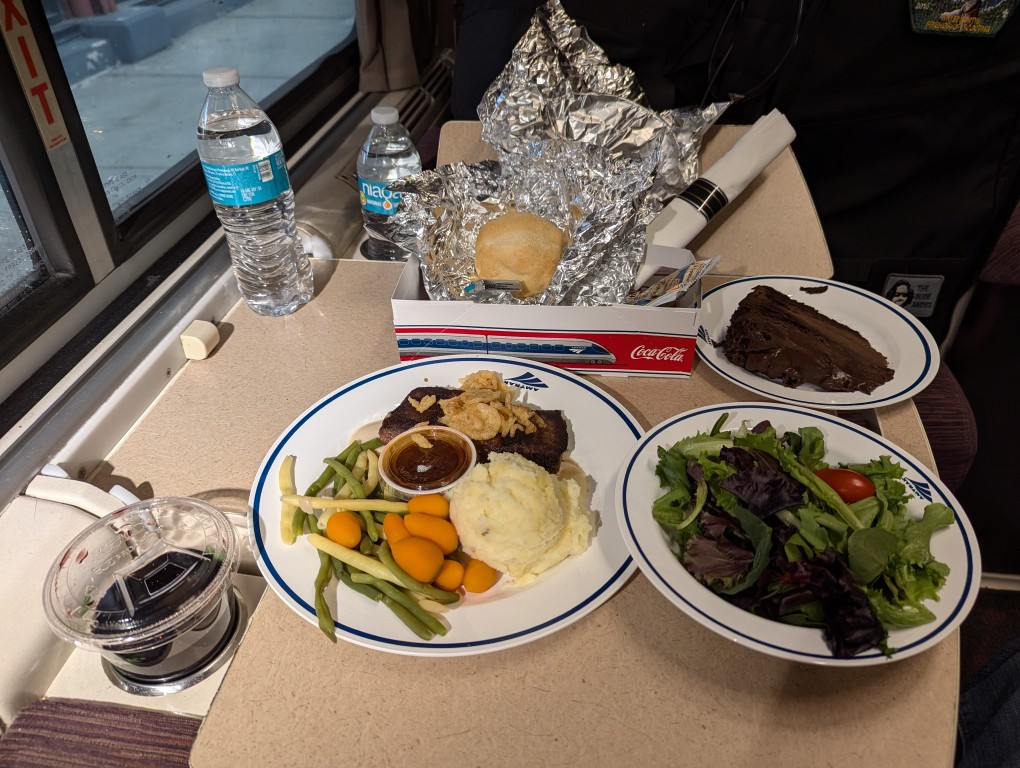
    The 97 Silver Meteor sleeper cars didn’t have a toilet in the room as my previous Amtrak ride from JSP to NYC. Otherwise, the car seemed of newer construction. However, the room door rattled constantly. I should have asked for something to wedge into the door to eliminate that noise (and sleep better as a result). I liked how the in-car sink had turn knobs, which work much better than the push button faucets (either too little water or an explosion of water). Because the dining car was full, I asked for dinner in my room. It came with all the trimmings and was delicious! The worst part of the trip was someone in my car was going to bridge between cars to smoke. They left the door open, smoke entered the car, and set off the smoke alarms in unoccupied rooms and mine when I went to investigate. The culprit did not reveal him or herself.

    amtrak train roomette with seat and sink
    amtrak train roomette with seat occupied by two bags and a pillow
    two seats inside amtrak train roomette
    amtrak train roomette sink folded down for use
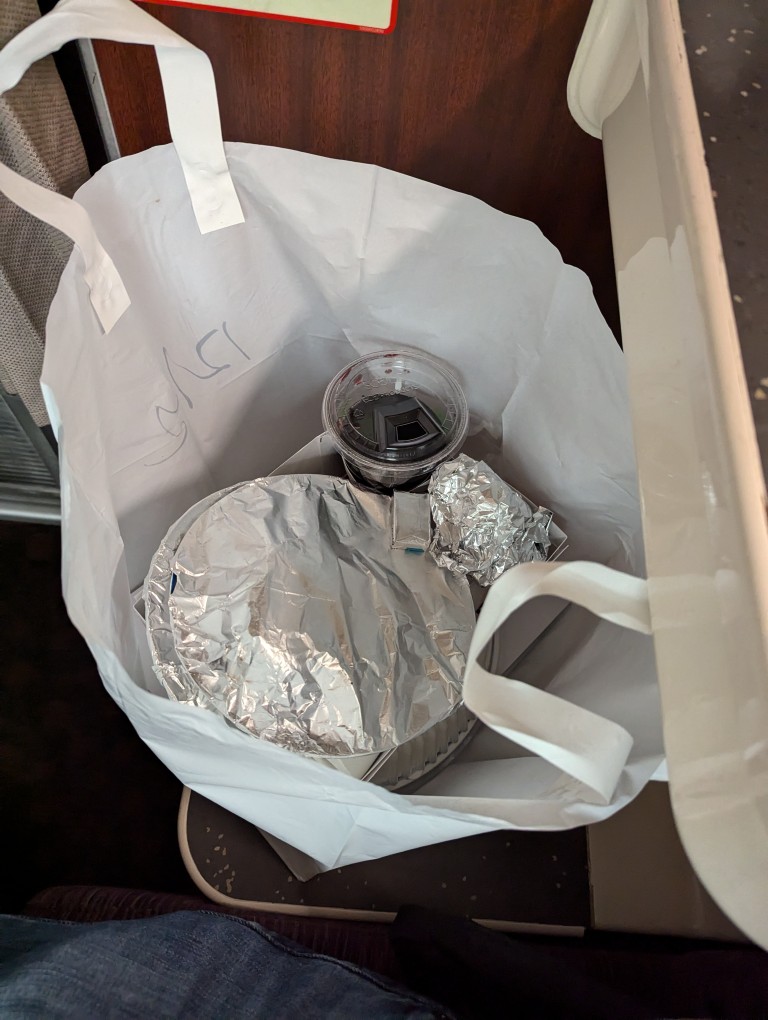
    amtrak dinner service white plastic bag
    amtrak dinner service white plastic bag interior with plates wrapped with foil and plastic cup of red wine
    amtrak dinner service on foldout table in roomette--steak, potatoes, vegetables, salad, chocolate cake, roll, and red wine in plastic cup

    98 Silver Meteor (JSP to NYP)

    greetings from jesup georgia mural painted on a brick wall

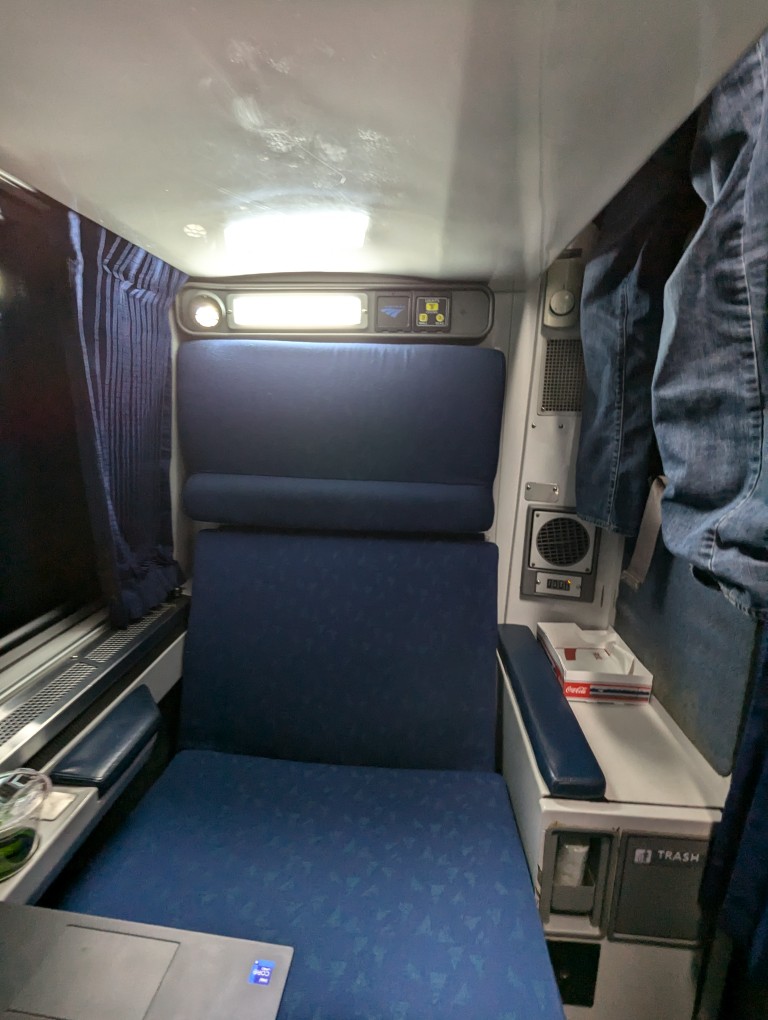
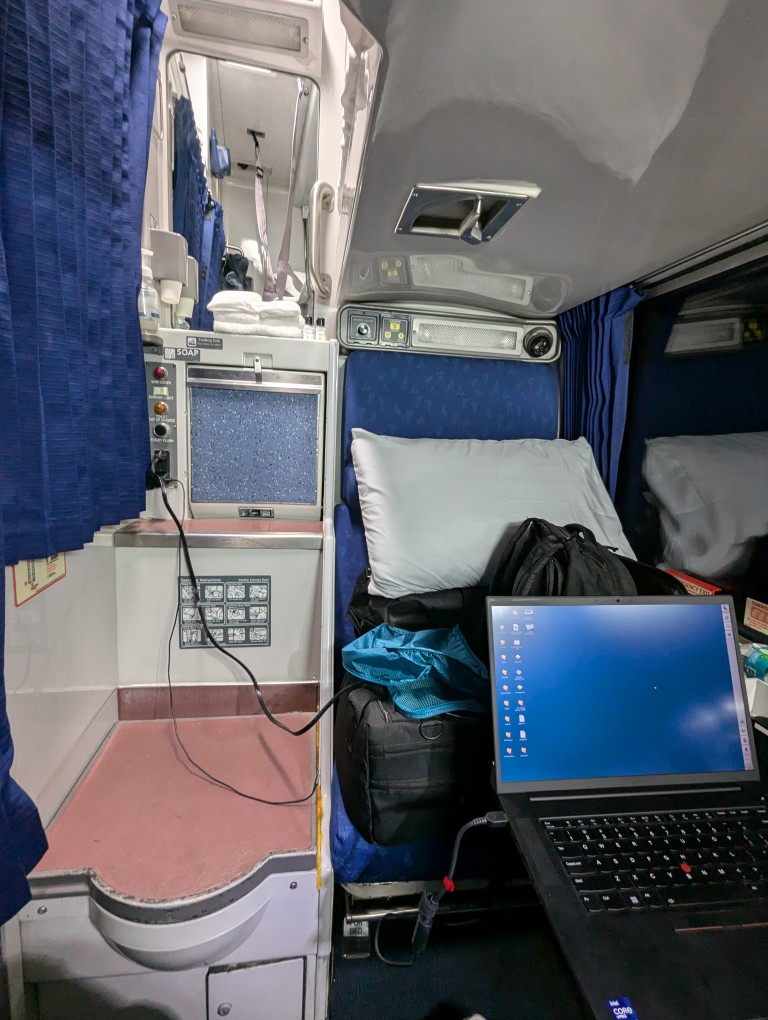
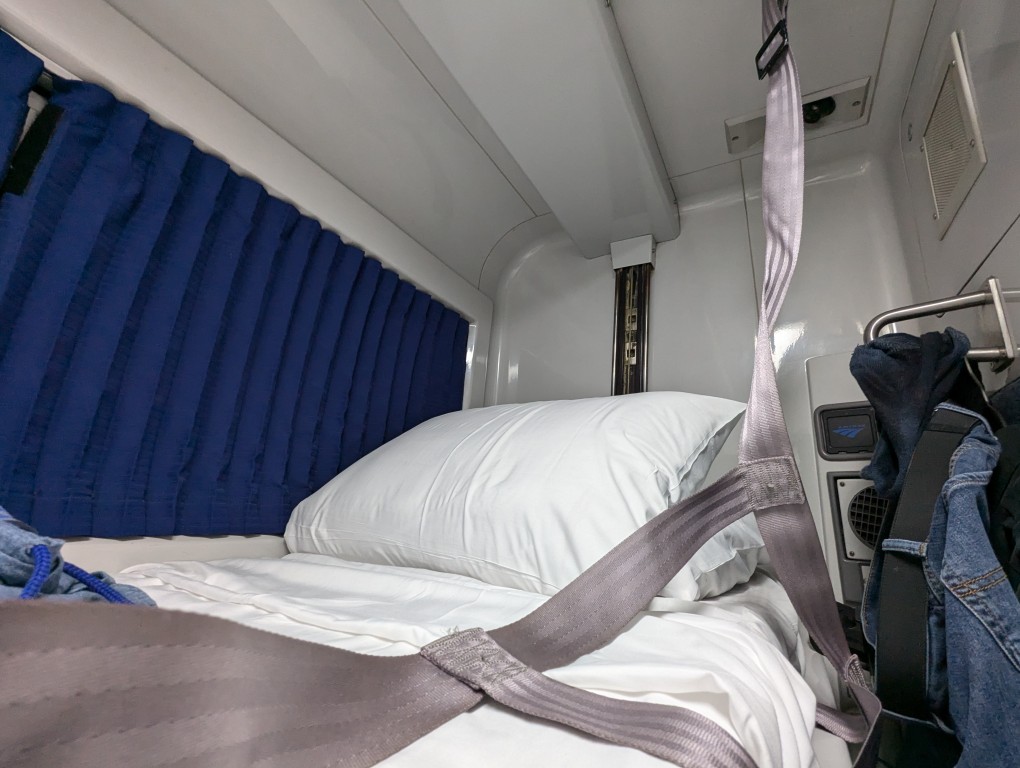
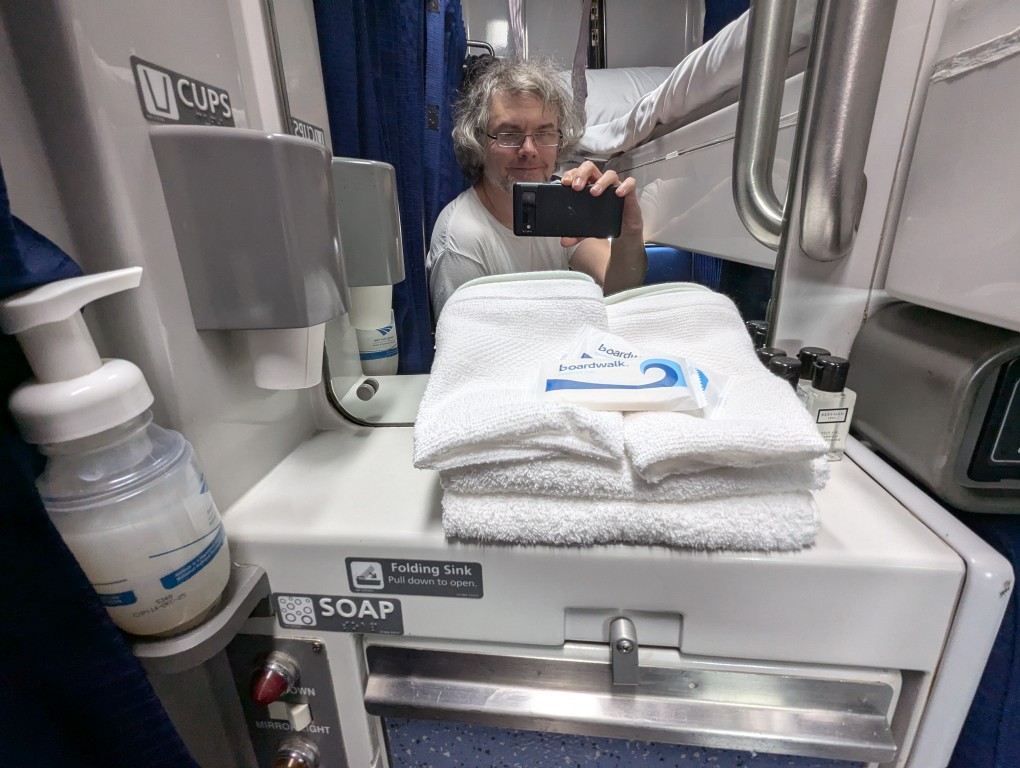
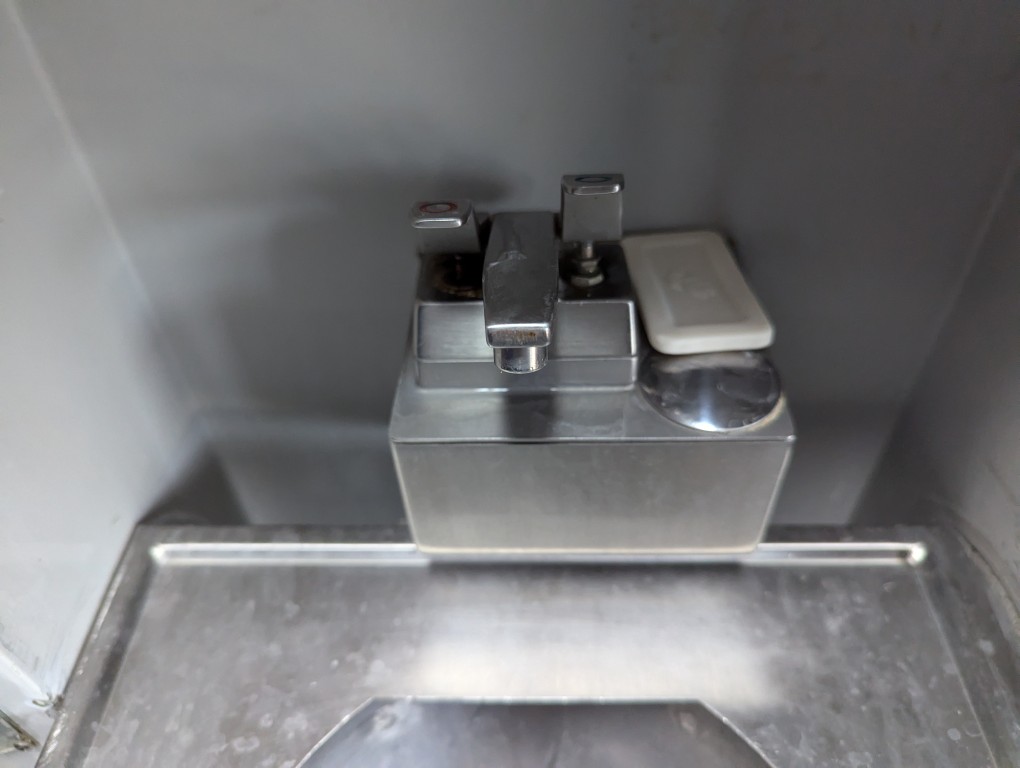
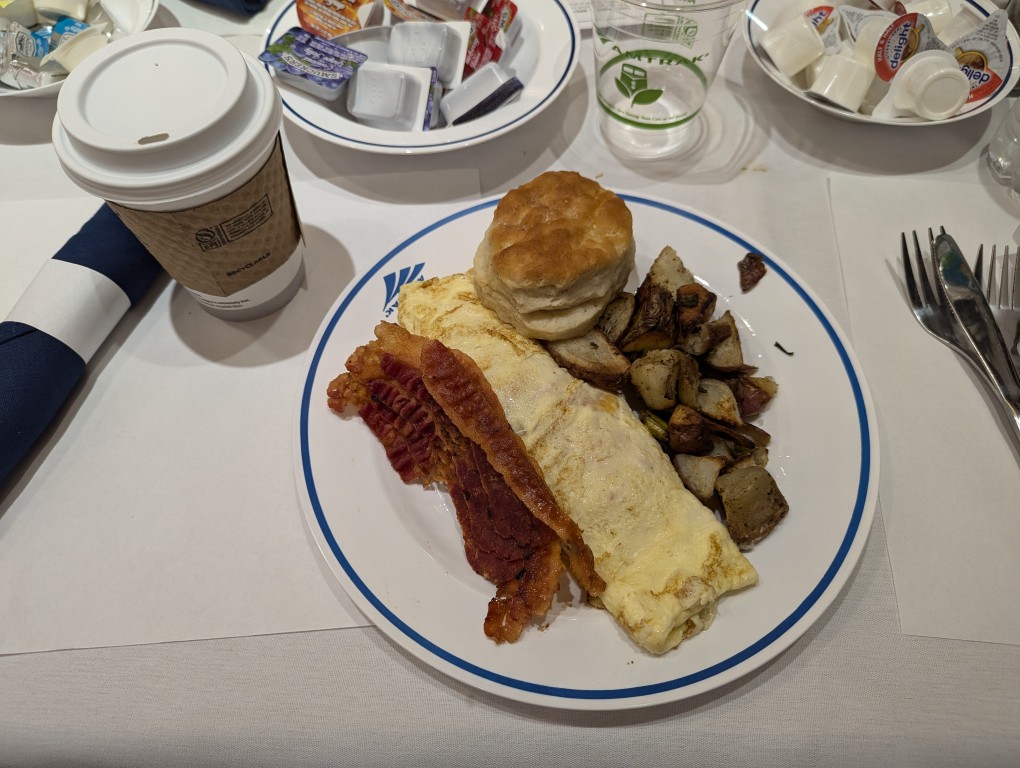
    The Silver Meteor from JSP to NYP was much like my previous ride from SAV to NYP. The roomette was very similar–toilet in the room, push-button sink controls, older construction, and less vibration noise. I had breakfast in the dining car close to 7:00am. The omelet and fixings hit the spot! The downsides to this ride was that the water pressure was far too high on the sink faucet and the air conditioning was warm despite changing the thermostat.

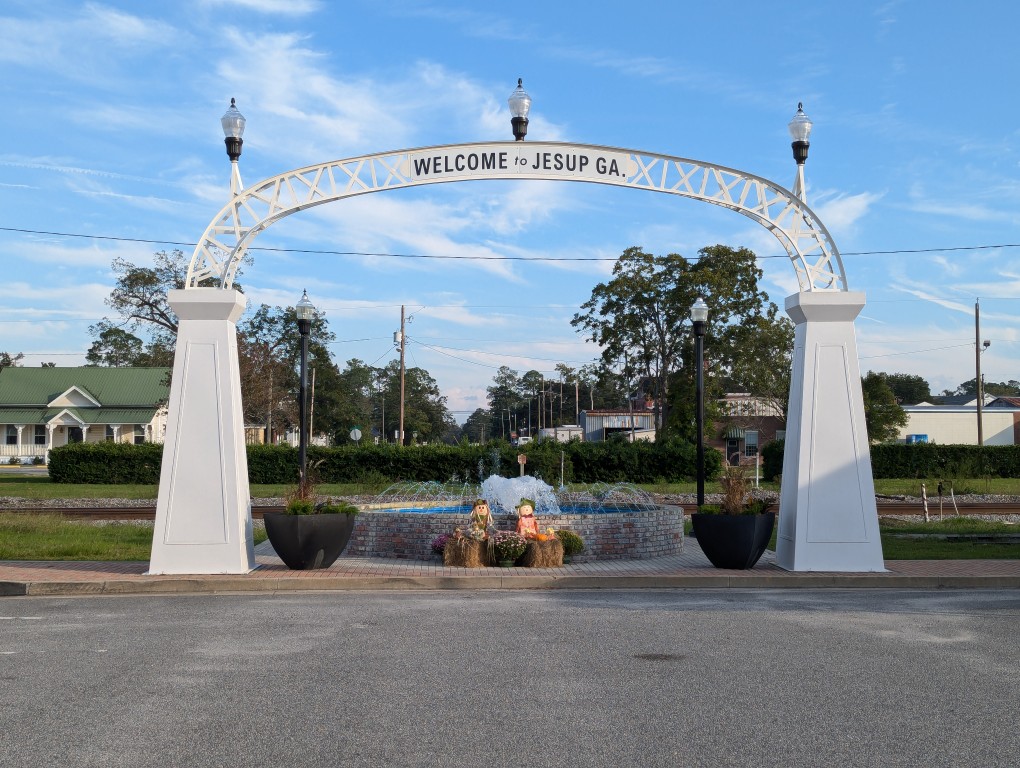
    welcome to jesup georgia arch and fountain in front of train tracks
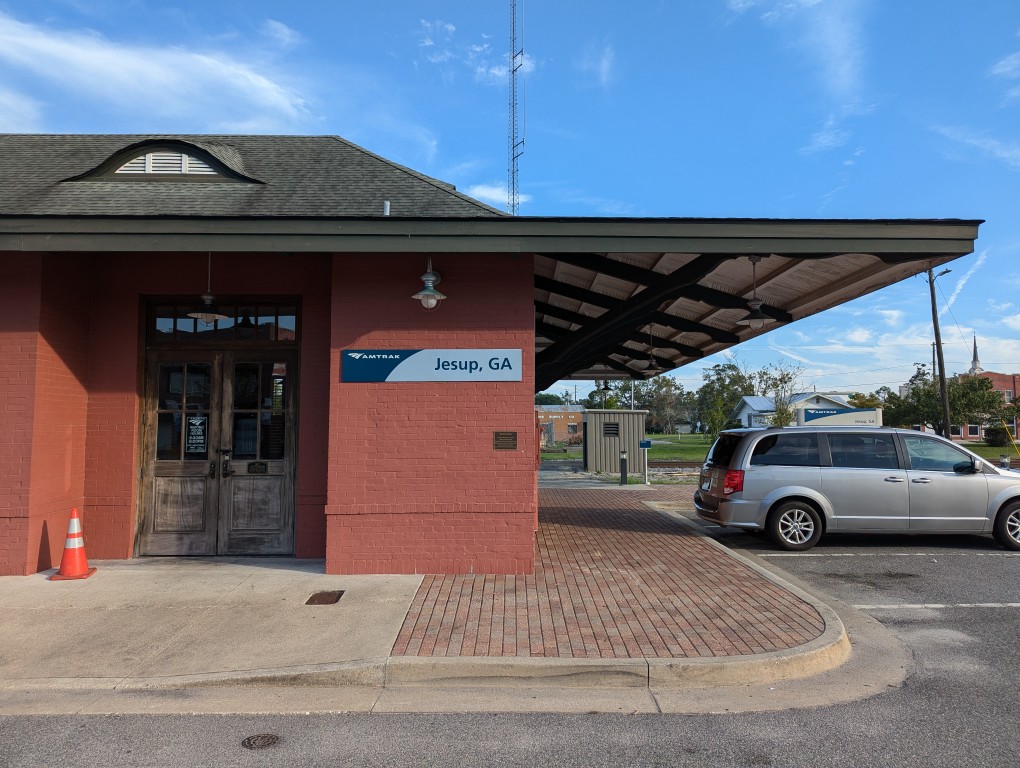
    amtrak train station in jesup georgia--a long brick building with a low ranch roof
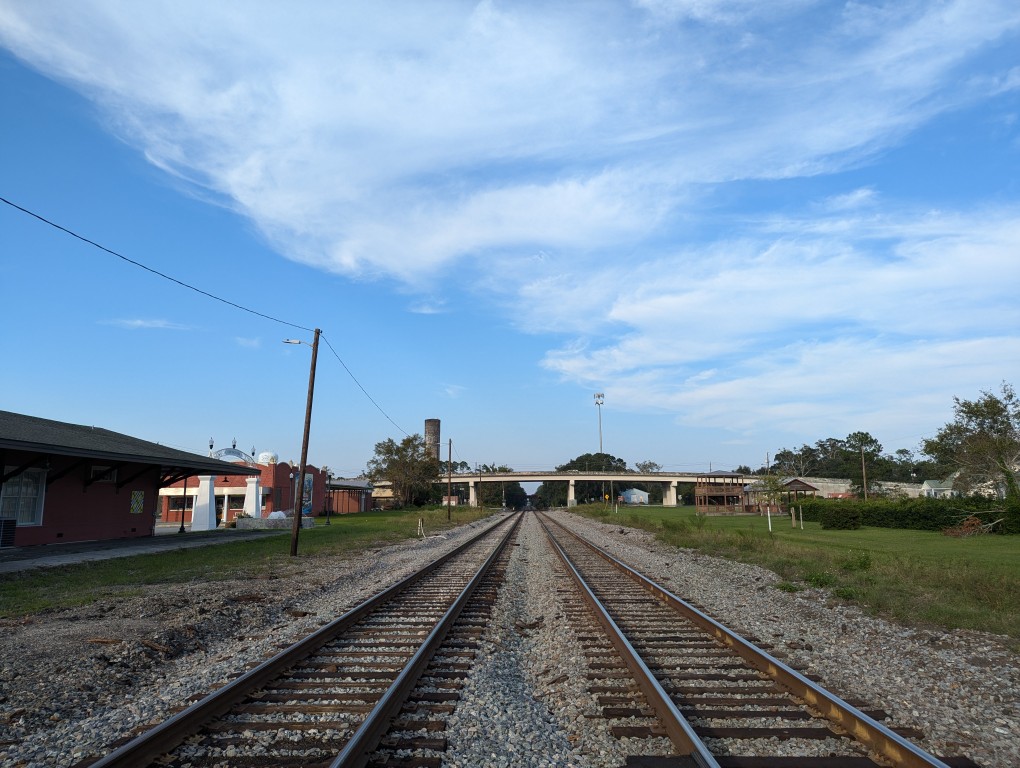
    two sets of train tracks extended to the horizon and going under an roadway overpass
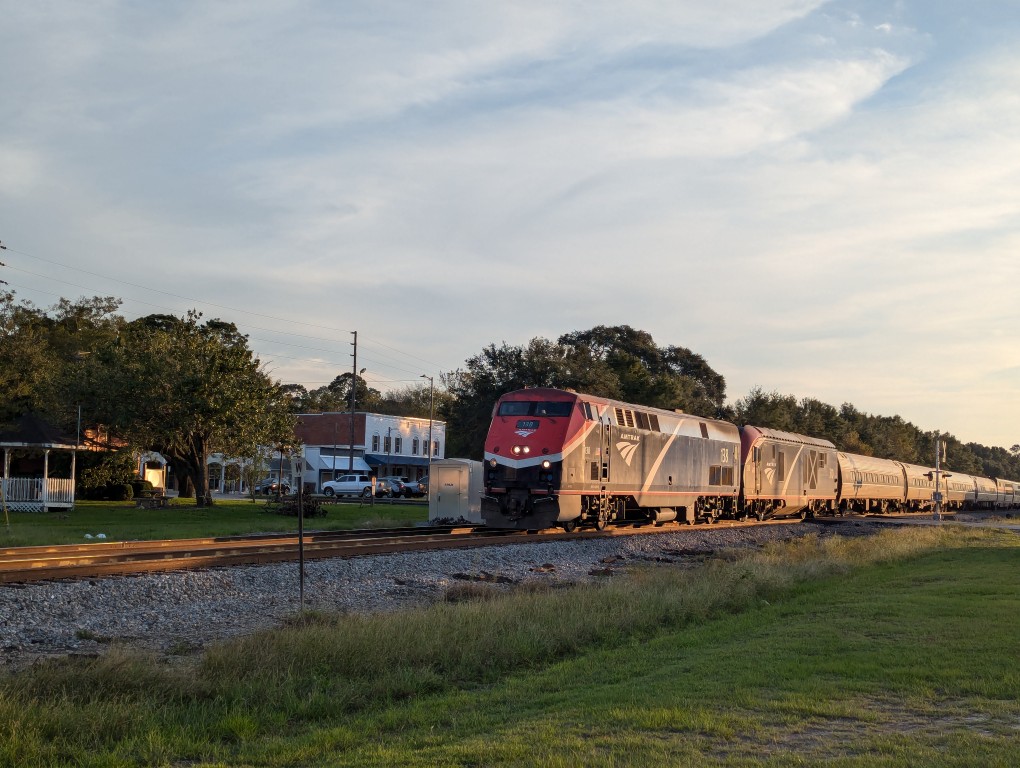
    a passenger amtrak train approaching the station in jesup georgia
    amtrak roomette seat
    amtrak roomette seat filled with bags, laptop open on foldout table, toilet and sink on the left
    amtrak roomette bunk bed made
    amtrak roomette sink mirror with towels and soap and drinking cups
    amtrak roomette sink with push-button faucet
    amtrak dining car breakfast of omelette, bacon, potatoes, and biscuit on a table with white tablecloth
    view of downtown manhattan skyline from new jersey
  • Star Trek: The Next Generation Interactive Technical Manual: “A Space You Can Live in From Time to Time”

    Star Trek: The Next Generation Interactive Technical Manual, loading screen.

    My absolute favorite piece of software for my 486DX2/66MHz computer with a CD-ROM drive was the Star Trek: The Next Generation Interactive Technical Manual (1994). Built using Macromedia Director and Apple Quicktime VR and distributed on CD-ROM for Macintosh and Windows 3.1, it presents an LCARS (Library Computer Access/Retrieval System) interface to the user for navigating through spaces aboard the USS Enterprise NCC-1710-D, viewing the exterior and interior three-dimensionally, reading technical information, hearing ambient starship sounds, and listening to audio from the Computer (Majel Barrett-Roddenberry) and Command William Riker (Jonathan Frakes).

    Before its release, I religiously carried around Rich Sternbach and Michael Okuda’s Star Trek: The Next Generation Technical Manual (1991)–a soft cover, magazine-sized book about 1/2″ thick–that detailed the design and function of 24th-century technology that went into the USS Enterprise NCC-1701-D. I filled it with marginalia and referenced it when I was drawing or discussing esoteric technical minutiae of Star Trek: TNG. It is an example of printed technical communication material about the science and technology scaffolding for the science fictional narratives of Star Trek: TNG. The Interactive Technical Manual added so much more to the experience by putting the user into the spaces described and illustrated on the two-dimensional pages of the Technical Manual. While the Interactive Technical Manual wasn’t as nearly portable as the Technical Manual, it felt like a revolutionary approach that despite being static continued to provide new and interesting experiences for the user based on the interactive path and options (e.g., tour vs. explore; voice vs. no voice; jump vs. transit) selected.

    For this post, I ran the Interactive Technical Manual on Macintosh System 7.5.5 emulated on SheepShaver on a Debian 12 Bookworm host. In the past, I have got the Interactive Technical Manual to run on Windows 3.1 installed on DOSBox, but I don’t currently have that setup on this computer. Using the included Quicktime with Quicktime VR is key to successfully running the software on either operating system setup.

    Star Trek: The Next Generation Interactive Technical Manual, landing screen.

    After loading, it gives the user options: Guided Tour or Explore. The Guided Tour features Jonathan Frakes as Commander William Riker providing voiceovers as various points, equipment, and artifacts around the Enterprise are shown on the screen. Explore takes the user directly to the Ship Exterior view with the LCARS navigation menu open on the right.

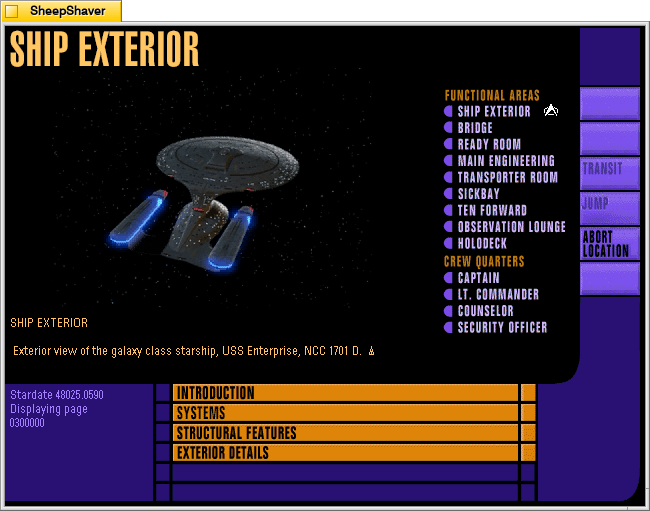
    Star Trek: The Next Generation Interactive Technical Manual, Ship Exterior screen.

    Ship Exterior is the landing page for the Explore option. The view of the Enterprise on the left is a Quicktime VR movie with options to rotate the ship up or down or left or right with gradations in between on each axis, which make it feel like rotating the ship as a three-dimensional object. This was a mind-blowing feature to me at that time. Despite the low resolution and small color palette, looking at the Enterprise from all of these angles–many I had never seen in an episode of Star Trek: The Next Generation before–felt like the future. Using the LCARS navigation menu on the right and clicking on Location loads options for other places around the Enterprise to see and learn more about.

    Star Trek: The Next Generation Interactive Technical Manual, Bridge screen.

    An important place to visit on the Enterprise is the Bridge. The image of the bridge on the left is a Quicktime VR video that allows the user to look around 360 degrees and click “forward” into other nearby views. Those other views are represented by the white squares in the legend on the lower right corner of the screen. Moving through the space of the bridge felt as close to being there as possible at that time. The closest that we’ve come to that today is the fan-made Studio 9 over 20 years later.

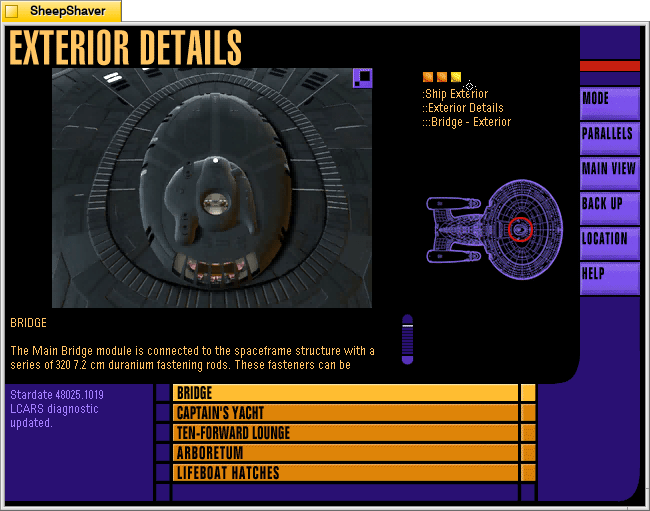
    Star Trek: The Next Generation Interactive Technical Manual, Bridge Exterior Details screen.

    From the Bridge screen, clicking on the Parallels option opens cross-referenced information related to the Bridge. In this case, an Exterior Details view of the Bridge.

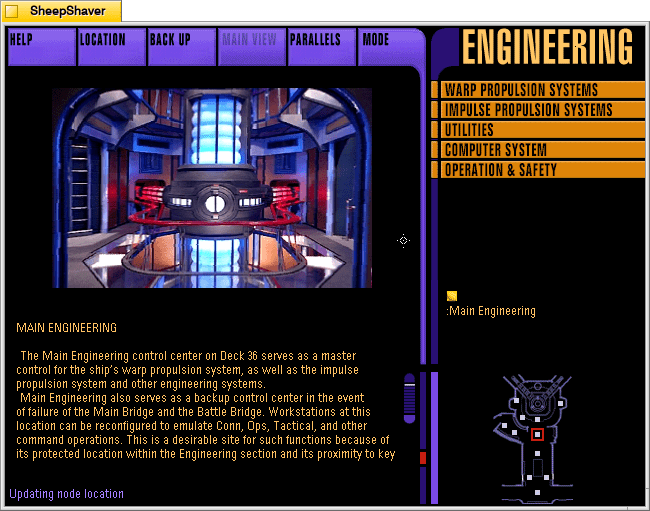
    Star Trek: The Next Generation Interactive Technical Manual, Engineering entrance screen.

    Another top spot to visit is Engineering. The user can click the forward arrow within the Quicktime VR video showing the entrance to Engineering on the left, or click the white squares on the legend in the lower right–each view point features a 360 degree view from that vantage point and navigation arrows leading to the other nearby viewpoints.

    Star Trek: The Next Generation Interactive Technical Manual, Engineering warp core screen.

    Clicking forward from the entrance to Engineering leads to the warp core–the matter/anti-matter reactor that powers the Enterprise.

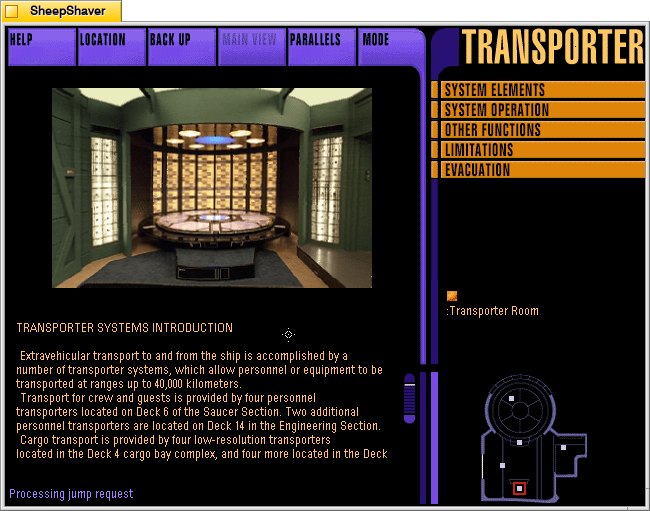
    Star Trek: The Next Generation Interactive Technical Manual, Transporter screen.

    The Transporter Room is another must-see location within the Enterprise. This view is to the right of the one that the user first sees when entering the Transporter Room. Its right behind the transporter control facing the transporter pad.

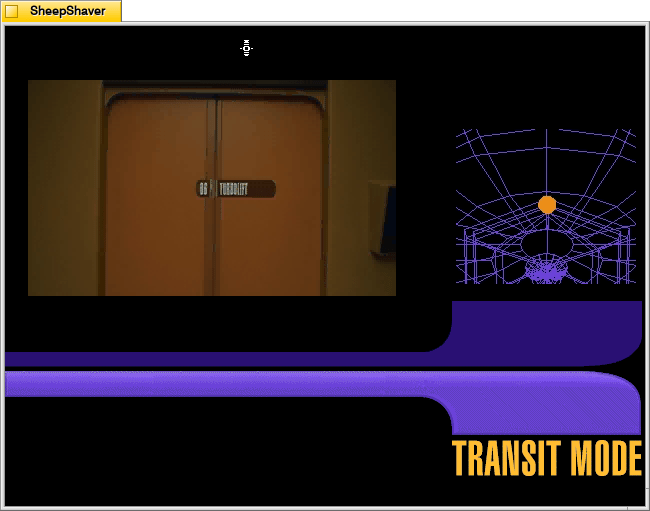
    Star Trek: The Next Generation Interactive Technical Manual, Transit Mode screen.

    Another innovative feature that helps the user conceptualize locations within the Enterprise is the Transit Mode between locations. Let’s say that I want to go to Lt. Commander Data’s quarters via Transit Mode. First, the screen on the right shows me where I currently aim and then highlights the location of Data’s quarters. On the left, the camera backs out of the Transporter Room, travels down the hallway to the Turbolift, which opens and the camera enters.

    Star Trek: The Next Generation Interactive Technical Manual, Transit Mode screen.

    The camera shows a brief ride in the Turbolift, which then opens on the corridor for the deck where Data’s quarters are.

    Star Trek: The Next Generation Interactive Technical Manual, Transit Mode screen.

    The camera moves down the corridor, turns at the door for Data’s quarters, the doors open, and the camera enters to the first location on the Quicktime VR views there.

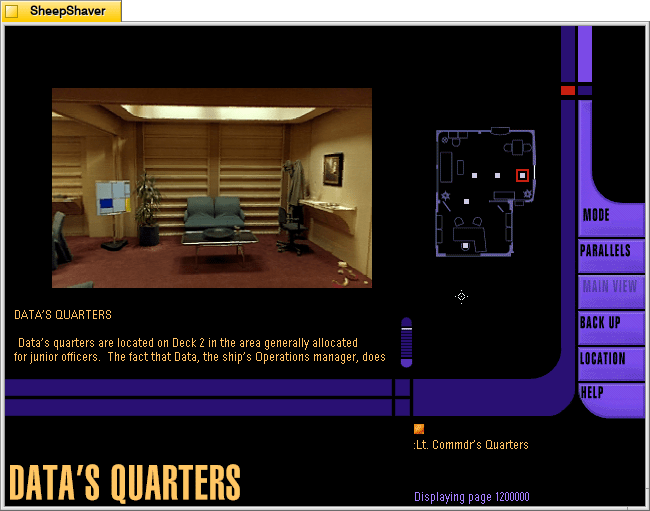
    Star Trek: The Next Generation Interactive Technical Manual, Lt. Commander Data's Quarters screen.

    Inside Data’s quarters, the user can click through the Quicktime VR videos on the left or use the legend on the right. Note that Data’s Sherlock Holmes costume is hanging on the coat rack in the back right corner.

    Overall, the Star Trek: The Next Generation Interactive Technical Manual is a well-thoughtout, complete user experience that gives the user a different view and experience of the USS Enterprise D. It’s adherence to a logical and self-contained user interface that was consistently applied throughout the program brings the user into the world of the future. It’s aural and video features created an experience of being there–even though you were looking at a low-resolution 14″ monitor and hearing its audio through low-quality beige speakers that came with your sound card. It’s power was to overcome the constraints of early 1990s personal computer hardware and software to create an experience for Star Trek fans with every affordance available at that time.

    Finally, Keith Halper, the CD-ROM’s producer for Simon & Schuster Interactive, writes the following in the credits for the Interactive Technical Manual–exploring both what kind of software this is and what exactly it was intended to do:

    I want to endeavor to encapsulate our goals in the Interactive Technical Manual for an interactive development community that will, without doubt, surpass our best efforts here in the flash of a tachyon beacon, and also for a Star Trek community to whom we owe our gravest responsibility.
    
    This software is not quite a game, not quite a story, not quite a work of 
    reference.
    
    This is a fiction, with characters and scenes, but no preordained plot. 
    Rather, a story  unwinds--or more precisely, occurs--as you go.  The 
    struggles and events of the crews' lives are absent from this "episode". 
    The mechanism by which a storyteller traditionally tells us about 
    characters--and through them about both writer and audience--cannot 
    exist in a totally non-linear experience. Yet, in your own exploration of the 
    Enterprise here, of the environs and systems and quarters and art and 
    artifacts, you may come to understand a story about the members of a 
    particular starship. This story includes impressions of their world, 
    thoughts regarding our relationship with these characters and the 
    progress they represent, and about the hurdles we will overcome on our 
    own journey through time, till their world is our world. It is a story that we come to understand by participating in the telling of it.
    
    If this sounds odd, consider the thought that we tell a tale about ourselves 
    by our actions. Ask yourself, what the is difference between your real life, 
    and a story about your real life? In both there are characters and scenes, 
    even changes in characters over time and in reaction to events. However, 
    there is no plot. Things "happen," of course--you visit your family, your 
    young nephew has grown, you get a job offer, you argue with your brother, 
    perhaps make up and have a drink to celebrate--but events have no 
    significance until they are strung together to suggest themes. There is no 
    story until your older brother, Robert, ties together the events of your past 
    and recent life, assails you for your past stoicism and says to you, (or to 
    someone we all know), "Jean-Luc, you are human after all." The 
    crystallizing thought that connects perception and conception--that 
    bridges the questions, what has happened? what does it mean?--contains the story. In an interactive story (and a good linear one), you, the reader, provide this insight.
    
    So, let's you and I tell each other about the crew of the Enterprise and the 
    world in which they live. Listen. Explore. Notice. Evaluate. What is 
    present? What is missing?   Mr. Roddenberry,  Mr. Okuda, Mr. Berman, 
    and Mr. Sternbach (in their Introductions) note that the Enterprise is a real 
    vehicle--for story-telling. To visit the ship, or even to serve aboard her, 
    you need only to participate in the story-telling taking place around you.
    
    While we are accustomed to visiting the Star Trek universe each week (at 
    least twice a week these days), it is our hope to bring a little of the 
    twenty-fourth century home to you; to create a space you can live in from 
    time to time, and to help us remind each other of a bright star in the 
    heavens by which to steer.  

    The Interactive Technical Manual was for me “a space you can live in from time to time.” It was an immersive and engaging way to escape the end of the 20th century and bask in the wonder and excitement that the 24th century might offer.