Tag: Lego

  • How to Add a Shelf to an Ikea Table Top Desk for About $16, with Thoughts on Making

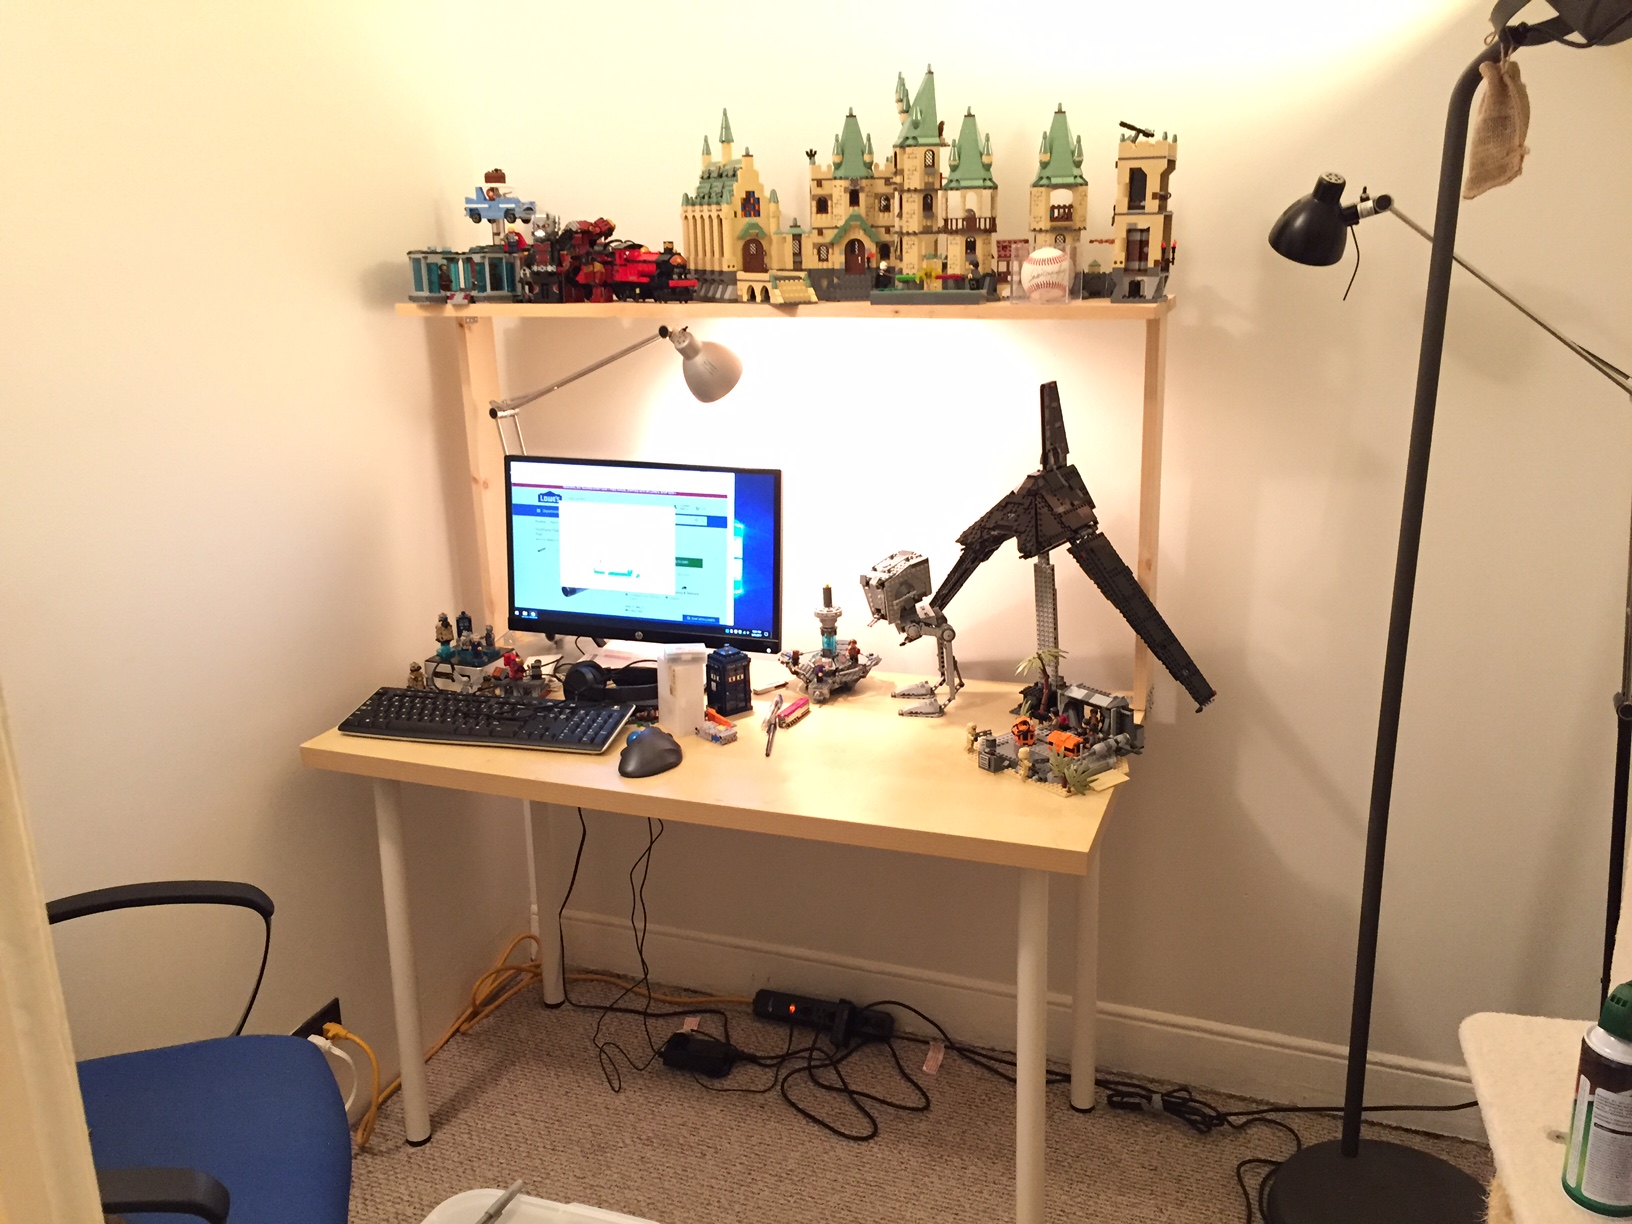
    IMG_1835

    I believe that it is important for everyone to make things. Making uses the brain and the body. Making acts on the world. Making is an expression of ourselves. Making can be for ourselves alone or it can be shared with others. Making can be meta, too–making about making (like this blog post). Making in all of its forms is a really big part of what makes us human.

    Doing a bit of making today, I built a raised shelf for my IKEA table top desk using pine boards. It began as a thing for myself, and it continues as a thing shared with you here.

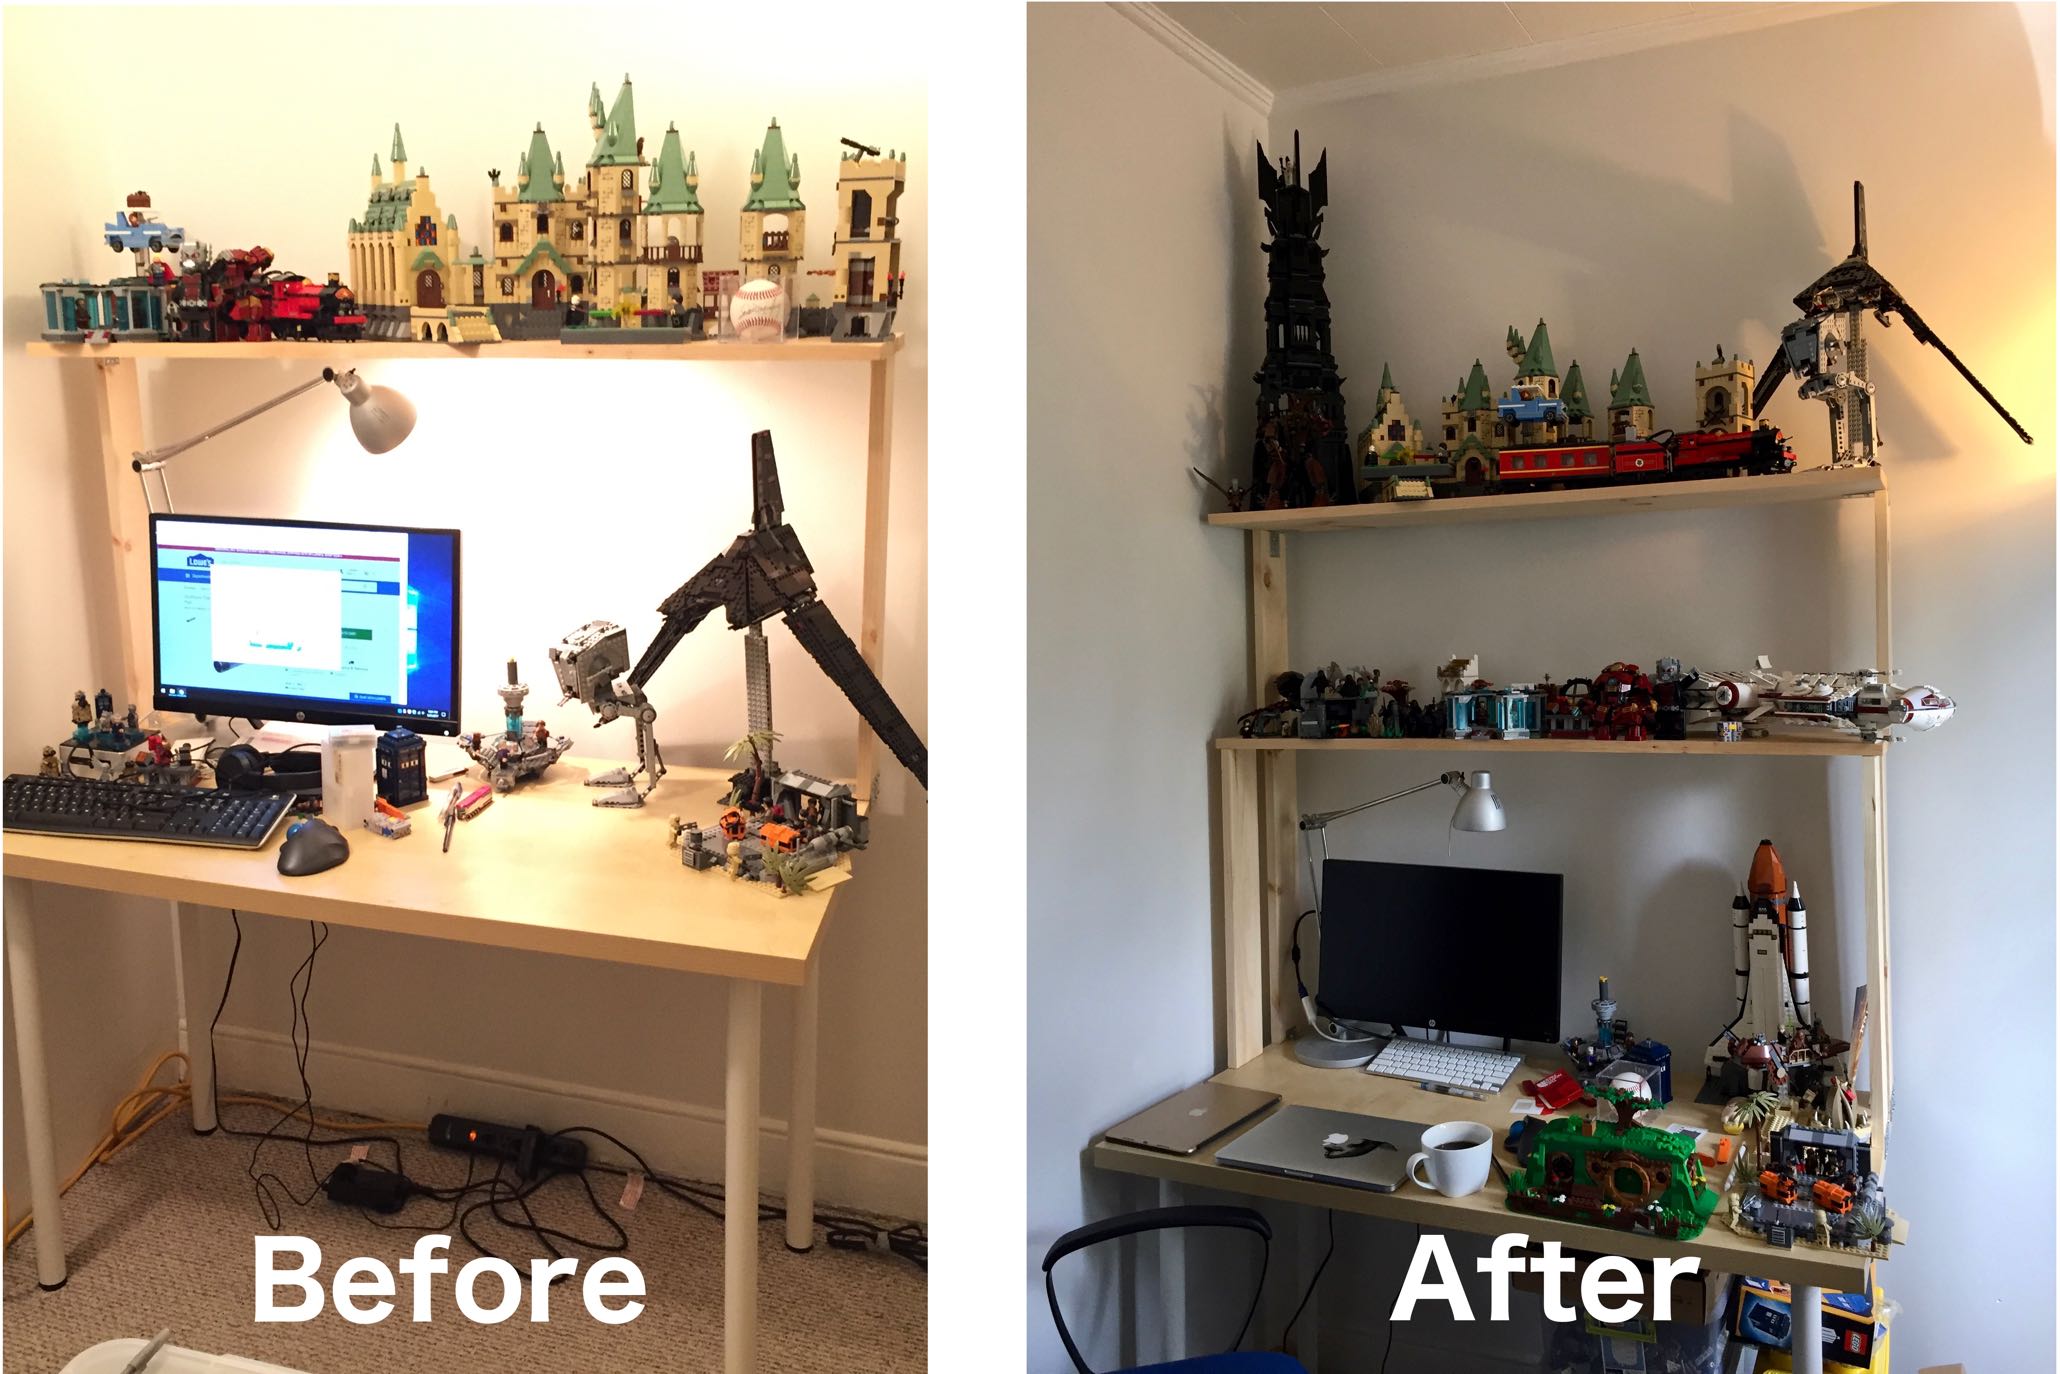
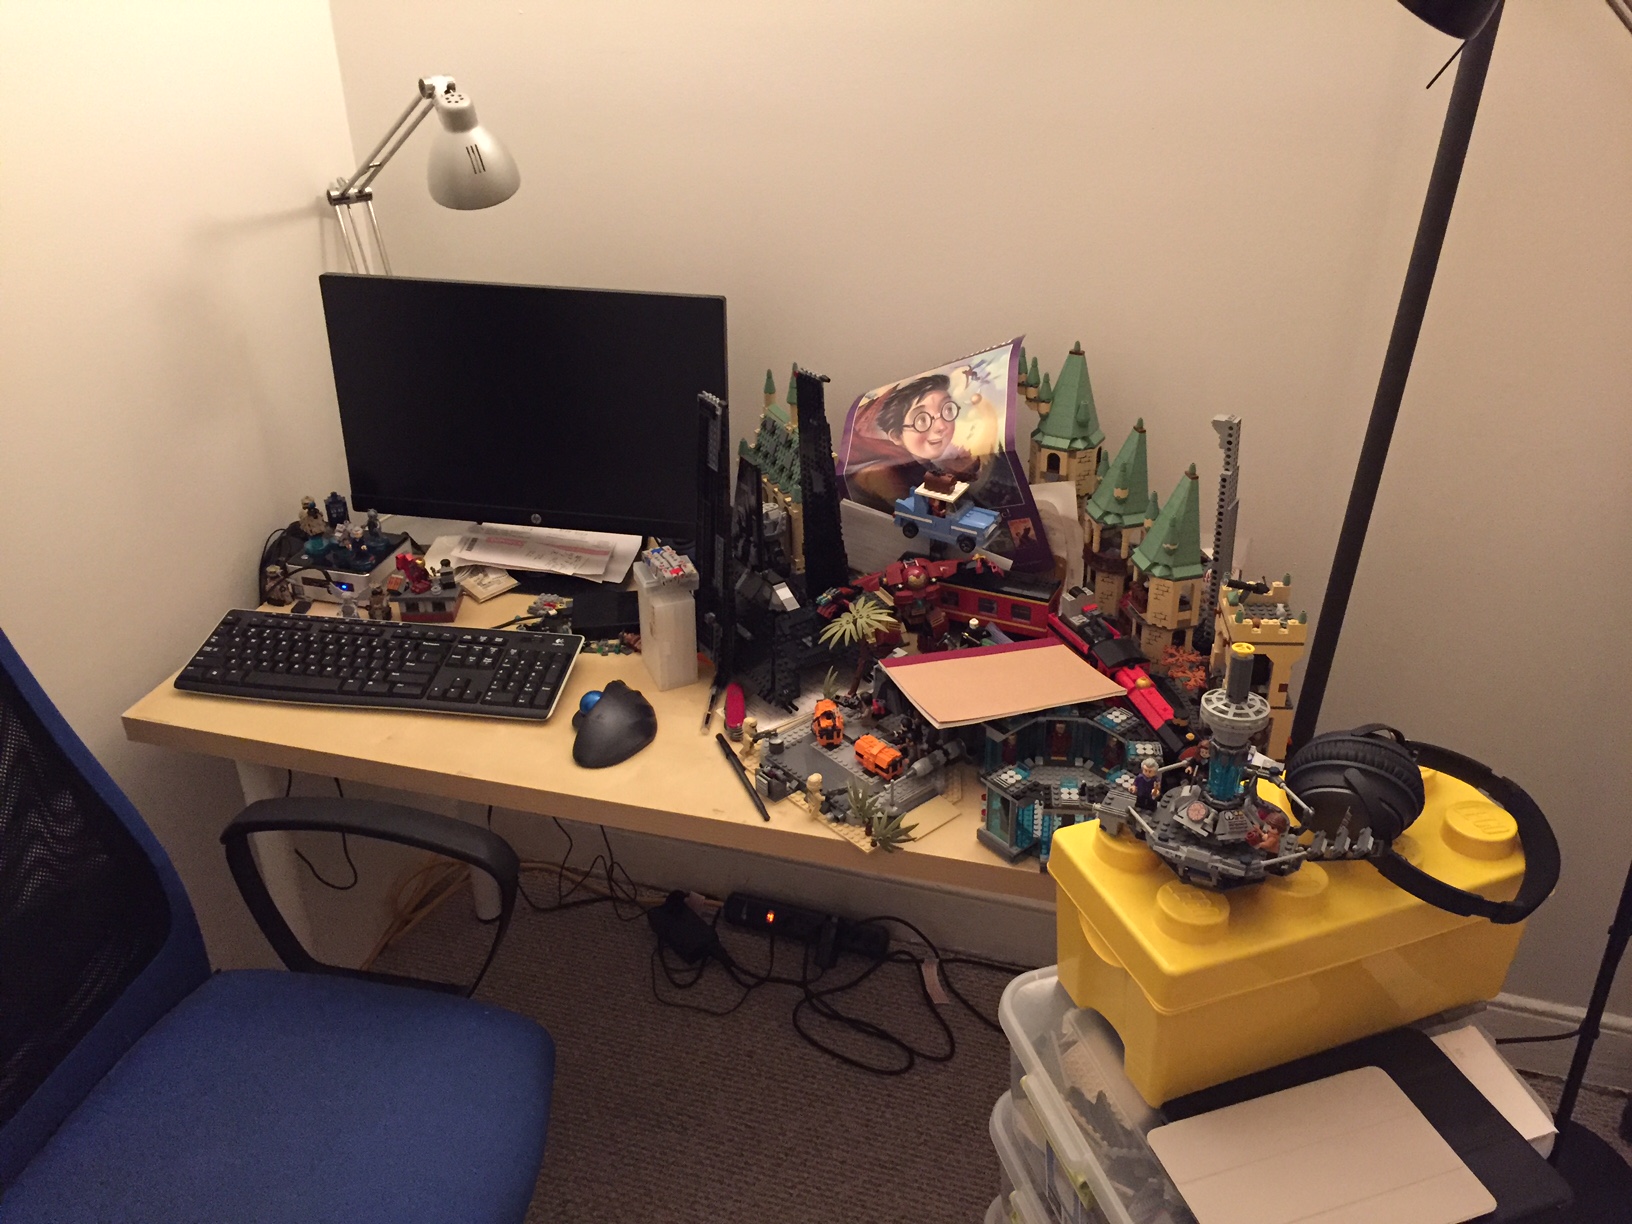
    I like working with wood. Unfortunately, I don’t get to build things with wood as often as I would like. When I lived in Atlanta, I had space and tools. Here in New York, I have little of the former and few of the latter. Nevertheless, I find small ways to stay in the woodworking game by building things to solve problems such as the state of my work-at-home desk:

    IMG_1810

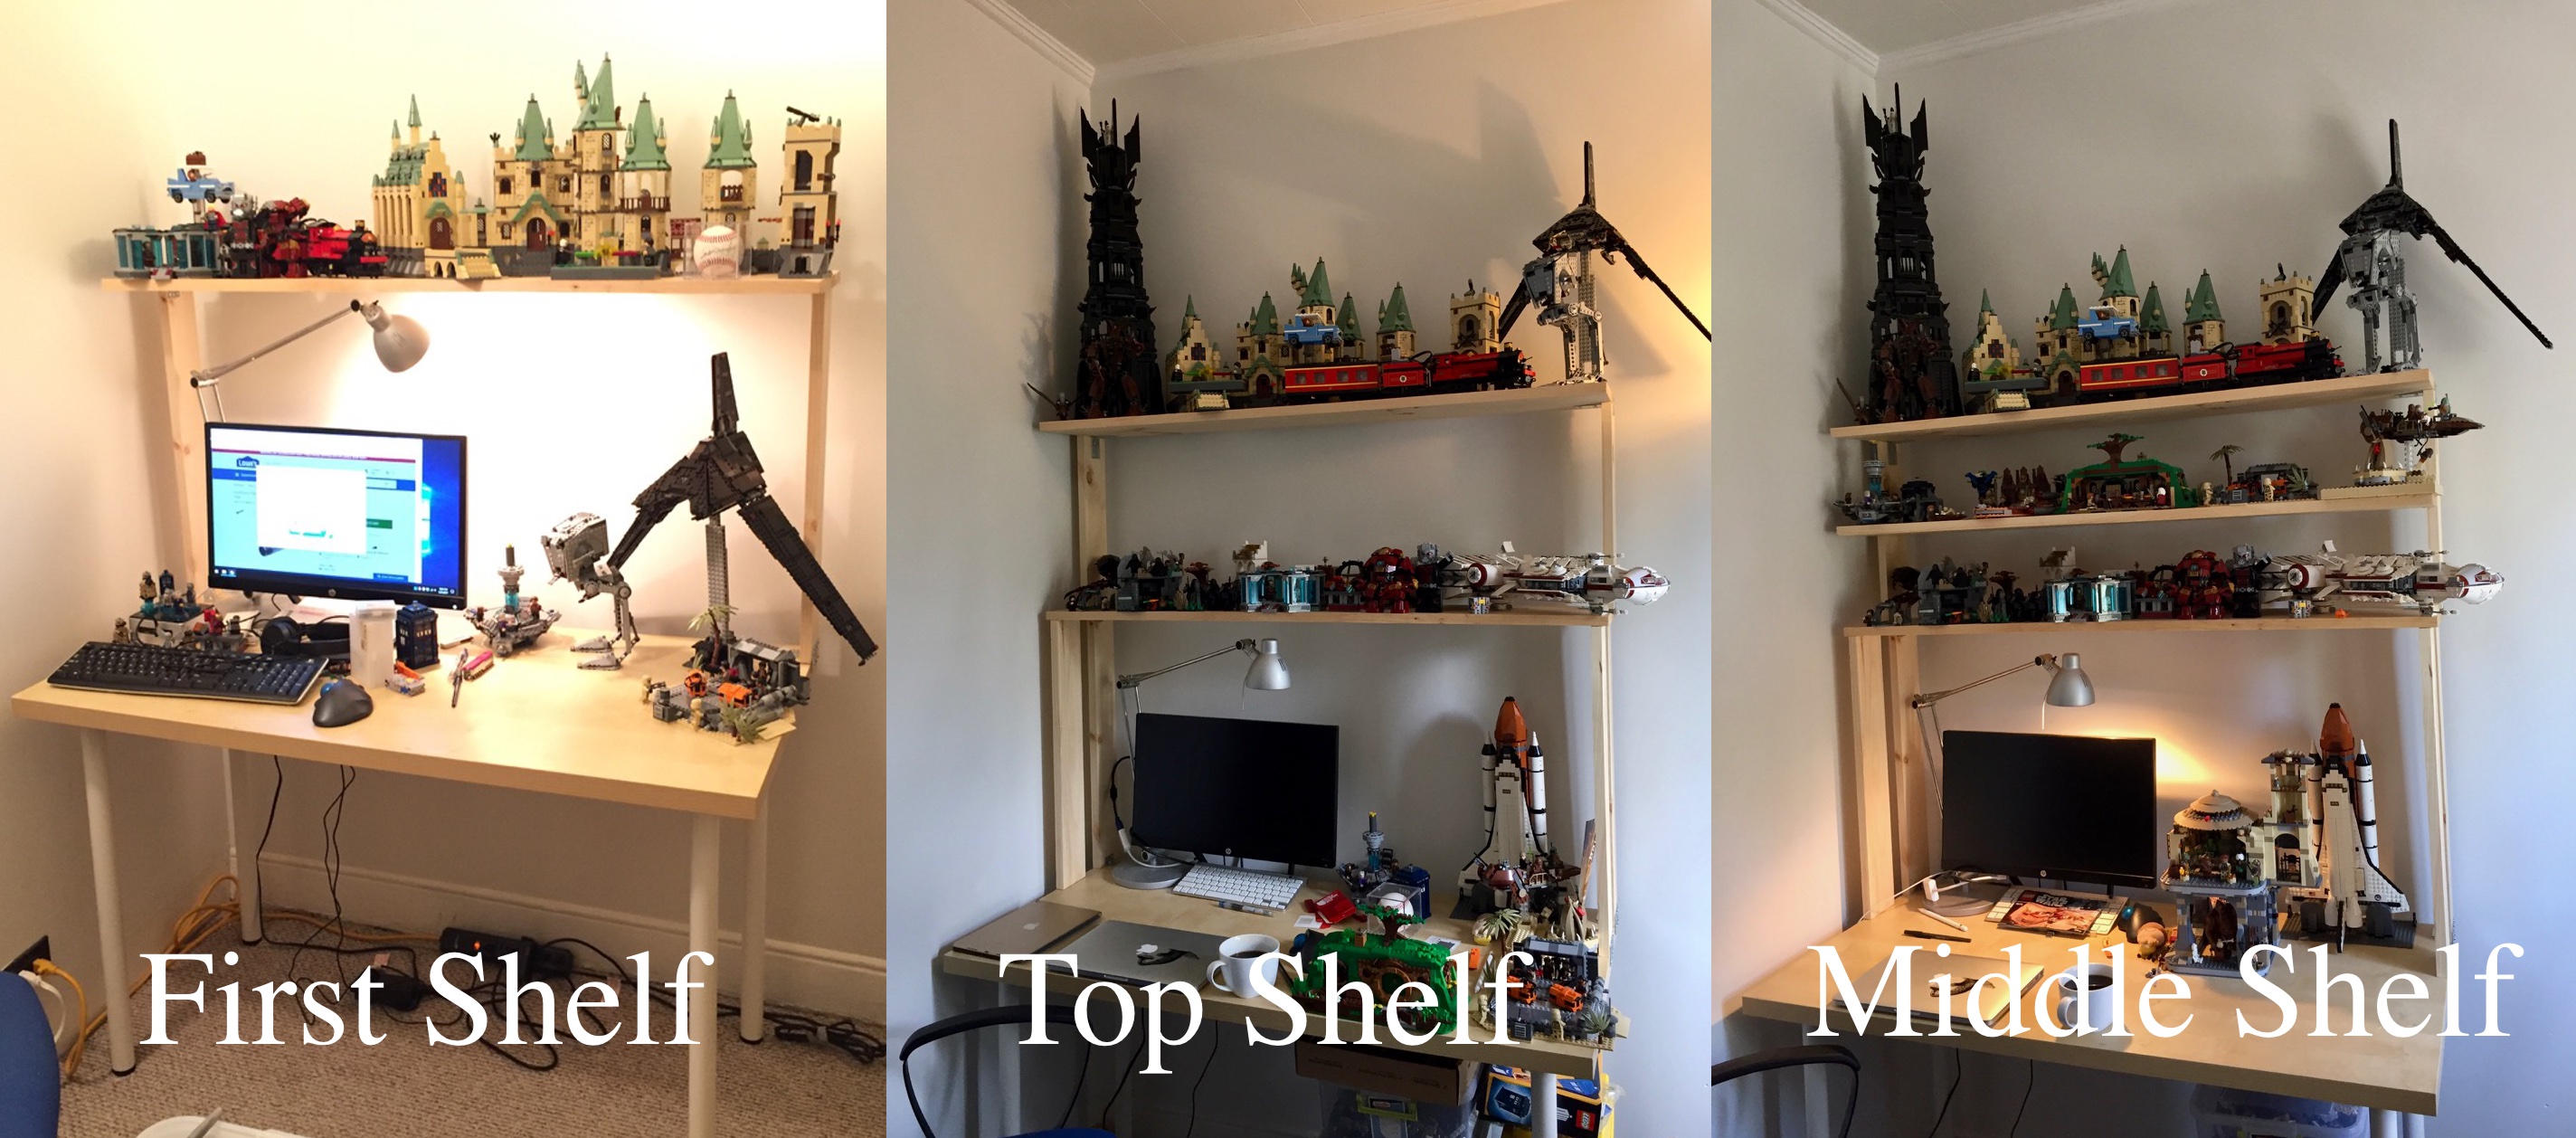
    Even with my Intel NUC PC taking very little space on my desk, I felt overrun by my LEGO creations: Hogwarts Castle in the back, Rogue One scenes in the front, and Iron Man’s Hall of Armor to the right.

    My LEGOs took the most amount of desk area, so I made it my goal to move them above my workspace onto a new shelf that I would build with materials acquired from the Brooklyn Lowes.

    My IKEA table top measures 47 3/16″ wide  and 23 1/2″ deep. I wanted my new shelf to be high enough to clear my HP 22″ LCD monitor and tabletop lamp. I figured 24″ height would be enough clearance. Also, I wanted it to be deep enough to hold my LEGO models but not deep enough that it excessively shaded my desk or posed a problem for my forehead. So, I figured 10″ depth for the shelf was good enough.

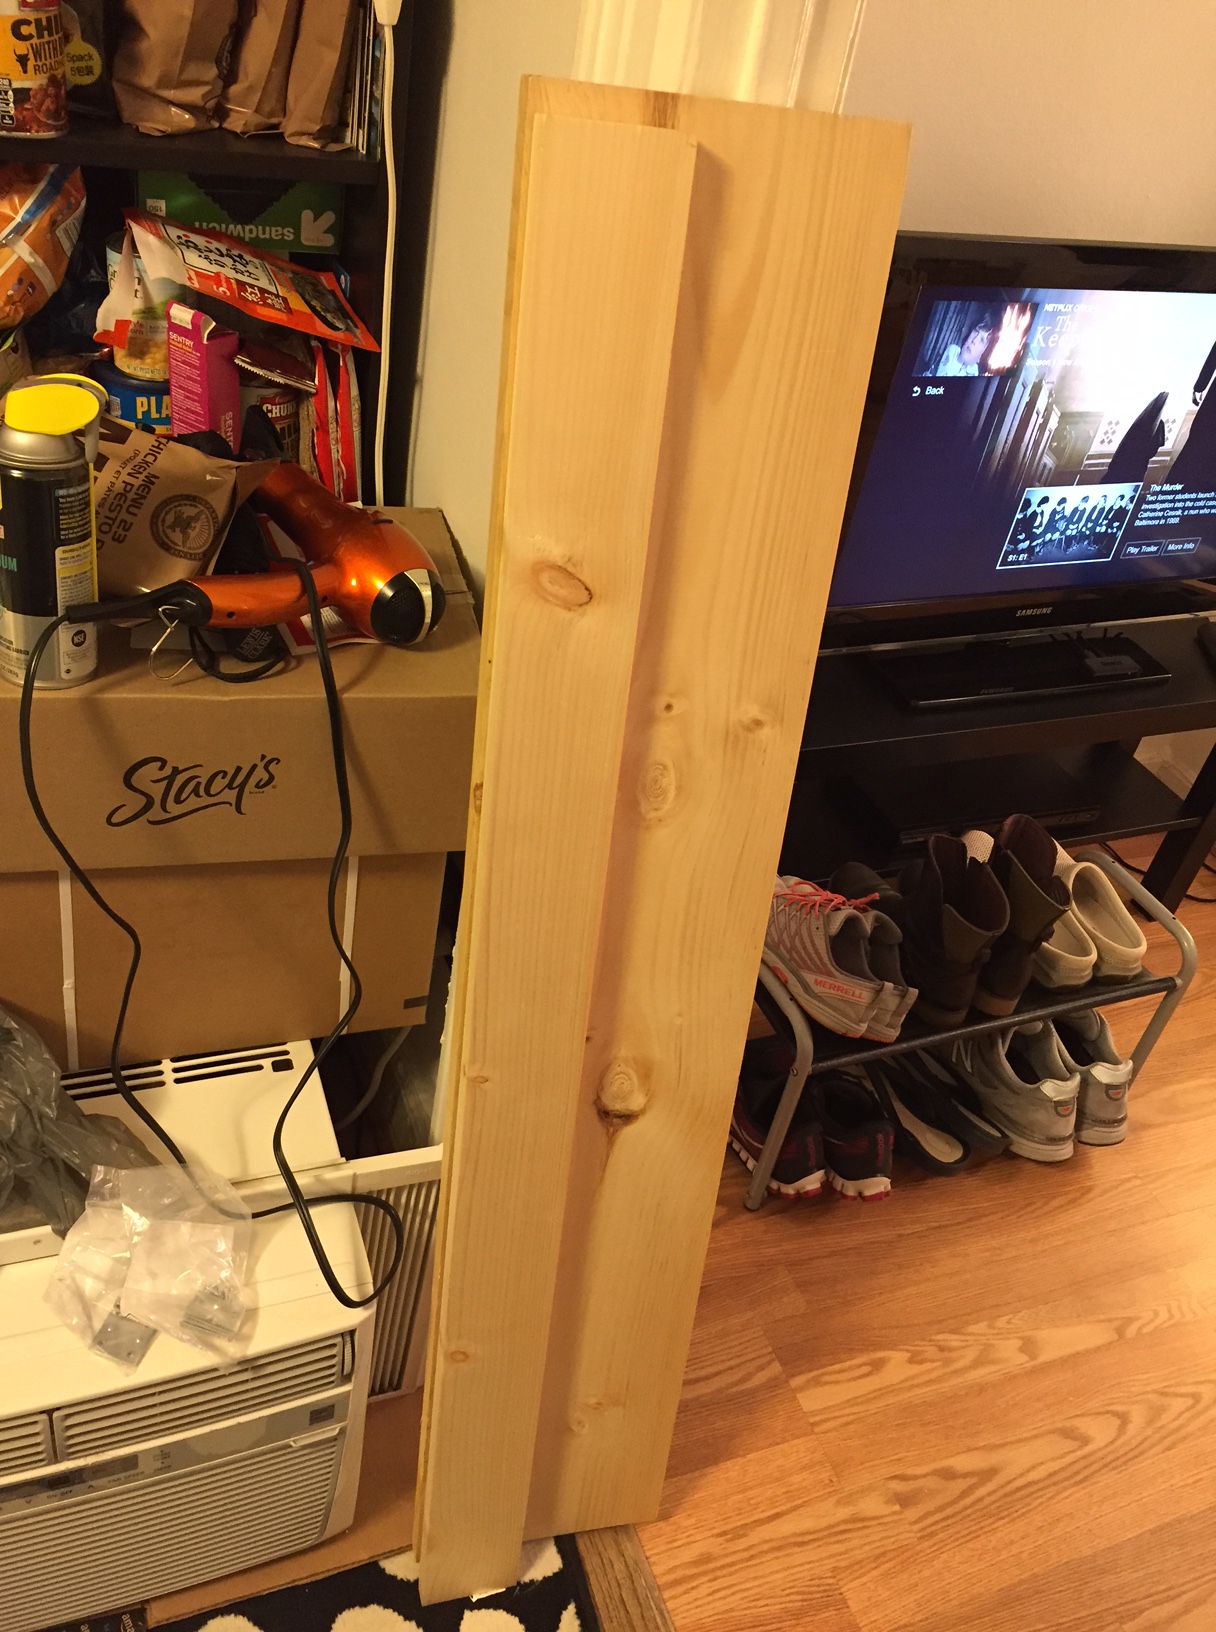
    IMG_1811

    At Lowes, I purchased a 1″ x 10″ x 48″ pine board (to make the shelf supports), 1″ x 10″ x 48″ pine board (to serve as the shelf), 4-pack brackets (to support the shelf against the supports and the supports against the IKEA table top), and 4-pack braces (to affix the shelf’s supports to the IKEA table top). The total cost for these materials was about $16. Also, I used four deck screws that I had on-hand.

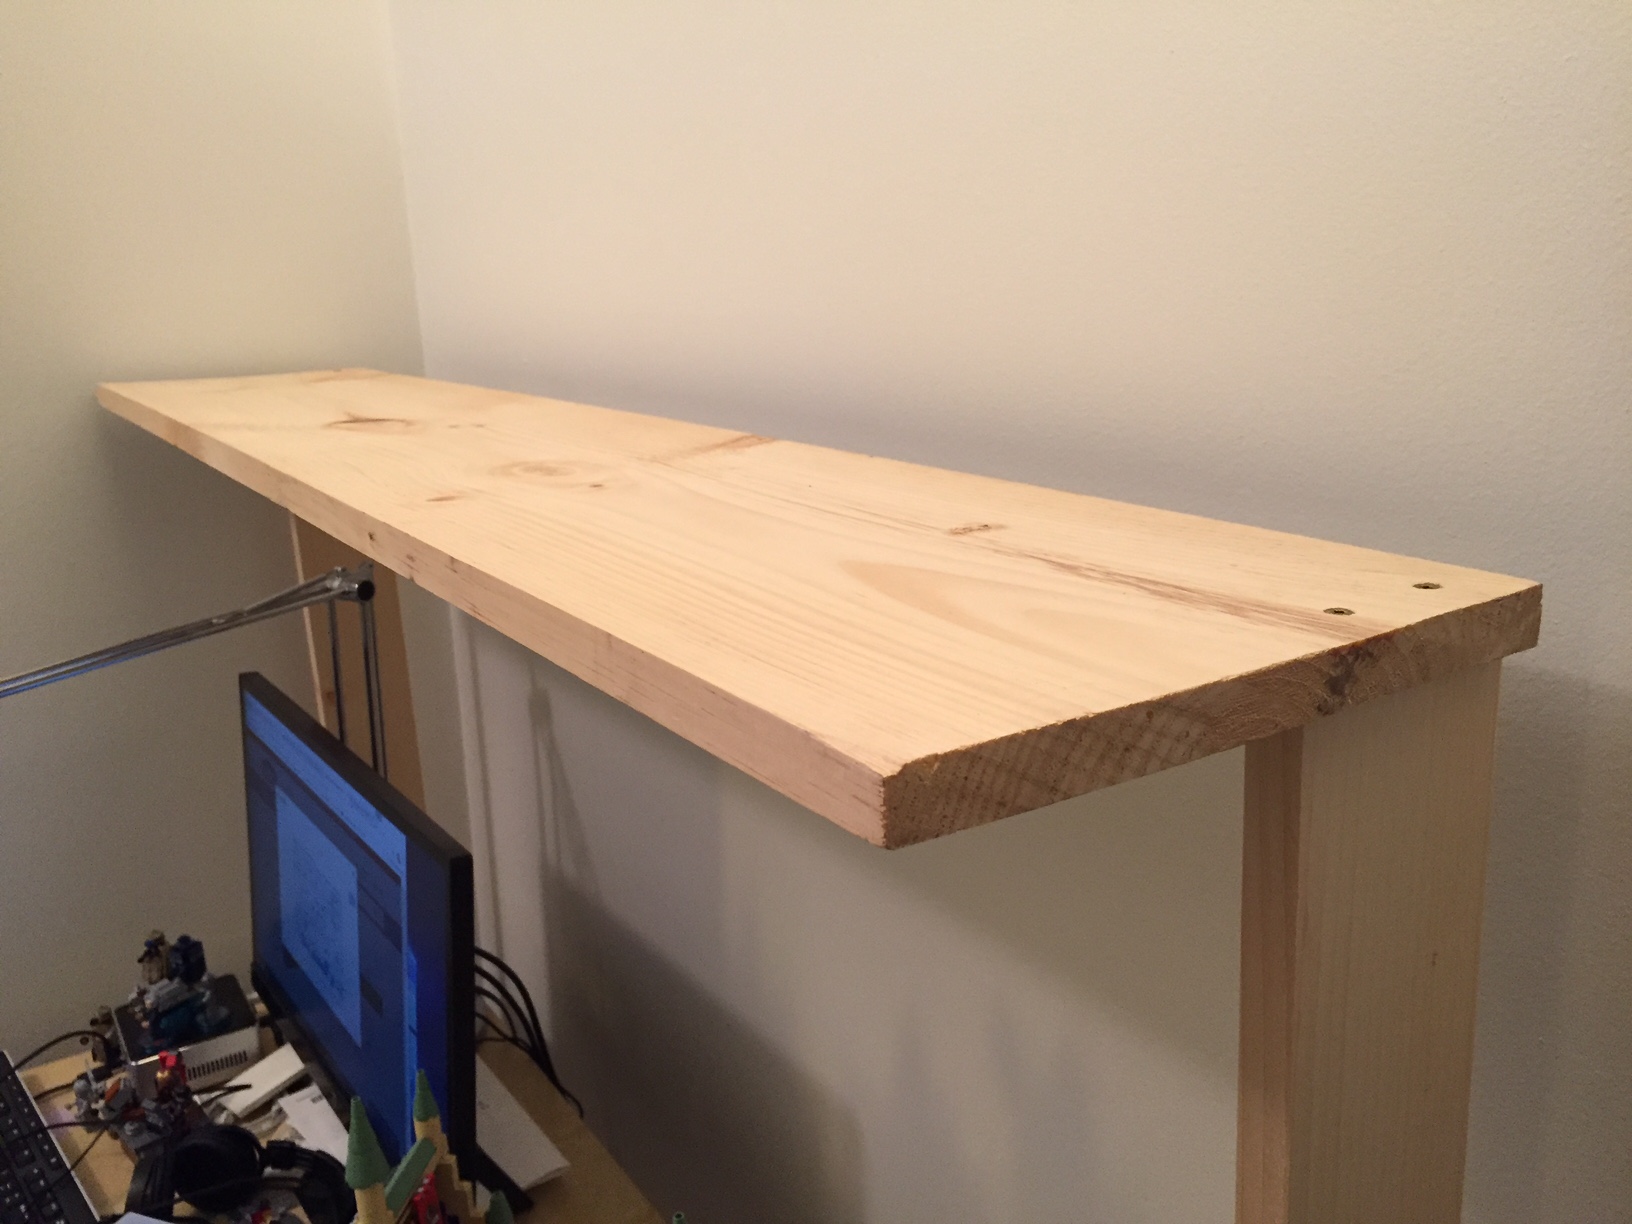
    A note about selecting the shelf: If you’re doing this on the cheap like me, your selection of wood can serve in your favor. What I mean by this is that instead of building a shelf with some kind of support underneath it to prevent warping due to the weight of what you place on it over time, you can select a warped board and use the warp in your favor. To do this, find a board that is not overly warped but has some warp in its breadth. When building your shelf, have the warp pointing upward. Of course, running a support under the shelf and affixed to the shelf support on either side will strengthen the shelf to hold more weight, but with a light duty shelf like I am building, I chose to save the material and money.

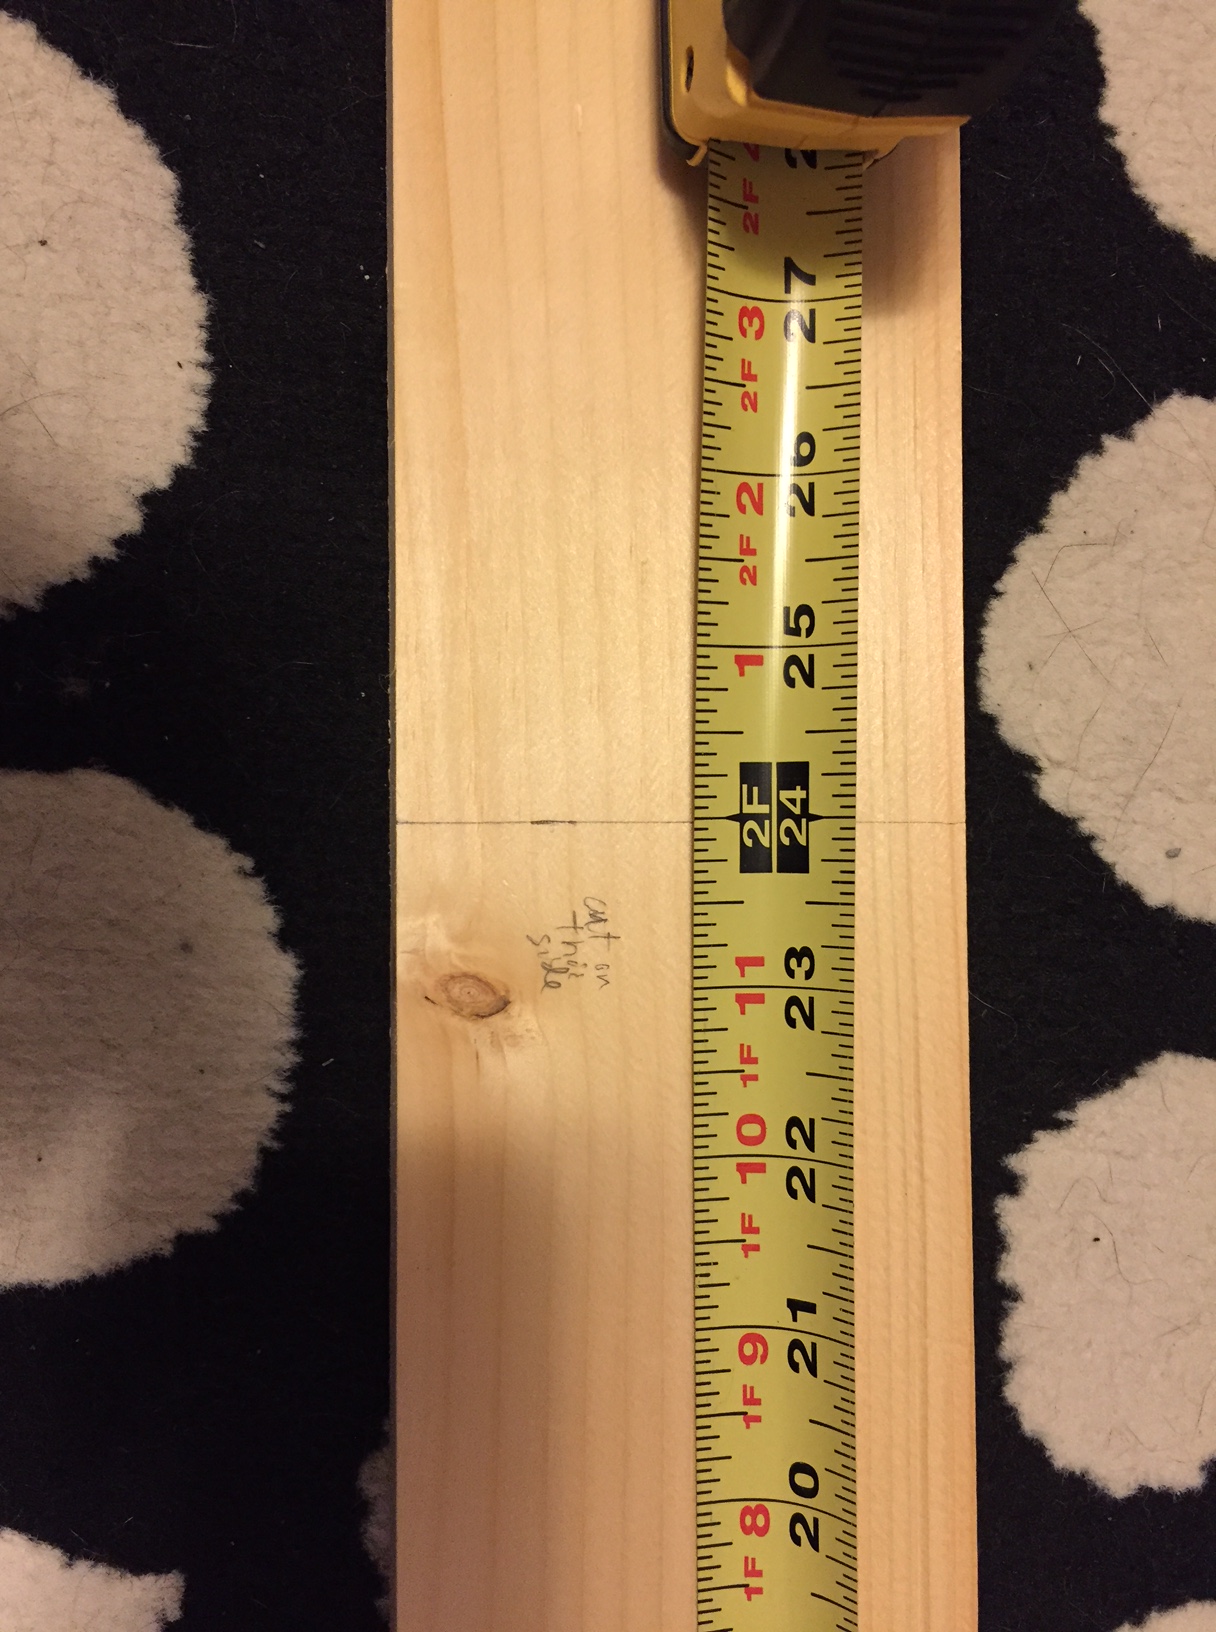
    The 1″ x 10″ x 48″ pine board was actually 47 15/16″ long, which meant that it would overhang my desk by 12/16″, so I split the difference and marked the shelf supports 6/16″ or 3/8″ from either end of the shelf. Also, instead of centering the shelf supports, I placed them at the rear of the desk and the rear of the shelf. Again, this is a light duty installation, so I didn’t think this would become unstable with how I planned to use it.

    Next, I cut the shelf supports out of the 1″ x 4″ x 48″ pine board. Surprisingly, it was 47 15/16″ long, which is closer than 48″ than I expected. To cut it in half as accurately as possible, I took my miter box saw width into consideration with planning my cut. As you can see below, I wrote on the board which side to cut on to offset the board’s odd measurement.

    IMG_1812

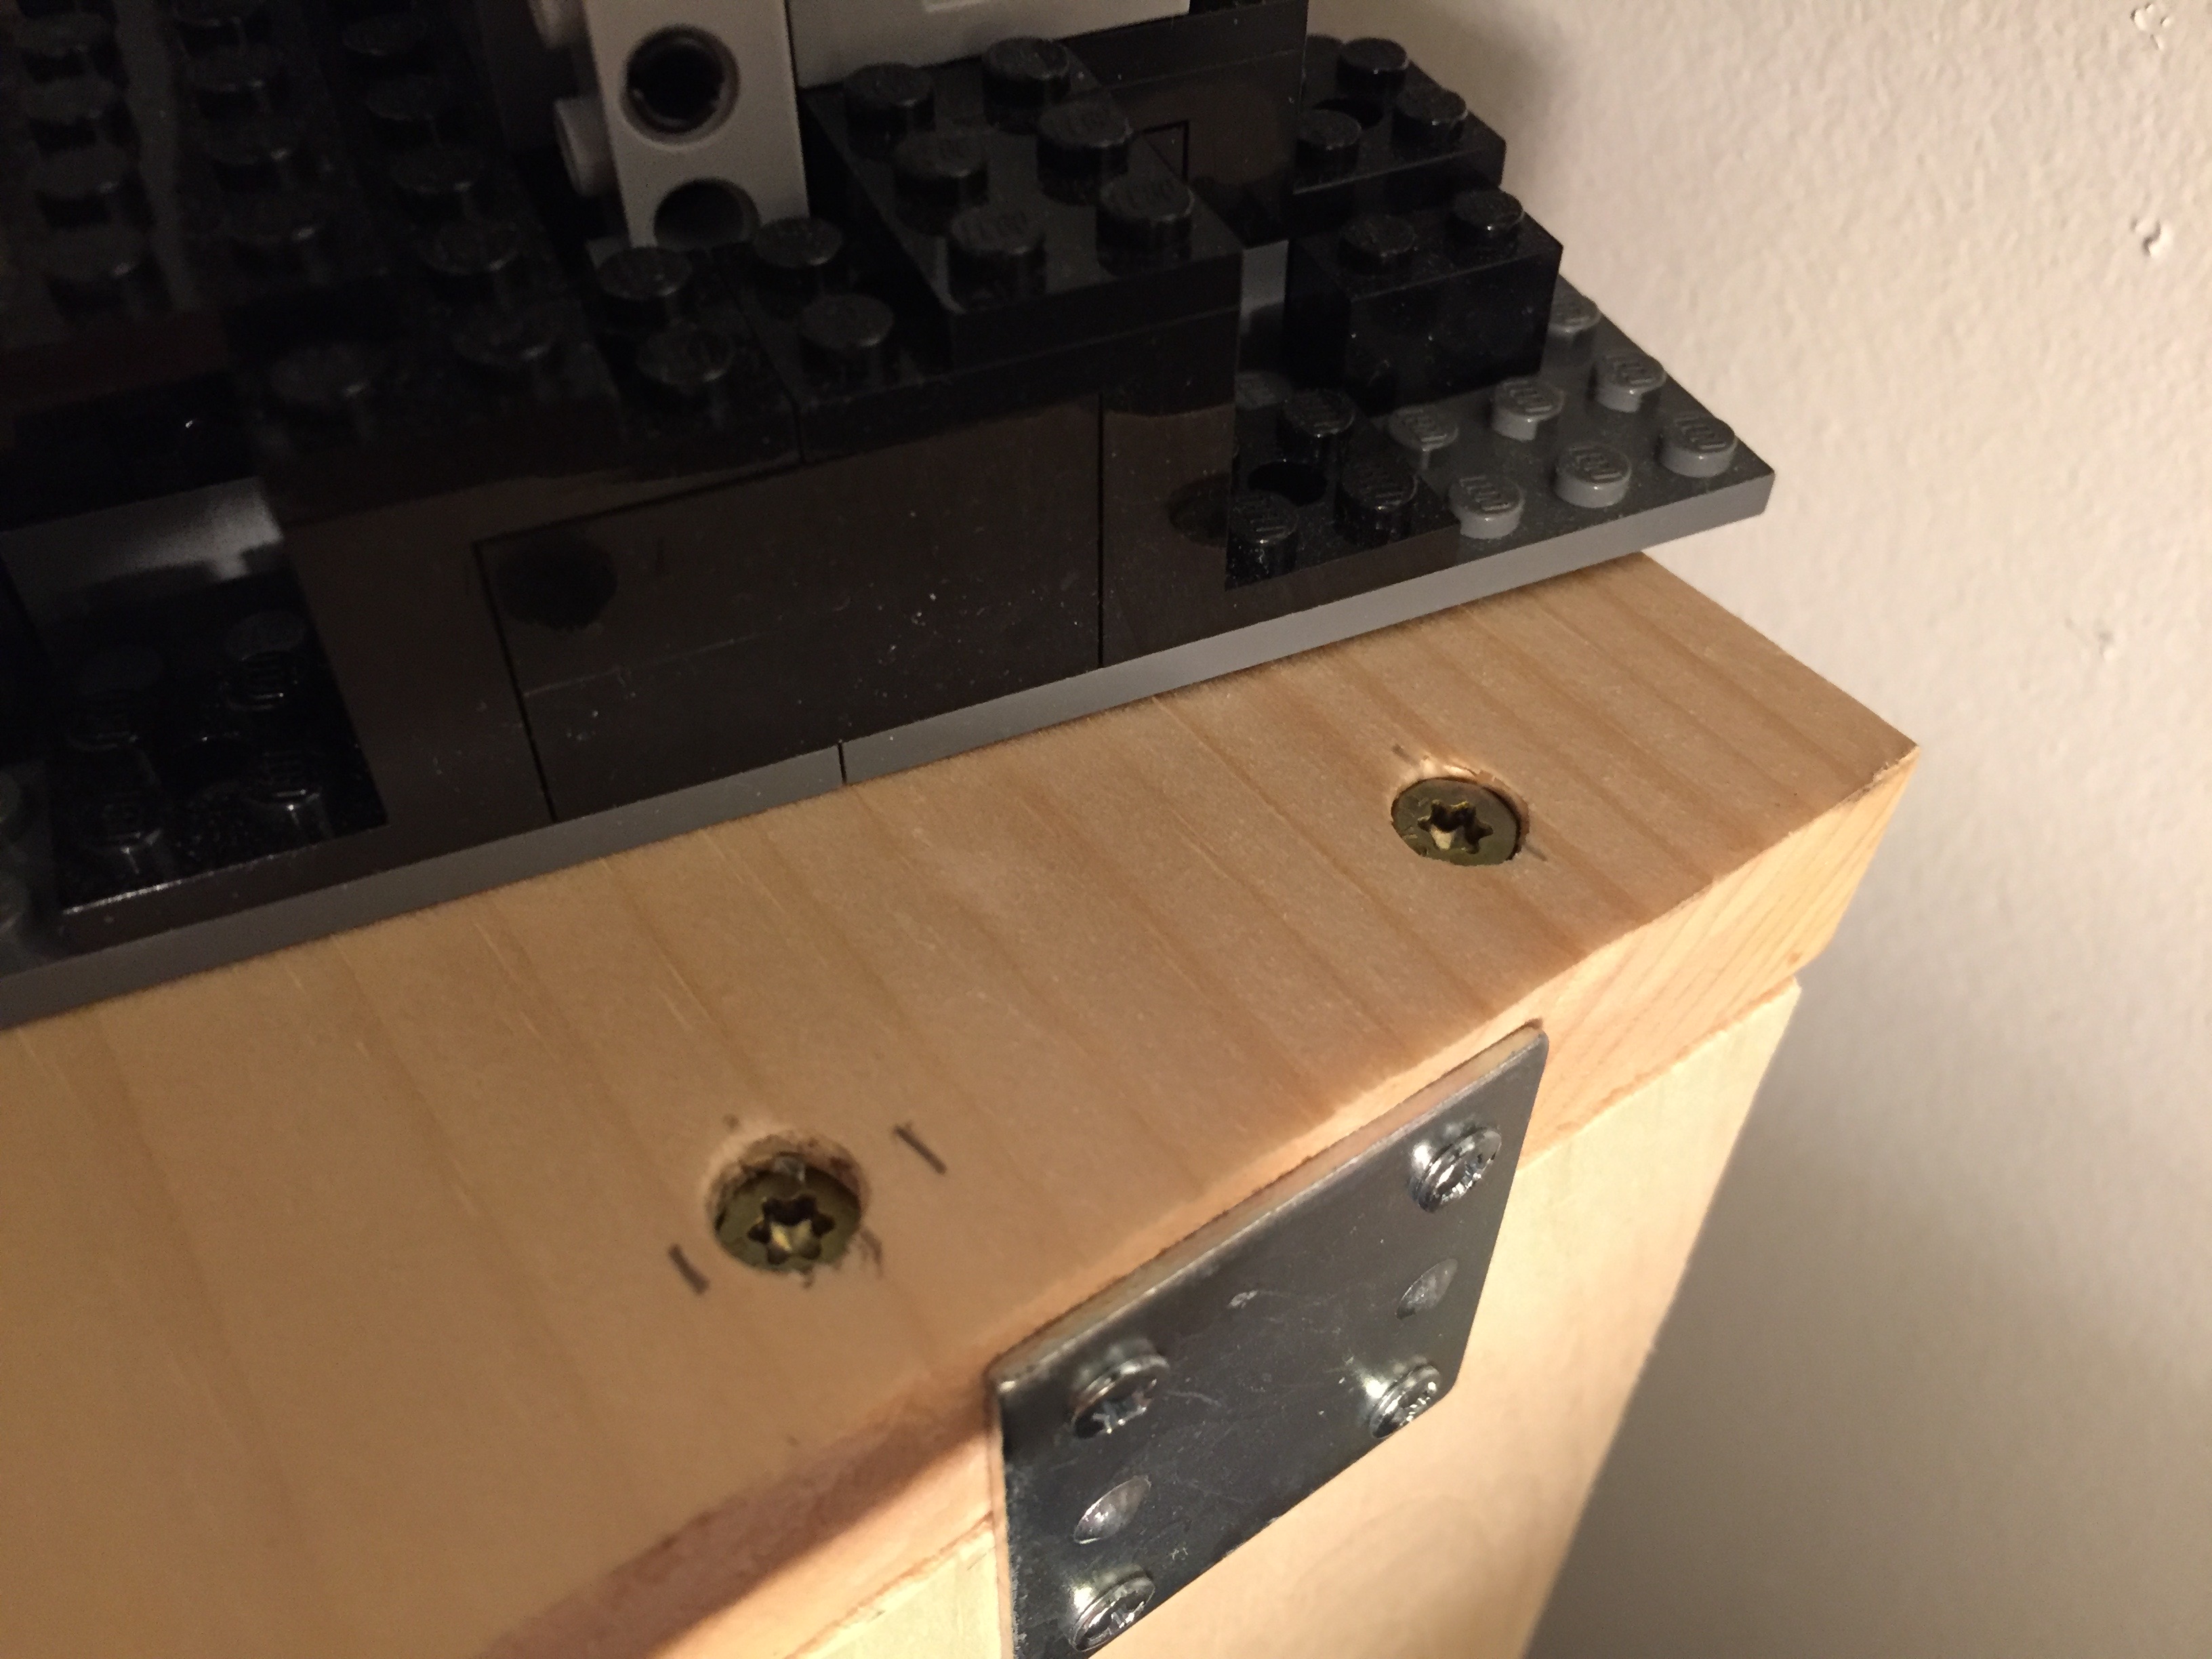
    The next step was affixing the supports to the shelf using deck screws that I already had on hand. Of course, pine is soft wood, but there is still the possibility of splitting it, so I pre-drilled four holes in the shelf (two on either end for each support) and two holes in the top of each shelf support. Before drilling, I drew a box on the shelf bottom for each support’s location. I halved this lengthwise and then marked 1″ from either end for my drill/screw locations. I did the same for the ends of each support board so that the holes would line up when I drove in the screws.

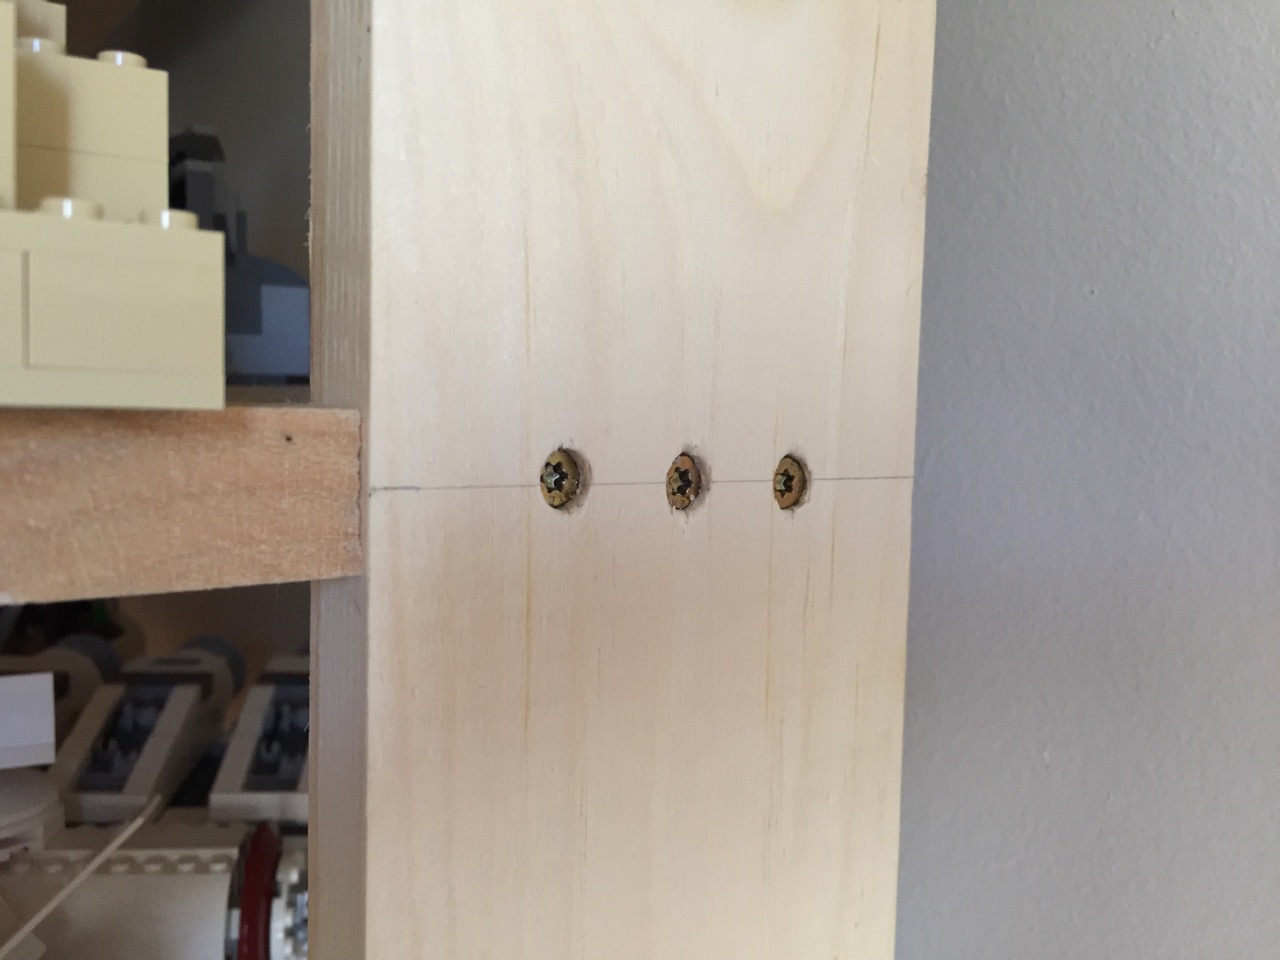
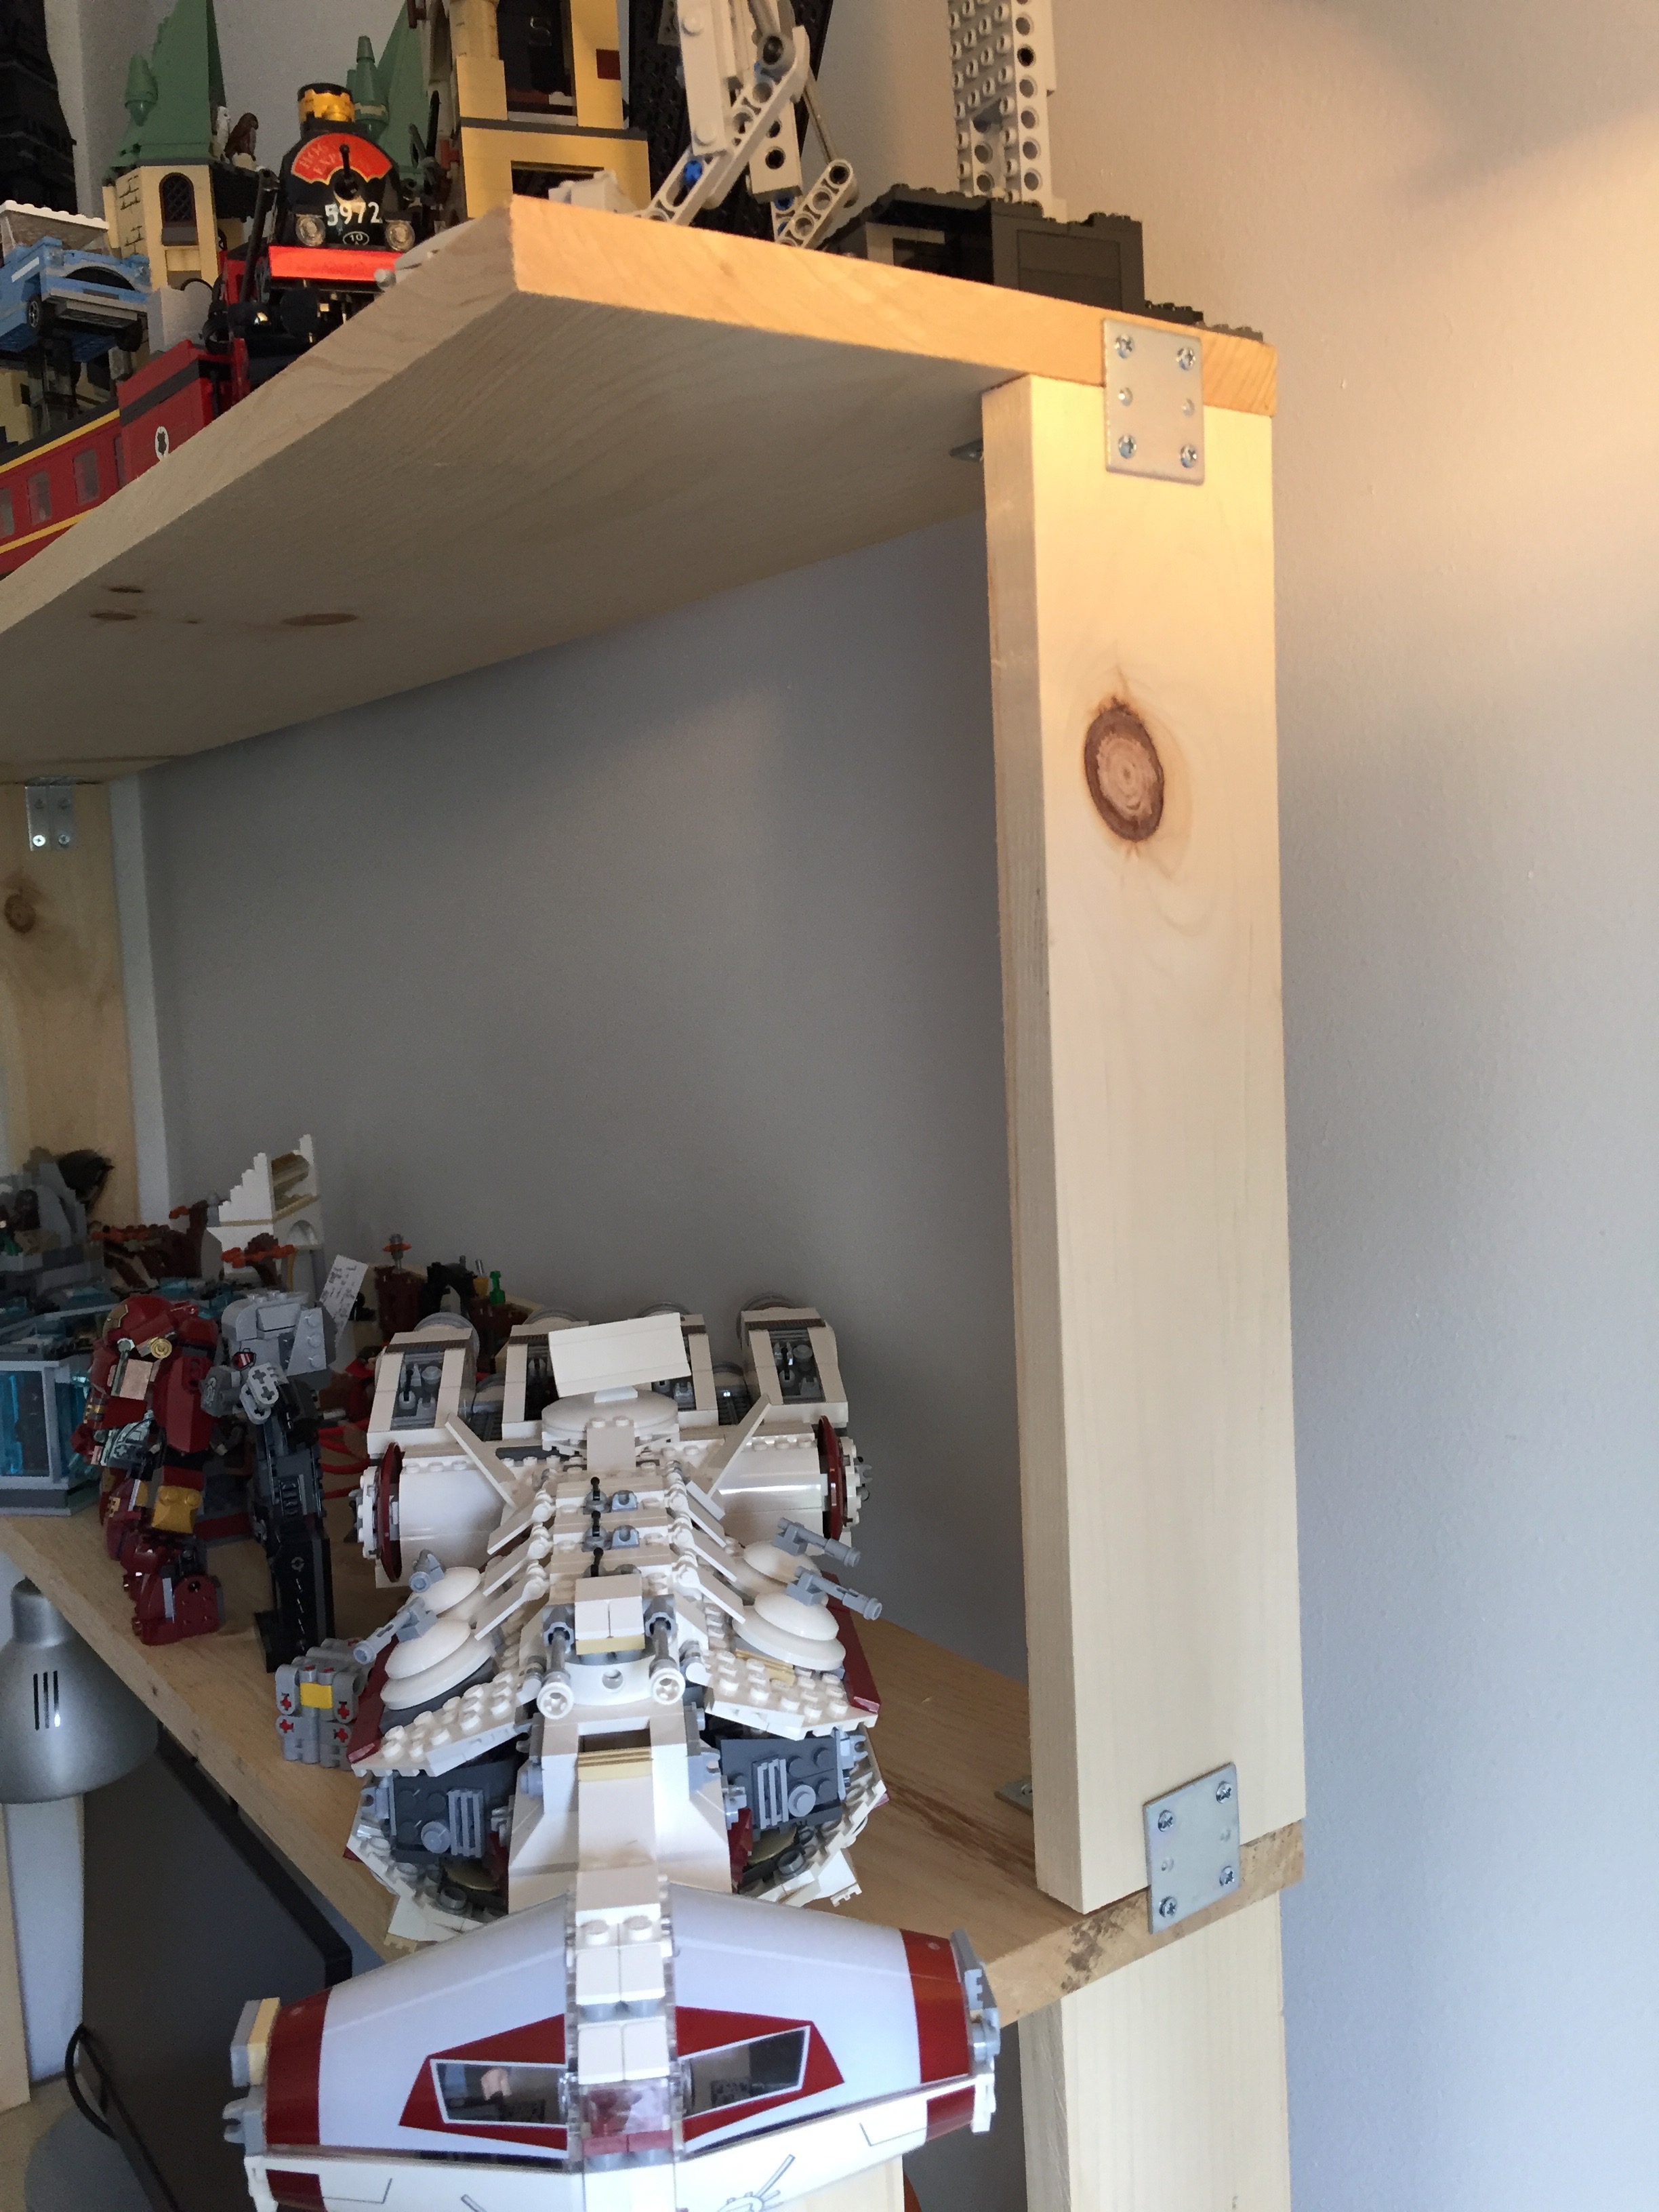
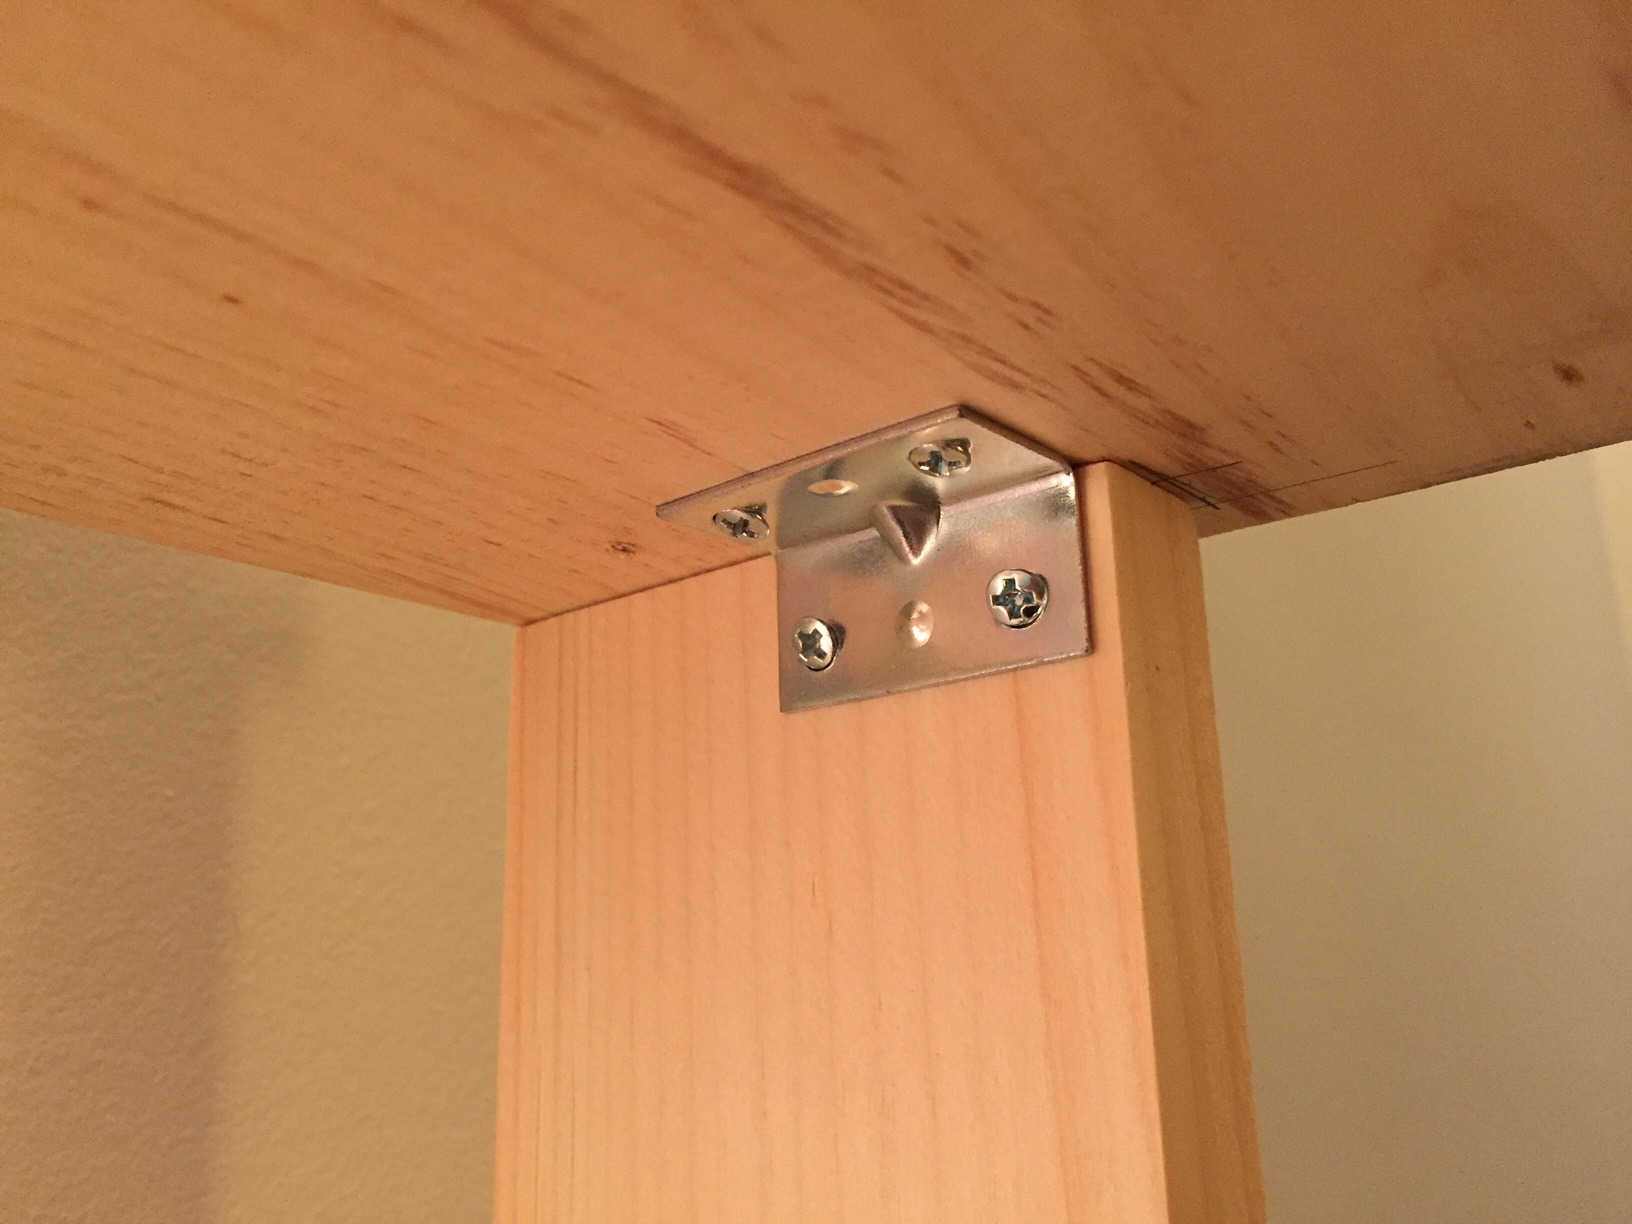
    The final step of completing the shelf and shelf supports assembly before installing it on the IKEA table top involved installing two metal brackets to prevent shelf sway. These came with tiny philips-head screws, so I took a risk and did not pre-drill holes for these.

    IMG_1837

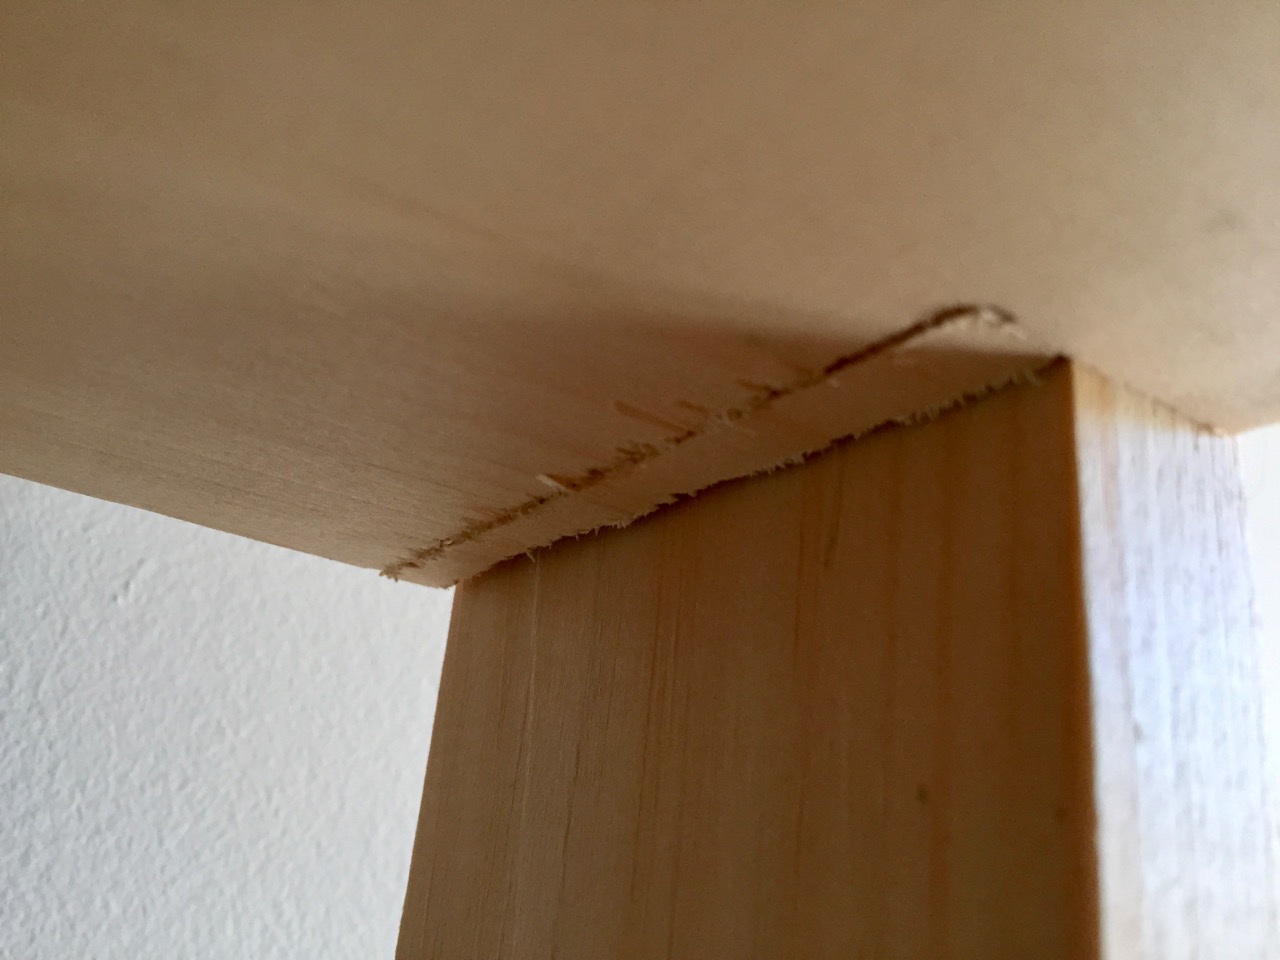
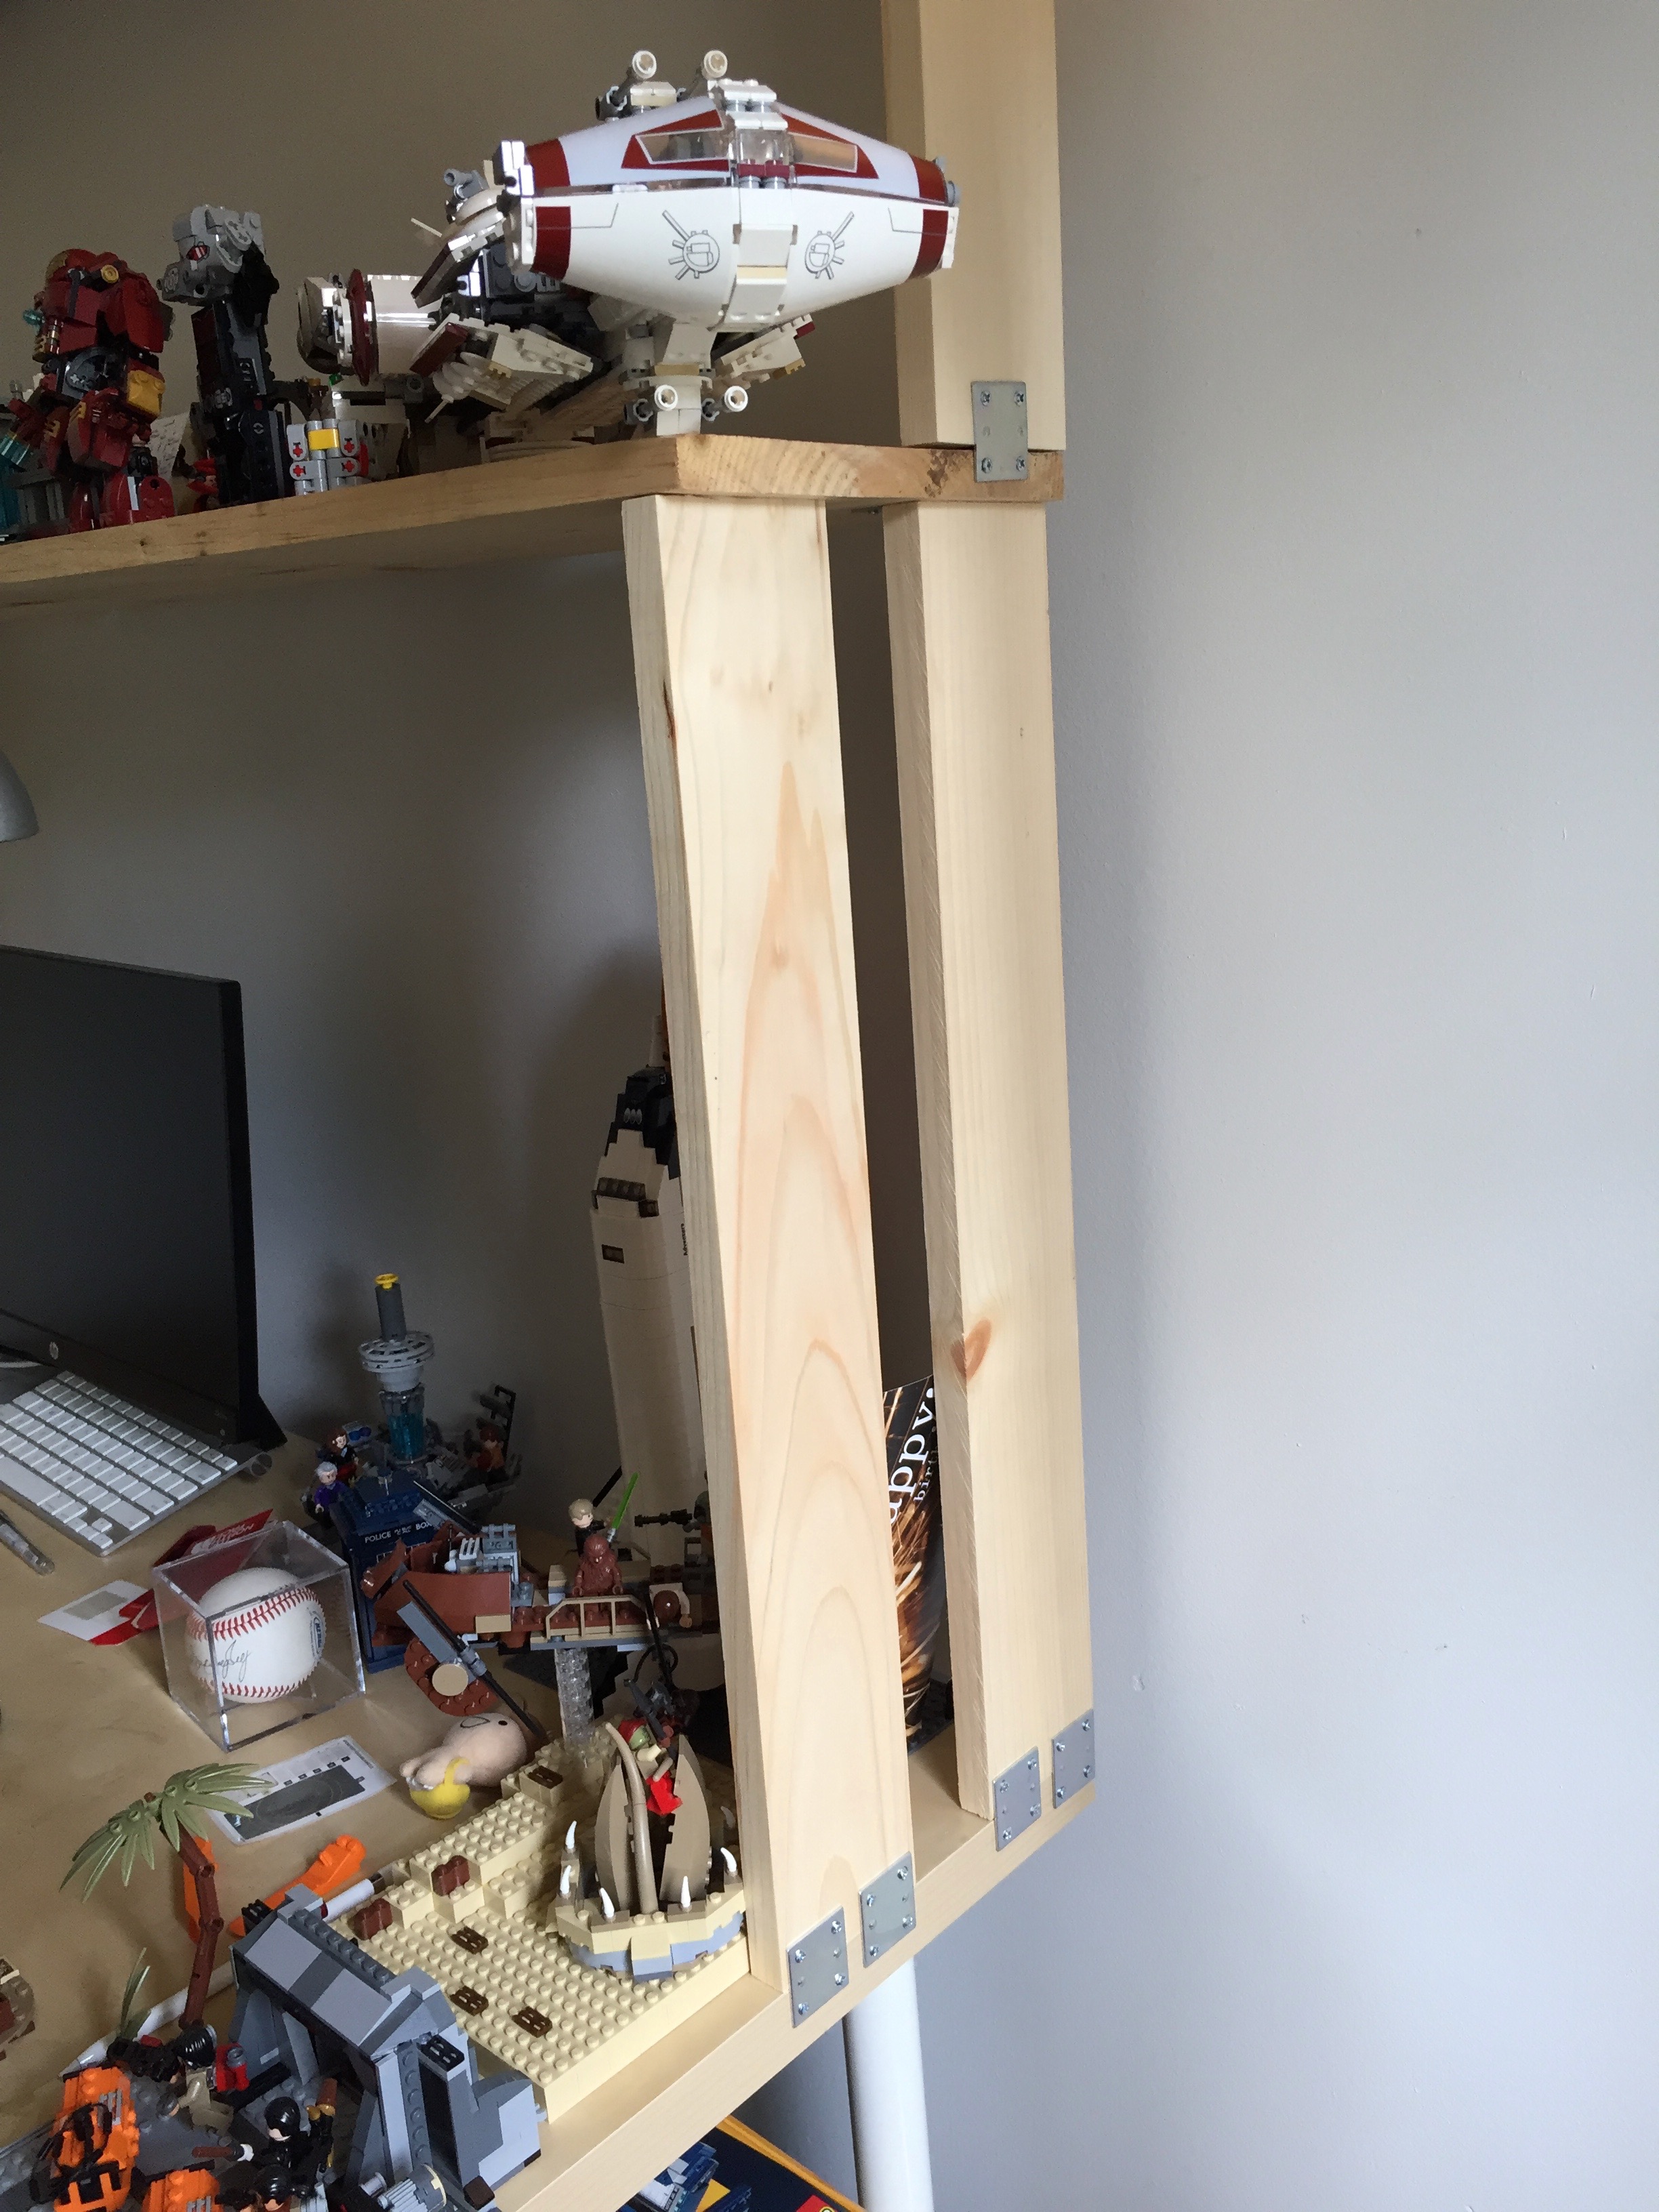
    Finally, I installed the shelf assembly on top of the IKEA table top using four braces and two brackets. Each shelf support received two braces on the outside, and one bracket on the inside, centered. Again, I did not pre-drill holes in the IKEA table top or the pine board. I figured that the IKEA table top has a honeycomb structure inside with only parts of it being reinforced for the table legs and frame. I hoped that there would be enough material for the screws to dig into, and it seems to have been the case. However, I had to up the RPMs on my cordless drill to get the screws started and through the laminate covering the IKEA table top.

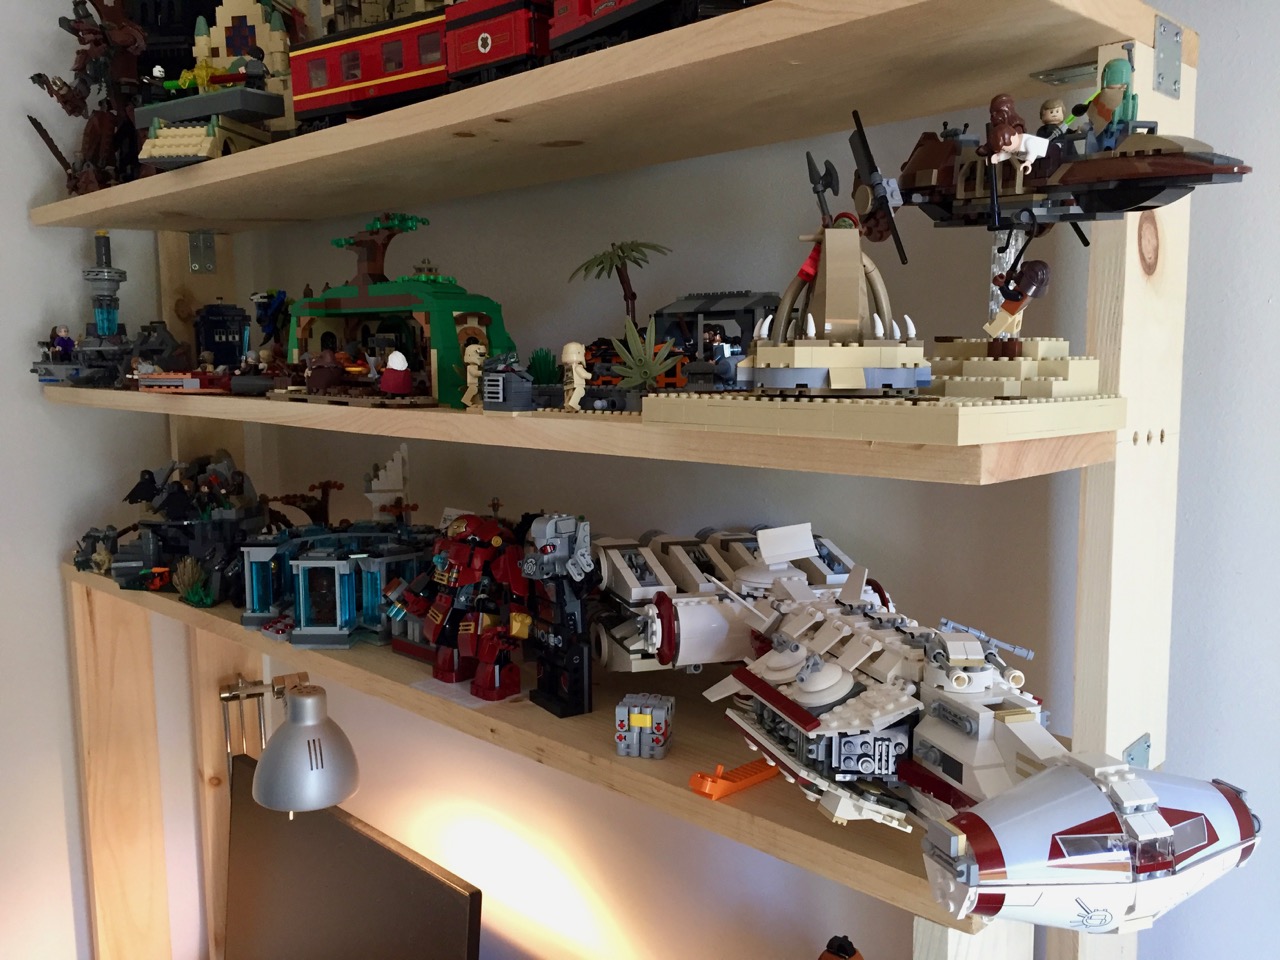
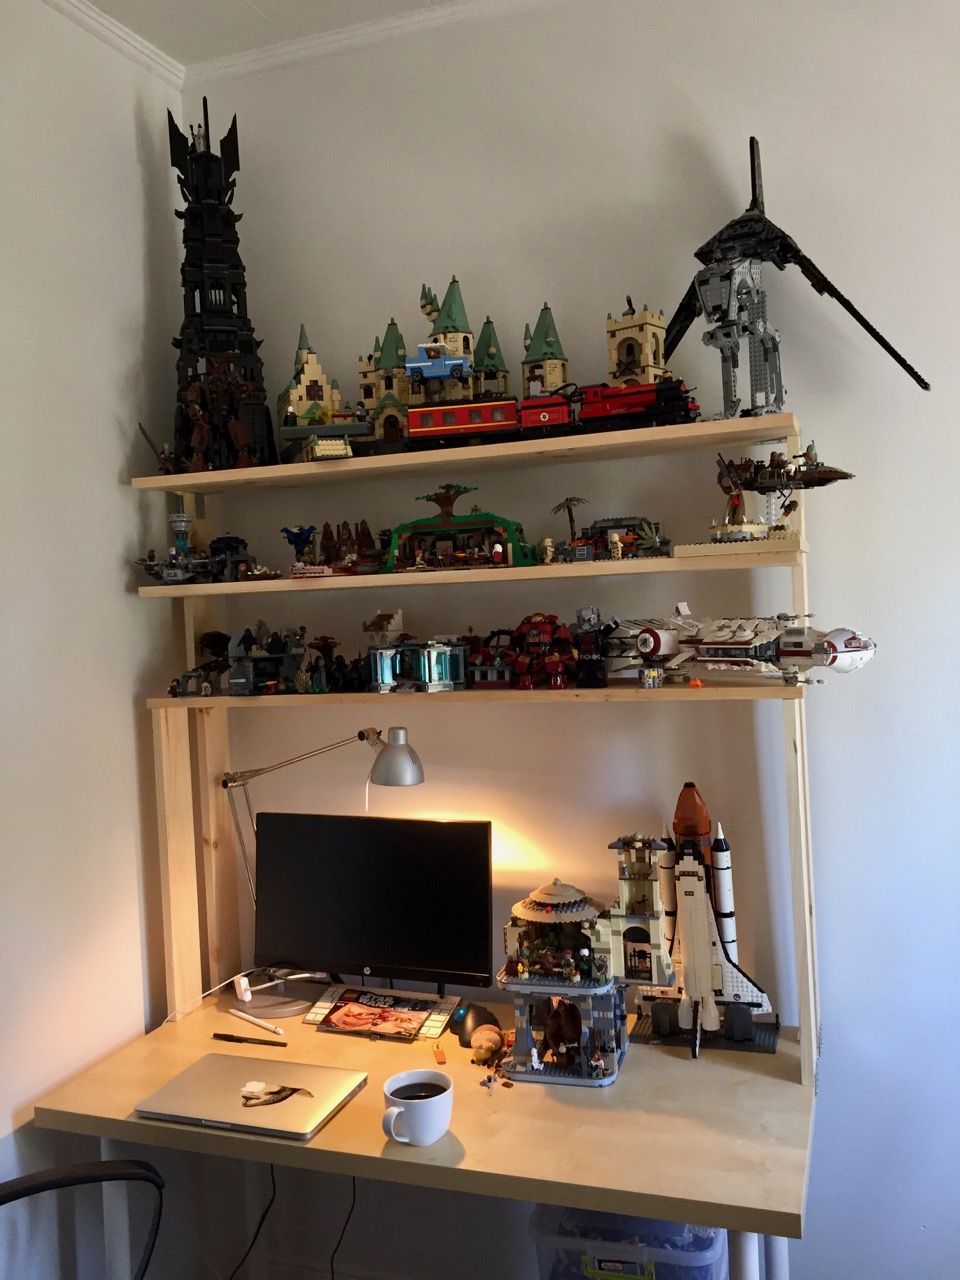
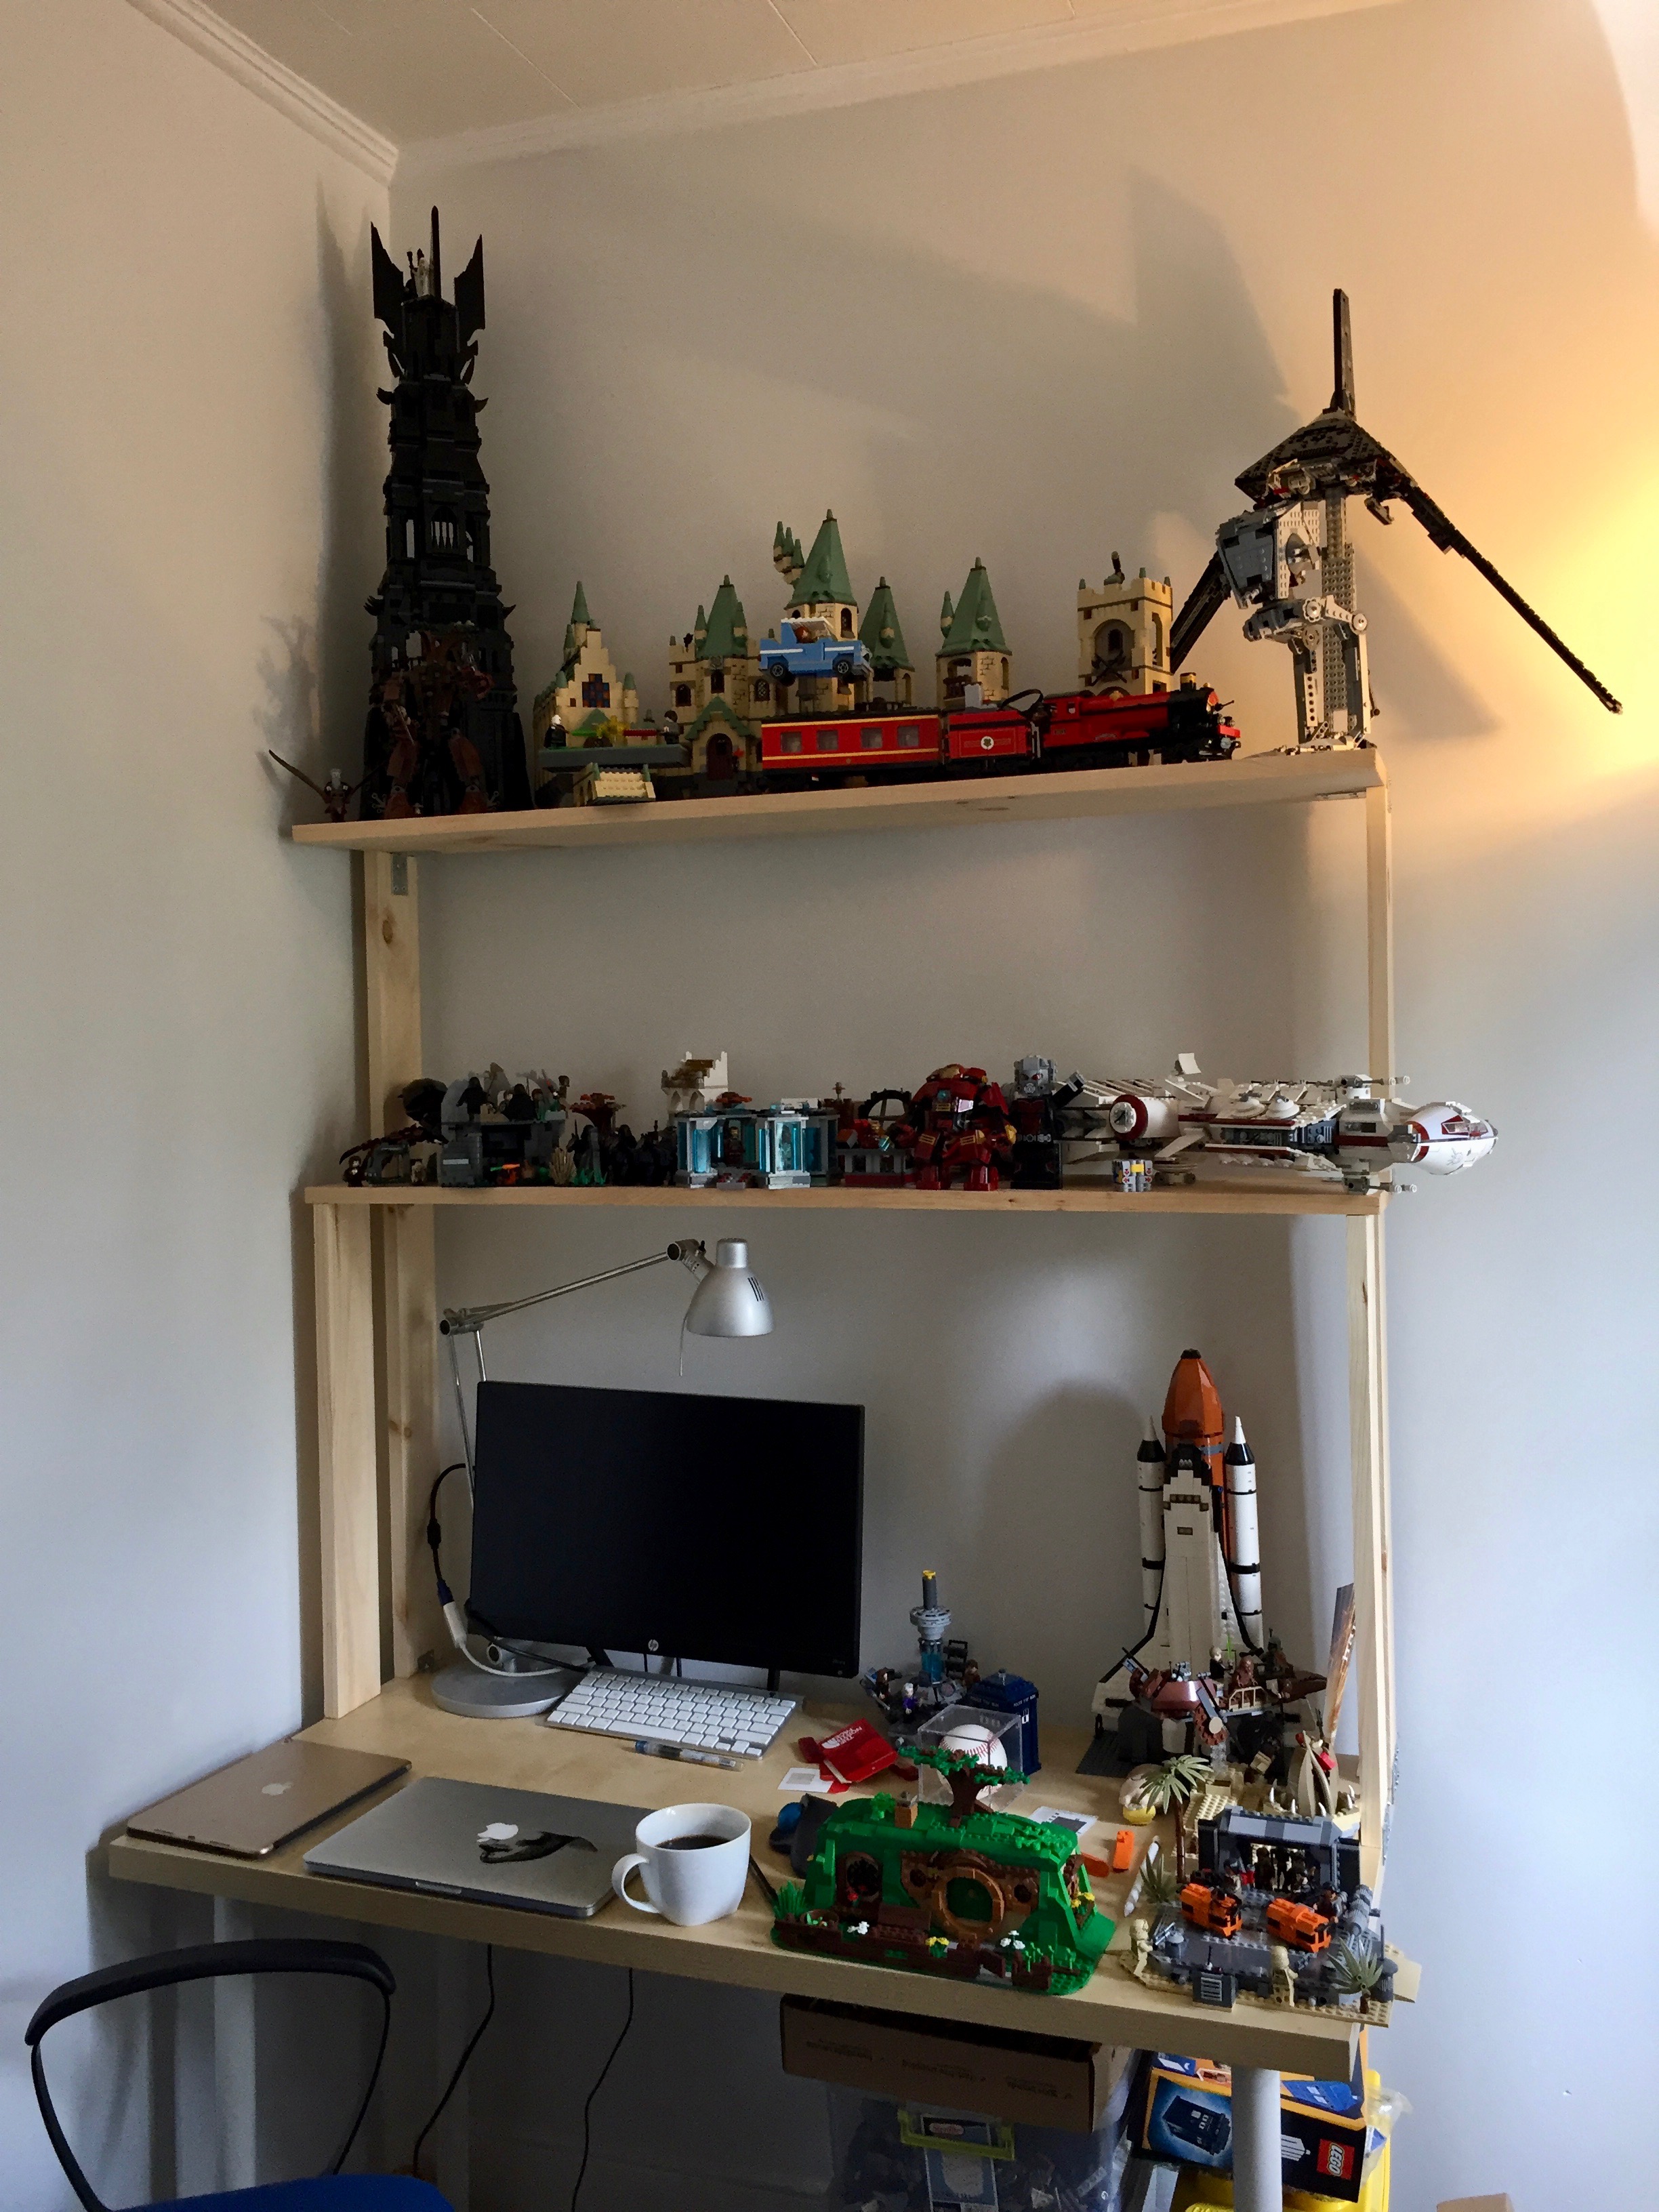
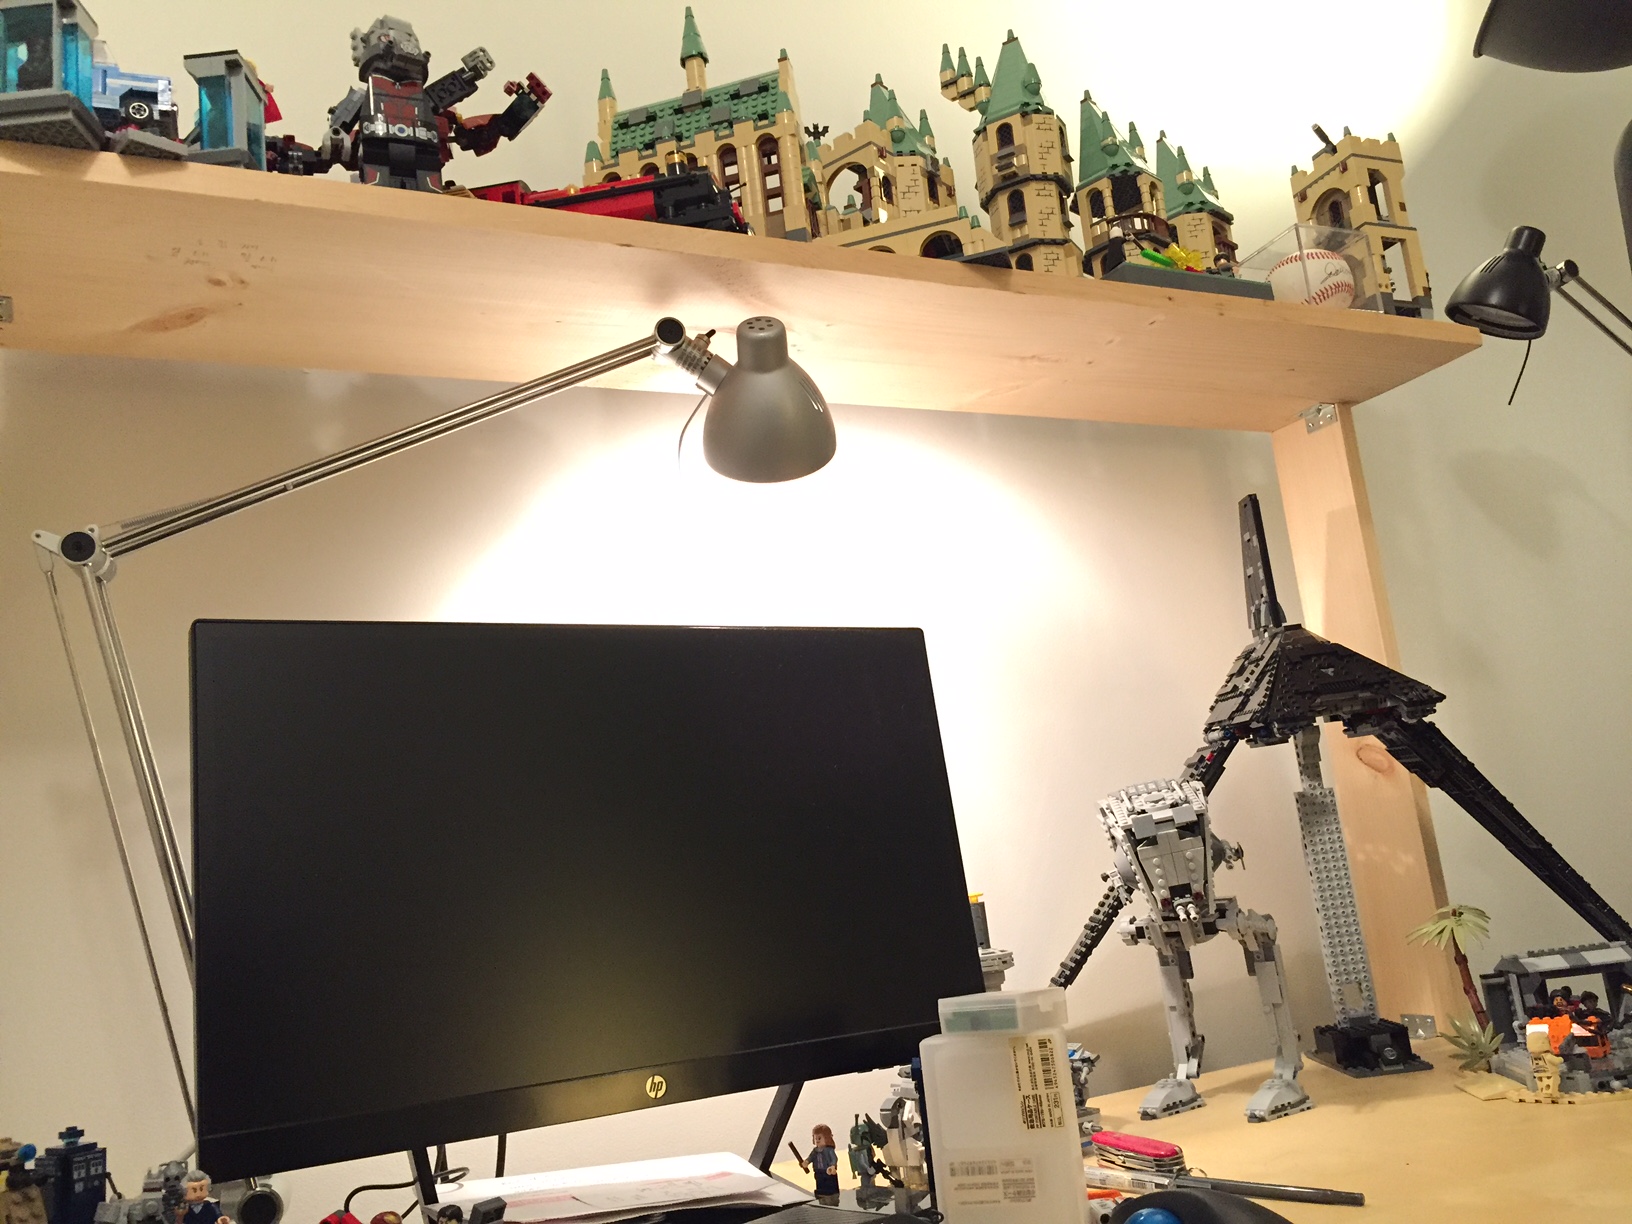
    With the construction phase completed, I was able to begin enjoying my new shelf resting above my desk.

    IMG_1834

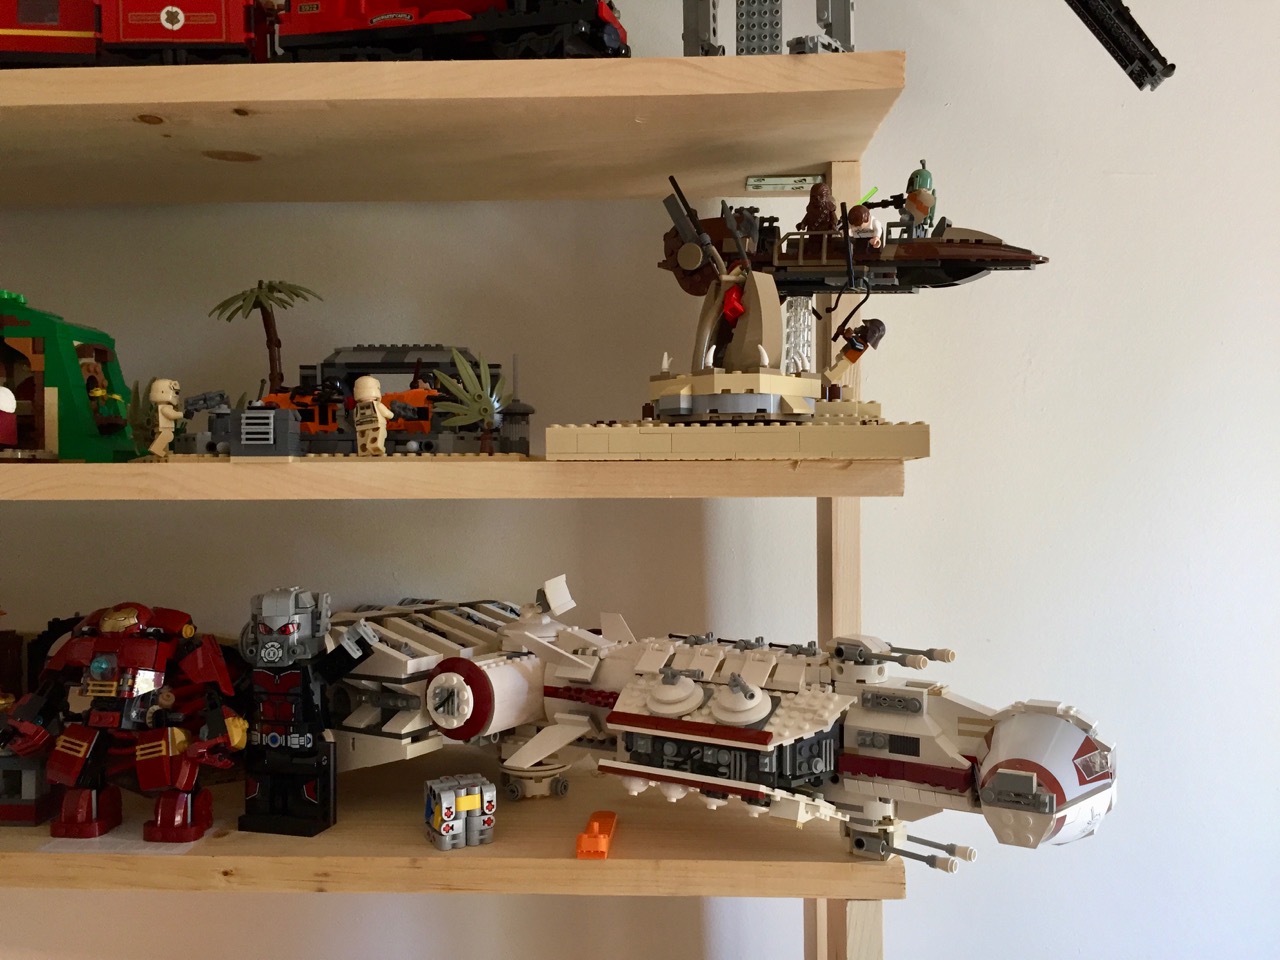
    And move my LEGO models into their new home.

    IMG_1836

    The making, of course, didn’t end there. In parallel, Y and I took pictures of my building progress. Then, I began writing this blog post and embedding the photos to share with others (another form of making). Maybe now, you will go make something of your own!
  • Updated and Expanded LEGO Iron Man’s Hall of Armor

    IMG_1735

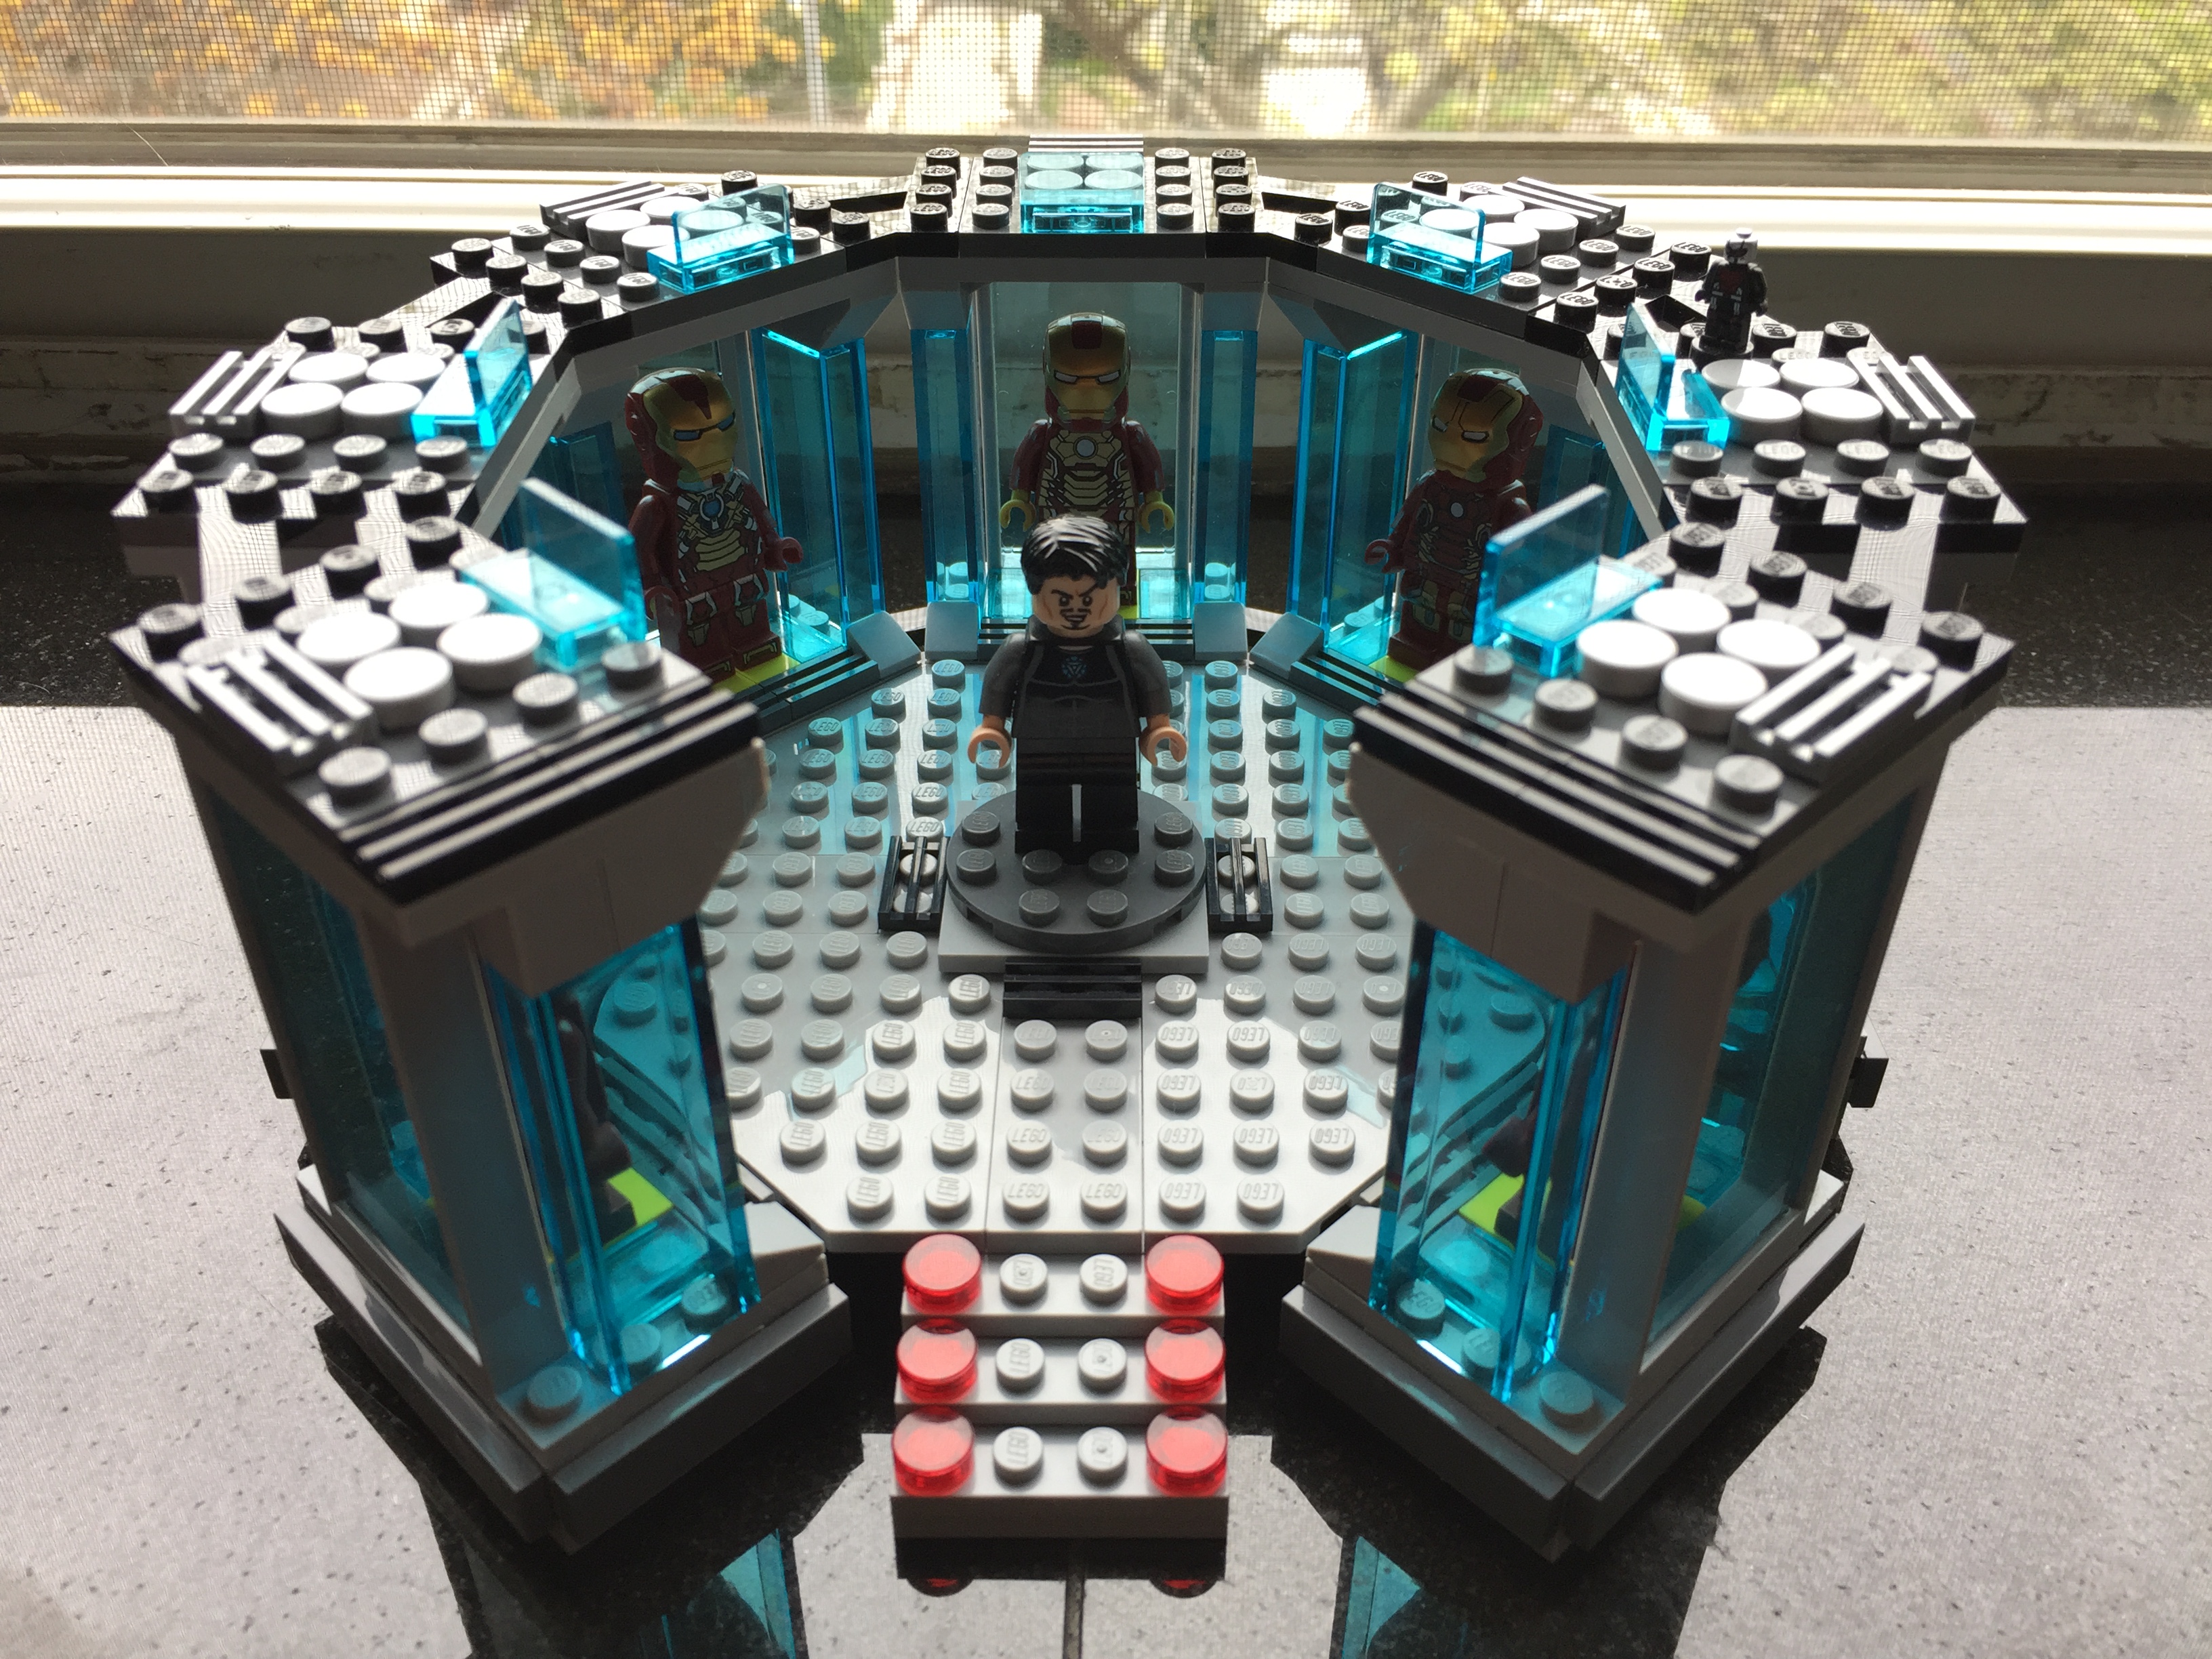
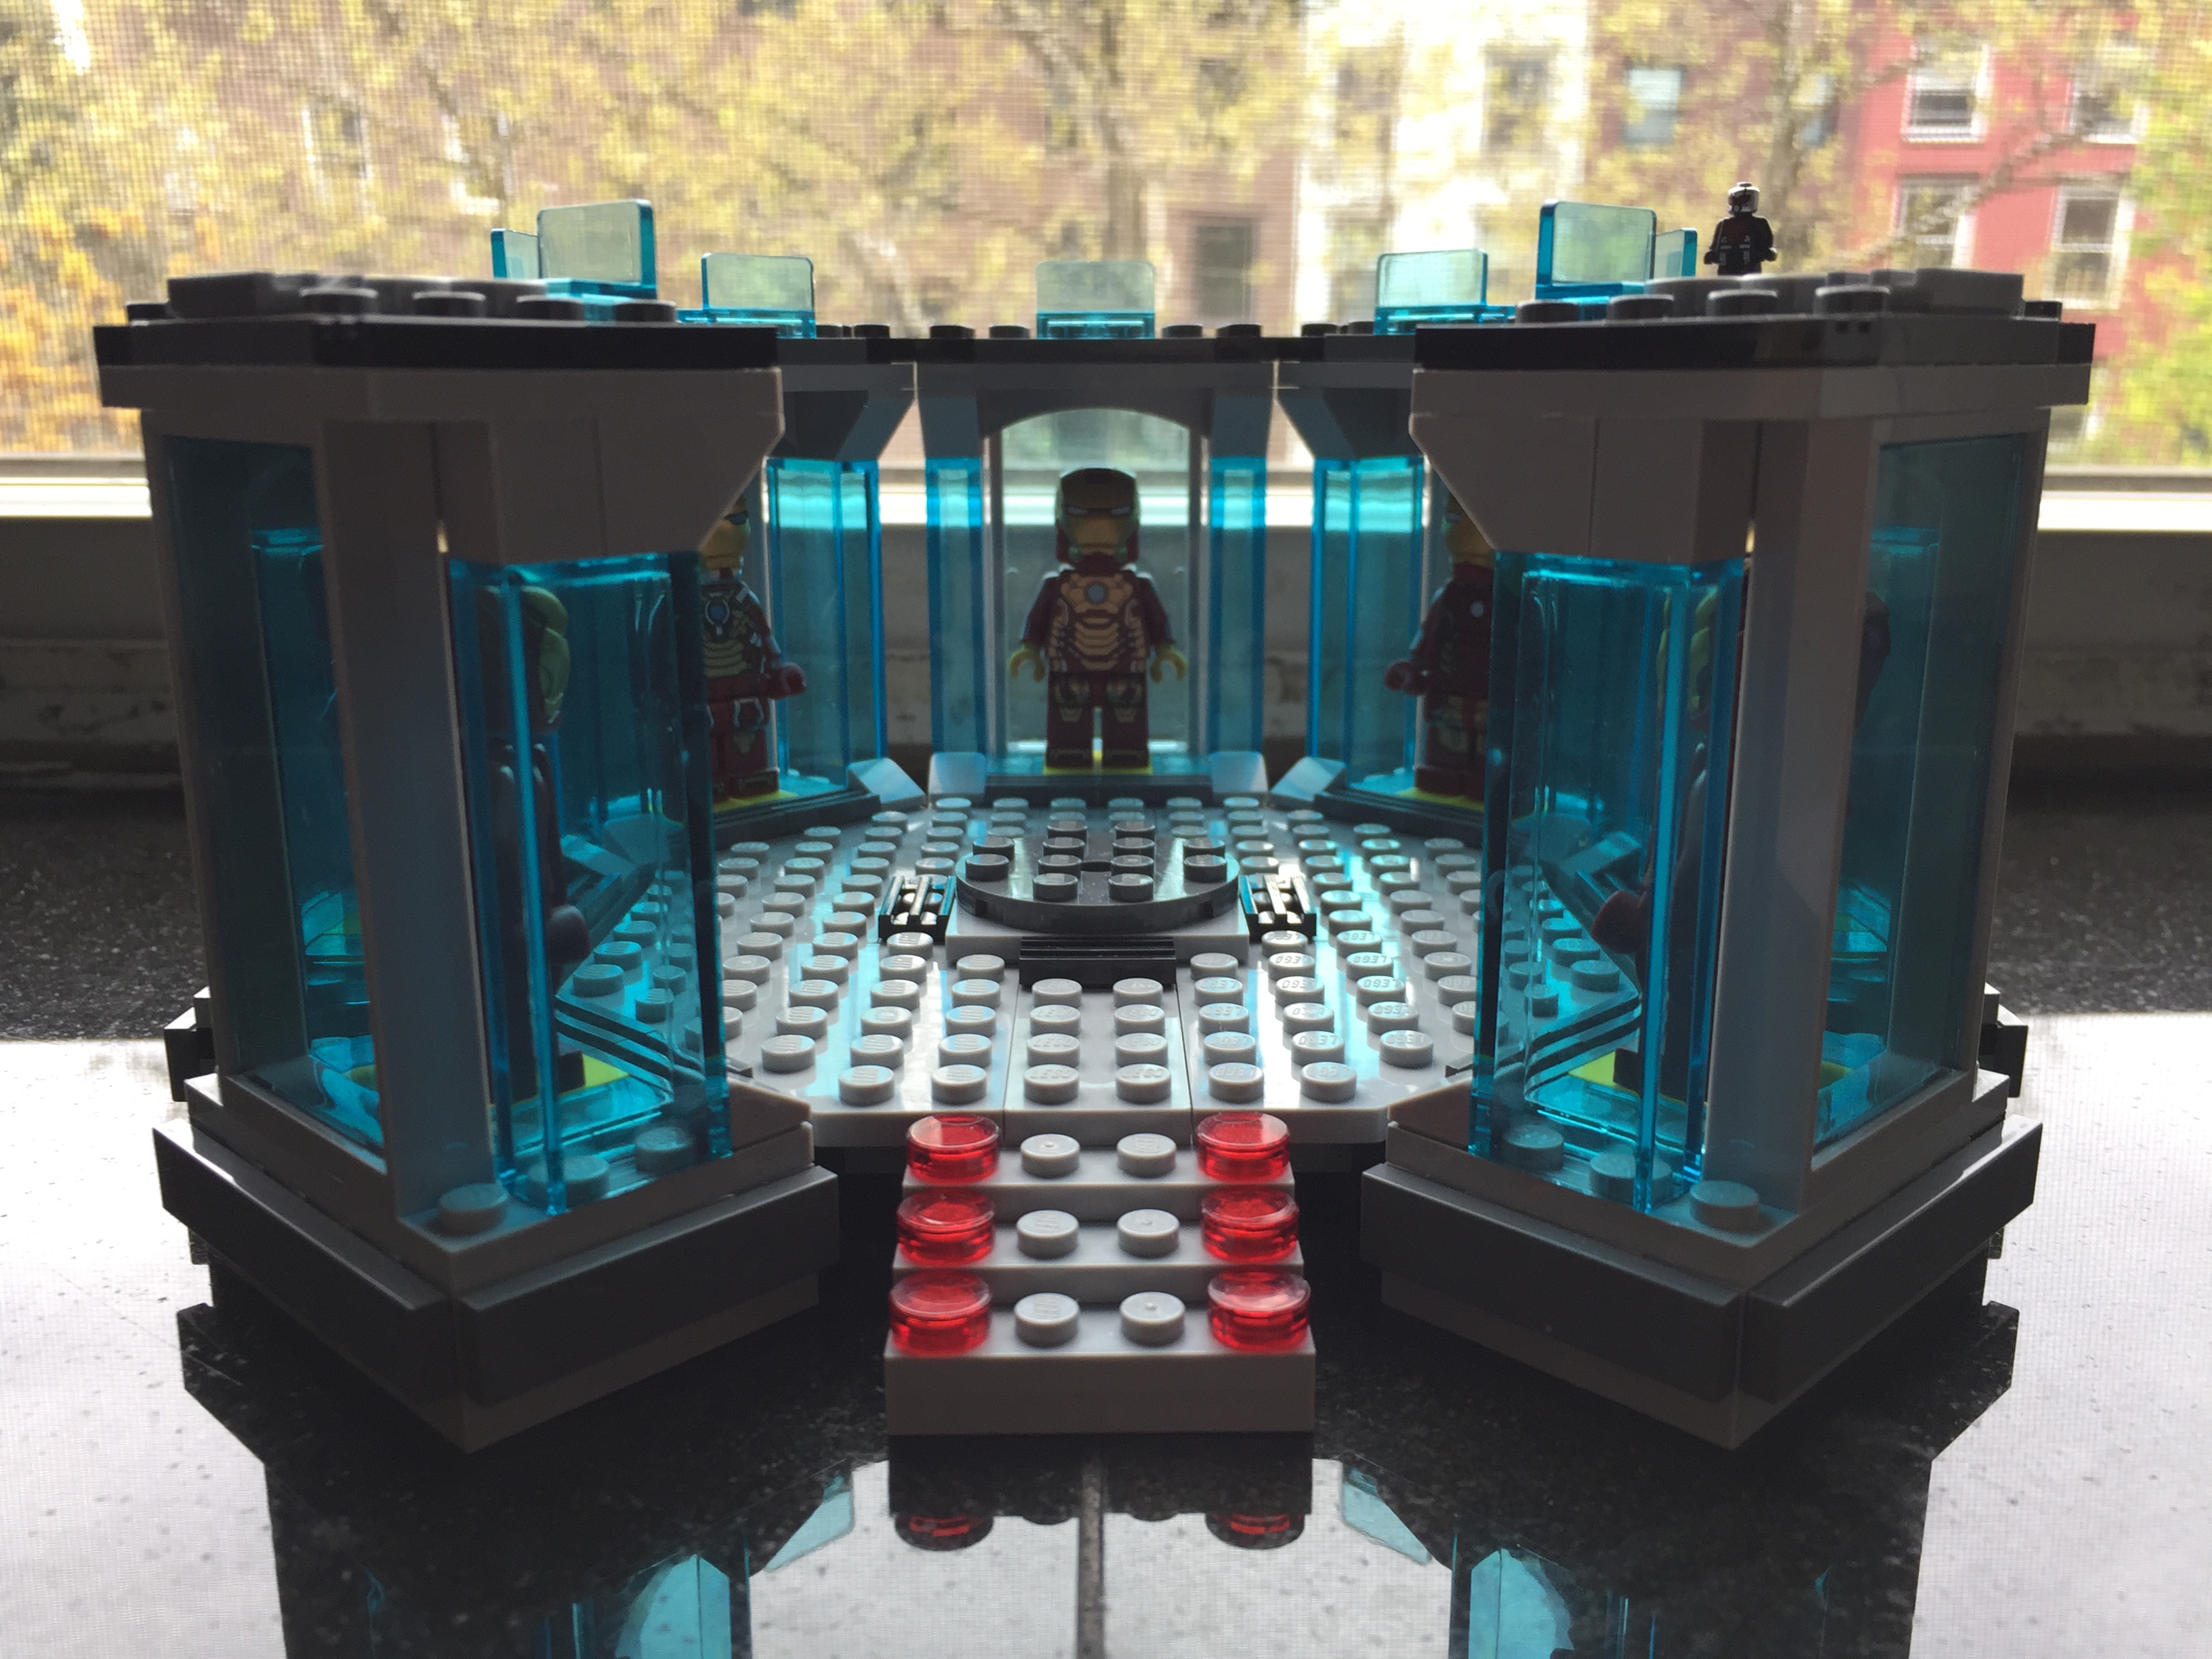
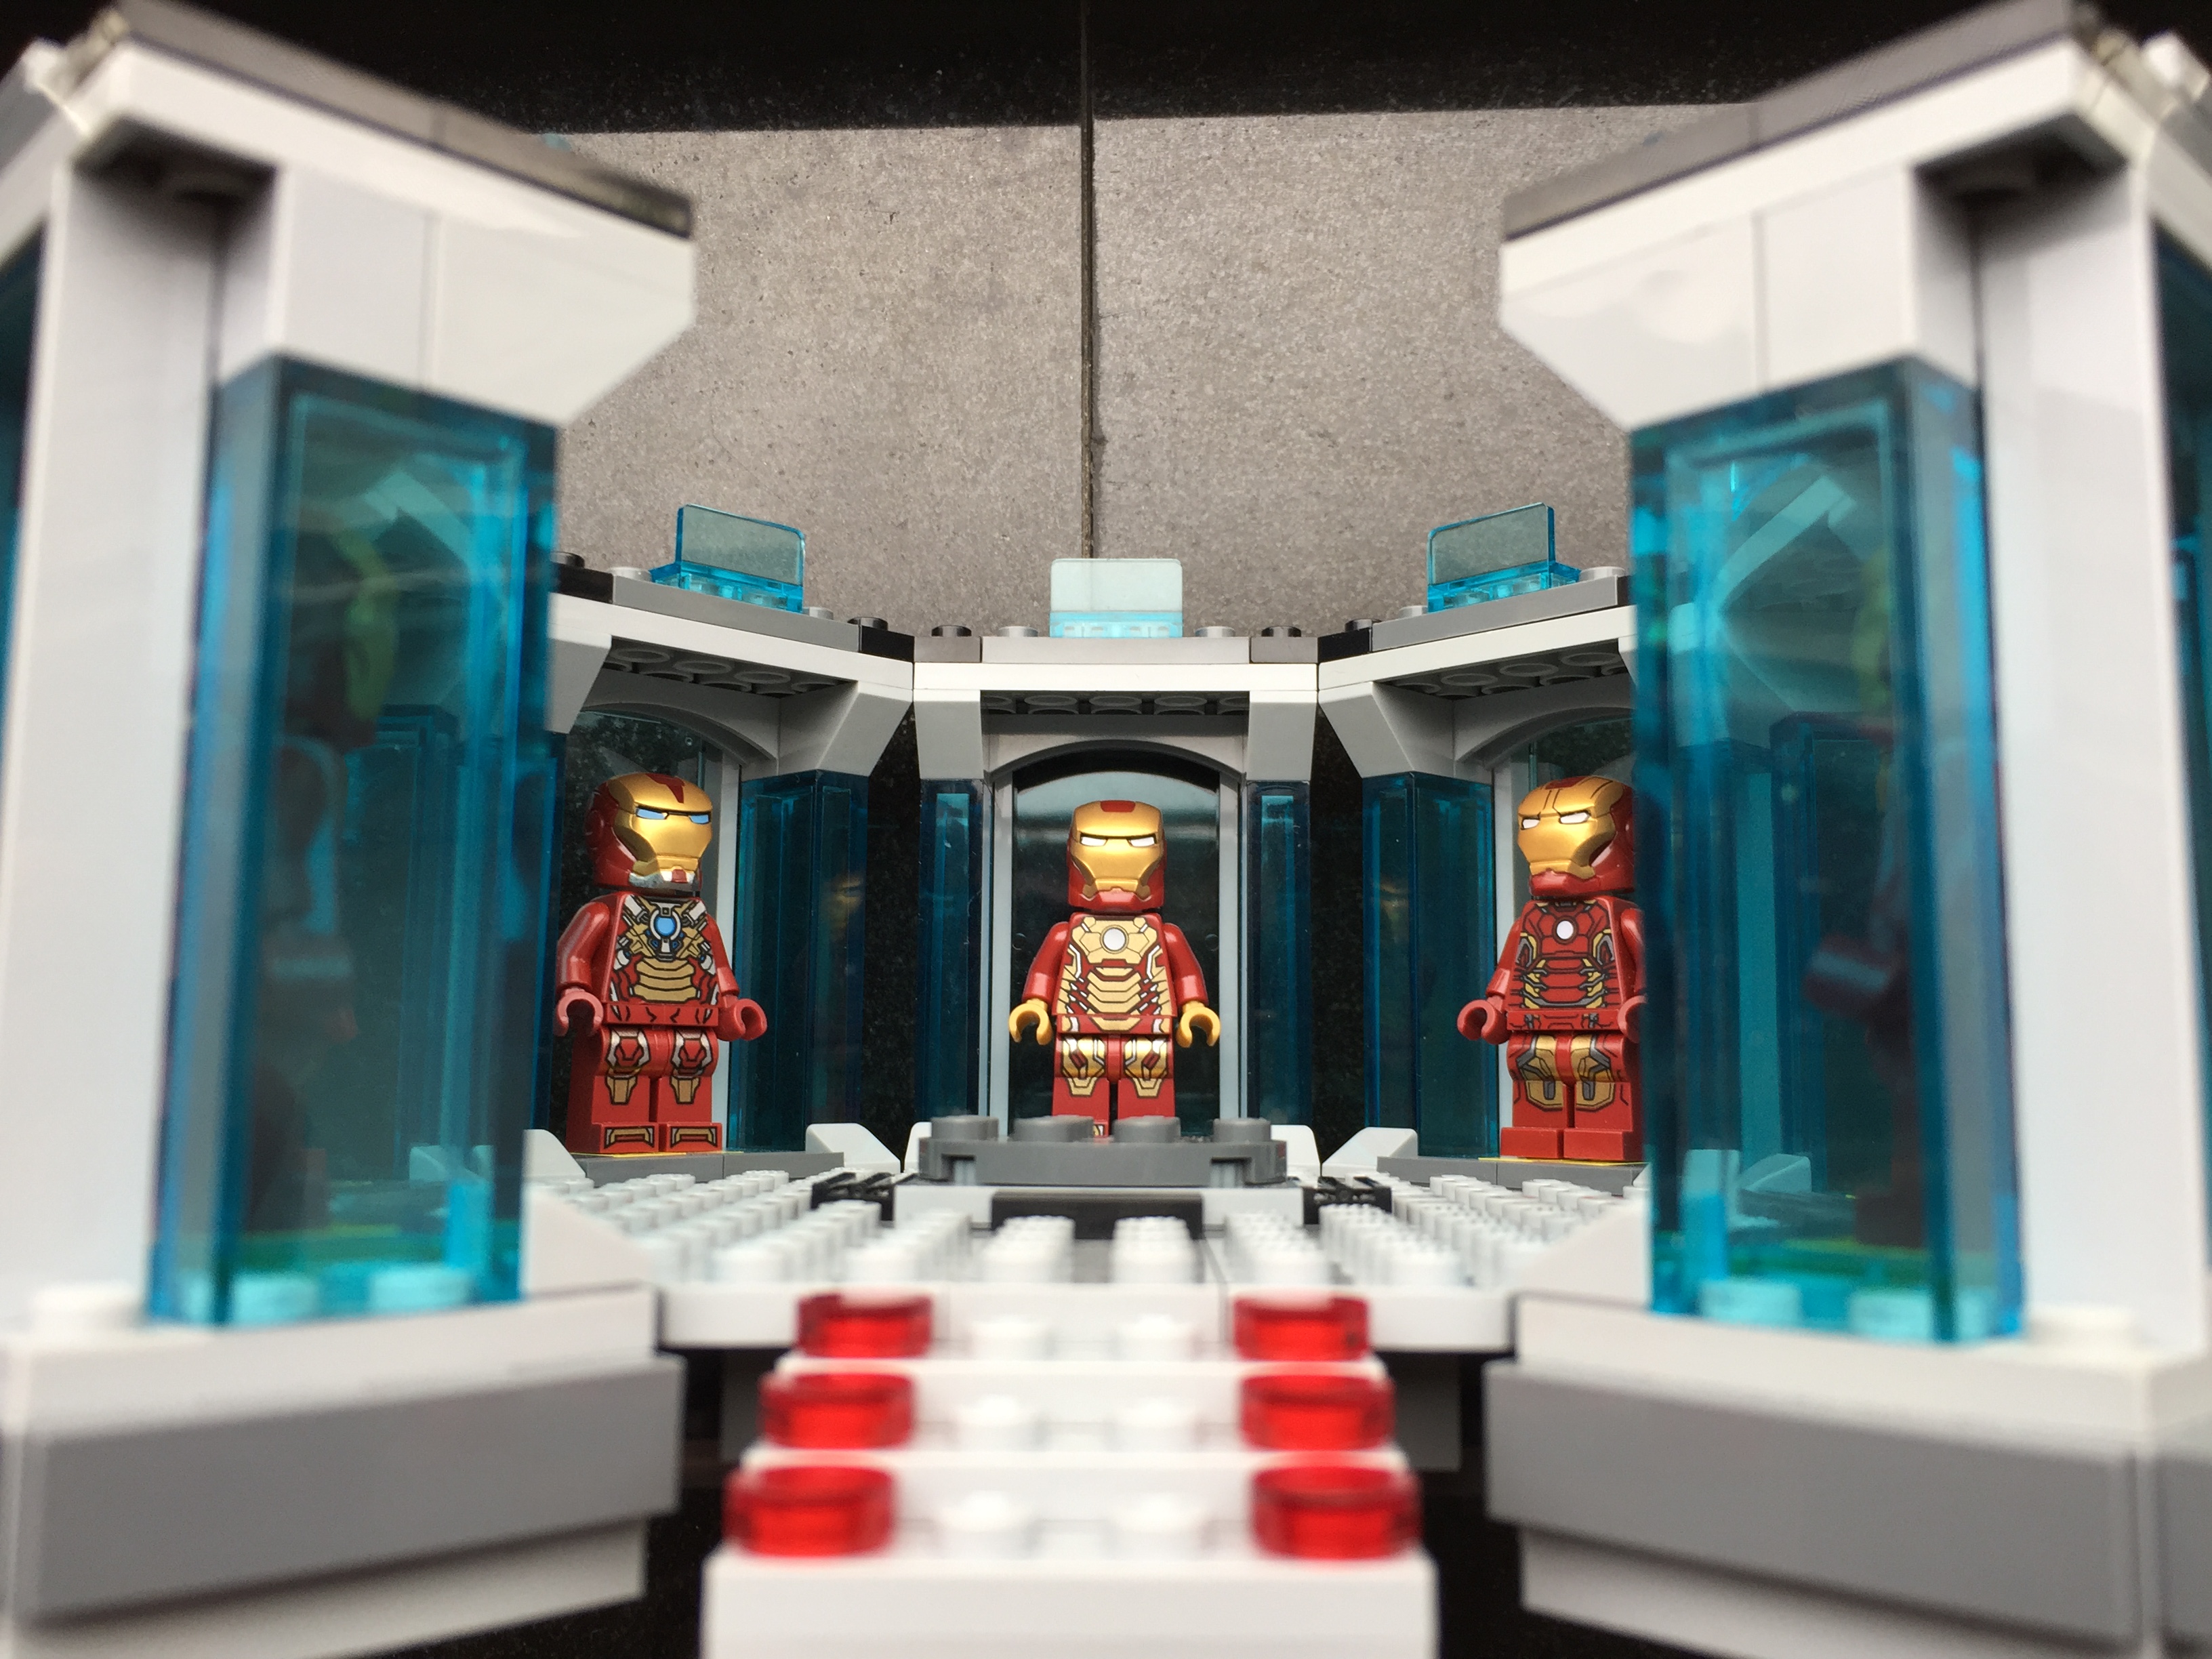
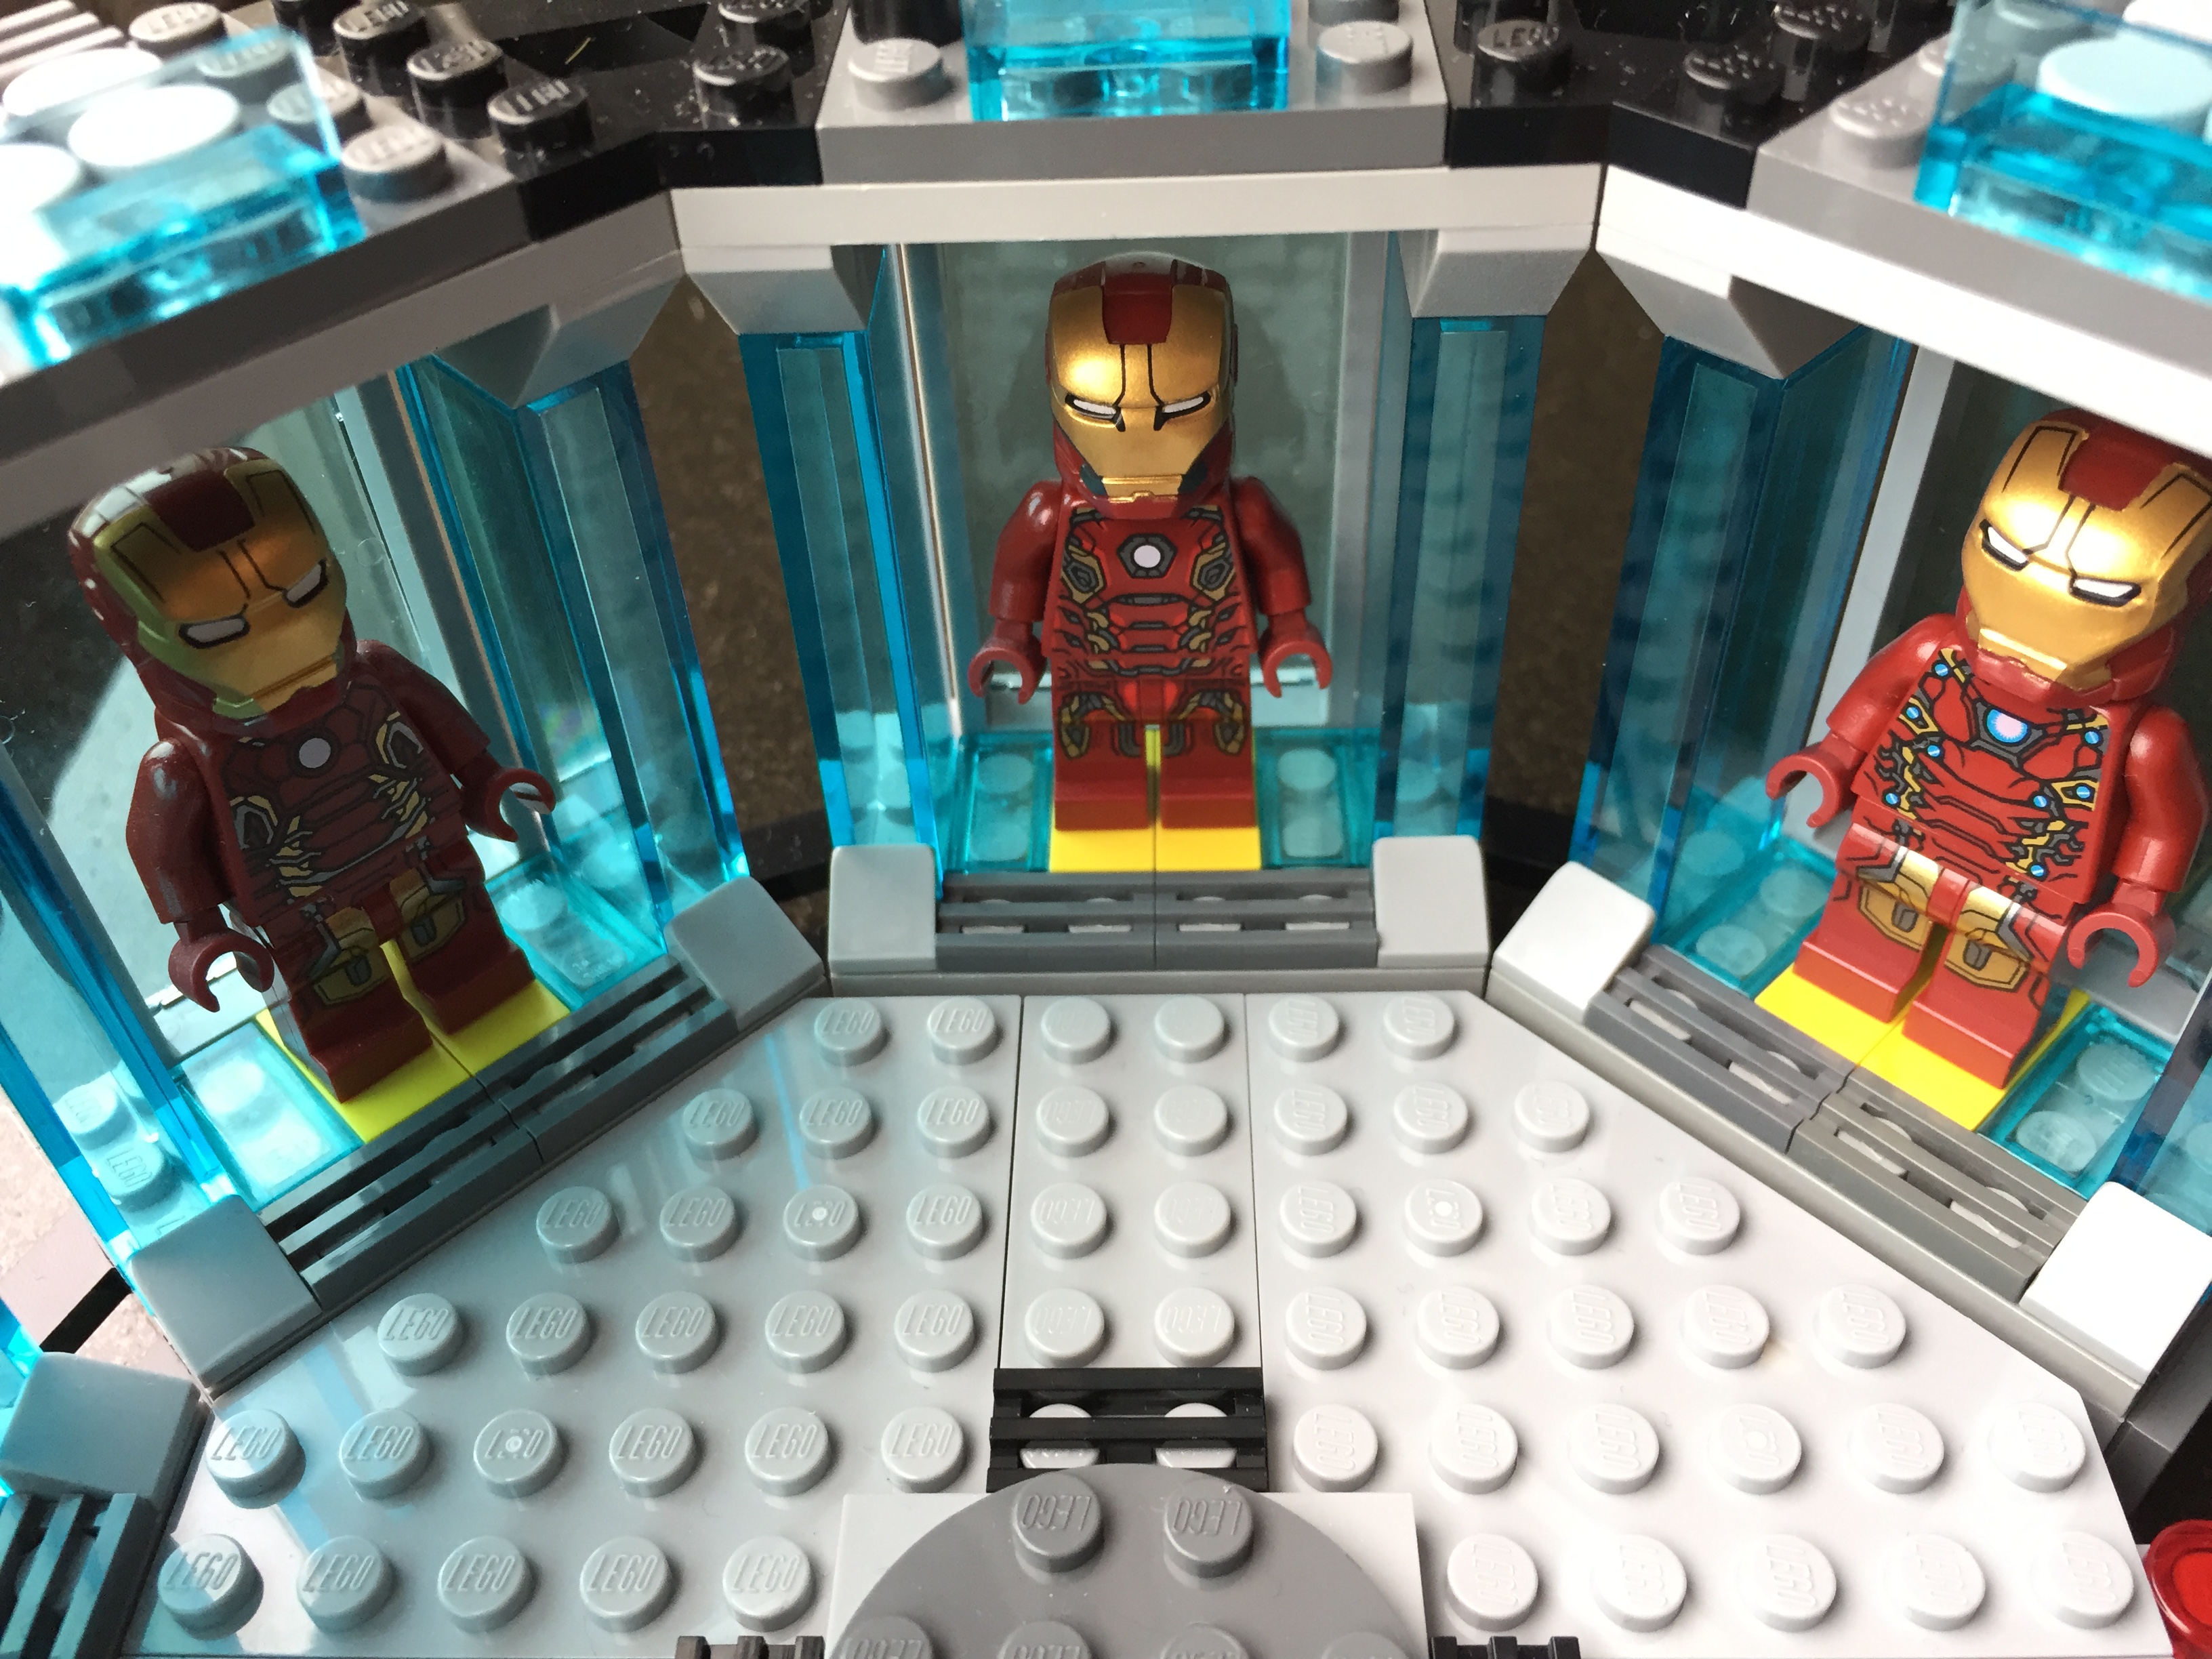
    While continuing to sort my LEGO brick collection, I discovered four more Plate (A) 4M 45° pieces. With these special elements in-hand, I updated and expanded my LEGO Iron Man’s Hall of Armor, which I wrote about previously here.

    IMG_1726

    I used a similar repetition for each armor suit pod, but I added one stud roof tiles (Roof Tile 1X1X2/3, Abs) at the base of each vertical transparent blue wall on either side of an armor suit.

    IMG_1728
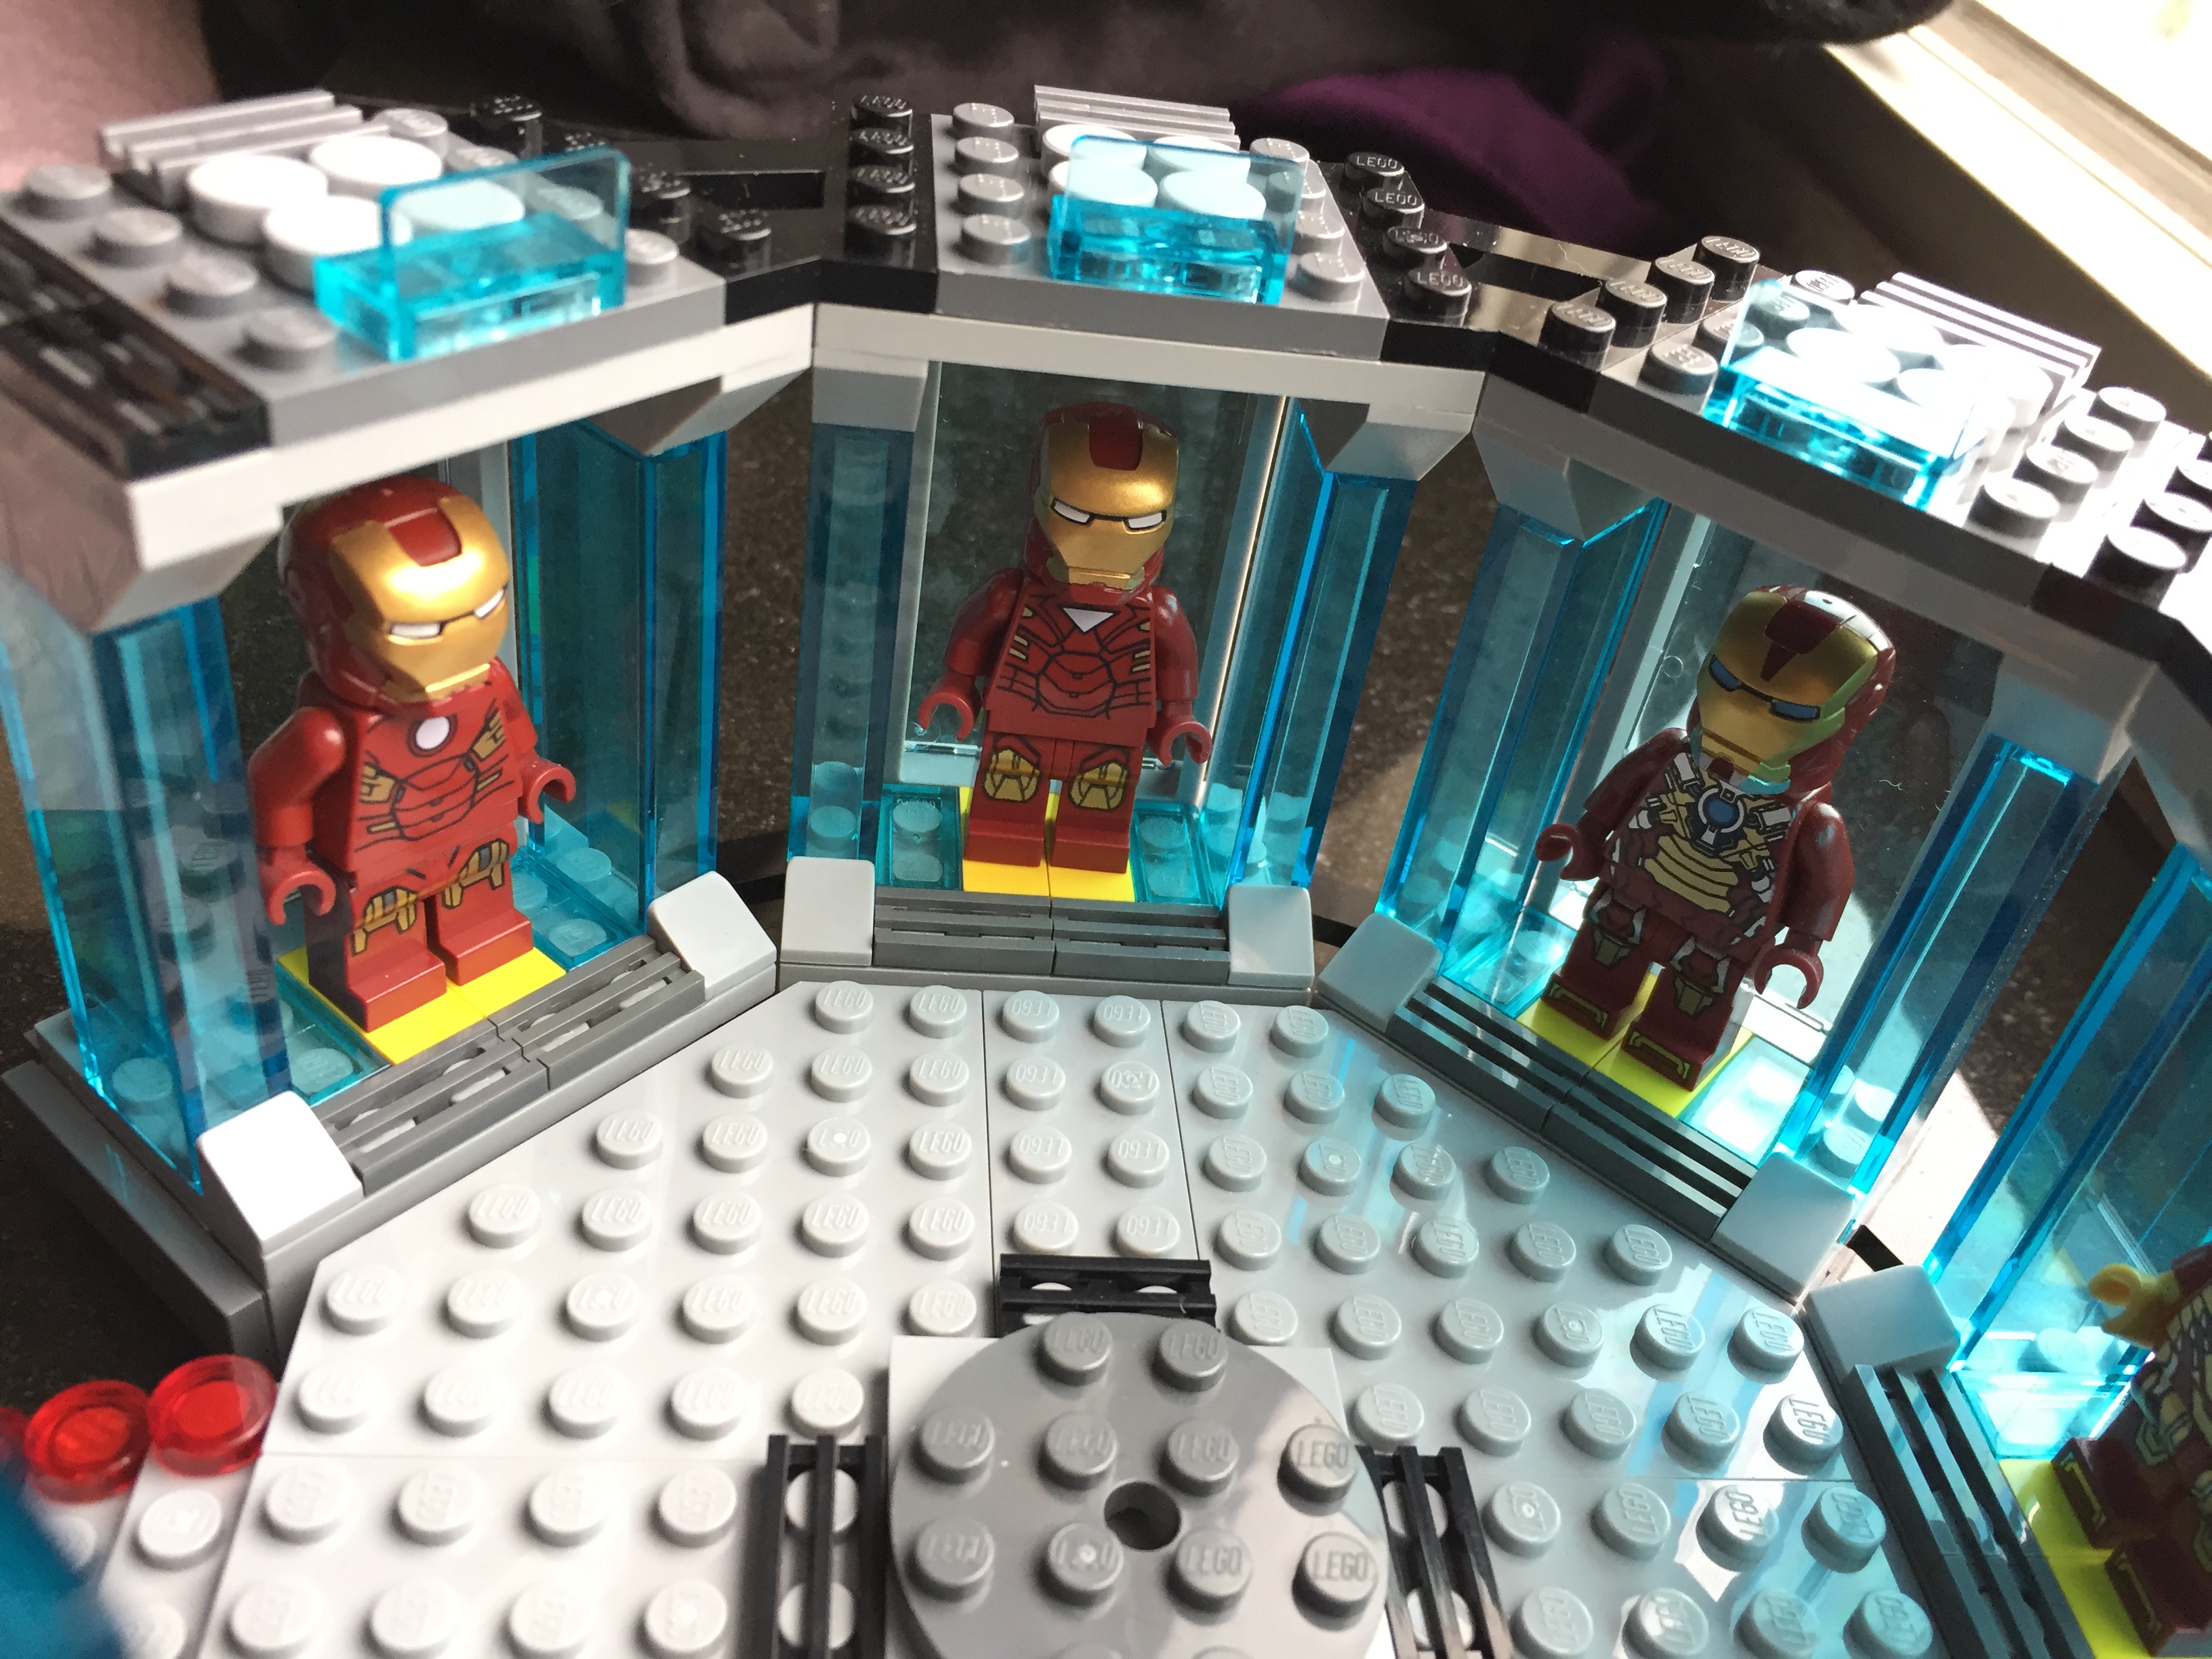
    Armors from left to right: Mark III (Iron Man film), Mark VI (Avengers), and Mark XVII “Heartbreaker” (Iron Man 3)

    To complete the model, I needed Iron Man’s armor with the triangular arc reactor window from the first Avengers movie (Mark VI armor). I ordered the 30167 polybag on ebay from a seller in Brooklyn (interestingly, it takes longer for mail to arrive from within my city borough than it does from California or even Germany at standard postal rates!).
    IMG_1729
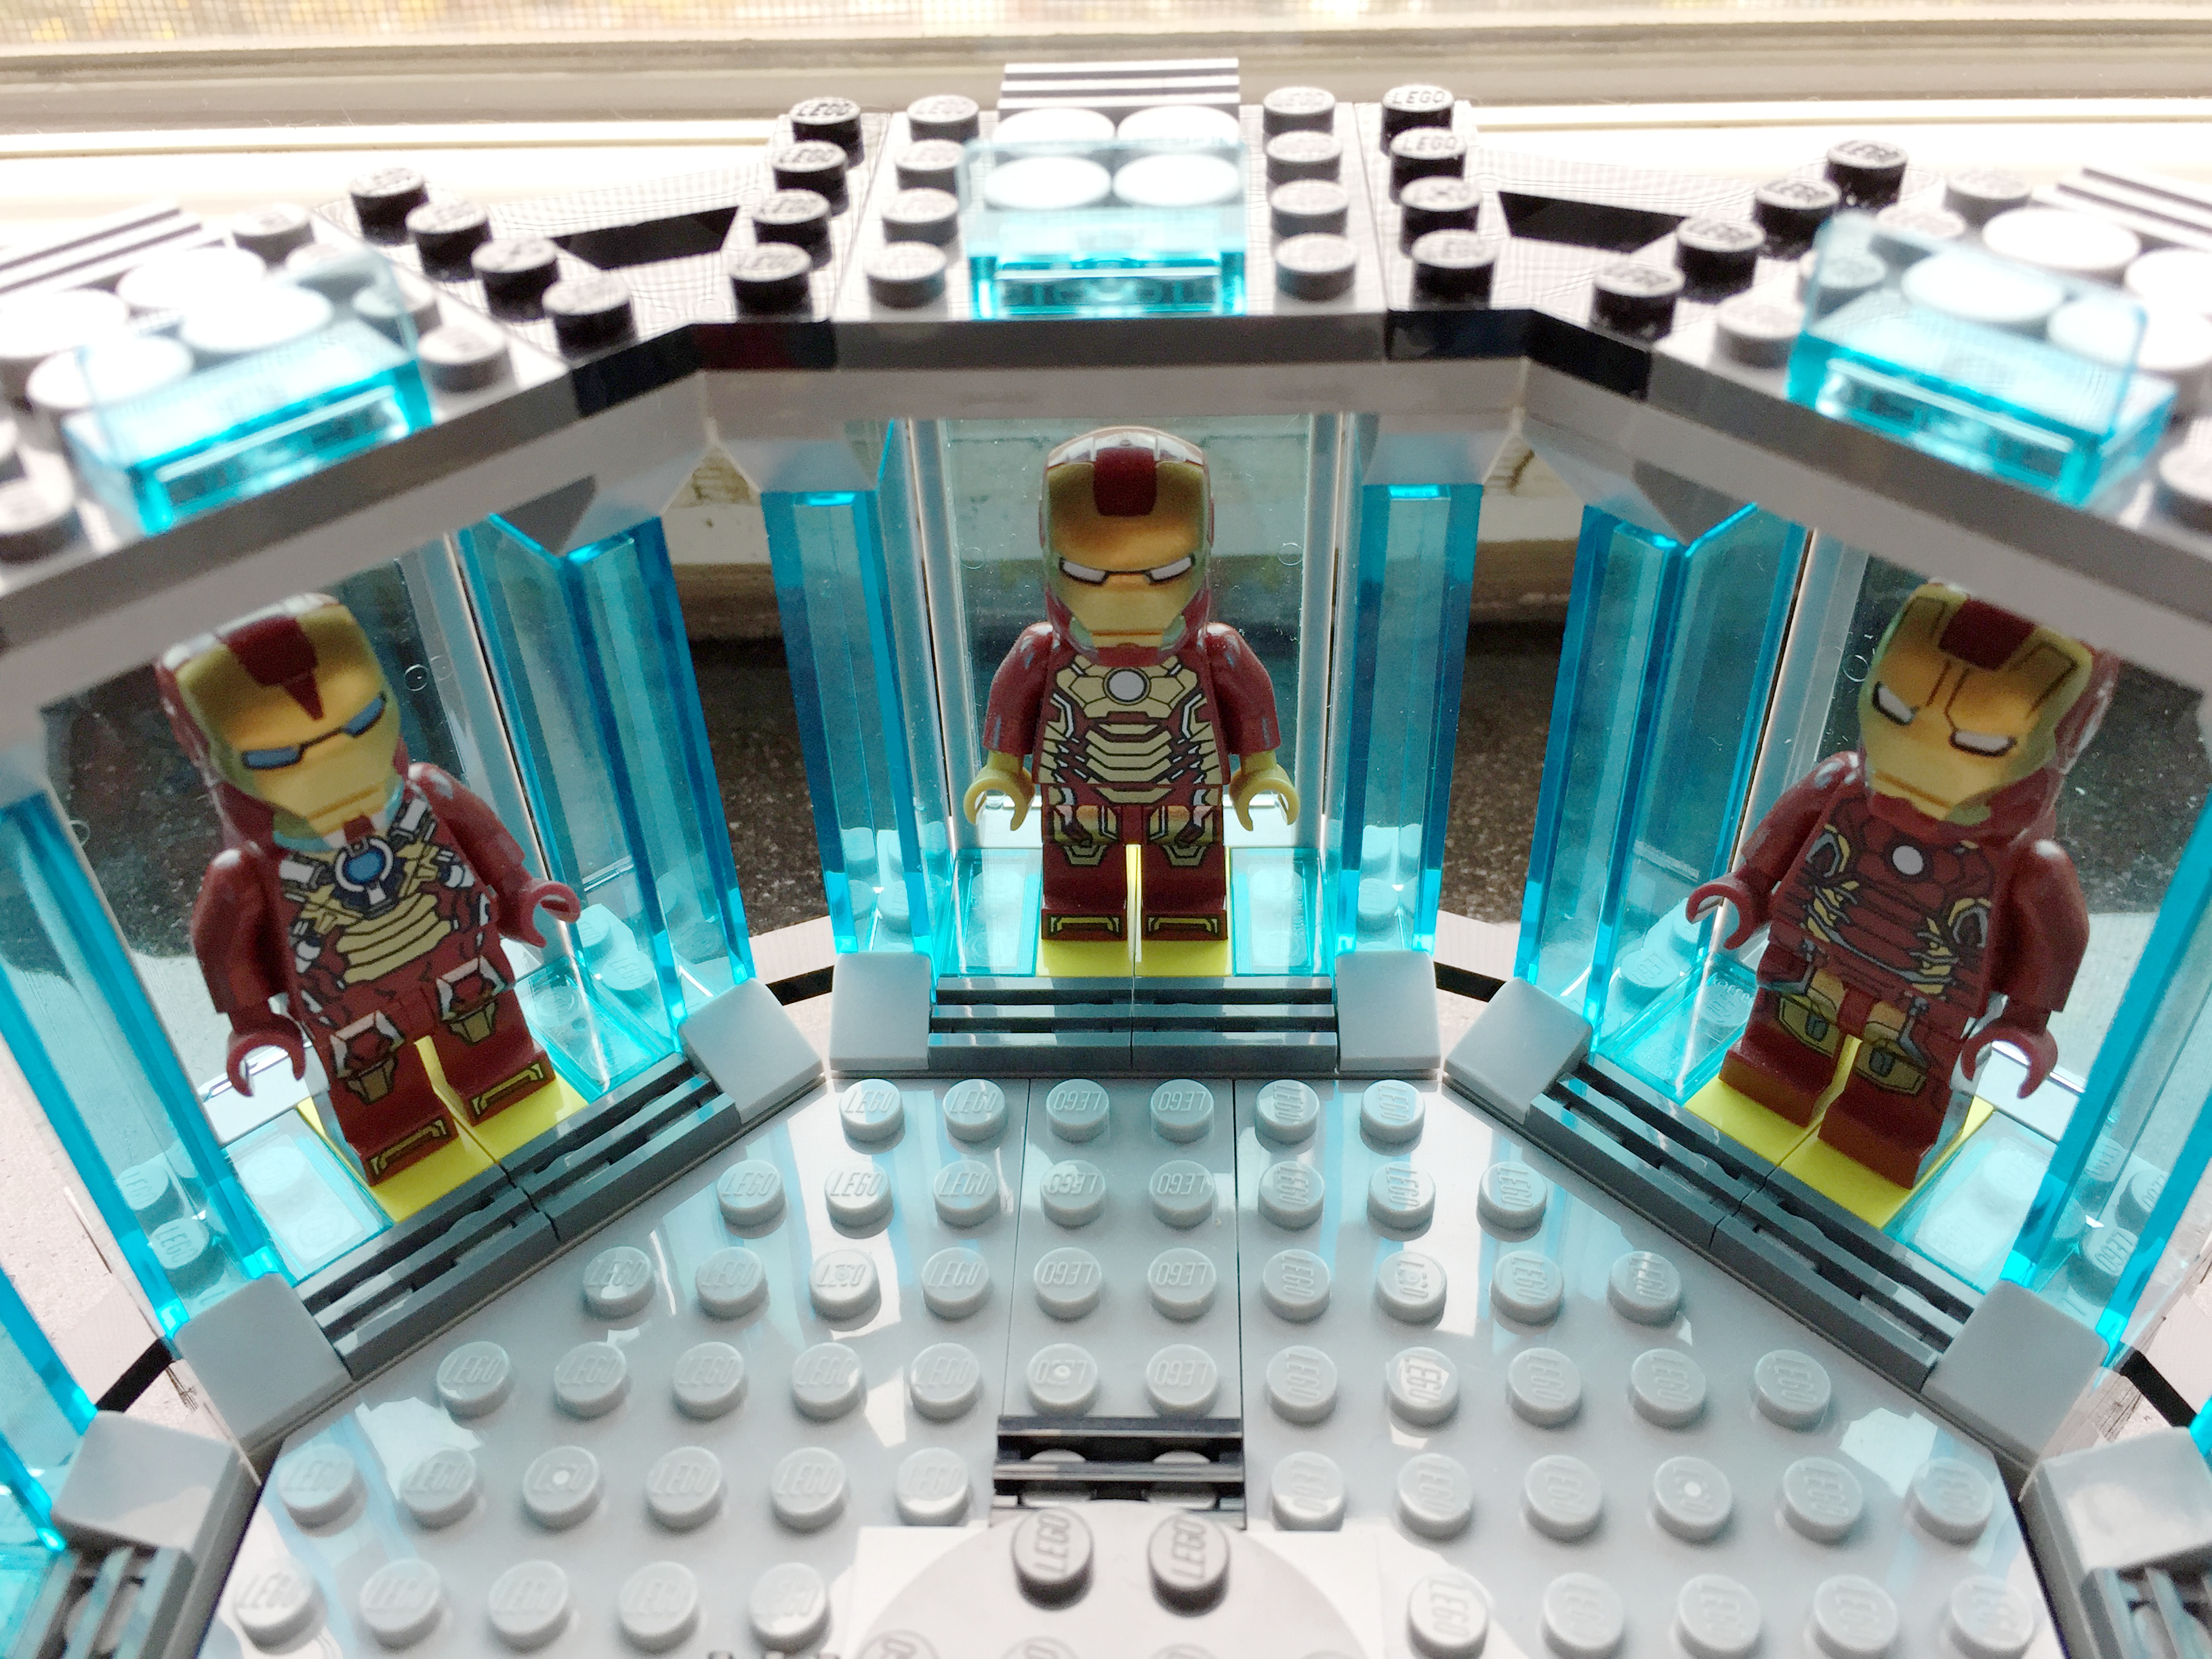
    Armors from left to right: Mark XVII “Heartbreaker” (Iron Man 3), Mark XLII (Iron Man 3), and Mark XLIII (Avengers: Age of Ultron).
    IMG_1730
    Armors from left to right: Mark XLIII (Avengers: Age of Ultron), Mark XLV (Avengers: Age of Ultron), and Mark XLVI (Captain America: Civil War).

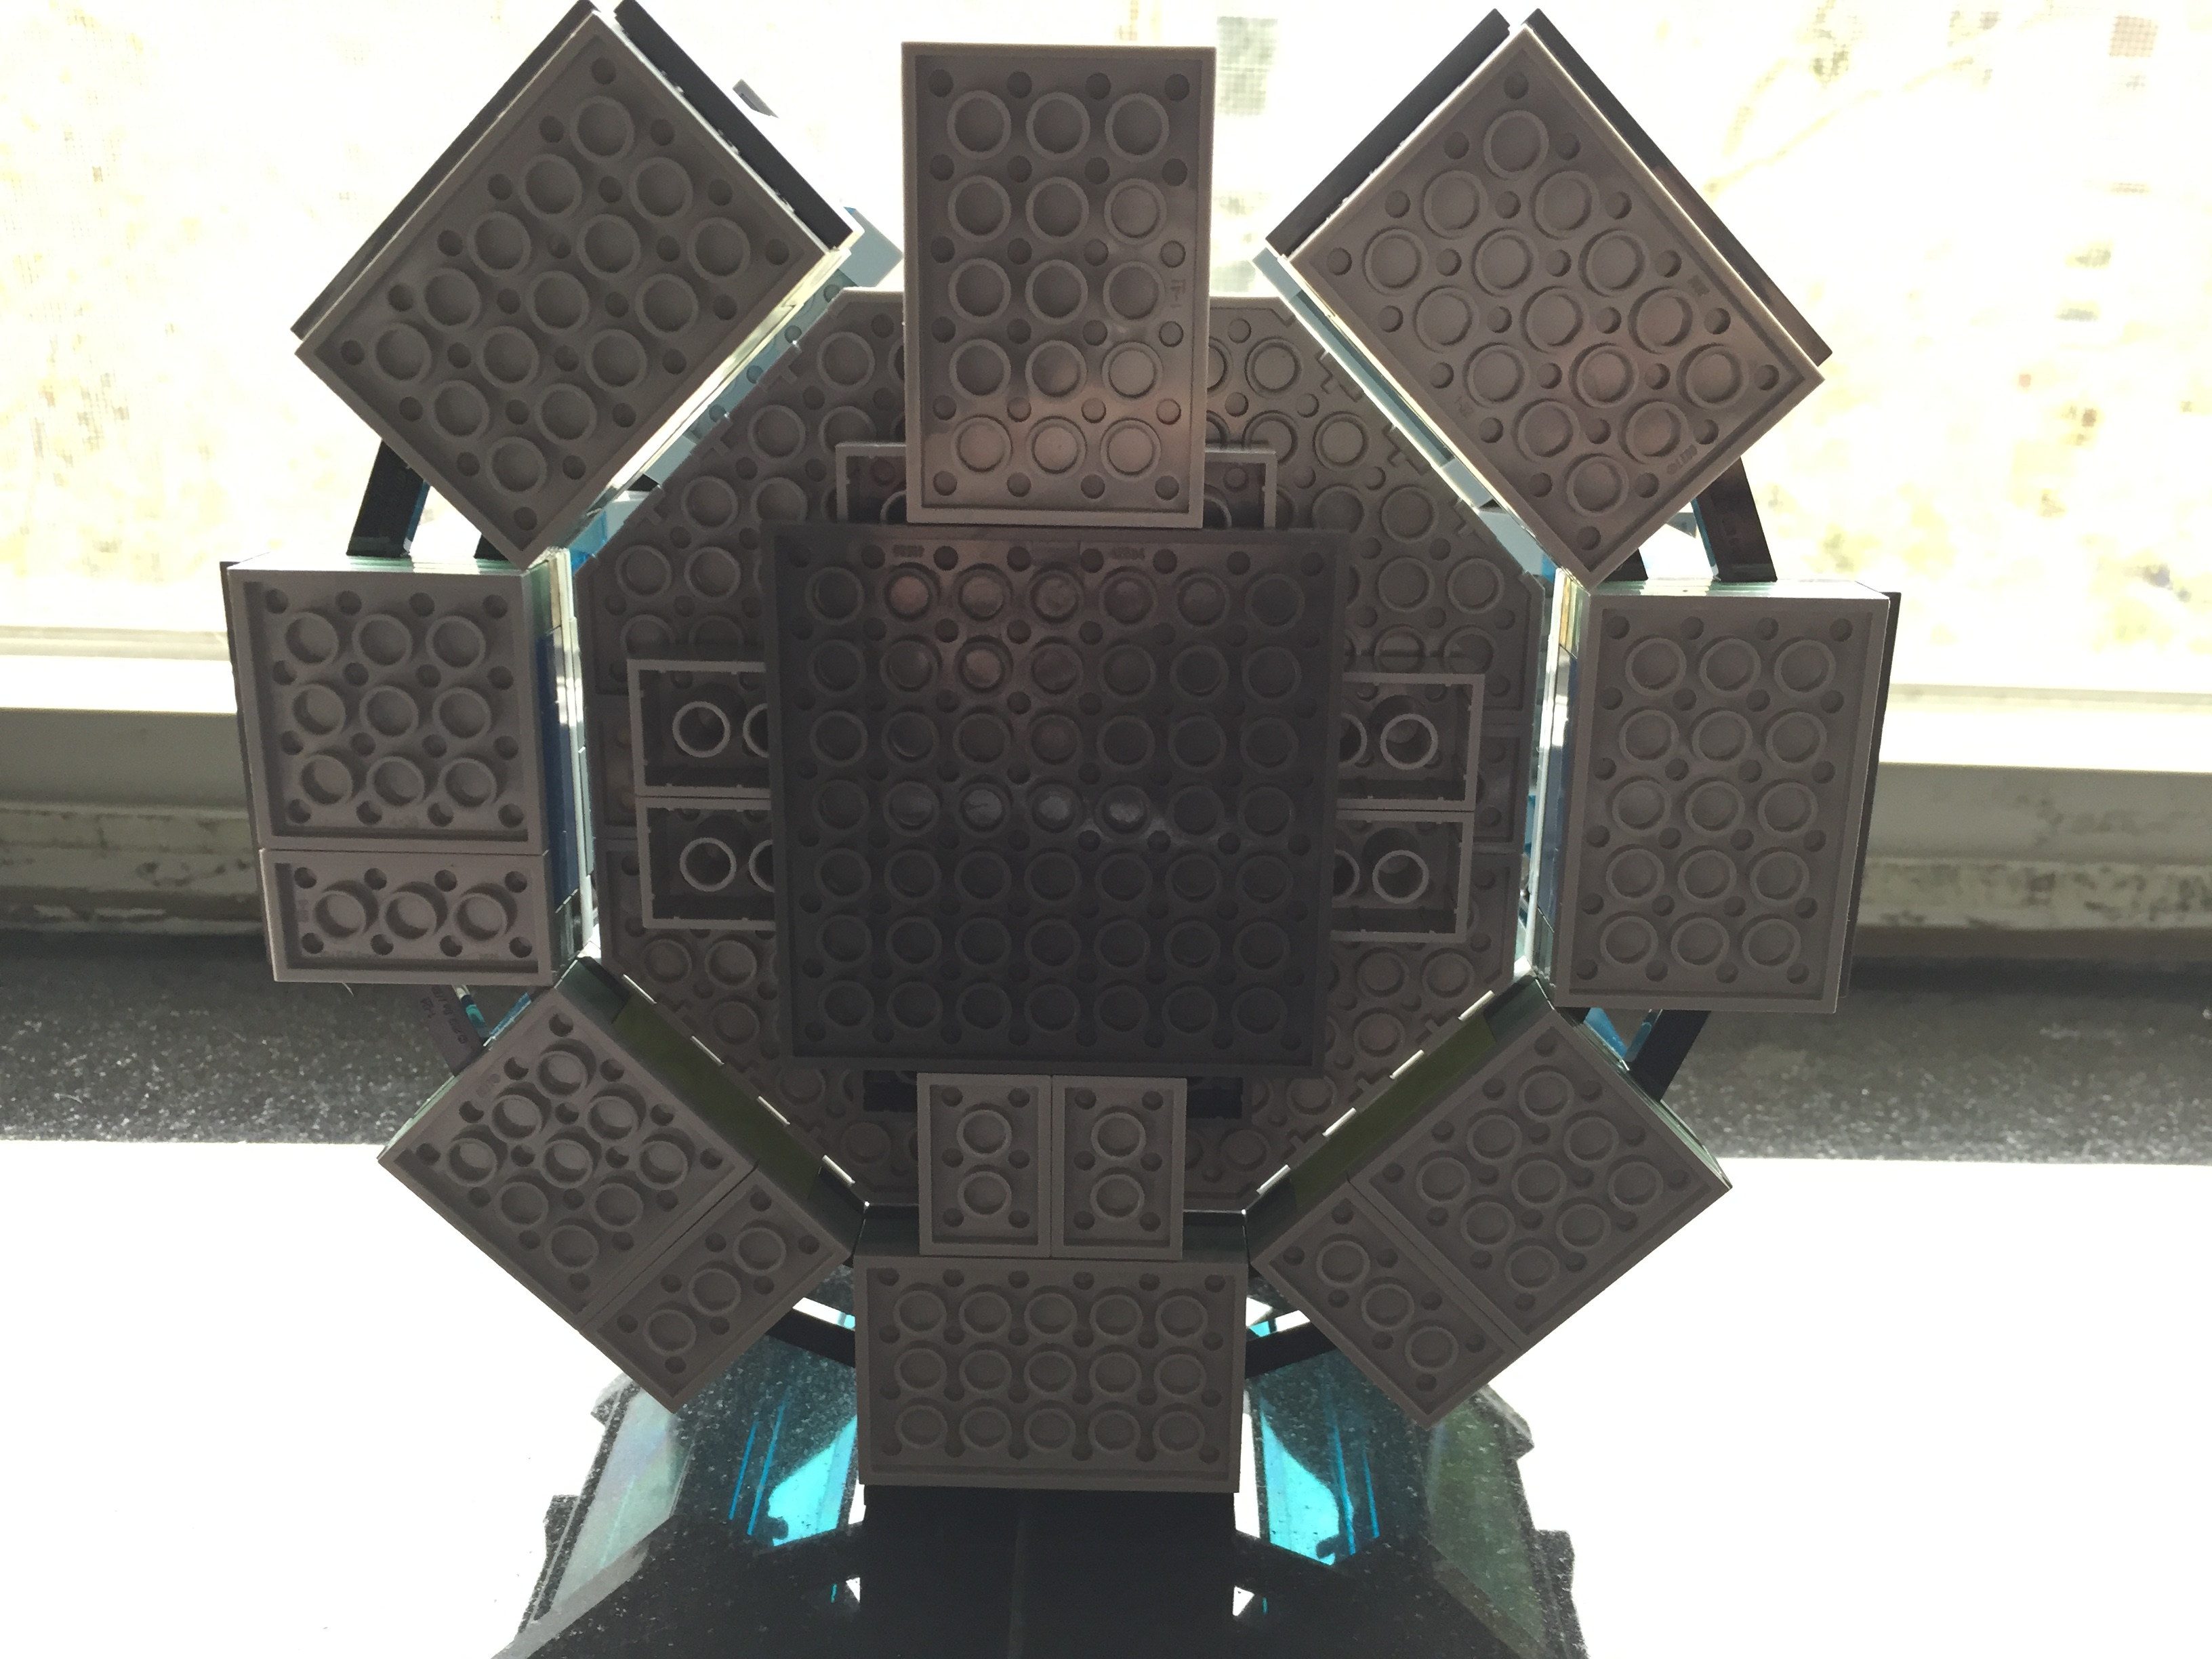
    I needed to redesign the base, so I opted to give it a symmetrical support underneath and and a stairway entrance in the southward position. It connects to the circular armor pod assembly with Technics connector pegs and bricks under the northward armor pod. While the center platform makes a tight and neat fit to the upper three pods, its plate studs do not line up with the side or bottom pods (there is a slight gap of about 1/16 to 1/8 of an inch).

    IMG_1731

    It is a sturdy model that can be lifted from any point. Due to its limited interior space and the size of my adult hands, it is difficult to remove and replace the Iron Man armor in each pod.

    IMG_1733

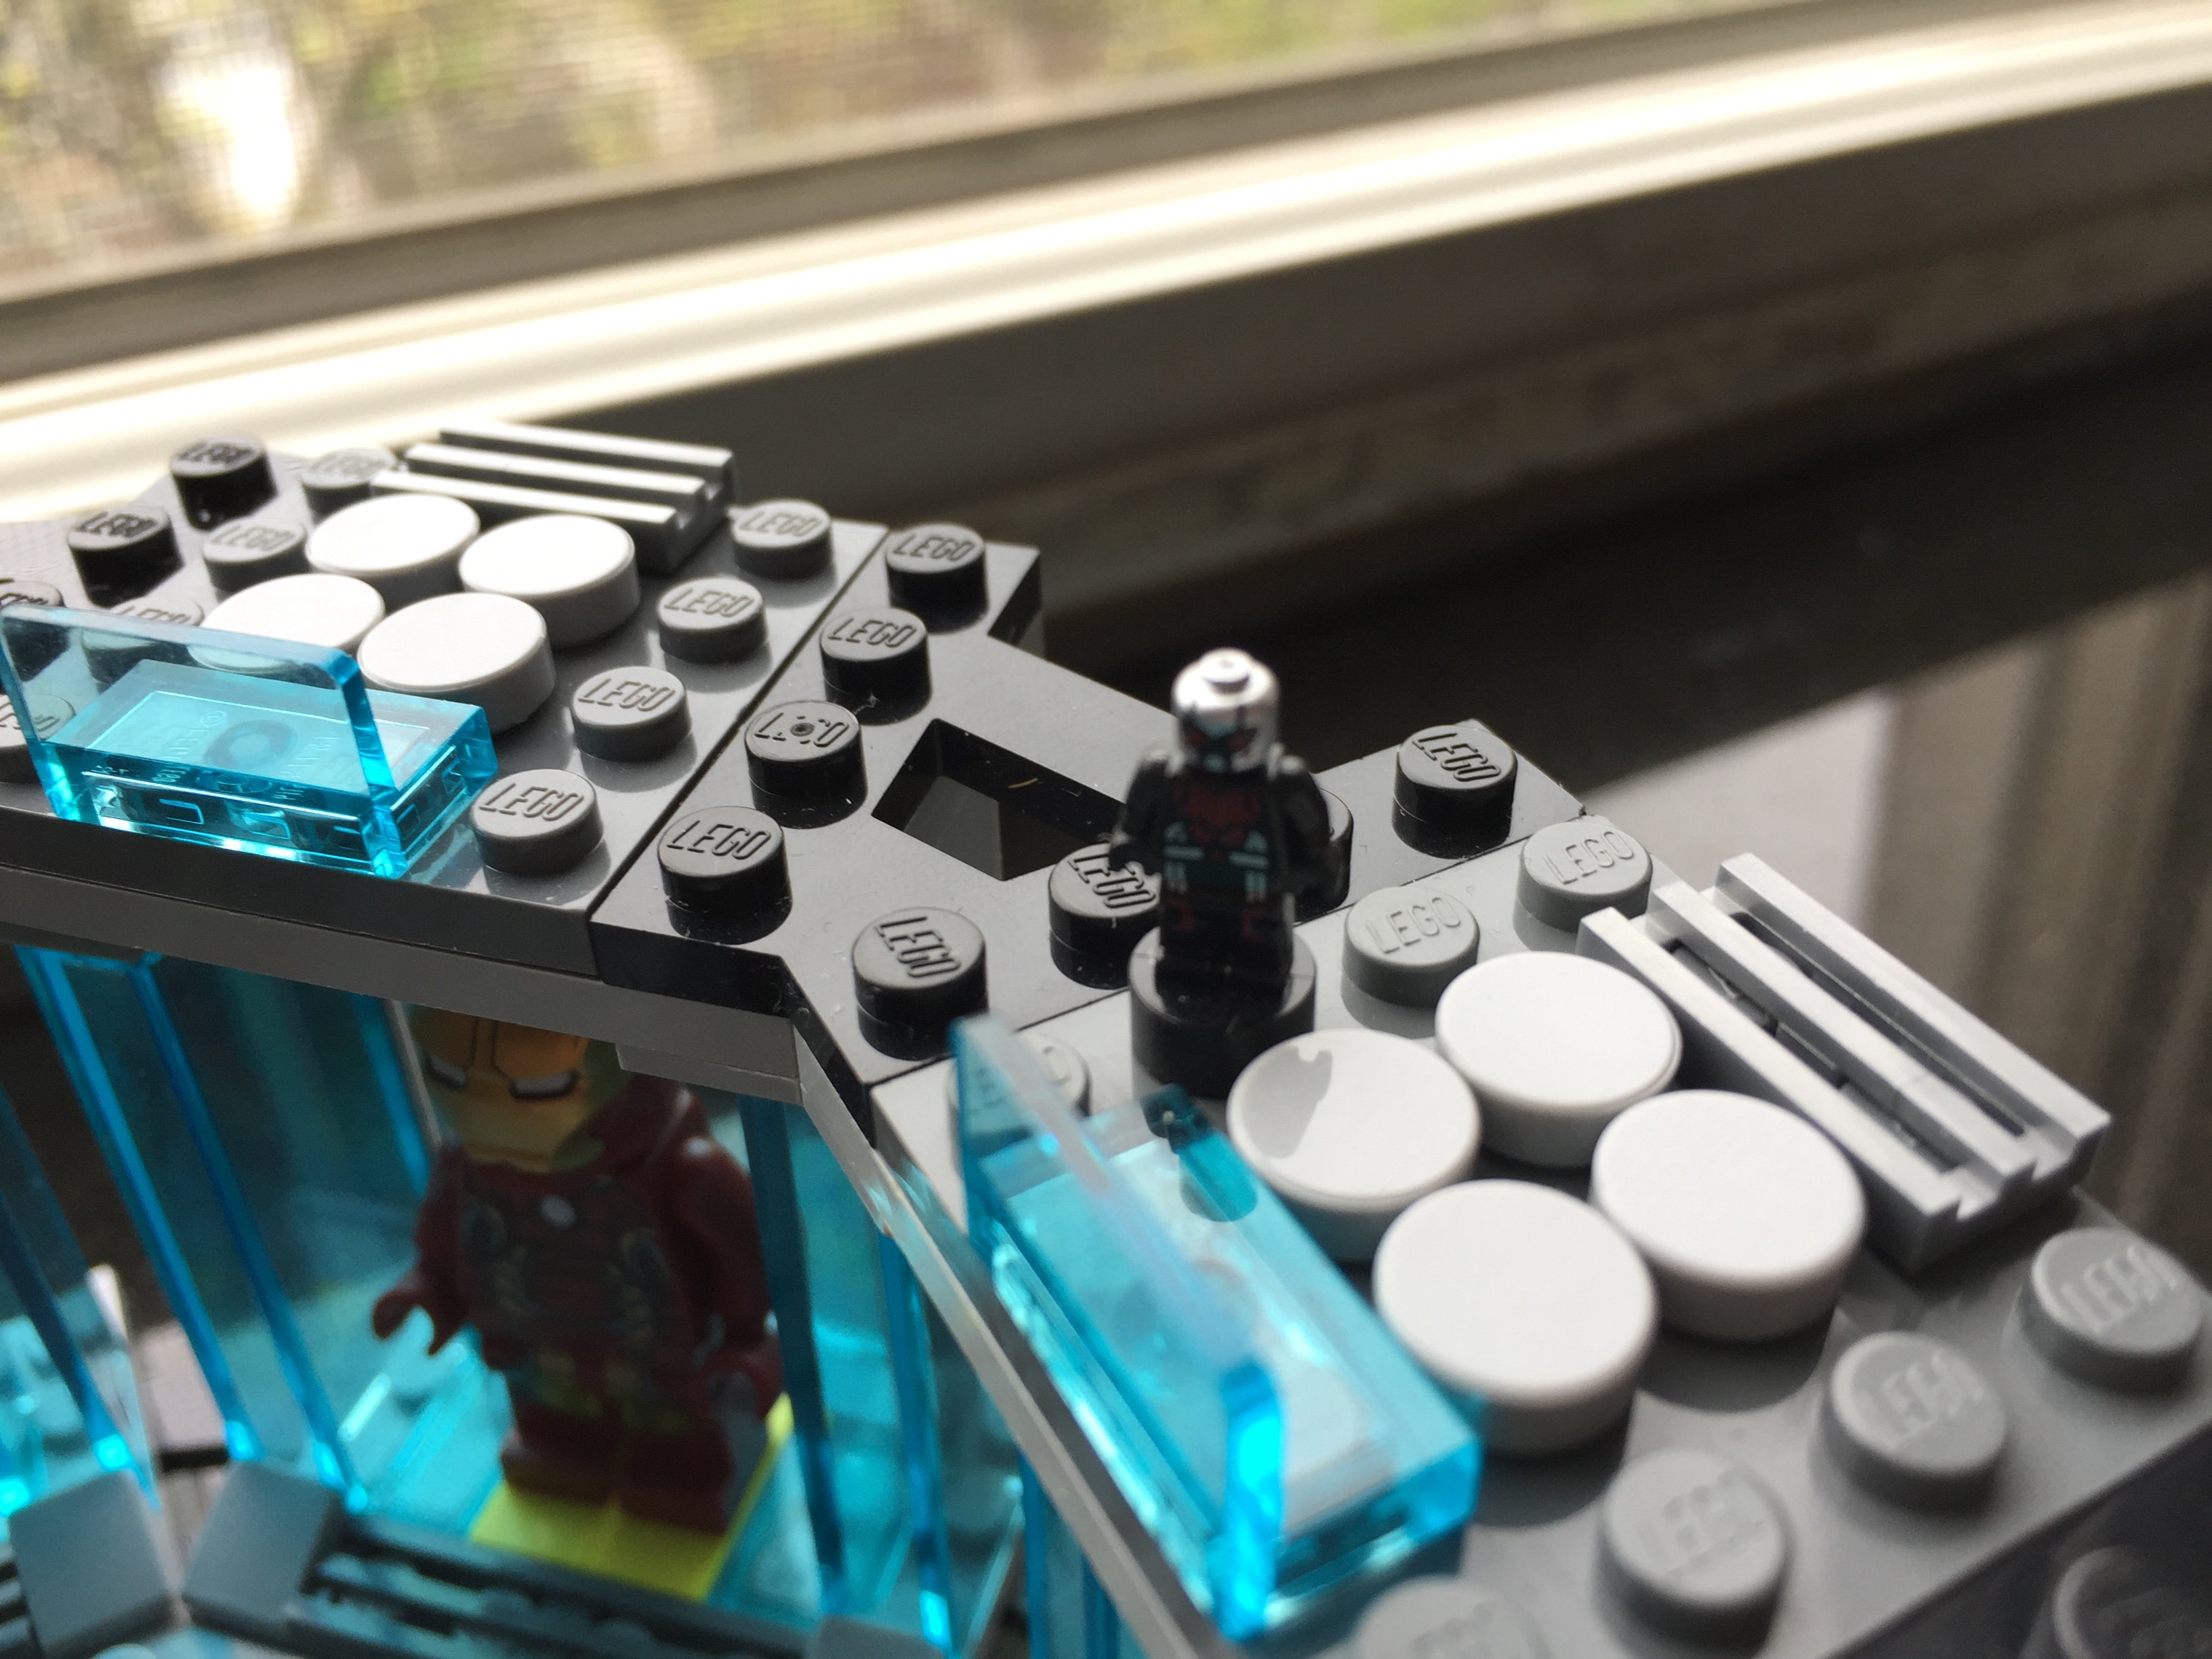
    My next idea for the set is to elevate it by about its current height and create a crank-driven lift in the central platform for Tony Stark’s grand entrance. This will take some more planning and time. I’m sure that Ant Man will be watching my progress.

    IMG_1736

  • Everyday Carry (EDC) LEGO with Tiny Sets, Minifigures, and Muji’s Portable Case

    IMG_1710

    Usually when folks talk about Everyday Carry (EDC), they are referring to preparedness, emergency readiness, and SHTF. It can also mean the kit that one carries on his or her person everyday for whatever reason. I would like to expand EDC to include LEGO.

    For me, and I suspect many others, LEGO is a source of imagination, thought, expression, and stress relief. Why not carry a selection of LEGO bricks, pieces, and minifigures with you for any eventuality–thinking through a problem, filling spare time, demonstrating an idea to others, or sharing fun with a friend.

    Muji’s Portable Case (64 x 52 x 20 mm) is a very good size for an essentials-only LEGO kit that can fit in a shirt pocket, pouch, or bag (shown above). The Portable Case easily holds two LEGO minifigures, a minifigure with bricks, or bricks alone. I have included photos of sample kits that I built to use with the Portable Case as a LEGO EDC: an off-road vehicle with obstacles, an aeronautics set, an Iron Man set, and a The Last Starfighter set with a Gunstar and Kodan Deck Fighter.

    Off-Road Vehicle

    Aeronautics Set (with control tower, two rockets, and airplane)

    Iron Man Set (with attacking robot and blasted wall)

    The Last Starfighter Set (with Gunstar, Kodan Deck Fighter, and asteroids)

    Of course, these are only a few of the infinite possibilities for building your own LEGO EDC. An Altoids tin would serve a similarly good purpose to hold a small selection of LEGO bricks, elements, and minifigures for building on the go. I imagine that children (and not just AFOLs) would dig something like this, too.

    I picked the Muju Portable Case due to its size and sturdy construction, but Muji has other size cases that would work well if you need to carry additional LEGO in your daily kit.

    EDC LEGO kits should be something that bring joy to the work of imagination and building. Carry what you need, and keep your kit fresh for the cognitive and imaginative work at hand. Also, we can spread the joy that comes from this mind-work with our hands to others with customized kits tailored to friends or coworkers’ needs.

  • Creating an Improved LEGO Iron Man’s Hall of Armor

    IMG_1640

    UPDATE: I expanded this design and reported on it here.

    As I wrote in my previous blog post, I have been sorting my LEGO bricks. This has helped me organize the LEGO pieces that I have, and it has helped me count the quantity that I have in a given type or color brick. This greater knowledge about the bricks in my collection inspired me last night to build a better Iron Man’s Hall of Armor (above) using the “A-frame” plates or “Plate (A) 4M 45°” from 75137 Carbon-Freezing Chamber.

    IMG_1084

    My original Hall of Armor (above) was a play-oriented set, but it admittedly required care in its handling. It borrowed heavily from the Malibu Mansion and Avengers Tower sets. The curve of the armor display was accomplished with the central pad locked to the base with a 2×4 plate, each adjacent pad was connected to it with a plate hinge and supported beneath by non-locking flat plates, and the ends were connected to the base plate with 1×1 round plates. It worked, but it was fragile and admittedly very busy in its appearance. I thought that I could do better with a different approach focused on using system and Technics pieces, repetition, and strength.

    First, I designed the display bad for each Iron Man armor suit. I based it around a 4×6 plate and leftover translucent blue elements from the Avengers Tower set.

    I connected the five armor display pads at the top and bottom of each using the Plate (A) 4M 45°. The center pad and the end pads are built up to 1 brick height to accommodate the 3-hole Technic connector brick beneath the center pad. This is where the platform between the armor pads will connect.

    The central platform has a 3-hole Technic brick at the narrow end. It connects to the hall of armor arc with three Technic connector bushings. I used 1×1 bricks with outward facing stud all along the front of the display (both ends of the Hall of Armor arc and the central platform). I affixed flat dark grey plates to these to create a contrast with the light grey of the platform surface.

    This new design is more for display than playability. It is a much stronger model than my previous one, and it uses LEGO elements in new ways that I had not experimented with on a MOC before. In particular, I was very happy when the central platform perfectly interconnected with the sweep of the Hall of Armor arc. Also, I was able to build a MOC that utilized repetition in the design of the armor display pads, because I had an inventory and organizing system for my LEGO bricks. Had I not sorted my bricks, I don’t think that I would have been able to come up with this design and implement it as quickly as I did.

    While you’re looking at the images, can you spot a spy in the model?

  • Sorting LEGO Bricks and Pieces for Larger Building Projects on the Horizon

    IMG_1610

    One of the important tasks that I had set for myself over the Spring Recess was to sort my LEGO brick collection. For many, many years, I would painstakingly look through my bins of bricks for types and colors of bricks as needed for a given project. While it was fun and relaxing to spend time searching and accumulating the bricks that I sought and discover other useful bricks during this process, it was also excessively time consuming. I have bought and sold enormous LEGO collections, but I have never properly sorted any of them. Now, I have ideas that I would like to attempt to build, but they will require a more thought out and planned approach to building than my previous work. Therefore, I realized that I had to sort my bricks so that I could take stock of what I had and be able to access my brick stock as efficiently as possible. Essentially, I would put in time sorting now to improve my knowledge about what I had, access to that inventory, and efficiency when selecting bricks with which to build.

    IMG_1570

    Initially, I wanted to use what I had on hand to begin the sorting process. I often recycled shipping boxes for working with LEGO, so I began there.

    IMG_1571

    My cardboard sorting tray worked well enough to separate bricks and pieces during sorting, but I quickly learned that extracting those bricks and pieces without their intermixing under my makeshift barriers was impossible.

    IMG_1572

    Thus, I invested in a 44-drawer Akro-Mils storage bin. Manufactured one town over from Kent State University in Akron, Ohio, this drawer system works really well for my novice sorting needs.

    IMG_1613

    I follow an iterative process for my brick sorting. I have several 12.7 quart Sterilite latch boxes full of LEGO bricks. I pick one box and see what bricks seem to be in greater quantity. I pull out drawers from the Akro-Mils storage bin and being pulling only those types of bricks (focusing on type of brick and collecting all colors of that brick). This reduces the quantity of bricks in this that Sterilite box until it is small enough to dump the remaining bricks into the next Sterilite box. Then, I repeat the process again. However, I focus on different brick types depending on what dominates in a given Sterilite box.

    IMG_1614

    With those bricks (and plates) that I have more than will fit in the drawers of the Akro-Mils bin, I repurpose the empty Sterilite boxes for those larger quantities. For example, one Sterilite box is only 1×1 or larger bricks, and another is only plates 1×3 or larger. I will use another Sterilite for slopes, another for arches, etc. With my system, I am focusing on type of brick instead of colors, because I can’t afford to purchase enough Akro-Mils bins to separate by type and color.