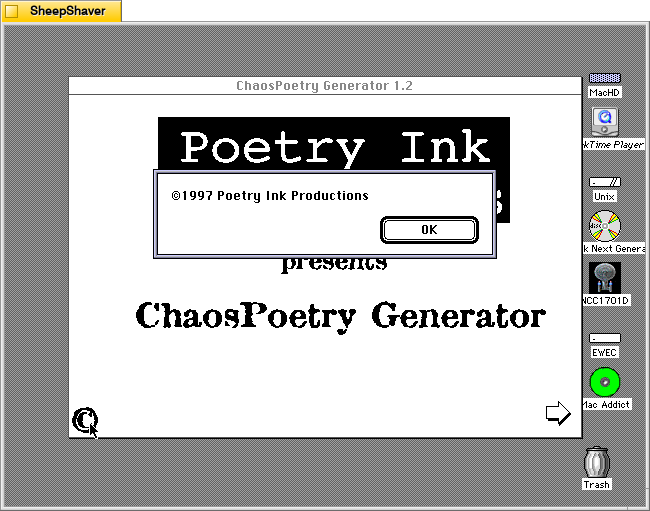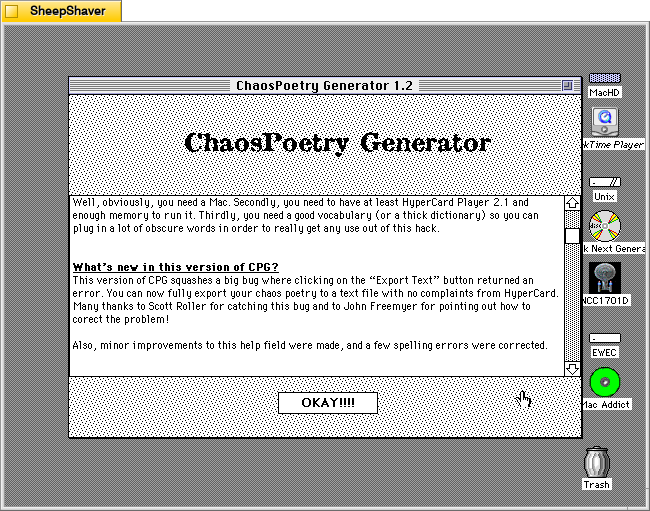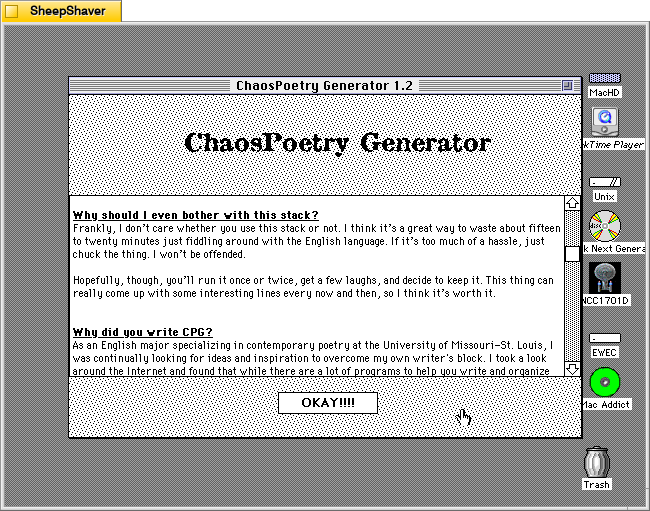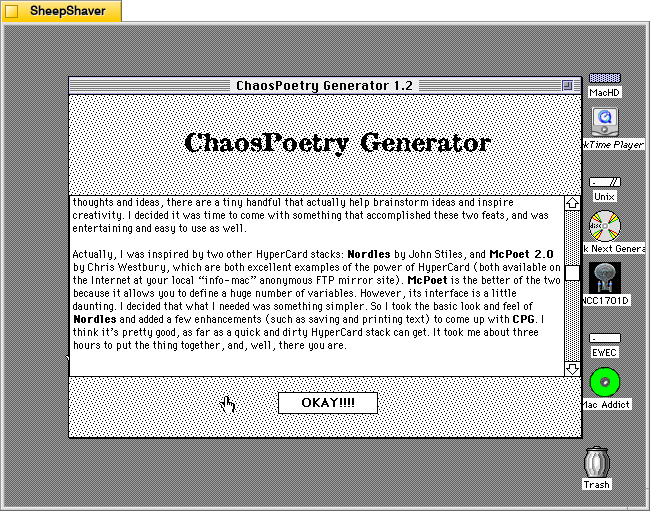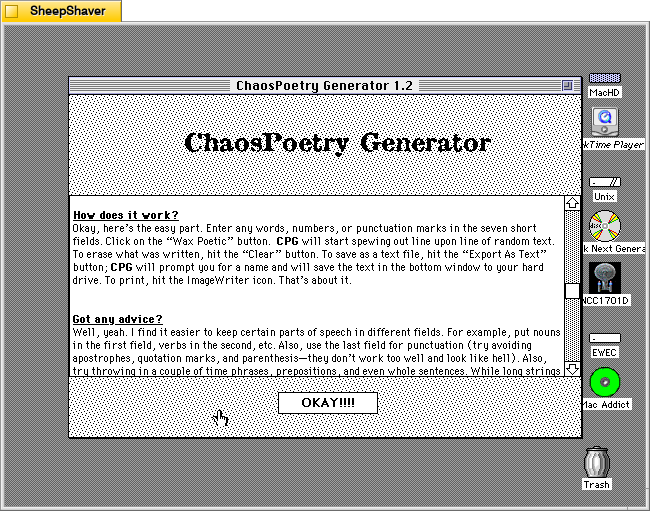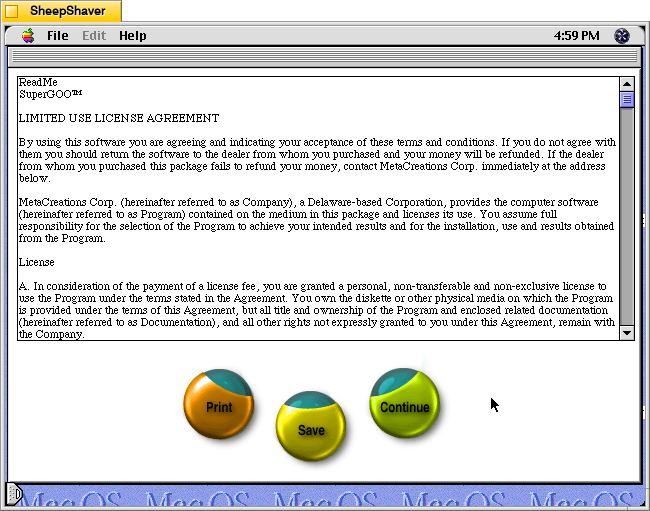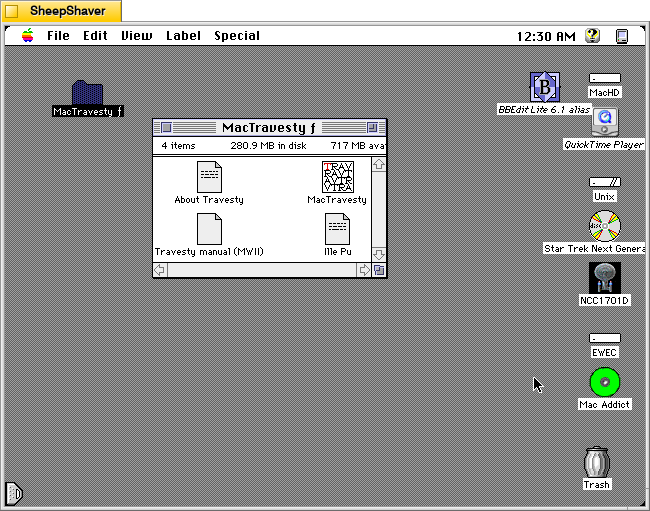
Written by Bertil Holmberg, MD, MacTravesty 1.1.1 (available to download from the archived TextWorx Toolshed) is a lean piece of software that can analyze groupings of characters in a text and then based on that analysis generate nonsense text. His Info-Mac abstract explains:
#### BINHEX     mac-travesty-111.hqx   ****

From: anbhg@maja.mascan.mas.lu.se (Bertil Holmberg)
Subject: MacTravesty

MacTravesty is a small program that analyses a text file and lists all
the character groups contained in the text. A new pseudorandom text
based on the language specific character frequencies can then be
generated.

This version updates the authors address.
--
Bertil Holmberg, M.D.    Dept. of Anesthesiology
Malmoe University Hospital    S-205 02 Malmoe, Sweden
bertil.holmberg@anestesi.mas.lu.se    Fax +46 40 33 70 70
In the “About MacTravesty” file included with the program, he explains further:
MacTravesty analyses how characters relate to each other in a sample text. More specifically, it will record the ocurrence [sic] of every sequence in the text with one to five characters. These sequences are quite typical for the language studied. A random text based on the character frequencies of English will therefore easily be recognized as English.
What is MacTravesty good for? You tell me, or ask a linguist.

MacTravesty was written several years ago in assembler, hence it's speed and the small size of 28 kB! For the same reason it is rather unlikely that a PowerPC version will ever surface. It runs quite fast under emulation, however, a 30 kB text is processed in about 10 seconds.
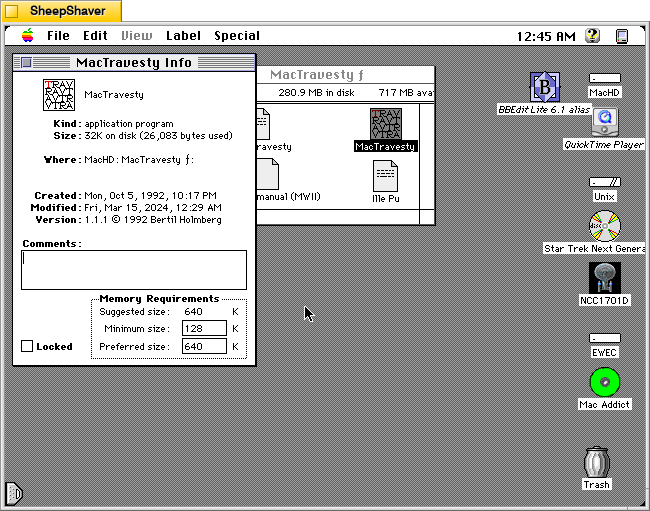
Looking at the Get Info for the MacTravesty program, we can see that it is a rather lean application being only 32K on disk (26,083 bytes used), and it has very modest memory requirements of 128K minimum and 640K preferred size.
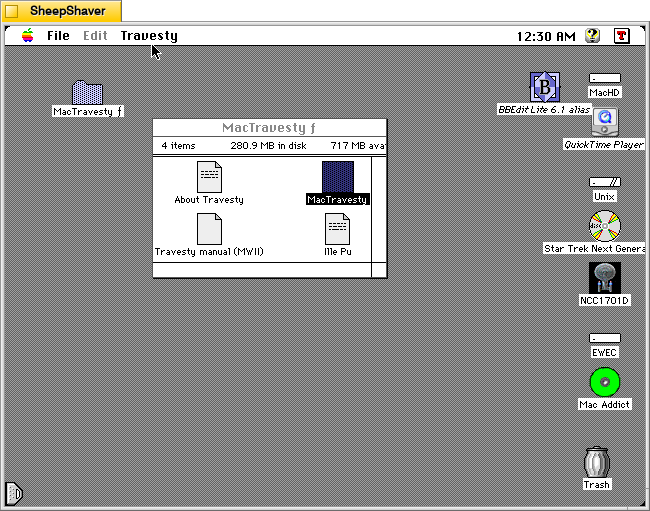
MacTravesty launches to the menu bar and does not show any windows initially.
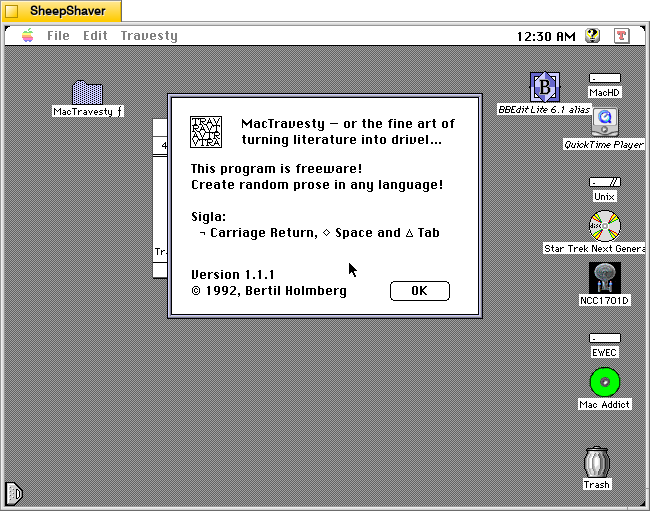
Clicking on Apple > About MacTravesty brings up a window that states, “MacTravesty — or the fine art of turning literature into drivel…” Holmberg explains this and the program’s inspiration in the “Travesty manual (MWII)” file’s introduction:
Introduction
The lead-in above is borrowed from the Scientific American Computer Recreations column in the pre-Mac issue of November 1983. In this fascinating article, Brian Hayes describes how a letters probability of appearing at a given point in a text, depends strongly on the preceding letters. When examining a text-sample, it is possible to register not only the frequency of occurrence for single letters, but also to do the same for different combinations of several letters. These frequencies can then be used to generate random text that mimics the frequencies found in the original. Though nonsensical, these pseudo-texts have a haunting plausibility, preserving as they do, many recognisable mannerisms of the texts from which they are derived.

The letter-frequencies for single letters are well known. In addition, they are few enough, not to present any storage problems. Although little statistics is  readily available for groups of more than one letter, todays computer technology makes it easy to derive frequencies for virtually any combination of letters. This has not always been the case, only ten years ago, fourth-order letter frequencies was the limit. The large tables necessary to store the frequencies quickly outgrew the limited memory capacity available. Even more important, however, was the lack of efficient algorithms that could reduce the storage requirements.

In his article BH presents a working method that builds on the fact that all the information that could be incorporated in any frequency table, is present in the original text, where it takes it most compact form. There is a drawback to this scheme, it requires a scan of the entire input text for the generation of each pseudo-random character. The performance is therefore dependent on the product of the lengths of the input and the output strings. If on the other hand, the output was based on a frequency table, it could be generated in a time that was proportional to the sum of the lengths.

This is where Peter Wayner, in the September 1985 issue of BYTE, comes to our help. He shows that it is quite feasible to build a frequency table, even for larger orders, as long as all the redundant information is left out. The natural storage form for such a table is, of course, the data tree. This well known structure is in fact ideal for the varying requirements of the travesty table. Its practical implementation will be rather more like a bush, though. Each unique character group represents a complete branch with as many ramifications as the current order dictates. Several similar groups will share smaller or larger parts of the same branch. A terminal leaf will contain the frequency count for one group. For more details on the practical implementation, please see below.
While I don’t think Holmberg is making any assertions about artificial intelligence (AI) and generative AI, I can’t help but think about how his program draws on Hayes and Wayner’s pieces point to one avenue of understanding human language with a computer, and by helping the computer understand language, it could eventually reproduce it.
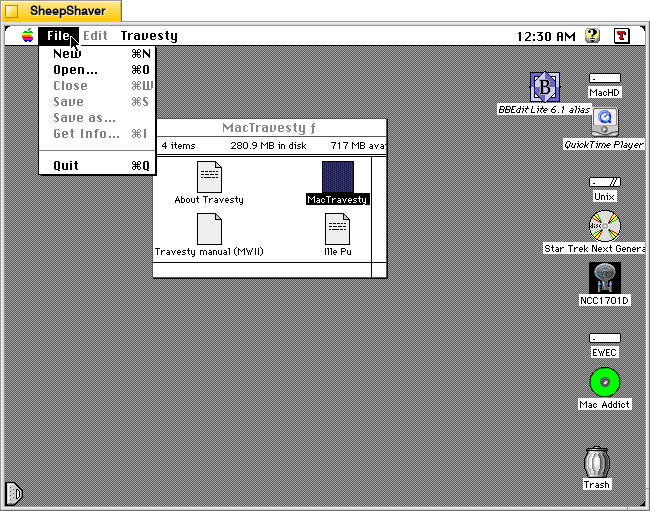
The File menu has many standard options but how these work after analyzing a text is unique. Holmberg explains in the manual:
File menu
	New: Opens an empty document window that bids you to enter plain text in 9 p Monaco. This function uses TextEdit, a small editor that is built into all Macs. Since the purpose of this is to handle short text in dialogs, you may  run into trouble if your text exceeds 32K.

	Open: Lets you open a document that has been saved as TEXT. It is NOT possible to open a file with a length of more than 32K.

	Close: Closes the front window. If it is the editor window and this contains a text that has not yet been saved, an alert will give you the opportunity to do so.

	Save: This option is only enabled if a non-saved text is present in the text window.

	Save as: This option is enabled whenever one of two windows is open. When the text window is in front, its content is saved as TEXT with the creator MACA, i.e. MacWrite.
	If the frequency window is in front, its character groups and their counts can be saved in a similar text file. This makes it possible to print out this information from another application. Regrettably, the nice columns come out horizontal when using this function. You can have a look at the file in the editor window. It may be necessary to resize this to get the lines even. If MacWrite is used for printing, hit the "Paragraphs" button when opening the file.

	Get info: This is another context sensitive menu option. For a text file it will show the number of characters, words and paragraphs. If the other window is in front, this feature will tell you about the number of nodes that were created during the analyse, and how many unique character groups that were found.

	Quit If you try to leave MacTravesty without saving some data in the edit window, an alert will tell you so. As is the case with the similar feature of the Close item, pressing the Option key while selecting the appropriate menu item with the mouse will bypass the alert.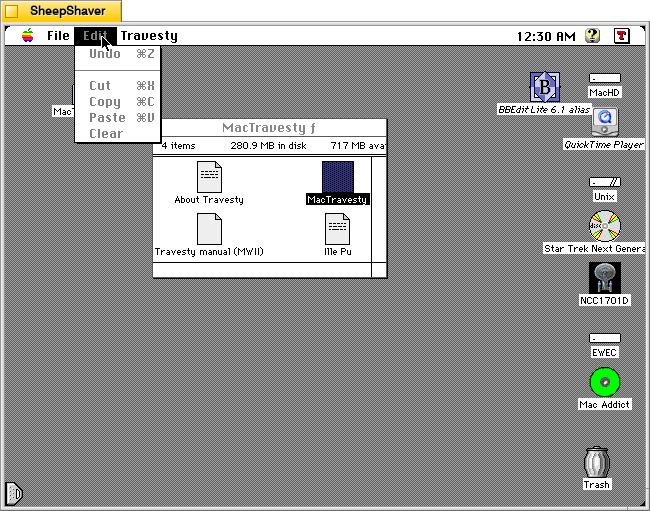
The Edit menu is also standard fare, but there are some exceptions and caveats explained by Holmberg in the manual:
Edit menu
	Undo This command is not functional in MacTravesty. It is included for compatibility with certain DAs [desk accessories].

	Cut, Copy, Paste and Clear These are all supported by the MacTravesty editor. In addition, TEXT can be imported and exported through the Clipboard in the usual fashion. Use the Paste function with care, don't let the file size exceed the limit mentioned above.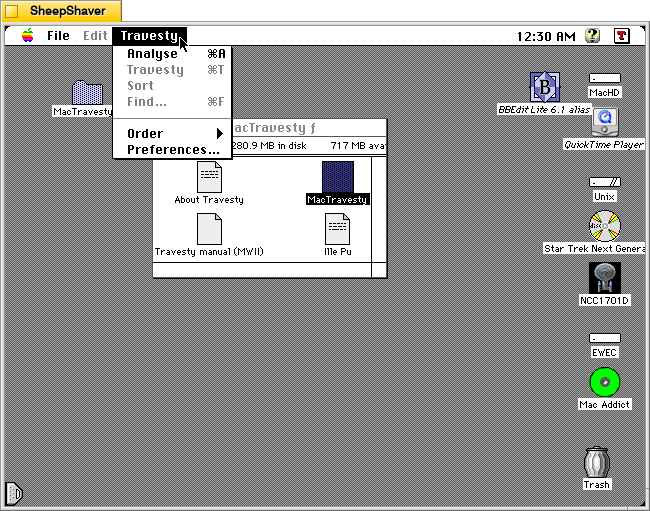
The Travesty menu is where the magic happens in this application. Holmberg explains each option in this menu in the manual:
Travesty menu
	Analyse Choosing a TEXT source file in a standard file dialog will start the generation of a new letter-frequency table. After a brief delay, another dialog will show the progress of the analyse. When this is finished, the groups and their counts are sorted if the relevant box in the Preferences dialog is checked. Next, the frequency window is opened, showing all the character groups that were found. The first group is always selected after an analyse or a sort. To choose another group, just click on it. If the selected group isn't visible after scrolling, hit the Enter button to move it into view. If the analysis is terminated with the Cancel button, the groups that were found up to this point will be displayed. In order to present complete groups only, a complete analyse always wraps around to beginning of the source text.

	Travesty: This menu choice will only be available when the frequency window is in front. Selecting Travesty will then create a pseudo-random text based on the current character group frequencies. A travesty always start with a seed. This must be one of the character groups that were found during the analyse. It is selected either randomly or by the user, as determined by a setting in the Preferences dialog. Double-clicking on one of the groups will also start a travesty. Choosing Travesty again will create another piece of text, that will either replace the previous text, or will be appended to it. The requested text length is also entered in the Preferences dialog. Although this accepts a range of 0-9999 characters, no travesty will be started with a figure that is less than or equal to the order. When appending text, don't forget the 32K limit of TextEdit. The new text will appear in the text edit window mentioned above. If this is already showing and containing a text that hasn't been saved, you will be warned about this fact. Repeated calls to travesty will not result in any further save alerts. A travesty can be edited and saved as any other text.

	Sort: A list of character groups can be sorted either alphanumerically or after the number of groups found. Holding down the option key while selecting this item will toggle the sort from one alternative to the other. Since the sort [on a slow Mac] may take a while for a longer source text, automatic sorting can be turned off in the Preferences dialog.

	Find: Presents a dialog with a square text field that accepts up to five characters, including CRs. After an OK or Enter, the program will try to match these with one of the groups in the frequency list. If a match is found, it will be selected and highlighted. It can then be used as a travesty seed. You will hear a beep if no match is found.  The entered text is then highlighted to facilitate a new try. A À (Shift-Option-?) can be used as a wildcard character. Only the first group that is found in this way will be selected, though.

	Order: This will show a hierarchical menu with five items, 1-5. These also have the command key equivalents Cmd-1 and so forth. Order-3 is the default setting. Although it is possible to choose a new order whenever the menu is enabled, a travesty will always use the order that was current at the start of the analyse.

	Preferences: Opens a large dialog with several items, most of which has already been mentioned above.
		Edit: Here you can determine if the text in the edit window shall wrap to the bounds of the window, or to a fixed document size.
		Analyse: A long list of character groups can be confusing if it contains many space-characters. Replacing these with a ×, usually gives a better view of the groups, especially since the CR and the Tab will be represented by a  and a Æ, respectively.
		Sorting was originally such a slow procedure that it was sometimes necessary to inhibit it. As MacTravesty now uses an extremely fast quicksort, you should be able to have this feature enabled most of the time. "Alphanumerically" will place the groups in ascending order, while "By Count" first will arrange them by descending frequency.
		Travesty: This is where you set the length of the travesty and determine how the seed is to be chosen, and whether to append or replace the created text.
		OK Make the current settings the default ones.
		Cancel Just leave the previous defaults as they are.
		Revert Return to the saved settings.
		Save Save the current settings.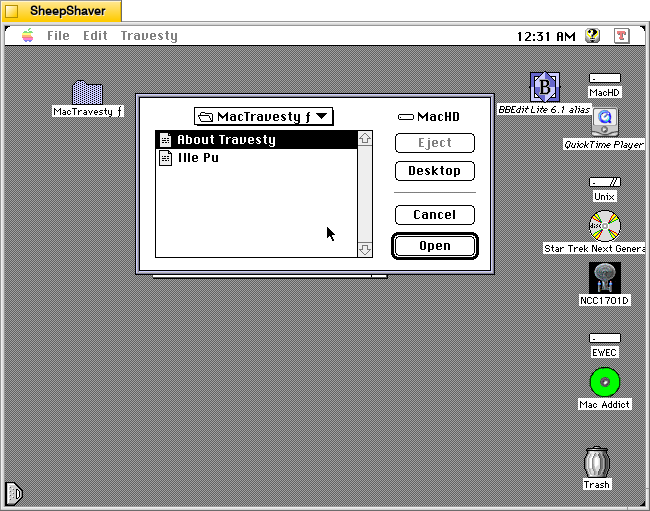
Clicking on Travesty > Analyse brings up a file selection dialog.
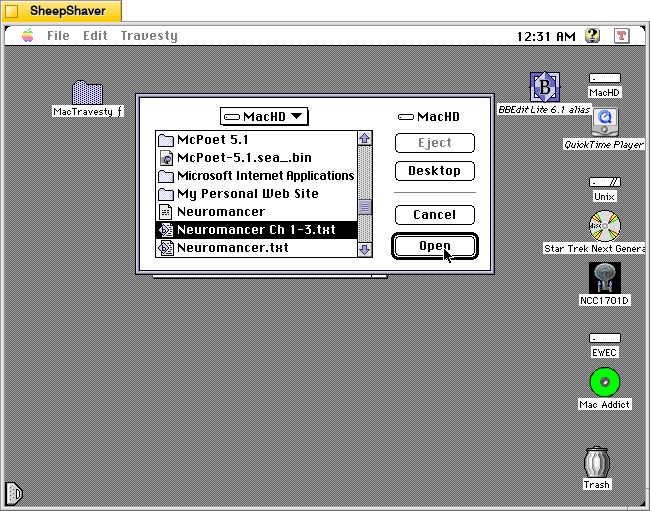
Navigating to the MacHD, I selected a text file with a sample of chapters from William Gibson’s Neuromancer (1984).
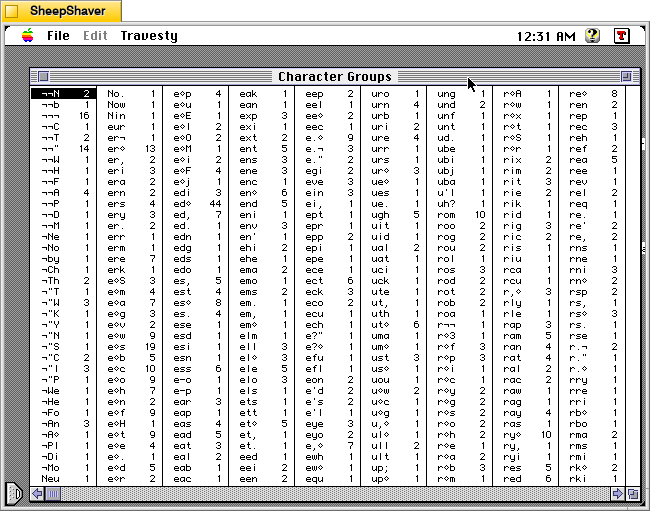
Very quickly, MacTravesty created this massive character group chart that it can use to generate text based on the relative appearance of certain character groups. Holmberg explains about the performance of the application in the manual:
Performance
MacTravesty is quite fast. It will process a small text sample in just a few seconds. Analysing a longer source text may take a minute or so, but this is still quite reasonable. The exact time depends mainly on the length of the source. Since most of the time is spent traversing the travesty tree, the order has only a minor influence on the timing. Here are some data for a relatively long file of about 30K (on a Mac SE/30):

	Order	Analyse	Sort	Nodes	Groups
	2	35"	1"	735	673
	3	40"	4"	4359	3605
	4	50"	13"	13736	9377
	5	60"	25"	29653	15917

Please note that the time required for sorting increases in an almost linear fashion, this an excellent example of how fast the quicksort can be. Using the less efficient shuttlesort, sorting the 15917 groups took about two hours!
On a Quadra 700 the same 5-order analyse takes 14 and the sort less than two seconds (timings with a Power Macintosh Upgrade Card are similar, the sort takes a few seconds more, though).
The travesty is also fast, creating a thousand character sample of random prose will only take a few seconds.

Memory
Analysing a large source file requires a lot of memory (well, this was originally written in the late eighties). As can be seen above, the number of letter groups increases fast with higher orders. As each node requires 8 bytes, the 5-order analyse in the example needed 237224 bytes for its tree. Since it is very difficult to know in advance how large the tree will become, a certain amount of memory is reserved at the beginning of the analyse. How much depends on the order and on the file size. For each 1024 bytes in the file, a smaller piece of memory is added to a basic allotment. These figures are fetched from the resource TRDF and can be changed as required. This means that even a very short analyse may start out with a sizable chunk of memory, perhaps 90K or so. This is necessary since most of the memory is consumed in the beginning. Any memory that isnÕt used is released at the termination of the analyse.

This may come out handy, as the next phase also requires a good part of memory. The different character groups in the tree has to be identified and transferred to a separate list, before they can be presented in the frequency window. Each group in the list needs (order*2)+2 bytes, i.e. 191K for our example. Saving the frequencies would require another 190K. The graph below shows how the node count relates to the file size in a 3- and 5-order analyse.

Implementation
The travesty tree begins with a dummy root node from which all the branches sprout. This means that there will be at least one node more than the number of character groups. The number of branches at this level equals the number of unique characters in the source. Each node contains four word-length fields; the character code, a count and two offsets to the next branch and twig, respectively. The count is only used in the outermost twigs, i.e. the leafs.

Using the BYTE example, Here are the shoes, the ships, and the sealing wax: the beginning of its 138-node, 4-order tree will look like this in my implementation:

[Image could not be decoded.]

The travesty is created using the method suggested by BH. Taking a 3-order travesty as an example, we would like to add the next pseudo-random character to the sequence Éth. While looking up all variations on thÀ in the tree (e.g. tha, the, tho etc), the counts for these groups are added together. A random number between this sum and zero is then generated. The same counts are then subtracted from the random number one by one. If the result of a subtraction is zero or less, the last character of the group corresponding to this subtraction will be appended to the growing travesty.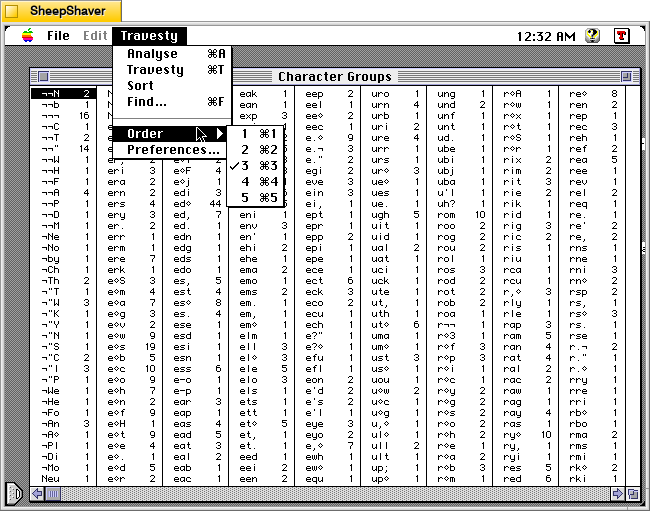
The Travesty menu > Order submenu allows for higher or lower order travesties, but as noted above, the order selected before a text was analyzed for creating travesties.
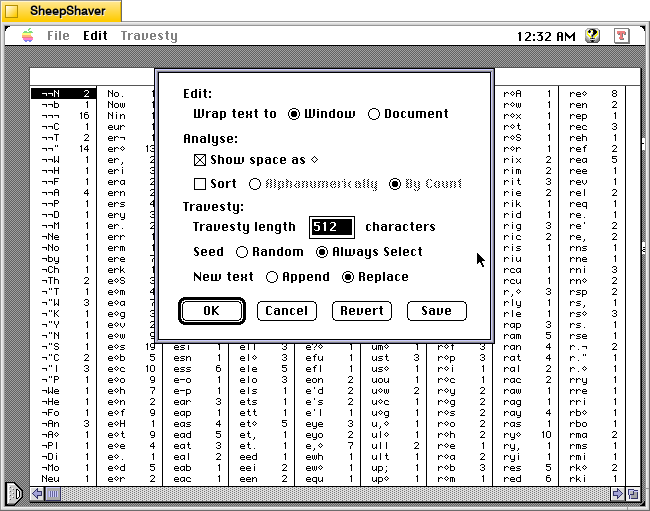
Clicking on Travesty > Preferences brings up this options window.
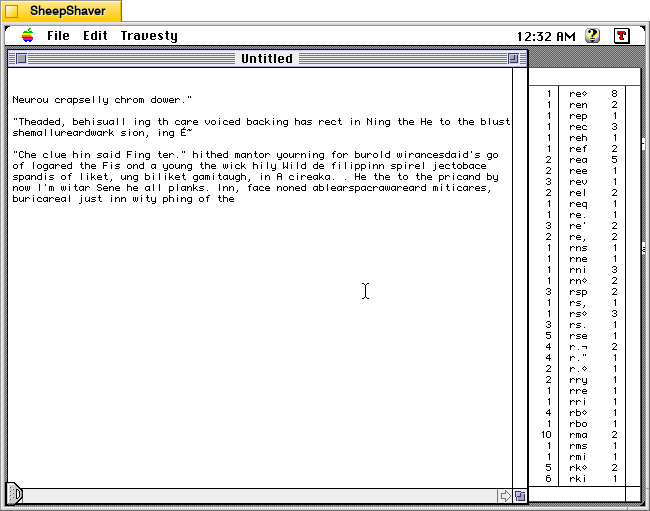
After analyzing the Neuromancer chapters, I instructed MacTravesty to generate this travesty of text based on its character group occurrences.
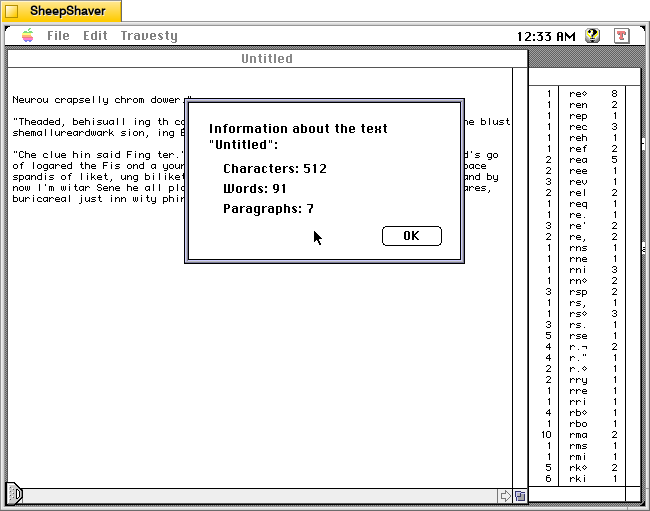
Clicking on File > Get Info on the travesty text shows that it generated 512 characters, 91 words, and 7 paragraphs (I’m not sure how these are being counted–maybe hard returns starting from the first blank line and the ending blank line?).
Holmberg concludes the manual by writing:
The End
Playing around with MacTravesty can be great fun for a while, but is it actually useful for something? Well, at least you can easily create "greeking" for DTP dummies with MacTravesty. And it should be of some interest to linguists. I'm sure that the rest of you can come up with many more interesting ideas.
I definitely can see how this program would be useful for desktop publishing, especially at the time when it was first released. But, I’m captivated by how this could have been developed in other directions for the purposes of generative AI–as the basis for a more complicated text generator that operated on the level of words, parts of speech, and scripts. In retrospective imagining, I can see this application as the basis for something exceeding most of the other text generators that I have written about here because it in a sense learns from a text (creating the character groups) and applies that to generating text. If its input were more useful for providing meaningful text generation, it would have been a step in the direction of where we are at now with generative AI.