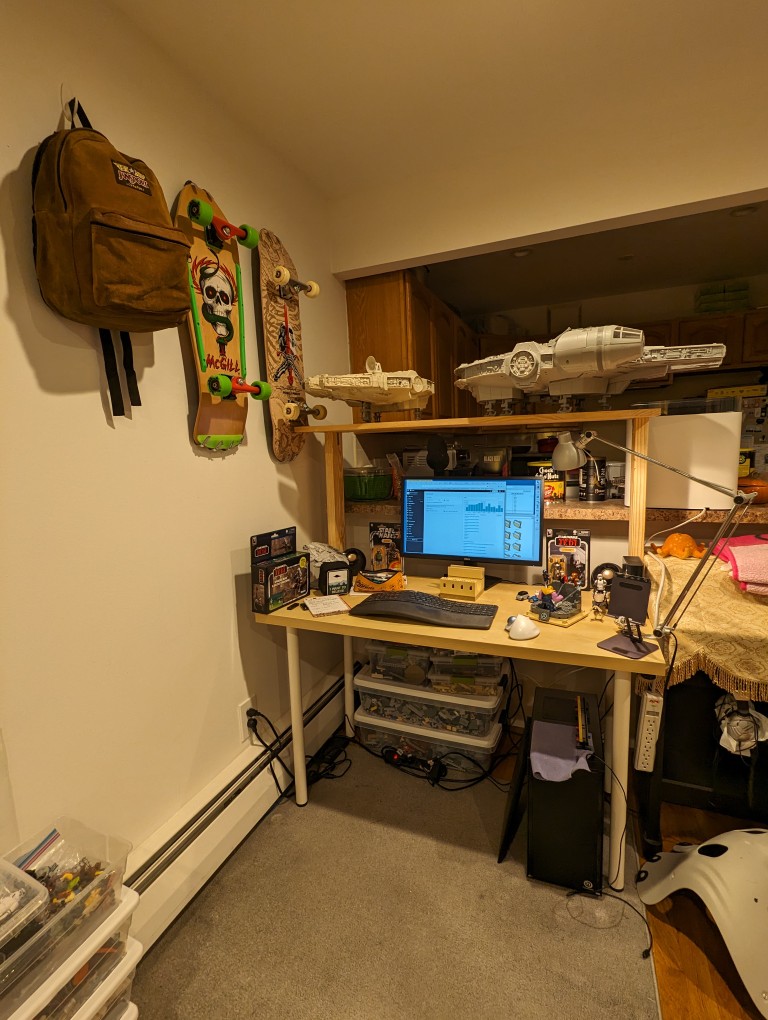
I have two big problems. One is a Kenner 1979 Millennium Falcon, which is 22″ long and a little over three pounds. The other is the much larger Hasbro 2008 Legacy Collection Millennium, which is 32″ long and weighs 15 pounds. Living with these hunks of junk in a small Brooklyn apartment presents a problem–where to put them?
For awhile, I’ve had two 4′ desks in an L-shape configuration. One is my ancient IKEA 47″ x 24″ artificial wood with metal legs desk, which had been holding the Falcons. The other is a Costco 48″ folding plastic desk, which I had setup to use my computer and laptop on. I wanted to put the Costco desk away to free up some living room floor space, so I thought about adding a shelf to the Ikea desk would be the solution.
I used to have a series of lightweight shelves on my Ikea desk to display LEGO sets, which I wrote about here. I discarded those when we moved from Carroll Gardens to Park Slope, which is fine as they were not wide enough or strong enough to support the two Falcons.
I already had screws, brackets, and support plates. I also had a 4″ x 12″ x 1″ board that I had used to extend the IKEA desk’s table top for lightweight objects. I took this board off the IKEA desk and intended to use it as my new shelf.
What remained needing were two supports for the shelf. Yesterday, I walked to the Brooklyn Lowes to buy two 2″ x 4″ x 2′ studs (total $4) for the shelf supports.
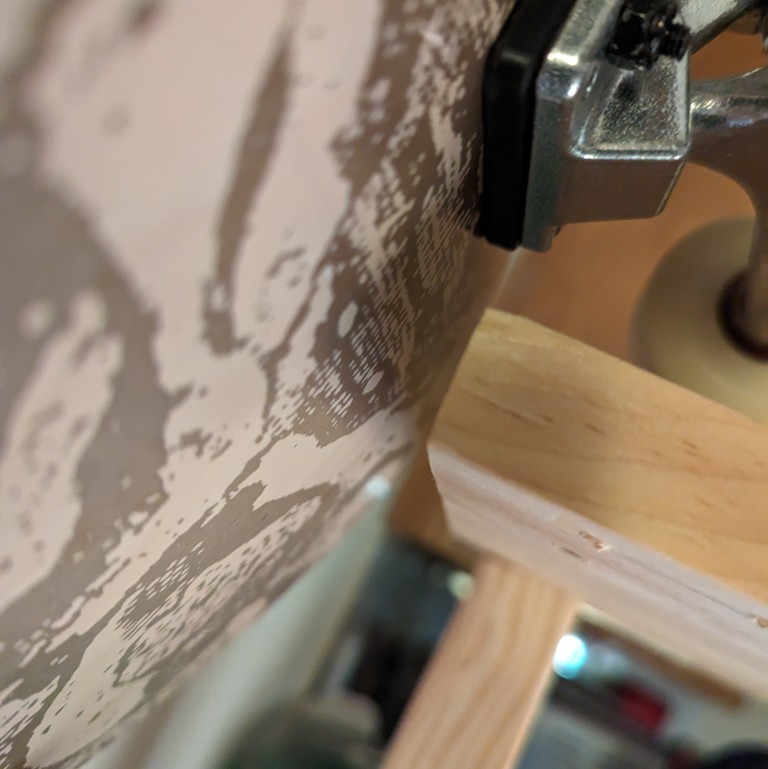
The corners of the IKEA desk are more substantial to support the installation of its four legs. Therefore, I wanted to mount the shelf’s two supports through that particle board instead of the weaker honeycomb core of the desk top. I drilled pilot holes 3/4″ from either side of the desk top at 1″ and 2 1/2″ from the back of the desk top to correspond with the pilot holes I centered on the 2″ x 4″ supports at the same measurements. I drove 3″ deck screws from the bottom of the desk top into the bottom of the 2″ x 4″ shelf supports.
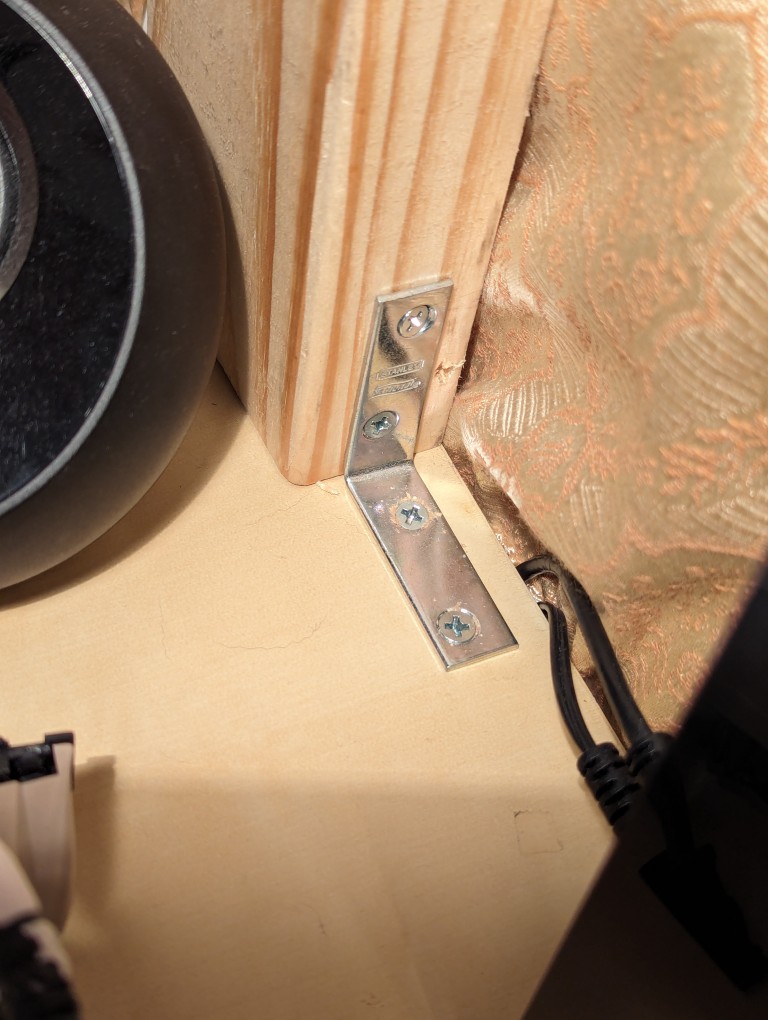
I provided extra support with a flat metal plate on the back and an L-shaped bracket on the front.
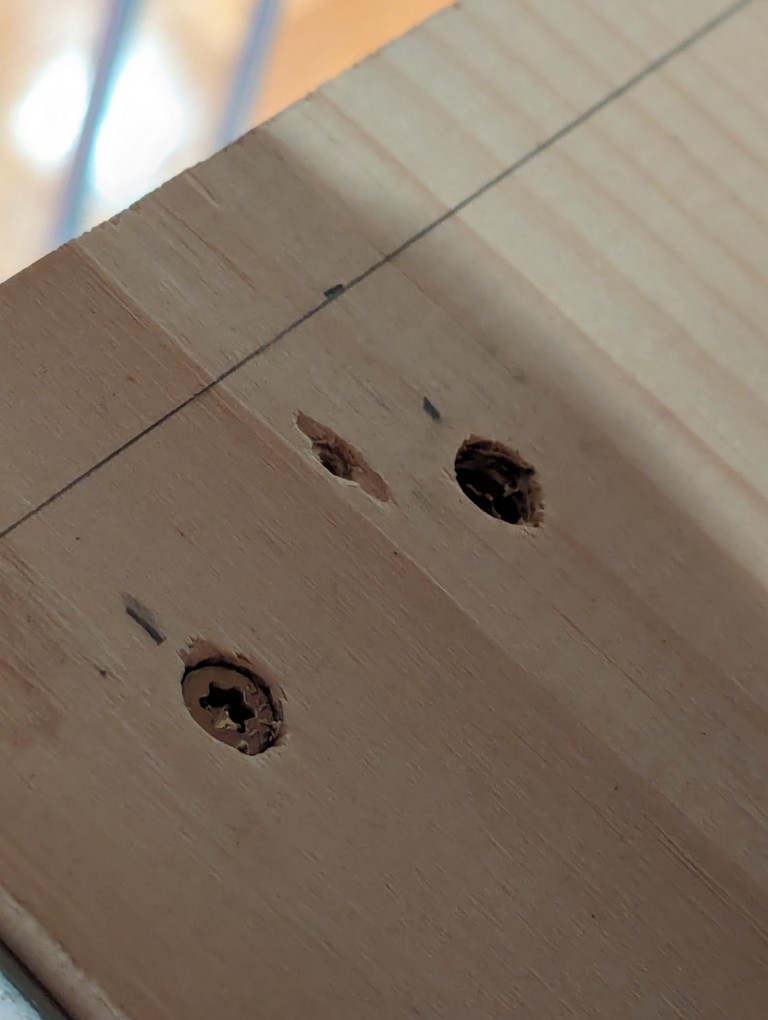
Taking the shelf, I measured and drilled pilot holes on its back end at 1 1/4″ from either side at 1″ and 2 1/2″. The shelf is 48″ long but the desk is only 47″ long, so the shelf hangs over its supports by 1/2″ on either side. To secure the shelf to the supports, I drove 1 7/8″ deck screws through the shelf into the support from the top.
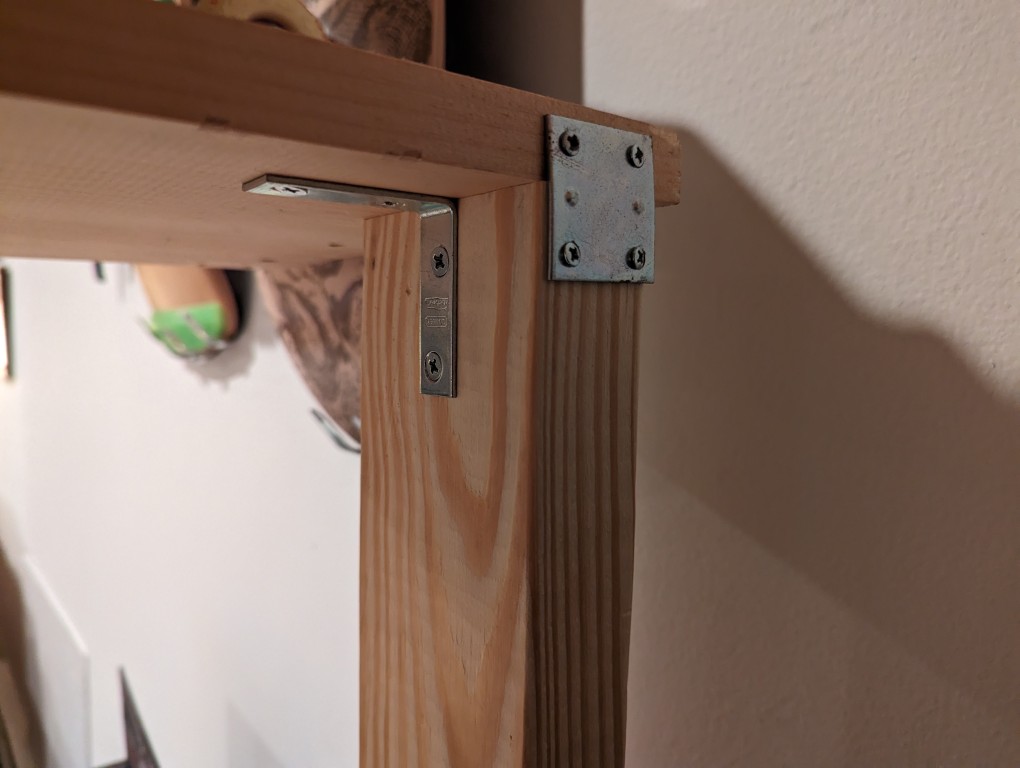
I reinforced the shelf with a metal bracket on the back of each support and an L-shaped support on the inside under the shelf.
I had to slide Y’s electric piano over an inch to give my shelf about 1/2″ clearance from my Ray “Bones” Rodriguez Powell-Peralta skateboard hanging on the wall.
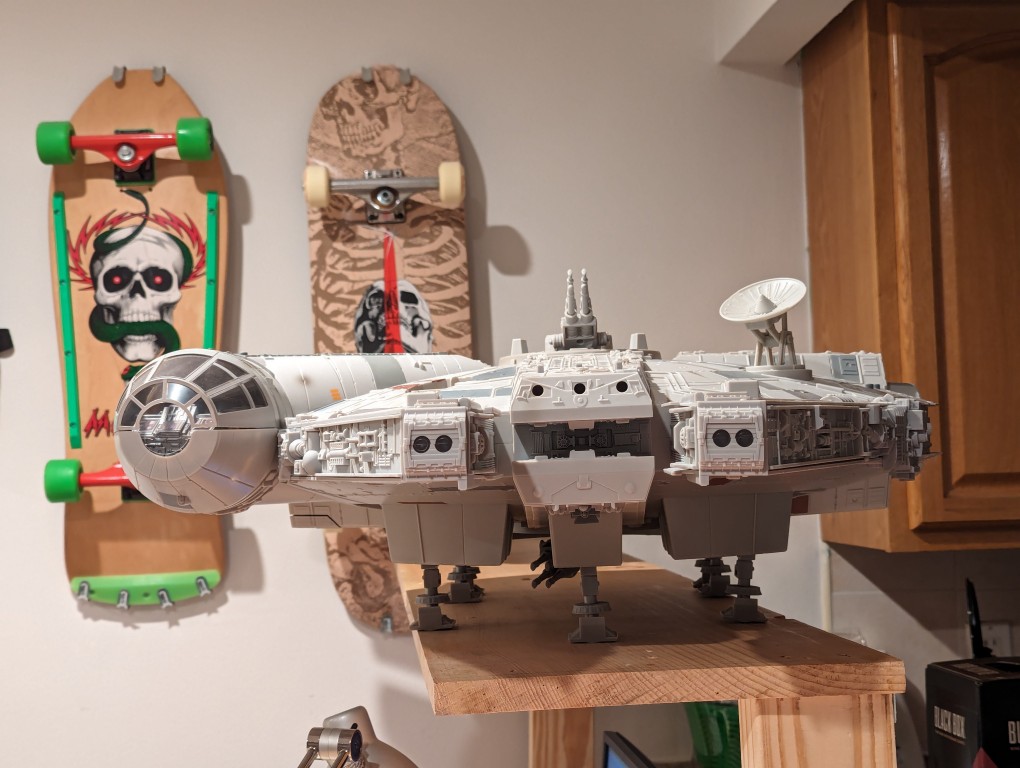
Looking at the “BIG” 2008 Millennium Falcon on the shelf, you can see that the landing gear comfortably fit on the 12″ (11 1/4″ actual) shelf when positioned longways. As you can see in the first photo on this post, the smaller 1979 Falcon can fit in any orientation and currently facing toward the front of the desk.
I’ll keep an eye on the shelf to see if it needs any additional support on the front with heavy duty shelf brackets. It was already warped as shown above. I positioned the warp side up, so it might not need any further work.
If you decide to build a similar back-mounted shelf on a lightweight desk like my IKEA one, be aware that the desk’s weight might not be enough to counterbalance the weight of objects that you put on the shelf, leading it to fall over backwards (if it isn’t positioned against a wall to halt it’s movement).
In NYC, I suppose desks and shelves are like buildings–if you want more space, you gotta go up!
