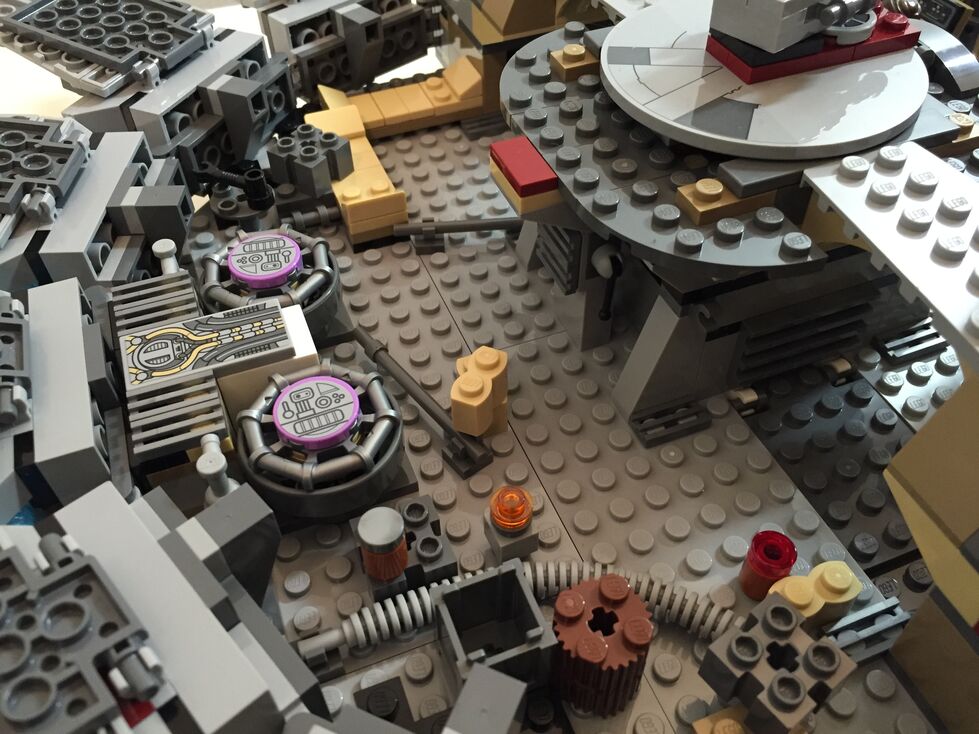
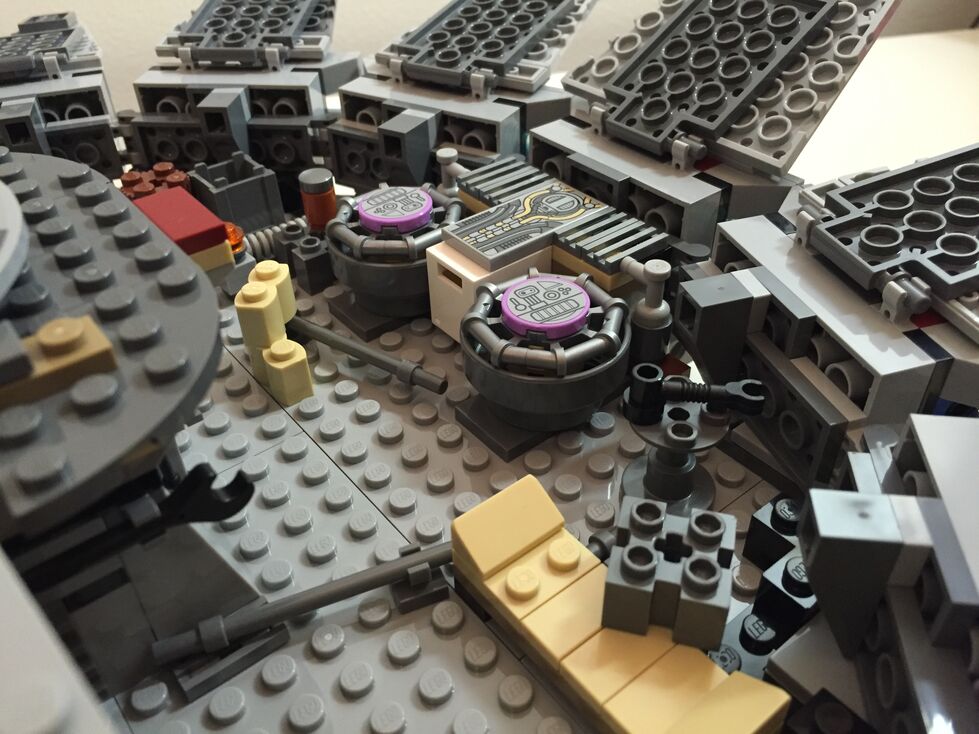
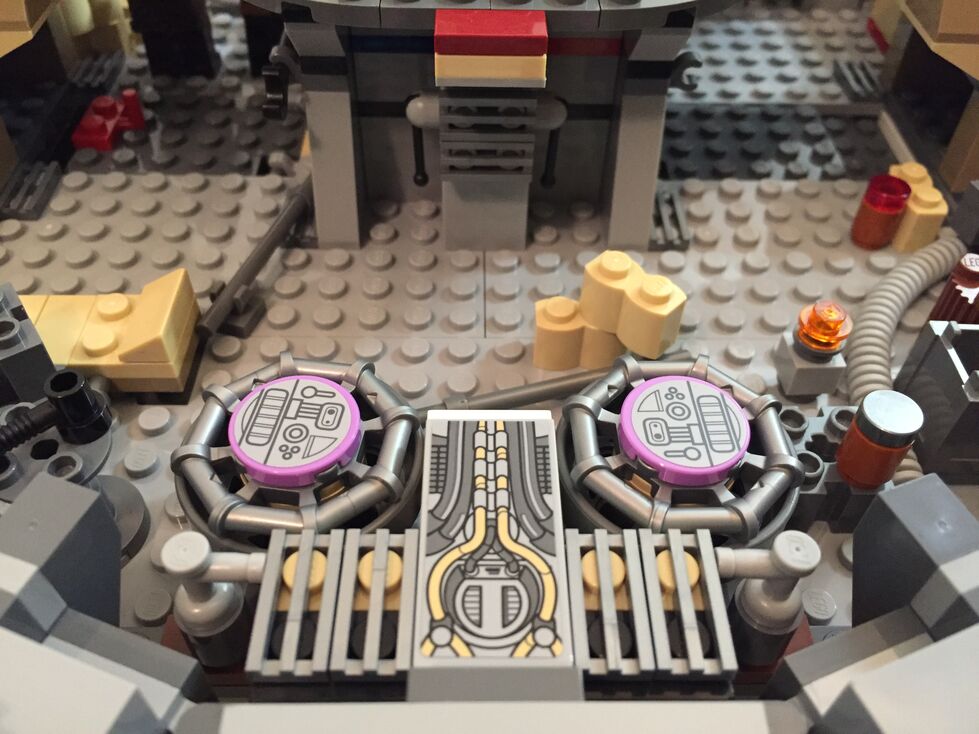
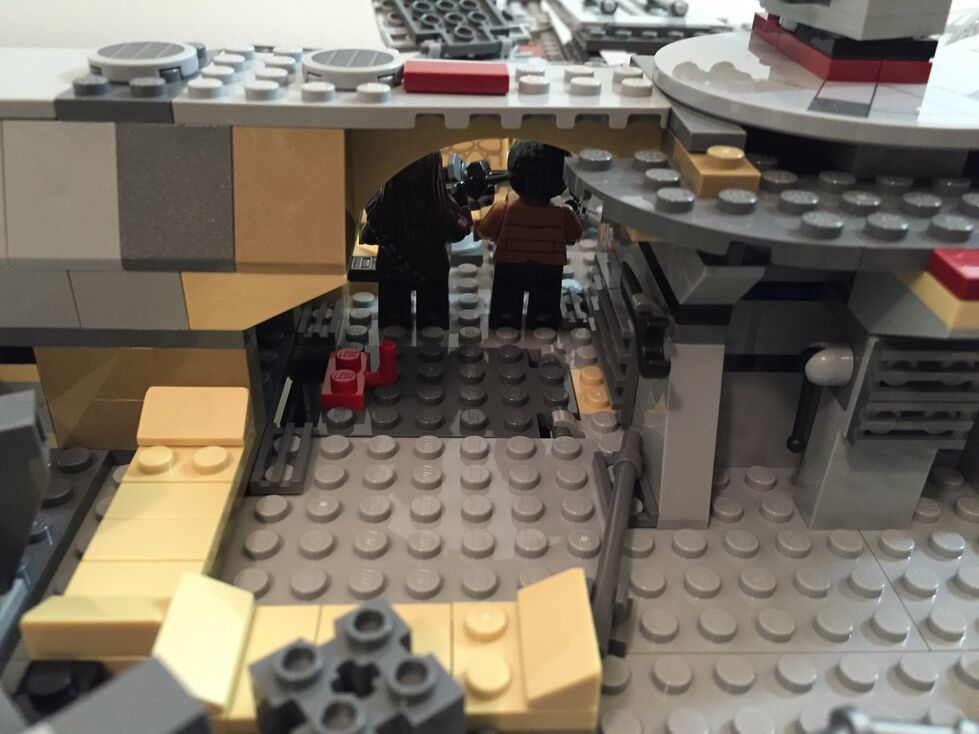
I recently purchased the LEGO Star Wars Rebels 75053The Ghost set to cannibalize for a MOC project. However, before I parted out the set and sold off the minifigures, I built the set one time and purposefully spread the build time across several days even though the set itself should only take a couple of hours of concentrated build time to complete. Why?
A personal reason stems from the enjoyment and stress relief that comes from building something with my hands. I see the model take shape as I place brick after brick. I take joy in the innovative techniques employed by the model’s designers. I reflect on the relationship of the model to its source material–in this case, the television program Star Wars: Rebels.
From a learning perspective, the haptic experience of building the model by following its instructions teaches the builder the process and techniques of the designer. Combined with the builder’s experience gained from model building and creative expression, one can reflect on the model’s design and guess about alternative methods and potential roadblocks encountered by the designer in earlier versions. In a sense, LEGO bricks serve as an interface between builder and designer, and through the interface, the builder learns and imagines new possibilities, which the builder can turn toward future projects. Building, pulling apart, rebuilding, redesigning, and creating forms the basis of a self-perpetuating active learning experience–one that begins guided and ends self-directed.
By spreading the build across several days, it allowed me to enjoy an extended building experience while giving my brain the space to think about and reflect on the building techniques employed by the sets designers. Had I built the model as quickly as I could have otherwise, I would not necessarily learn as much from the instructions and haptic experience of following the instructions to construct the model.
Based on my extensive first-hand experience as a LEGO builder and an educator who uses LEGO in his Technical Writing and Science Fiction classes, the transition from guided to self-directed learning is one of the powerful characteristics of LEGO as a learning platform. Furthermore, its orientation as a technology of play opens engagement and enables learning that is fulfilling because of the enjoyment that it can bring about (of course, LEGO might not be for everyone and the source of enjoyment in learning differs from person to person–as with the projection learning with lecture and PowerPoint, or other forms of active learning exercises, I propose that LEGO is another tool in the educator’s toolbox that can be used, repurposed, hacked, etc. as the case and need arises).
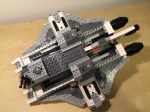
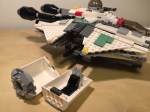
Before I disassemble The Ghost, here are some images of a nice model that accurately captures its source while adding play elements that fans of the series–young and old–will likely enjoy.
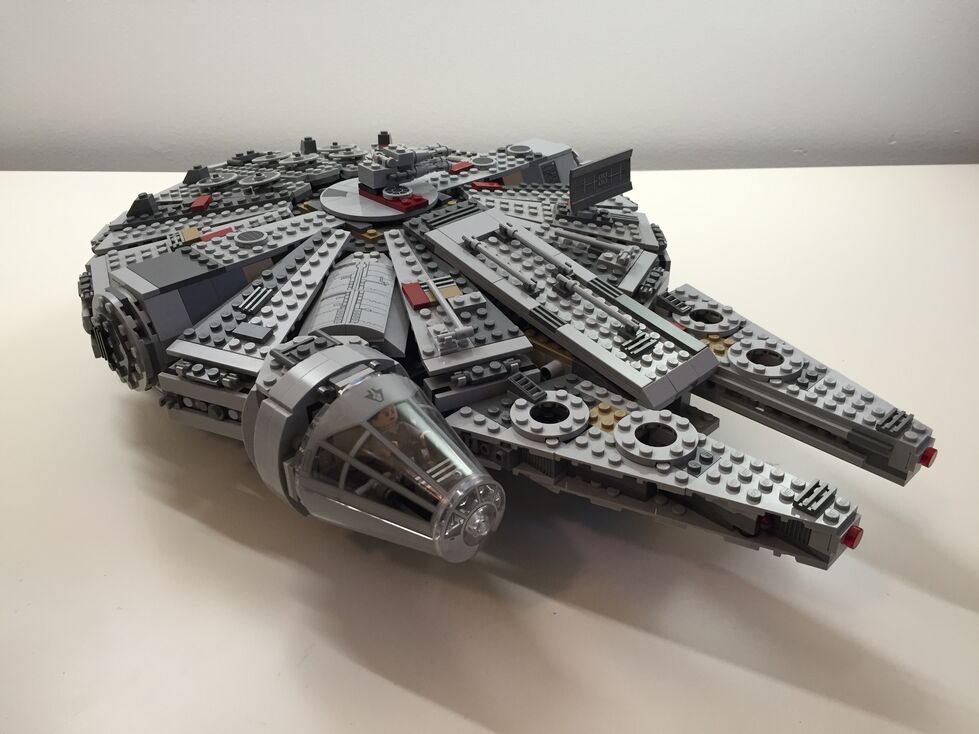
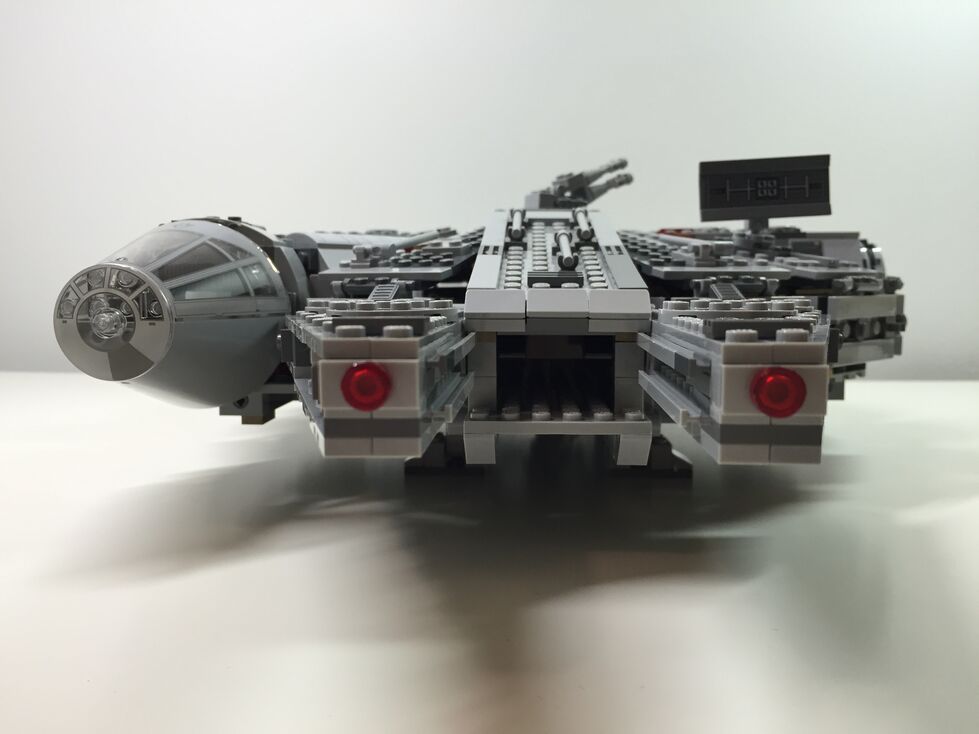
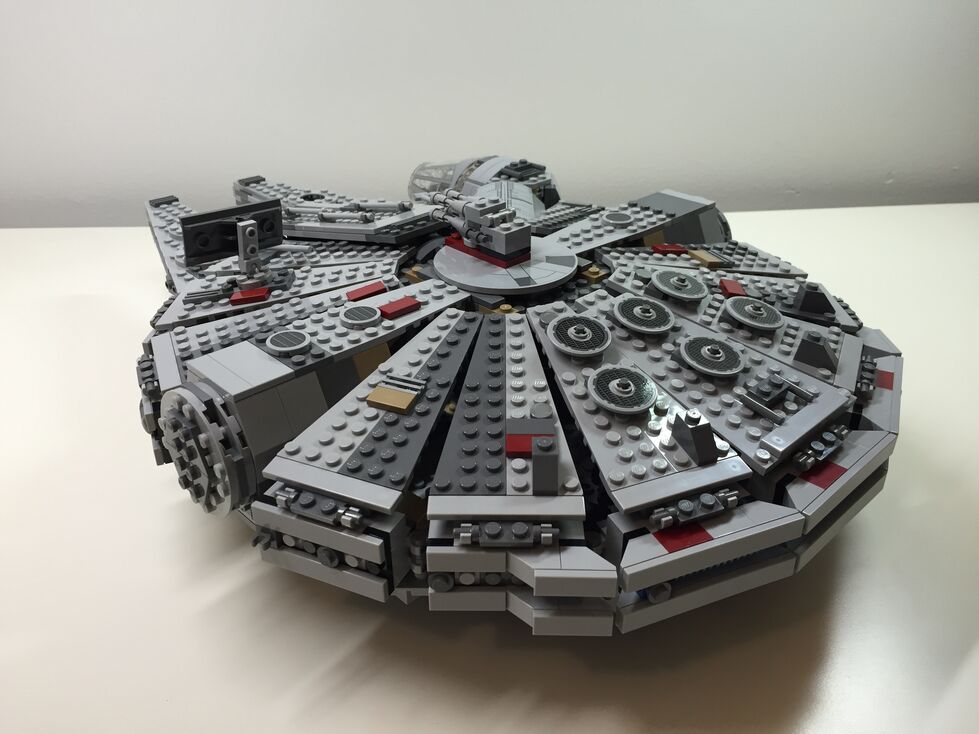
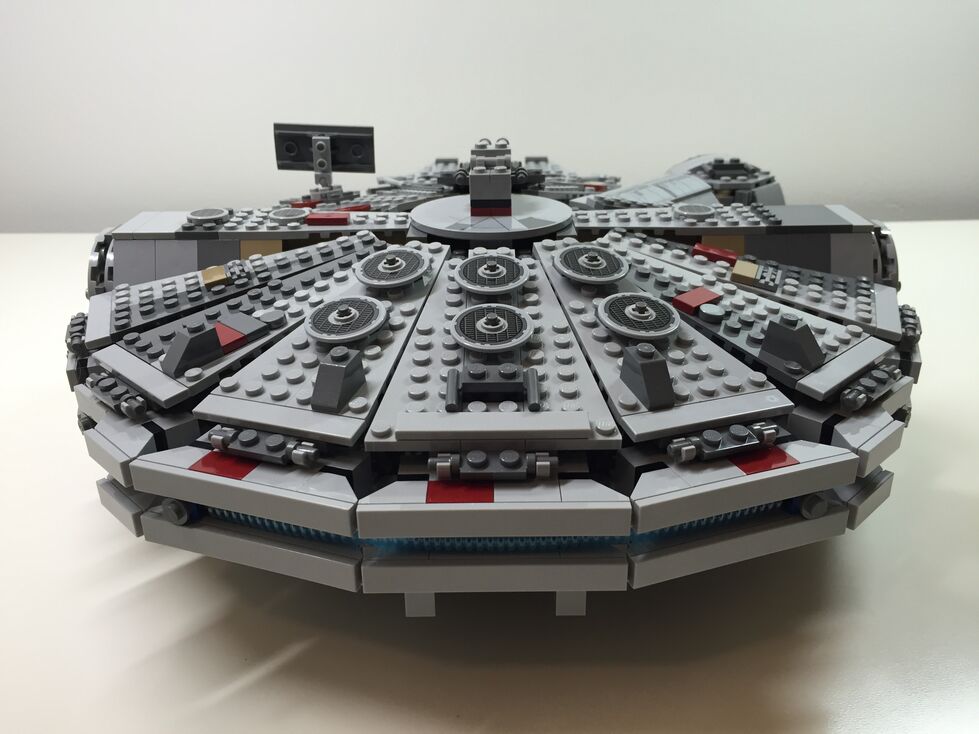
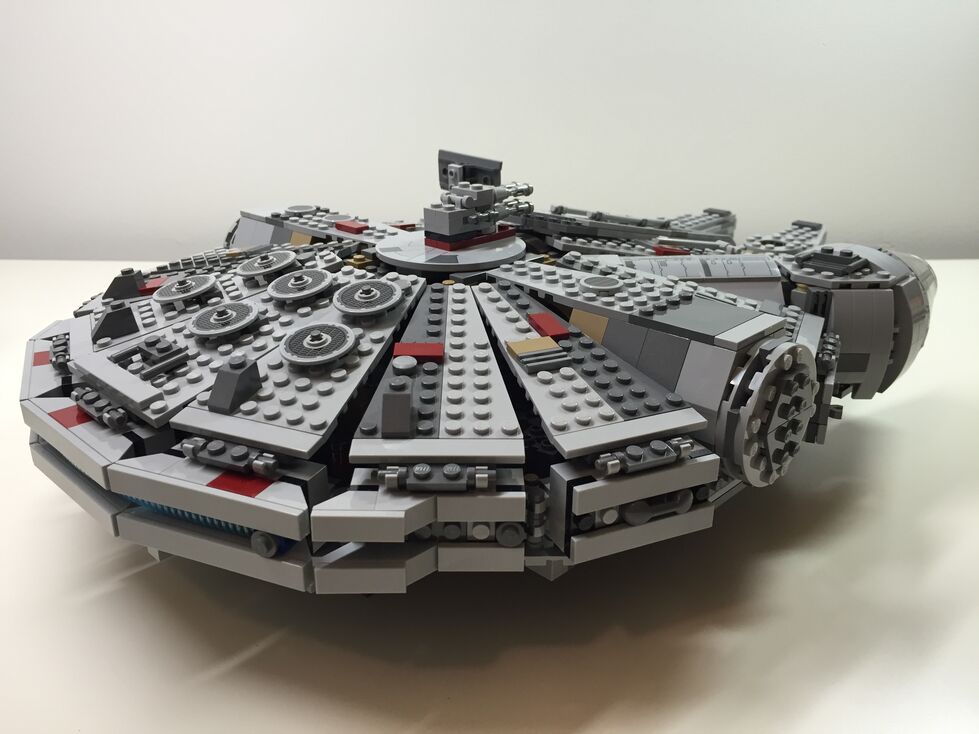
After watching Star Wars Episode VII The Force Awakens for the first of four times (so far), I purchased the new LEGO Millennium Falcon 75105 (LEGO website page and Brickset model page). It is a wonderfully designed model that balances play with detail. This latest Falcon model from LEGO captures how the passage of time and change of hands has affected this storied ship’s appearance in the film. Despite the interior and exterior greebling, the layout of the Falcon is spacious and accommodating for customization by the LEGO builder. It was my intention to customize the Falcon to be more screen accurate in the main hold and cockpit, and more detailed in the engine compartment and rear storage/bunk spaces. Through the process of customization, I worked on the exterior dorsal and ventral sides (including an improvement to the boarding platform. Below, I offer some explanation and photos for each before and after stage of my customization, including the cockpit, exterior dorsal, exterior ventral, interior fore, and interior aft.
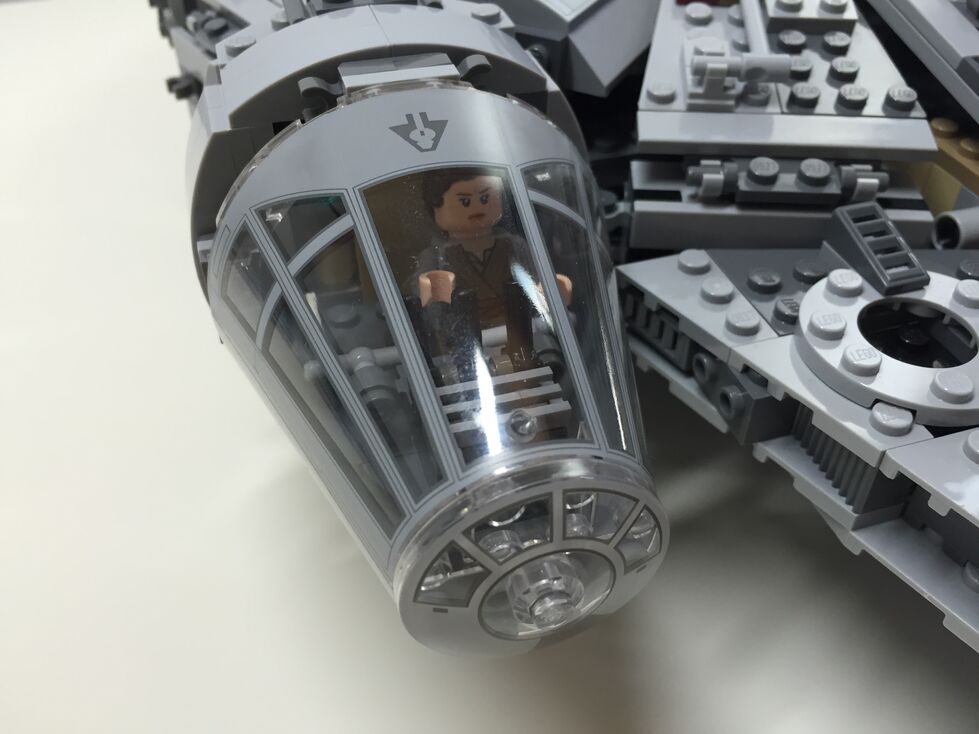
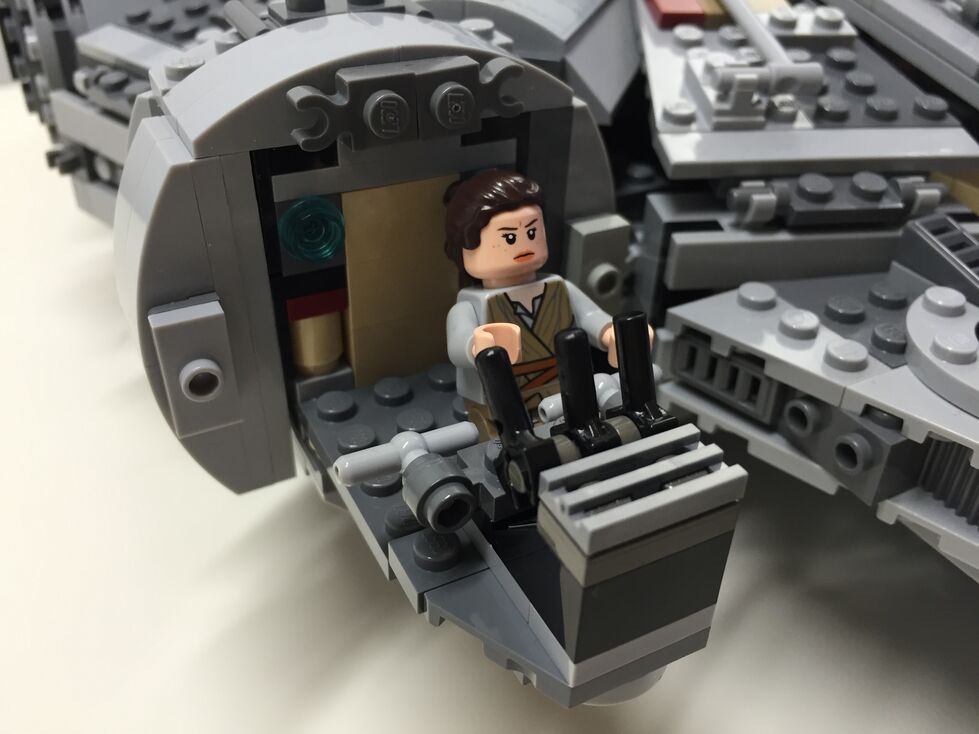
Cockpit, Before Customization
The original cockpit accommodates two minifigures–one sitting forward on the right (pilot) and one sitting one row behind on the left (copilot). It comes with a single lever for control and a printed wedge brick with cockpit controls. Due to the conical elements used for the cockpit, space is extremely limited. However, the rear of the cockpit has a strange design that is not evocative of the rear of the cockpit, which would have controls, lights, and a door. I targeted these issues in my customization seen below.
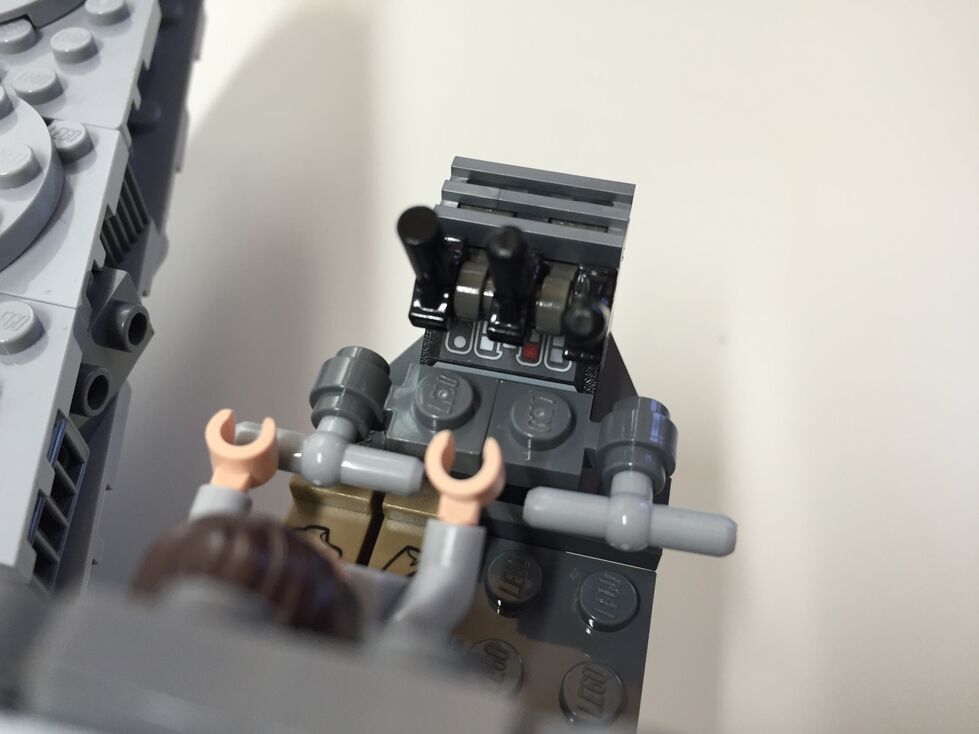
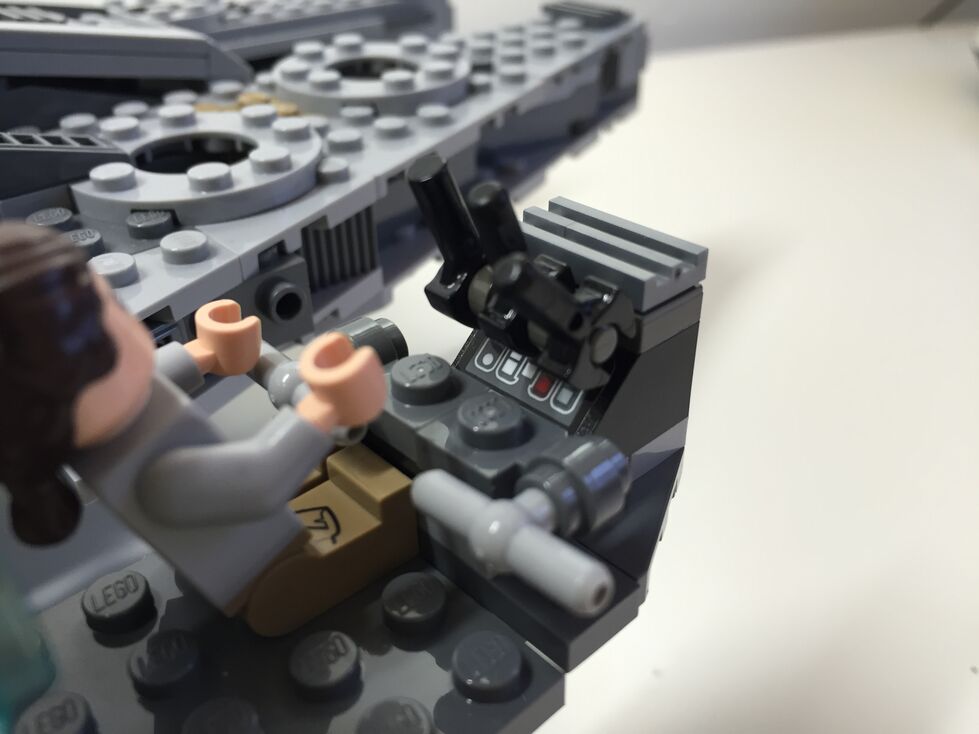
Cockpit, After Customization
In my customization of the cockpit interior, I raised the control panel by one plate and gave the pilot and co-pilot handle-bar controls like in the films. Above the directional control bars, there are three adjustable levels sitting on top of the printed control panel wedge brick for controlling the engines.
Exterior Dorsal, Before Customization
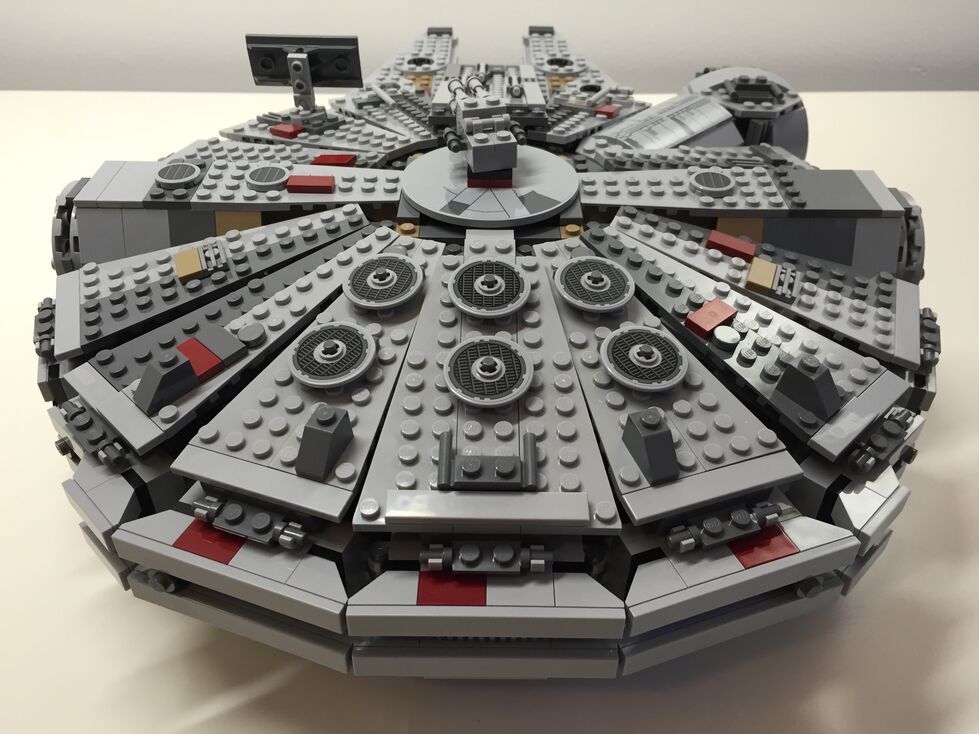
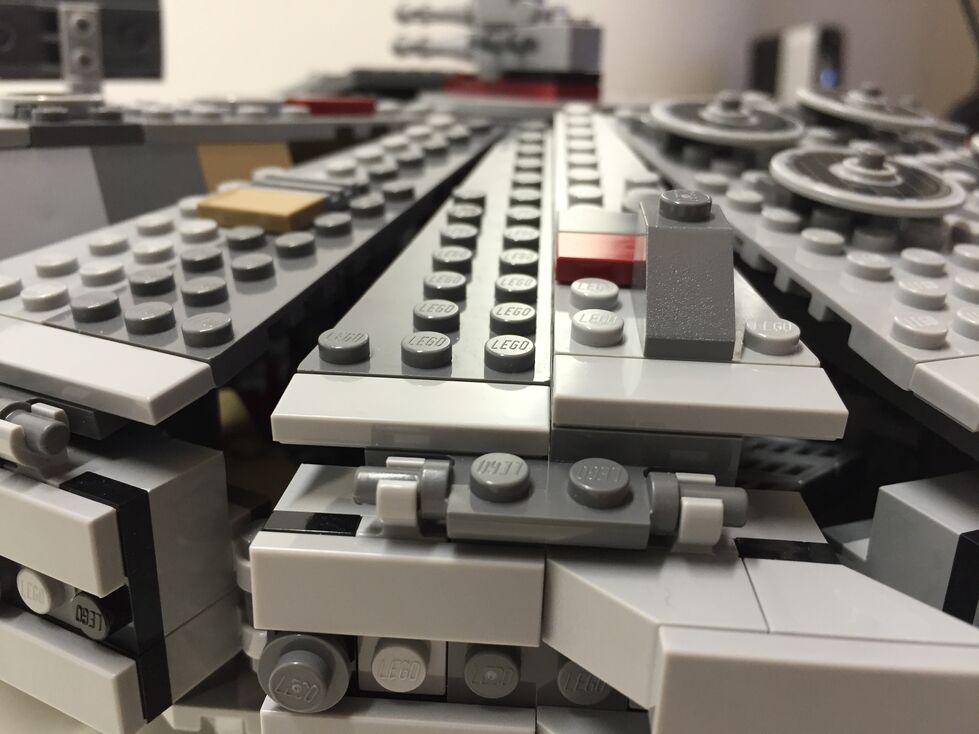
These images are of the Falcon’s exterior before any customization. Of note, the Millennium Falcon’s fore running lights are red instead of clear (a change depicted in The Force Awakens), and a less clean exterior to illustrate its aging and modifications.
Exterior Dorsal, After Customization
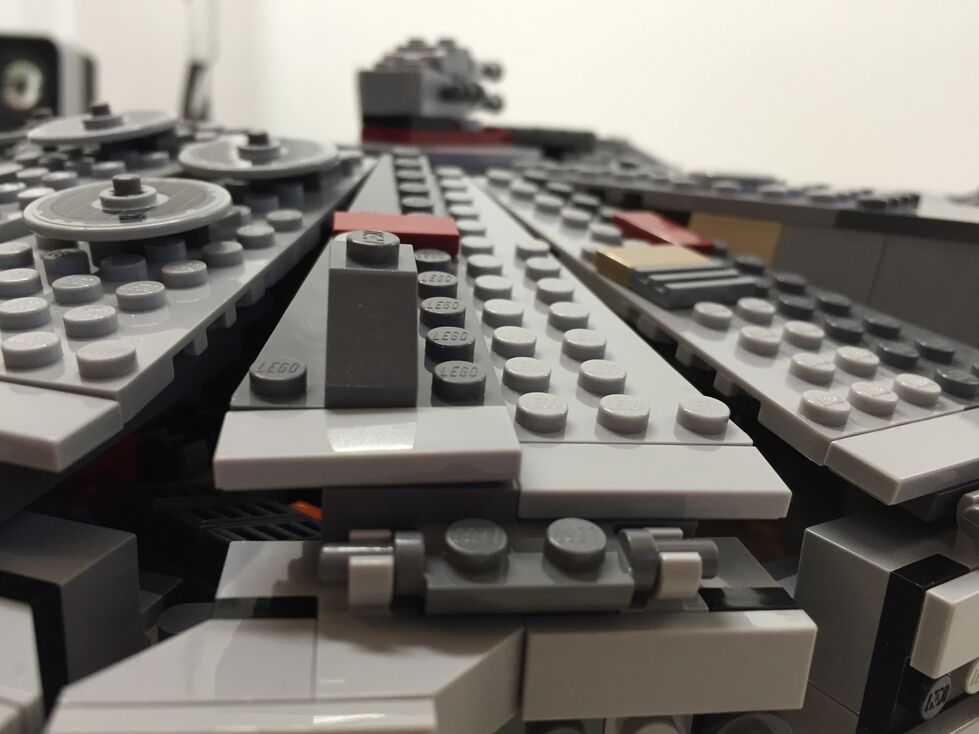
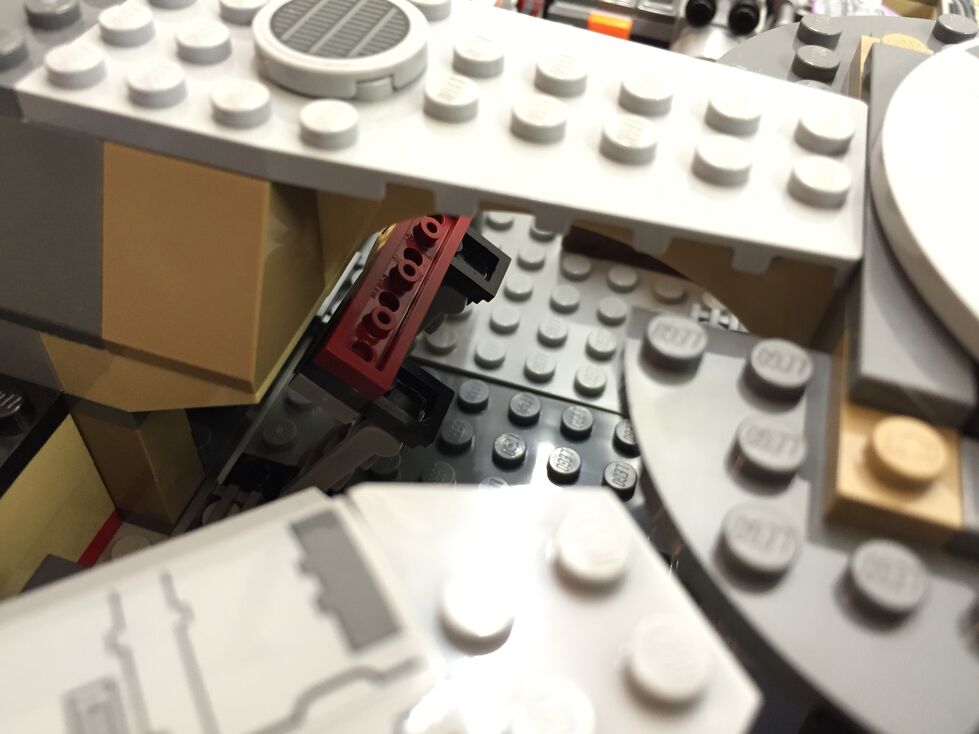
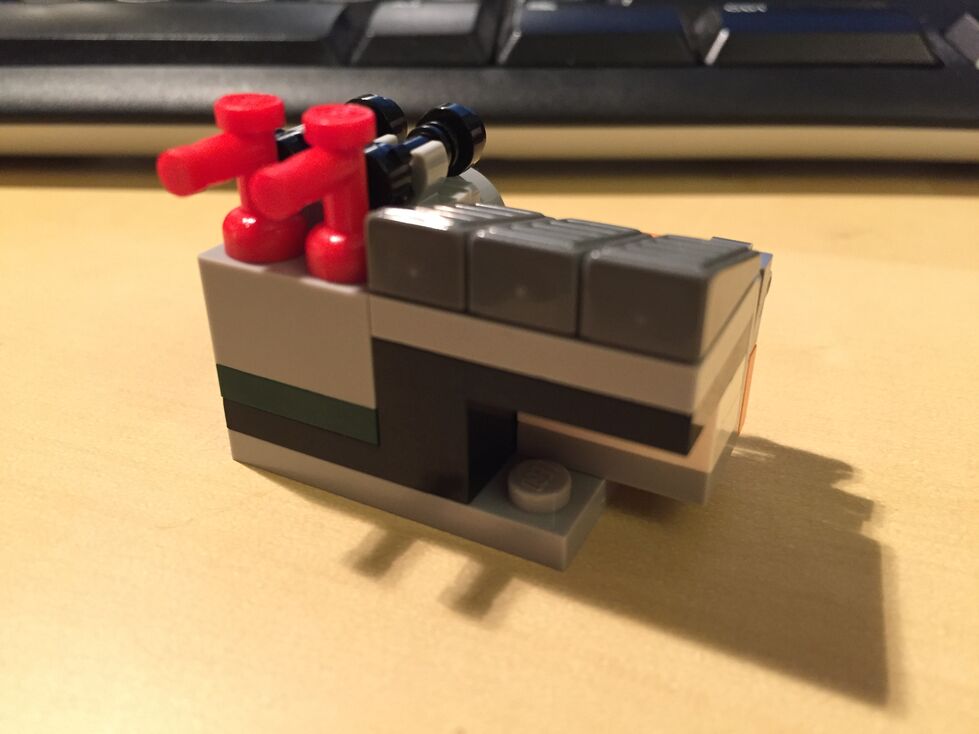
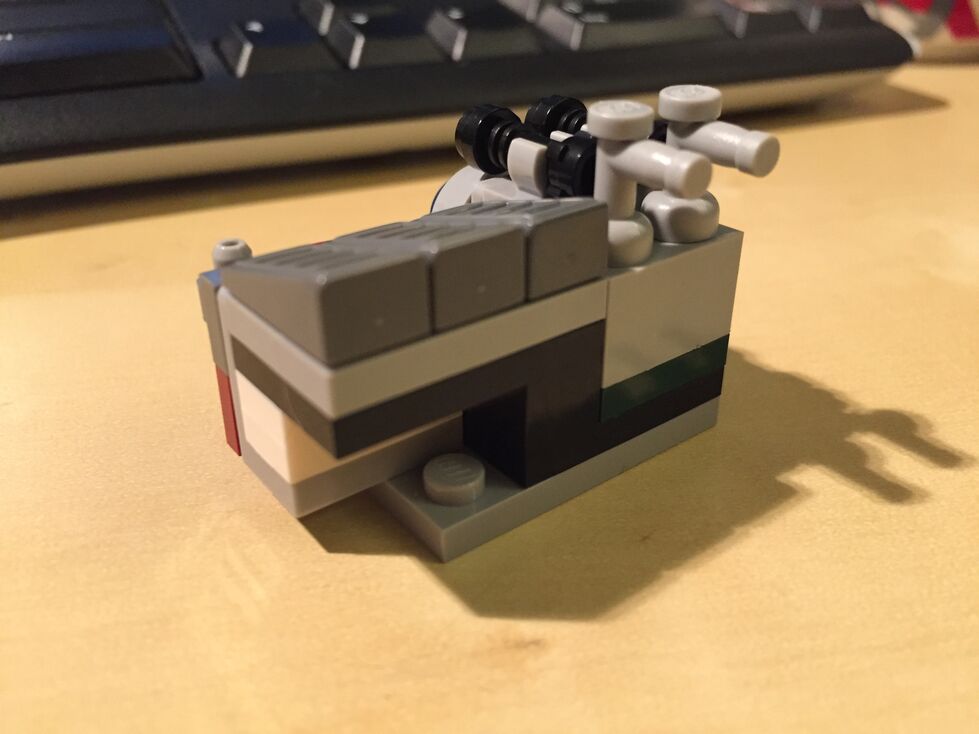
The one external element that I wanted to accentuate as much as possible was the slightly raised panels above the rear quarter over the engines. This was easily accomplished by adding a single plate above the hinge for each sectional panel, and adding a single plate height to half of the bordering panels. The latter, however, also required finding 1×3 flat plates for the segmented panels as seen below.
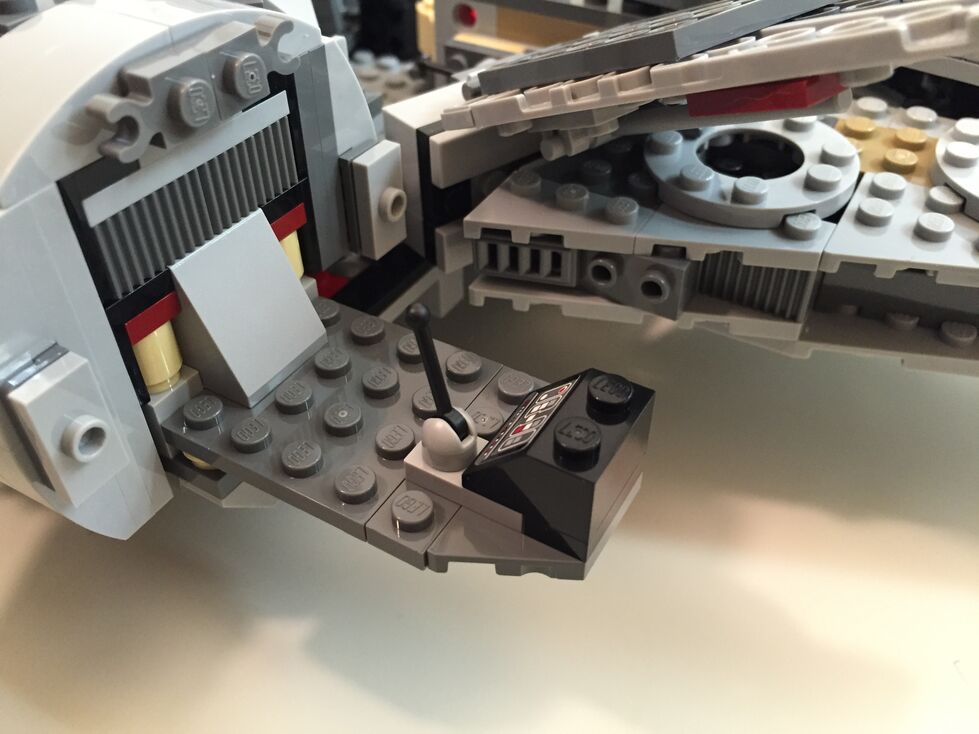
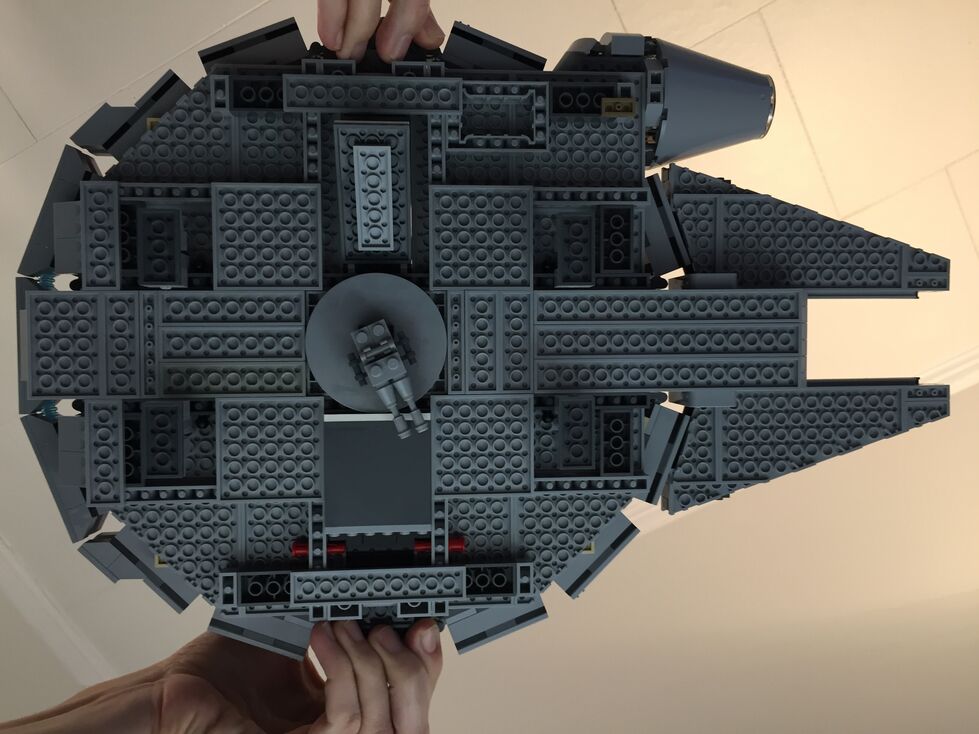
Exterior Ventral, After Customization (no Before photos taken)
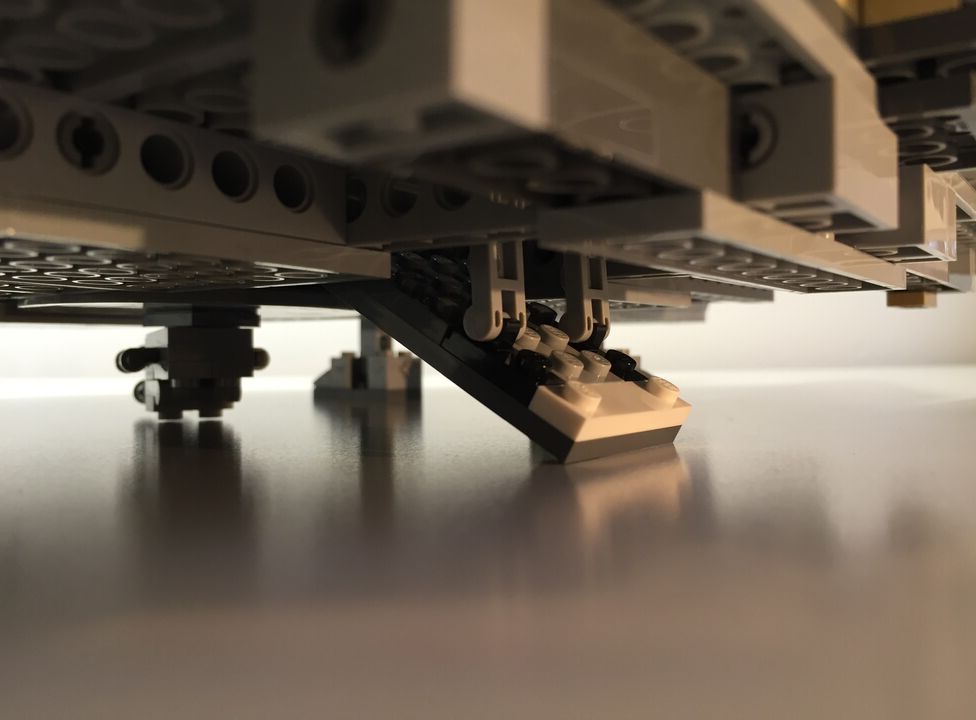
Originally, the boarding platform does not have hydraulic lifters and the bottom of the Falcon is largely exposed to the Technic beams that form the support skeleton for the model. I added the lifters and covered much of the bottom (more can be done when I have the bricks available to accomplish a better approximation of the Falcon’s bottom exterior (angled forward pods and rear hold pod beneath the engines).
Interior Fore, Before Customization
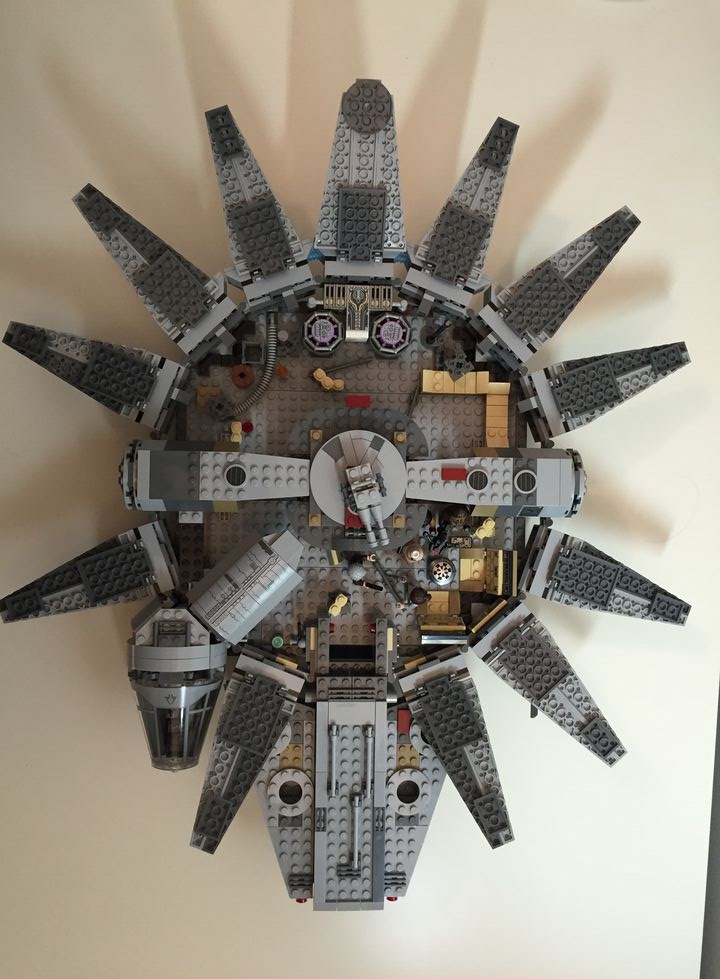
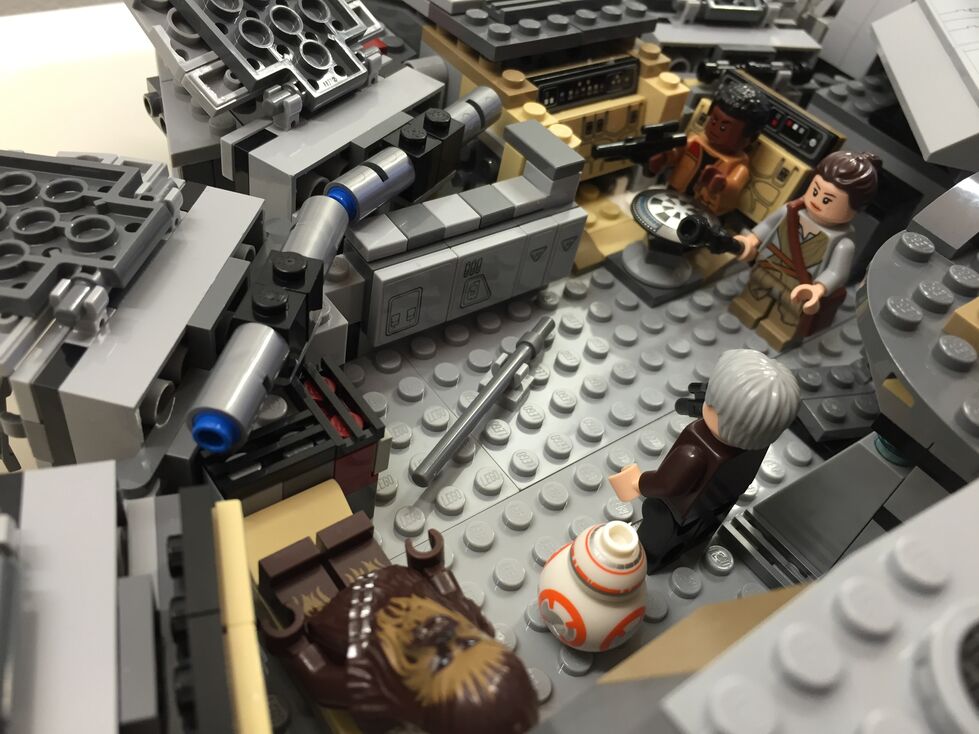
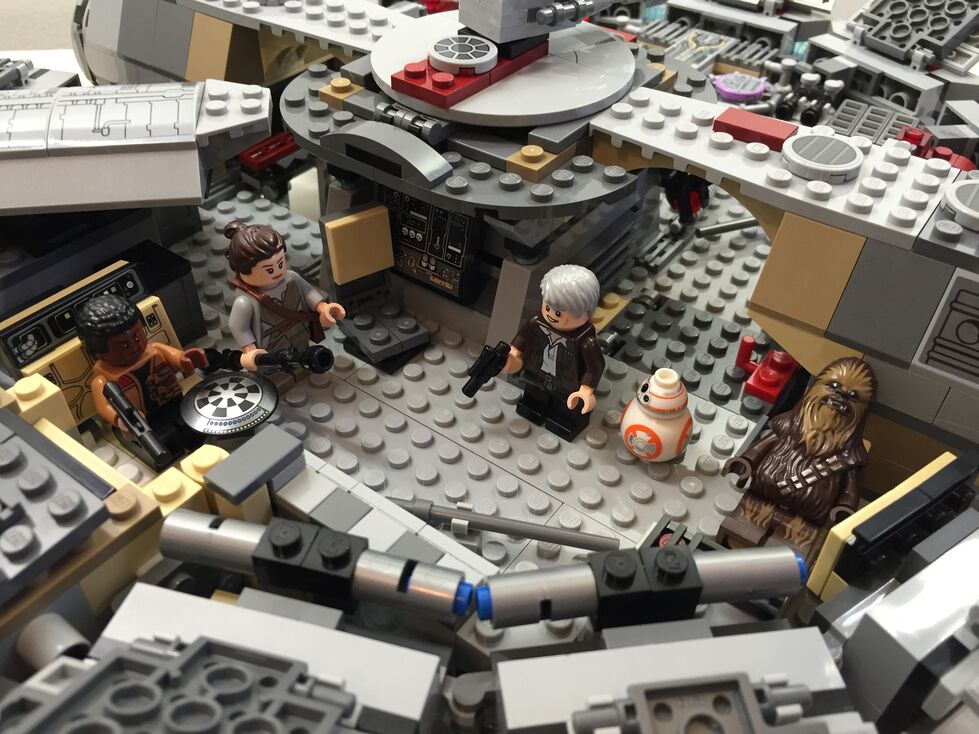
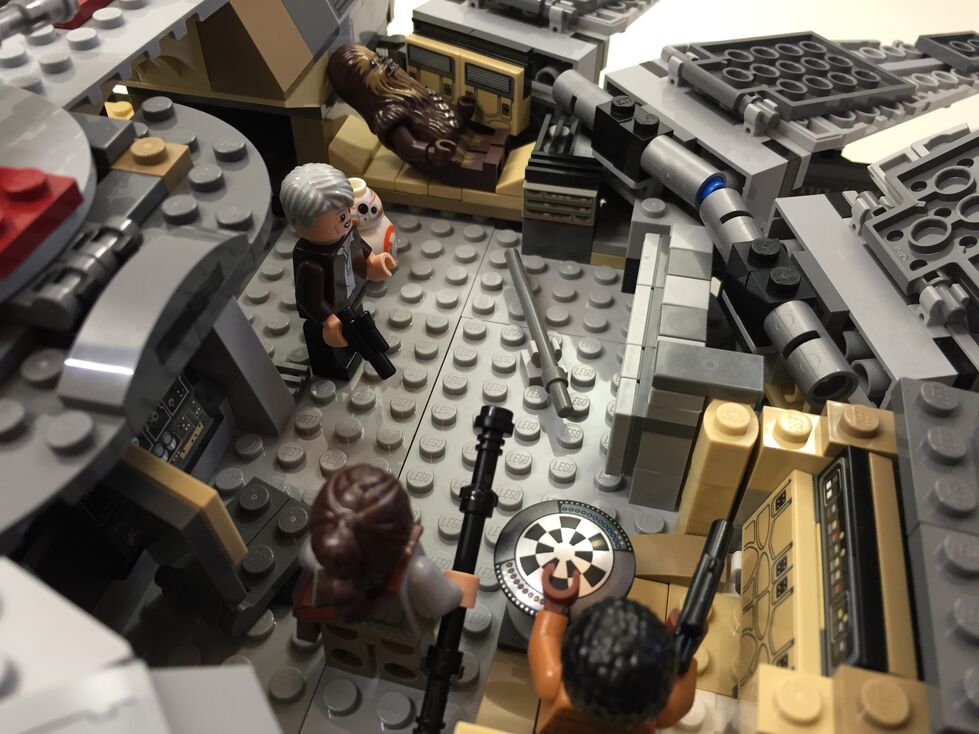
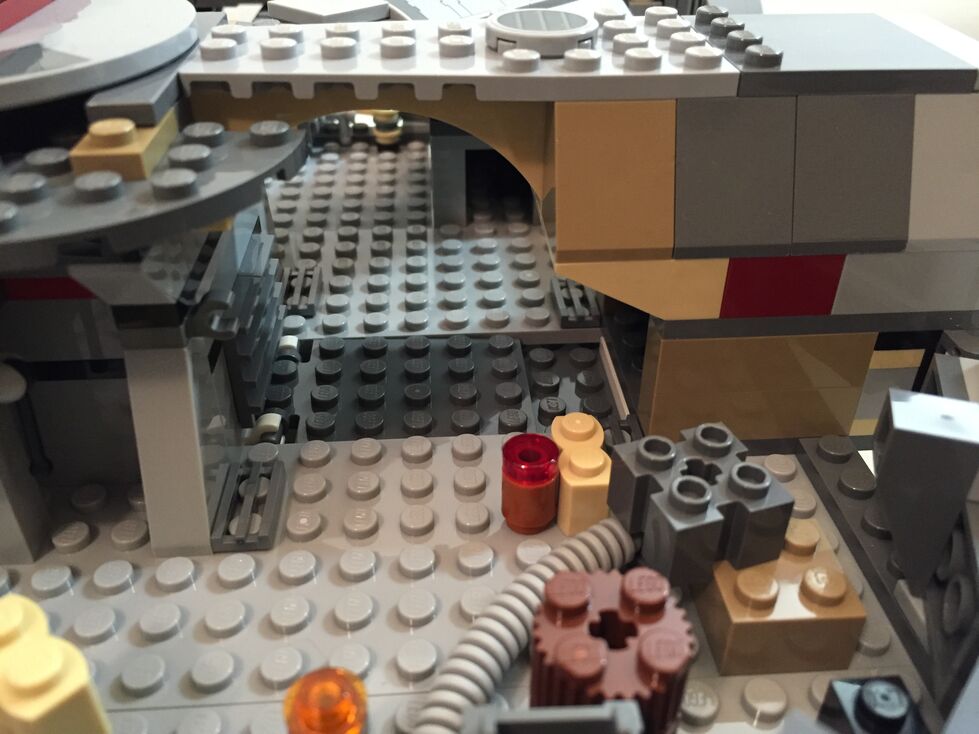
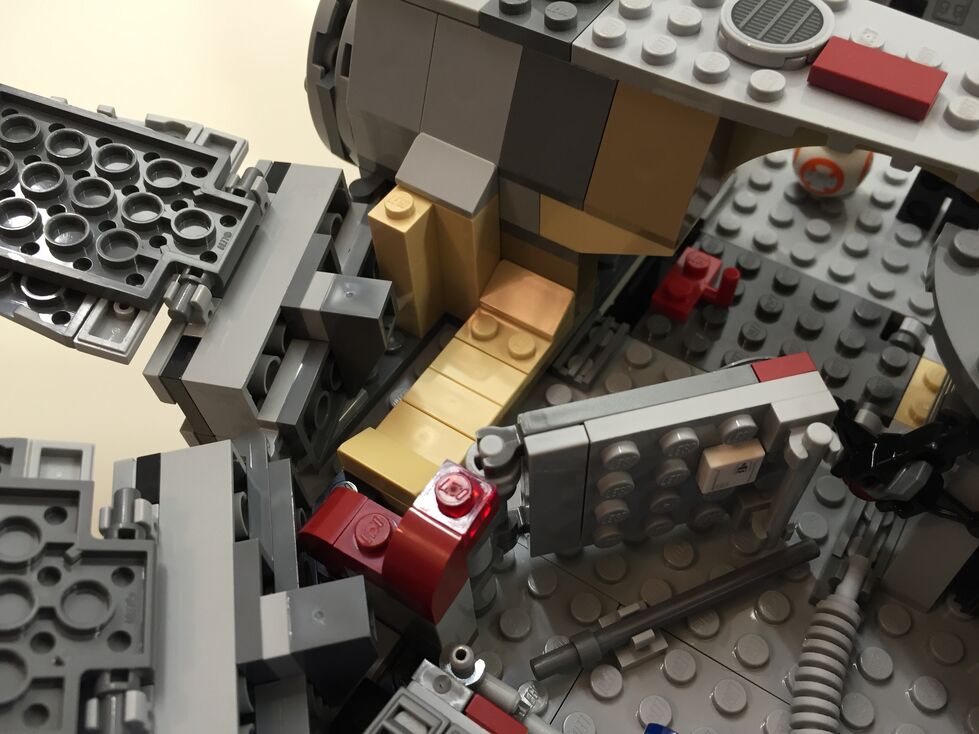
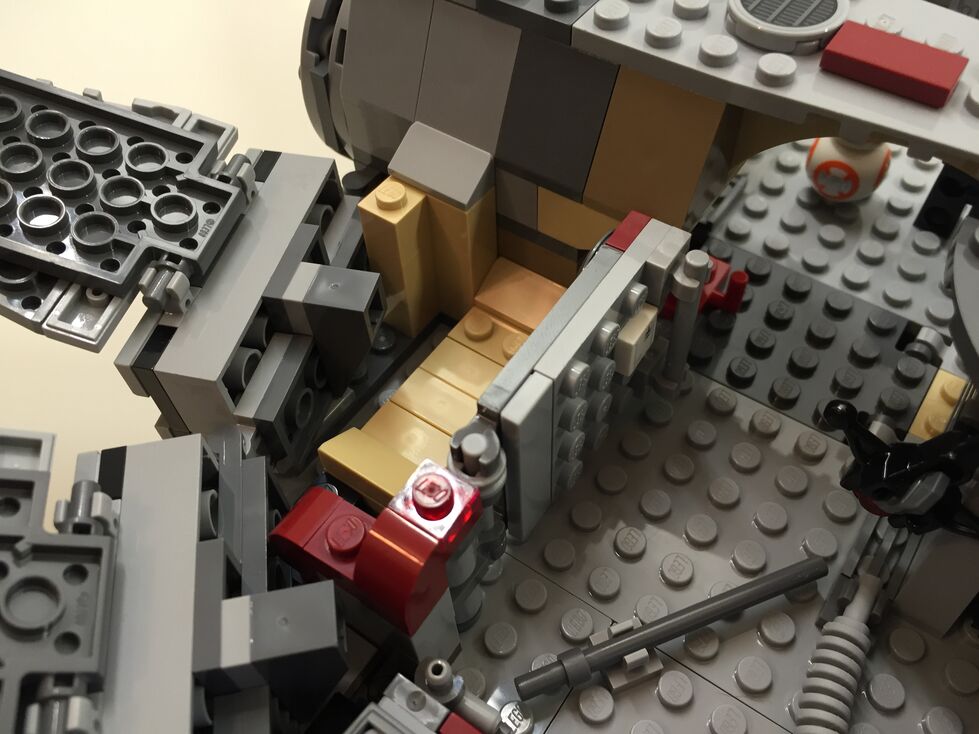
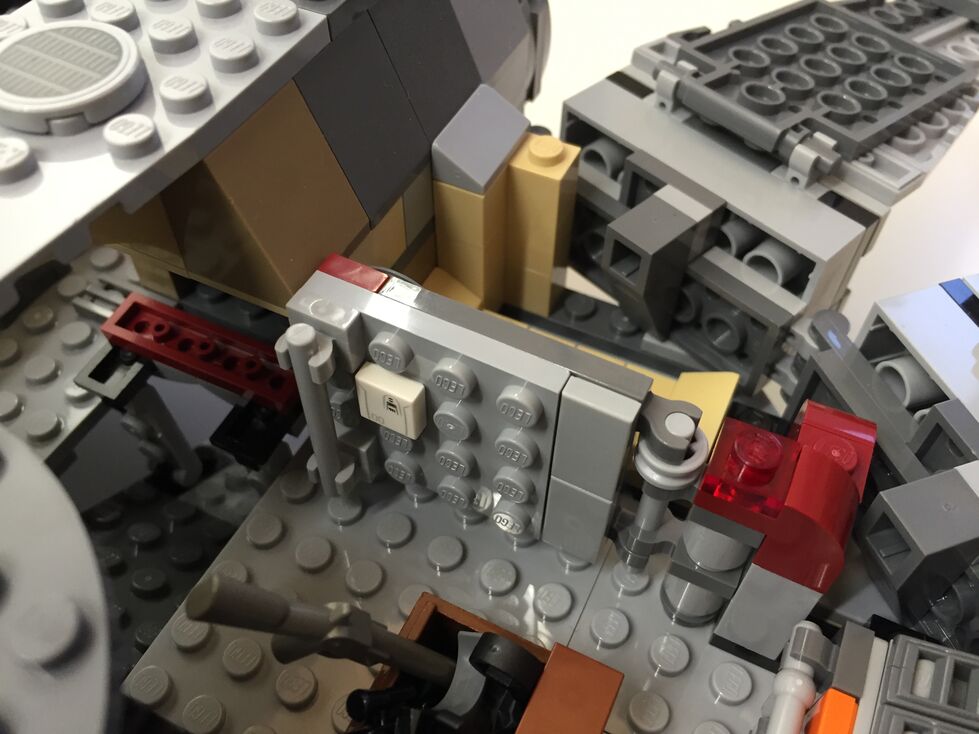
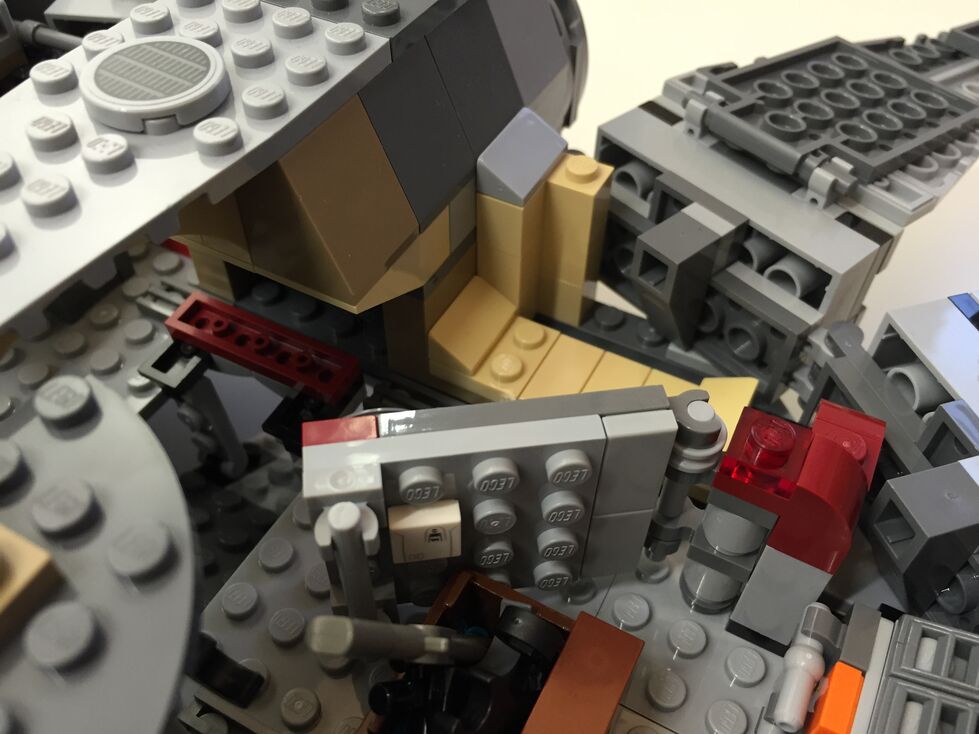
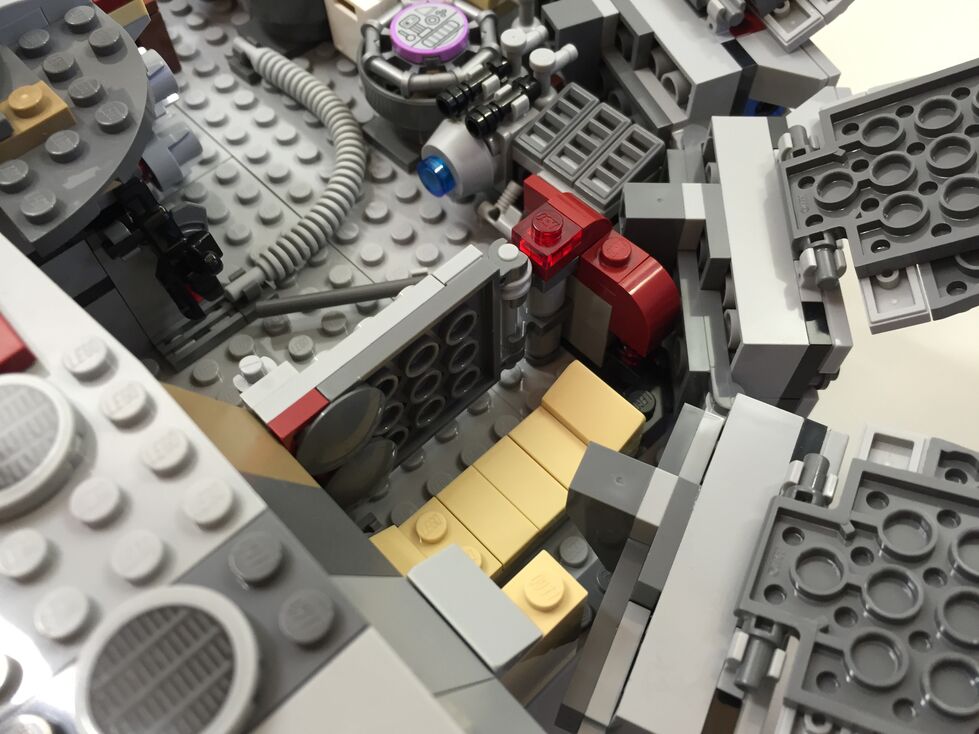
The 75105 Millennium Falcon model continues the innovative “petal” design forming the dorsal fuselage of the spacecraft, which first appeared in the 4504 set and was improved in the 7965 set. The best change from the earlier designs is for the forward bisecting panel leading from the mandibles to the gun turret. Instead of opening up toward the turret (4504) or opening forward toward the mandibles (7965), the panel now swings forward and down between the mandibles thus giving easier access to the builder for play inside the Falcon. The navigational computer is more accurately captured with a sticker applied to a flat plate than printed wedge bricks in 7965, and the Dejarik table is printed on a round shield element. My complaints with the interior design have to do with the inaccuracy of the placement of the Dejarik table/benches and bunks. I focused on this in my customization.
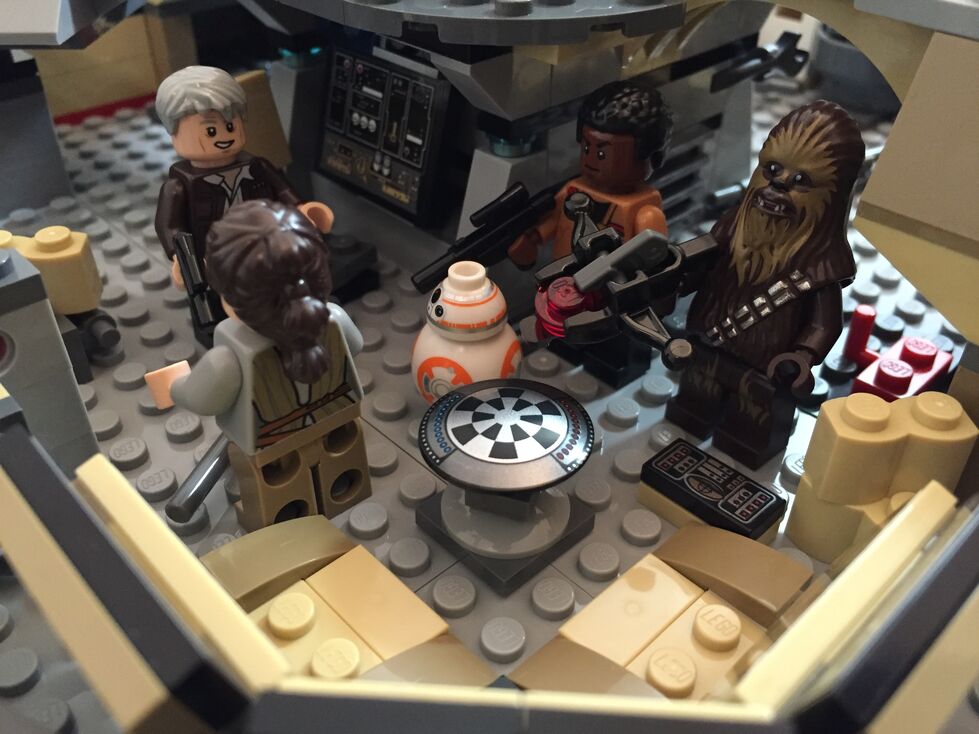
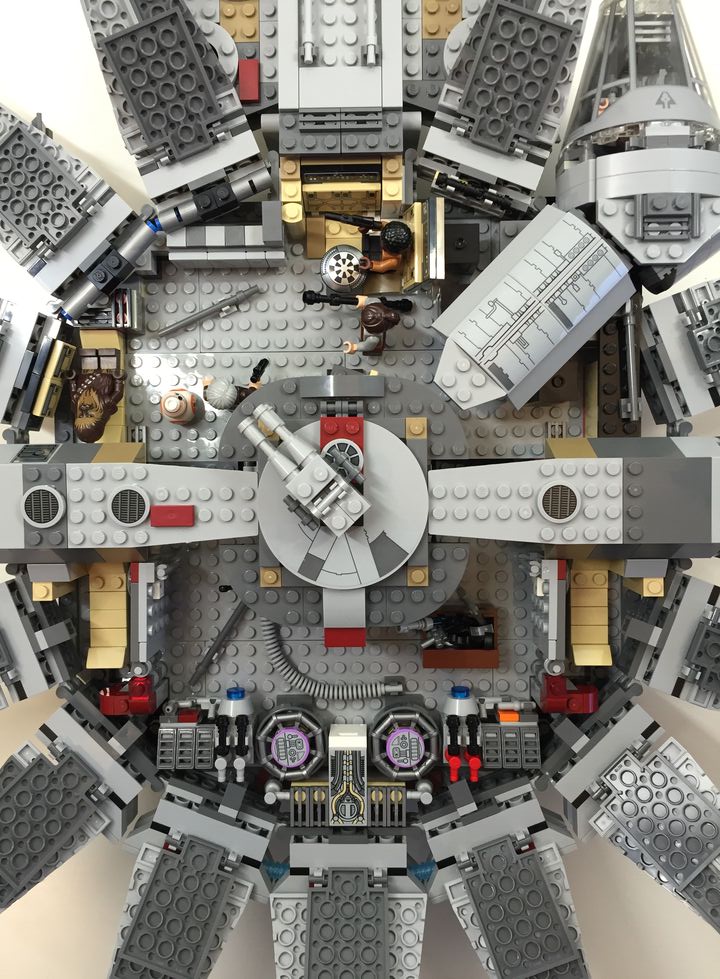
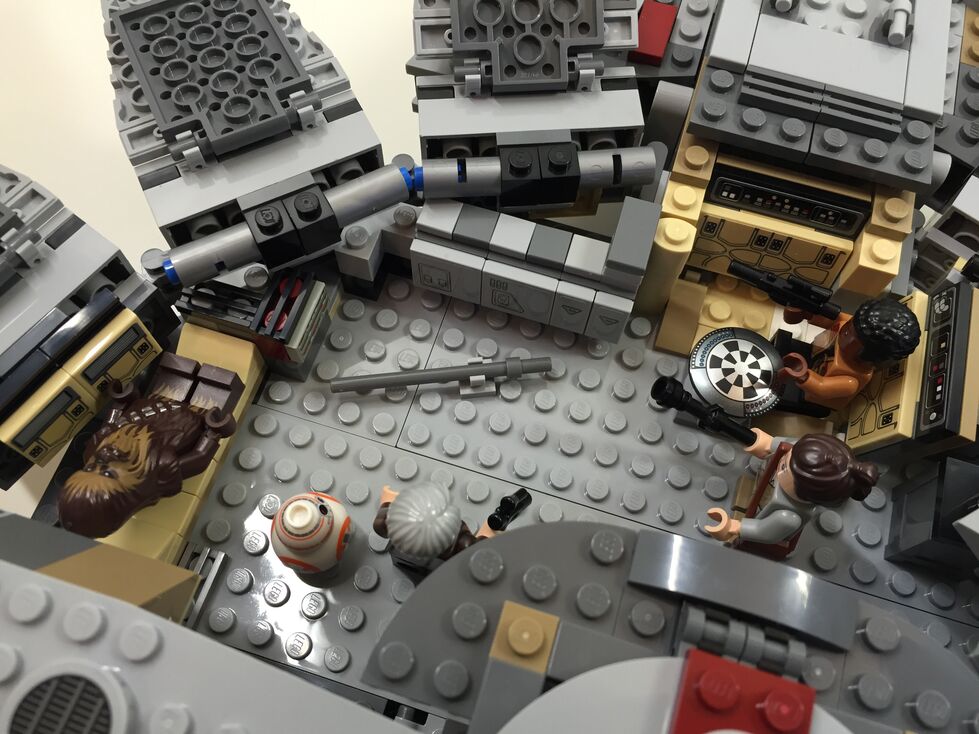
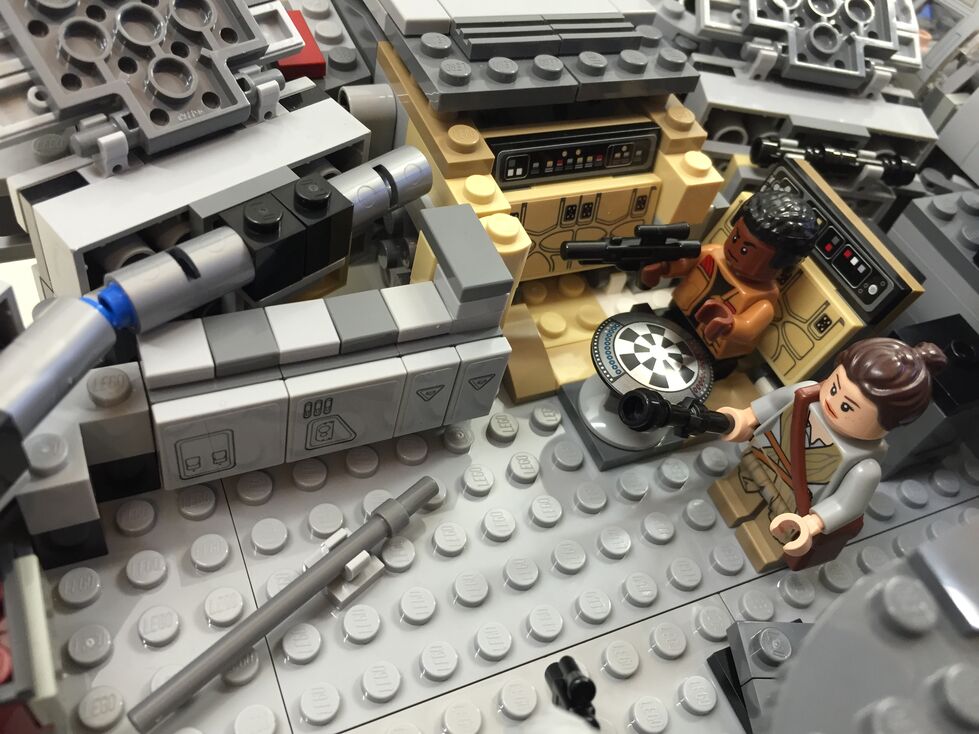
Interior Fore, After Customization
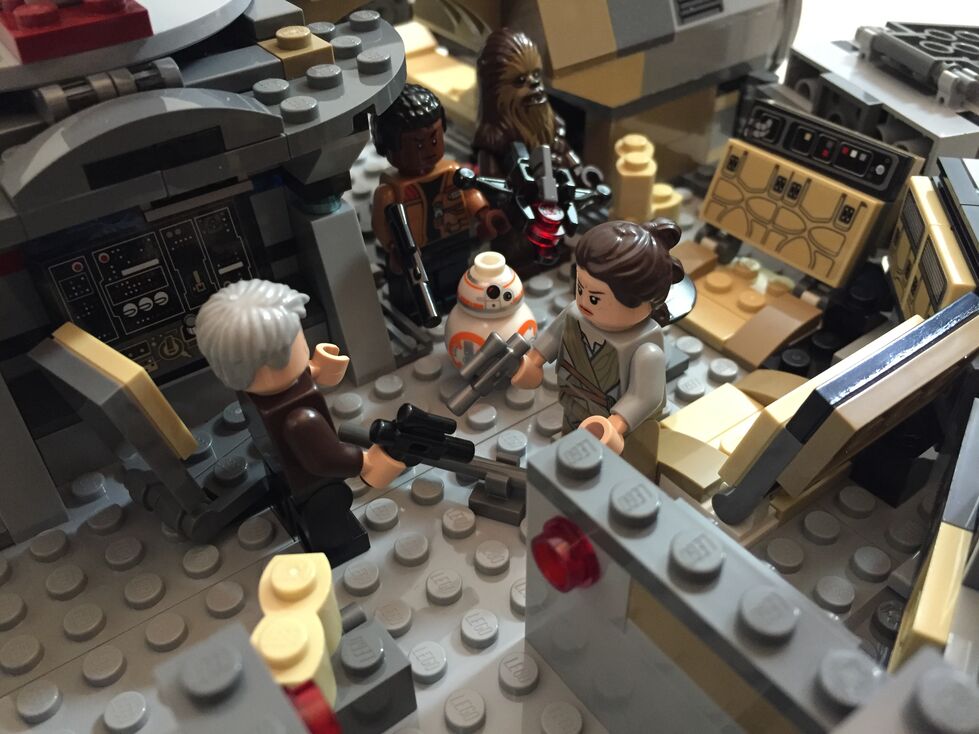
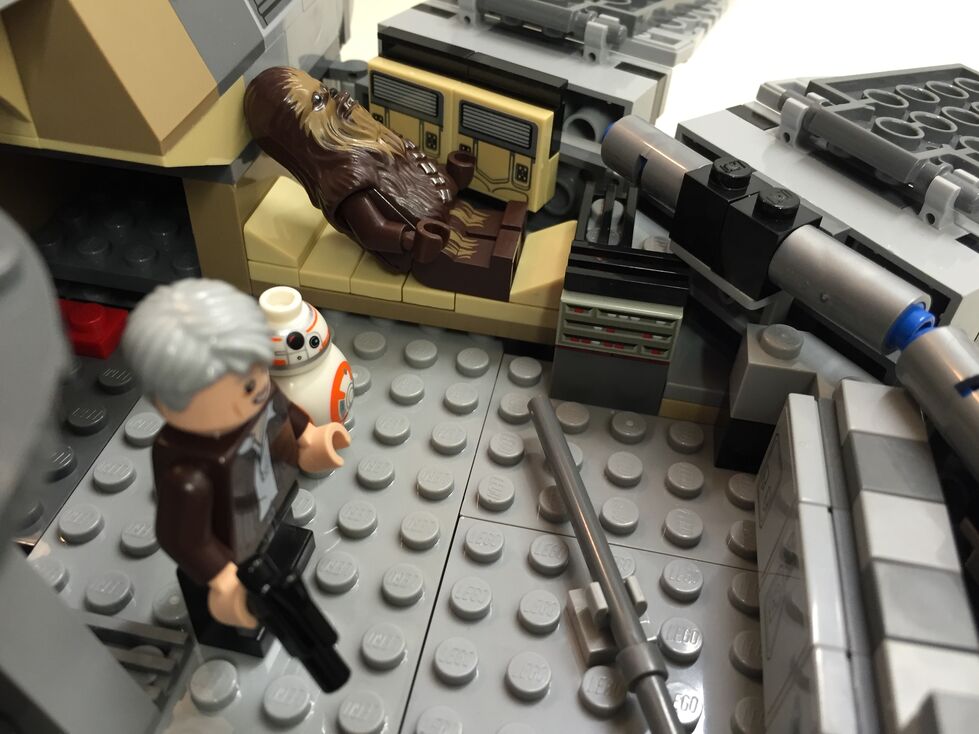
In my customization, I moved the Dejarik table and benches across from the navigation computer, which required rebuilding part of the mandible supports and the swing components for the center panel (to clear the center bench back). I relocated one of the bunks to the end of the hold to create the medibay where Finn bandages Chewbacca’s arm. In the main hold, I constructed a forward wall with panel details taken from the First Order Snowspeeder 75100 set.
Interior Aft, Before Customization
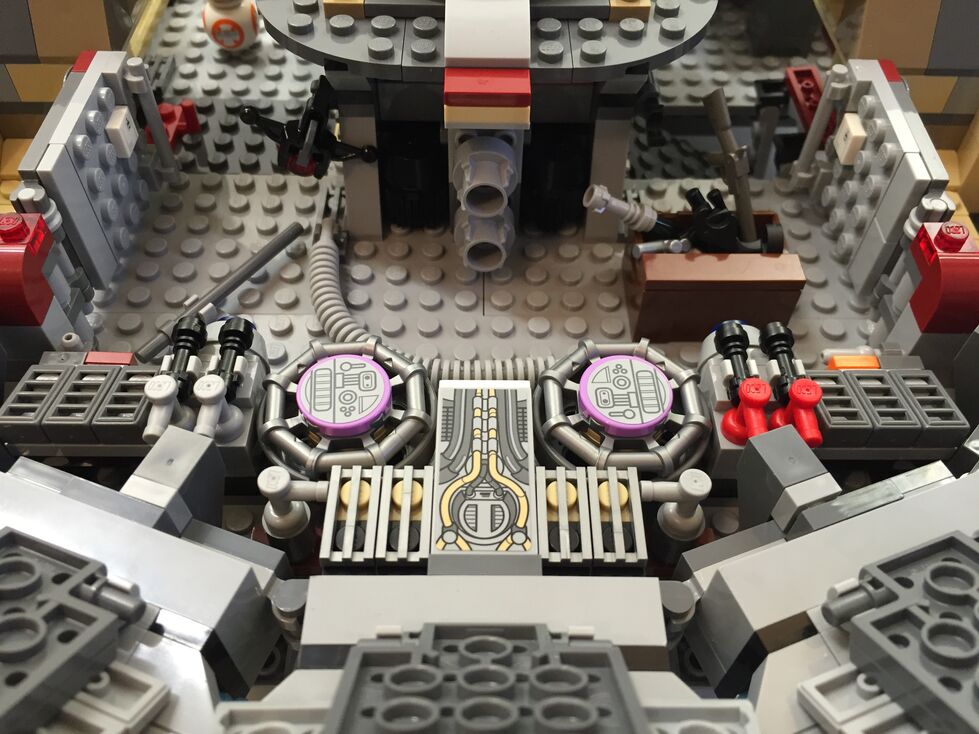
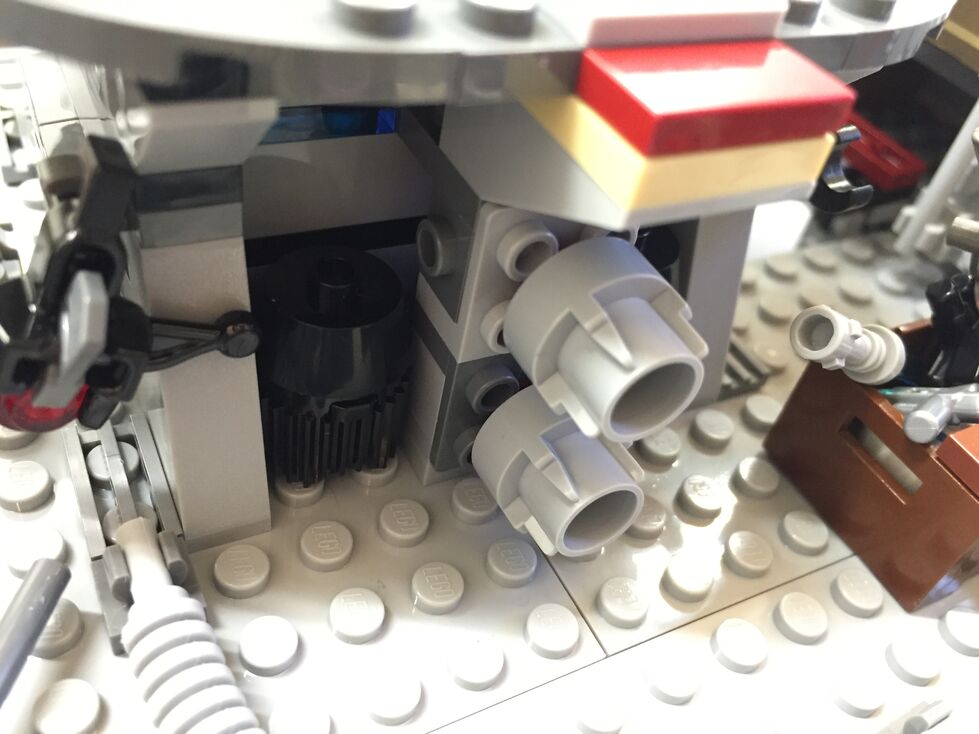
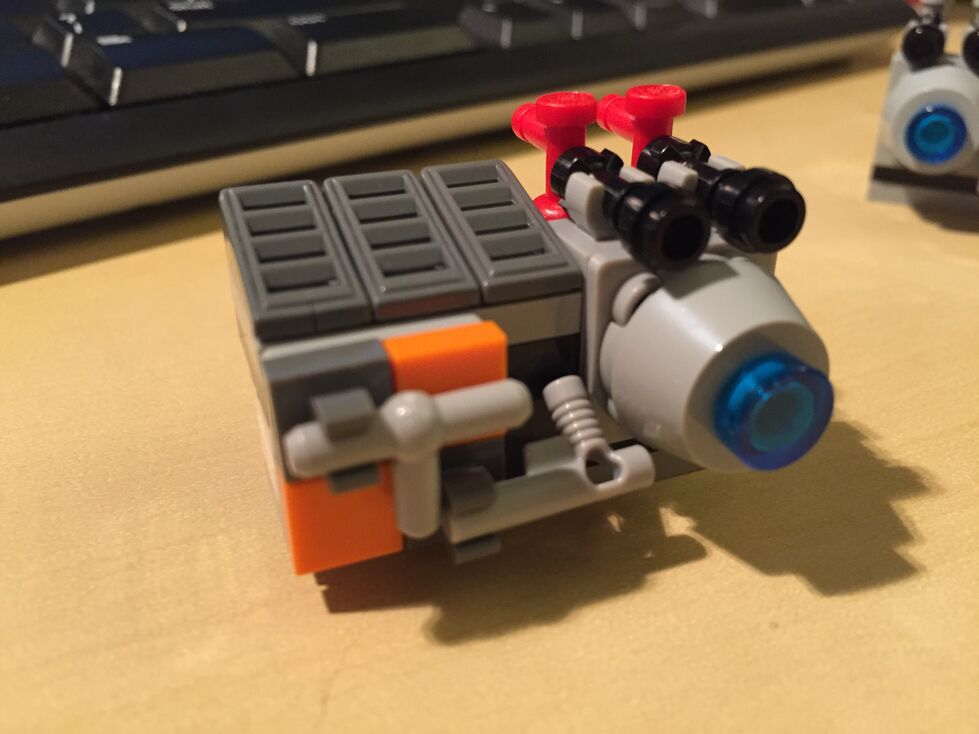
The engine compartment in the rear of the model is similar to the one in 7965. This part of the Falcon captures the junked essence of the Falcon in general and the effects of the passage of time and unkind handling of the Falcon depicted in The Force Awakens. I wanted to keep its garbage appearance while giving the engine compartment greater substantiality.
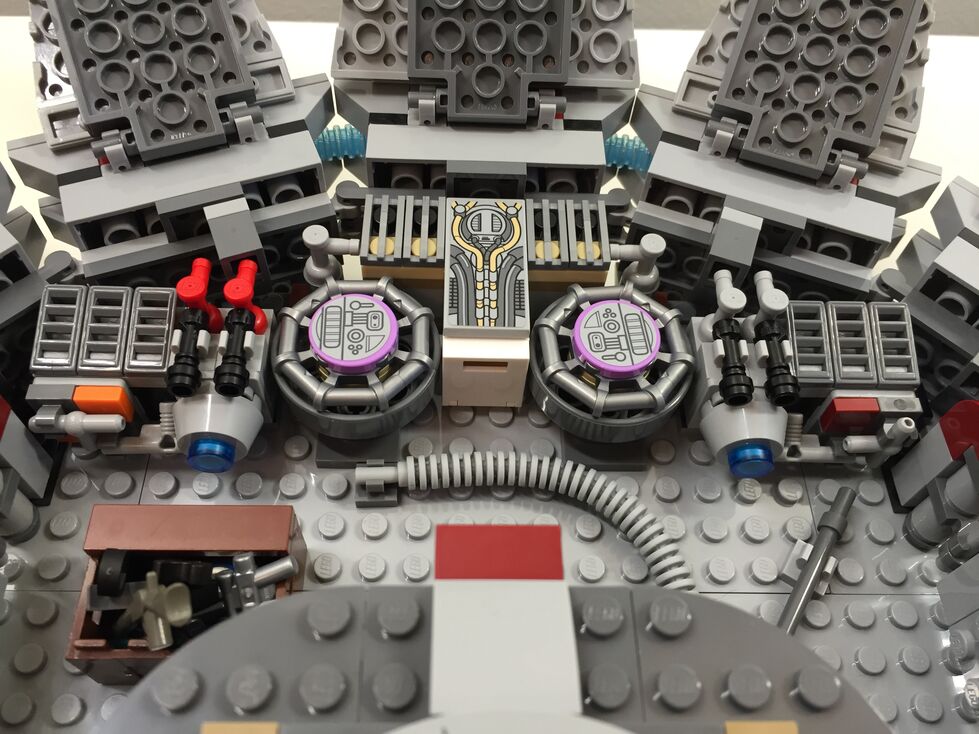
Interior Aft, After Customization
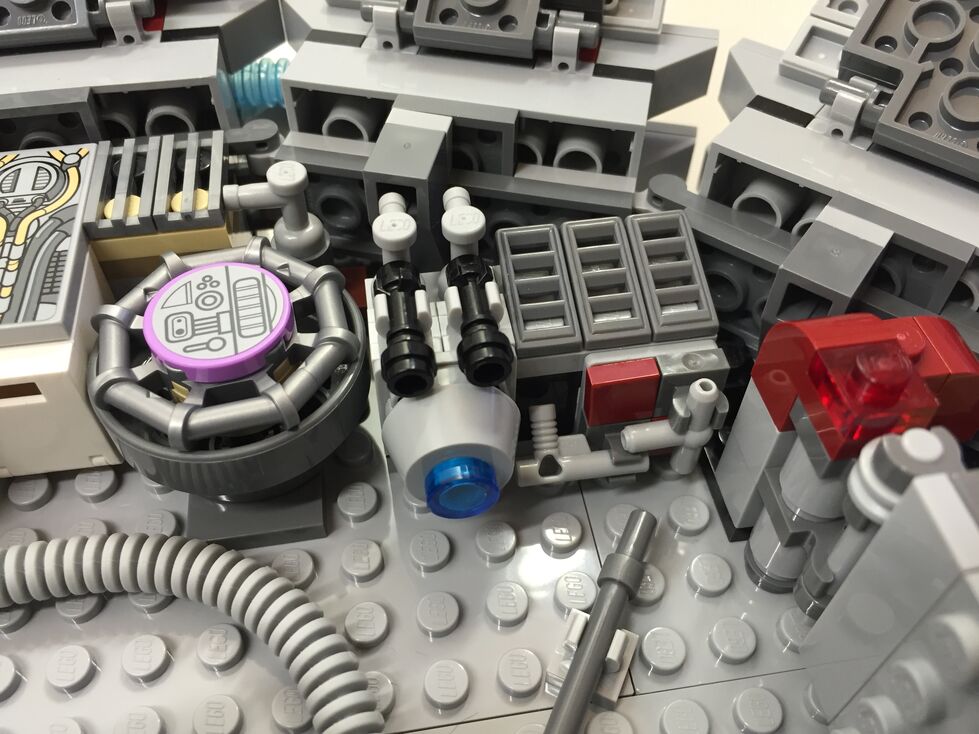
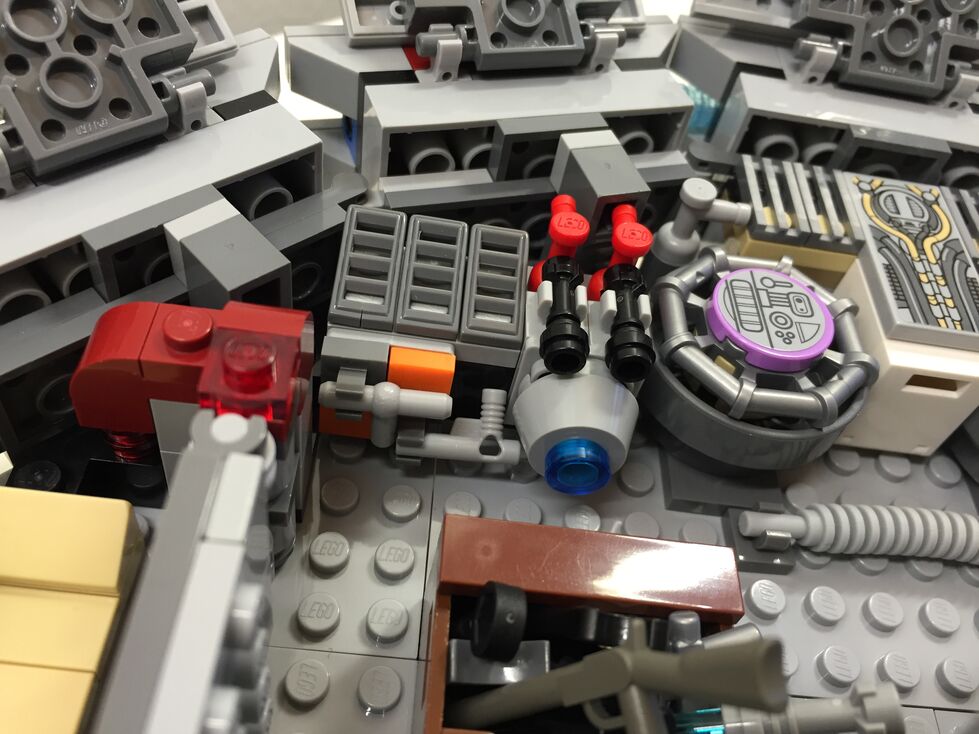
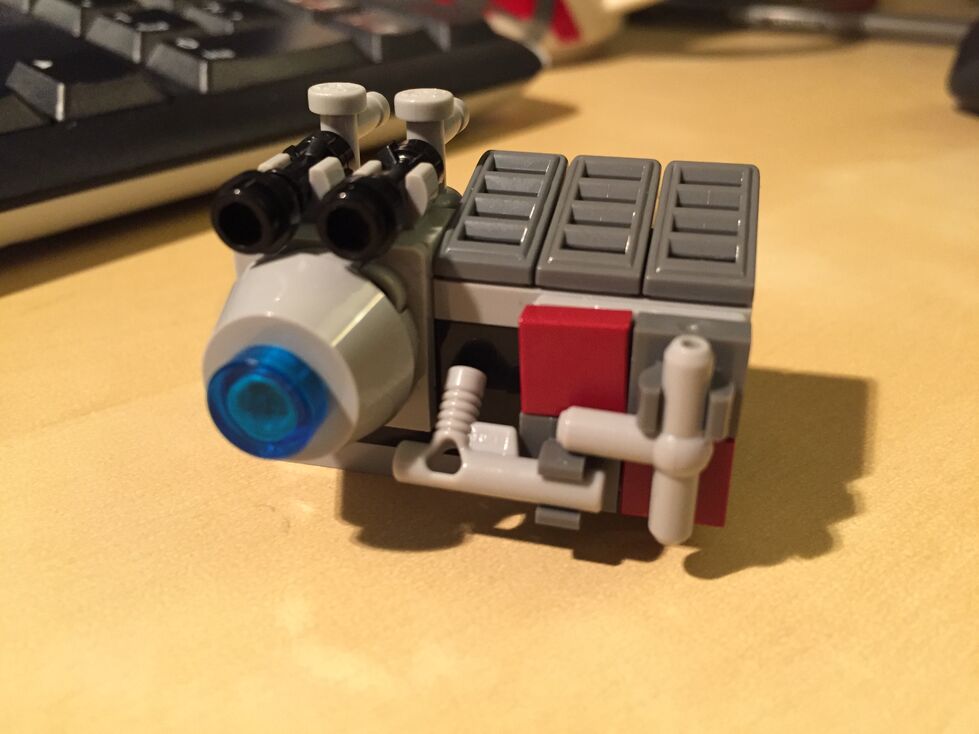
In the rear hold/engine compartment, I constructed two storage rooms/bunks with swinging doors (I would have preferred to have sliding doors but I don’t have the elements to do this while conserving the limited space available), and I designed additional mirrored engine modules that go on either end of the original engine included with the set, which I hope makes the engine look more substantial for a spacecraft capable of completing the Kessel Run in 14, er, 12 parsecs!
Conclusion
I hope to further customize the 75105 Millennium Falcon. As I acquire new bricks and elements, I would like to think about how to better integrate the engines into the design and aesthetic of the YT transport. Other goals include, integrate a mechanism for lowering and raising the boarding platform, similar to the 4504 set, design screen accurate landing gear that raise the Falcon by at least one plate higher while on display, and further integrate my customization into the model so that it attains a unity of design instead of a piecemeal added-on quality.
If you have customized the 75105 or other Millennium Falcon sets, please sound off in the comments. Thanks for stopping by!
My cousin Ryan Cox is a longtime practitioner of a variety of martial arts including kung fu and tai chi. Ryan and his two older brothers–Ian and Jarret–grew up learning, sparring, and developing uncanny skill in hand-to-hand combat and weapons sparring. While Ryan and his brothers have developed rhizomic networks to enhance their abilities and pass on what they have learned to others, Ryan has went the most far afield when he traveled to Wudang Mountain to train with the kung fu monks who reside there.
Photo courtesy of Ryan Cox.
When we were younger, I remember myself being the one drawn to the Star Wars mythos more than anyone else in my family, but now Ryan tells me that he was always interested in the Jedi, their mystique, and their lightsabers. In more recent years, he has learned a lot of the backstory of the Star Wars universe from books and video games. His knowledge in those realms far outstrips my own.
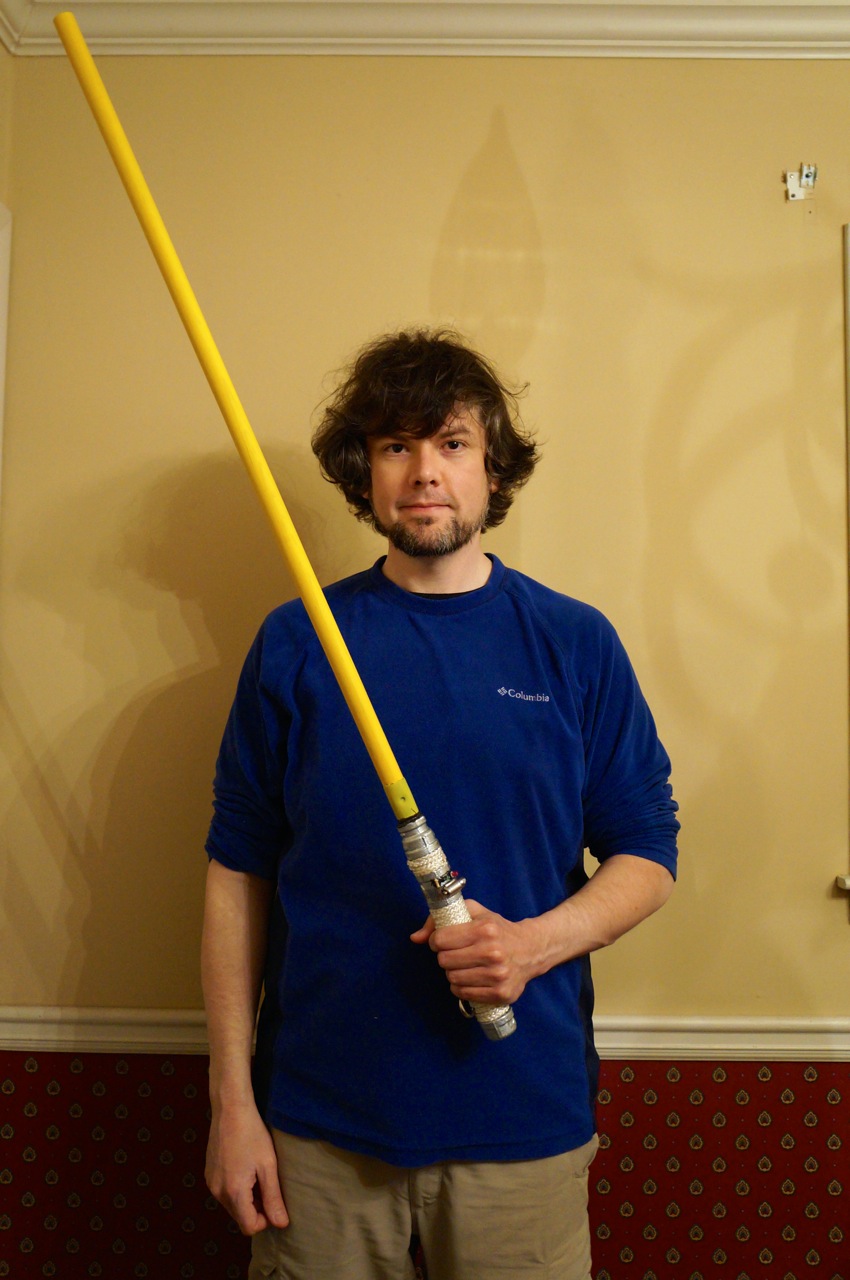
So, I was intrigued when he began talking with me about building his own lightsaber for demonstrating his swordmanship and possibly sparring if the “blade” were strong enough to withstand strikes. The guide that follows illustrates the first lightsaber that I built for Ryan in the fashion of General Rahm Kota’s. I used off-the-shelf parts easily obtained at Home Depot or any hardware store. Since I built this lightsaber, Ryan has modified it more, and I have built two lightsabers for myself–one that resembles Luke Skywalker’s Return of the Jedi lightsaber and one that resembles Darth Maul’s The Phantom Menace double bladed lightsaber. This guide focuses on Ryan’s “Mark I” lightsaber.
Pedagogically, I promote the idea that haptics, building, and making are integral parts to any kind of education. We are embodied beings who do things physically in the world–whether it be in real life or online. I enjoy building things in my own time as another way to think about things–in this case, Star Wars, science fiction, Jedi mythos, world building, canon vs. noncanon, and design considerations: rhetoric of technology, aesthetics, practicality, etc. In Ryan’s case, haptics, proprioception, and movement are integral to his learning and lived experience. I am looking forward to learning from him with this artifact that I designed and built. The modes are the same–physicality, materiality, and haptics–but our efforts converge from different directions for a kind of haptic, learning synergy.
I began the project by assembling the parts that I needed for creating the lightsaber’s hilt and belt clip. I carried an image of Rahm Kota’s lightsaber on my iPhone and went to the plumbing aisle of my local Home Depot.
These parts included:
6″ x 3/4″ galvanized steel pipe
3/4″ coupling
Two 3/4″ to 1/2″ coupling (one for display and one for sparring with permanently installed “blade”–these two couplings are interchangeable)
“Close” 3/4″ pipe (approximately 1 1/2″ long)
3/4″ cap
D-ring
Carabiner
Hose clamps
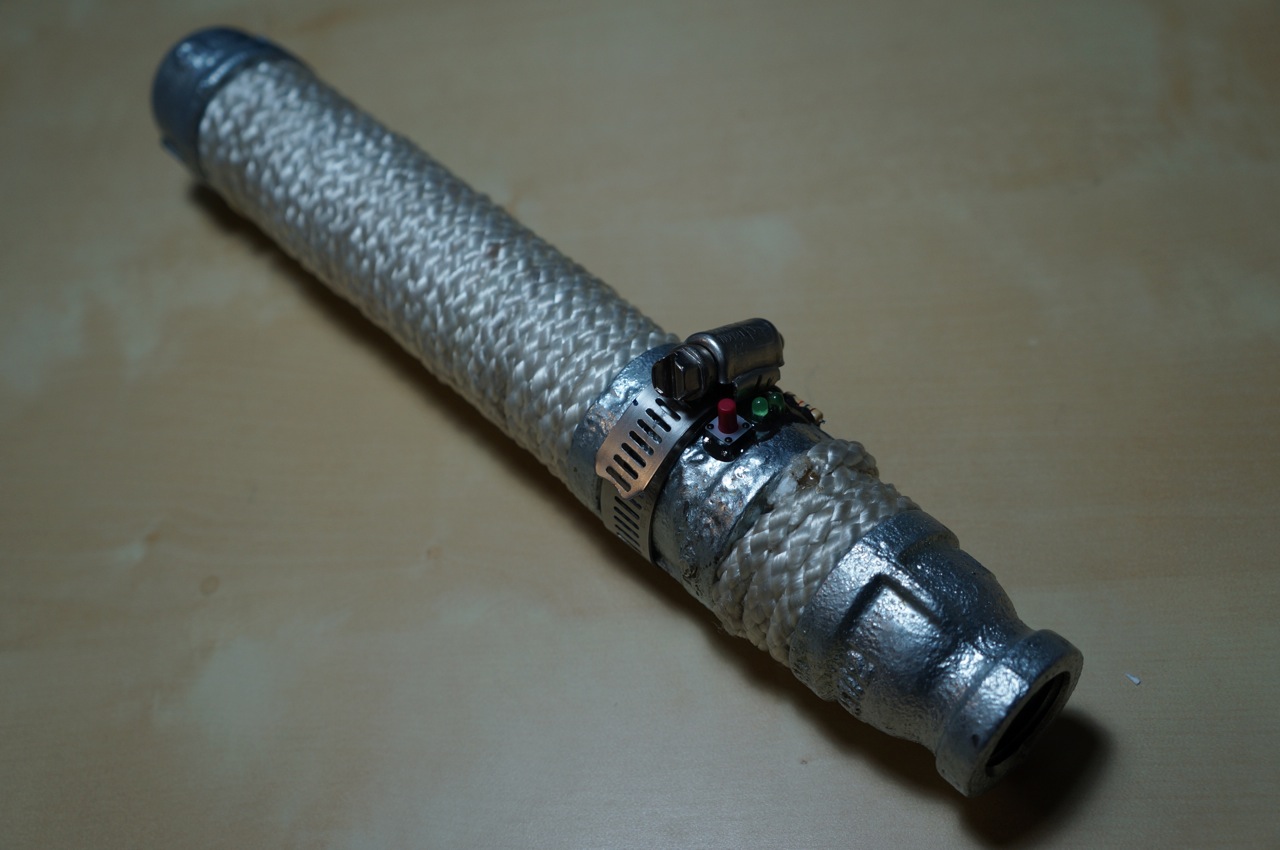
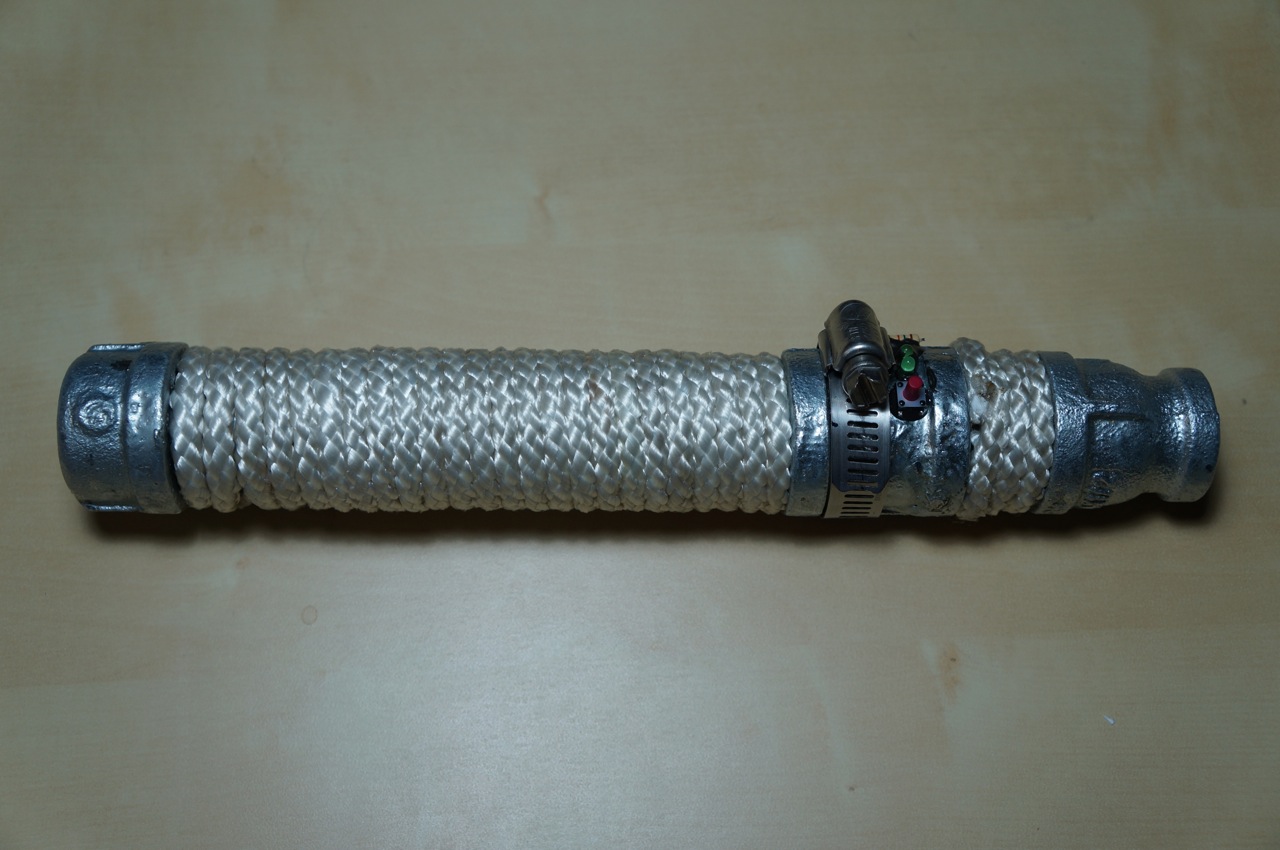
Roughly, these parts are assembled to create the lightsaber:
Other parts that I used for this build include:
1/4″ white nylon rope (grip wrap)
36″ x 1/2″ oak dowel rod (scrapped due to paint problem)
48″ x 1/2″ paint brush rod (cut to 36″ and replaced the oak dowel rod)
Doorbell button assembly (for parts)
80mm computer case fan (for electromagnet assembly)
JB Weld
Rustoleum Florescent Yellow Paint
To create the lightsaber’s handle, I screwed all of the handle components together except for the 3/4″ to 1/2″ coupling like this: 3/4″ cap | 6″ x 3/4″ pipe | 3/4″ to 3/4″ coupling | 3/4″ close pipe.
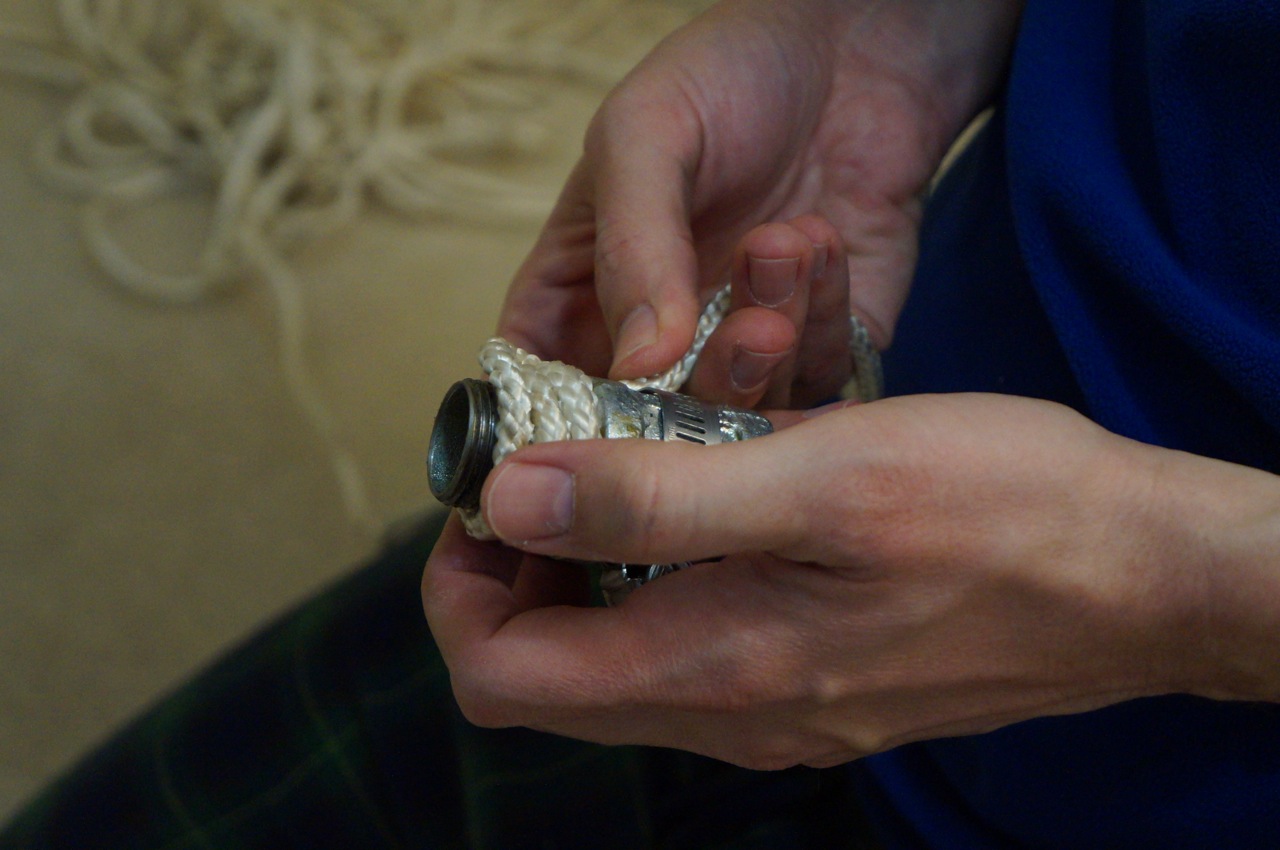
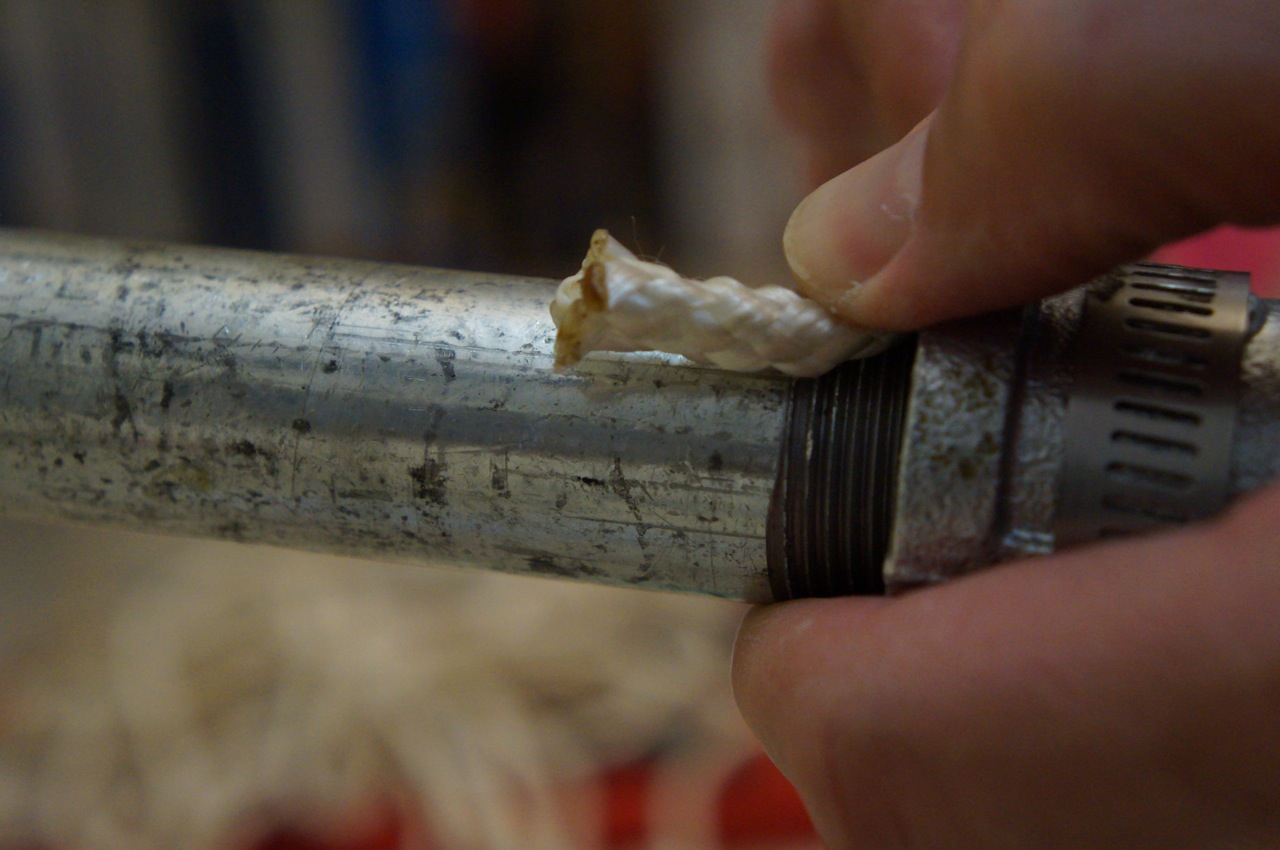
Then, I prepared the nylon rope to create the grip on the two pipe sections (6″ pipe and close pipe) by burning frayed ends to melt the nylon.
Beginning at the business-end of the lightsaber, I tucked a small piece of rope under the first wrap against the 3/4″ coupling to hold the rope in place and prevent unraveling.
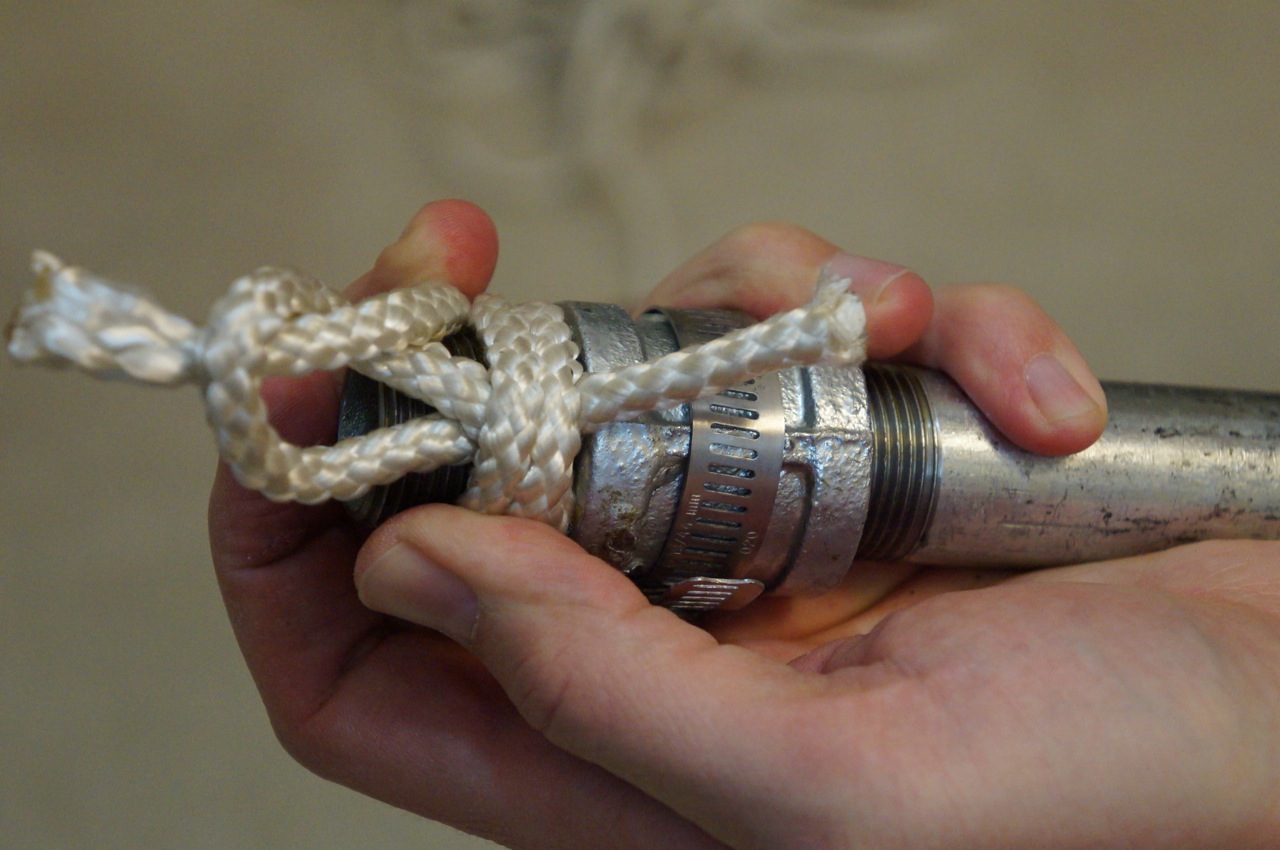
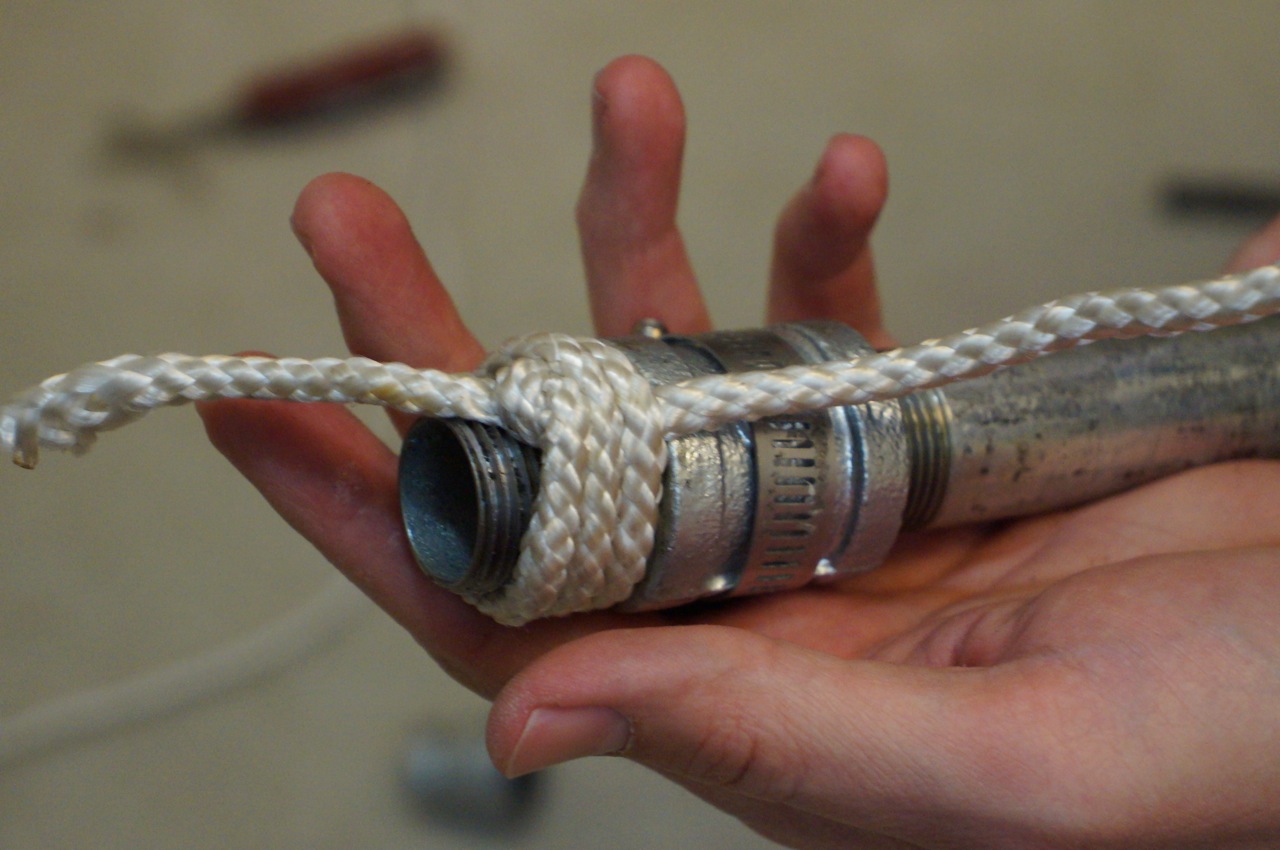
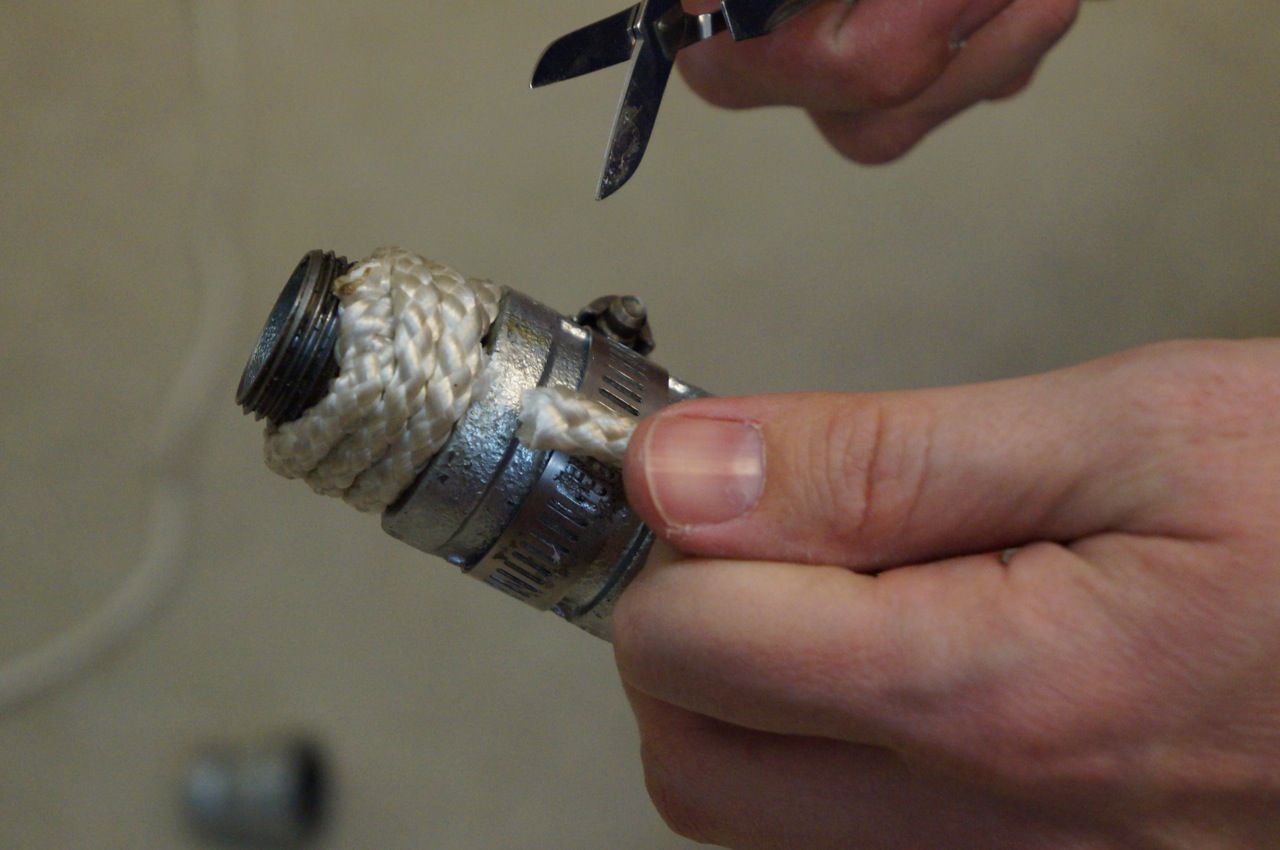
At the top end, close to where the 3/4″ to 1/2″ coupling (or lightsaber emitter/business end), I created a loop with the rope under the last wrap, which I ran the last wrap through and pulled into the wrap, which hid the end of the rope under the wrap.
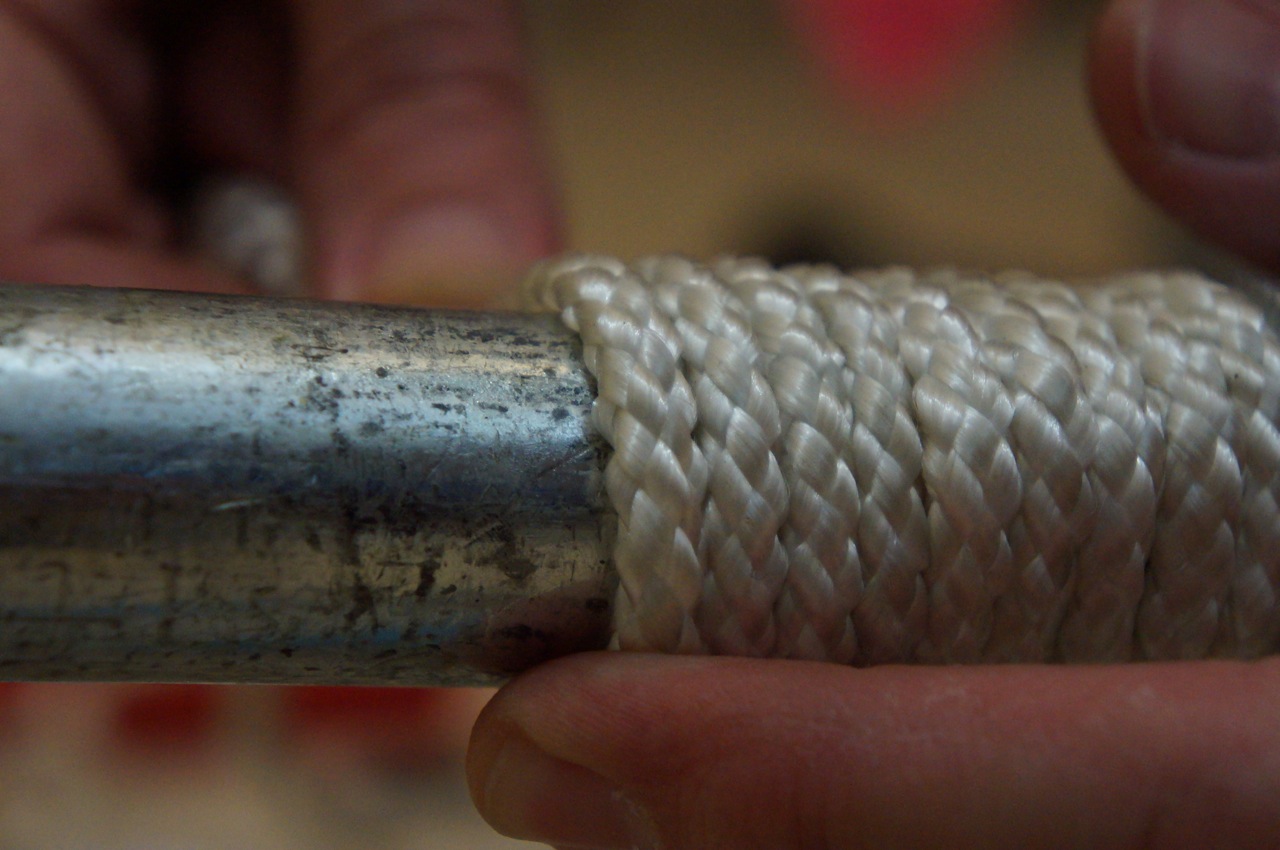
I cut the loose ends. Beginning on the other side of the 3/4″ coupling, I repeated these steps with the longer wrap of the 6″ pipe section. First, a small piece under the first wrap.
I pulled the rope tight around the pipe and pushed each wrap down to keep the grip as tight as possible.
Mose tried to help with the process as much as possible.
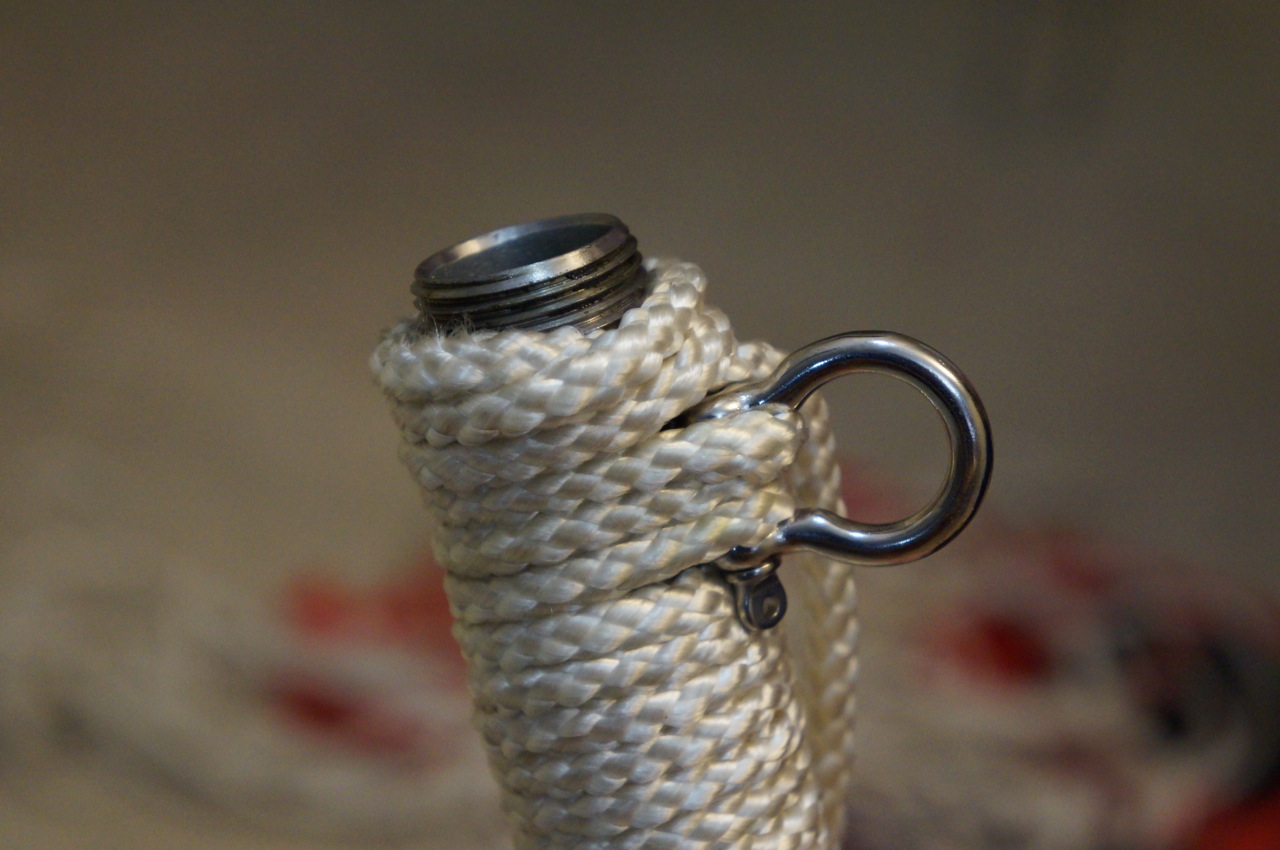
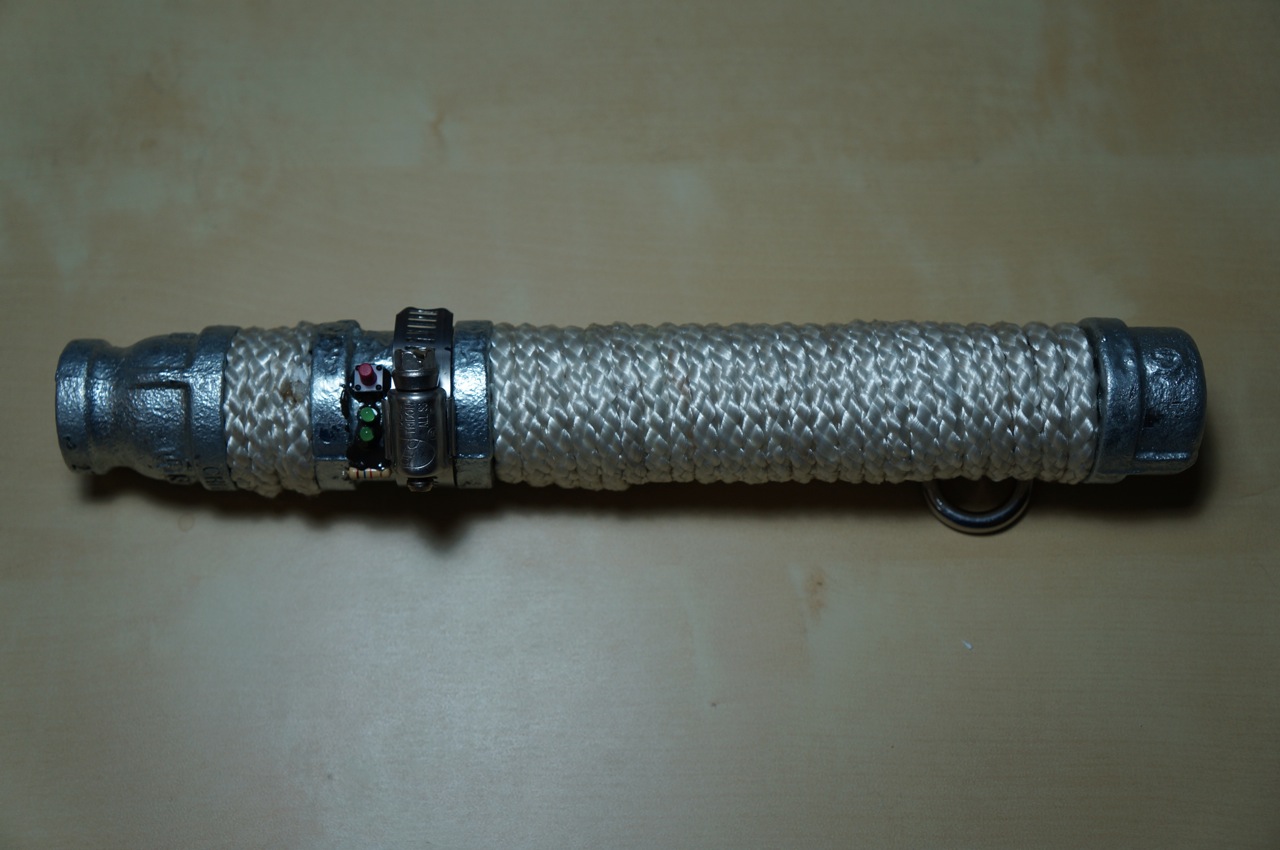
At the end of the 6″ long pipe, close to where the end cap goes, I placed the D-Ring and ran the rope through its eye to connect it to the handle.
As in the shorter section wrap, I created a loop and pulled the end of the rope through and under the last lines of wrap to hide the end and prevent the grip from unraveling.
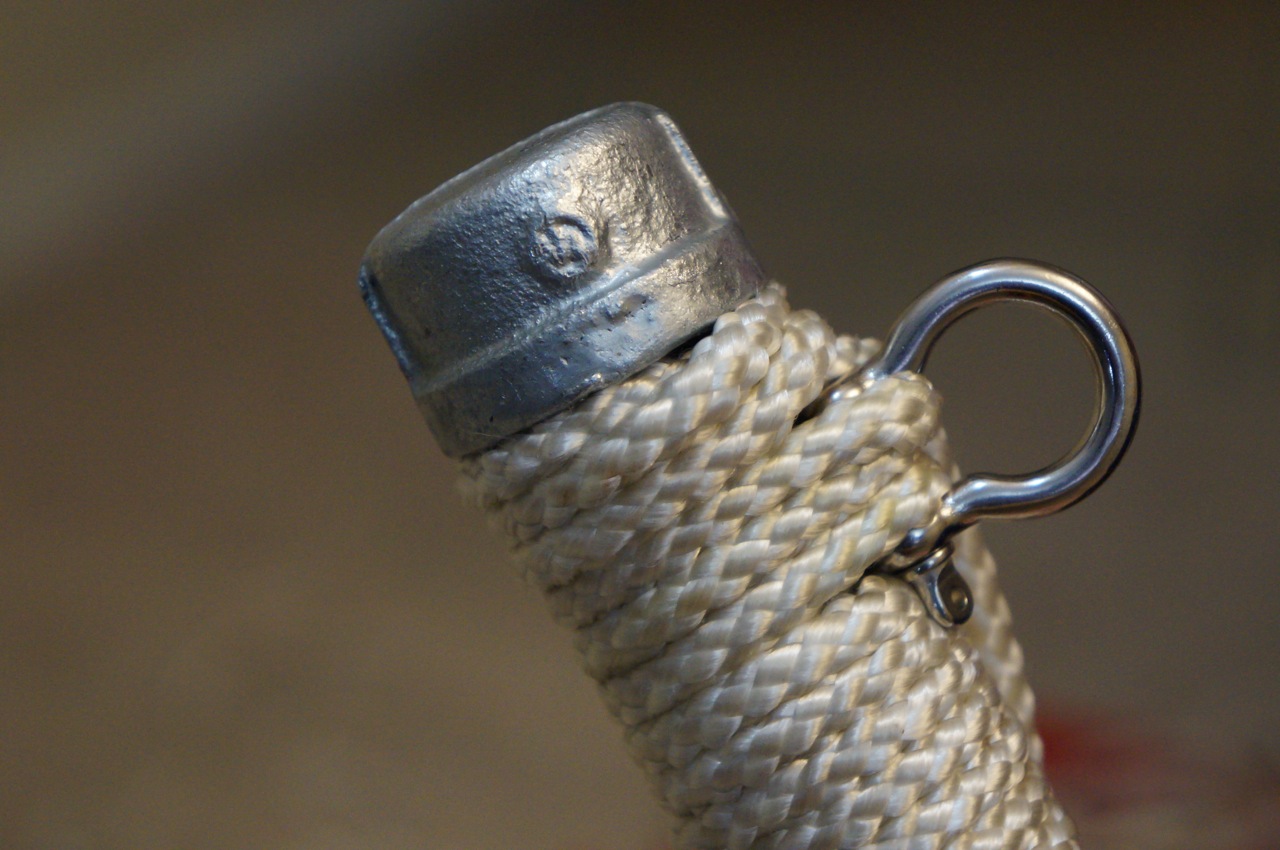
Finally, I installed the cap. Before doing this, I wrapped the grip higher than necessary so that the the cap would compress the wrap when tightly screwed onto the 6″ pipe.
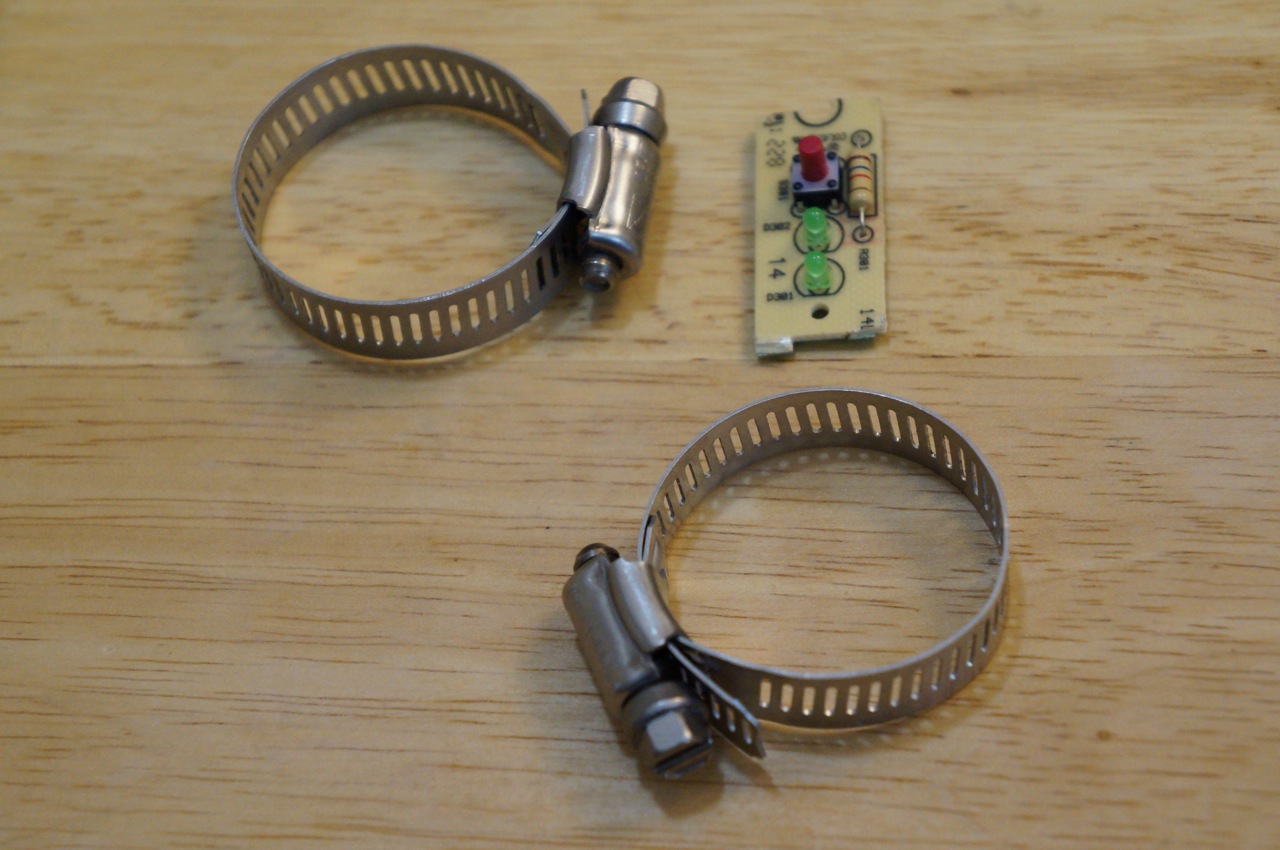
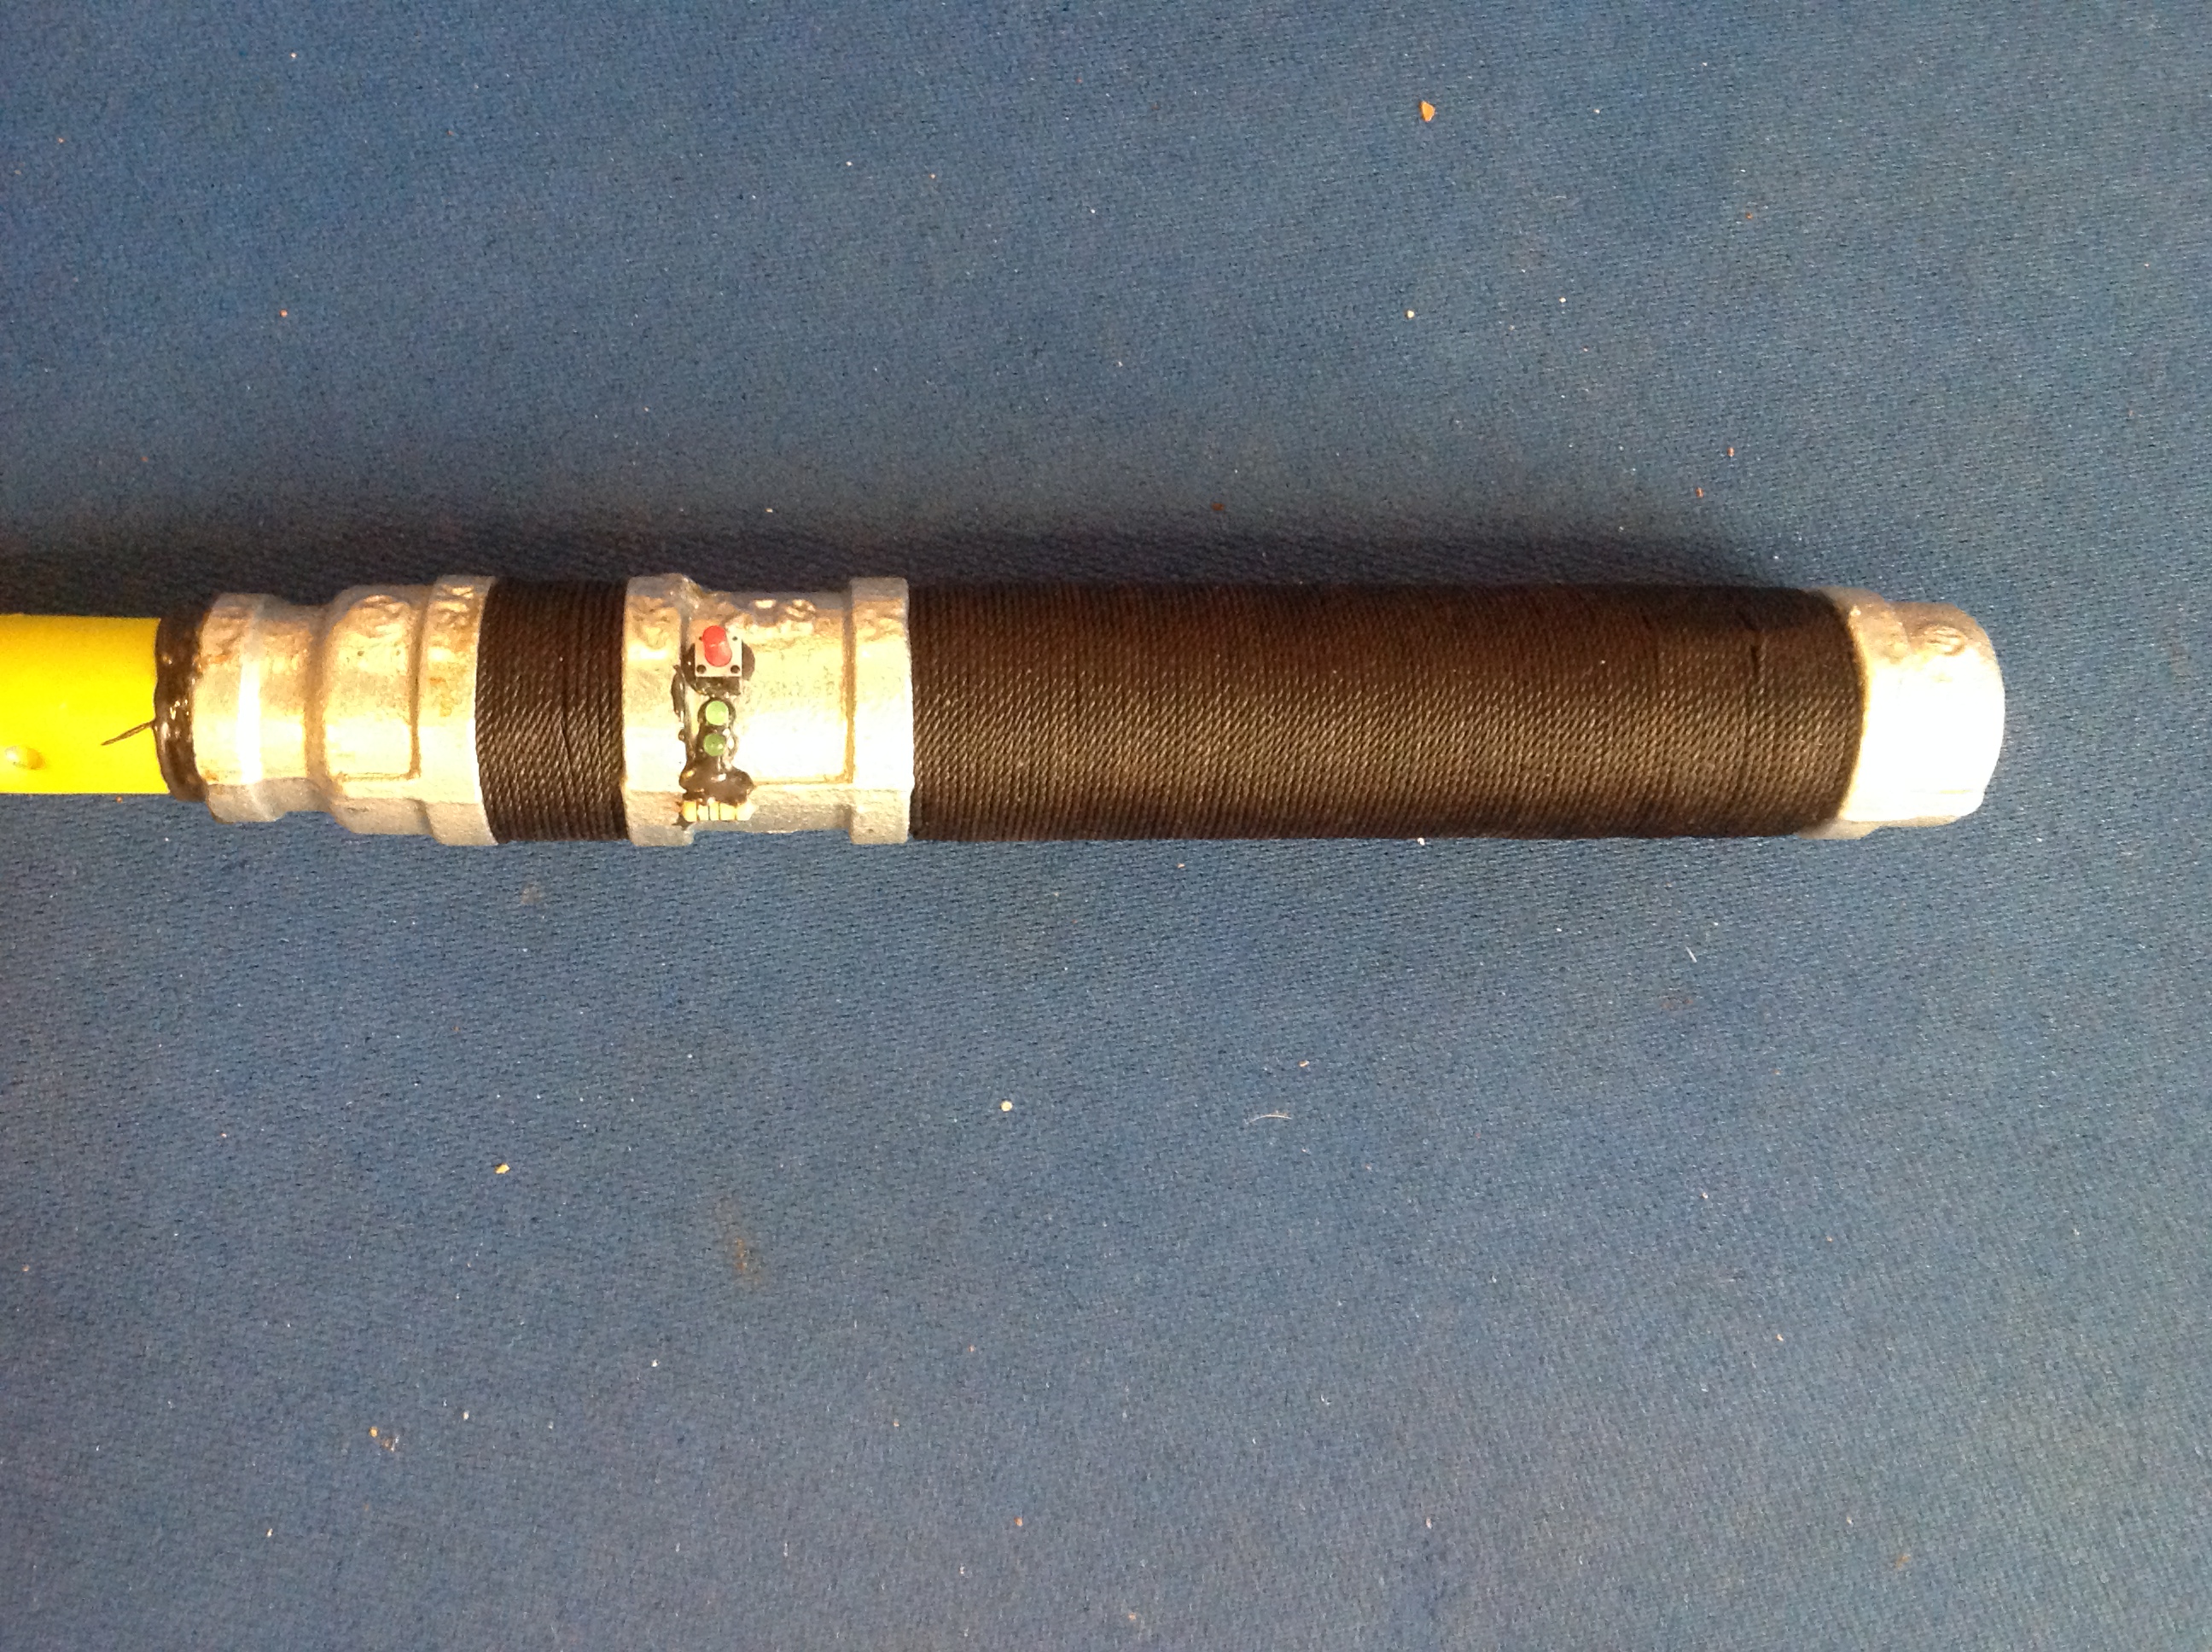
Since Ryan would likely bang his lightsaber when sparring, I wanted to make it as practical as possible while giving it a technological appearance. First, I tried attaching a circuit board from an average doorbell button with two hose clamps.
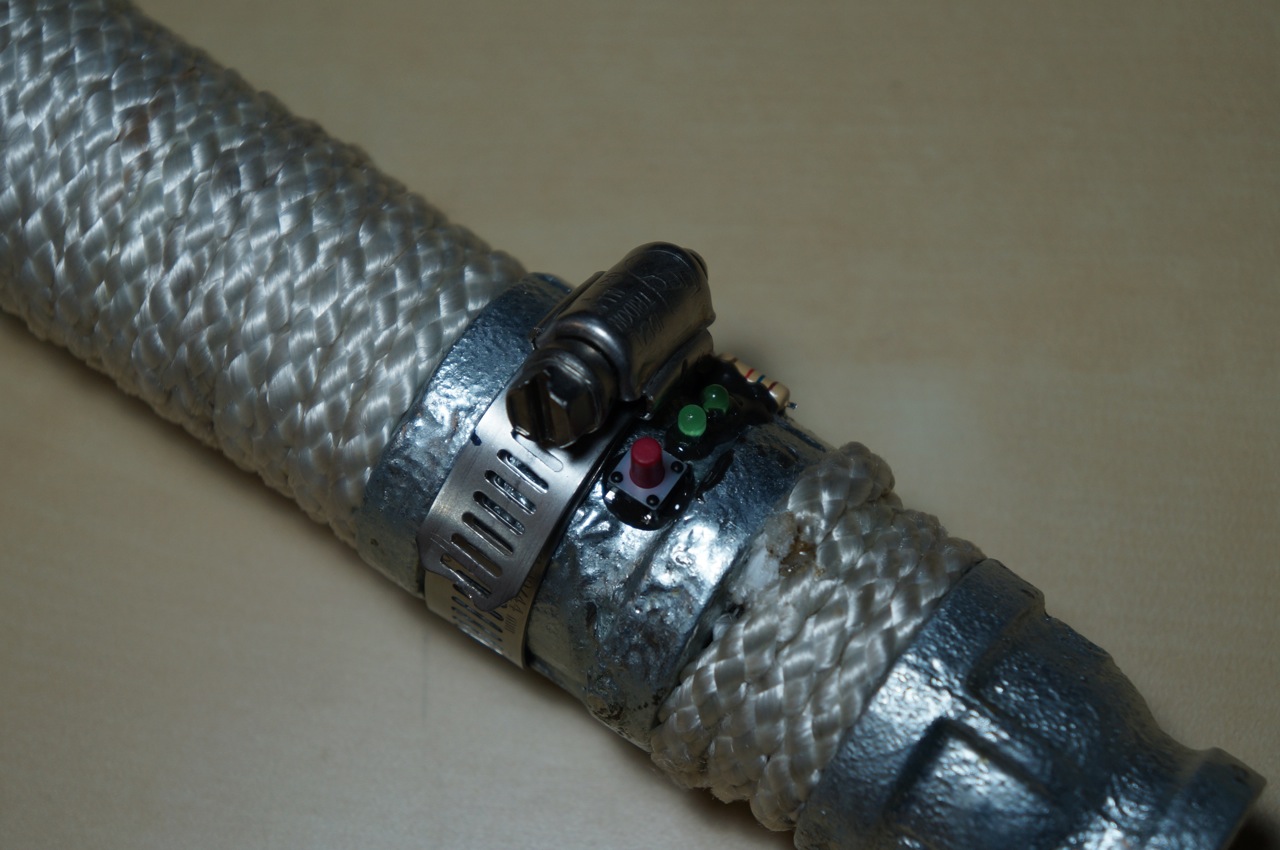
While I thought this fit the rugged look that Ryan might like for his lightsaber, I thought that it would be more practical to use only one hose clamp and affix the doorbell components with JB Weld after removing them from the circuit board.
I liked this configuration best. The hose clamp protects the switch, lights (non-functional), and resistor.
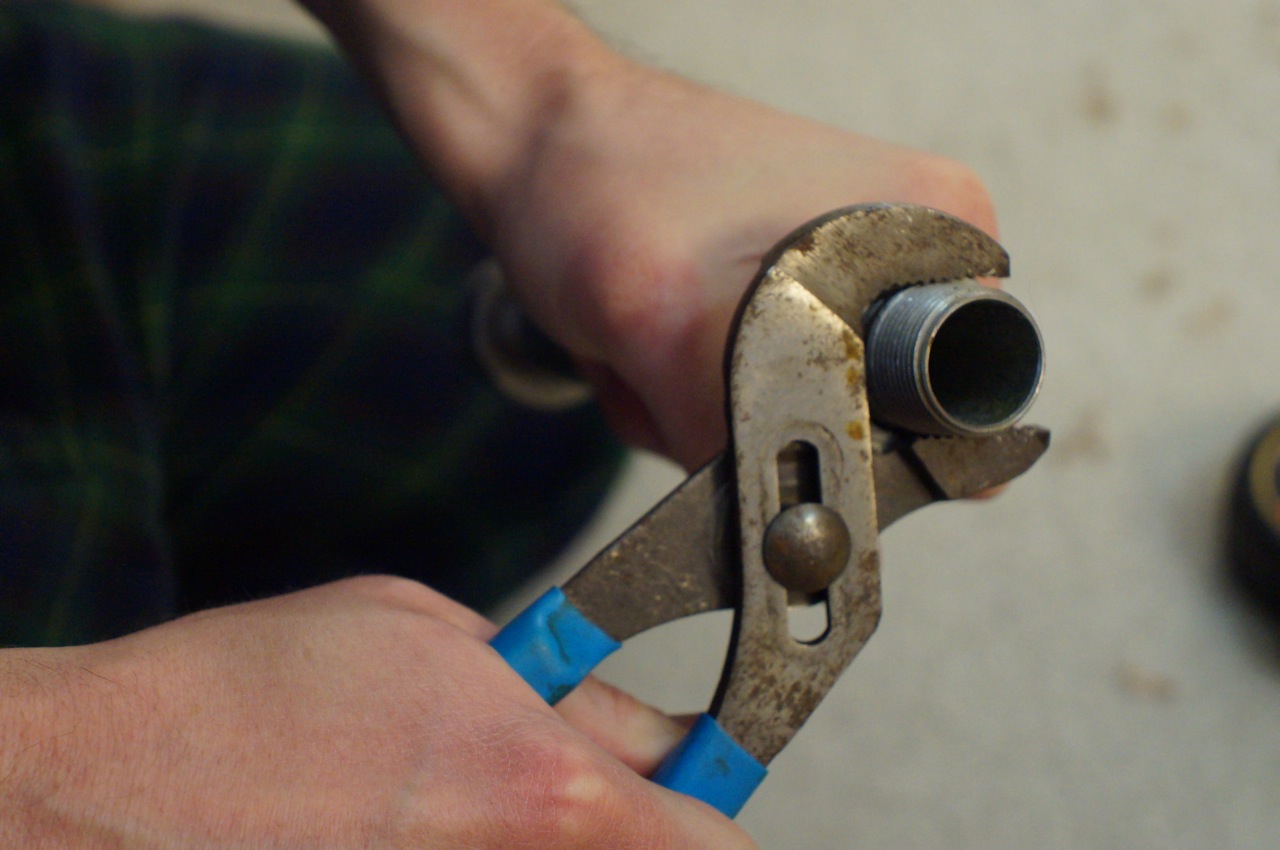
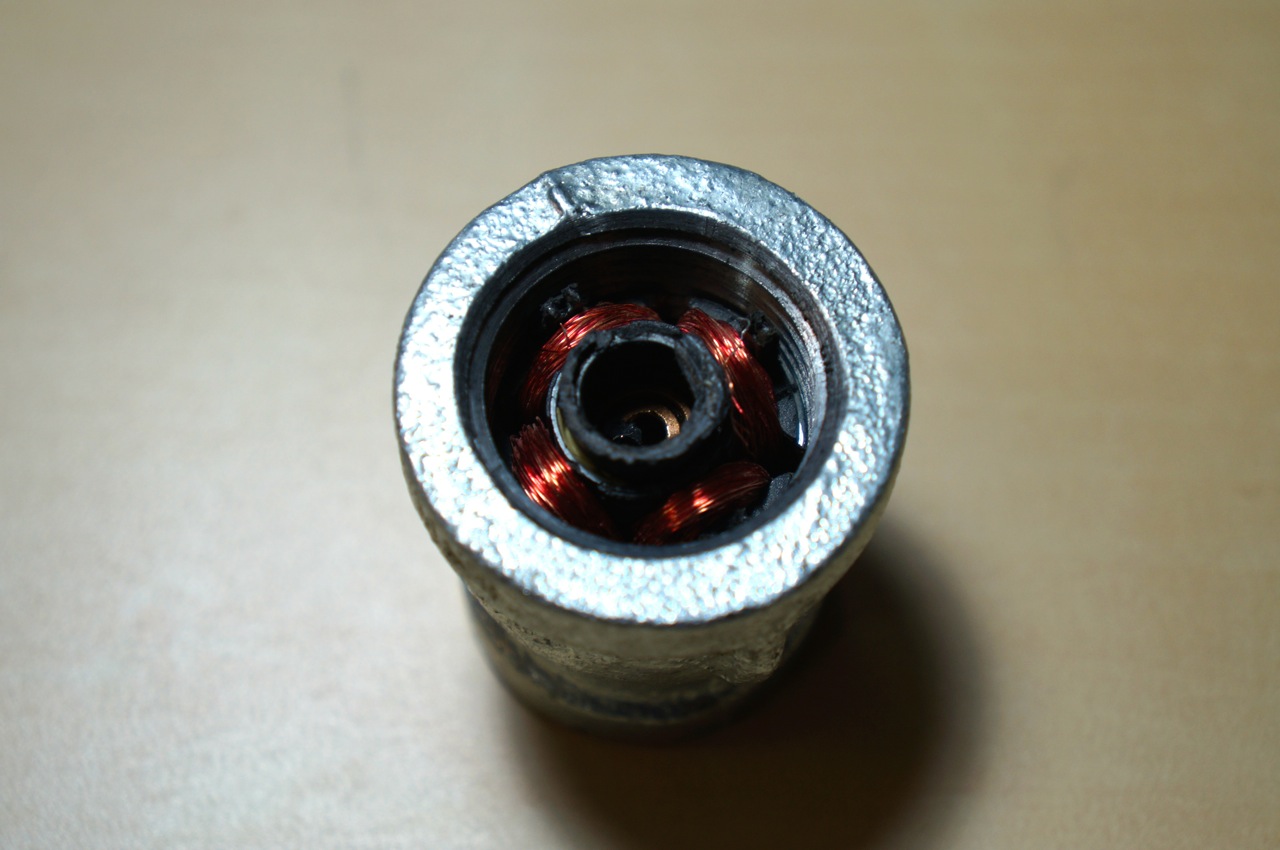
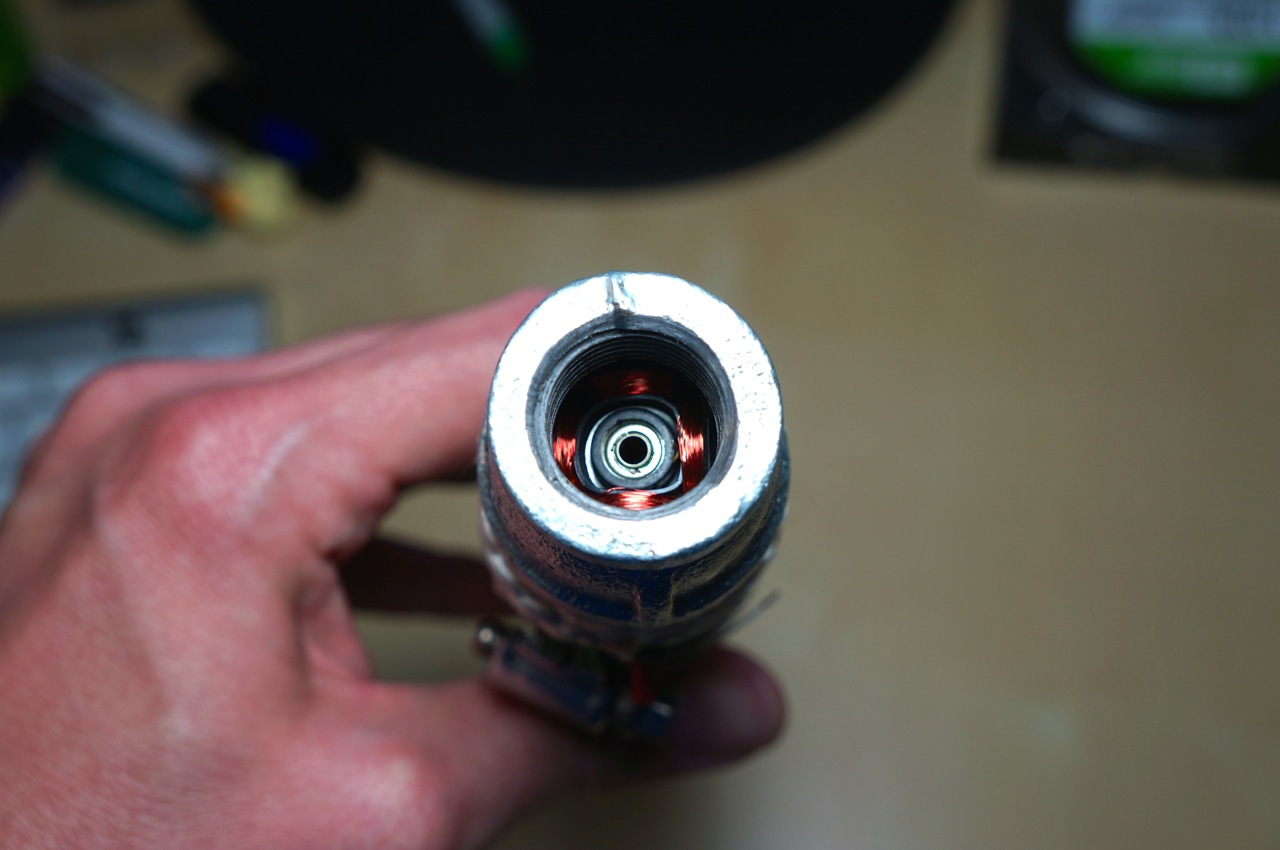
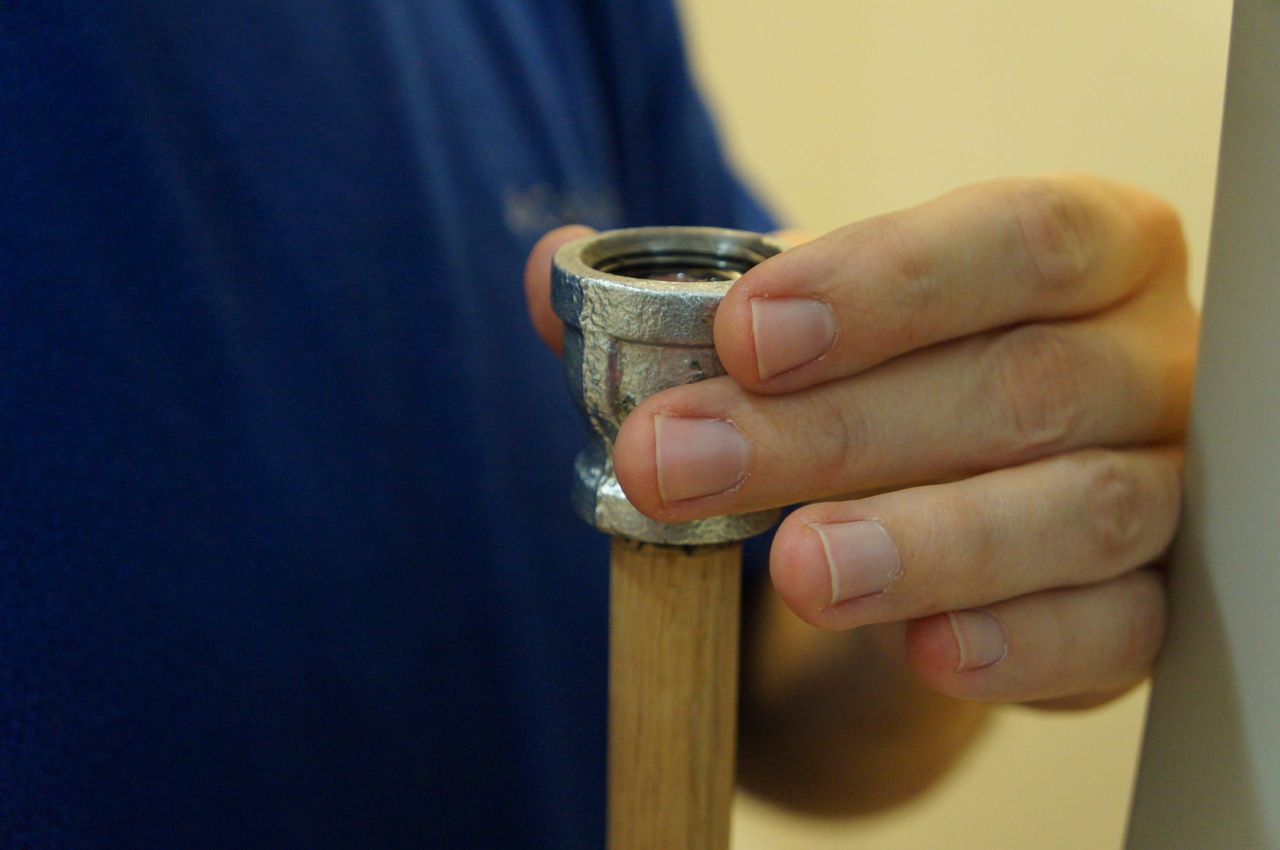
Next, I wanted the display emitter on the deactivated lightsaber (3/4″ to 1/2″ coupling) to look “realistic,” so I pulled the electromagnet from an 80″ computer fan, crushed it with my channelocks, and inserted it into the 3/4″ end of the 3/4″ to 1/2″ coupling. Repurposing the electromagnet draws on a visual/physical rhetoric of technology in the same way that movie props and set design use this for world building, extrapolating, and establishing plausibility.
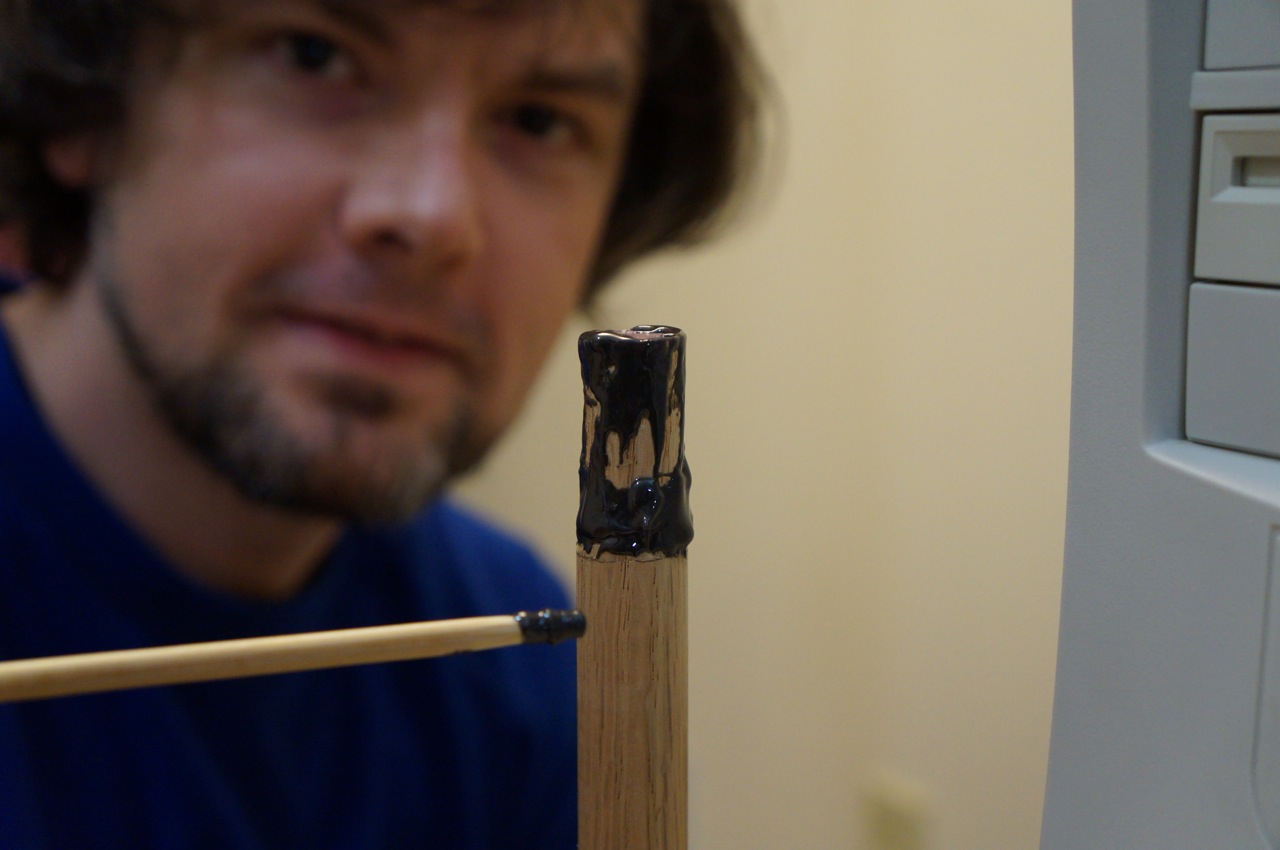
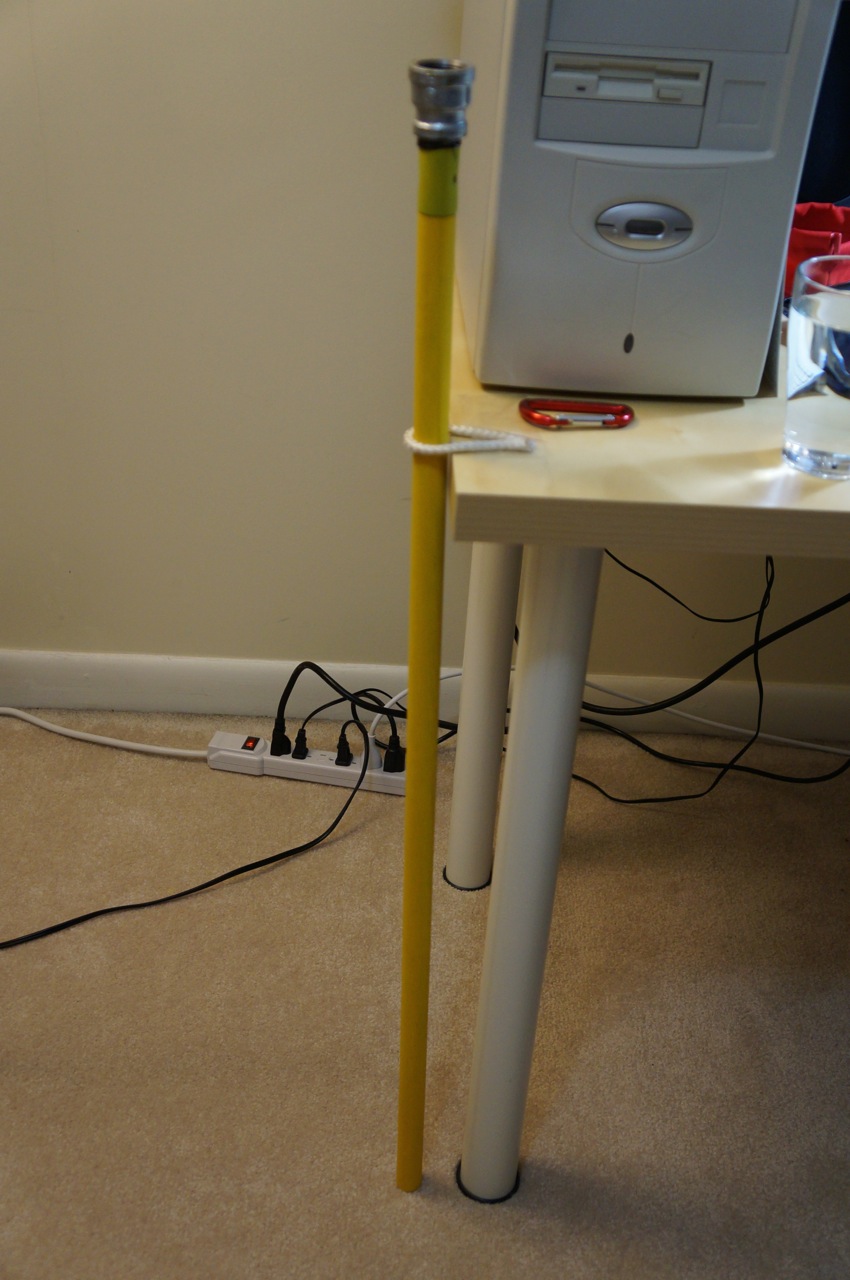
The next phase of the lightsaber build involved the other sparring emitter. I needed to rigidly attach a wooden blade to the second 3/4″ to 1/2″ coupling in the 1/2″ end of the coupling and paint it to match the yellow blade color that Ryan sought (signifying the Consular Jedi).
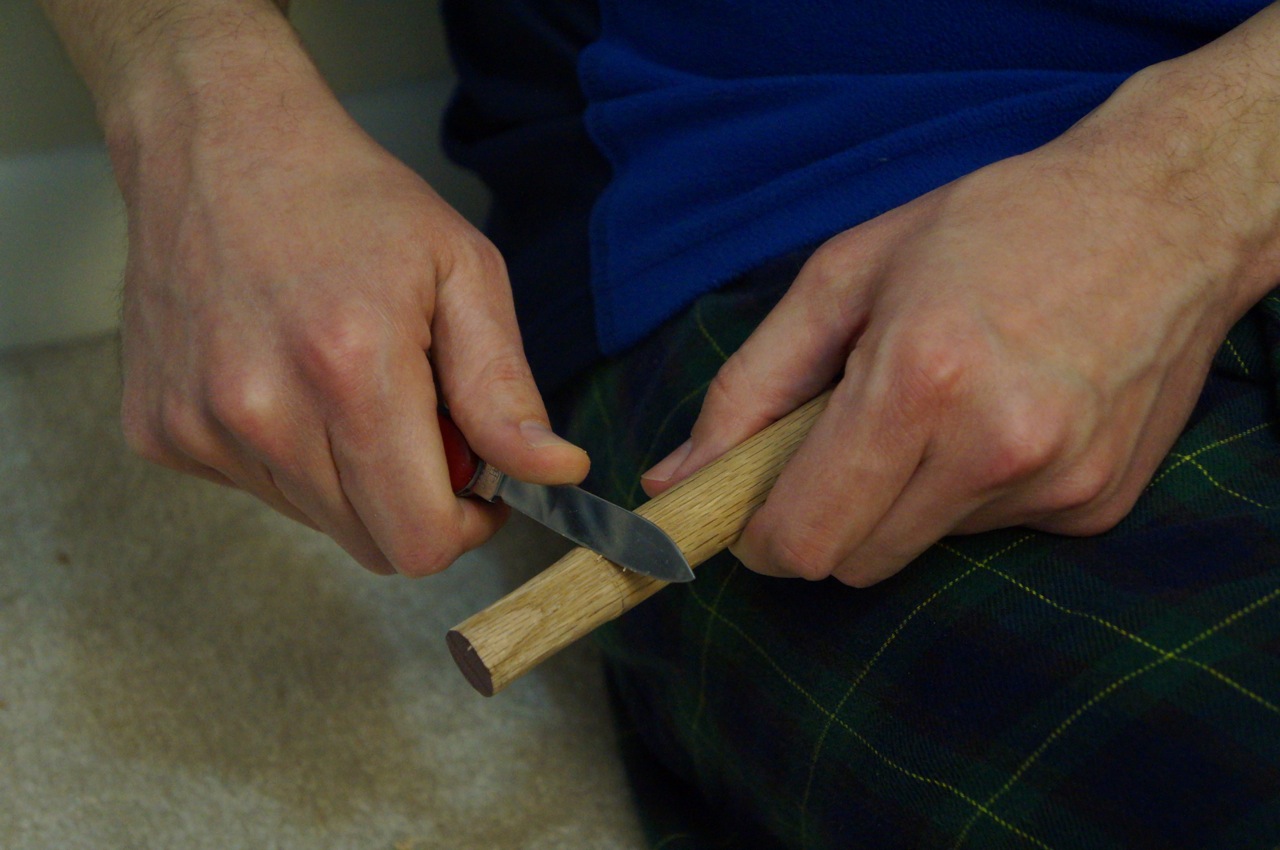
I began by taking an oak dowel rod and whittling one end enough to screw it into the 1/2″ end of the 3/4″ to 1/2″ coupling.
Then, I used JB Weld to permanently connect the coupling to the dowel rod.
I had to make sure that I did not put too much JB Weld on the tip closest to the 3/4″ pipe thread, which screw into the “close” end of the lightsaber when the blade needs to be drawn.
I made sure that it was centered and straight.
Finally, I painted the dowel rod above the coupling with a primer and then with the florescent yellow.
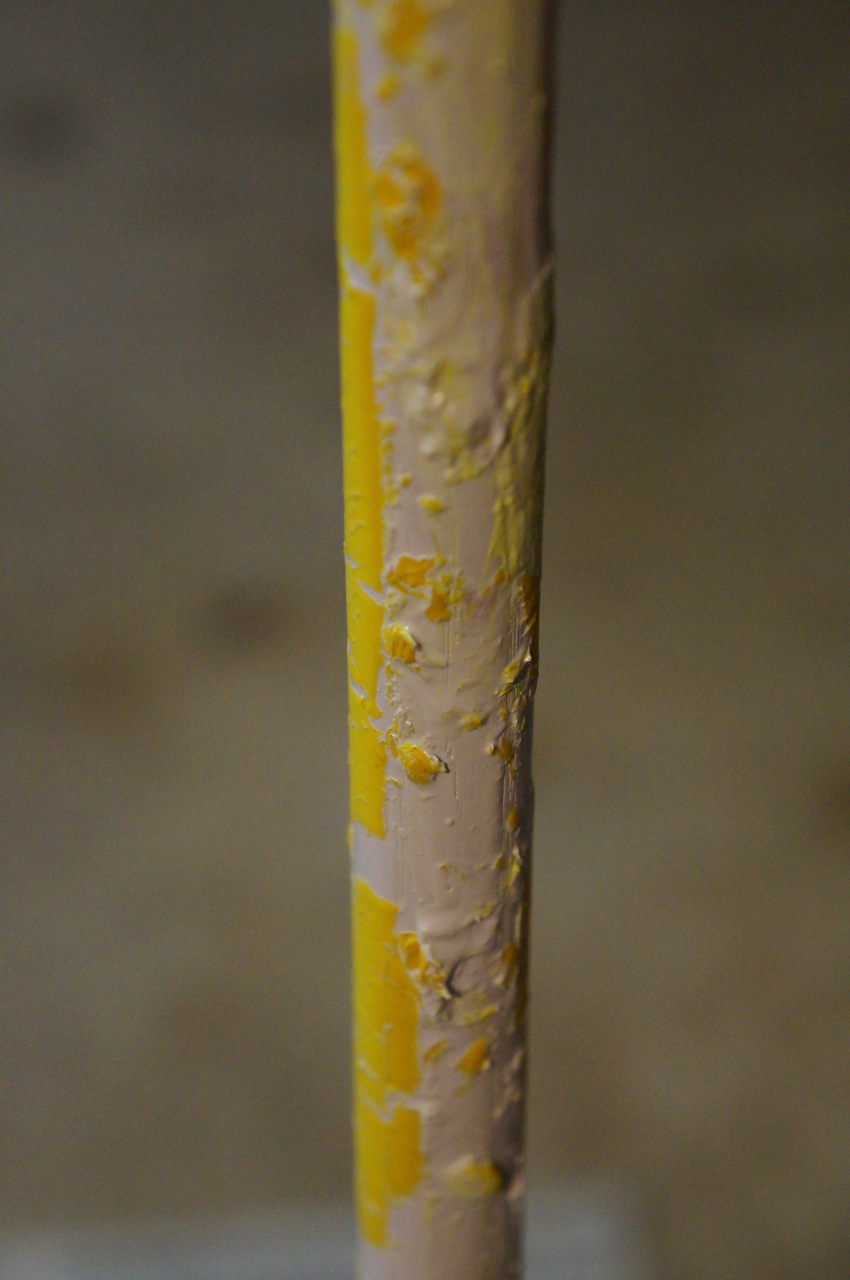
Unfortunately, I misread the spray paint cans and ended up with a mess when the florescent yellow would not stick to the dried primer (I mistakenly picked up white primer + paint instead of simply primer).
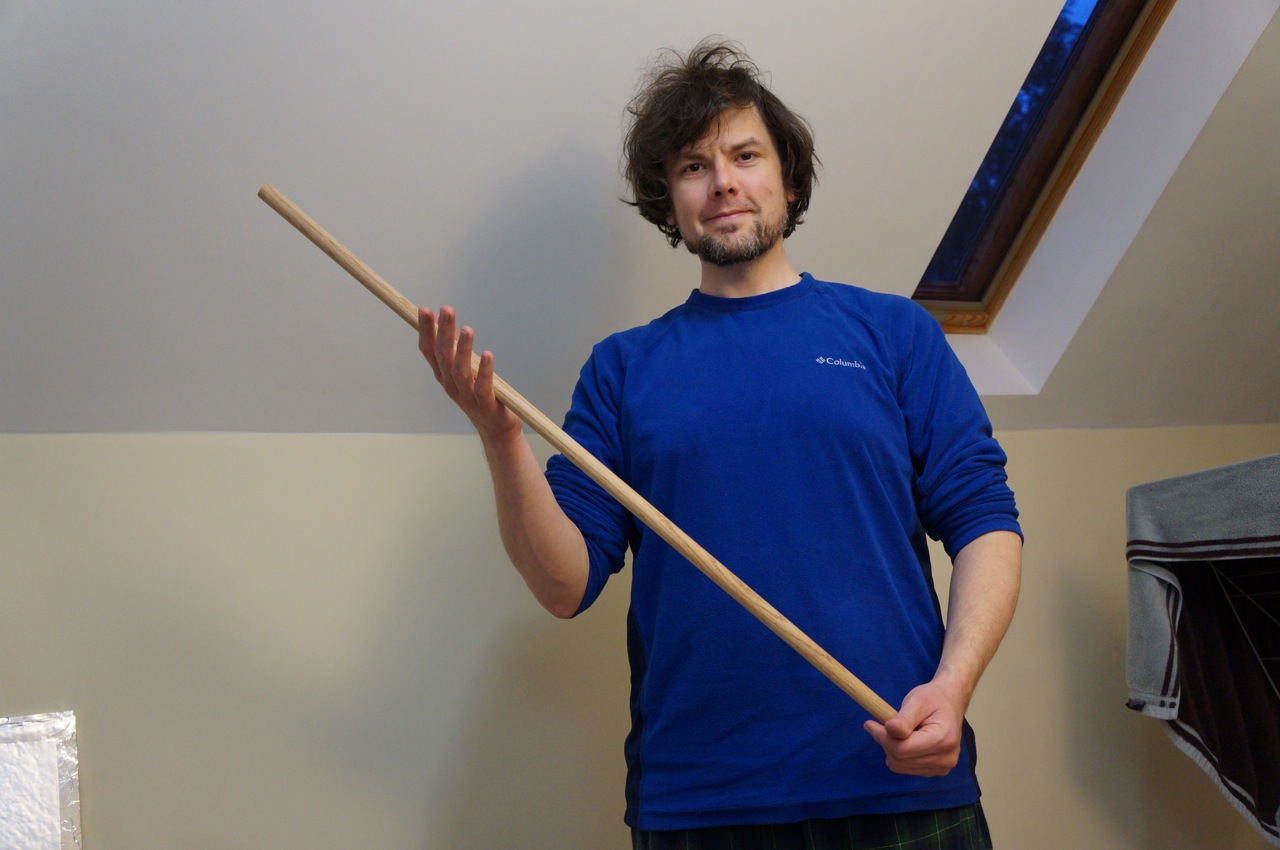
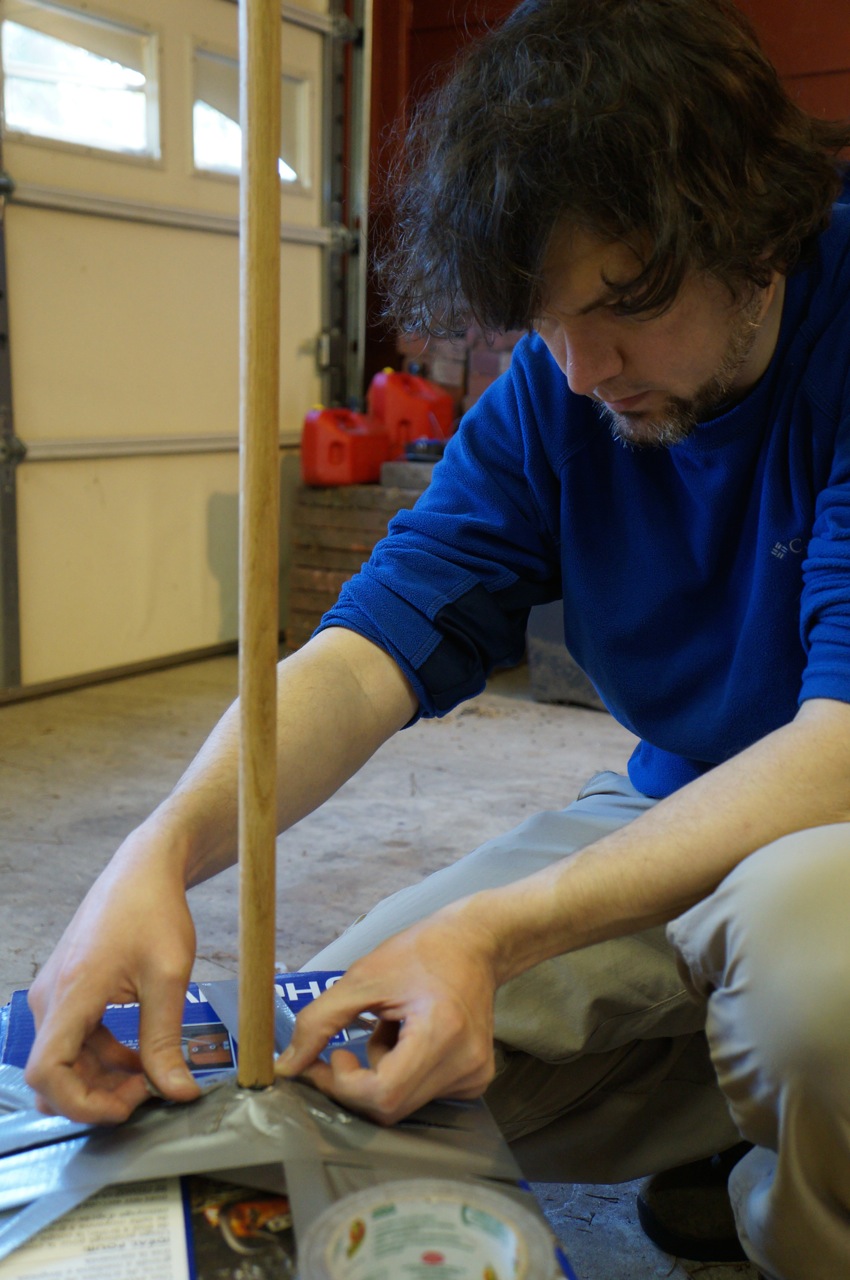
Luckily, I had a paint brush handle in the garage that was long enough to serve the same purpose even if it might be made out of pine instead of oak.
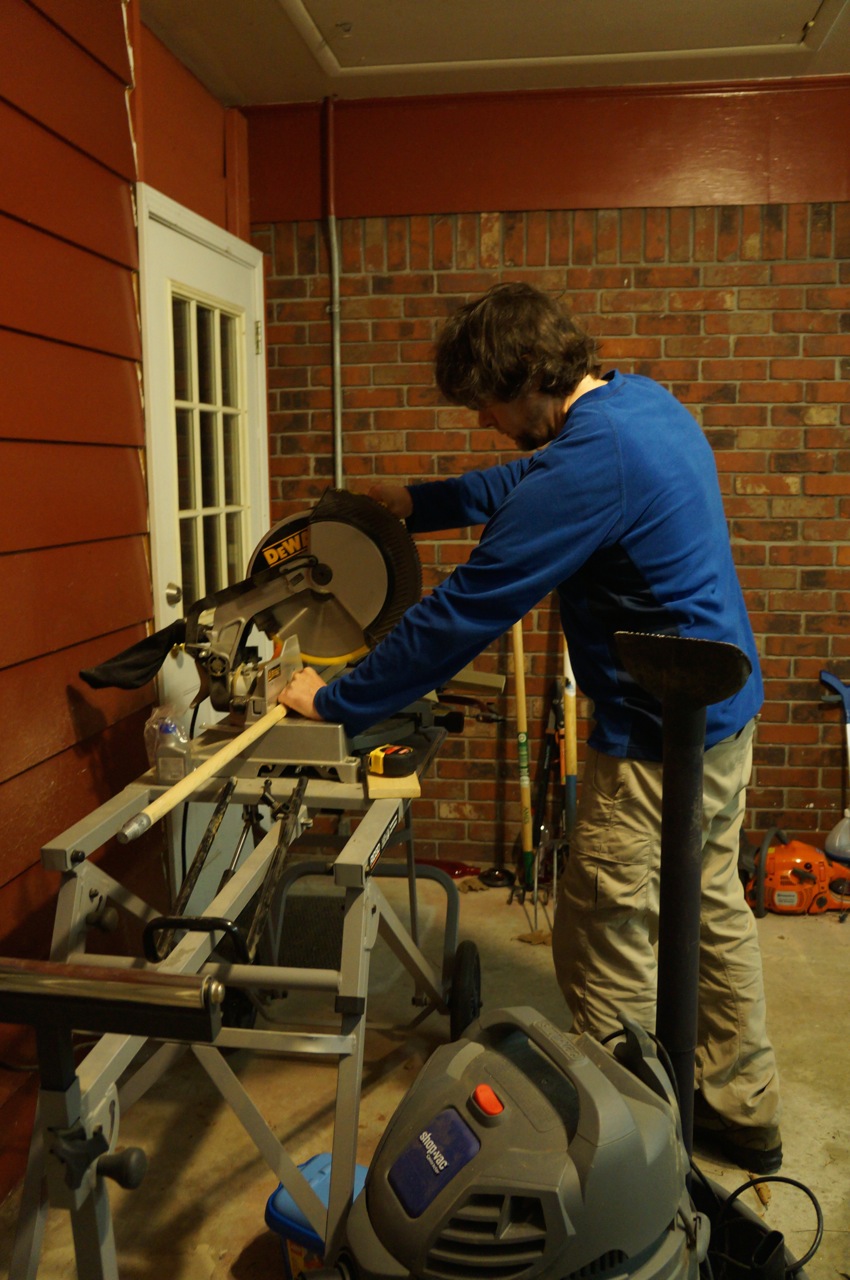
I cut the paint brush handle down to 36″.
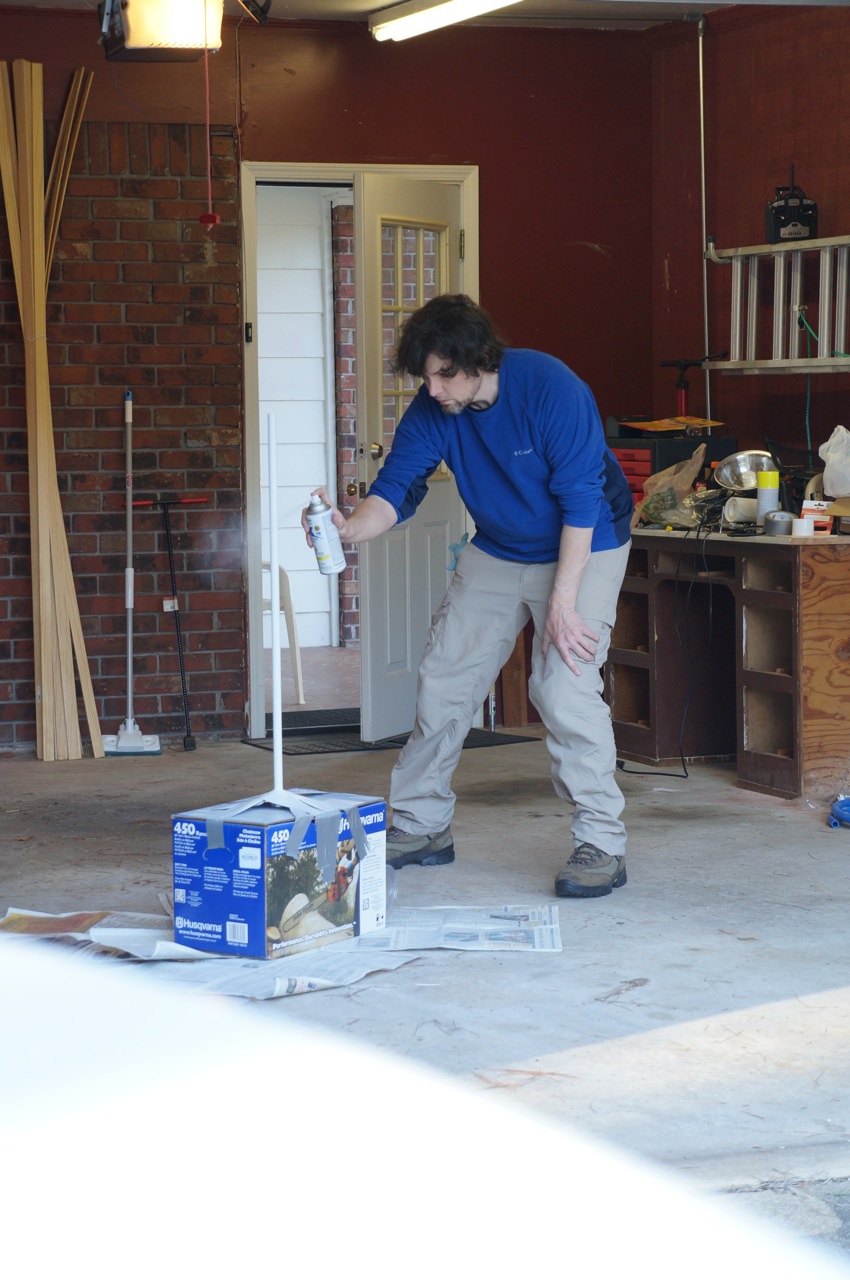
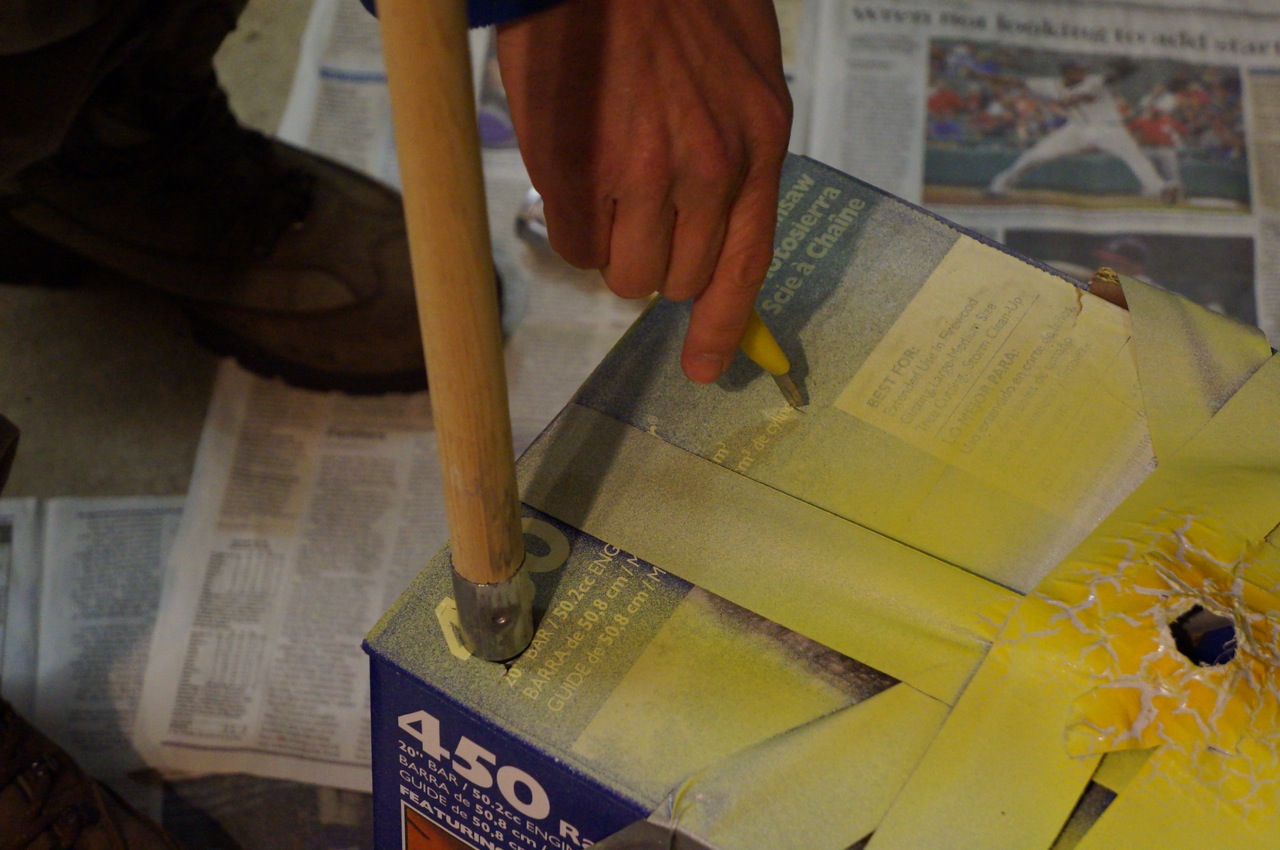
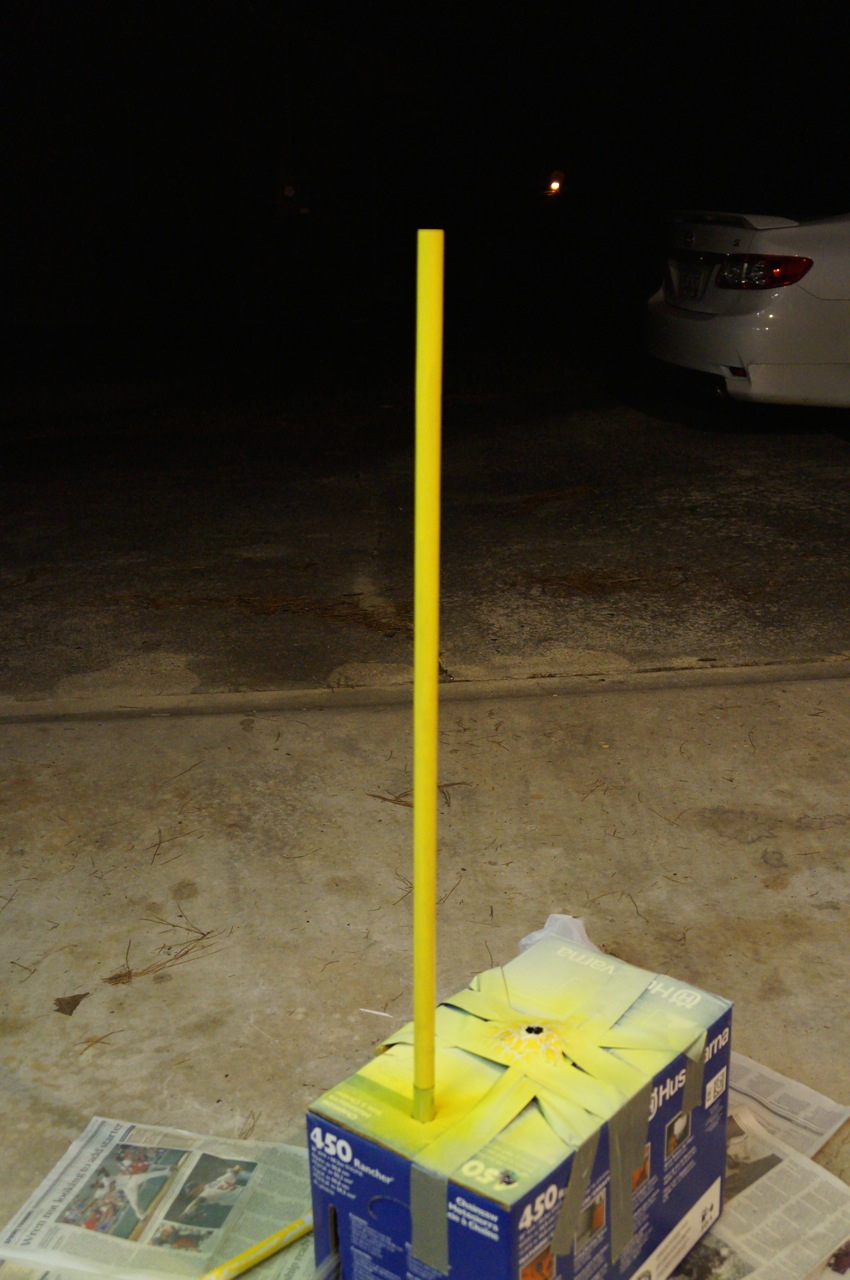
Set it up for painting with the remaining florescent yellow paint.
Many coats later, it was a bright yellow befitting a Consular Jedi!
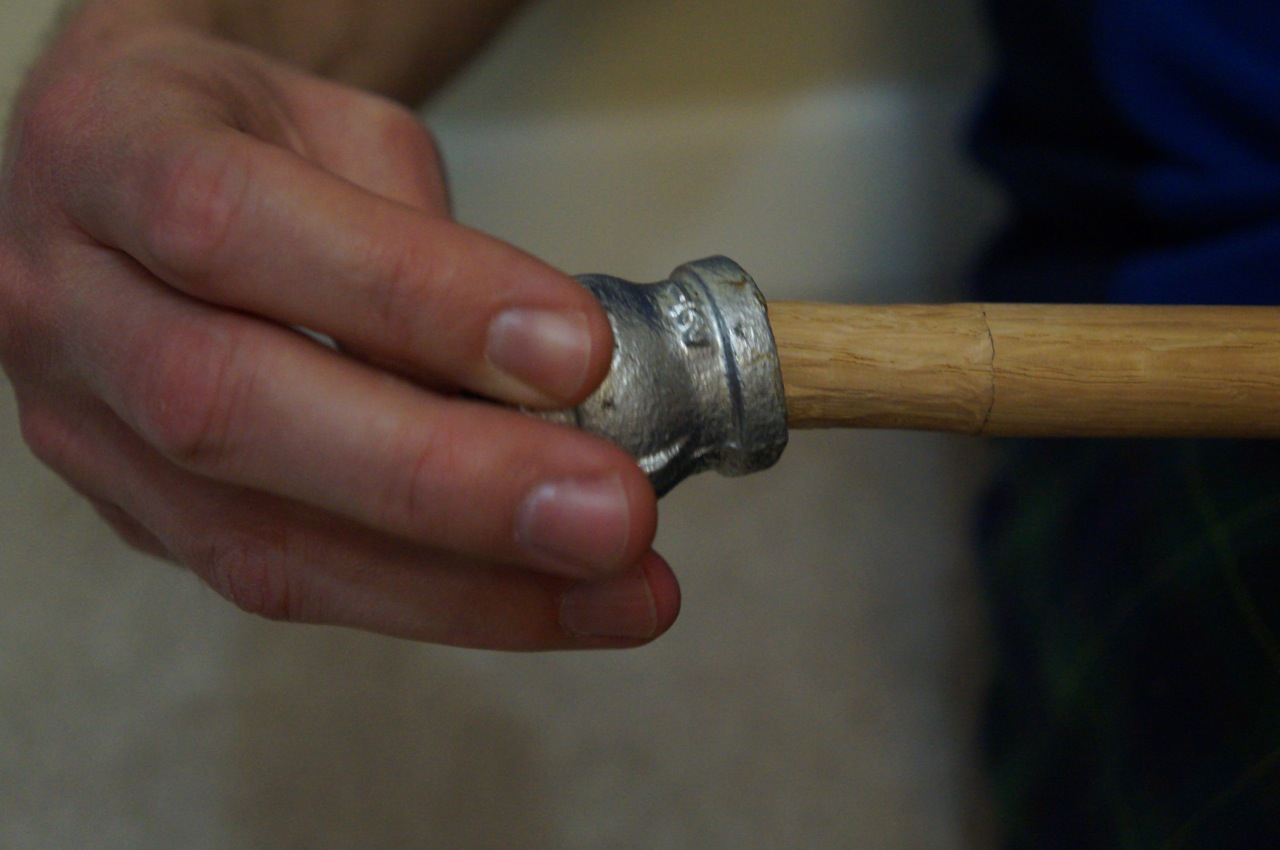
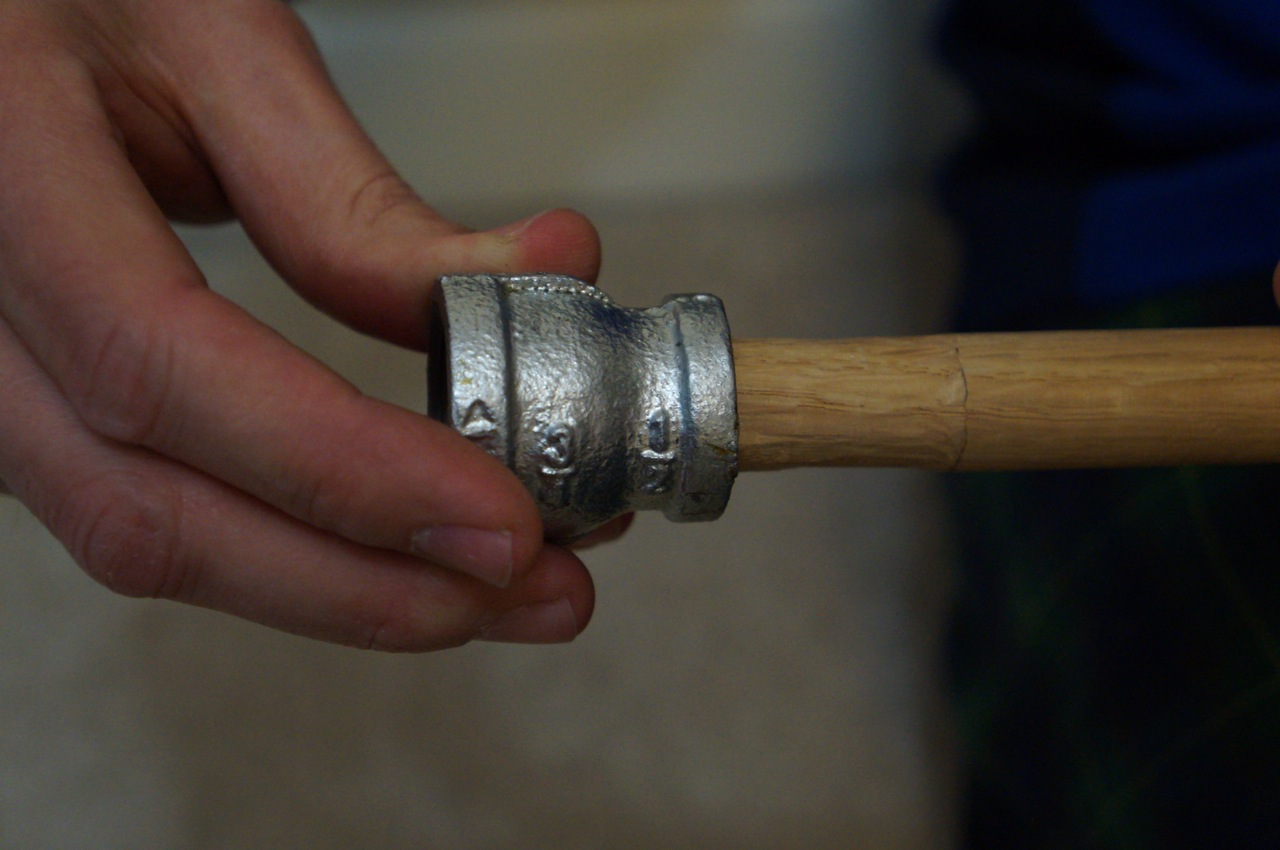
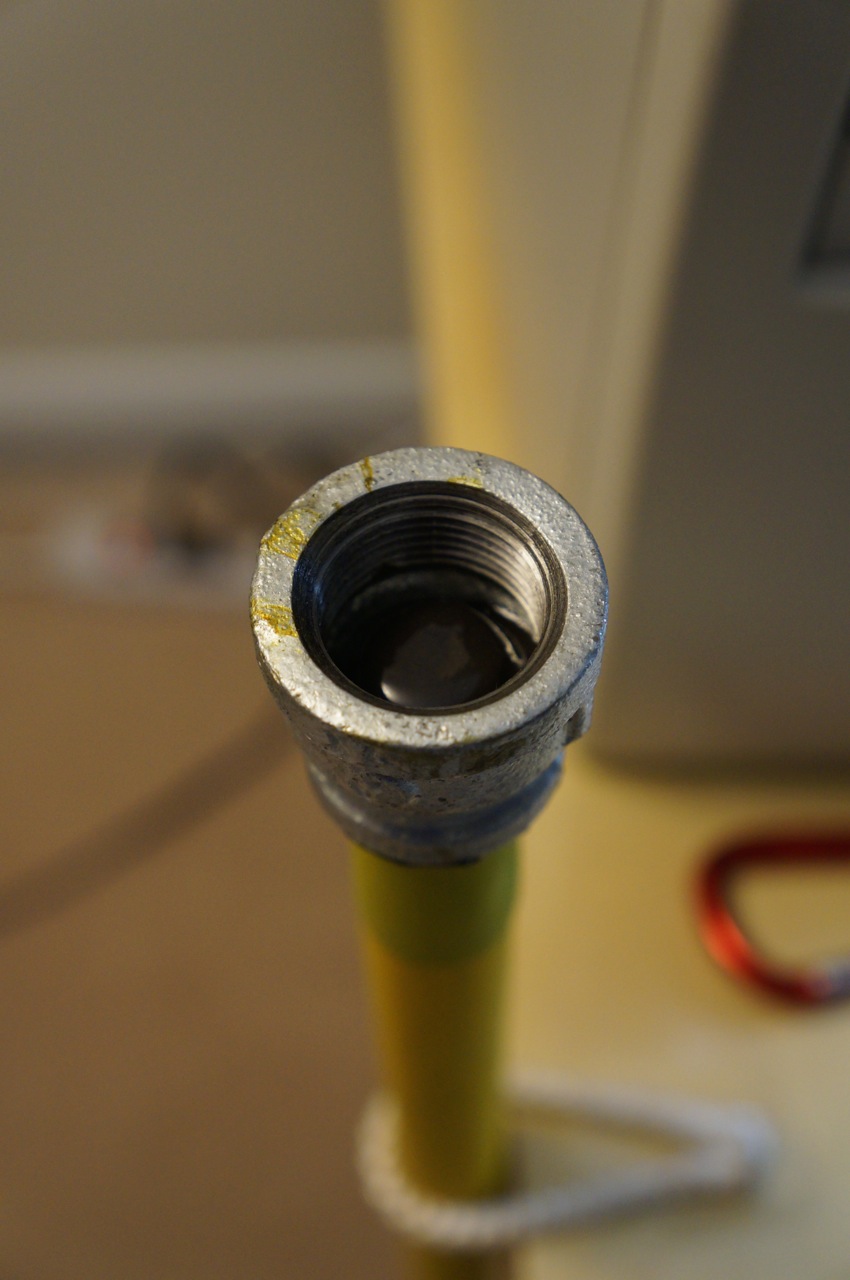
After the paint dried, I screwed the metal end of the brush into another 3/4″ to 1/2″ coupling and bonded the blade to the coupling with JB Weld.
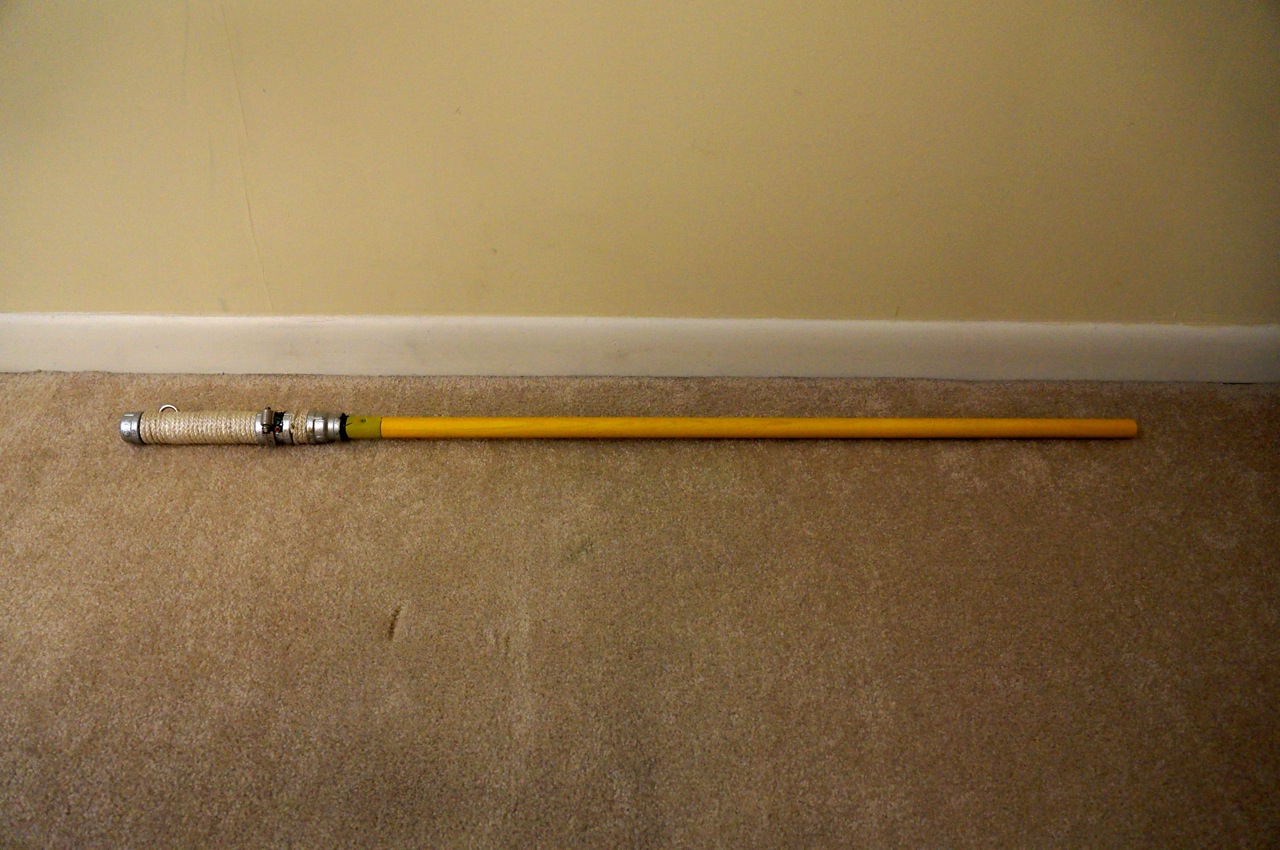
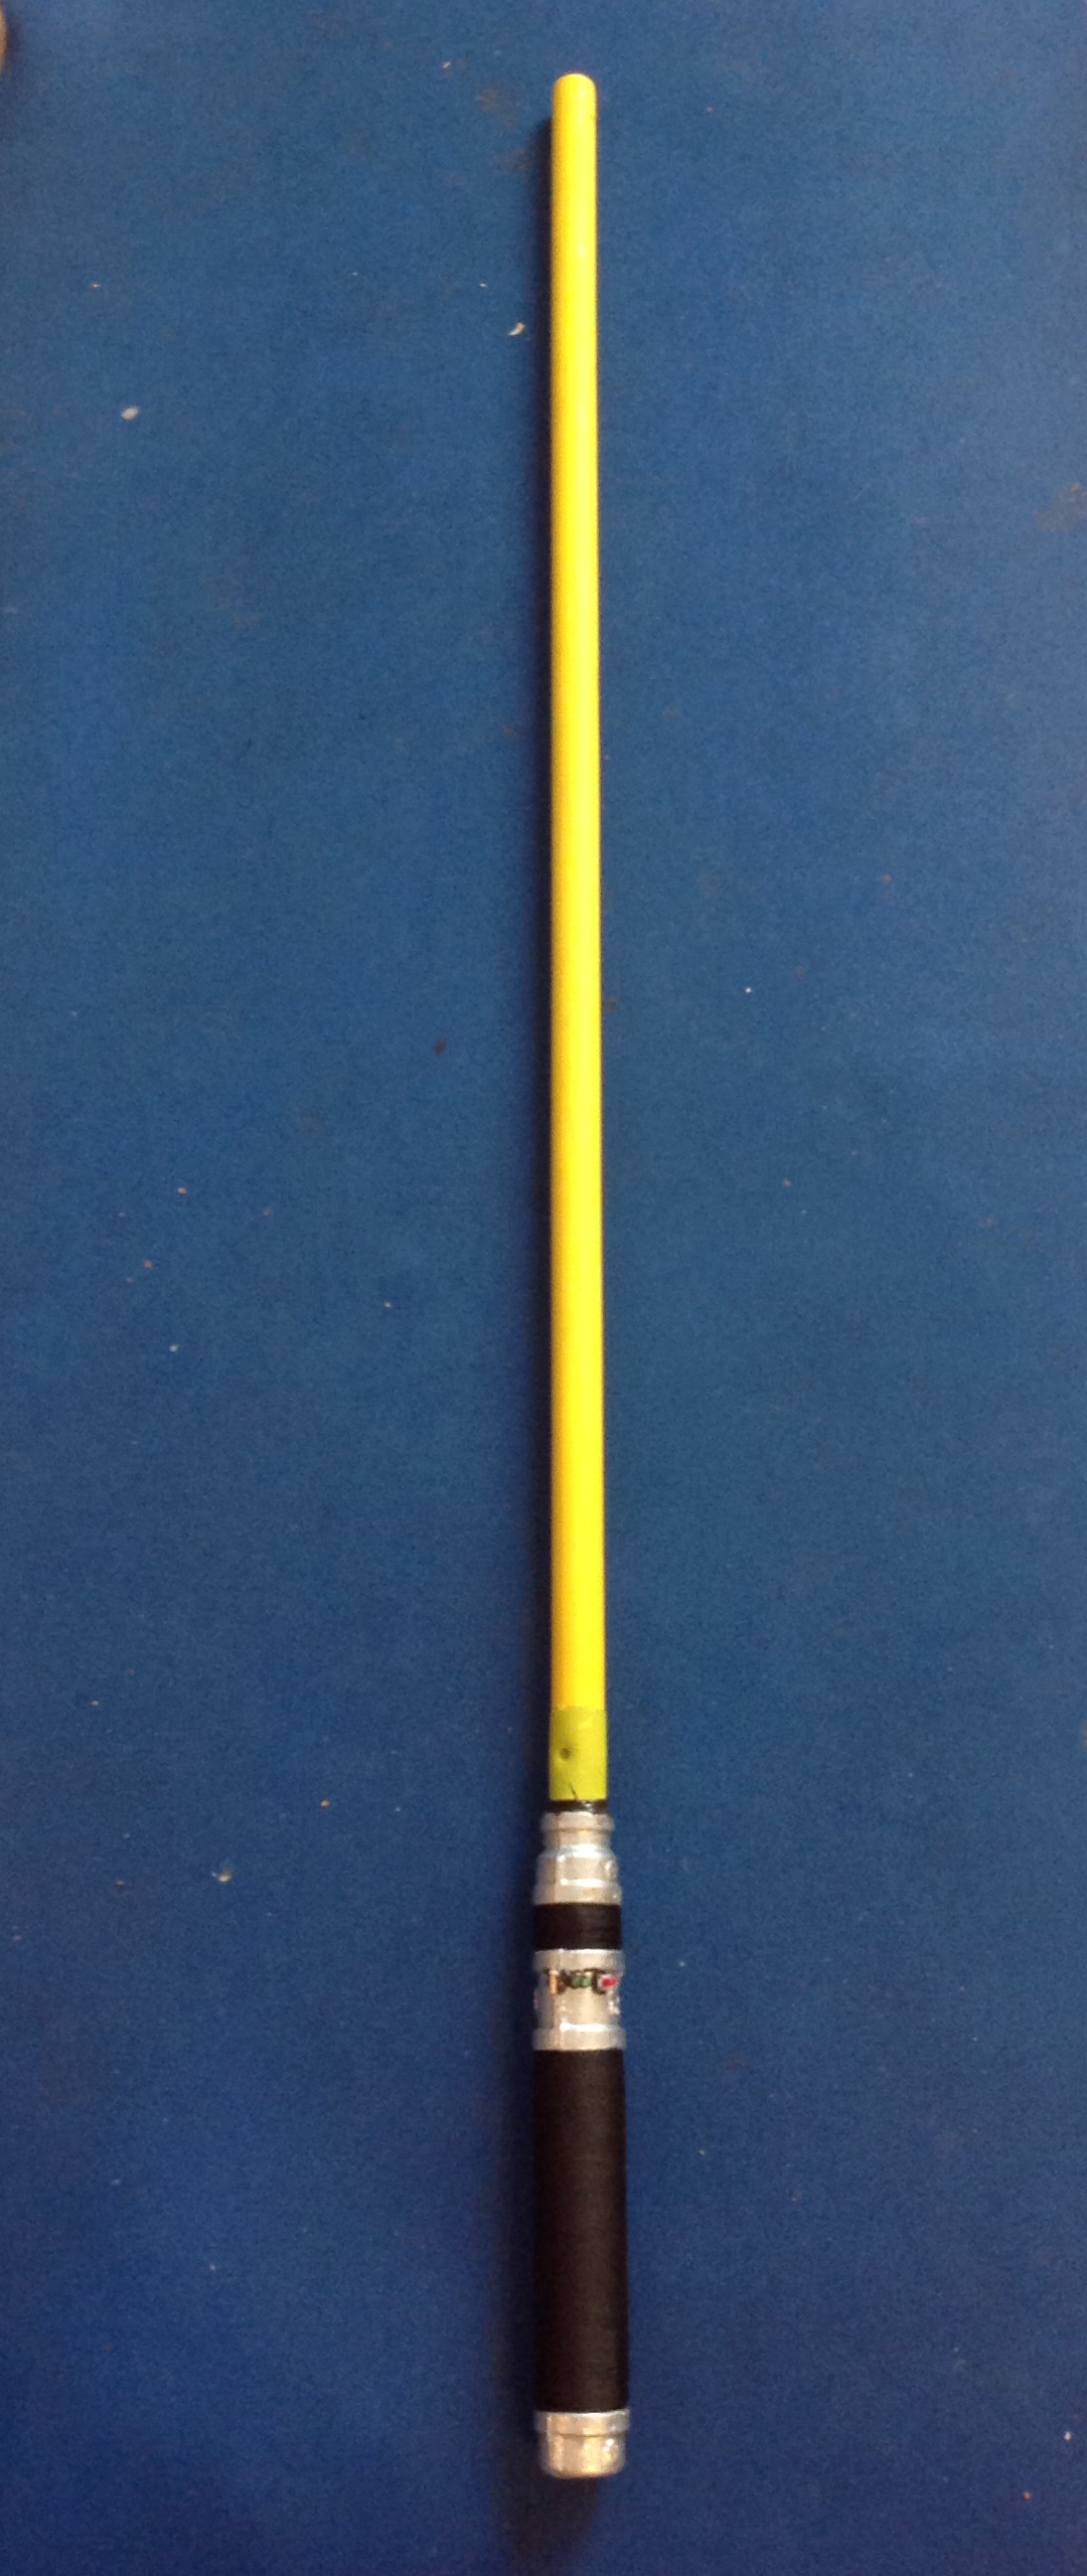
After everything had dried, I mated the blade with the lightsaber handle.
I was happy with the outcome of the lightsaber in deactivated mode, too.
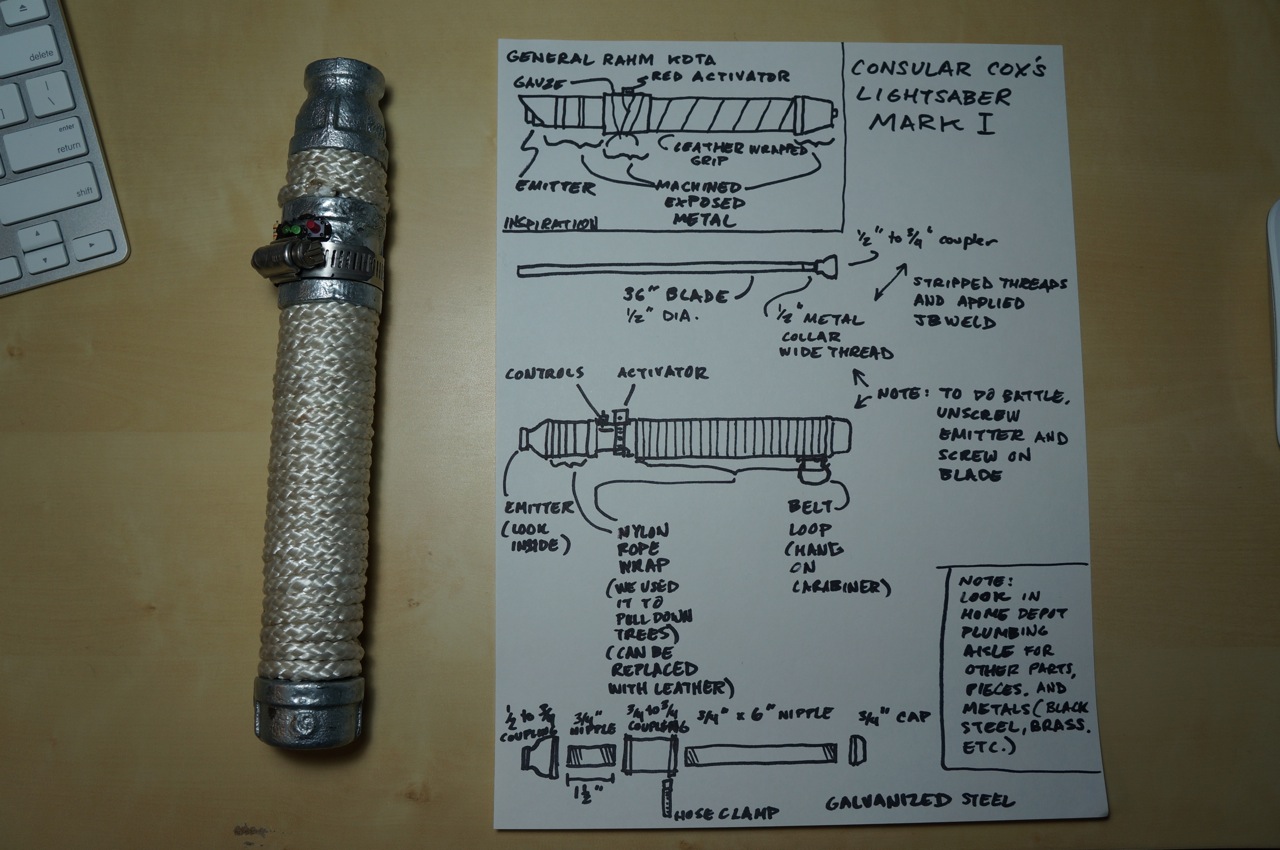
I gave the lightsaber to Ryan as a birthday present. I included this explanatory diagram that explains how the saber is more than simply parts (e.g., the rope is from the same bundle that Ryan and I used when we cut trees down in my yard last year).
Since I build this lightsaber, Ryan removed the nylon rope grip and improved it with three layers of bank line or tarred twine. The result is quite impressive aesthetically and practically!
Photo courtesy of Ryan Cox.
Photo courtesy of Ryan Cox.
I will post future posts on the lightsabers that I have built for myself and examples of our sparring (when we have the time for Ryan to teach me some things).
UPDATE: Readers asked me to post photos of my other lightsabers–one inspired by Luke Skywalker’s lightsaber in Return of the Jedi and Darth Maul’s double-bladed lightsaber from The Phantom Menace. When I built these sabers for myself, I didn’t take as many photos of the process as in the lightsaber above for Ryan, but these photos should illustrate the basics of how to build similar DIY lightsabers.
Luke Skywalker ROTJ Lightsaber and Stand
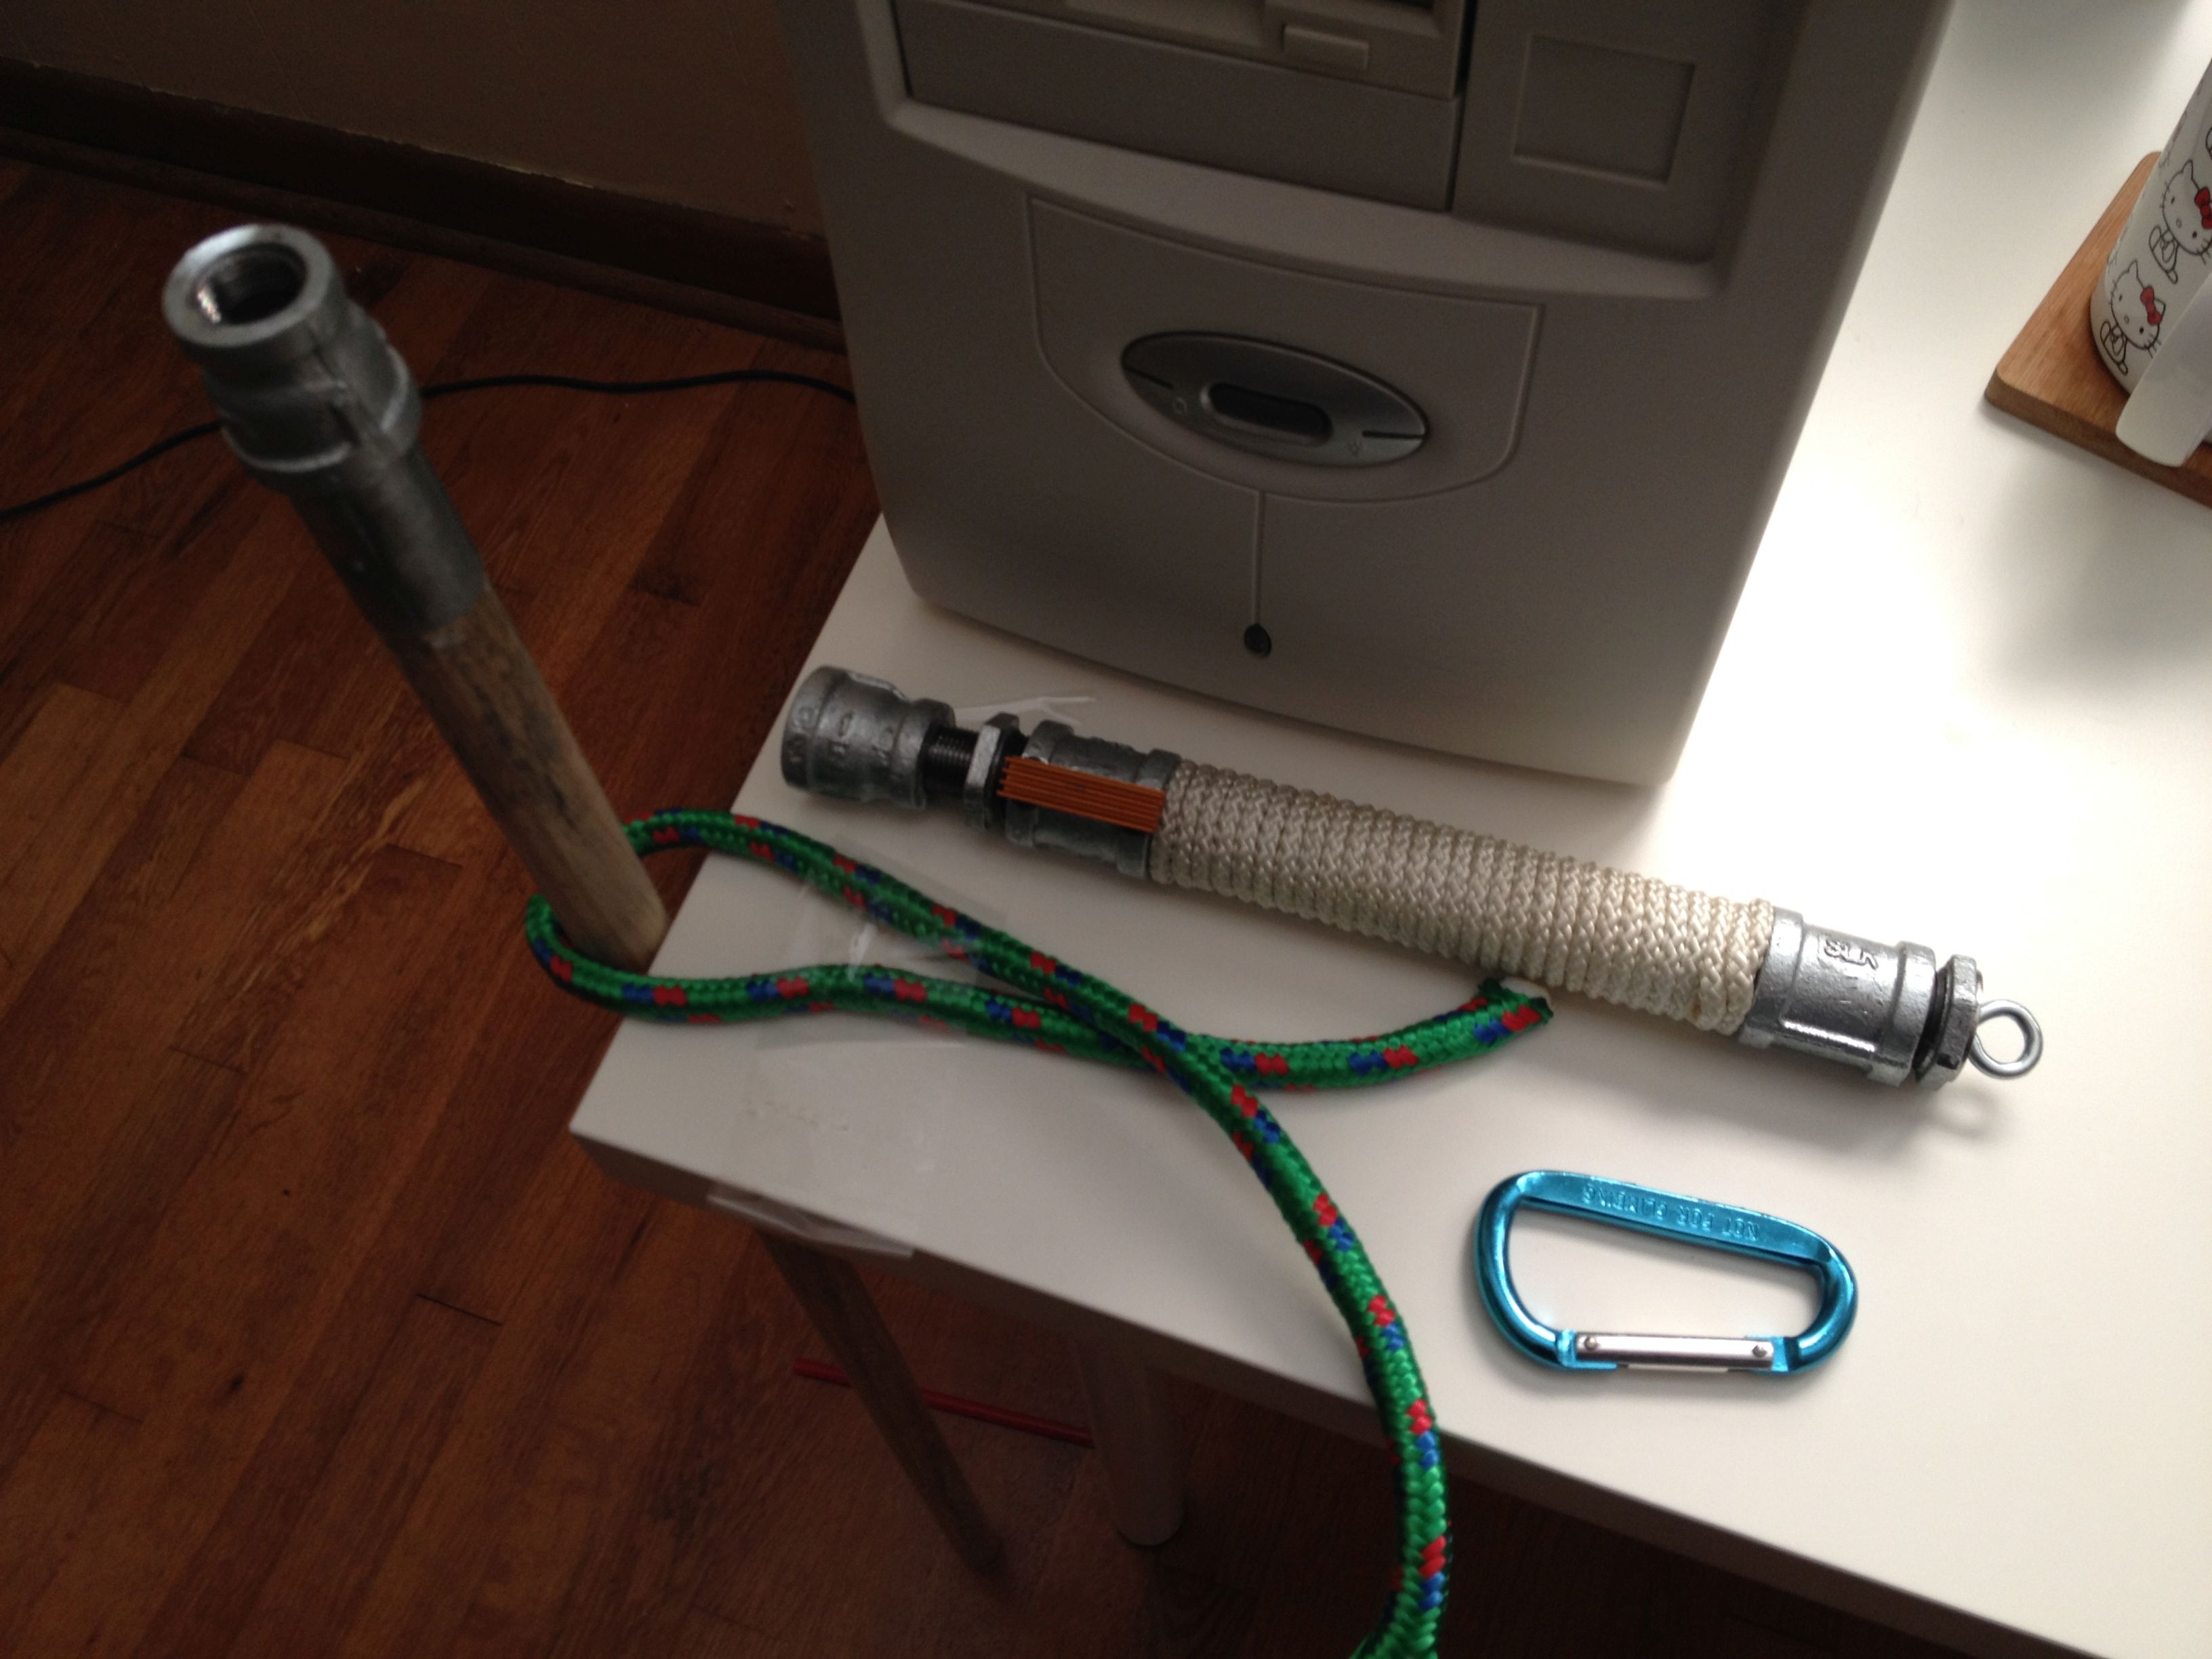
This was the first version of Luke’s lightsaber. I am working from memory as I do not have the lightsaber in front of me to give the exact specifications. I believe that working from the left to the right: 3/4″ to 1/2″ reducer, 1/2″ threaded pipe 1″ long, 1/2″ to 3/4″ bushing, 3/4″ coupler, 3/4″ pipe 7″ long, 3/4″ coupler, 3/4″ to 1/2″ bushing, flat washer with eye bolt affixed (epoxied into bushing). The orange lightsaber control attached to the first coupler is from a computer motherboard heatsink (sawed in half with a hacksaw) and epoxied to the coupler. The wrap is nylon rope.
In the next iteration, I replaced the nylon rope wrap with rubber o-rings that I ordered online (pack or 40 or 50). To install the o-rings, remove the last coupler on the right and roll down the o-rings one-by-one.
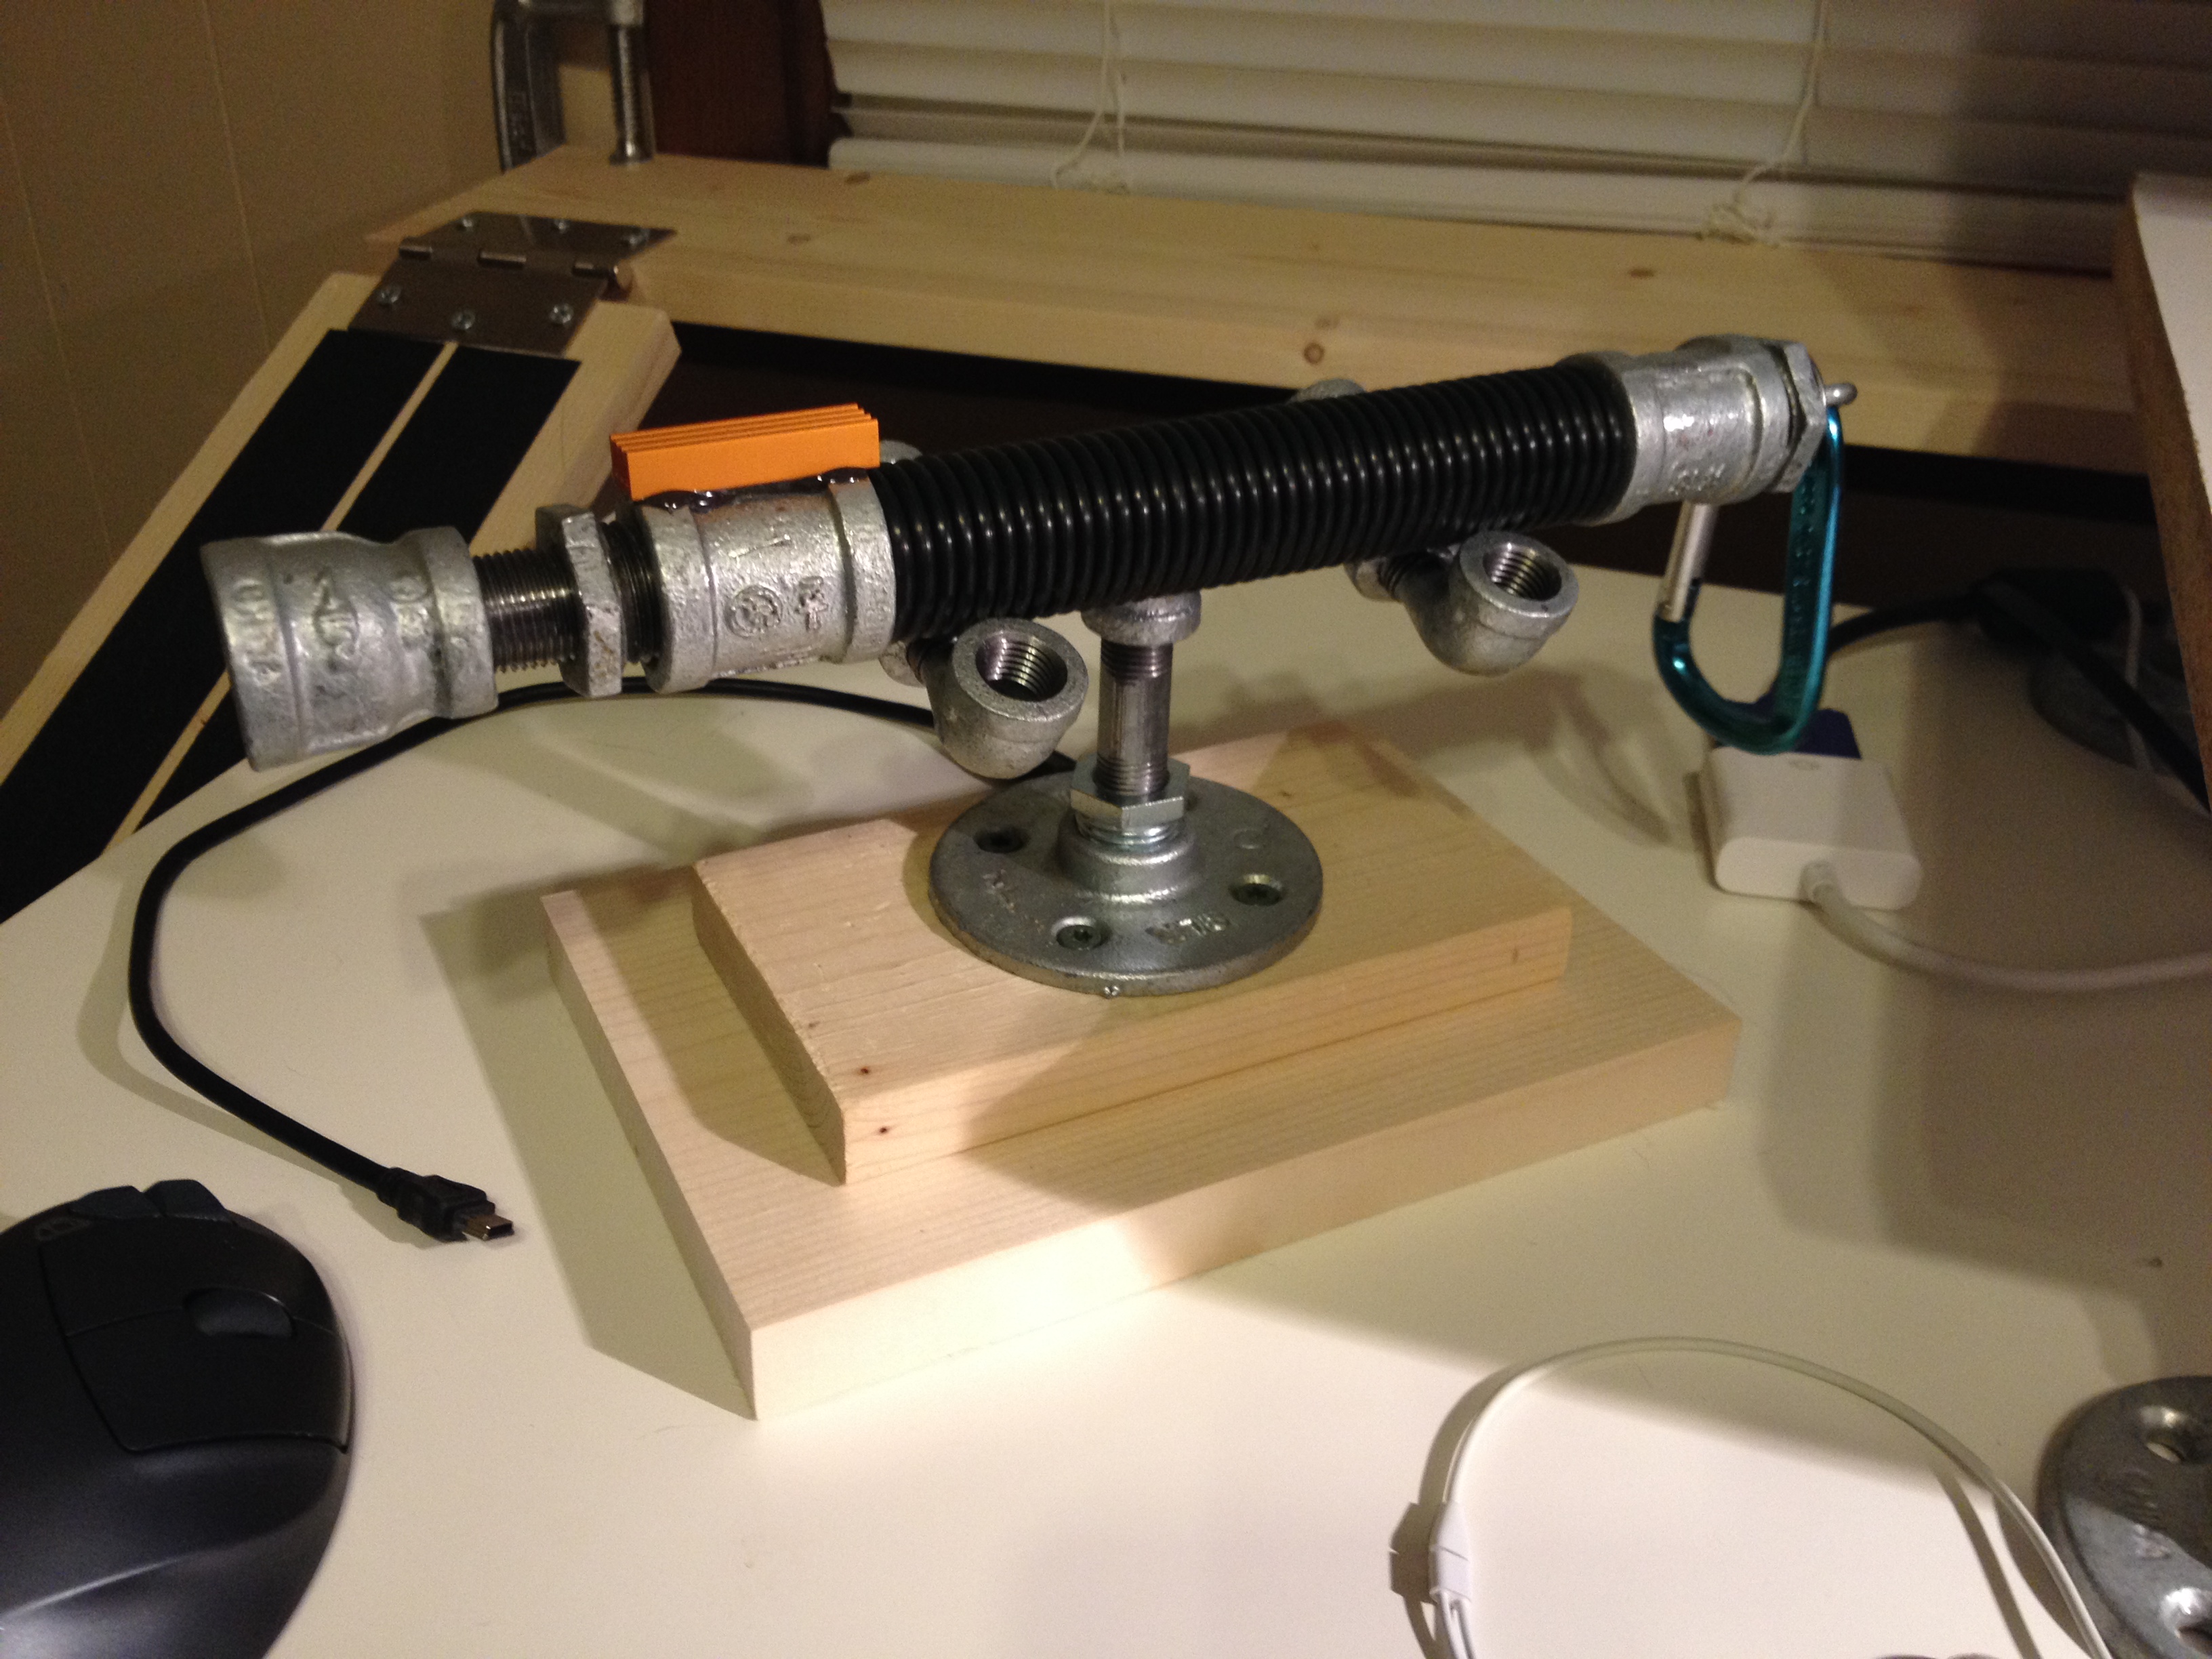
To display Luke’s lightsaber, I used smaller pipes attached to a wood base (two different sizes of lumber screwed together through the metal base connected to the pipes).
Darth Maul’s Double-Bladed Lightsaber
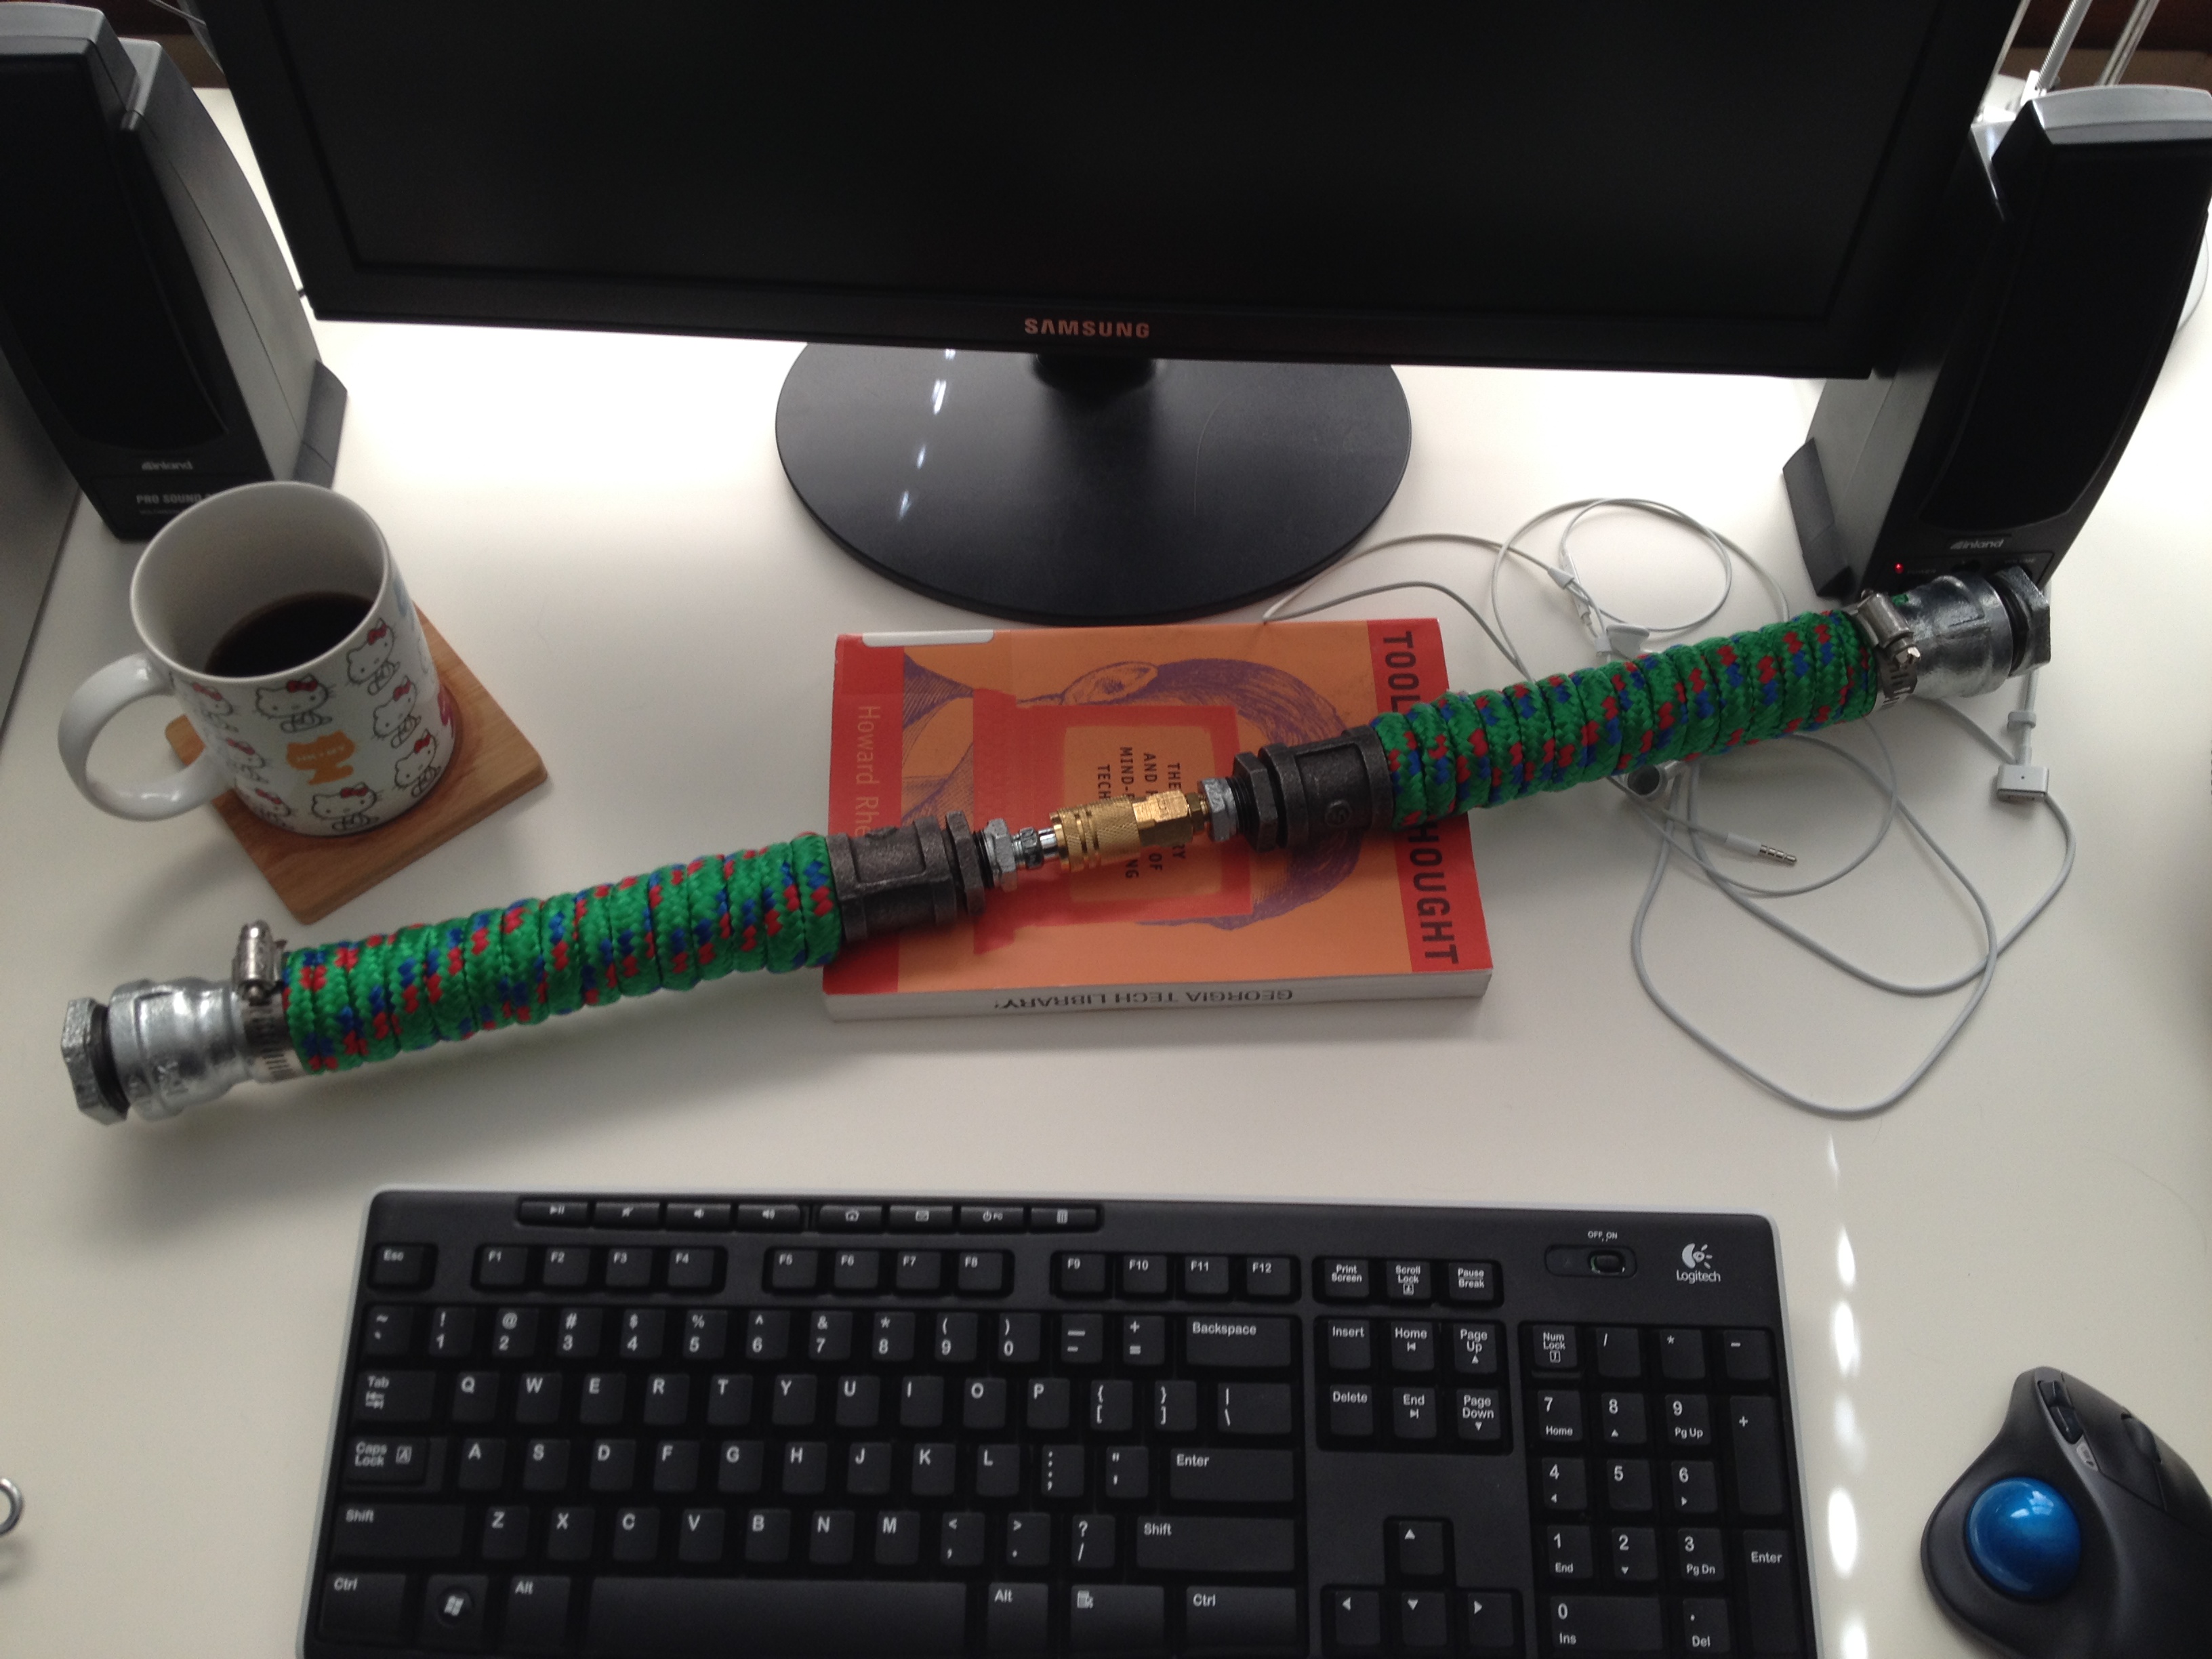
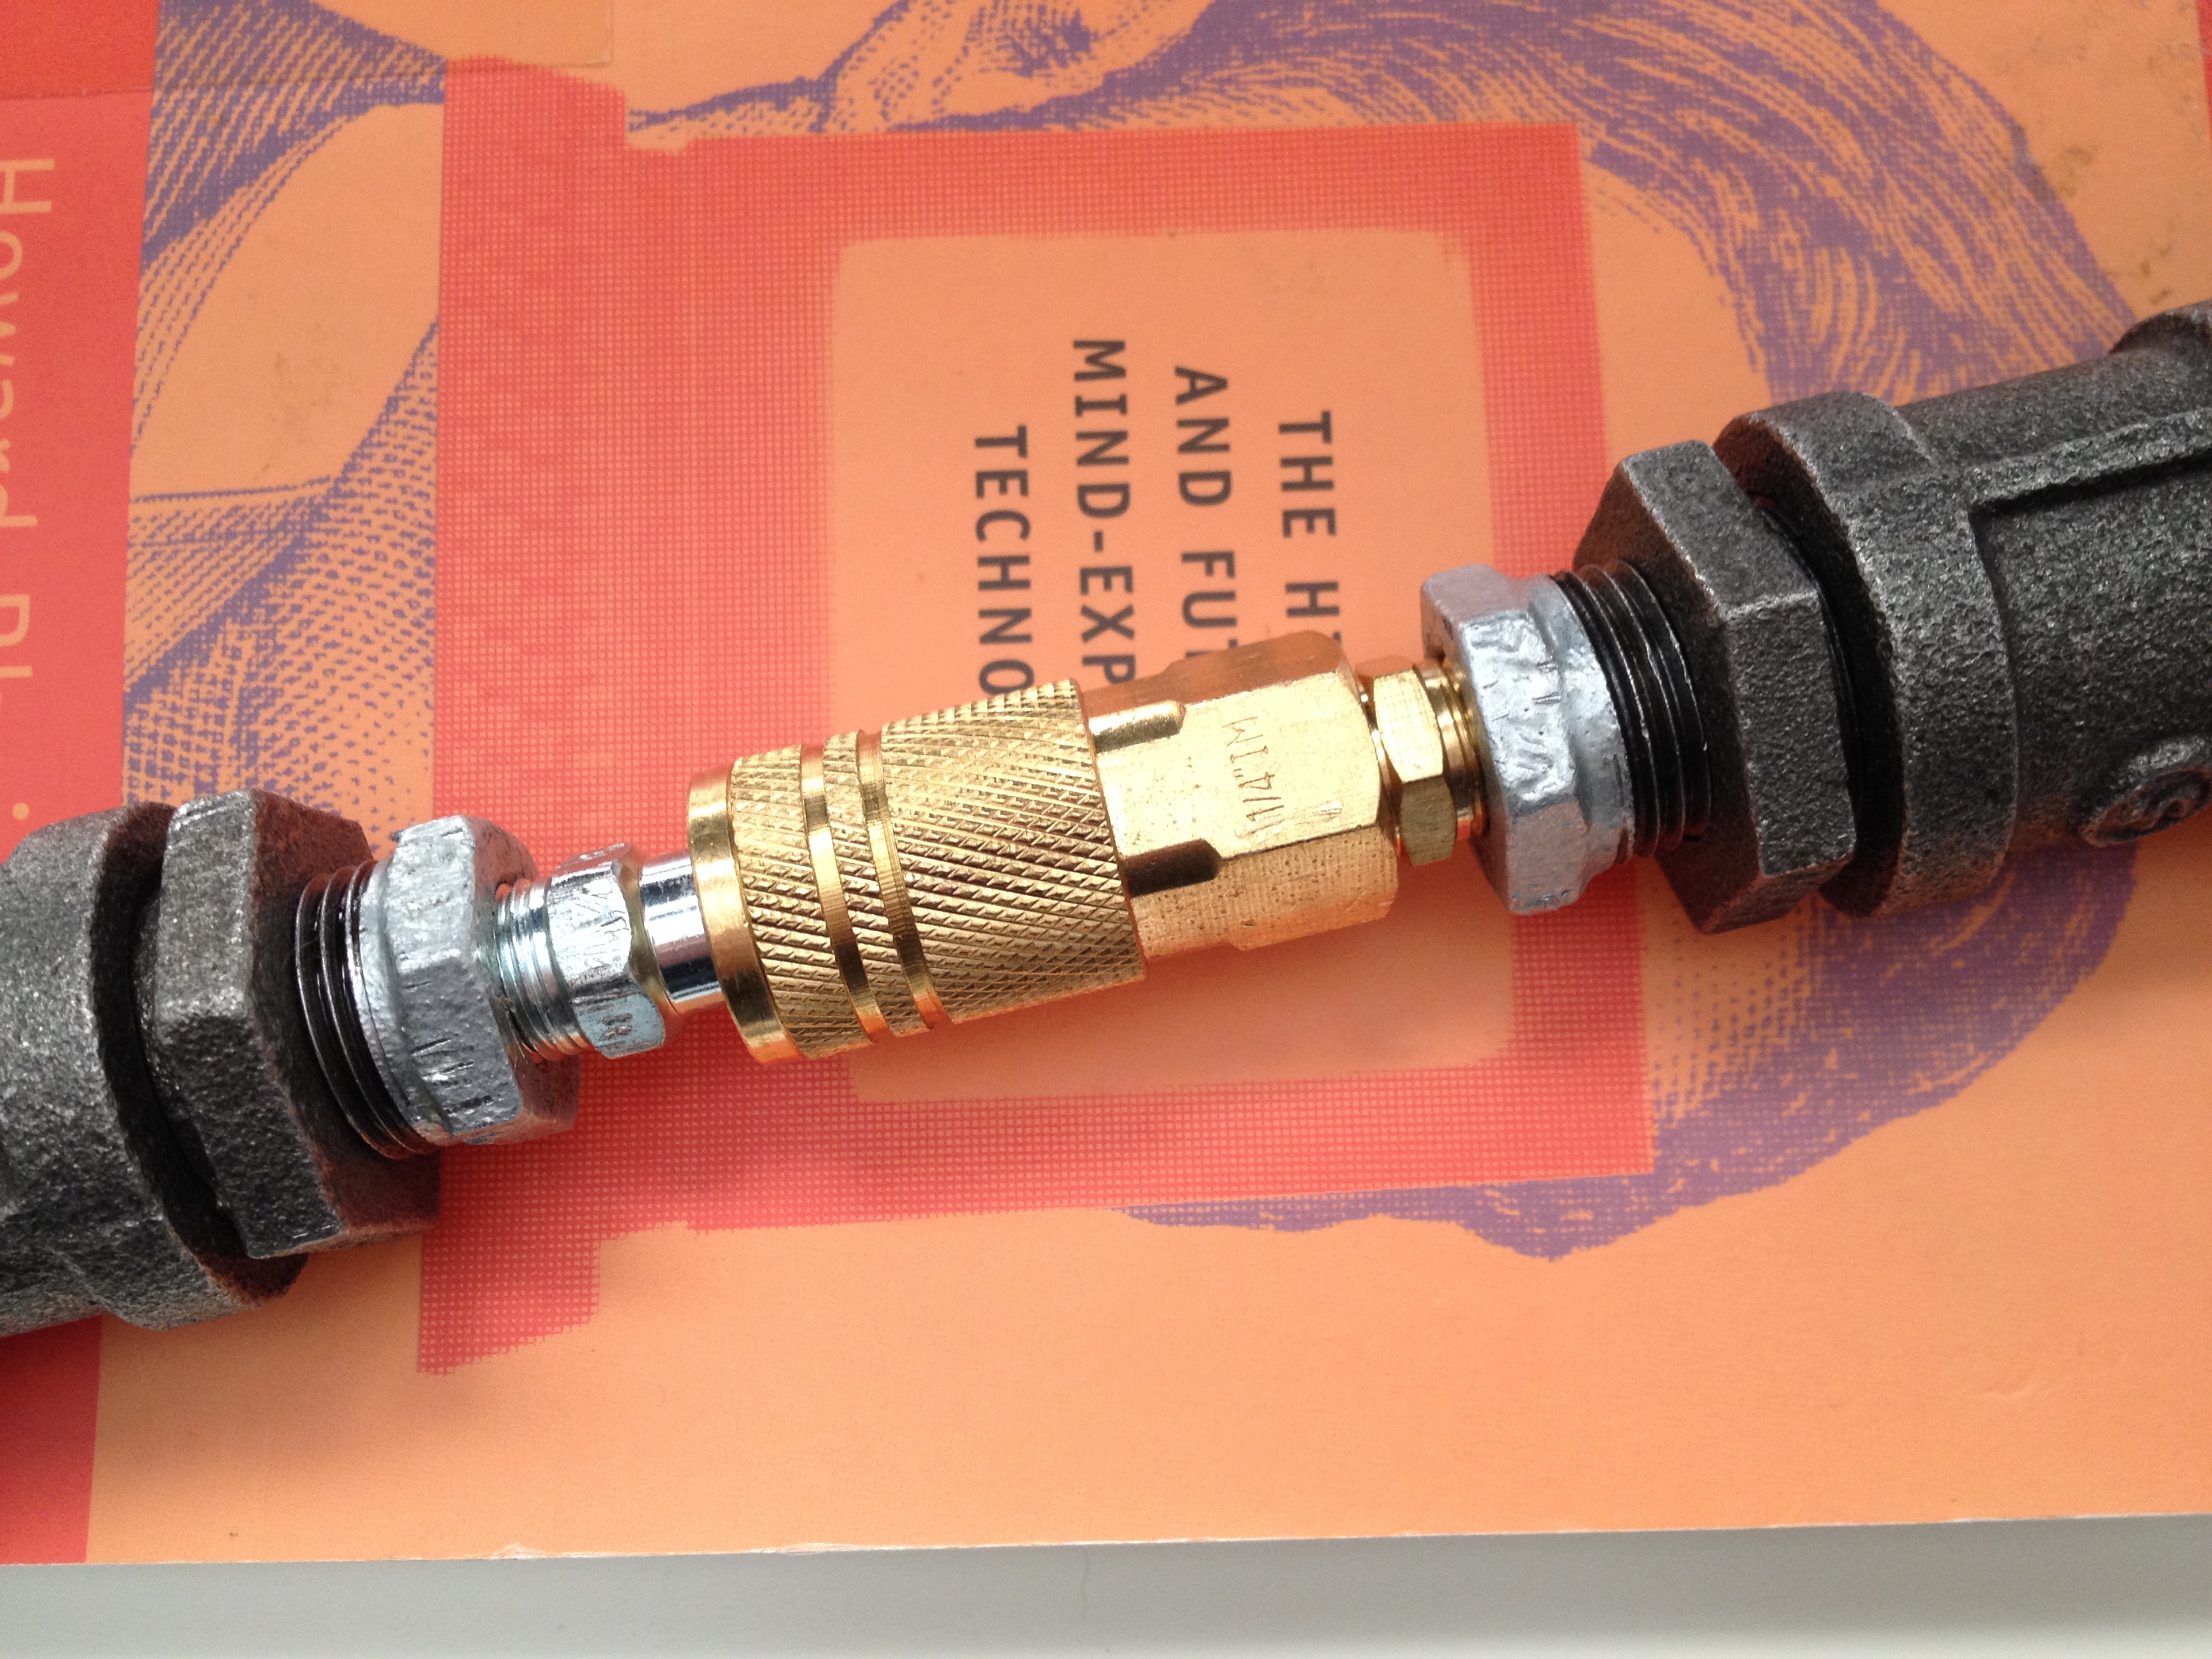
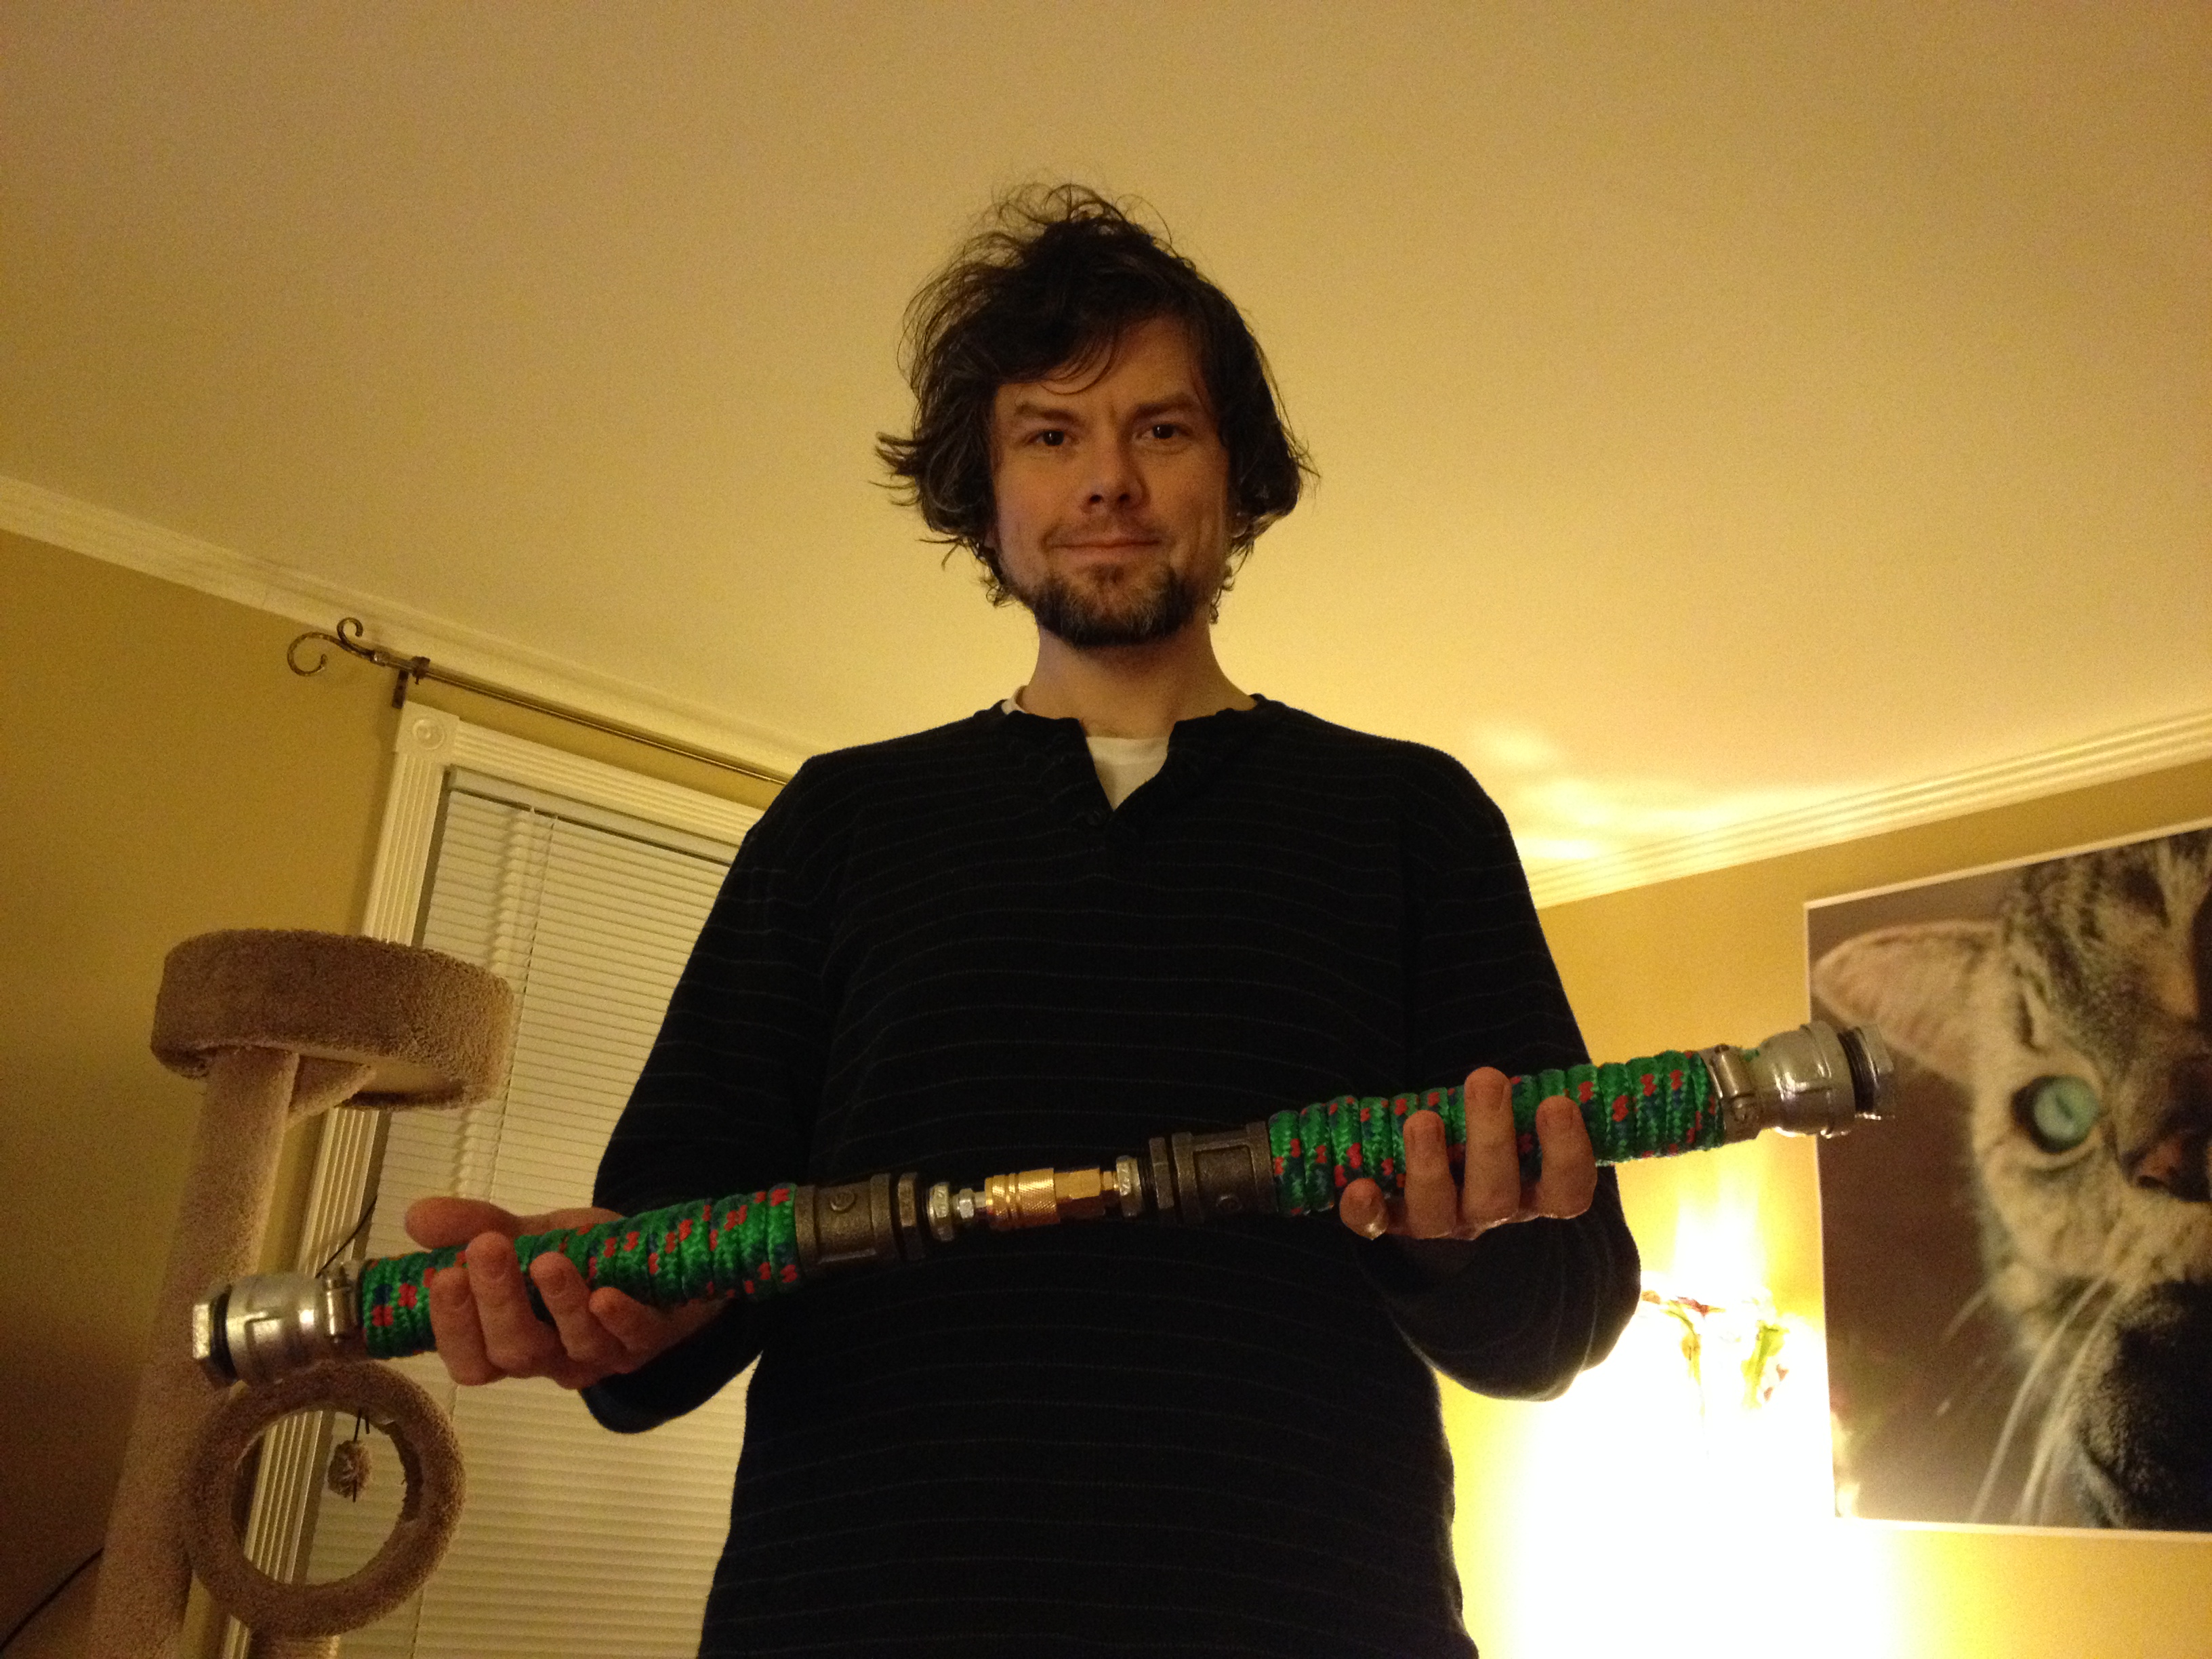
I built this Darth Maul inspired lightsaber as a way to figure out an easy way of having a two bladed saber that can split into two separate lightsabers. My solution was to use quick disconnect air hose fittings.
In order to make this work with the larger pipes used for Darth Maul’s lightsaber, which appears heftier in Episode I, I had to use two bushings to reduce down to the smaller size of the air hose fittings.
Here is the double-bladed lightsaber connected.
Here is the double-bladed lightsaber disconnected into two separate sabers. I didn’t build blade attachments for this saber, so I couldn’t test how much pressure/stress could be applied to the quick disconnect coupler that holds everything together. I suspect that this kind of assembly can only be used for show rather than demonstration of saber techniques (as I had constructed the two sabers above). With further modification, I believe that someone could sheath the quick disconnect coupler with metal so that the saber appears more solid from end-to-end instead of having this smaller, weak point in the middle as this demonstration saber appears.
I hope these extra photos and explanation help. Good luck with your builds, and please share any photos that you post online of your sabers in the comments below!
Earlier today, I heard about Disney’s move to acquire Lucasfilm and the Star Wars franchise from George Lucas for $4.05 billion. At first, I was incredulous. I thought that this was an Internet hoax born of Hurricane Sandy regurgitating seawater onto a New England data server unfortunately left behind by the first responders. There is a nice press release and a photo of Lucas holding a pen above a nondescript piece of paper to prove otherwise.
Gauging from folks’ responses on the web, Facebook, and Twitter, there seems to be a lot of confusion about this news. I certainly feel it myself. Looking at it through the cold logic of capitalism, Lucas is in the movie making business. What he might have once claimed was art or a manifestation of myth-made-modern was in fact simply a way to make lots of money. To borrow from Jay and Silent Bob, Star Wars (and Indiana Jones–a property apparently not of significant worth in the big scheme of things to Disney) was George Lucas’ “motherfucking movie check.” Lucas made it big–maybe it was part talent, part strategy, and part luck–and now, he has the opportunity to cash out. His ‘art’ was a tremendous investment that he has now leveraged to a lucrative payday. His selling the Star Wars/Lucasfilm property to Disney is an obvious choice. Disney has long partnered with Lucasfilm on part rides and merchandising. Additionally, Disney has shifted its attention toward acquisition of popular cultural properties to supplement what little remains of their own creative impetus. Disney bought Pixar, Steve Jobs’ insanely creative 3D animation studio in 2006 for $7.4 billion. Then, Disney purchased Marvel Comics for around the same price as Lucasfilm in 2009. Of course Disney would want Lucasfilm to join its portfolio of cultural holdings. As a result, a substantial amount of American culture is now owned by a single mega-corporation, Disney.
Looking at the situation from my Star Wars fanish eyes, I am uneasy about this transaction. Despite Lucas’ attempts at destroying his legacy through the investments he made in the culturally bankrupt Star Wars prequels and the failed continuation of the Indiana Jones series in the “Kingdom of the Crystal Skull,” I have always identified him as being the embodiment of the Star Wars universe. Of course, he originated the idea and benevolently maintained despotic control over that idea (compared to Paramount and Star Trek–Lucas is a saint in permitting and occasionally encouraging fan films and fandom in general). I suppose it always seemed in my mind that the author/text|Lucas/Star Wars were signs signifying the same thing. They were shared significations within my mind about what ‘Star Wars’ was and represented. For example, it seems in retrospect that nearly every pre-prequels Star Wars conversation (certainly EVERY post-prequel conversation operates in this way) eventually would come back around to Lucas’ vision, intentions, mistakes, successes, etc. as it related to the narrative space and its possibilities within the imaginations of me and my friends. In a similar way to Steve Jobs and Apple, it doesn’t feel right to separate the author from the work. Certainly, I can imagine the Star Wars universe–its stories, technologies, and cultural context–without invoking the authorial ghost of Lucas. However, the authorial ghost seems ever near and inseparable from the thing (Stars Wars) itself.
I can rationally think of how many billions of dollars George Lucas made from the Star Wars films among other things. I can rationally think about the exploited labor and anti-environmental effects of the merchandising that forms feedback cycle of the cultural consumption of ideas and things. I understand that Lucas, through his life, success, and business decisions, has enacted a real-life version of THX 1138. Despite all of these things, I cannot divorce myself from the love that I have of the Star Wars universe, its characters, its technologies (especially the Millennium Falcon–something that I imagine flying far more often than I might have any right to), and its wonder. Perhaps its this love for Star Wars that via the signification system transfers to Lucas in some weird way. He might have mucked up the possible narrative that I imagined and that my friends imagined for the Star Wars prequels, but my delight in Star Wars fills me with positive emotions that inform and shape my dichotomous respect and disdain for Lucas. While he and his vision do not define everything in my mind about Star Wars, his work and choices endowed me with an imaginative appreciation for Star Wars and a curiosity that far exceeds the bounds of “a long time ago in a galaxy far, far away.” While I cannot give Lucas all the credit, I can safely say that Star Wars played a significant role in my being where and who I am today.
Lucas made a significant choice today to sell Lucasfilm to Disney. Since Lucas is so interwoven into the very idea of Star Wars and its potential fulfilment in culture, I am left feeling uneasy about the transfer of his intellectual property to Disney, the cultural aggregator, shaper, and producer. If we want to think of this as one artist giving something to be reshaped and retold by another artist, then Lucas has given his property to Walt Disney’s zombie. The Disney of today is a shuffling undead shell of what it once was (and here I am not attempting to wax nostalgically as I did with Star Wars–Disney and his team of storytellers did fantastic things for culture and education through the era just before I was born–what followed after has by-and-large little to be desired). The Disney company today seeks the brains of other culture producers–Pixar, Marvel, Lucasfilm–on which it feeds and continues its ravenous lurching. I suppose it is this image on the edge of consciousness that disturbs me the most. I am saddened that Lucas gave up control of his property to producers and committees–a fate that I am not sure is any worse than his own revisionist impulse in the prequels. I admit that I am simply being romantic, but I believe that this romantic impulse for the bond between author and text represents something as deep perhaps as the supposed mythical qualities of the stories Lucas told us about the Skywalker clan.
What does all of this mean for the future of Star Wars? Disney certainly didn’t wait for the ink to sign on the papers before they announced that a new Star Wars film would be released by 2015. Apparently, the acquisition included treatments that Lucas had been working on, but these will be re-developed by Disney. In a related note, I heard from today’s conference call that Disney CEO Iger said that Disney would focus on mobile gaming instead of big box/console games based on the Star Wars universe. This could have other repurcussions for the cultural impact and interactive engagement with its continuing stories. On this point, I am thinking about how these media are now interdependent and connected for conveying narrative and solidifying the cultural memory of those narratives. It would seem that Disney has hit the ground running with Star Wars, and I expect–for good or ill–a great many new things from Lucas’ universe. Unfortunately, he will not have any control over its further expansion, and I am doubtful that I will be as nearly as eager to be a participant in its expansion under the irksome visage of the Mouse.
Continuing from my last post, Dr. Takayoshi asked us to practice what she preaches and create a multimodal work to show to our students (e.g., an example of how to do multimodal work, something that ties into a multimodal assignment, or an introduction to our class). Also, it should be 4 minutes in length.
As much as I didn’t want to do something of this magnitude in one day, this assignment did help me crystallize my thoughts regarding the first writing class that I’ll teach in the Fall at KSU. I decided to go with the theme, “Science Fiction and Your World.” I’m going to assign my students a number of SF short stories and secondary readings to begin discussions about contemporary issues, which will lead into their writing assignments. I found a nice anthology edited by Orson Scott Card that I’m going to assign, which is titled, Masterpieces: The Best Science Fiction of the Twentieth Century. I wouldn’t say that it’s the best anthology out there, but it has a number of enjoyable and topical stories that I believe my students will enjoy.
After deciding my course’s theme, I storyboarded an introductory video that’s a campy informative mix. It’s just over 4 minutes long, and available on YouTube.
Oct. 21, 2023 Update: Video link removed as it no longer exists.