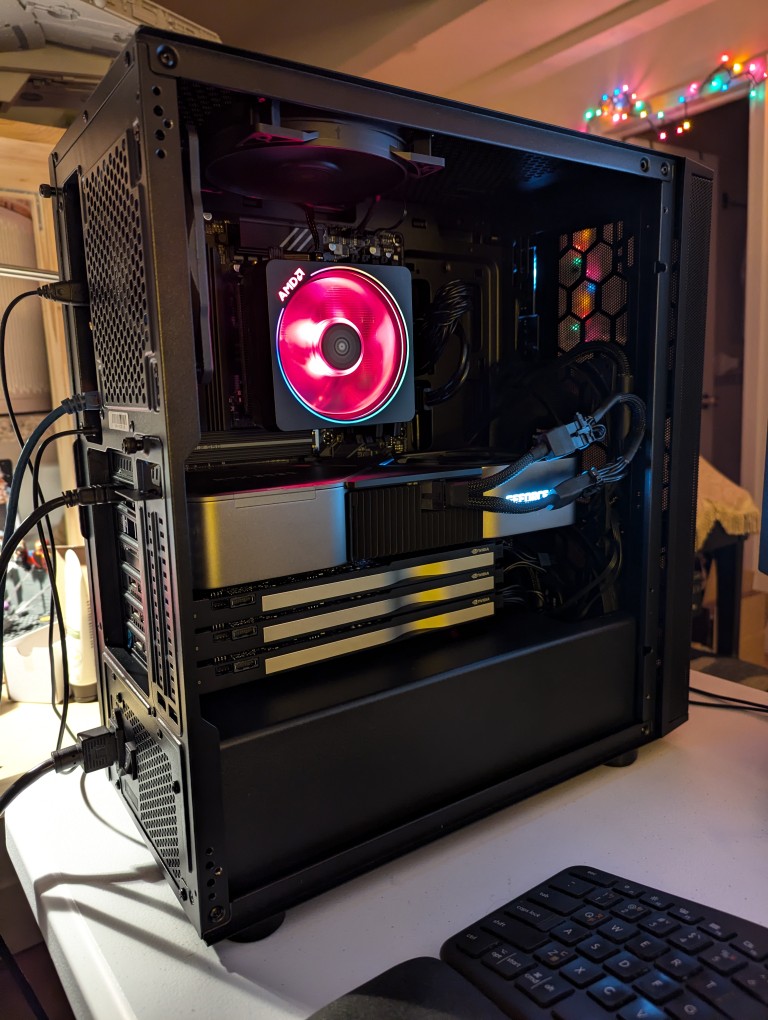
This past weekend, I got the final part that I needed to begin assembling my new AI-focused workstation. It took about a whole day from scrounging up the parts to putting it together to installing Debian 12 Bookworm. As you can see in the photo above, it’s running strong now. I’m installing software and testing out its capabilities especially in text generation, which without any optimizing has jumped from 1 token/sec on my old system to 5 token/sec on this system using a higher quantanized model (70B Q4_K_M to 70B Q6_K)!
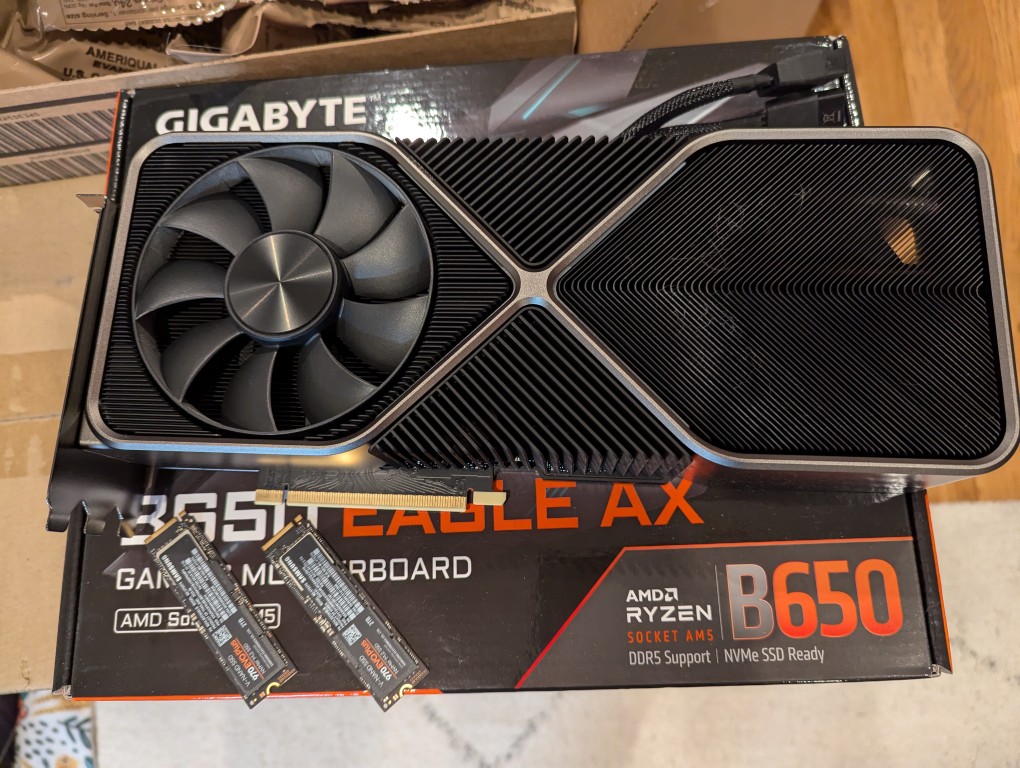
The first thing that I needed to do with my old system was to remove the components that I planned to use in the new system. This included the NVIDIA RTX 3090 Founders Edition video card and two 2TB Samsung 970 EVO Plus nvme SSDs.
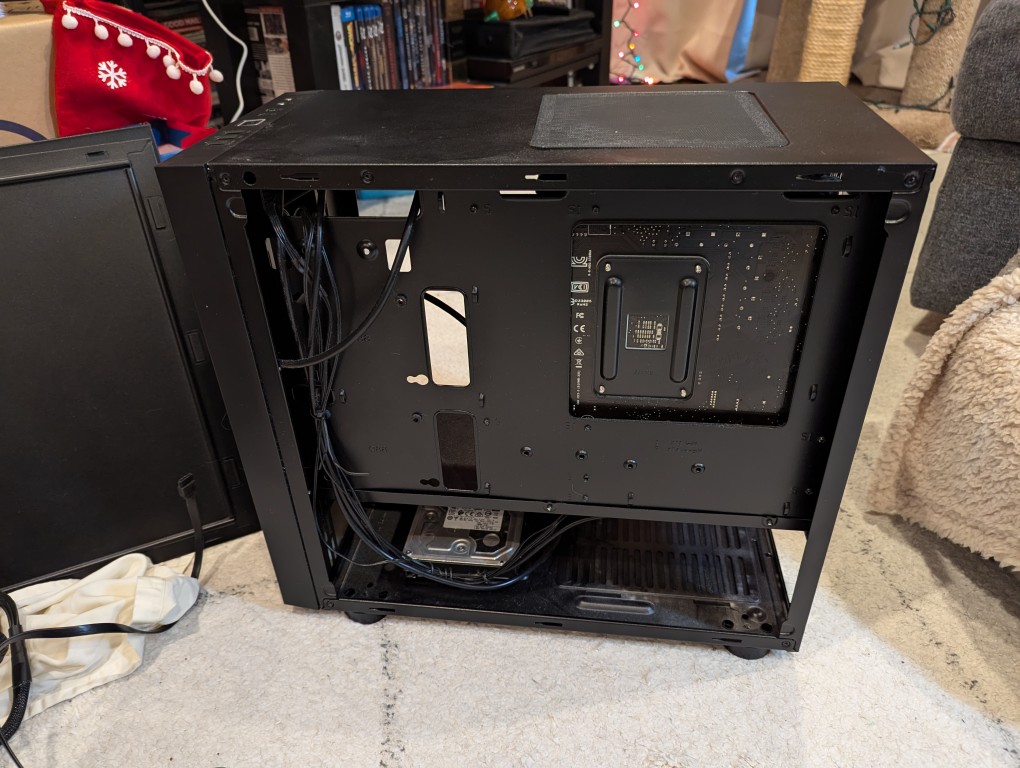
I almost forgot my 8TB Western Digital hard disk drive that I had shucked from a Best Buy MyBook deal awhile back (in the lower left of the old Thermaltake case above).
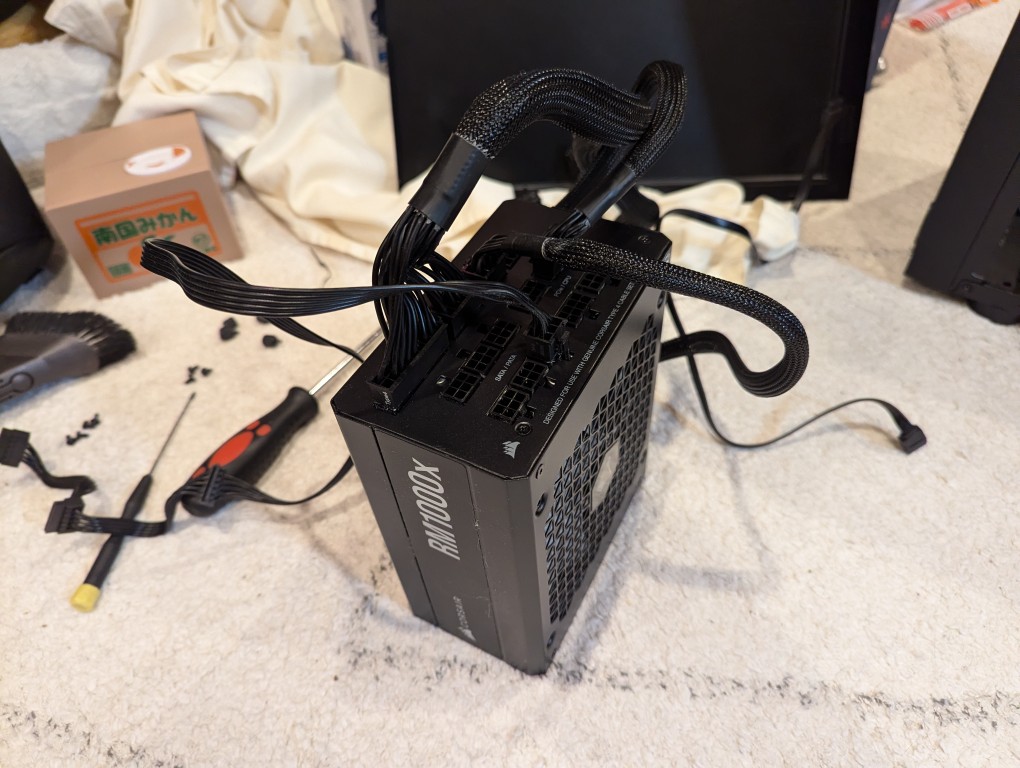
Finally, I needed the Corsair RM1000X 1000 watt power supply and its many modular connections for the new system’s four video cards.
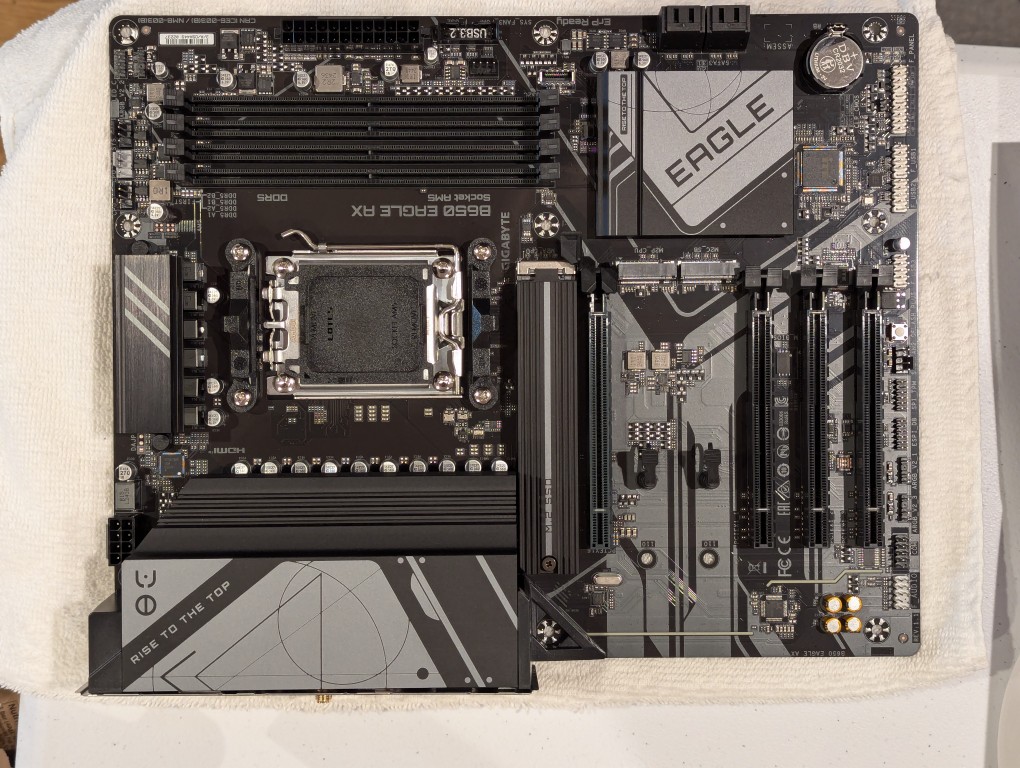
The new workstation is built around a Gigabyte B650 Eagle AX motherboard. I selected this motherboard, because it has a unique 16x PCIe slot arrangement–the top one has space for a three slot video card like my 3090, and its lower three slots would support the three NVIDIA RTX A4000 16GB workstation video cards that I had purchased off of eBay used. The lower slots do not run at full speed with 16 PCIe lanes, but when you are primarily doing AI inference, the speed that even 1x PCIe lanes provides is enough. If you are doing AI training, it is better to have a workstation-class motherboard (with Intel Xeon or AMD Threadripper Pro CPUs), because they support more PCIe lanes per PCIe slot than a consumer-based motherboard like this one is built to provide.
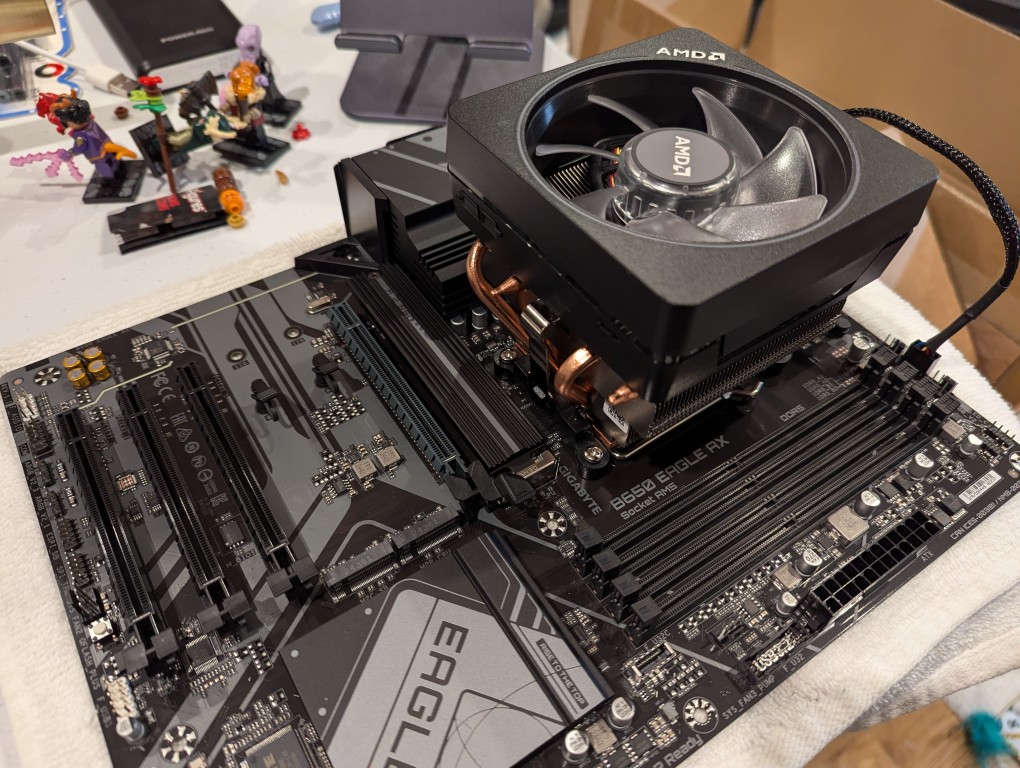
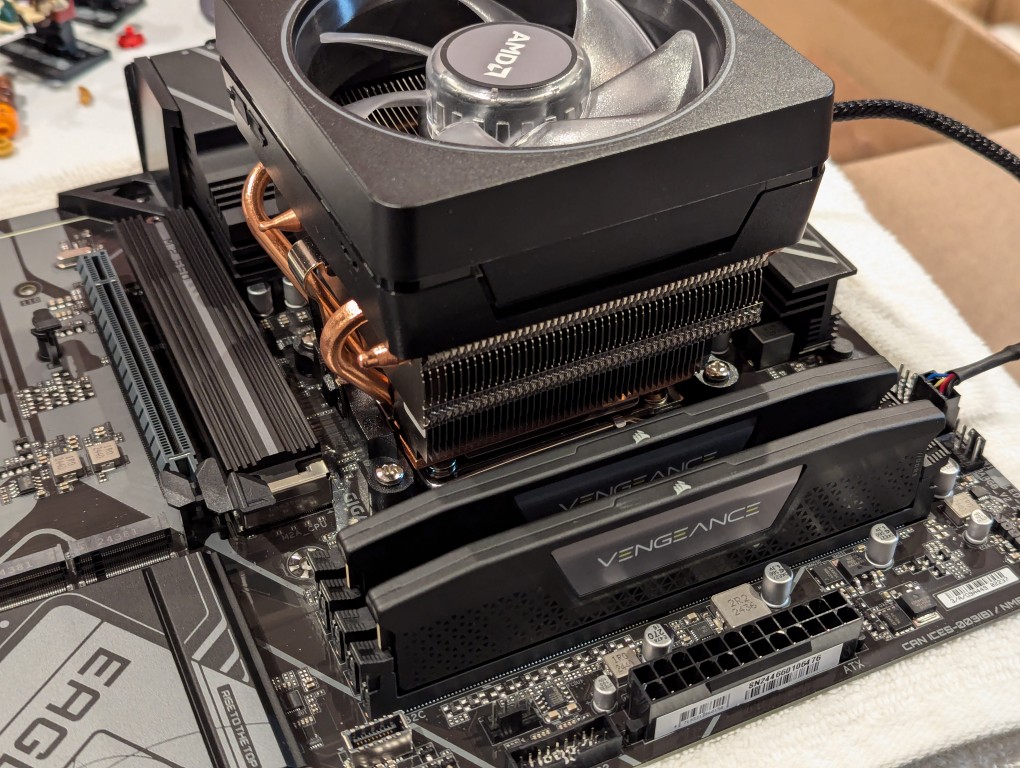
The first step with the new motherboard was placing it on a soft surface and installing the CPU. I purchased an AMD Ryzen 7 7700 AM5 socket CPU. It came with AMD’s Wraith Prism RGB Cooler, which is a four heat pipe low-profile CPU cooler. I don’t care for its RGB colors, but it reduced the overall cost and provides adequate cooling for the 7700, which isn’t designed for overclocking.
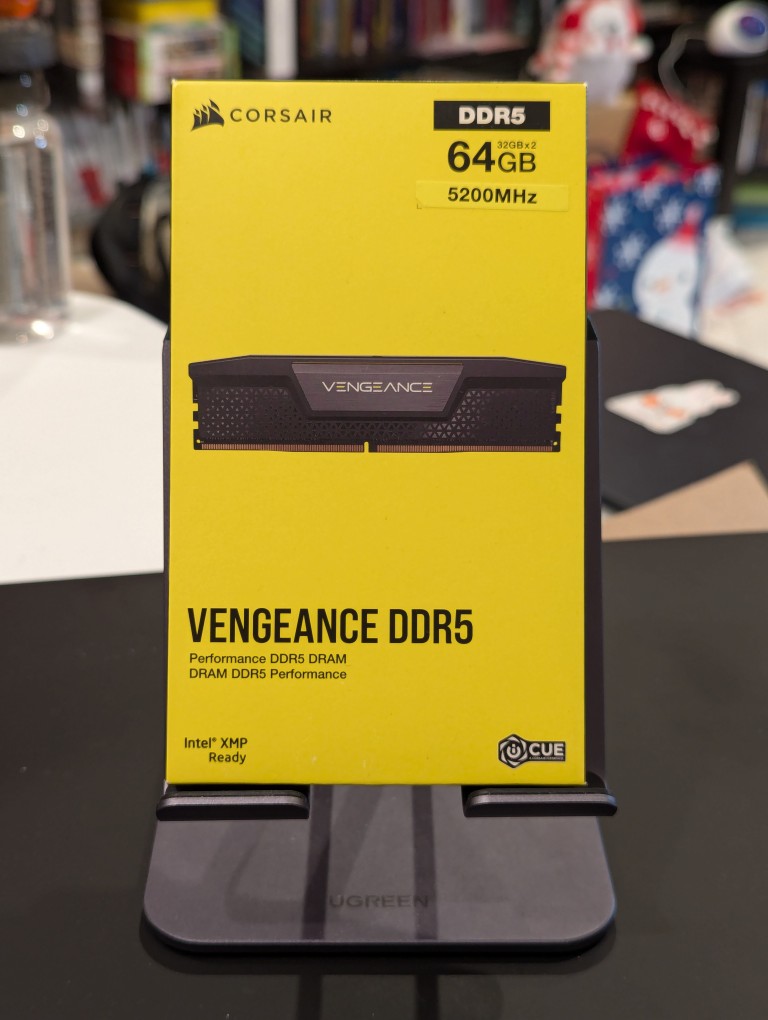
Next, I installed the RAM that I just received–64GB Corsair Vengeance DDR5-5200 RAM (32 GB x 2).
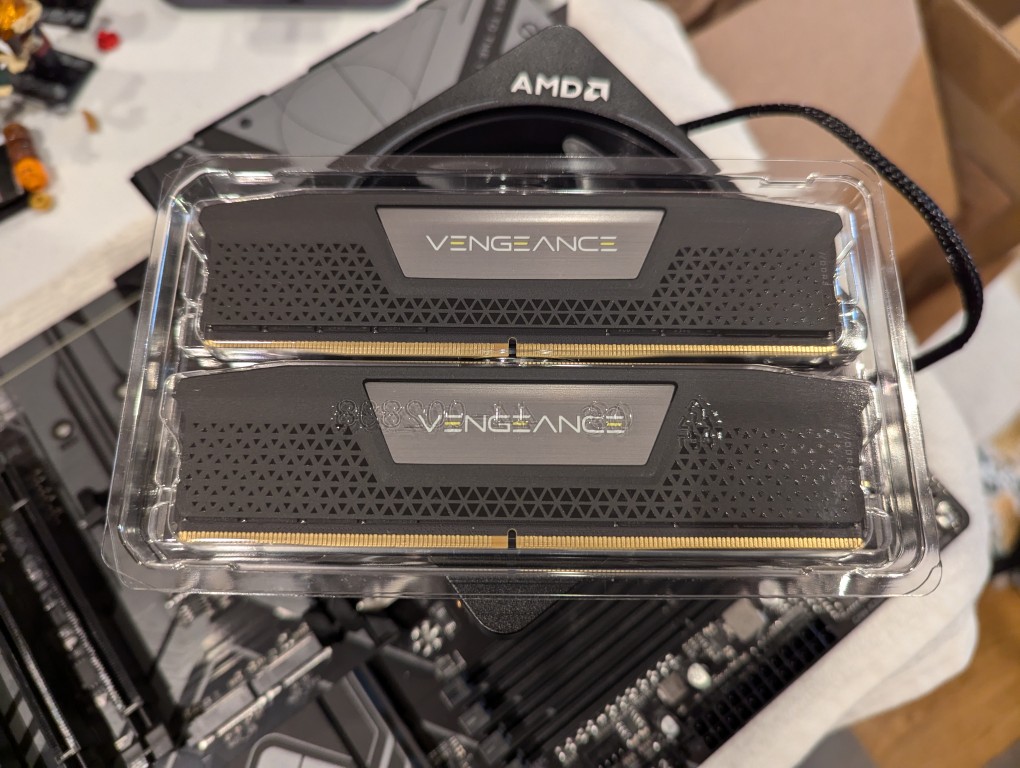
This RAM runs at the stock highest speed for the 7700 CPU (though, I had to manually change the multiplier to 52x in the BIOS as it was registering as only DDR5-4800–it passed memtest86+ at the higher setting without any errors). As you can see above, it has nice heat spreaders built-in.
It’s important to note that I went with less RAM than my old system, because it’s well known that the AM5 platform and its current processors are not good at supporting higher RAM speeds for more than two RAM sticks. Since I’m focusing on doing inference with the video cards instead of the CPU (as I had done with the old system), I didn’t need as much RAM. Also, I figured that if I make the leap to a workstation-class CPU and motherboard, I can make a larger RAM investment as those systems also support 8-channel memory (more bandwidth, meaning faster inference) as opposed to the 2-channel memory (less bandwidth, slower CPU inference) on this consumer-focused motherboard.
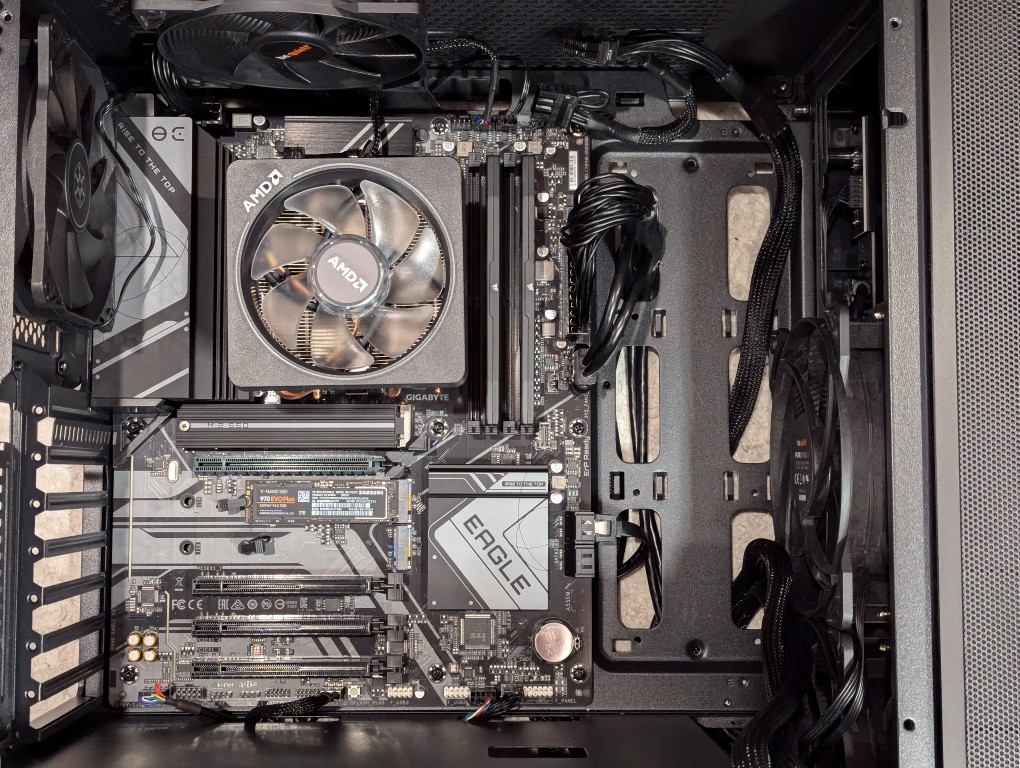
Then, I installed two Samsung nvme SSDs on the motherboard–one under the headspreader directly below the CPU in the photo above and one below the top PCIe slot before installing the motherboard in my new, larger Silverstone FARA R1 V2 ATX midtower case after adding the few additional standoffs that were needed for an ATX motherboard.
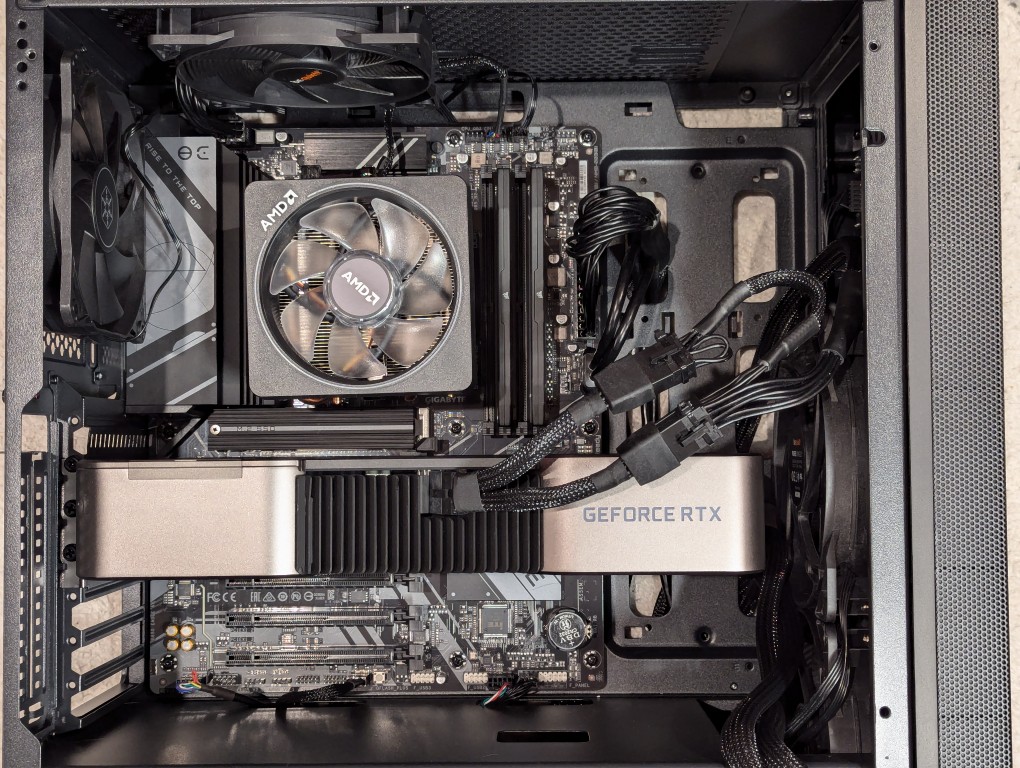
Out of frame, I installed the Corsair PSU in the chamber below the motherboard compartment after connecting the extra power cables that I needed for the three additional video cards. Then, I plugged in the 3090 video card and connected its two 8-pin PCIe power connectors.
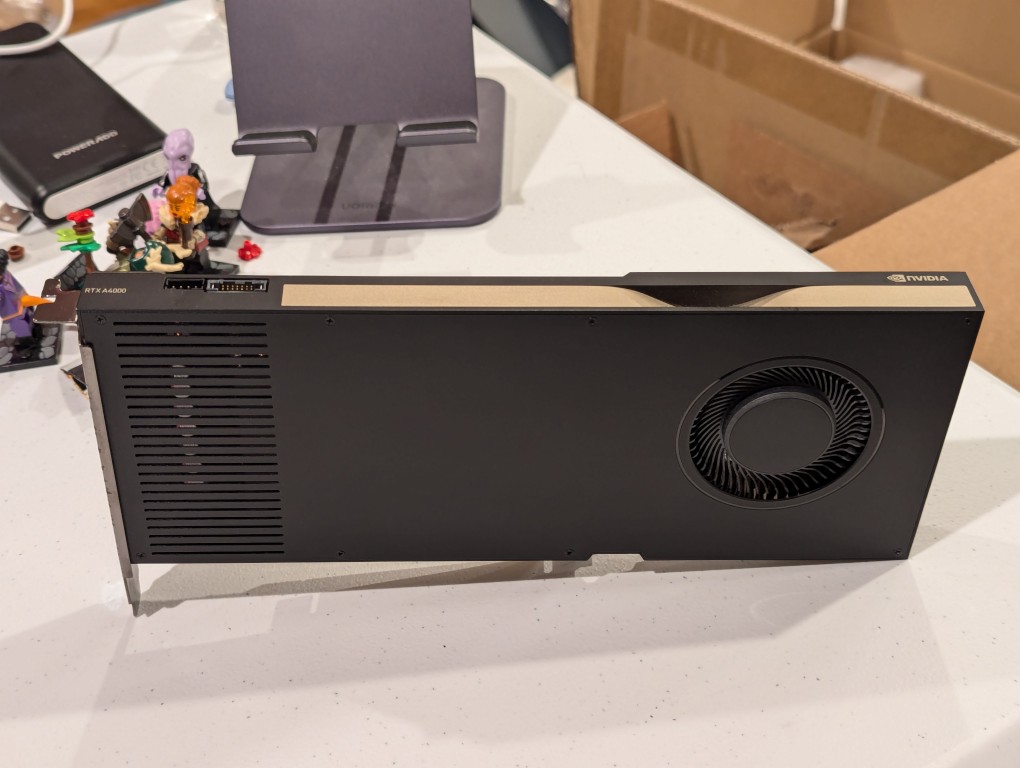
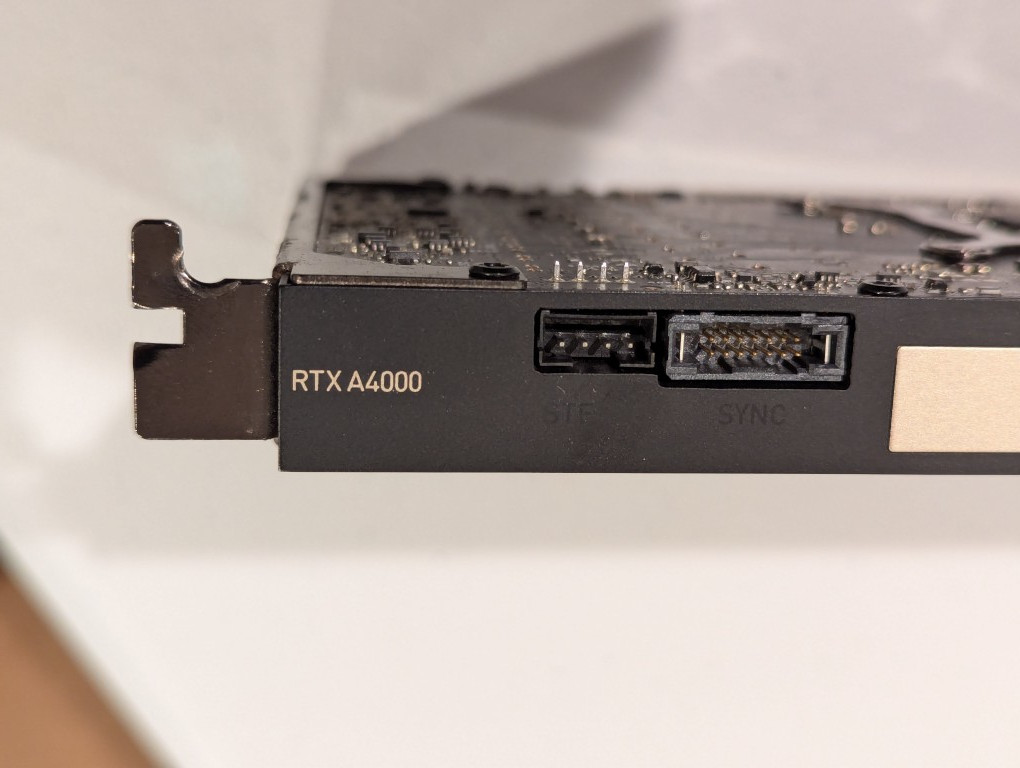
Then, I turned my attention to the three used RTX A4000 video cards that I got off of eBay. They are single slot PCIe cards with a 6-pin PCIe power connector built into the front of the card close to the top edge.
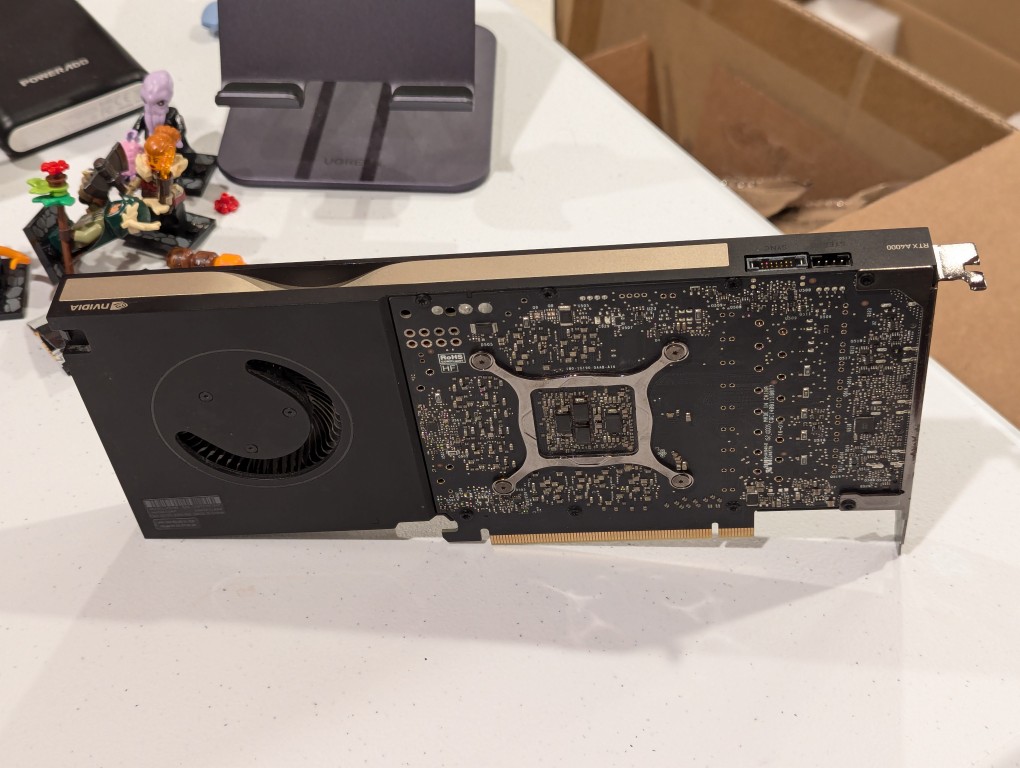
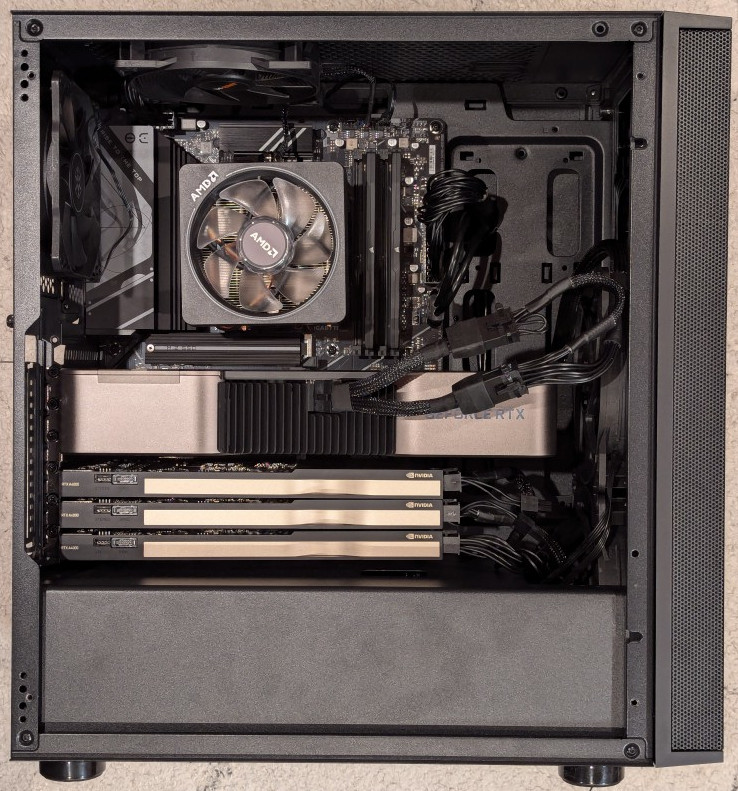
I installed the three RTX A4000s into the lower three slots and connected a 6-pin power cable to each one.
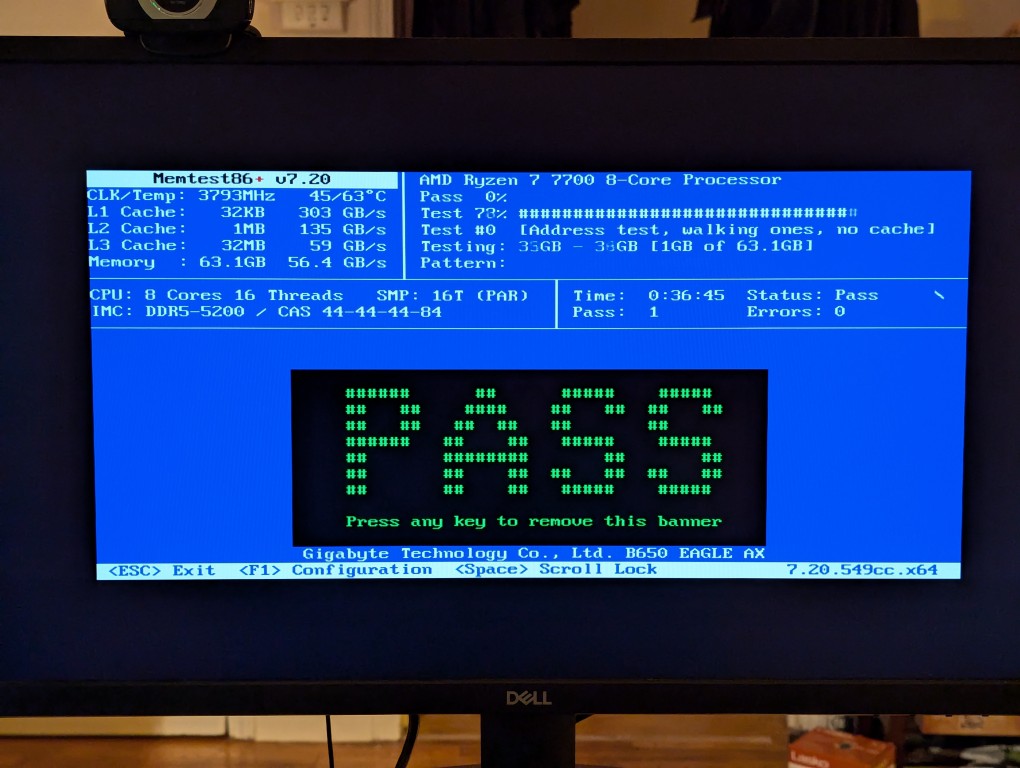
After double checking all of the connections, I powered up the system and booted from a thumbdrive loaded with memtext86+ after disabling Secure Boot in the BIOS. Before going to the trouble of installing an operating system, I wanted to make sure that the new RAM was error free.
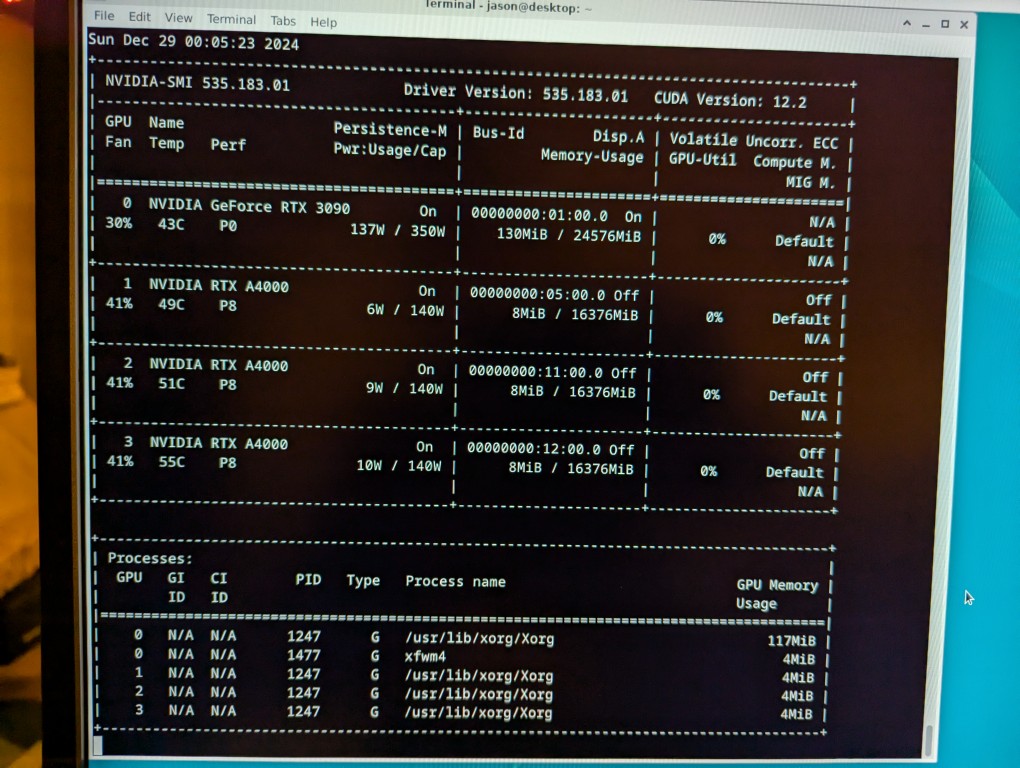
With the RAM checking out, I proceeded to boot from another USB thumb drive loaded with the Debian 12 Bookworm installer. I formatted one of the 2TB Samsung nvme SSDs as the boot drive (LVM with encryption), installed Debian 12, configured the non-free repos, installed the closed source NVIDIA drivers, and checked to make sure all of the video cards were being recognized. nvidia-smi shows above that they were!
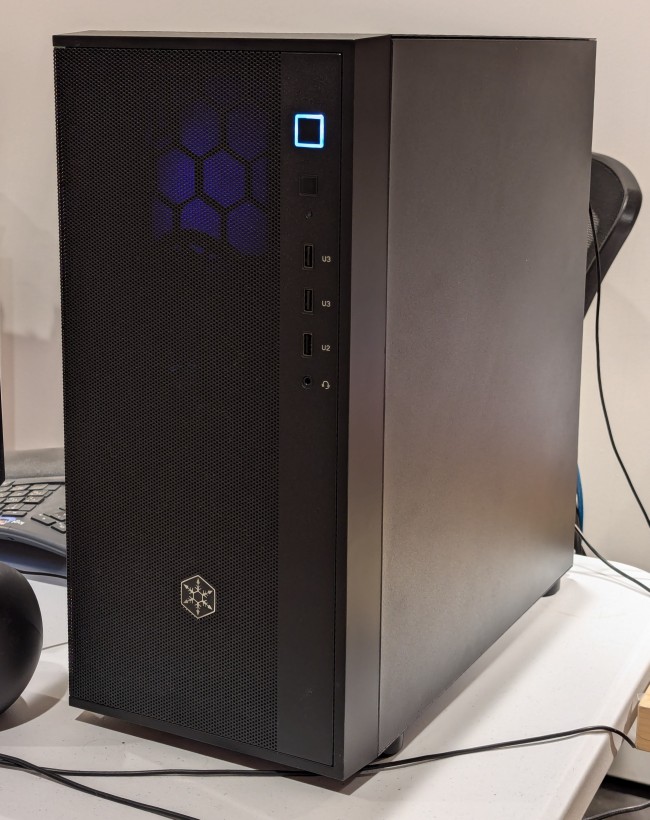
While testing it, I have it situated on my desk back-to-front, so that I can easily disconnect the power cable and open the side panel.
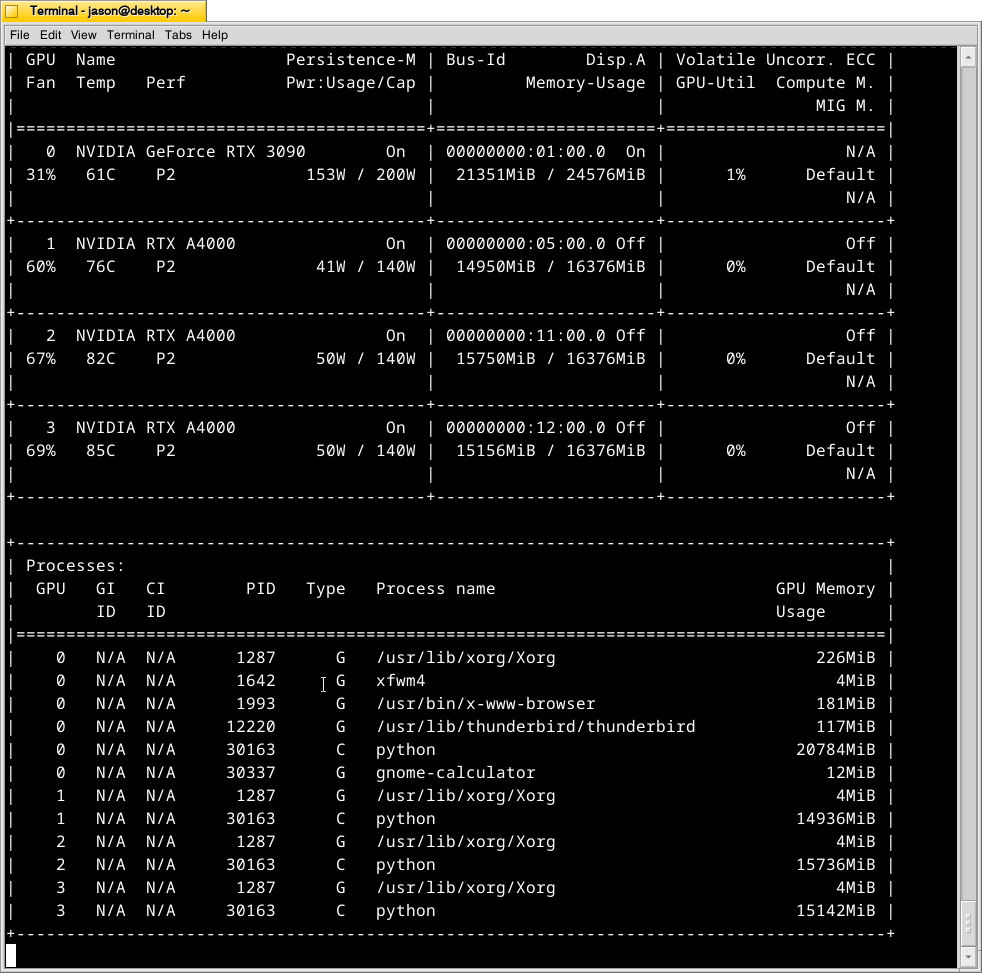
The immediate fix that I need to make is improving the cooling for the video cards–especially the three RTX A4000s that are tightly packed at the bottom of the case. Looking at the second column from the left under each video card named is a temperature measurement in Celsius on the nvidia-smi screen captured during a text generating session, each lower card is running hotter than the one above it: the 3090 at the top is reporting 61C, the A4000 beneath it is reporting 76C, the A4000 beneath it is reporting 82C, and bottom most A4000 is reporting 85C. Besides the fact that they are right against one another in the case, there are two other concerns. First, the PCI slot supports on the case are partially covering the exhaust vents on each card. Second, the cooler outside air might not be making it to A4000s as well as I would like even though there are two 140mm fans positioned in the front of the case bringing in cooler outside air, which is exhausted by a 120mm fan in the back above the video cards and a 120mm fan on the top of the case above the CPU cooler. One option is to drill a large hold in the side panel and mount a 120mm fan there to blow outside air directly onto the A4000 cards. Another option that I might try first is rigging a channel from the back of the case to the A4000s to blow air from a two slot port above the A4000 cards to the top edge of those cards. The latter will require less work, so I’ll try it first and see if it changes the temperatures at all.
