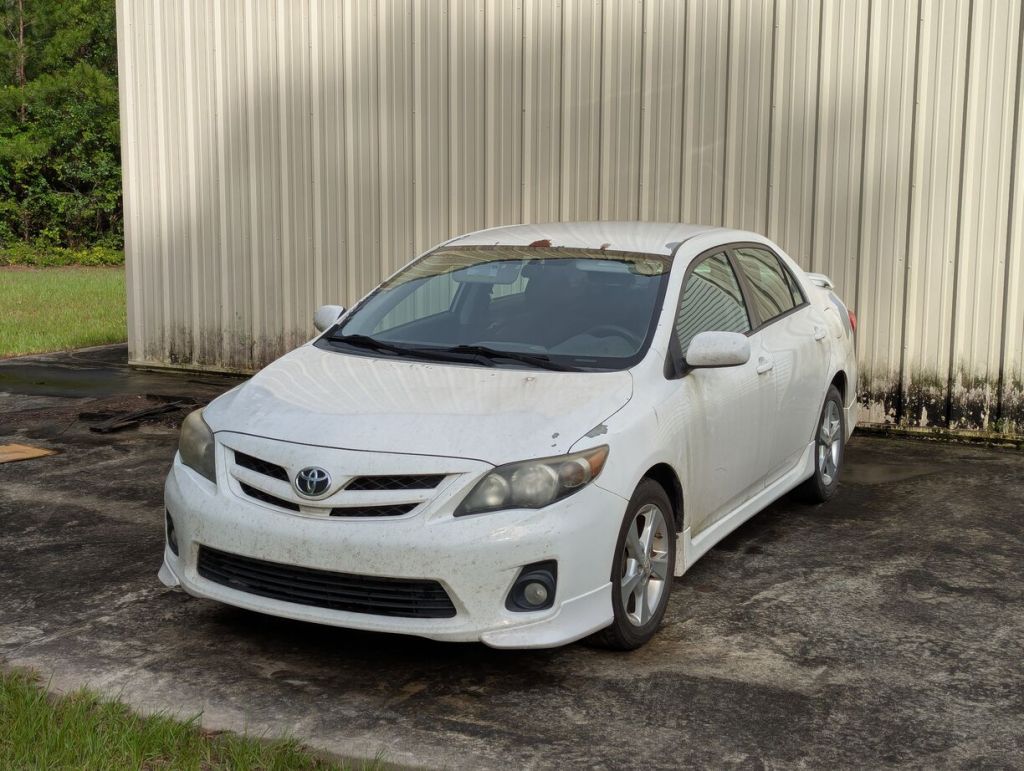
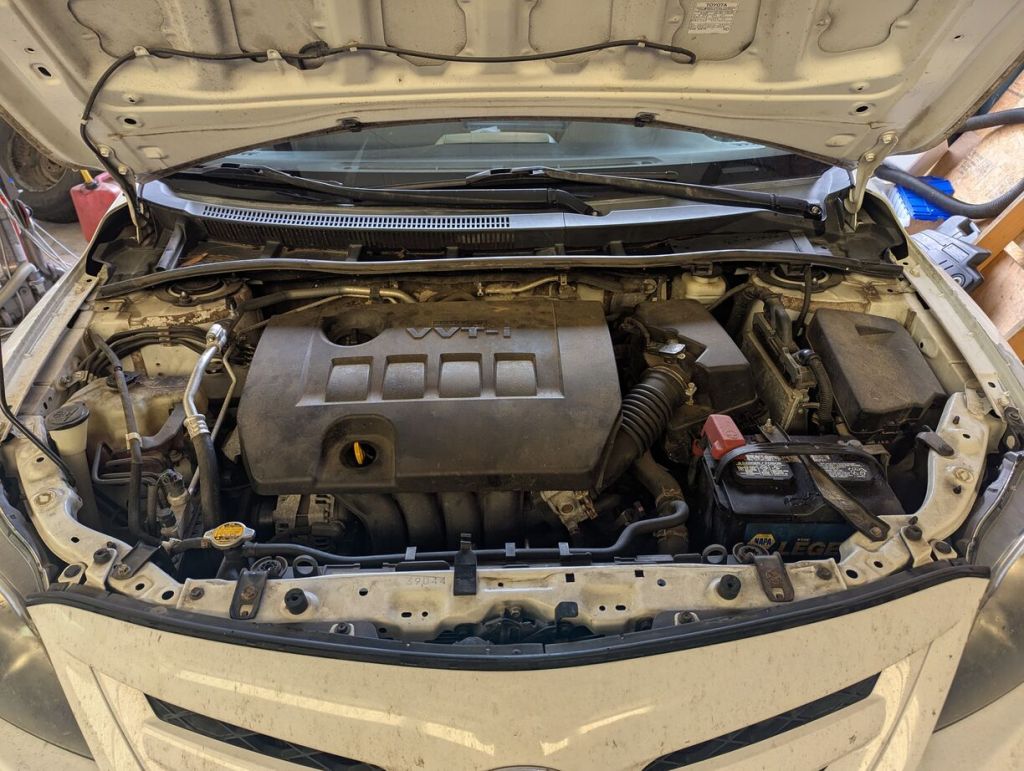
Last year, I wrote about removing a mouse infestation in my 2013 Toyota Corolla before driving it from Georgia to New York. At that time, I didn’t rat proof the Corolla, but since I recently did that work on my folks’ RAV4 as I wrote about yesterday, I figured that I should do the extra work to mouse proof the Corolla while I was primed to do it.
Preventing mice from entering the Corolla is slightly more involved than the 2017 RAV4 as I couldn’t find any evidence for mice entering the pressure vents on the RAV4, but I did find that in the Corolla. So, I wanted to prevent mice from entering the cabin air vent under the windshield cowl and the two rear pressure vents on the rear quarter panels inside the trunk of the Corolla.
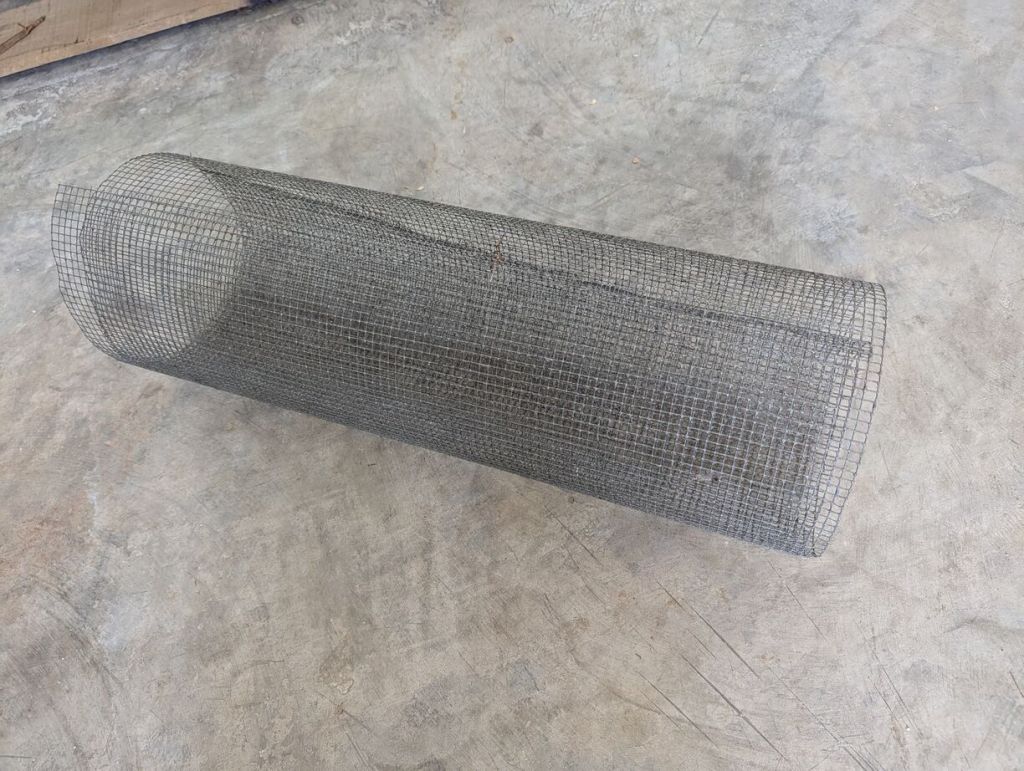
I used metal wire with a 1/4″ grid.
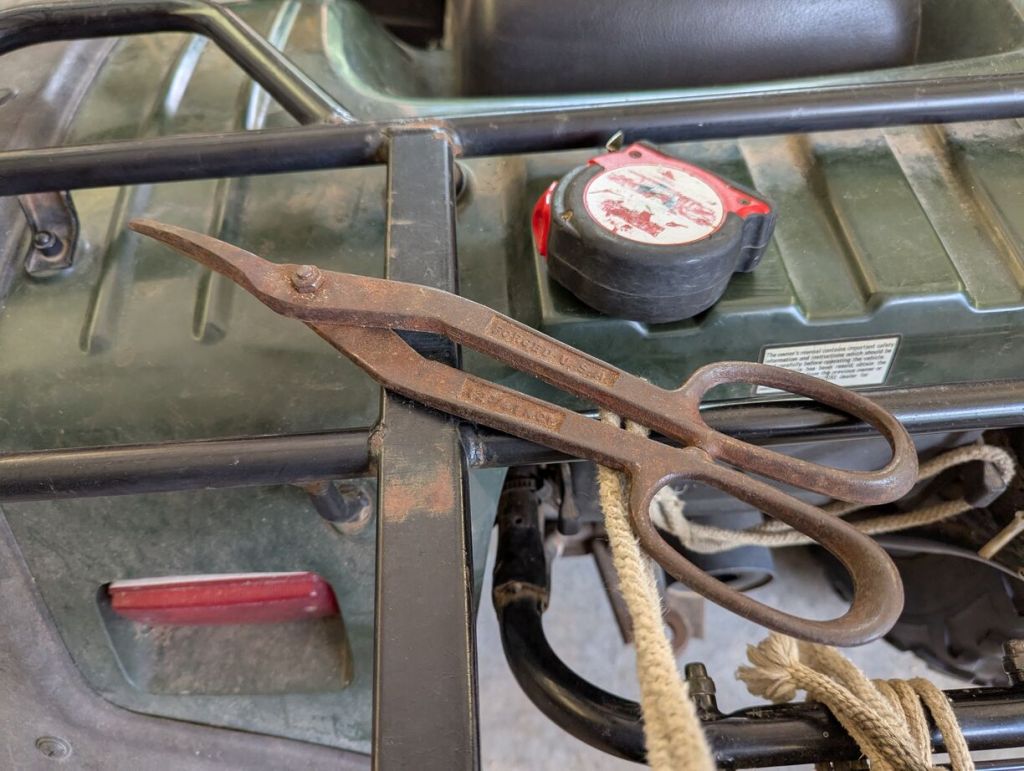
I used tin snips to cut the metal wire.
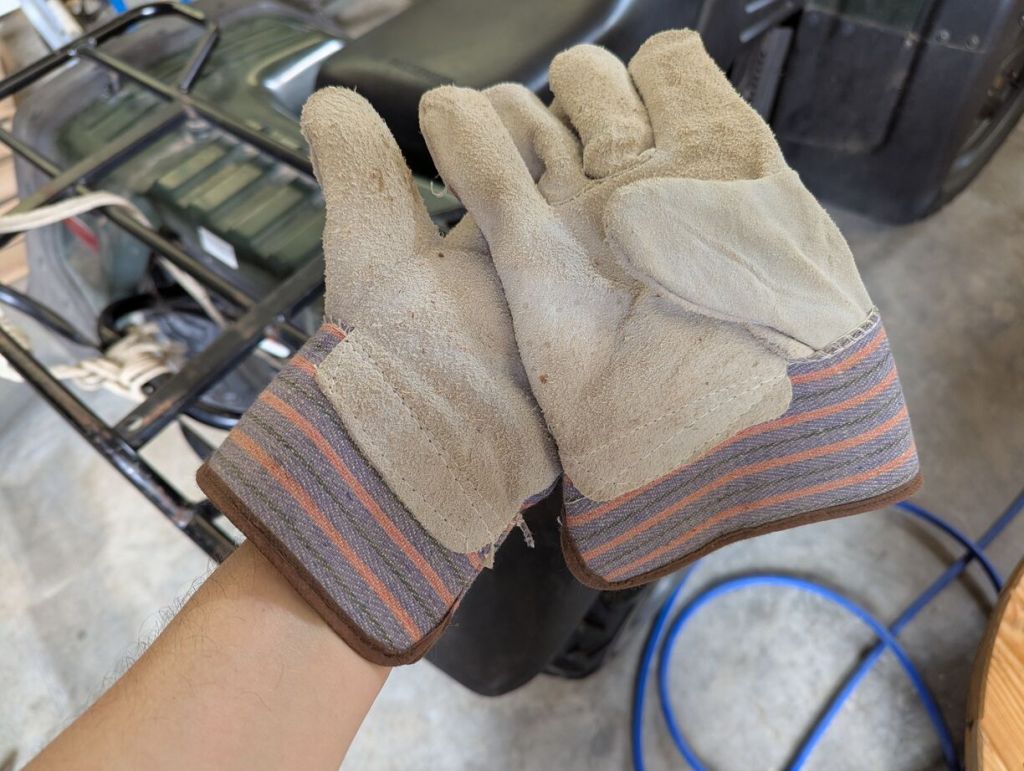
And, I wore leather gloves while working with the metal wire, because the cut end easily cut and poke skin.
The first place to prevent rodents from entering the vehicle’s cabin is the cabin air intake under the windshield cowl. Unlike the 2017 RAV4, you don’t have to take off the windshield wiper arms to access it (I wasn’t paying attention to how the cowl was designed with a break, which would have saved me this trouble). The cowl is held on with plastic push pins and built-in snaps. Due to the plastic being brittle, the pins broke, but the built-in snaps remained usable.
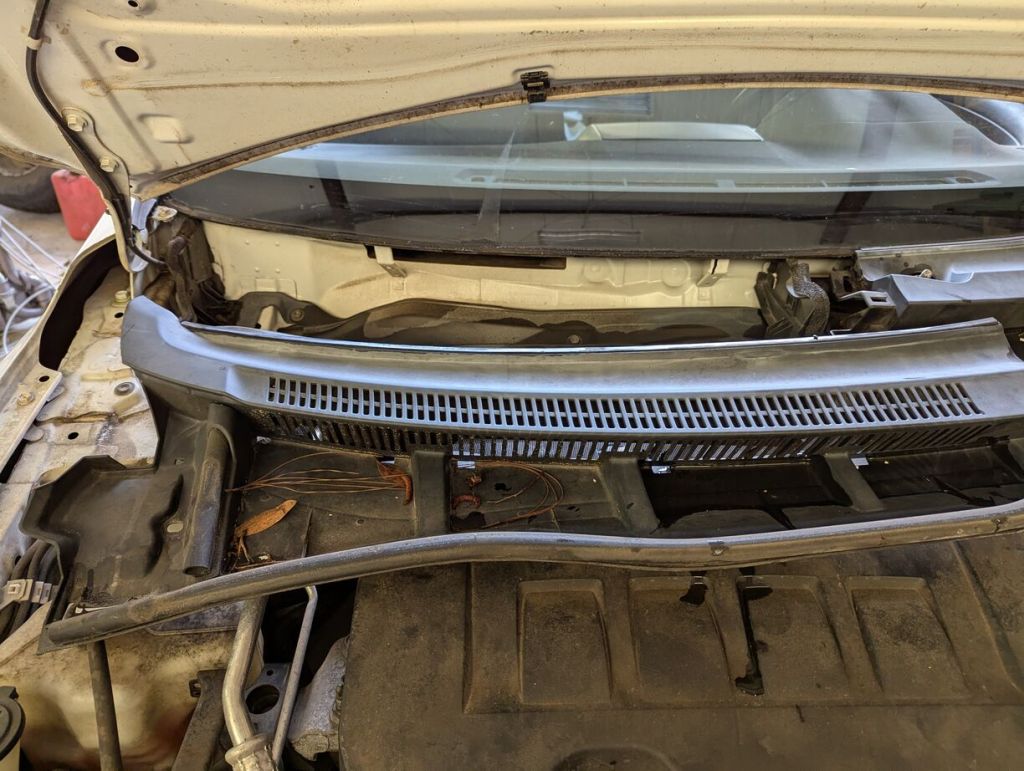
Pulling the cowl out of the way, you can see the cabin air intake below the windshield on the passenger side of the vehicle.
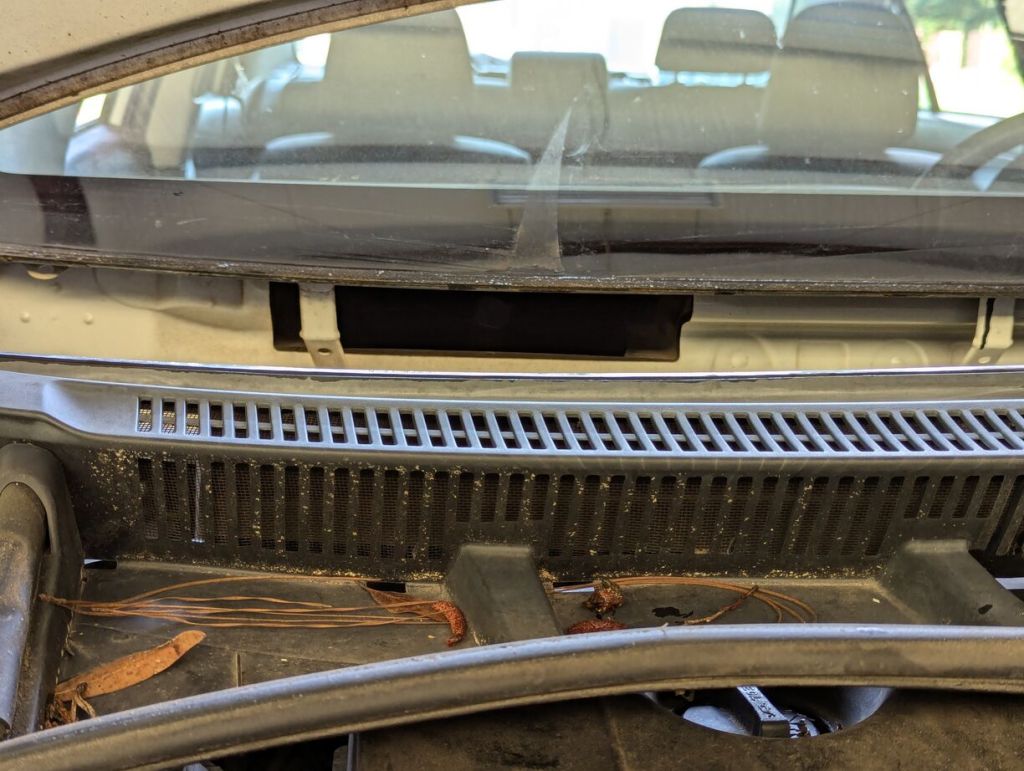
With the Corolla, the cowl has a metal mesh built-in mean to stop the entrance of rodents into the vehicle’s cabin. Unfortunately, mice can squeeze through where the cowl contours against the metal body of the vehicle on the edges, which is likely how some of the rodents got into my Corolla.
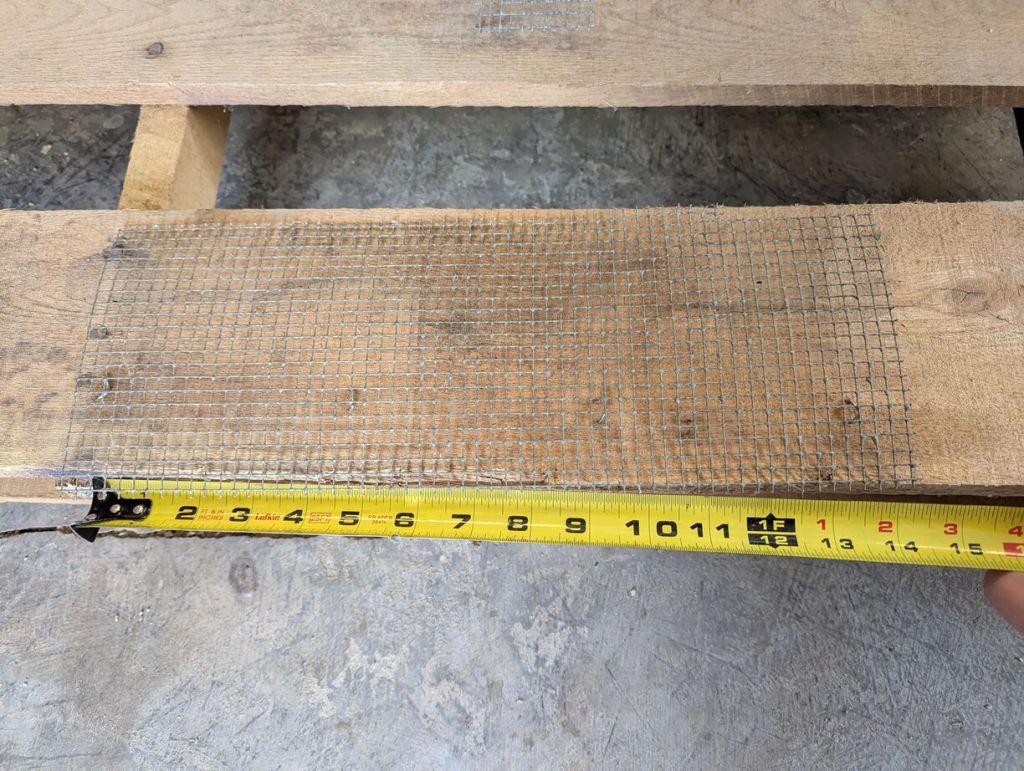
I cut a 14″ x 6″ sheet of metal mesh to cover the cabin air intake.
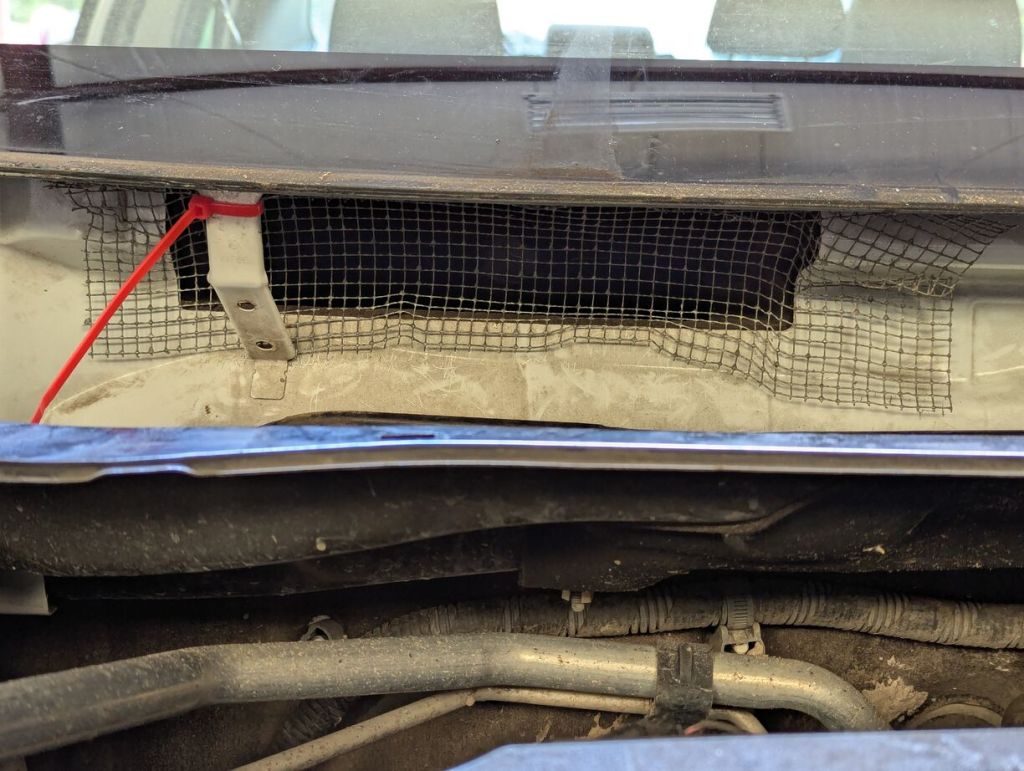
I shaped it with my hands and a hammer to enter the opening and contour around the body, and I used one zip tie to secure this first sheet.
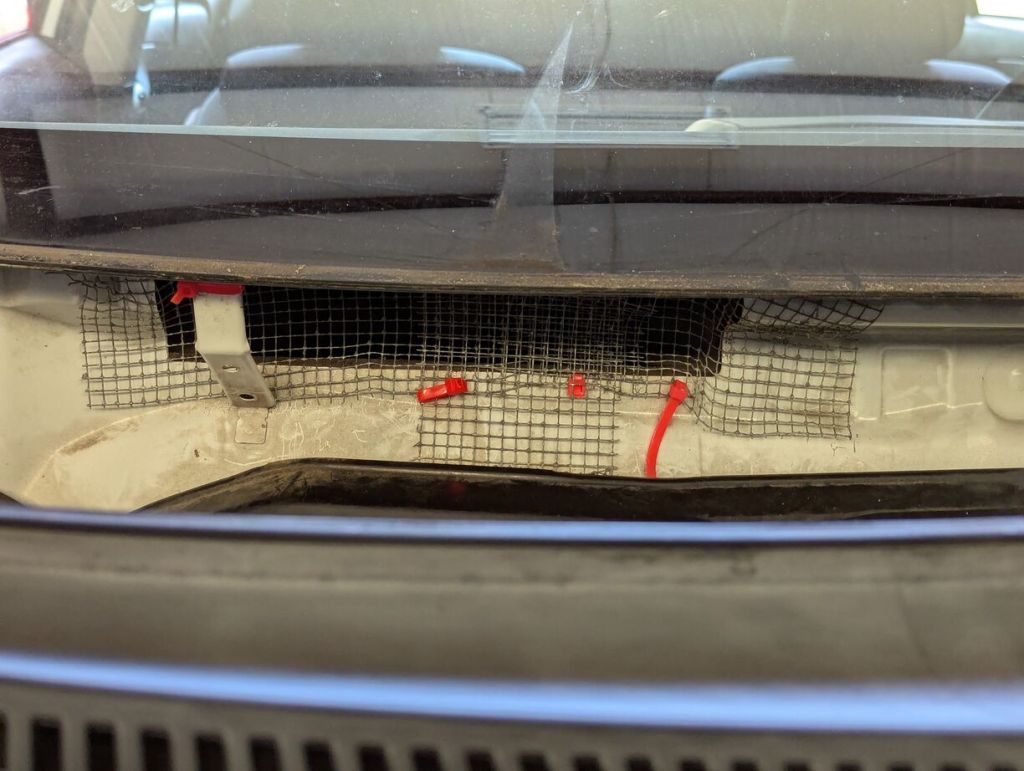
To further reinforce it, I cut a narrow and long piece that I wedged under the body lip under the windshield and under the lip where the cowl’s bottom edge sits. This applies pressure to the middle of the mesh covering the cabin air intake to ensure the mesh can’t move.
I pushed the cowl back into place and secured its left edge with a zip tie through the push pin hole that had broke during removal.
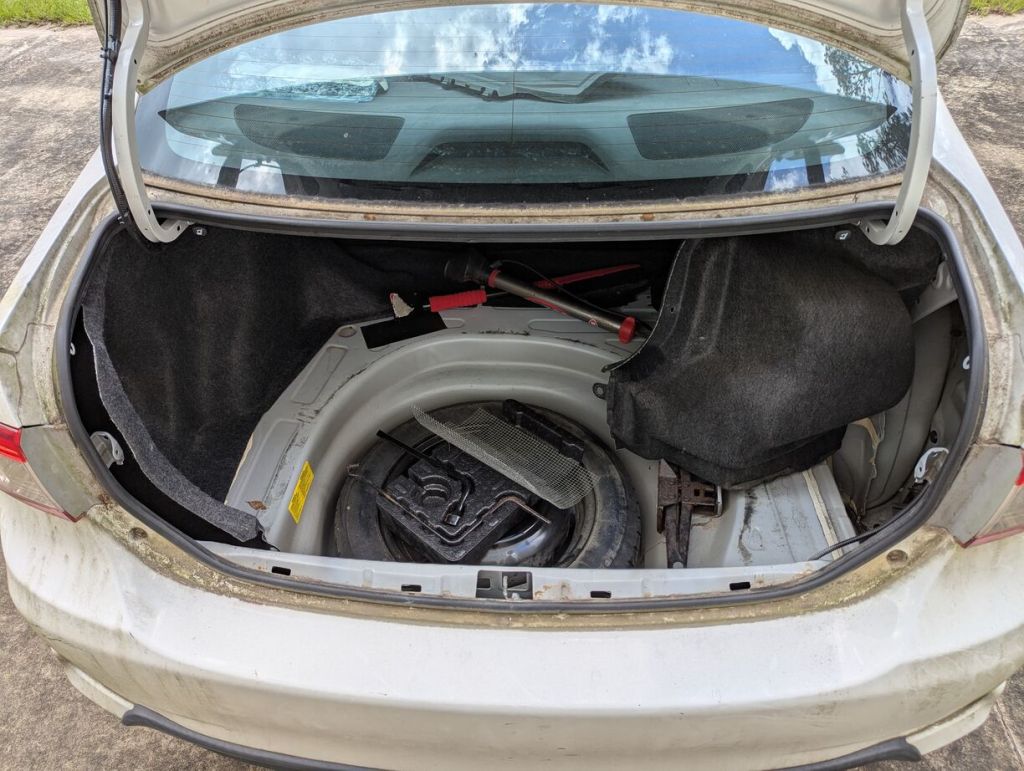
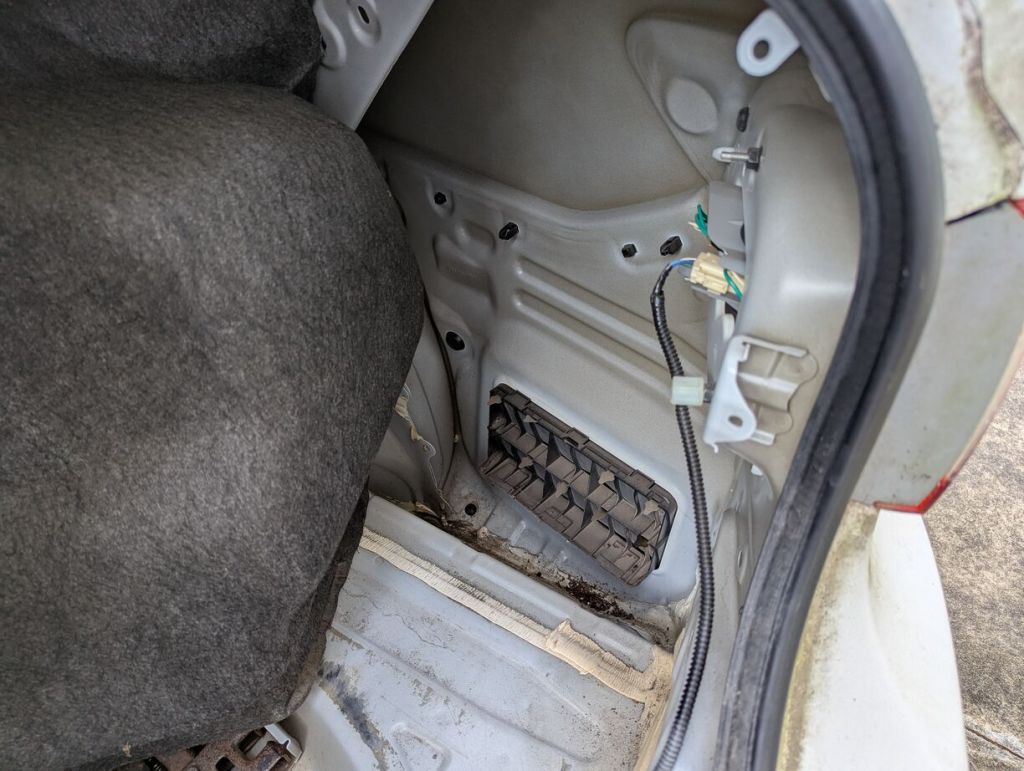
Next, I worked on the pressure vents in the driver and passenger rear quarter panels, which are accessible via the trunk. To find them, remove the trunk floor covering the spare tire, pull out the plastic latch cover above the bumper, and pull out the pins holding the upholstery over the trunk’s sides. You’ll find one pressure vent on either side behind the upholstery.
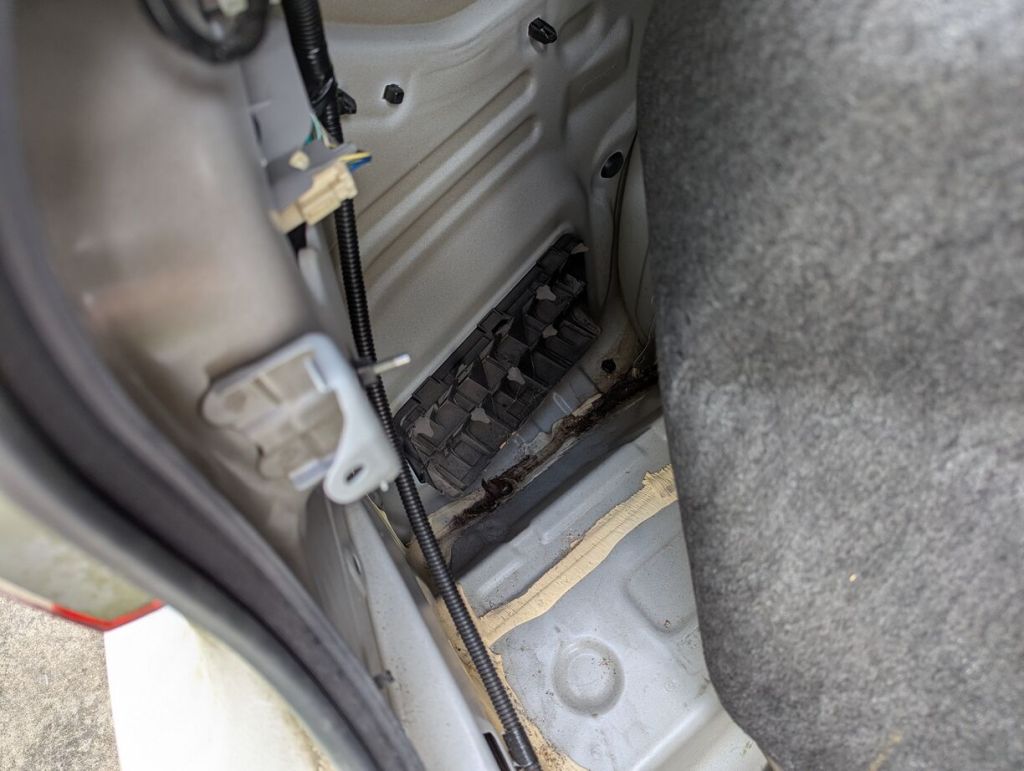
I worked on the driver’s side pressure vent first.
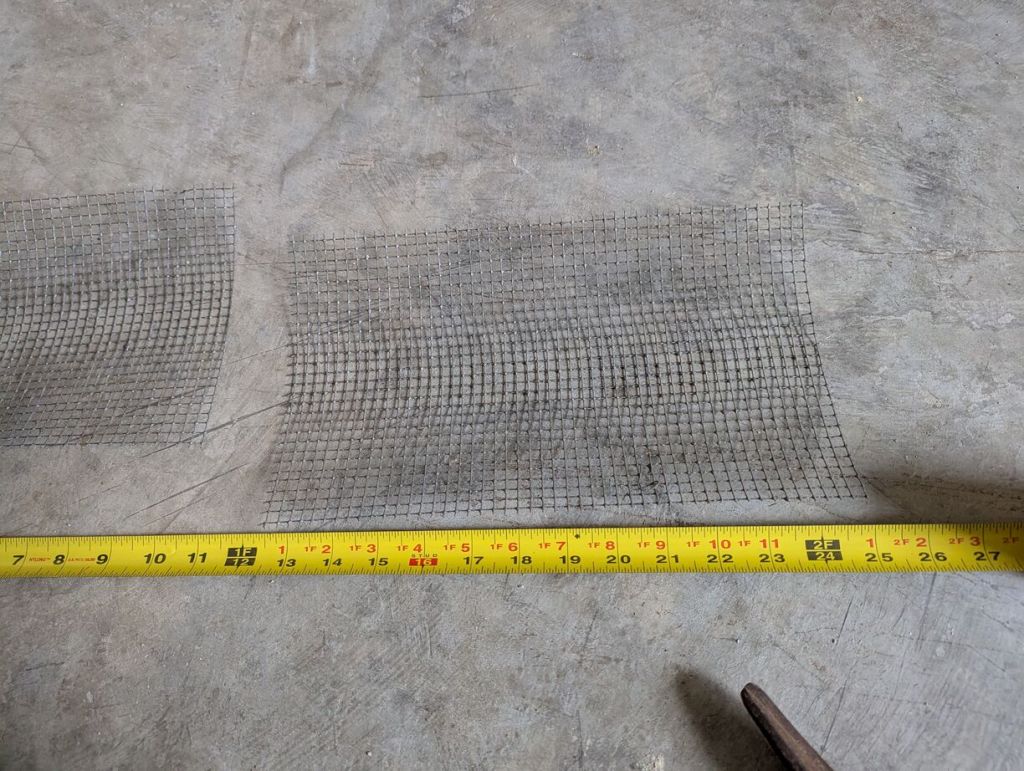
I cut a 14″ x 7″ piece of metal mesh to cover this opening.
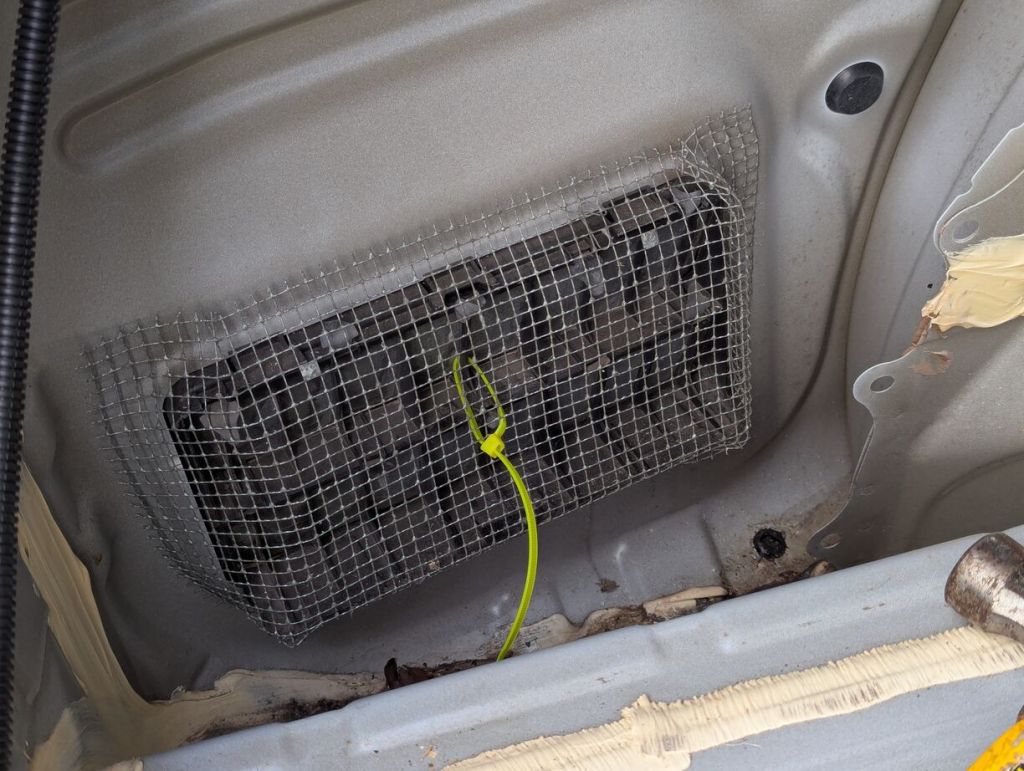
Using my gloved hands and a hammer, I shaped the metal mesh to contour around all sides of the vent against the metal body, and I used a zip tie to hold it securely in place.
I worked on the passenger side pressure vent next.
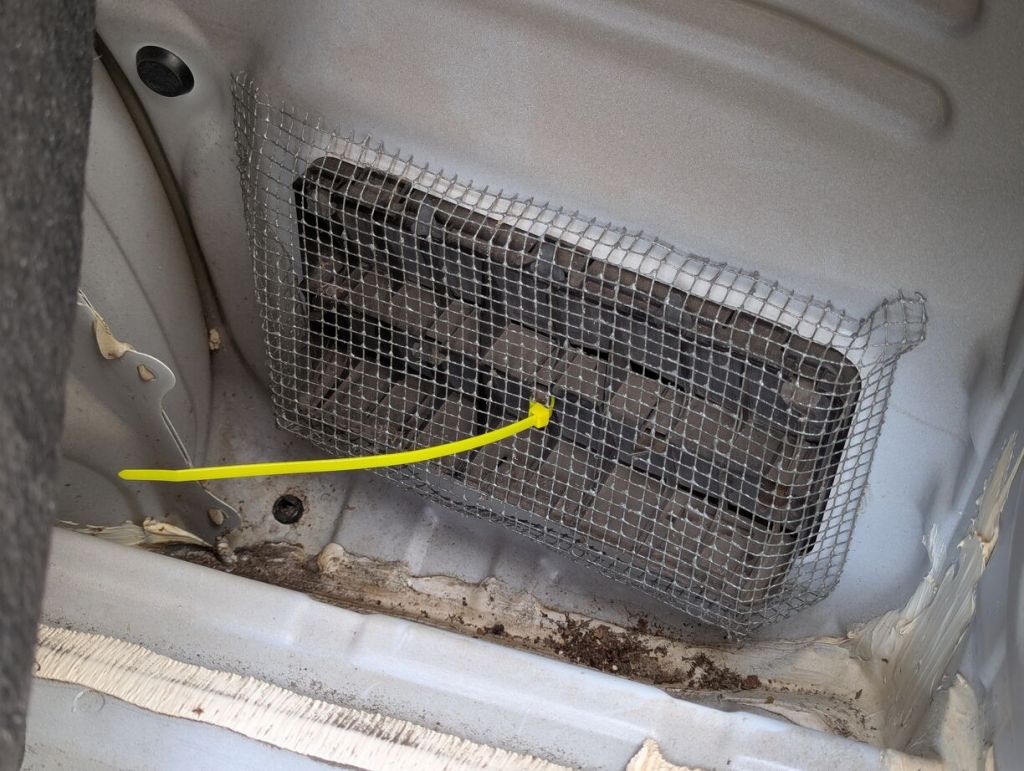
I cut the same size piece of metal mesh, shaped it around the vent against the body and fastened it with a zip tie run through the middle of the vent.
I hope that we don’t have to deal with rodents in the Corolla again. When we purchase a new vehicle, I will secure these openings in that vehicle as the first thing that I do.
