Usually when folks talk about Everyday Carry (EDC), they are referring to preparedness, emergency readiness, and SHTF. It can also mean the kit that one carries on his or her person everyday for whatever reason. I would like to expand EDC to include LEGO.
For me, and I suspect many others, LEGO is a source of imagination, thought, expression, and stress relief. Why not carry a selection of LEGO bricks, pieces, and minifigures with you for any eventuality–thinking through a problem, filling spare time, demonstrating an idea to others, or sharing fun with a friend.
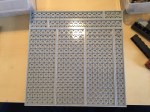
Muji’s Portable Case (64 x 52 x 20 mm) is a very good size for an essentials-only LEGO kit that can fit in a shirt pocket, pouch, or bag (shown above). The Portable Case easily holds two LEGO minifigures, a minifigure with bricks, or bricks alone. I have included photos of sample kits that I built to use with the Portable Case as a LEGO EDC: an off-road vehicle with obstacles, an aeronautics set, an Iron Man set, and a The Last Starfighter set with a Gunstar and Kodan Deck Fighter.
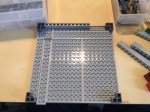
Off-Road Vehicle

")

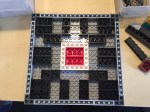
Aeronautics Set (with control tower, two rockets, and airplane)
")


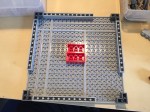
Iron Man Set (with attacking robot and blasted wall)


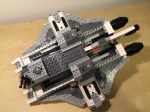
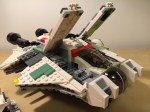
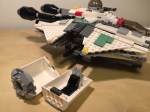
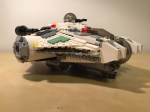
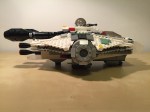
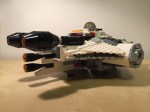
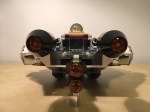
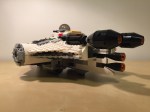
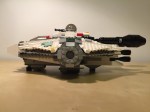
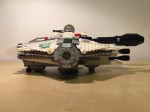
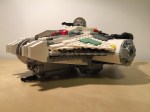
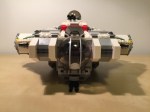
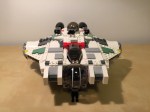
The Last Starfighter Set (with Gunstar, Kodan Deck Fighter, and asteroids)


Of course, these are only a few of the infinite possibilities for building your own LEGO EDC. An Altoids tin would serve a similarly good purpose to hold a small selection of LEGO bricks, elements, and minifigures for building on the go. I imagine that children (and not just AFOLs) would dig something like this, too.
I picked the Muju Portable Case due to its size and sturdy construction, but Muji has other size cases that would work well if you need to carry additional LEGO in your daily kit.


EDC LEGO kits should be something that bring joy to the work of imagination and building. Carry what you need, and keep your kit fresh for the cognitive and imaginative work at hand. Also, we can spread the joy that comes from this mind-work with our hands to others with customized kits tailored to friends or coworkers’ needs.