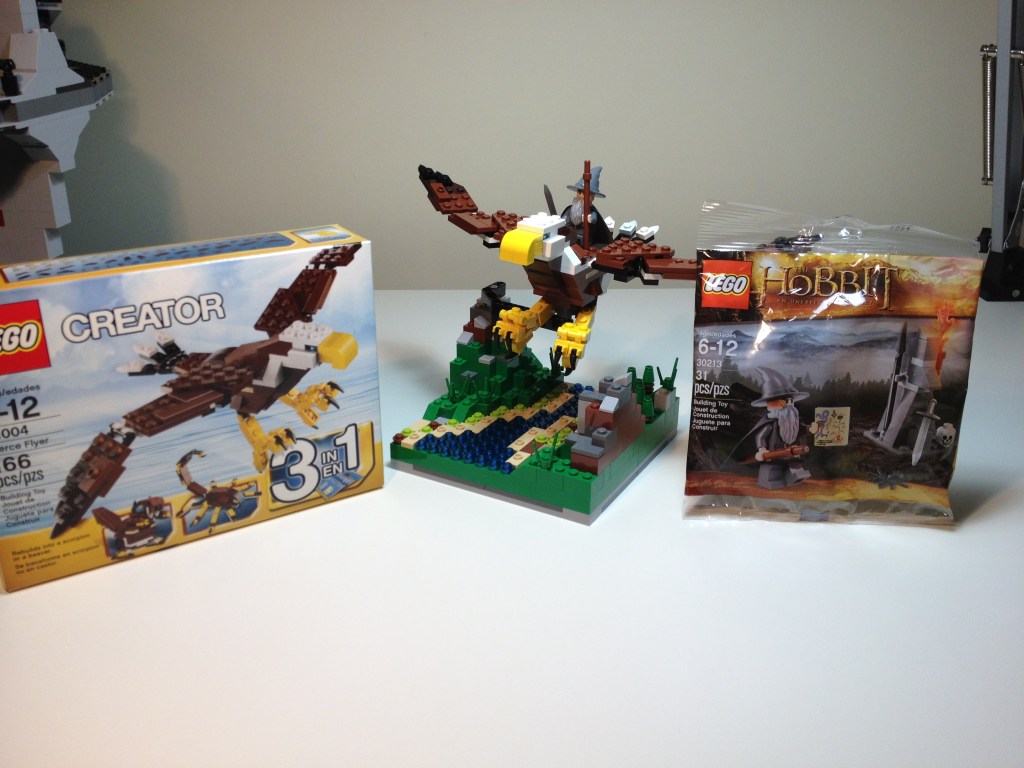
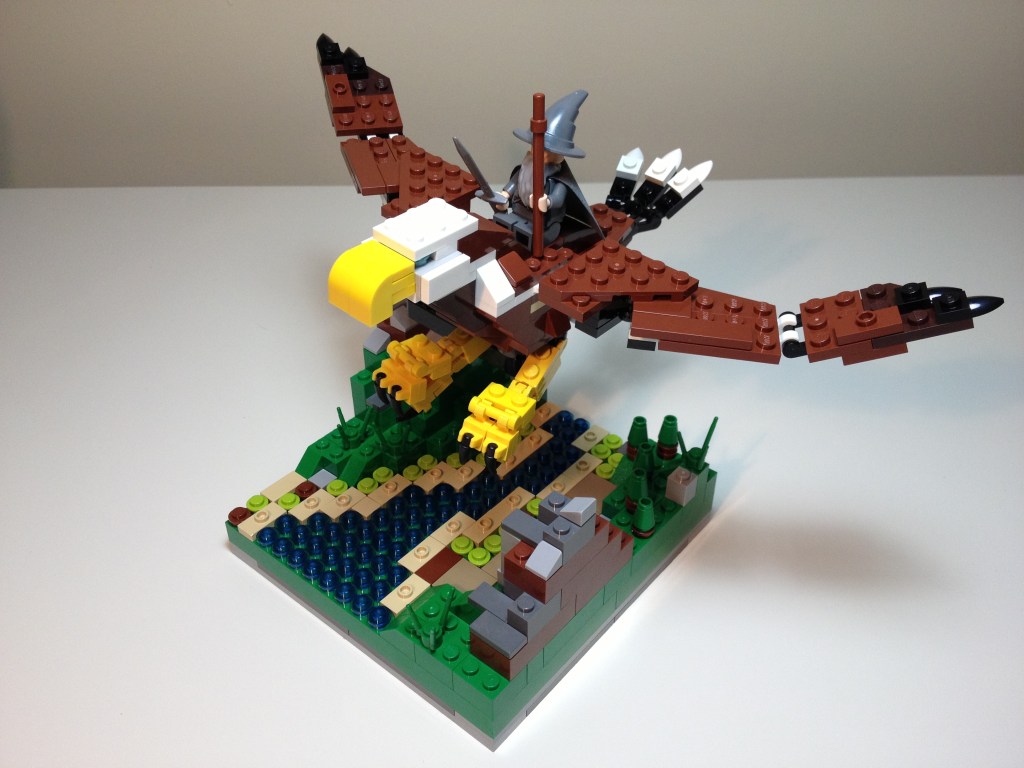
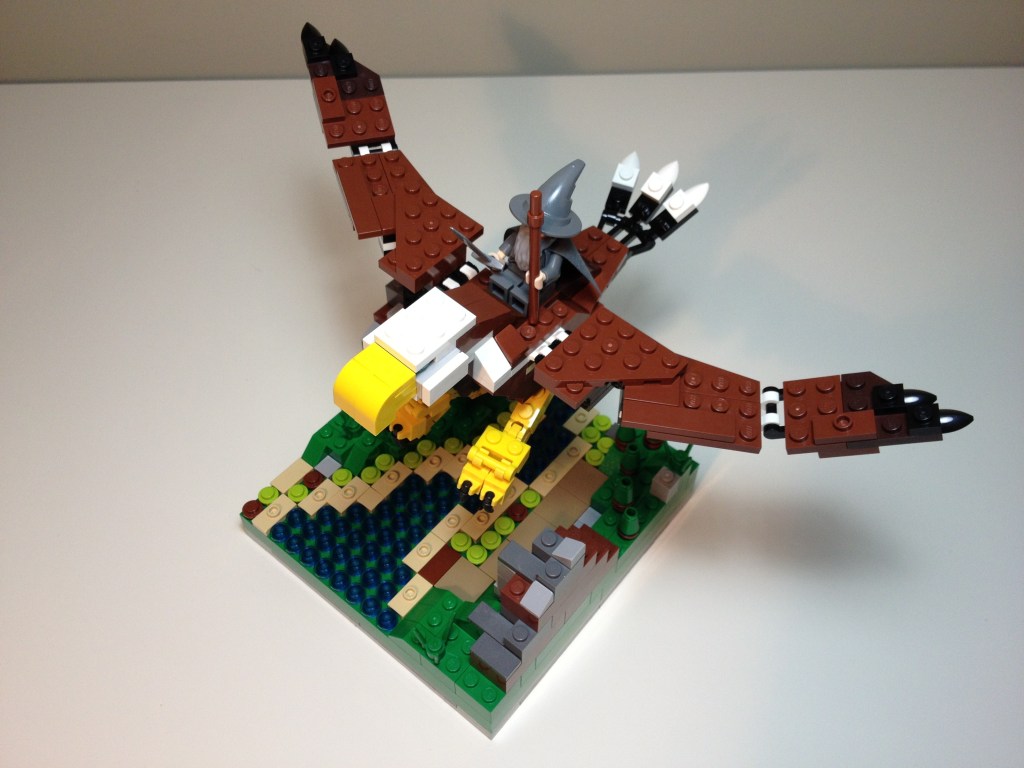
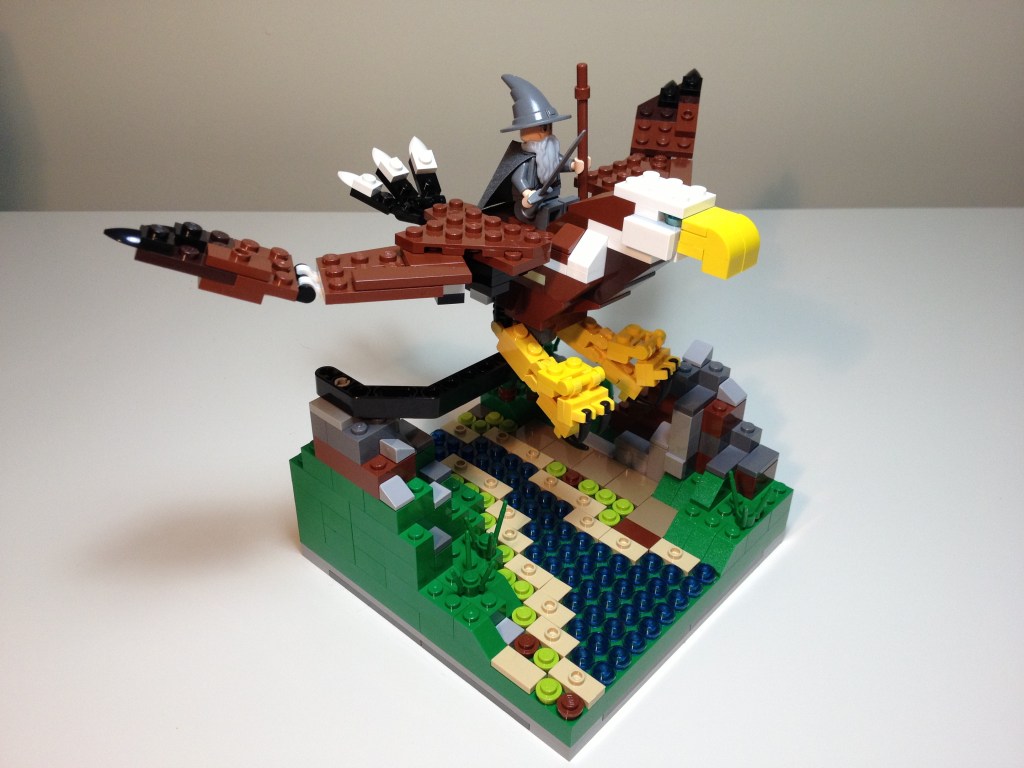
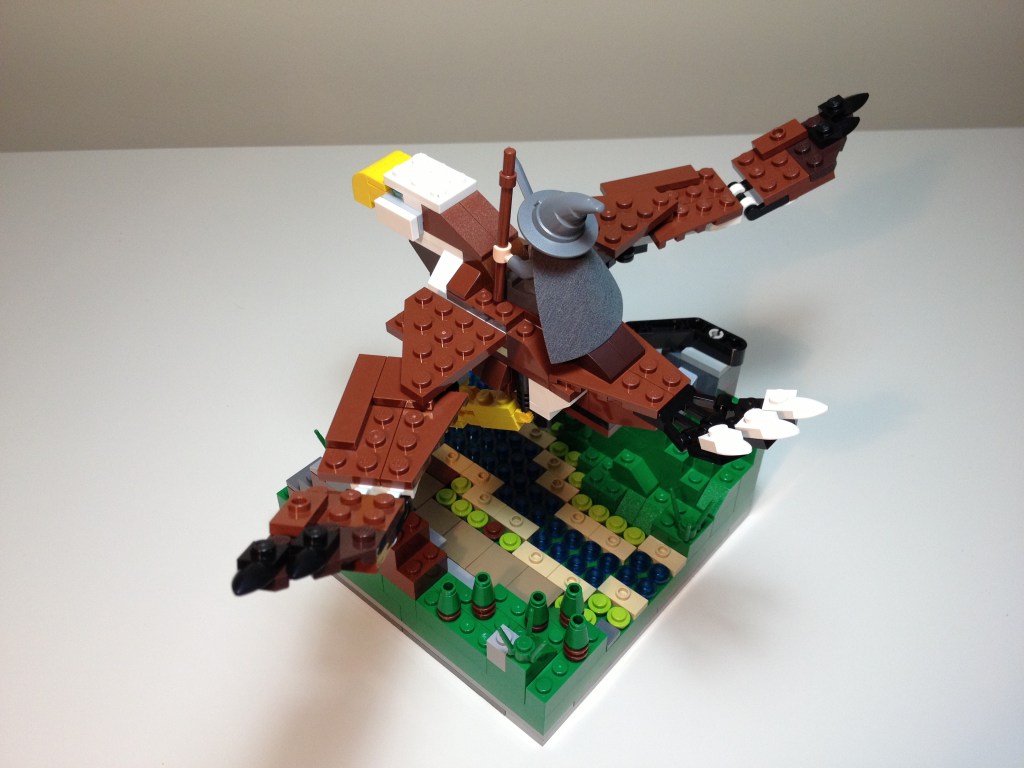
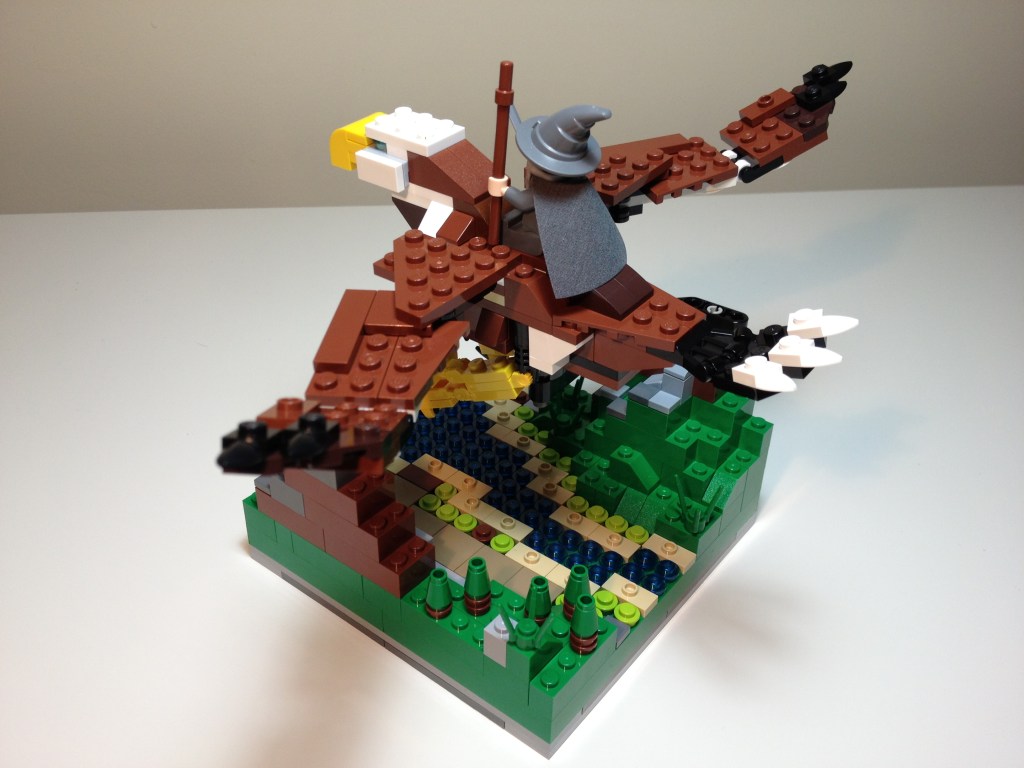
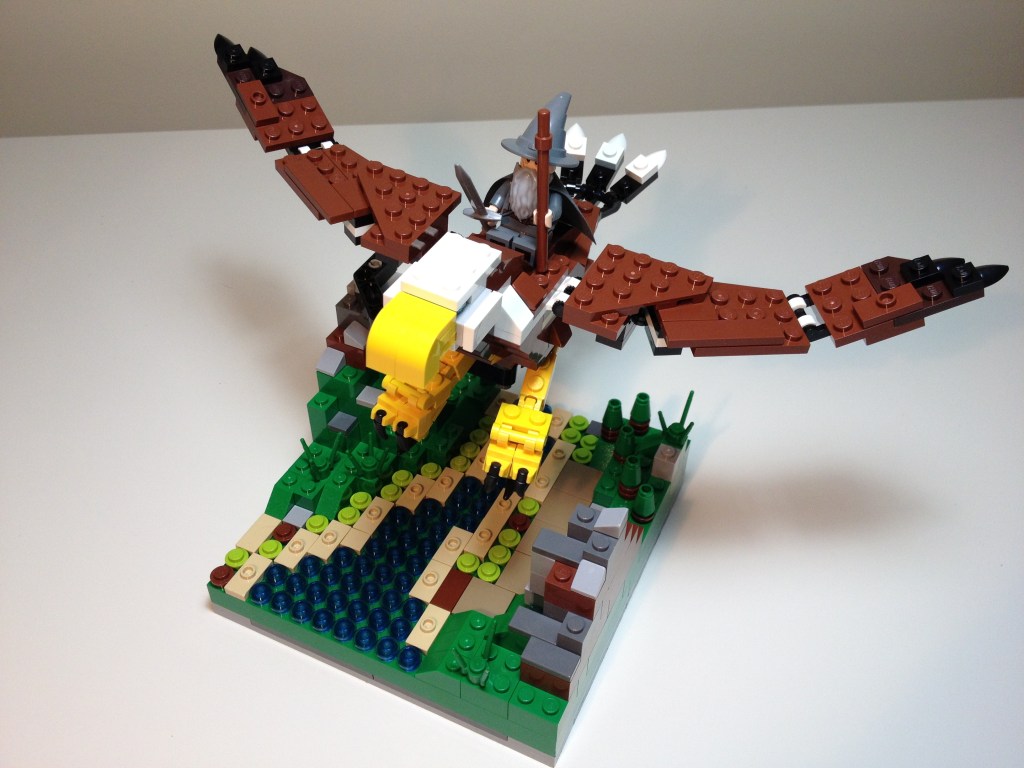
Back in 2013, I built a small LEGO MOC scene depicting Gandolf (from The Hobbit 30213 polybag set) riding on one of the great eagles (LEGO Creator Fierce Flyer 31004). The scene shows a miniature river flanked by mountainsides. I used one of the mountains to anchor a Technic support that buoyed the eagle carrying Gandolf on an important Middle Earth mission. Positioned correctly, the support isn’t seen and the eagle appears to be in midflight.
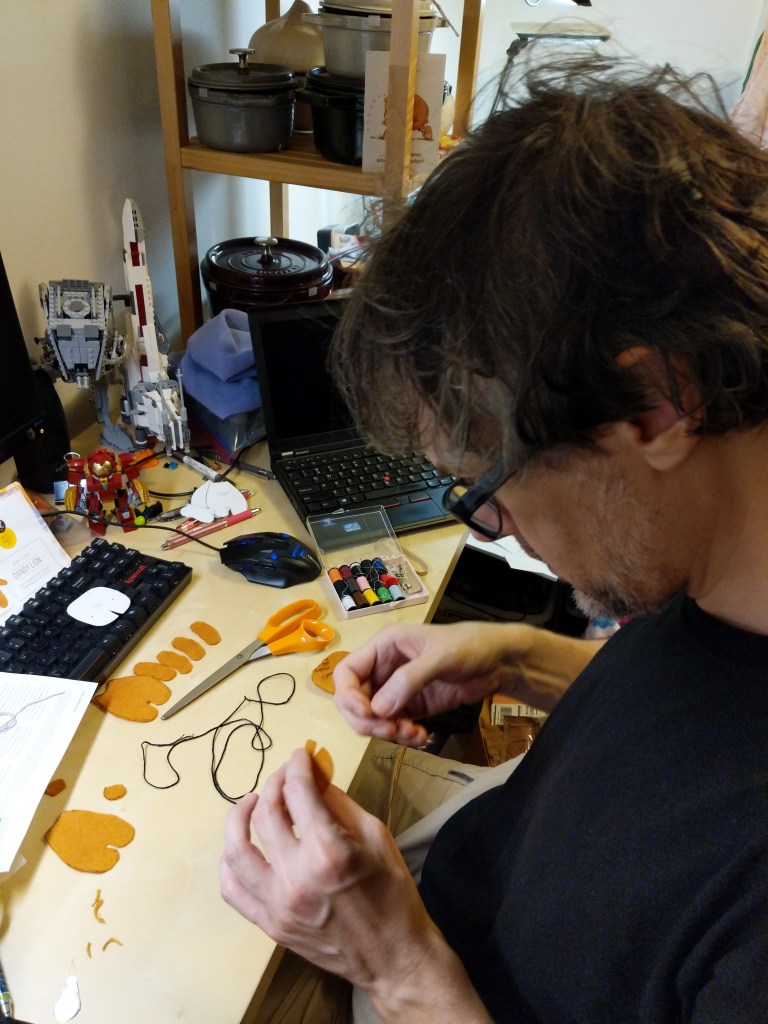
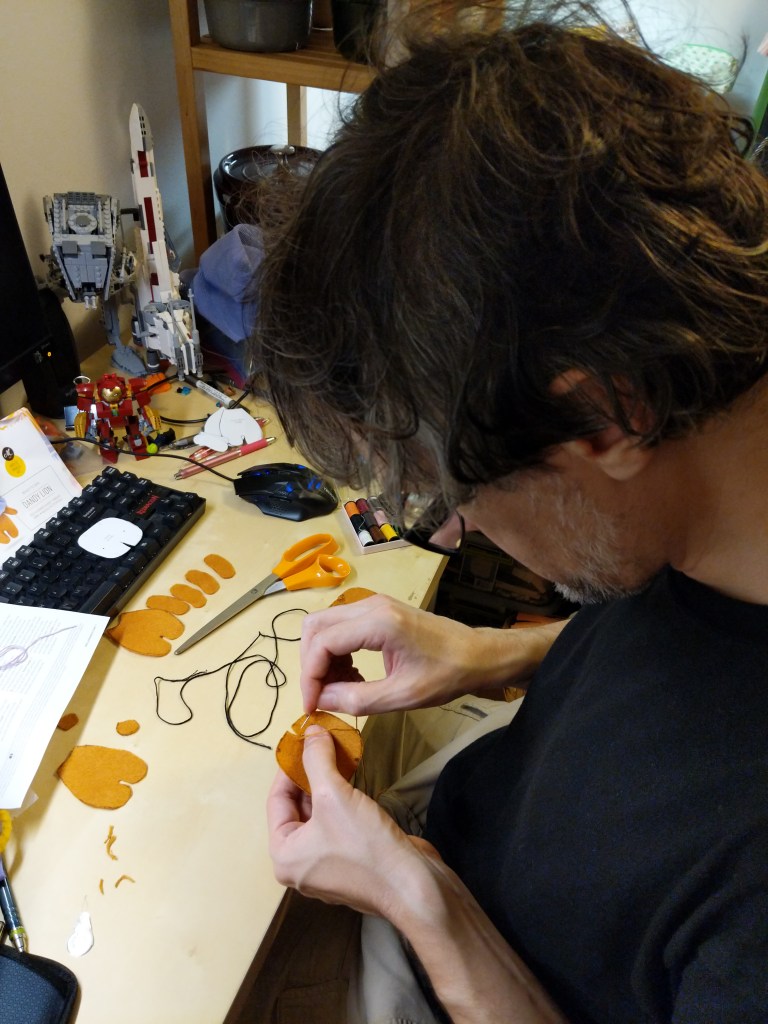
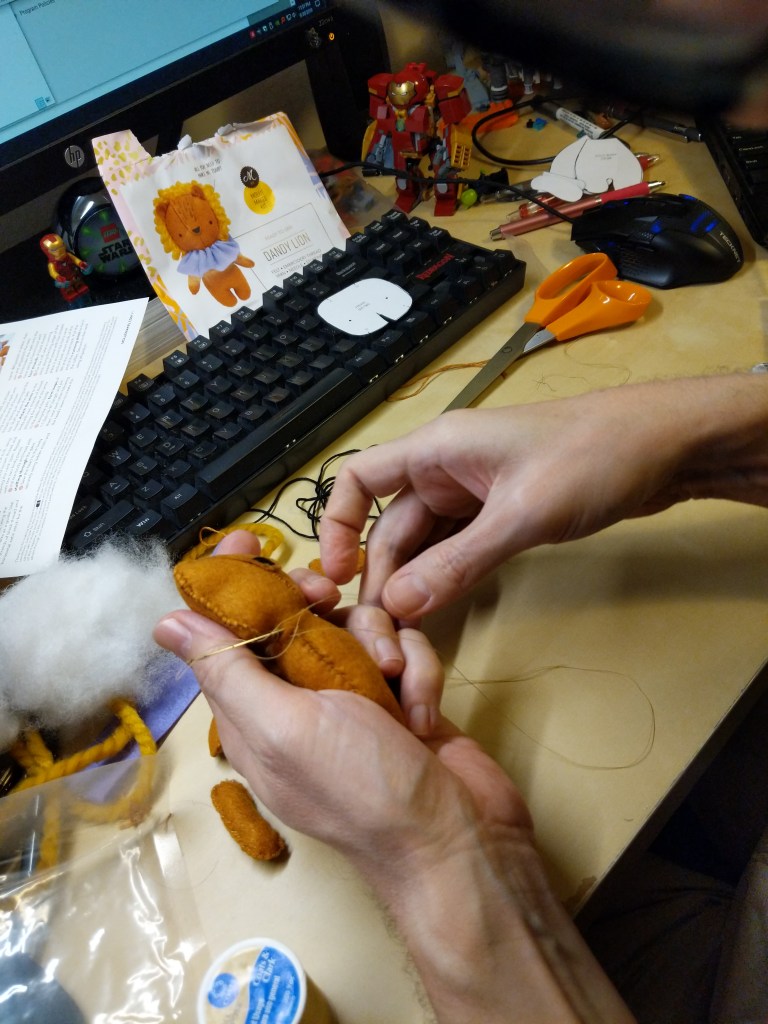
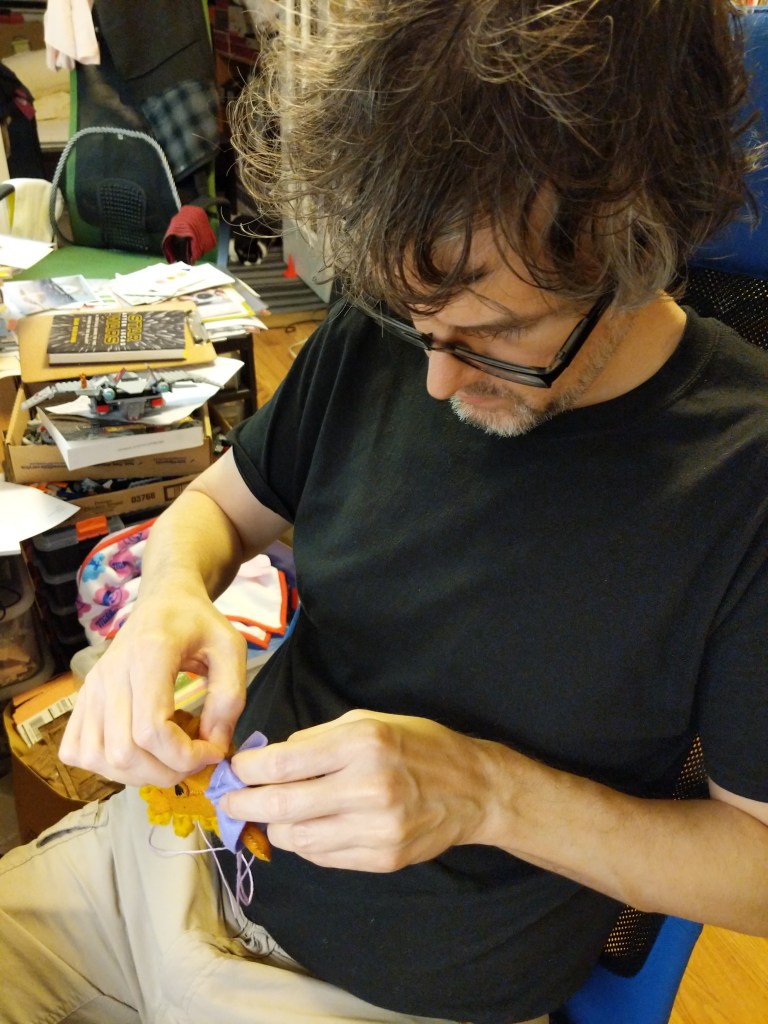
In my classes, I encourage students to visit their local bookstores to browse the magazine section for topics that might interest them. Back in 2019, Y and I were browsing our local Barnes and Noble’s magazine section when a sewing/crafting magazine with a free bonus caught my eye. It included instructions and material for a tiny plush lion. It seemed like it might be a good size for a cat toy, especially if I spiked it with catnip. I bought the issue and got to work sewing the lion for our Mose.
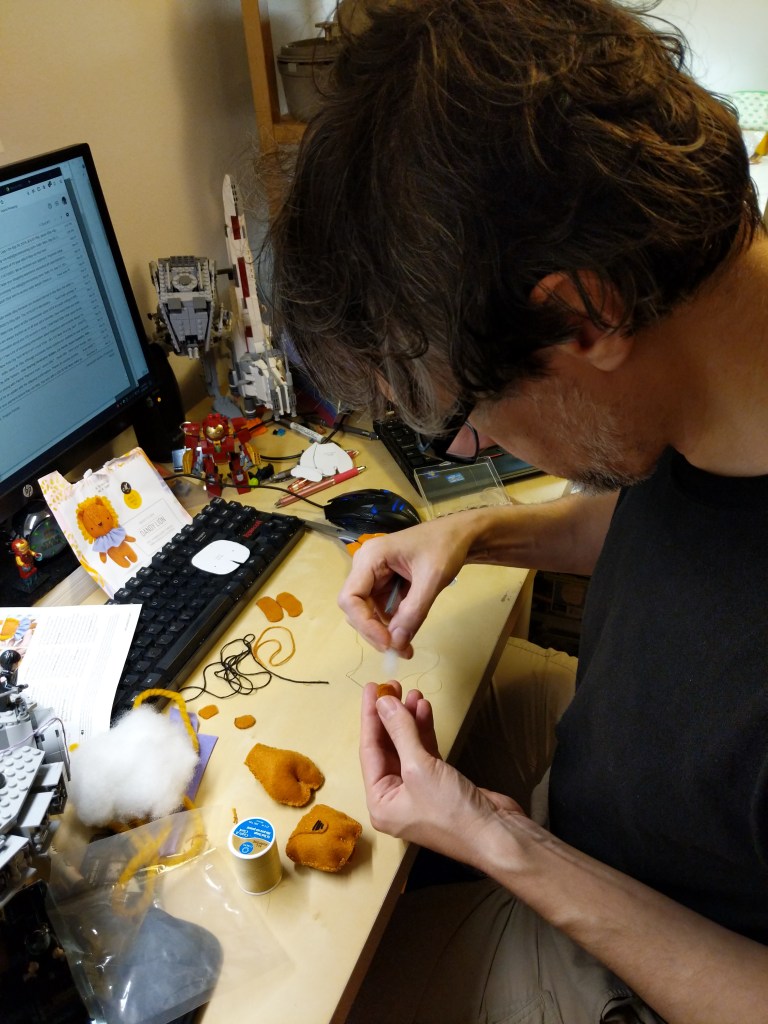
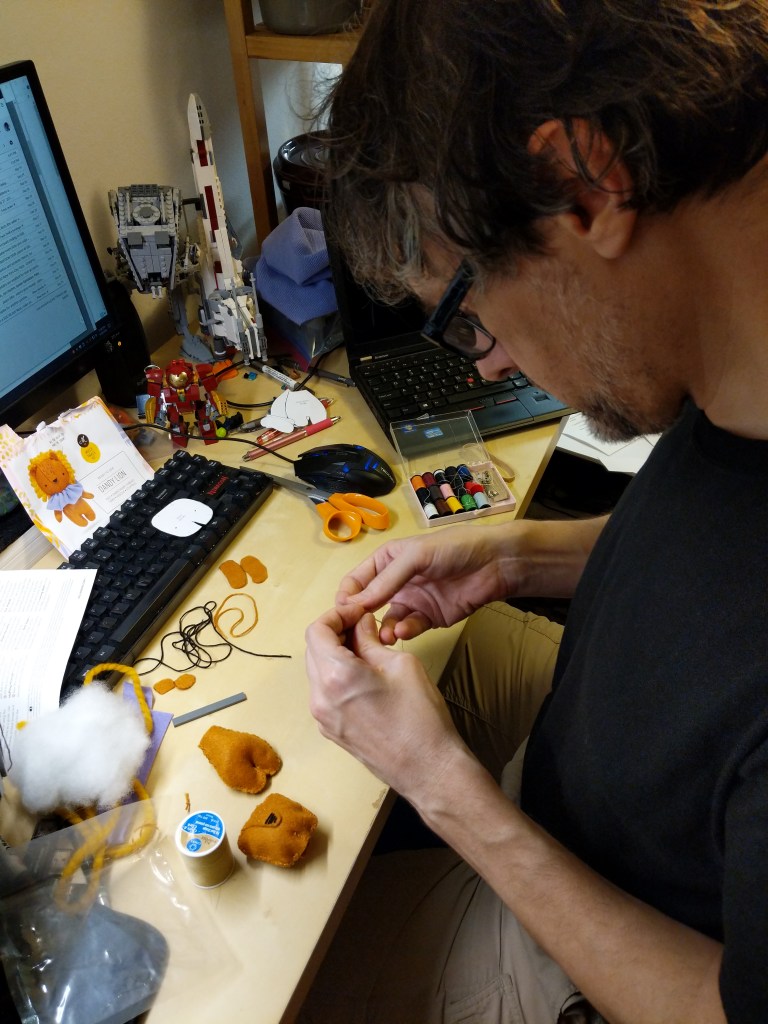
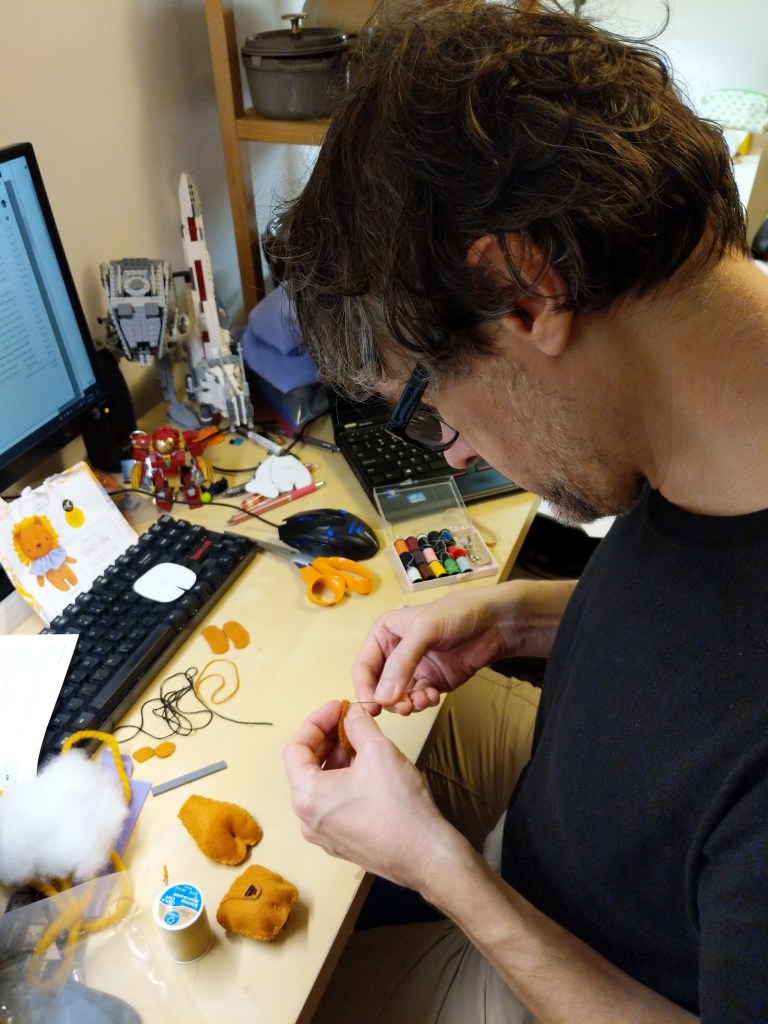
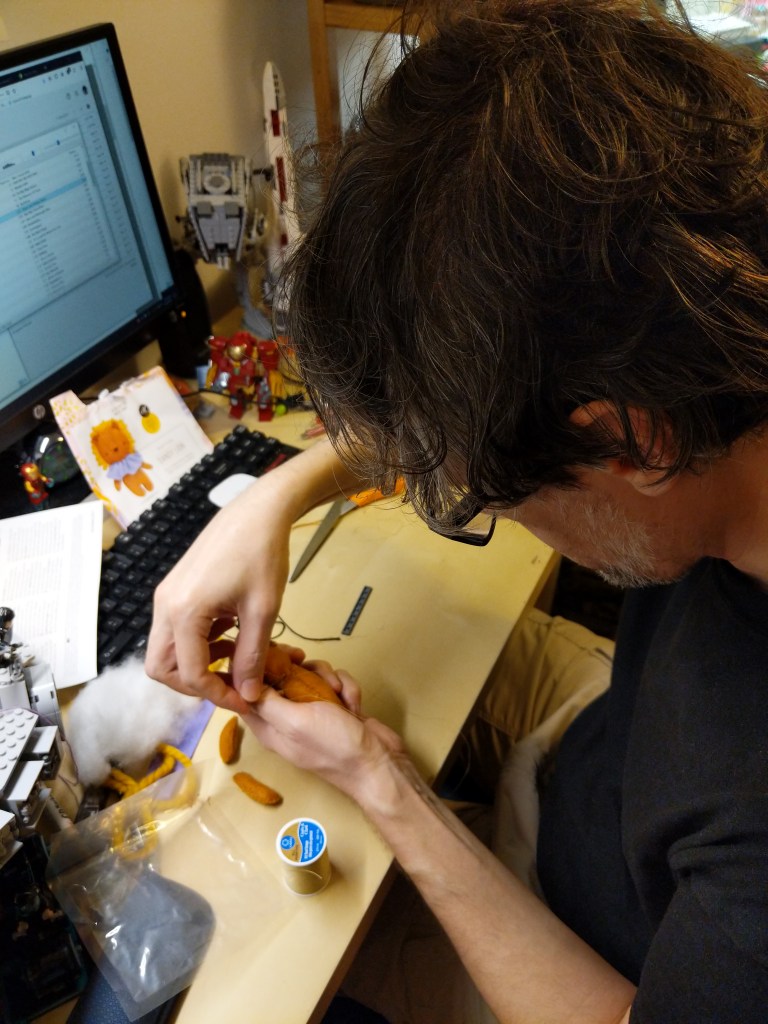
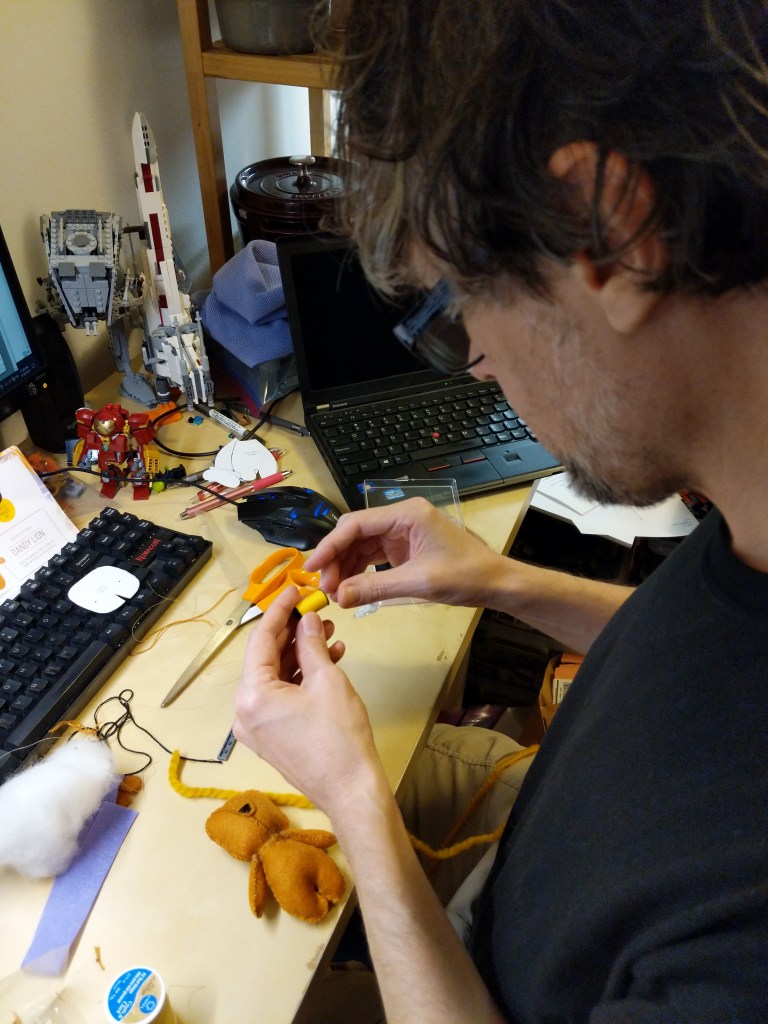
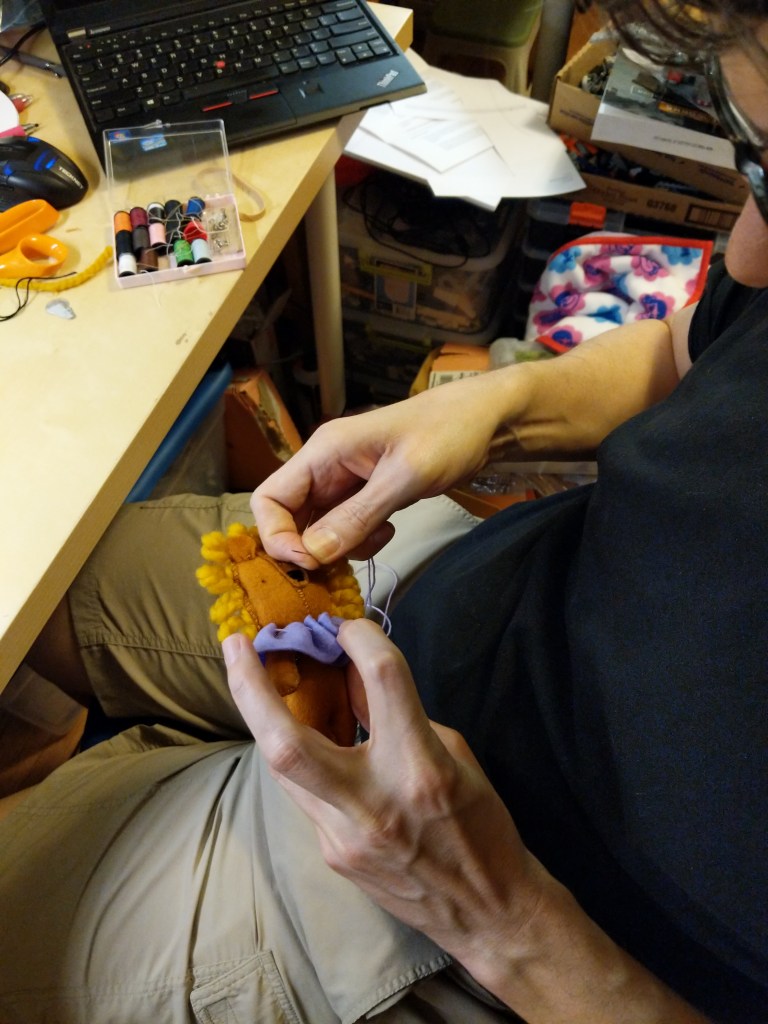
It included pieces of orange felt, purple felt, thick orange cord, and thread (orange, black, and purple). I marked the felt according to the instructions and cut out the pieces to build the lion. I had to Google some of the sewing patterns mentioned in the instructions that I did not know.
I can’t say that I nailed it, but our Mose seemed happy enough with it, at least until he took a nap. It’s still around here somewhere, but I don’t know where Mose has hidden it!
I enjoy displaying patches that mean something to me. Maybe someone else will see them and get a boost. But for myself, it’s carrying a little morale with me wherever I go.
I cut slightly more hook material than needed, positioned the patch on the opposite side of the hooks, sewed around the border of the patch through the hook material, and finally, trimmed the excess hook material.
Unless you’re planning to tape where you’re sewing patches directly to your bag, using hook-and-loop attachments like this will maintain its waterproof/water-resistance.
Pro Tips:
Verify what you need to attach to your patches (hook or loop backing) before you sew!
Use a sharp needle of size 2, 3, or 4 as patches are generally heavier fabric and some have thermal heat backing.
Absent a thimble to help push the needle through the fabric, use the corner of the table, a LEGO brick, or something else sturdy and not easily damaged by the back of the needle pressing into it.
A cheap travel sewing kit with a few needles (though they might be smaller gauge needles than ideal), different color thread to match the border of your patches, and a needle threader should get you started. But, you can create your own kit with a spool of black thread, a pack of needles, and a thimble.
I’ve been a big fan of the Marvel Cinematic Universe (MCU) since Robert Downey, Jr. donned the armor in Iron Man (2008). Following the thread of the story through 22 films that concluded with Iron Man’s ultimate sacrifice in Avengers: Endgame (2019) was staggering.
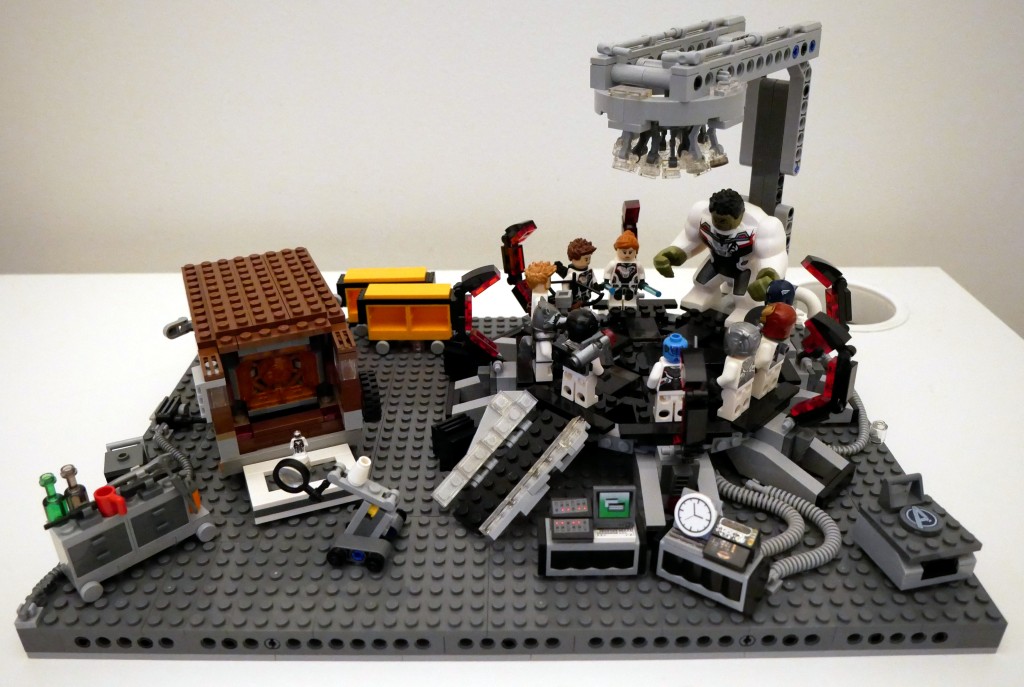
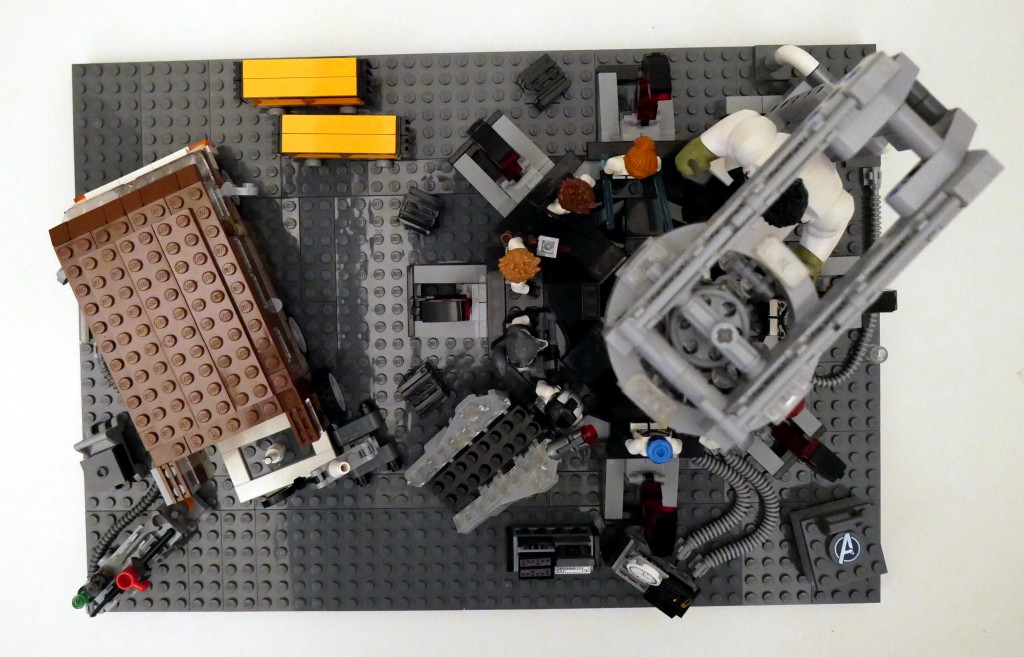
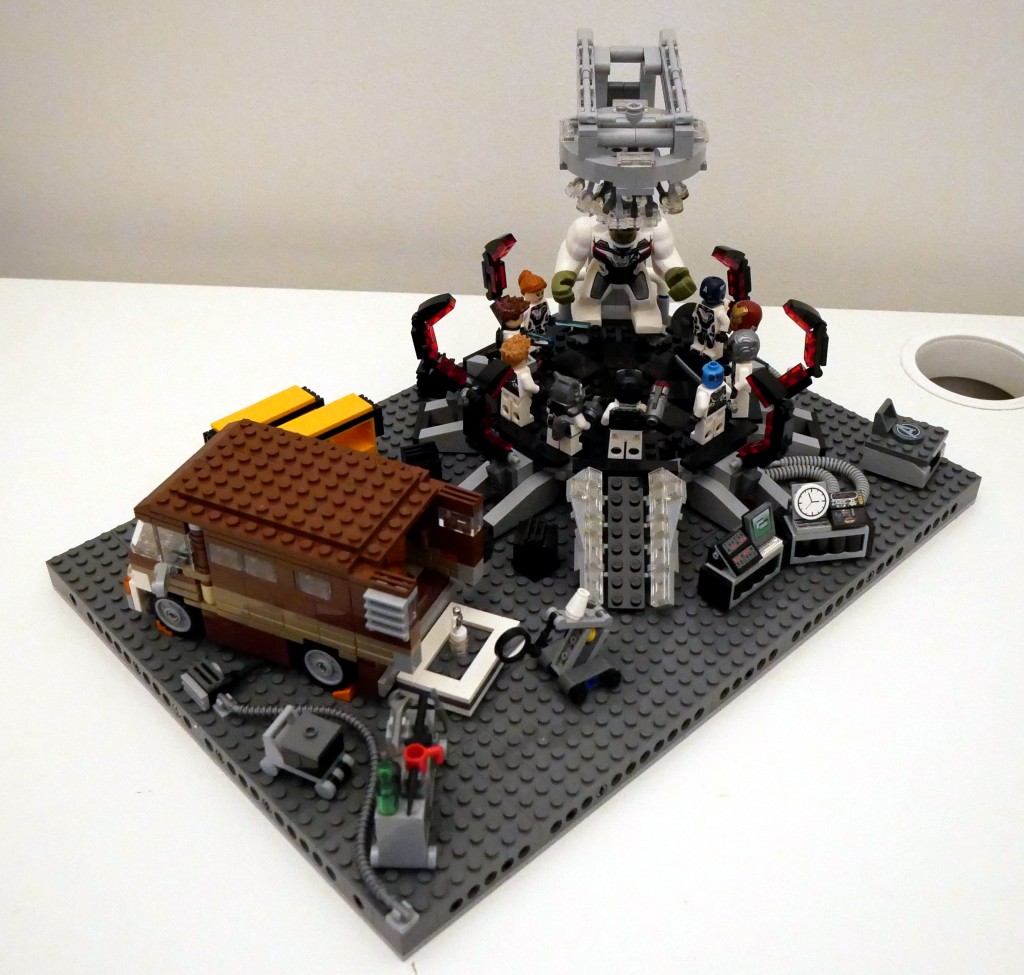
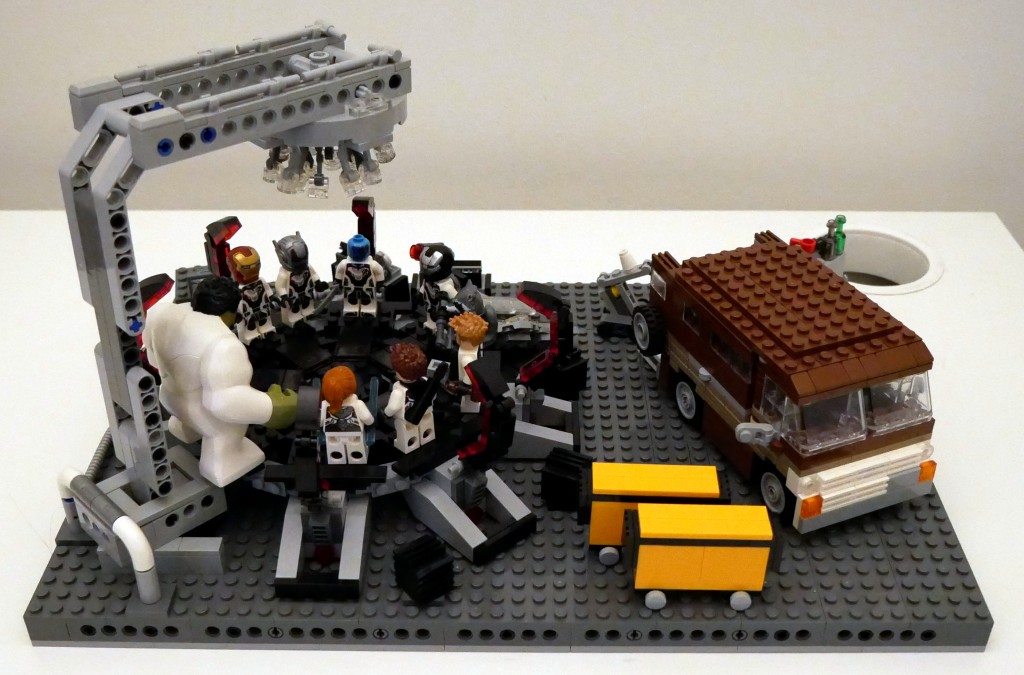
Shortly after watching that last film, I set to work on building this LEGO MOC (my own creation) scene from the Avengers Compound when they launch the “Time Heist” for a set of Infinity Stones. Unfortunately, I didn’t have enough bricks and elements to construct a proper superstructure of the hanger space that they used to build the time machine. Instead, I focused on elements found in the scene and incorporated some playability into the design. Rotated images of the full scene are below.
The key components of the set are the large quantum tunnel/time machine on the right, Luis’ van with the miniaturized quantum tunnel in the back, and a full set of Avengers wearing the Advanced Tech Suit (or Quantum Suit). The latter required purchasing LEGO sets 76124 War Machine Buster (for War Machine and Ant Man), 76144 Avengers Hulk Helicopter (Hulk and Black Widow), 76126 Avengers Ultimate Quinjet (Rocket, Thor, Hawkeye, and Black Widow), 76131 Avengers Compound Battle (mini Ant Man and Nebula), 76123 Captain America: Outriders Attack (Captain America), and 30452 Iron Man and Dum-E (Iron Man).
BTW: LEGO has ensemble film tie-in sets down pat by spreading characters across sets–including sets that don’t appear in the film–to maximize profile. I’ve experienced this before with Star Wars, Harry Potter, Lord of the Rings, and The Hobbit.
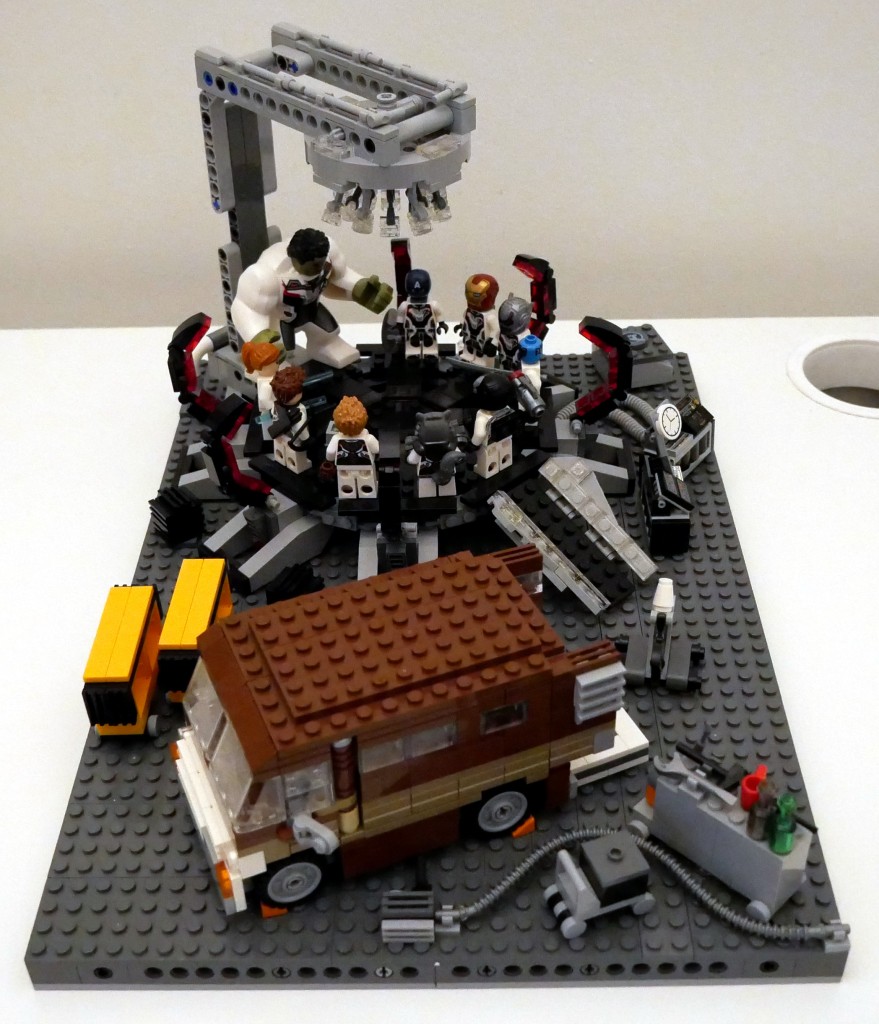
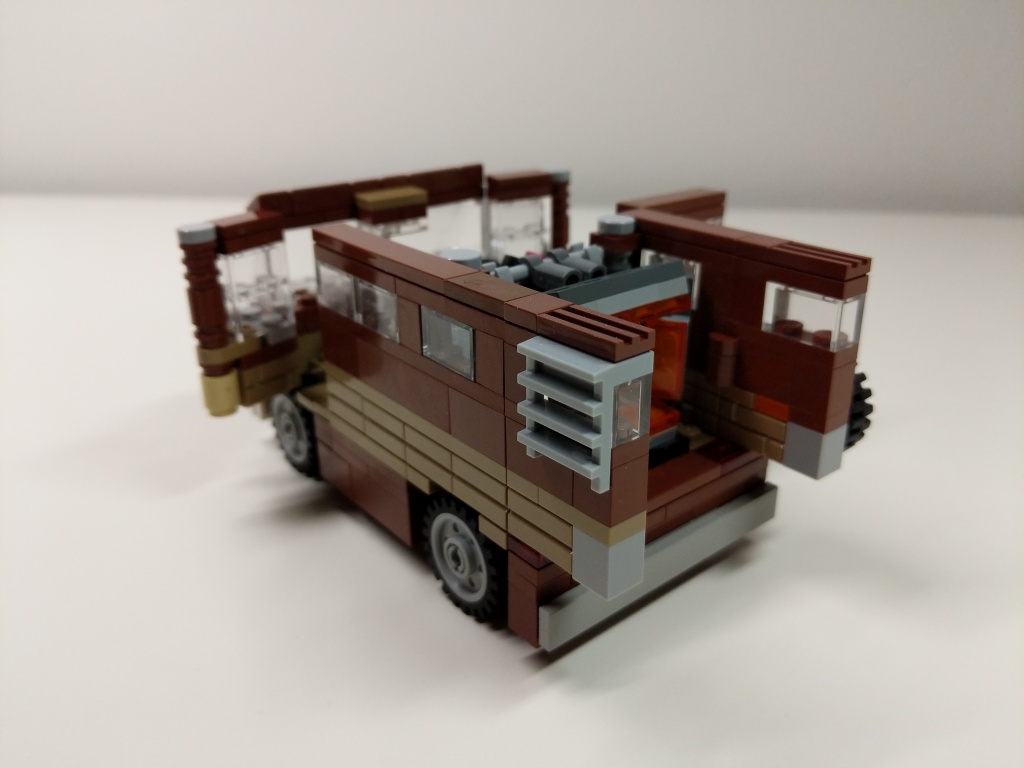
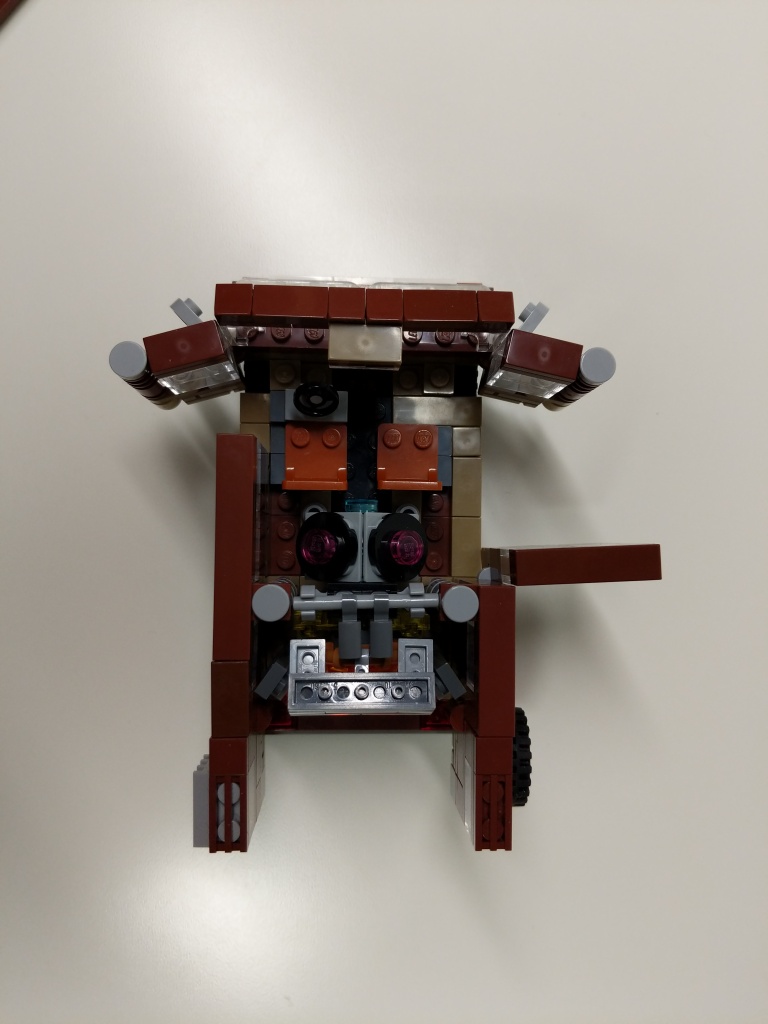
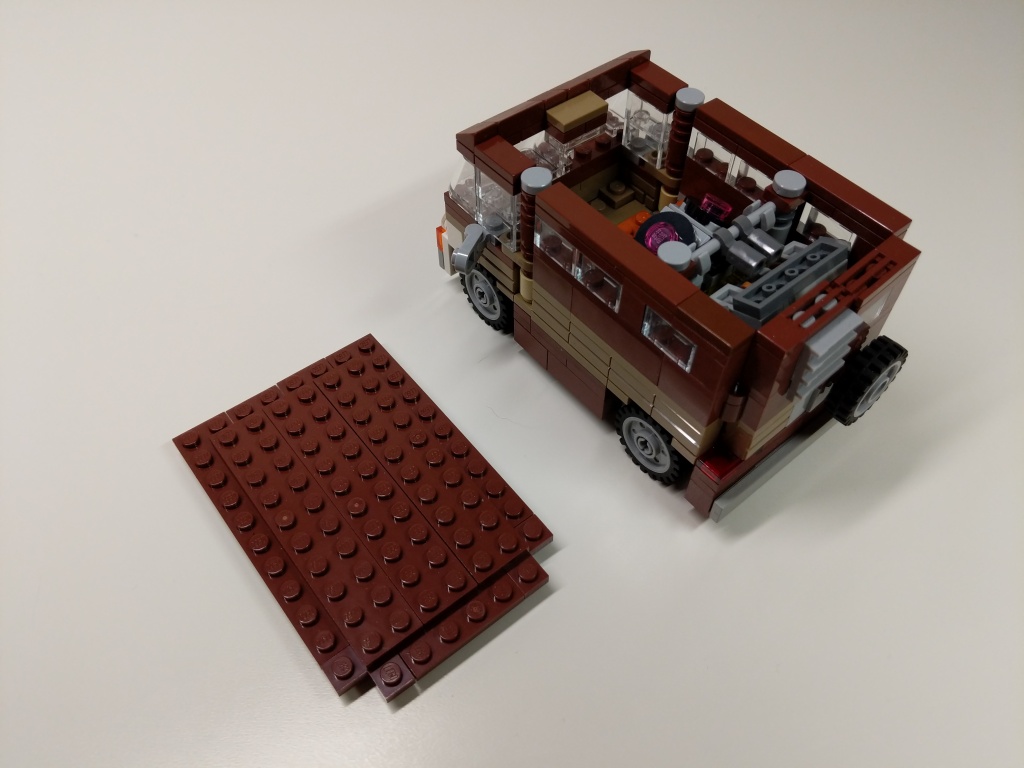
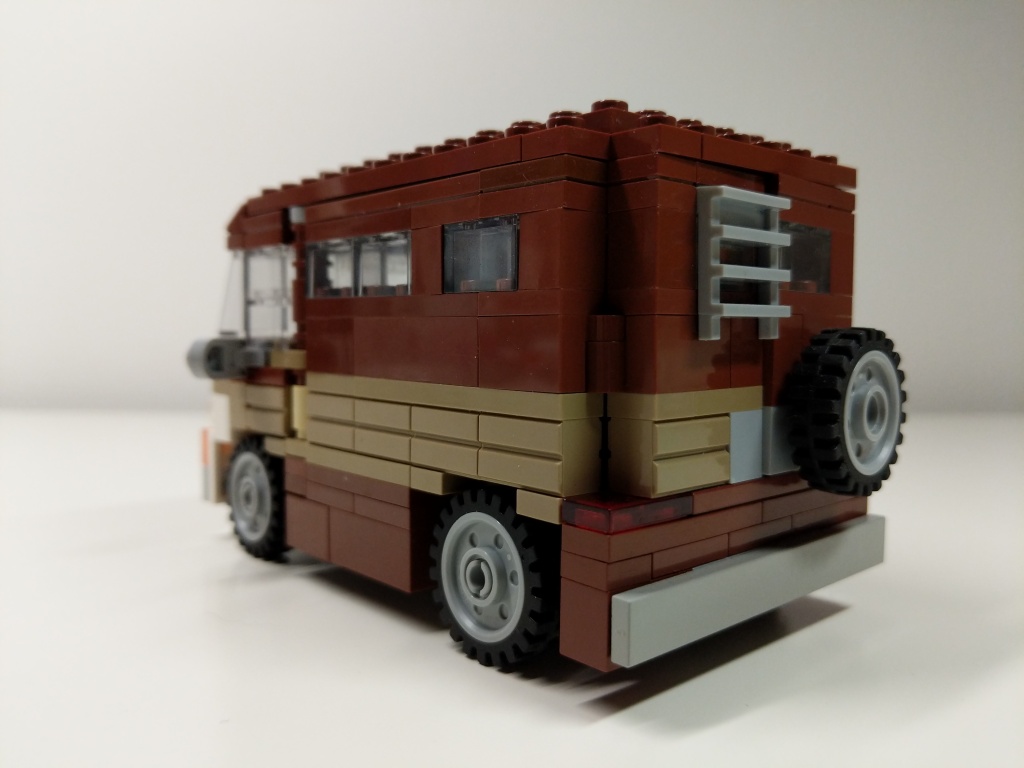
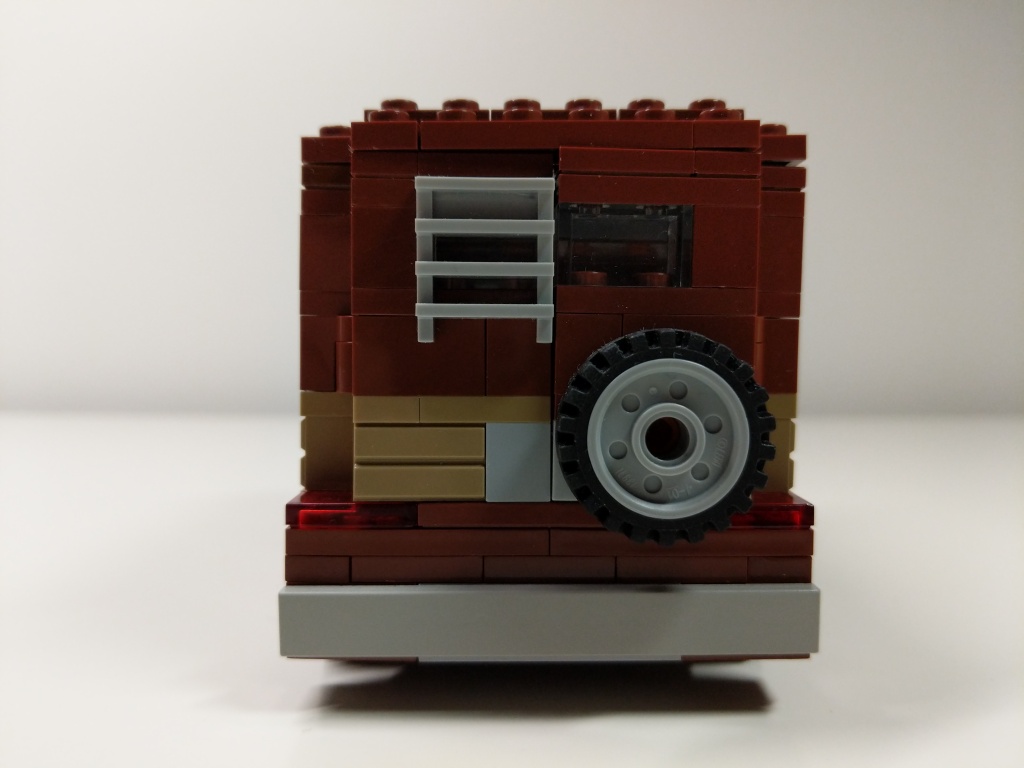
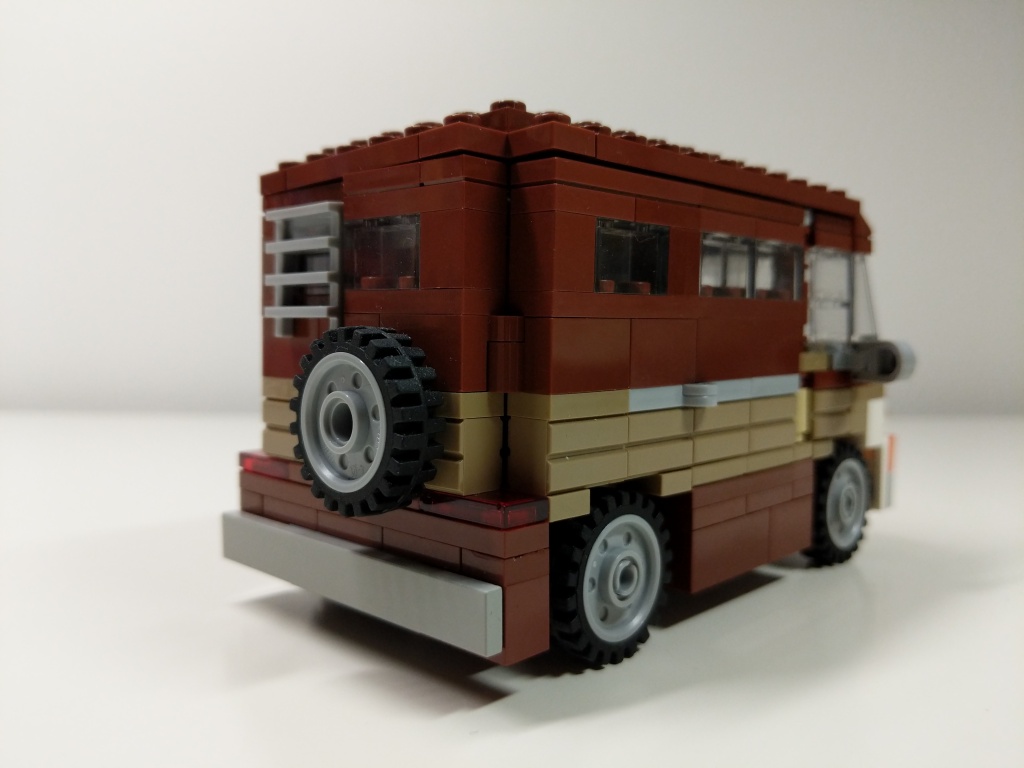
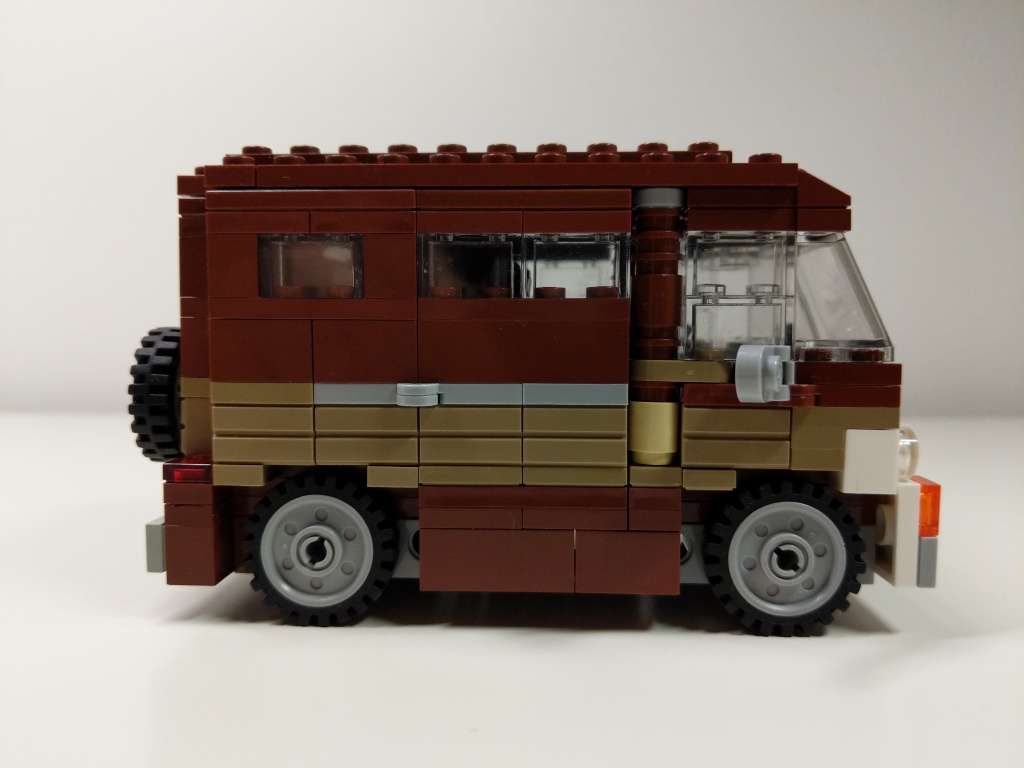
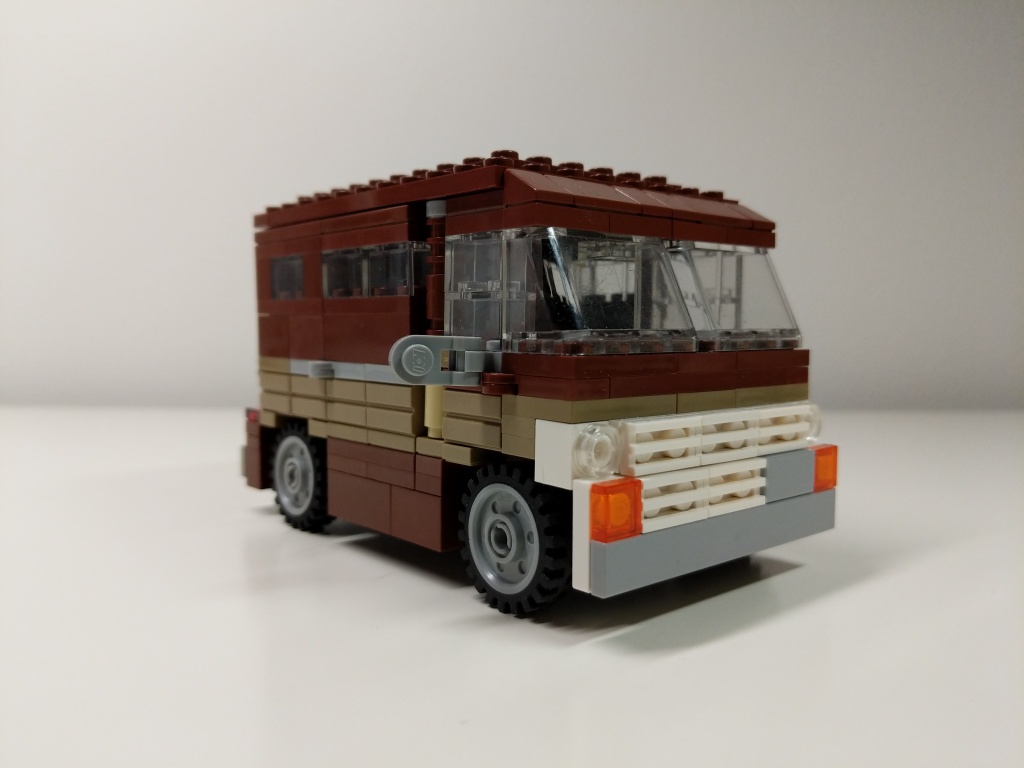
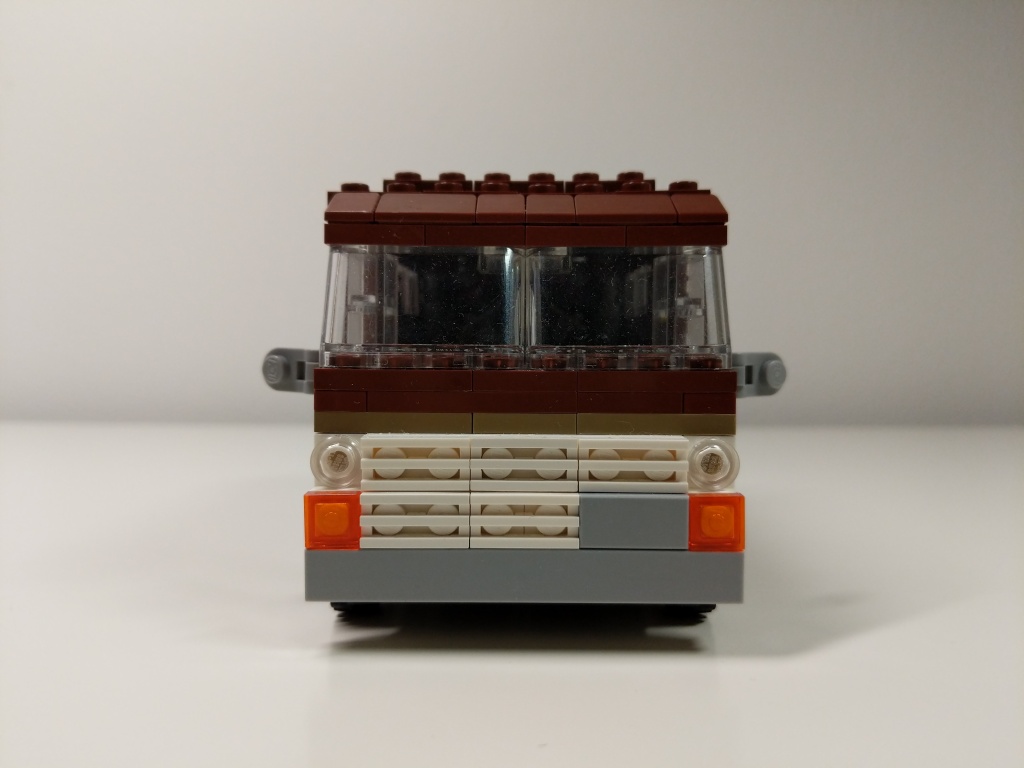
Luis’s Van
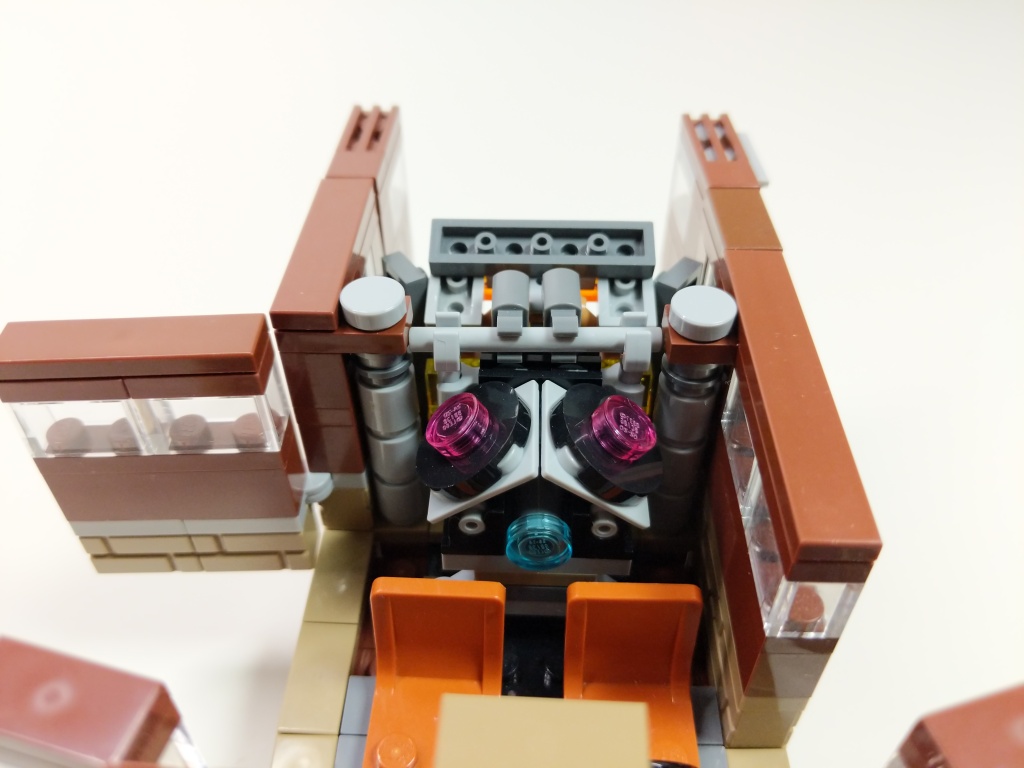
Luis’ van from Ant-Man (2015) and Ant-Man and the Wasp (2018) is a 1972 Ford Econoline. It held the miniaturized quantum tunnel that Scott Lang used to retrieve quantum energy to help stabilize Ava Starr/Ghost. After Scott returned from the Quantum Realm five years after Thanos’ snap via the Quantum Tunnel, he drove the van to the Avenger’s Compound where they used it to test Scott’s idea for a “Time Heist.” I designed this model of Luis’ van before LEGO released their 76192 Avengers: Endgame Final Battle set, which includes a 6-stud-wide version of Luis’ van. I wanted my version to be wide enough to sit 2 minifigures side-by-side comfortably, so I went with an 8-stud-wide design.
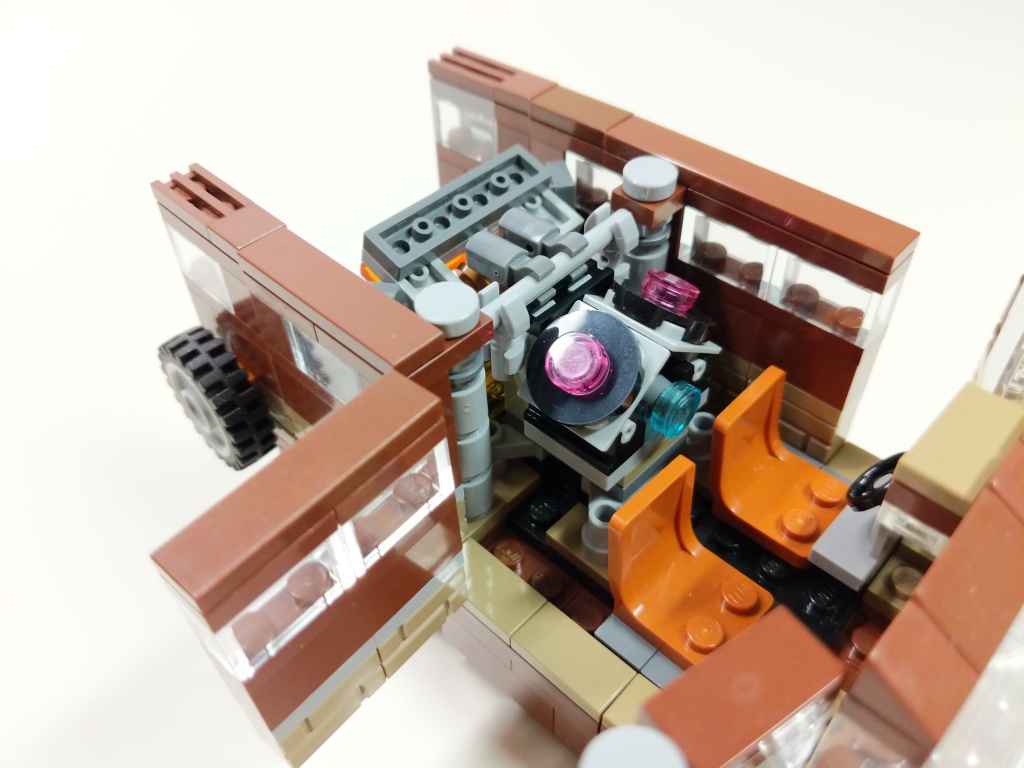
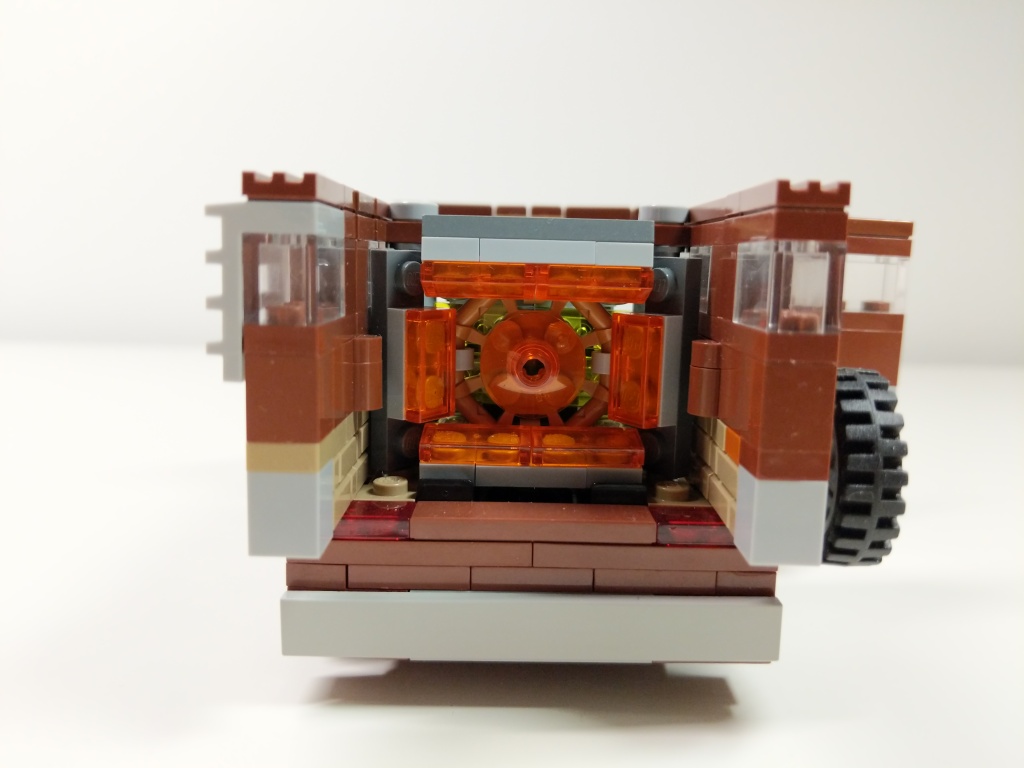
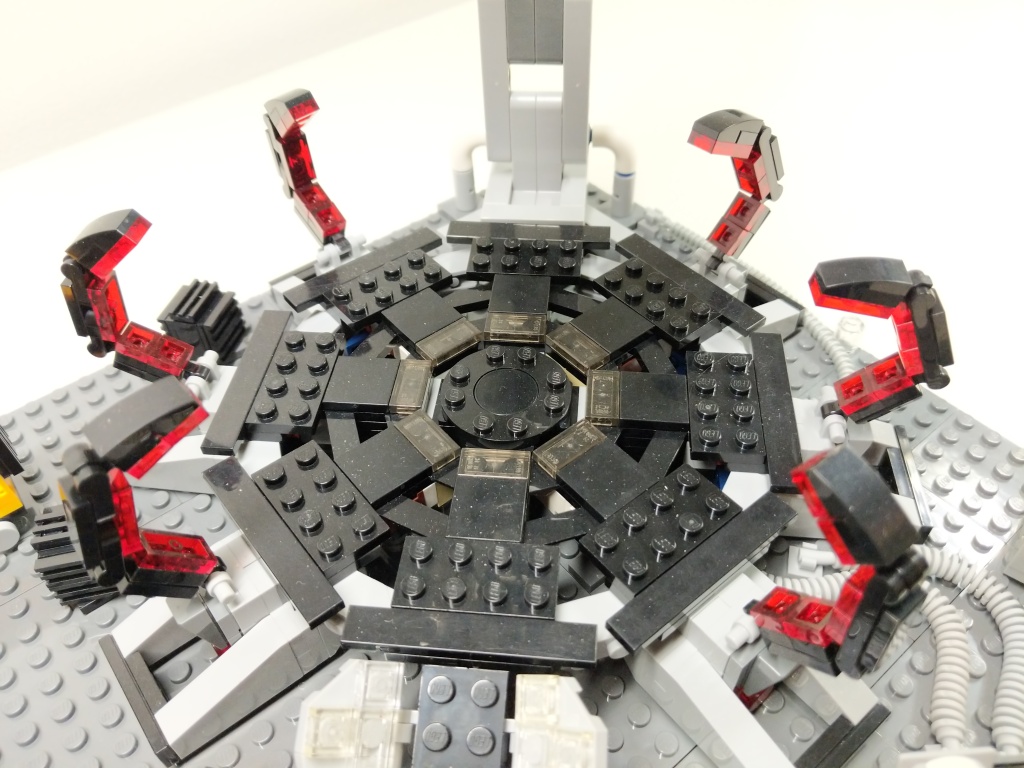
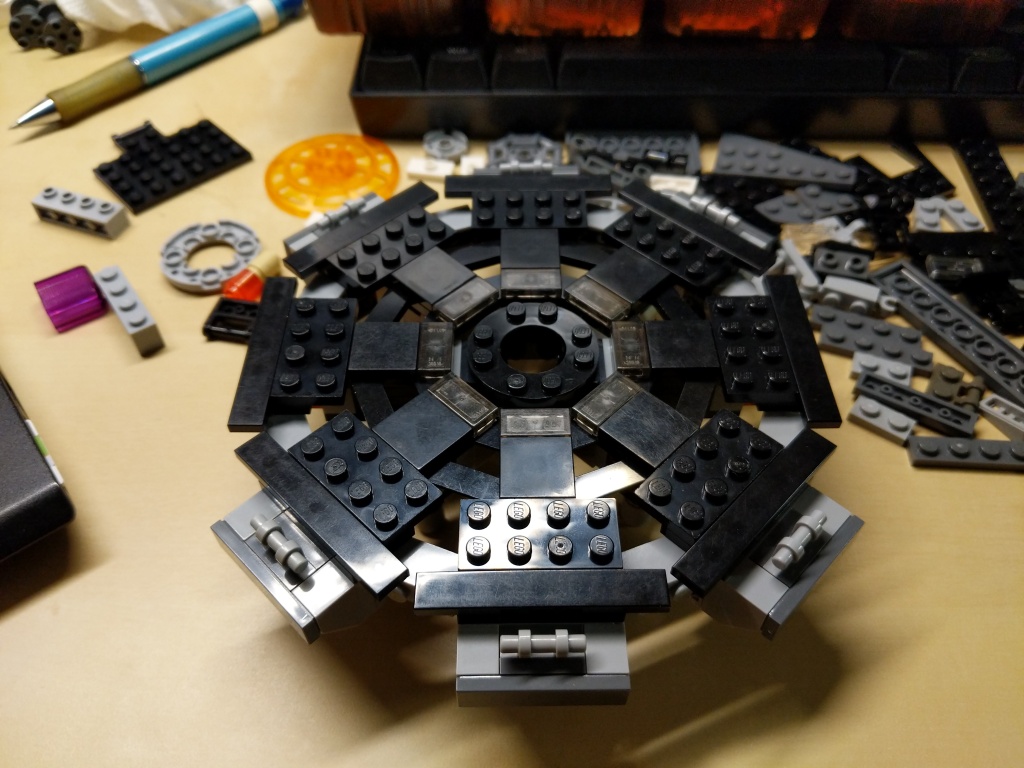
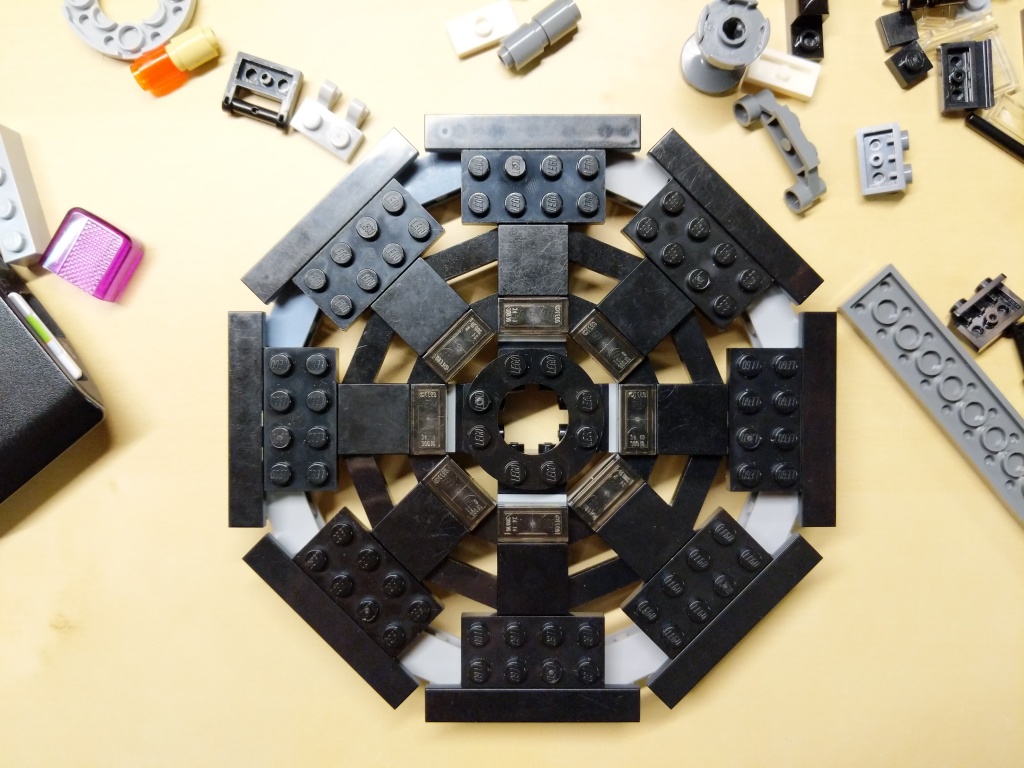
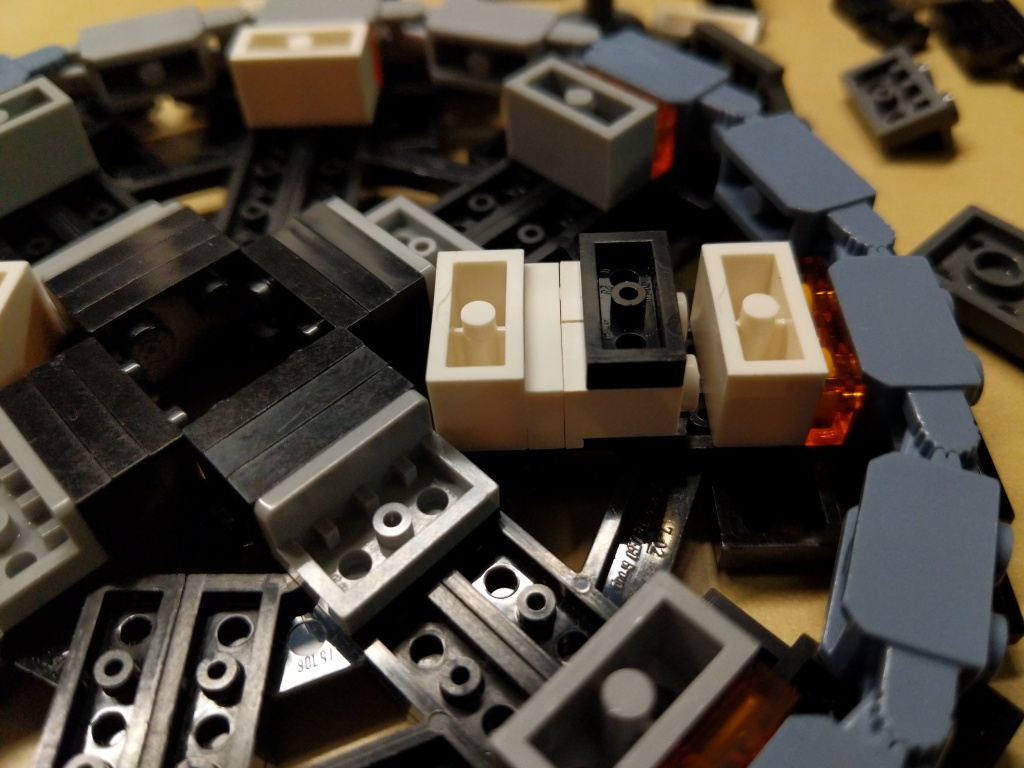
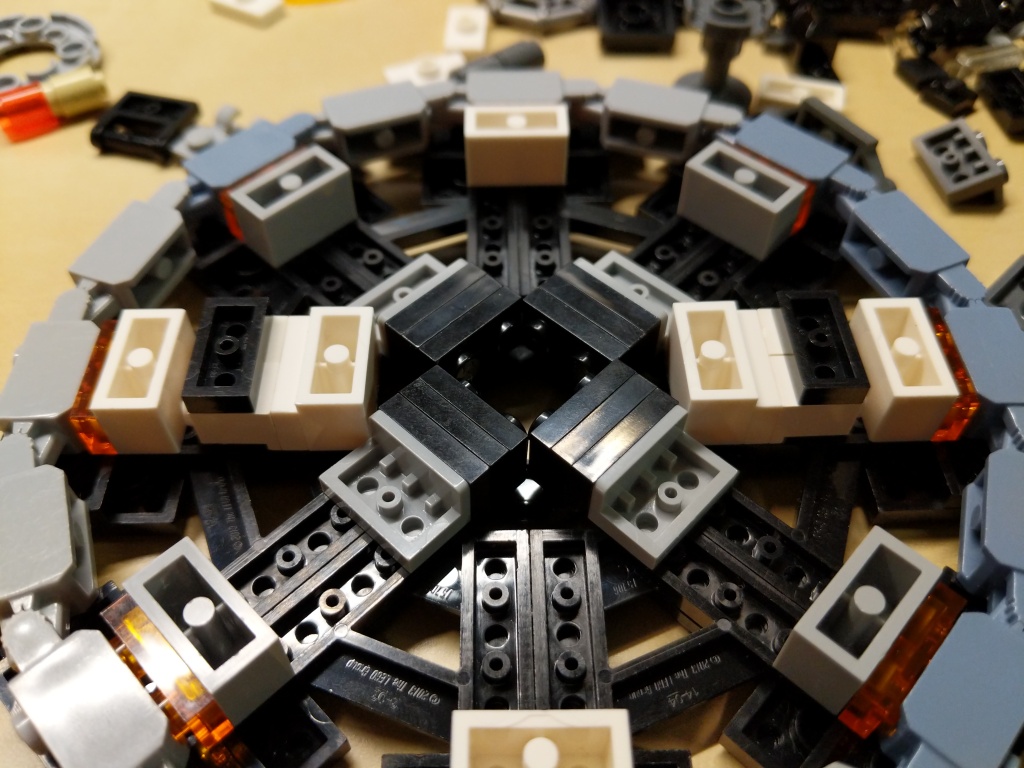
Quantum Tunnel
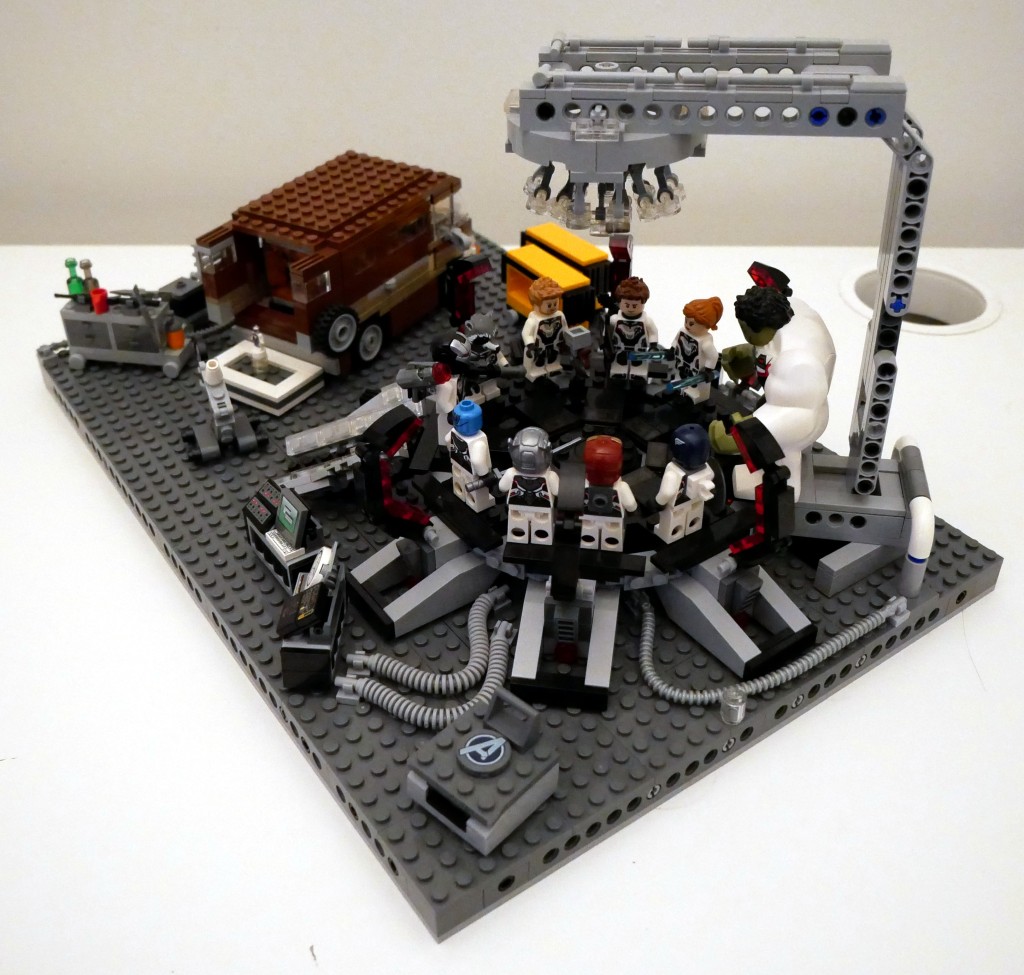
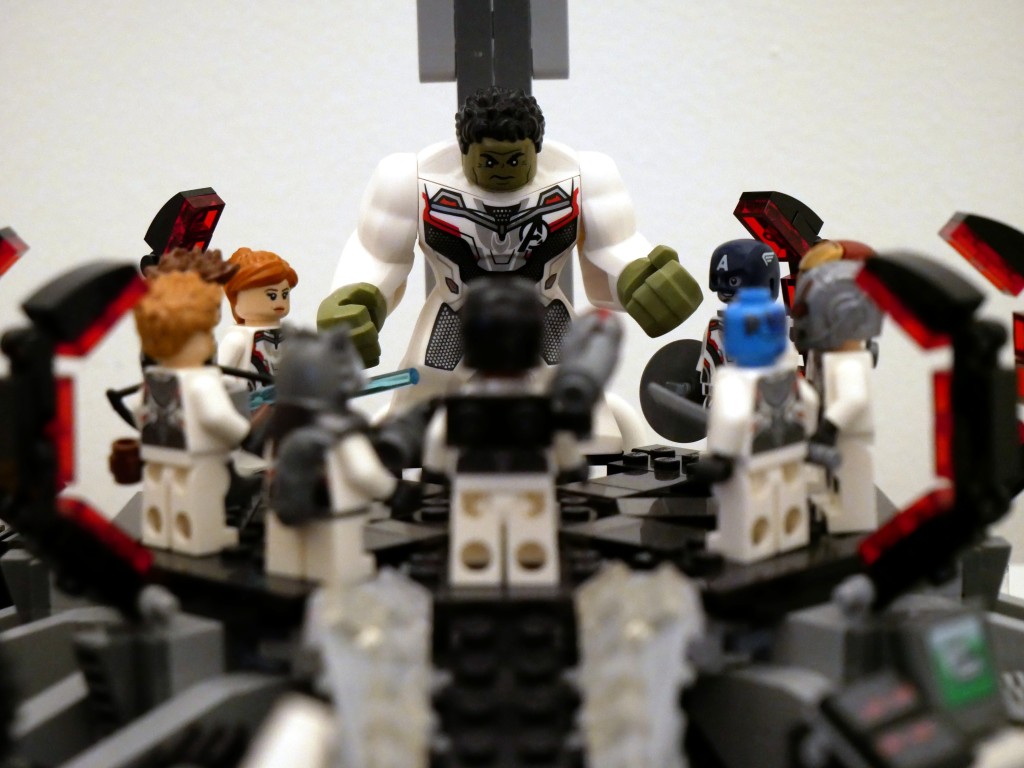
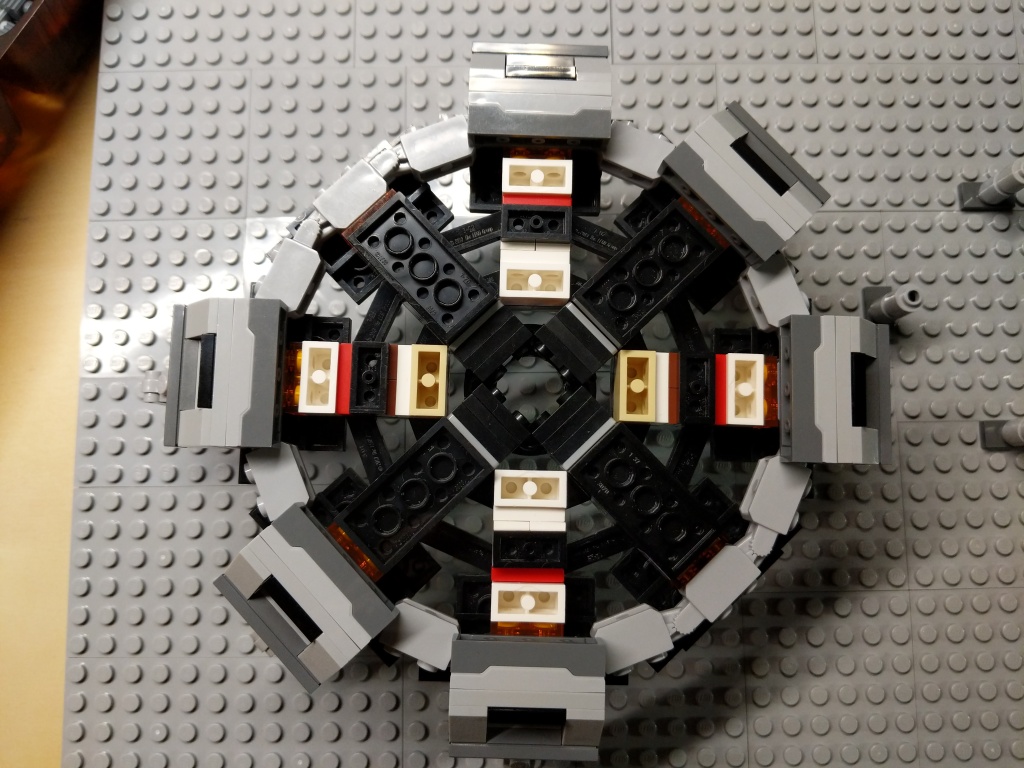
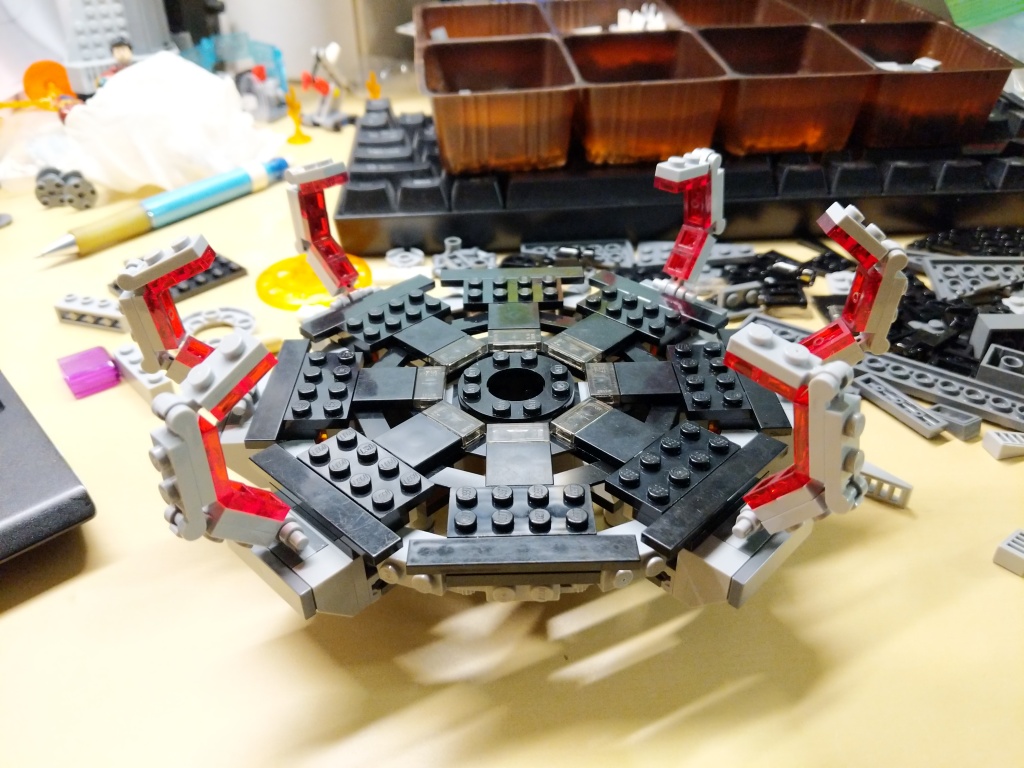
The Quantum Tunnel presented three challenges. First, it needed to be a circular platform. Second, it needed to accommodate all of the Avengers involved in the Time Heist (i.e., Captain America, Iron Man, Thor, Hulk, Hawkeye, Black Widow, War Machine, Rocket, Nebula, and Ant-Man). And third, it needed to resemble the thing in the film despite limitations of the LEGO medium and the number of available LEGO bricks.
Building the Quantum Tunnel made me rethink a lot of standard brick relationships and ratios to find the right combinations to create the round shape and have it line up with the stud pattern on the display base.
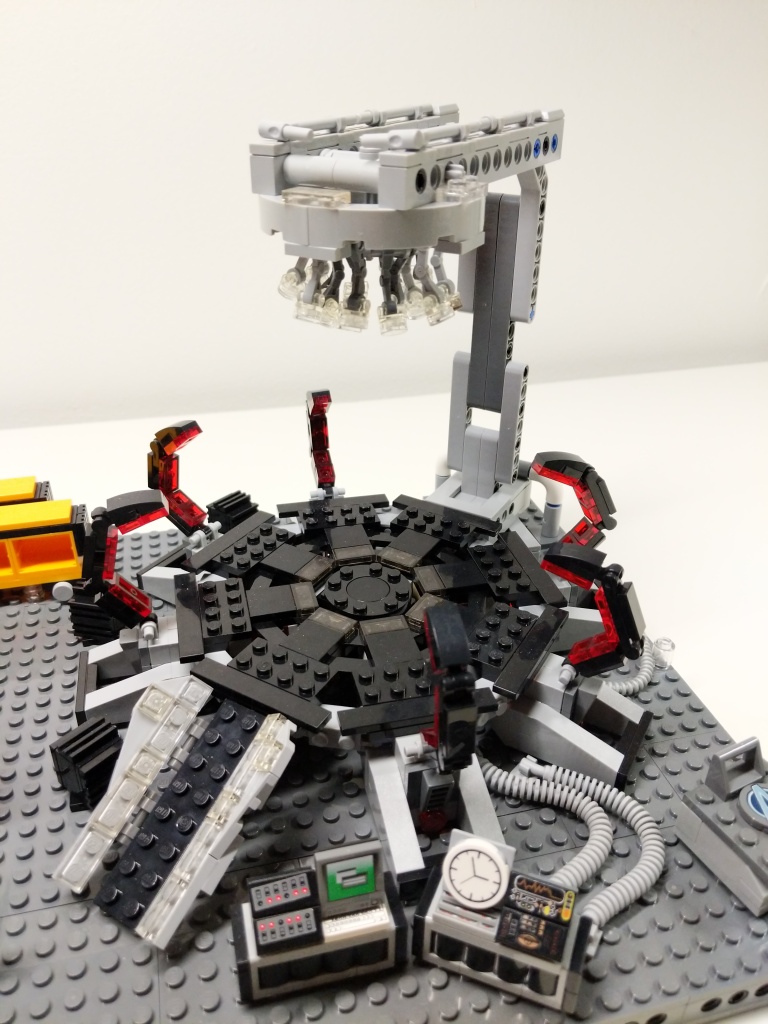
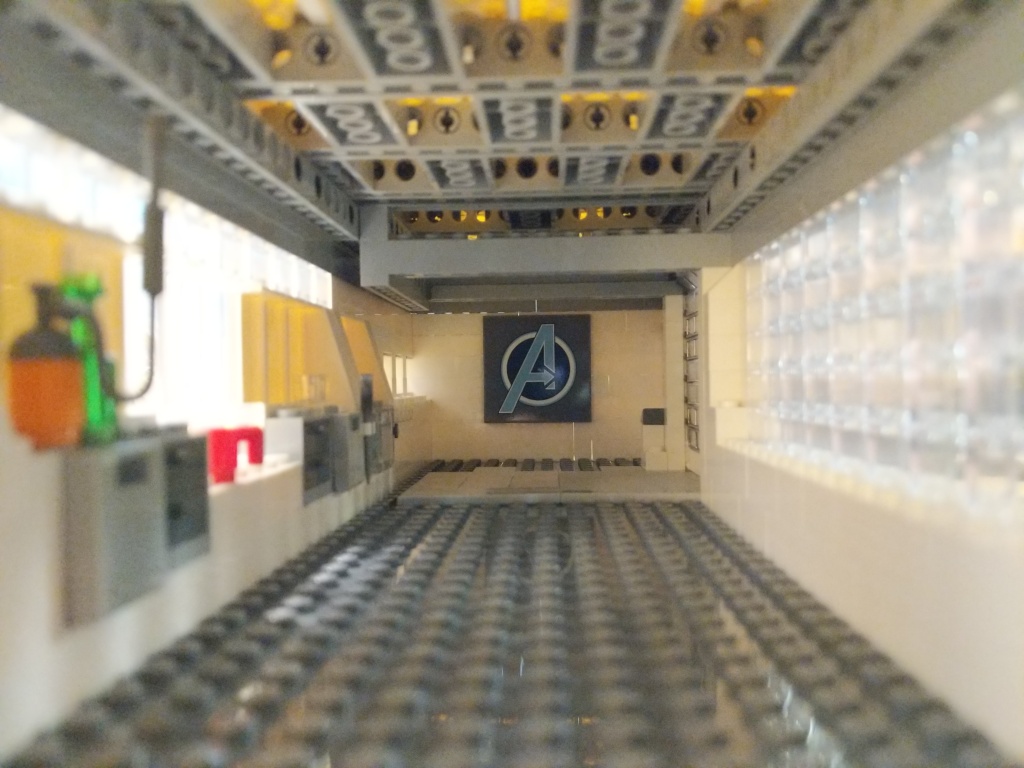
In a separate build, I created this interior model for the hanger portion of the Avenger’s Compound. It was wide enough to pull Luis’ van into it, but it wasn’t wide or tall enough to build the Quantum Tunnel. I wished that I had enough Technic elements to have built some kind of superstructure around the Quantum Tunnel model for the lensing component that goes into the ceiling of the Avenger’s Compound hanger. I had to compromise by building an armature to hang the lensing component over the Quantum Tunnel using all of the elements that I could scrounge.
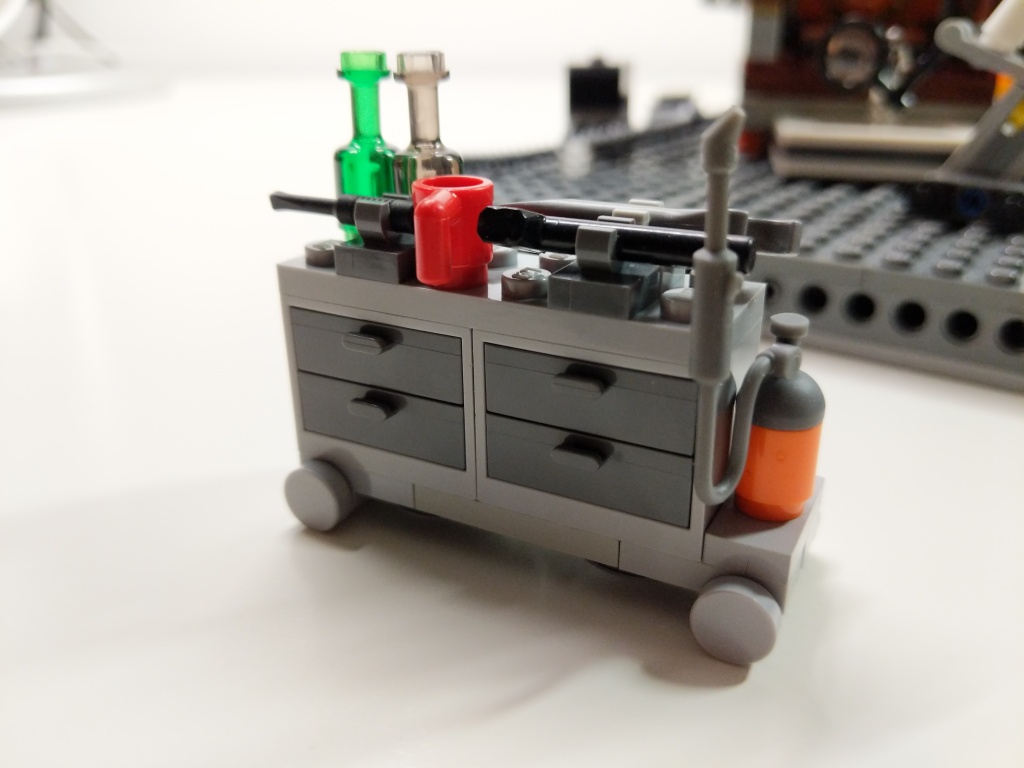
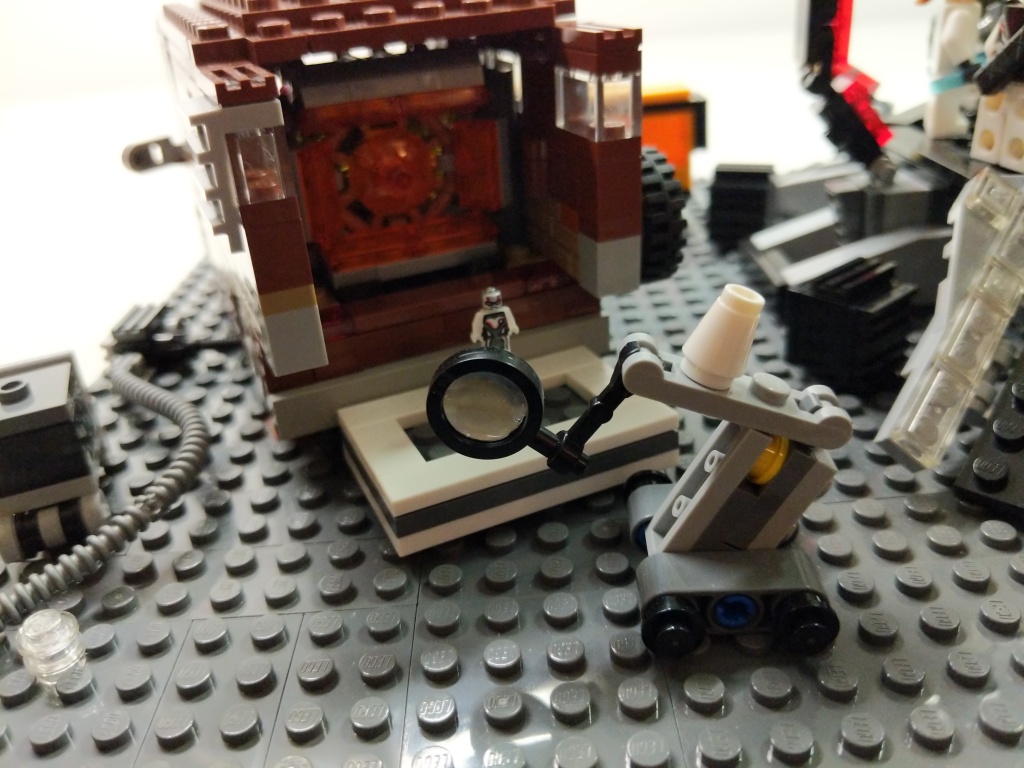
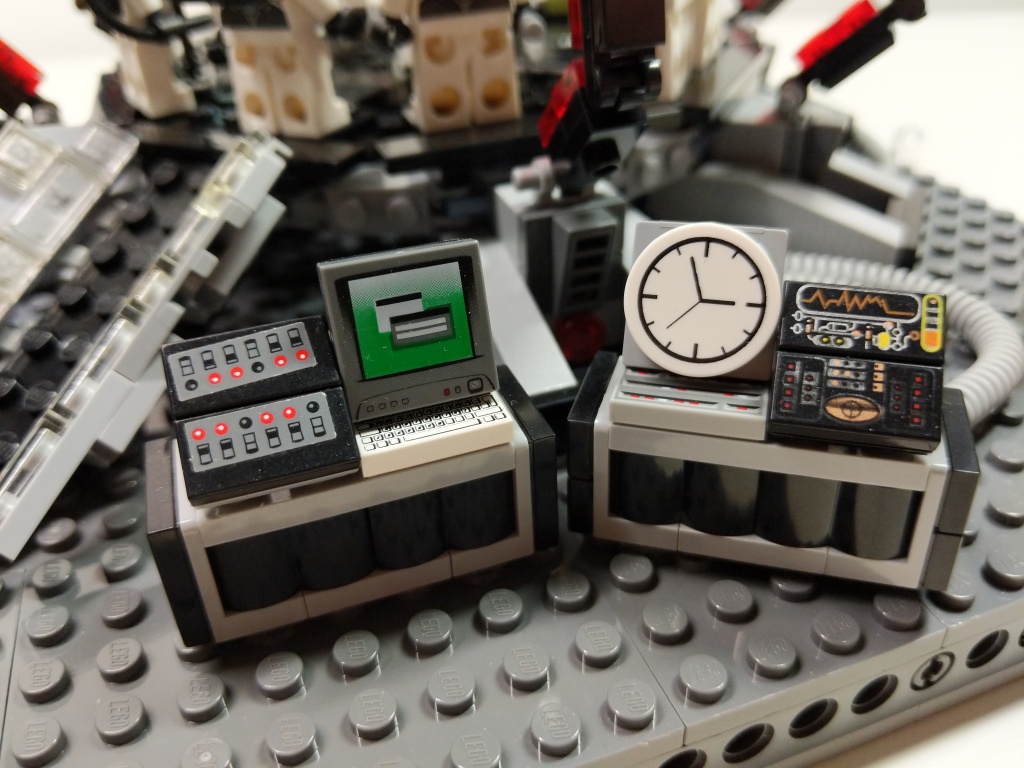
Supporting Components
To complete the build, I watched the film closely to see what kinds of equipment the Avengers had laying around while building and using the Quantum Tunnel. I tried to replicate these–Dum-E, computers, power equipment, tool and storage racks, and cabling.
Reflection
It feels like a lifetime ago when I built this model in 2019. I invested hours across many days through iterative building while looking at film screen captures. While I wish that my LEGO building skill was on the artistic or photorealistic building level of elite builders, my building acumen is more in the realm of playability. I think, what can I do with this, how does it work, how can I use this to tell a story? Given more time, few distractions, and greater access to brick variety and quantity, I wonder if I could take my building skill to the next level. Absent those things, I will keep building and see what I can accomplish with what I have. I haven’t built a MOC in the past year due to a lack of time, but I have something in mind that I might build soon, which I will document here. In the meantime, I have some other MOCs from the past that I plan to share here, too. Stay tuned!
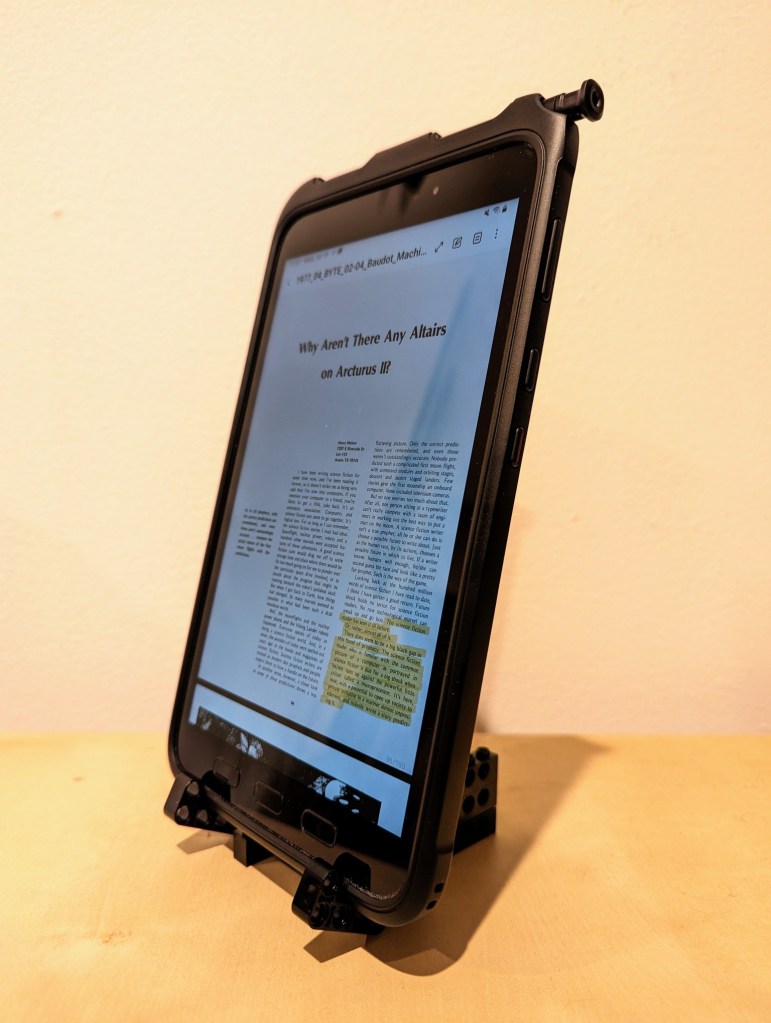
This past year, I’ve been using an 8″ Samsung Galaxy Tab Active3 tablet and its S-Pen for most of my reading and note taking. In particular, I use the Samsung Note app to annotate and highlight PDFs of research. When I’m copying quotes and citations into my writing, I have had trouble finding a good way to position the tablet on my desk so that I could read its screen while typing up quotes and my notes. Occasionally, I had been using Syncthing (I wrote about how to setup a Raspberry Pi Zero as a central hub for your documents synchronized with Syncthing here) to synchronize my annotated PDFs on the tablet with my PC, but its sometimes better to save my PC screen’s real estate for my writing and rely on the tablet screen for reading–essentially adding to my screen real estate.
Today, I decided to pull out a tub of LEGOs to solve my problem about how to easily read and interface with the tablet while typing on my desktop computer’s keyboard, because LEGO is a versatile building medium that is great for play, art, and solving problems. Since I don’t often use all black bricks in my projects, I decided to build a tablet display stand using only black LEGO Technic bricks and elements.
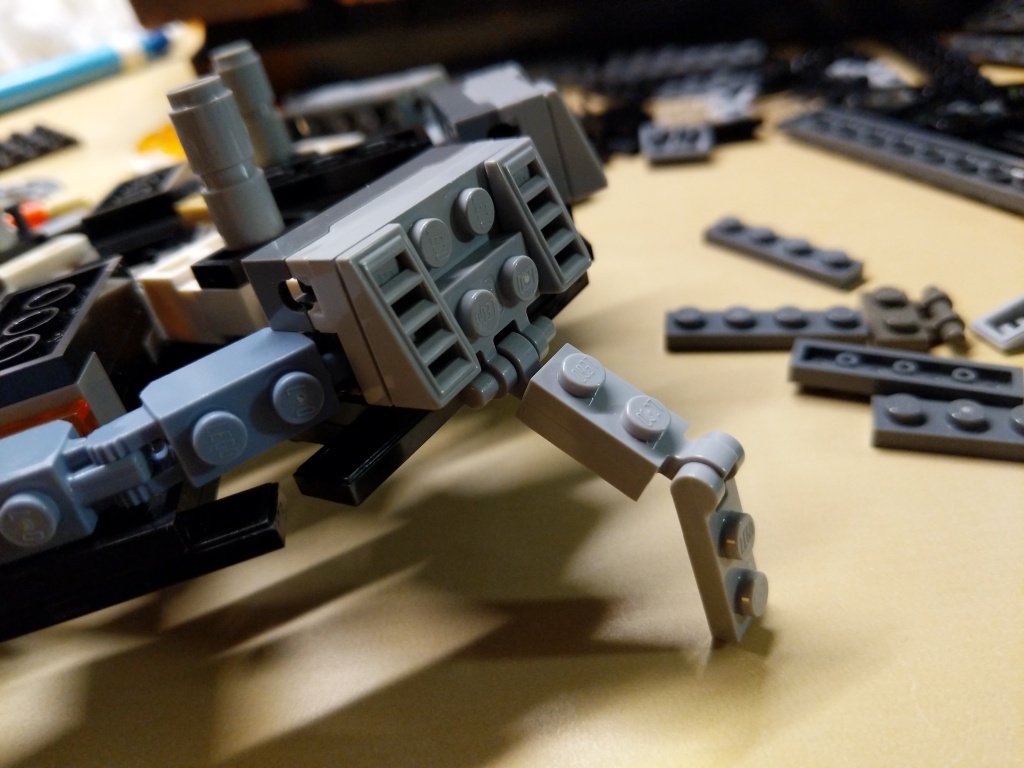
I employed the 4-brick long L-shaped technic elements to create the place where the tablet is held by the display stand. It can rotate freely, but it is held in place against the vertical wall of 10-stud Technic bricks that support the back of the tablet when it is in the stand.
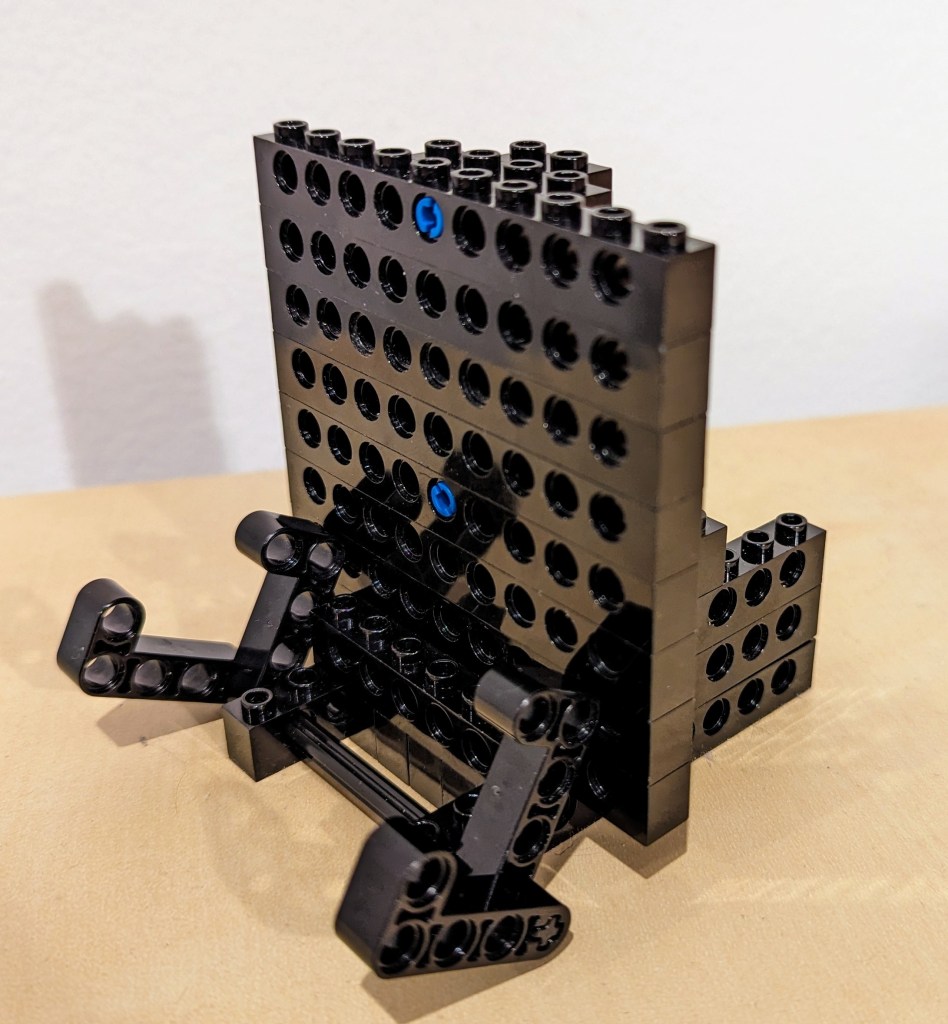
The rear support of the stand, which maintains the ~14 degree from the vertical position of the tablet holding pincers on the left of the photo above and supports the back of the tablet has several layers of Technic bricks held together by frictional force as well as 3-stud and 2-stud-long connector pegs. I don’t think the stand needs as much support as I provided on the right side of the photo above, but I wanted to use up as many black Technic bricks while building a stand that took up a minimum of desk space.
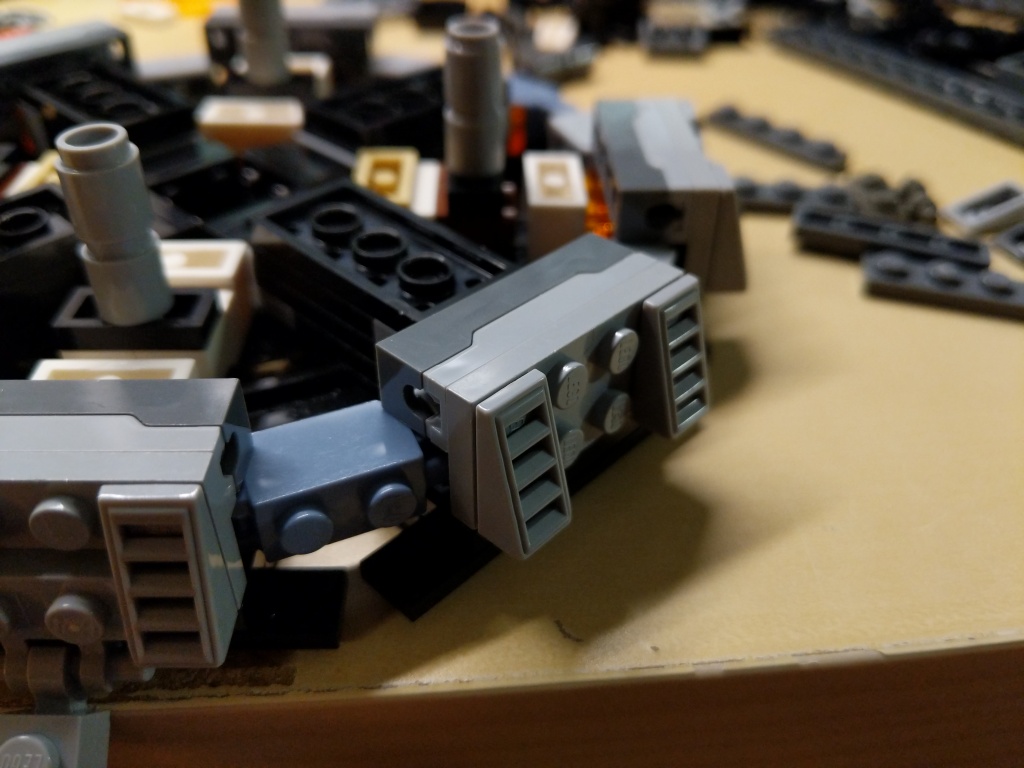
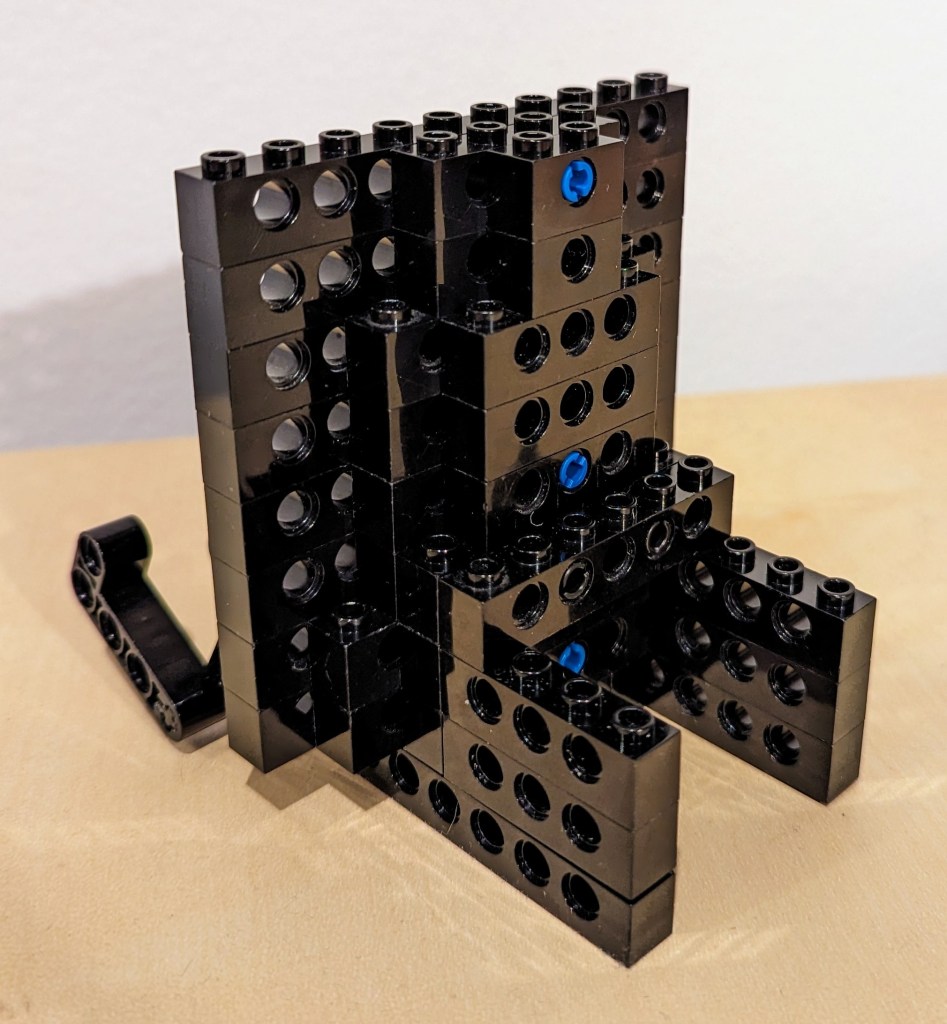
The photo above shows how the layers of bricks are arranged in the rear of the stand to support the height and weight of the tablet when it is in the stand.
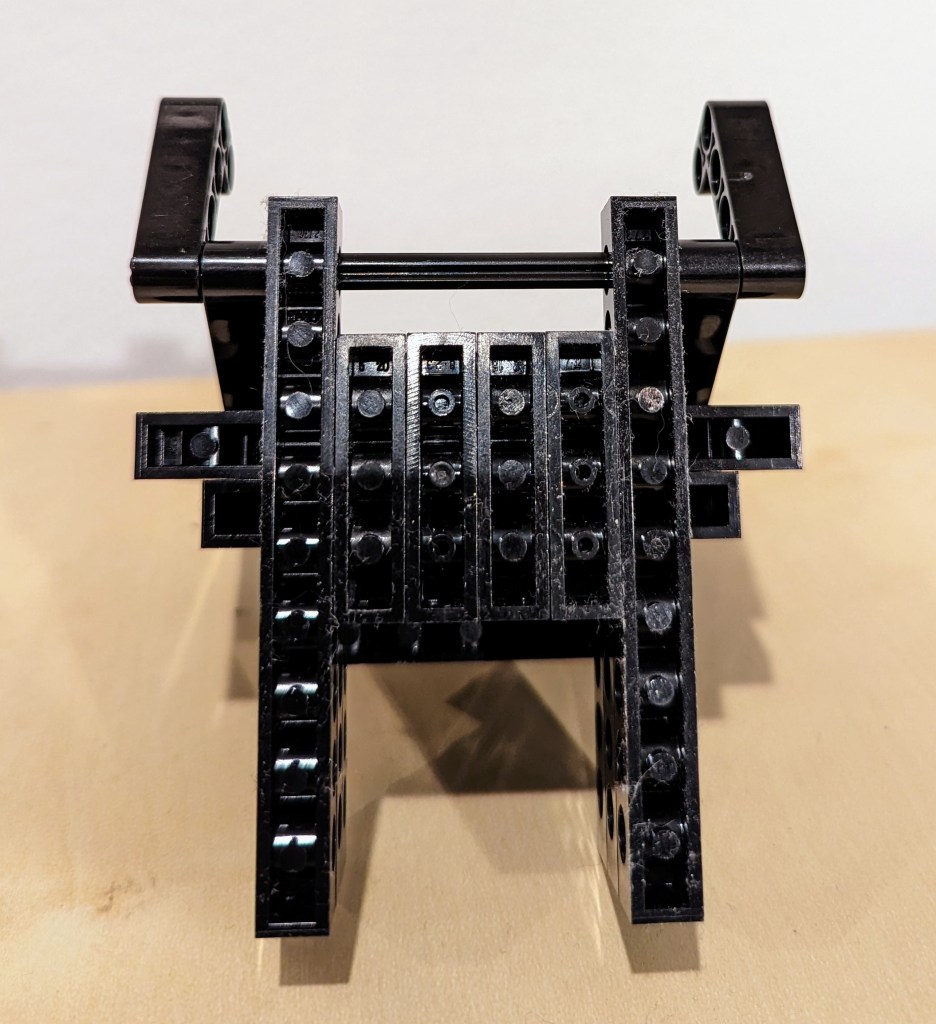
The above photo shows the rear of the display stand. Note that the 6-stud Technic brick in the middle of the photo that connects to the perpendicular 4-stud Technic bricks beneath it is connected to the rear support layers with 2 x 2-stud connector pegs.
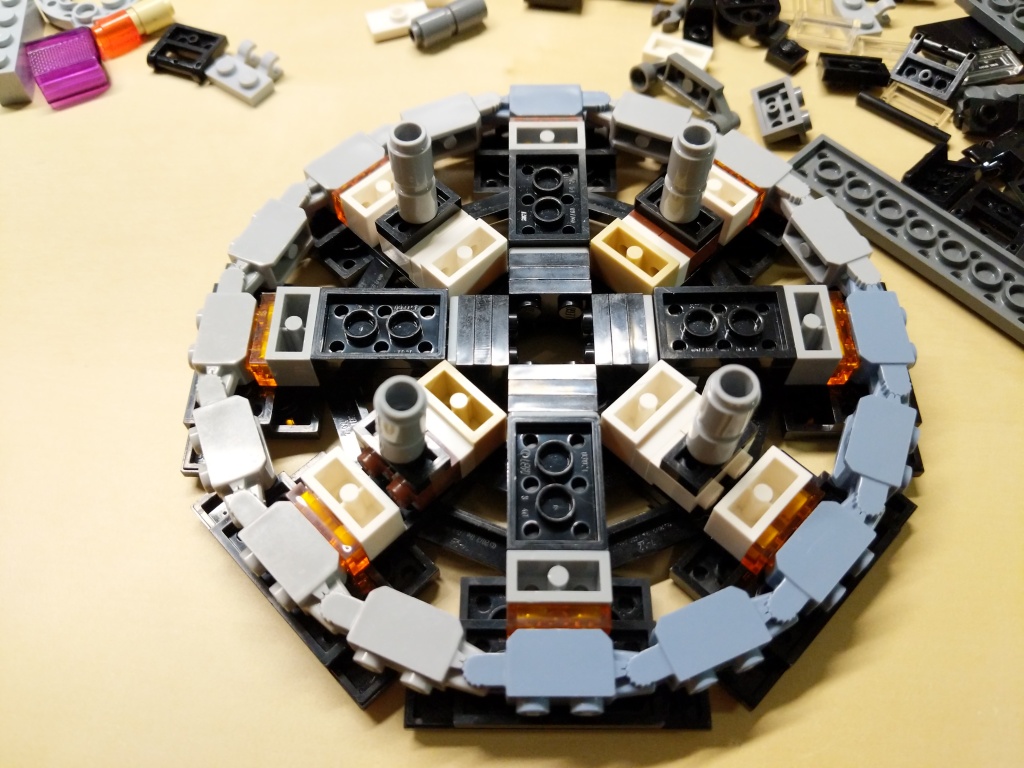
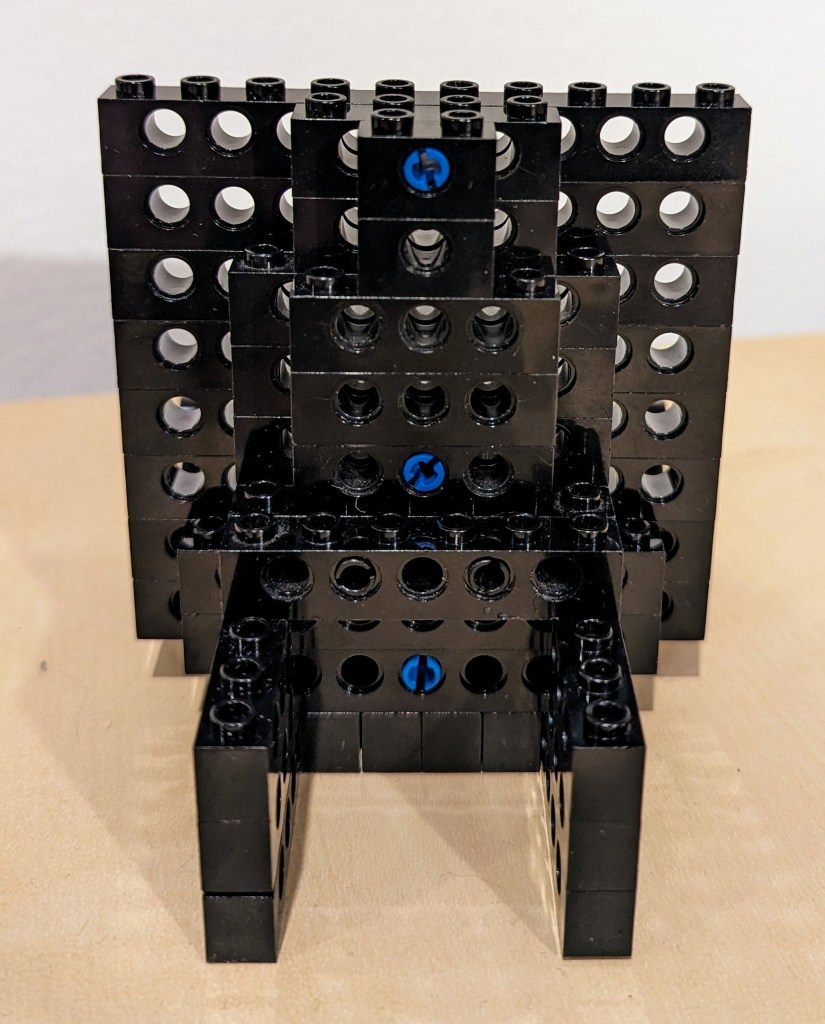
Finally, the bottom view of the display stand is shown above. Connector pegs are used to connect all bricks on the bottom most layer of the display stand.
I hope that the photos and descriptions above give you some ideas about how to use LEGO to solve a problem with holding something–in this case, a digital tablet. Not only can LEGO help you solve problems, but it can help you save money by allowing you to solve one problem and reconfigure the bricks to solve new problems as they arise and the old problems are no longer a concern (i.e., use LEGO over and over instead of buying solutions and trashing obsolete ones).


