
I like Syncthing, the continuous file synchronization program. Syncthing helps me pickup and continue my work regardless of the device I happen to be using, because it synchronizes my files across all devices. Think Dropbox but on my own hardware.
Also, I like tiny, low-power computers, like the Raspberry Pi 2. The Raspberry Pi and other lightweight computers demonstrate how even small computers are powerful enough for servers and desktop computing.
When Dropbox became more bloated with the new app design and refusing to offer a lower cost tier for those of us with modestly lower file synchronization needs, I began using Syncthing to create a folder of files synchronized between my desktop computer (at home) and my Surface Go (laptop used at work). I’ve been wanting to add a third node in my personal cloud storage solution, in part as an exercise in Linux and tiny computing and in part as another safe repository of my files. So, it made sense to combine my use of Syncthing with my enthusiasm for tiny computing by adding a third node to my Syncthing setup with a $10 Raspberry Pi Zero W (RPi0).

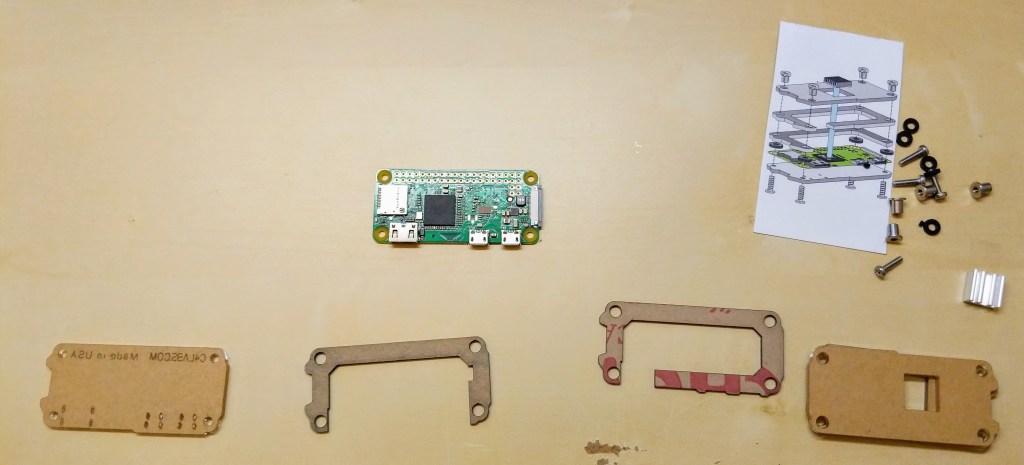
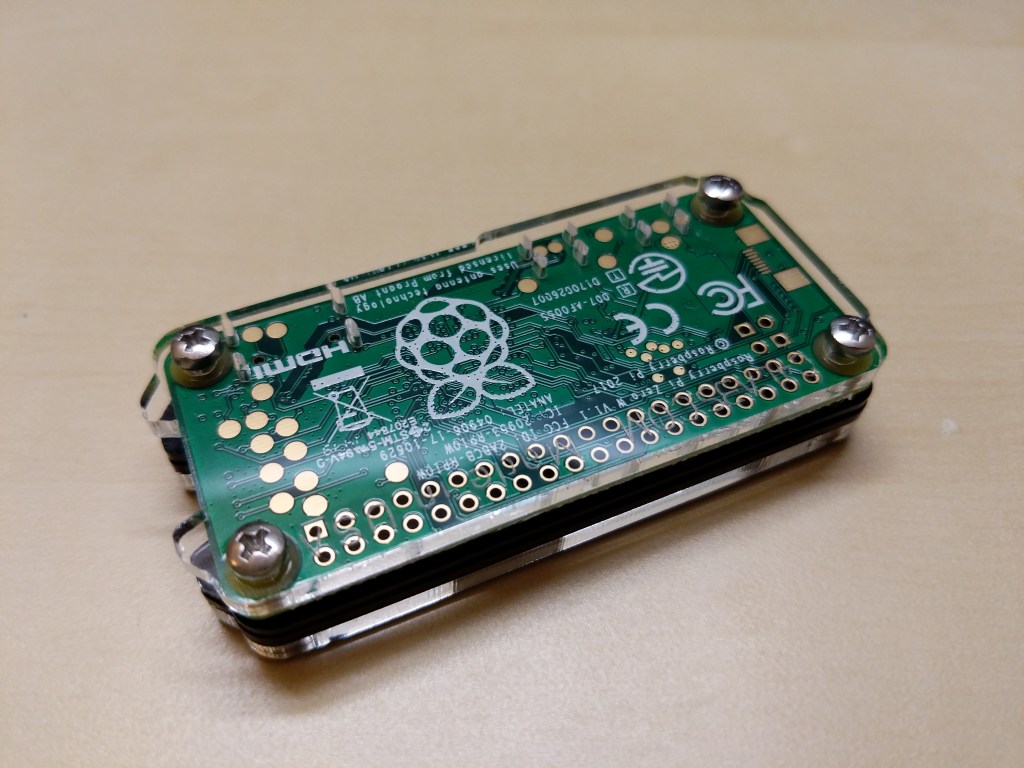
I picked up a RPi0 version 1.1, a C4 Labs Zebra Zero Black Ice Case with heatsink from Microcenter using their curbside pickup, which cost about $26 total.
I setup the RPi0 as a headless computer, meaning that it doesn’t have a monitor or keyboard attached. I will configure and control it remotely over my LAN.
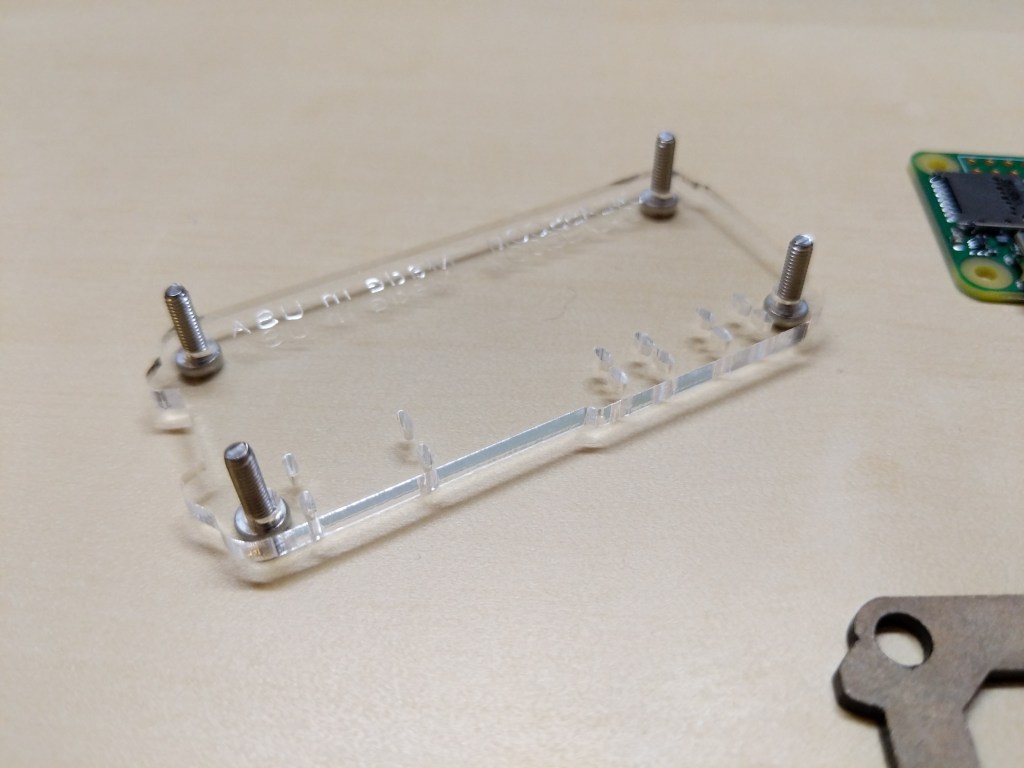
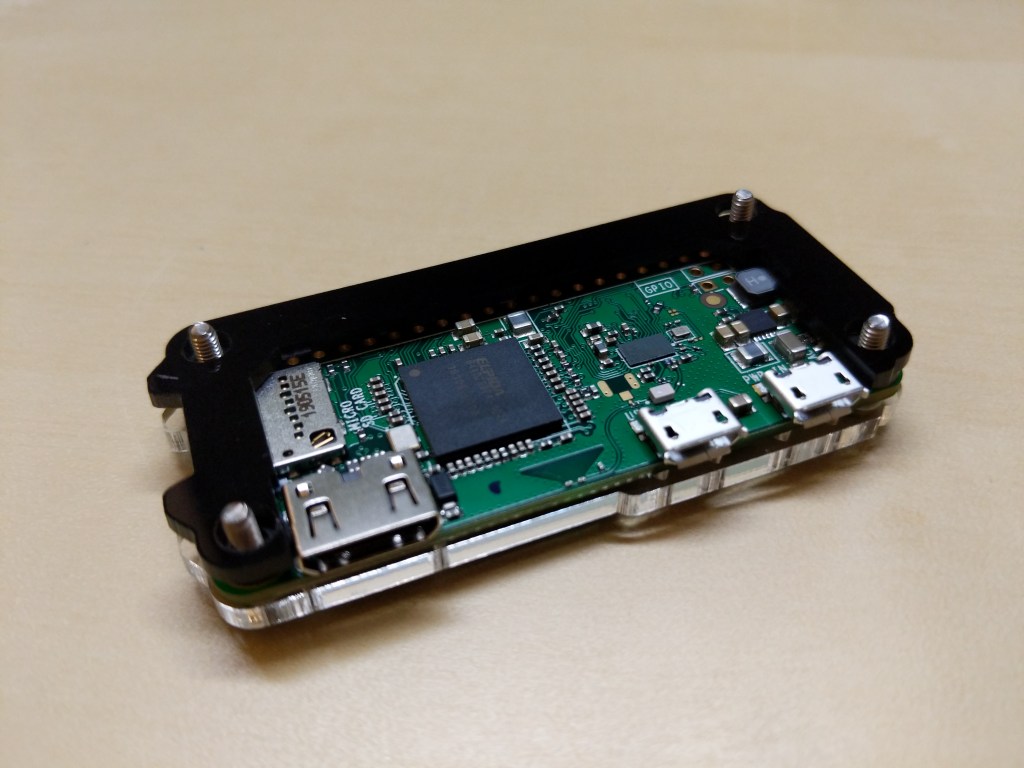
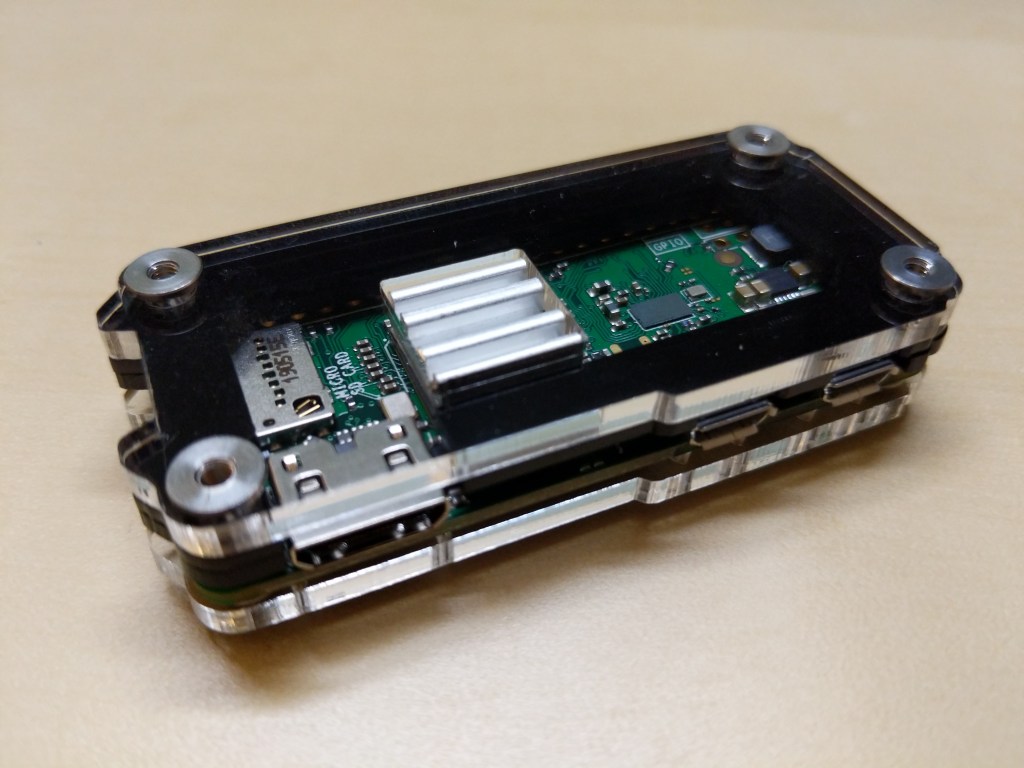
Before turning to the software and preparing the microSD card for the RPi, I assembled the case and installed the heatsink on the CPU. A case for the RPi0 wasn’t necessary, but I thought it prudent to get one for two reasons: 1) I have a cat and a small thing with a wire sticking out might be enticing, and 2) I plan to leave it on all the time, so a heatsink like the one included in this case kit will help dissipate heat produced by the RPi0’s CPU.


Before powering up the RPi0, I downloaded Raspbian Lite (a lean version of the Linux-based Raspbian OS for the RPi), balena Etcher (to burn the installer image to my microSD card), PuTTY (to SSH into the RPi0 to configure, administer, and install software), and Apple’s Bonjour network printer software (to easily connect to the .local hostname of the RPi0).
Then, I followed Mitch Allen’s excellent directions for setting up a headless RPi0.


Next, I followed these detailed directions for installing and configuring Syncthing to launch and load automatically when the RPi0 is powered up.
Since I installed Apple’s Bonjour software as part of Mitch Allen’s instructions above, I was able to easily connect to the RPi0’s Syncthing web admin page by going to “raspberrypi.local:8384” on my desktop’s web browser.
Before setting up Syncthing to sync files, I wanted to lockdown the web admin page by going to Actions > Settings > GUI where I checked “Use HTTPS for GUI” and added a “GUI Authentication User” and “GUI Authentication Password”.
As a test, I rebooted the RPi0 and confirmed that Syncthing launched automatically at bootup and confirmed that authentication was required to access the web admin page remotely.
Also, I made sure that I had Syncthing running on the desktop computer and the RPi0. Due to some initial problems with syncing, I unlinked my desktop and Surface Go from syncing, and moved the files and folders out of my default sync folder so that the sync folder is empty to begin with.
Then, I added a remote device to Syncthing on my desktop PC and on the RPi0 (both installations of Syncthing have to have the other device added).

First, on each computer (in my case, the desktop PC and the RPi0), click “Add Remote Device” on the Syncthing web admin page.

Second, on the “Add Device” screen that appears, type in the Device ID of the other computer. In my case, Syncthing auto-suggested the Device ID of the desktop PC when I was configuring the RPi0 and vice versa since these devices are on the same local area network.

Third, click on the “Sharing” tab on the “Add Device” screen, and check all three boxes: Introducer tells connected devices to add devices from the other synced devices, Default Folder is what folder is being shared, and Auto Accept will automatically include new folders created or shared within the default shared path. Finally, click “Save.”
After adding each other device on each Syncthing installation, they should begin syncing the default folder. I added one file back on my desktop PC to test this. After that file synced on both devices, I added my files back and they began syncing with the RPi0.
The final step in my setup was to add the Surface Go as another remote device. After starting Syncthing on the Surface Go, I added it to the desktop PC and I added the desktop PC to the Surface Go’s Syncthing configuration. While the Surface Go began copying files, the RPi0 added the Surface Go as a remote device automatically. Now, all three devices sync my files.
A better configuration would be to have the RPi0 off-site so that my files would be protected from burglary or fire. Therefore, I wouldn’t recommend Syncthing as a foolproof backup solution that gives you the same sense of security as off-site storage unless you can arrange to have your files off-site (then, I would recommend going further than what I did and have your RPi0’s drive encrypted to protect your files should the off-site device be compromised).
For my purposes, using Syncthing on two work-focused devices and one tiny RPi0 computer server gives me some peace of mind through an additional layer of redundancy.
Now, I want to explore what else I can have this RPi0 do as a headless server!
