This past year, I’ve been using an 8″ Samsung Galaxy Tab Active3 tablet and its S-Pen for most of my reading and note taking. In particular, I use the Samsung Note app to annotate and highlight PDFs of research. When I’m copying quotes and citations into my writing, I have had trouble finding a good way to position the tablet on my desk so that I could read its screen while typing up quotes and my notes. Occasionally, I had been using Syncthing (I wrote about how to setup a Raspberry Pi Zero as a central hub for your documents synchronized with Syncthing here) to synchronize my annotated PDFs on the tablet with my PC, but its sometimes better to save my PC screen’s real estate for my writing and rely on the tablet screen for reading–essentially adding to my screen real estate.
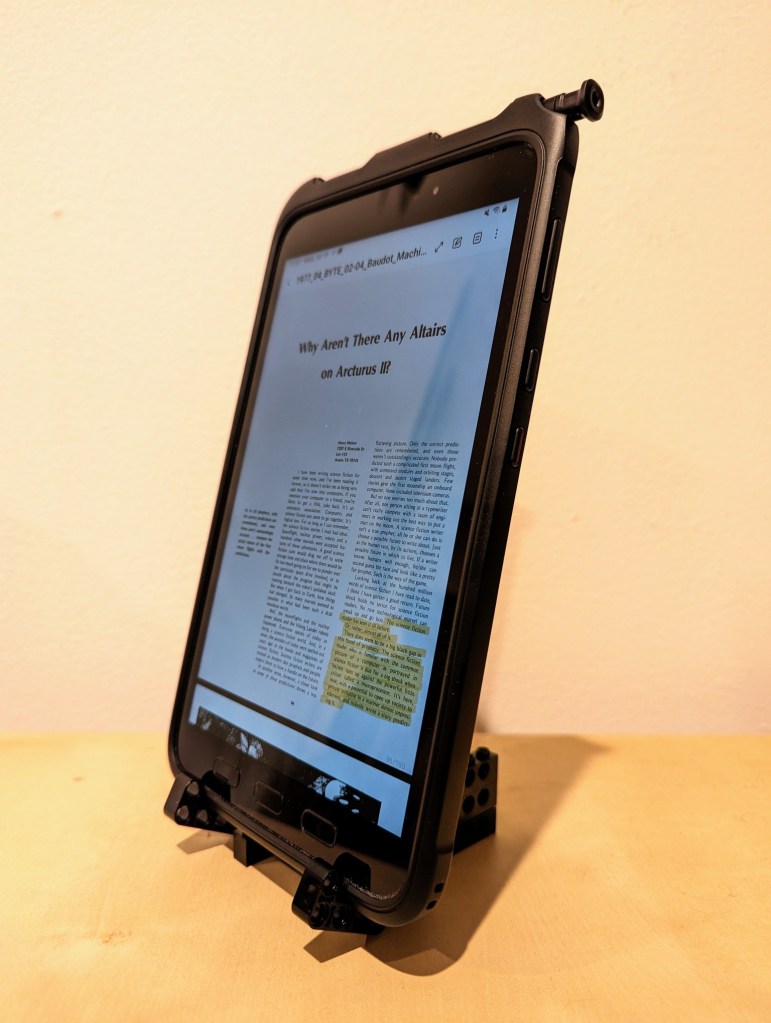
Today, I decided to pull out a tub of LEGOs to solve my problem about how to easily read and interface with the tablet while typing on my desktop computer’s keyboard, because LEGO is a versatile building medium that is great for play, art, and solving problems. Since I don’t often use all black bricks in my projects, I decided to build a tablet display stand using only black LEGO Technic bricks and elements.
I employed the 4-brick long L-shaped technic elements to create the place where the tablet is held by the display stand. It can rotate freely, but it is held in place against the vertical wall of 10-stud Technic bricks that support the back of the tablet when it is in the stand.

The rear support of the stand, which maintains the ~14 degree from the vertical position of the tablet holding pincers on the left of the photo above and supports the back of the tablet has several layers of Technic bricks held together by frictional force as well as 3-stud and 2-stud-long connector pegs. I don’t think the stand needs as much support as I provided on the right side of the photo above, but I wanted to use up as many black Technic bricks while building a stand that took up a minimum of desk space.
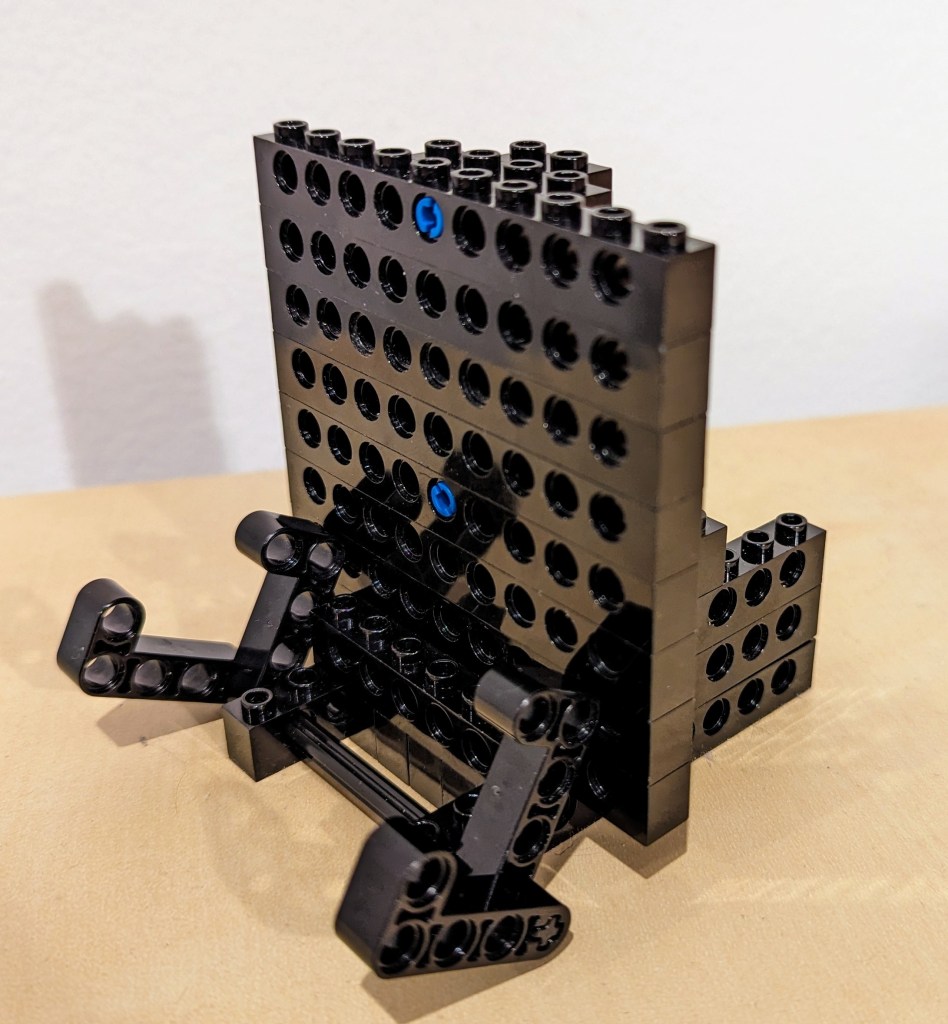
The photo above shows how the layers of bricks are arranged in the rear of the stand to support the height and weight of the tablet when it is in the stand.
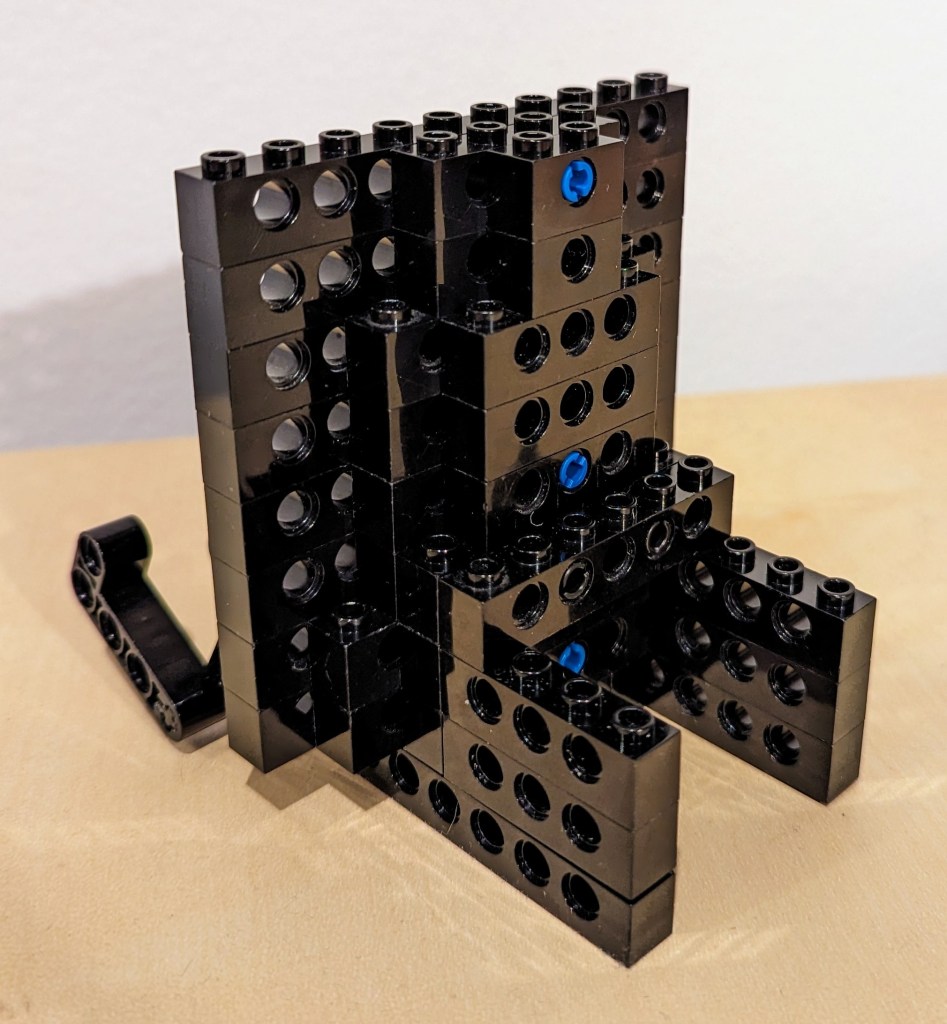
The above photo shows the rear of the display stand. Note that the 6-stud Technic brick in the middle of the photo that connects to the perpendicular 4-stud Technic bricks beneath it is connected to the rear support layers with 2 x 2-stud connector pegs.
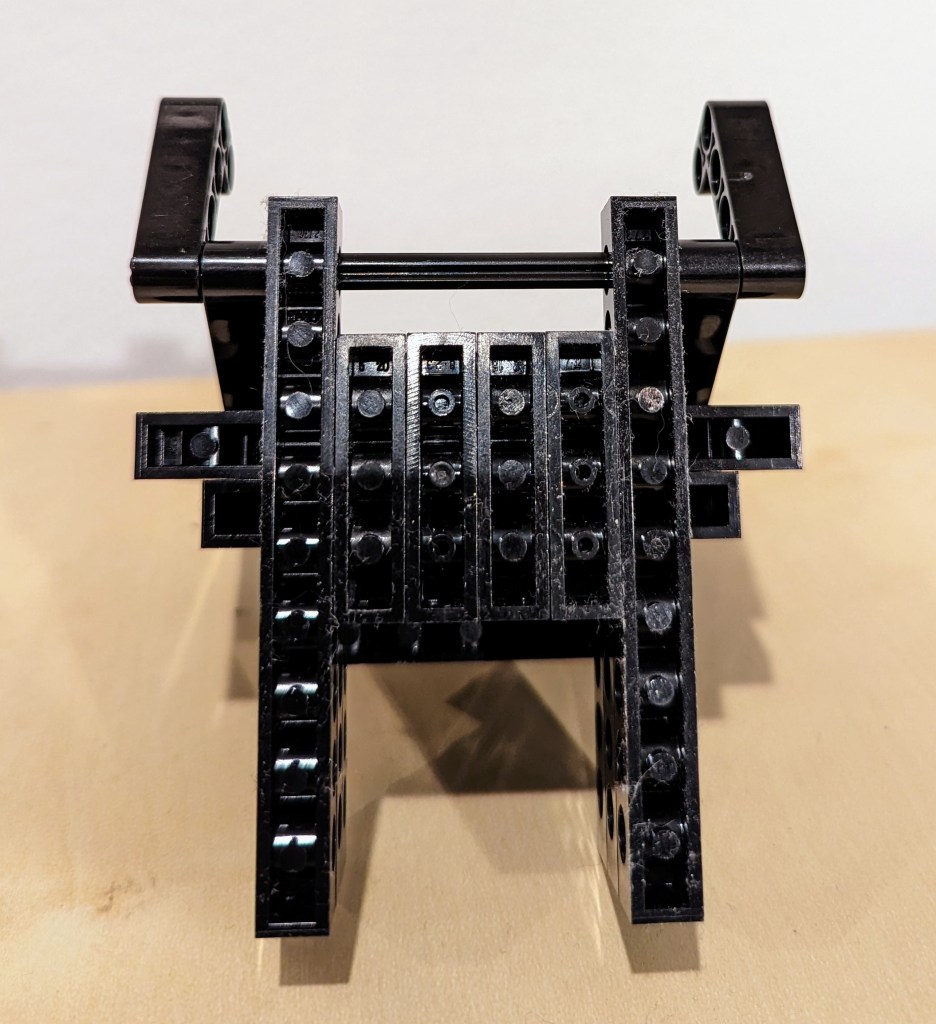
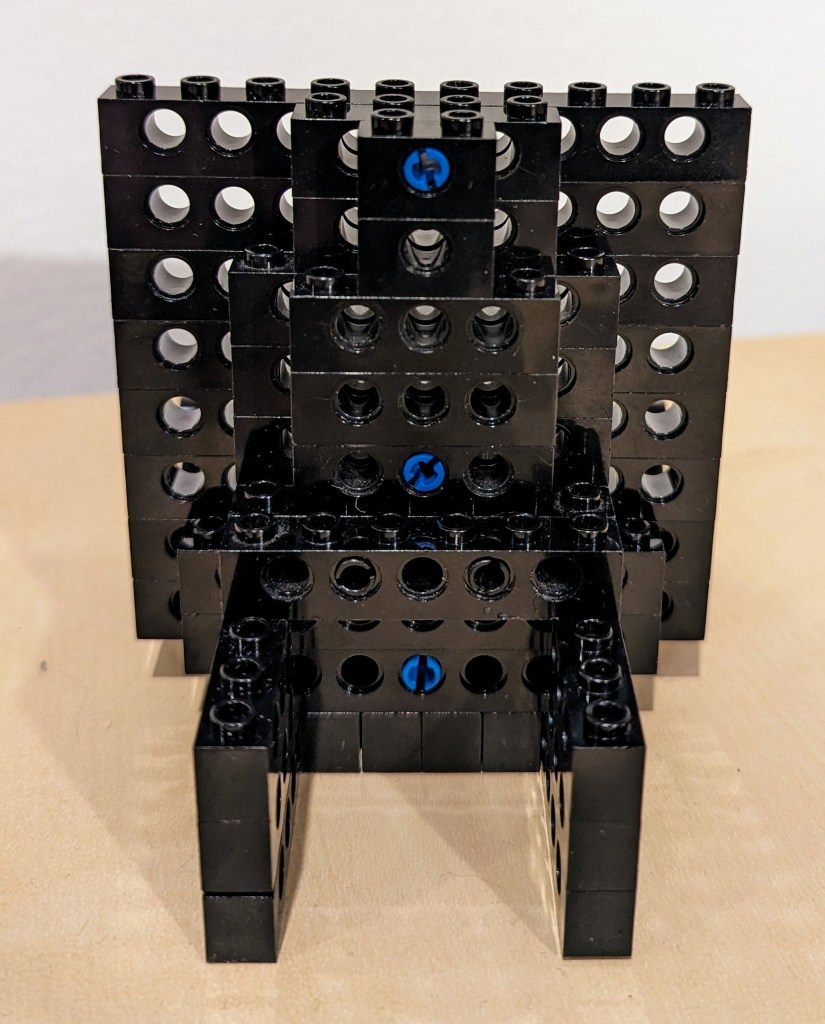
Finally, the bottom view of the display stand is shown above. Connector pegs are used to connect all bricks on the bottom most layer of the display stand.
I hope that the photos and descriptions above give you some ideas about how to use LEGO to solve a problem with holding something–in this case, a digital tablet. Not only can LEGO help you solve problems, but it can help you save money by allowing you to solve one problem and reconfigure the bricks to solve new problems as they arise and the old problems are no longer a concern (i.e., use LEGO over and over instead of buying solutions and trashing obsolete ones).


