Category: Technology

  • Google Glass, POV, and Augmented Reality

    When Google Glass debuted, I thought it was a cool piece of tech. Recording POV video and photos for my maker-oriented work and getting updates unobtrusively in class, meetings, and conferences were its main selling points to me. I wrote about some of my experiments with Google Glass and LEGO here. Unfortunately, it had its hardware and software limitations. One person who I interacted with took extreme umbrage with it. And, Google’s waning support over the years didn’t help either. Eventually, I sold it on eBay as I had stopped using it altogether.

    Use in Professional Settings

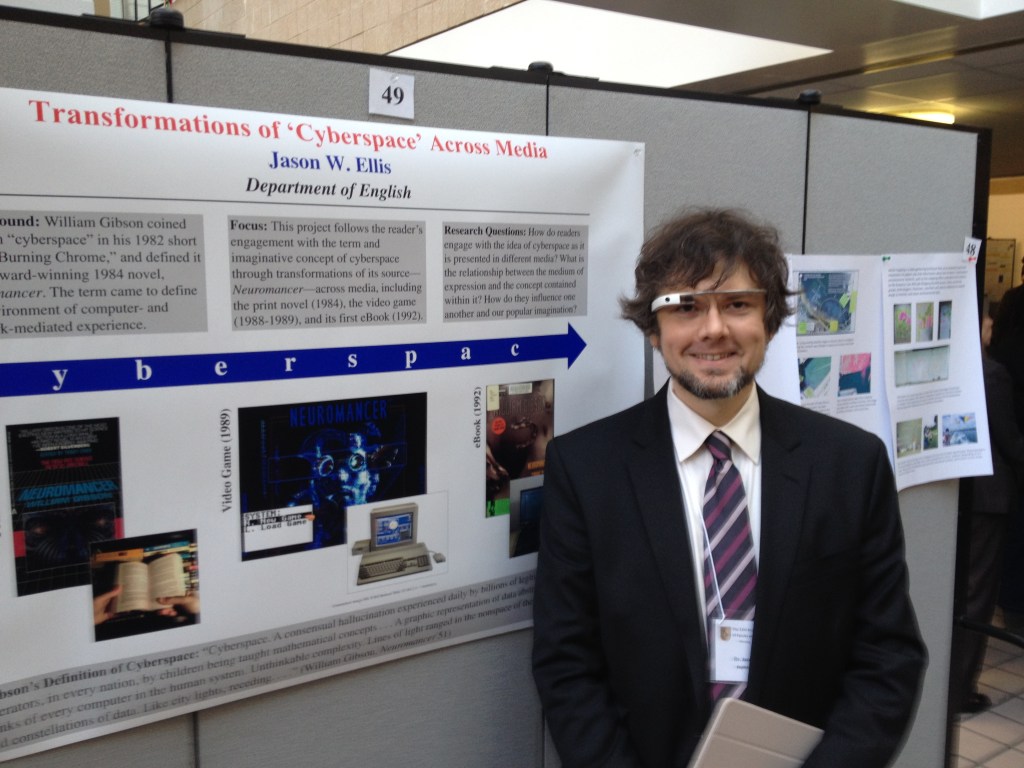
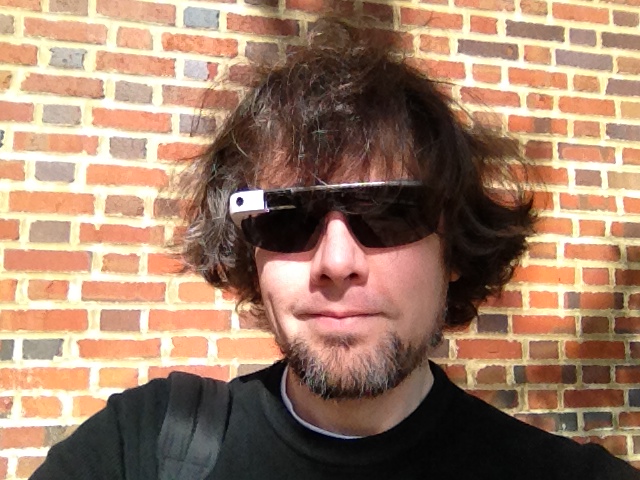
    When giving presentations that related to interfaces and new media, I often wore Google Glass as a prop, which I would reference in my talk. Had I been very clever, I would have used it like a teleprompter, but it was often easier to read from notes printed or on a tablet in hand.

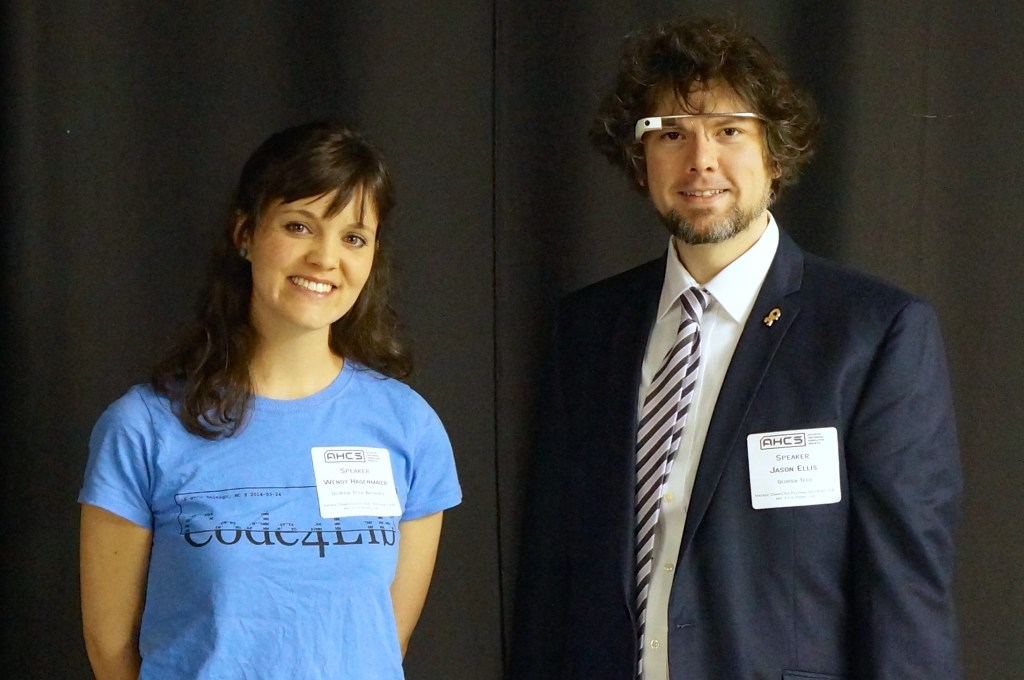
    I did get told off by someone who I didn’t know shortly before my co-presentation with Wendy Hagenmaier on “Digital Archives and Vintage Computing at Georgia Tech” at the Southeast Vintage Computer Festival 2.0 in Roswell, GA on 4 May 2014. I don’t know who she was, but she zeroed in the Glass, got perilously in my face, waved her hand dangerously close to my face and the Glass, and demanded that I stop recording video of her. I stepped backward and tried to explain that it wasn’t recording video or taking photos–I only had it conveying messages from my phone at the time. The thing about the Glass is that the computing unit got very, very hot–uncomfortably hot–if you recorded video for more than a minute or two. Of course, it would eat through its battery, too. So, full time recording wasn’t really possible. It did have a beta feature to take a photo when you blinked, but I never left the feature on as it resulted in lots of useless photos and depleted the battery. She was pissed and was having none of my explanation. Since we weren’t really having a discussion, I just said that I was sorry and walk away. It was an unnerving encounter since she was walking around with the organizer who remained silent during the exchange. Perhaps it had more to do with it being a Google product? What about it being a public space? What about the many other participants carrying smartphones with cameras as well as dedicated point-and-shoot and DSLR cameras? Perhaps she gained her intended effect as I was more cautious about where and when I wore them.

    For such an encounter, it would have been nice if the Glass had a built-in lens cover that lets others around the Glass wearer know at a glance if the lens was exposed or not, or if the camera part could have been modular in some way so that the wearer could have the AR but remove the camera when it wasn’t needed.

    Google Glass Kit

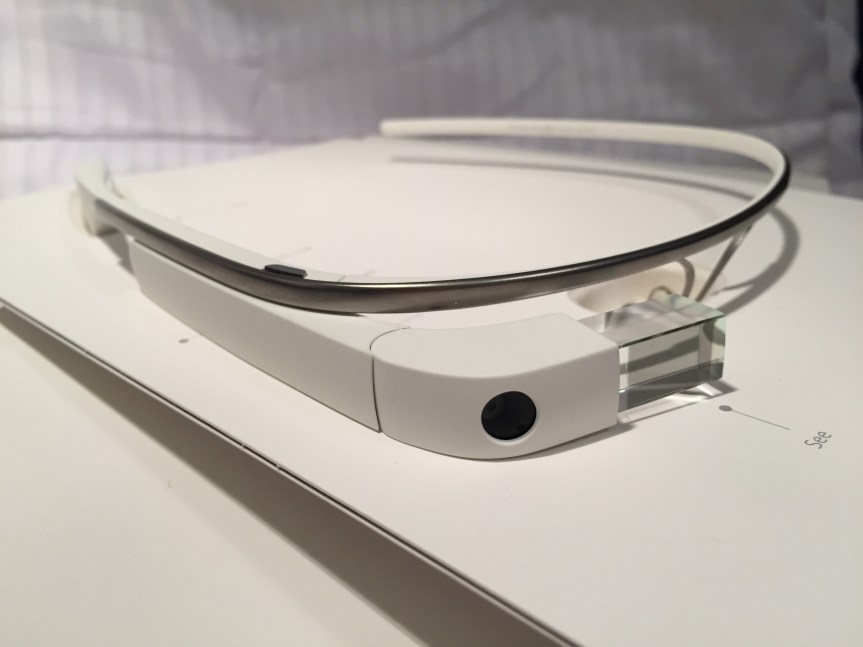
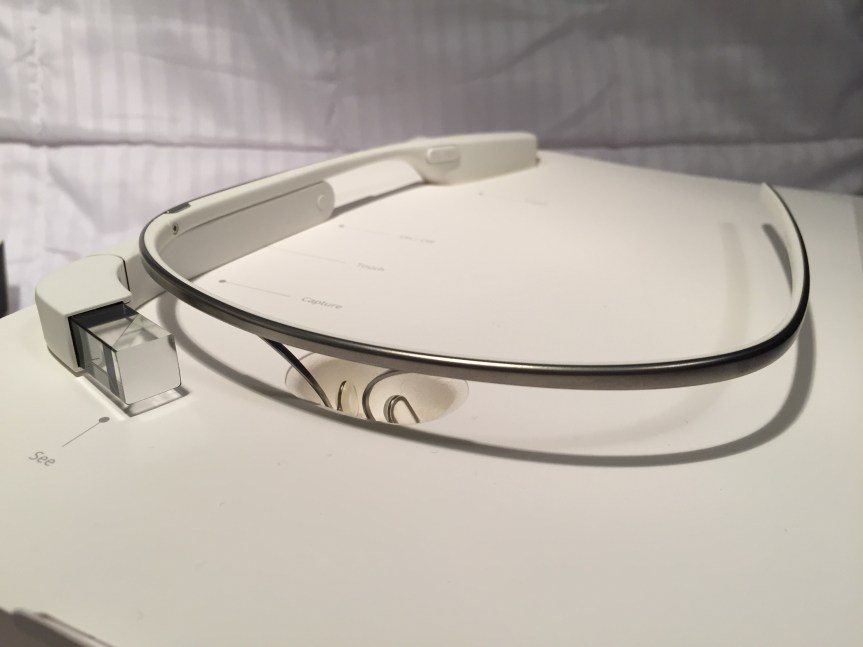
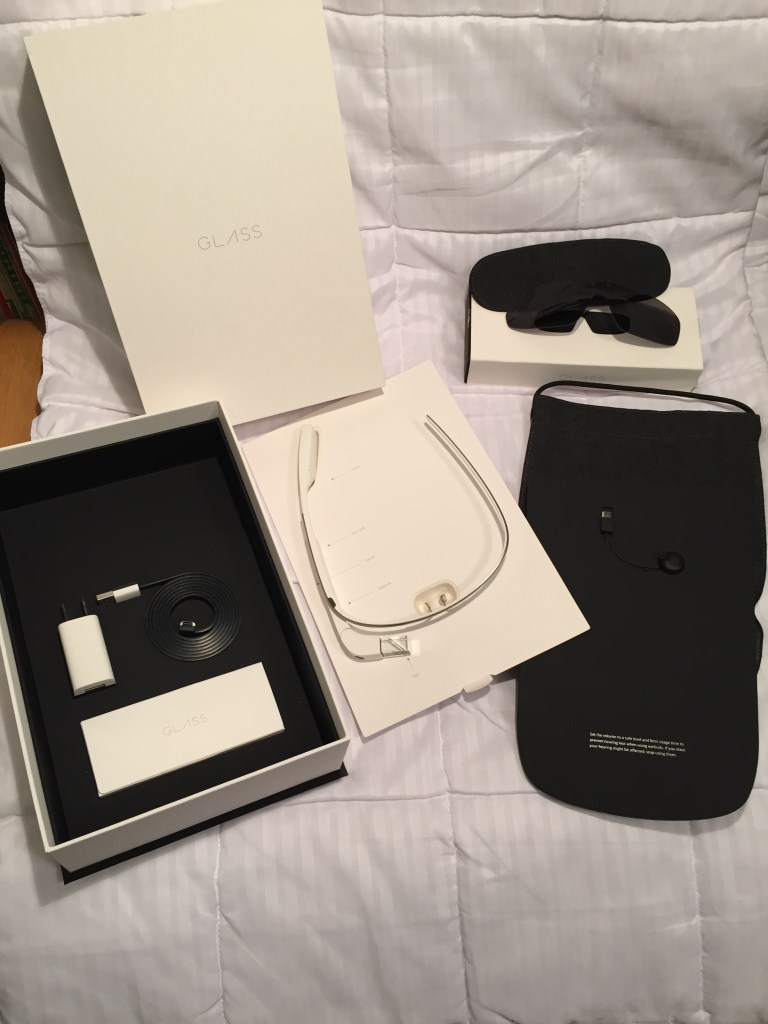
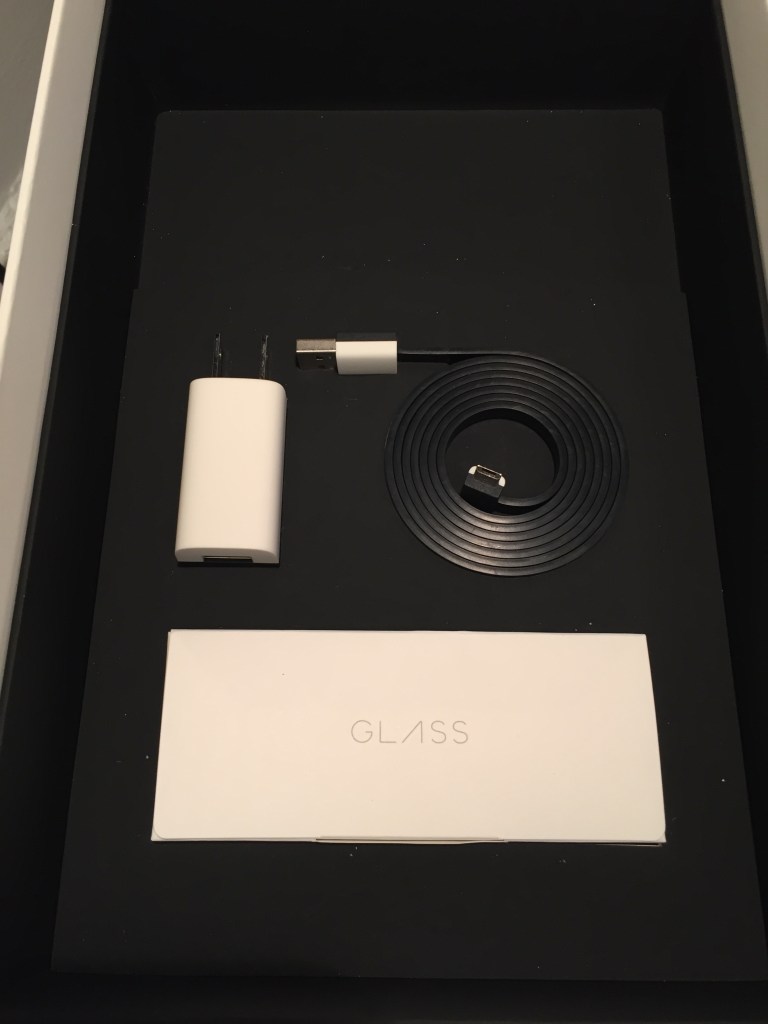
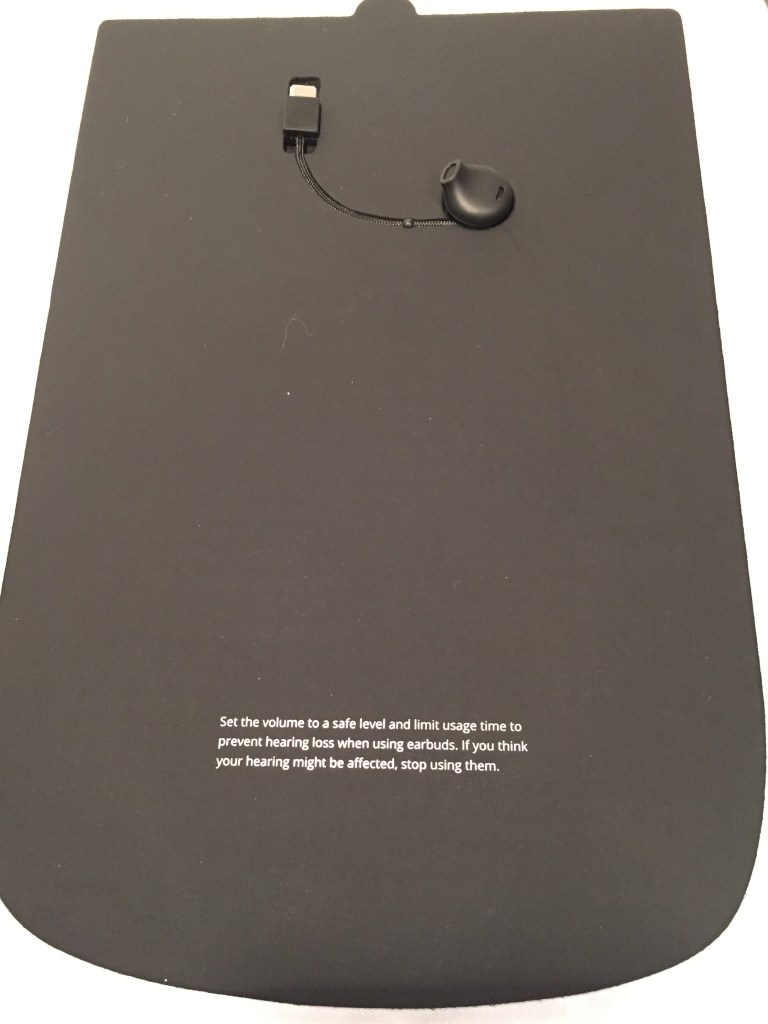
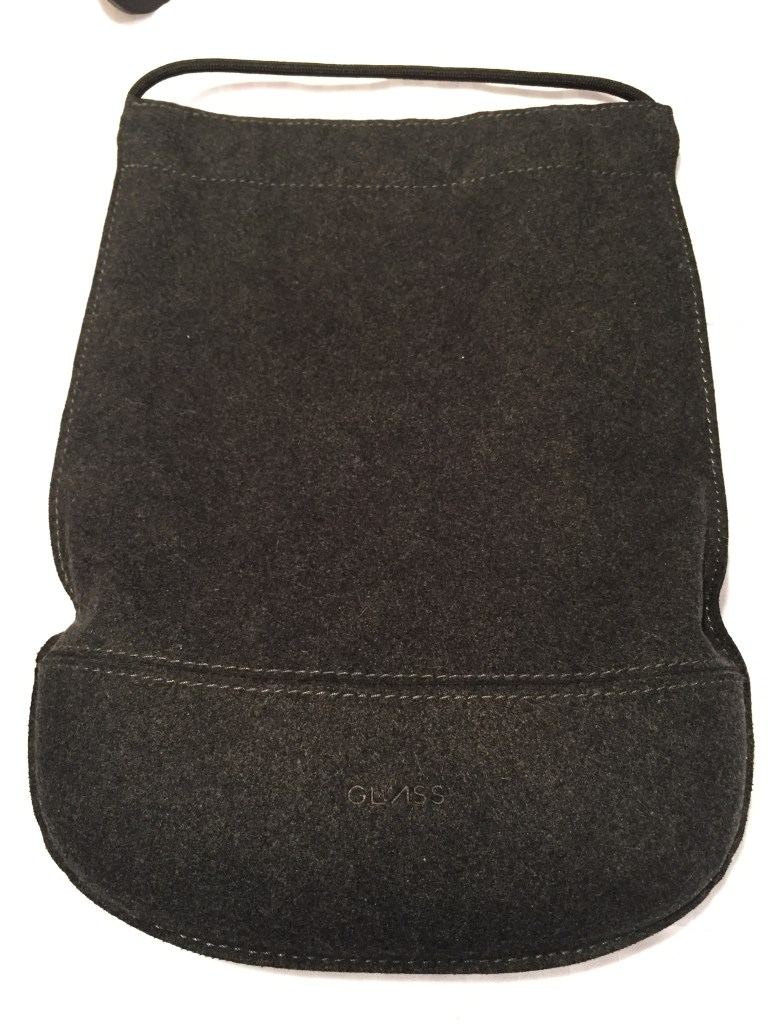
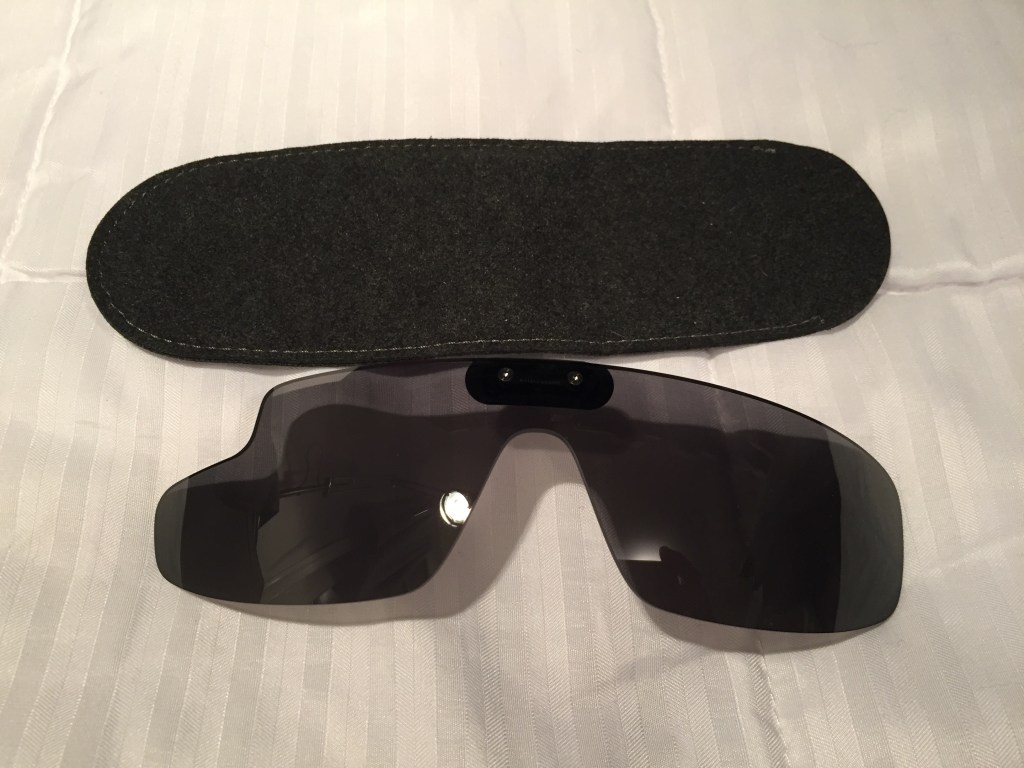
    I opted for the Google Glass Explorer kit that included detachable sunglasses. The kit included a single ear speaker that connected to the computing unit on the right side. An AC charger, USB cable, and felt carrying cases for the Glass and sunglasses were included, too.

    Before Its Time?

    Wearable technology like this seems inevitable. Good hardware and software design combined with killer apps/features would make this an invaluable tool, I think. The battery life and heat problems were downplayed during the initial public release, but they were real problems that robbed Glass of the bare minimum of functionality that it deserved. Had Google cracked those two issues, the software could have been developed further on a stable hardware platform.

    The lack of apps, poor battery life, heat production, and trouble with the voice activated features made me decide to resell it. Thankfully, I was able to recoup most of the cost when I sold it a year later.

    There seems to be steady interests in AR. Microsoft’s Hololens is neat, but it isn’t something that you can wear around all day. Apple’s upcoming Vision Pro looks cool, too, but it will be something aimed for specific use cases and not be a wearable augmentation to our daily, digital interaction with the world like Glass. Snap’s next generation of Spectacles seems like a high-tech version of Glass with full vision overlay, but it might be too opaque for all day and indoor use. Will something else come along to fulfill the promise of Glass?

    Catching the prismatic projected image on the Google Glass’ heads-up display in the mirror.

  • The New York Times asks, “Is it time to wear a mask again?”

    A toy bear wearing a surgical mask and sitting on a bookshelf in front of books.

    The New York Times asks, “Is it time to wear a mask again?”

    I haven’t stopped. While I want to protect myself from getting ill, I also don’t want to run the risk of passing on the virus to others who are unable to get vaccinated or have compromised immune systems.

    Protecting Ourselves from COVID is Like Playing World of Warcraft

    I think about mask wearing and vaccination and social distancing like I would playing World of Warcraft. A mask, like any armor, cannot protect you 100% from all potential damage, but if it is used in the right way, in the right circumstances, it significantly decreases your chance of bodily damage. Vaccination is akin to resistance to specific types of magic. It doesn’t make you invincible to that specific kind of magic, but if you are hit by it, having resistance reduces how badly you are injured. And, social distancing is like avoiding aggro or attracting enemy attackers. Don’t be like Leeroy Jenkins and charge directly into danger! Avoiding situations or using social distancing in situations where the virus might be passed around gives you a chance to fight another day!

    N95s That I Wear

    I recently switched to wearing 3M’s 9105 Vflex mask. It is flat packed and gives you a large space around your nose and mouth. The side handles are good for gripping when putting it on or taking it off. When you are hot and sweating, it maintains form and stays comfortable. I find it a good compromise between the other two I wear described below.

    This past year, I’ve mostly been wearing 3M’s 9205+ Aura. It is flat packed and smaller than the 9105. However, it feels soggy when you’re sweating. It’s elastic bands are less resilient than those on the 9105 or the 8210.

    When I was teaching, I preferred to wear the old school 8210. It’s tough, but bulky as it doesn’t pack flat. When you’re sweating, this mask maintains its shape and doesn’t get uncomfortable. However, it’s elastic bands do not have long life—the rubber gets stretched and will break after repeated wearing more quickly than the 9105 but lasts longer than the 9205.

  • Solving a Problem with LEGO Technic: Display Stand for 8″ Samsung Galaxy Tab Active3 Enterprise Edition

    Samsung Galaxy Tab Active3 held at 14 degrees from the vertical with a DIY LEGO Technic stand.

    This past year, I’ve been using an 8″ Samsung Galaxy Tab Active3 tablet and its S-Pen for most of my reading and note taking. In particular, I use the Samsung Note app to annotate and highlight PDFs of research. When I’m copying quotes and citations into my writing, I have had trouble finding a good way to position the tablet on my desk so that I could read its screen while typing up quotes and my notes. Occasionally, I had been using Syncthing (I wrote about how to setup a Raspberry Pi Zero as a central hub for your documents synchronized with Syncthing here) to synchronize my annotated PDFs on the tablet with my PC, but its sometimes better to save my PC screen’s real estate for my writing and rely on the tablet screen for reading–essentially adding to my screen real estate.

    Today, I decided to pull out a tub of LEGOs to solve my problem about how to easily read and interface with the tablet while typing on my desktop computer’s keyboard, because LEGO is a versatile building medium that is great for play, art, and solving problems. Since I don’t often use all black bricks in my projects, I decided to build a tablet display stand using only black LEGO Technic bricks and elements.

    LEGO Technic display stand at 3/4 view without the tablet.

    I employed the 4-brick long L-shaped technic elements to create the place where the tablet is held by the display stand. It can rotate freely, but it is held in place against the vertical wall of 10-stud Technic bricks that support the back of the tablet when it is in the stand.

    Side view of the LEGO Technic tablet display stand without the tablet in place.

    The rear support of the stand, which maintains the ~14 degree from the vertical position of the tablet holding pincers on the left of the photo above and supports the back of the tablet has several layers of Technic bricks held together by frictional force as well as 3-stud and 2-stud-long connector pegs. I don’t think the stand needs as much support as I provided on the right side of the photo above, but I wanted to use up as many black Technic bricks while building a stand that took up a minimum of desk space.

    Rear 3/4 view of the LEGO Technic tablet display stand.

    The photo above shows how the layers of bricks are arranged in the rear of the stand to support the height and weight of the tablet when it is in the stand.

    Rear view of the LEGO Technic tablet display stand.

    The above photo shows the rear of the display stand. Note that the 6-stud Technic brick in the middle of the photo that connects to the perpendicular 4-stud Technic bricks beneath it is connected to the rear support layers with 2 x 2-stud connector pegs.

    Finally, the bottom view of the display stand is shown above. Connector pegs are used to connect all bricks on the bottom most layer of the display stand.

    I hope that the photos and descriptions above give you some ideas about how to use LEGO to solve a problem with holding something–in this case, a digital tablet. Not only can LEGO help you solve problems, but it can help you save money by allowing you to solve one problem and reconfigure the bricks to solve new problems as they arise and the old problems are no longer a concern (i.e., use LEGO over and over instead of buying solutions and trashing obsolete ones).

  • Mirrored Moment of Computing Creation: KPT Bryce for Macintosh

    Outer space scene rendered in KPT Bryce on Mac OS 7.5.5.
    Outer space scene rendered in KPT Bryce 1.0.1 on Mac OS 7.5.5.

    A conversation on LinkedIn yesterday with a former Professional and Technical Writing student about user experience (UX) and generative artificial intelligence (AI) technologies reminded me of the UX innovations around an earlier exciting period of potential for computers creating art: KPT Bryce, a three-dimensional fractal landscape ray trace rendering program for Mac OS released in 1994. It was one of the first programs that I purchased for my PowerMacintosh 8500/120 (I wrote about donating a similar machine to the Georgia Tech Library’s RetroTech Lab in 2014 here). Much like today when I think about generative AI, my younger self thought that the future had arrived, because my computer could create art with only a modicum of input from me thanks to this new software that brought together 3D modeling, ray tracing, fractal mathematics, and a killer user interface (UI).

    Besides KPT Bryce’s functionality to render scenes like the one that I made for this post (above), what was great about it was its user interface, which made editing and configuring your scene before rendering in an intuitive and easy-to-conceptualize manner. As you might imagine, 3D rendering software in the mid-1990s was far less intuitive than today (e.g., I remember a college classmate spending hours tweaking a text-based description of a scene that would then take hours to render in POVRay in 1995), so KPT Bryce’s easy of use broke down barriers to using 3D rendering software and it opened new possibilities for average computer users to leverage their computers for visual content creation. It was a functionality and UX revolution.

    Below, I am including some screenshots of KPT Bryce 1.0.1 emulated on an installation of Mac OS 7.5.5 on SheepShaver (N.B. I am not running SheepShaver on BeOS–I’ve modified my Debian 12 Bookworm xfce installation to have the look-and-feel of BeOS/Haiku as I documented here).

    KPT Bryce 1.0 program folder copied to the computer's hard drive from the KPT Bryce CD-ROM.
    KPT Bryce 1.0 program folder copied to the computer’s hard drive from the KPT Bryce CD-ROM.
    KPT Bryce 1.0 launch screen.
    KPT Bryce 1.0 launch screen.
    Basic scene randomizer/chooser. Note the UI elements on the lower window border.
    KPT Bryce initial scene randomizer/chooser. Note the UI elements on the lower window border.
    KPT Bryce's scene editor opens after making initial selections.
    KPT Bryce’s scene editor opens after making initial selections.
    KPT Bryce's rendering screen--note the horizontal dotted yellow line indicating the progression of that iterative ray tracing pass on the scene.
    KPT Bryce’s rendering screen–note the horizontal dotted yellow line indicating the progression of that iterative ray tracing pass on the scene.
    KPT Bryce rendering completed. It can be saved as an image by clicking on File > Save As Pict.
    KPT Bryce rendering completed. It can be saved as an image by clicking on File > Save As Pict.

  • All In on Artificial Intelligence

    An anthropomorphic cat wearing coveralls, working with advanced computers. Image generated with Stable Diffusion.

    As I wrote about recently about my summertime studying and documented on my generative artificial intelligence (AI) bibliography, I am learning all that I can about AI–how it’s made, how we should critique it, how we can use it, and how we can teach with it. As with any new technology, the more that we know about it, the better equipped we are to master it and debate it in the public sphere. I don’t think that fear and ignorance about a new technology are good positions to take.

    I see, like many others do, that AI as an inevitable step forward with how we use and what we can do with computers. However, I don’t think that these technologies should only be under the purview of big companies and their (predominantly) man-child leaders. Having more money and market control does not mean one is a more ethical practitioner with AI. In fact, it seems that some industry leaders are calling for more governmental oversight and regulation not because they have real worries about AI’s future development but instead because they are in a leadership position in the field and likely can shape how the industry is regulated through industry connections with would-be regulators (i.e., the revolving door of industry-government regulation in other regulatory agencies).

    Of course, having no money or market control in AI does not mean one is potentially more ethical with AI either. But, ensuring that there are open, transparent, and democratic AI technologies creates the potential for a less skewed playing field. While there’s the potential for abuse of these technologies, having these available to all creates the possibility for many others to use AI for good. Additionally, if we were to keep AI behind locked doors, only those with access (legally or not) will control the technology, and there’s nothing to stop other countries and good/bad actors in those countries from using AI however they see fit–for good or ill.

    To play my own small role in studying AI, using generative AI, and teaching about AI, I wanted to build my own machine learning-capable workstation. Before I made any upgrades, I maxed out what I could do with a Asus Dual RTX 3070 8GB graphics card and 64GB of RAM for the past few months. I experimented primarily with Stable Diffusion image generation models using Automatic1111’s stable-diffusion-webui and LLaMA text generation models using Georgi Gerganov’s llama.cpp. An 8GB graphics card like the NVIDIA RTX 3070 provides a lot of horsepower with its 5,888 CUDA cores and memory bandwidth across its on-board memory. Unfortunately, the on-board memory is too small for larger models or adjusting models with multiple LORA and the like. For text generation, you can layer some of the model on the graphic’s card memory and your system’s RAM, but this is inefficient and slow in comparison to having the entire model loaded in the graphics card’s memory. Therefore, a video card with a significant amount of VRAM is a better solution.

    Previous interior of my desktop computer with air cooling, 128GB RAM, and Asus Dual Geforce RTX 3070 8GB graphics card.

    For my machine learning focused upgrade, I first swapped out my system RAM for 128GB DDR4-3200 (4 x 32GB Corsair shown above). This allowed me to load 65B parameters into system RAM with my Ryzen 7 5800X 8 core/16 thread CPU to perform the operations. The CPU usage while it is processing tokens on llama.cpp looks like an EEG:

    CPU and memory graphs show high activity during AI inference.

    While running inference on the CPU was certainly useful for my initial experimentation and the CPU usage graph looks cool, it was exceedingly slow. Even an 8 core/16 thread CPU is ill-suited for AI inference in part due to how it lacks the massive parallelization of graphics processing units (GPUs) but perhaps more importantly due to the system memory bottleneck, which is only 25.6 GB/s for DDR4-3200 RAM according to Transcend.

    Video cards, especially those designed by NVIDIA, provide specialized parallel computing capabilities and enormous memory bandwidth between the GPU and video RAM (VRAM). NVIDIA’s CUDA is a very mature system for parallel processing that has been widely accepted as the gold standard for machine learning (ML) and AI development. CUDA is unfortunately, closed source, but many open source projects have adopted it due to its dominance within the industry.

    My primary objective when choosing a new video card was that it had enough VRAM to load a 65B LLaMA model (roughly 48GB). One option for doing this is to install two NVIDIA RTX 3090 or 4090 video cards with each having 24GB of VRAM for a total of 48GB. This would solve my needs for running text generation models, but it would limit how I could use image generation models, which can’t be split between multiple video cards without a significant performance hit (if at all). So, a single card with 48GB of VRAM would be ideal for my use case. Three options that I considered were the Quadro 8000, A40, and RTX A6000 Ampere. The Quadro 8000 used three-generation-old Turing architecture, while the A40 and RTX A6000 used two-generation-old Ampere architecture (the latest Ada architecture was outside of my price range). The Quadro 8000 has memory bandwidth of 672 GB/s while the A40 has 696 GB/s and the A6000 has 768 GB/s. Also, the Quadro 8000 has far fewer CUDA cores than the other two cards: 4,608 vs. 10,572 (A40) and 10,752 (A6000). Considering the specs, the A6000 was the better graphics card, but the A40 was a close second. However, the A40, even found for a discount, would require a DIY forced-blower system, because it is designed to be used in rack mounted servers with their own forced air cooling systems. 3D printed solutions that mate fans to the end of an A40 are available on eBay, or one could rig something DIY. But, for my purposes, I wanted a good card with its own cooling solution and a warranty, so I went with the A6000 shown below.

    nvidia A6000 video card

    Another benefit to the A6000 over the gaming performance-oriented 3090 and 4090 graphics cards is that it requires much less power–only 300 watts at load (vs ~360 watts for the 3090 and 450 watts for the 4090). Despite this lower power draw, I only had a generic 700 watt power supply. I wanted to protect my investment in the A6000 and ensure it had all of the power that it needed, so I opted to go with a recognized name brand PSU–a Corsair RM1000x. It’s a modular PSU that can provide up to 1,000 watts to the system (it only provides what it is needed–it isn’t using 1000 watts constantly). You can see the A6000 and Corsair PSU installed in my system below.

    new computer setup with 128GB RAM and A6000 graphics card

    Now, instead of waiting for 15-30 minutes for a response to a long prompt ran on my CPU and system RAM, it takes mere seconds to load the model on the A6000’s VRAM and generate a response as shown in the screenshot below of oobabooga’s text-generation-webui using the Guanaco-65B model quantized by TheBloke to provide definitions of science fiction for three different audiences. The tool running in the terminal in the lower right corner is NVIDIA’s System Management Interface, which can be opened by running “nvidia-smi -l 1”.

    text generation webui running on the a6000 video card

    I’m learning the programming language Python now so that I can better understand the underlying code for how many of these tools and AI algorithms work. If you are interested in getting involved in generative AI technology, I recently wrote about LinkedIn Learning as a good place to get started, but you can also check out the resources in my generative AI bibliography.