Tag: MOC

  • LEGO 76038 Attack on Avengers Tower Modified with Two Extra Floors: Arc Reactor, Hall of Armor, and More!

    IMG_20180810_194836

    Recently, I decided to rebuild LEGO set 76038 Attack on Avengers Tower from the Avengers 2: Age of Ultra line. The trouble was that the elements for the set were strewn throughout my boxes of bricks and sorted drawers. I used some of the bricks in an Iron Man Hall of Armor MOC, which had to be disassembled for this project. A 511 piece set like this might normally take me a couple of hours to complete. As I had to sort and find the bricks while looking at the downloaded PDF instructions on my computer screen, it took the better part of a day to complete the impressive playset. Then, I started thinking about how to make this good set even better. One aspect that bothered me about it is how short it is. While I understand that LEGO considers cost, playability, and profitability in designing their sets, I thought that Avengers Tower should stand above the Manhattan skyline, which according to the logic of minifigure playsets would put this two or three levels higher. I decided to add two floors, because where the bottom floor extends to–following the slope established in the original set–is about as far out as the edge of platform at the top of the tower. To my mind, this seemed to work out well for a taller and proportionate LEGO Avengers Tower.

    LEGO 76038 Attack on Avengers Tower Unmodified

    IMG_20180810_162029

    Barring the additional minifigures (and four Iron Legion instead of the stock two), the photo above is of the unmodified LEGO 76038 Attack on Avengers Tower. On the lower level, it has the Iron Legion docking area and medical bay. The middle level has the Iron Legion repair bay/Ultron’s first embodiment and the diagnostic bay with scanner for studying Loki’s scepter. The top level features the platform, entertaining space, and computer station. The tower’s pinnacle is a drone deployment system.

    I like the design work that went into the overall design of LEGO 76038. The angular front of the tower and the curve flowing down the side from the platform is spot-on with the design from the film. Of course, LEGO’s designers embellished the design for playability, but the thought that went into what elements should be included such as the Iron Legion bays and the scepter scanner reveal how dedicated their designers are to creating a model that balances play with realism.

    Planning Additional Levels 

    IMG_20180810_161921

    To begin my modification to Avengers Tower, I had to plan out how to extend the slope of the front part of the tower. Following the slope provided in the original model, I saw that the next level–if it were the same height as the previous level–would need to extend two studs past the previous level. This allowed me to plan how much area in studs I would have to work with for the new first or bottom most level, and the new second level. The rear part of each level–with curved, translucent windows would remain the same for the new fourth and fifth levels. The new first level features an interactive Arc Reactor and Computer Server Room. The new second level features Tony Stark’s workshop and the Iron Man Hall of Armor.

    Arc Reactor

    IMG_20180810_152803

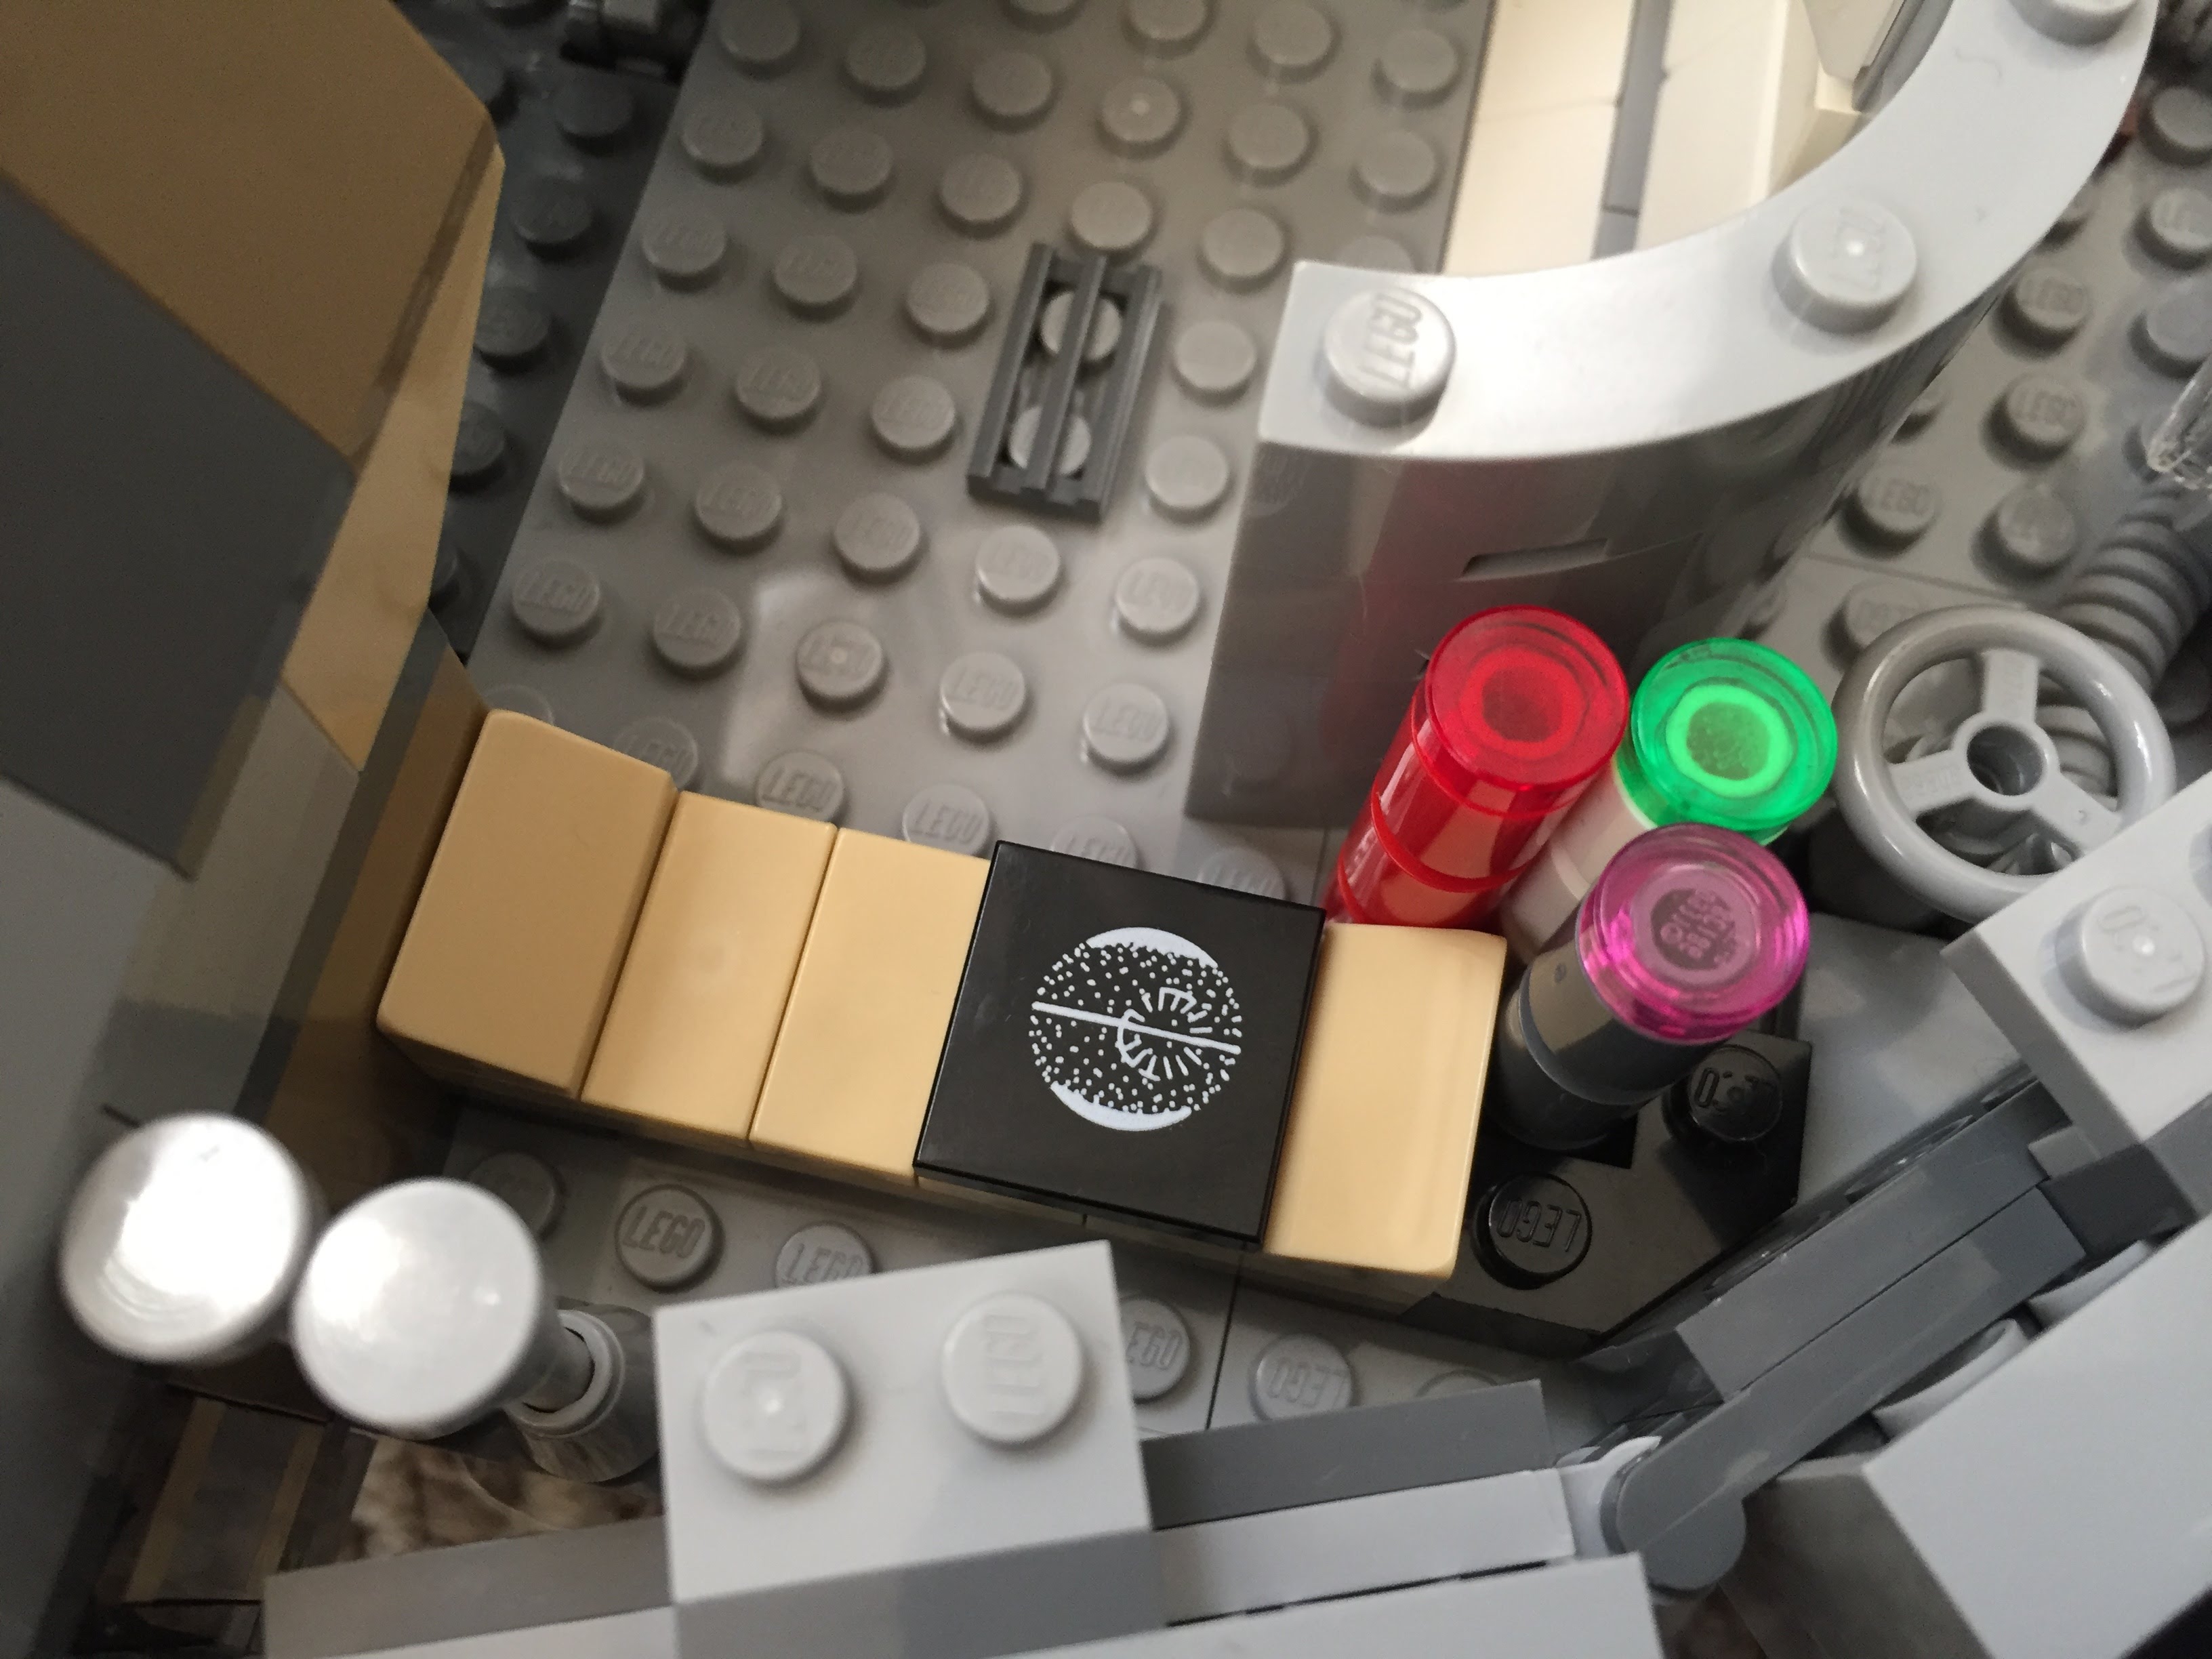
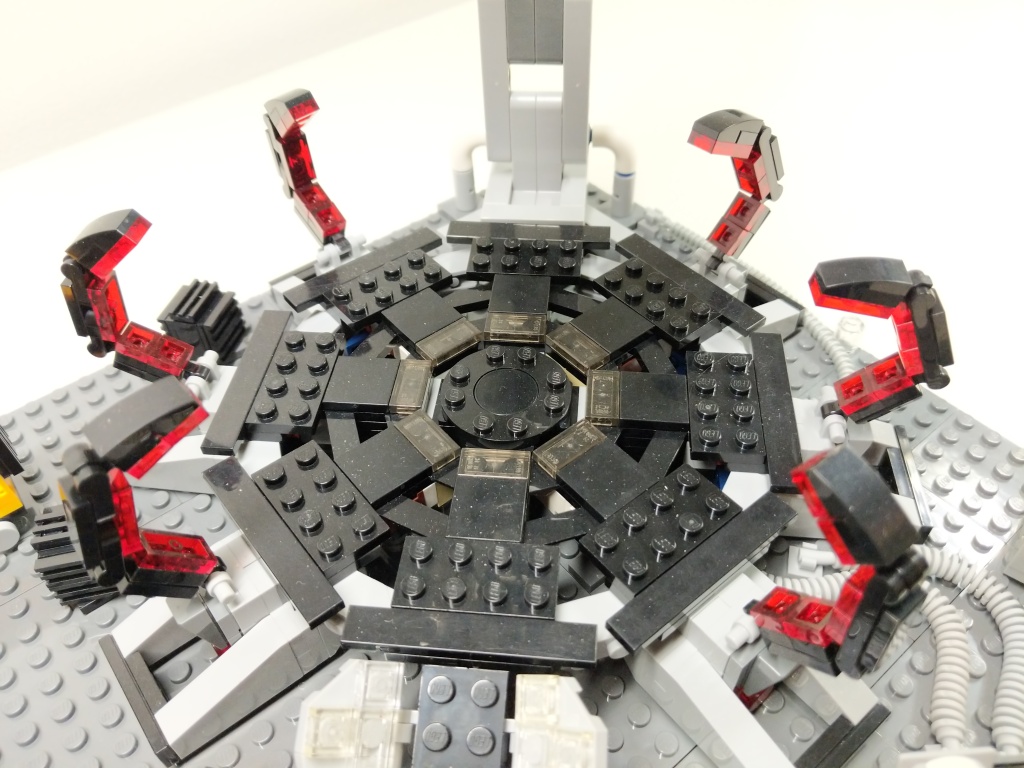
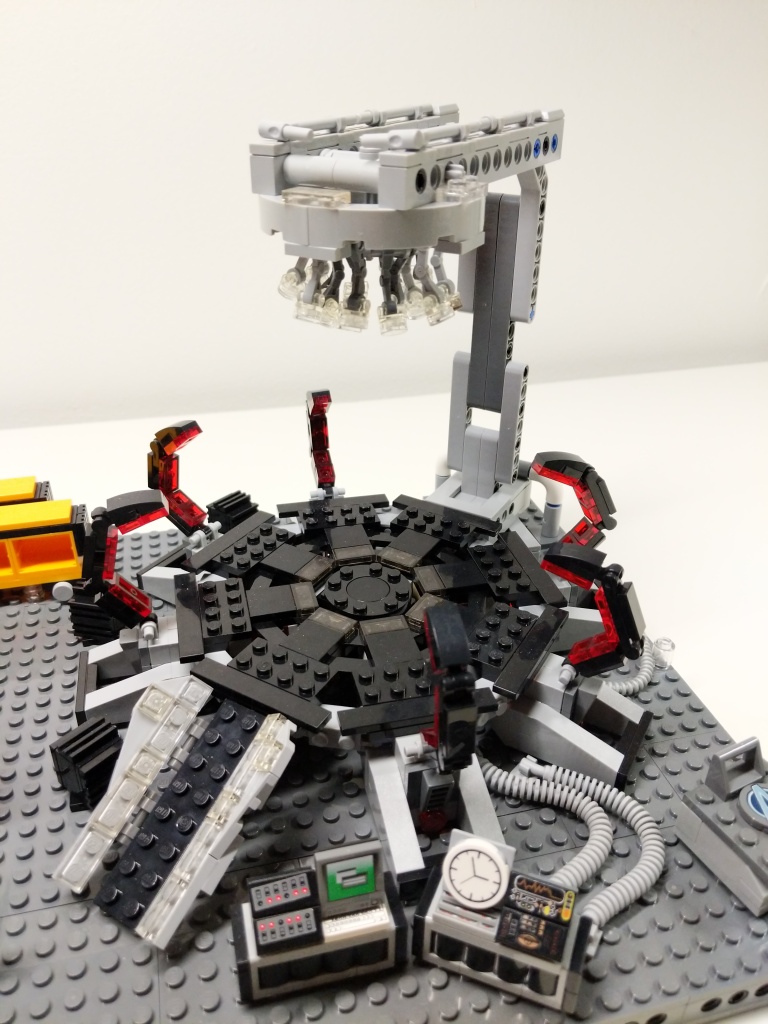
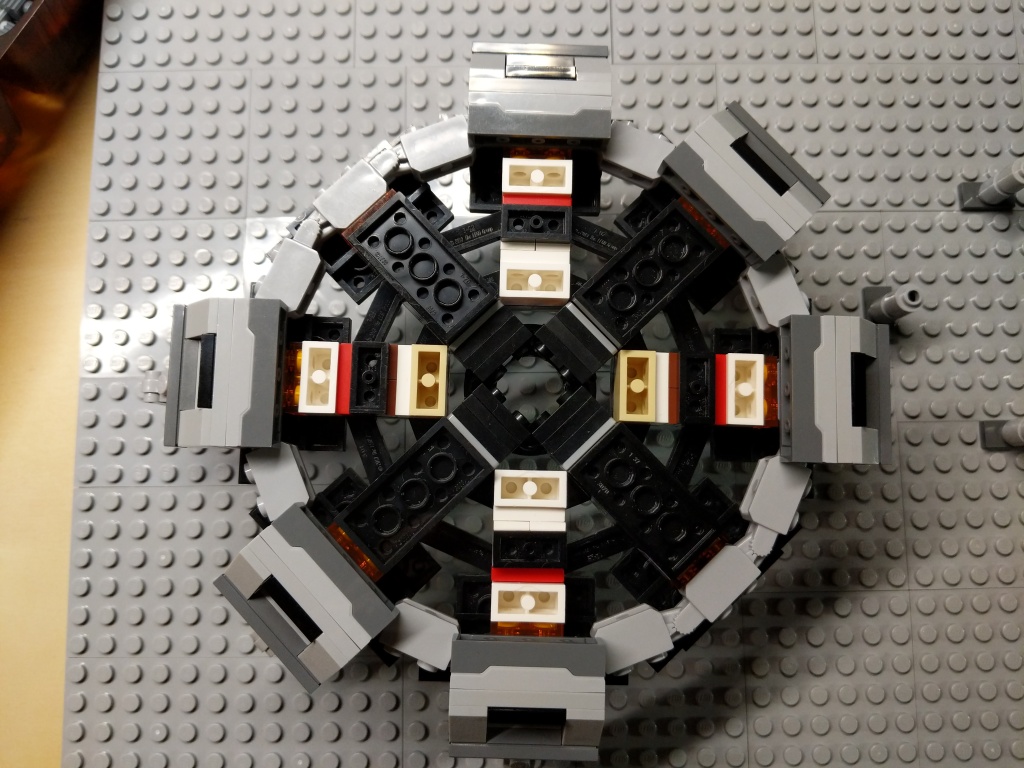
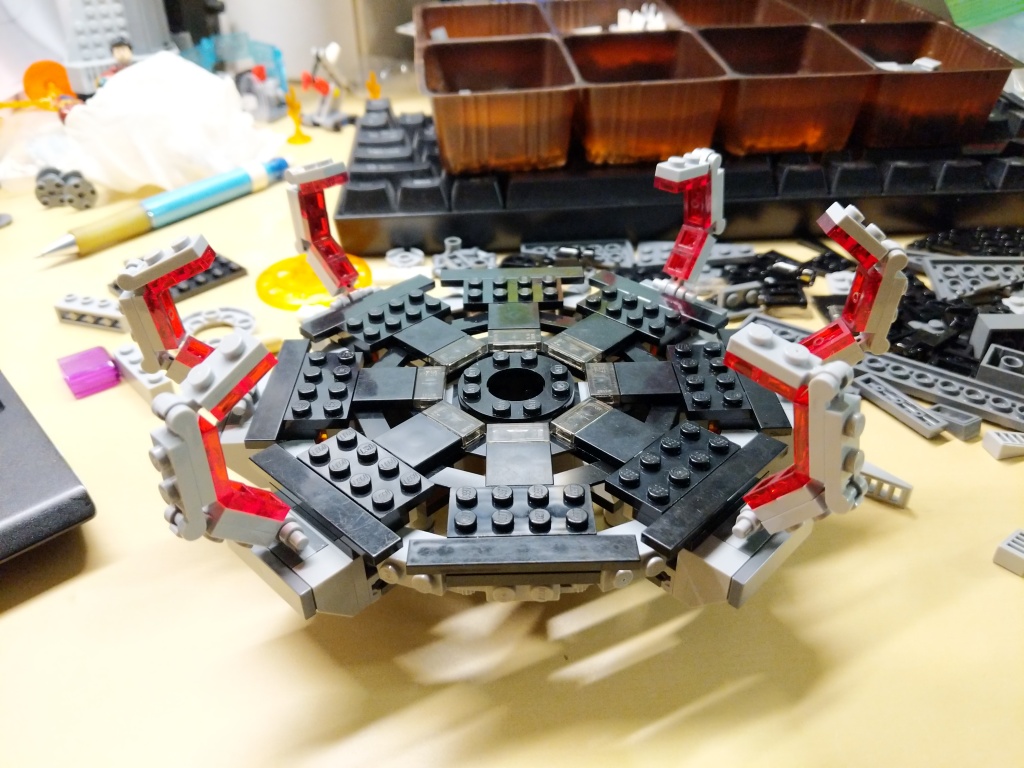
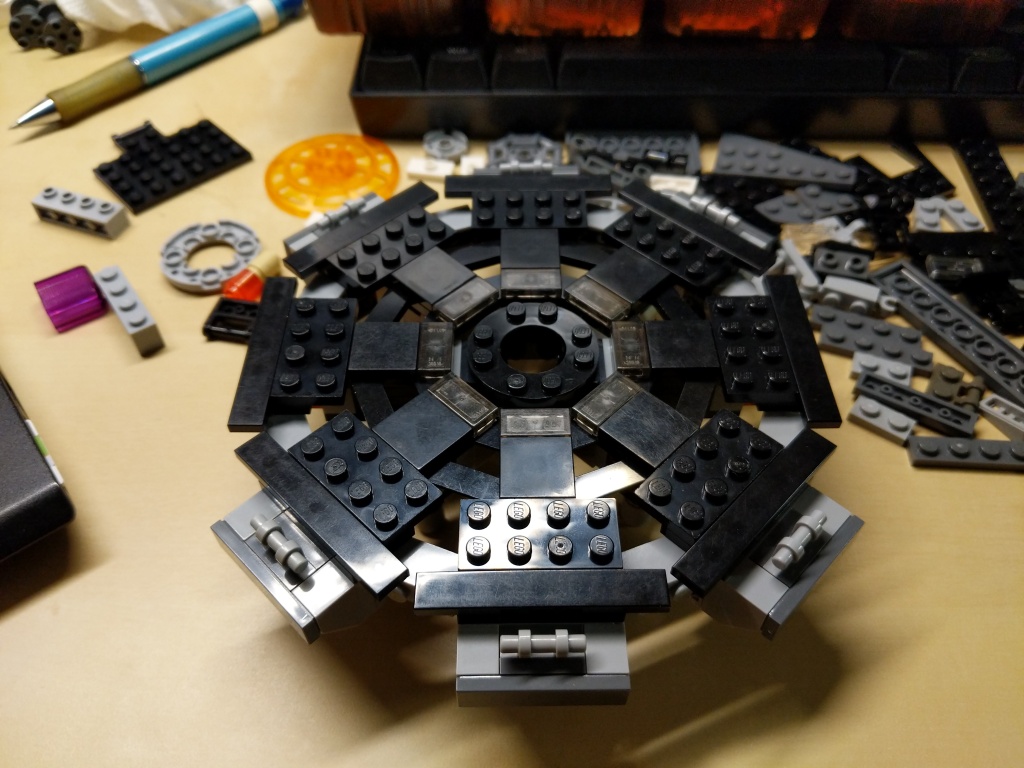
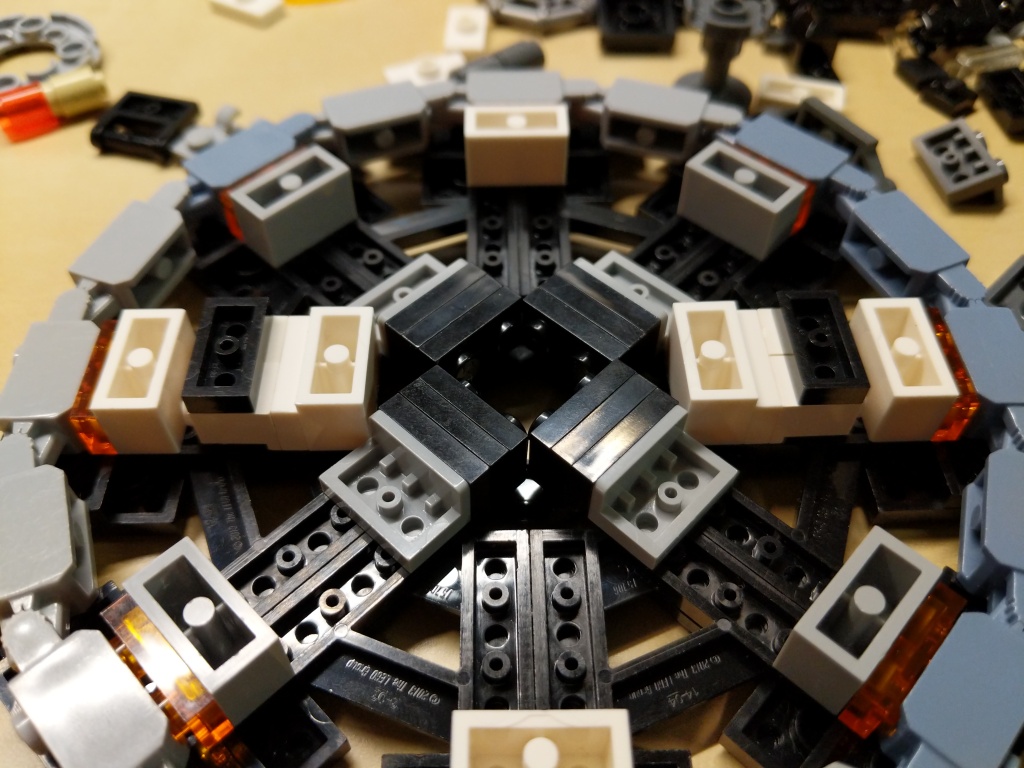
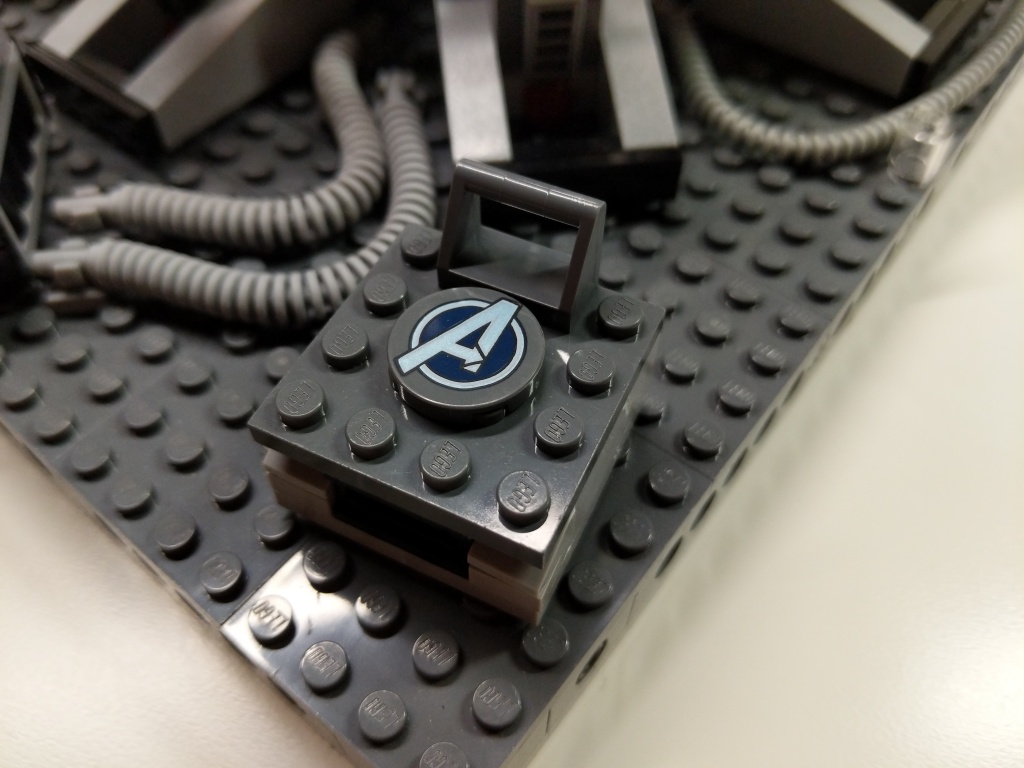
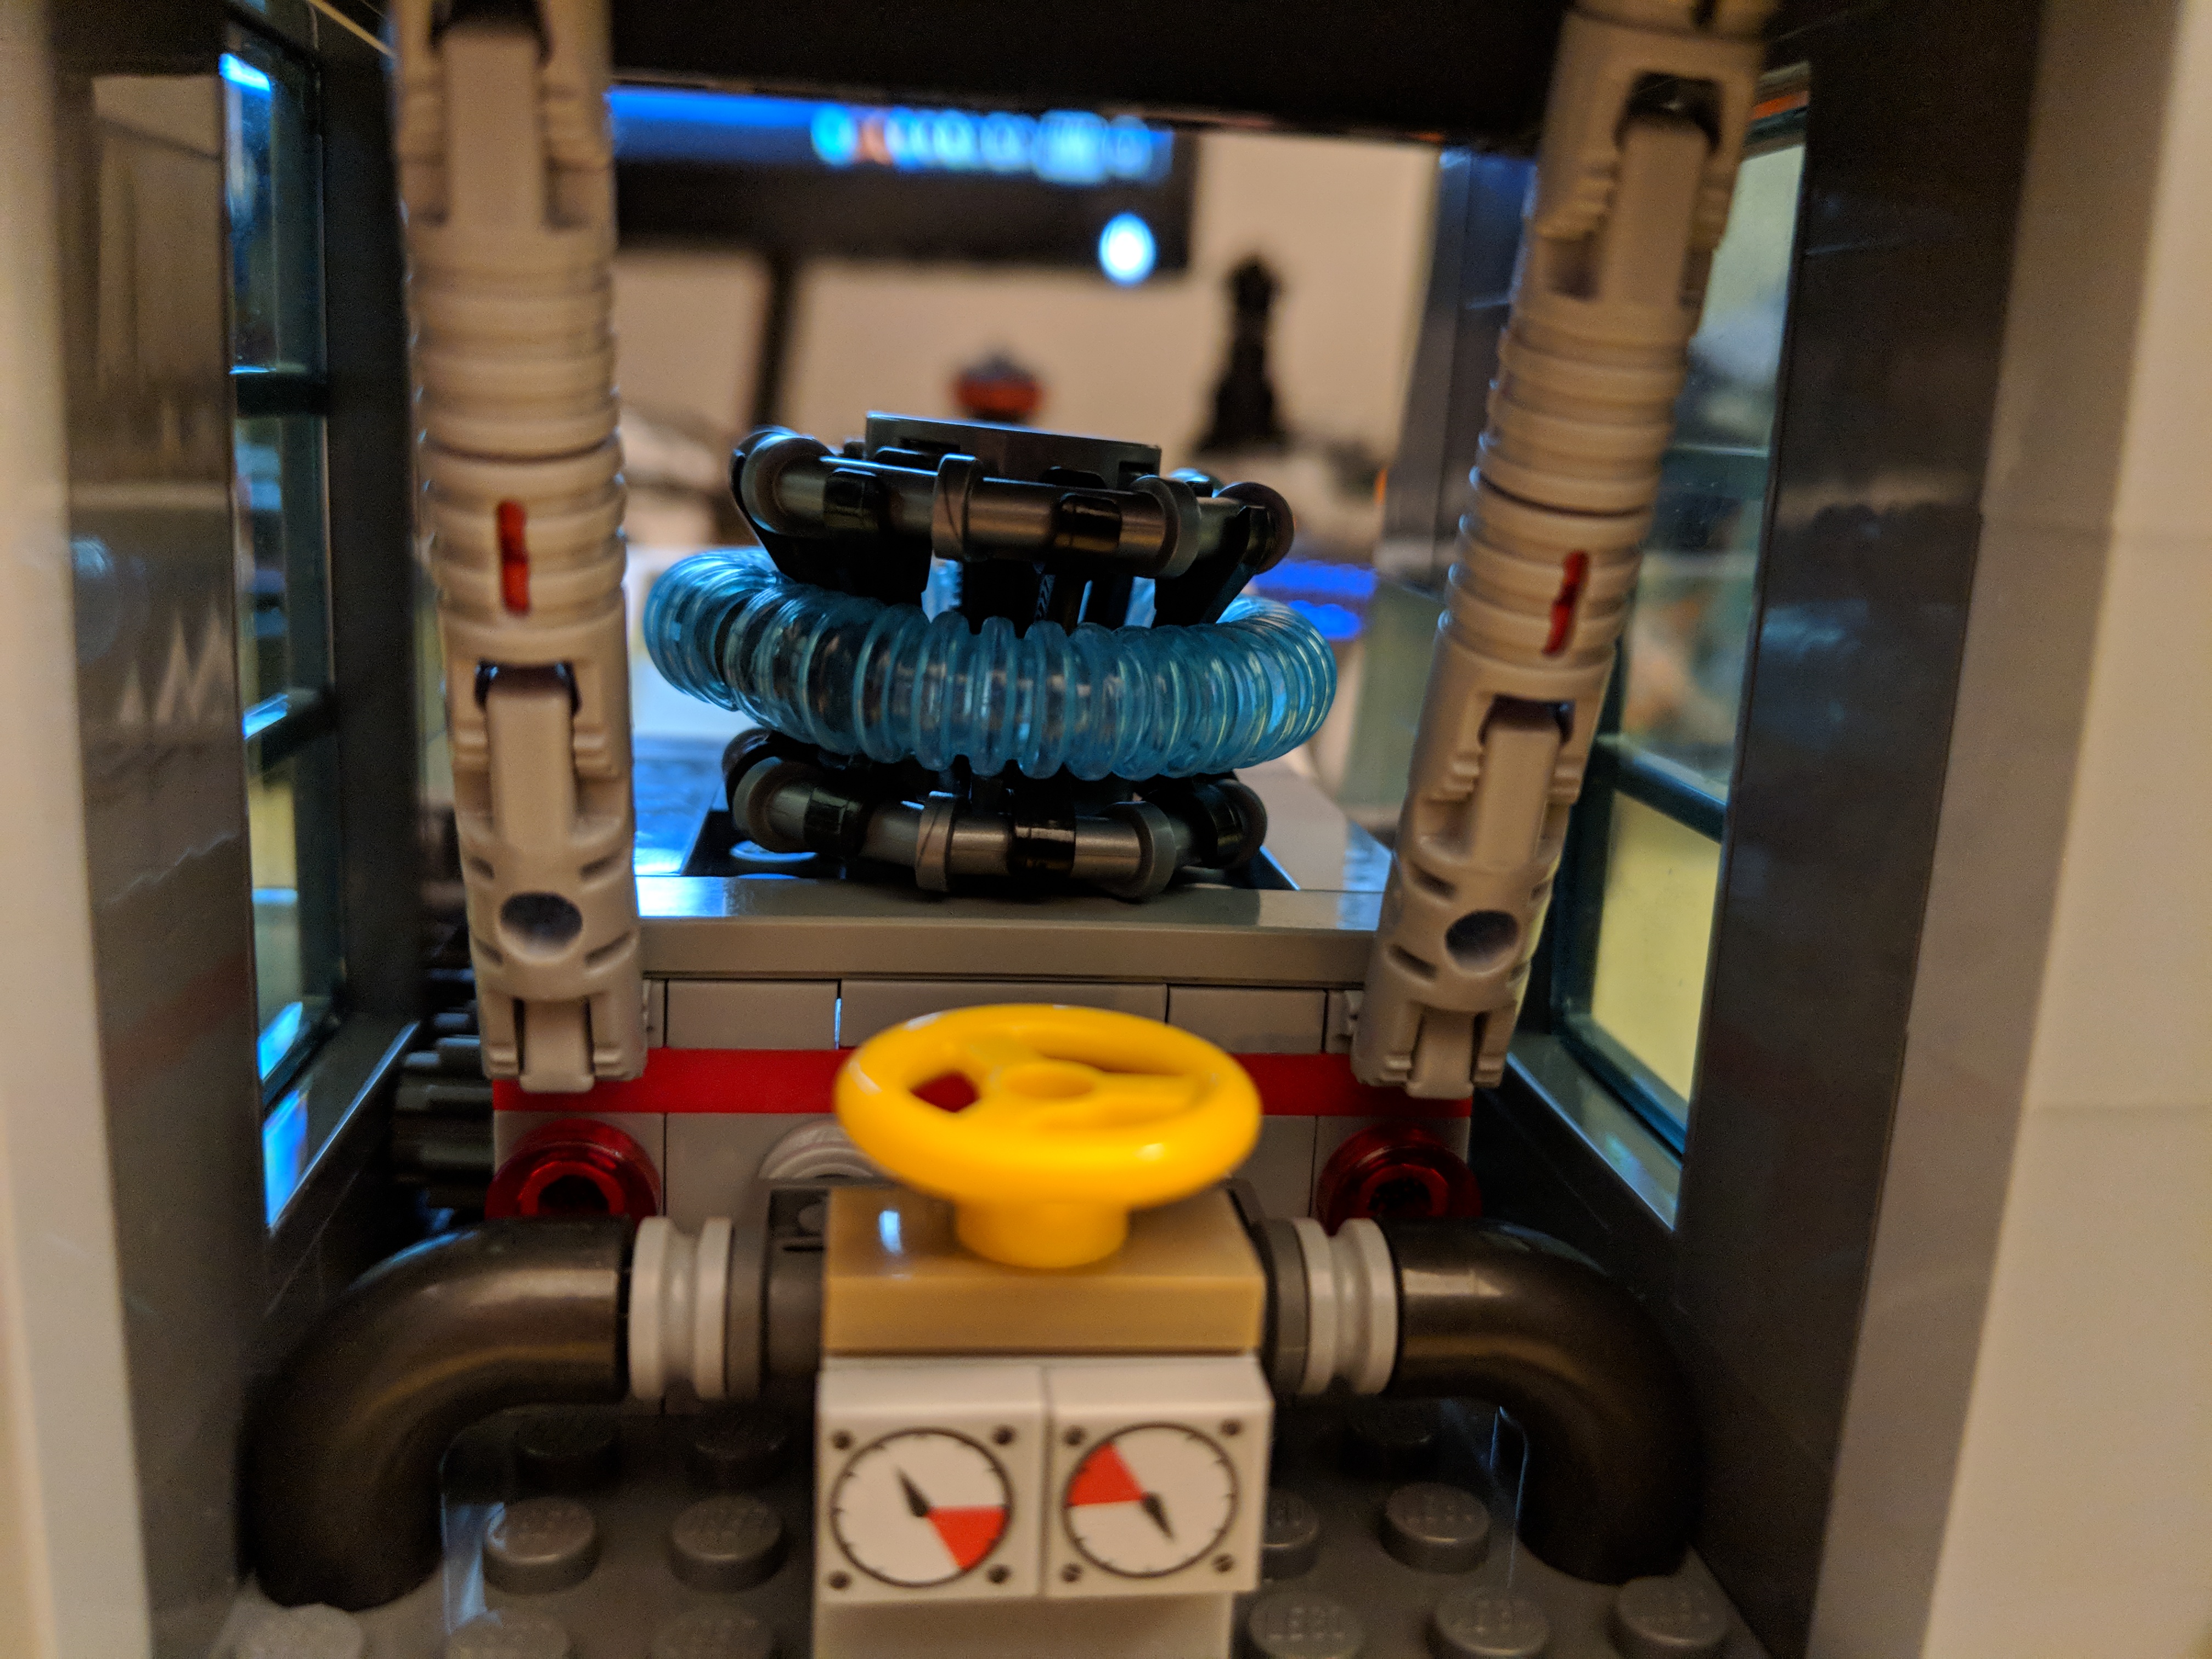
    I started building my addition to Avengers Tower on the bottom most, or new first level. Thinking back to the first Avengers film, I wanted the tower to have its own Arc Reactor. The first challenge was to think about what that would look like as it is only seen in the film as a 3D schematic on Pepper Potts’ computer monitor, and the second challenge was to integrate some interactivity into this part of the model. While the Arc Reactor doesn’t spin (just the plasma within its torus moves within its magnetic confinement rings), I thought a geared spinning mechanism might be fun to engineer. Due to the placement of the window, I added a series of three gears to move the work where it was needed to spin the reactor. A small knob on the right side of the tower is used to spin the reactor. I added gauges, pipes, valves, and supports to frame the Arc Reactor within its space.

    Computer Server Room

    IMG_20180809_153734

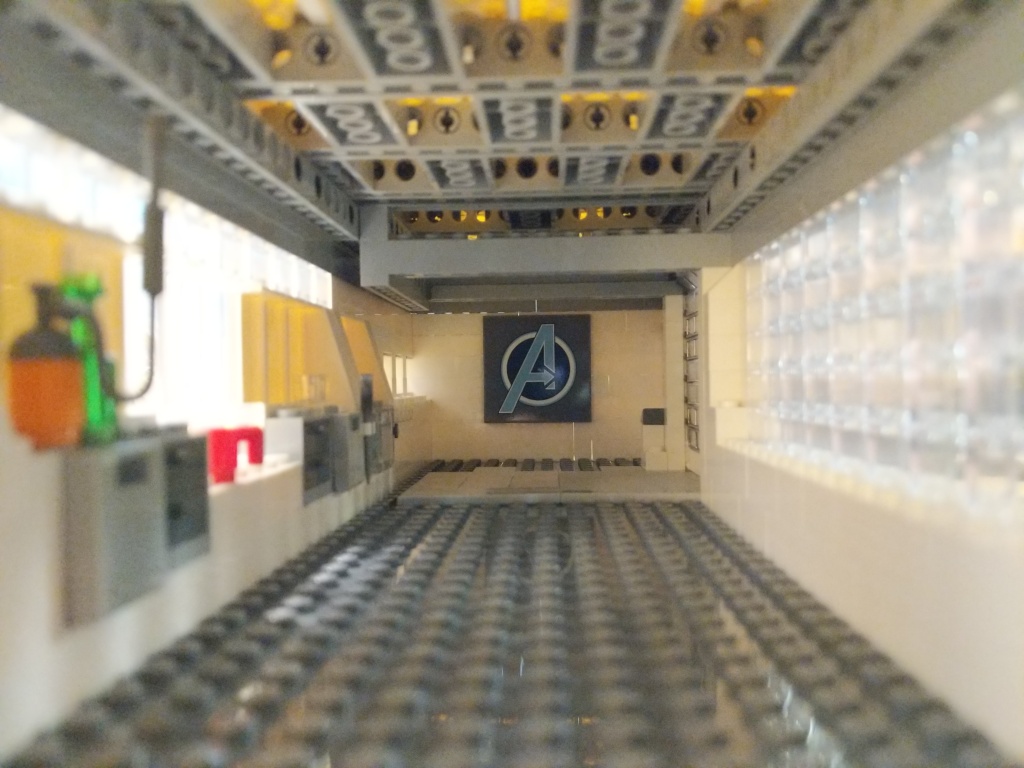
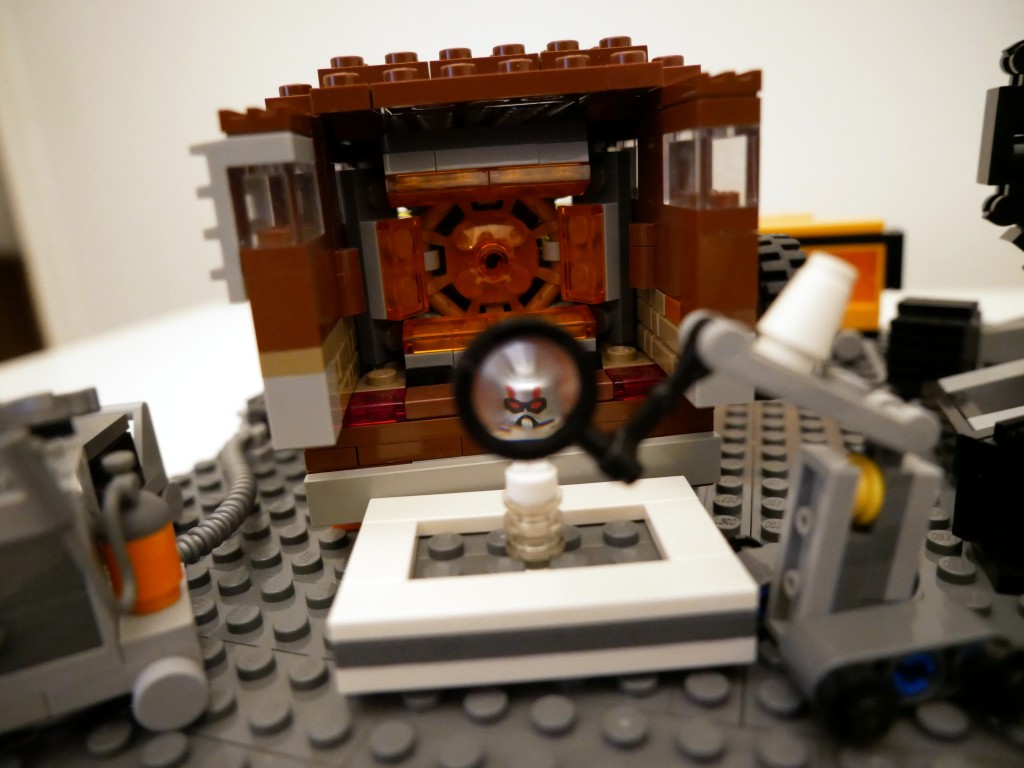
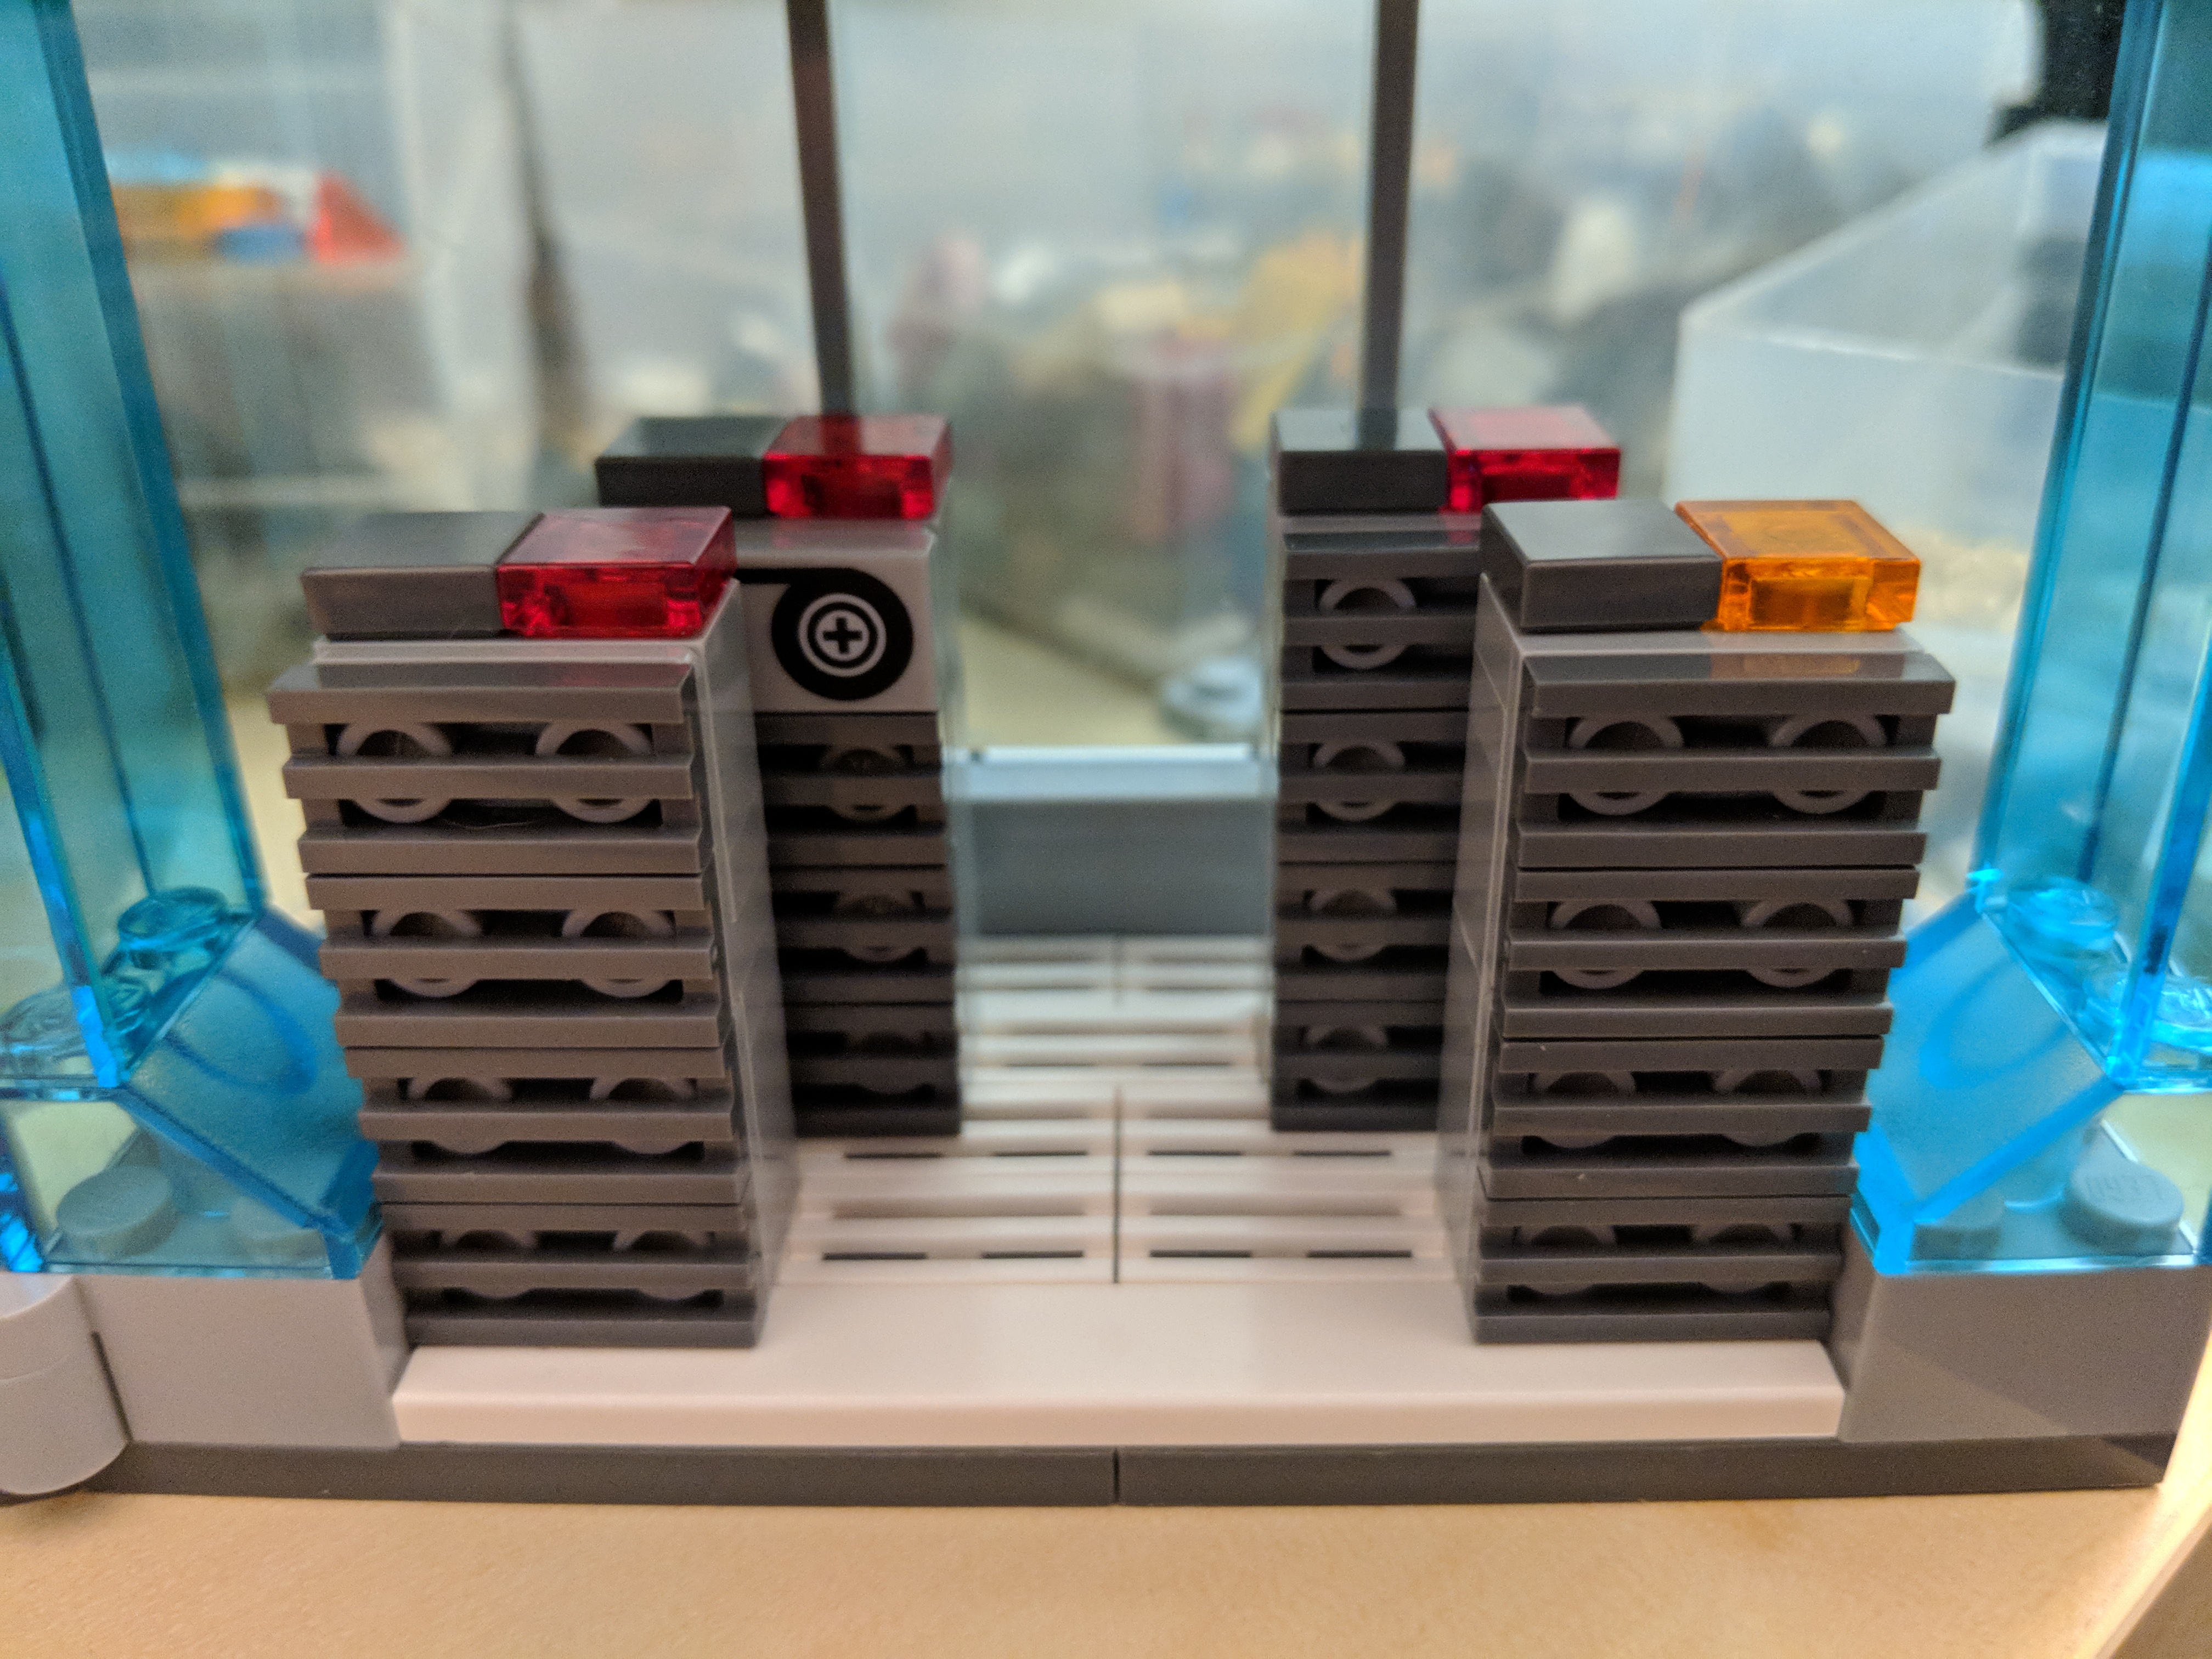
    Opposite the Arc Reactor on the first level is the computer server room. I built the 19″ computer racks four bricks high, but I might make these higher later. I staggered their placement to imply depth to the space. In the back corner, Ant-Man is hiding out to see what Stark might be up to.

    Tony’s Workshop

    IMG_20180824_234218

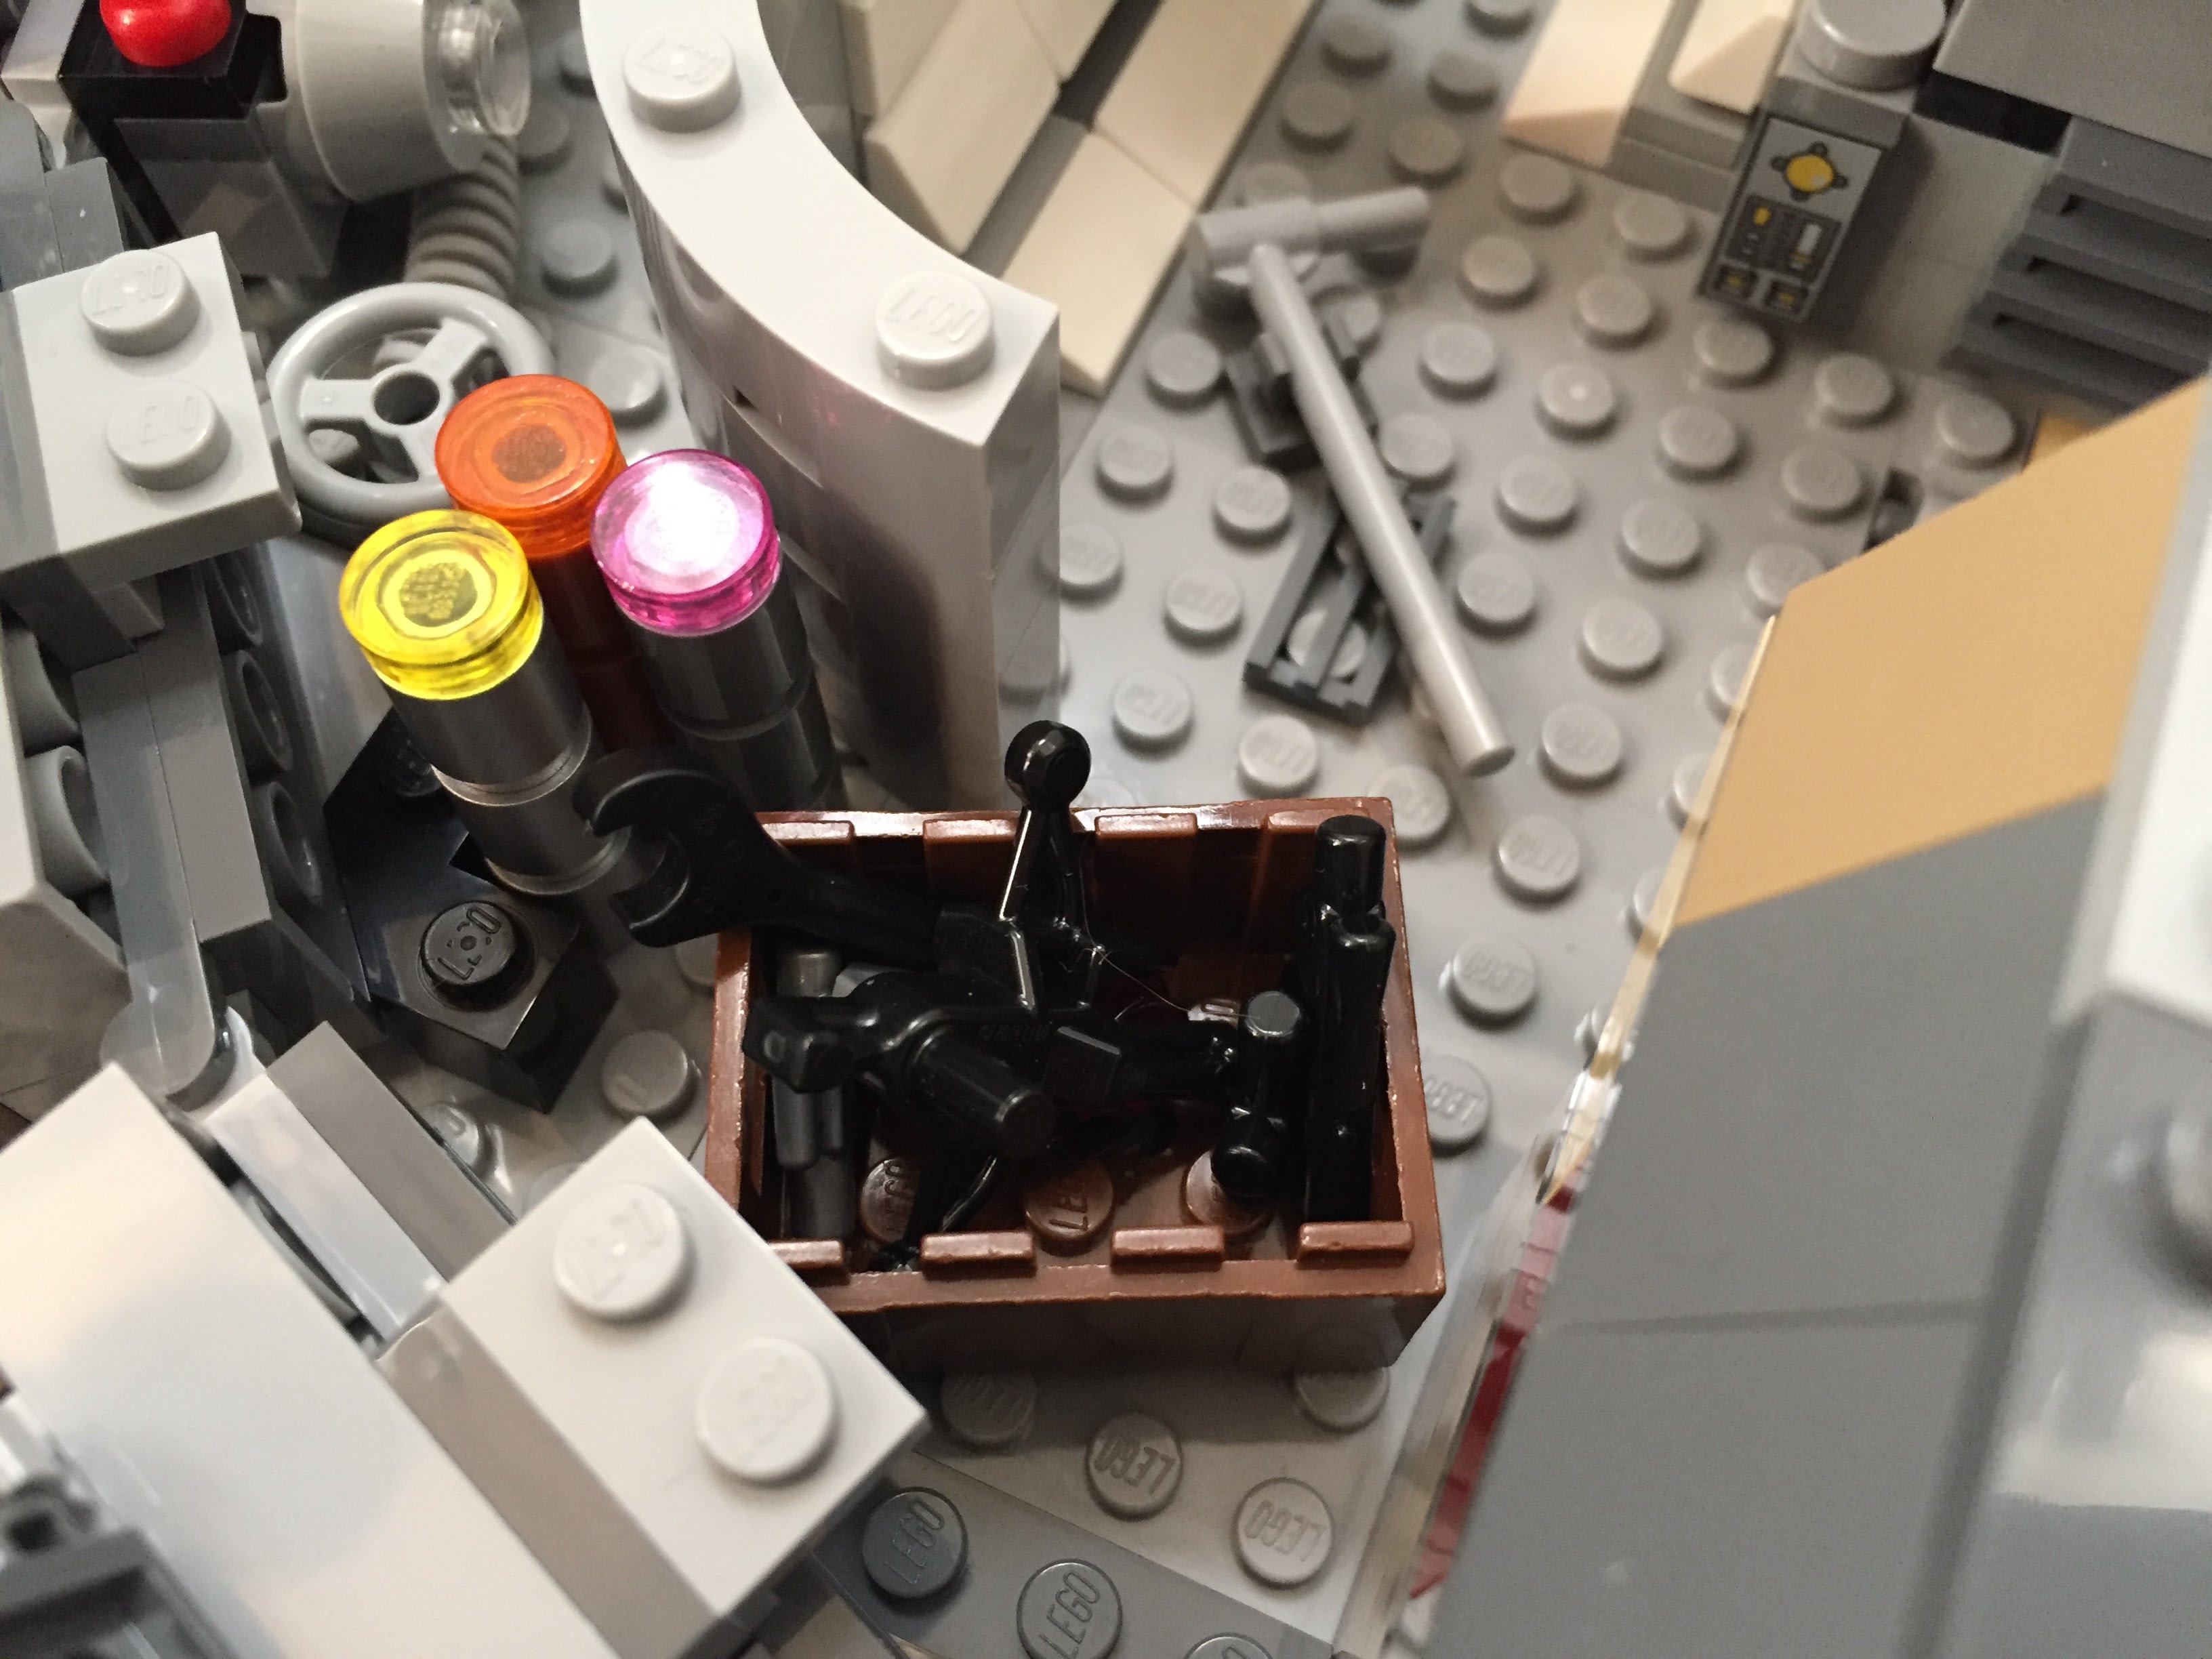
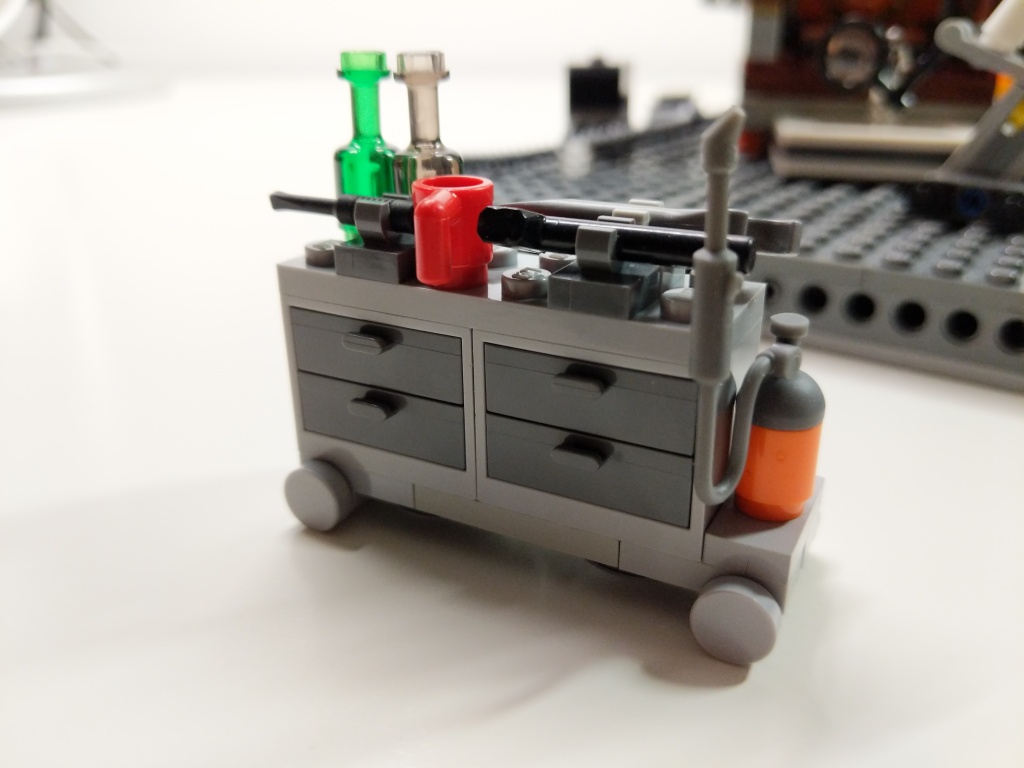
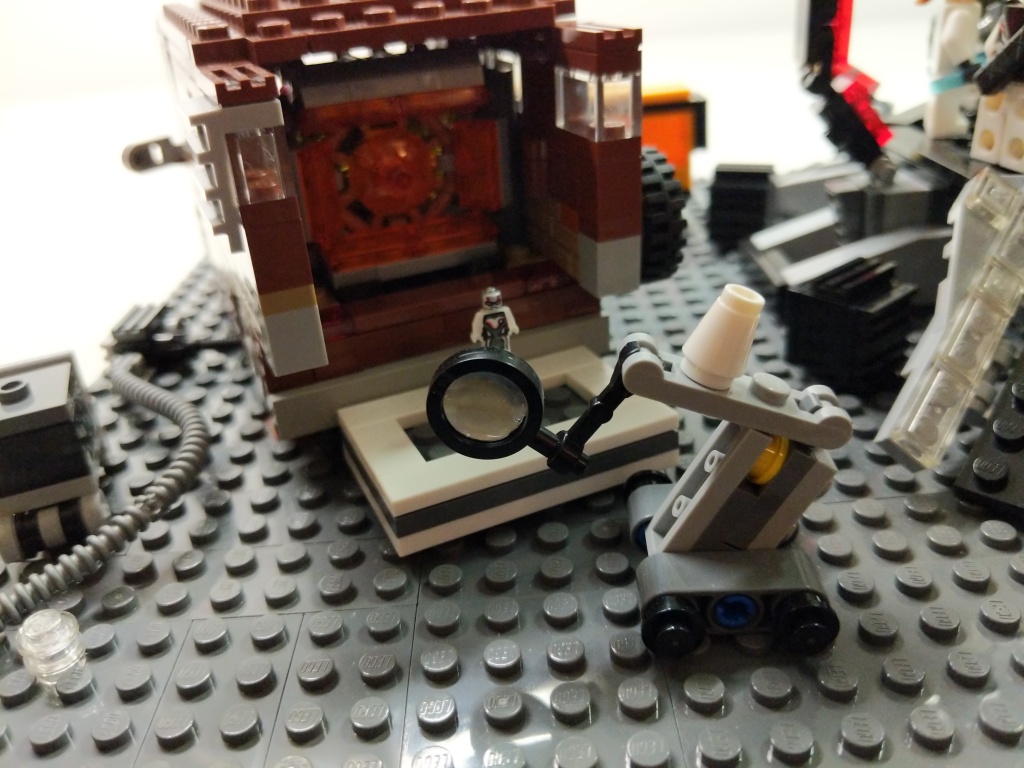
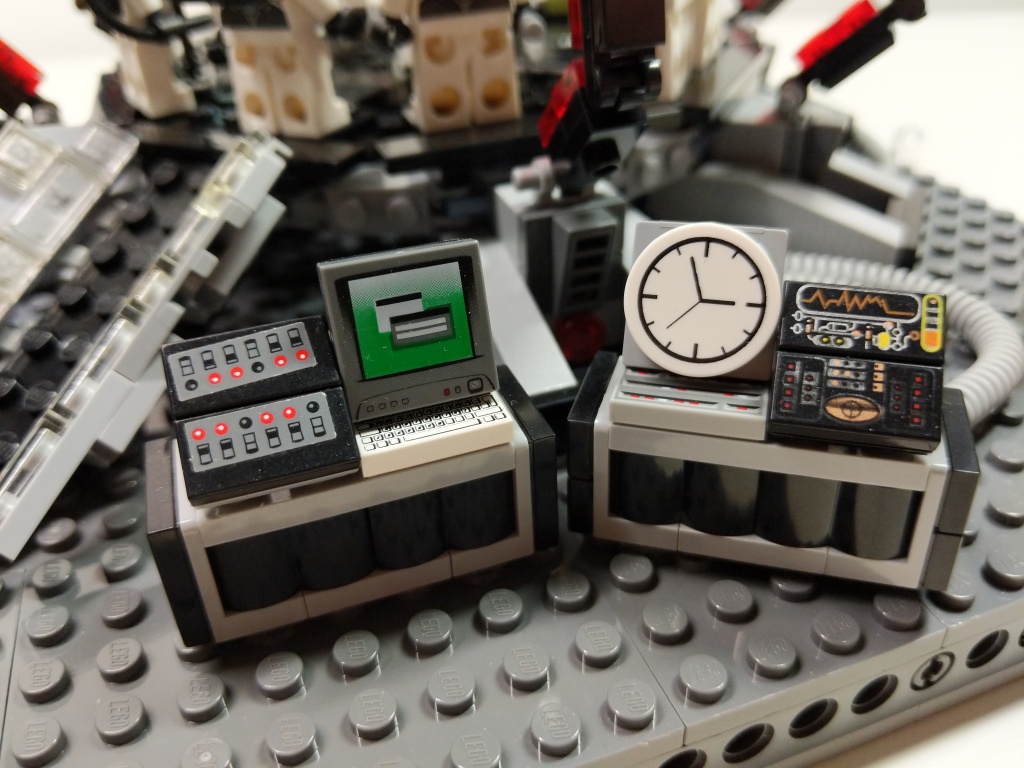
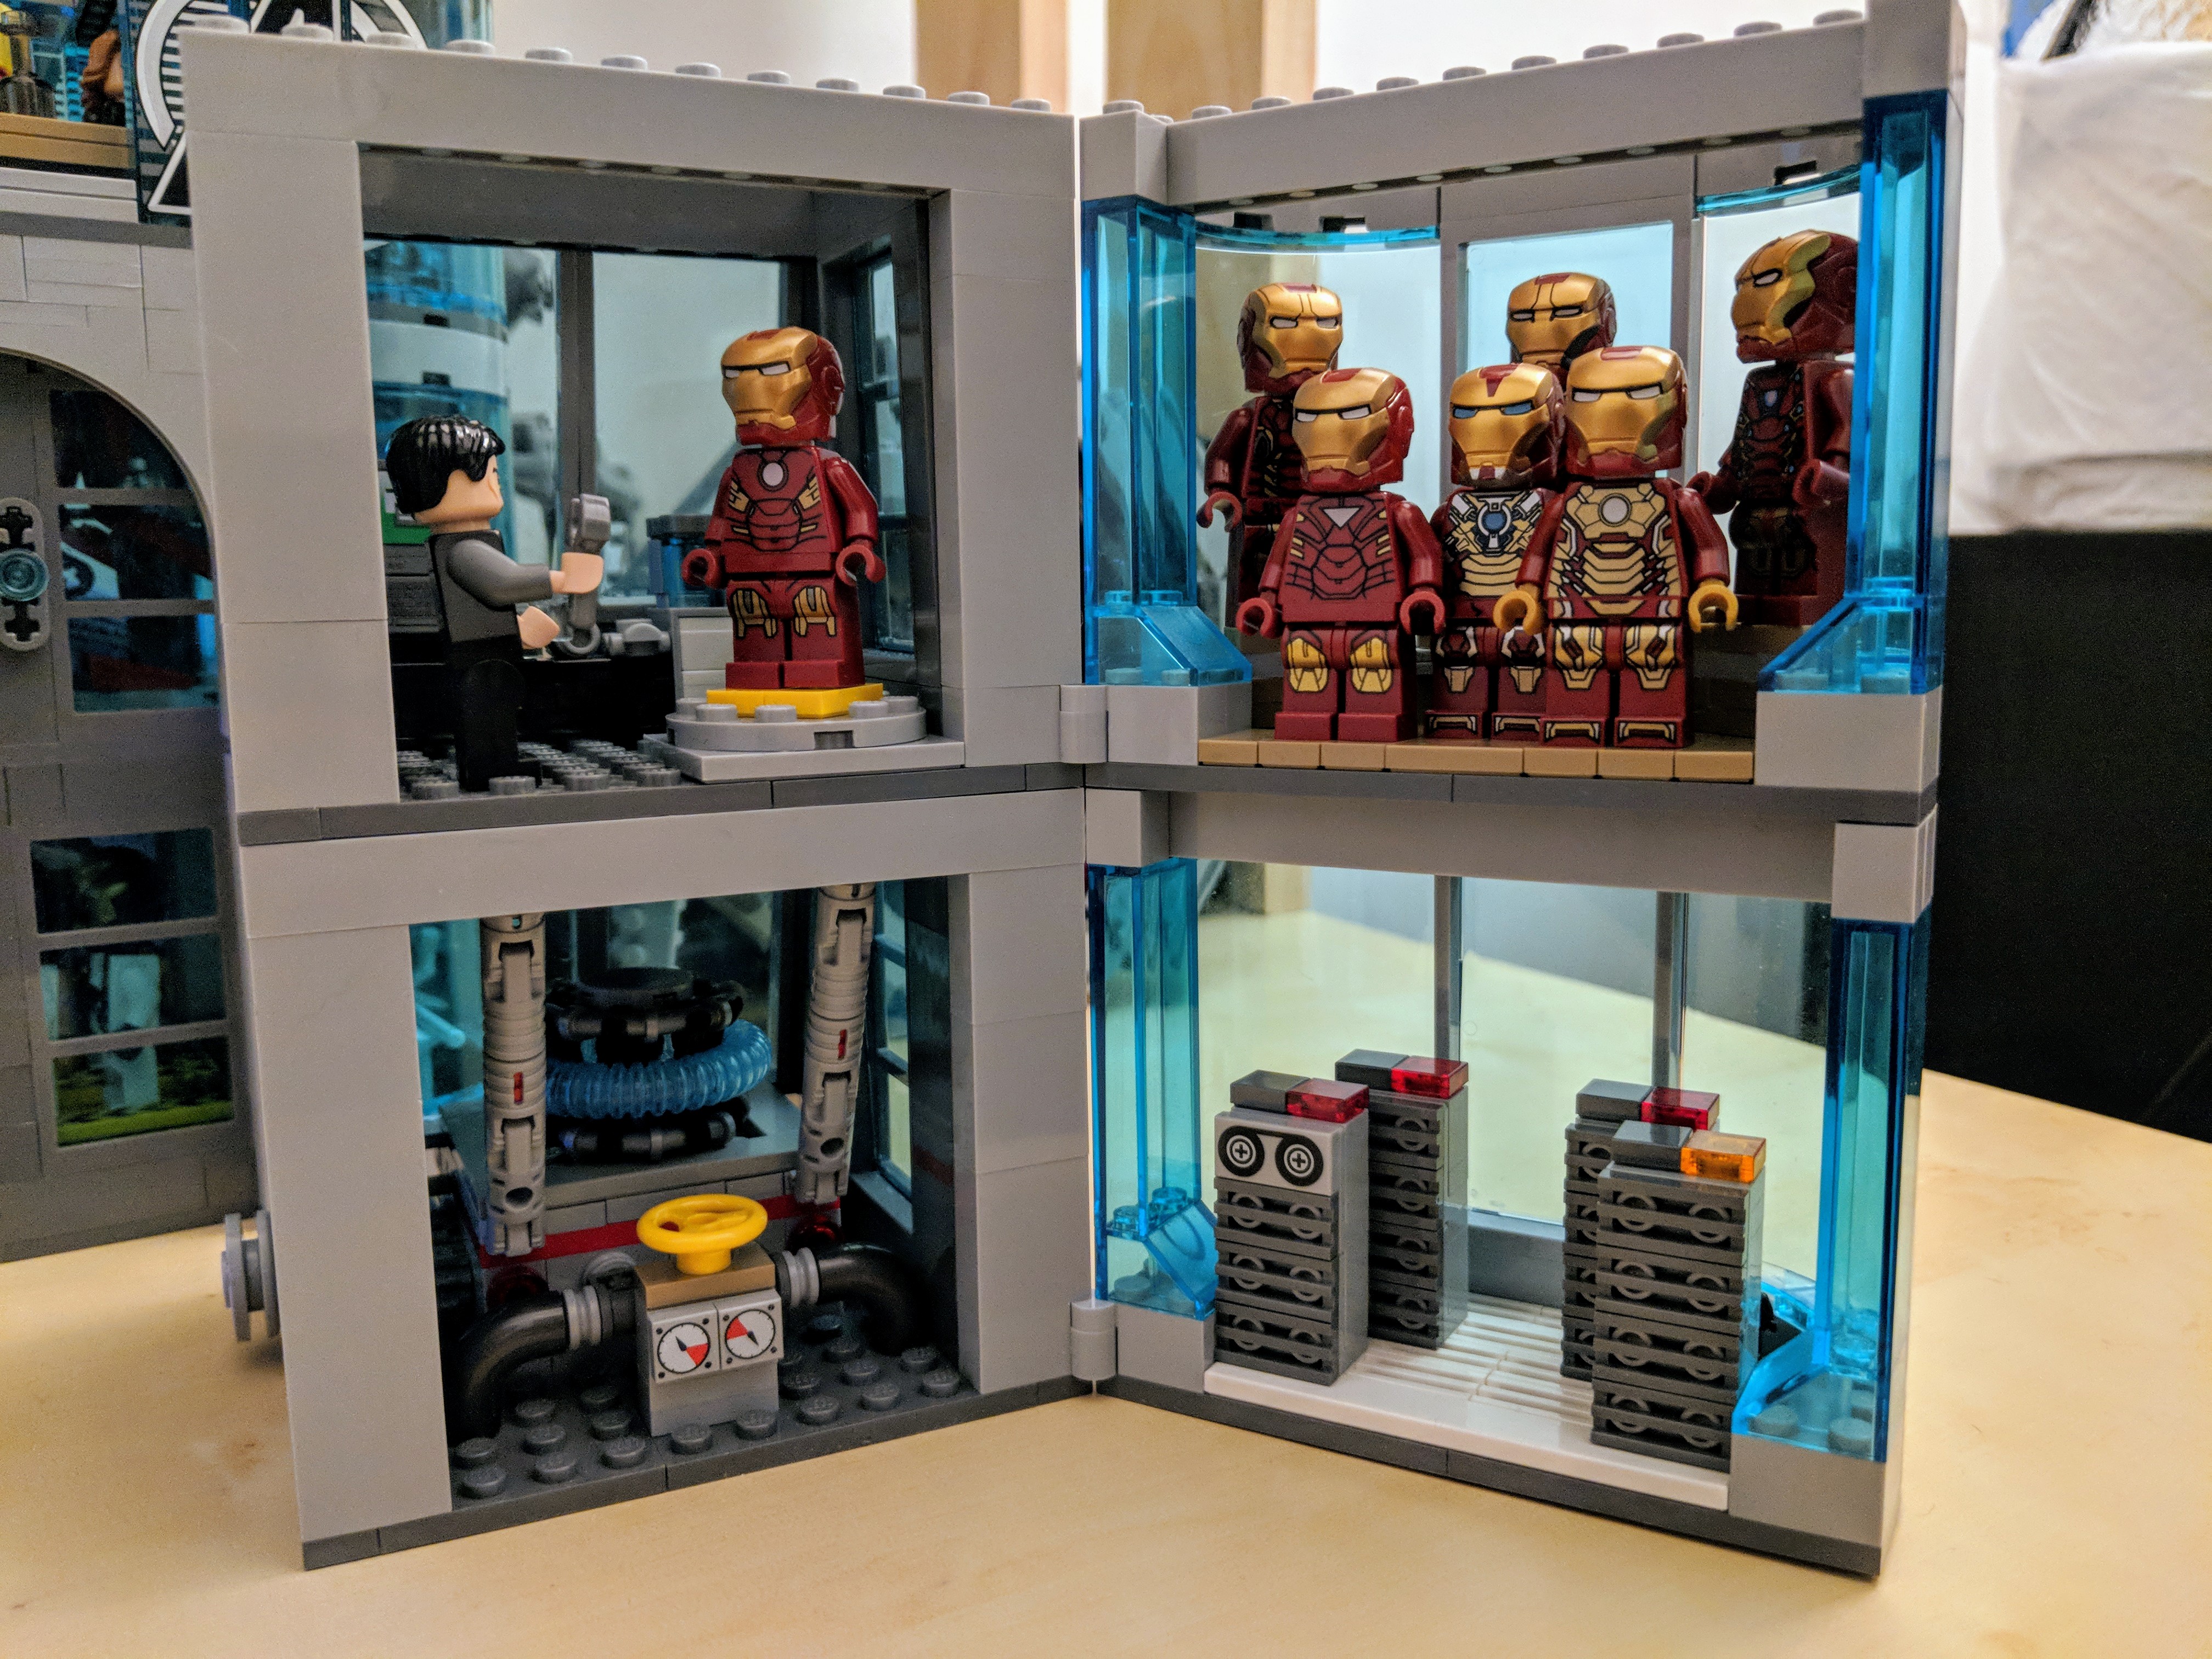
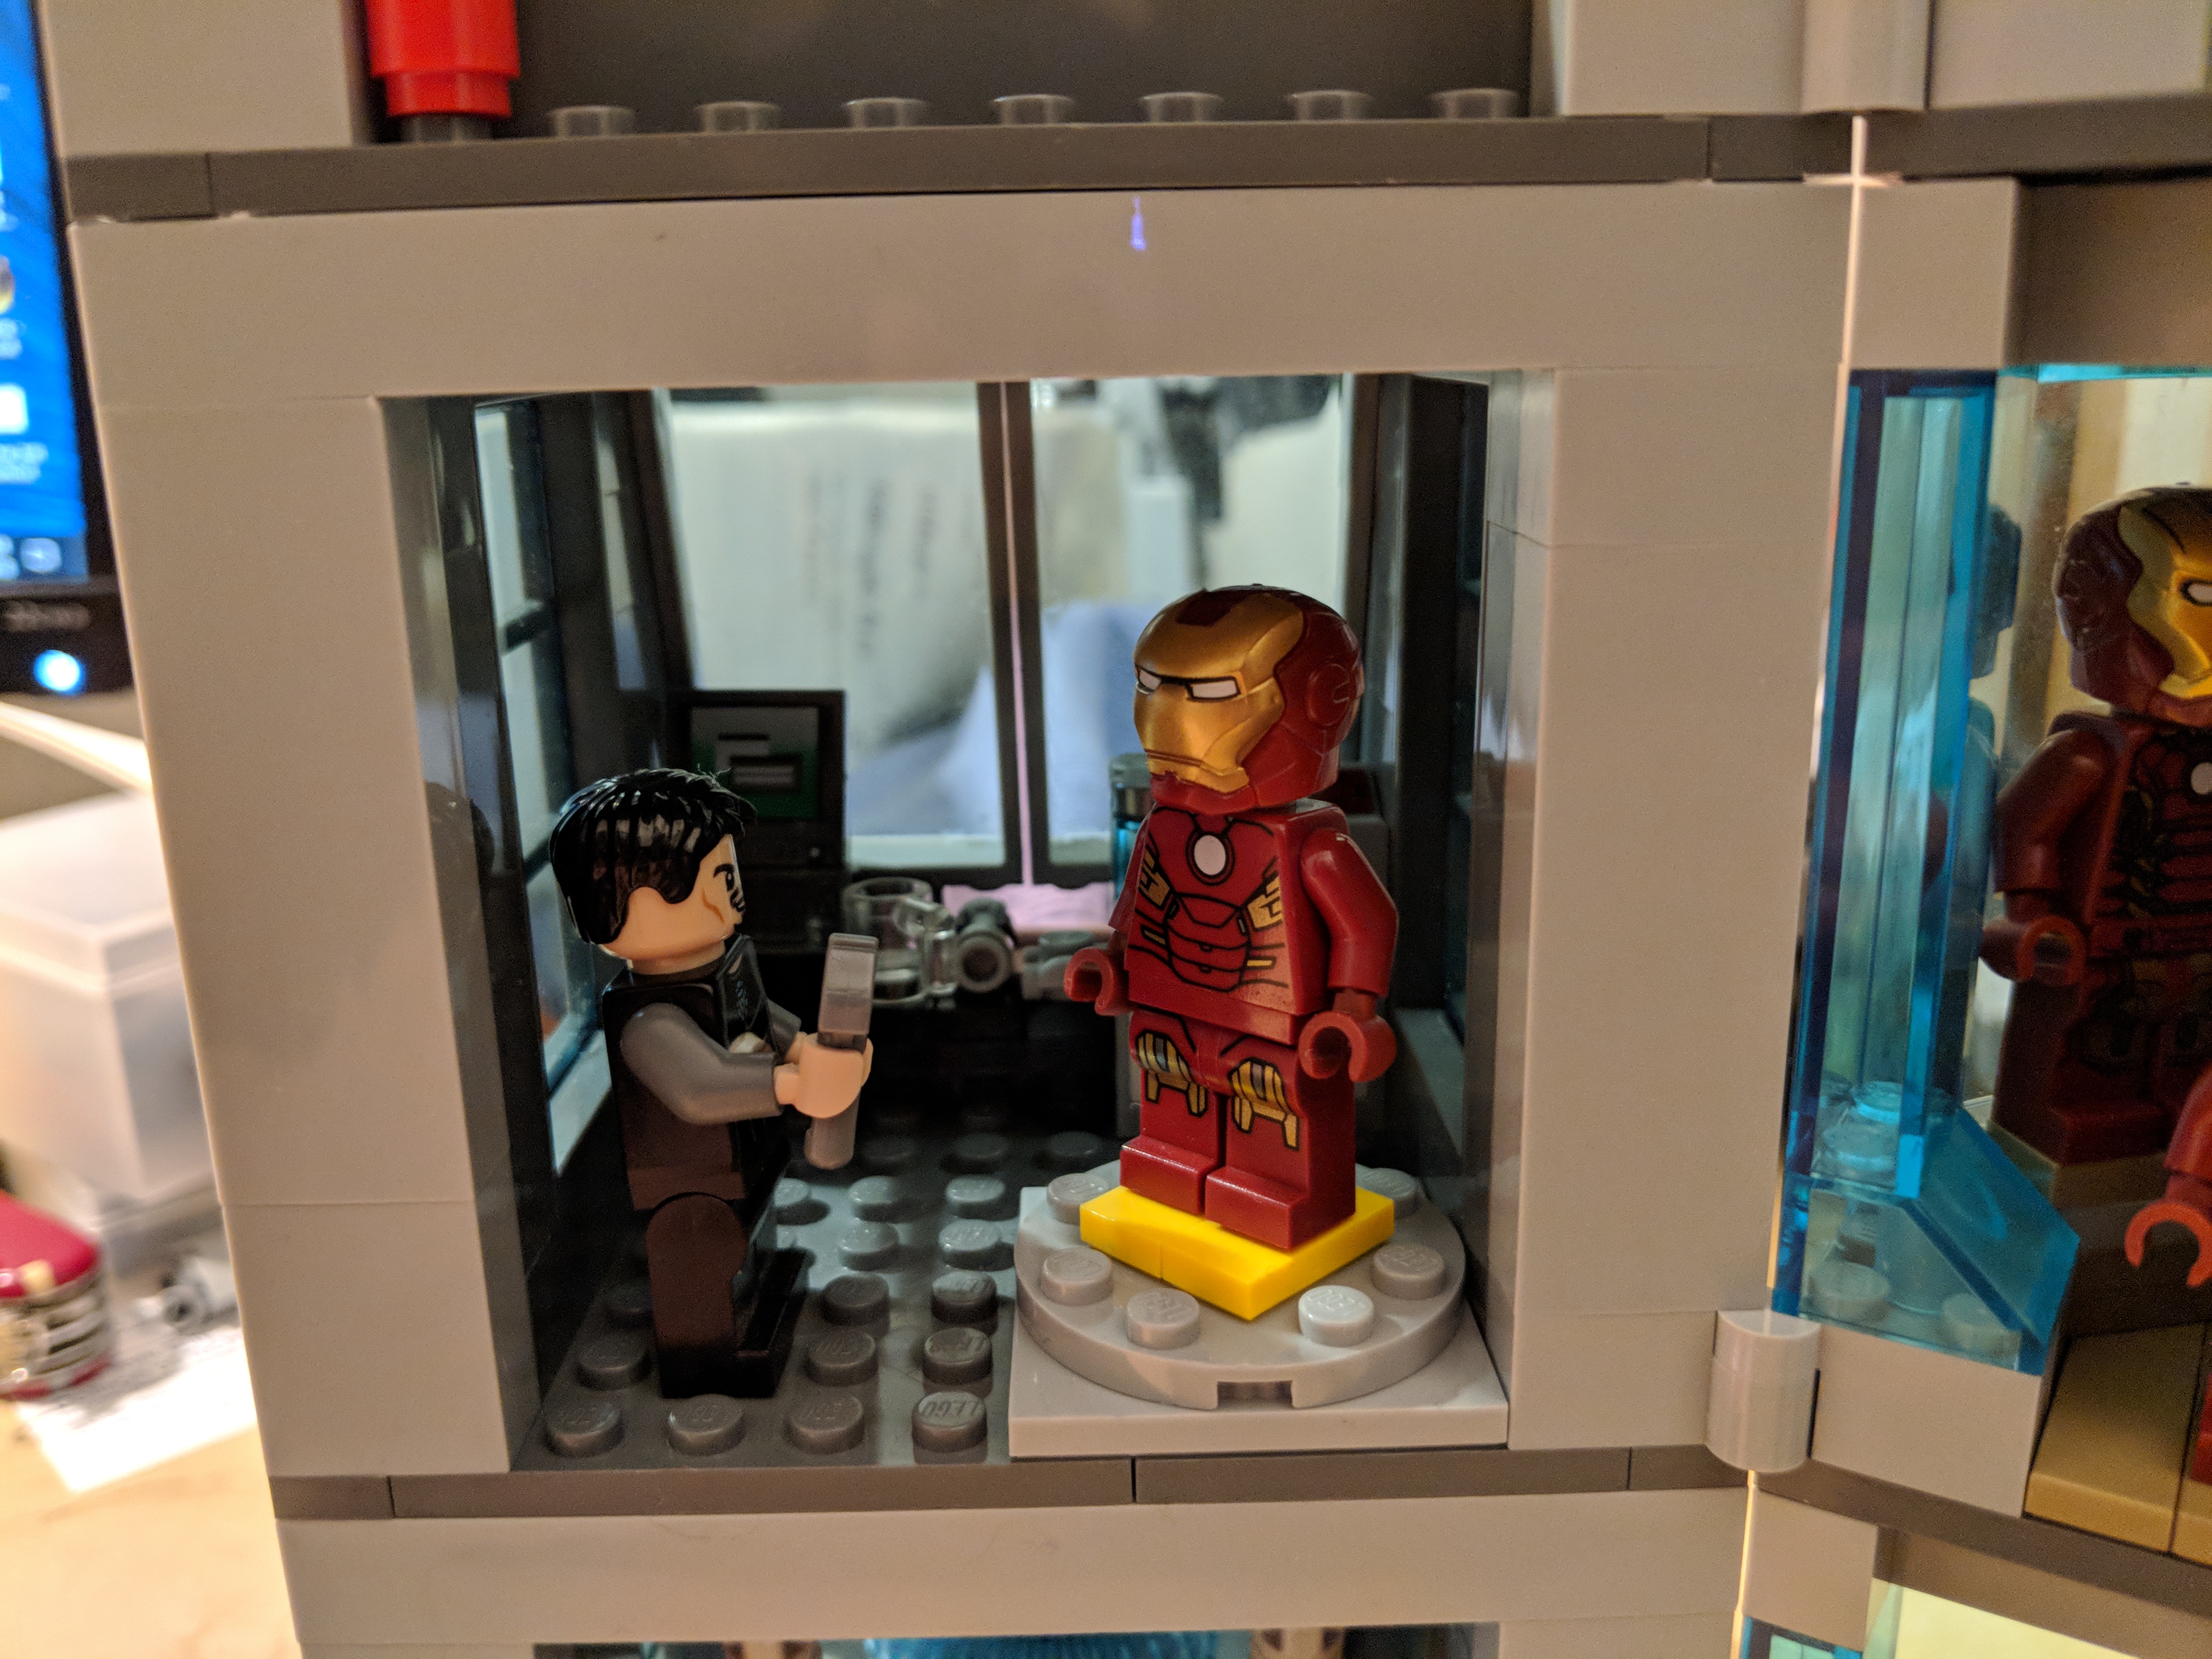
    I focused the new second level on Iron Man. In the front, sloped space, I created Tony Stark’s workshop. It has a desk with computer, parts, coffee mug. Next to the desk is a set of drawers with tools, and on top are two containers and Stark’s Mark V or Suitcase Armor from 76007 Iron Man: Malibu Mansion Attack. In the foreground, Tony Stark has a wrench, and a set of Iron Man armor is on the rotating work platform. Below are some false starts that I made while trying out different designs for this space, including a movable robot arm, which looked very nice but overcrowded the small area available.

    Hall of Armor

    IMG_20180809_192955

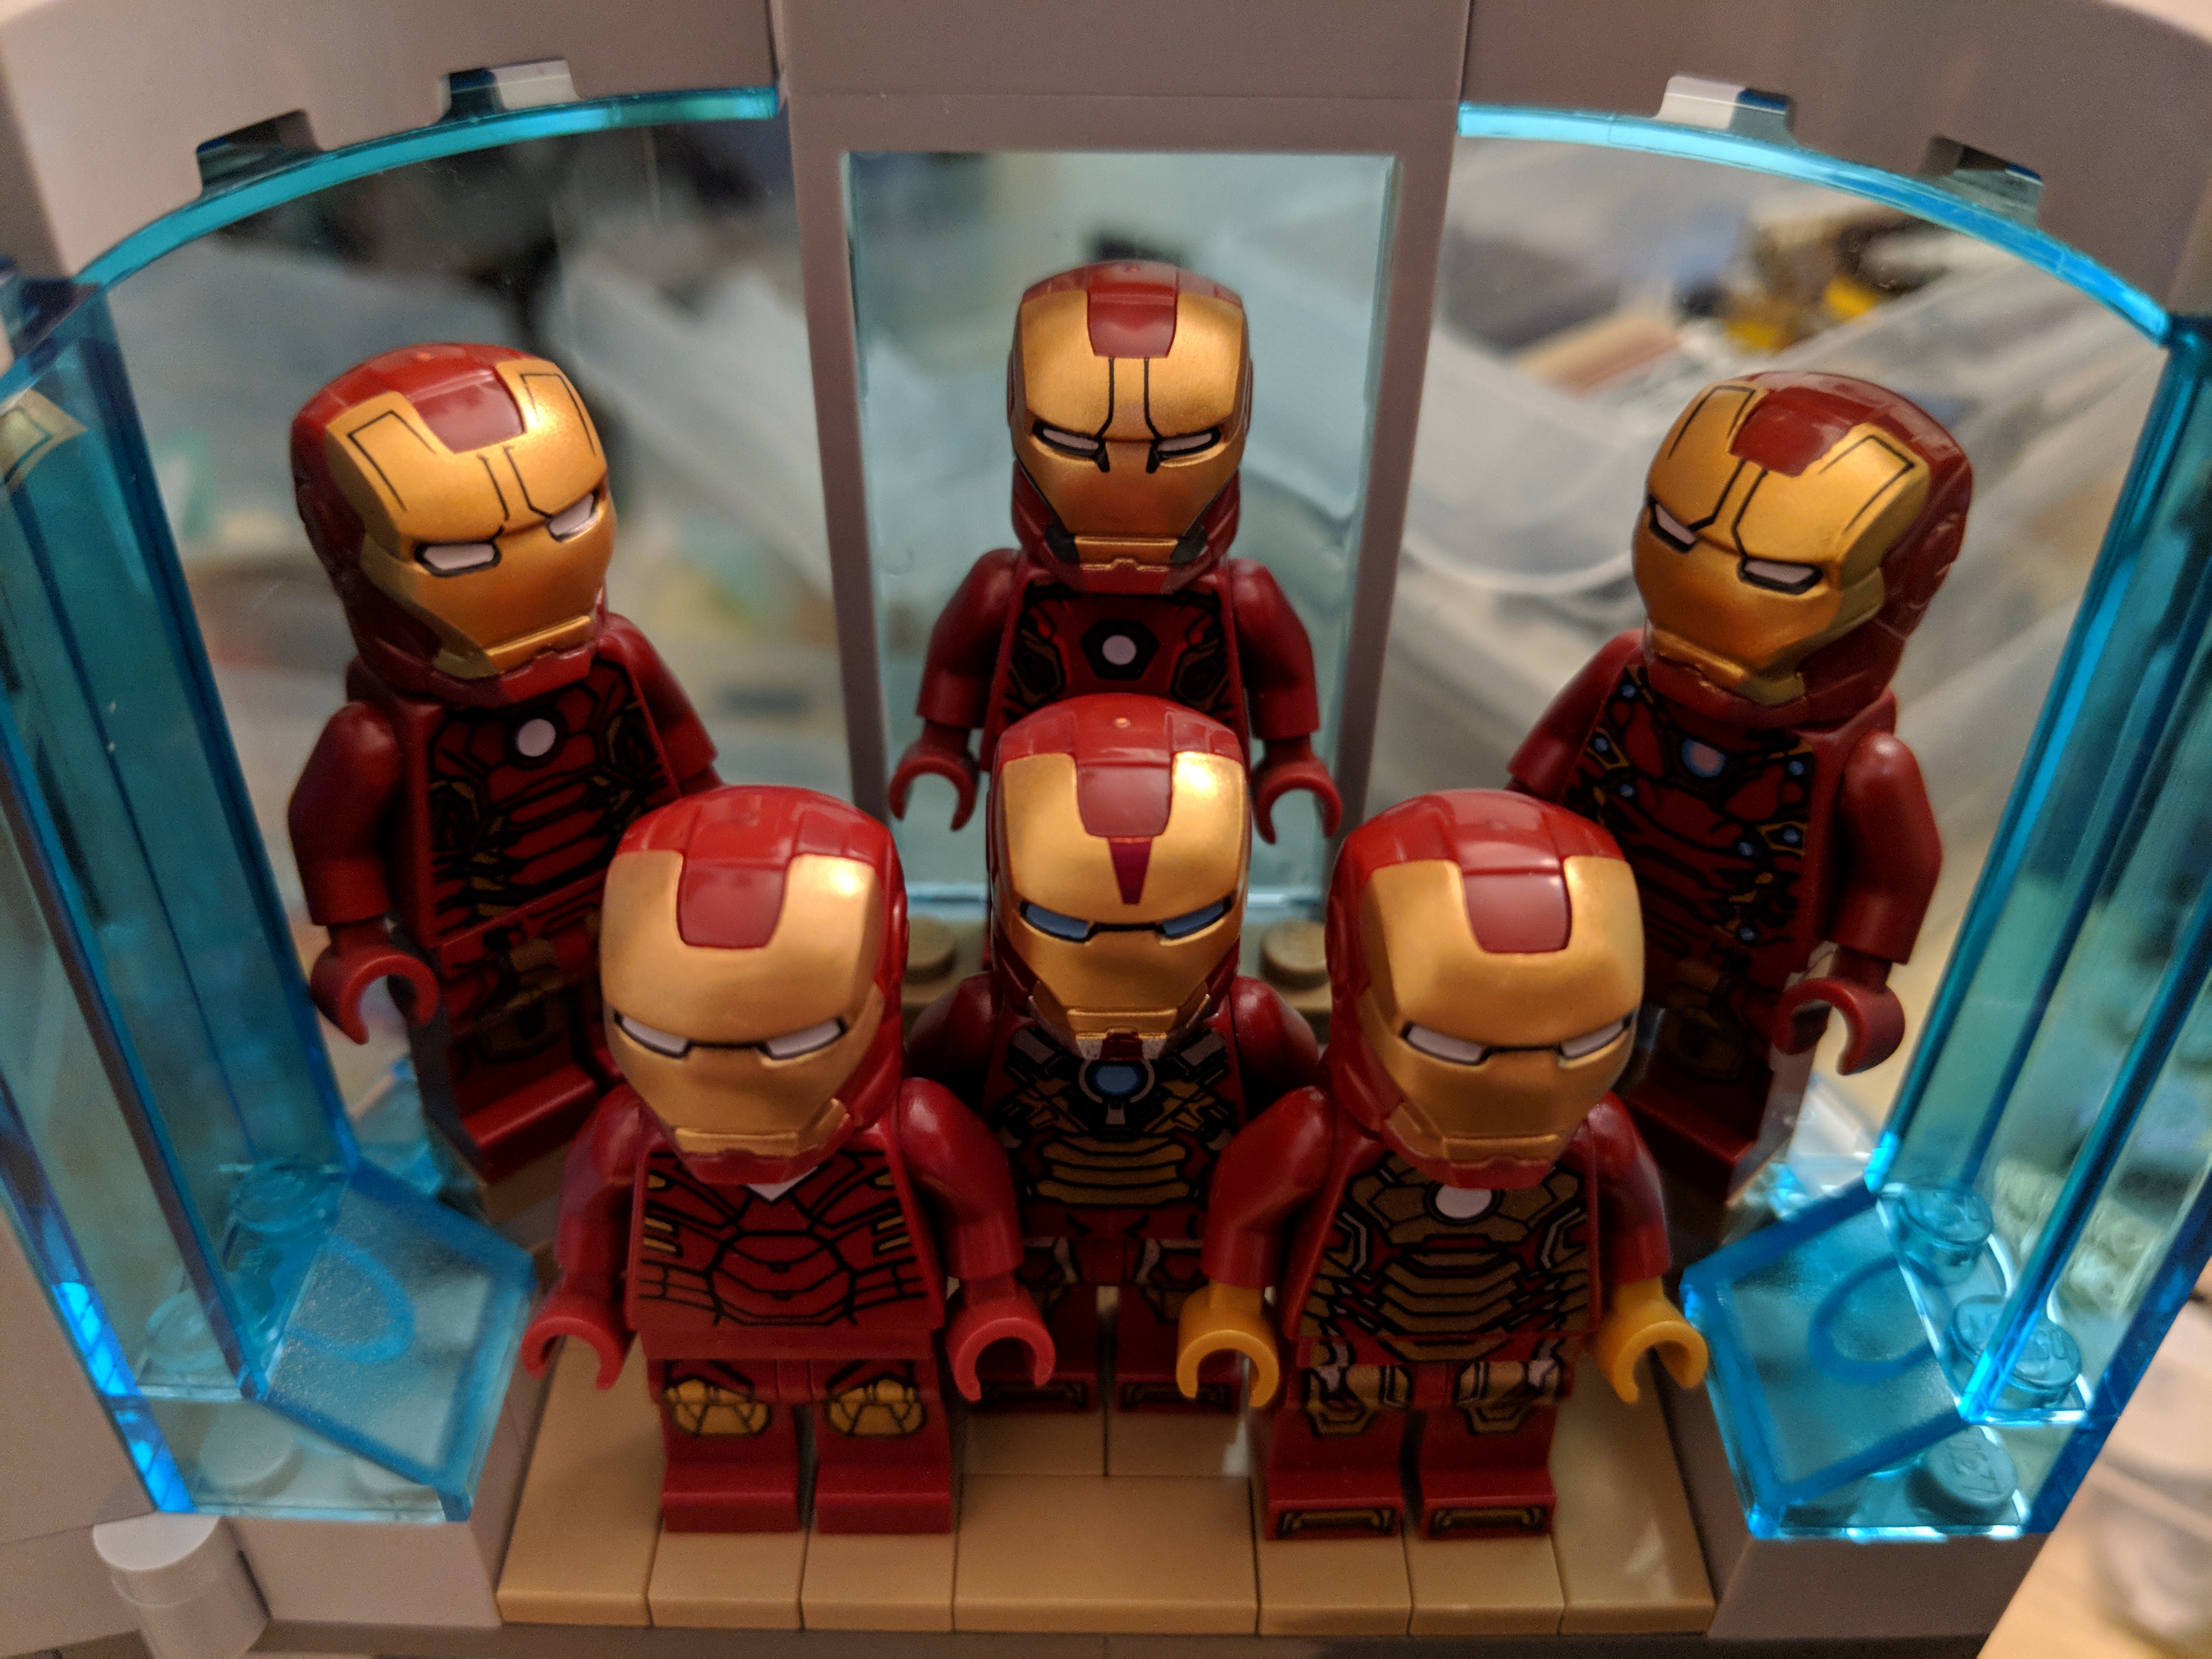
    On the rear side of the second level is Tony Stark’s Iron Man Hall of Armor. I was able to fit six different Iron Man armors in this tight space by building two tiers for the armor–one lower and in the foreground, and one higher and in the background.

    New Avengers Tower Assembled!

    After completing the new first and second levels, I connected them to the bottom of the original Avengers Tower model. This took some time and massaging to get full clutch without accidentally breaking the model. I’m happy with the new, taller version of Avengers Tower. I wonder what role, if any, it might play in the upcoming Avengers 4 film.

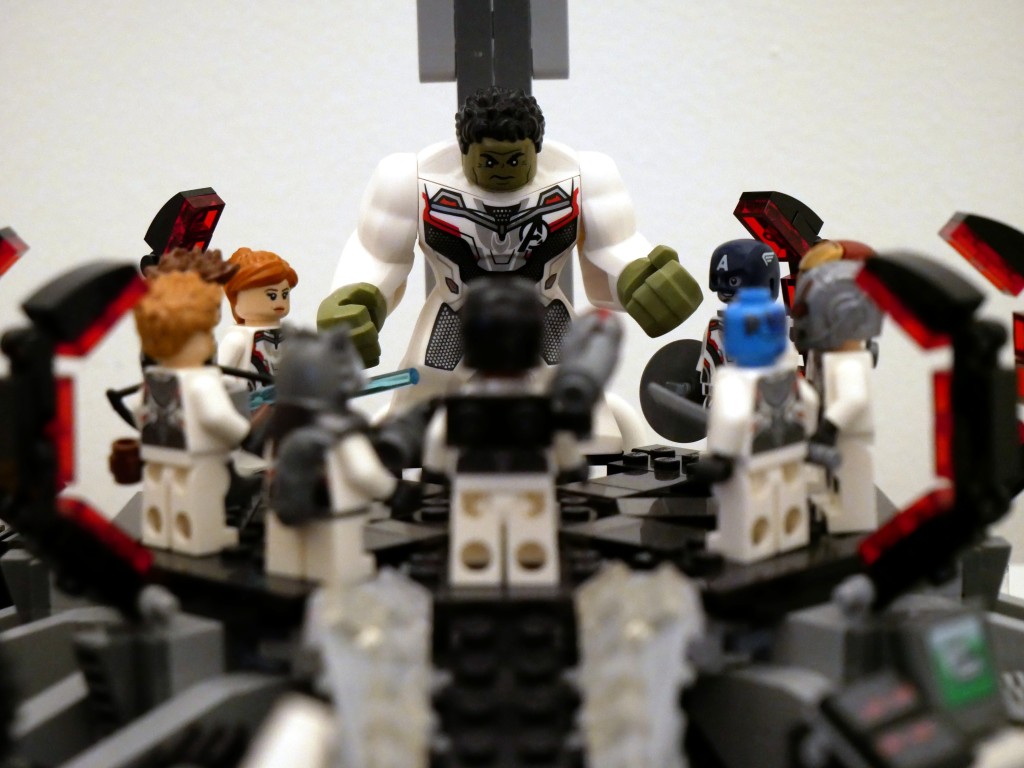
    The Avengers are down, but not out.

    Avengers Assemble!

  • LEGO Playset MOC of Temple Island on Ahch-To in Star Wars: The Last Jedi

    IMG_20180218_133943.jpg

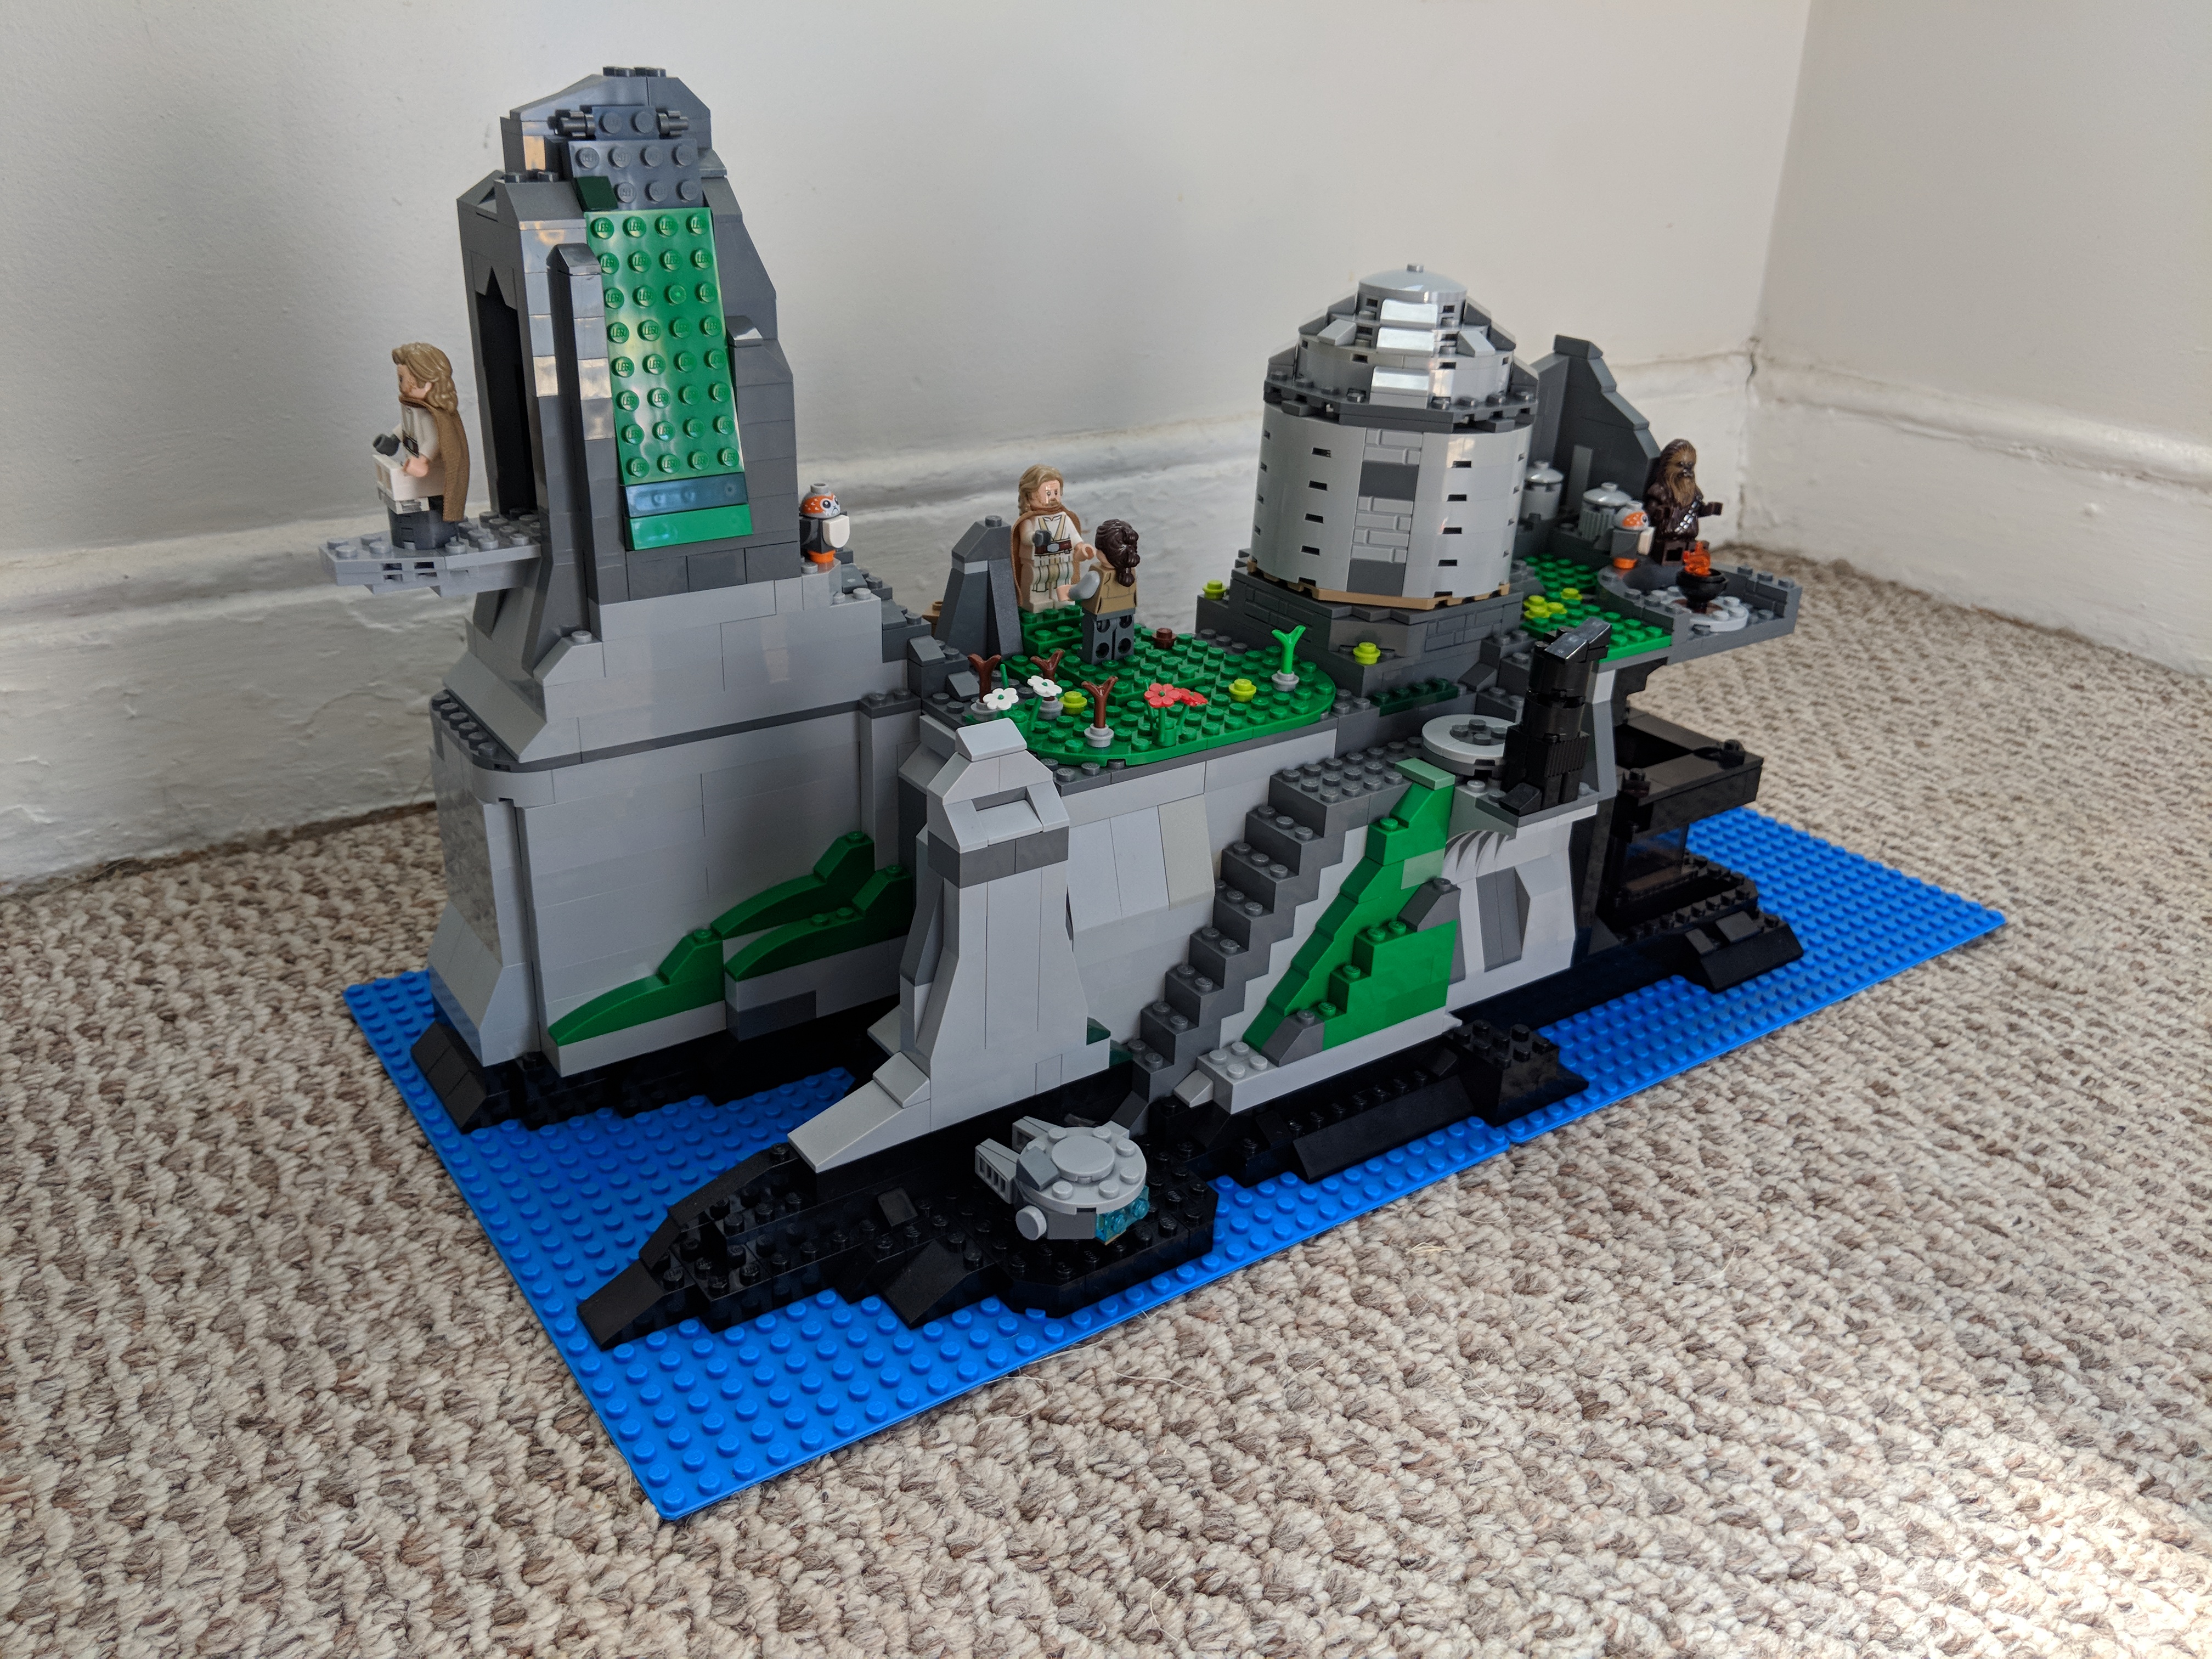
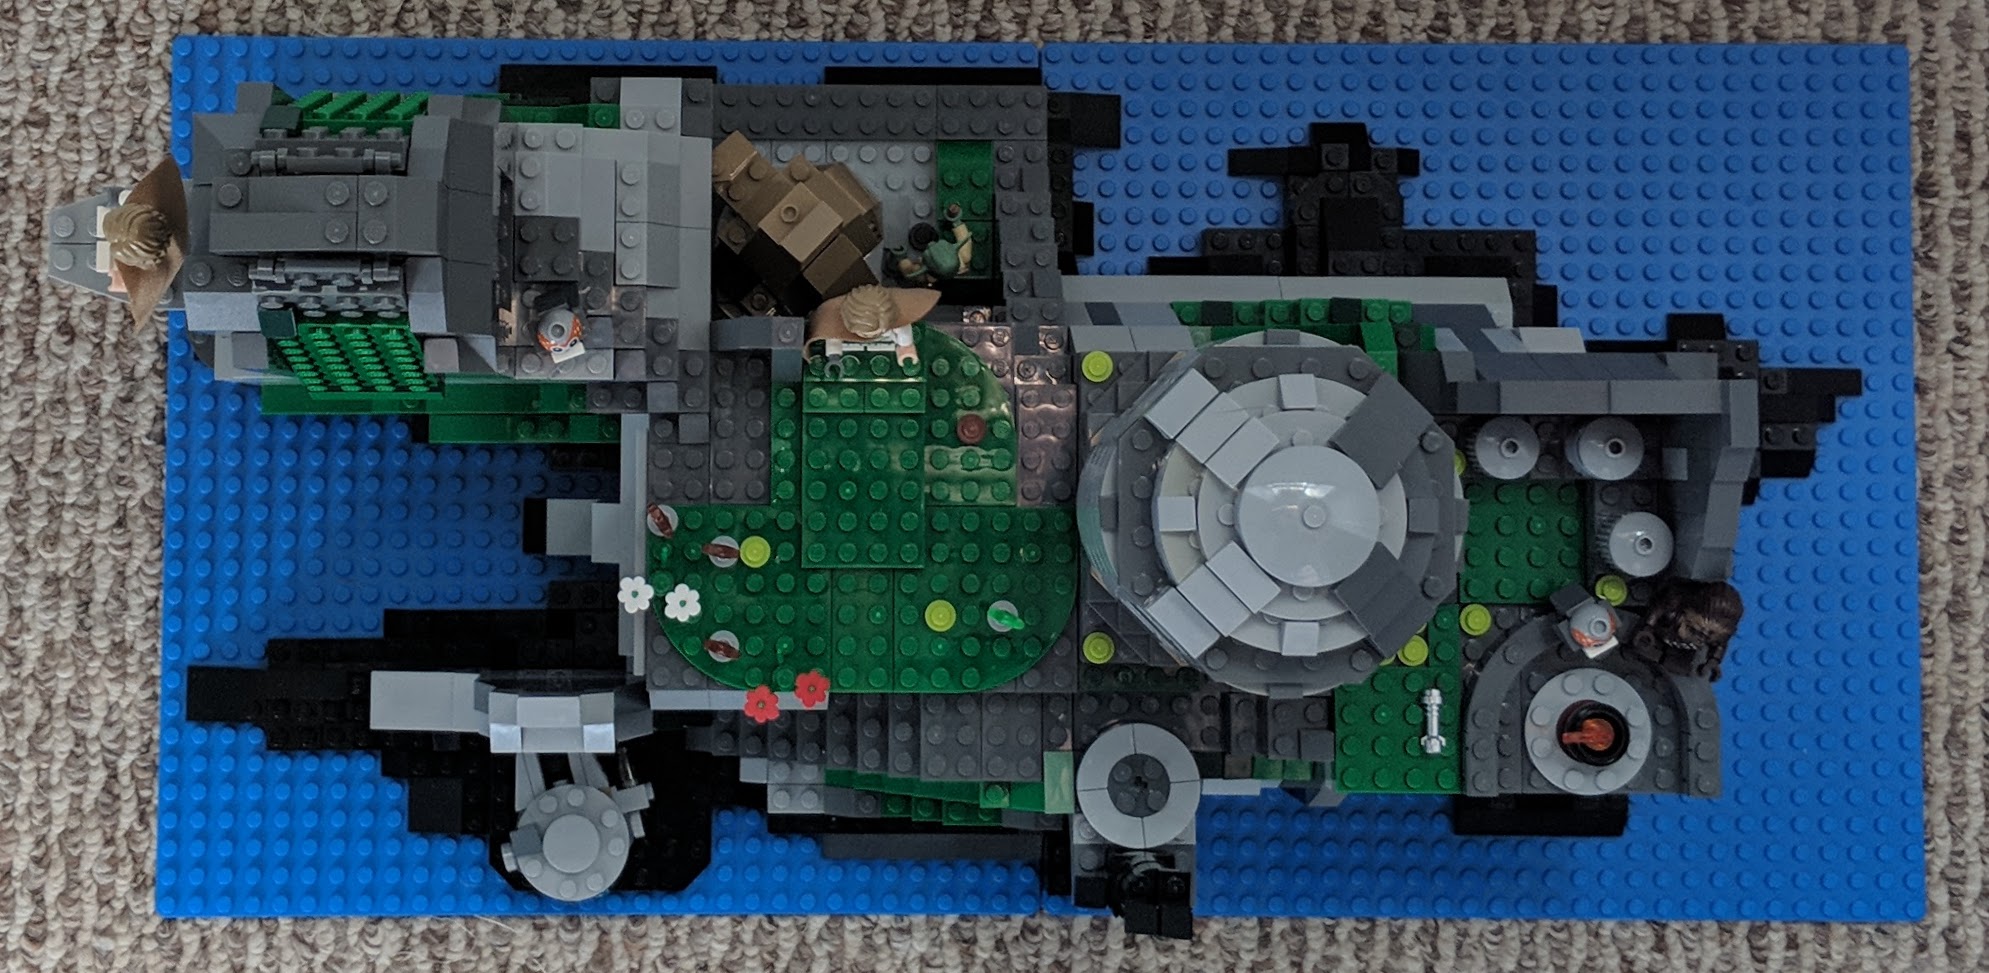
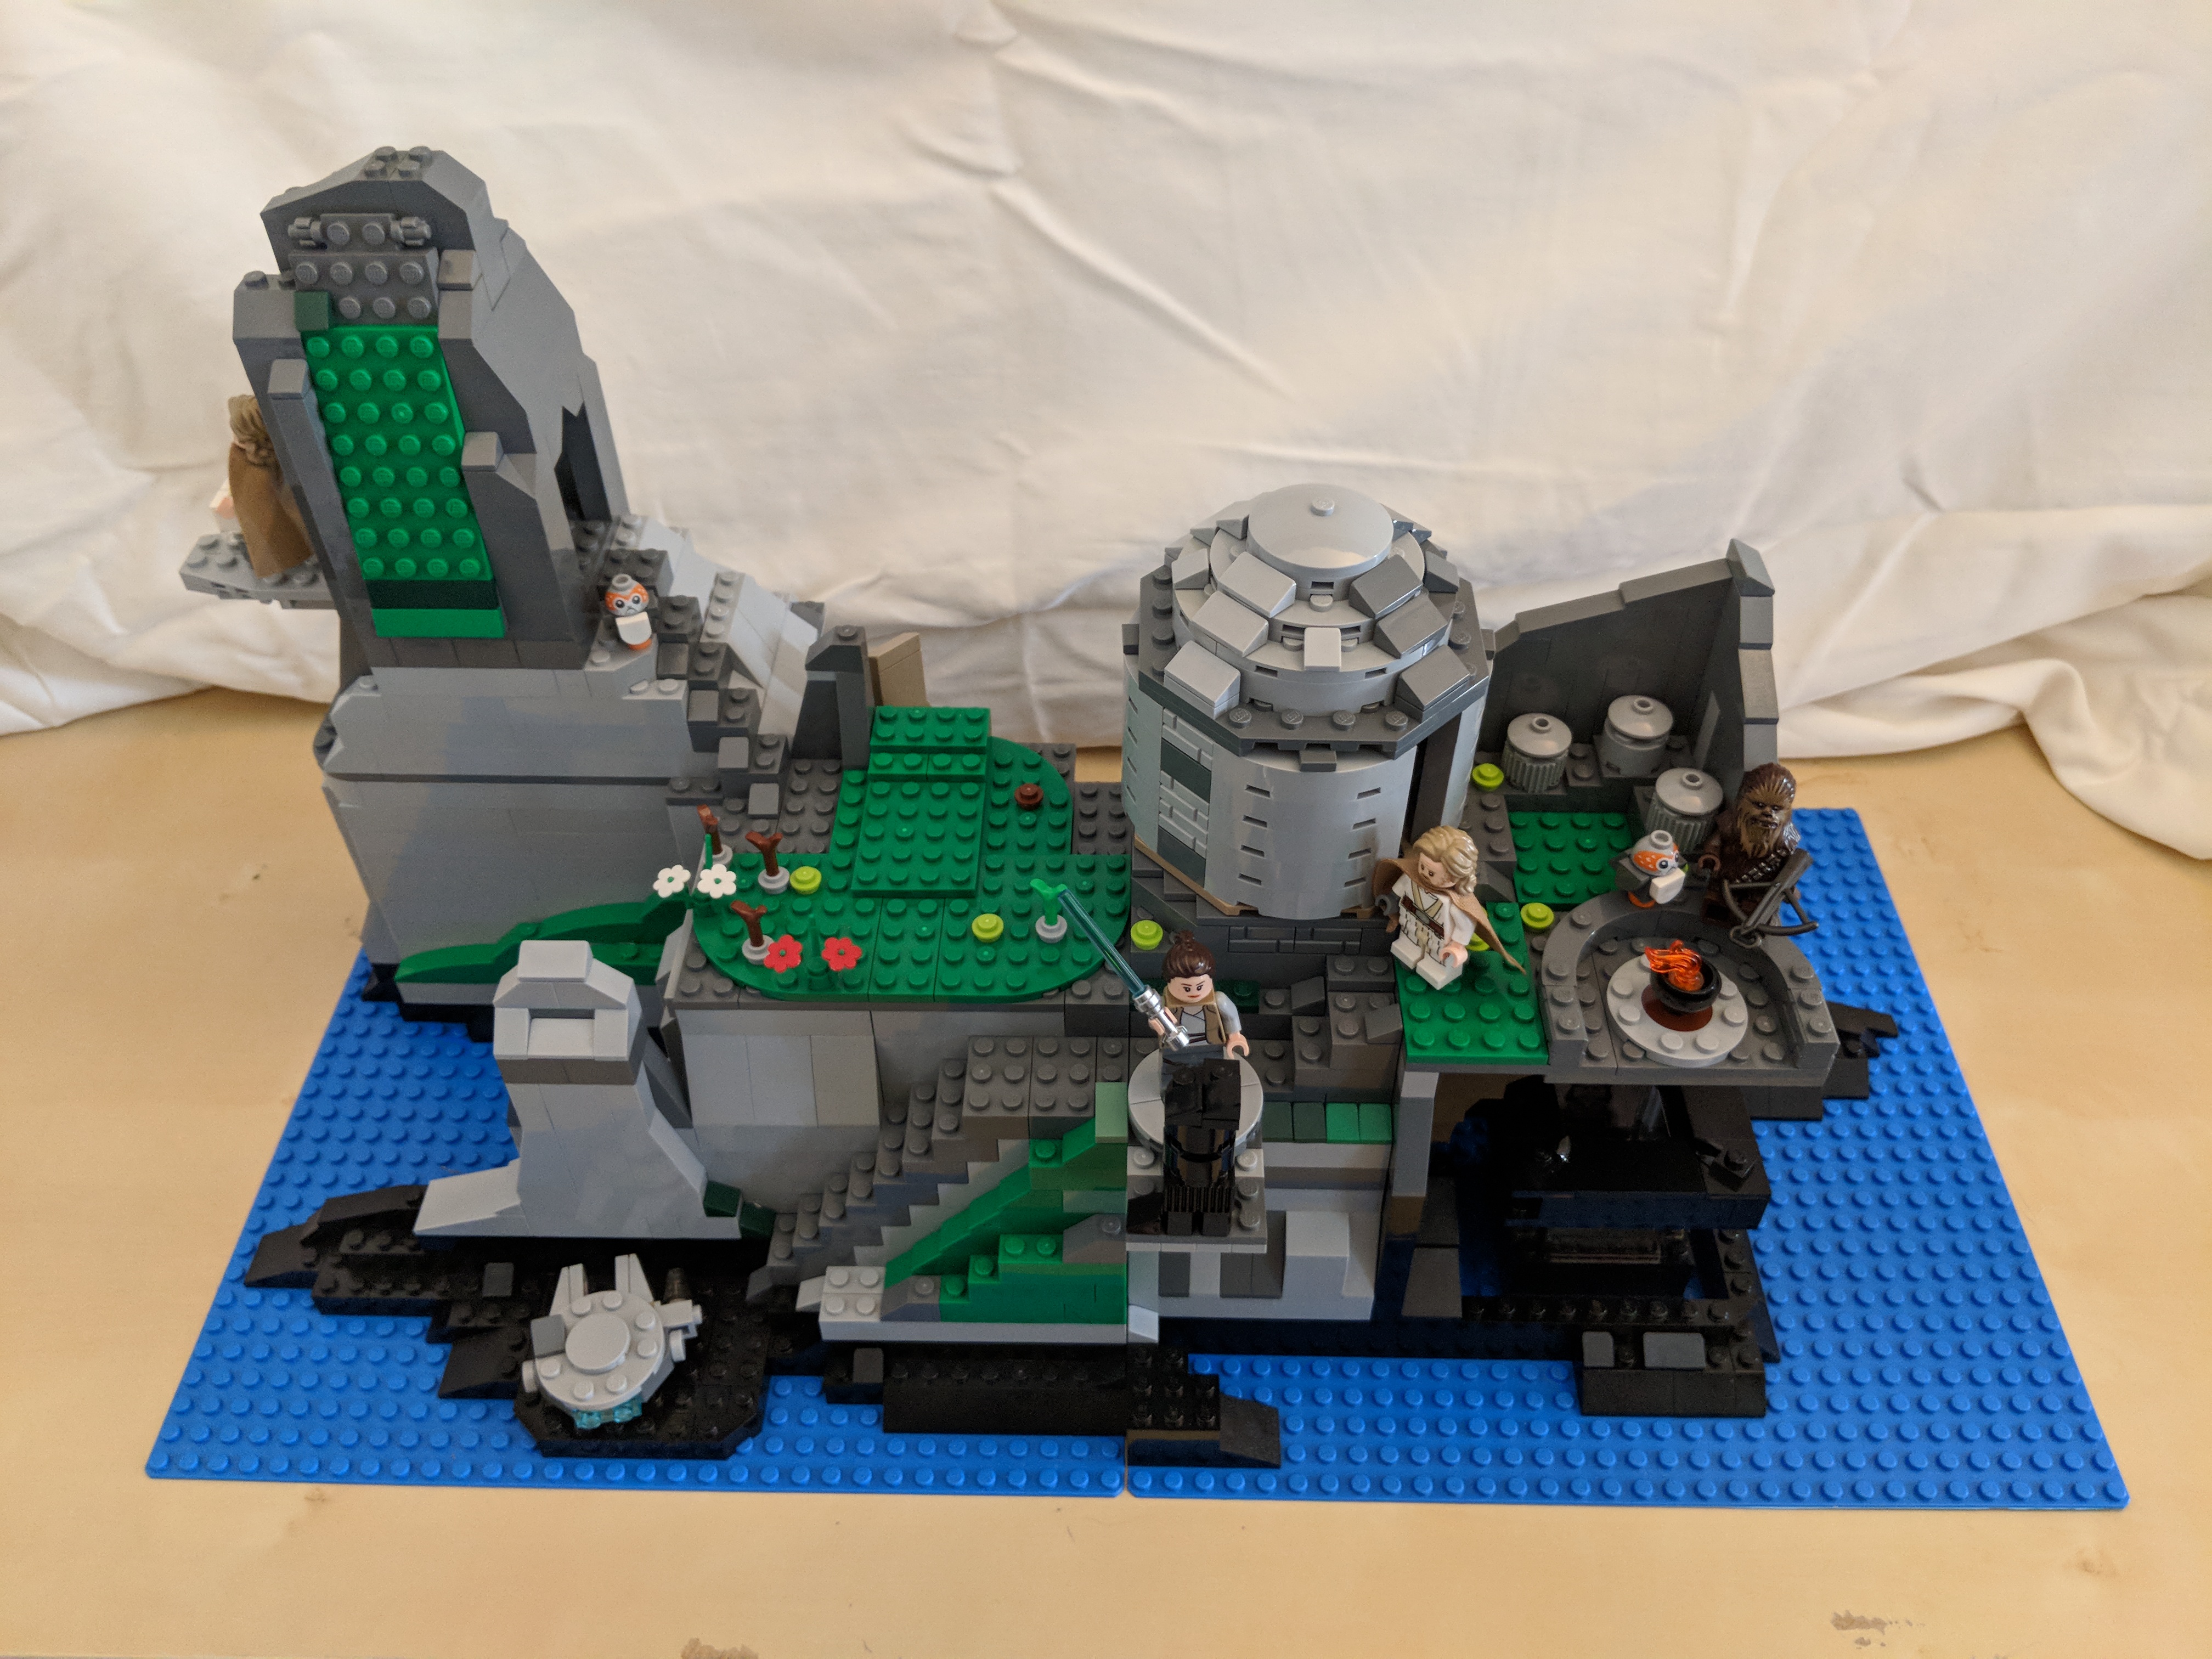
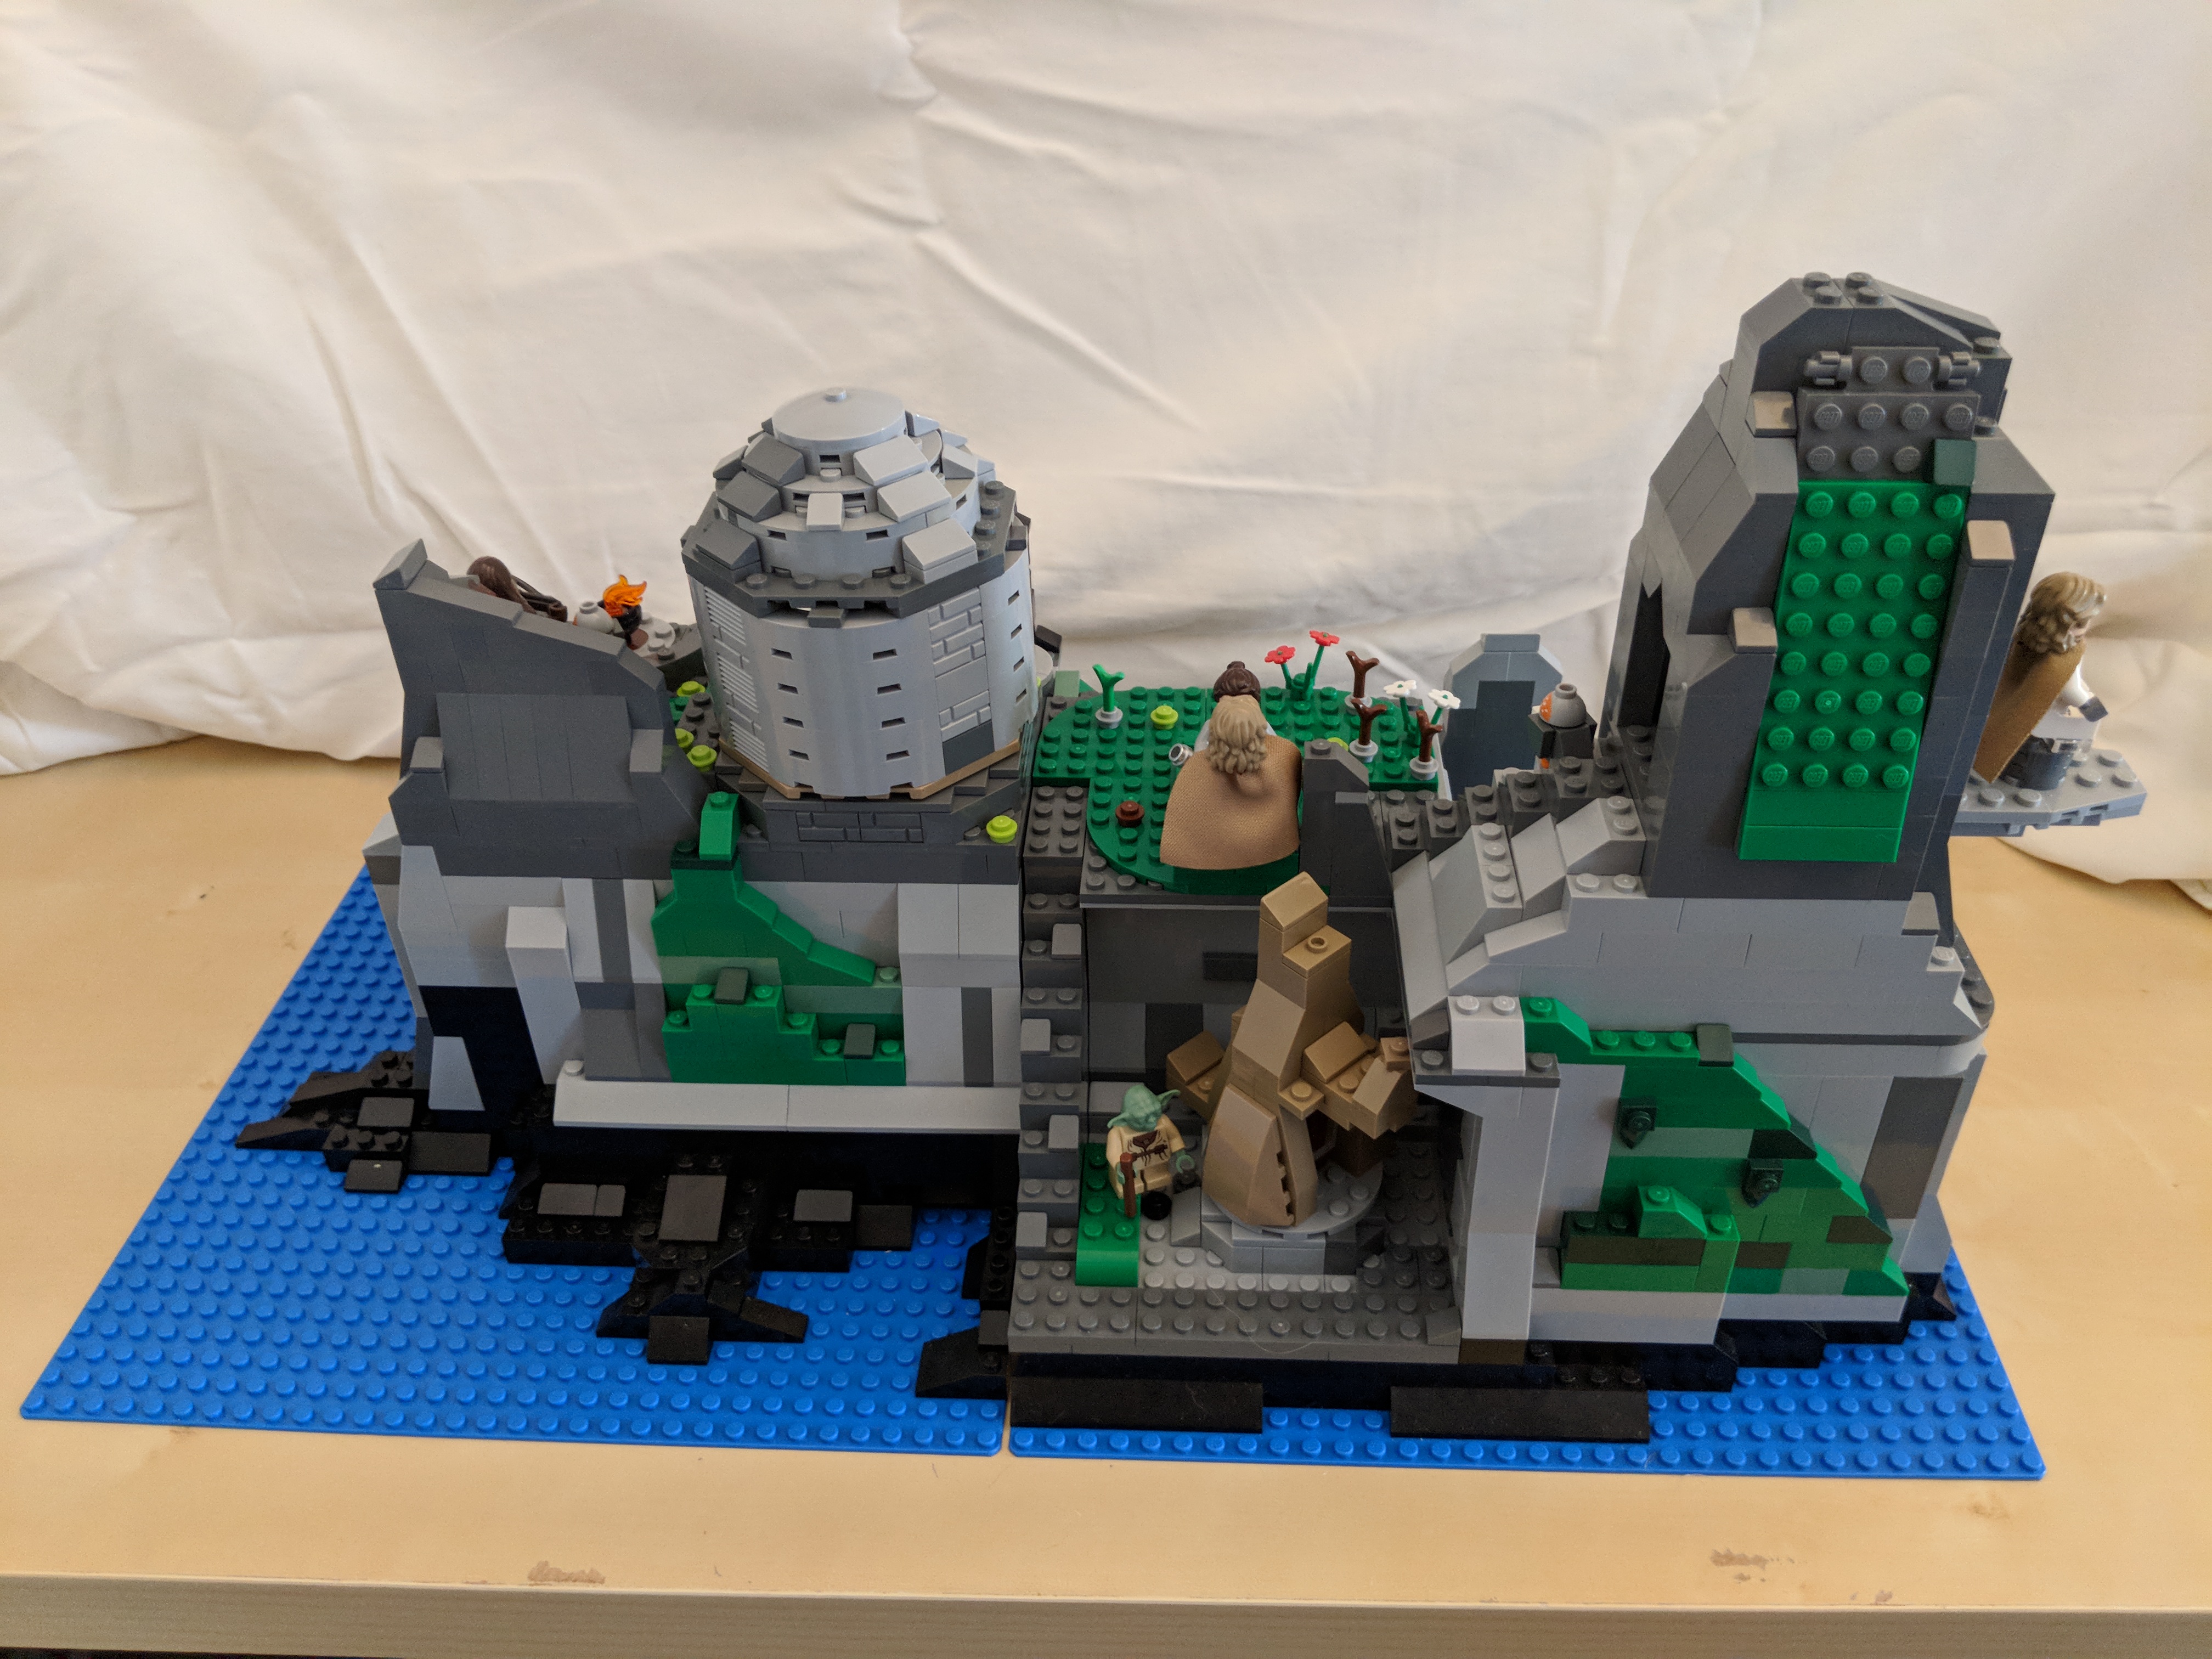
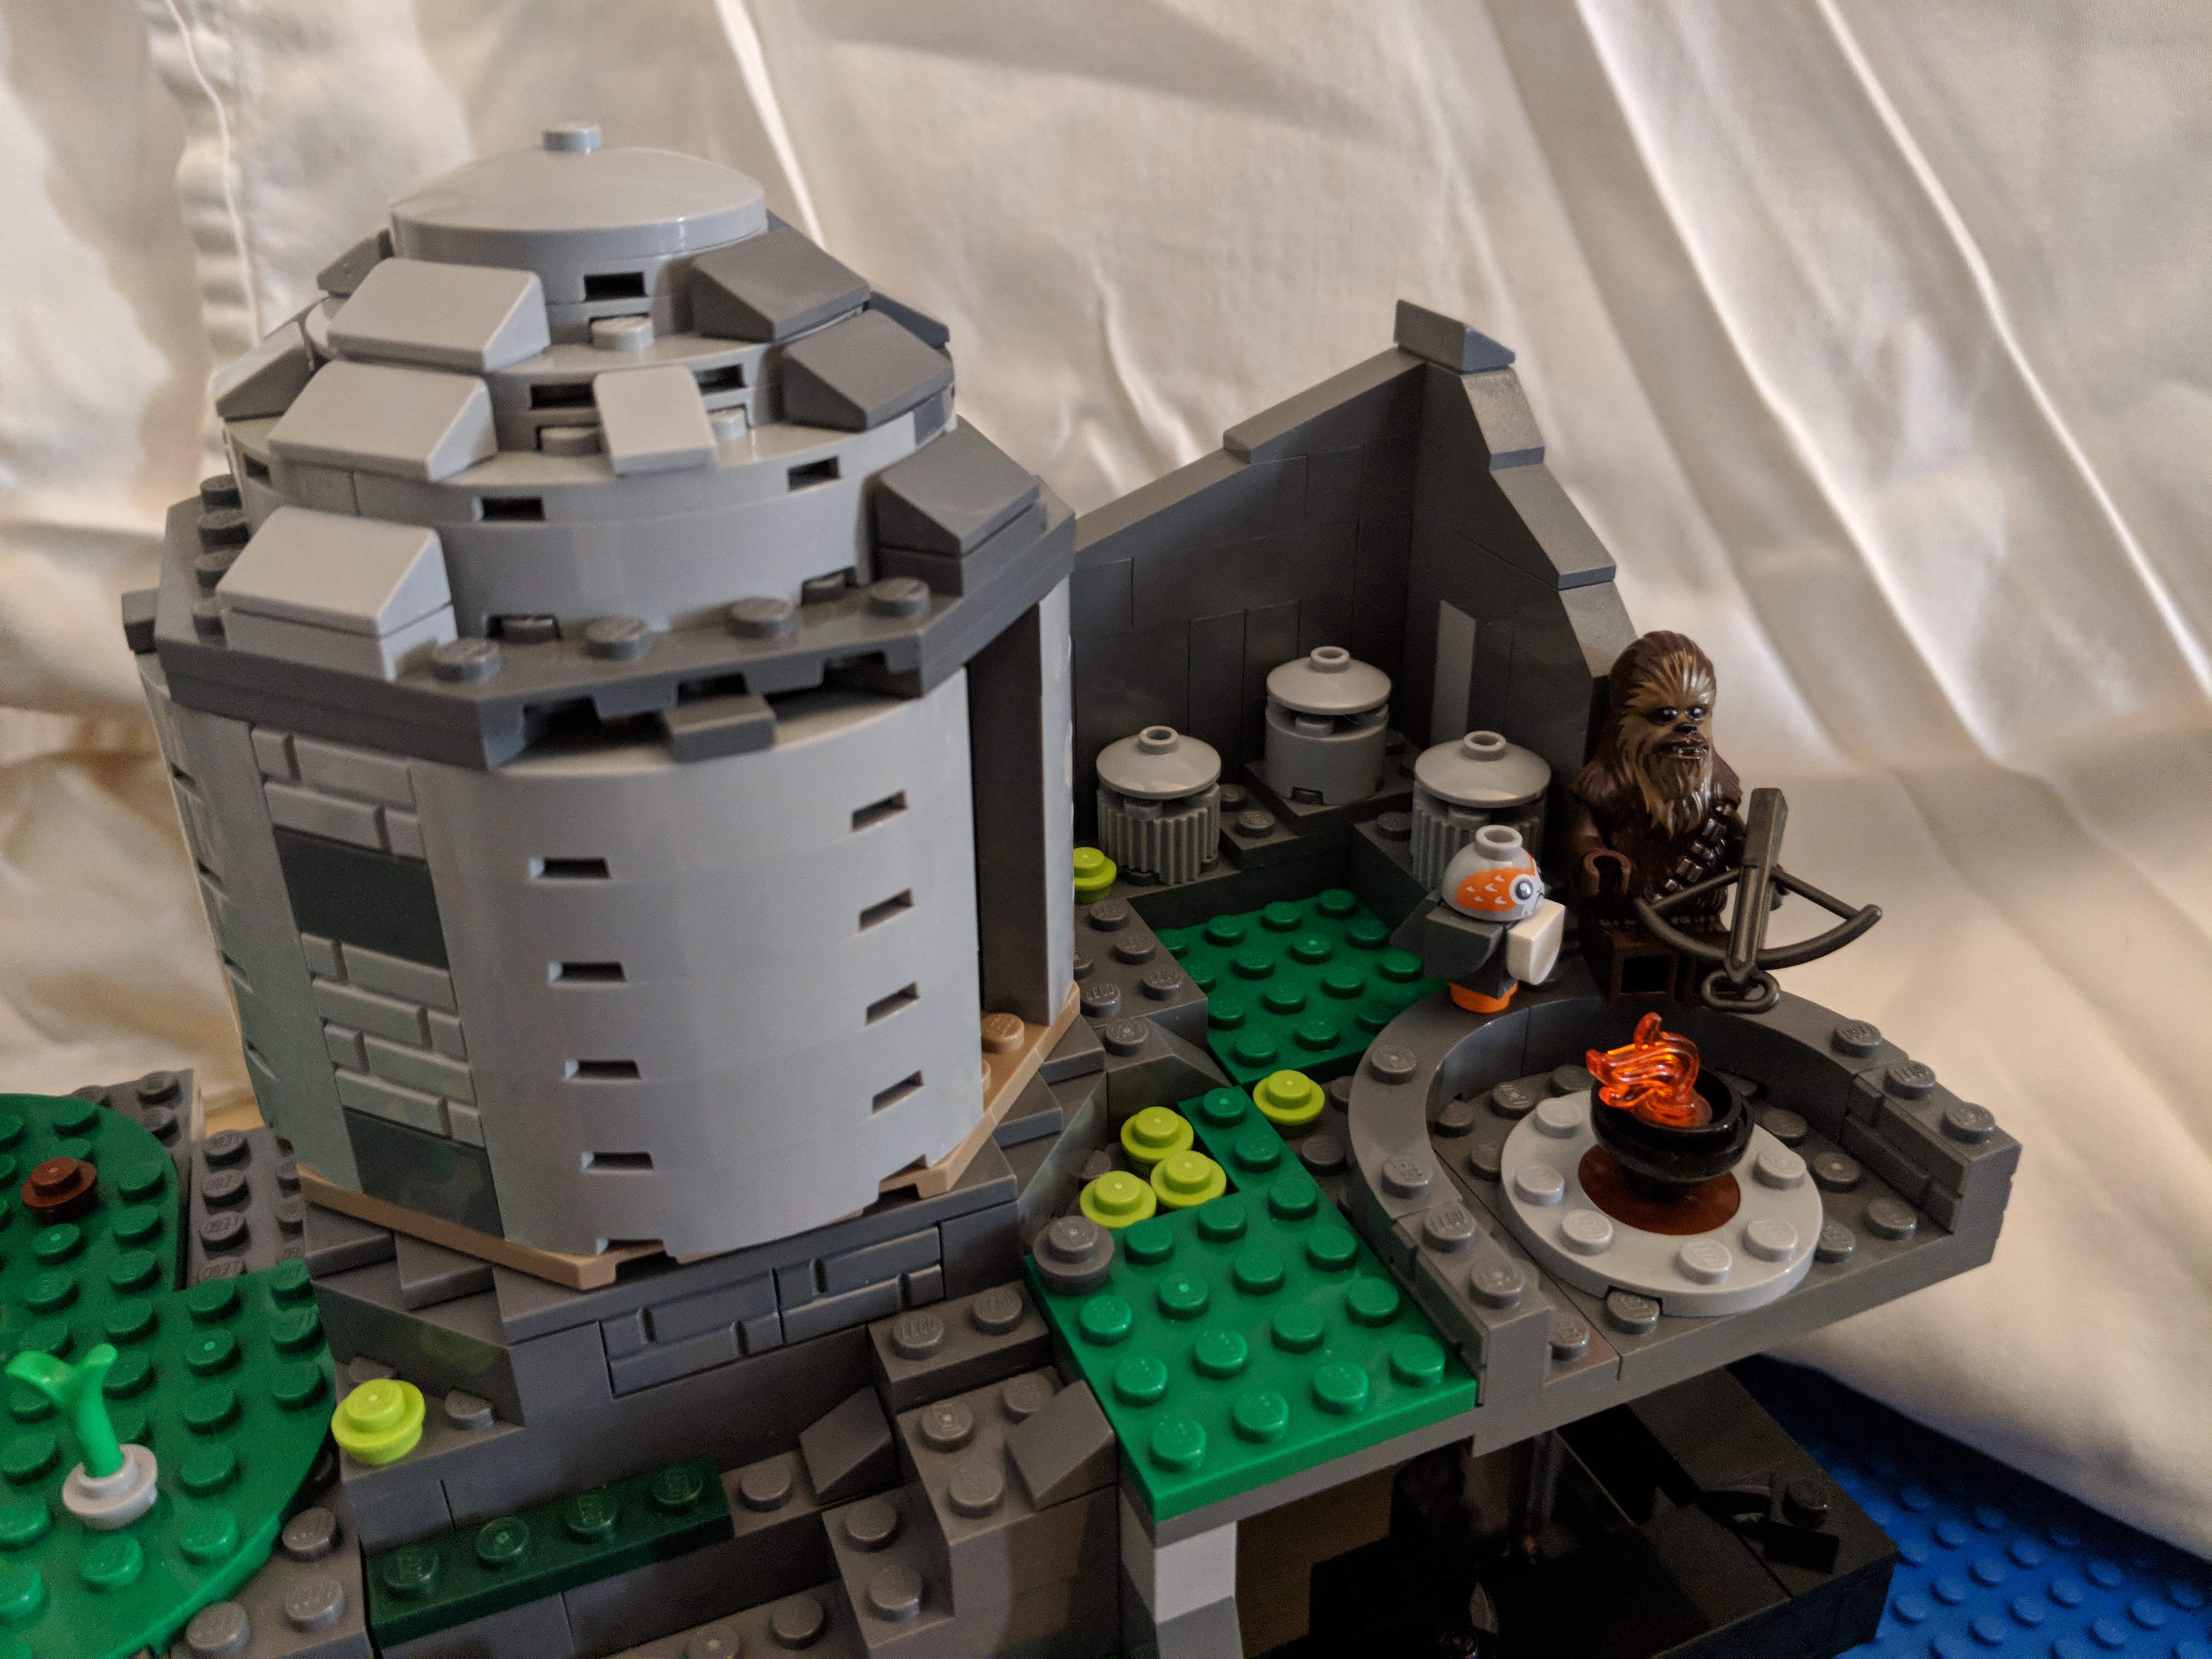
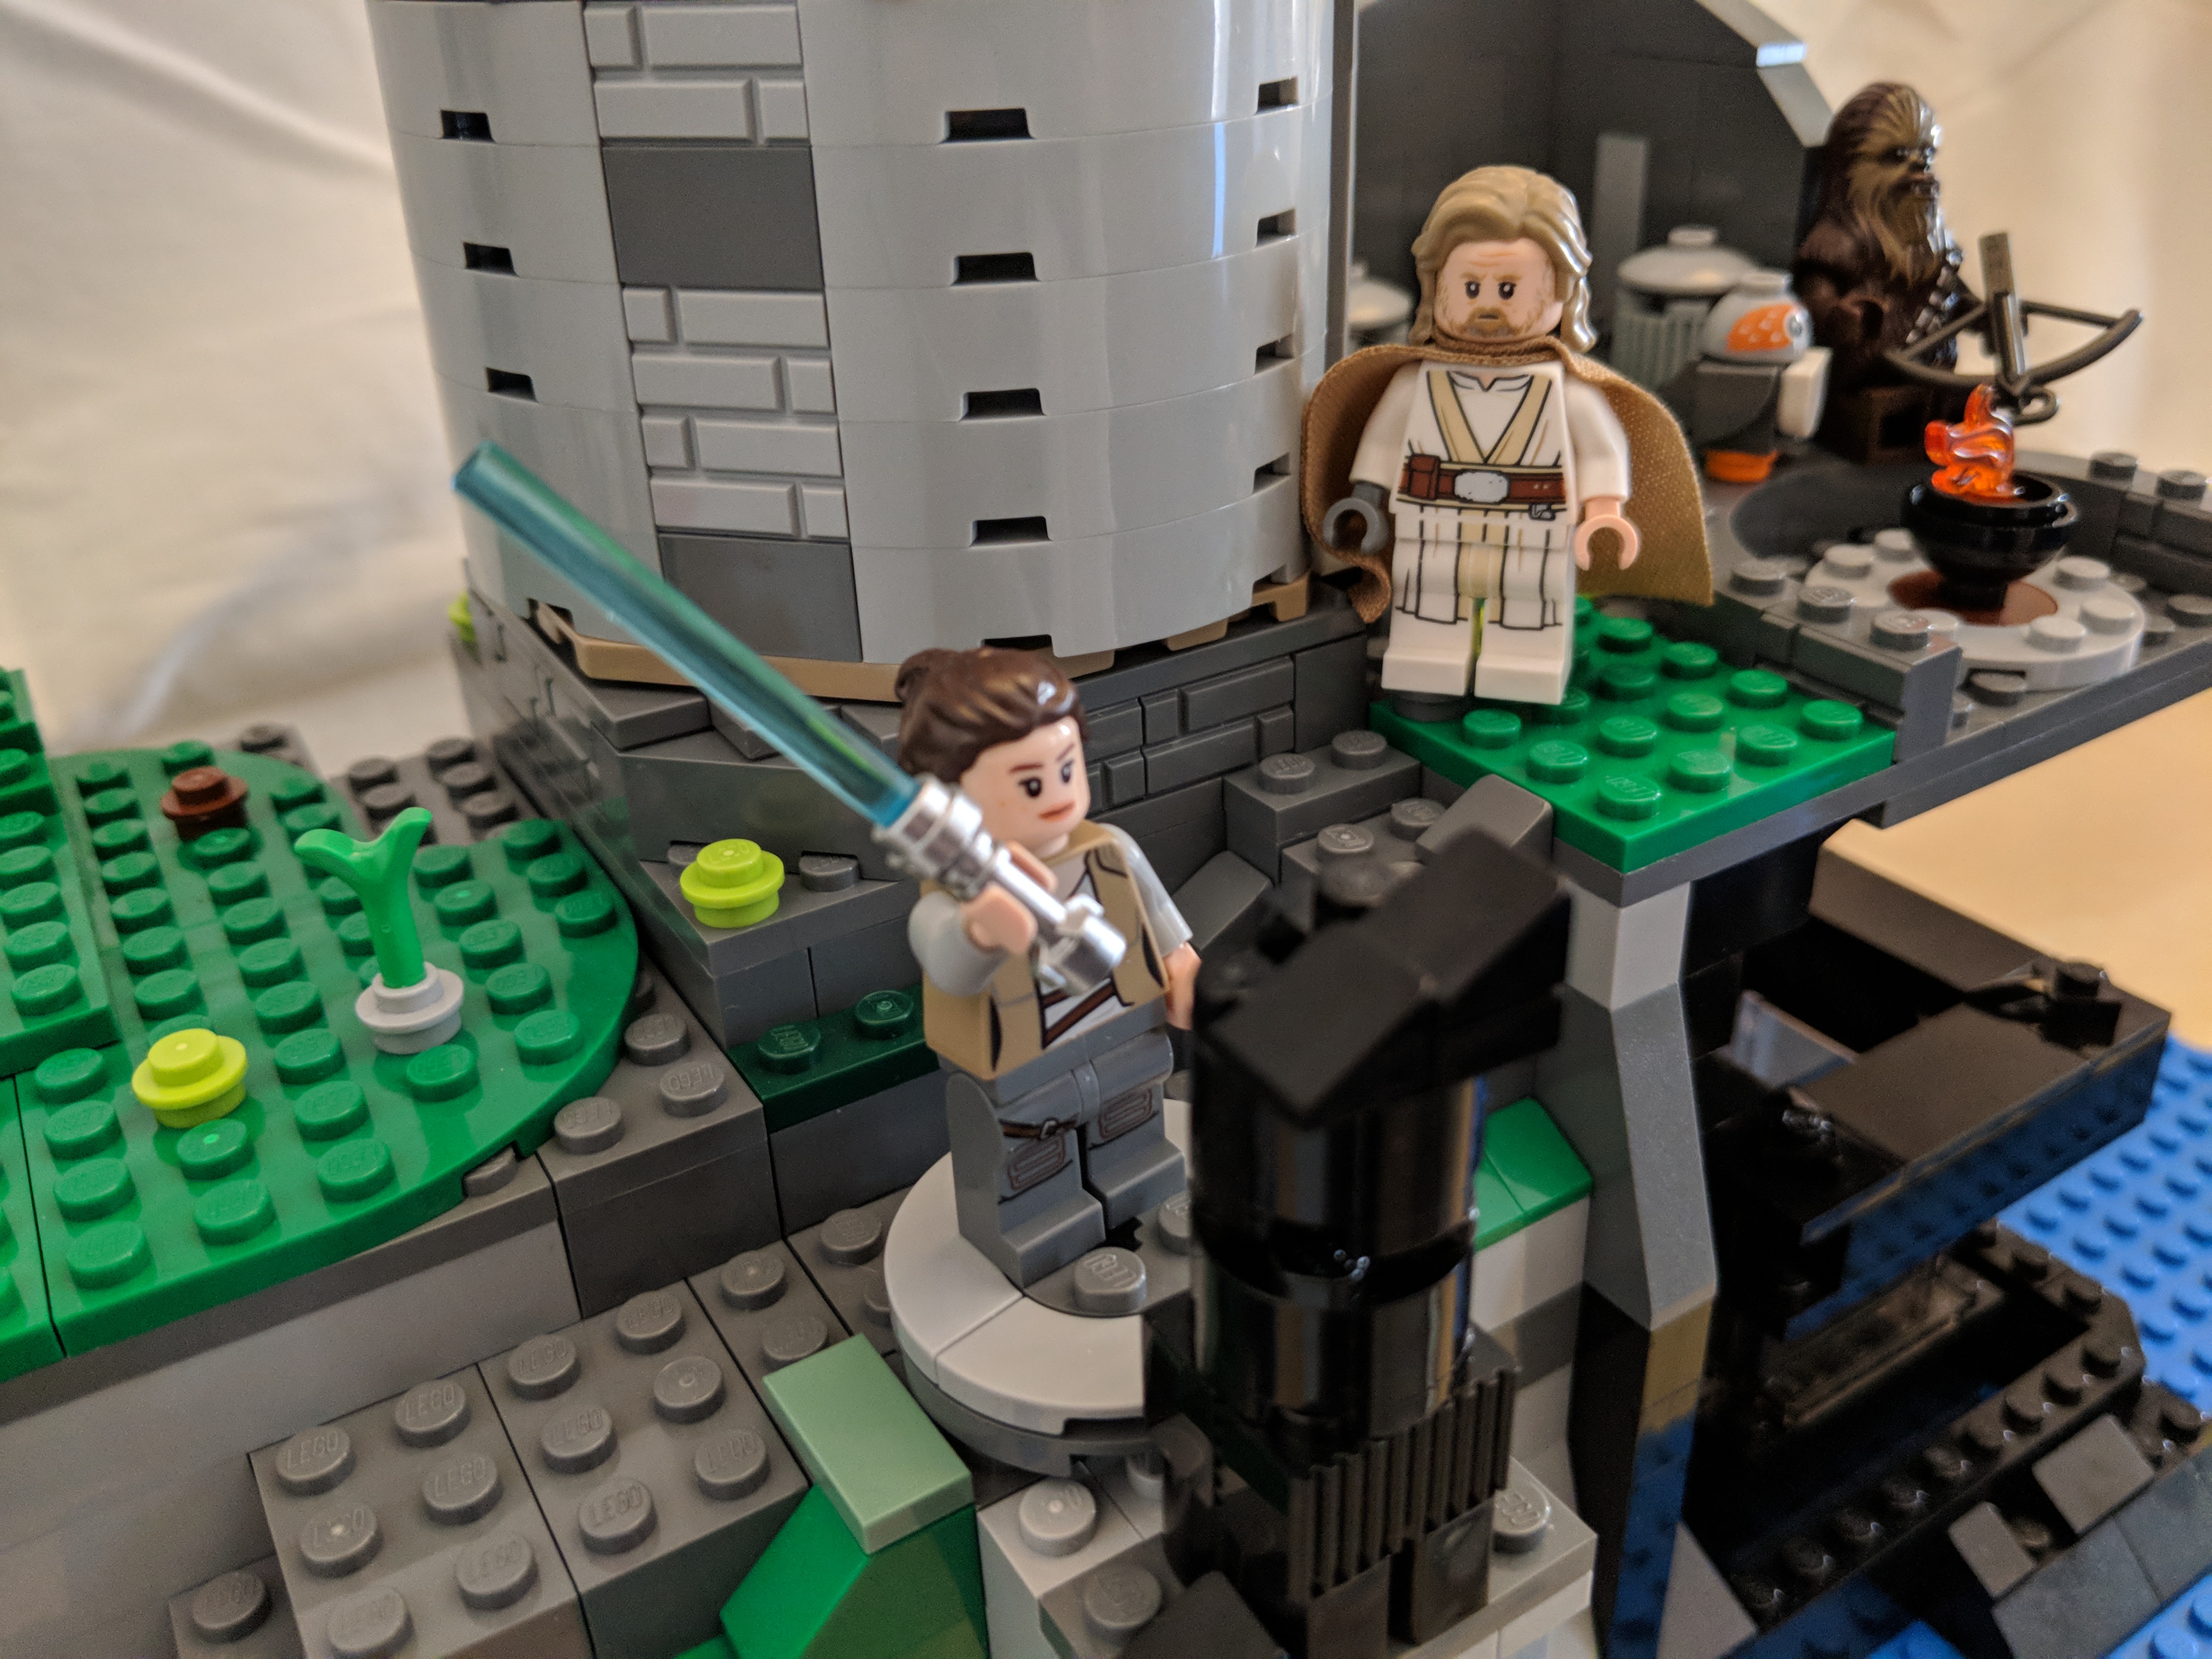
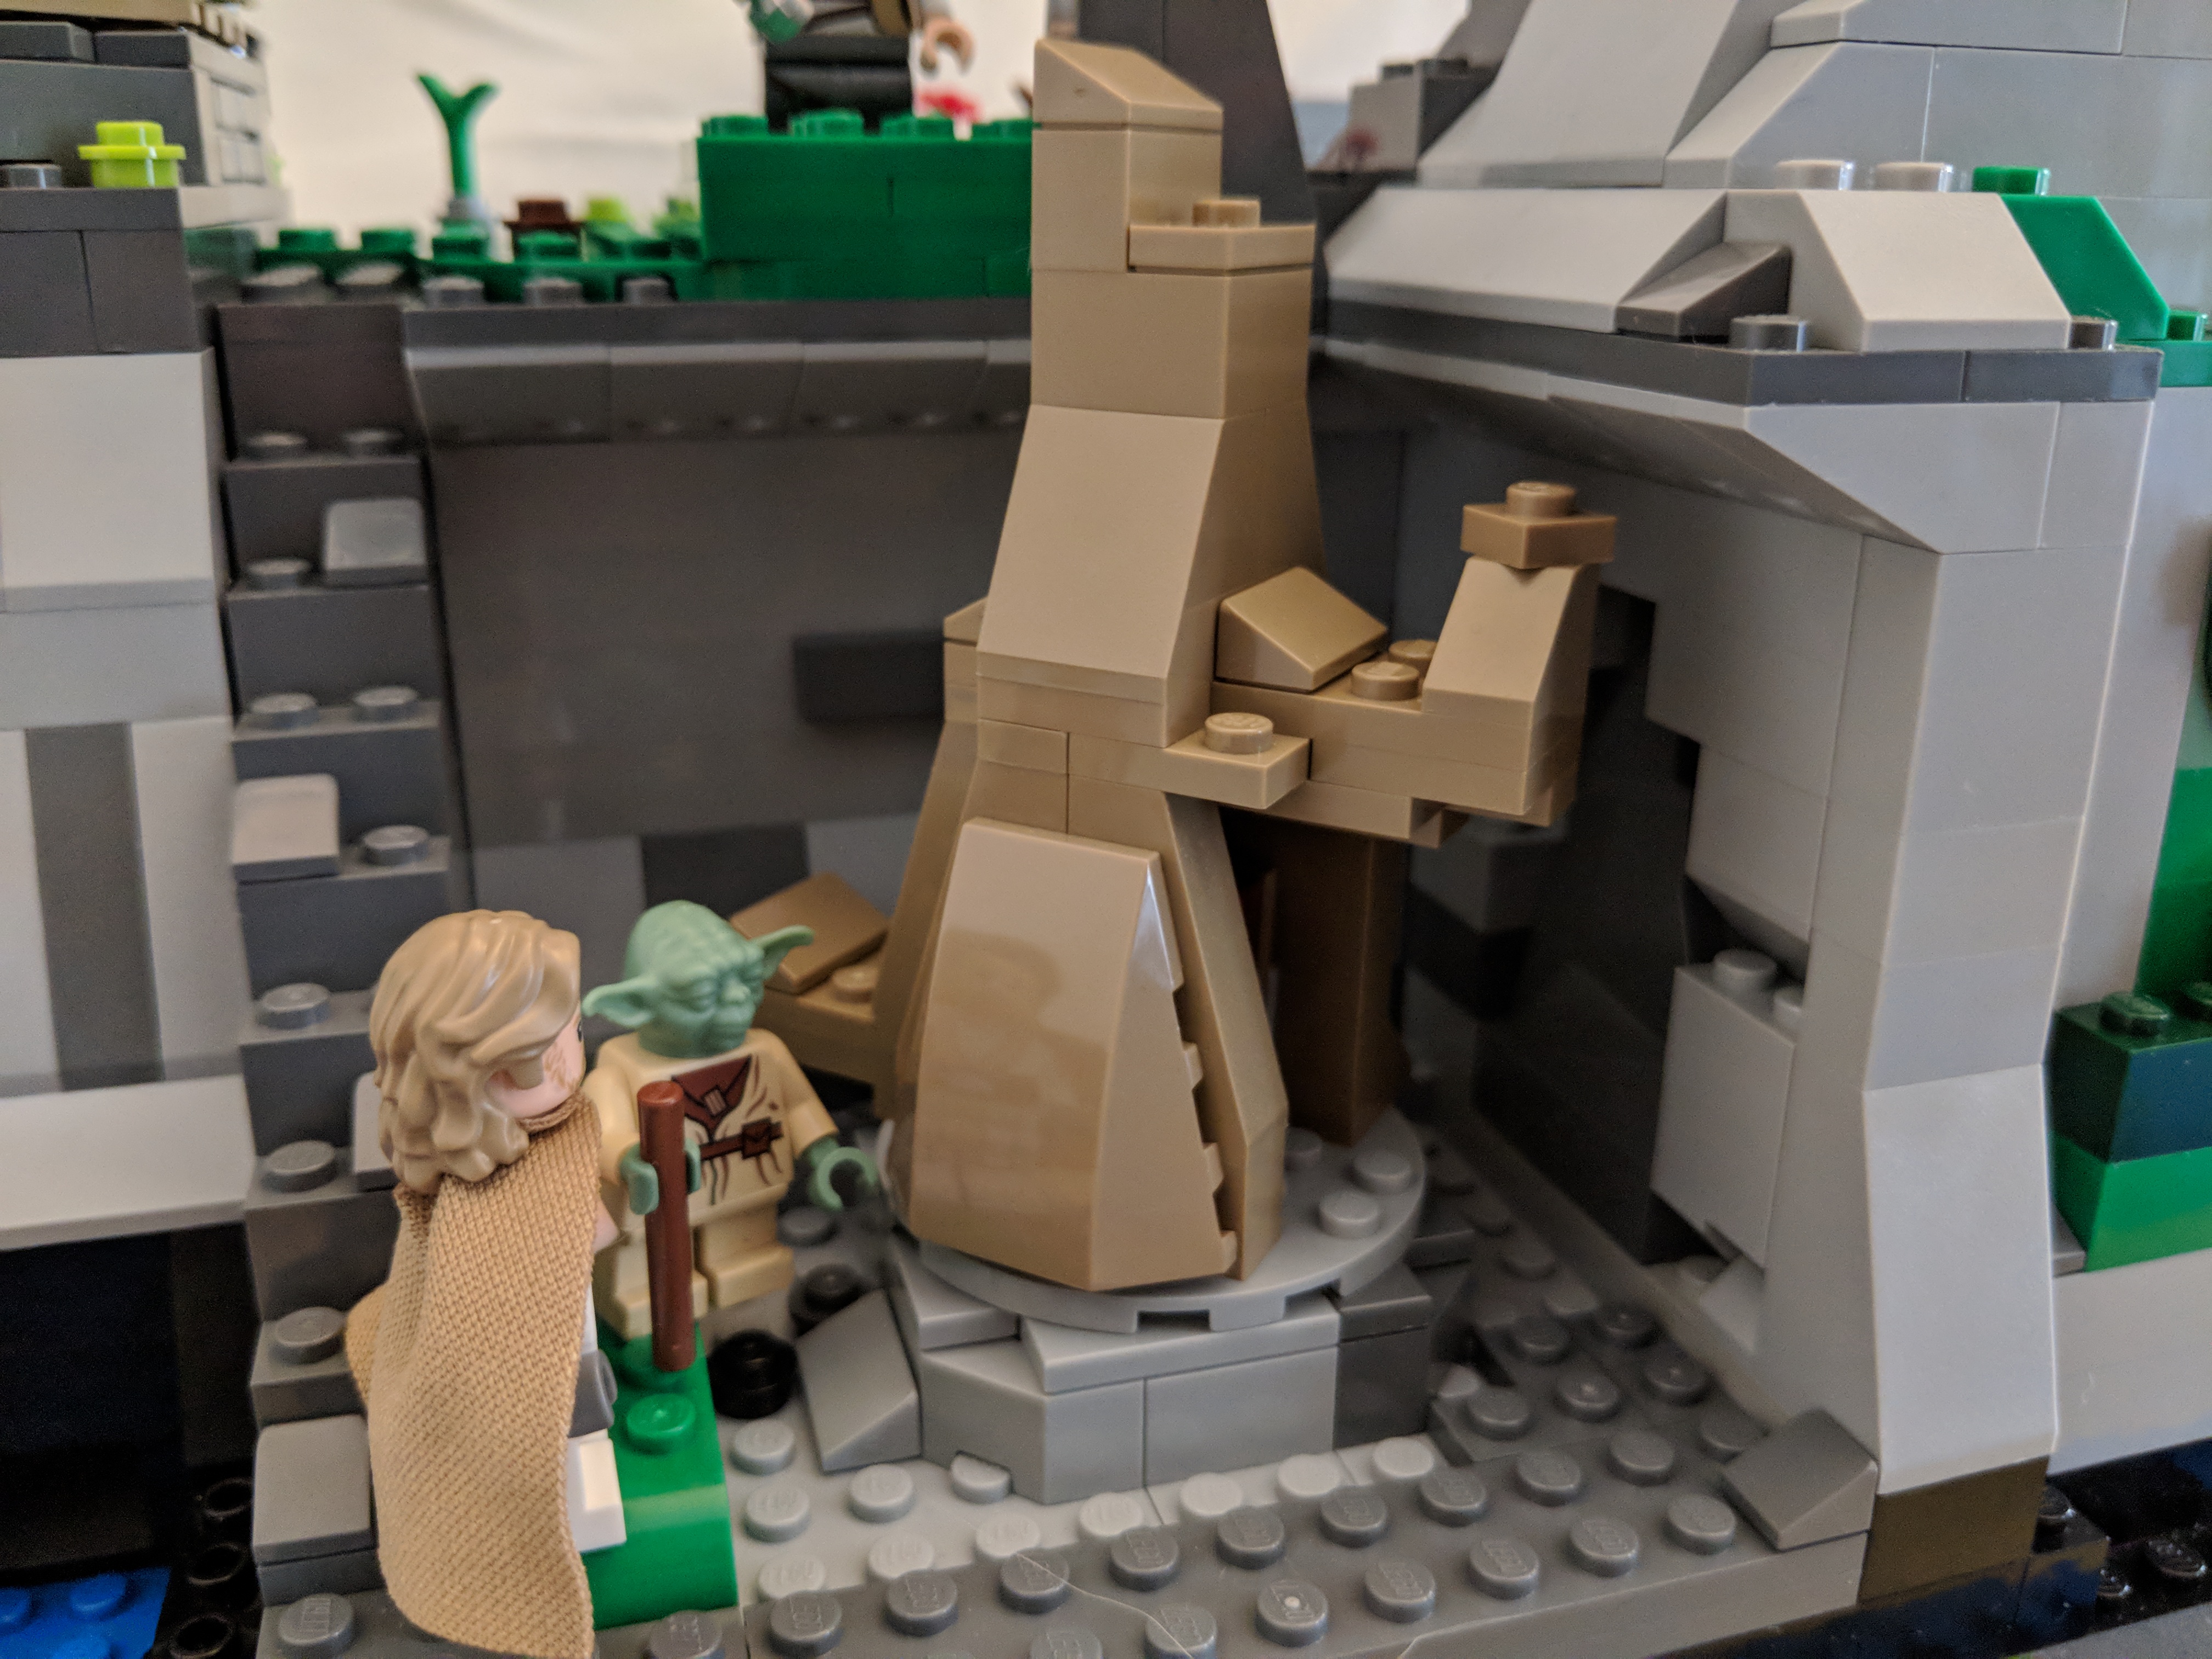
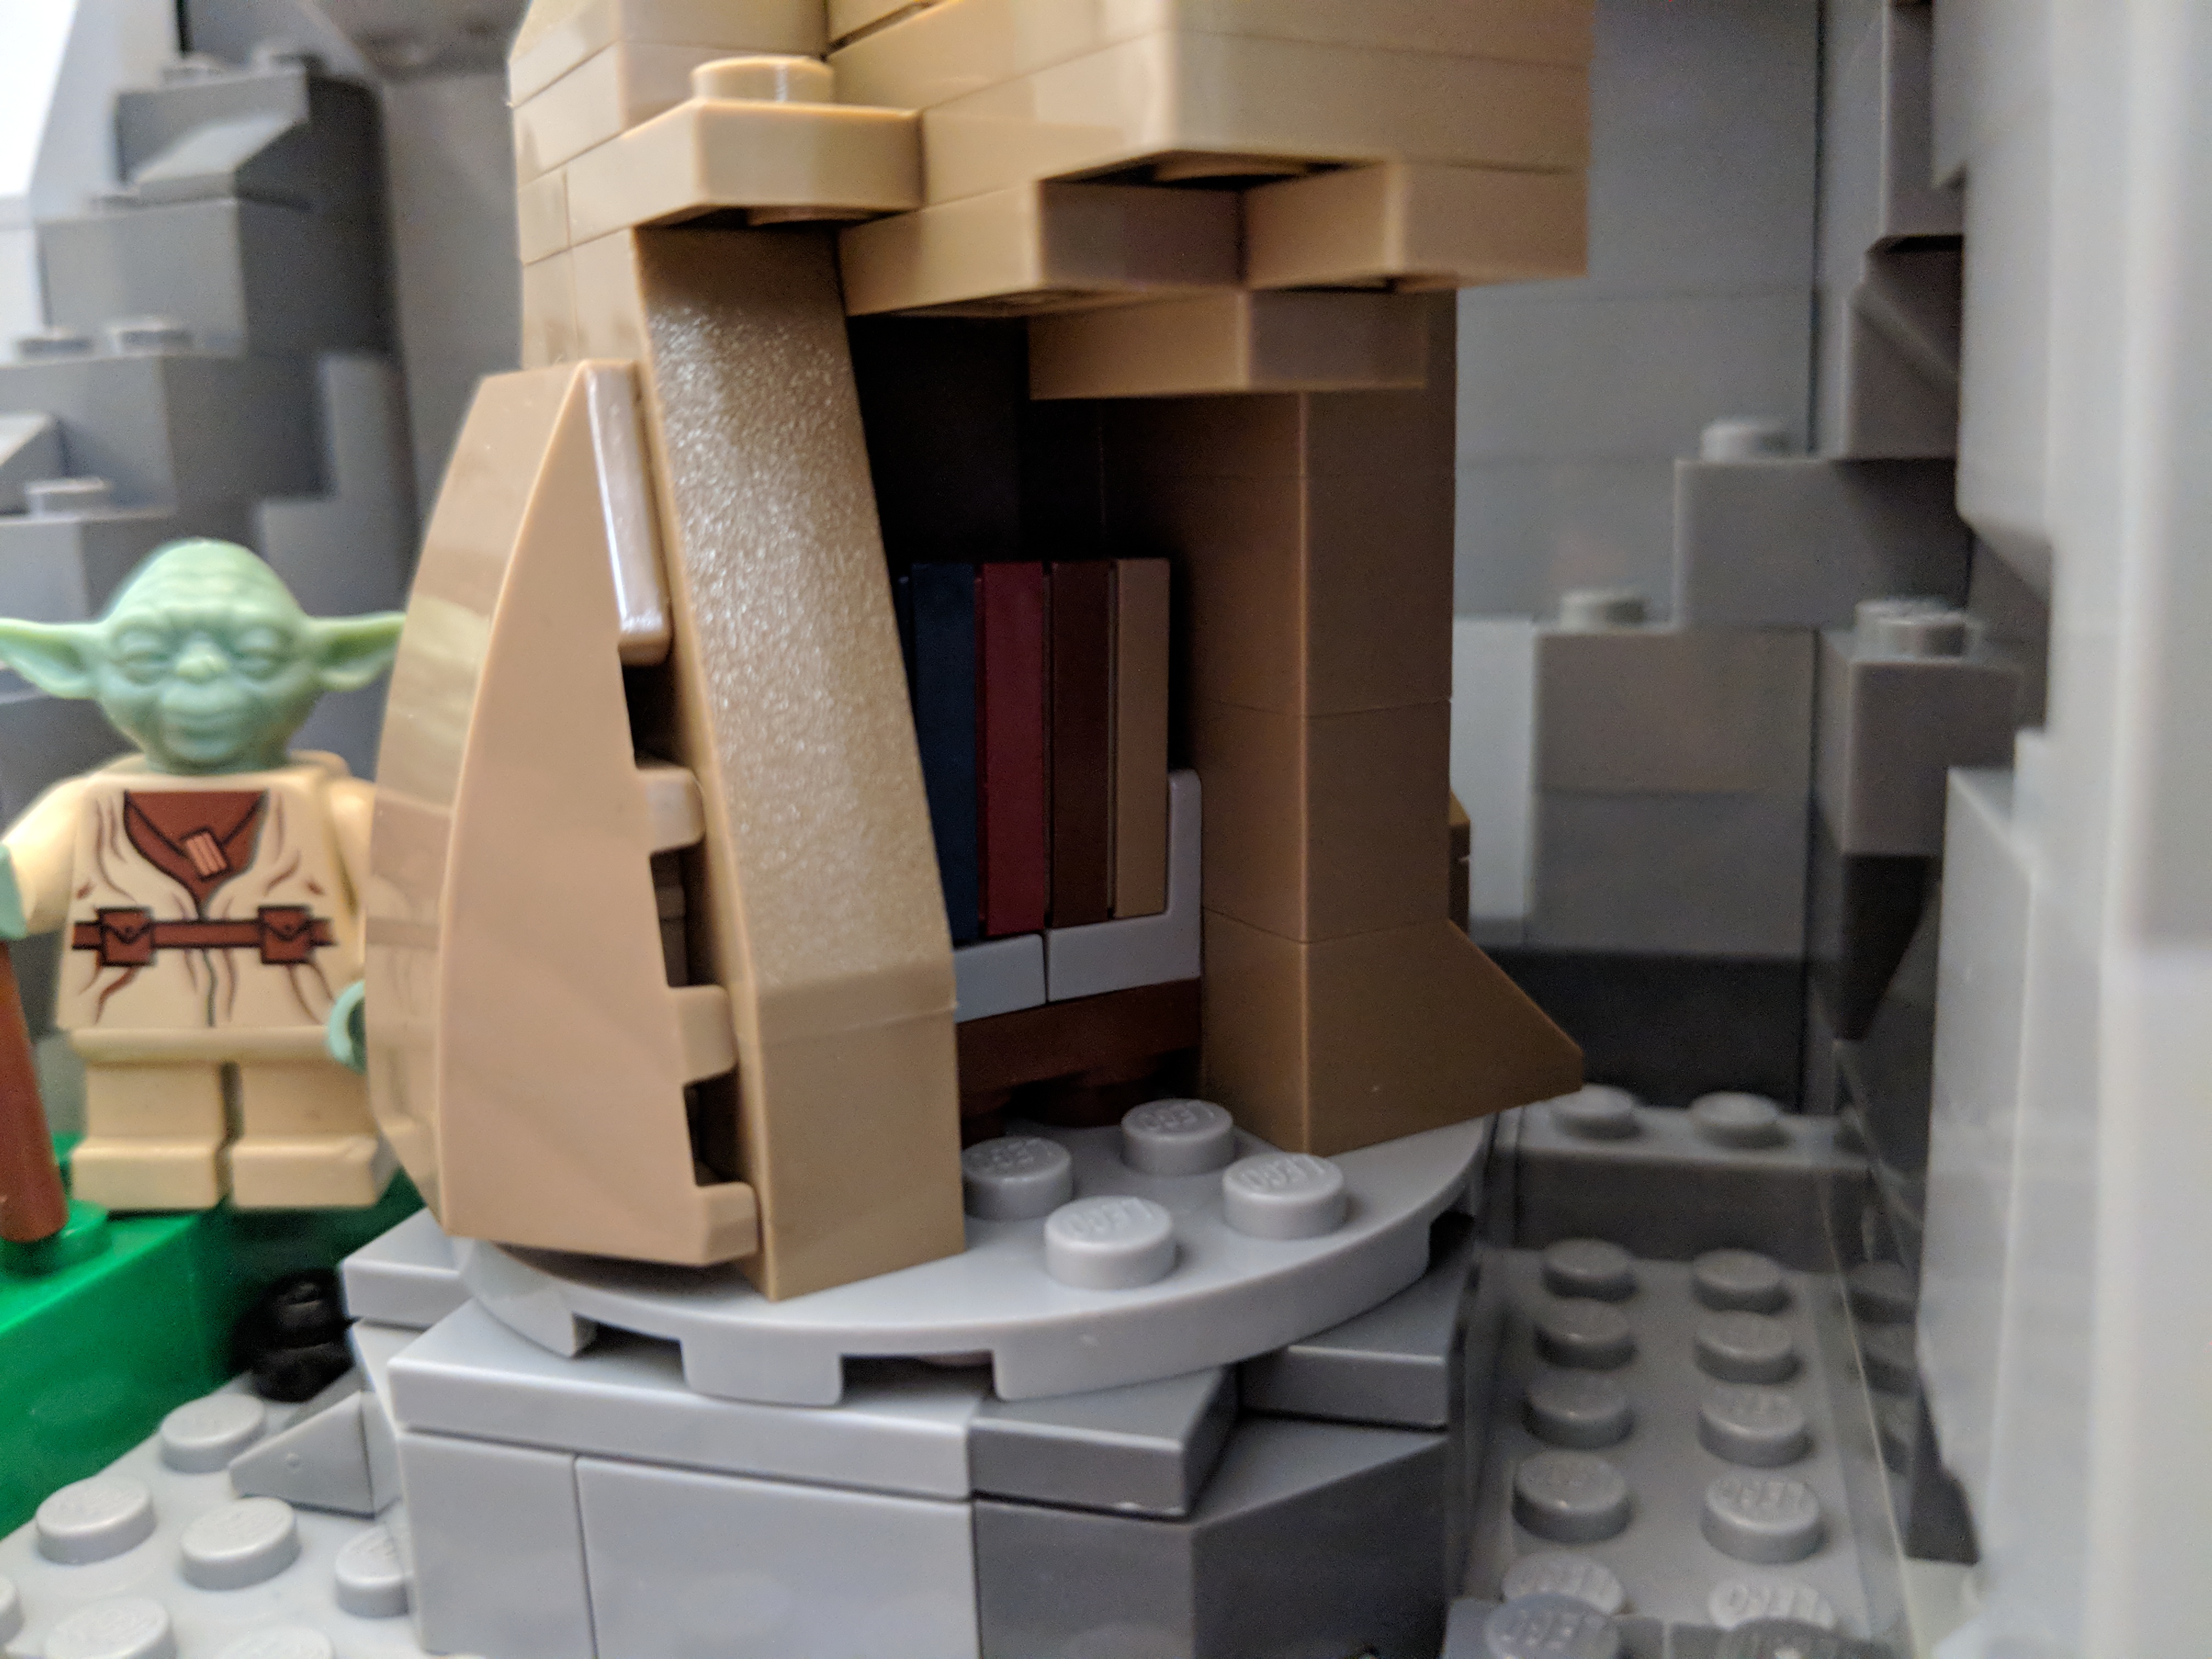
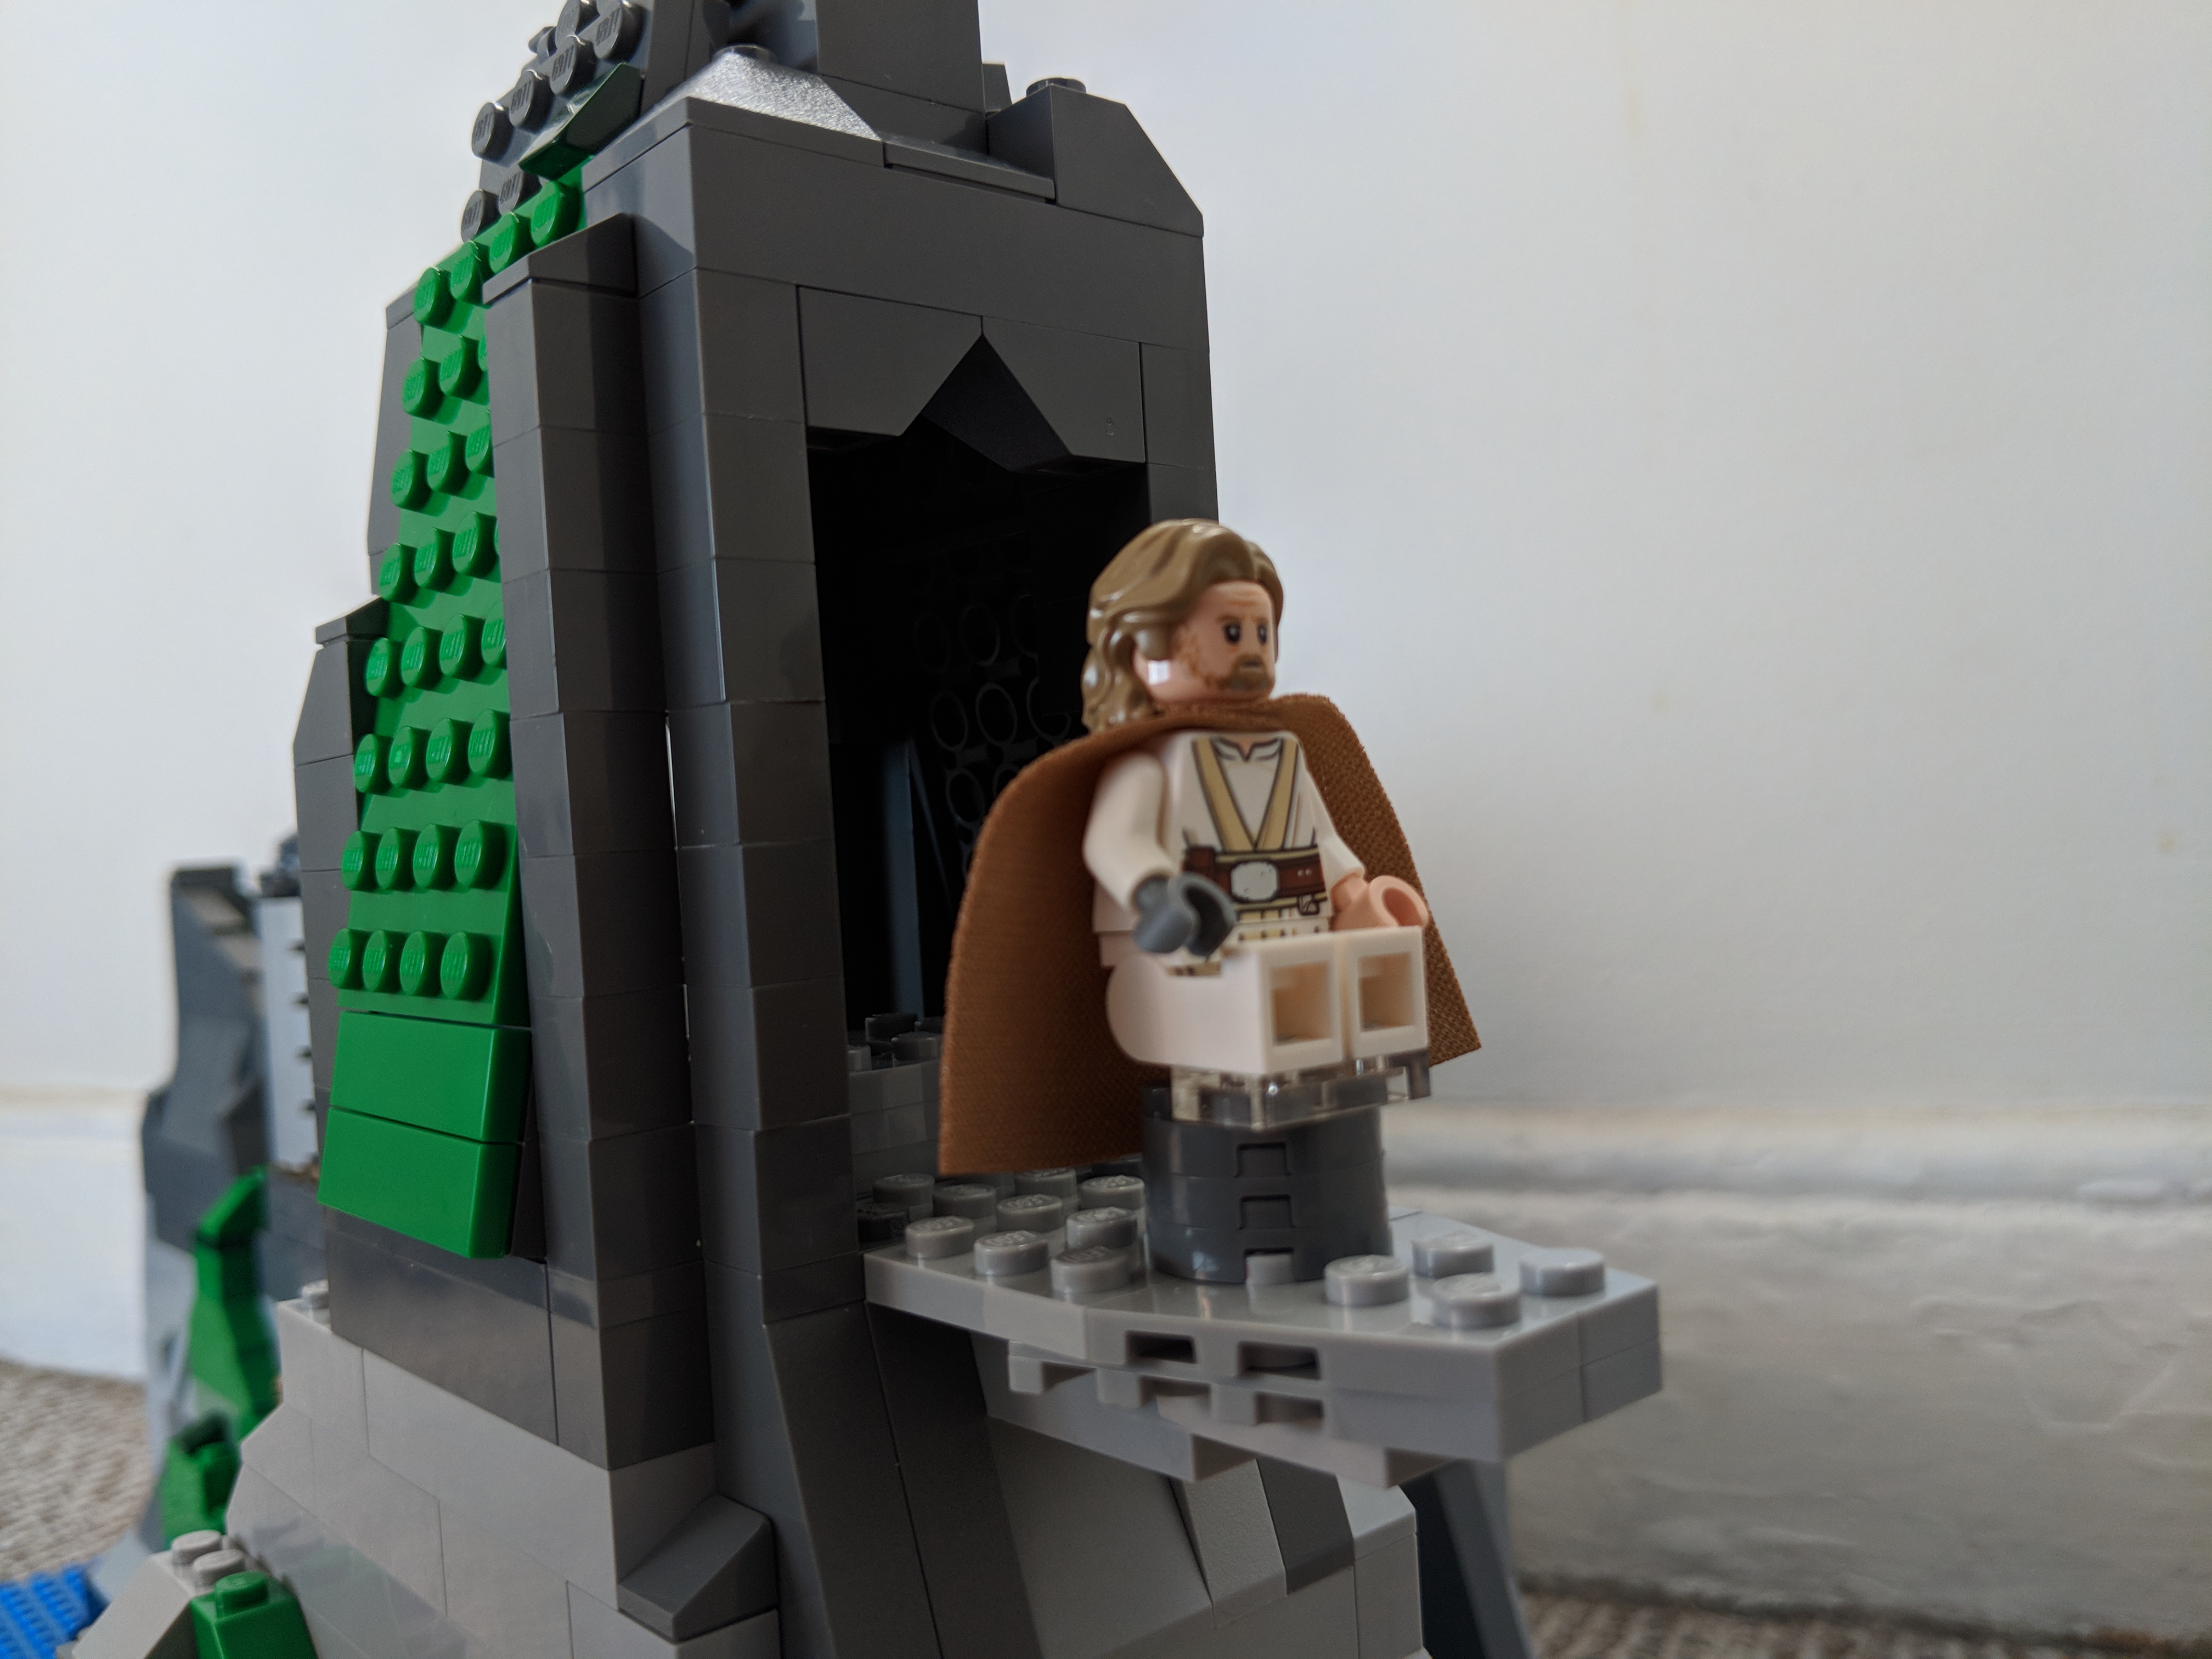
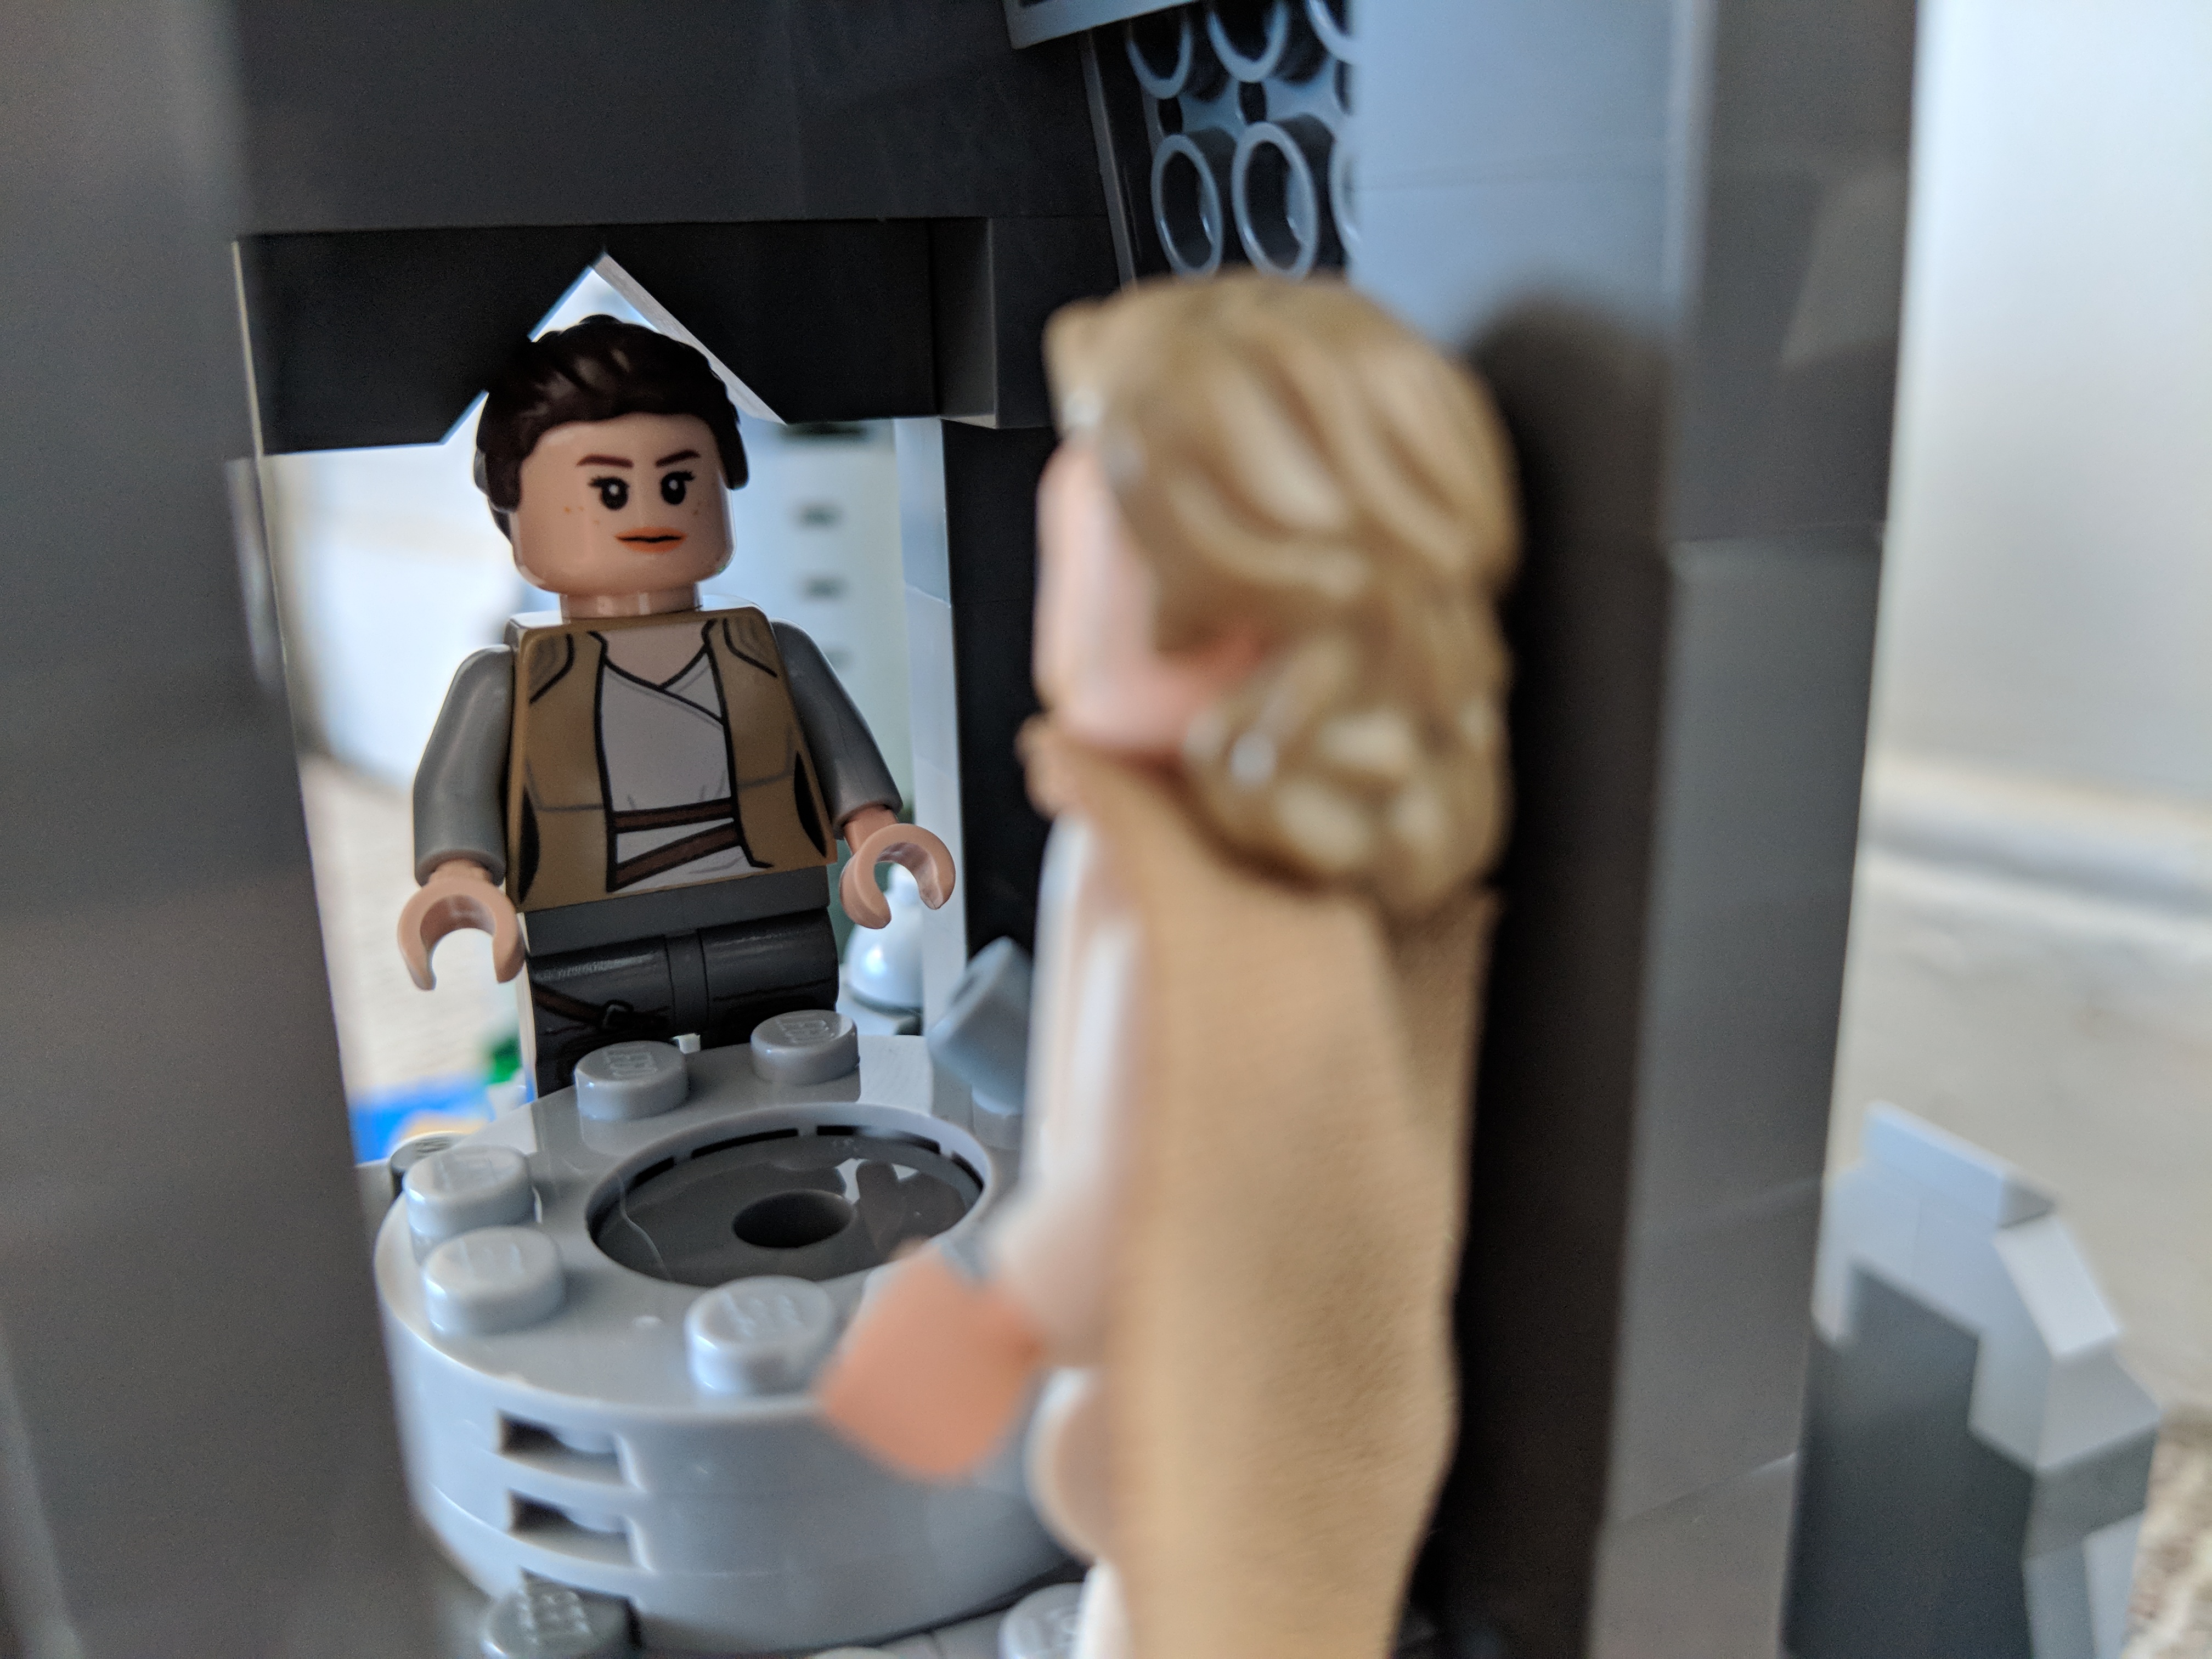
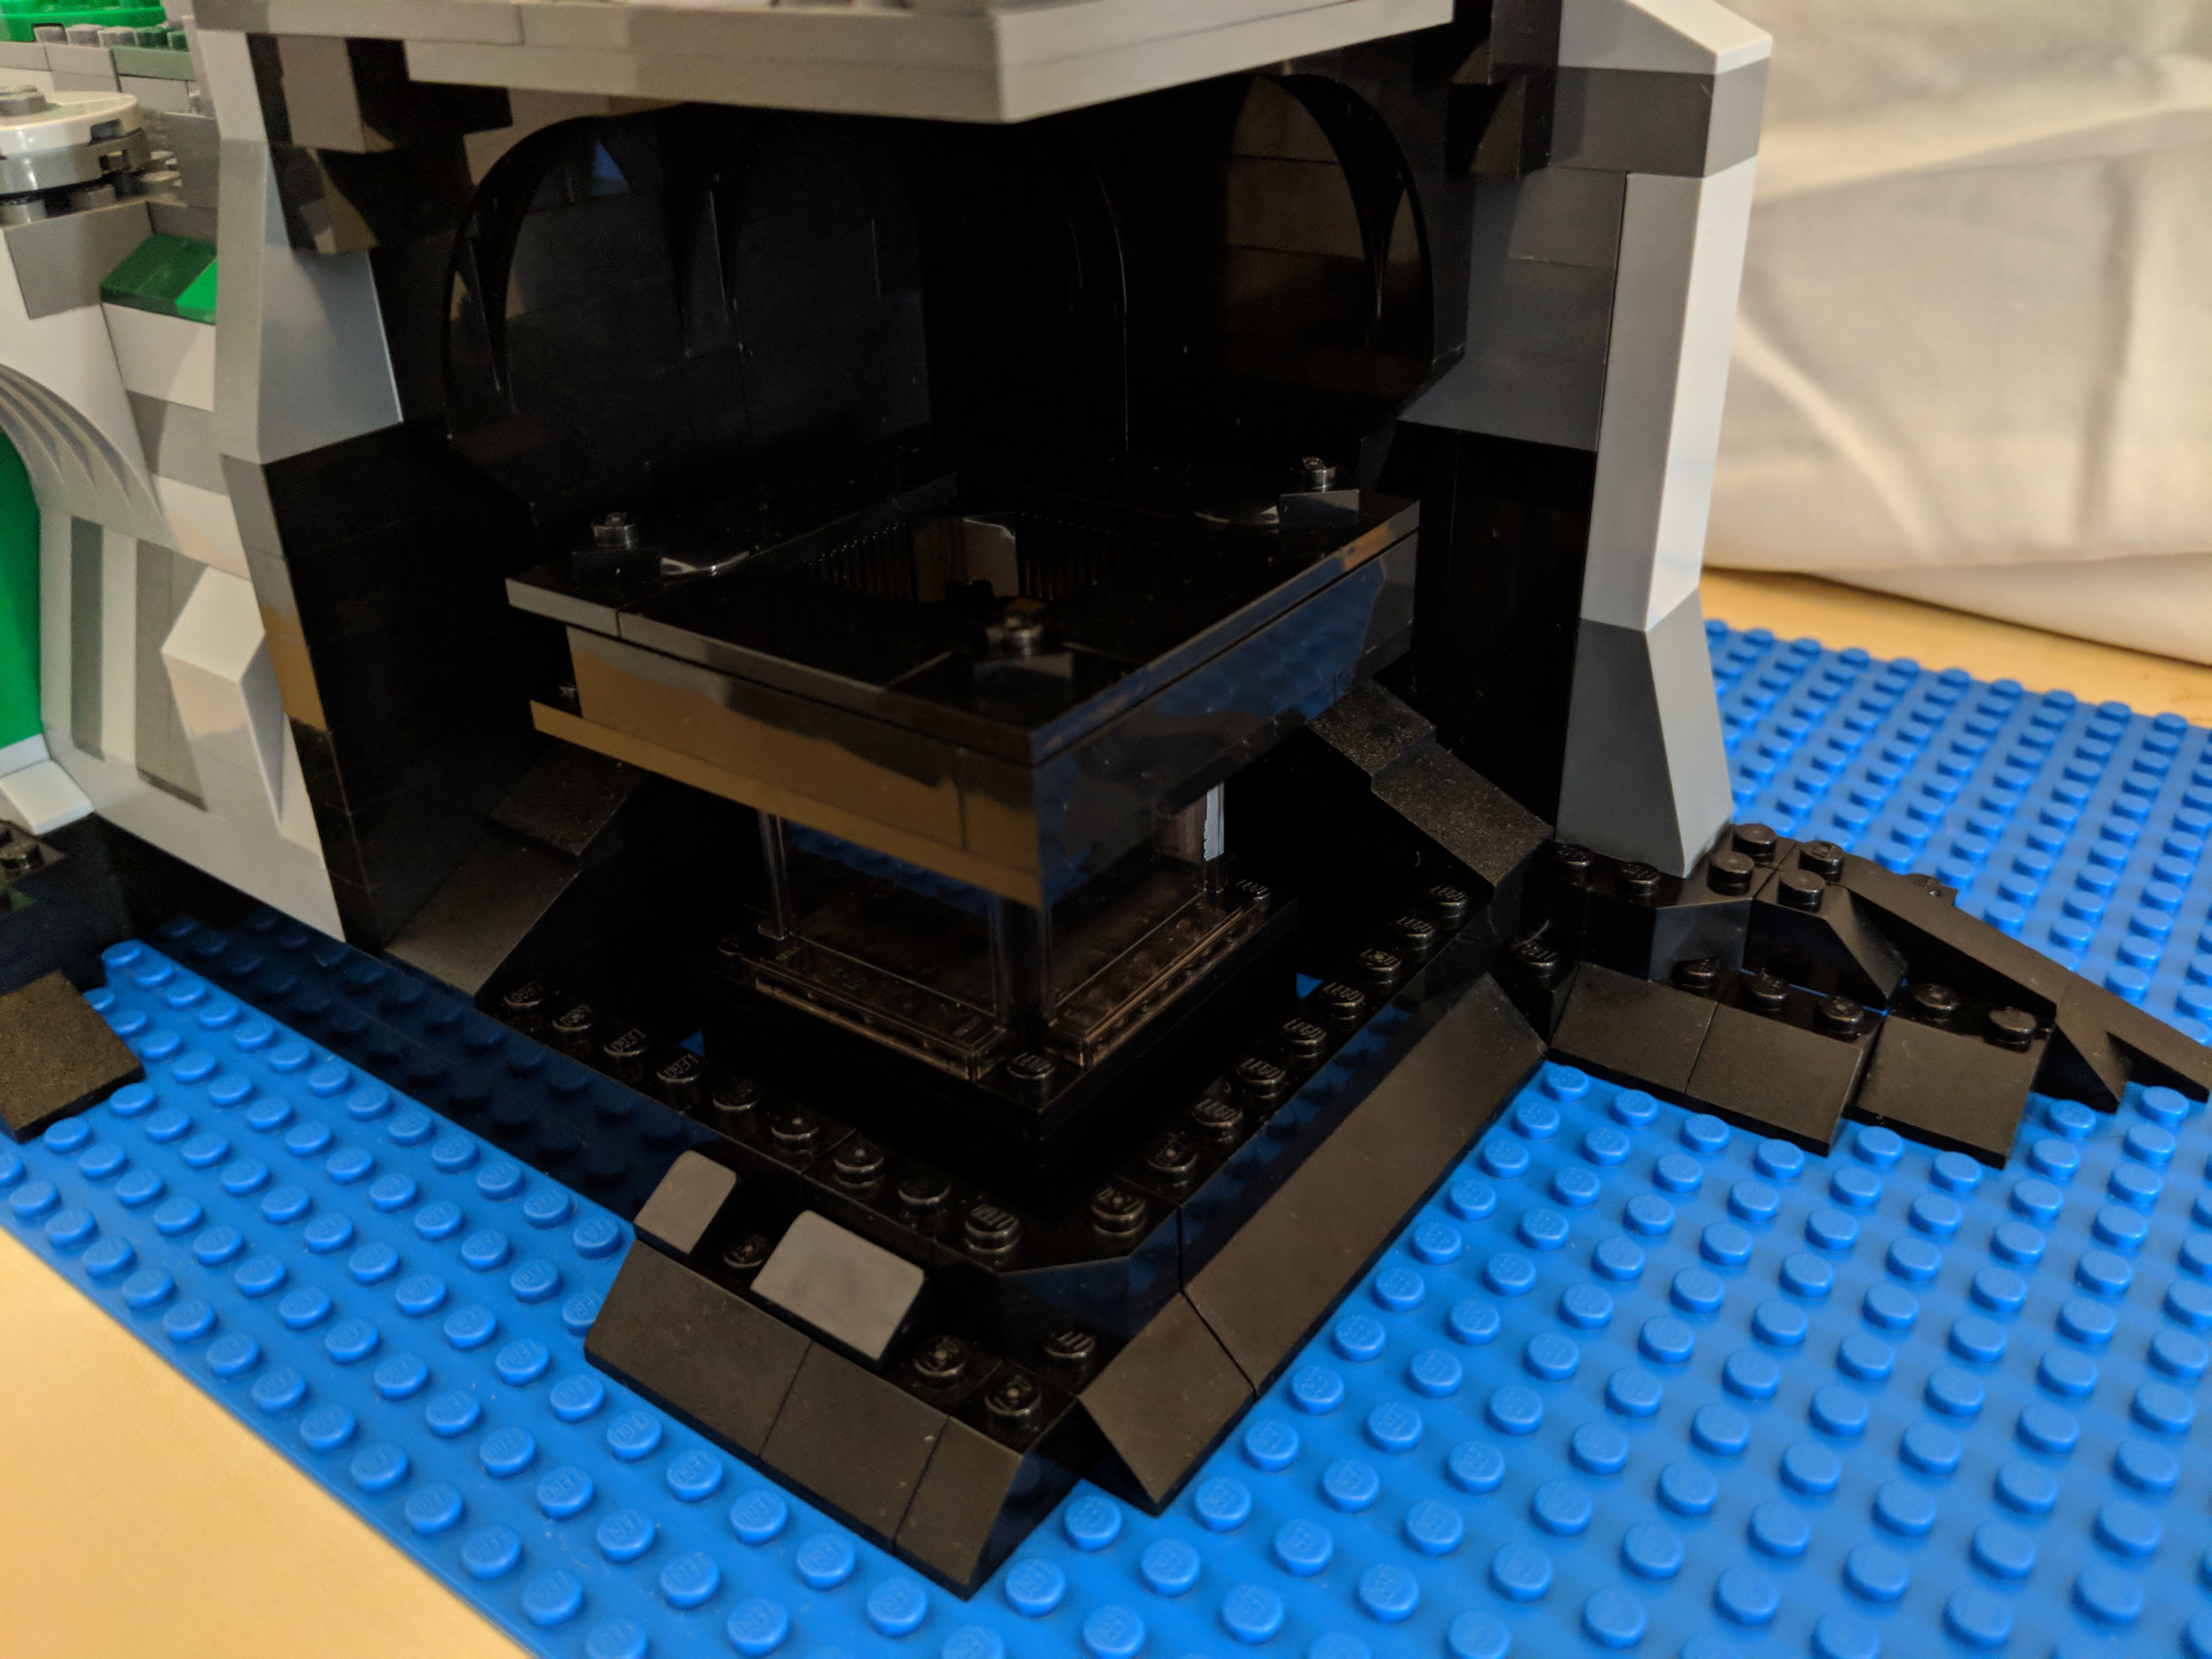
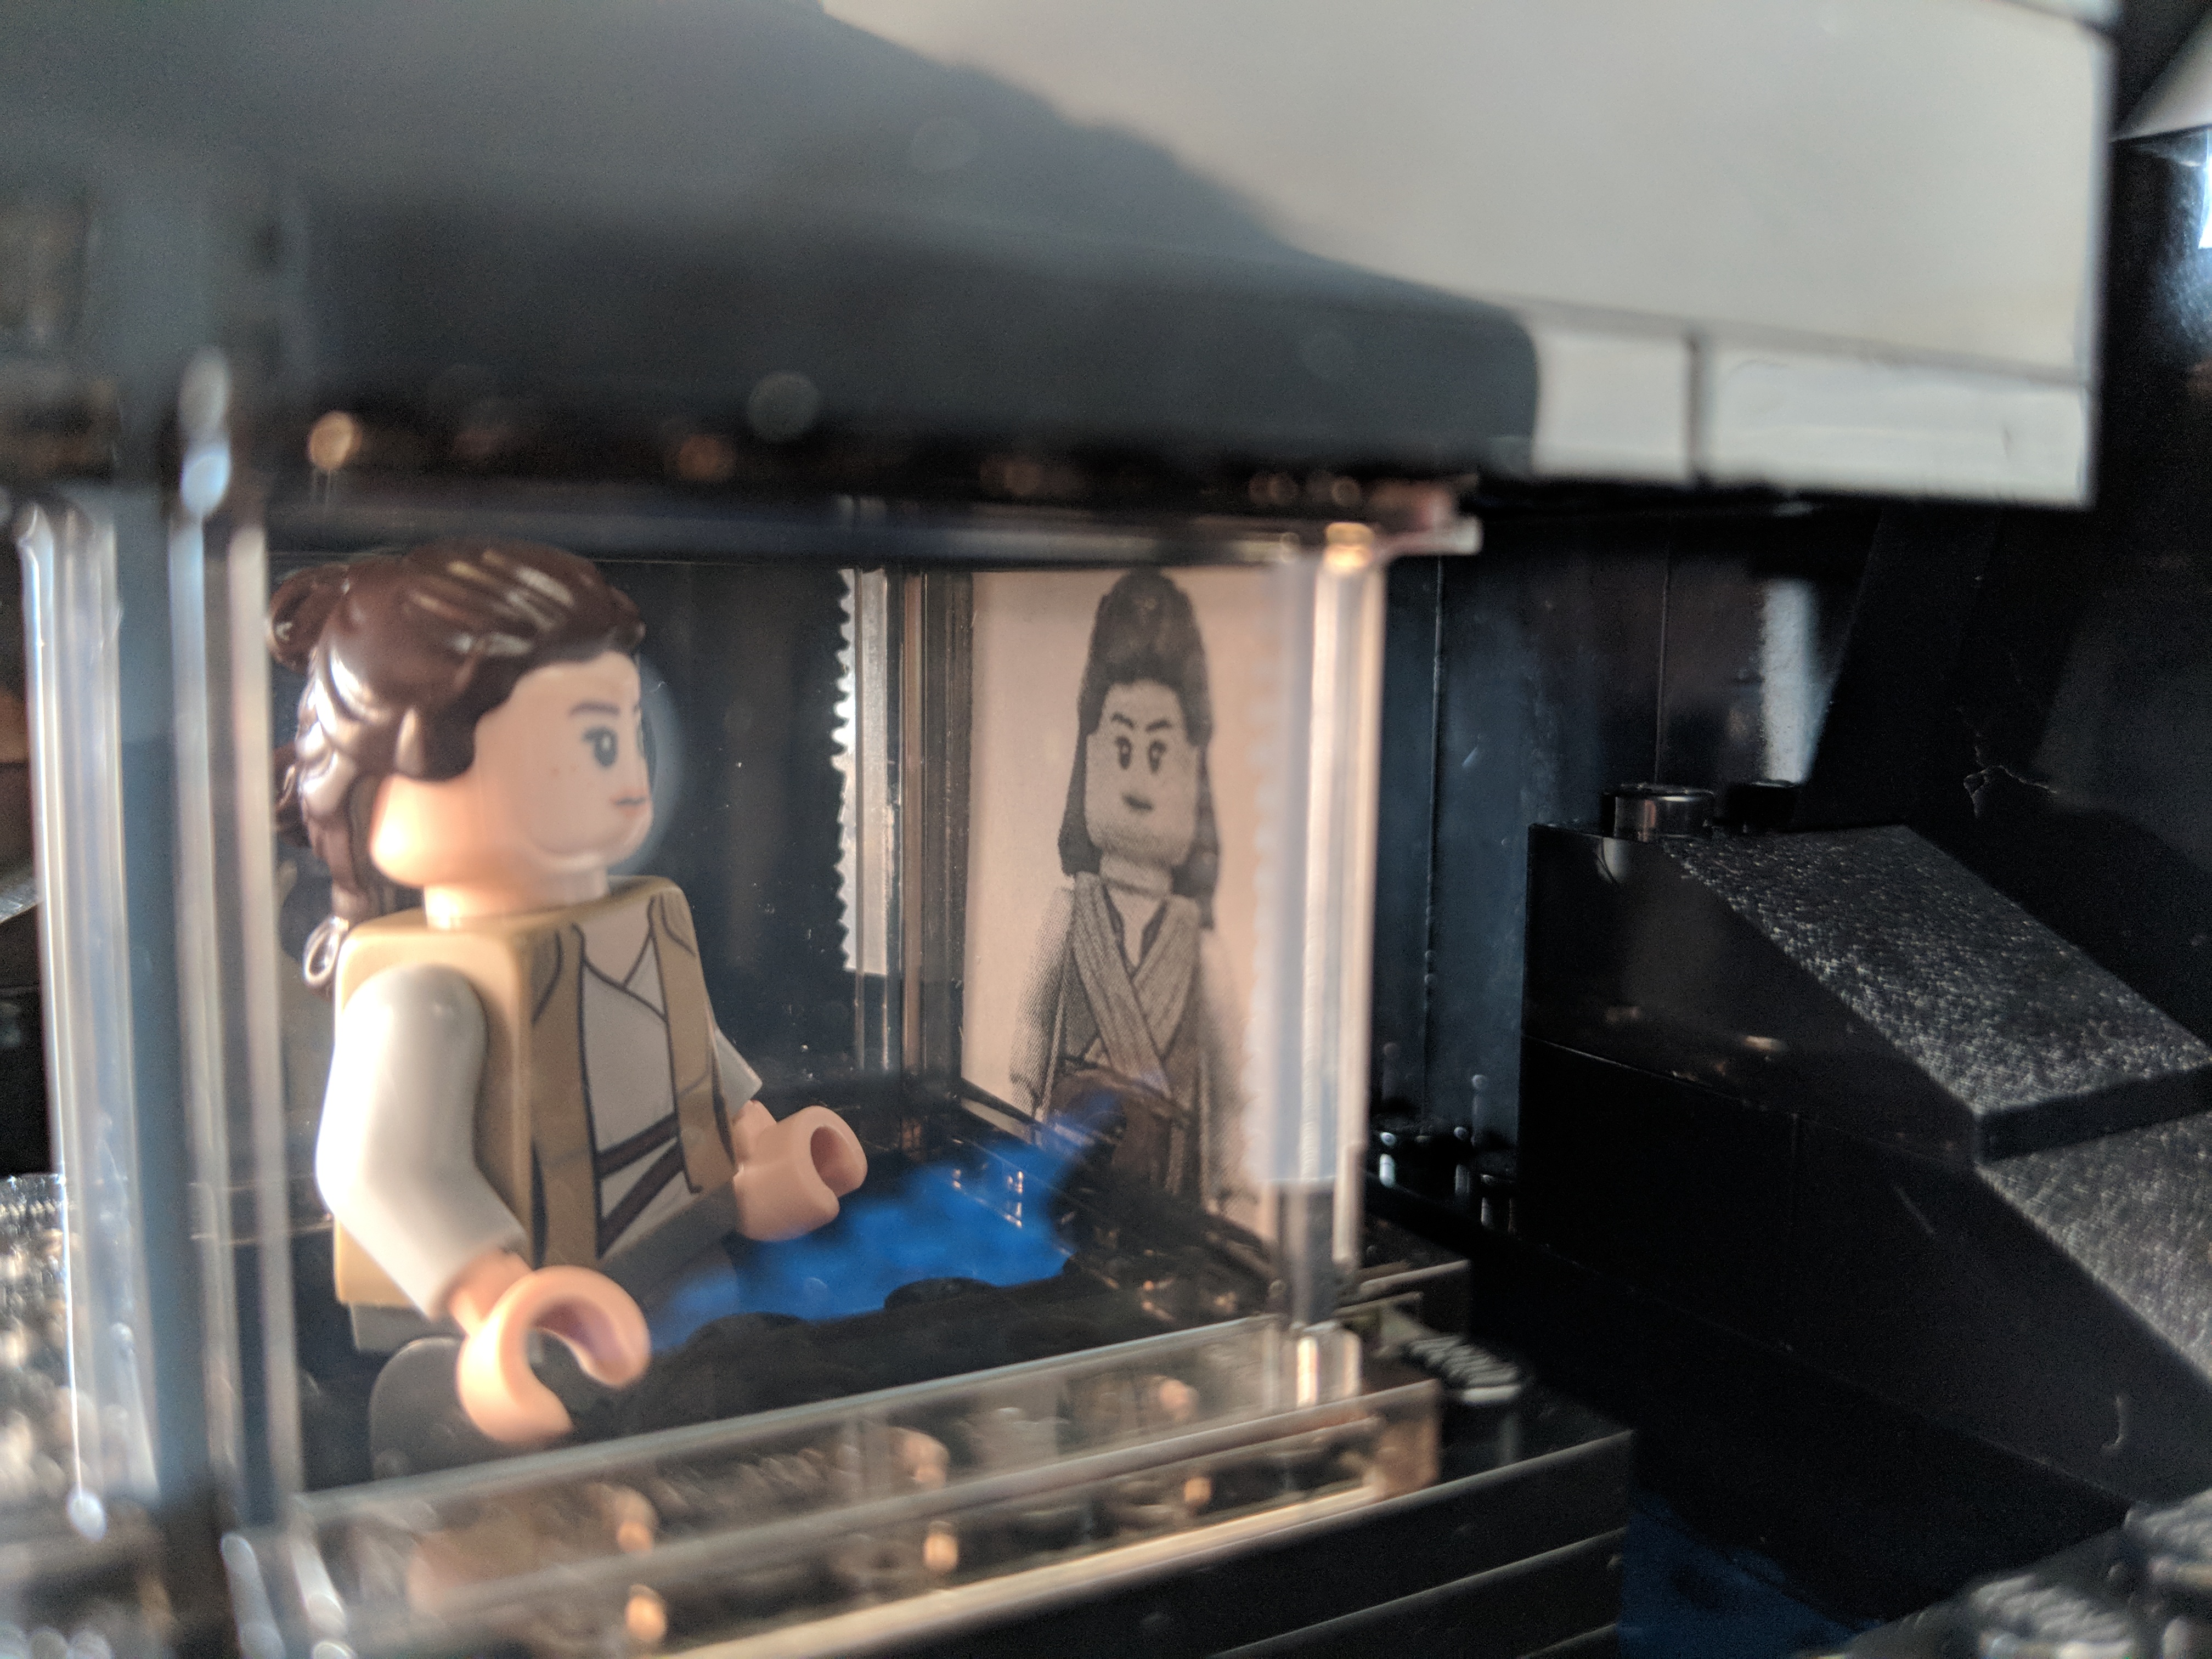
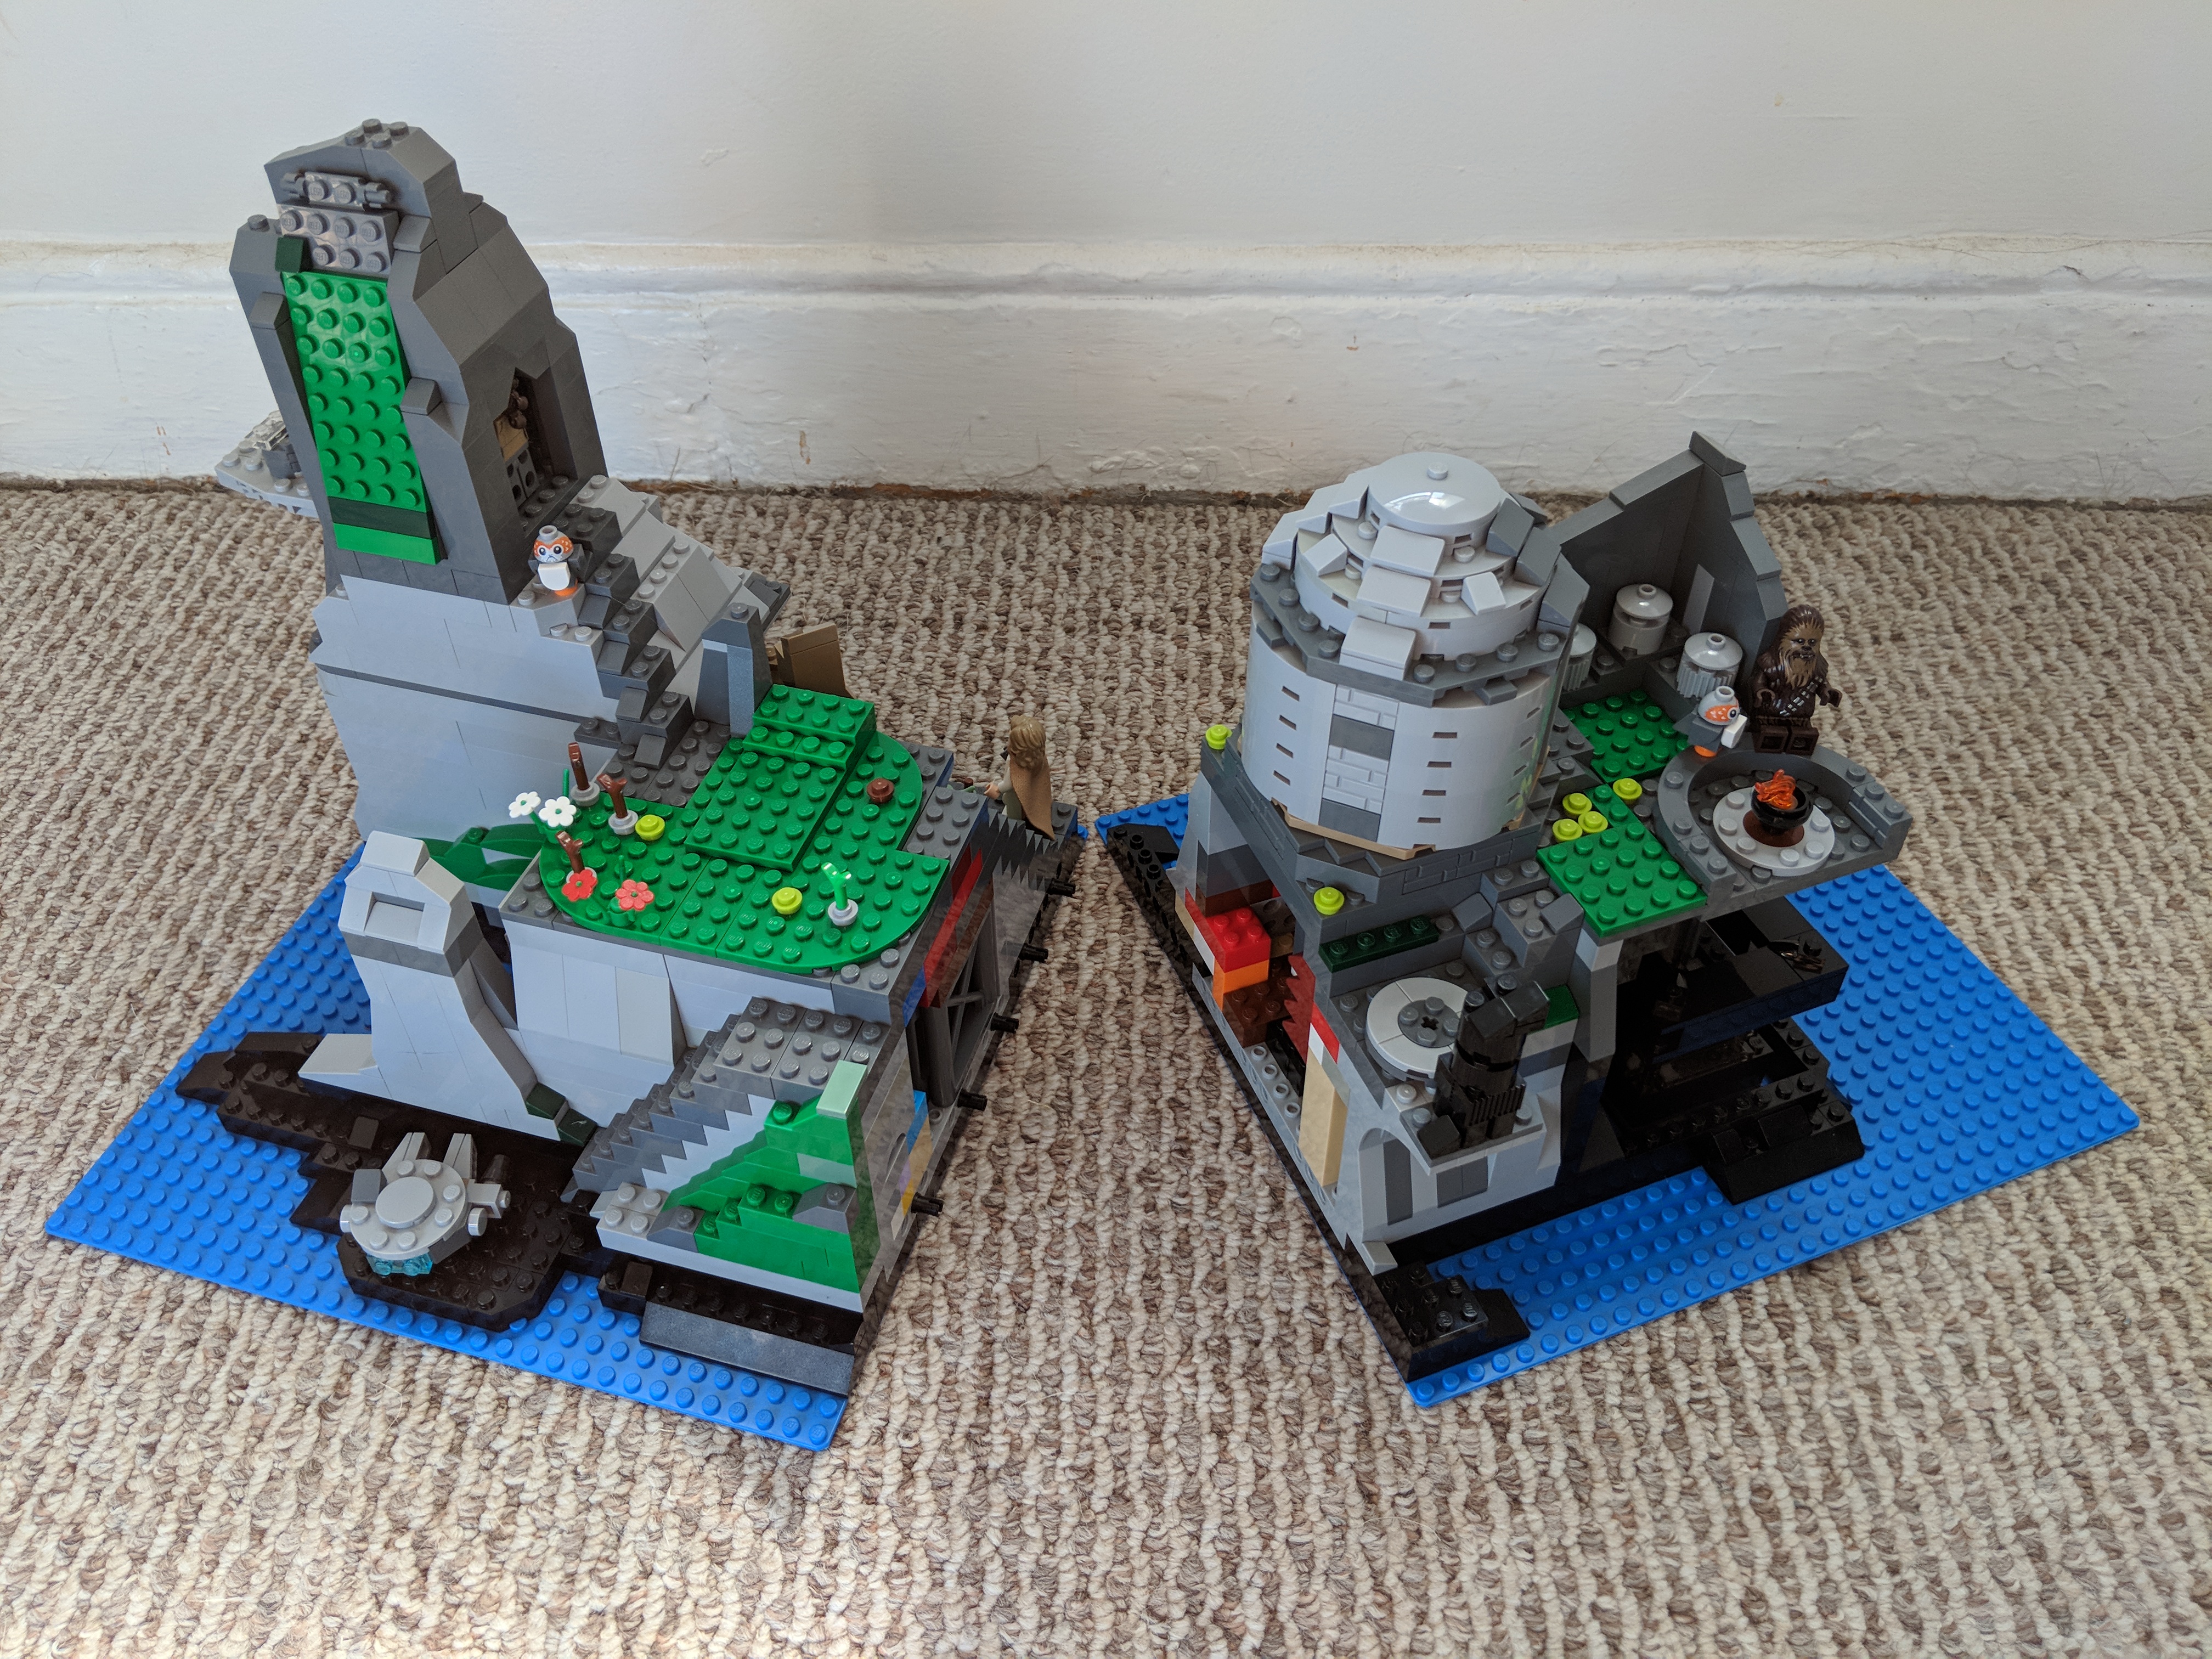
    Inspired by LEGO’s Death Star playset, which is both enormous and scene-focused, I built a 64 x 32 stud MOC of Temple Island on Ahch-To from Star Wars: The Last Jedi. First glimpsed at the end of The Force Awakens and explored in the latest installment, Temple Island is the home of the first Jedi Temple, and it is where Luke Skywalker has been hiding away during the rise of the First Order under the leadership of Snoke and supported by Luke’s former pupil, Ben Solo or Kylo Ren.

    As a LEGO playset, it has to balance accuracy, playability, and scale. For accuracy, I based the island’s shoreline on Ireland’s Skellig Michael, which is the location where these scenes were shot for the film. Also, the island’s topography were adhered to as closely as possible by having the north peak slightly lower than the higher south peak, and designing a middle valley between the two peaks, known as Christ’s Saddle on Skellig Michael. Each major scene involving Temple Island has been placed approximately where it would be on the island according to The Art of The Last Jedi and my observations of the film. And, each scene is scaled for play with LEGO minifigures, except where the Millennium Falcon lands along the shoreline, which would otherwise dwarf the island or require building a much larger model! For this element of the MOC, I used the Falcon included in last year’s LEGO Star Wars Advent Calendar (75184).

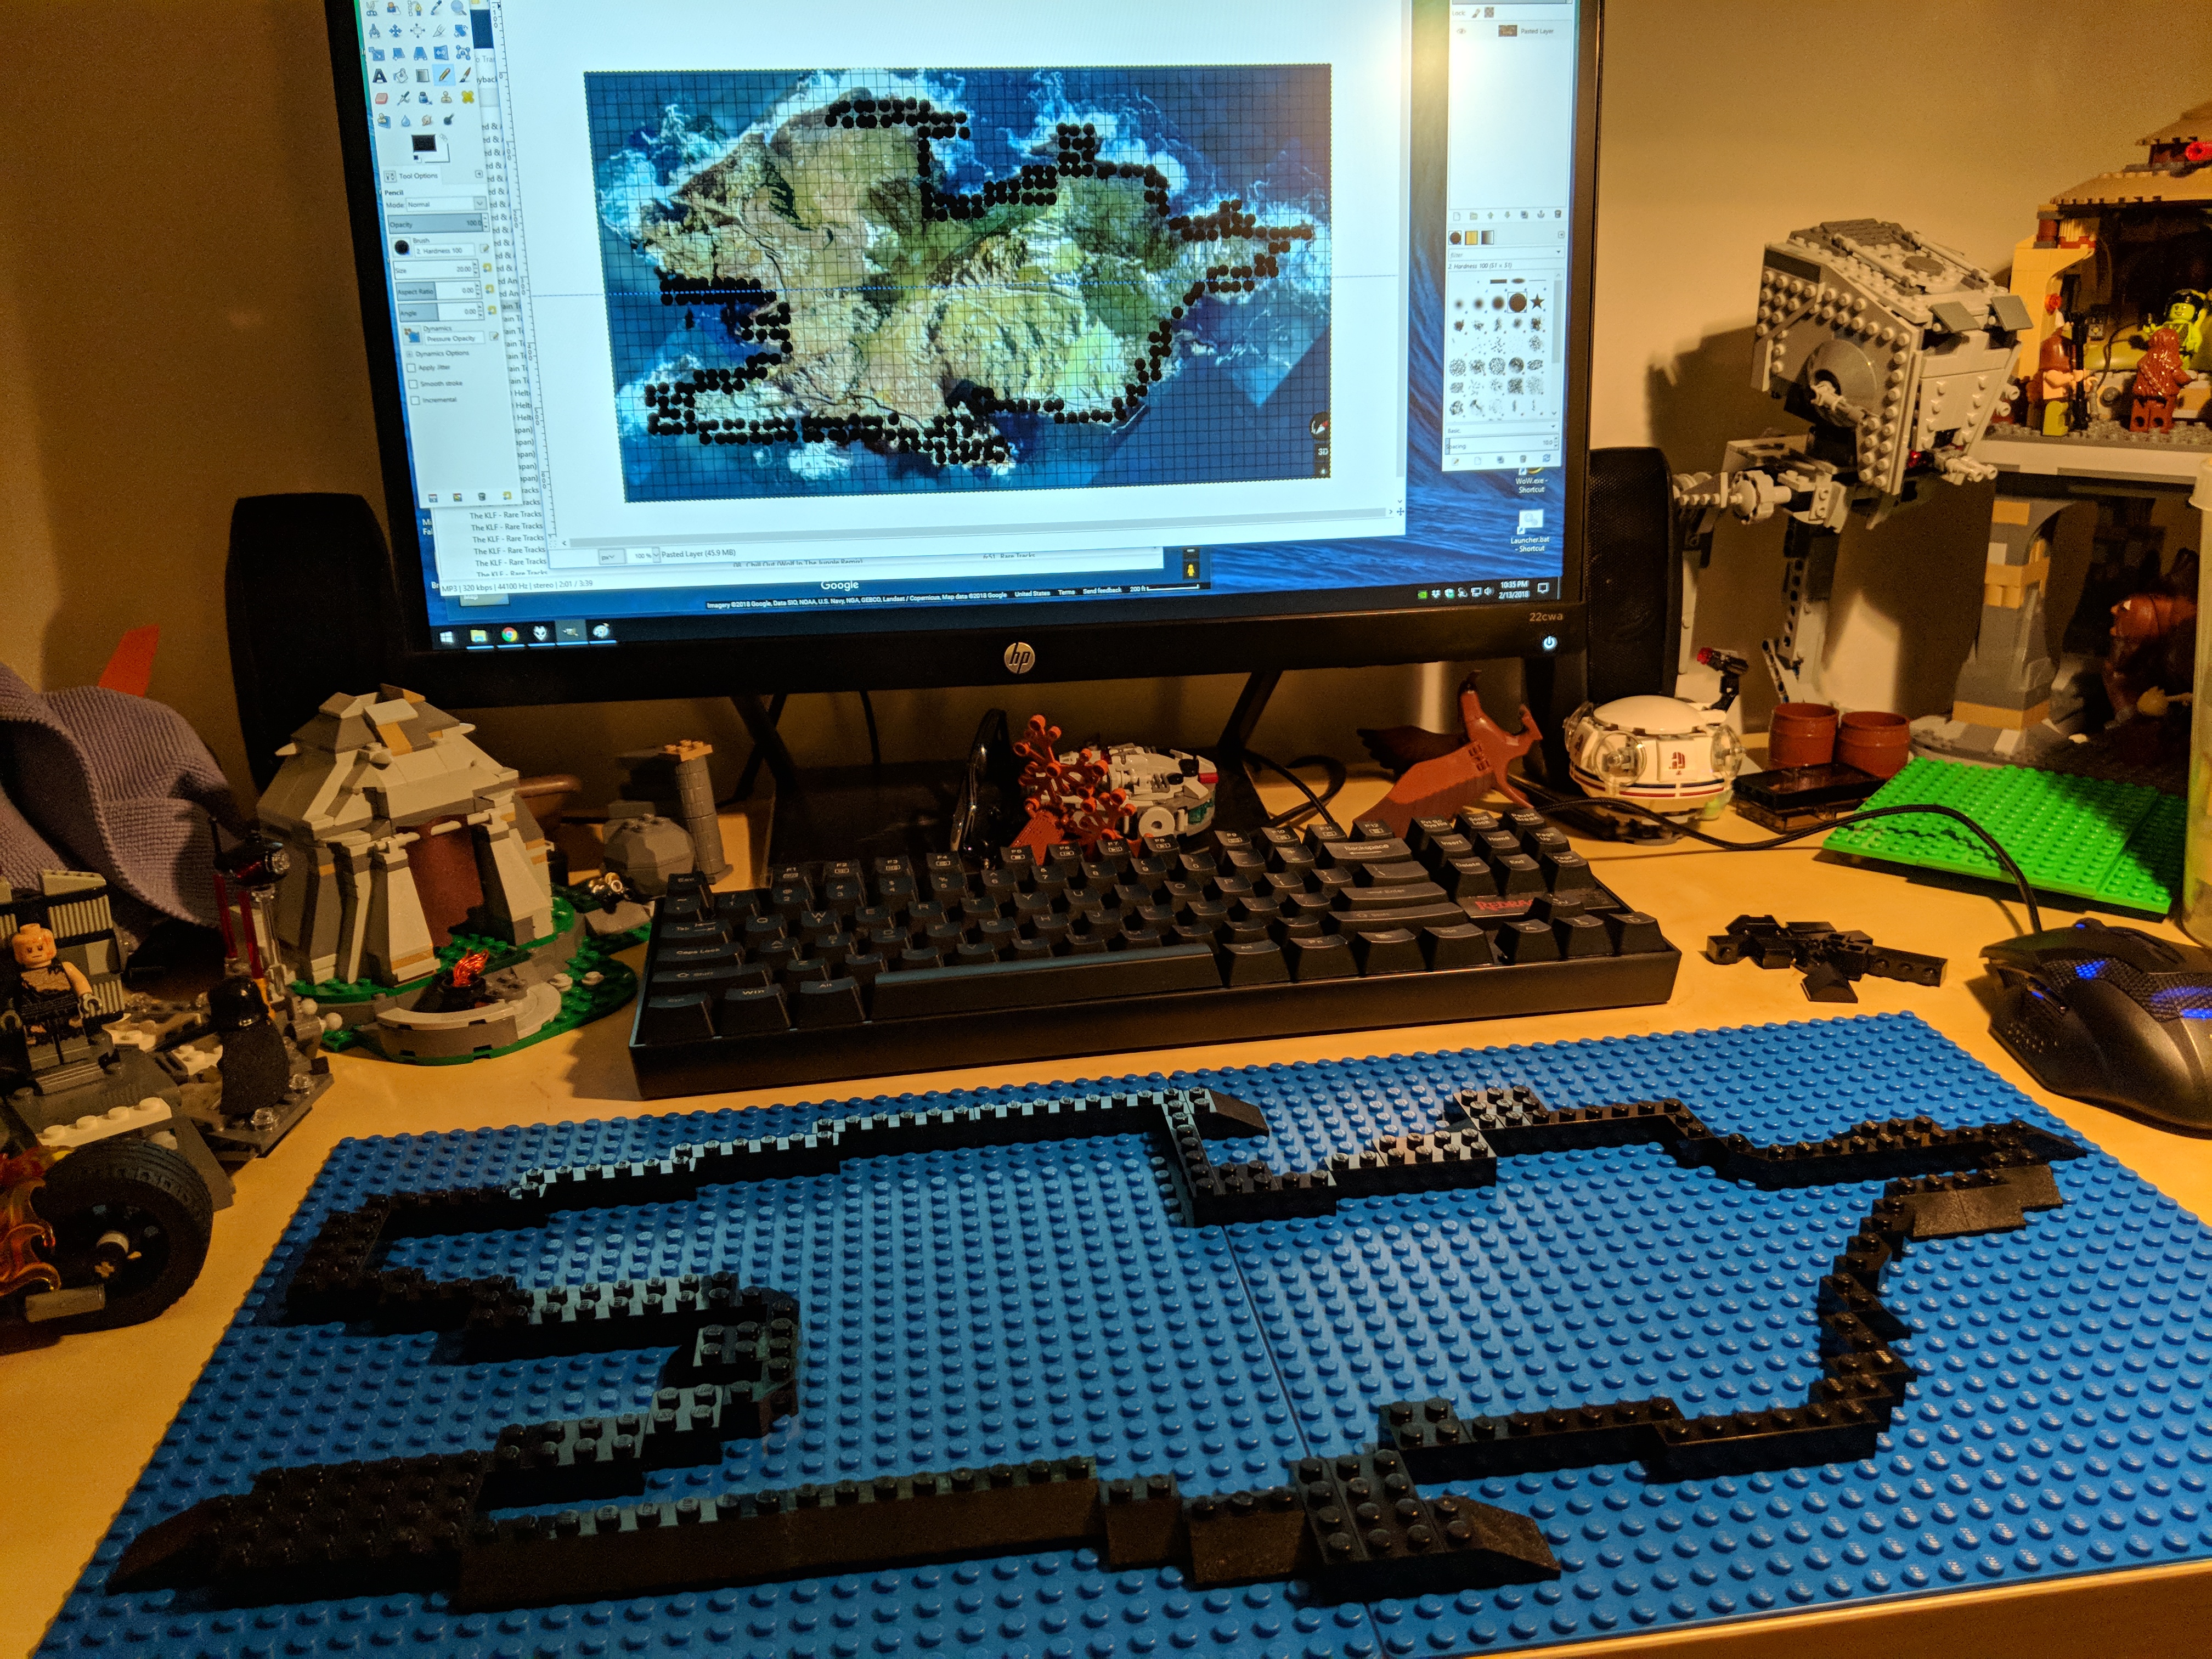
    Including all prep time, this build took me about 40 hours. In addition to studying books and magazines that showed glimpses of Temple Island and its topography, I watched YouTube videos such as these: one, two, and three. I leveraged Gimp’s grid rendering to plan the overall design based on a Google Maps’ satellite image of Michael Skellig. Also, I purchased additional LEGO to supplement what I already had on-hand: two 32 x 32 stud blue base plates to construct the MOC on, one green Creative set (10708), and two LEGO Ahch-To Island Training sets (75200).

    Below, I am including highlights from the construction process and the completed model. At the end, there are links to these albums with more photos of the MOC: Google Photos and Imgur.

    Designing the Shoreline Using Google Maps, Gimp, and Generated Grid

    IMG_20180213_223514.jpg

    Top and Side Views of Temple Island

    IMG_20180218_134351.jpg

    IMG_20180218_142459.jpg

    IMG_20180218_143054.jpg

    Rey’s First Encounter with Master Skywalker

    IMG_20180218_142905.jpg

    Luke Skywalker’s Hut and Village

    IMG_20180218_160654.jpg

    Rey’s Lightsaber Practice (at the Wailing Woman Rock)

    IMG_20180218_142523.jpg

    The Sacred Jedi Texts Within the Uneti Tree

    IMG_20180218_143109.jpg

    IMG_20180218_143125.jpg

    The Jedi Temple and Meditation Rock

    IMG_20180218_134836.jpg

    IMG_20180218_134953.jpg

    Rey’s Visit to the Mirror Cave

    IMG_20180218_143030.jpg

    IMG_20180218_134258_1.jpg

    Portability of the Model 

    IMG_20180218_135109.jpg

  • New LEGO Millennium Falcon 75105 Customization with The Last Jedi Update

    millennium-falcon-custom

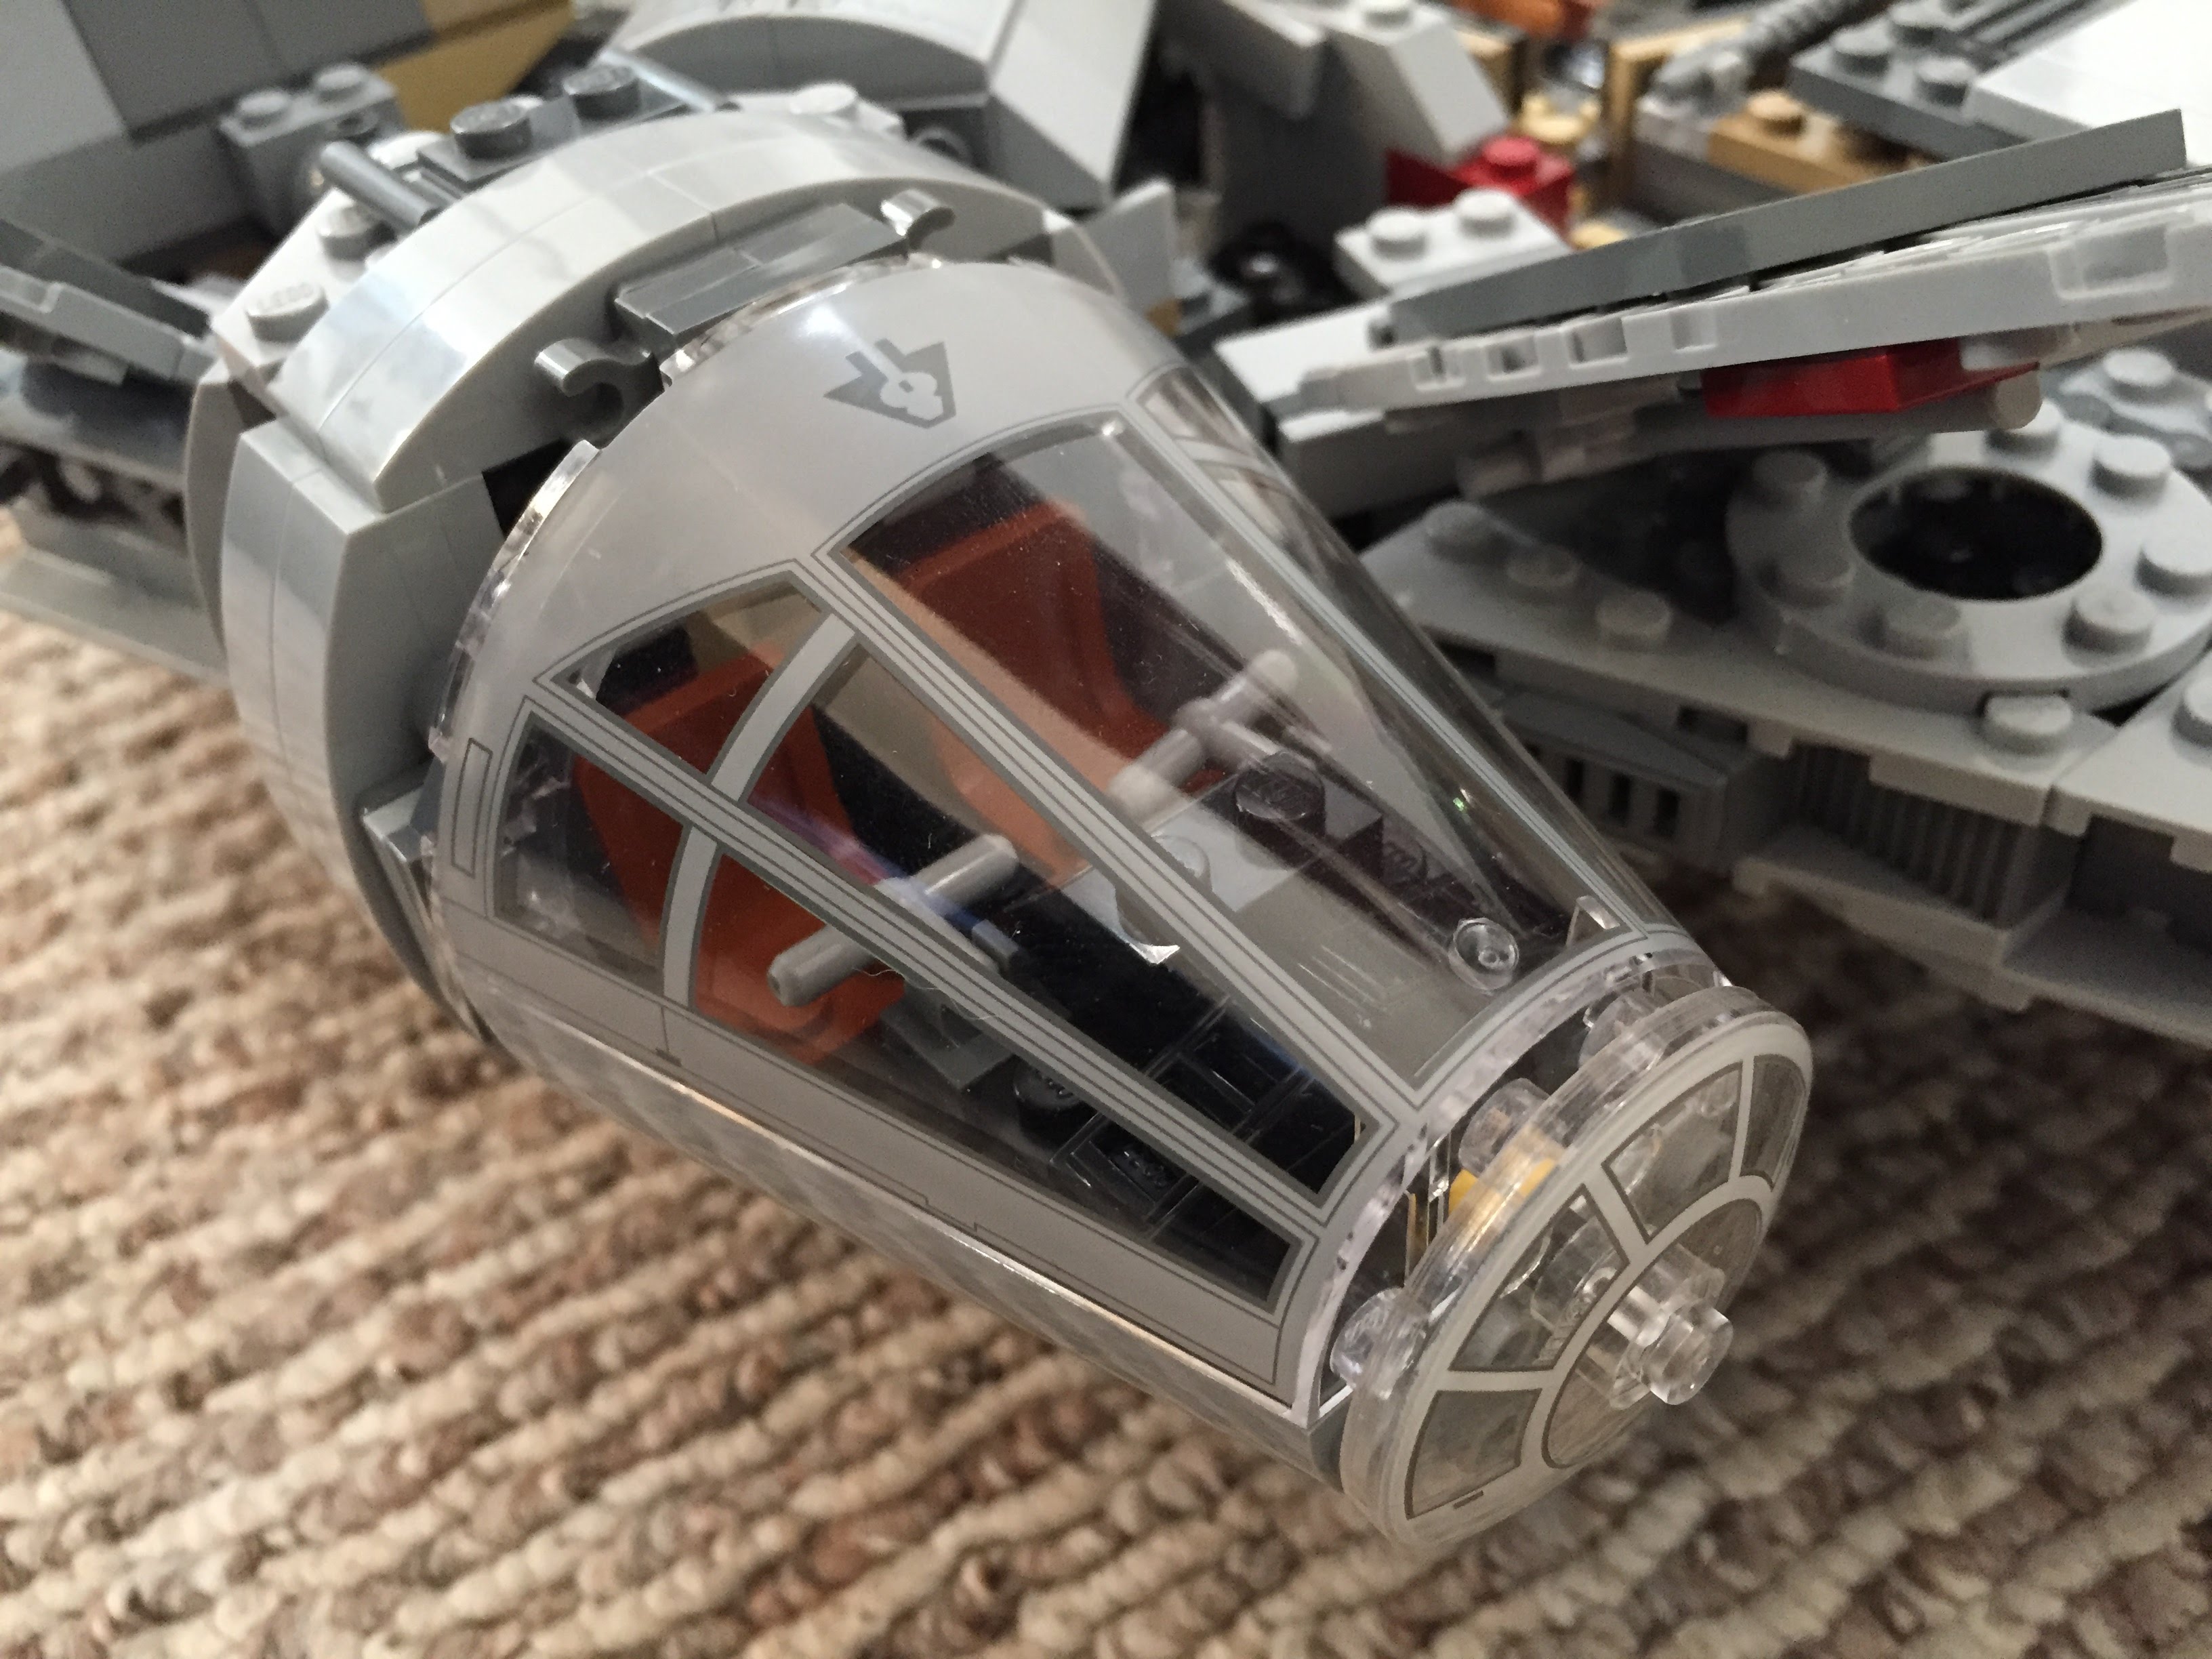
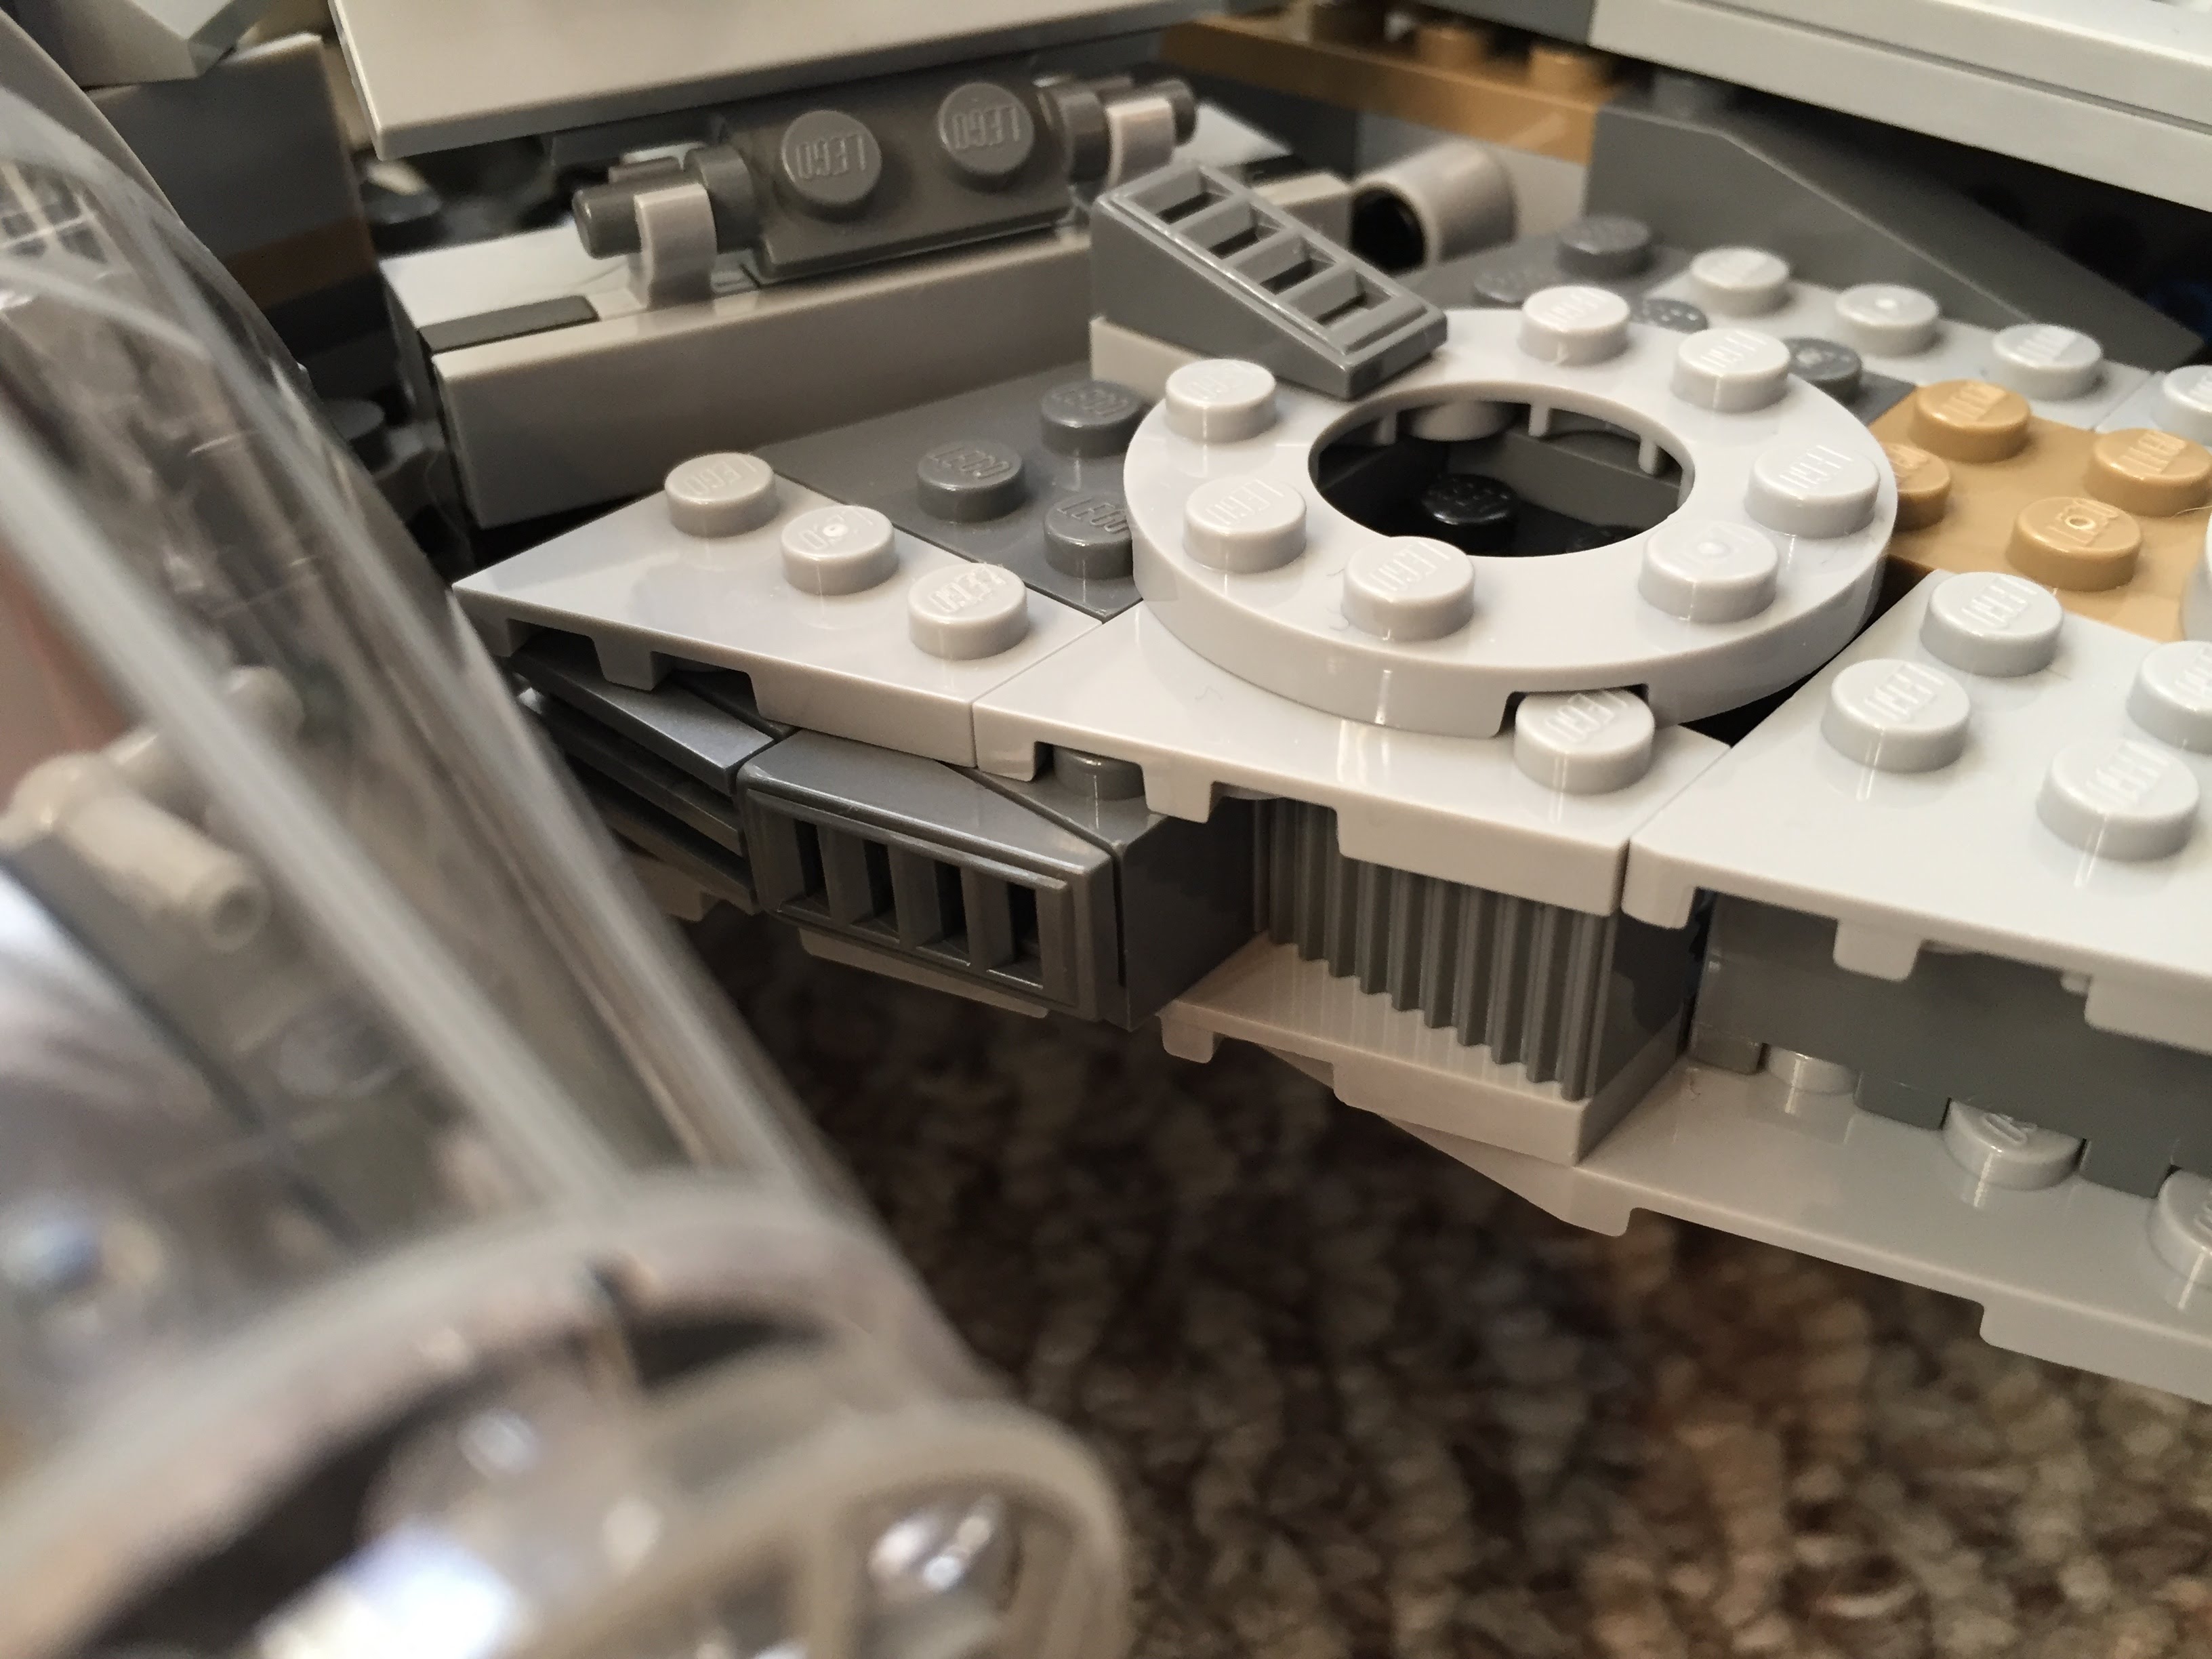
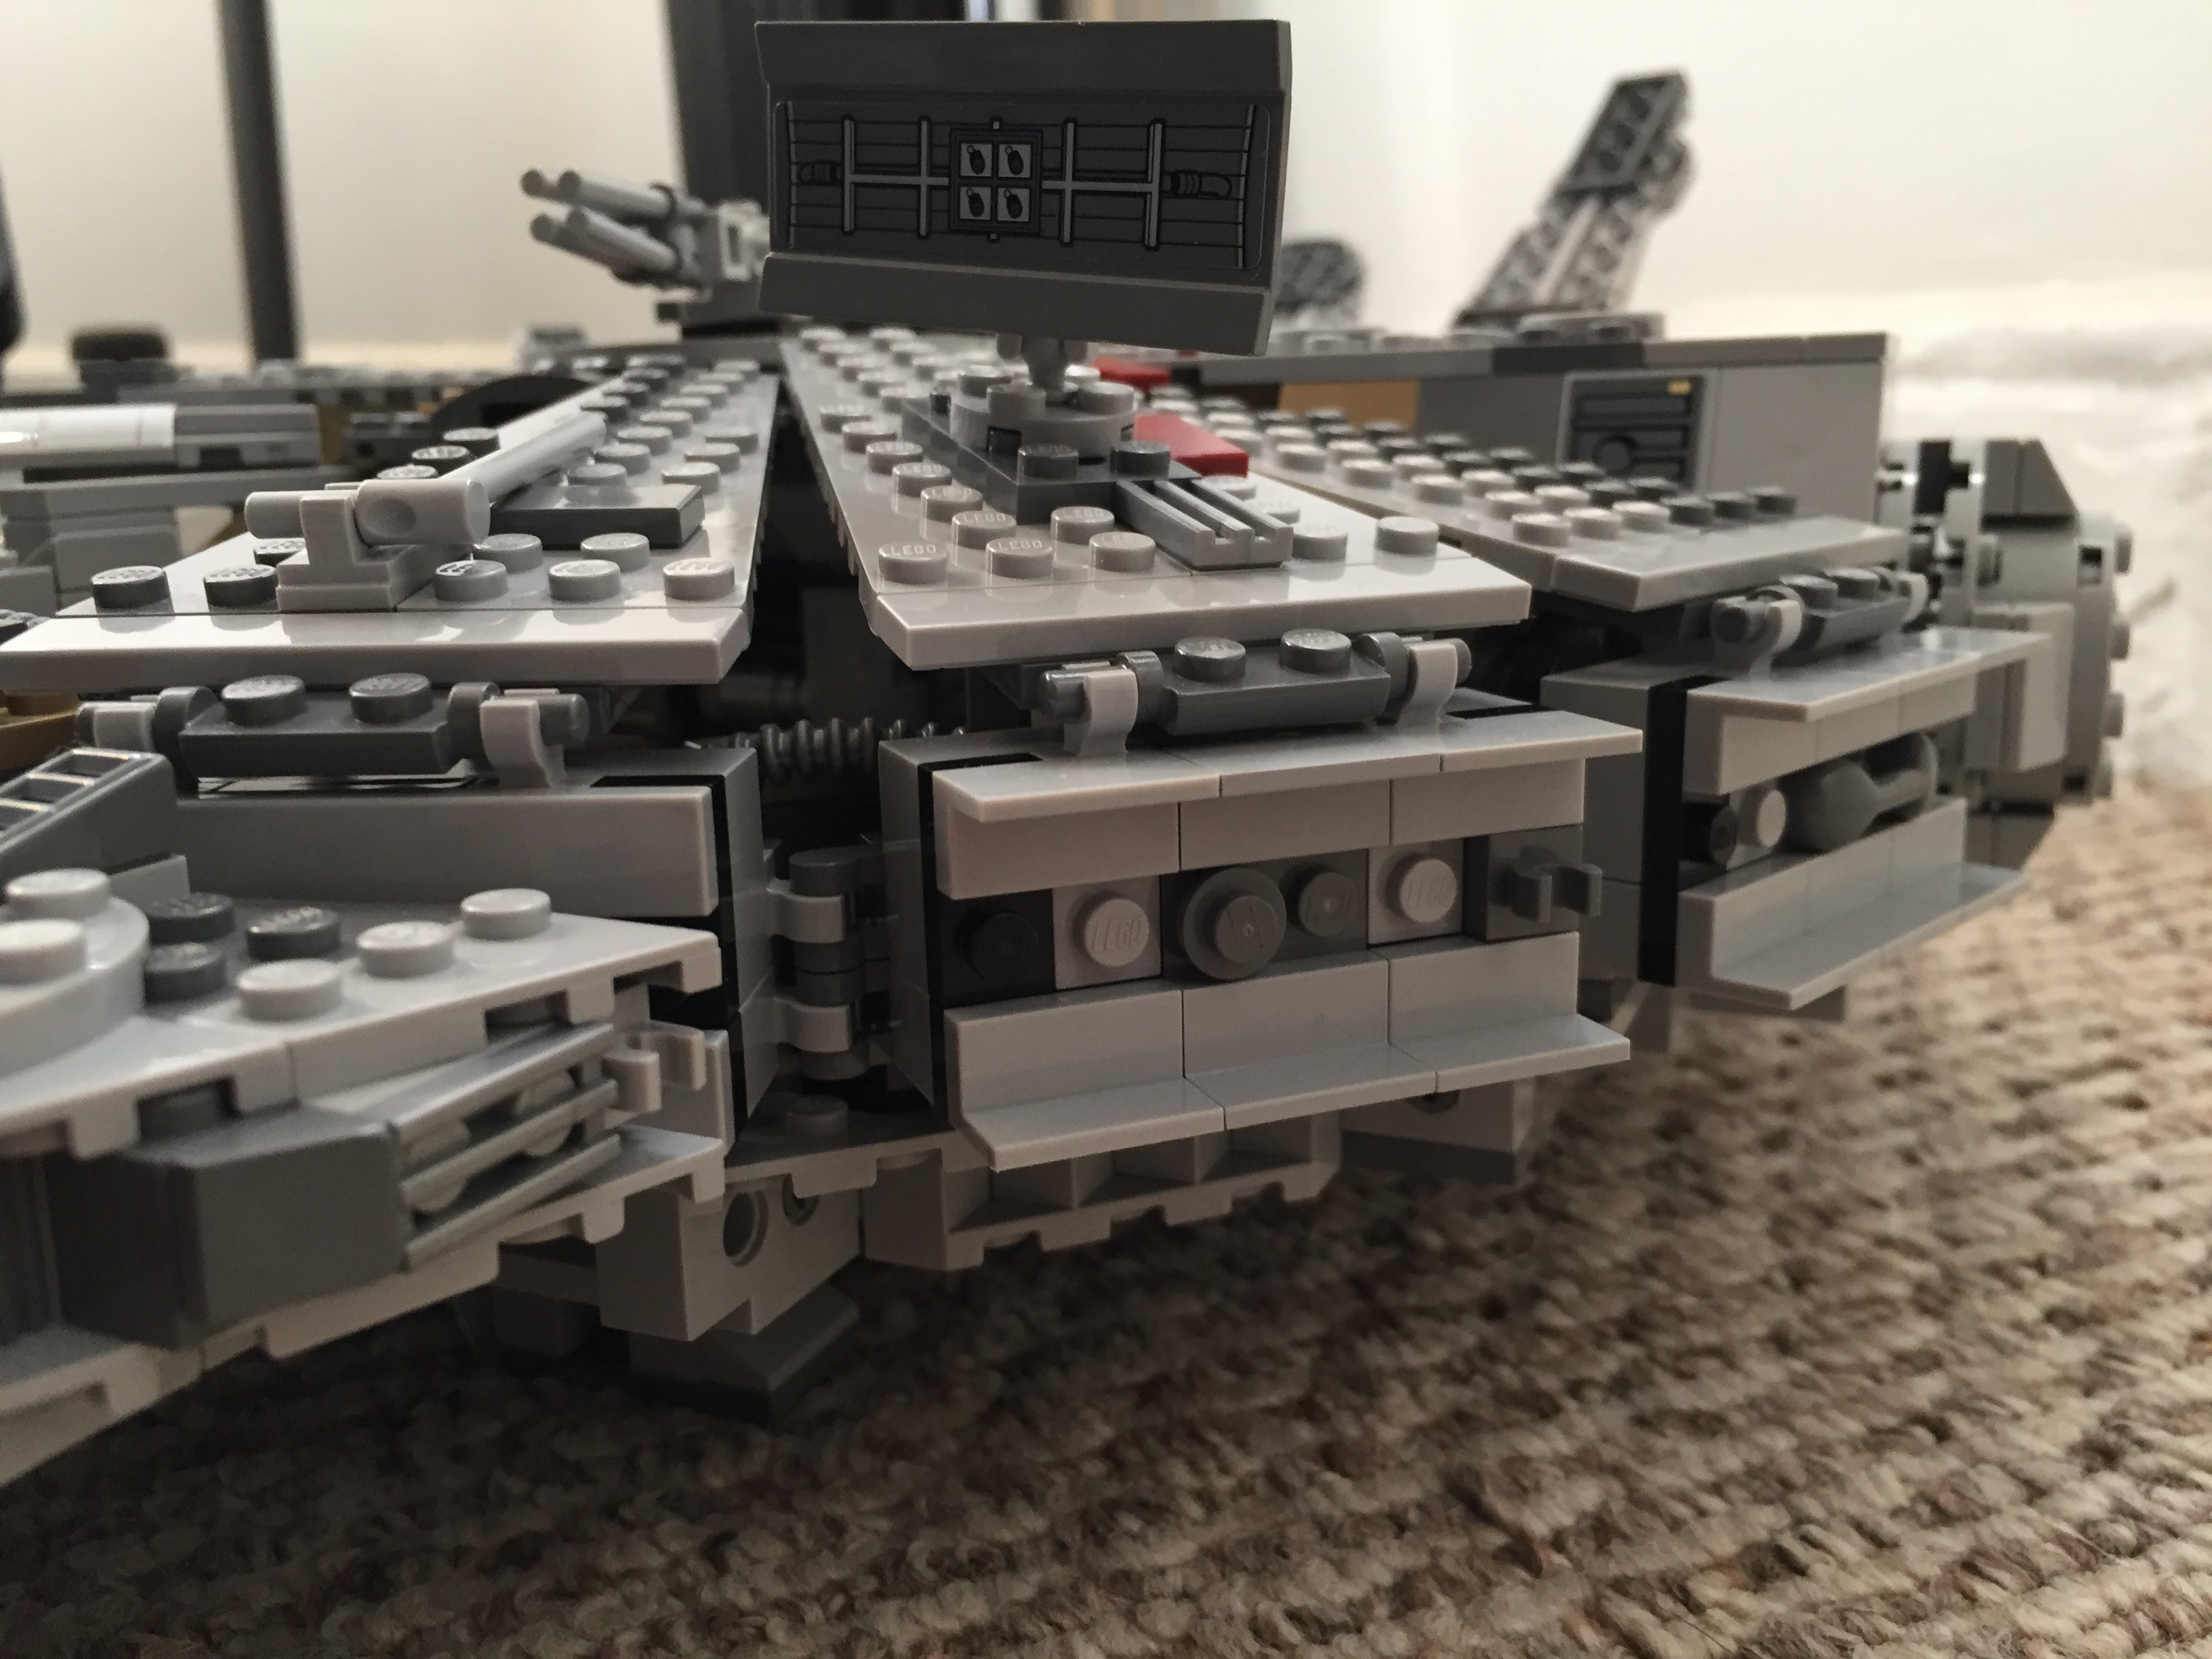
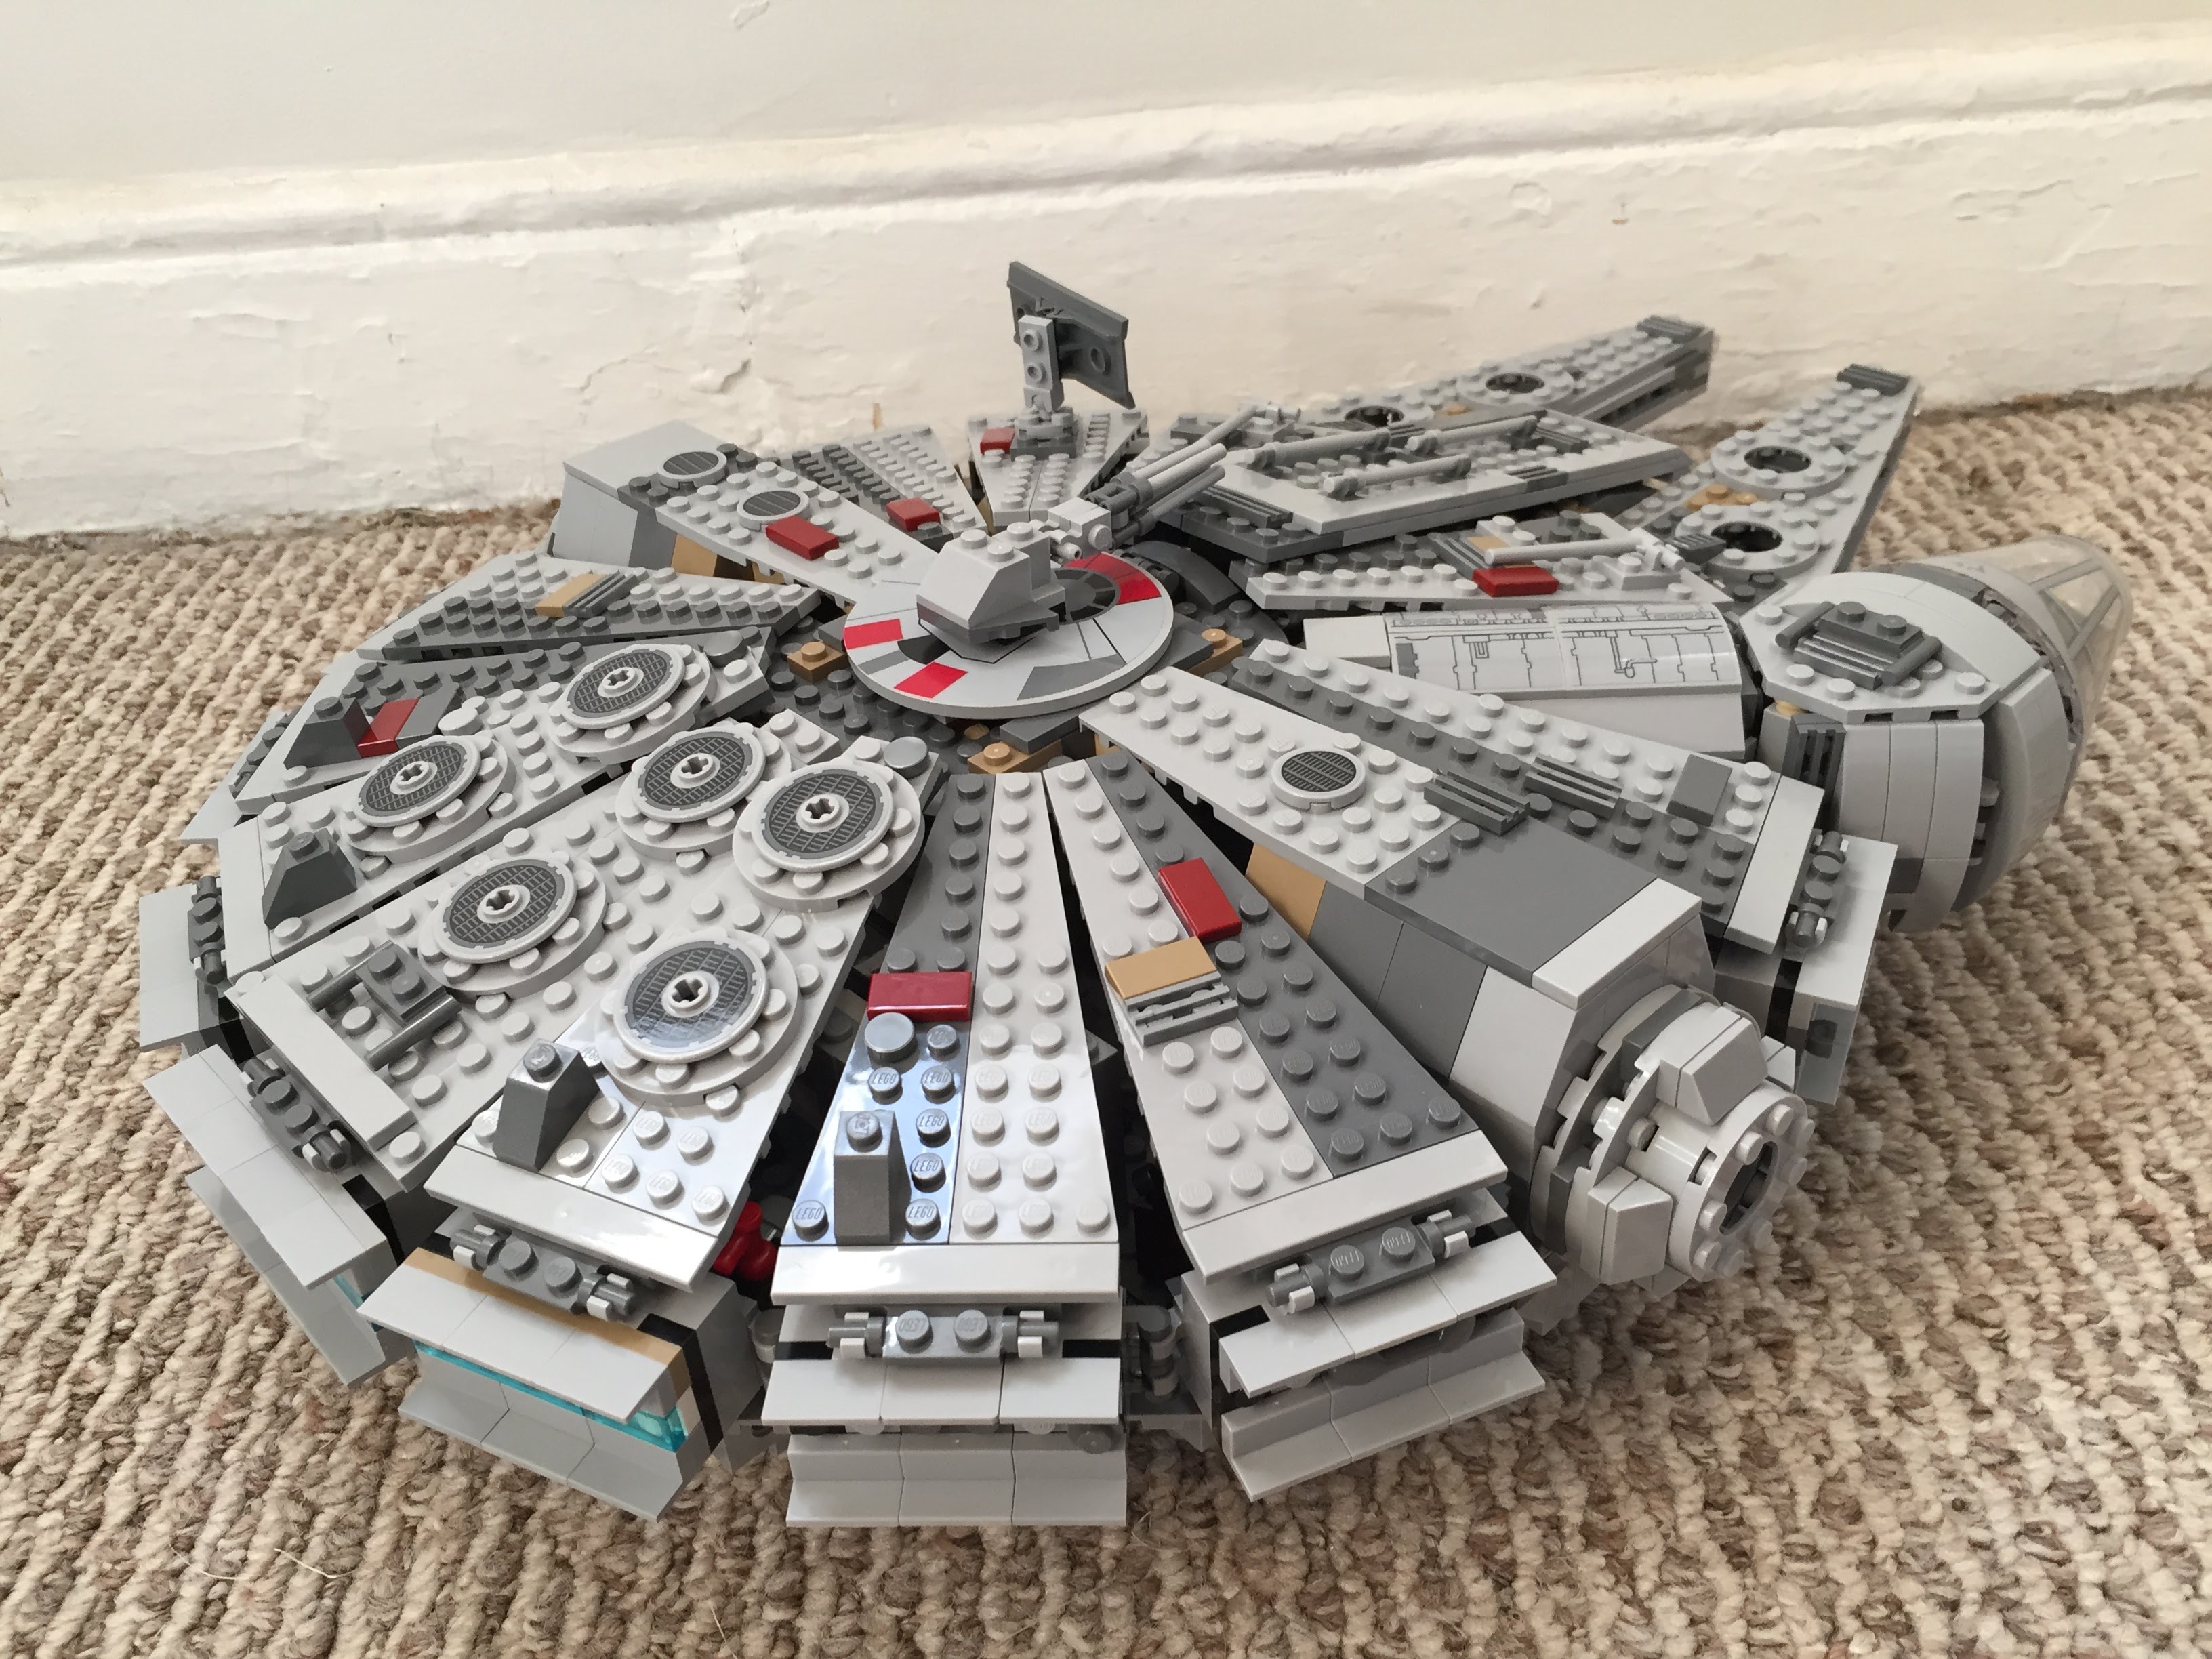
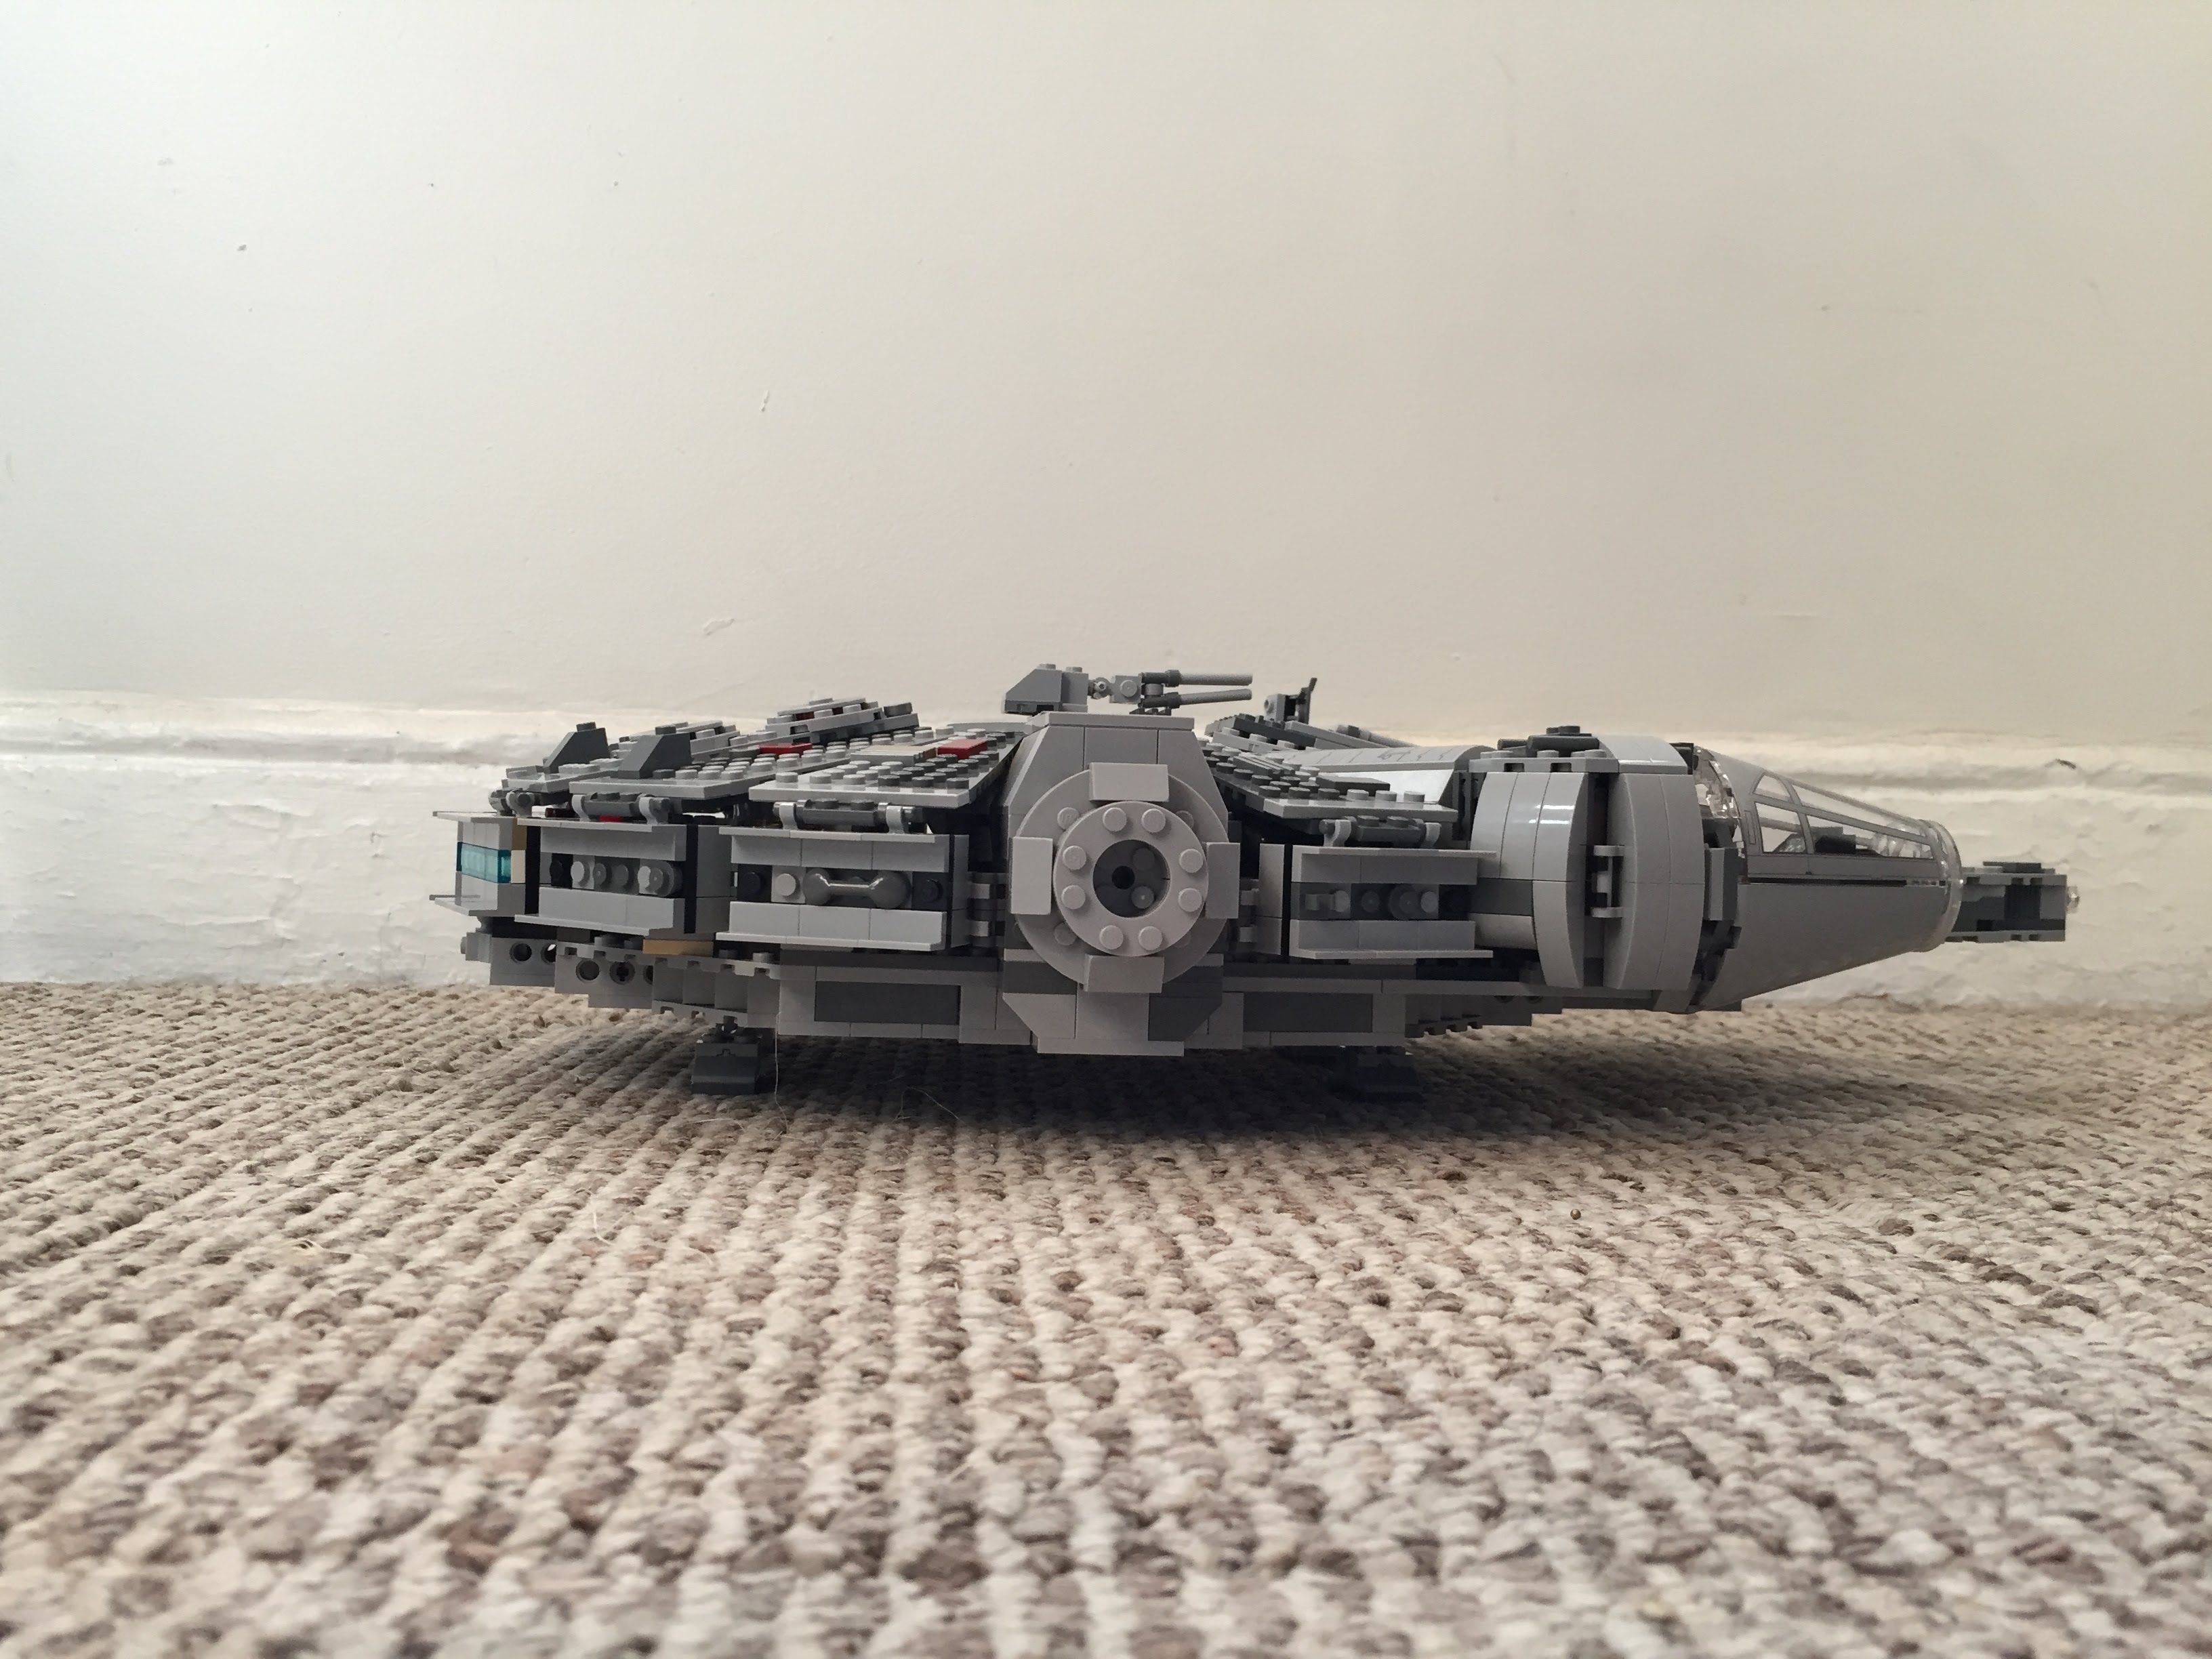
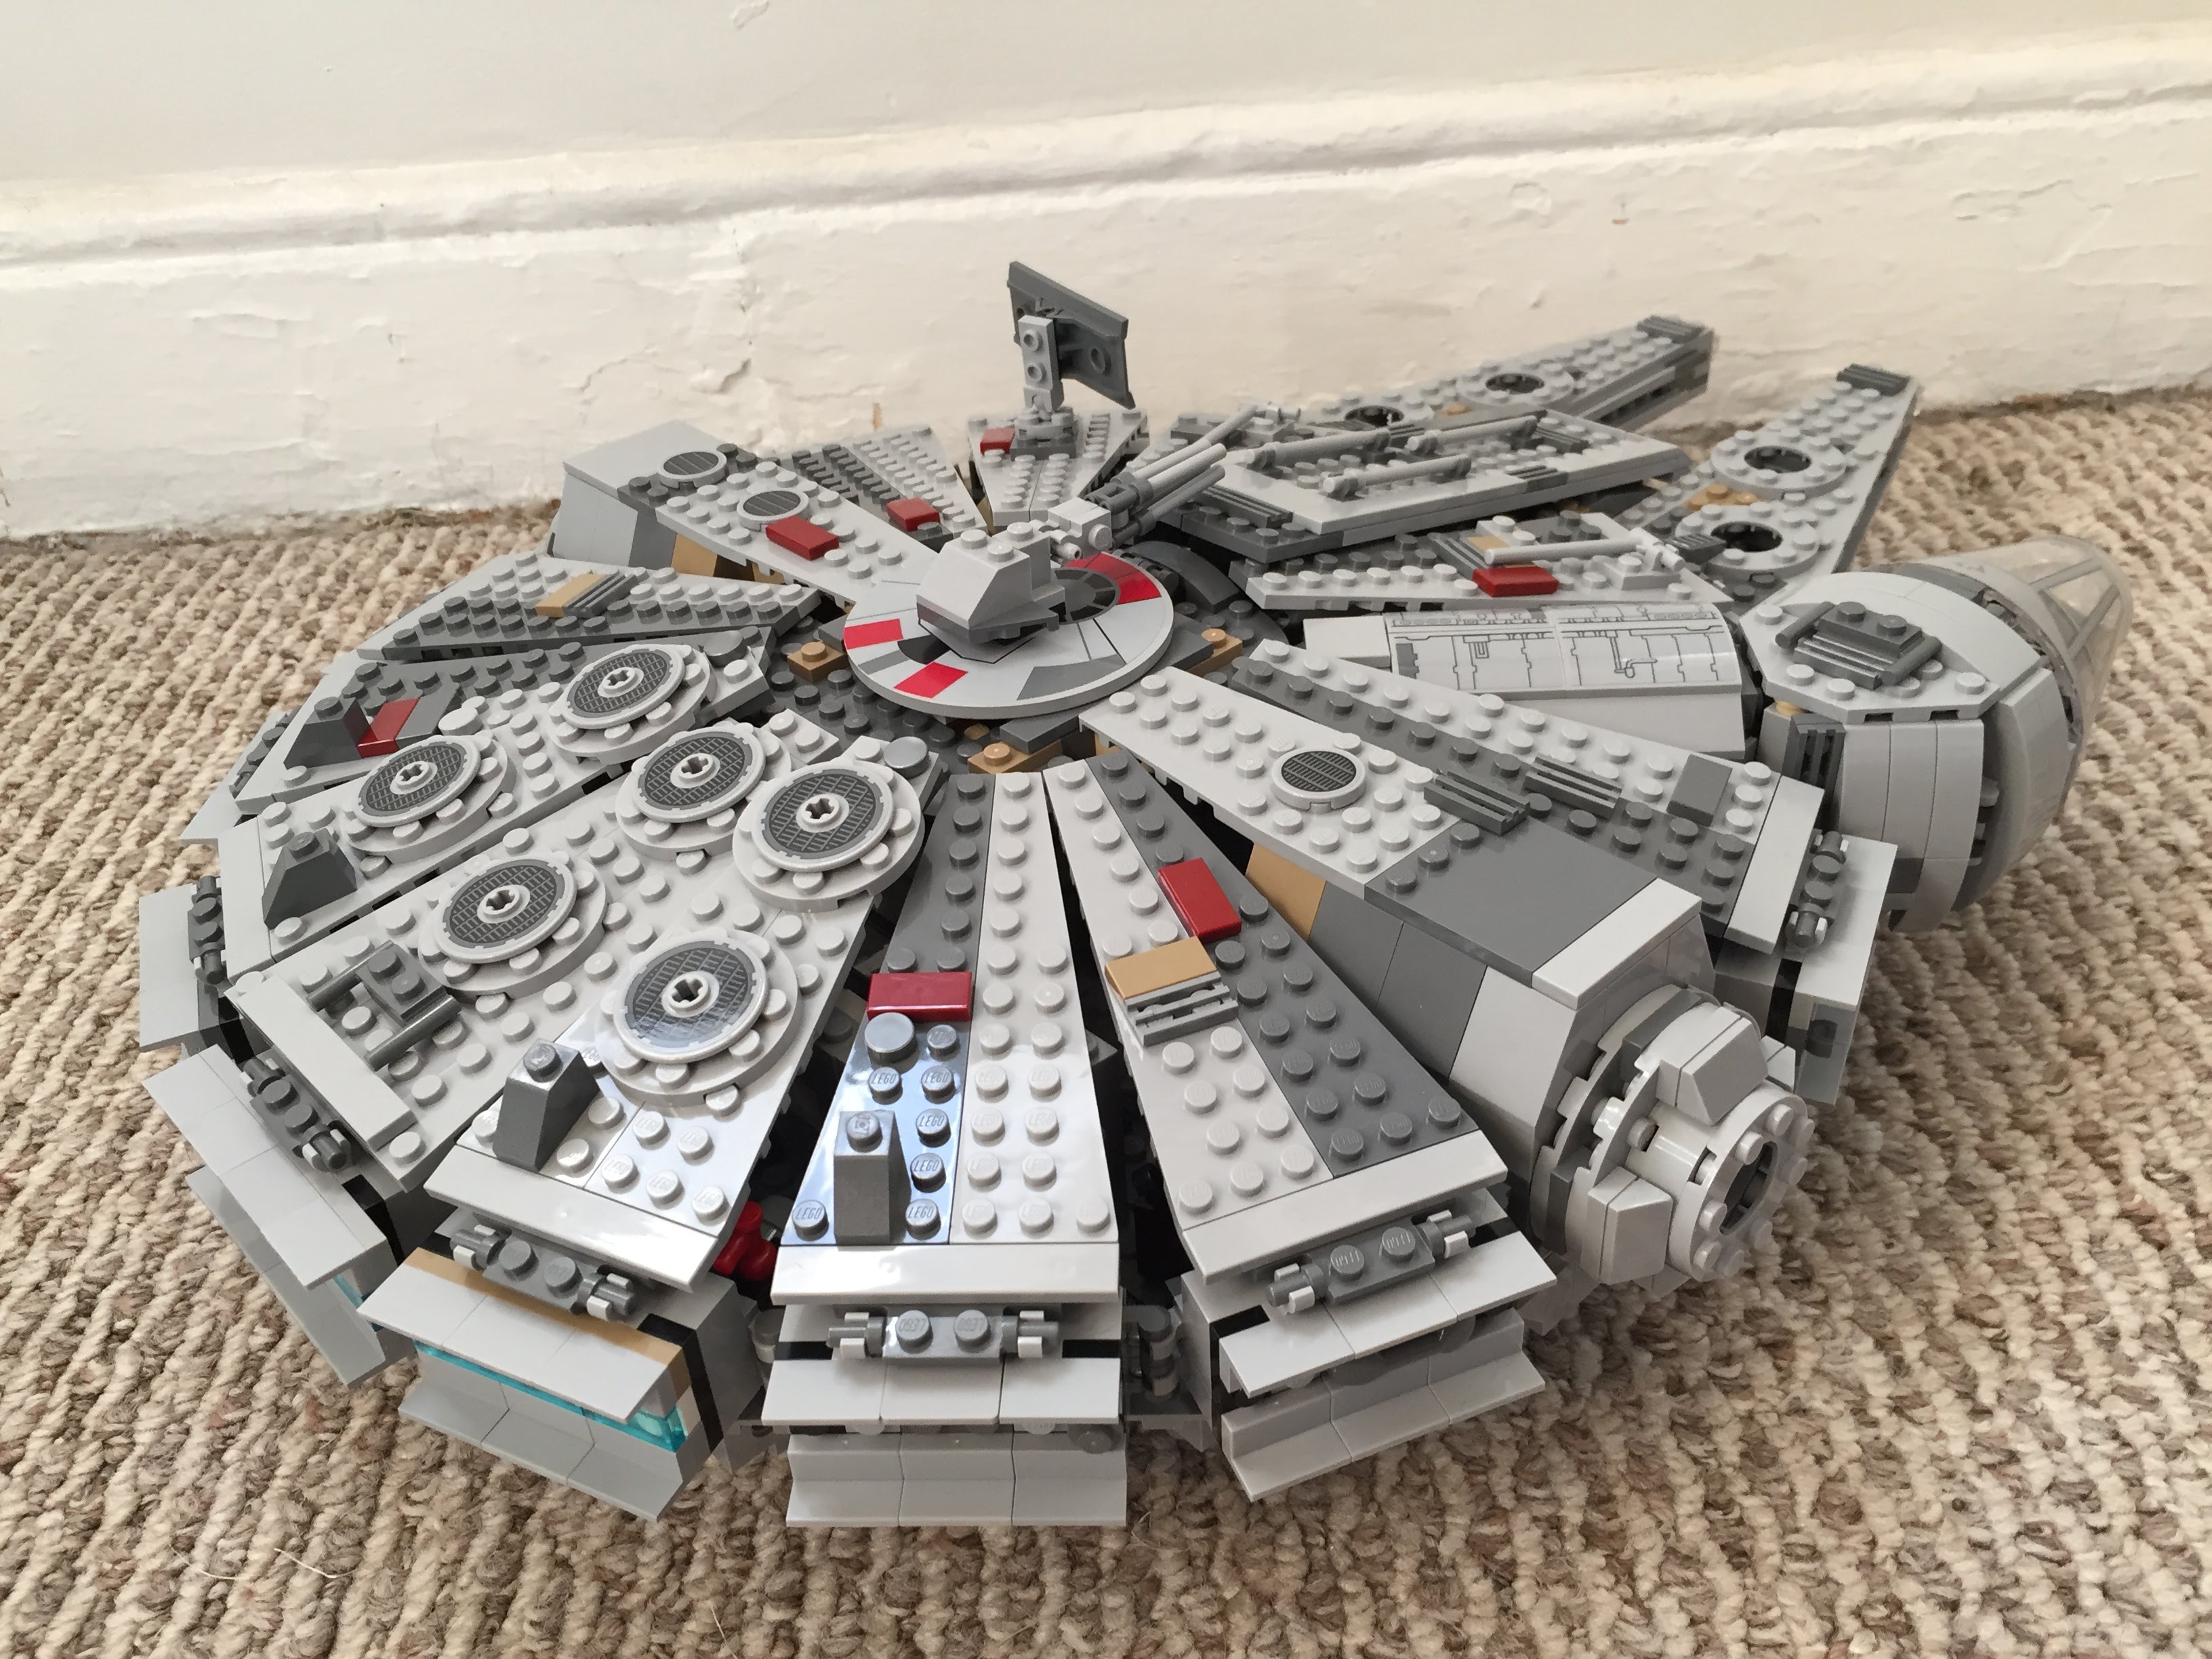
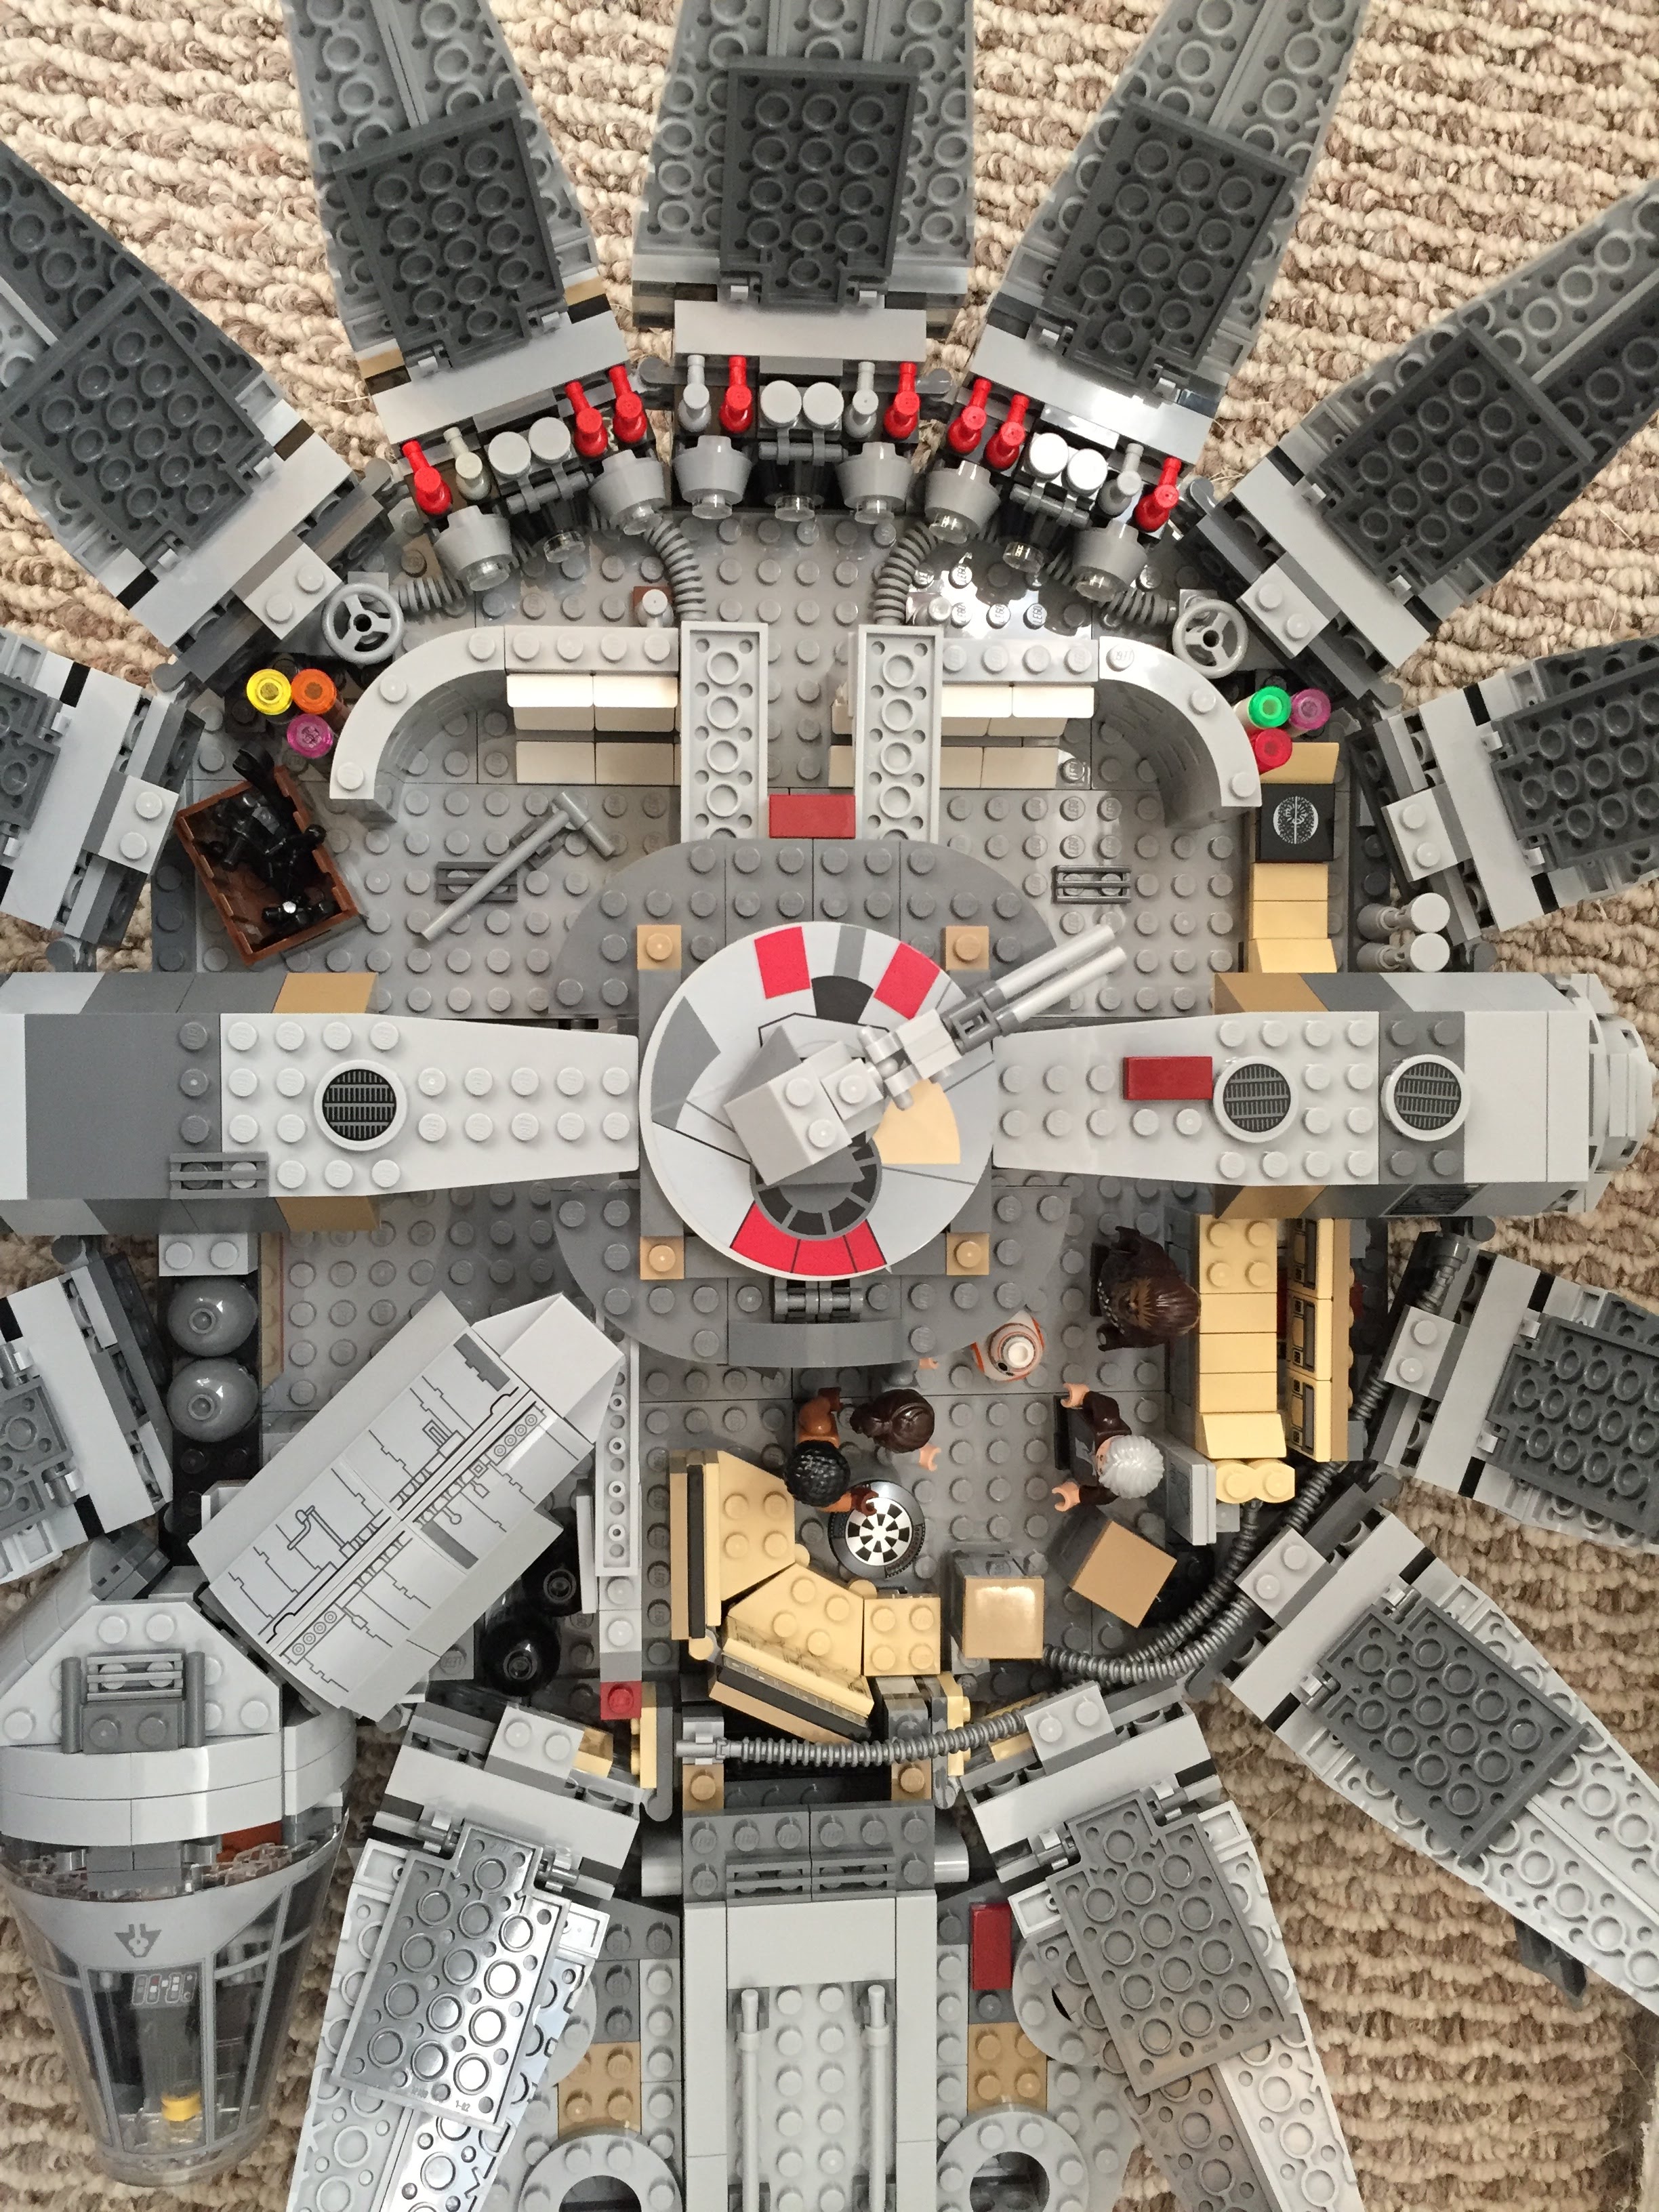
    Over the years, I’ve built several customized LEGO Millennium Falcons (including here and here). I like taking the stock models and making them more screen accurate combined with imaginative embellishment. With this customization of a stock 75105 Millennium Falcon, I initially tried working this model that I had built about a year ago. However, I got really frustrated trying to work out how to implement some of the customizations that I had in mind. So, I disassembled the model and rebuilt it. Doing this helped me remember the logic of its design and construction, and it enabled me to rebuild some of its foundational features more easily than the piecemeal way I first attempted to do. The way that I did this rebuild also jumped around the instruction booklet, because the LEGO process of building is generally height-by-height across the whole model. I needed to focus on the modular aspects of the model, which is helped by building each module (circumferential ring, cockpit, docking ports, etc.). Due to rebuilding it from the ground up, this project took several days. Scroll through this blog post to view detailed photos and descriptions of this customization.

    Cockpit and Mandible Details

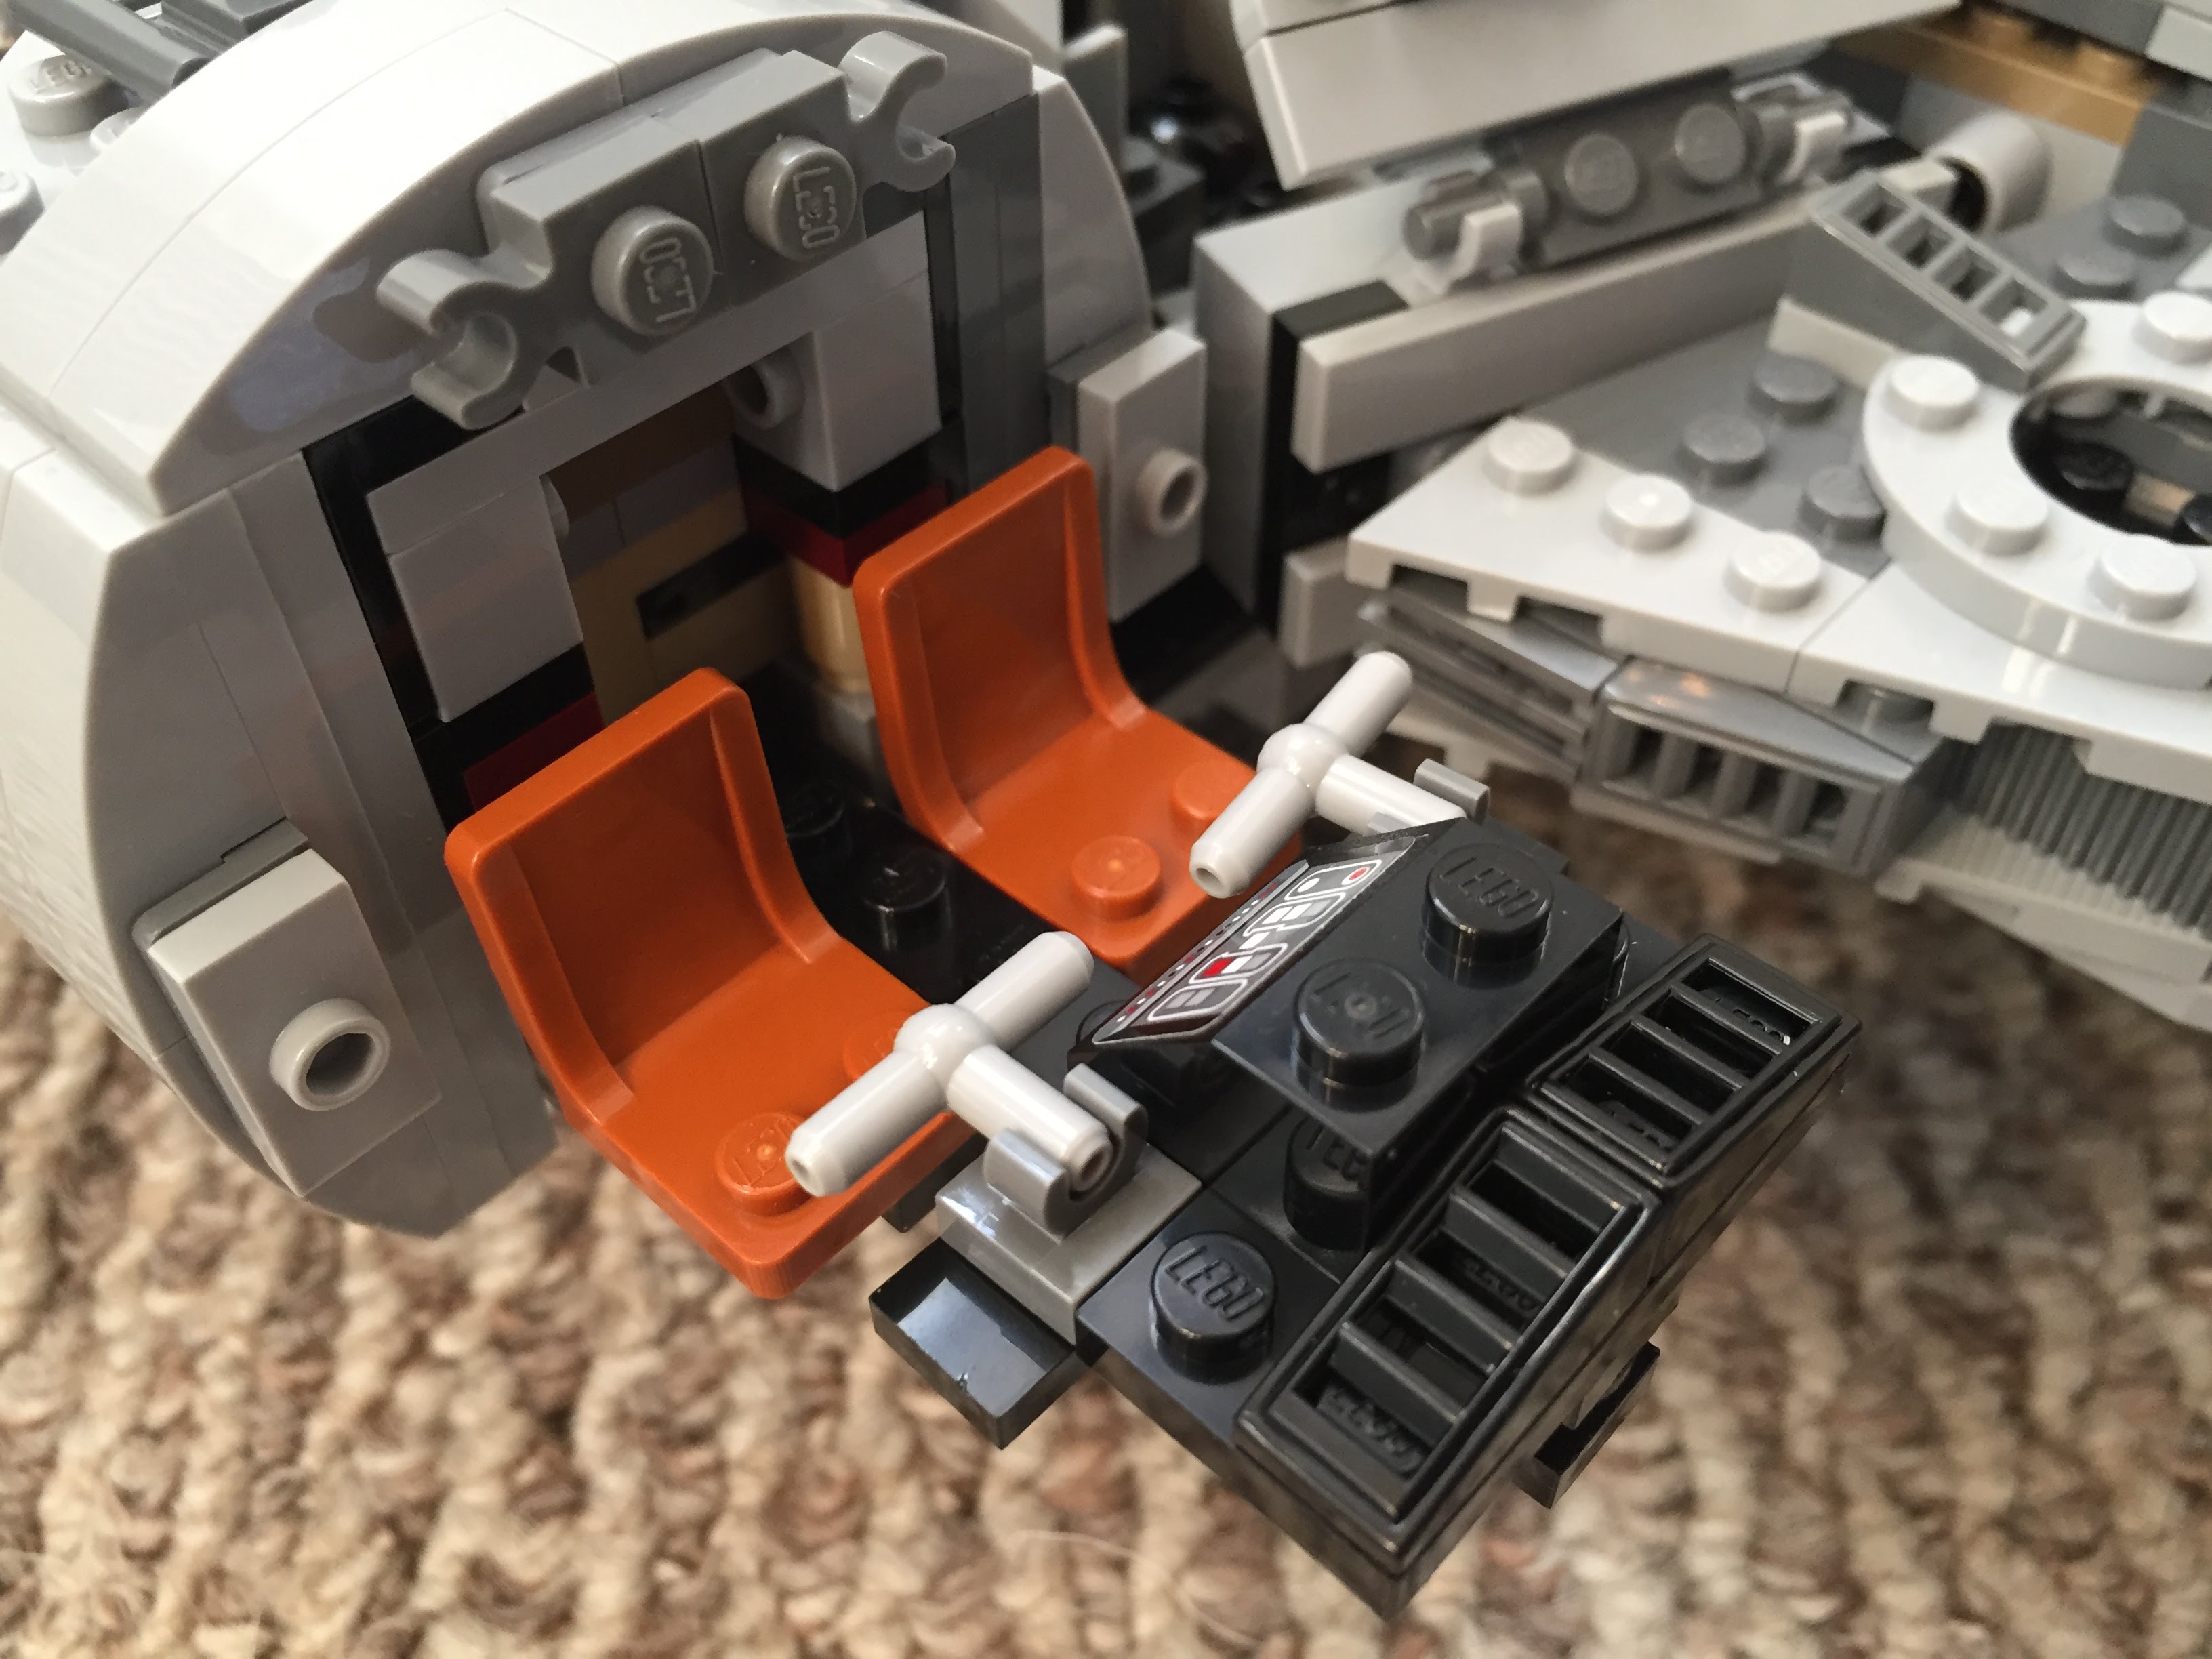
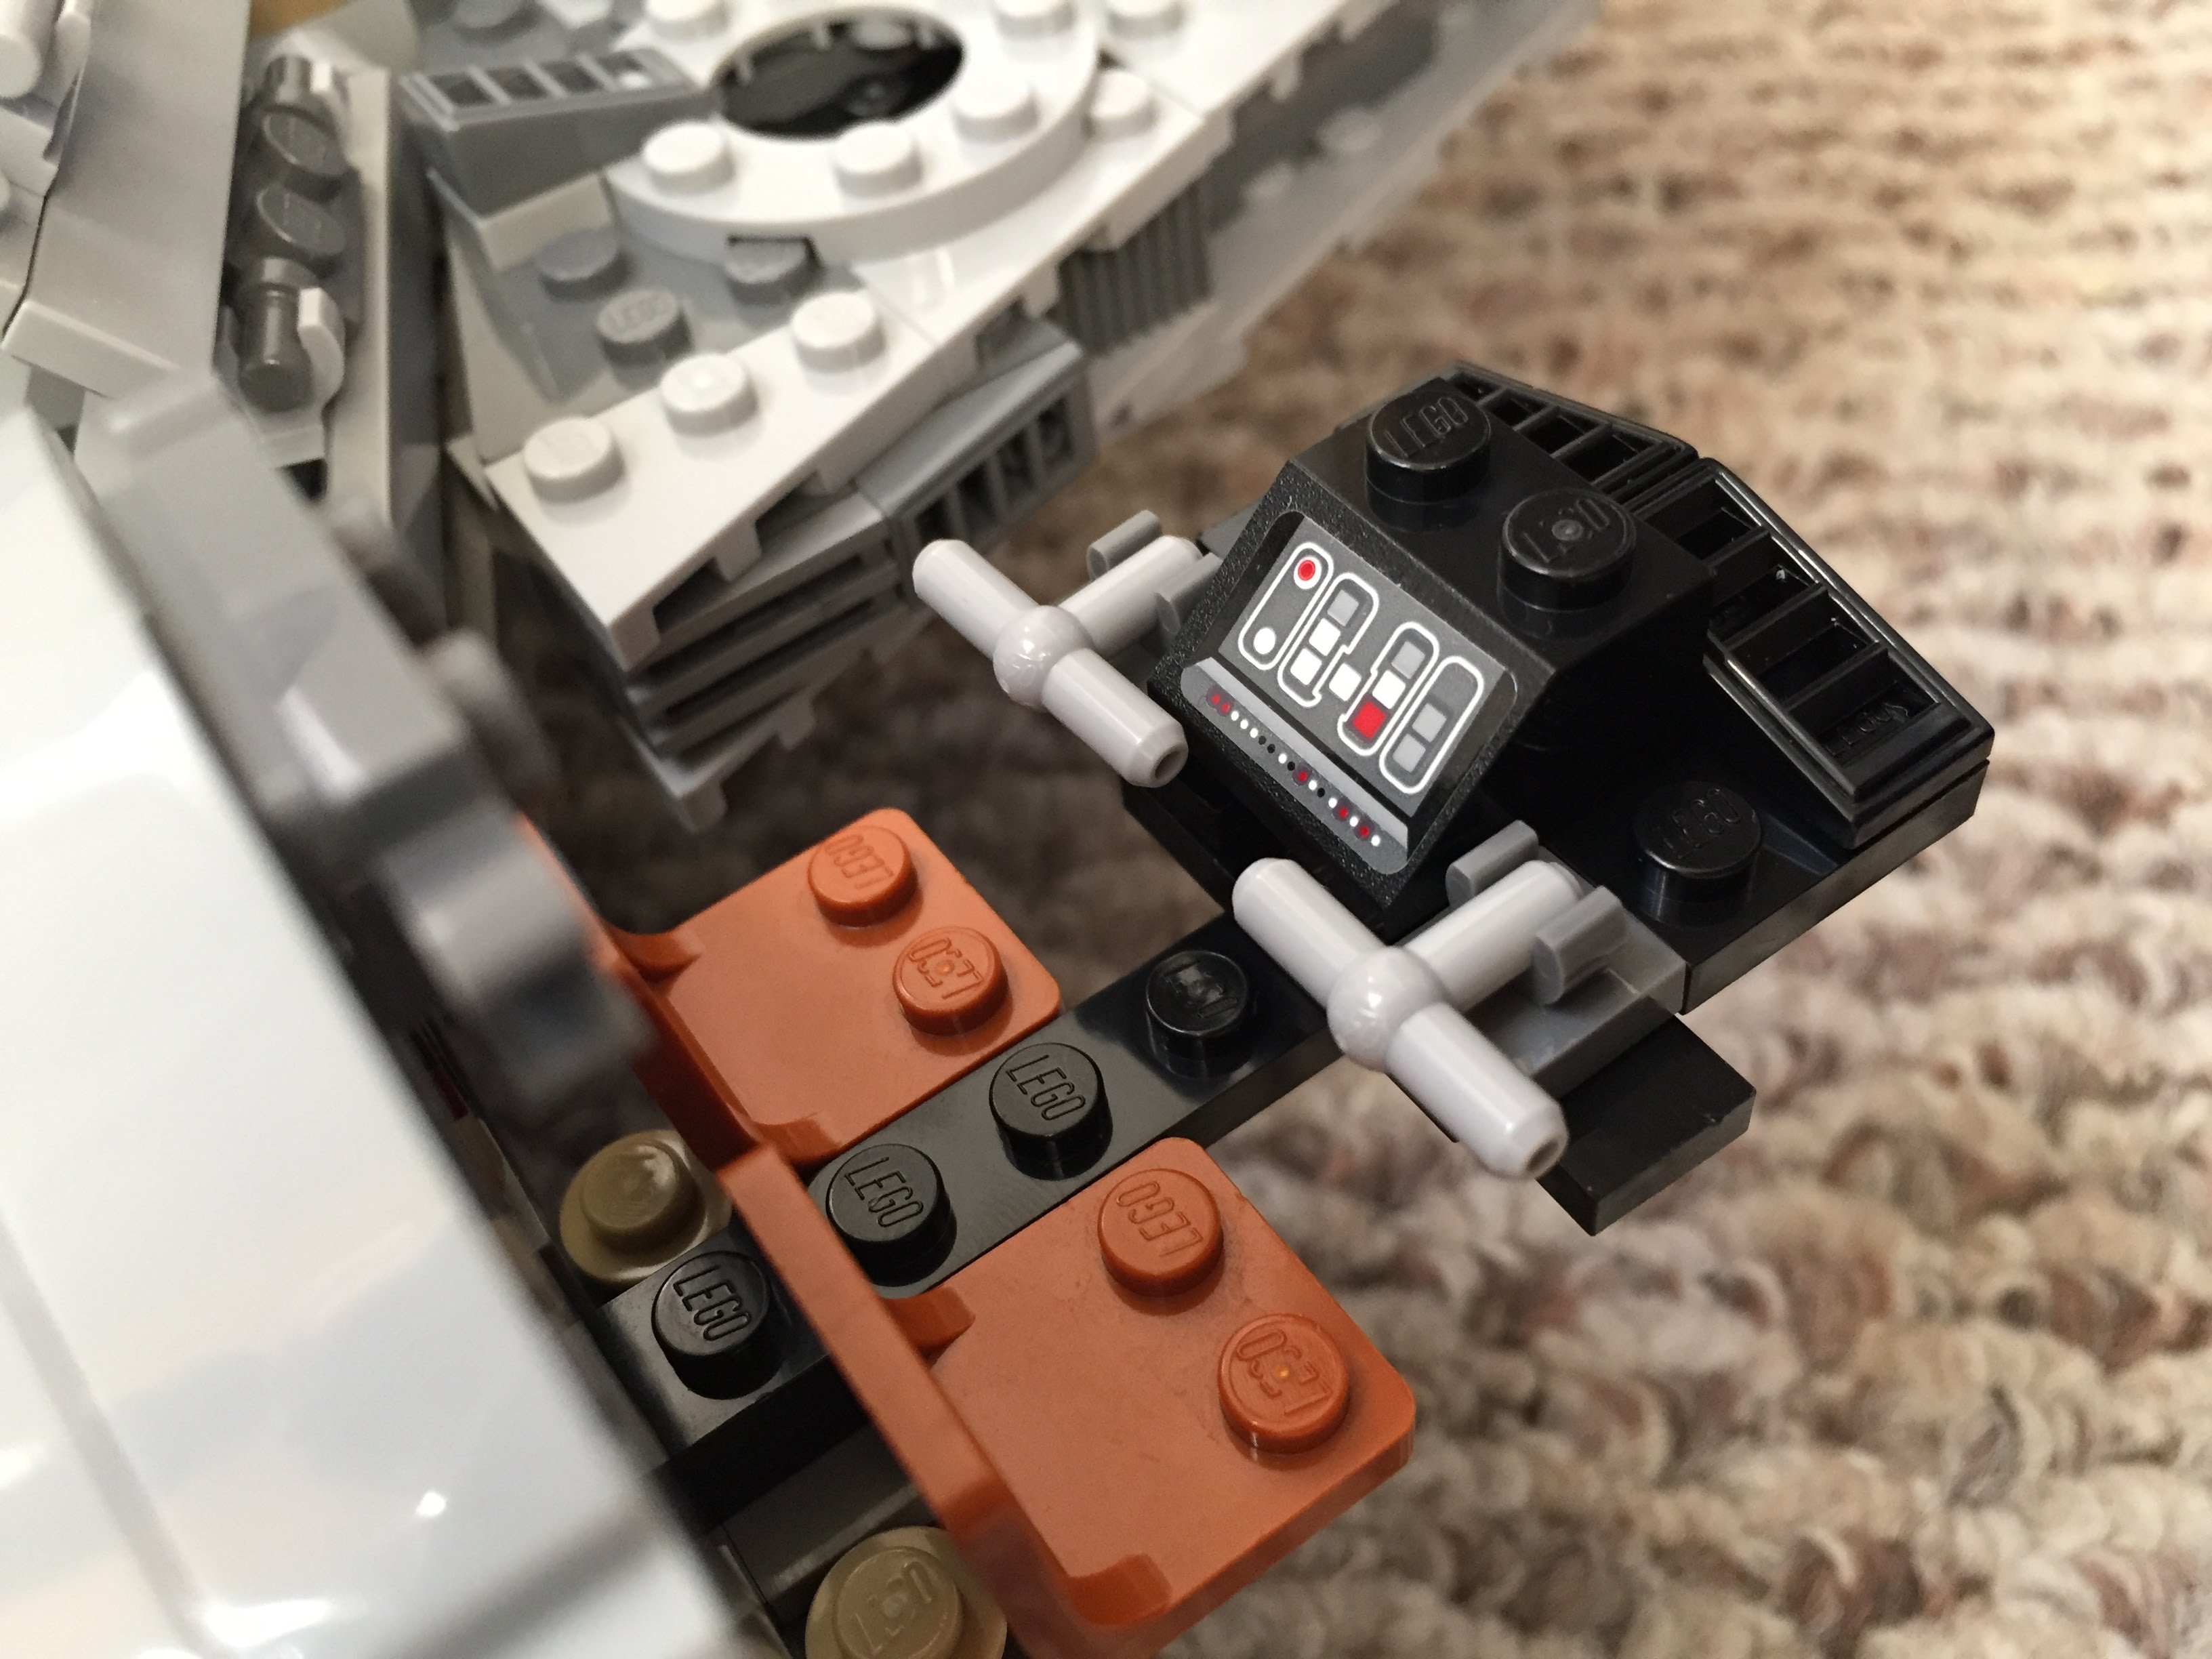
    Taking inspiration from Flail’s Millennium Falcon mods on Brickshelf, I rebuilt the cockpit with chairs and control sticks. This looks really nice, especially with the windows affixed. However, the chairs don’t work with Chewbacca’s minifigure. 75105 includes a Brick 1X4 W. 4 Knobs on either side of the fore mandibles. The side studs invite customization, so I added extra detail to these.
    IMG_3027 1.jpgIMG_3028 1.jpgIMG_2997 1.jpgIMG_3029 1.jpgIMG_3030 1.jpg

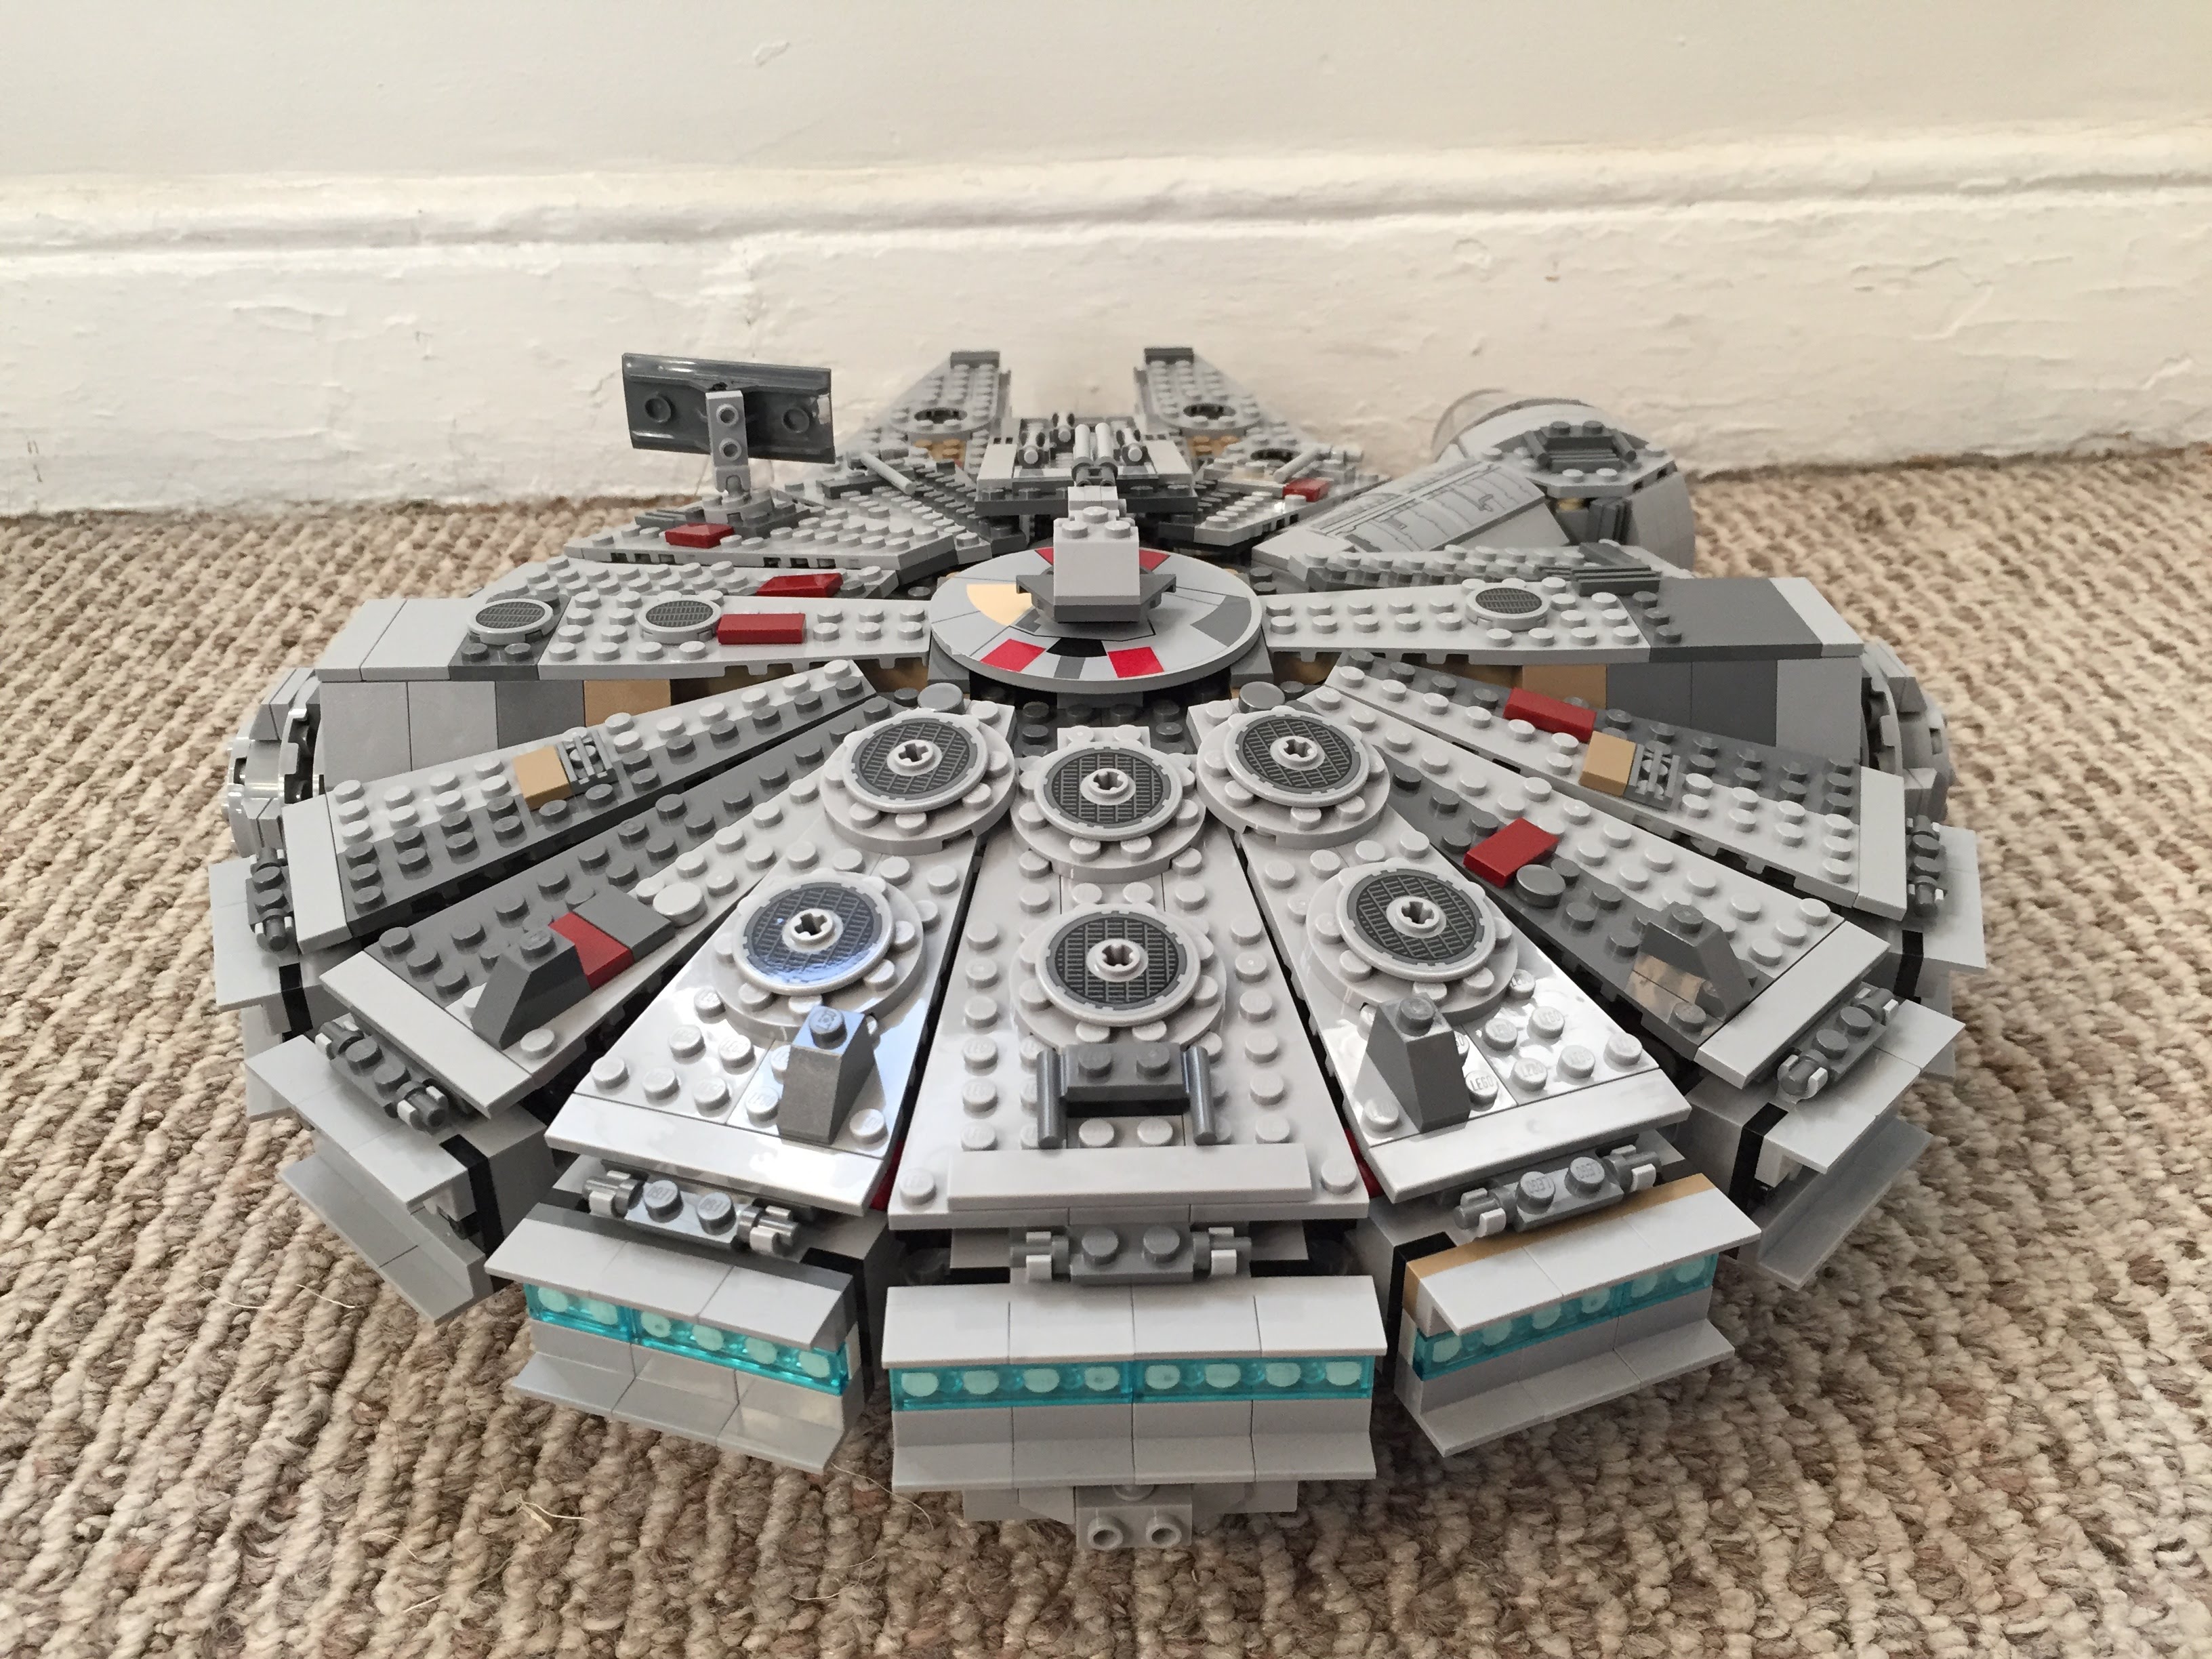
    Gun Turrets, Dorsal Vents, and Ventral Covering

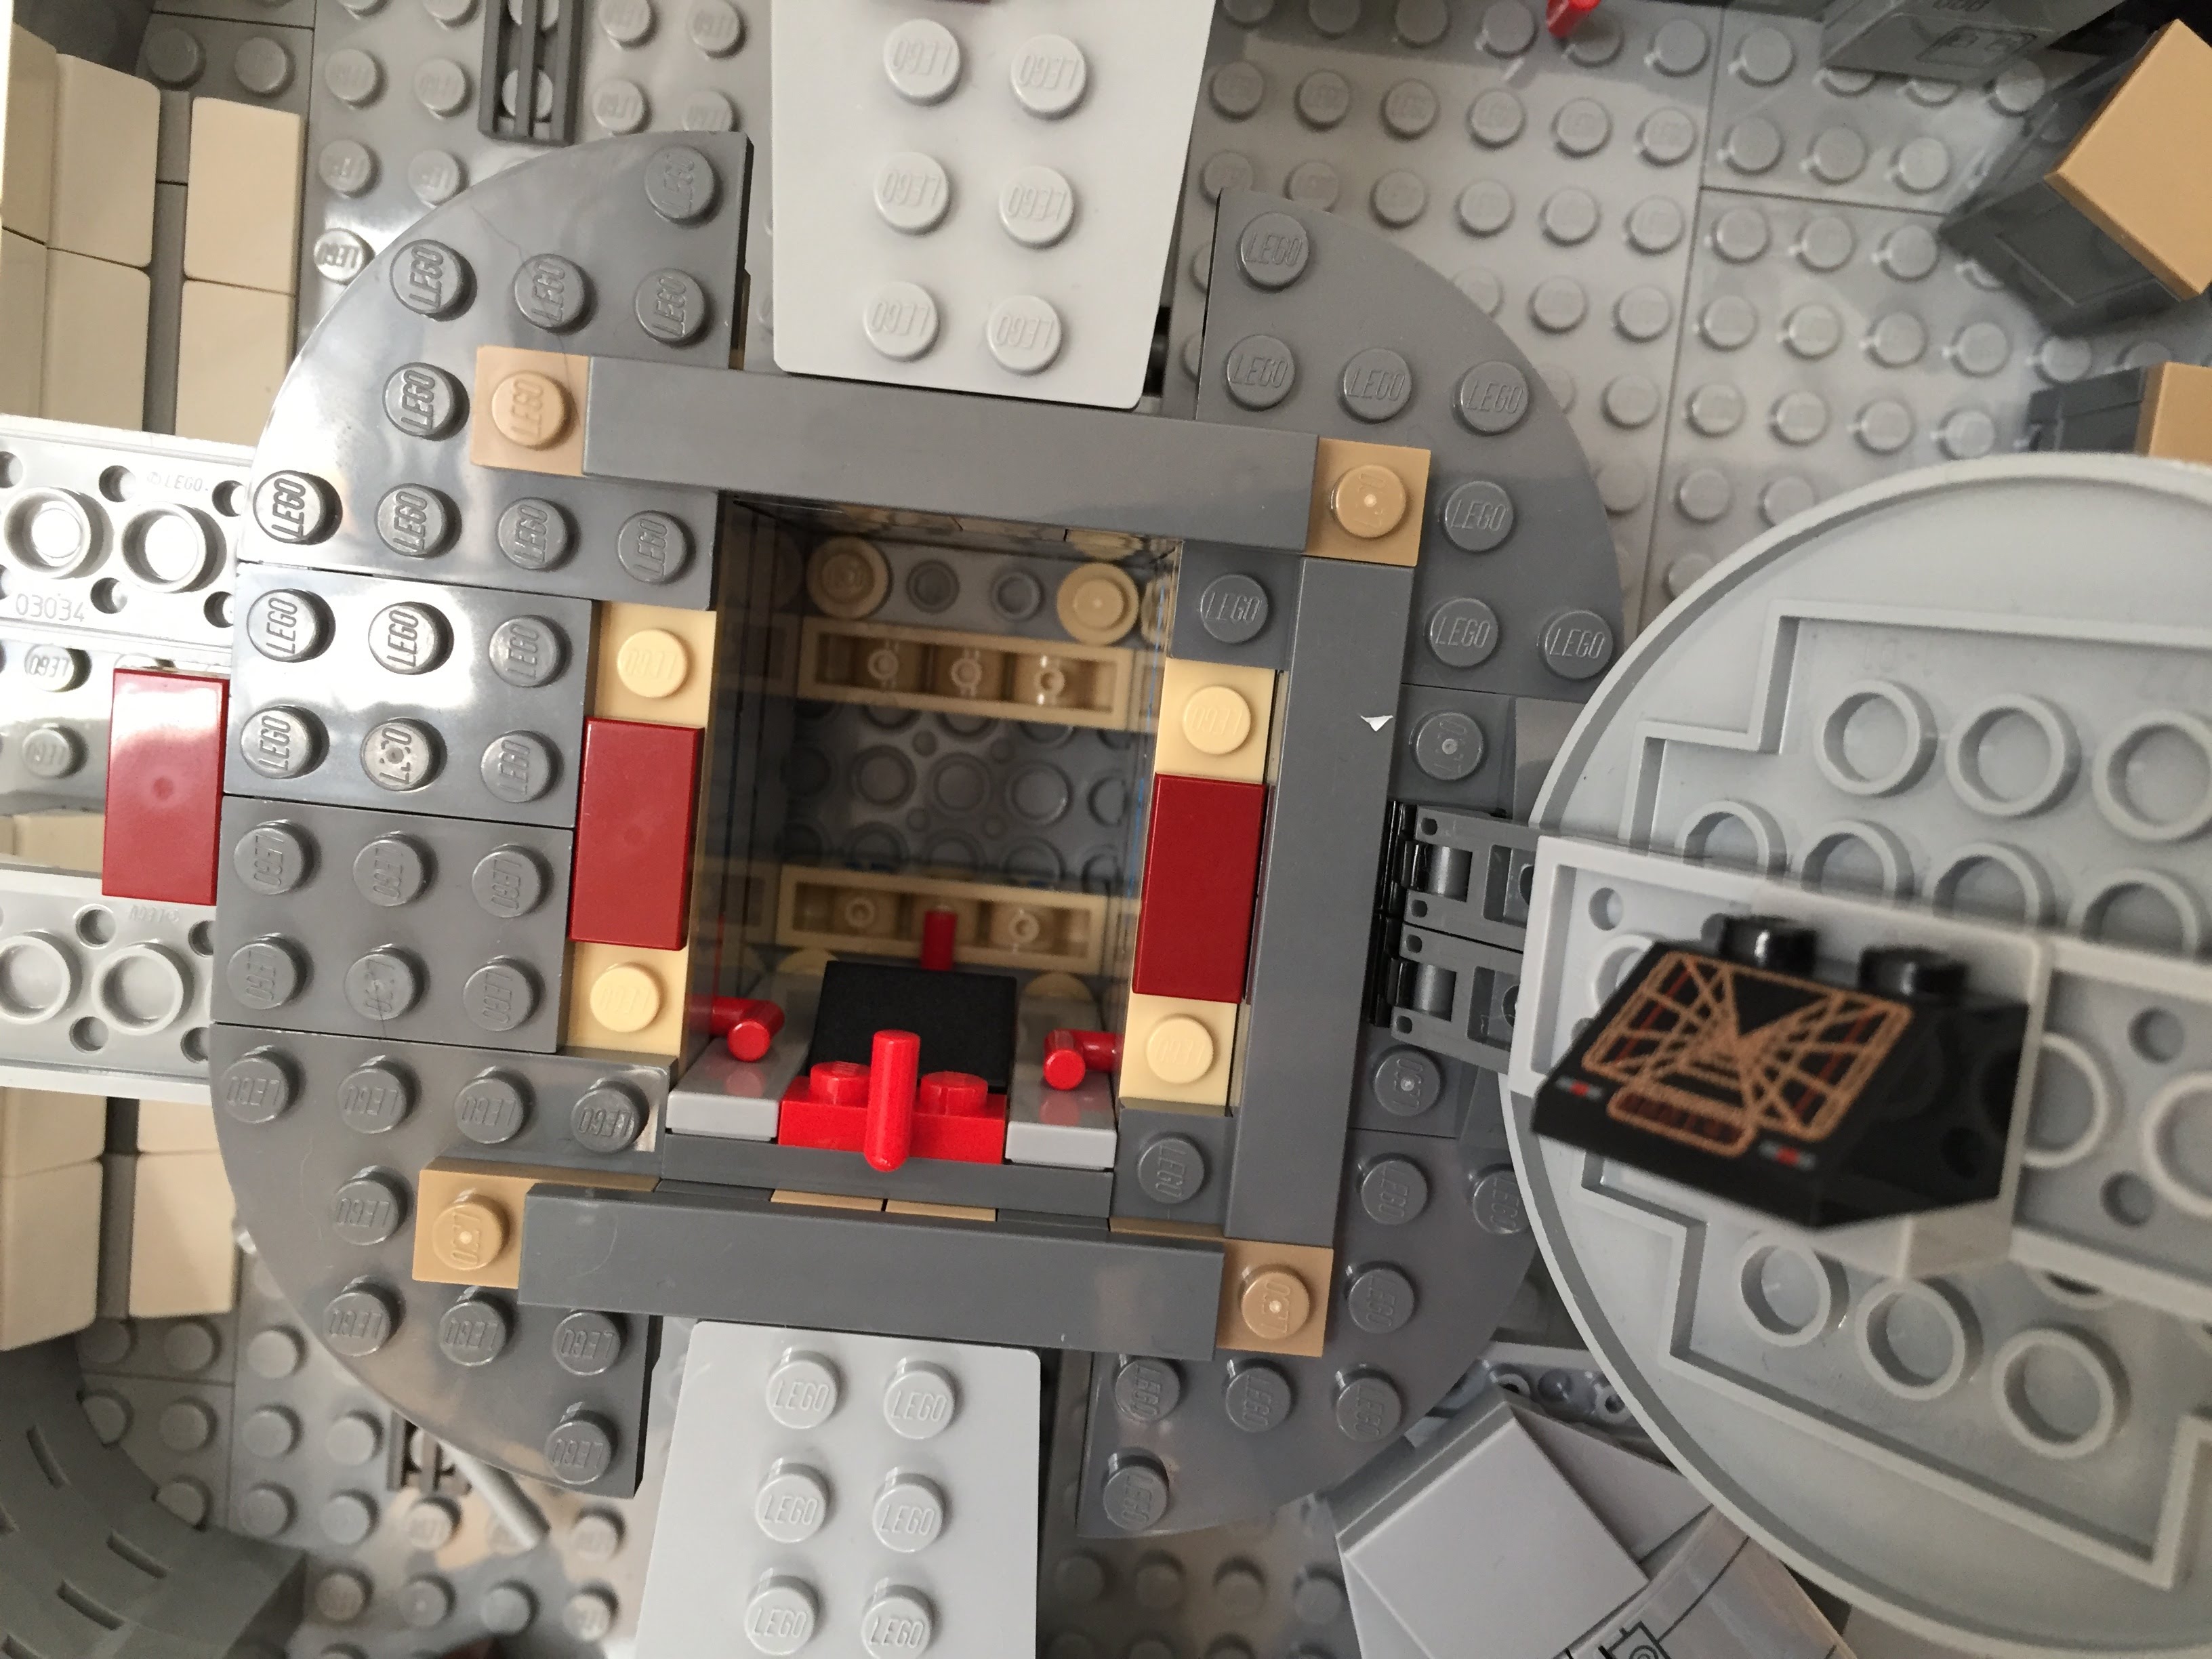
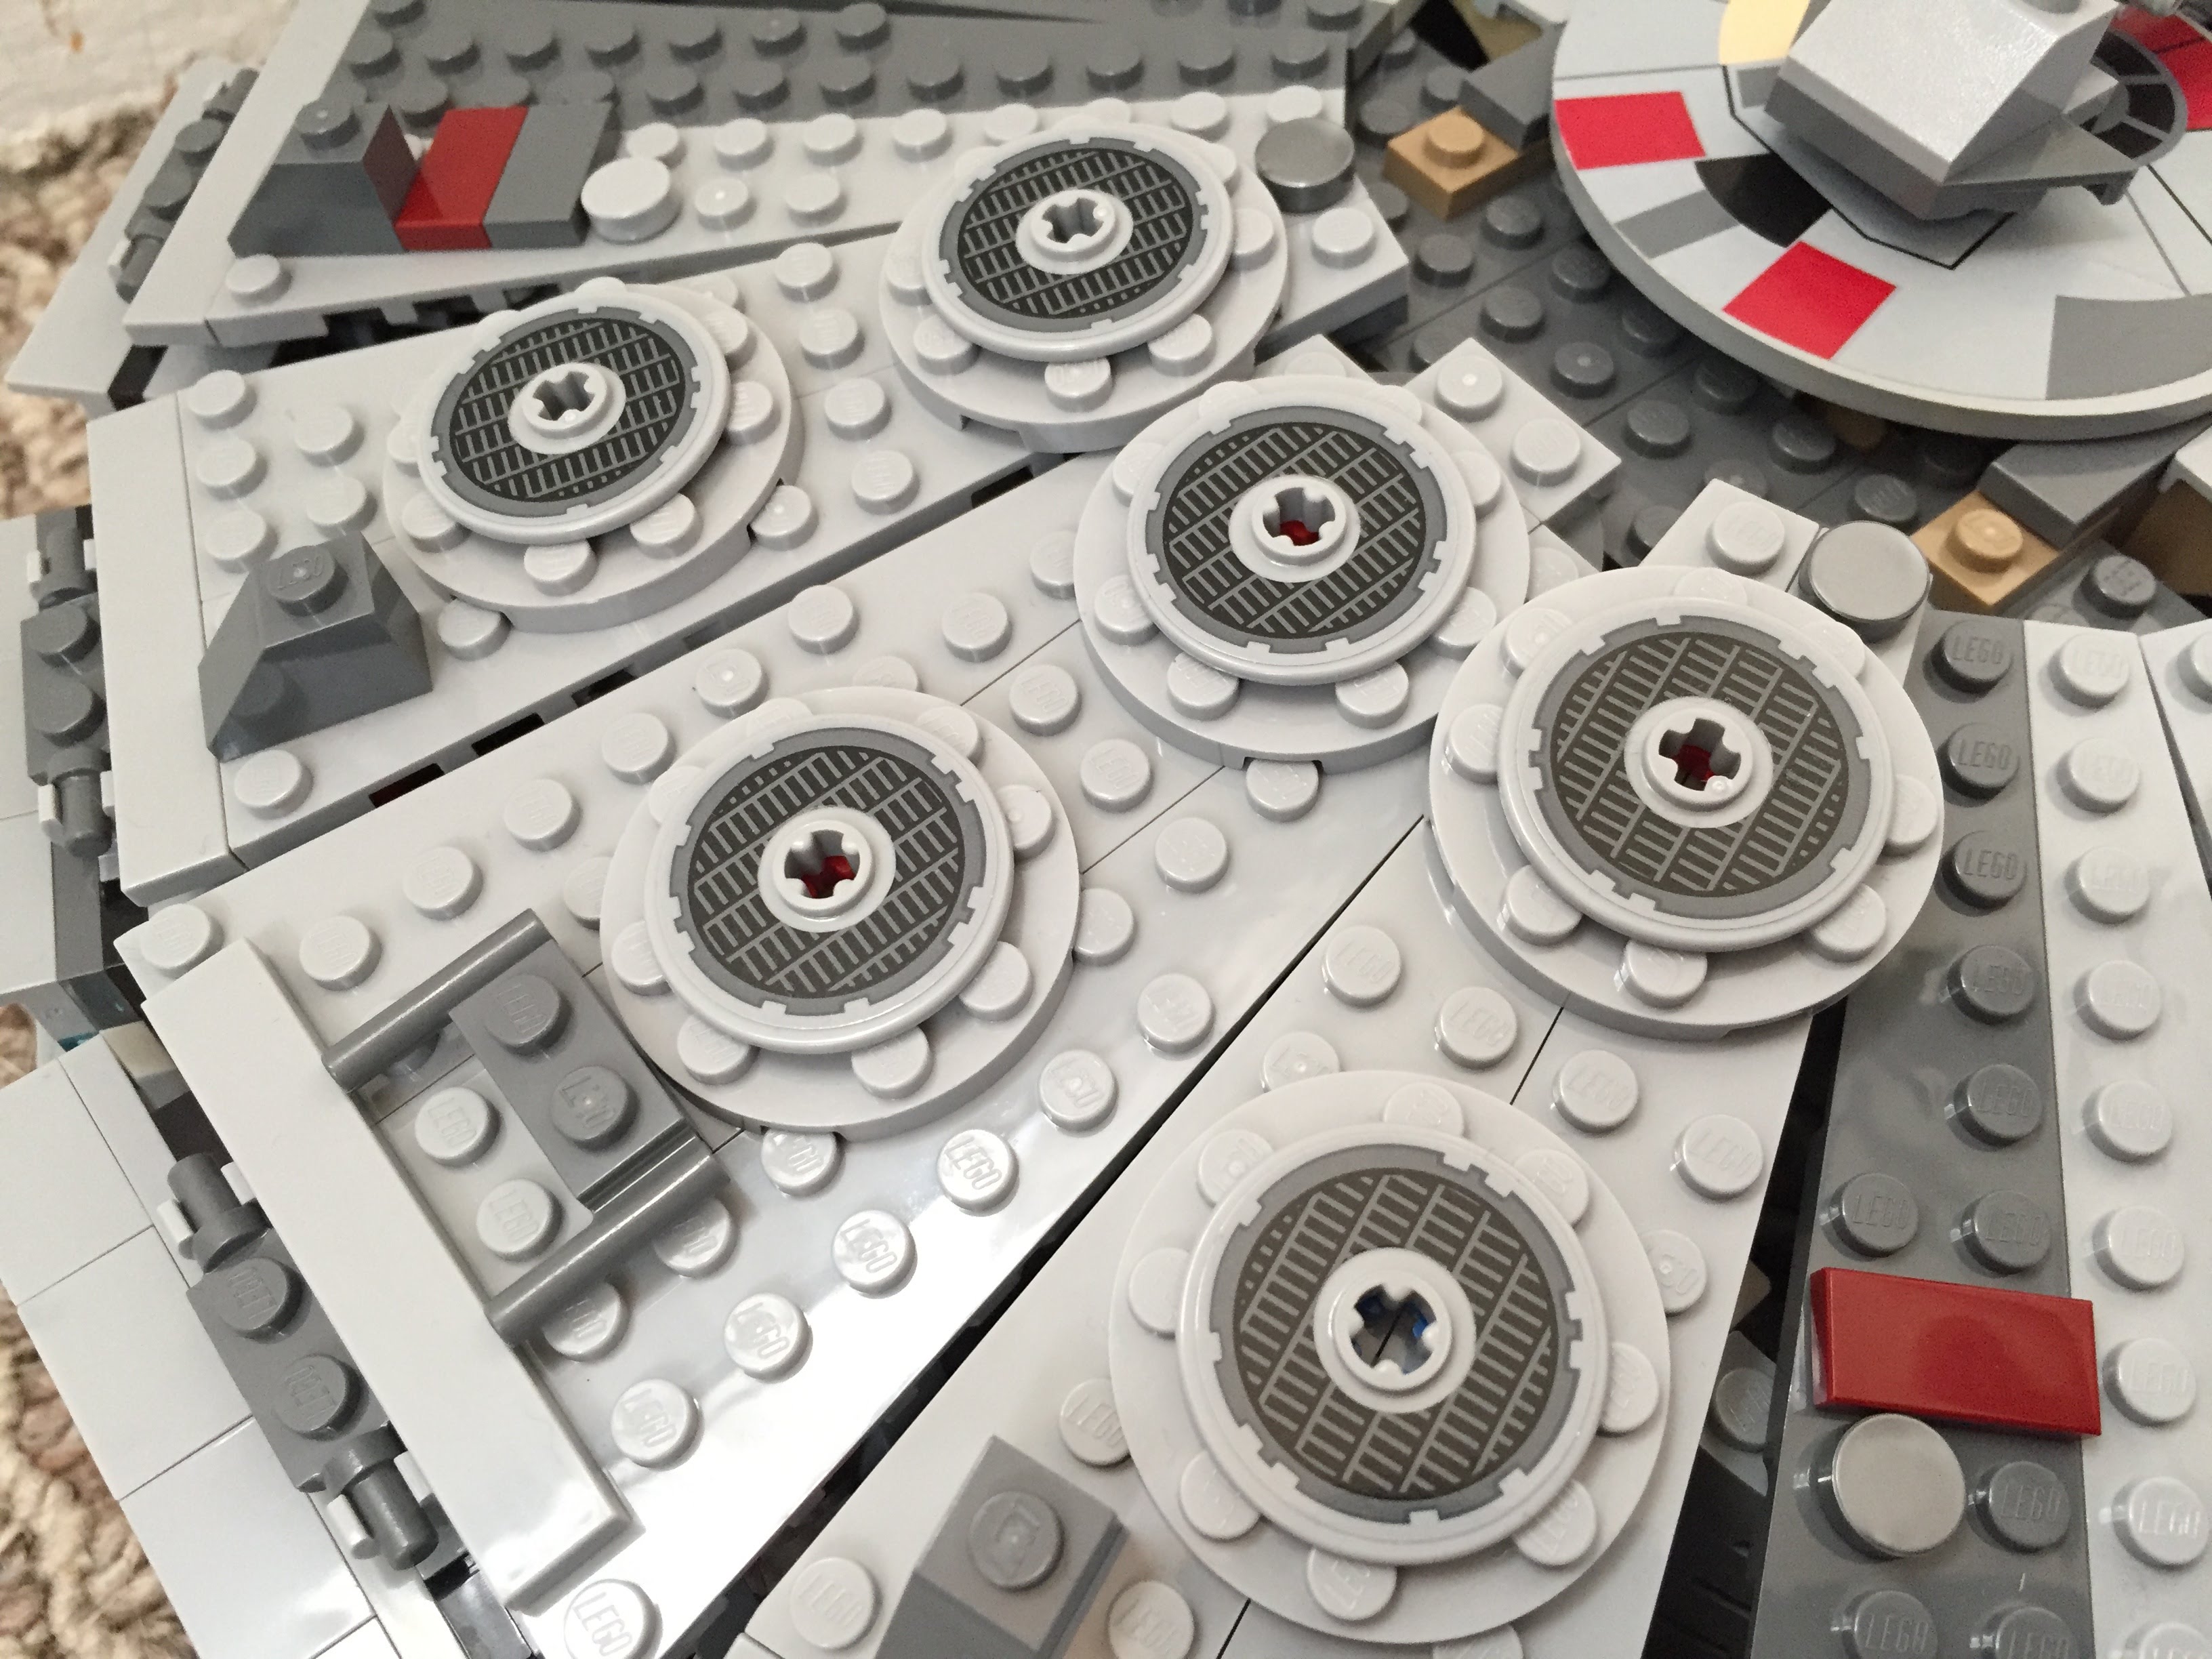
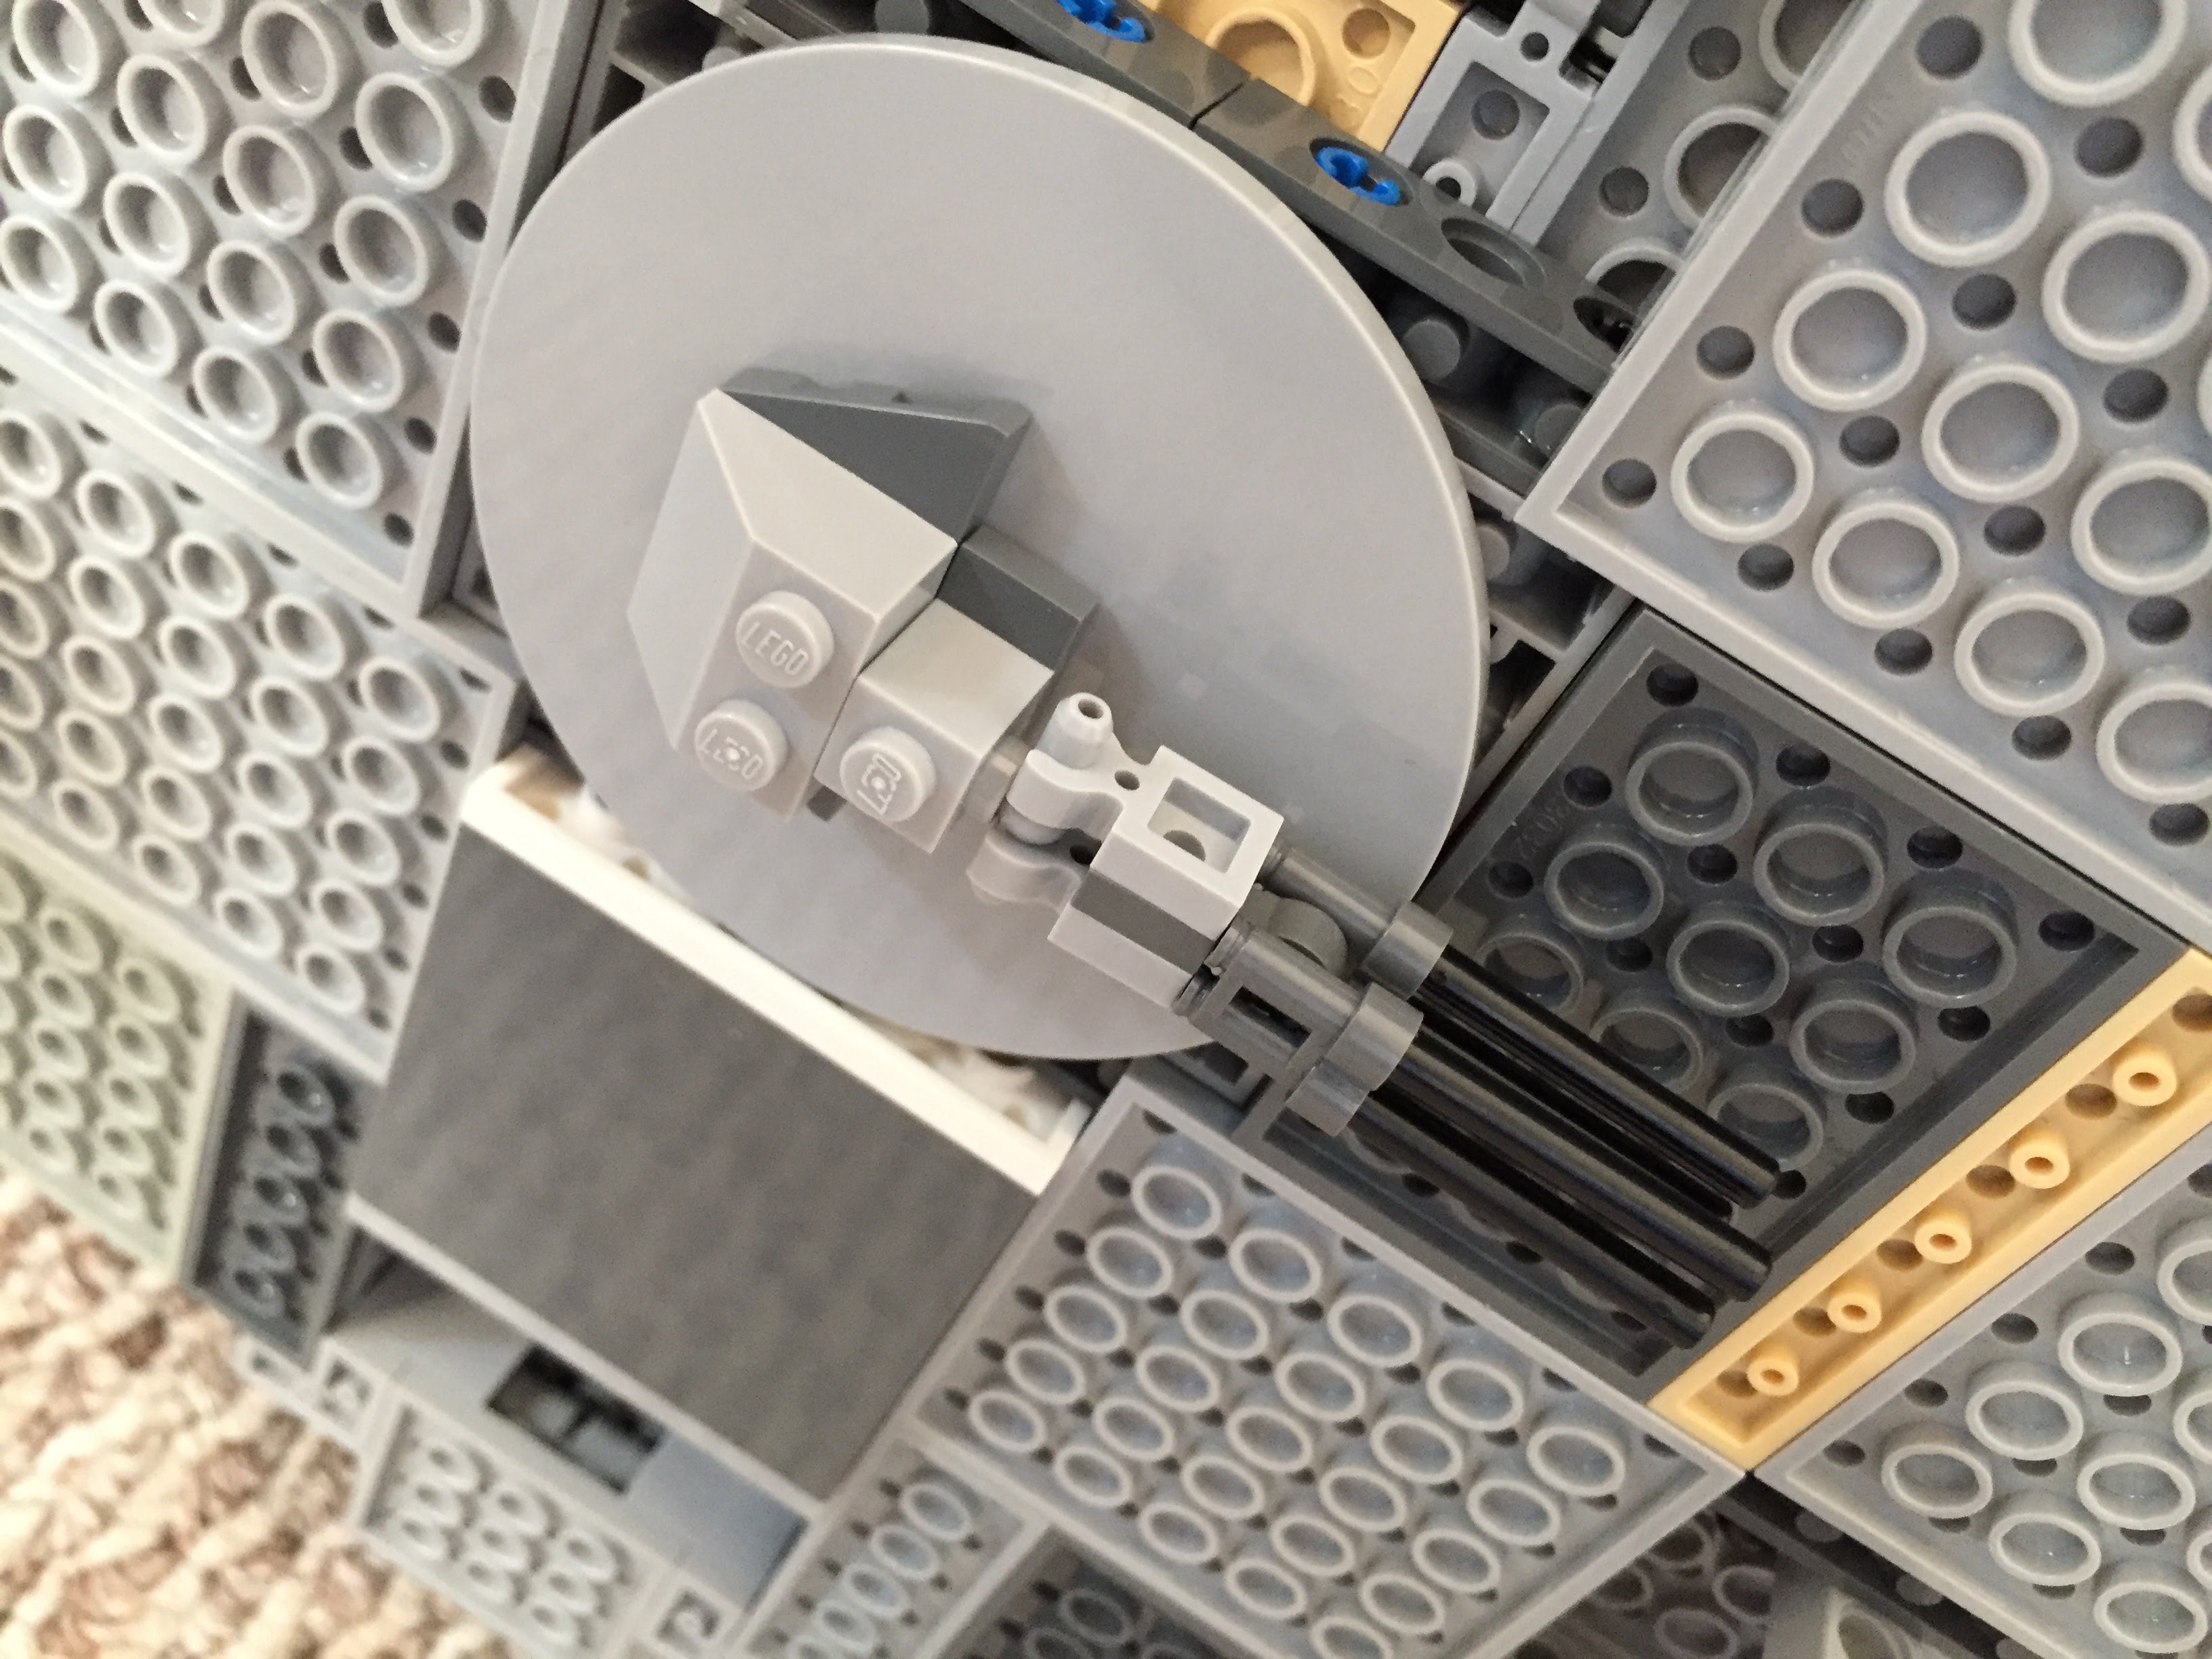
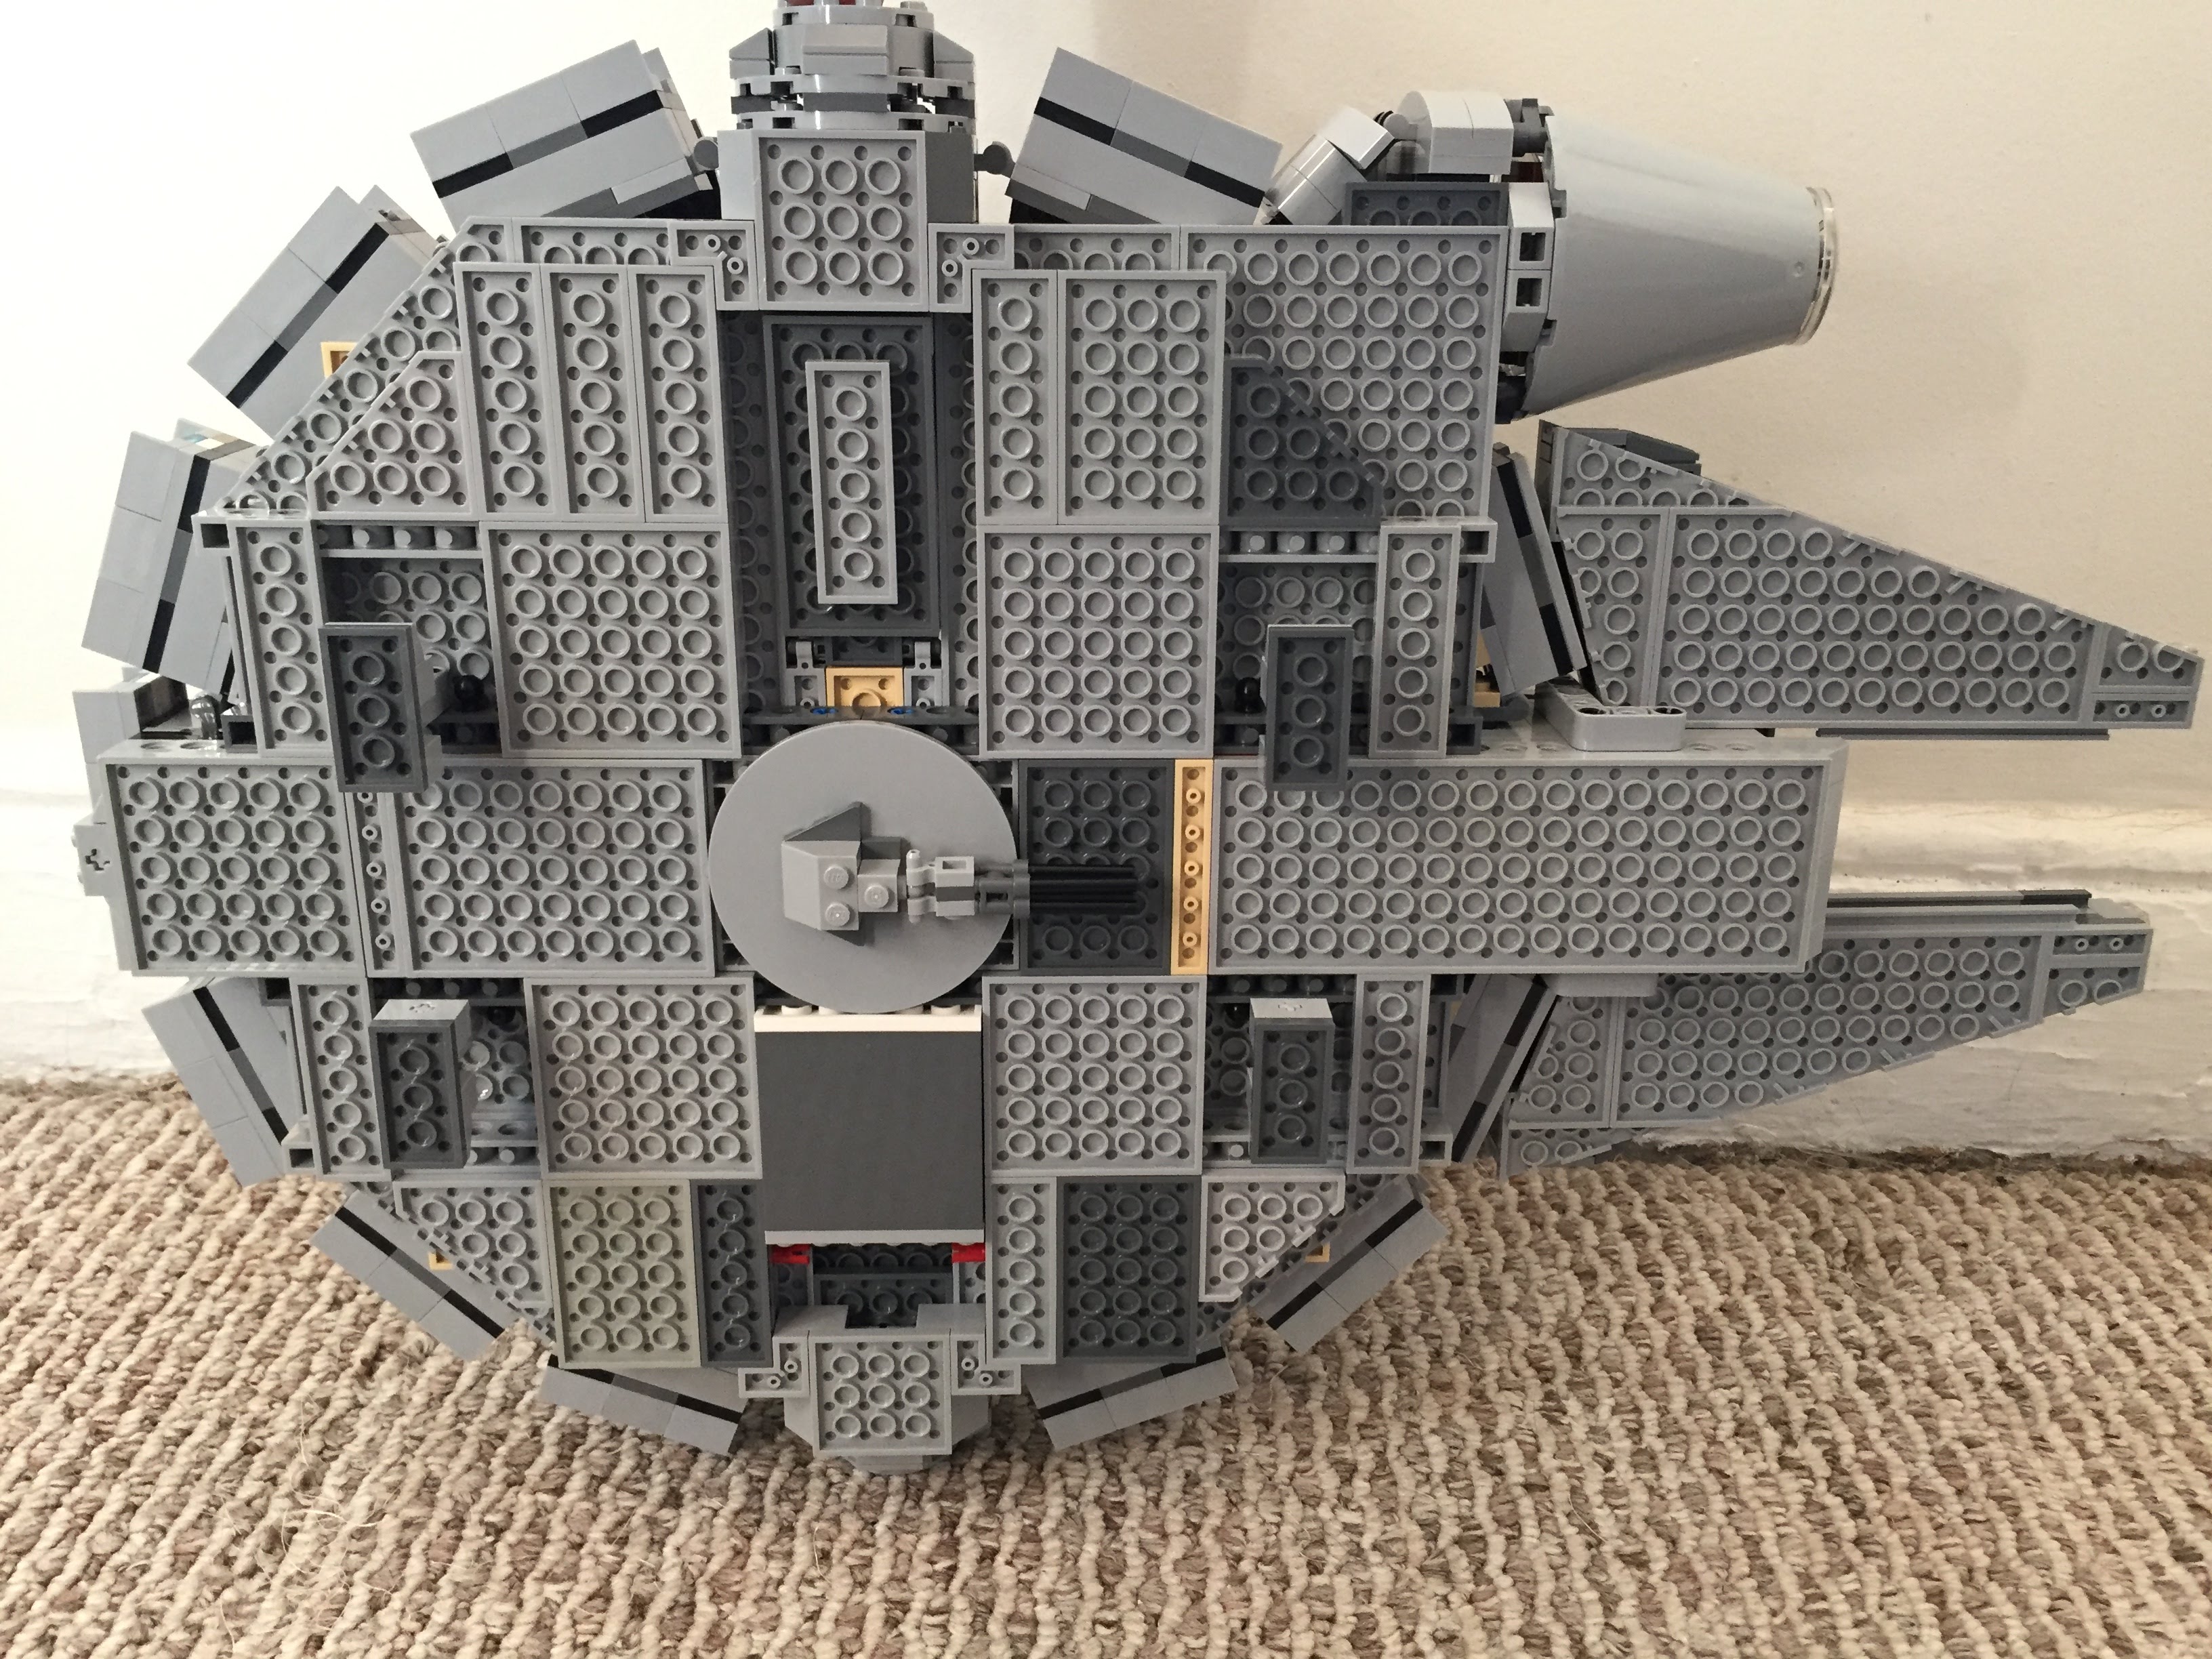
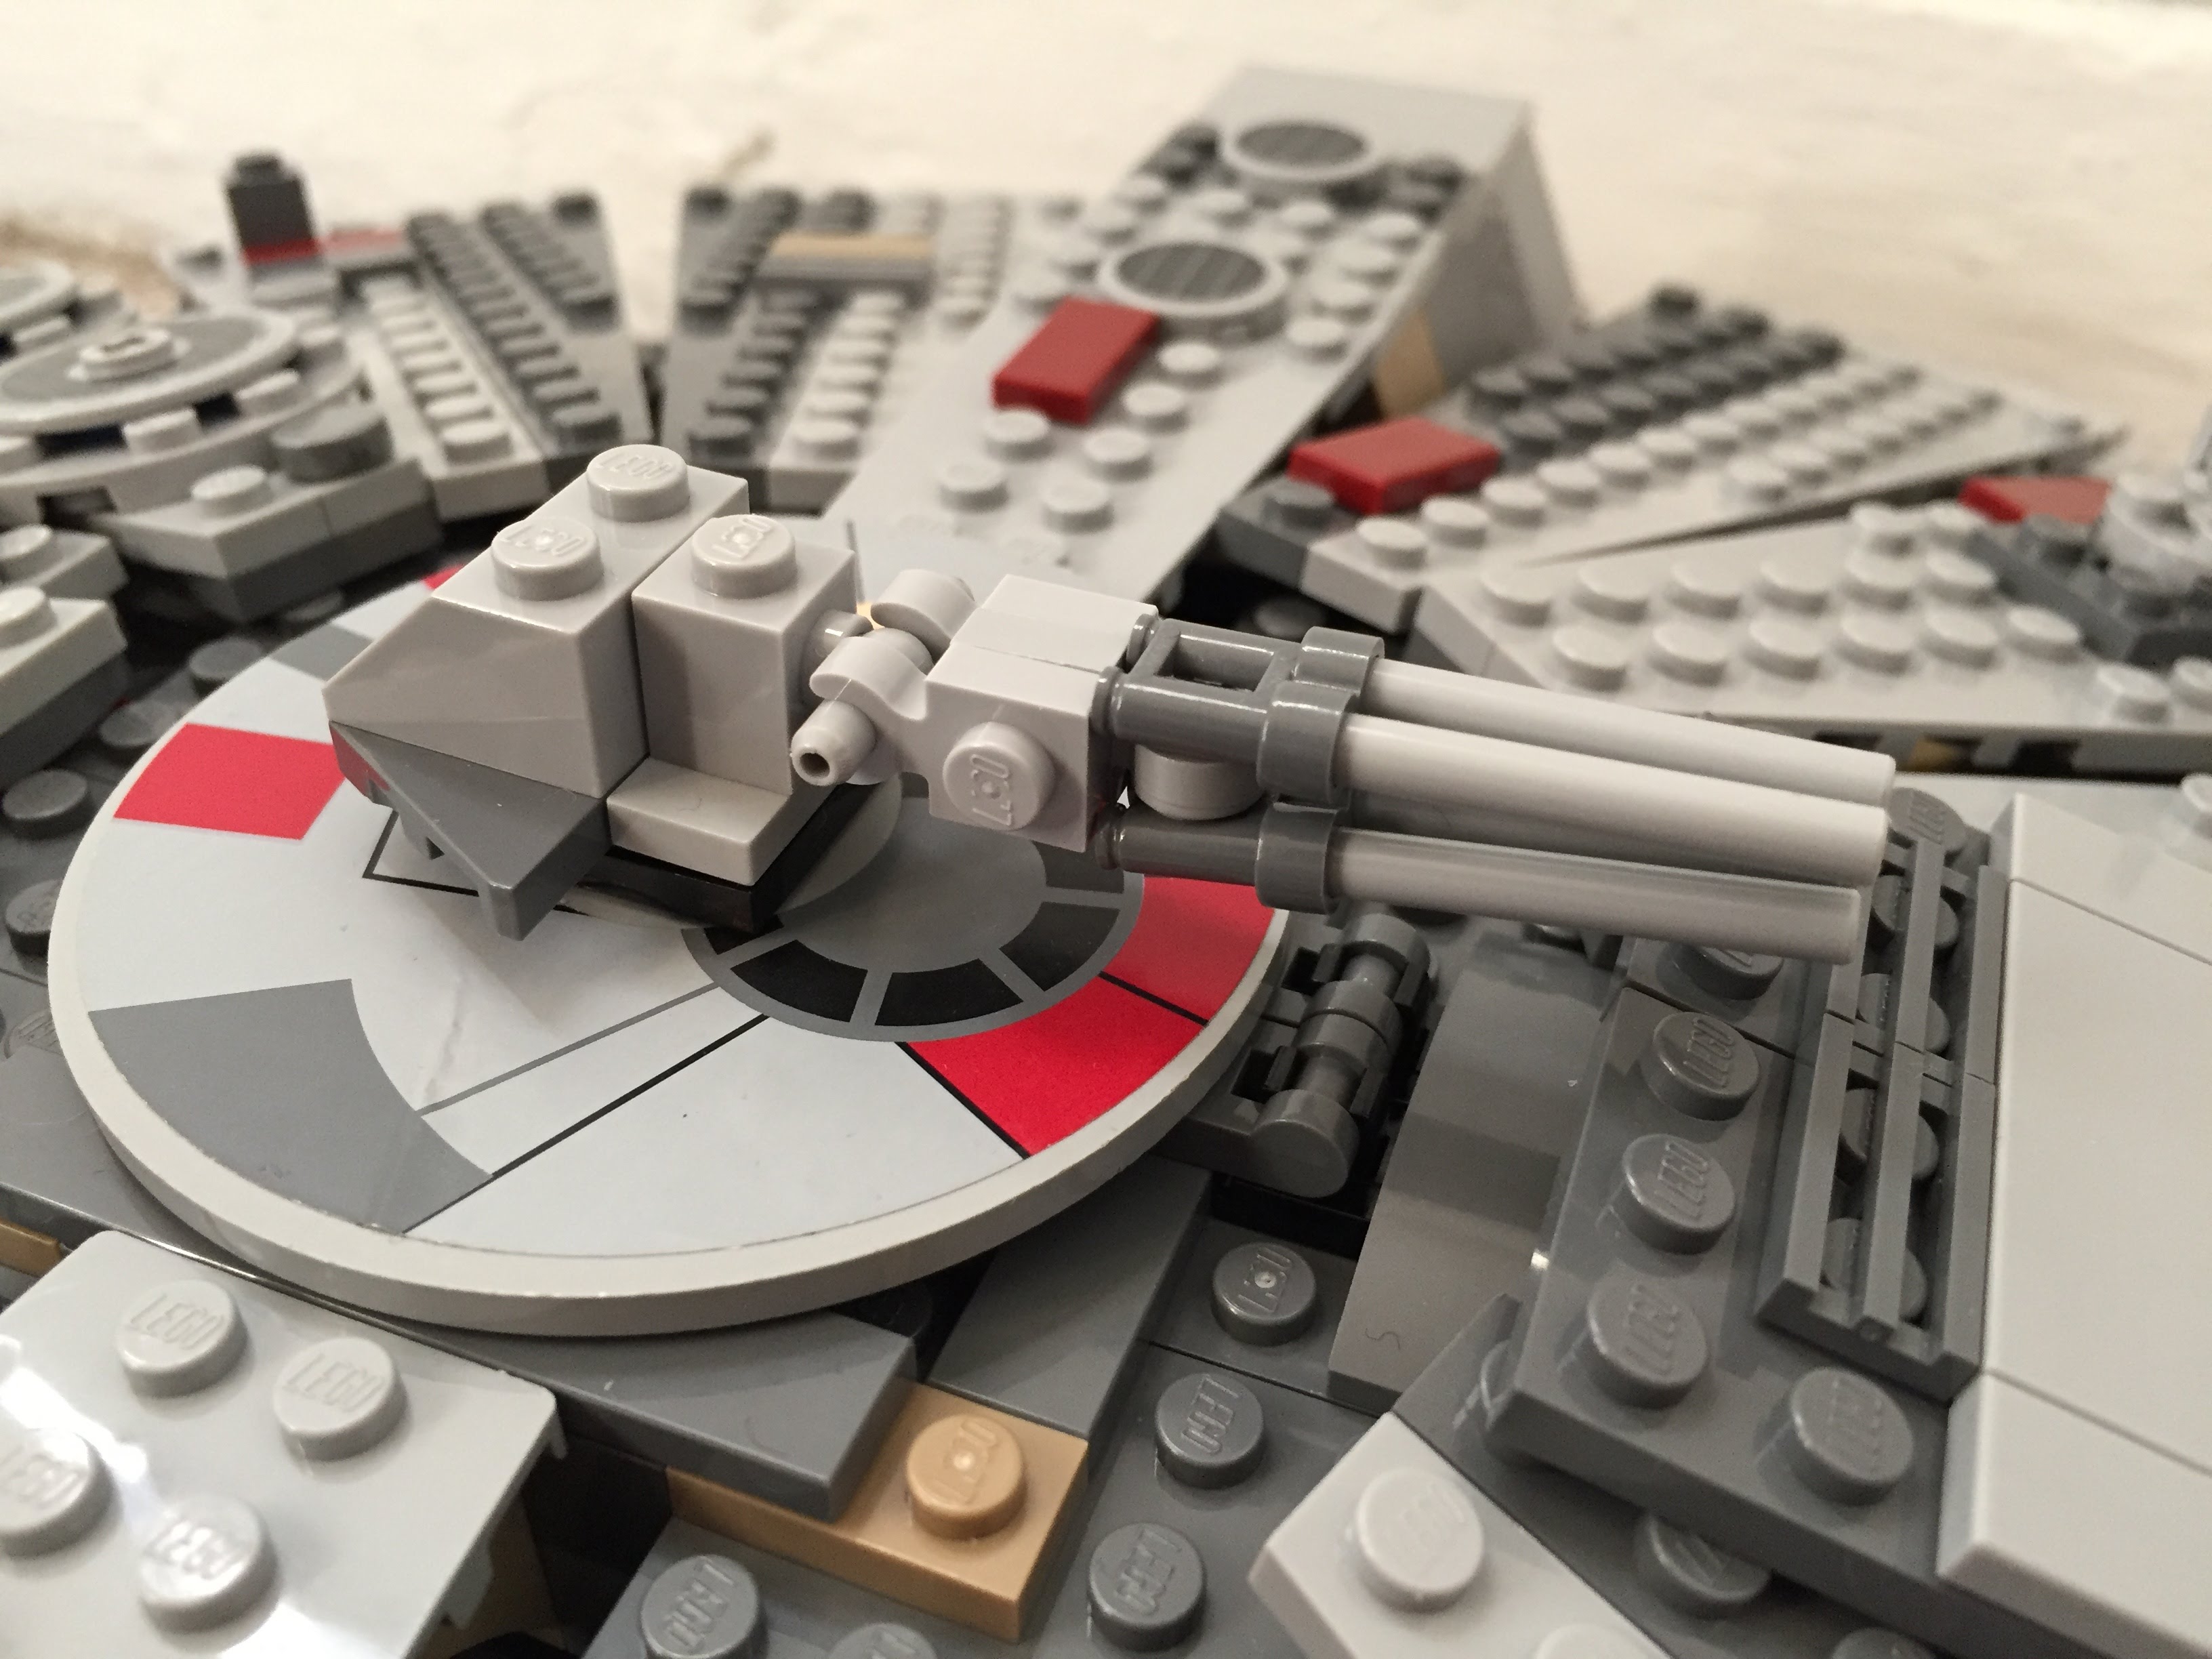
    Inspired by Flail’s mods on Brickshelf again, I built these lower profile top and bottom guns. I beefed up the dorsal venting system by putting Plate Round 4X4 With Ø16Mm Hole with a Plate 2X2 Round in its center. The Disk Ø24 with vent sticker connects to the round plate in the center. The bottom of the falcon is buttoned up with plates covering the Technic support system–some of which I modified to remove the arm underneath the cockpit support system and added a staggered rounding to the four corners.
    IMG_2994 1.jpg

    IMG_3035 1.jpgIMG_3040 1.jpgIMG_3021 1.jpg

    IMG_2993 1.jpgIMG_2996 1.jpgIMG_2995 1.jpg

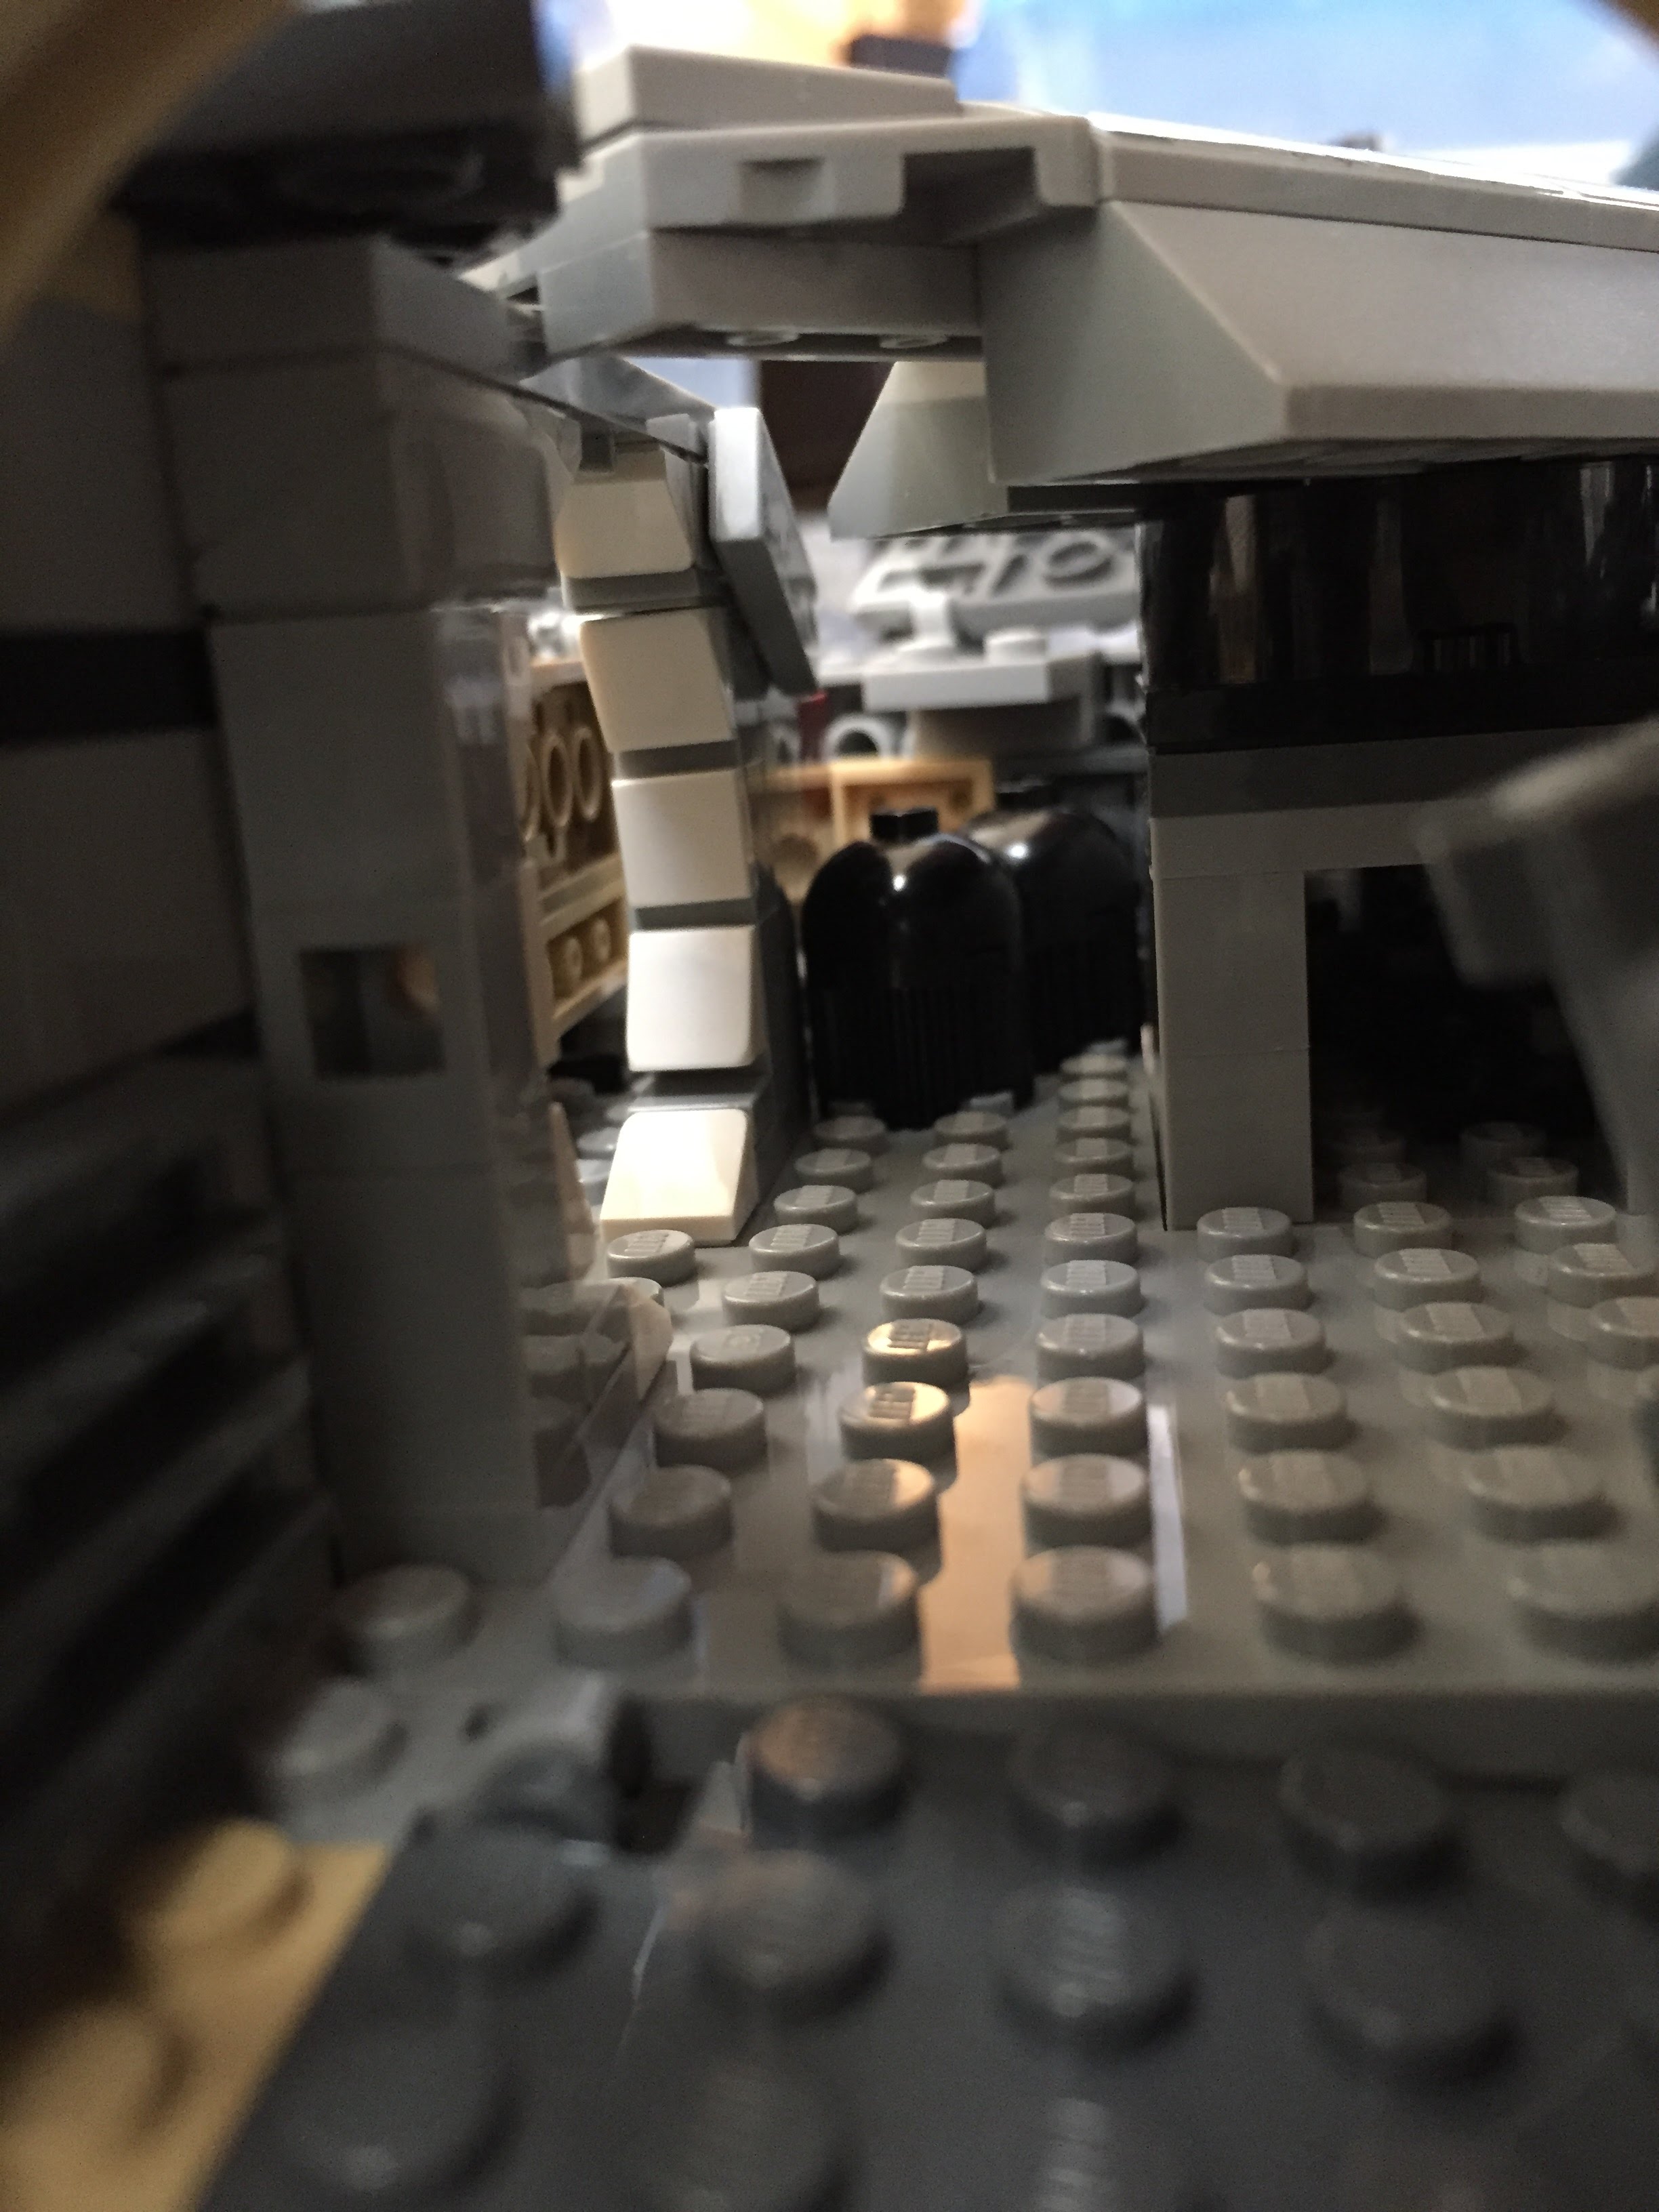
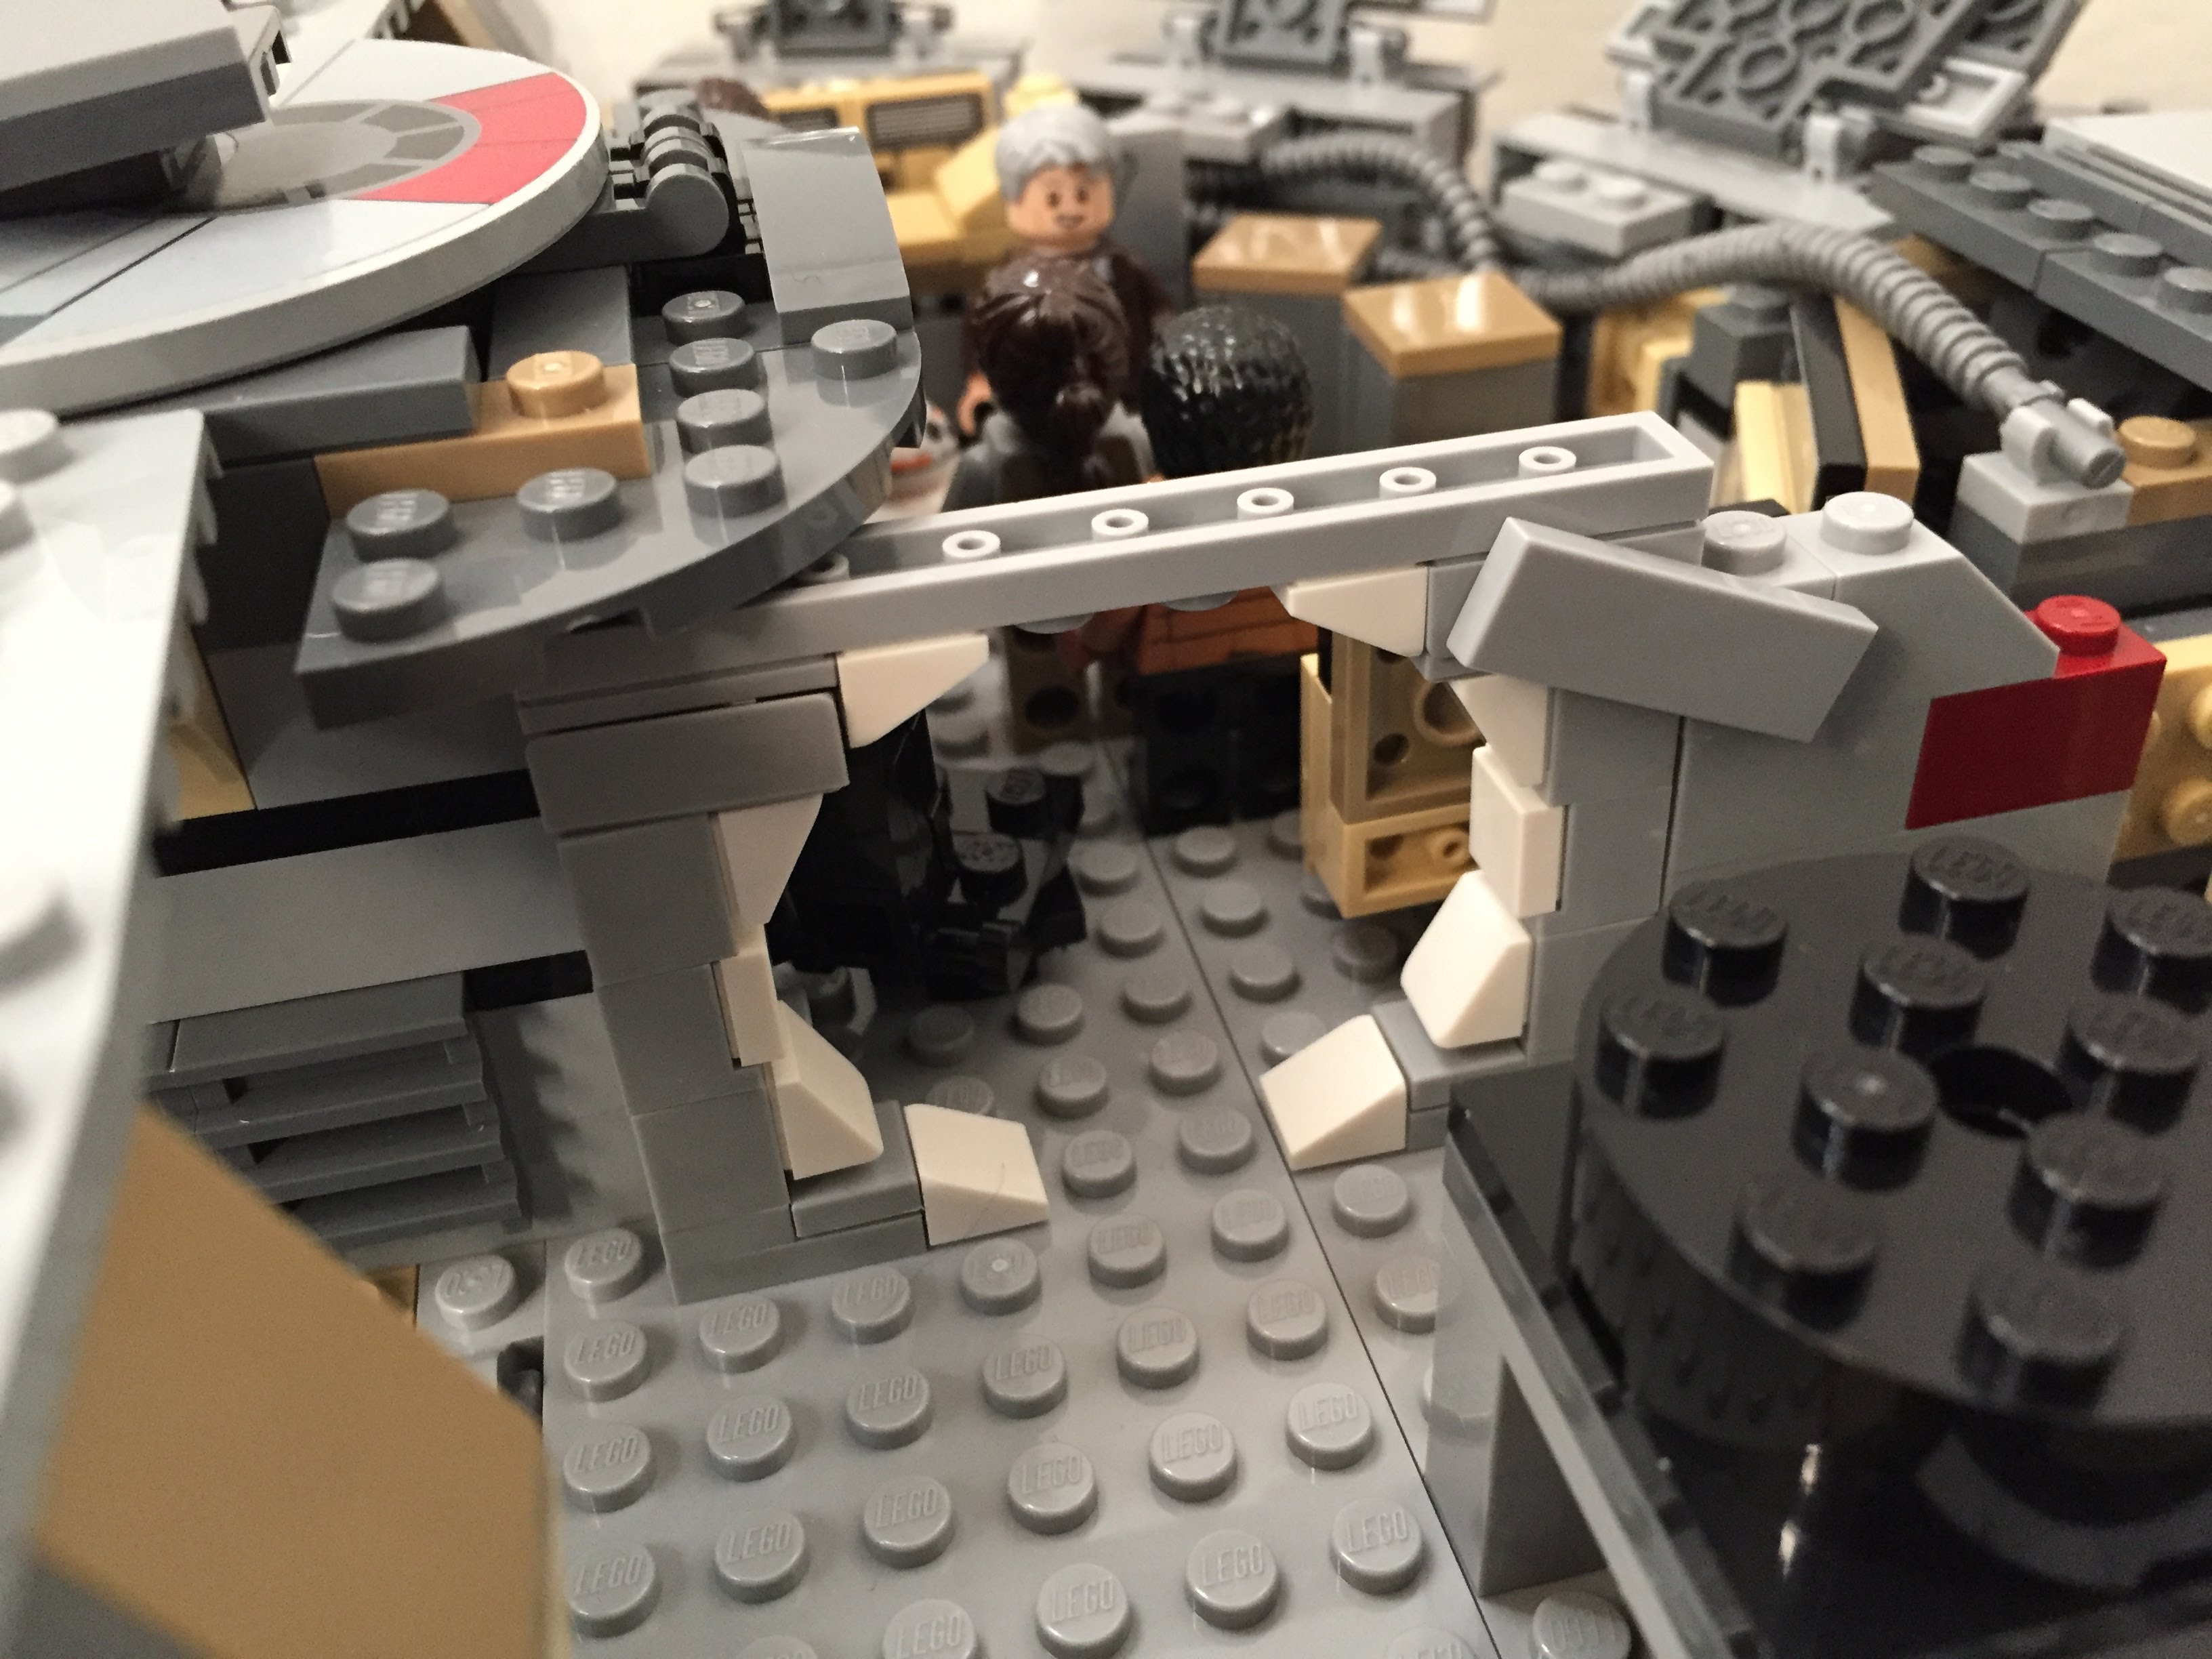
    Main Hold Entrance, Nav Computer, and Dejarik Table

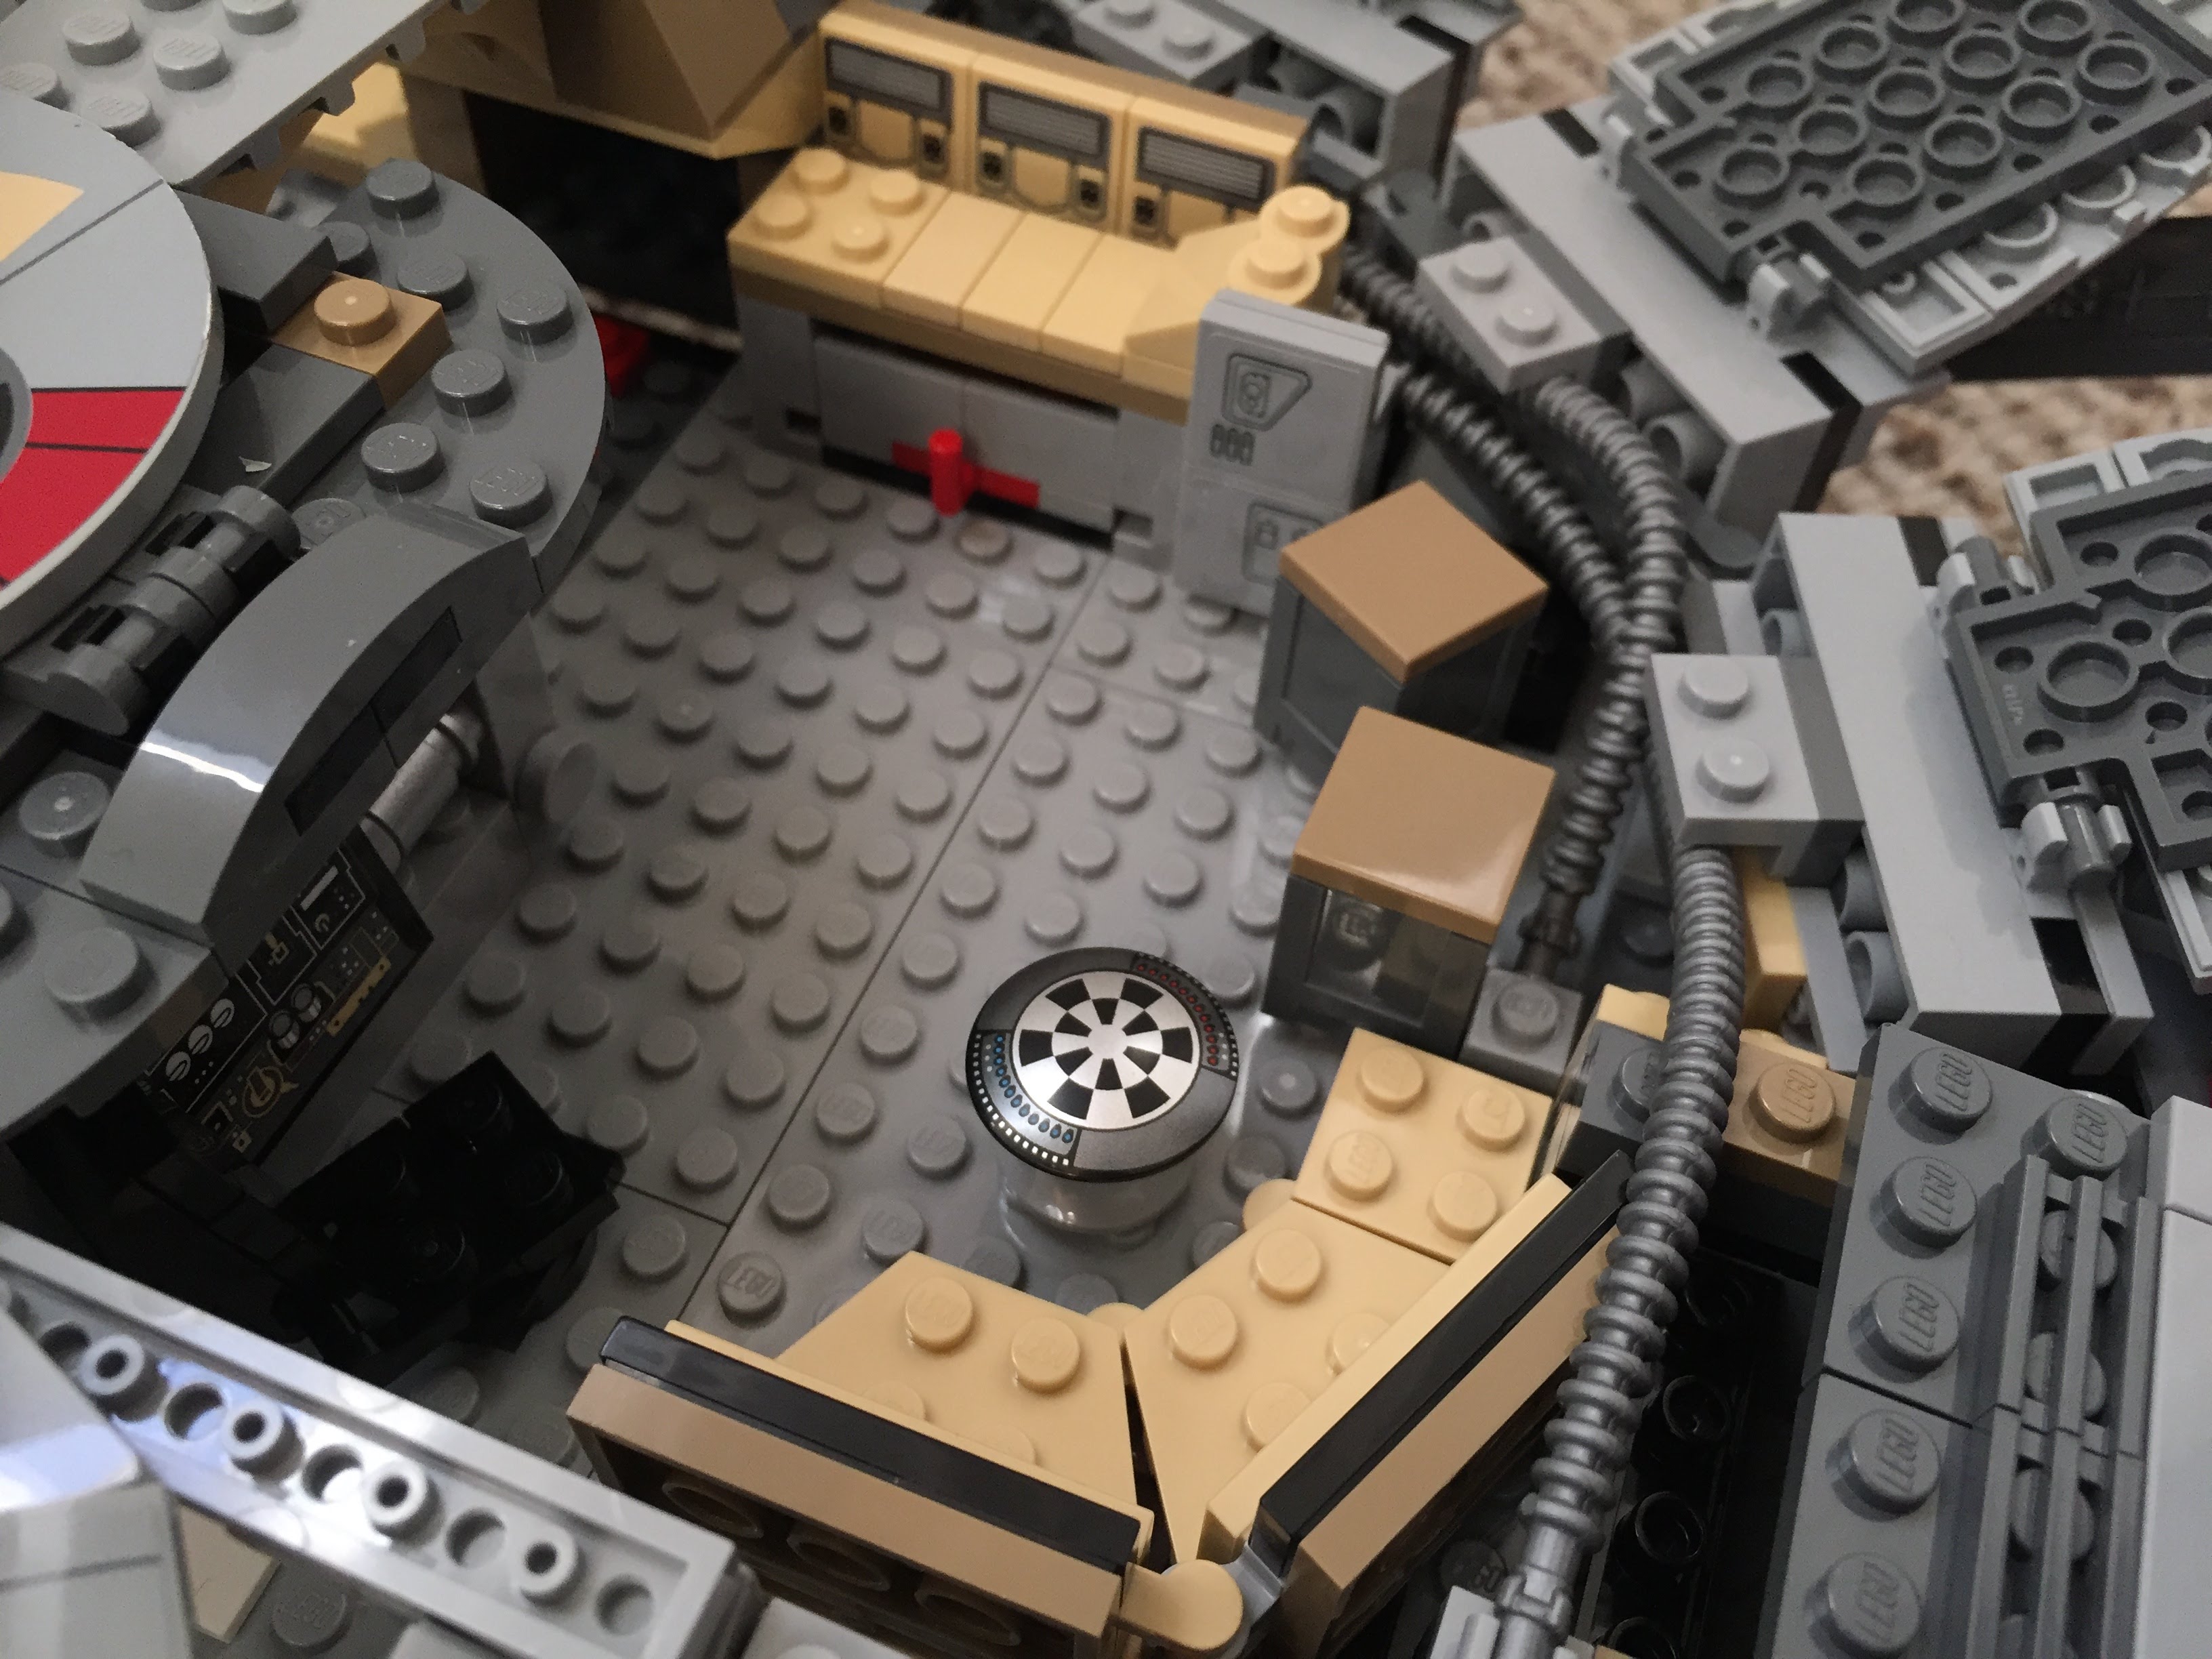
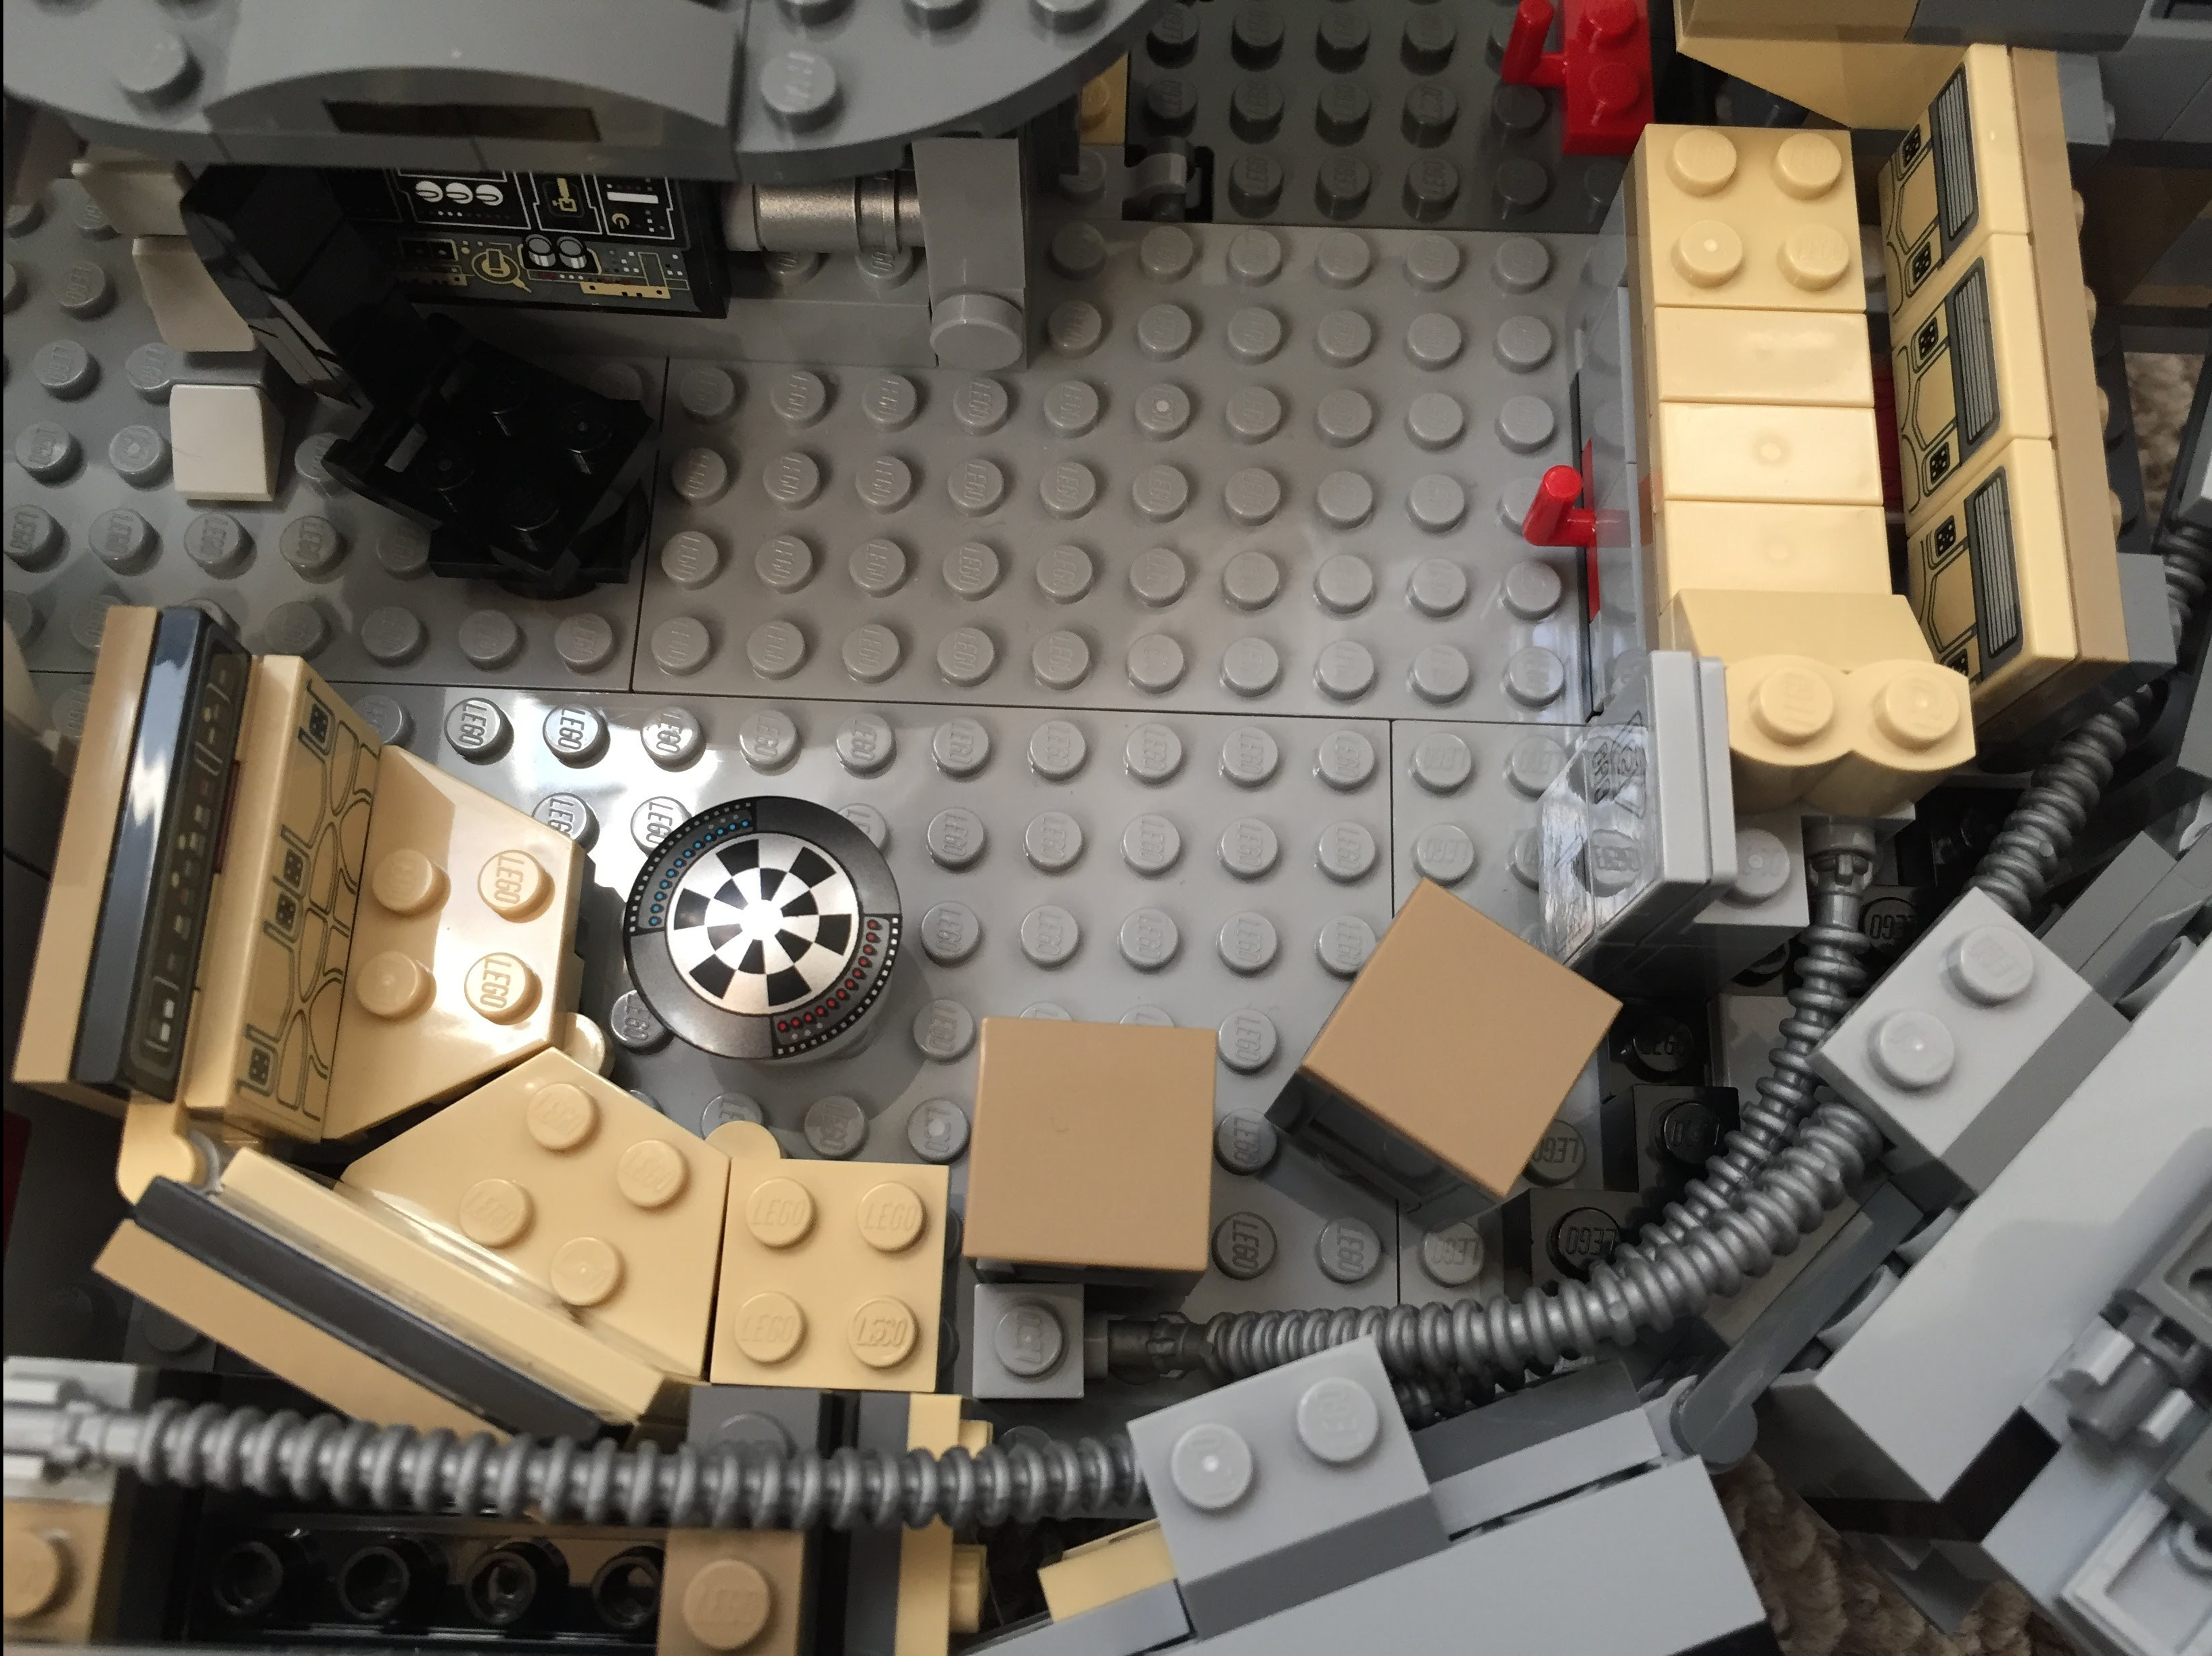
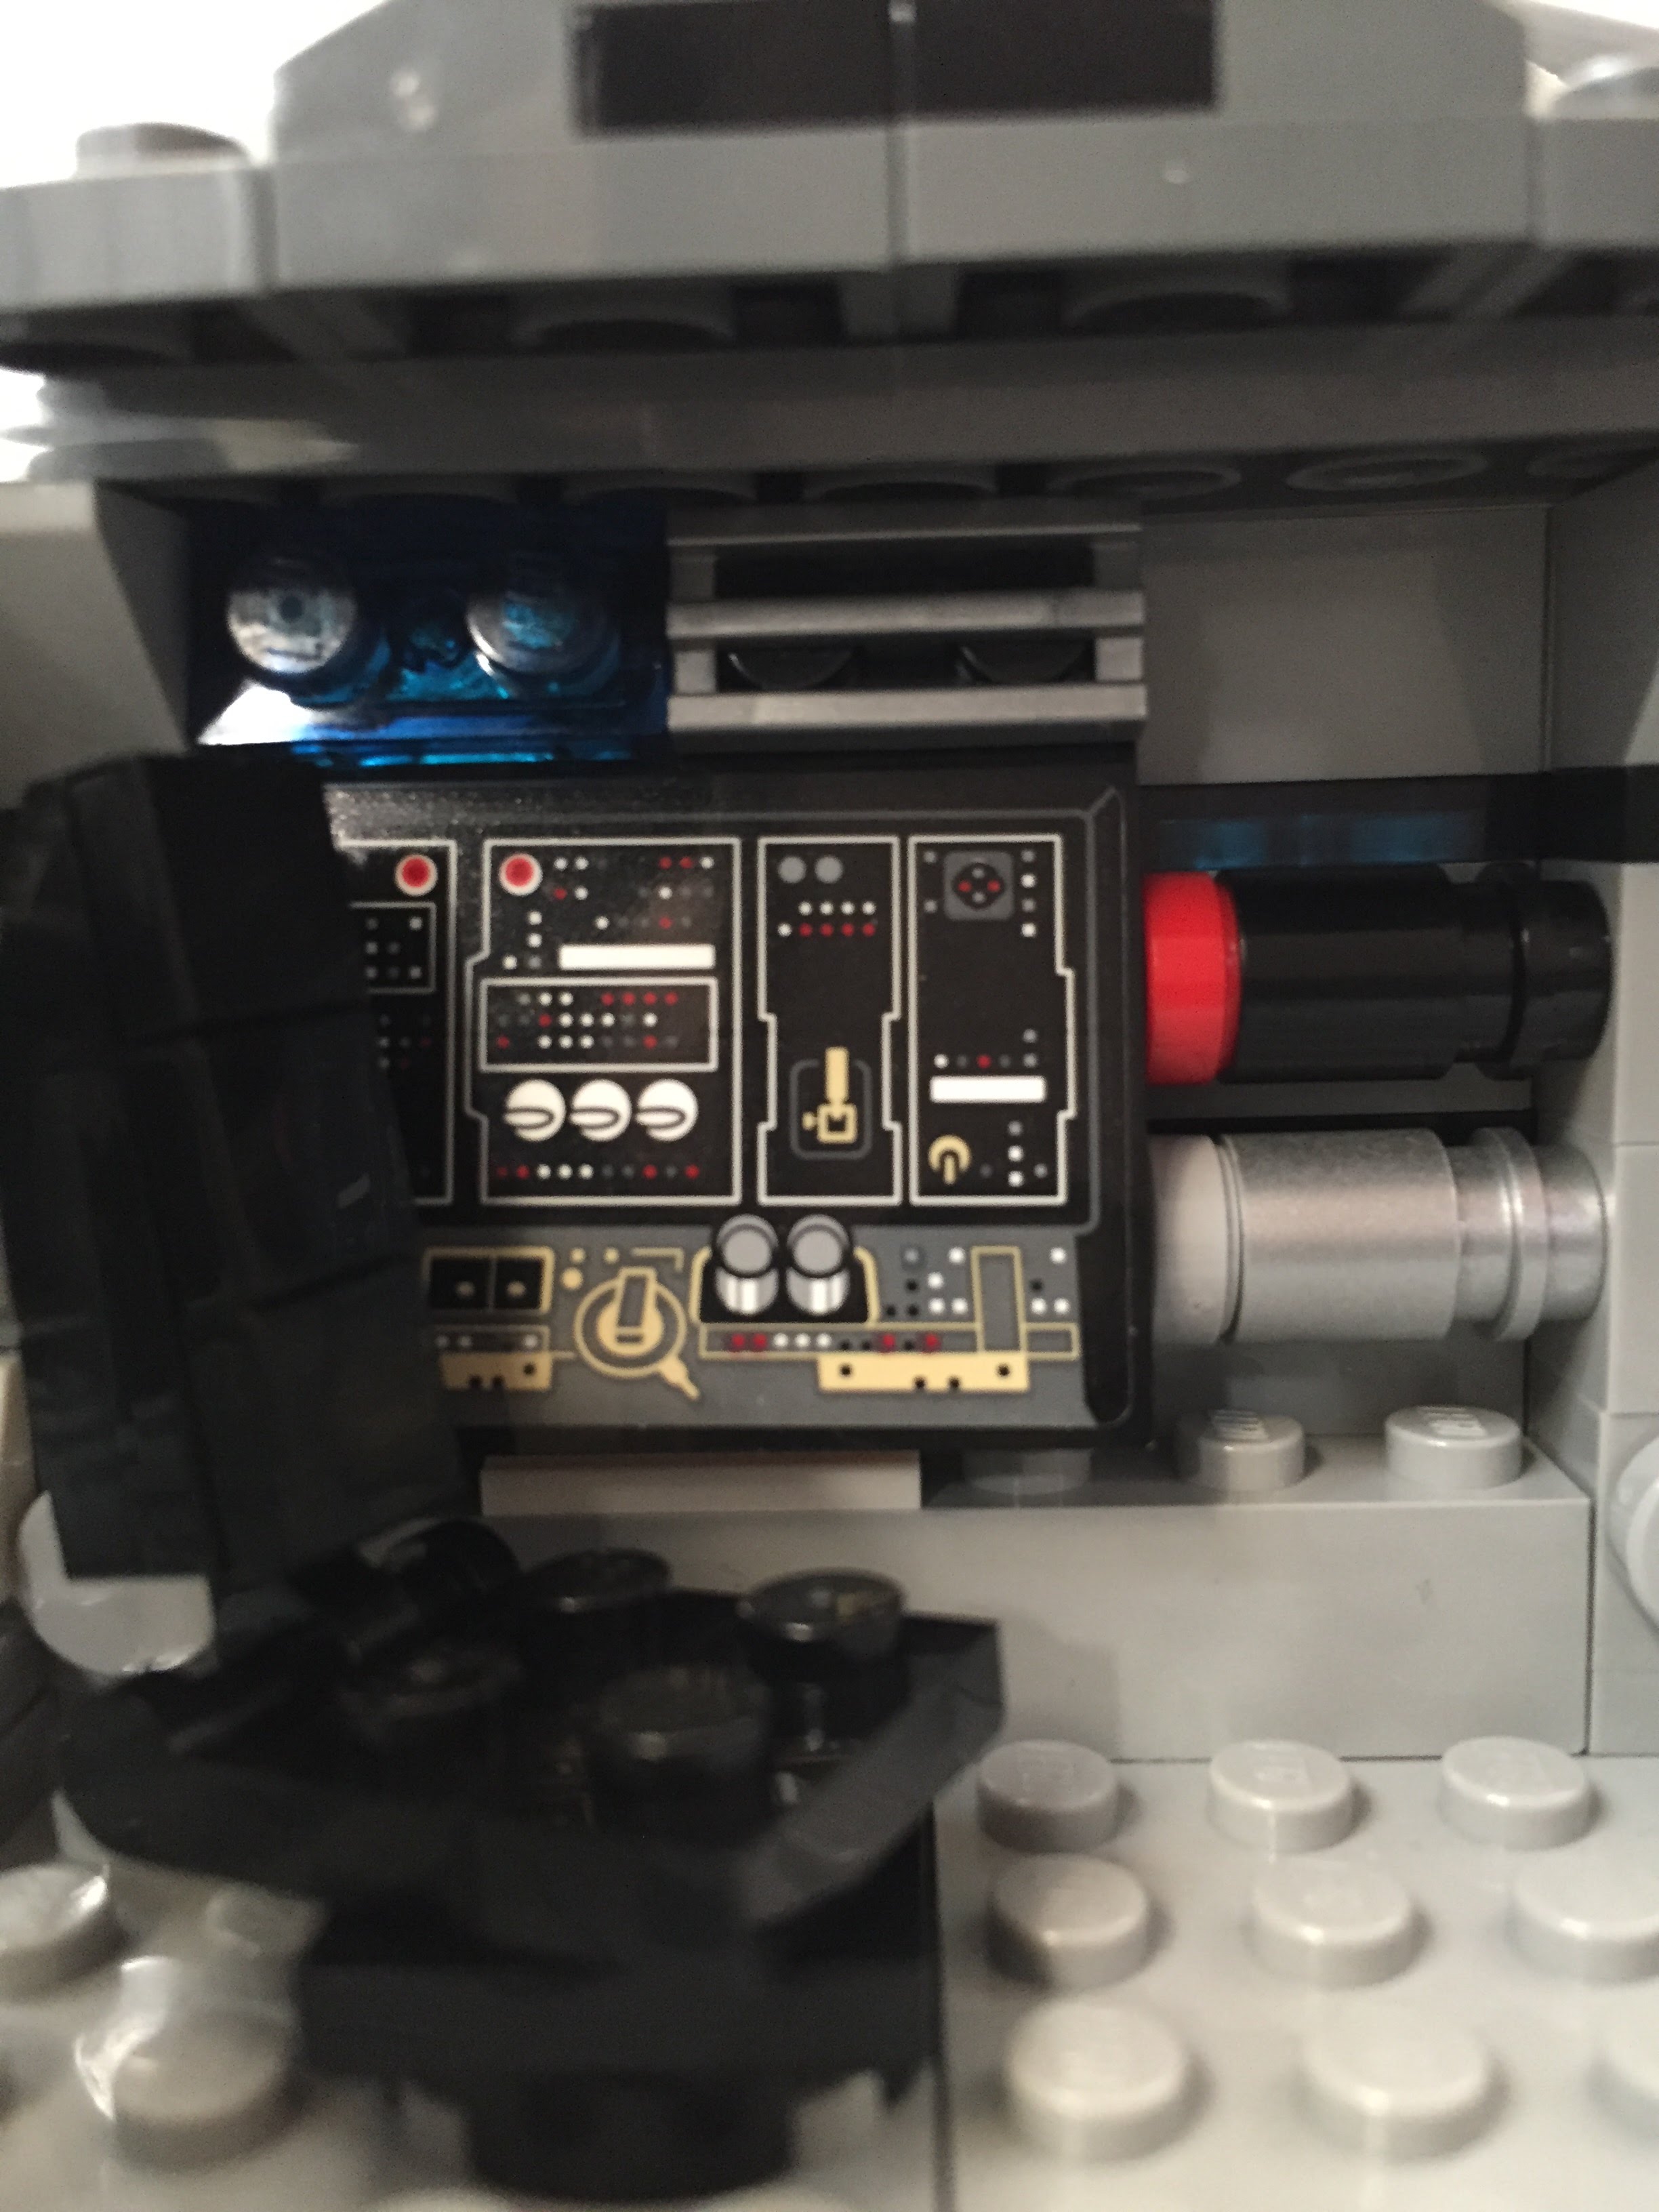
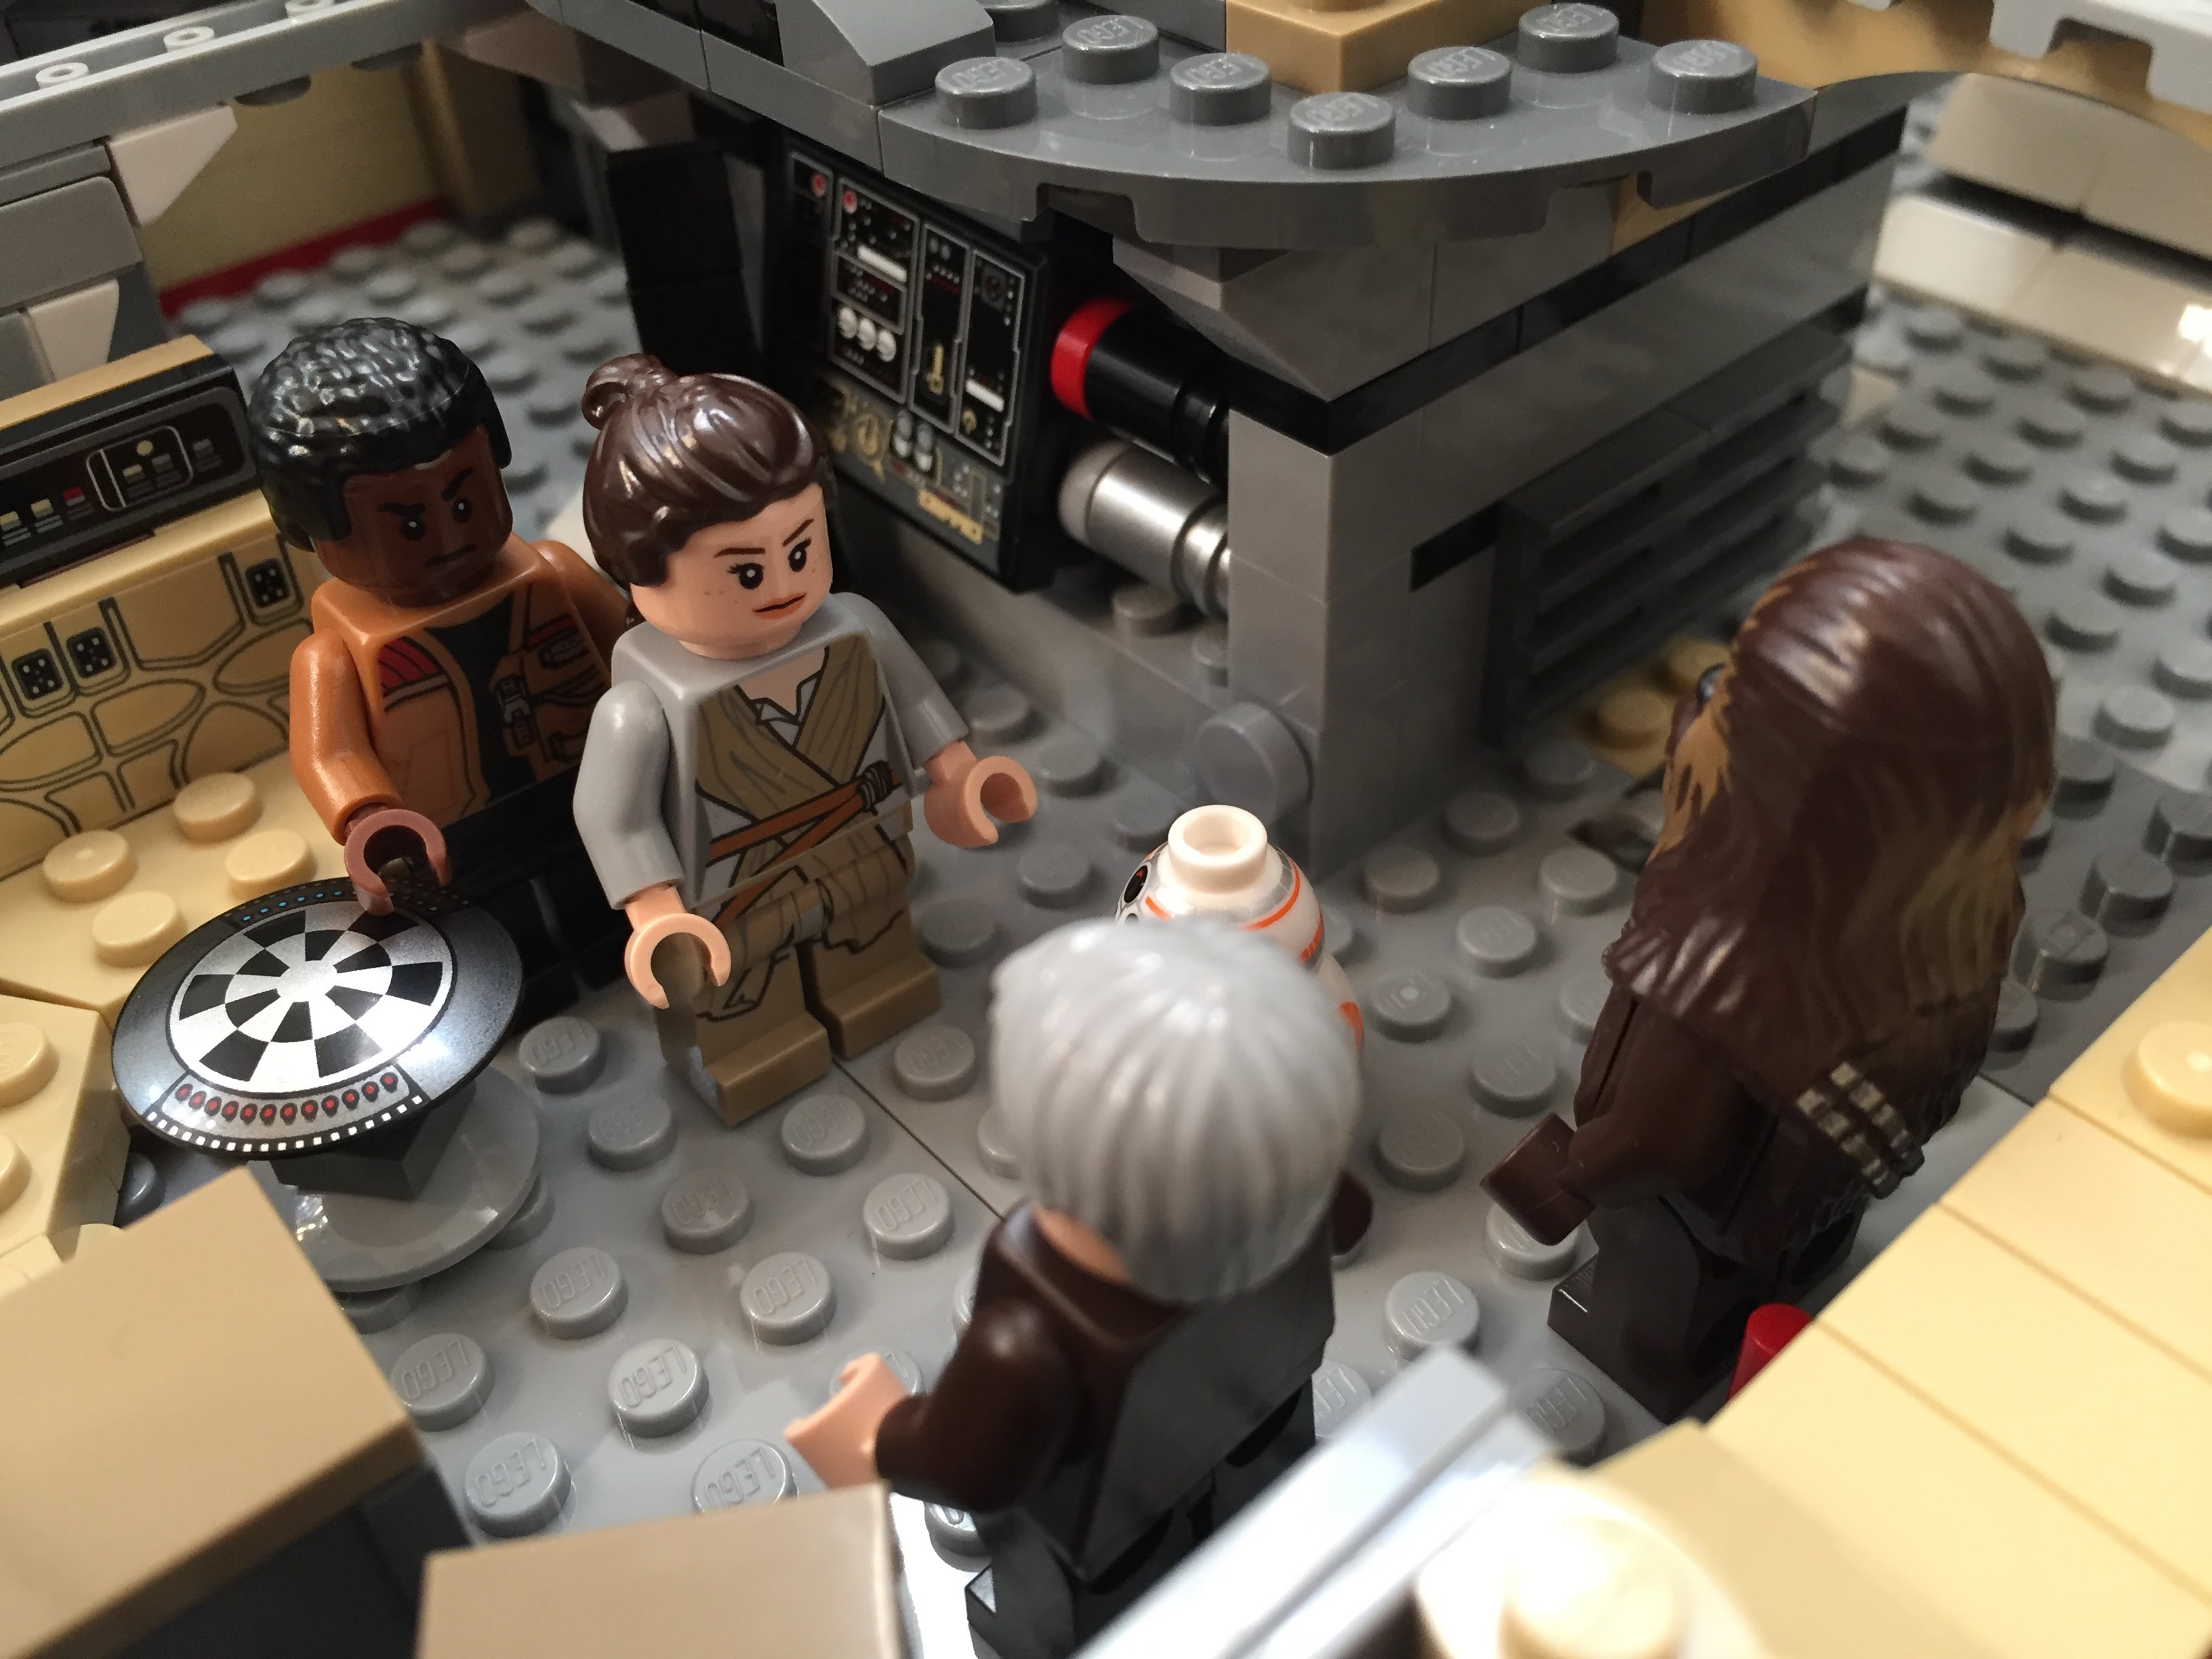
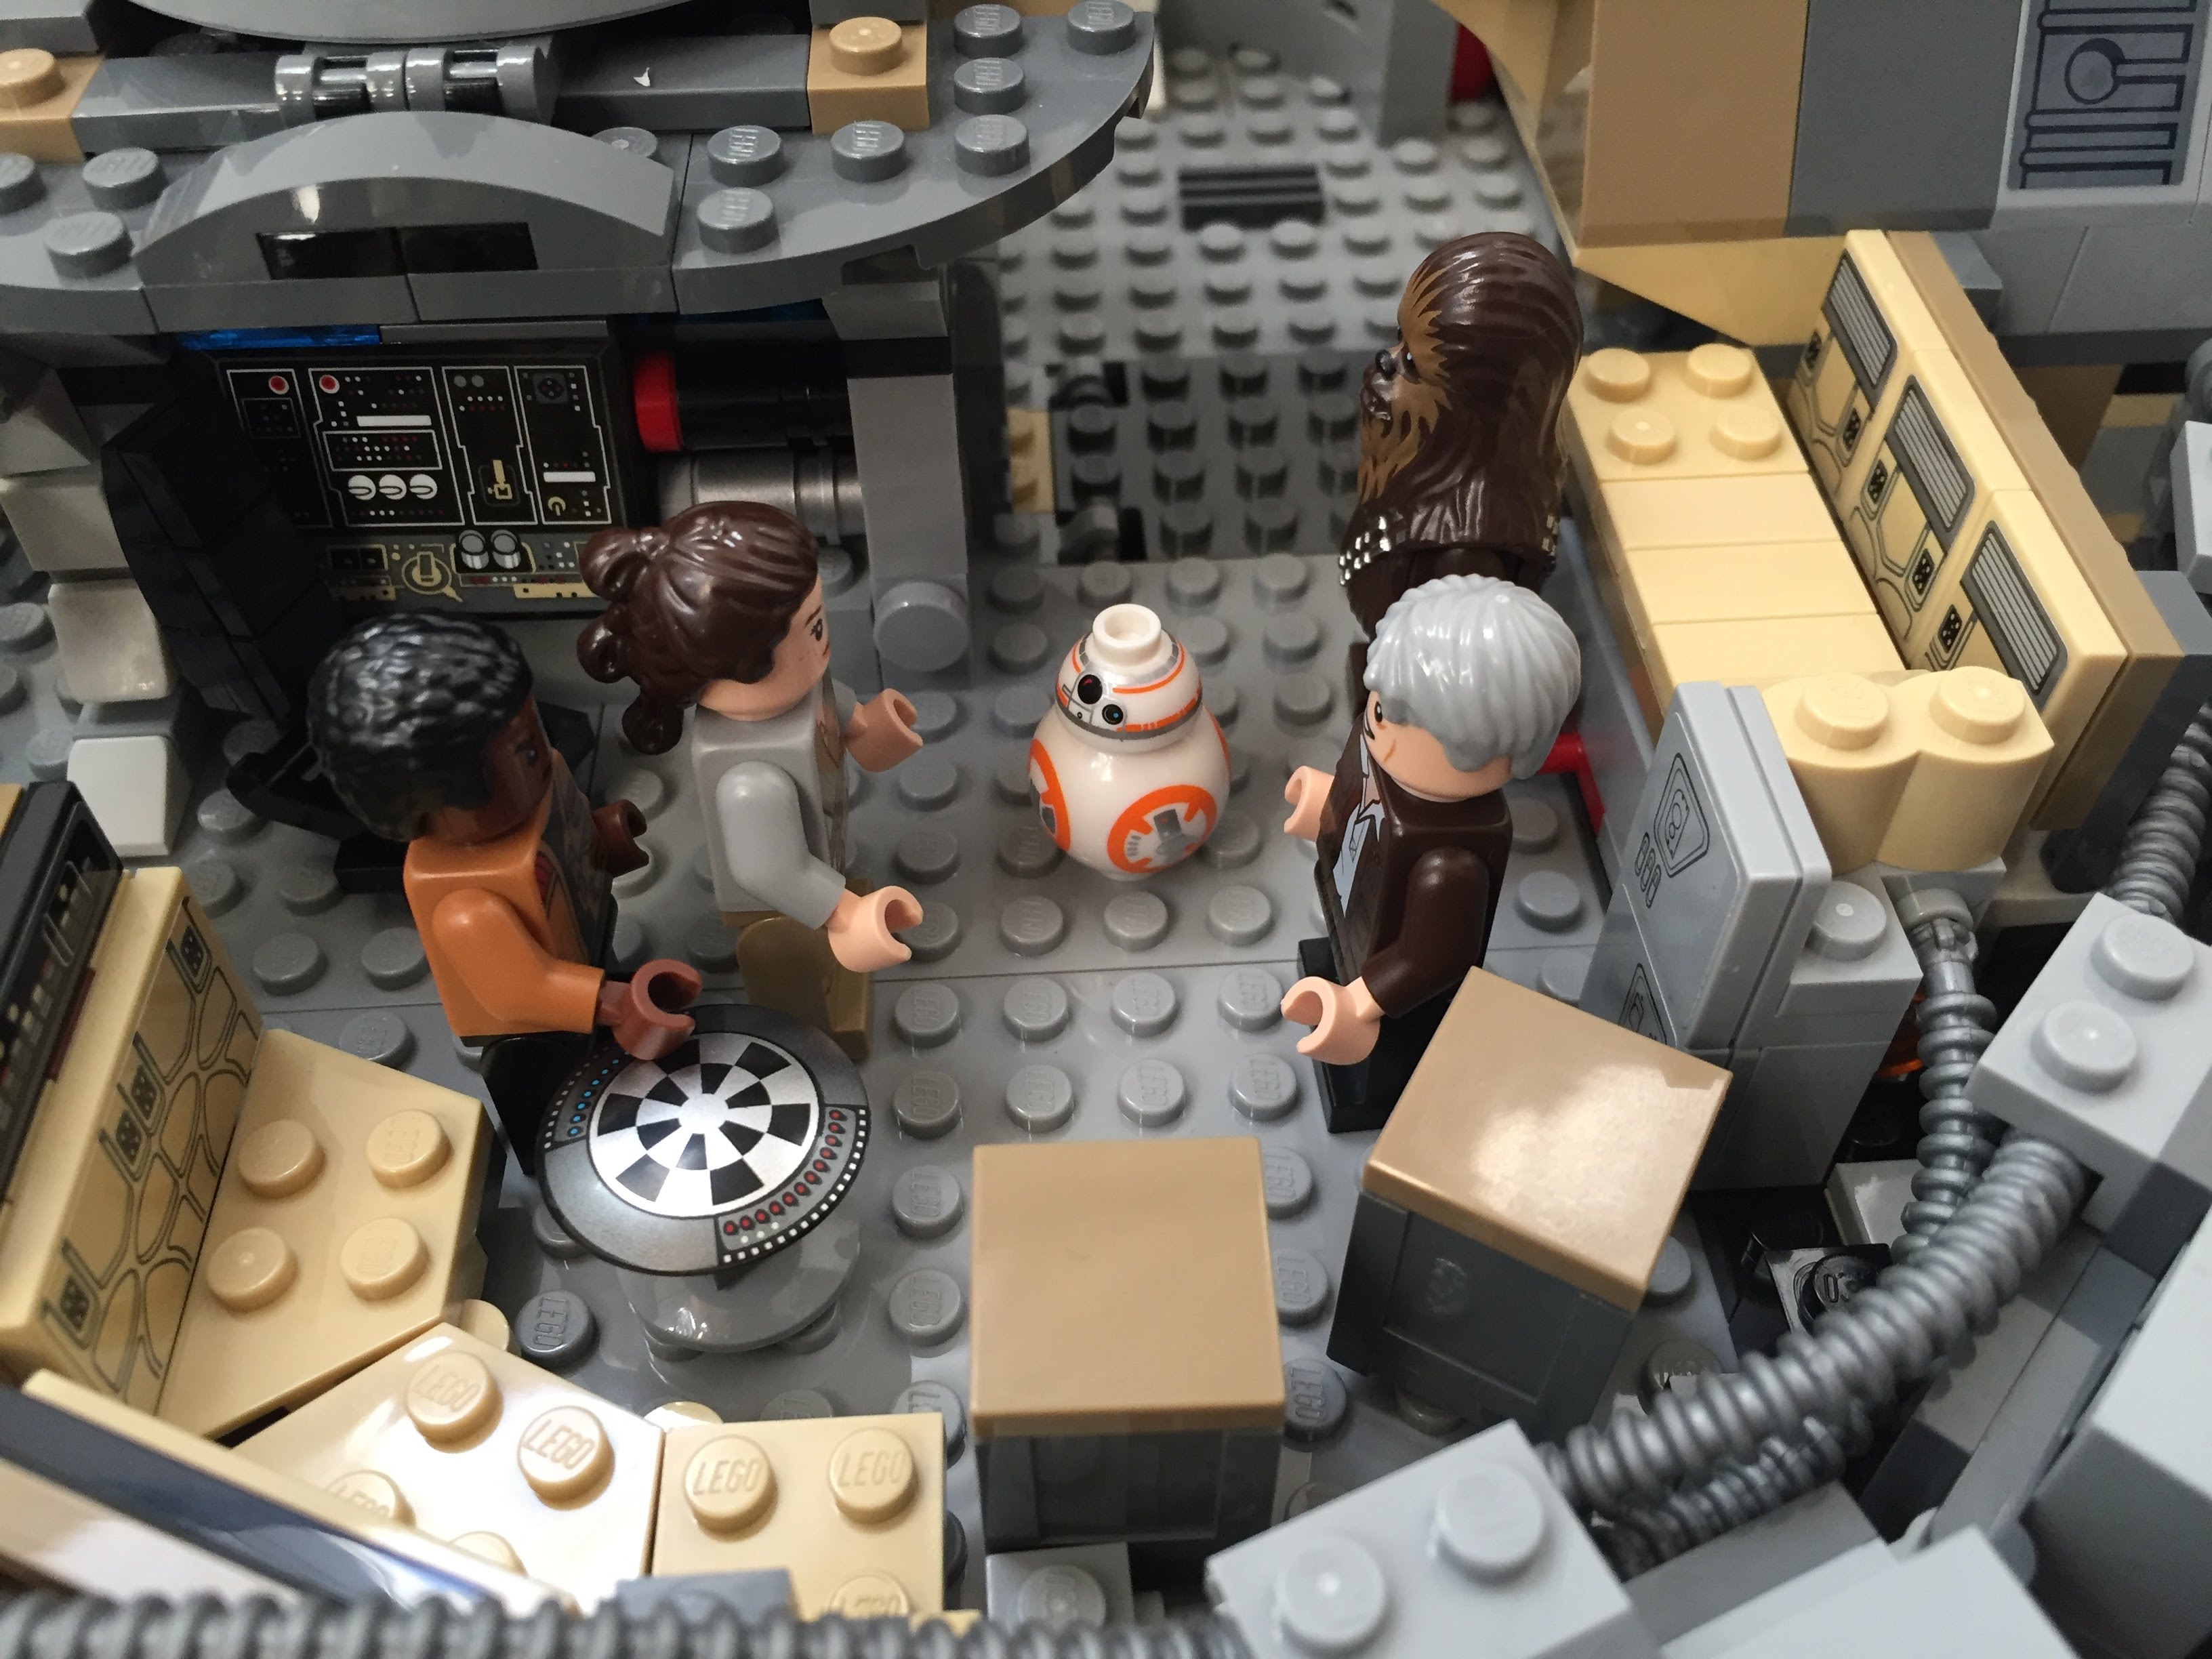
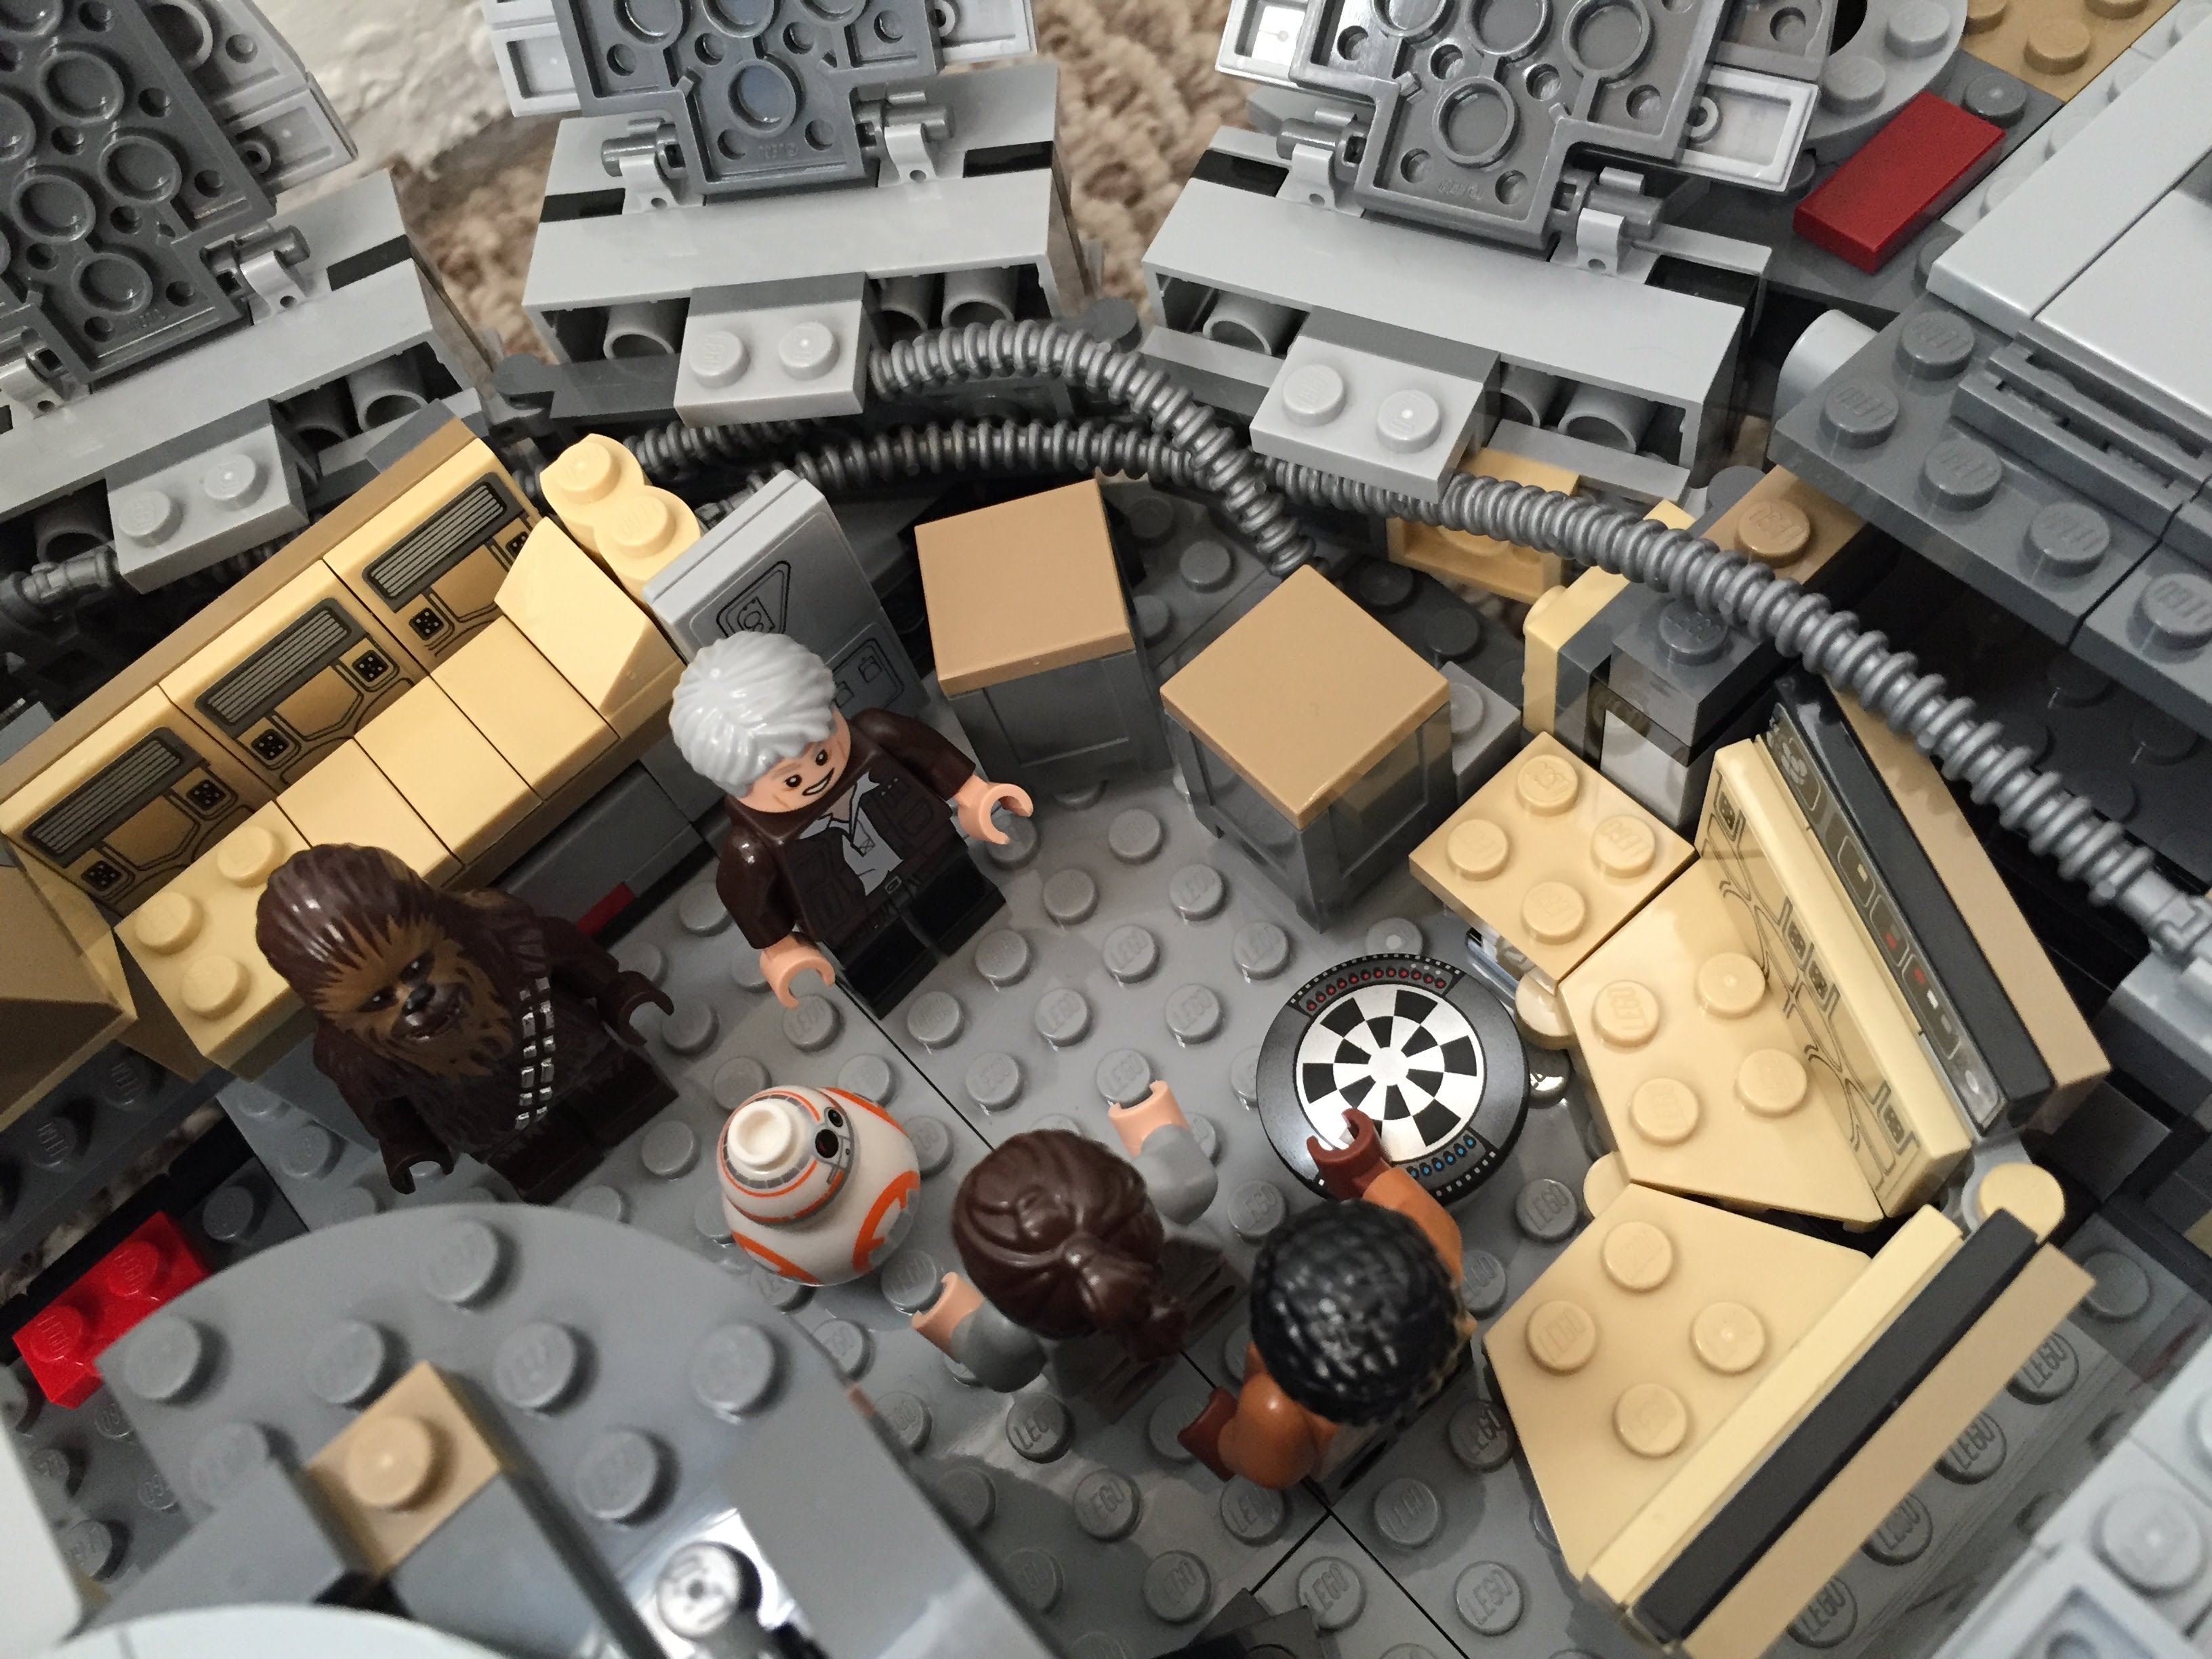
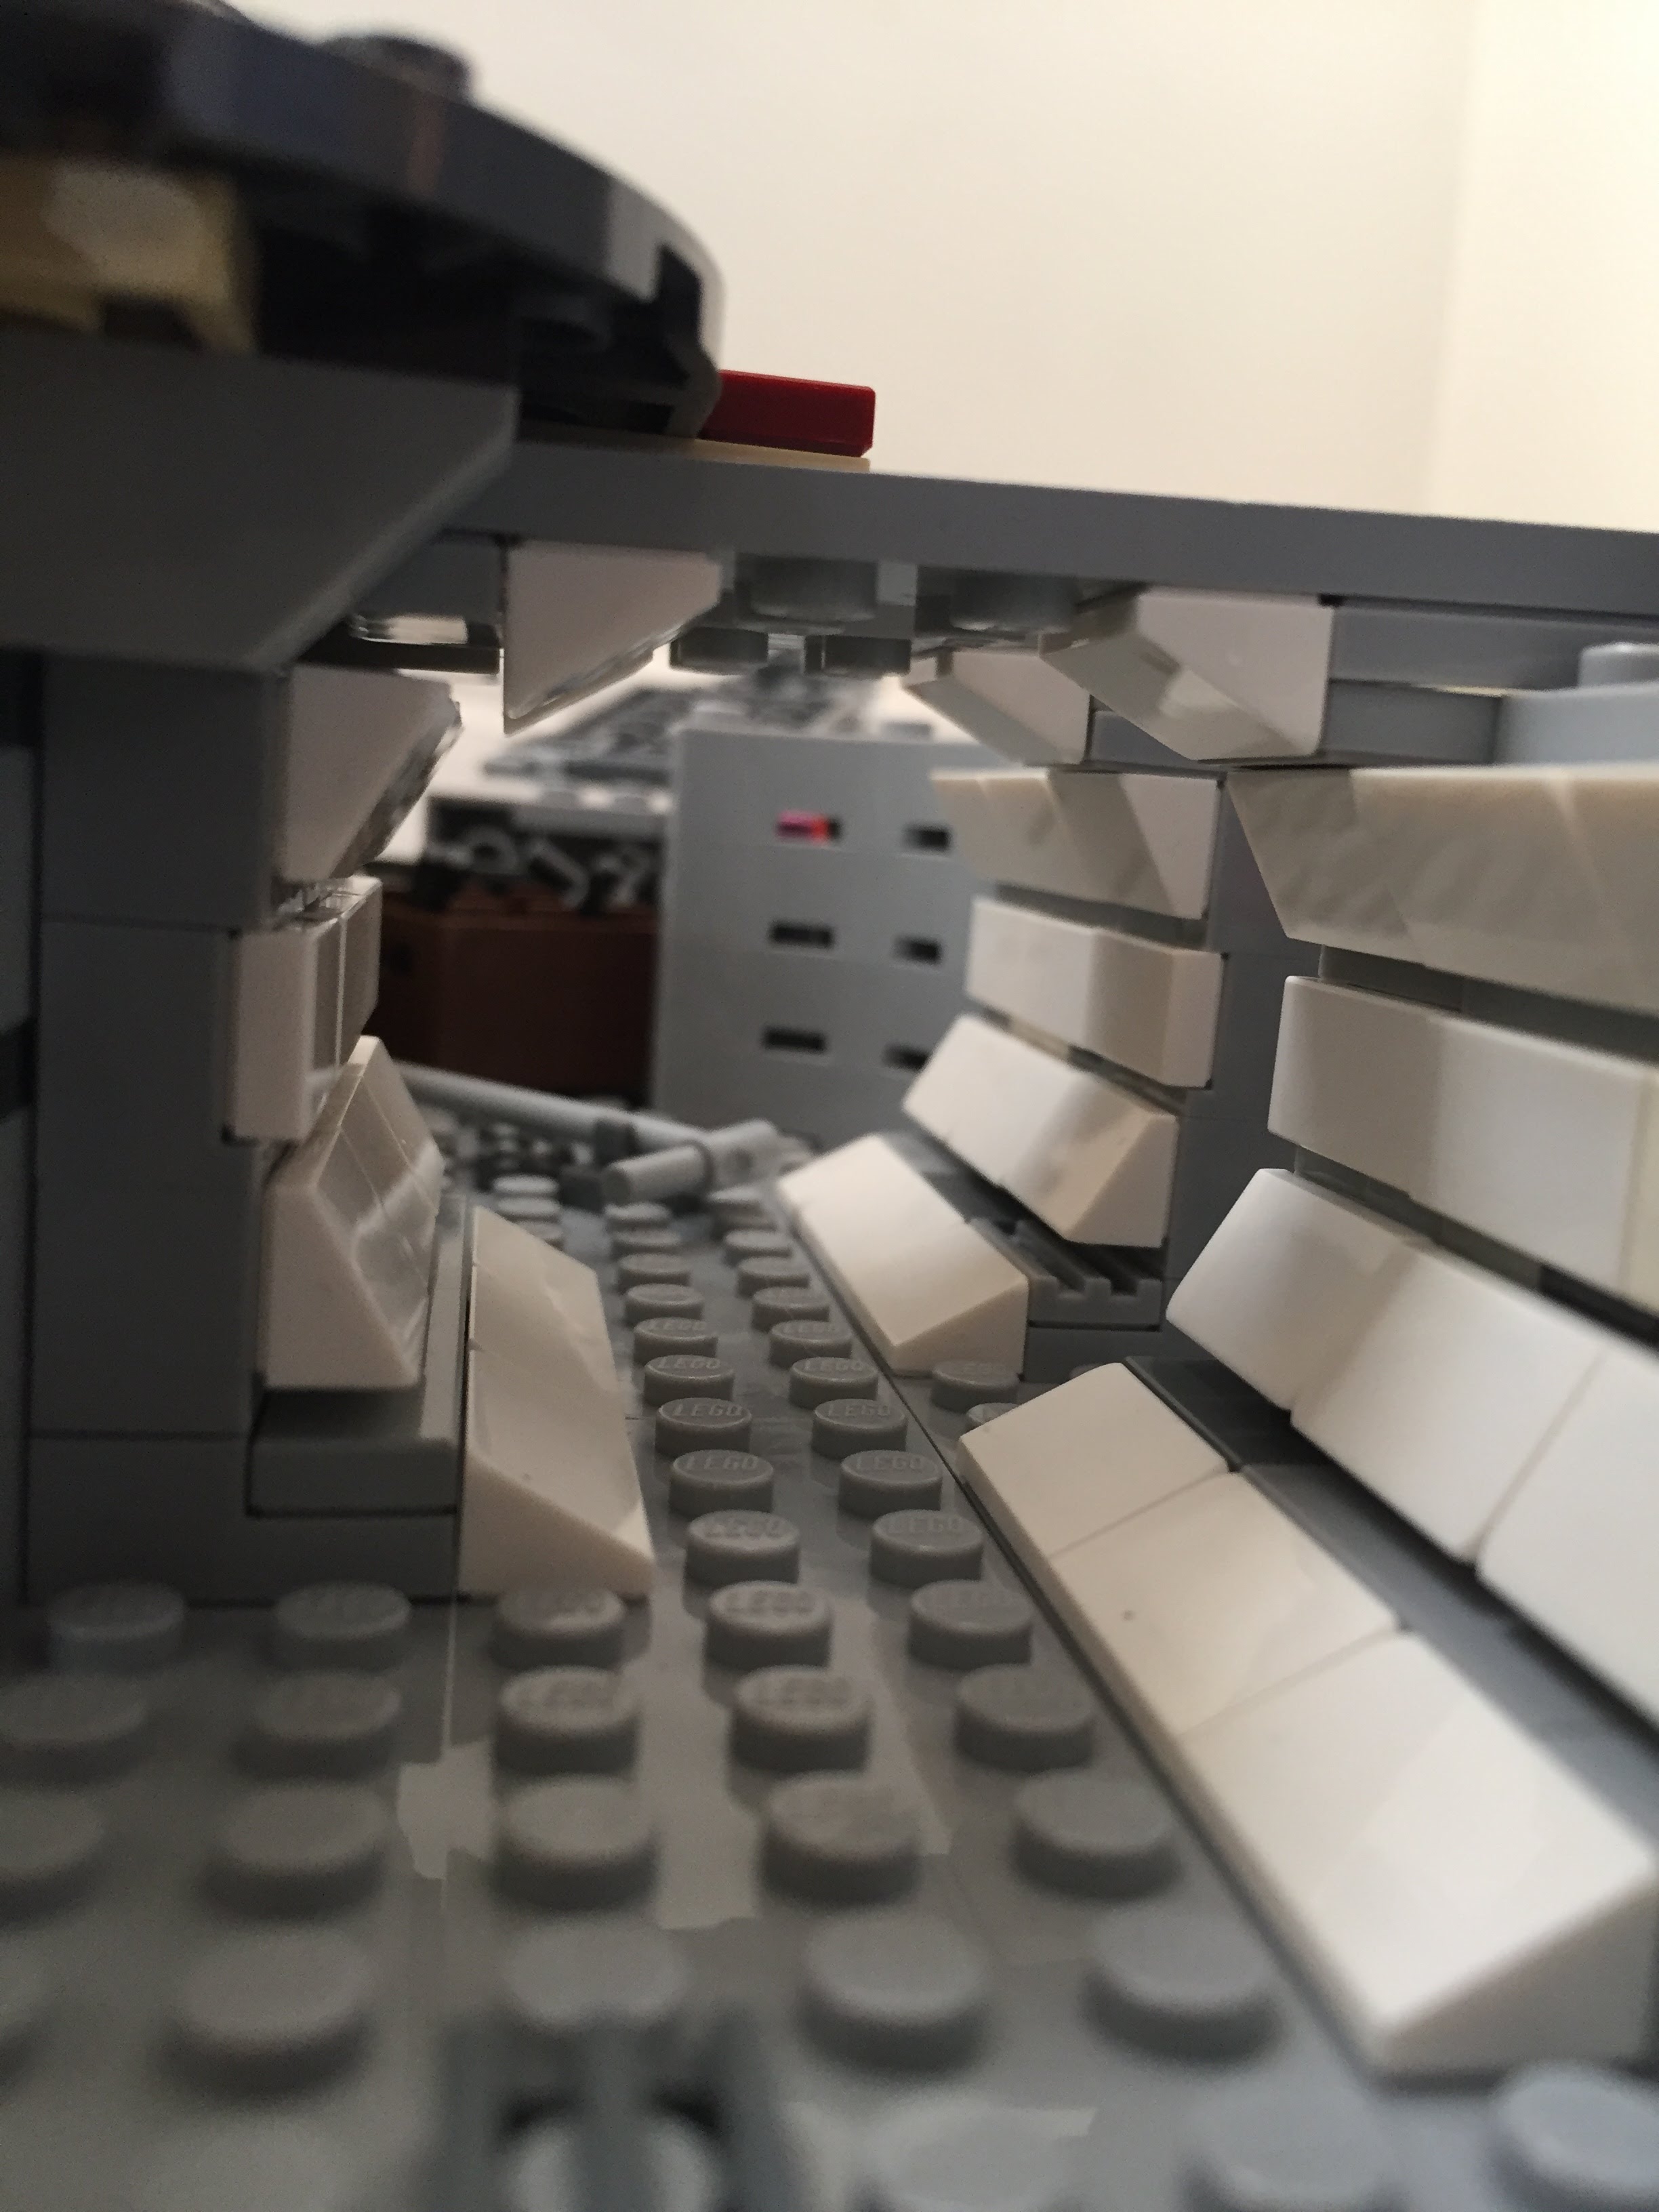
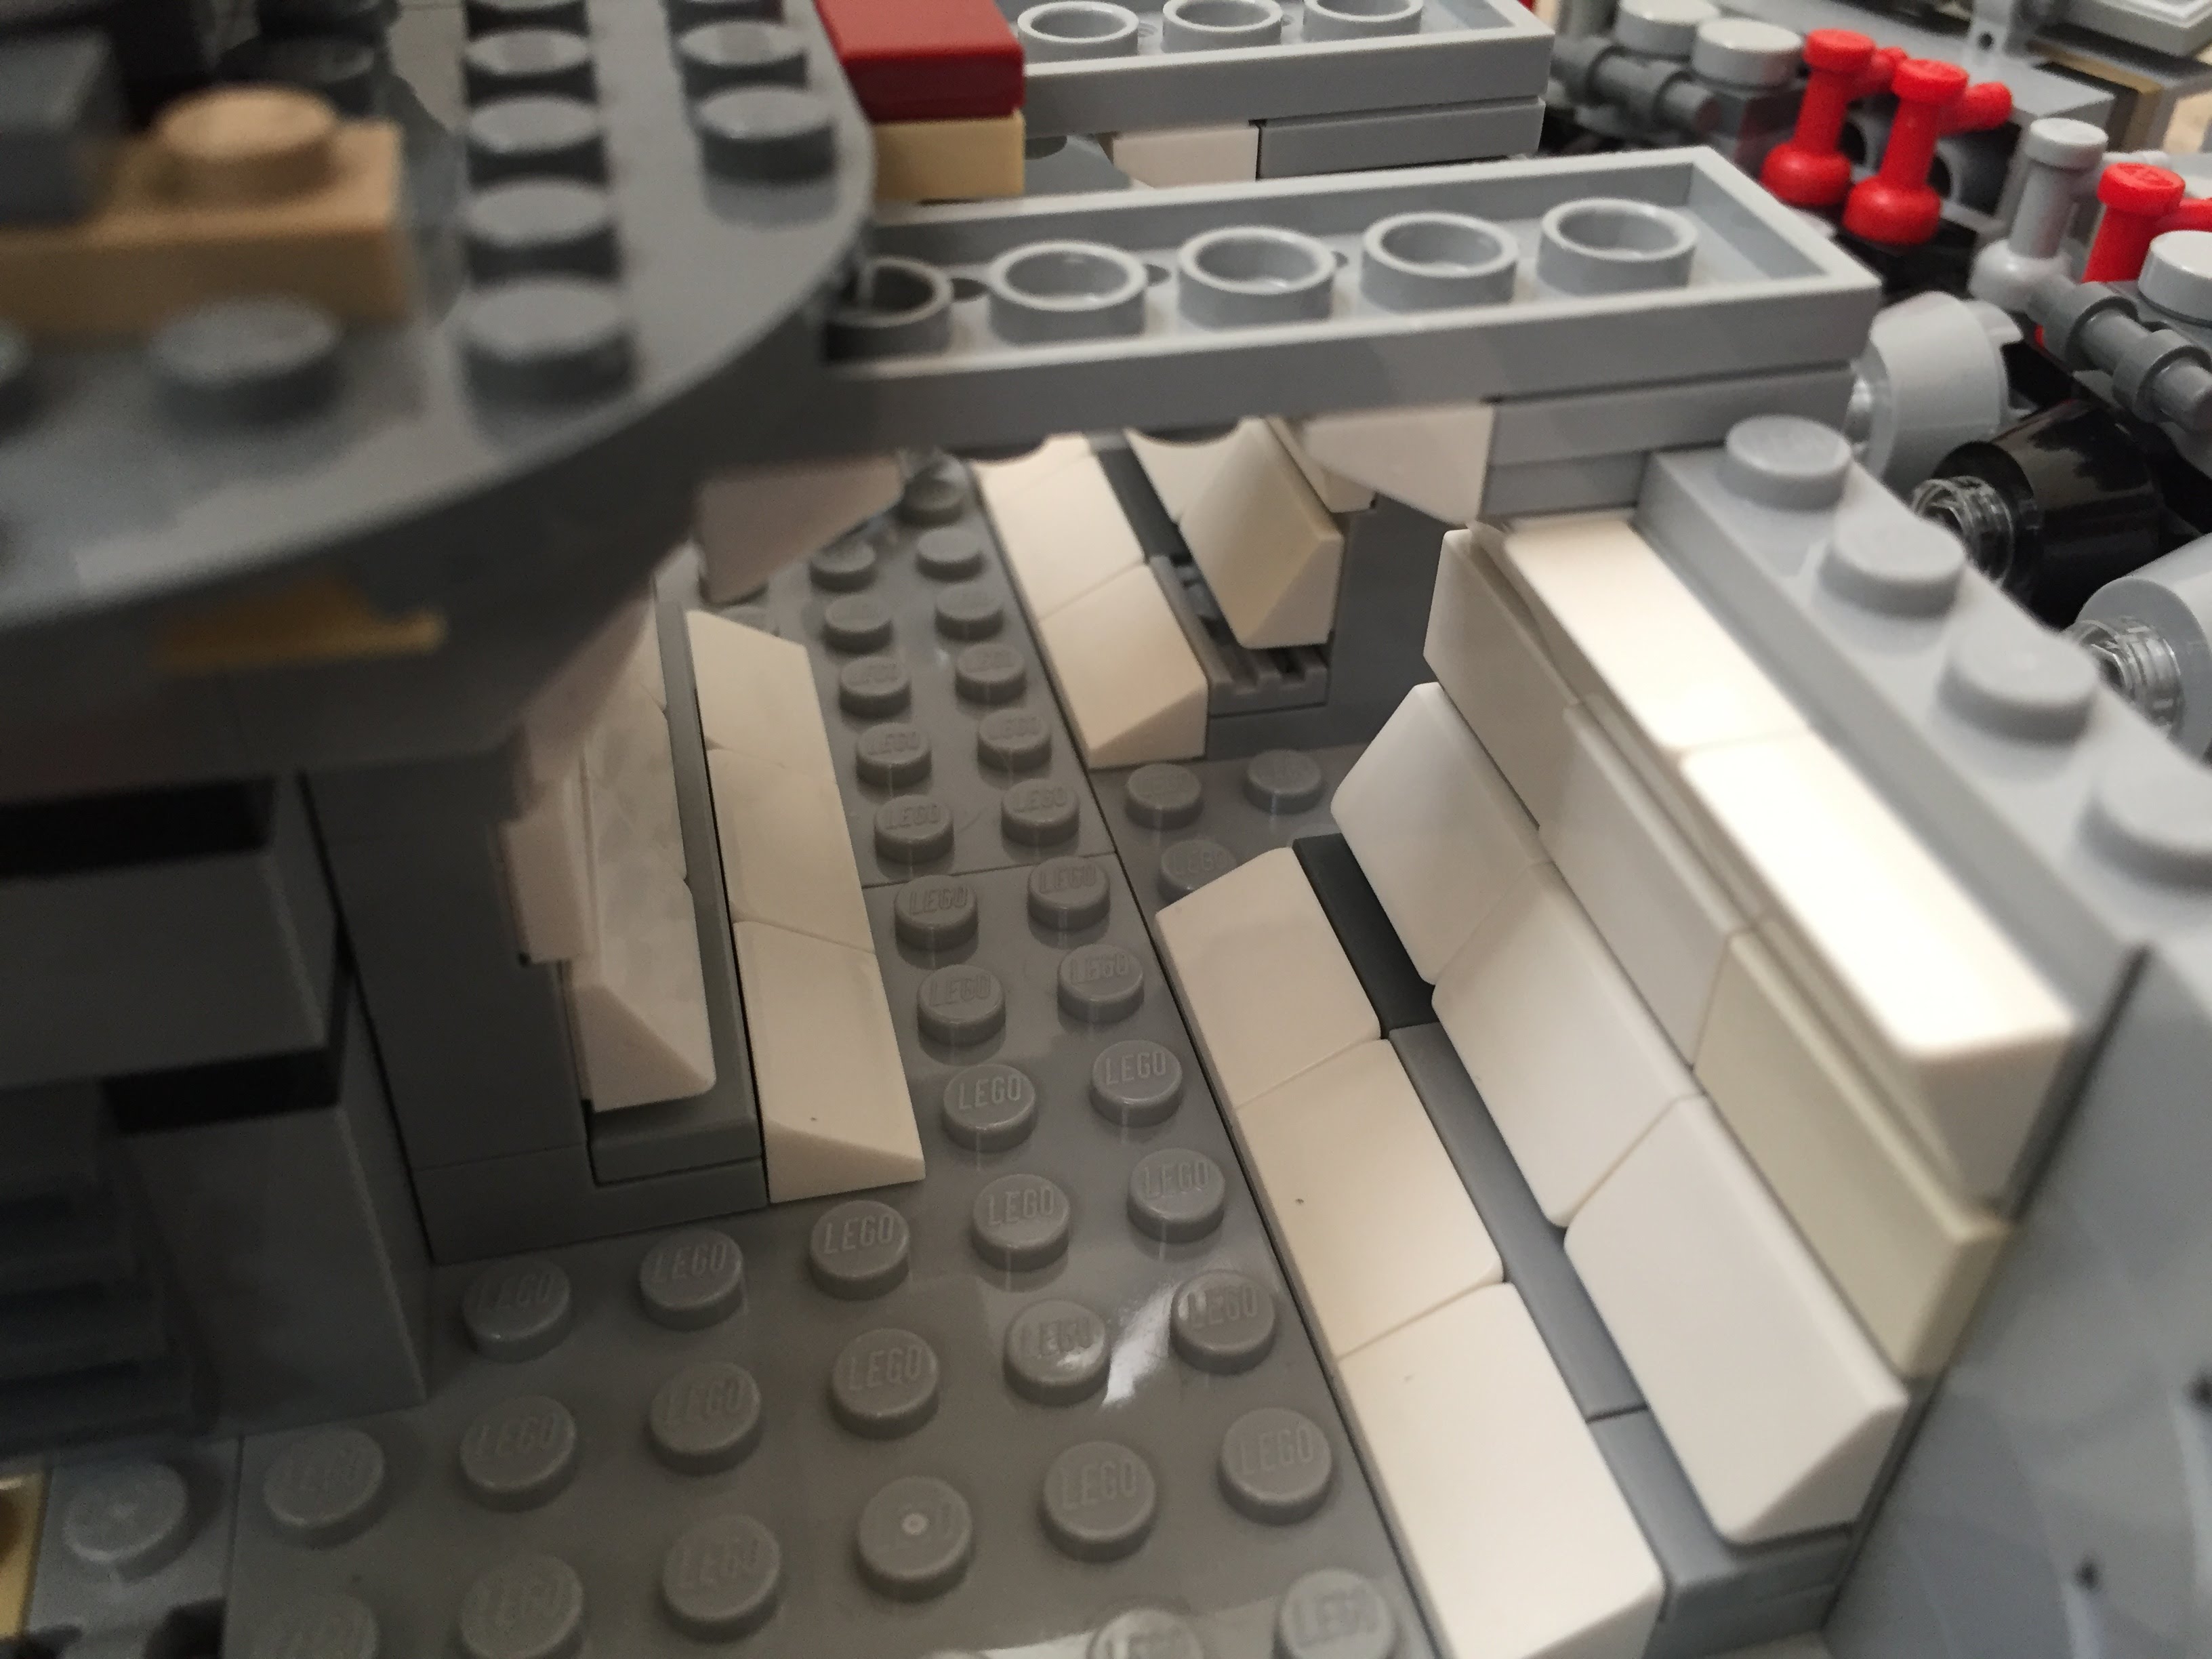
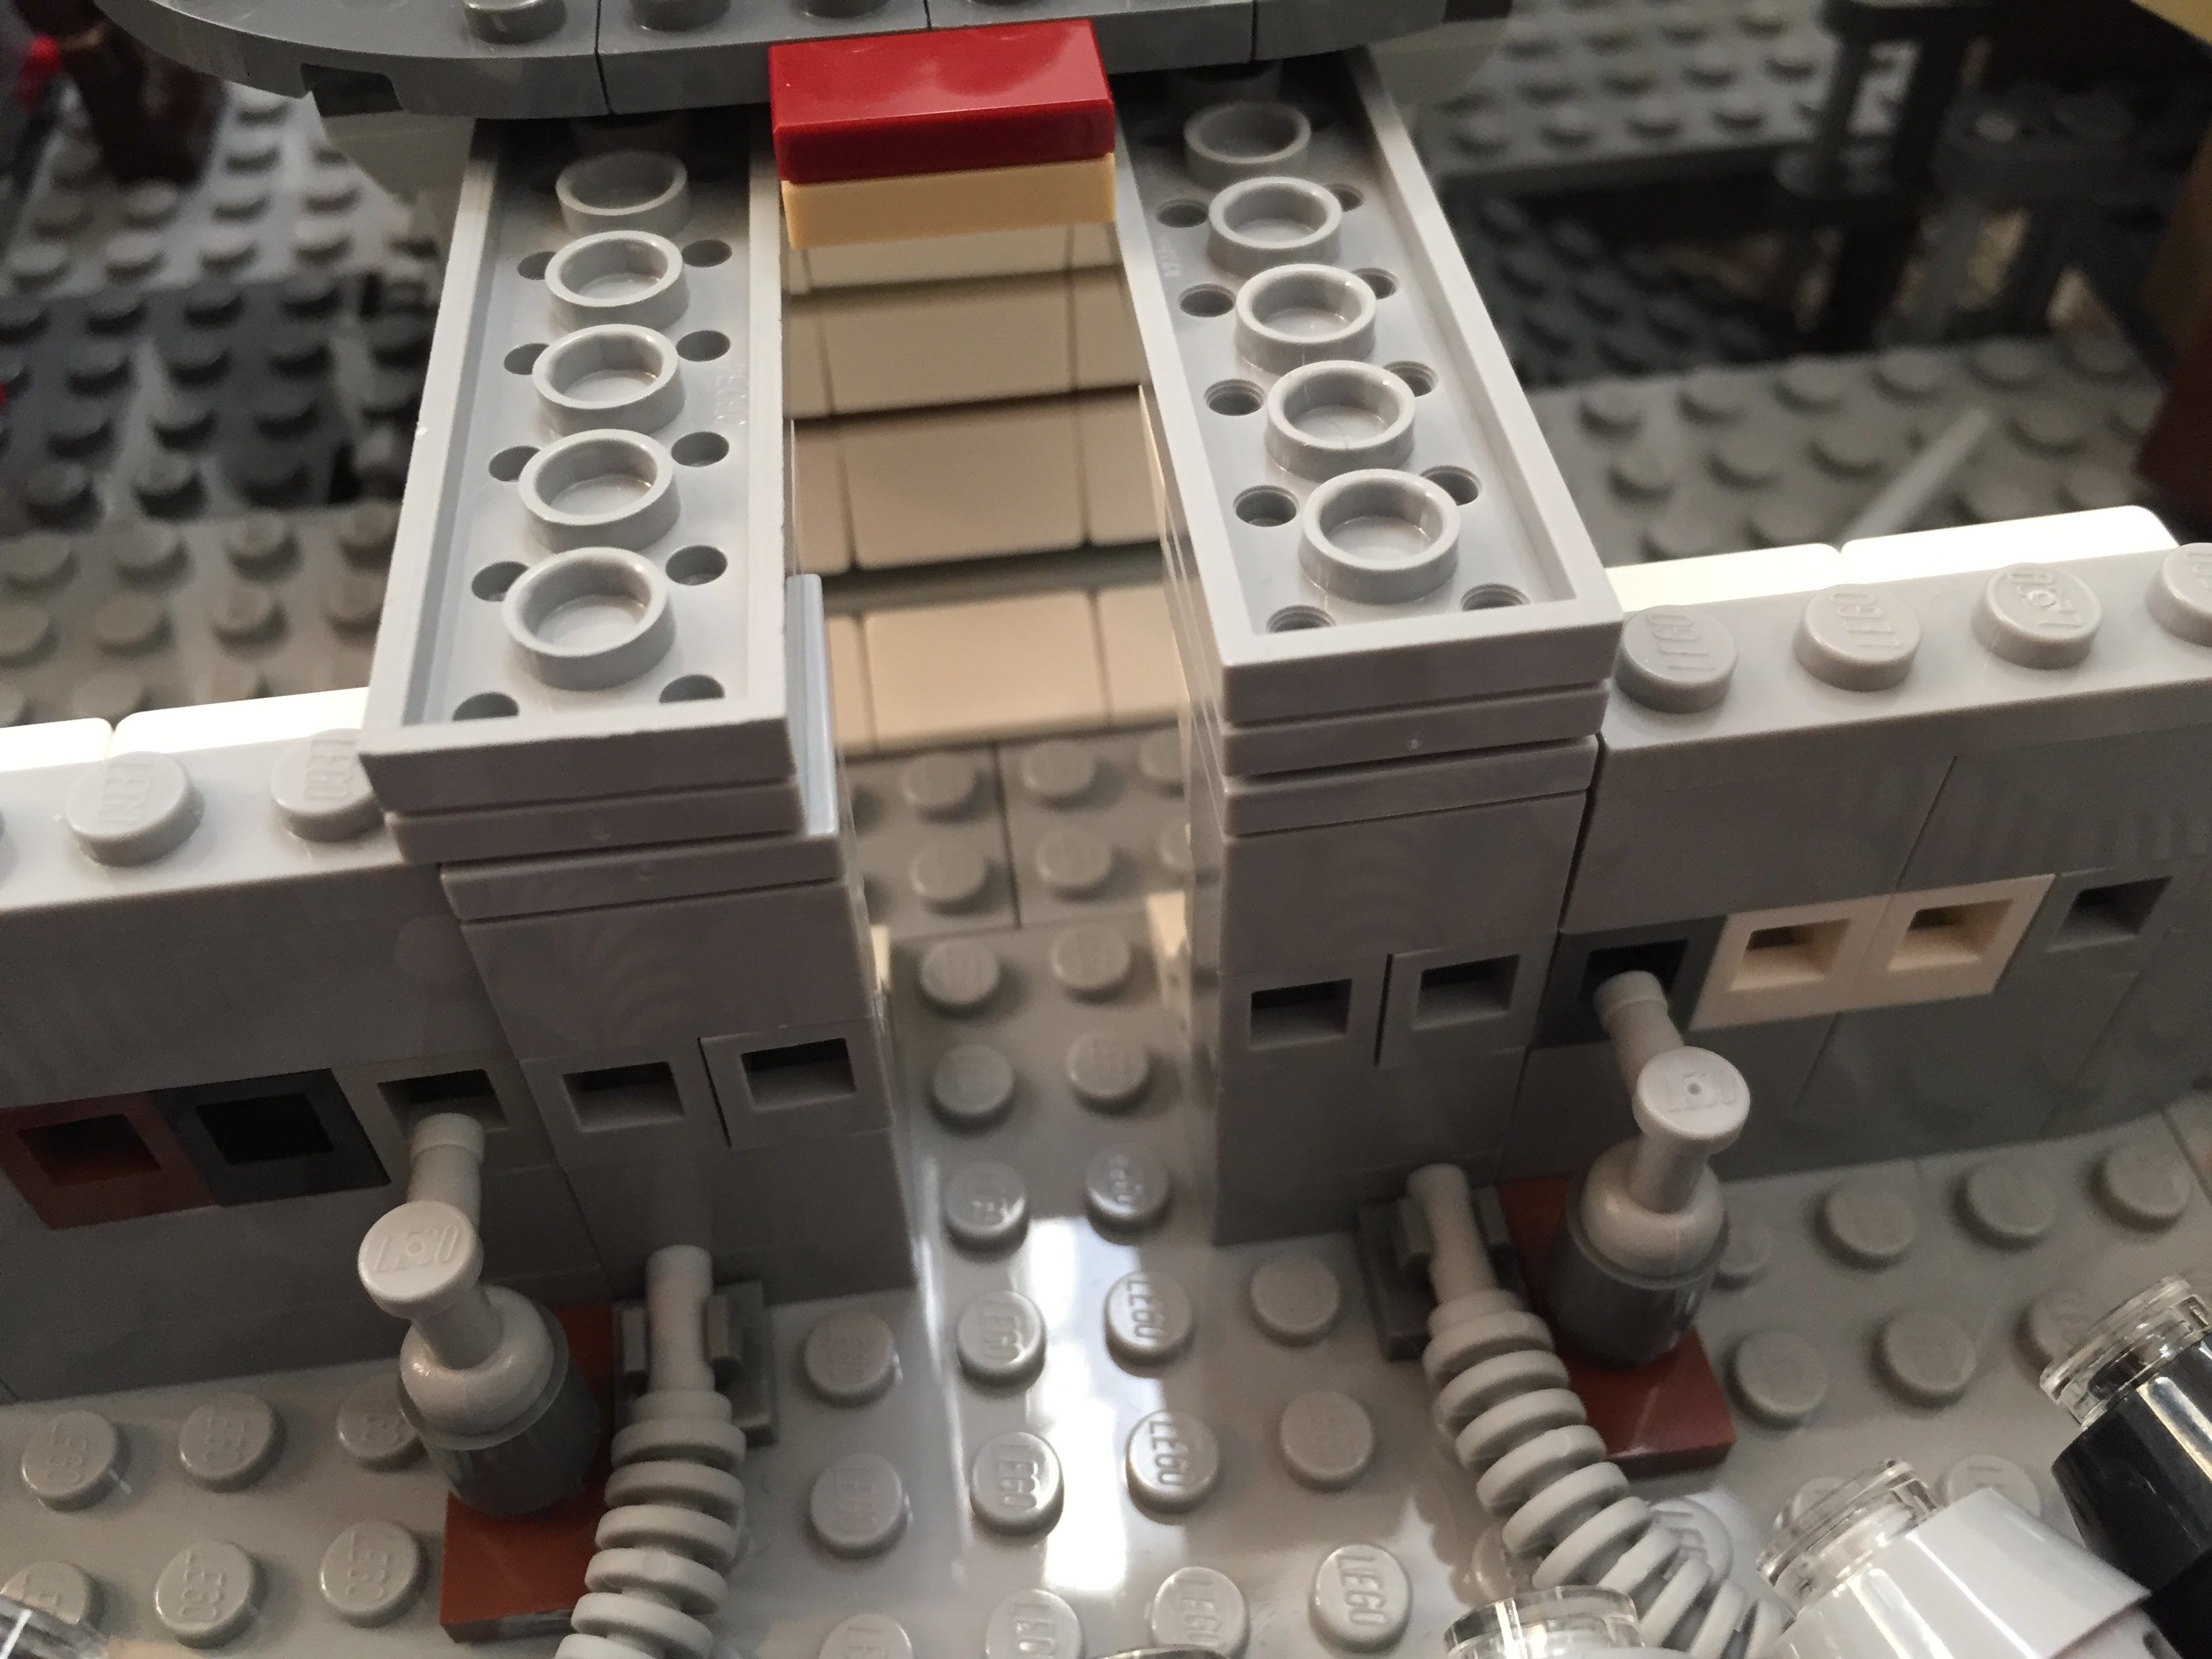
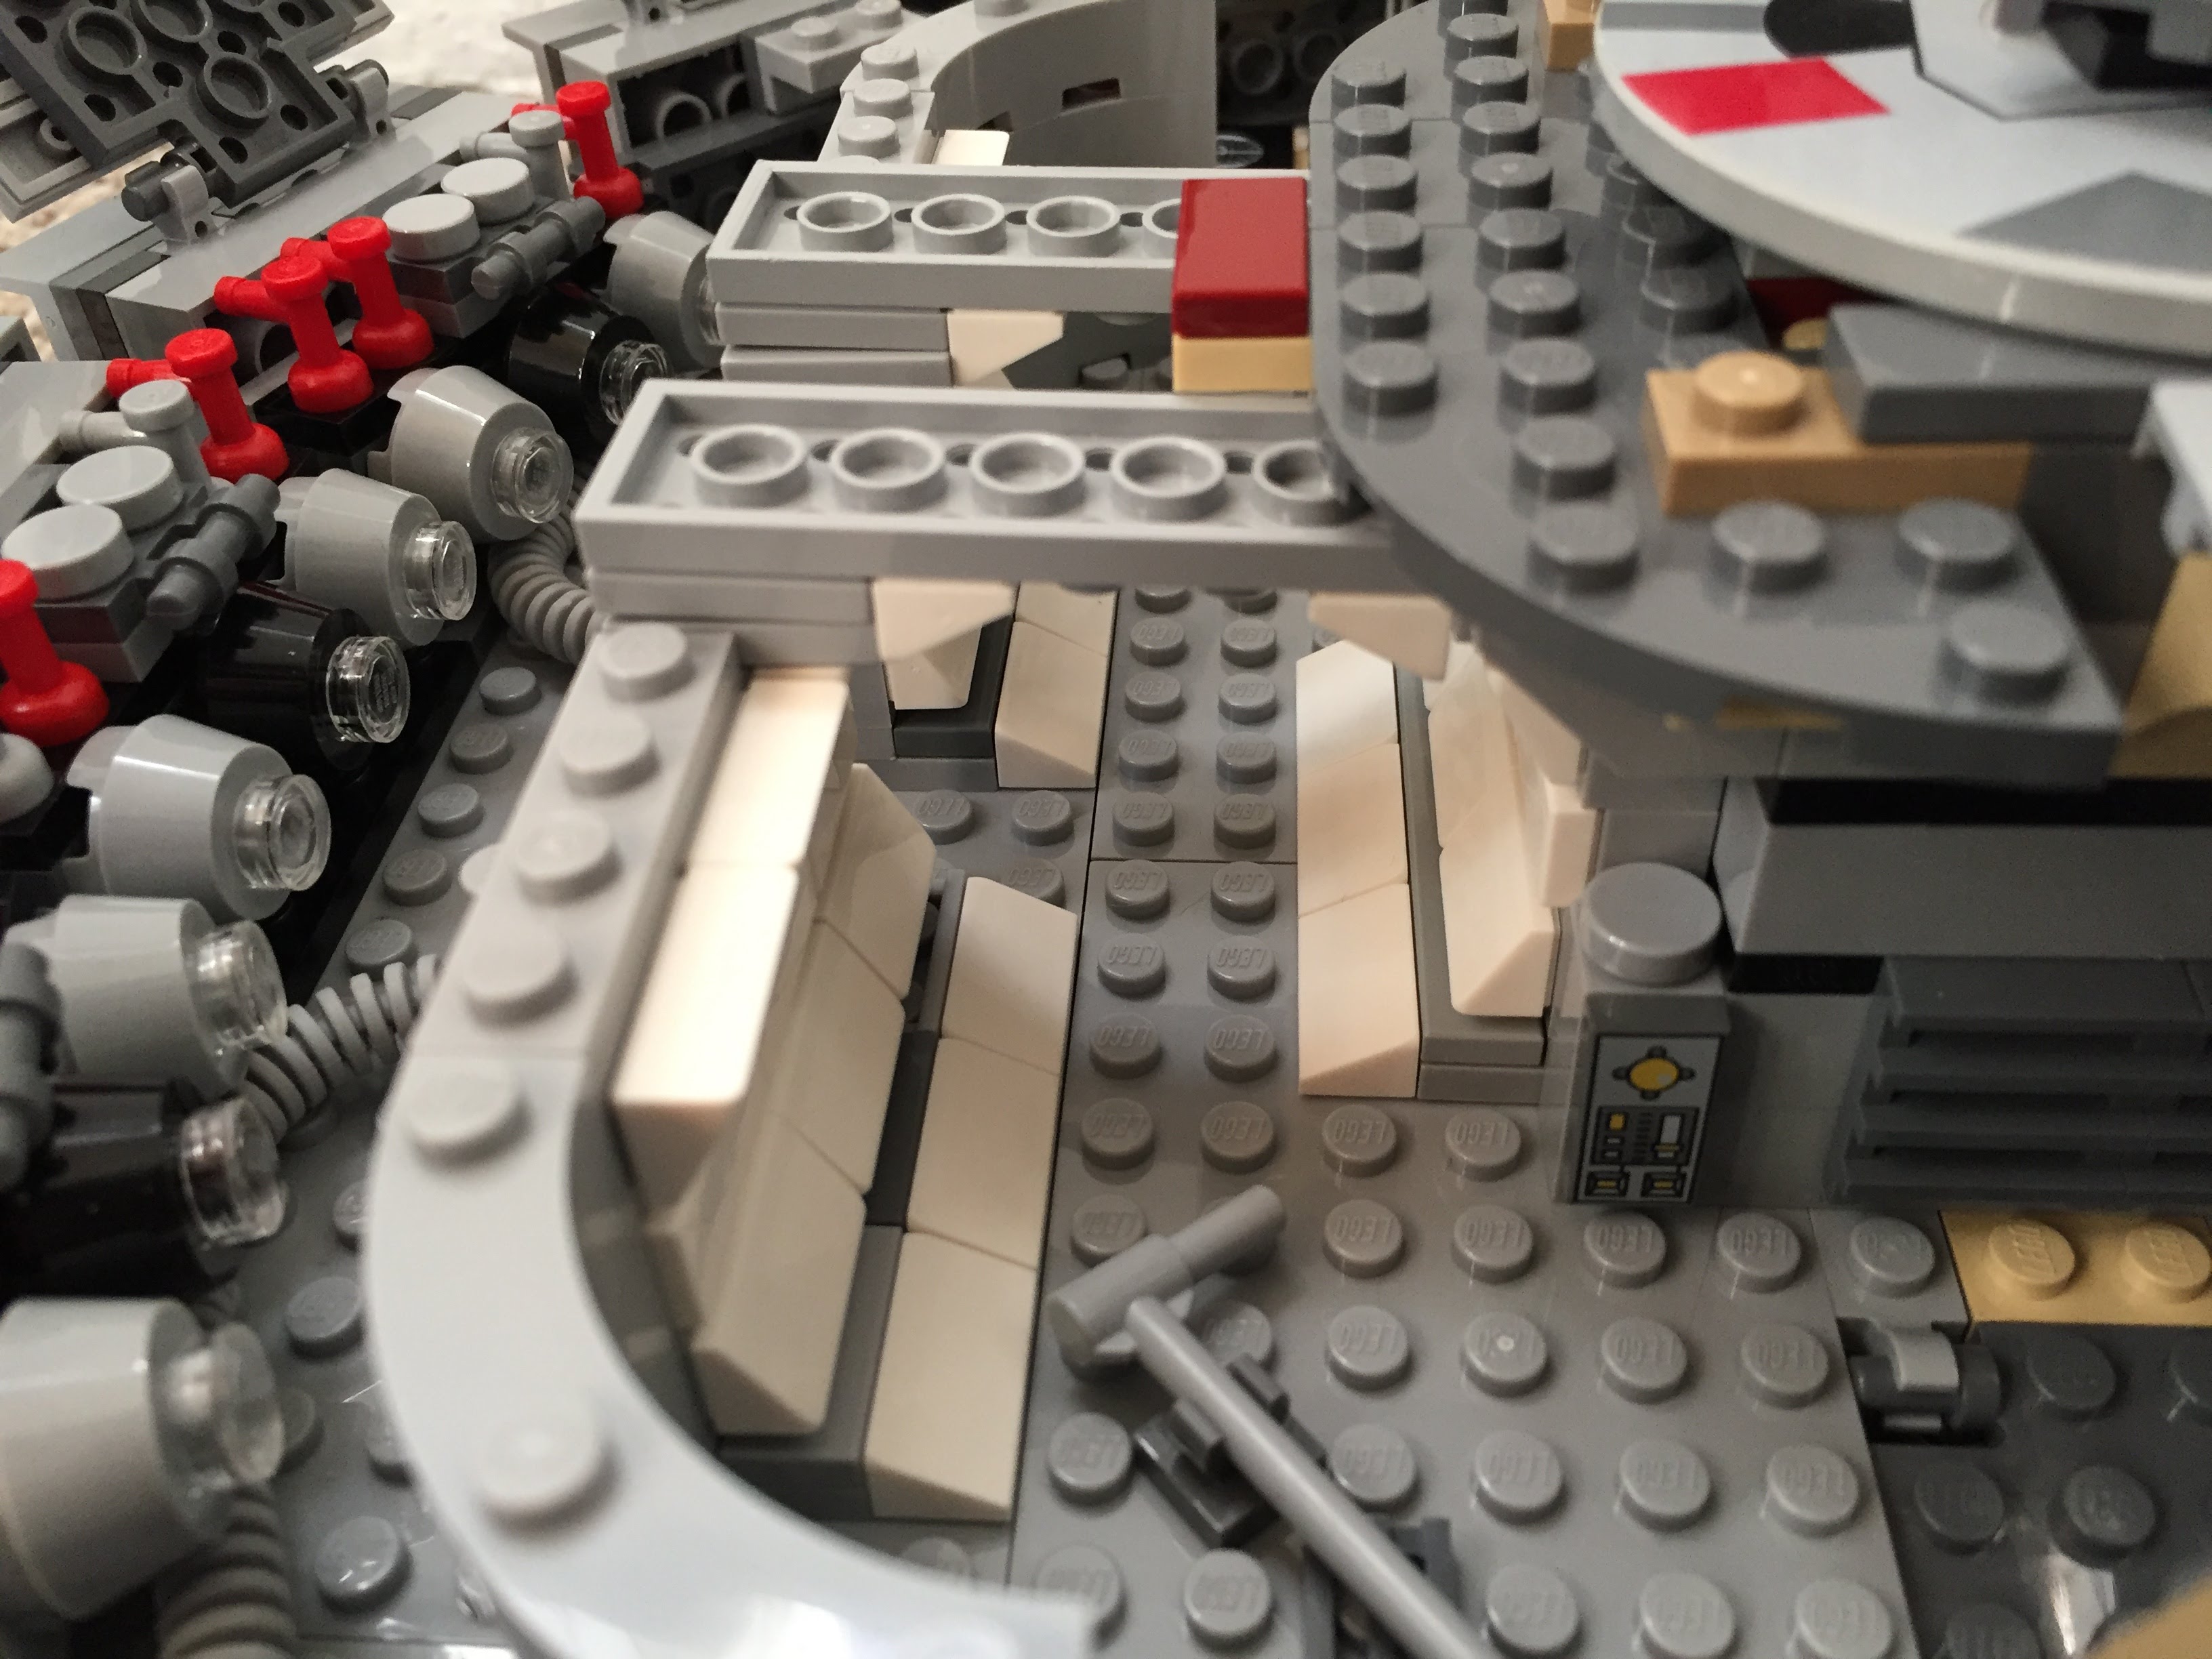
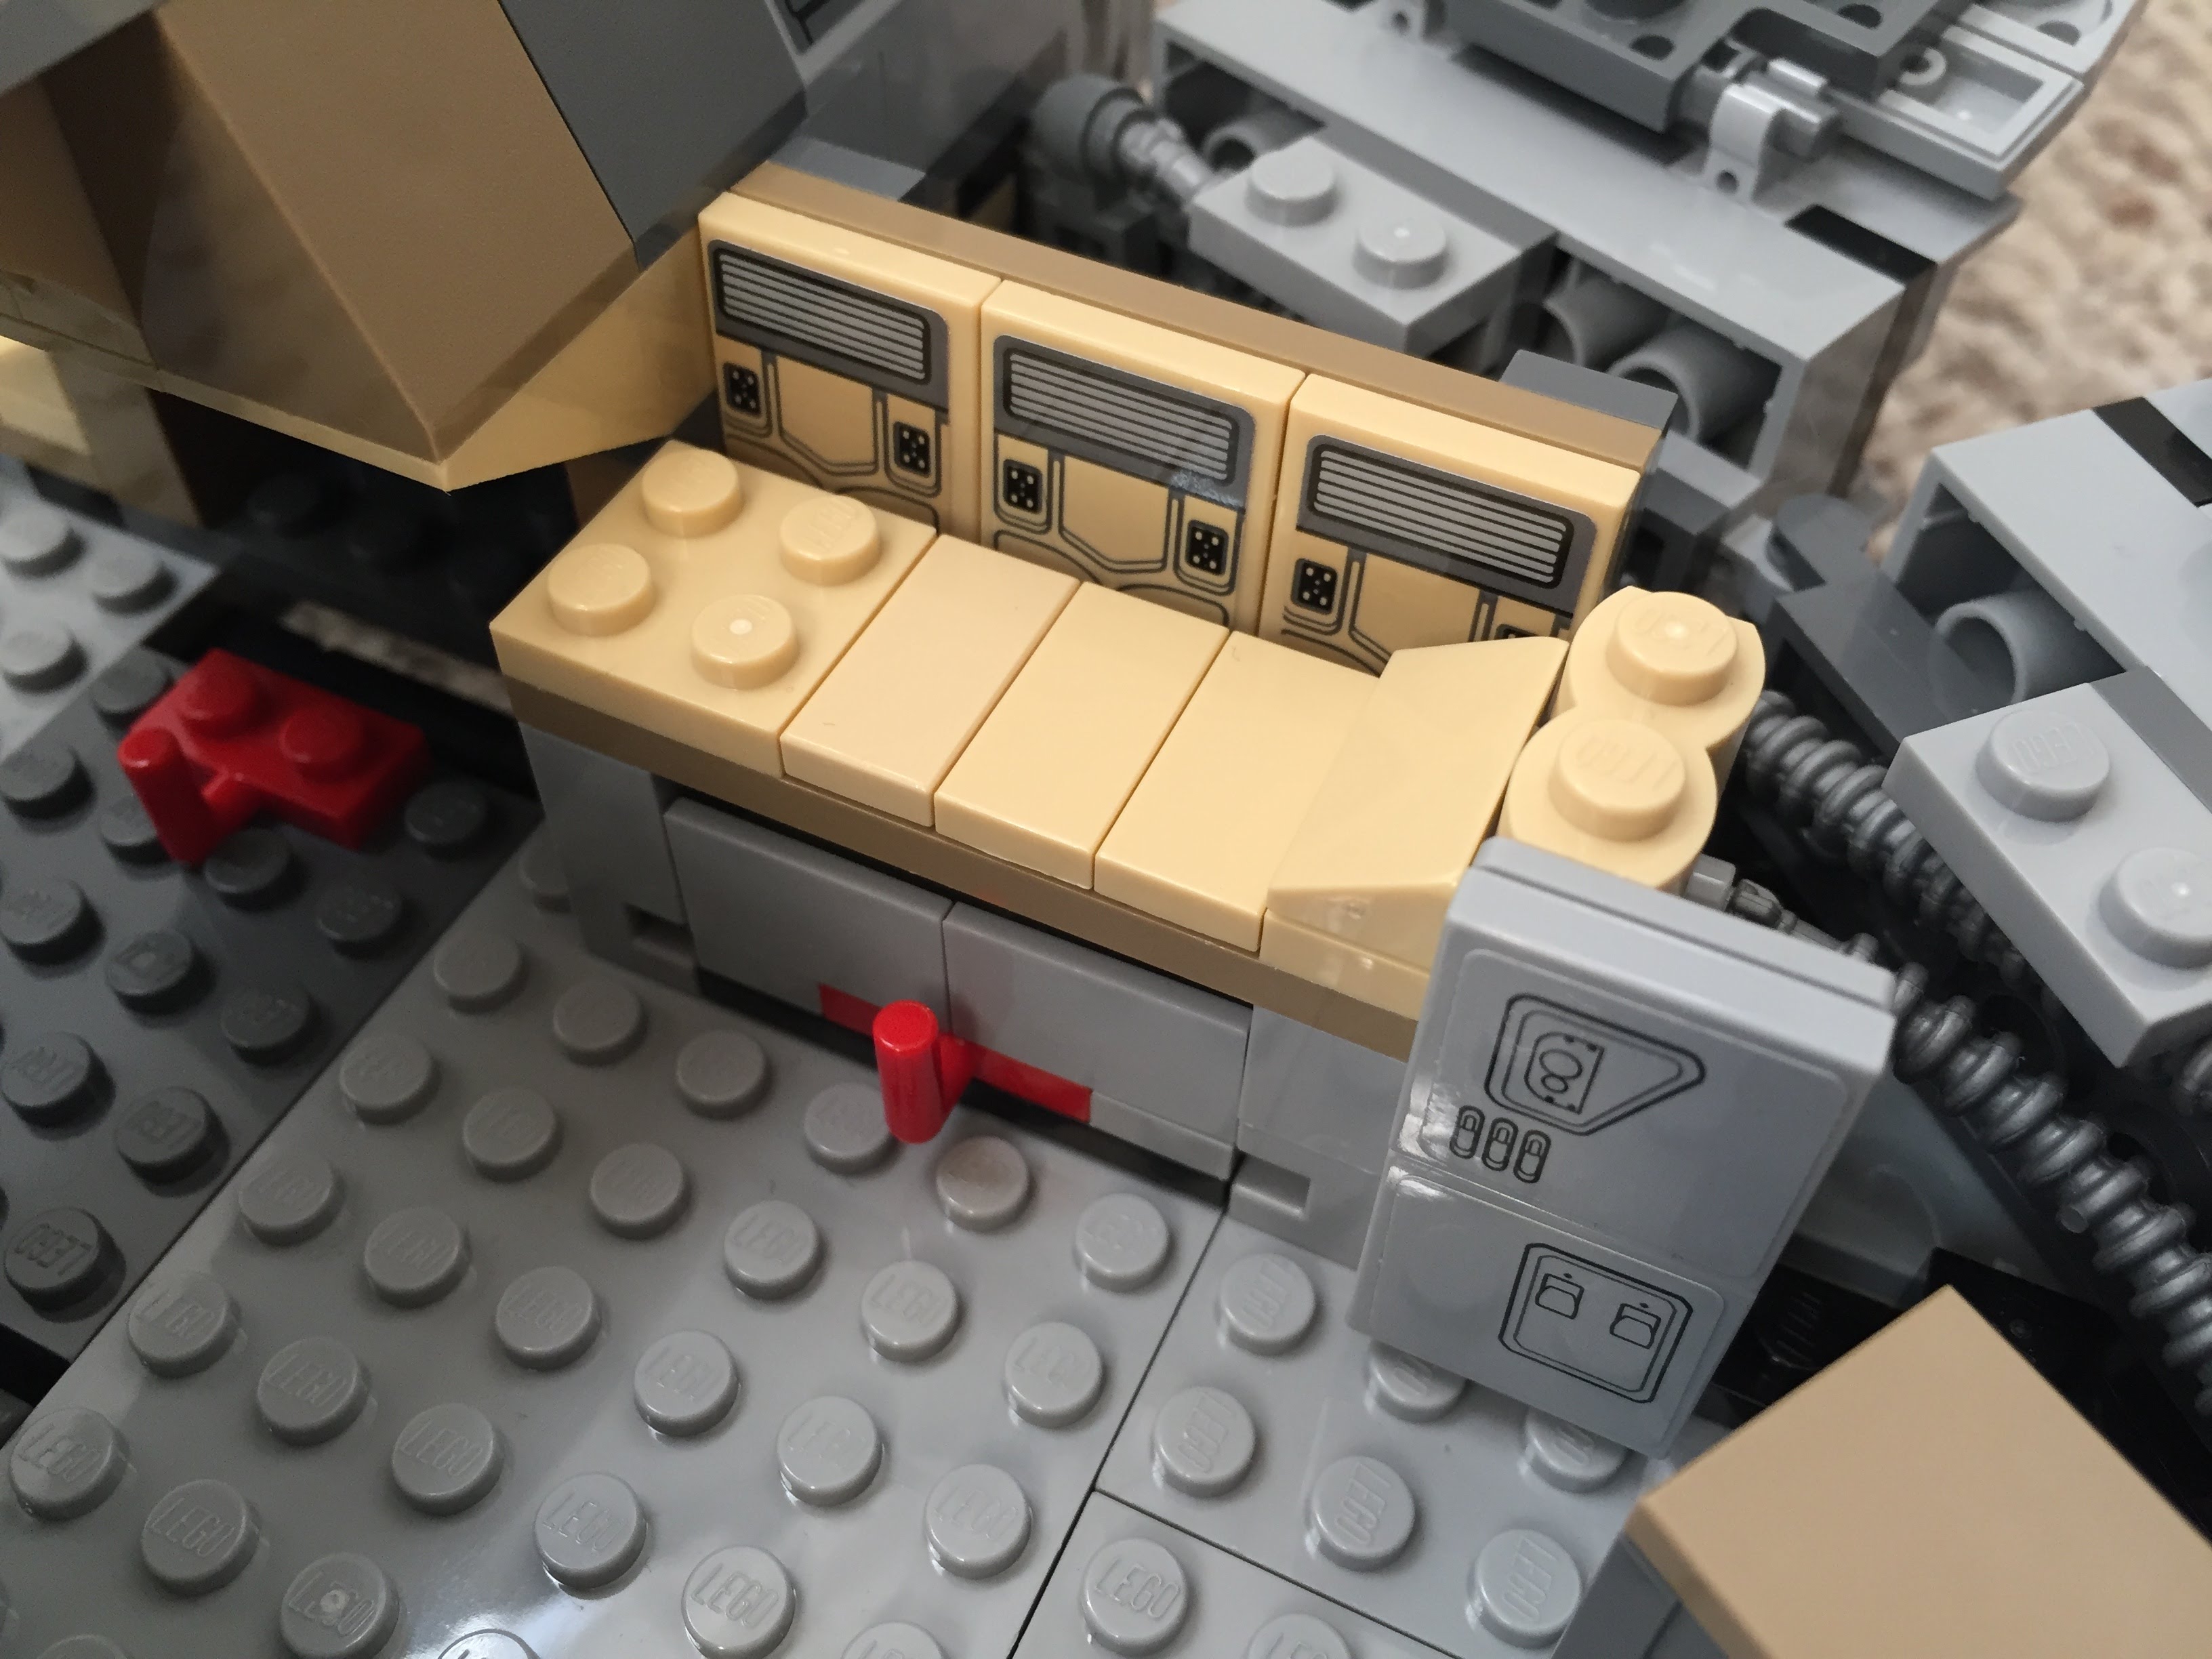
    Using 1×1 roof tiles and an upside-down technique that I developed for a diorama of the Falcon’s main hold, I built this entrance into the main hold leading from the passage way from the entry ramp. The Dejarik Table and seating is borrowed from 75192. The Nav Computer area is very tight in the size of this model, so I couldn’t fit as large tubes adjacent to it as in the diorama linked above. Instead, I used two short tubes and moved the Nav Computer one stud to the left to accommodate the Falcon’s machinery. The main hold’s med bay is raised to accommodate a drawer, which I detail further at the end of this post to avoid The Last Jedi spoilers for anyone who hasn’t seen it yet.
    IMG_3022 1.jpg

    Millennium-Falcon-mainhold-entrance.jpgIMG_3018 1.jpgimg_3017-1.jpgIMG_3016 1.jpgIMG_3015 1.jpgIMG_3014 1.jpgMillennium-Falcon-mainhold-tfa.jpg

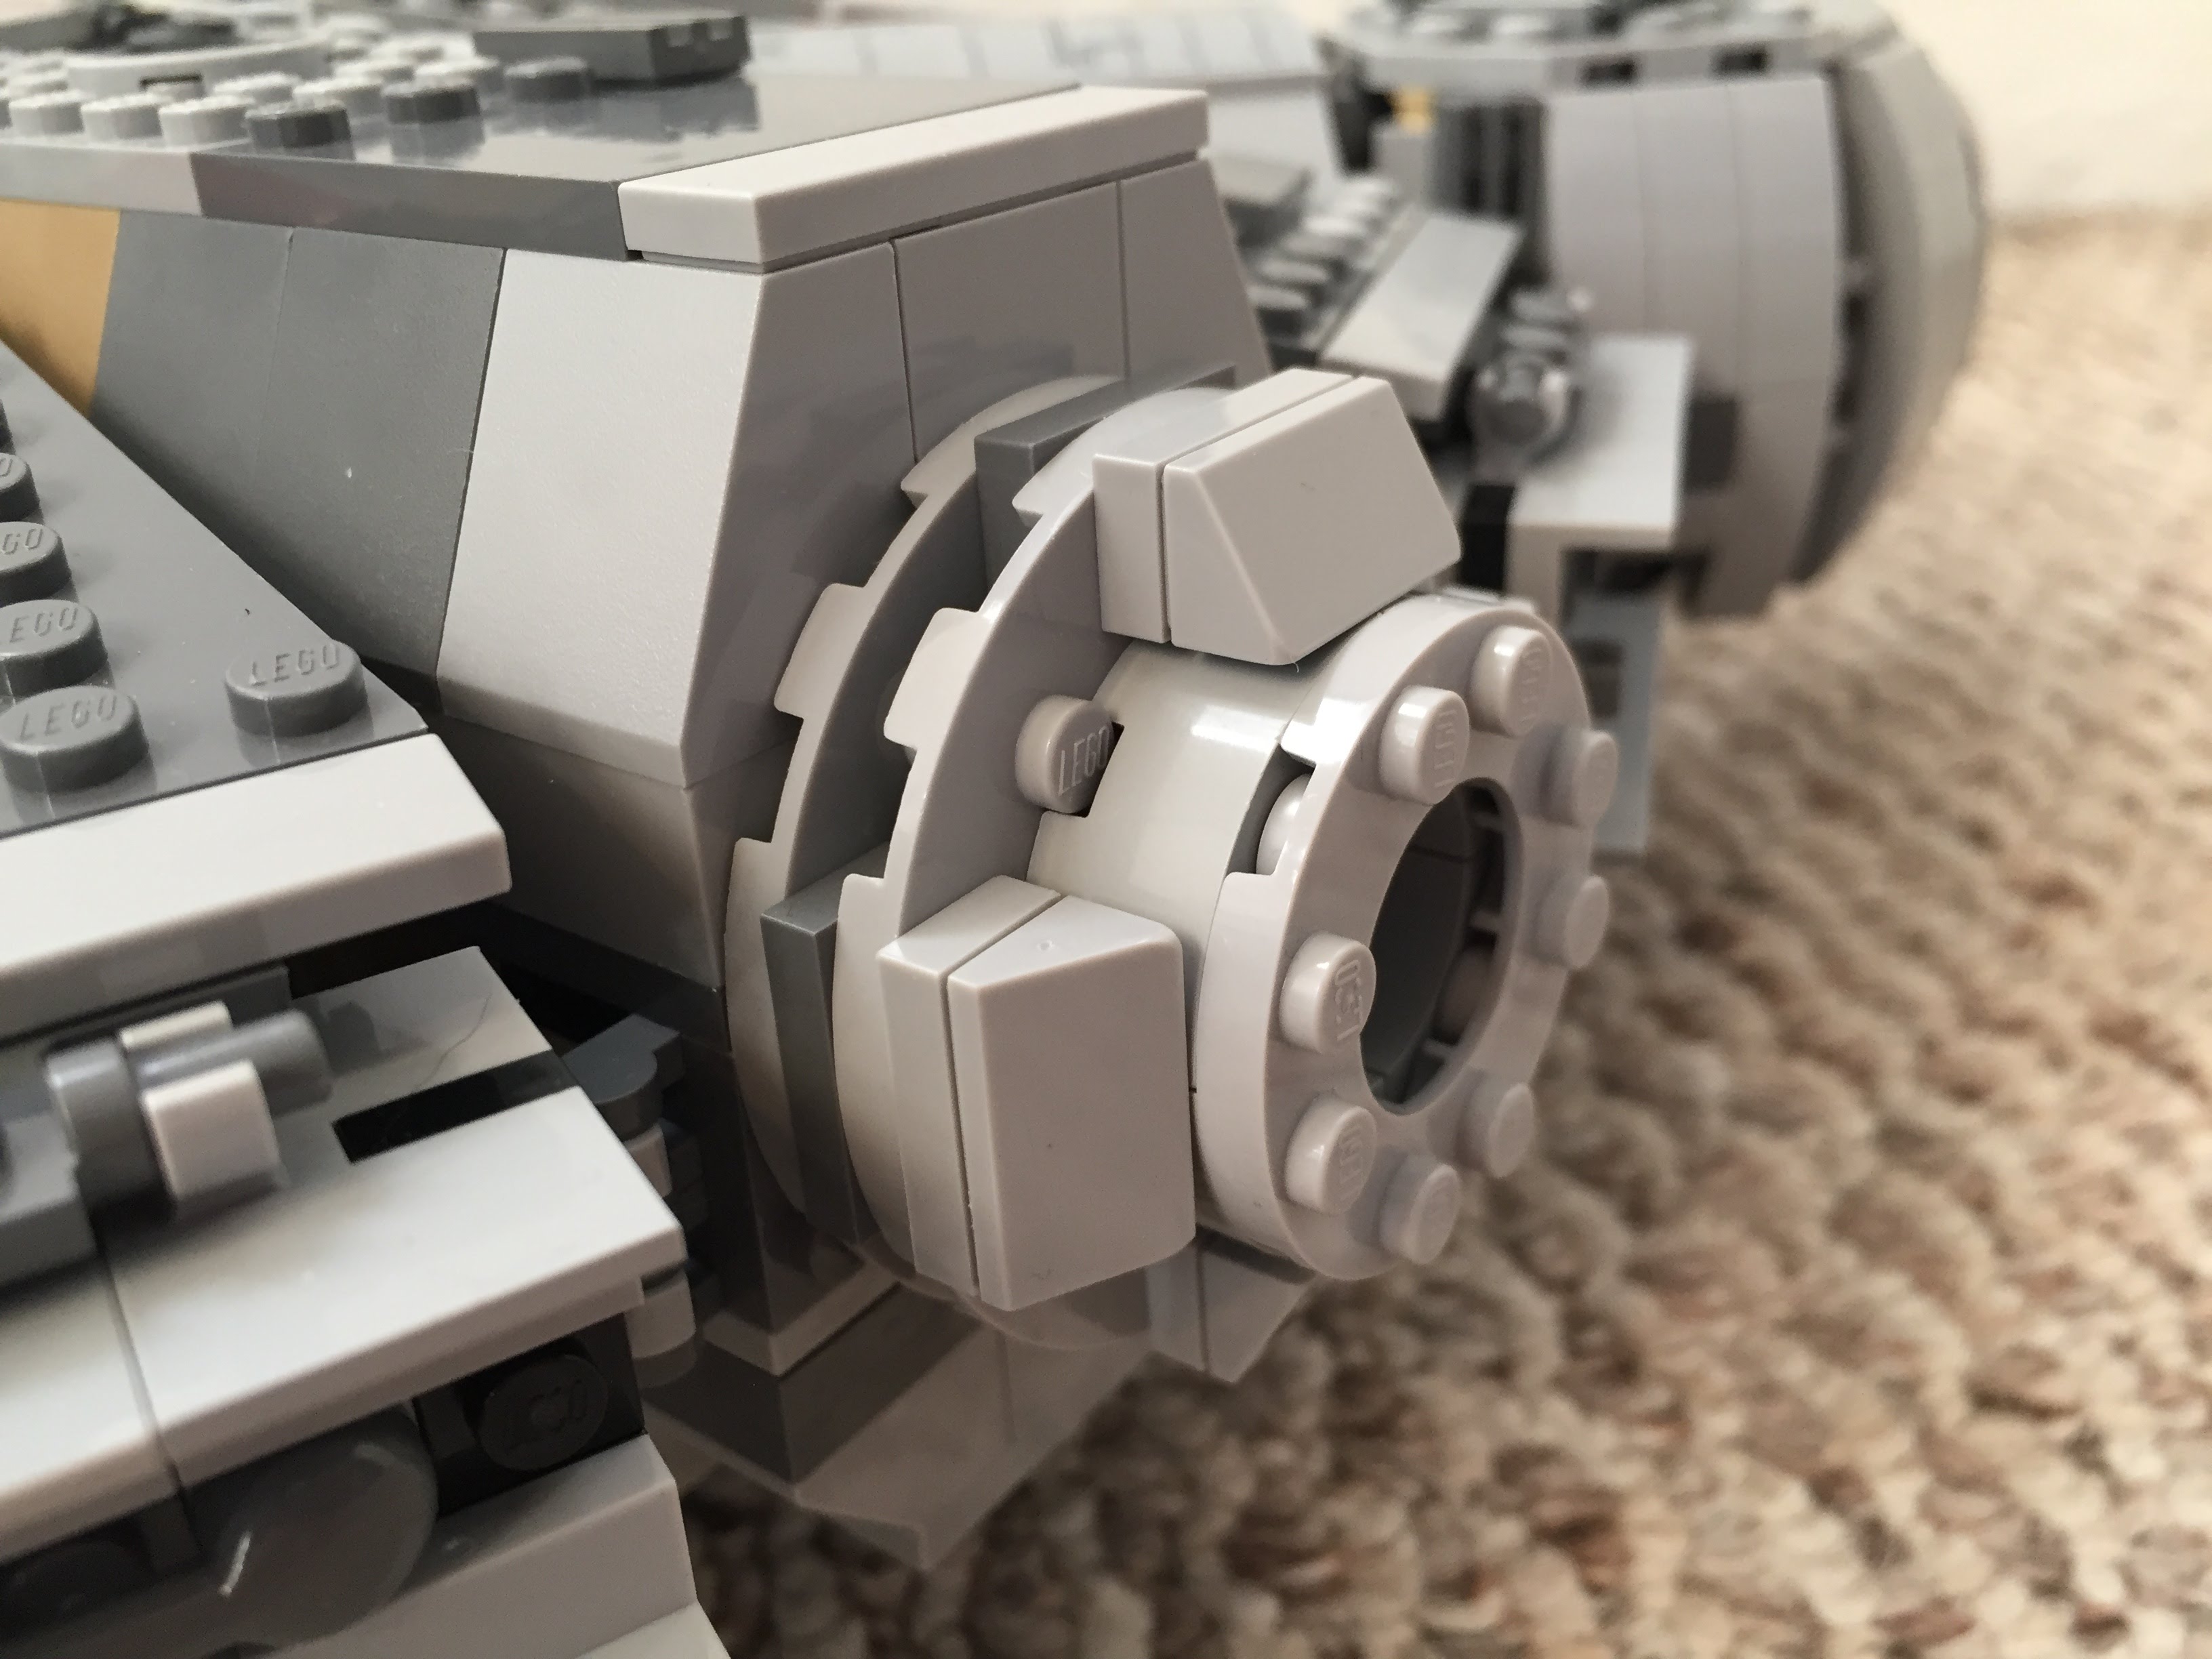
    Port and Starboard Docking Ports

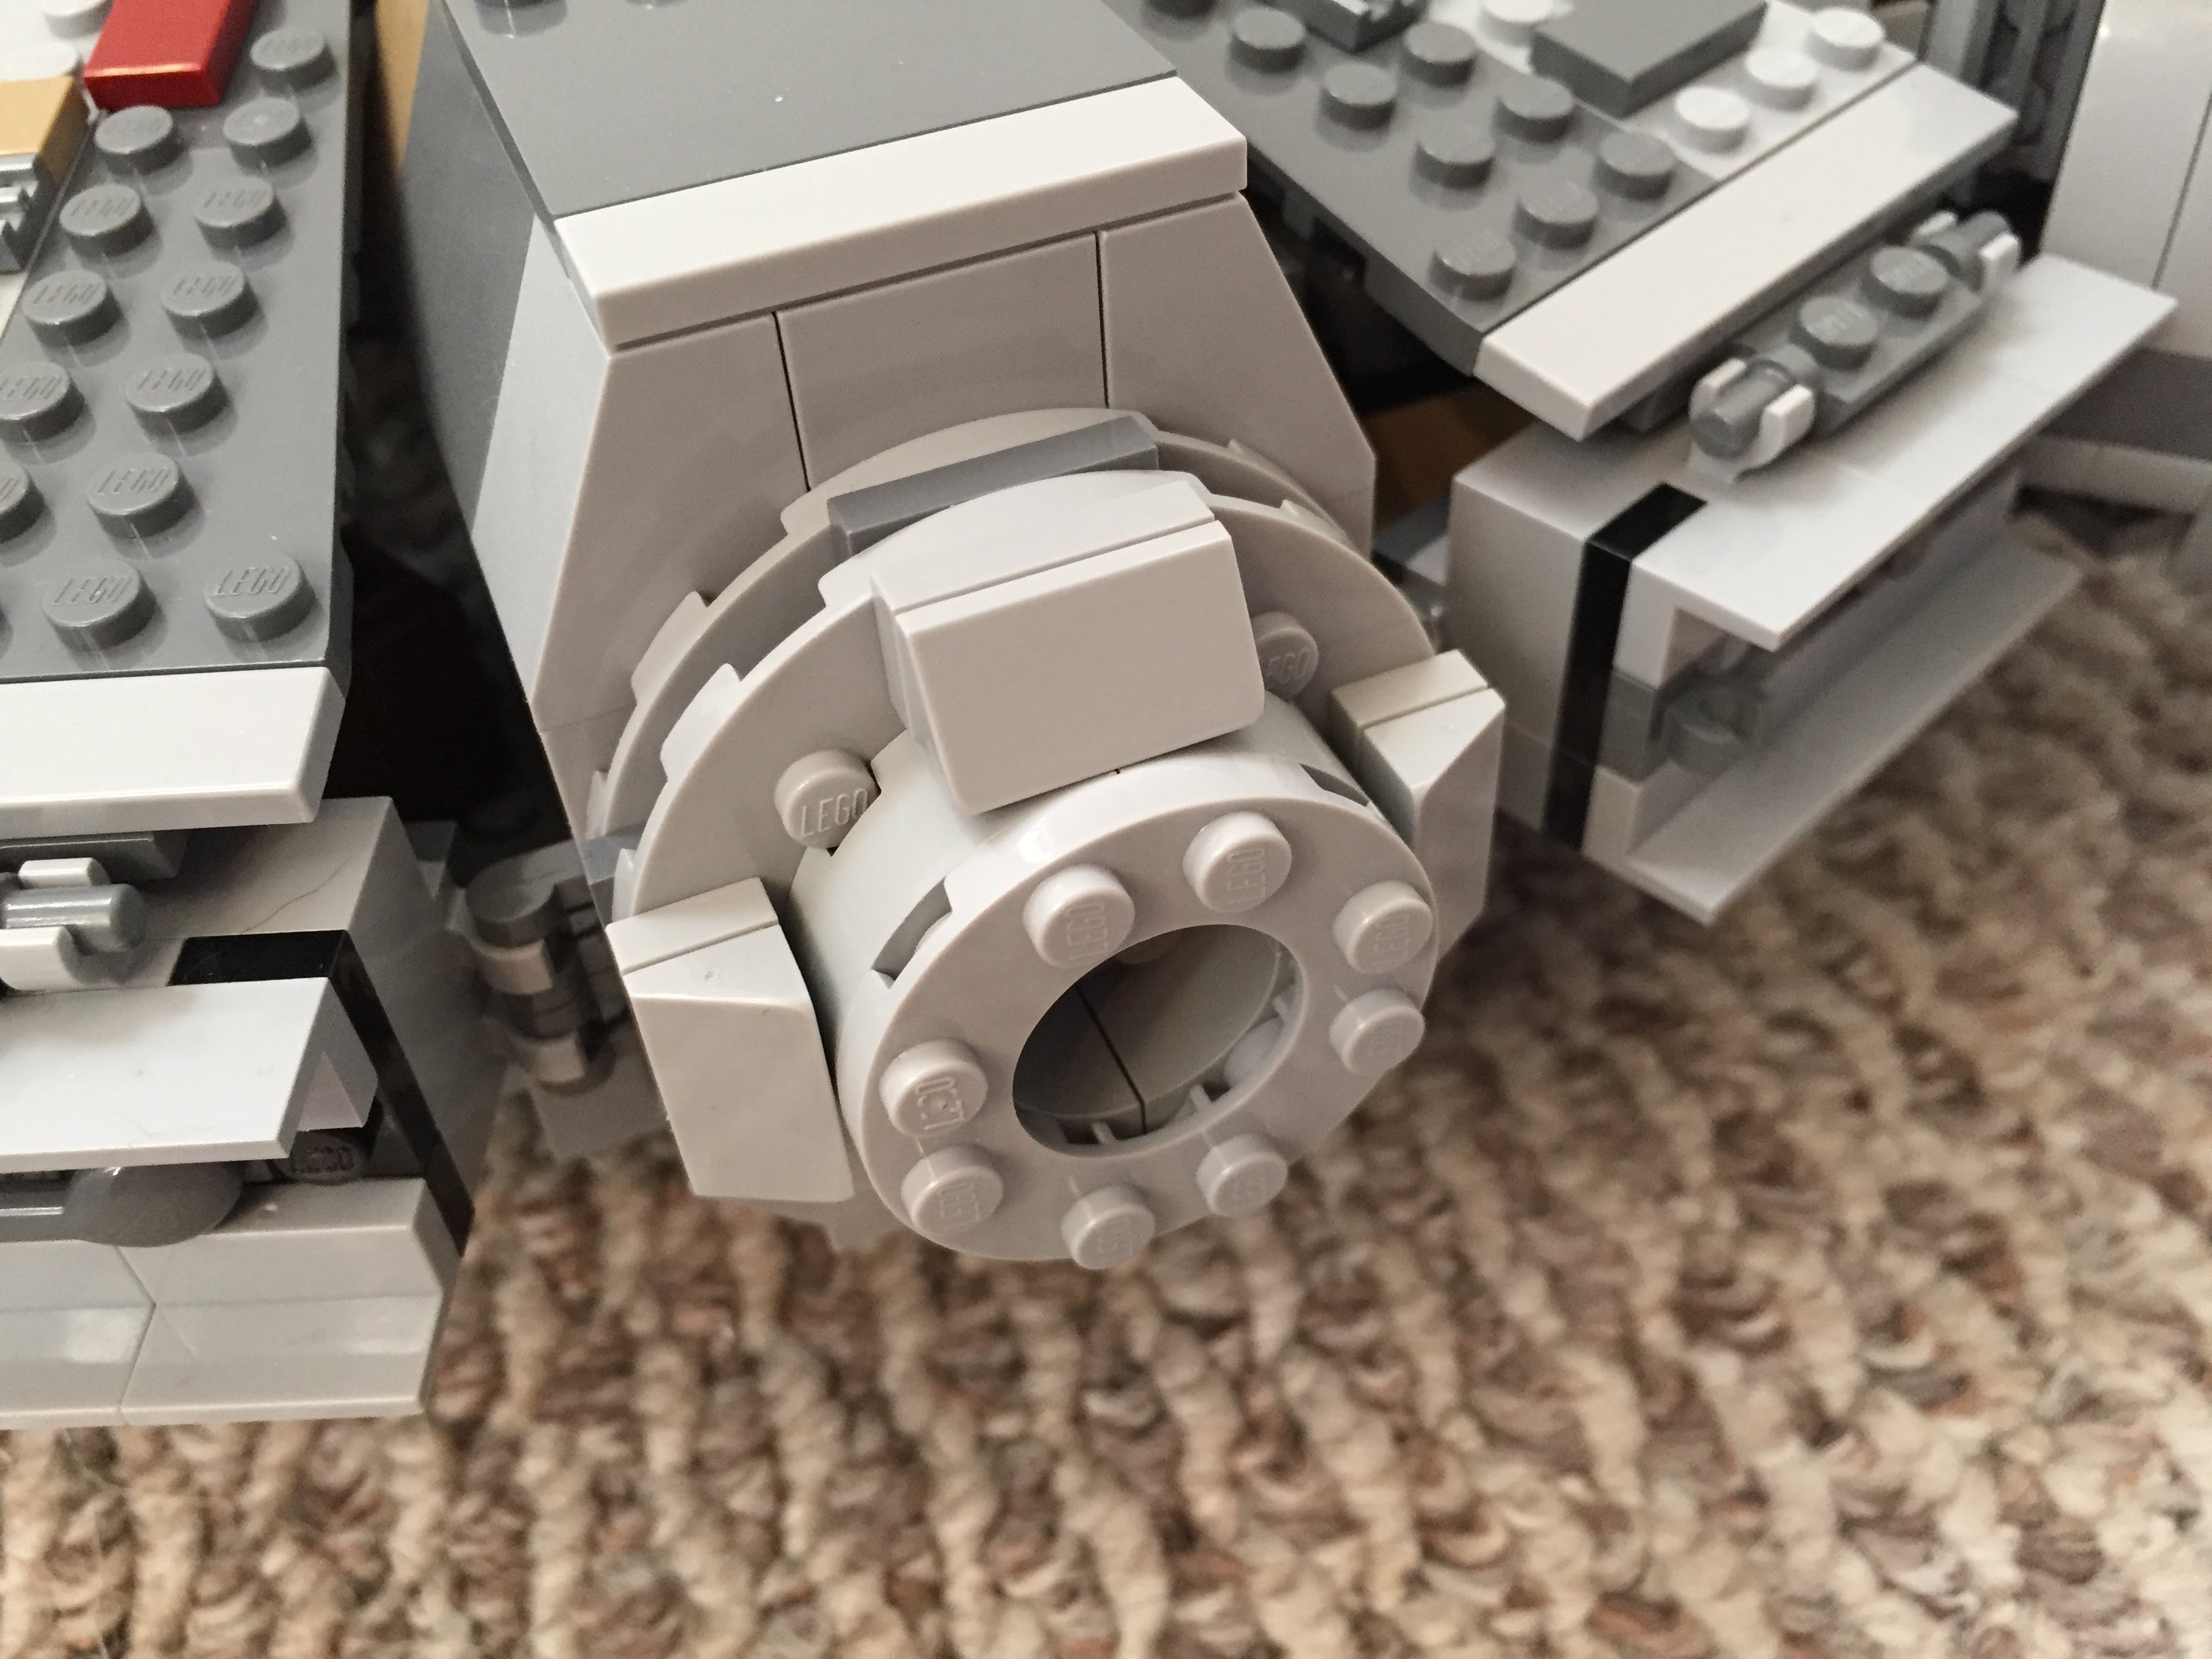
    One disappointing aspect of the 75105 model is the docking ports. It sandwiches 1×2 plates between two Plate 6X6 Round With Tube Snap and covers that with two Plate 2X4X18°. The trouble with this design is that it doesn’t really show the cone-like taper of the docking ports. Earlier Millennium Falcon sets 4504 and 7965 did a better job with the docking ports. I decided to keep 75105’s sandwich to give the ports height, and then built up a capped tube circled by 1×2 plates each topped with a Roof Tile 1 X 2 X 2/3, Abs.
    IMG_3042 1.jpgIMG_2991 1.jpgIMG_2989 1.jpg

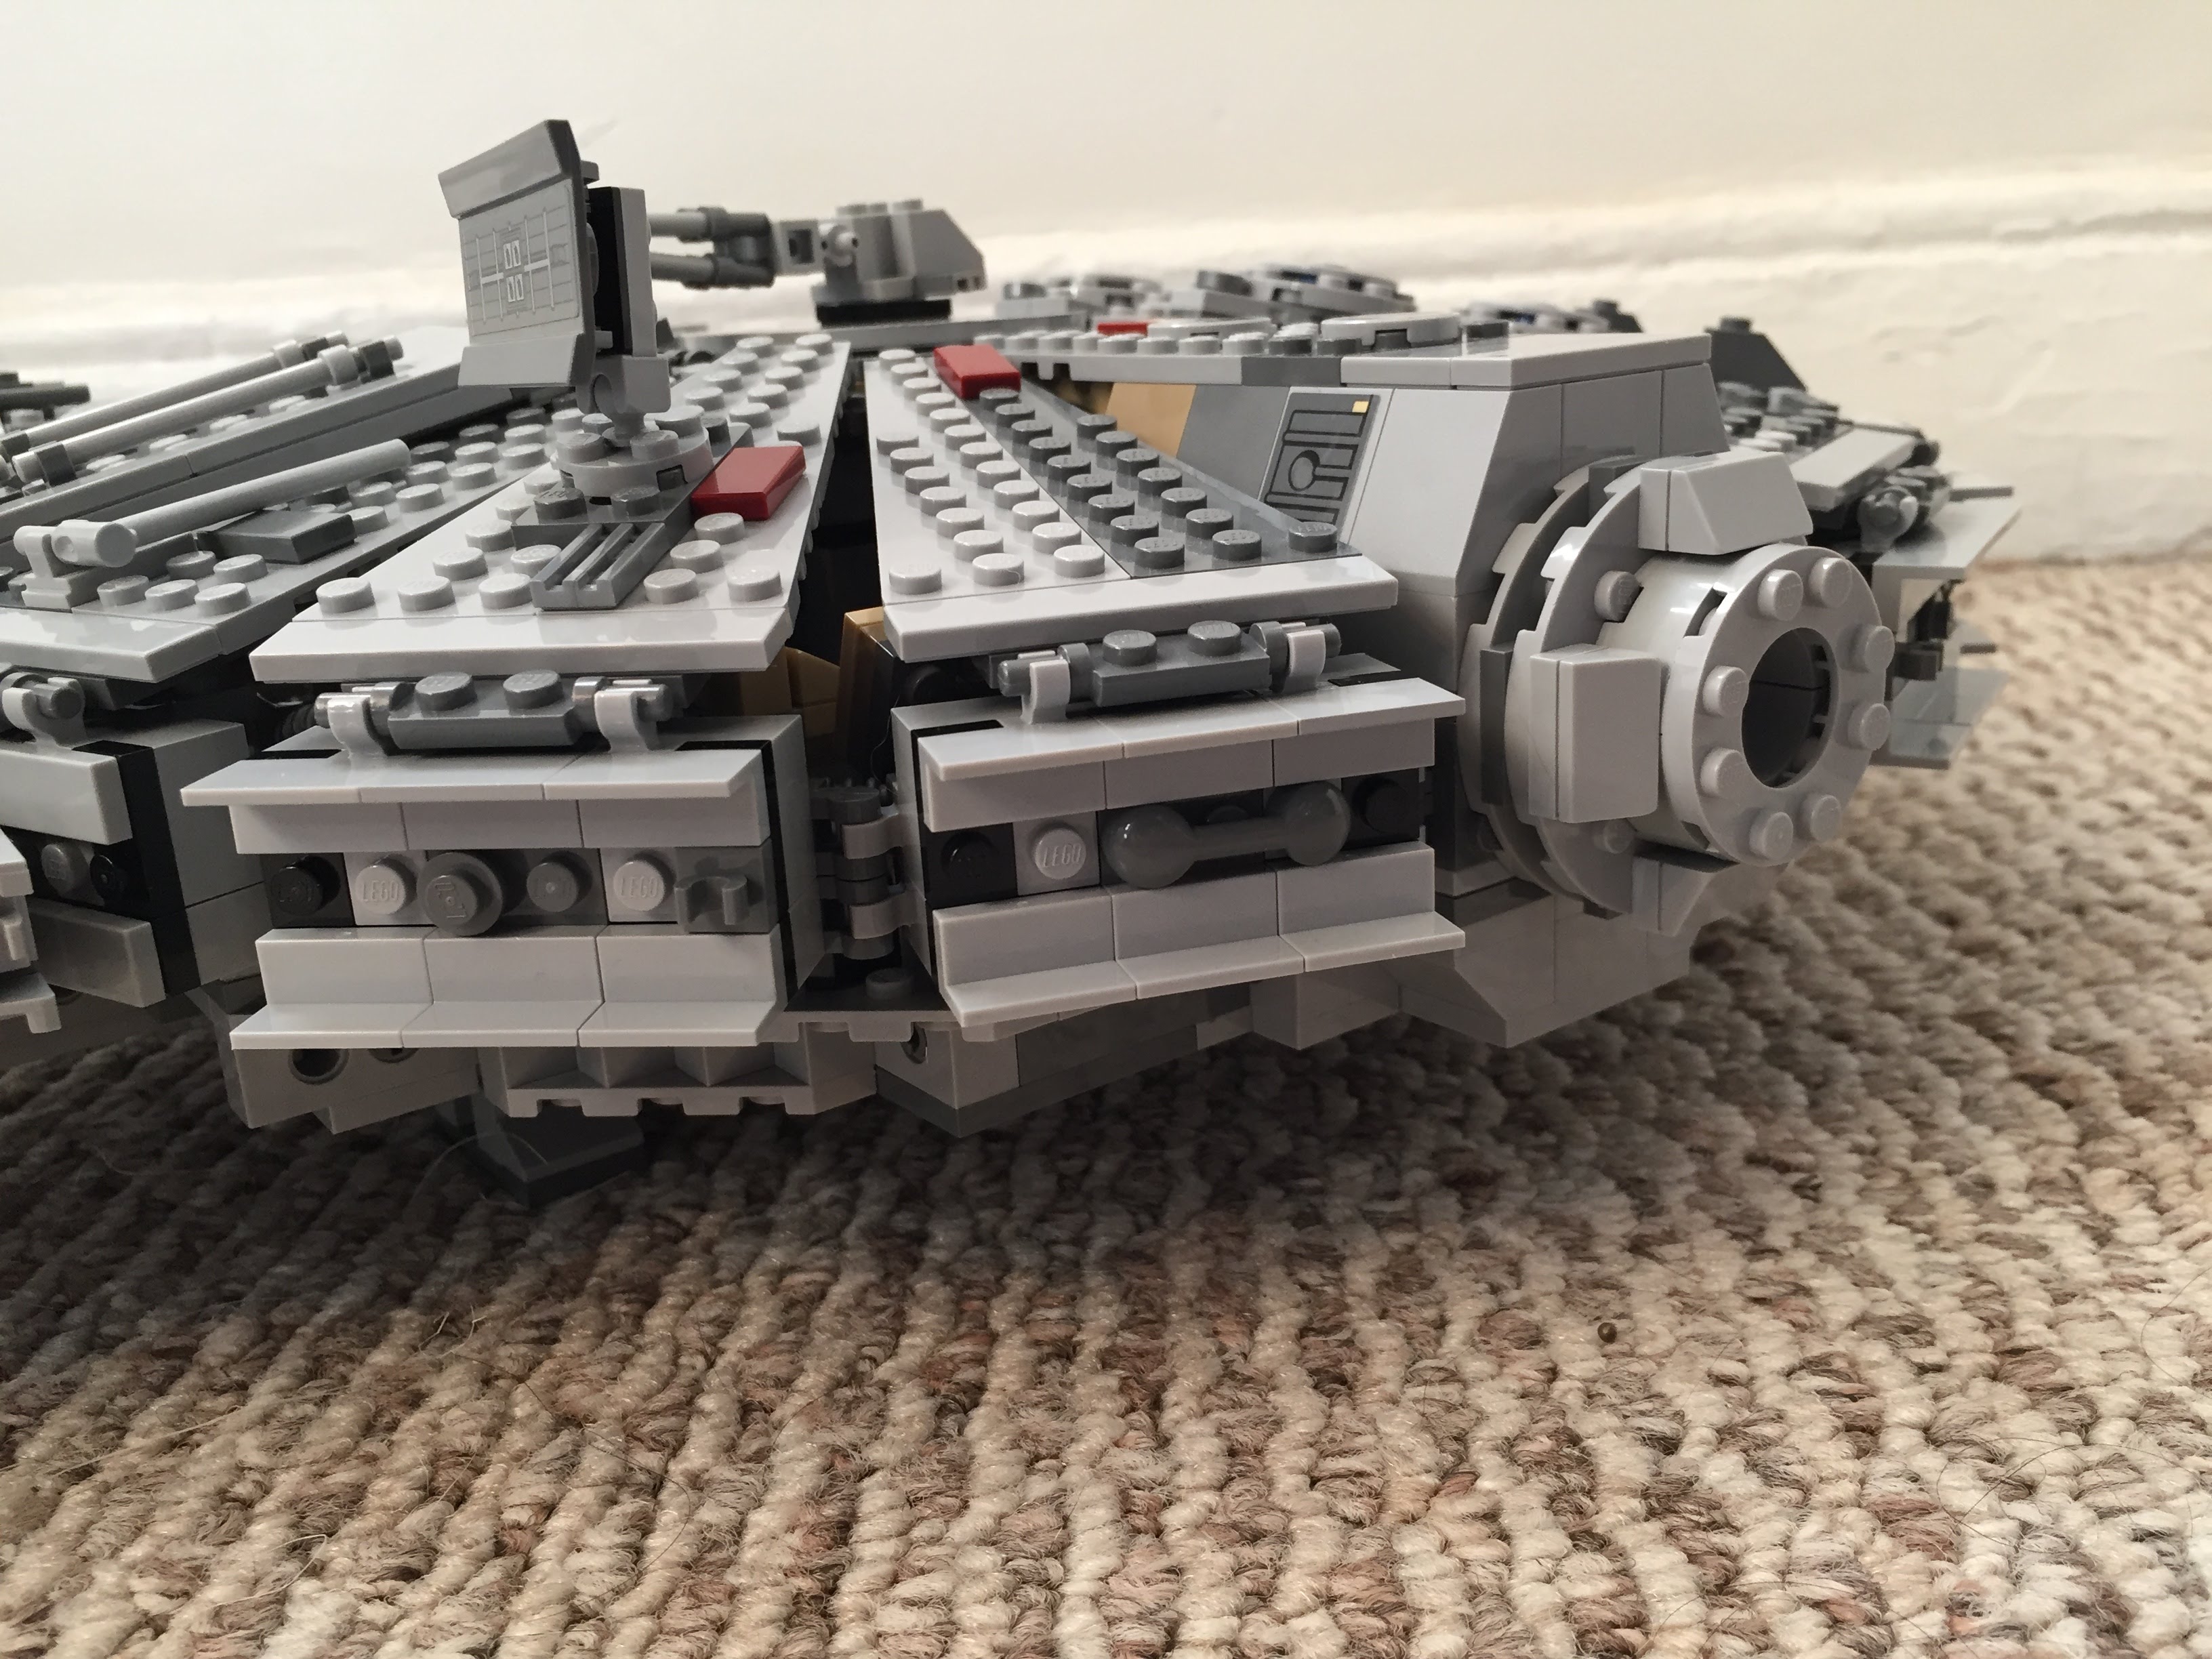
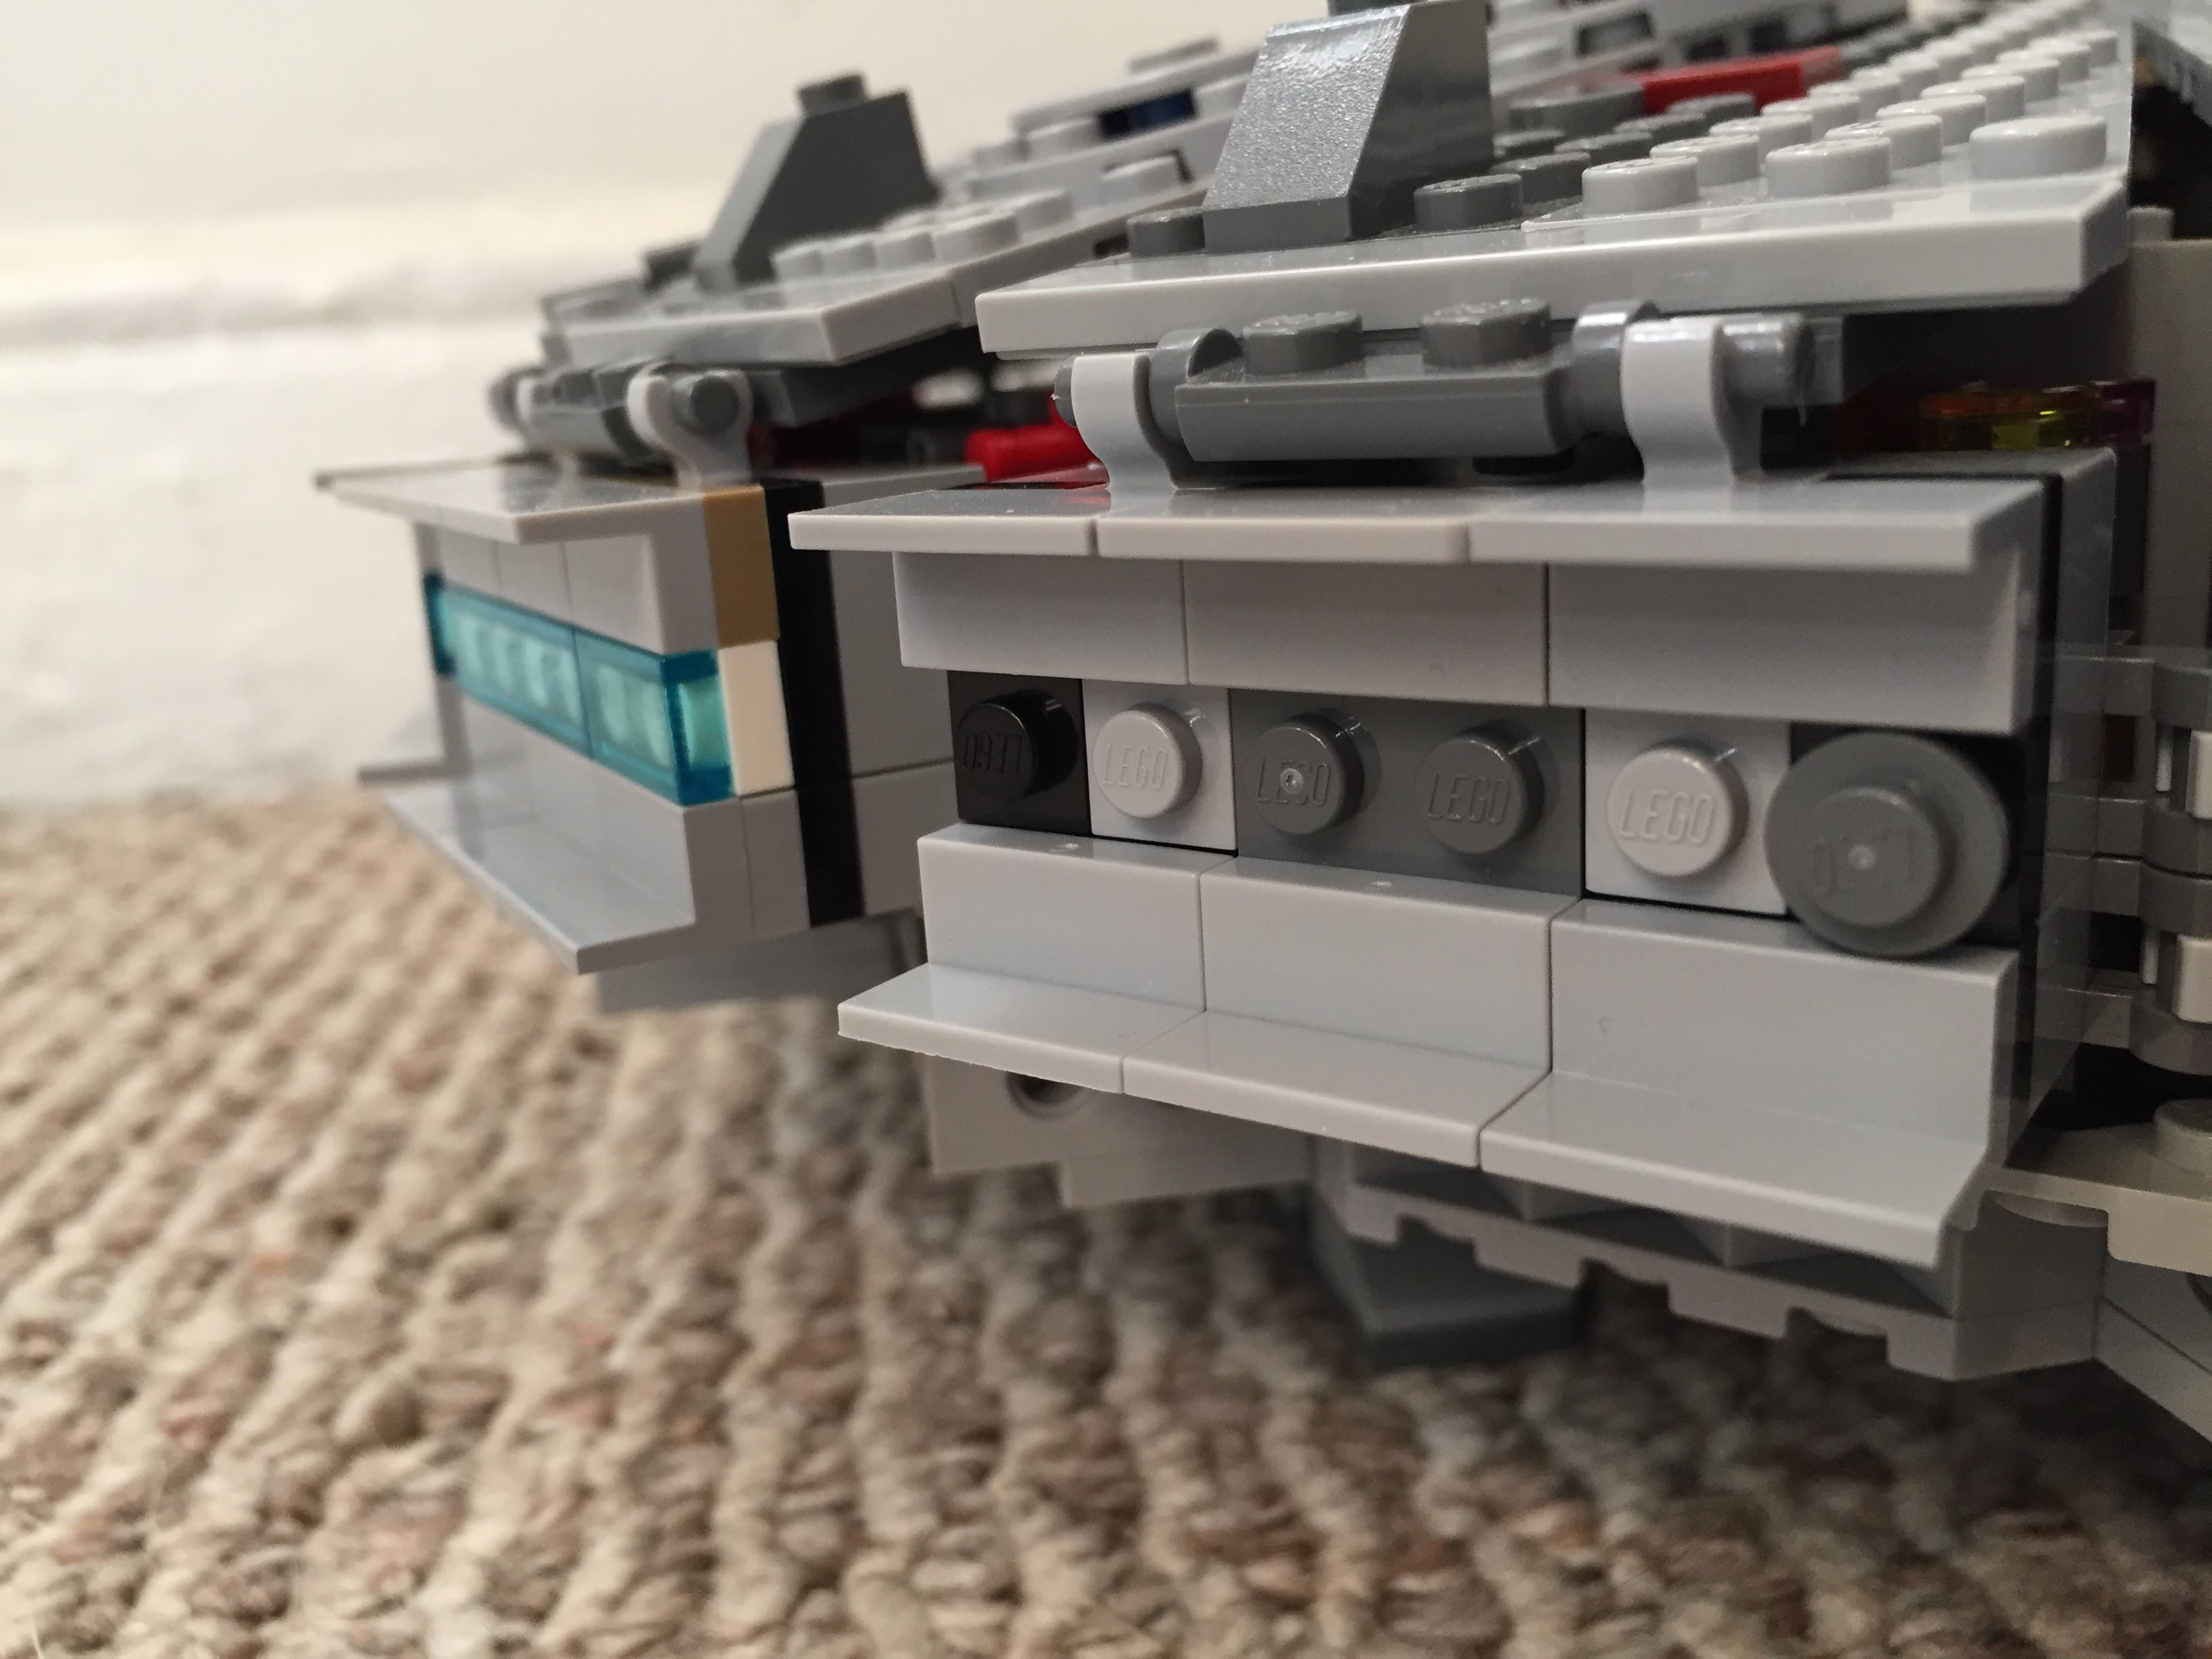
    Wall Tile Extensions Around Circumference

    The Millennium Falcon dorsal and ventral domed covering extends over the circumferential edge. The 75105 model comes with 1×6 flat plates to demarcate this edge overhang, but it doesn’t really look right. I picked up a lot of Wall Element 1X2X1 on Bricklink to replace these 1×6 flat plates. In addition to showing this circumferential trench around the edge of the Falcon, it gives the model an overall flatter look, which emphasizes the Falcon’s on-screen appearance.
    IMG_3033 1.jpgIMG_2992 1.jpgIMG_3040 1.jpg

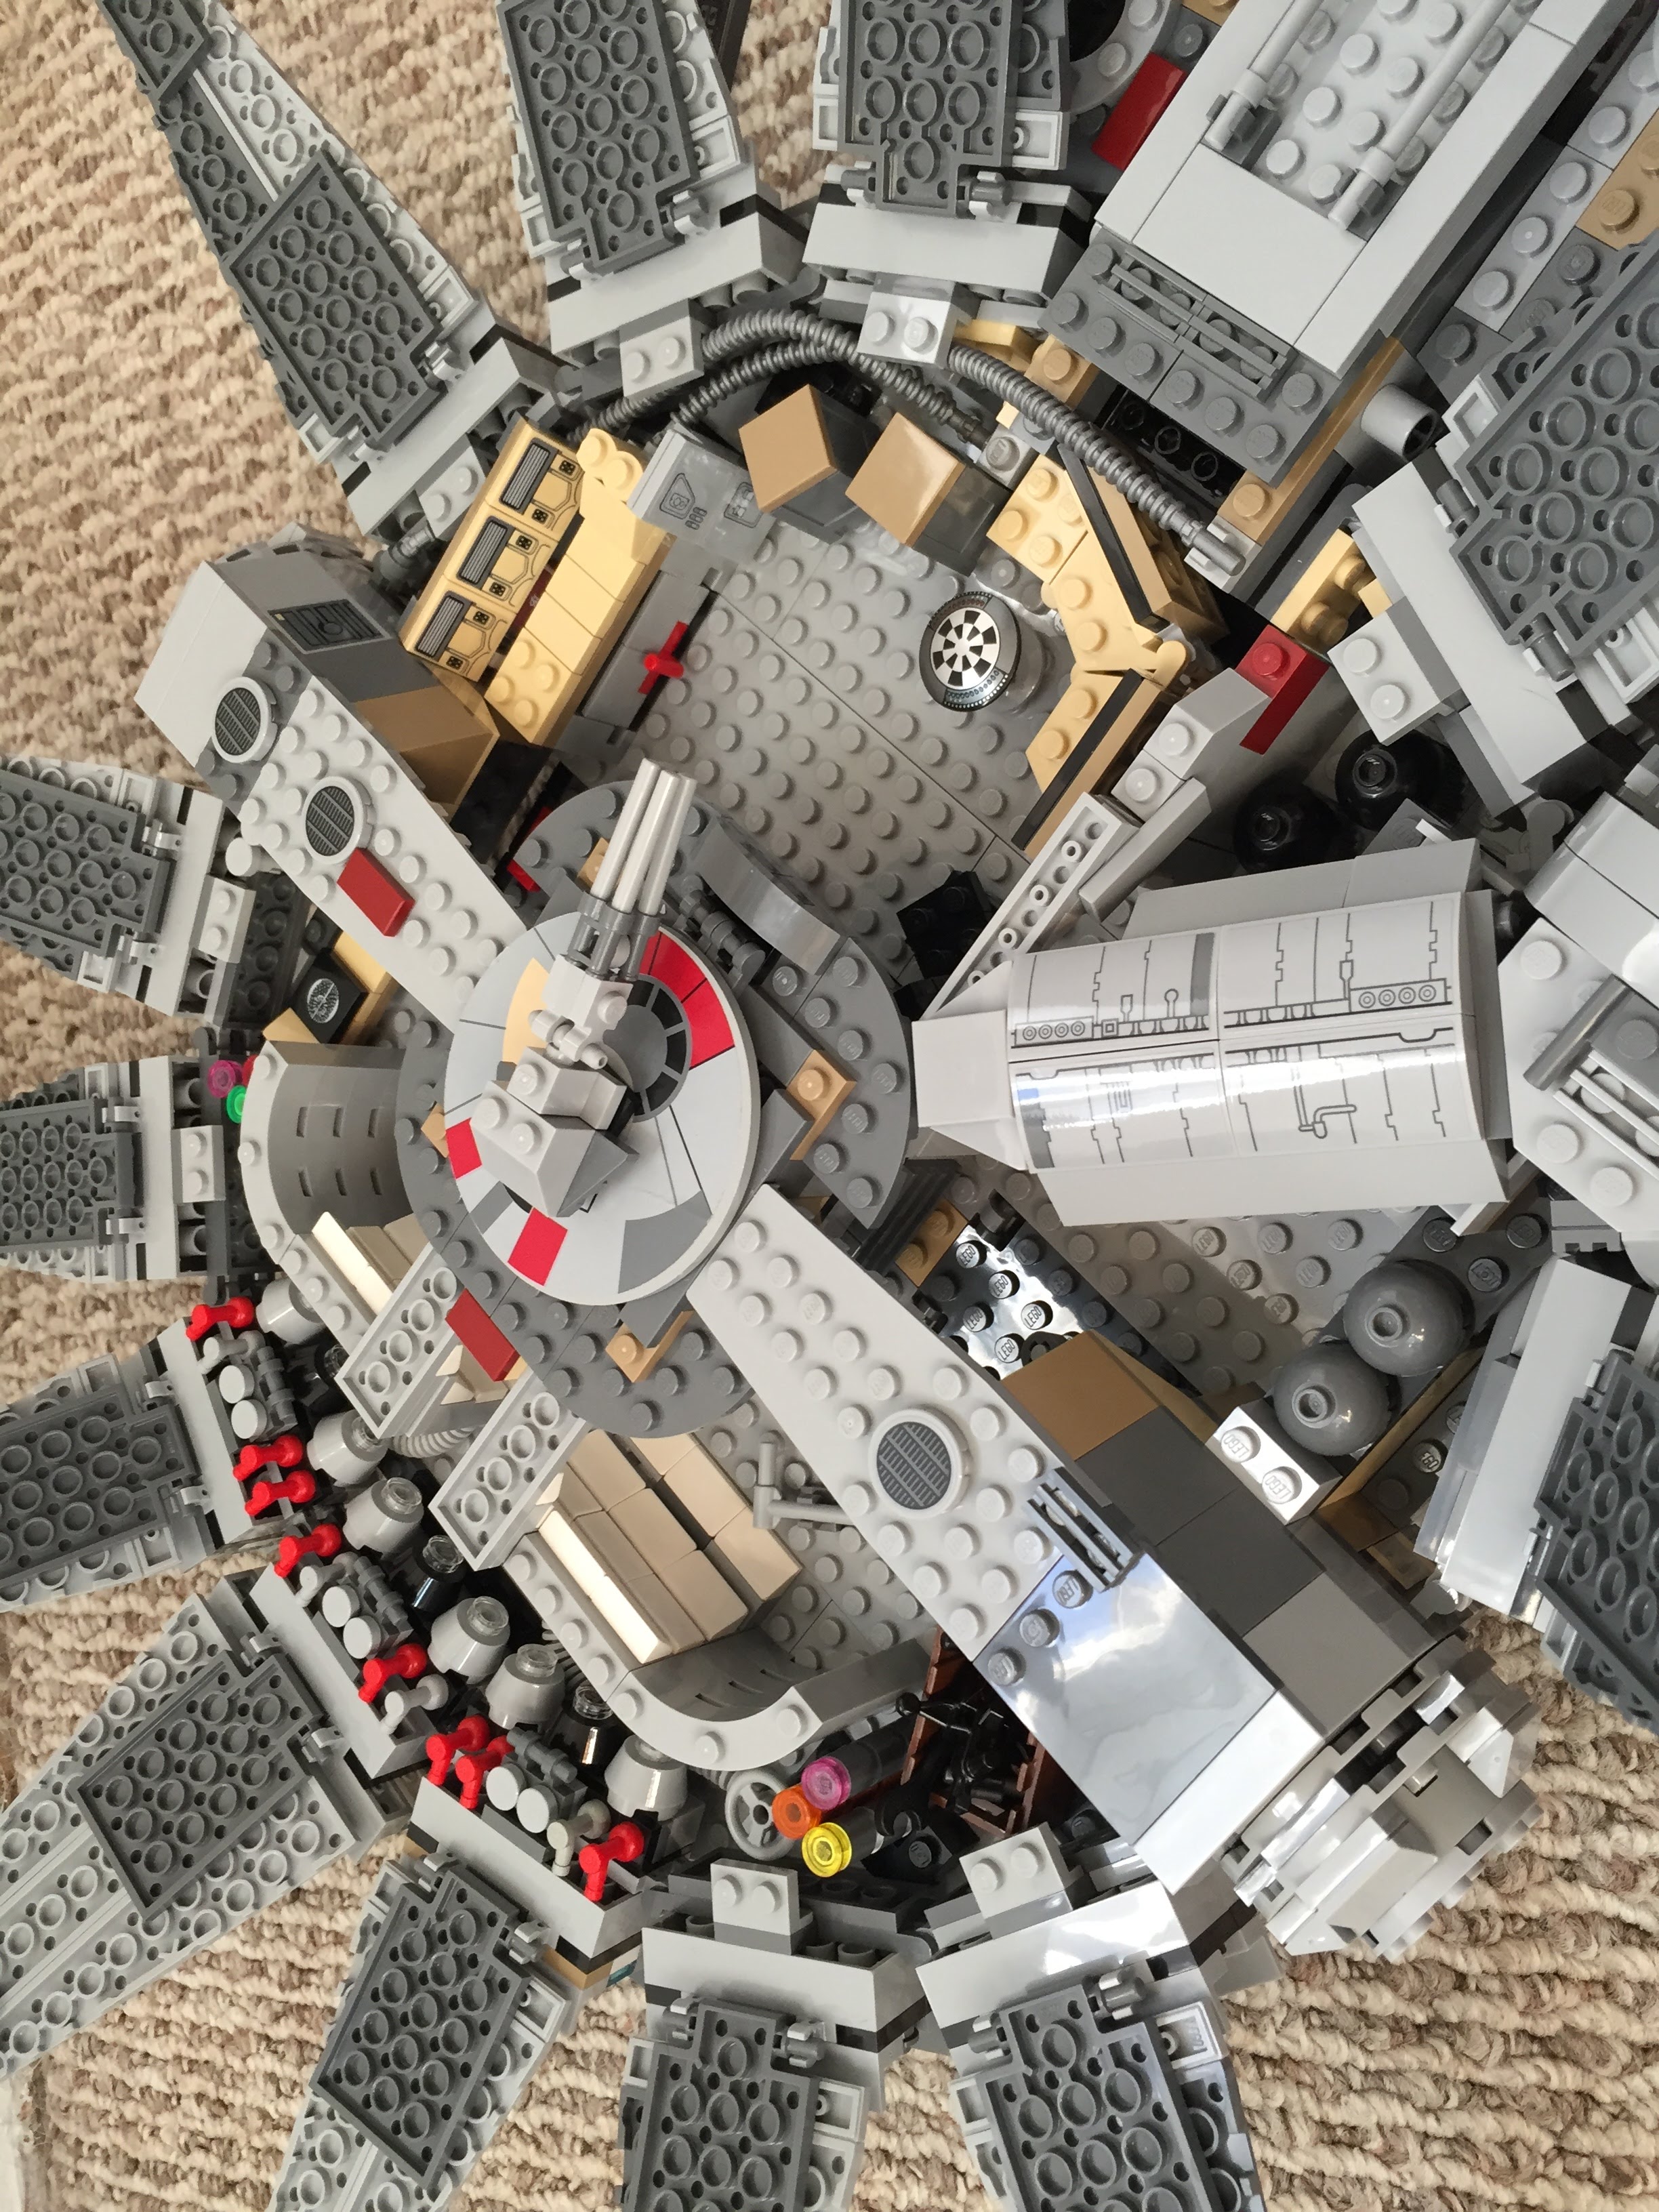
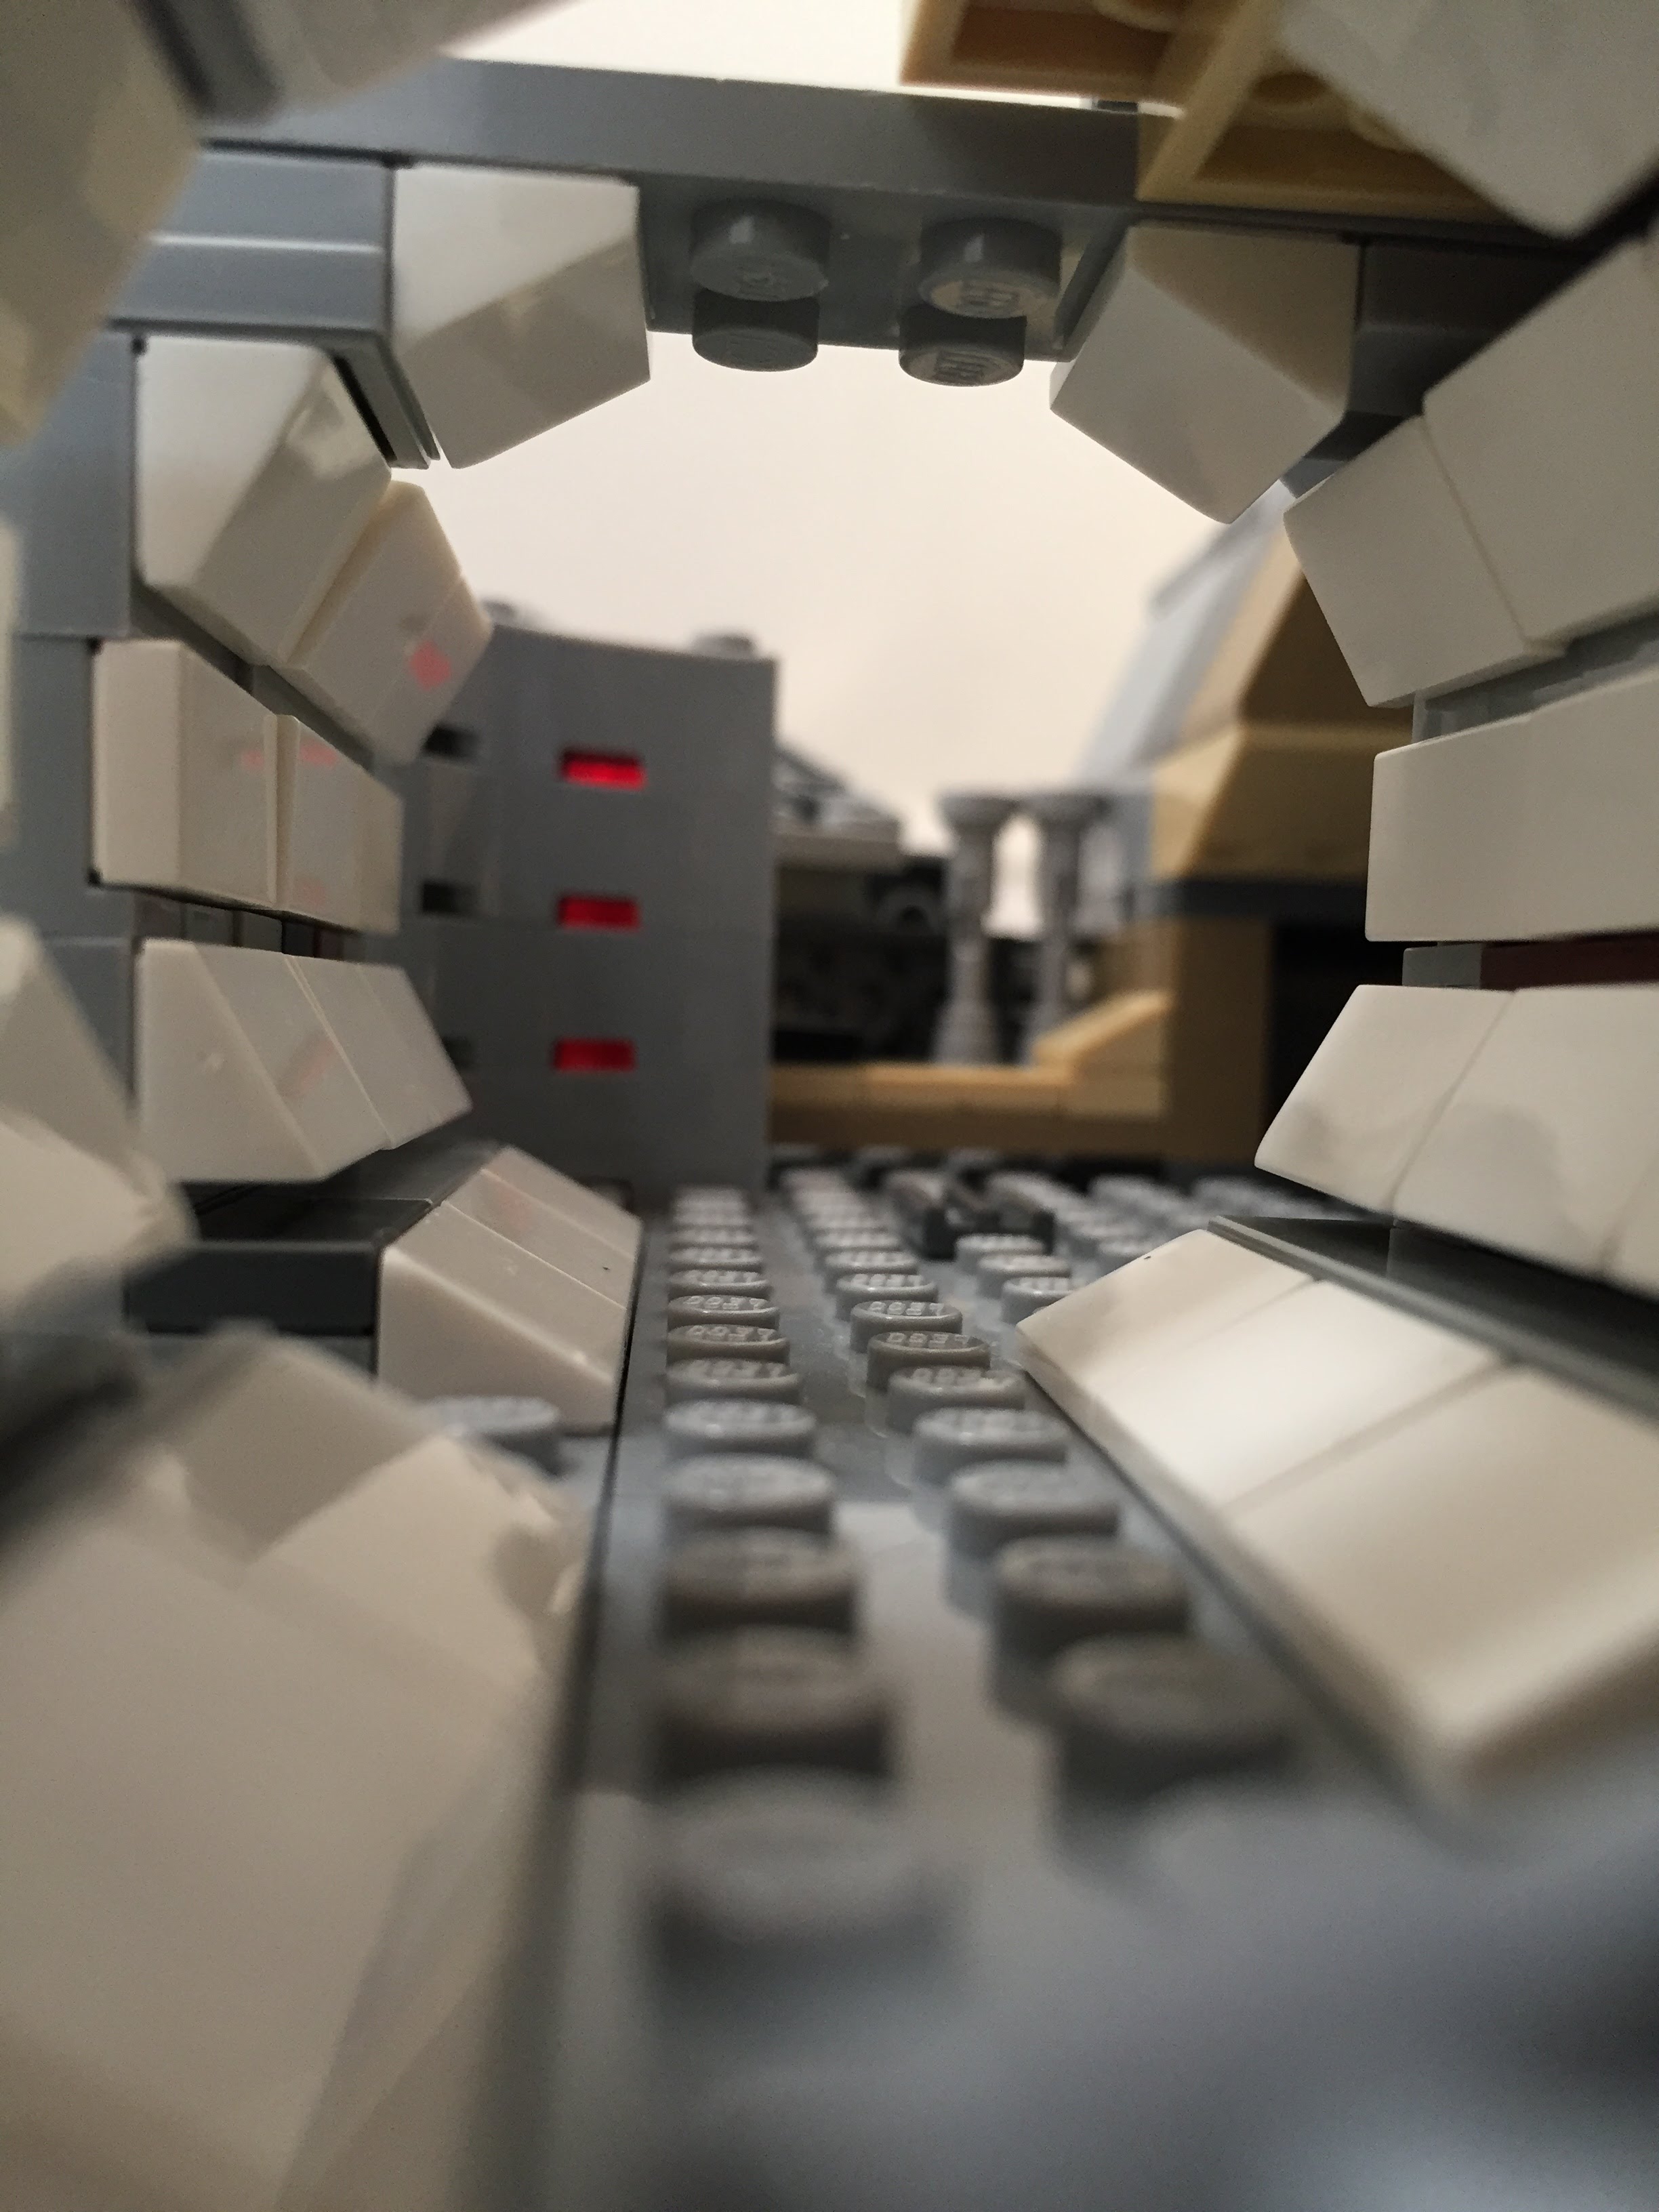
    Engine Compartment

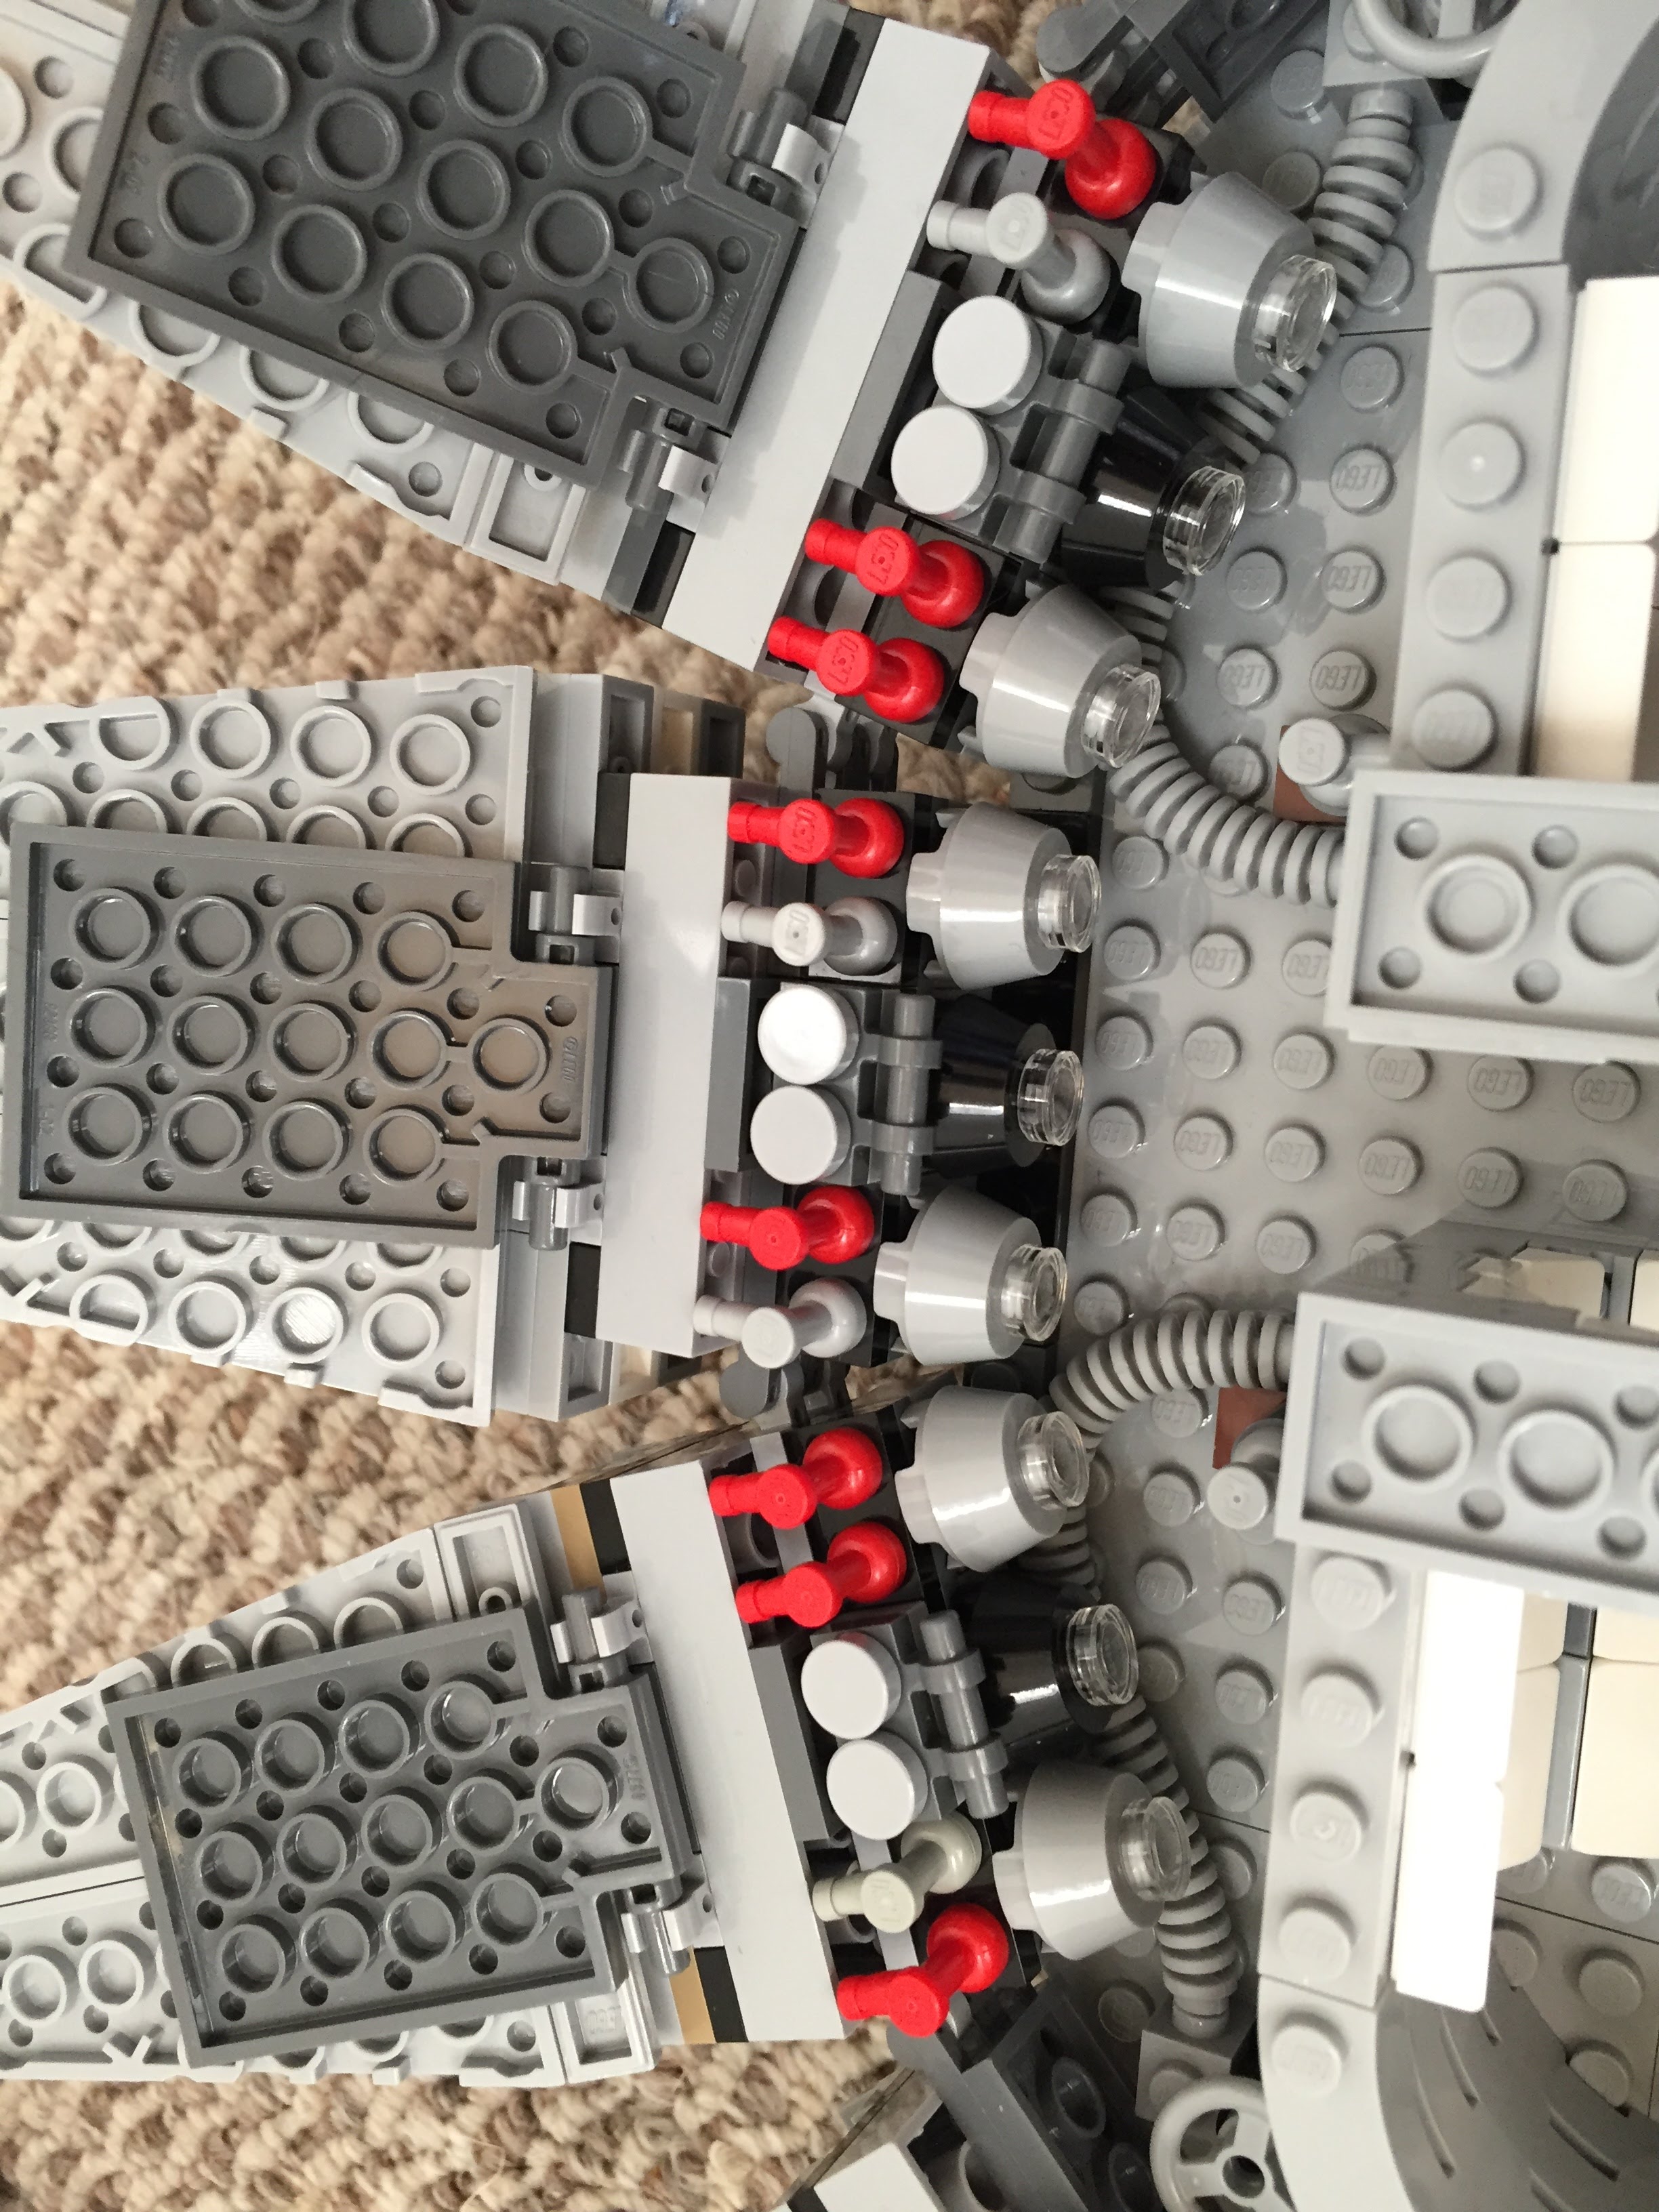
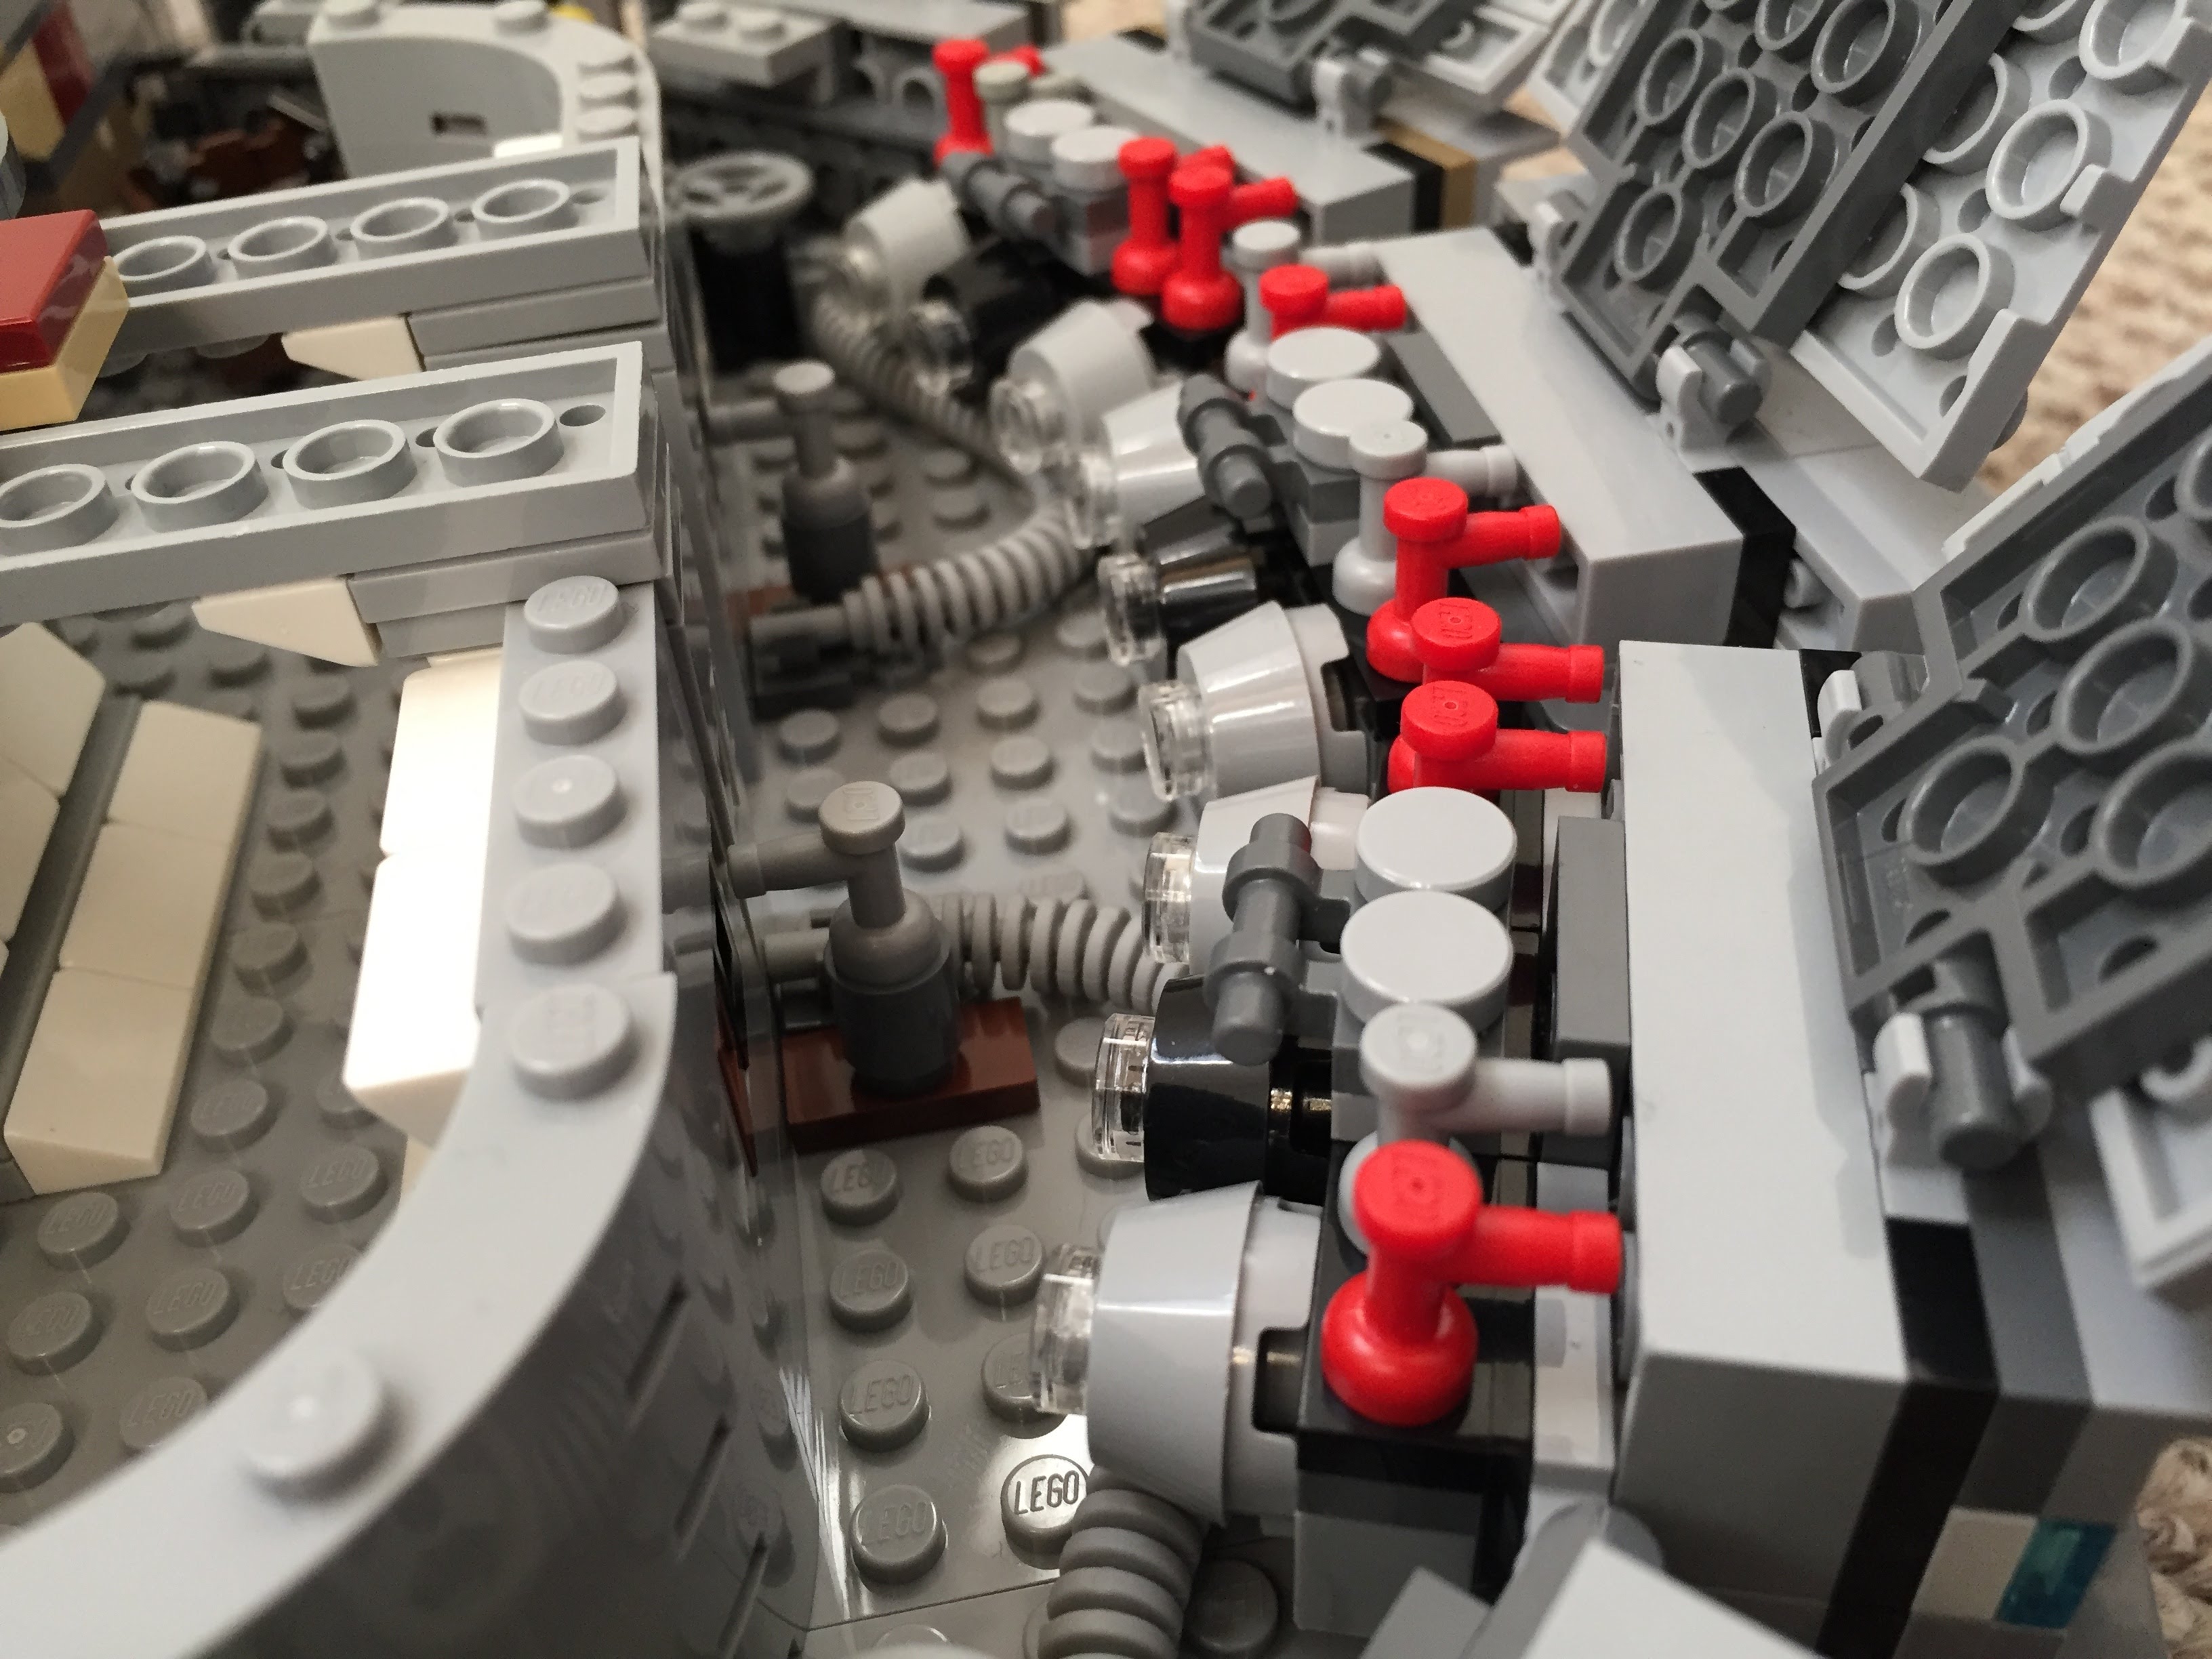
    Instead of the Falcon having a monolithic motor, it seems more likely that it would have a segmented, modular aerospike engine. With this in mind, I designed the engine compartment to have a ring of engine modules with supporting hardware, cabling, and pipes. I created a larger, ringed passage way with an entrance way leading into the engine compartment.
    IMG_3025 1.jpgIMG_3023 1.jpgIMG_3013 1.jpgIMG_3012 1.jpgIMG_3011 1.jpgMillennium-Falcon-aft-engineroom-entrance.jpgMillennium-Falcon-aft-engineroom-sideview.jpgMillennium-Falcon-aft-passageway.jpgIMG_2999 1.jpg

    Entrance Ramp and Other Compartments

    I stole the hydraulics from 75103: First Order Transporter and added to the Falcon’s entrance ramp (which makes the ramp look like the Kenner Millennium Falcon vehicle from the original Star Wars action figure line). Also, I shifted the entrance ramp one stud out from the central gunner turret assembly. There are two side compartments–one for storage with weapons in a crate, and one for another bunk (with a copy of the Death Star plans).
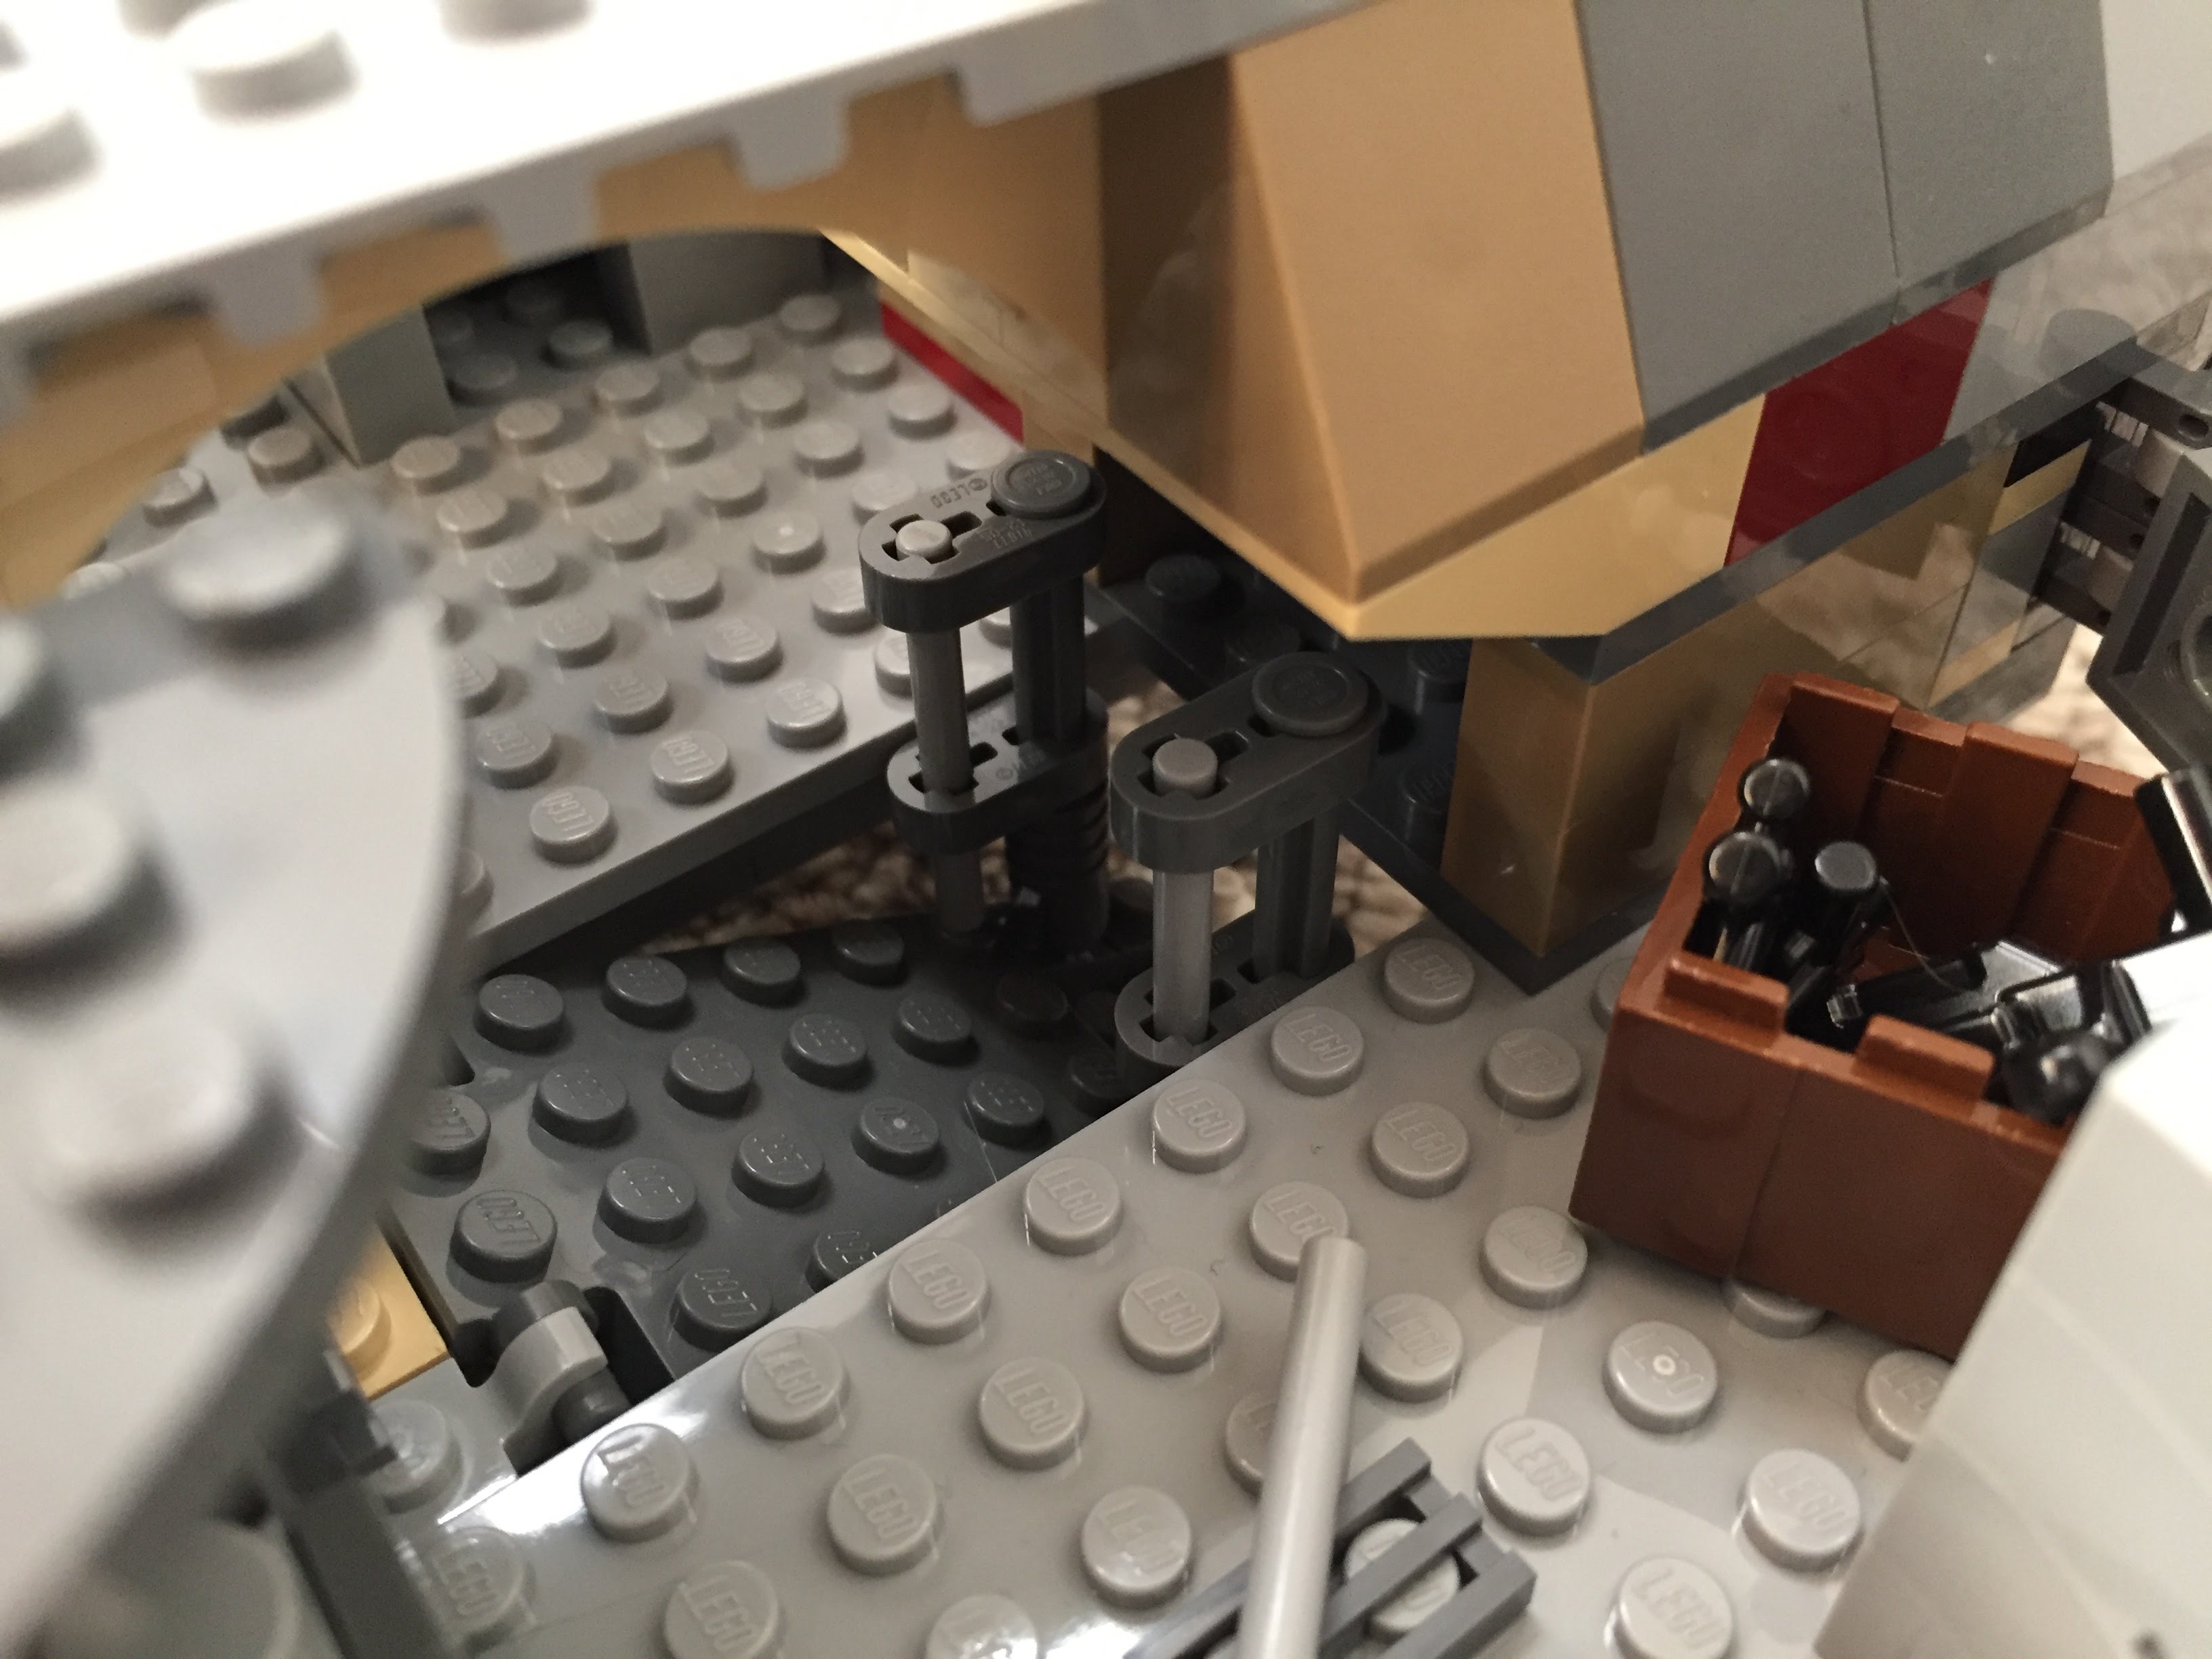
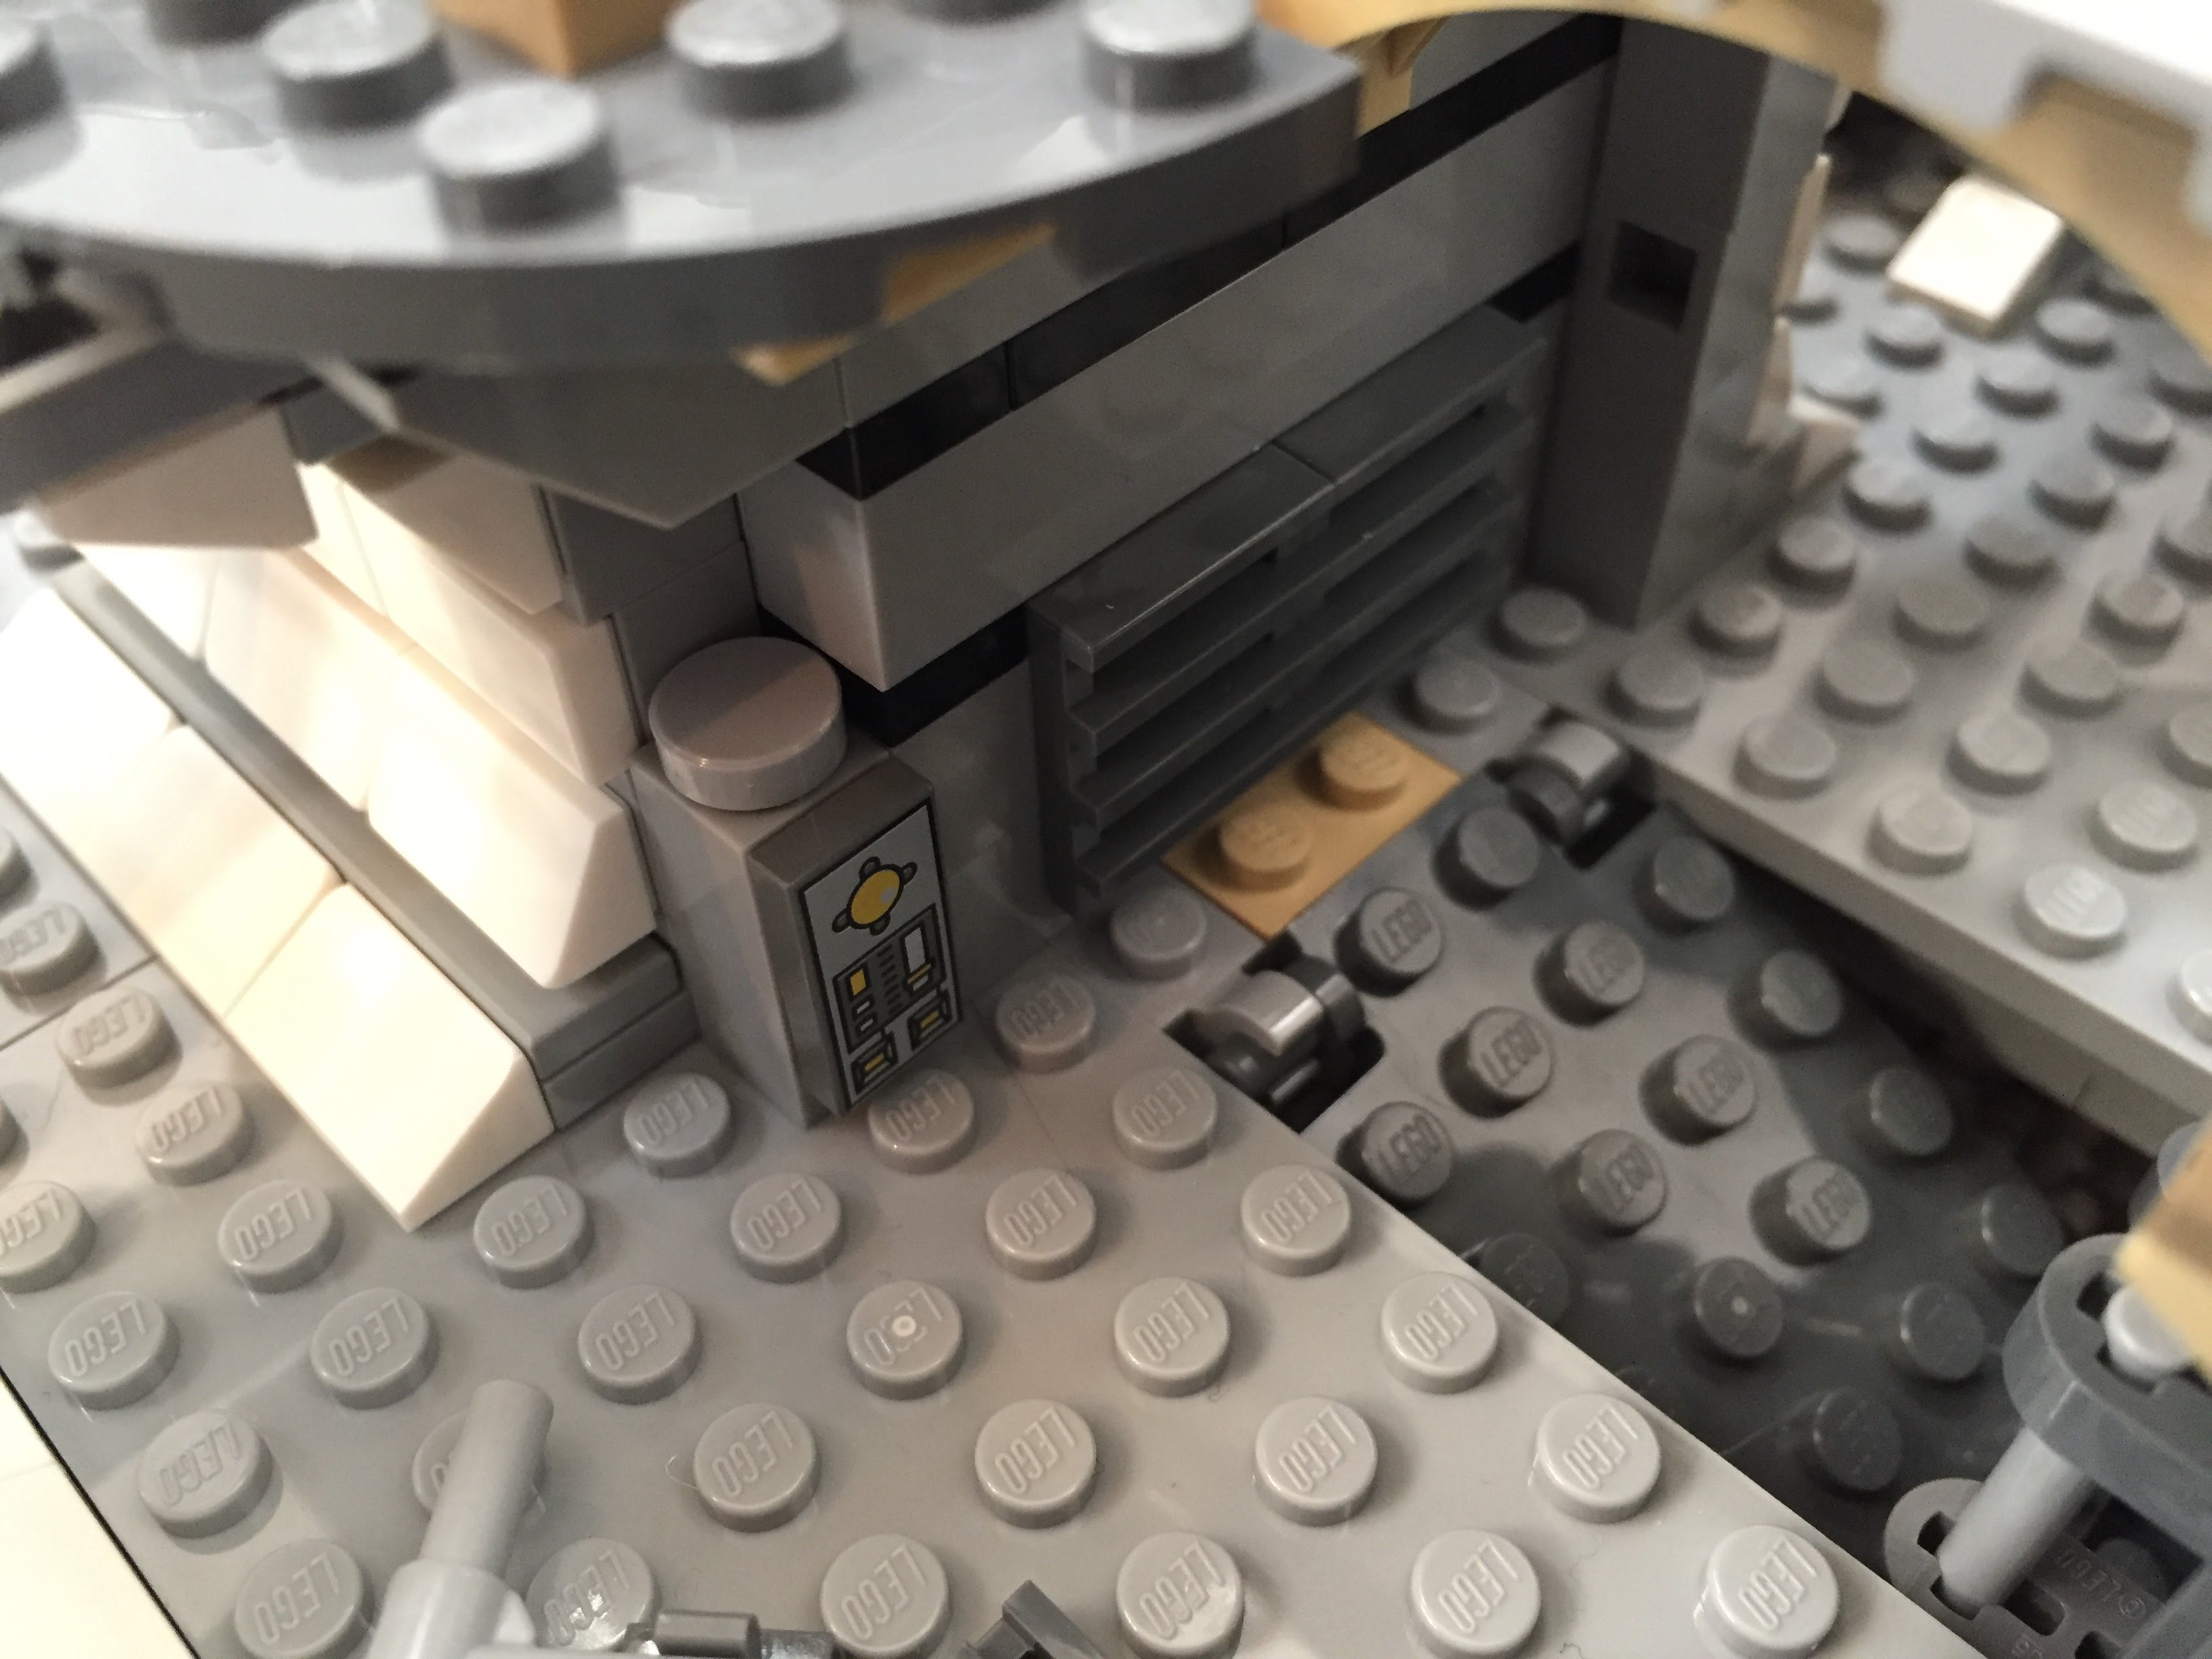
    Millennium-Falcon-entryramp-interior-down2.jpgMillennium-Falcon-entryway-interior-down.jpgMillennium-Falcon-entryramp-exterior-down.jpgMillennium-Falcon-aft-storeroom.jpgMillennium-Falcon-aft-sleep-compartment.jpg

    New Engine Exhaust and a Little Joke

    Instead of using the ribbed, transparent blue tube that comes with 75105, I opted for white tile backgrounds covered by transparent blue flat tiles (1×2 and 1×4). As a hidden joke, I included a trailer hitch under the engines (isn’t the Millennium Falcon is a big rig in the stars?).
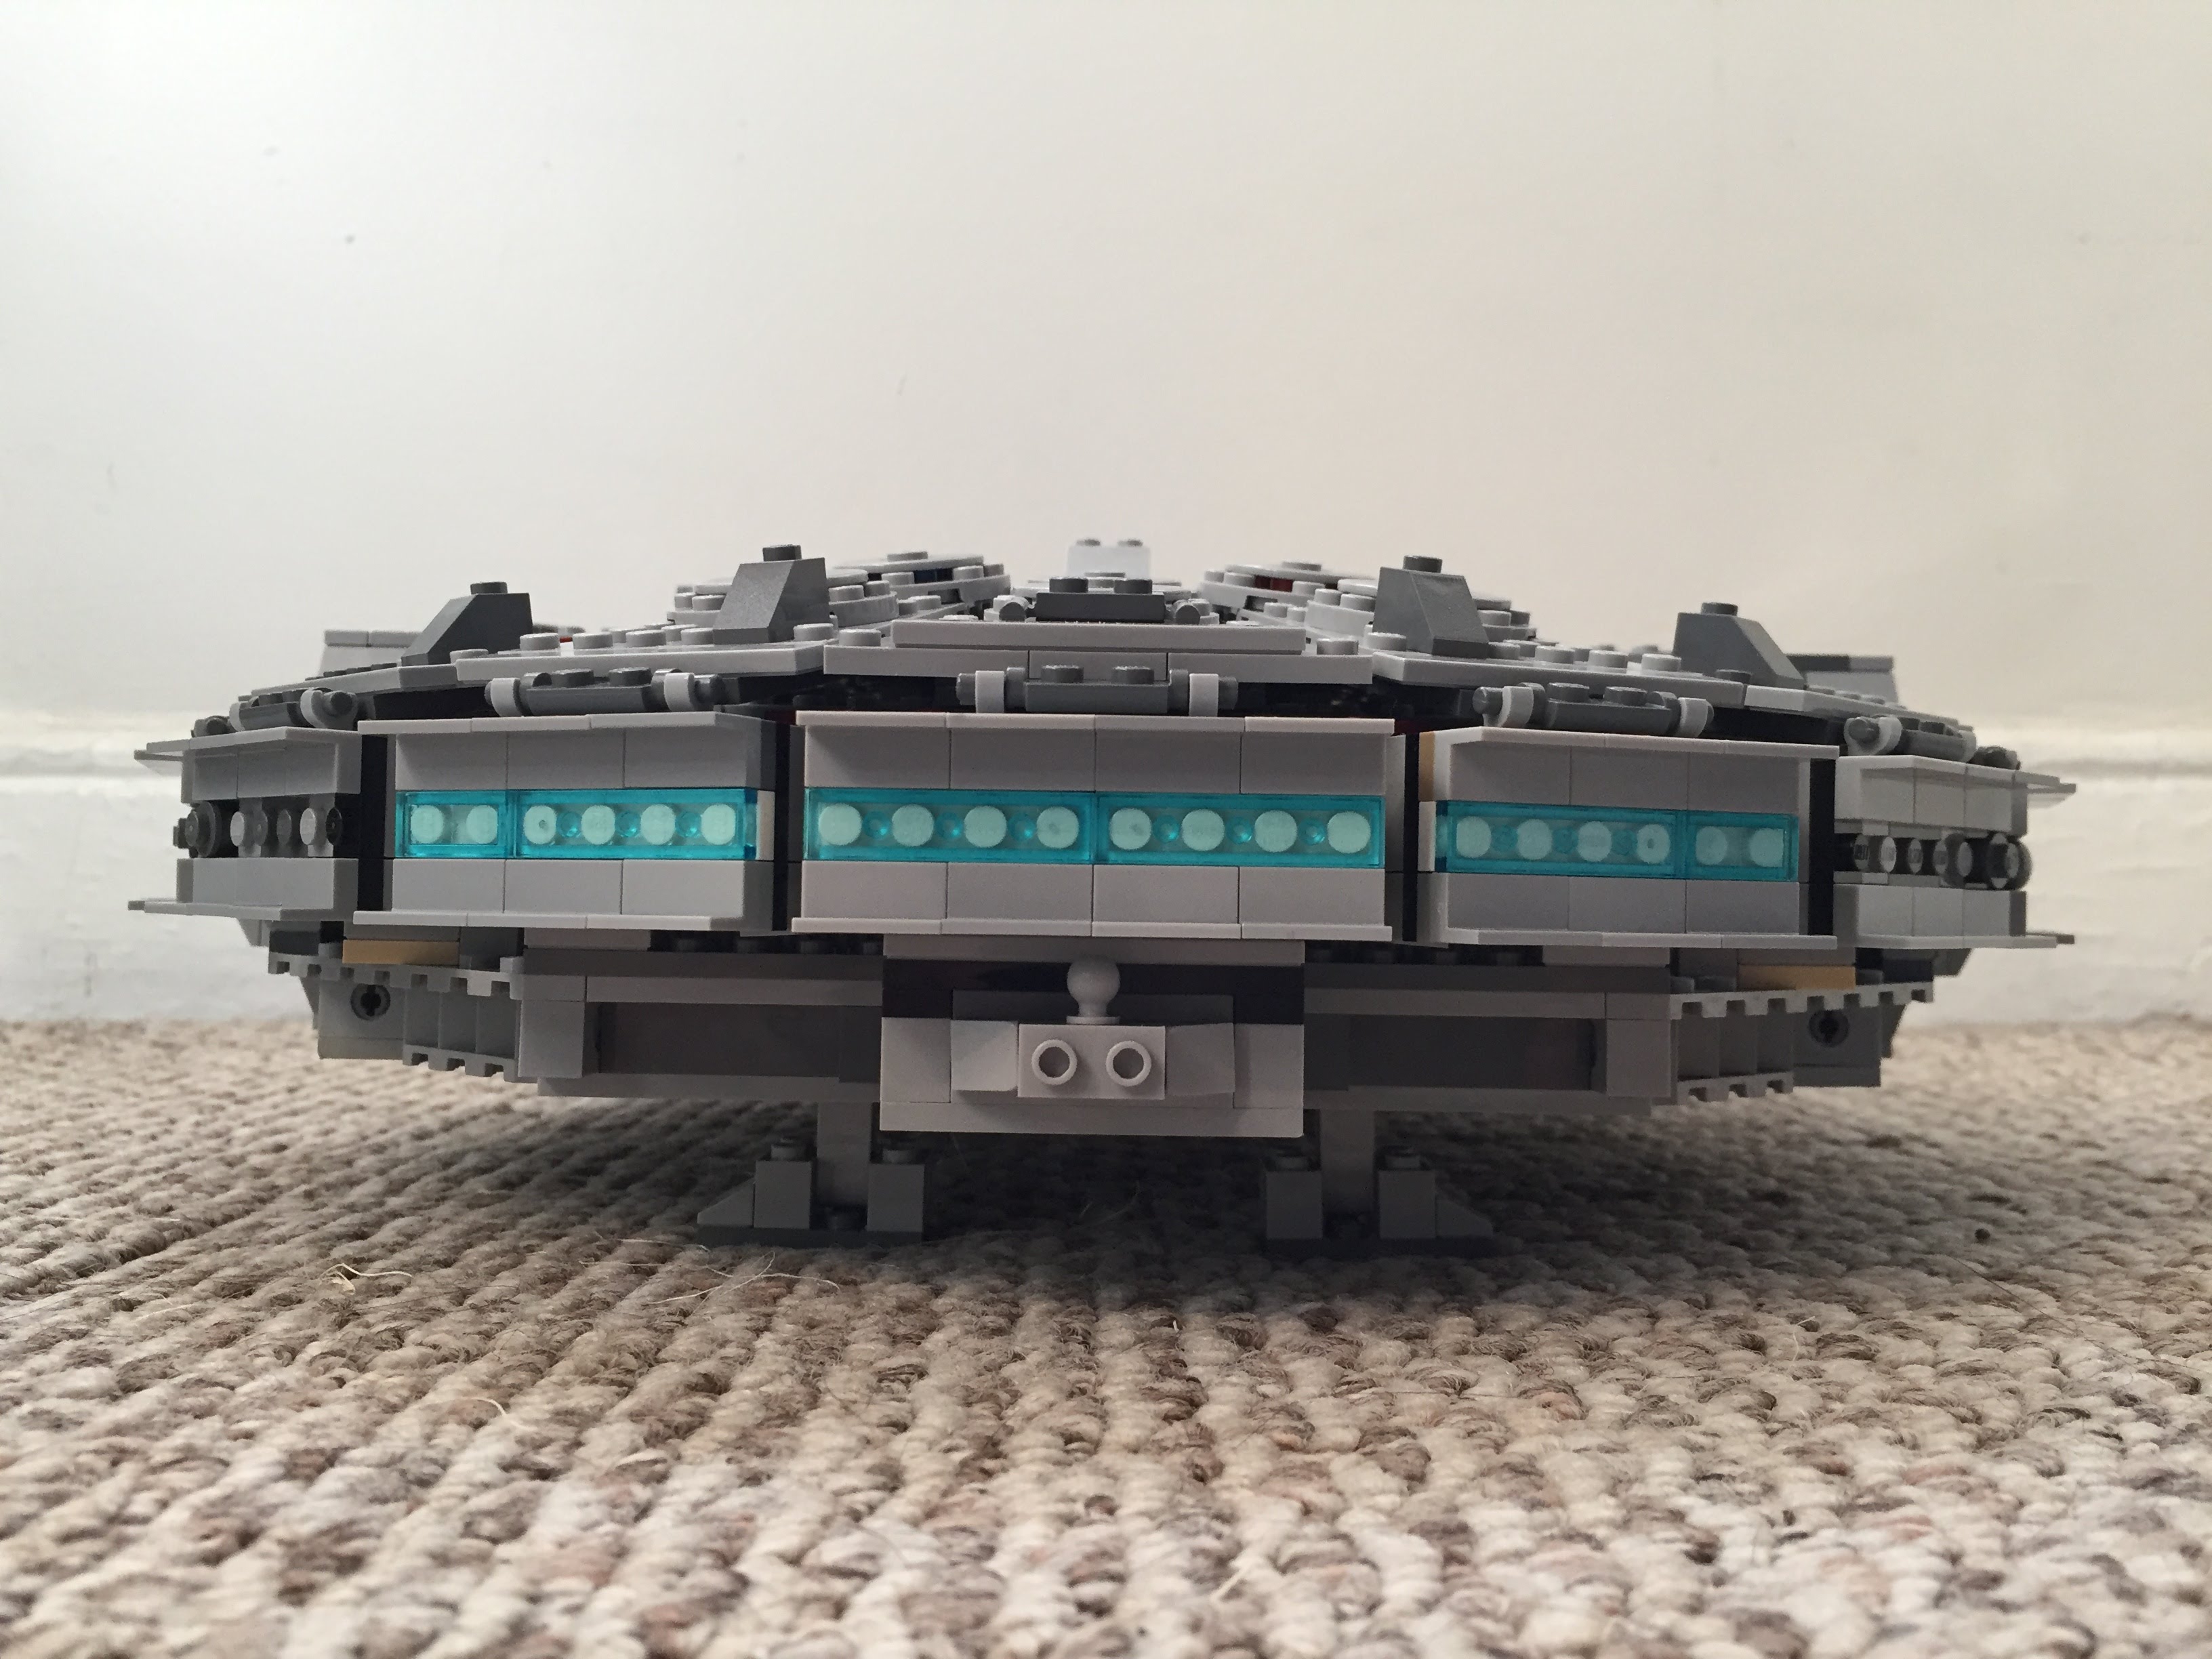
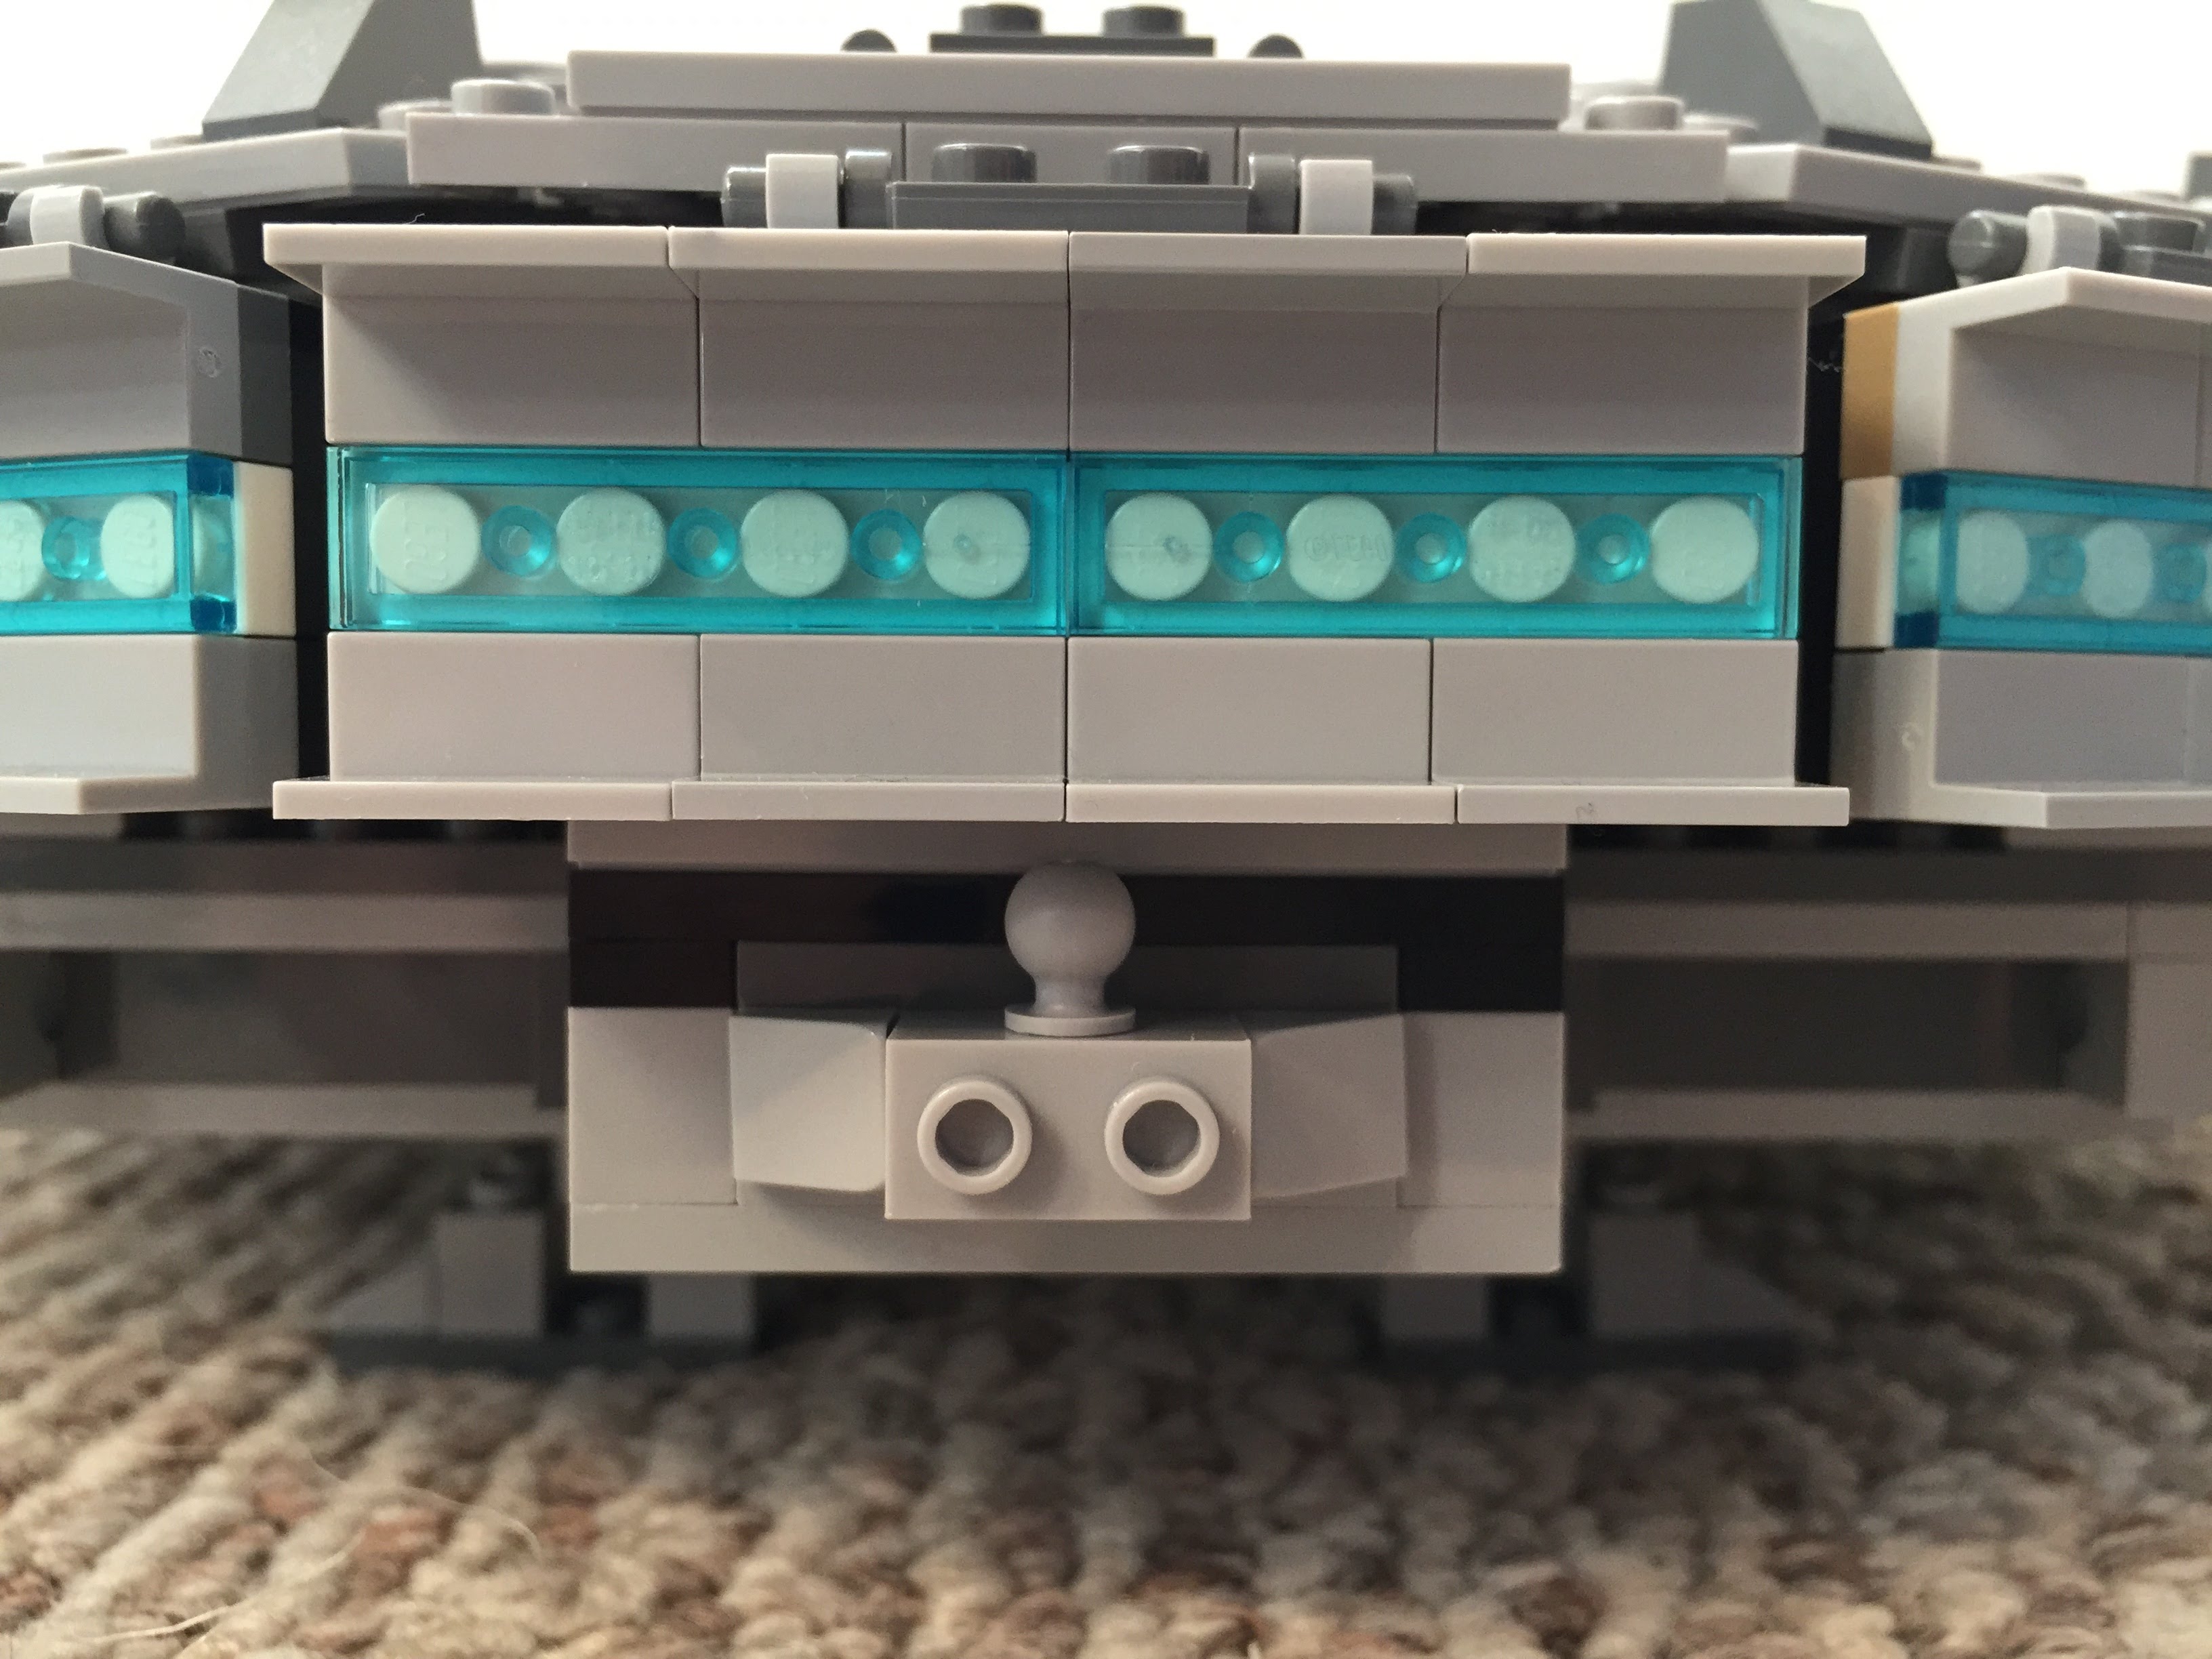
    IMG_3038 1.jpgIMG_3039 1.jpg

    The Last Jedi Update

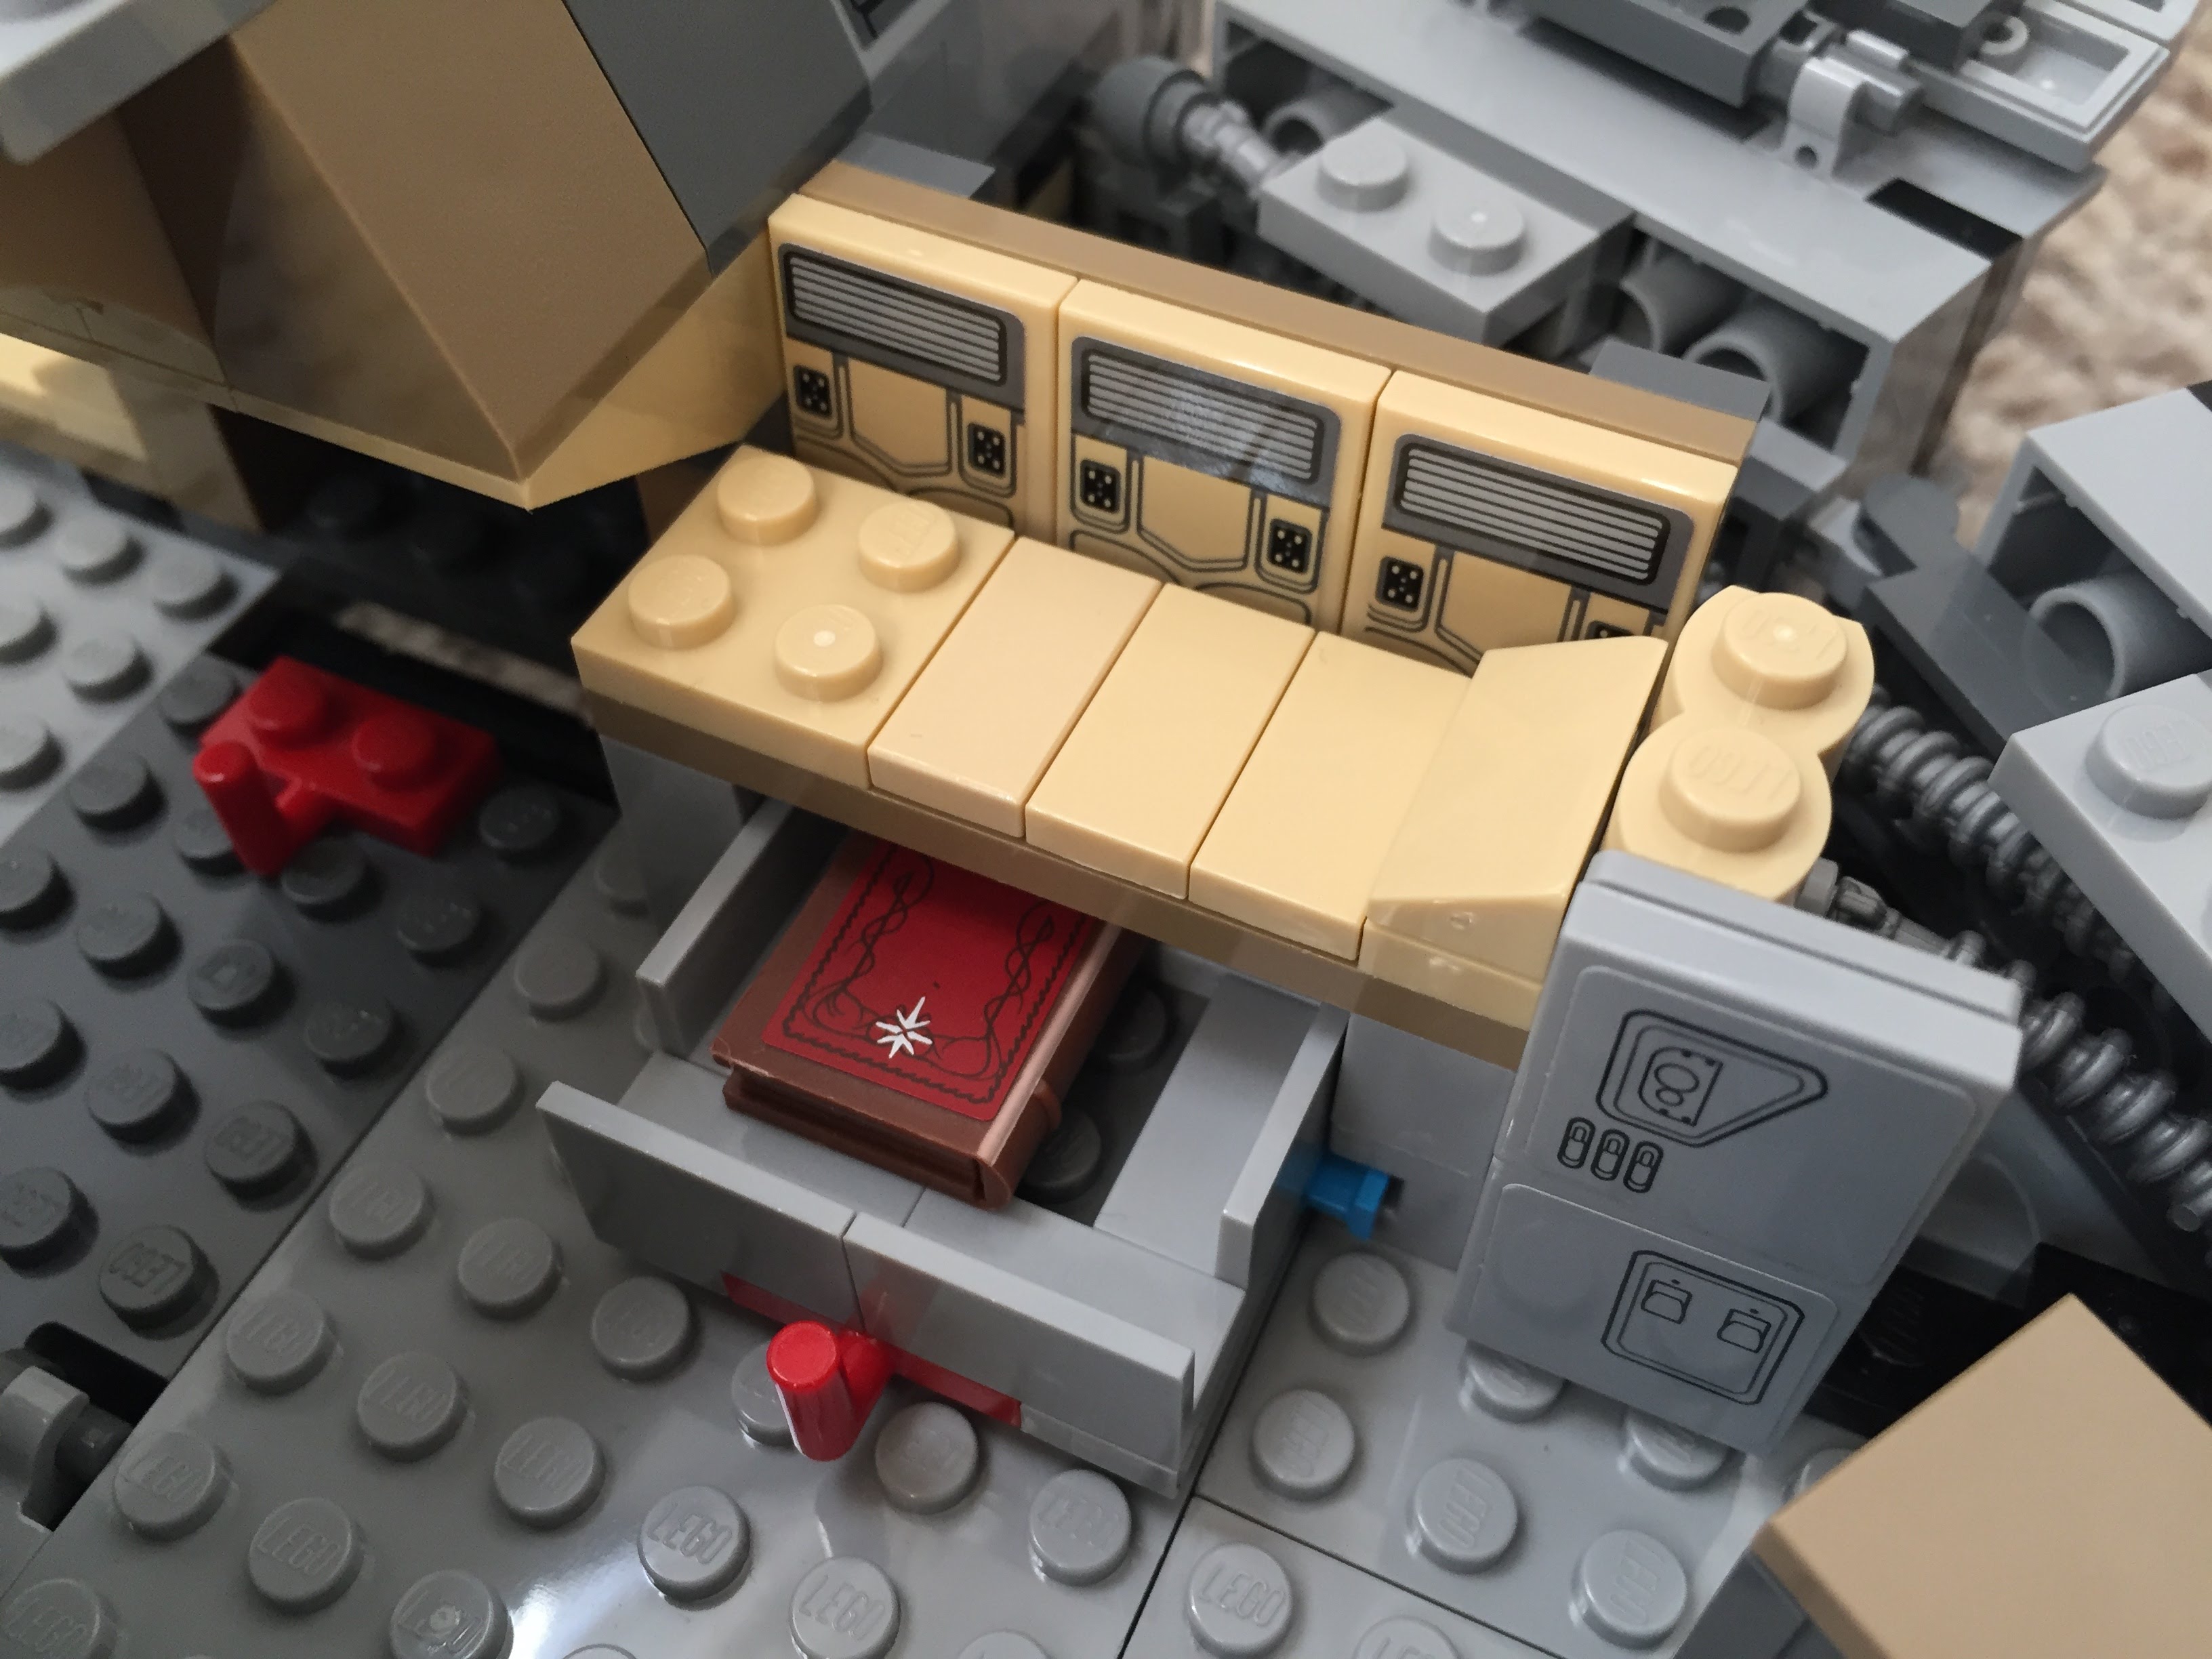
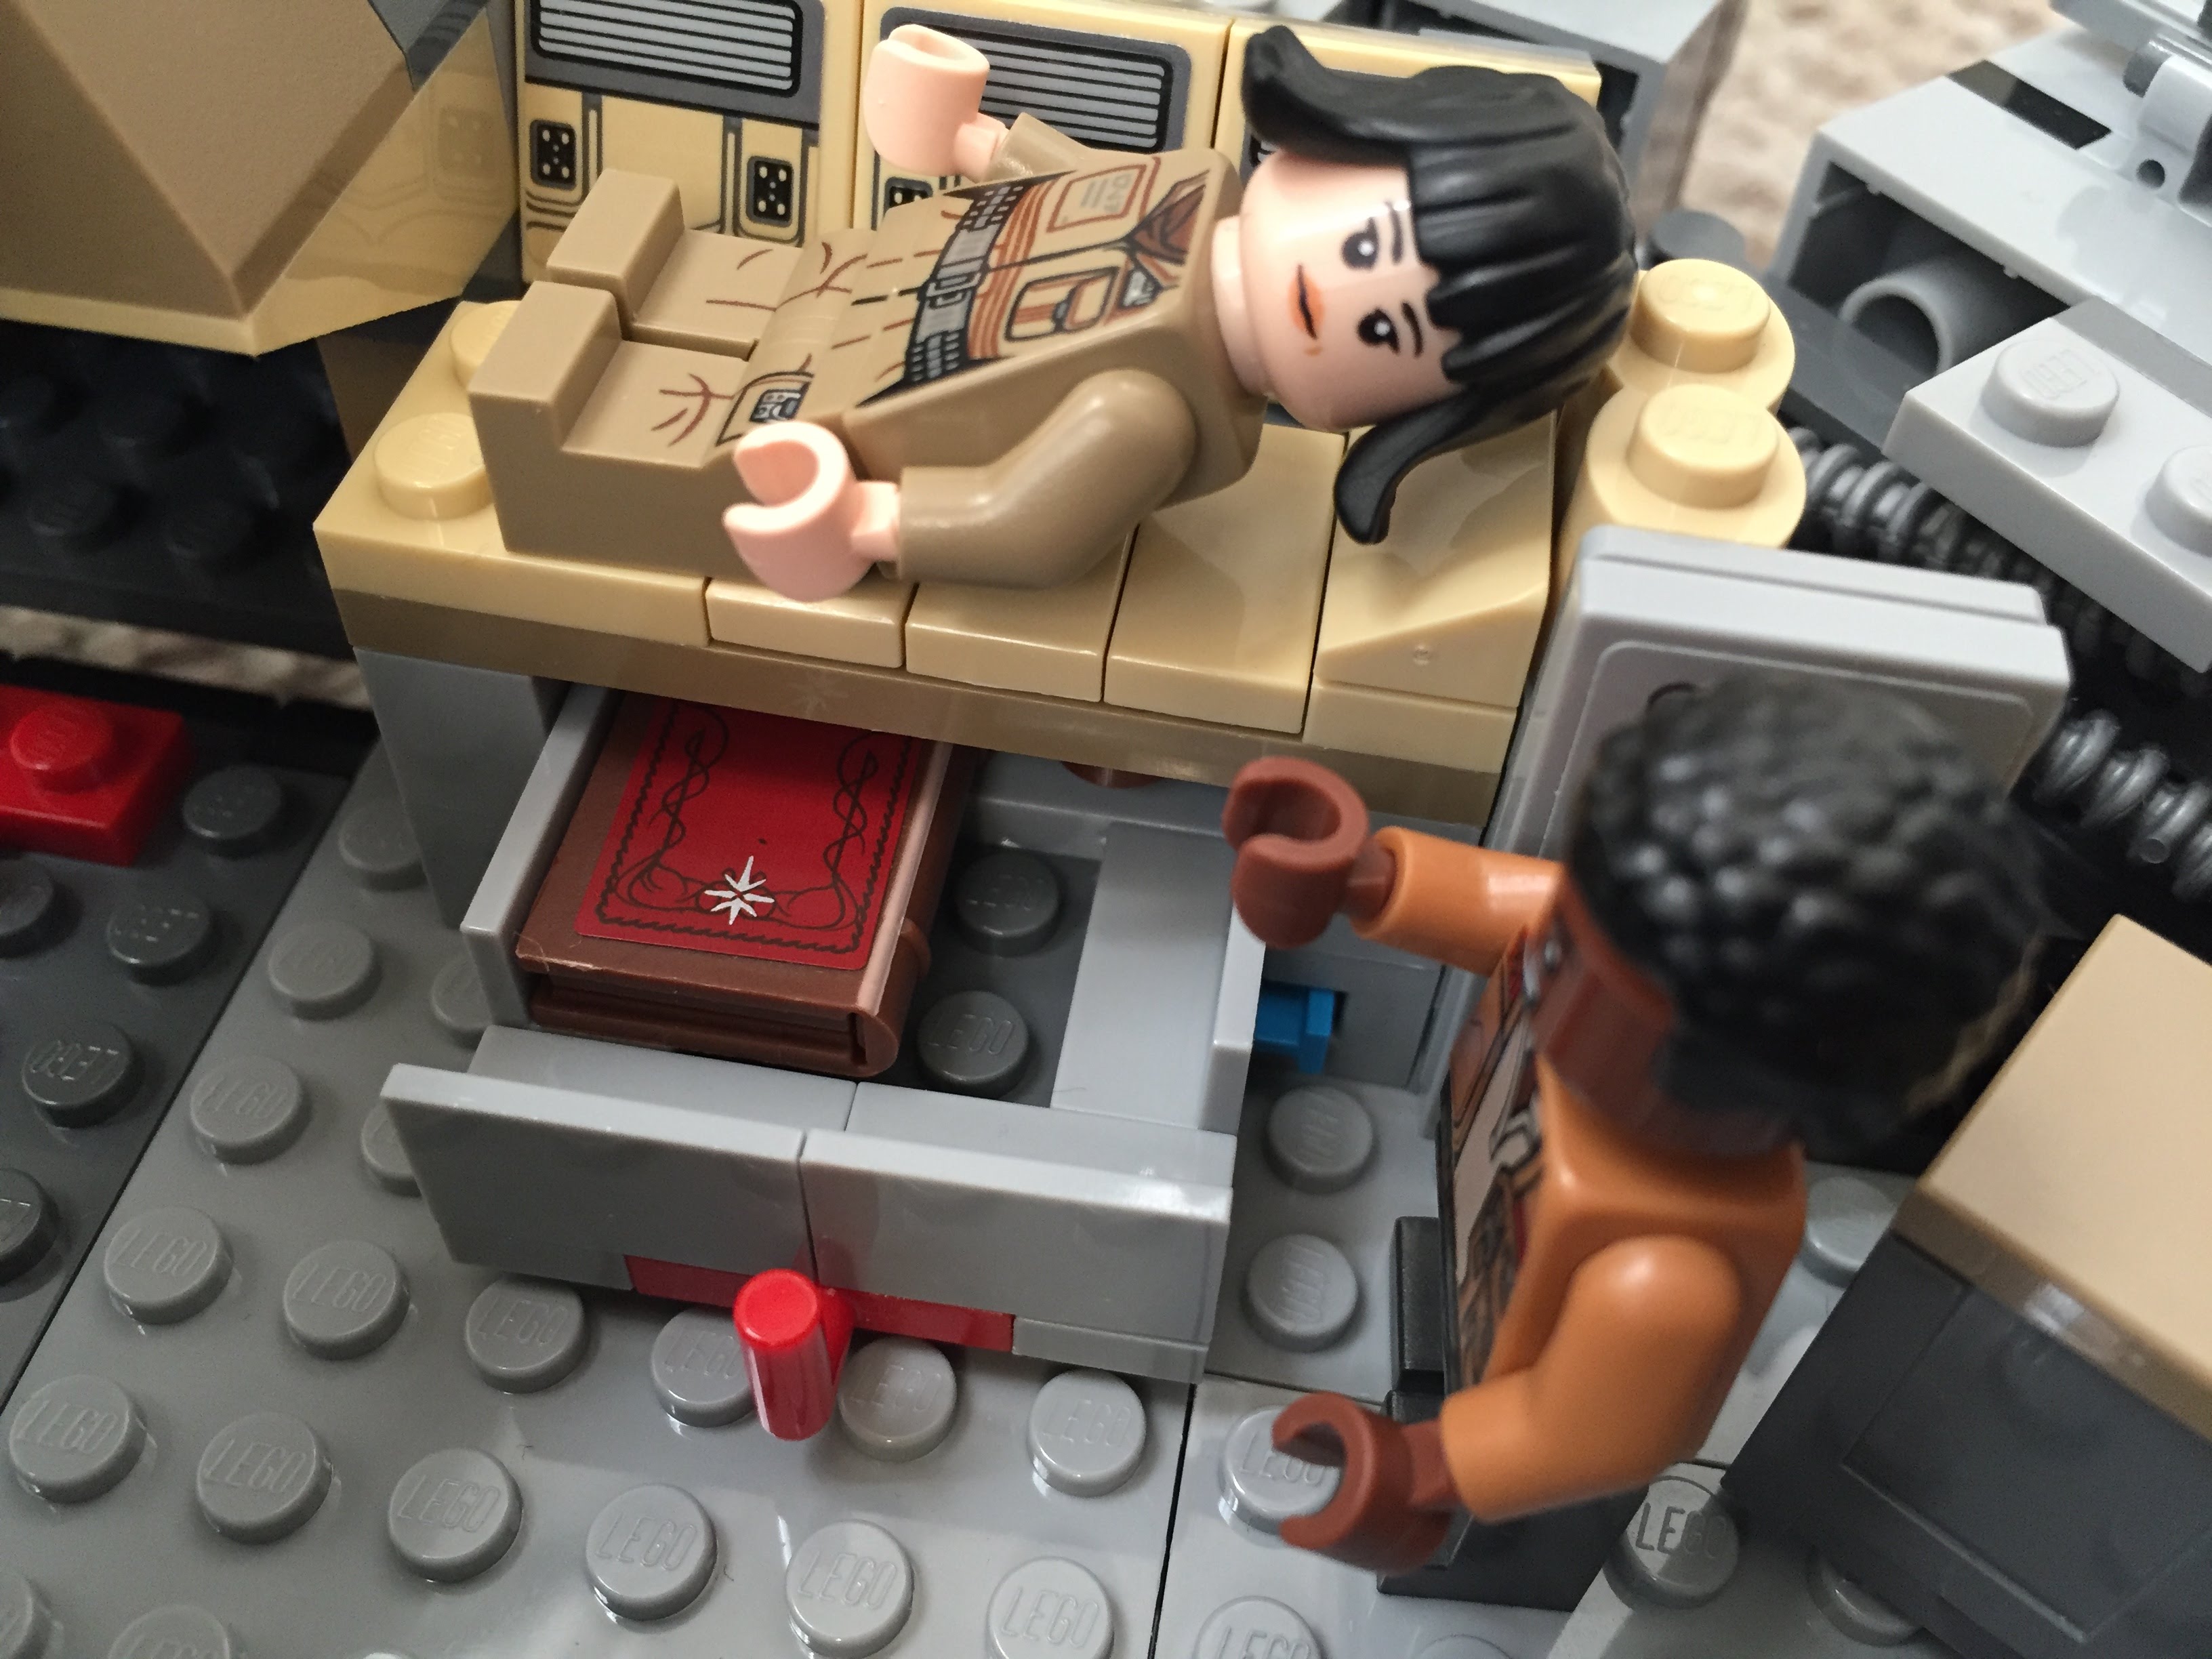
    At the end of The Last Jedi, Finn puts Rose in the Millennium Falcon’s med bay in the main hold. The camera focuses on the drawer under the bed when Finn looks for a blanket. The audience realizes that the drawer also contains the Jedi books on Ahch-To. To represent this, I raised the med bay, added a drawer beneath, and included a book (from The Hobbit set #79003: An Unexpected Gathering).
    IMG_3024 1.jpgIMG_3020 1.jpgIMG_3019 1.jpg

  • Updated and Expanded LEGO Iron Man’s Hall of Armor

    IMG_1735

    While continuing to sort my LEGO brick collection, I discovered four more Plate (A) 4M 45° pieces. With these special elements in-hand, I updated and expanded my LEGO Iron Man’s Hall of Armor, which I wrote about previously here.

    IMG_1726

    I used a similar repetition for each armor suit pod, but I added one stud roof tiles (Roof Tile 1X1X2/3, Abs) at the base of each vertical transparent blue wall on either side of an armor suit.

    IMG_1728
    Armors from left to right: Mark III (Iron Man film), Mark VI (Avengers), and Mark XVII “Heartbreaker” (Iron Man 3)

    To complete the model, I needed Iron Man’s armor with the triangular arc reactor window from the first Avengers movie (Mark VI armor). I ordered the 30167 polybag on ebay from a seller in Brooklyn (interestingly, it takes longer for mail to arrive from within my city borough than it does from California or even Germany at standard postal rates!).
    IMG_1729
    Armors from left to right: Mark XVII “Heartbreaker” (Iron Man 3), Mark XLII (Iron Man 3), and Mark XLIII (Avengers: Age of Ultron).
    IMG_1730
    Armors from left to right: Mark XLIII (Avengers: Age of Ultron), Mark XLV (Avengers: Age of Ultron), and Mark XLVI (Captain America: Civil War).

    I needed to redesign the base, so I opted to give it a symmetrical support underneath and and a stairway entrance in the southward position. It connects to the circular armor pod assembly with Technics connector pegs and bricks under the northward armor pod. While the center platform makes a tight and neat fit to the upper three pods, its plate studs do not line up with the side or bottom pods (there is a slight gap of about 1/16 to 1/8 of an inch).

    IMG_1731

    It is a sturdy model that can be lifted from any point. Due to its limited interior space and the size of my adult hands, it is difficult to remove and replace the Iron Man armor in each pod.

    IMG_1733

    My next idea for the set is to elevate it by about its current height and create a crank-driven lift in the central platform for Tony Stark’s grand entrance. This will take some more planning and time. I’m sure that Ant Man will be watching my progress.

    IMG_1736

  • Creating an Improved LEGO Iron Man’s Hall of Armor

    IMG_1640

    UPDATE: I expanded this design and reported on it here.

    As I wrote in my previous blog post, I have been sorting my LEGO bricks. This has helped me organize the LEGO pieces that I have, and it has helped me count the quantity that I have in a given type or color brick. This greater knowledge about the bricks in my collection inspired me last night to build a better Iron Man’s Hall of Armor (above) using the “A-frame” plates or “Plate (A) 4M 45°” from 75137 Carbon-Freezing Chamber.

    IMG_1084

    My original Hall of Armor (above) was a play-oriented set, but it admittedly required care in its handling. It borrowed heavily from the Malibu Mansion and Avengers Tower sets. The curve of the armor display was accomplished with the central pad locked to the base with a 2×4 plate, each adjacent pad was connected to it with a plate hinge and supported beneath by non-locking flat plates, and the ends were connected to the base plate with 1×1 round plates. It worked, but it was fragile and admittedly very busy in its appearance. I thought that I could do better with a different approach focused on using system and Technics pieces, repetition, and strength.

    First, I designed the display bad for each Iron Man armor suit. I based it around a 4×6 plate and leftover translucent blue elements from the Avengers Tower set.

    I connected the five armor display pads at the top and bottom of each using the Plate (A) 4M 45°. The center pad and the end pads are built up to 1 brick height to accommodate the 3-hole Technic connector brick beneath the center pad. This is where the platform between the armor pads will connect.

    The central platform has a 3-hole Technic brick at the narrow end. It connects to the hall of armor arc with three Technic connector bushings. I used 1×1 bricks with outward facing stud all along the front of the display (both ends of the Hall of Armor arc and the central platform). I affixed flat dark grey plates to these to create a contrast with the light grey of the platform surface.

    This new design is more for display than playability. It is a much stronger model than my previous one, and it uses LEGO elements in new ways that I had not experimented with on a MOC before. In particular, I was very happy when the central platform perfectly interconnected with the sweep of the Hall of Armor arc. Also, I was able to build a MOC that utilized repetition in the design of the armor display pads, because I had an inventory and organizing system for my LEGO bricks. Had I not sorted my bricks, I don’t think that I would have been able to come up with this design and implement it as quickly as I did.

    While you’re looking at the images, can you spot a spy in the model?