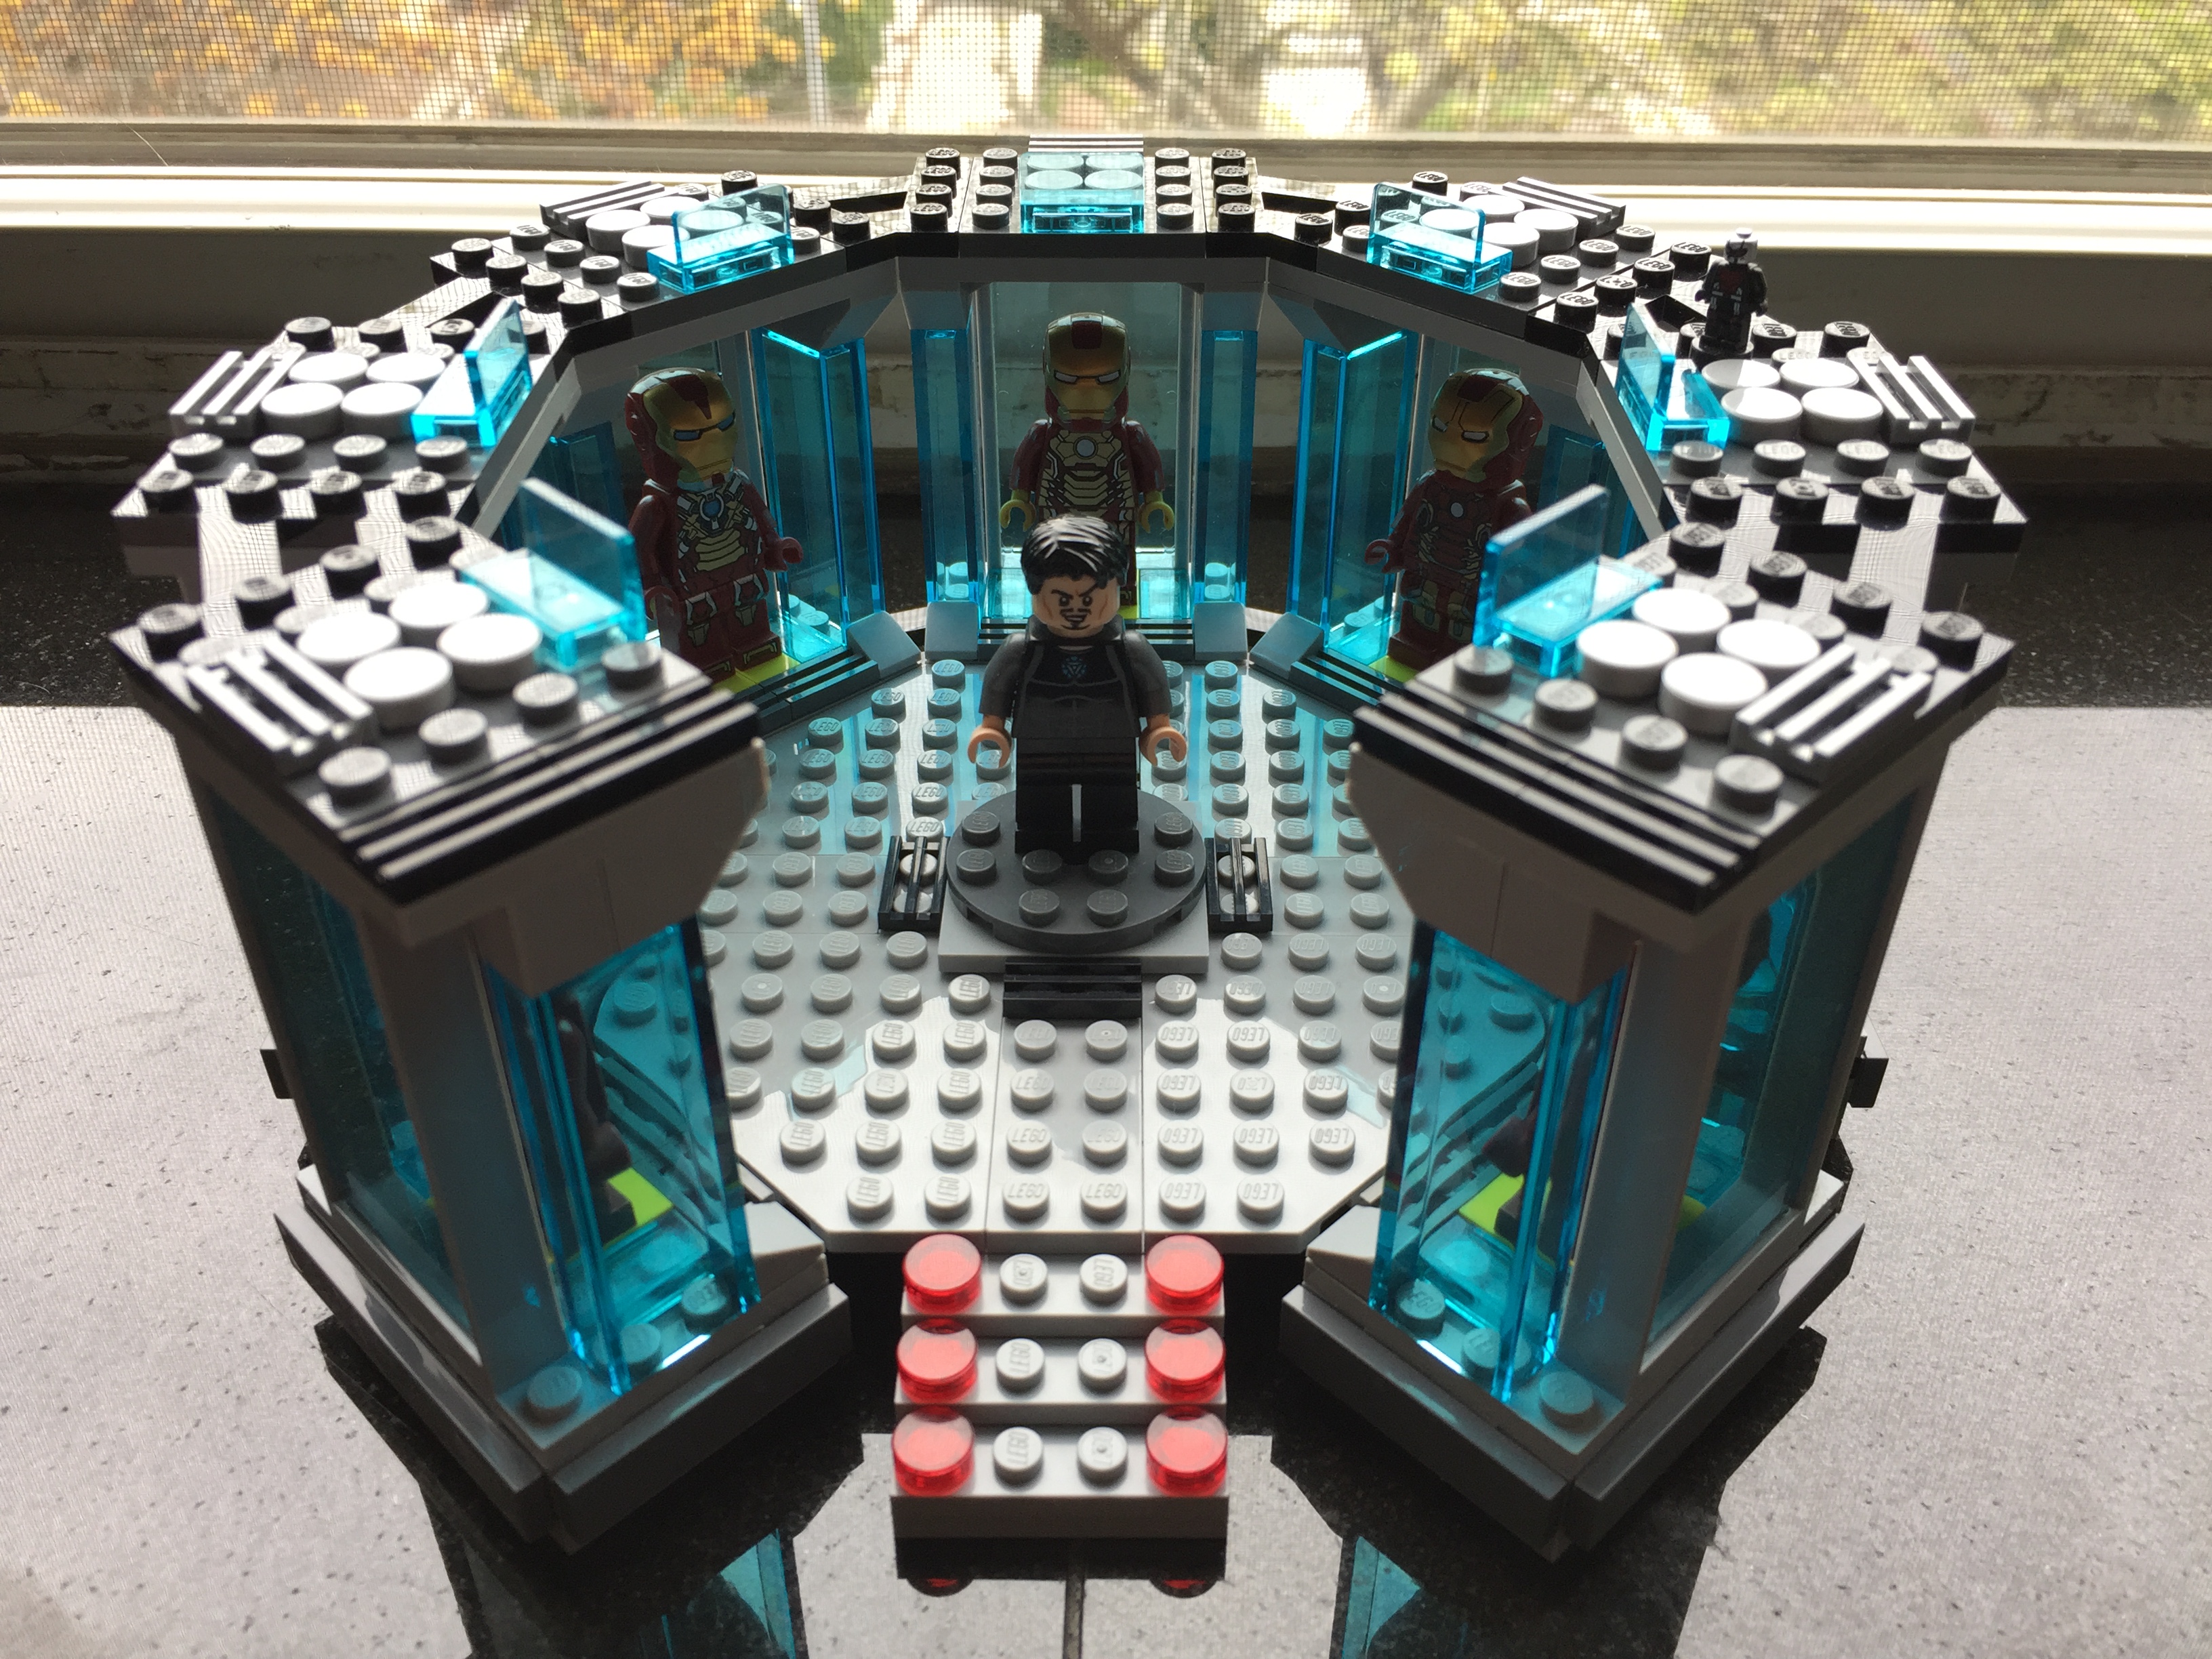
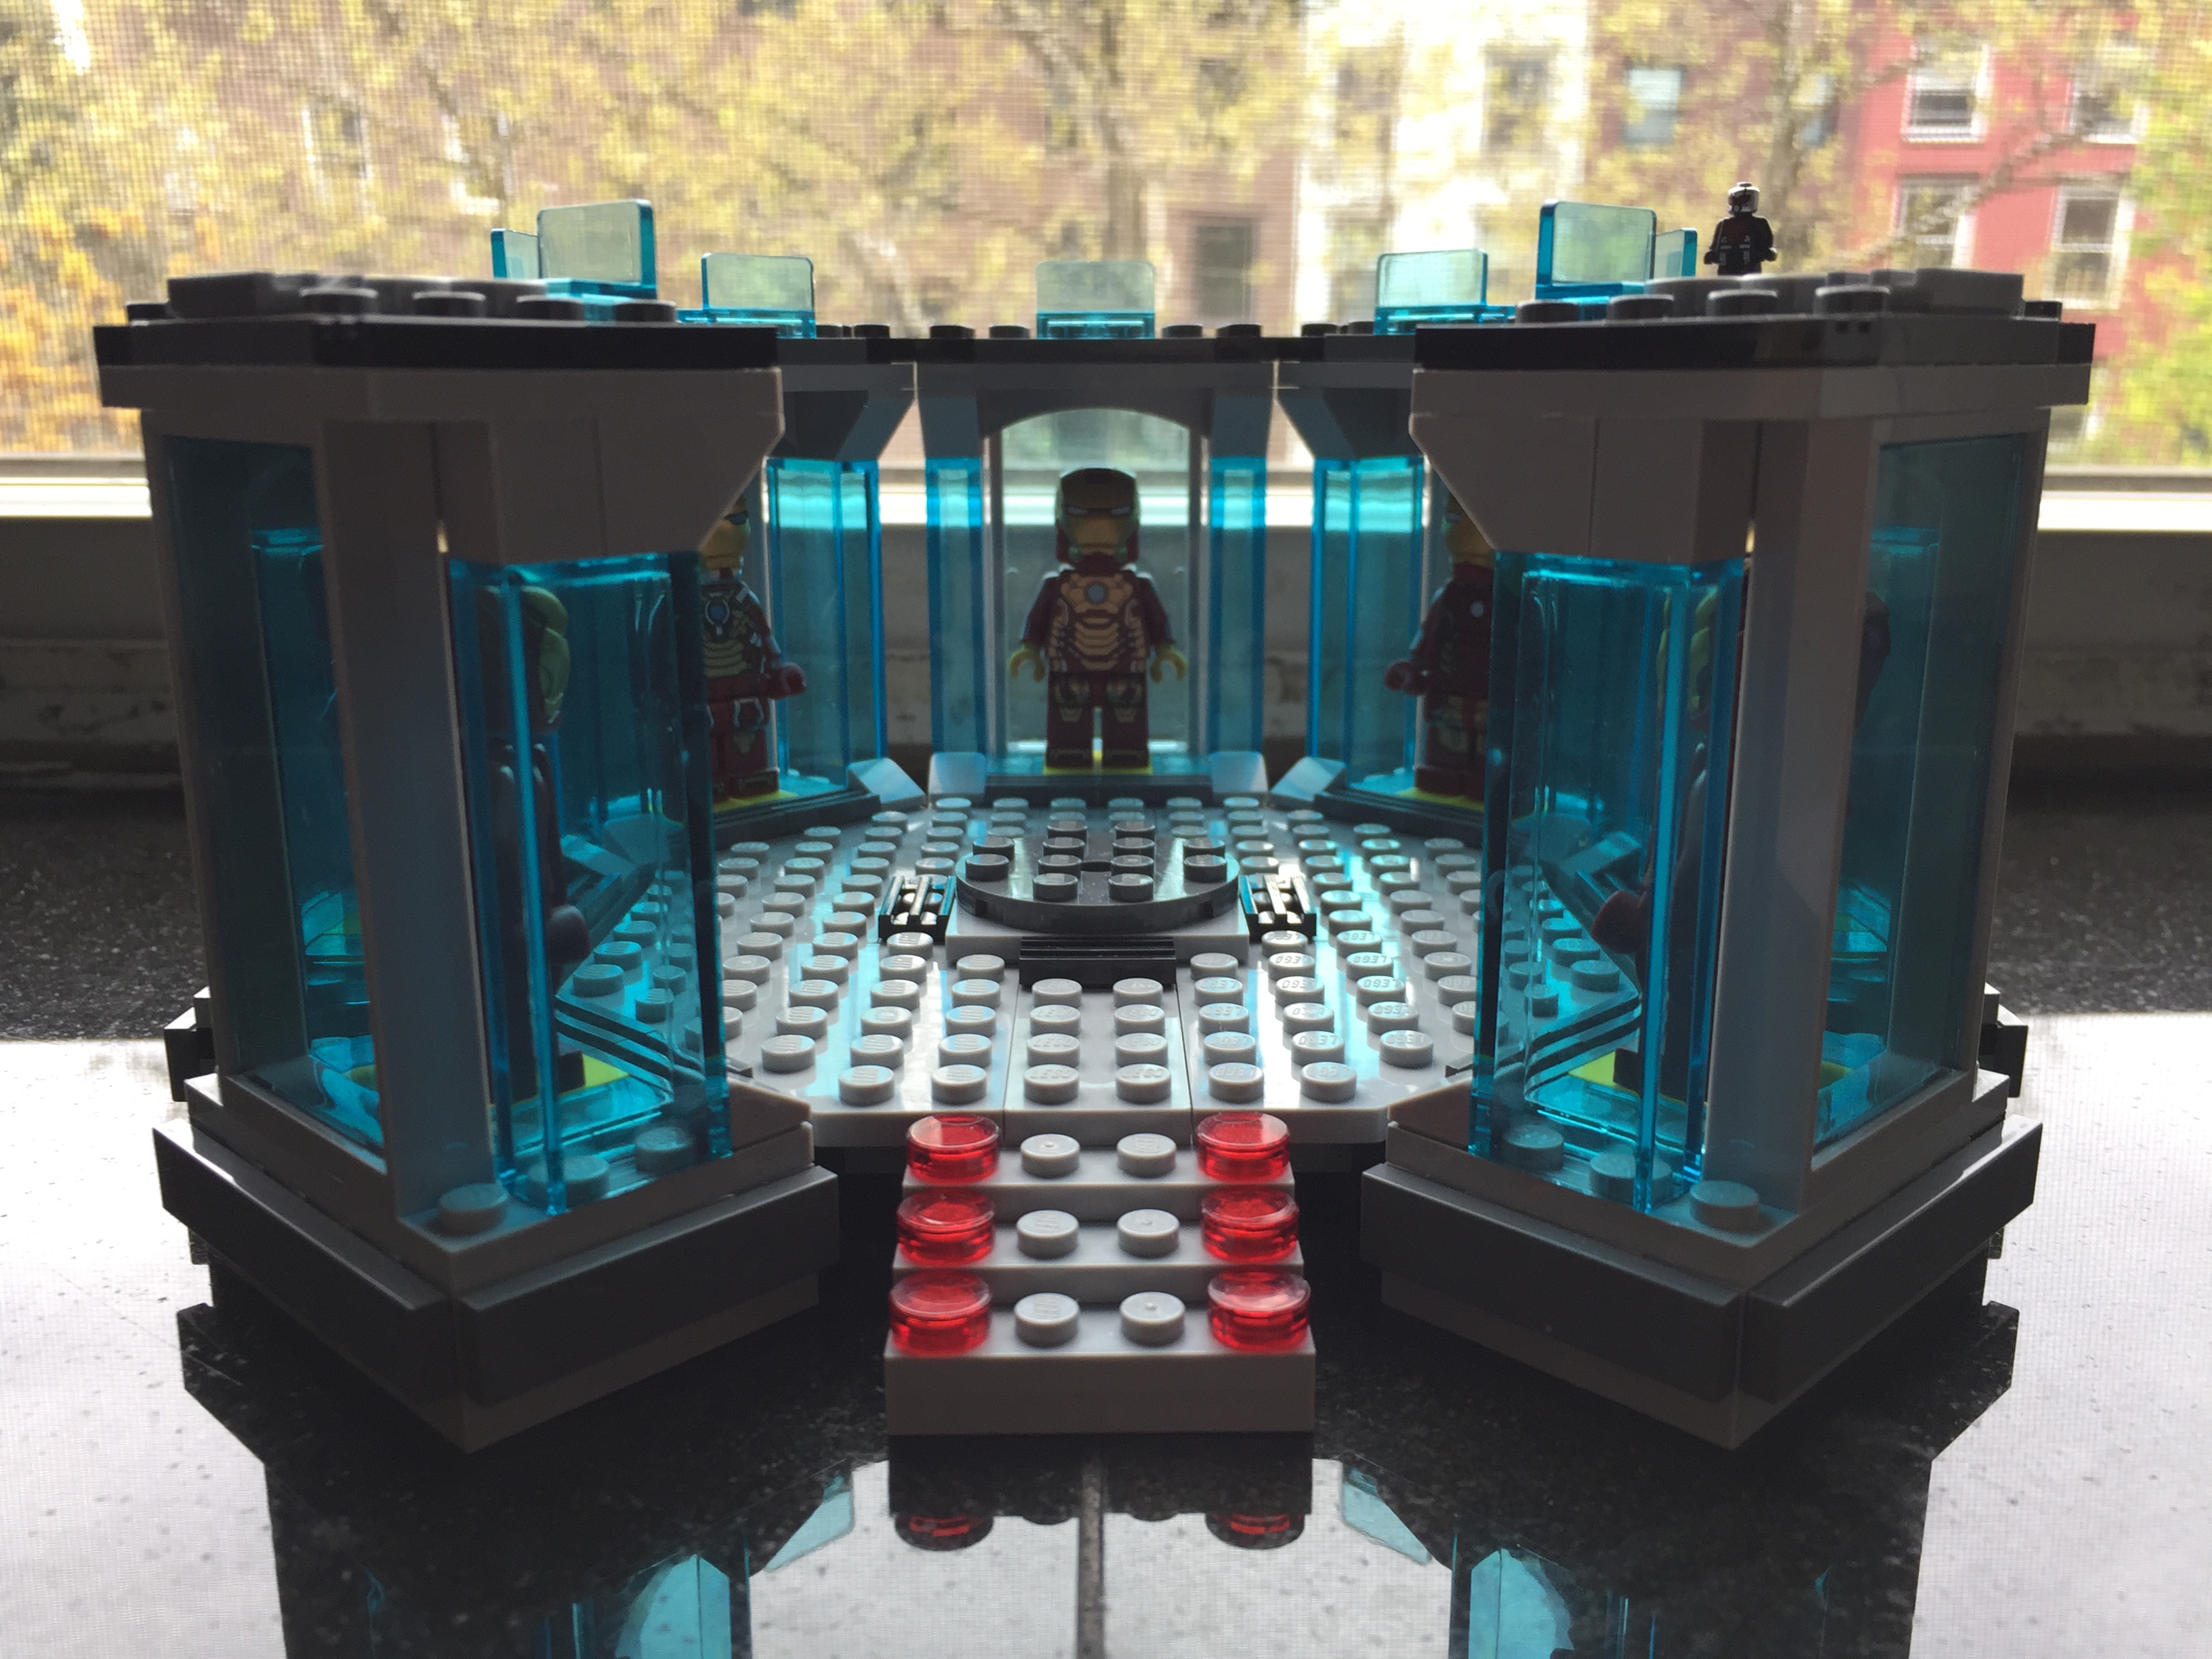
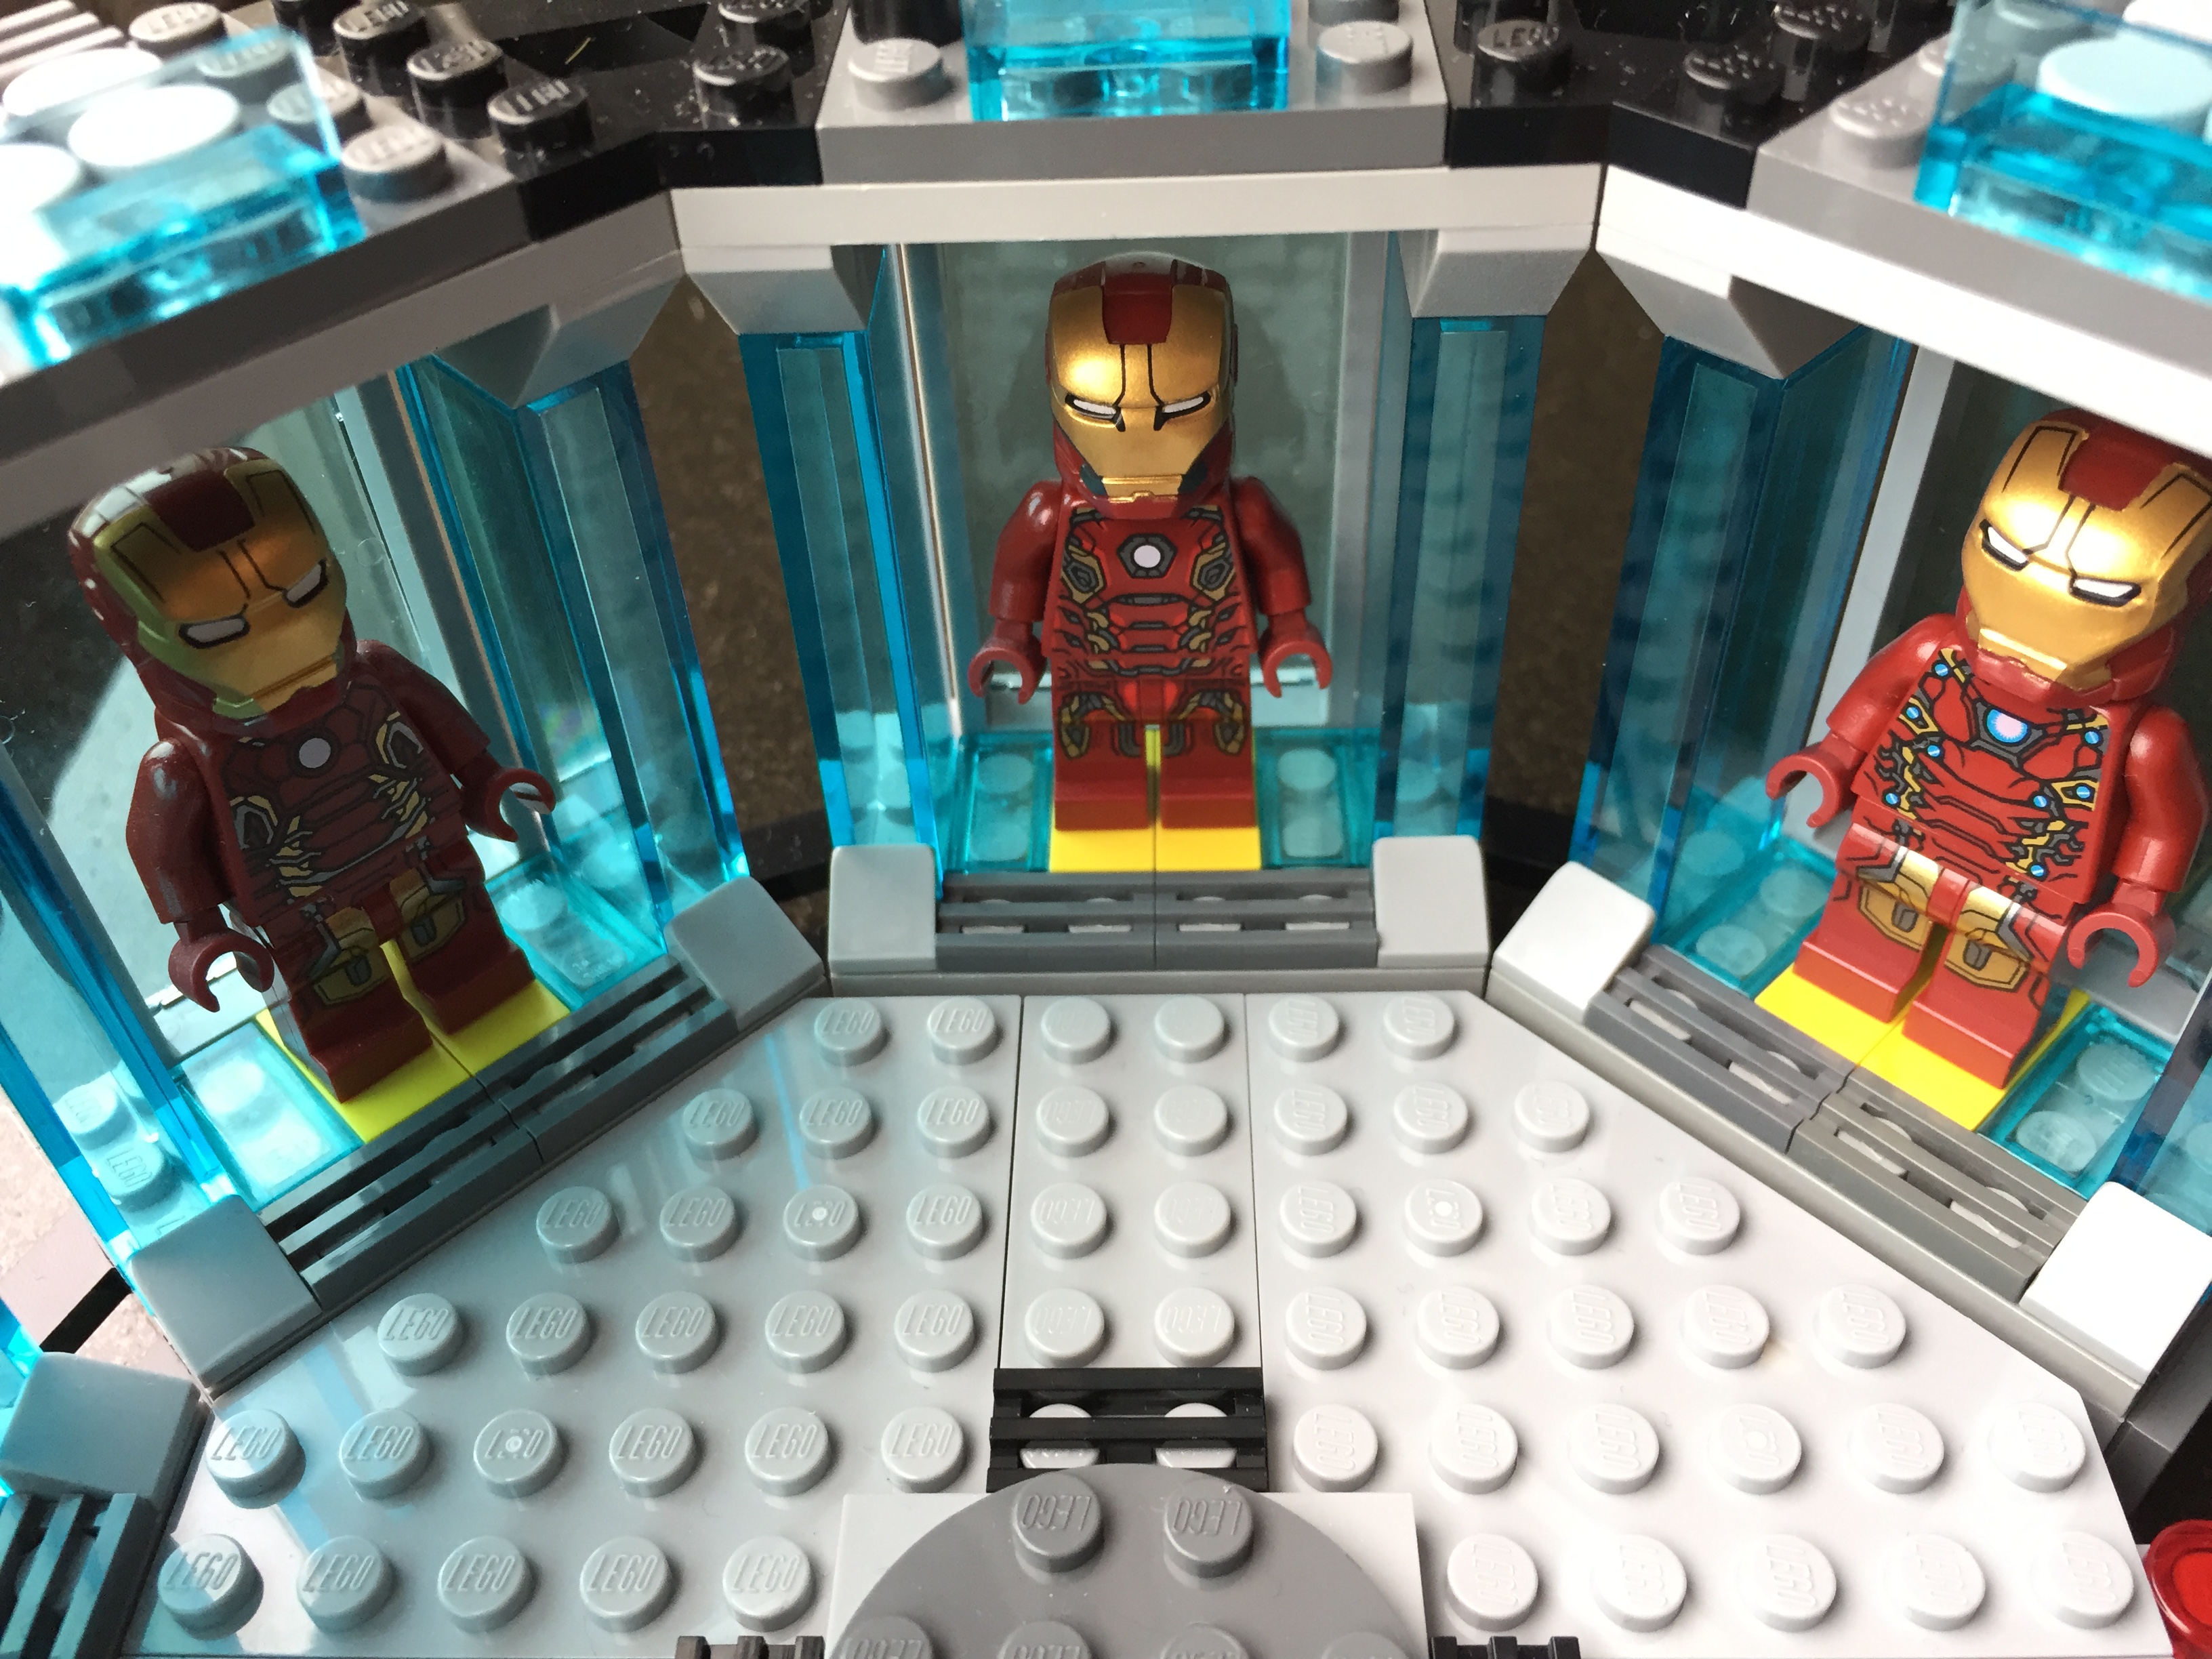
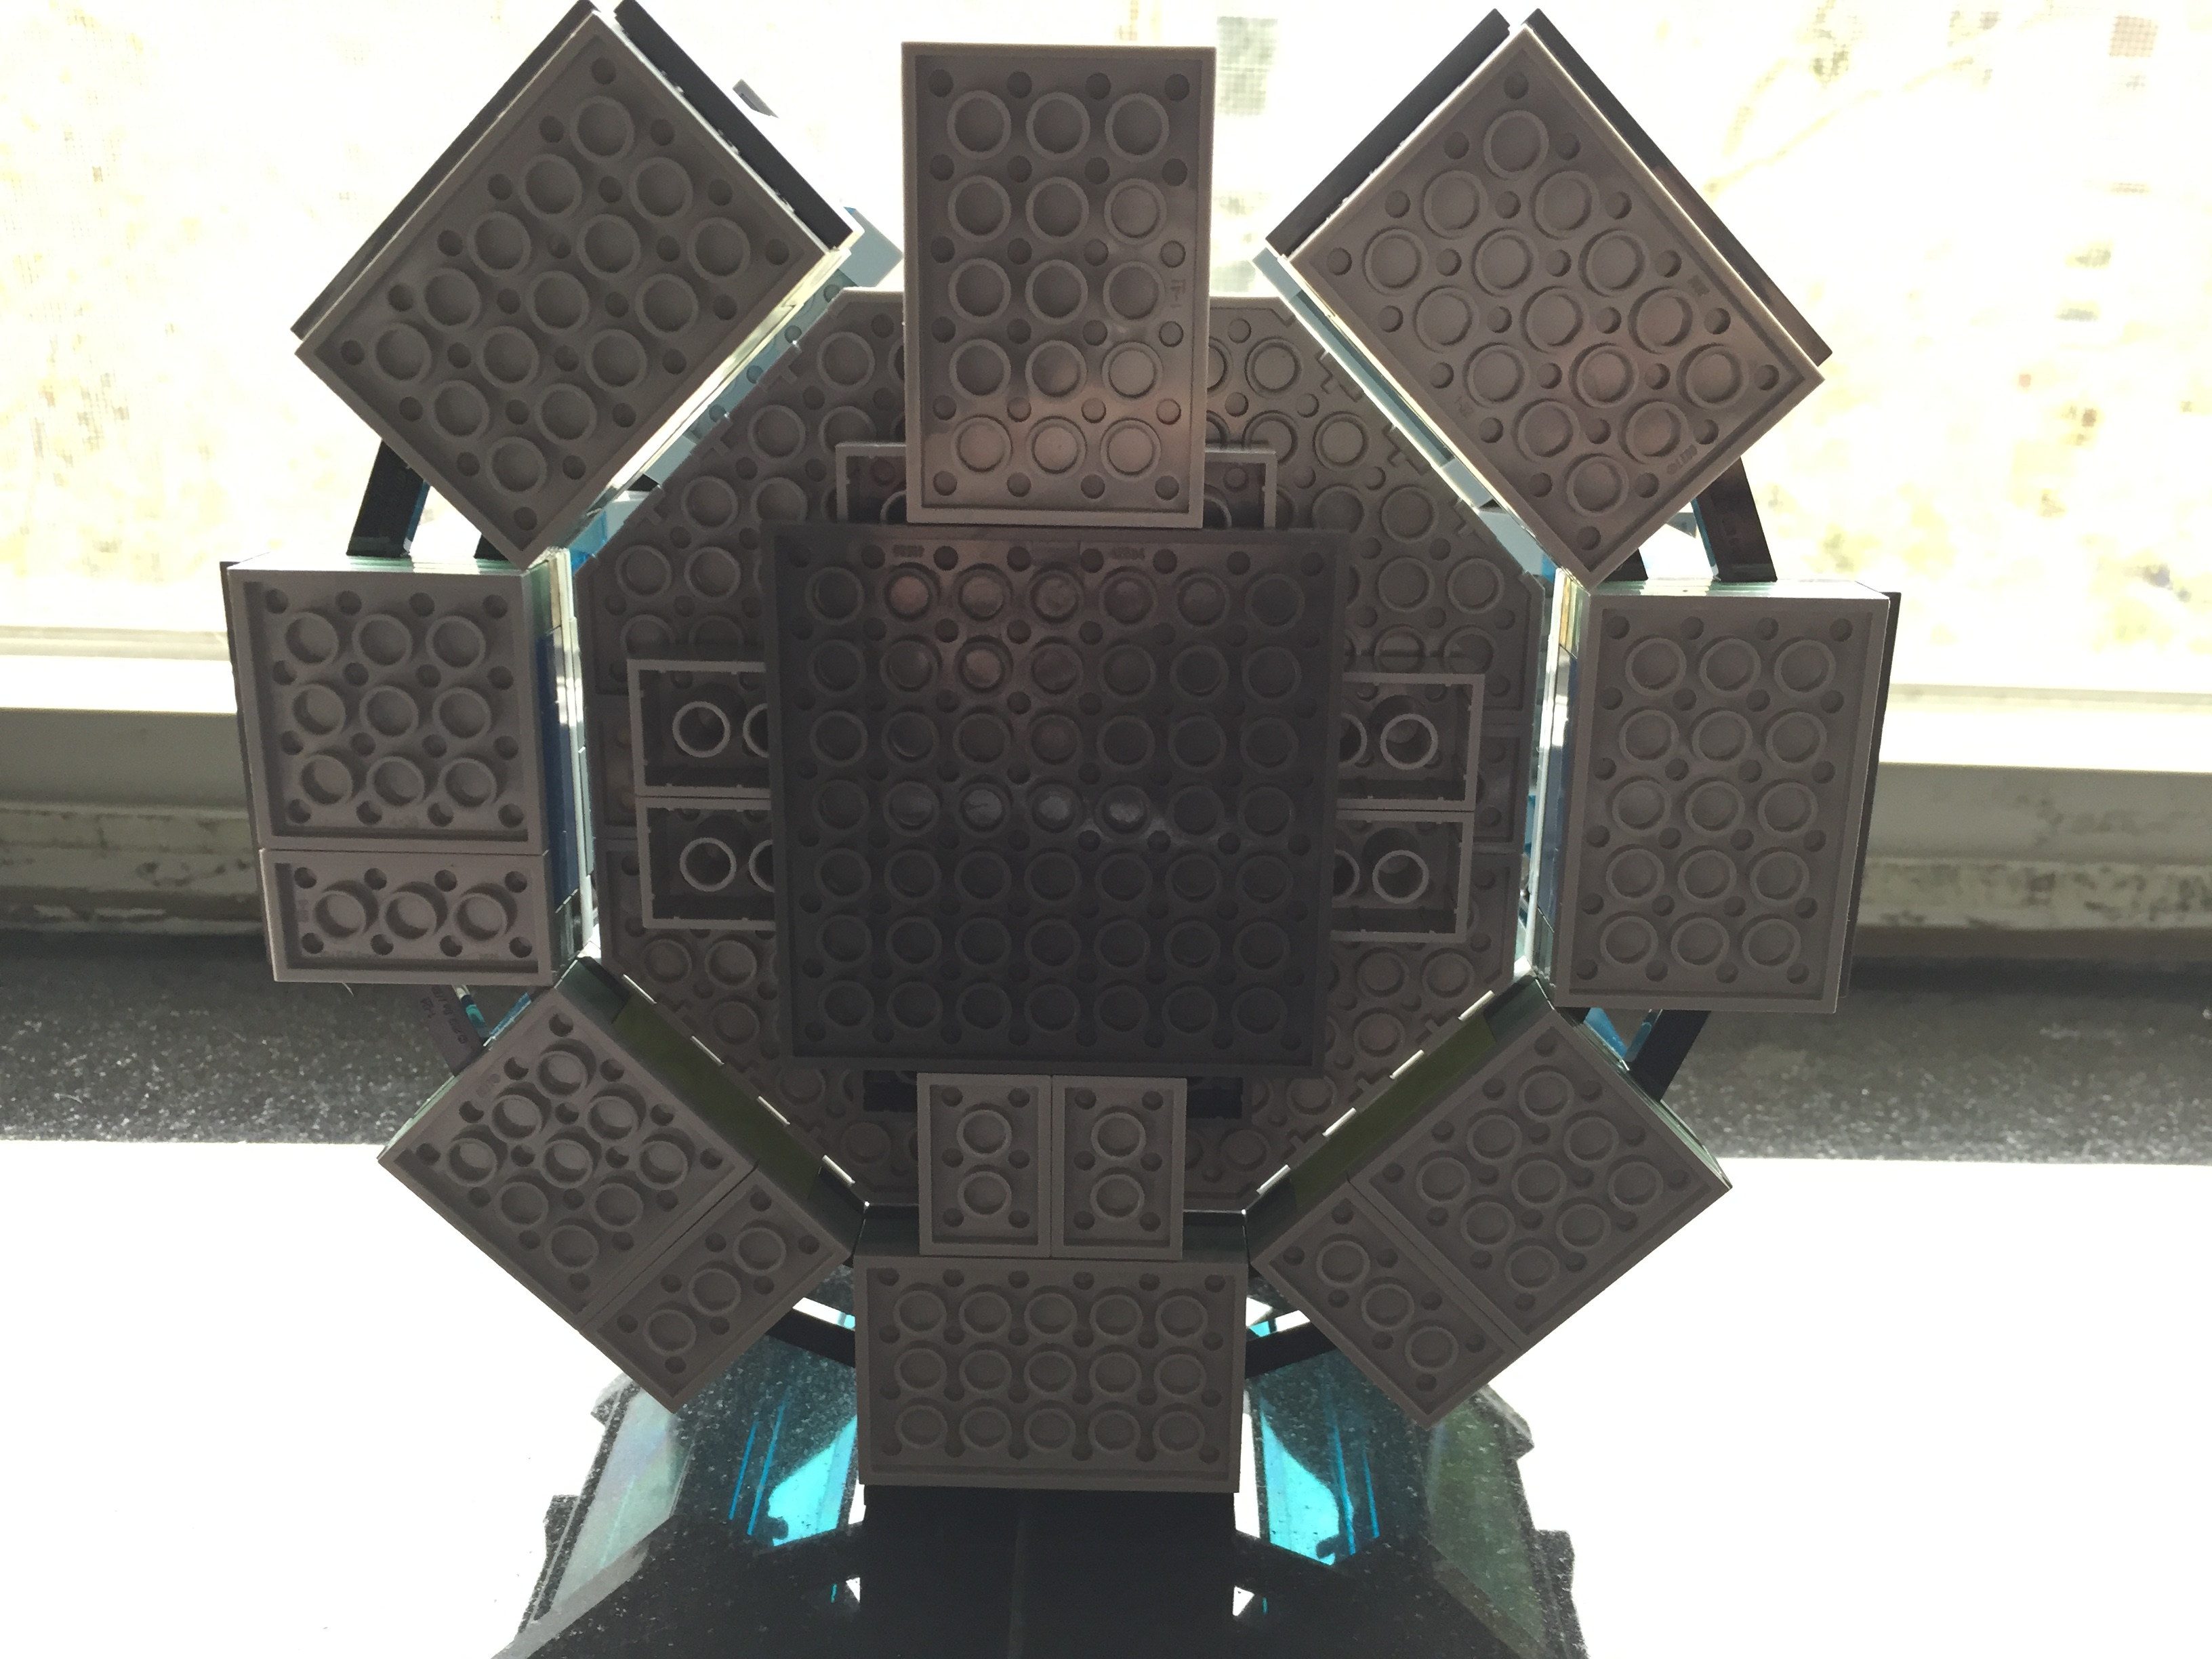
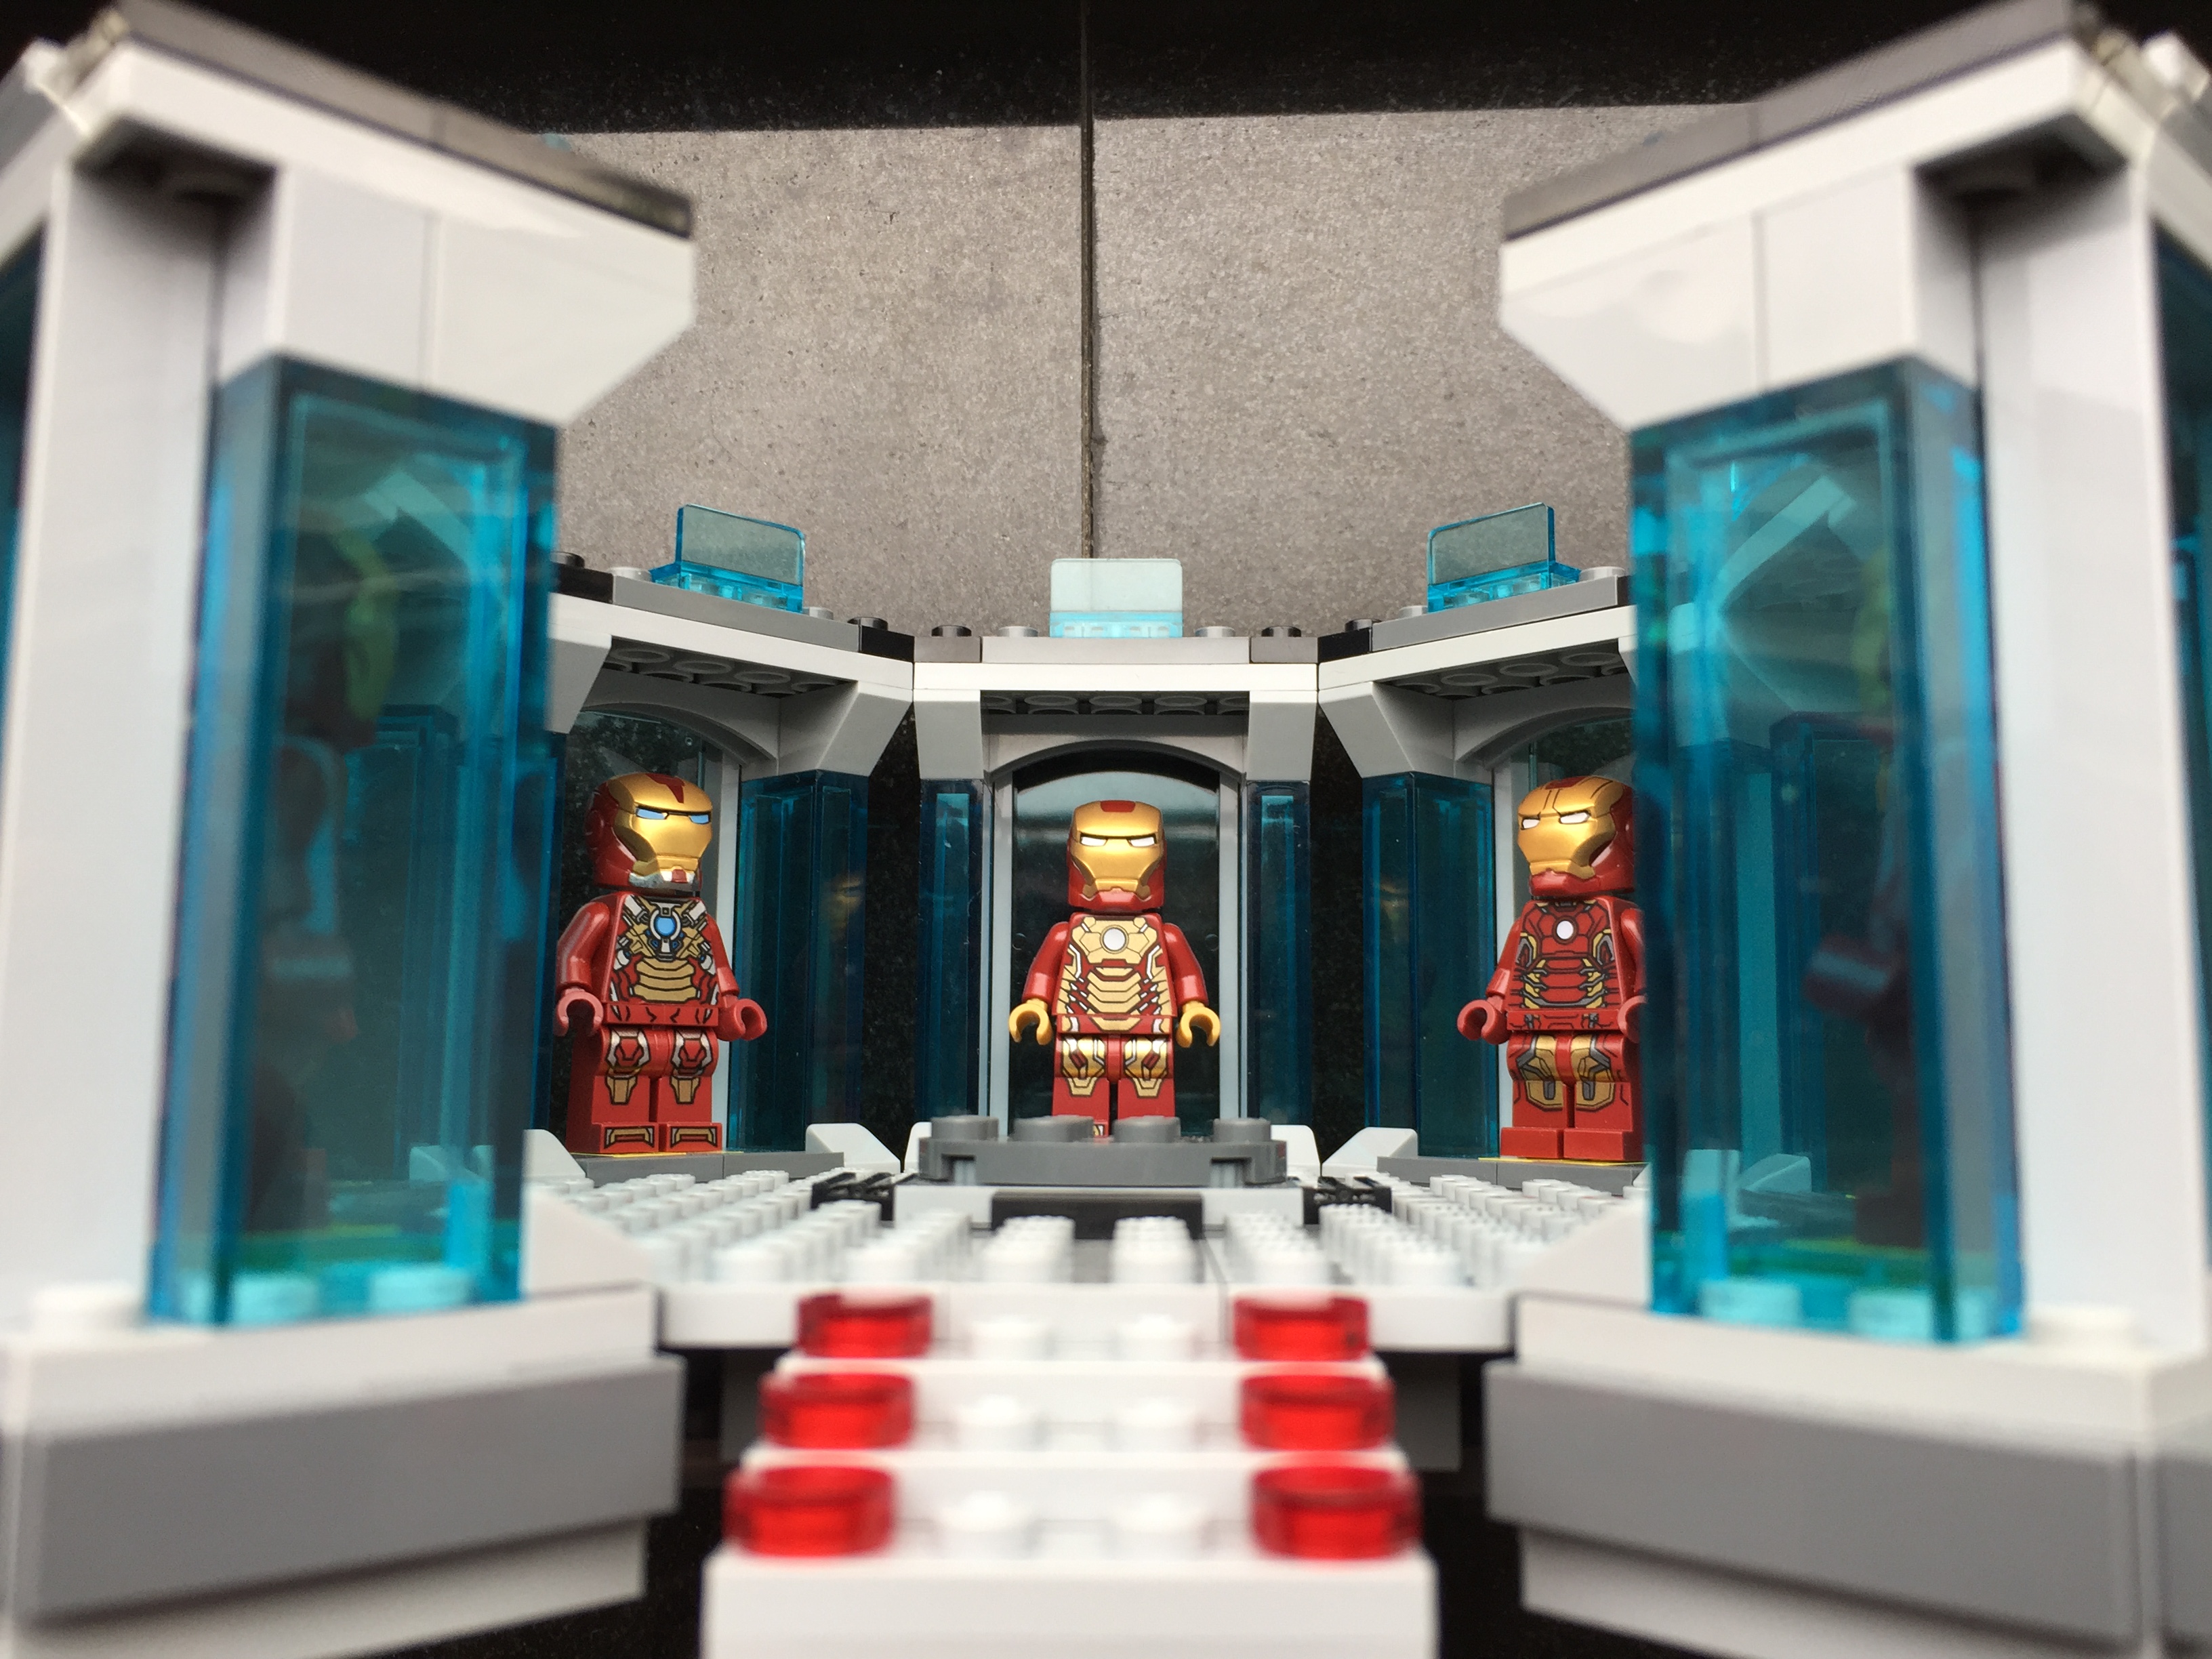
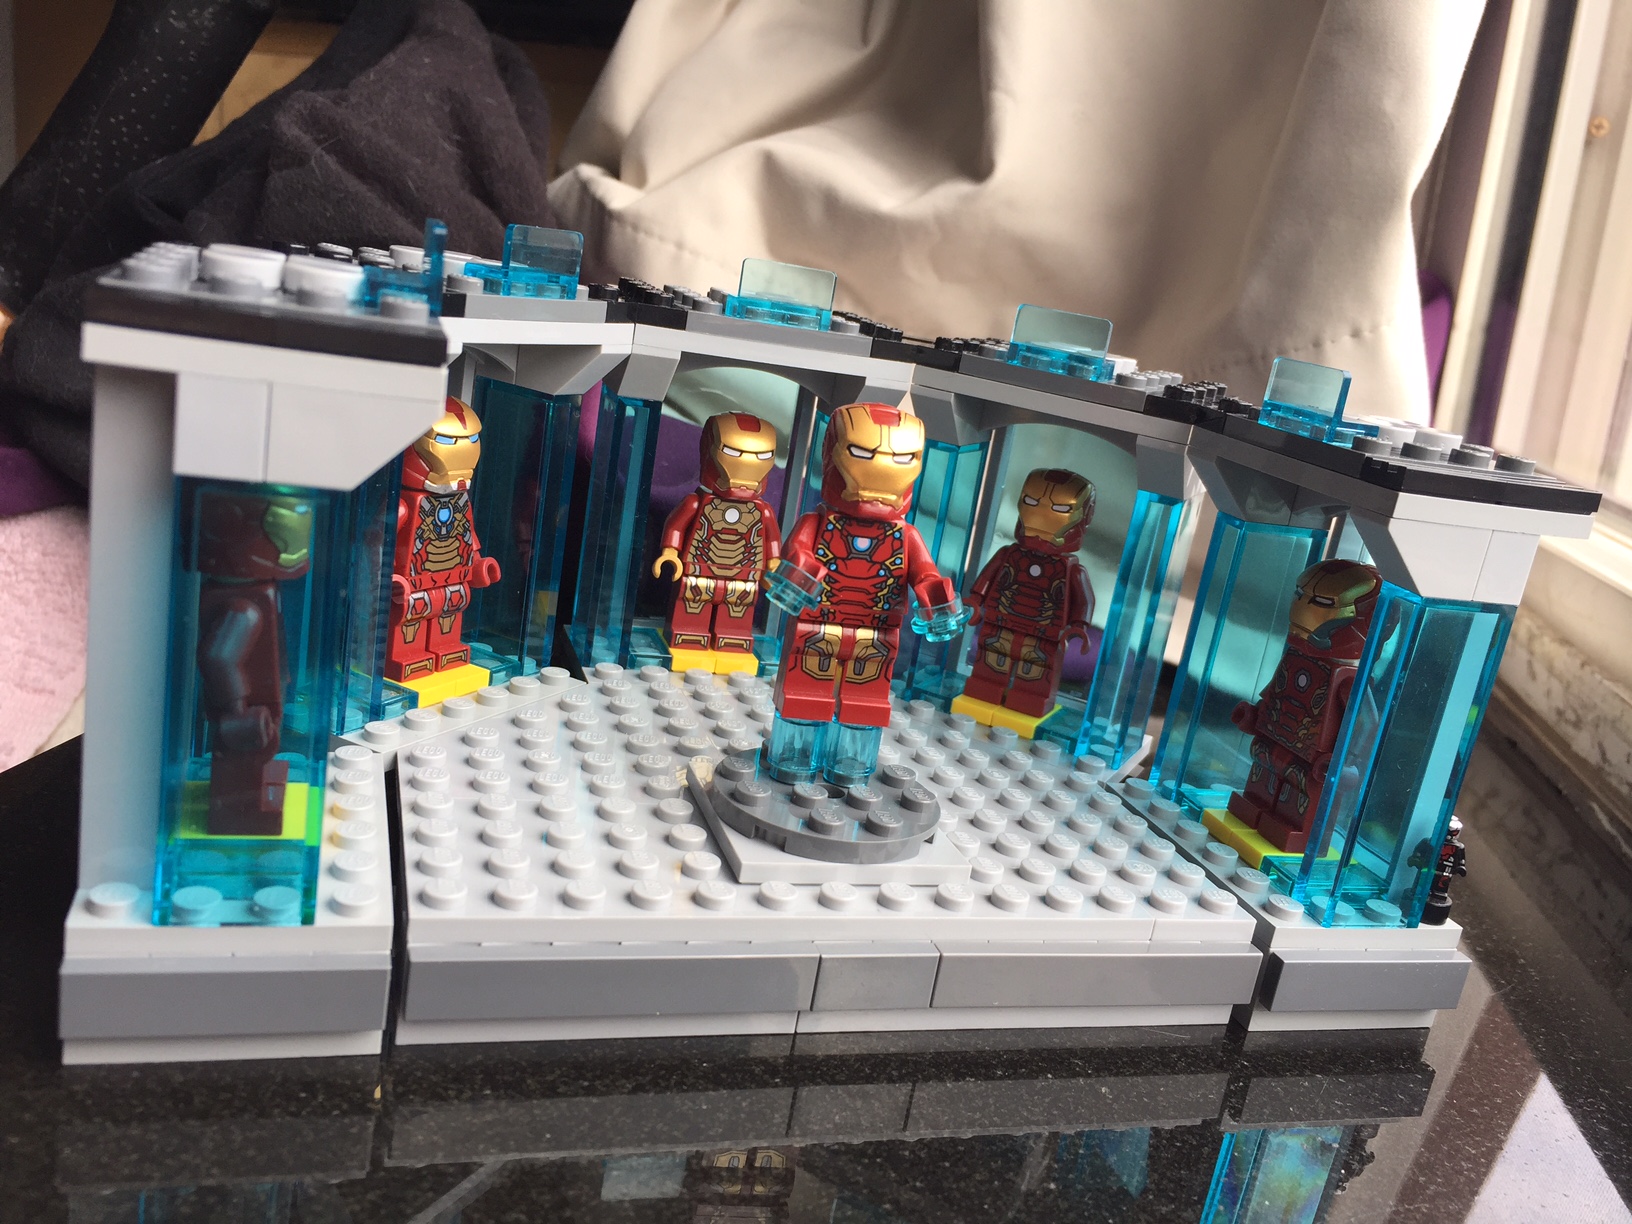
While continuing to sort my LEGO brick collection, I discovered four more Plate (A) 4M 45° pieces. With these special elements in-hand, I updated and expanded my LEGO Iron Man’s Hall of Armor, which I wrote about previously here.
I used a similar repetition for each armor suit pod, but I added one stud roof tiles (Roof Tile 1X1X2/3, Abs) at the base of each vertical transparent blue wall on either side of an armor suit.
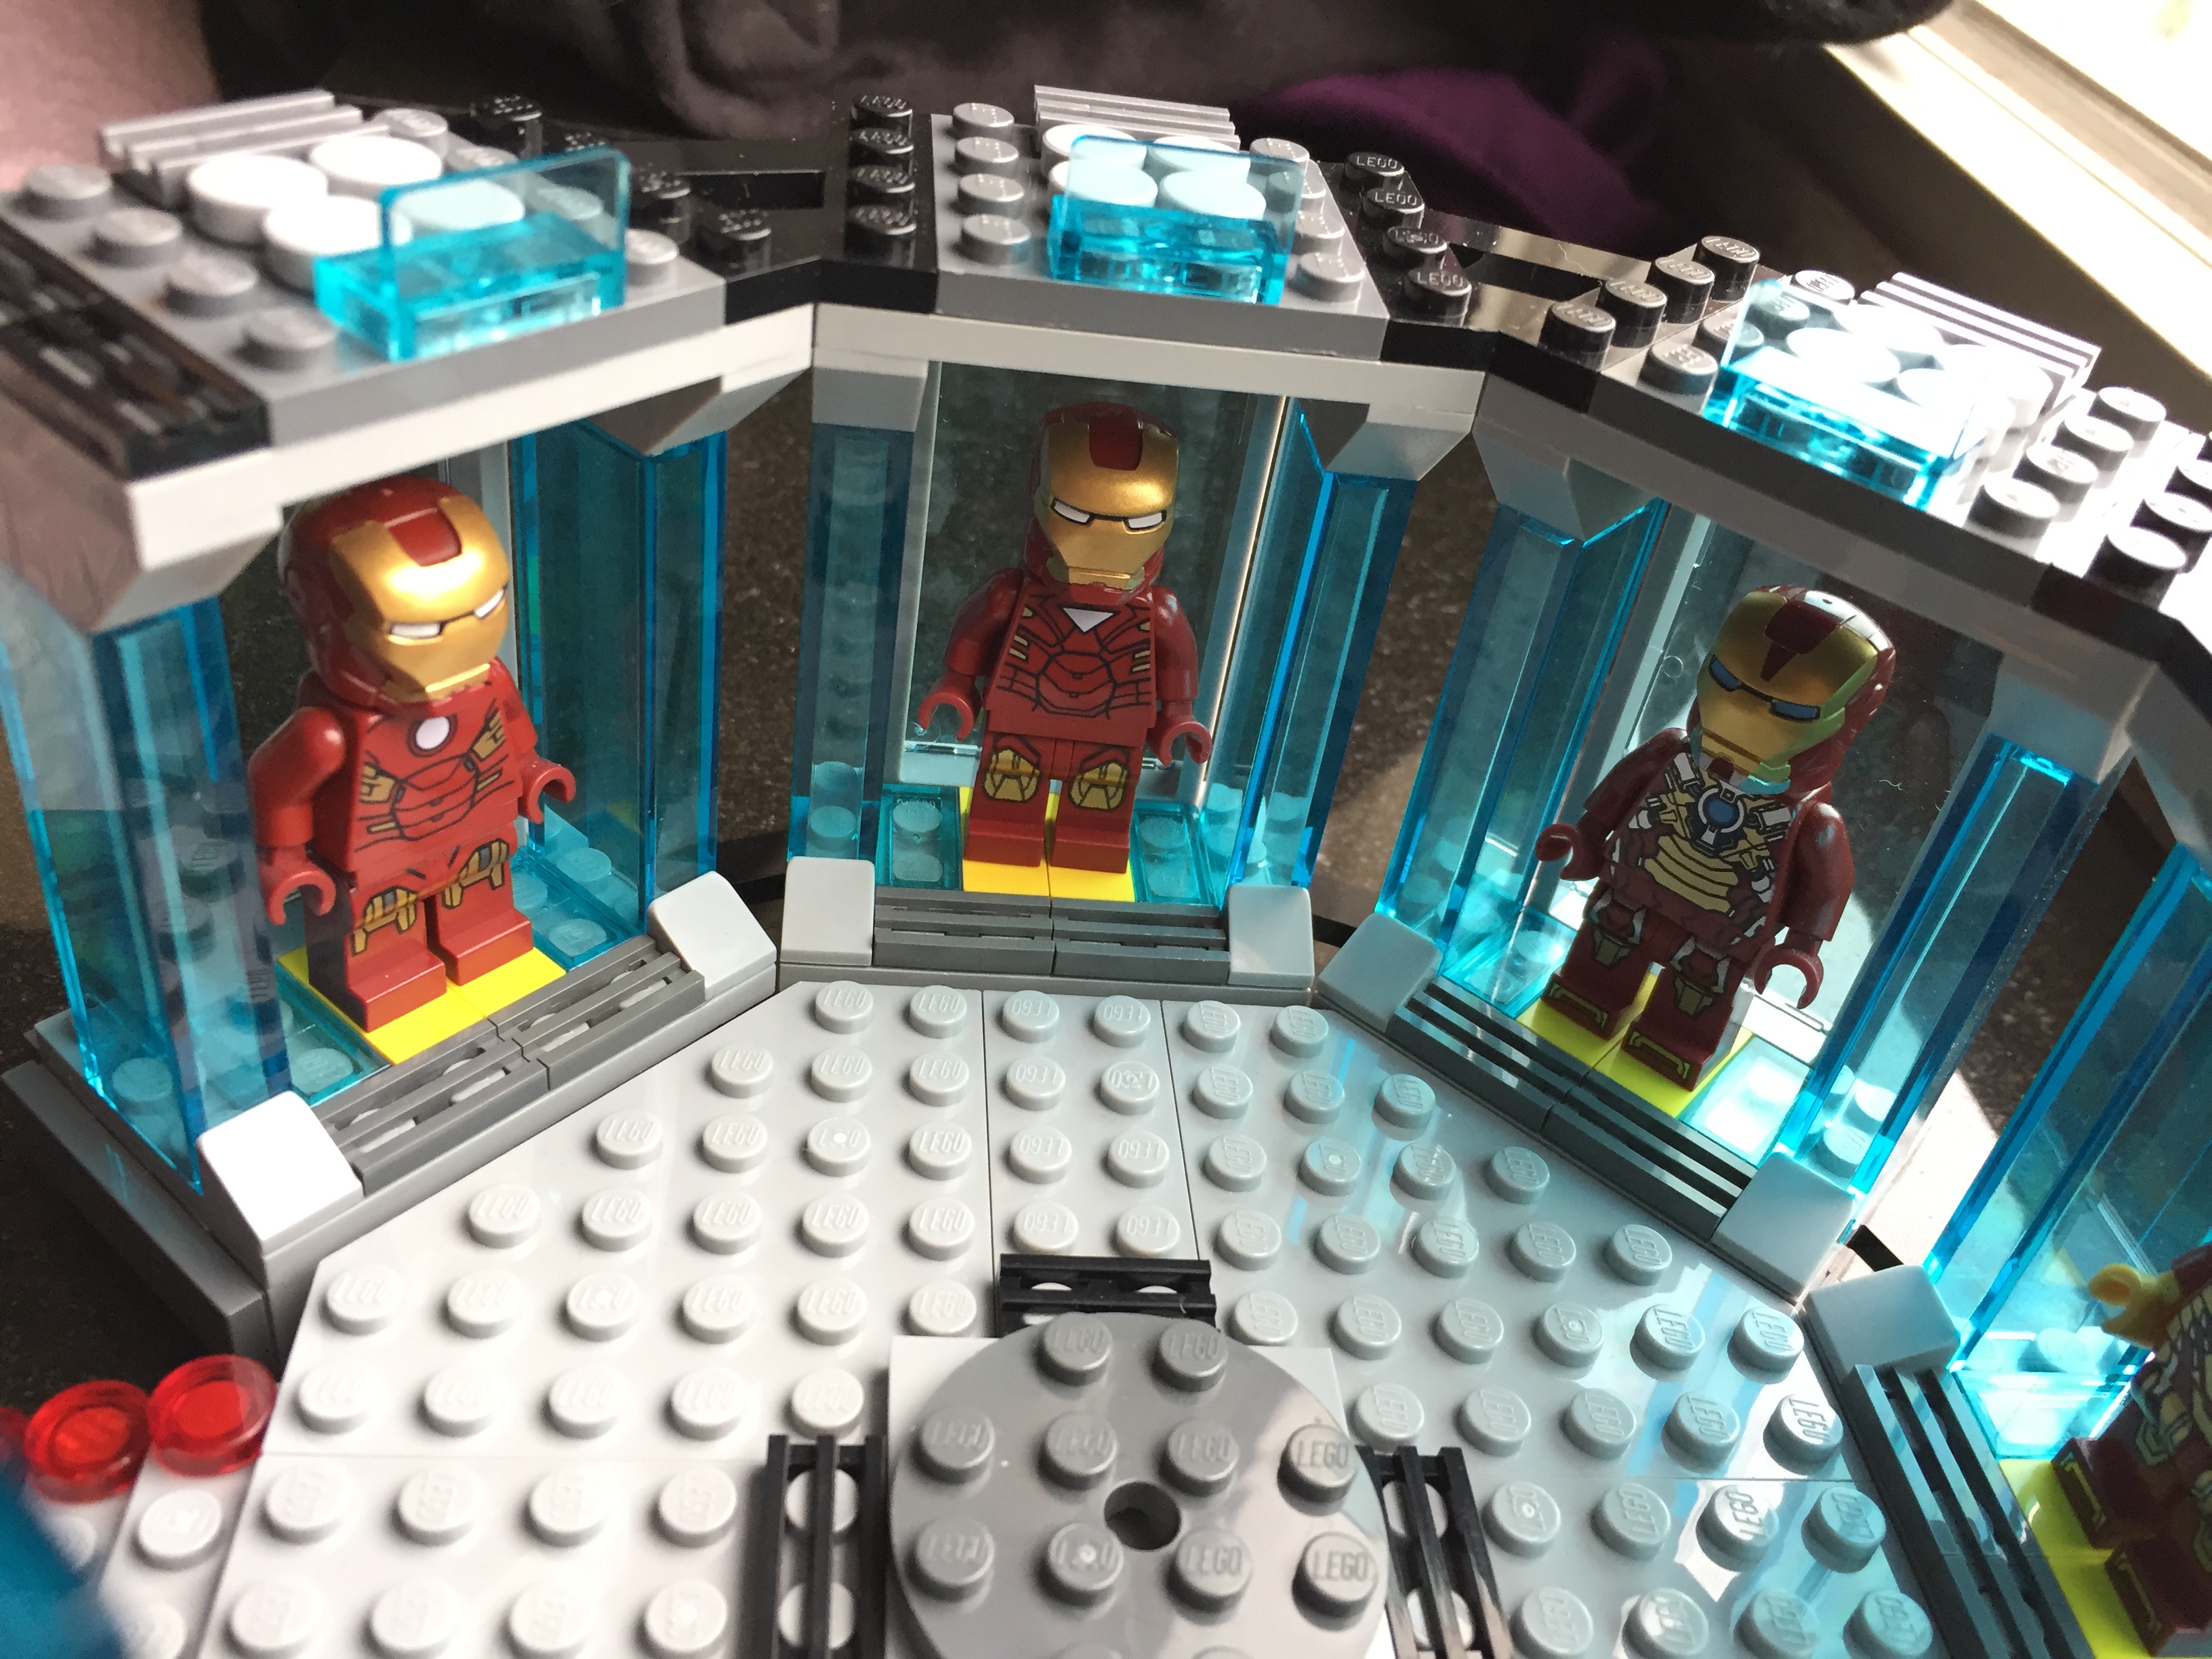
Armors from left to right: Mark III (Iron Man film), Mark VI (Avengers), and Mark XVII “Heartbreaker” (Iron Man 3)
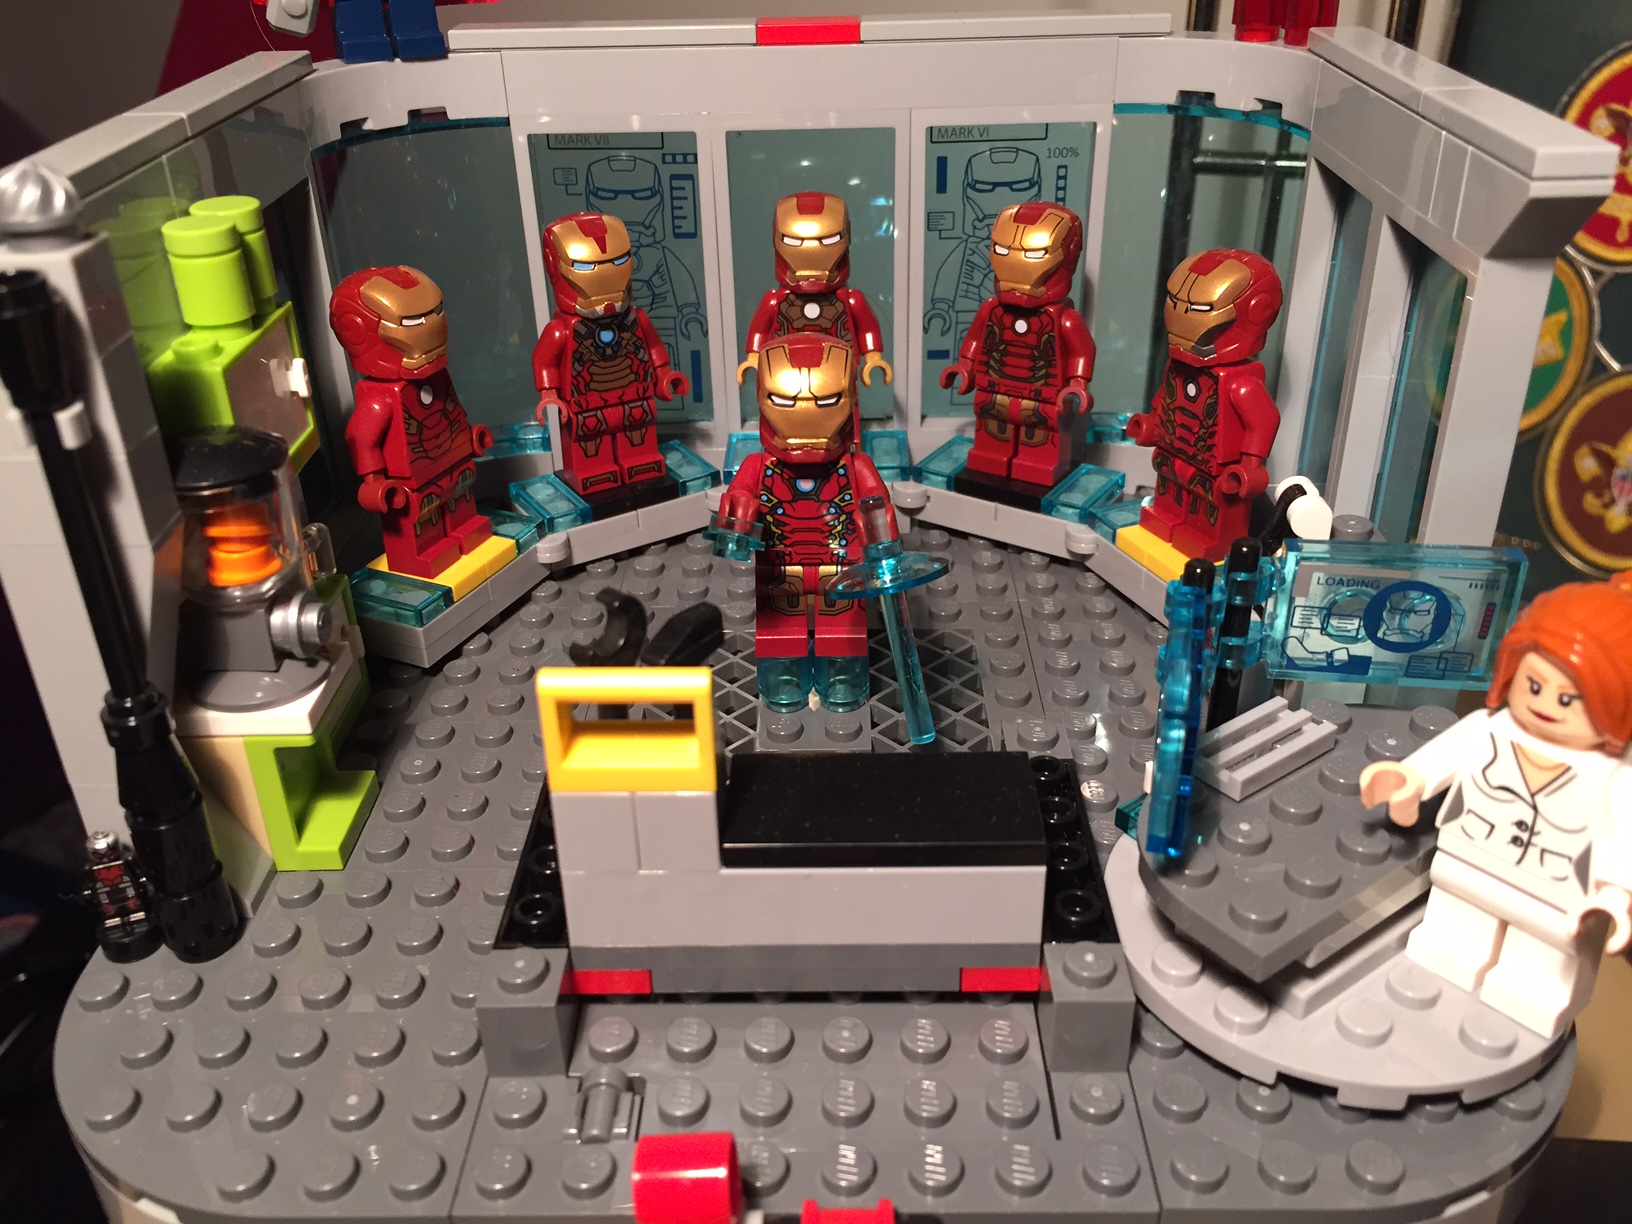
To complete the model, I needed Iron Man’s armor with the triangular arc reactor window from the first Avengers movie (Mark VI armor). I ordered the 30167 polybag on ebay from a seller in Brooklyn (interestingly, it takes longer for mail to arrive from within my city borough than it does from California or even Germany at standard postal rates!).
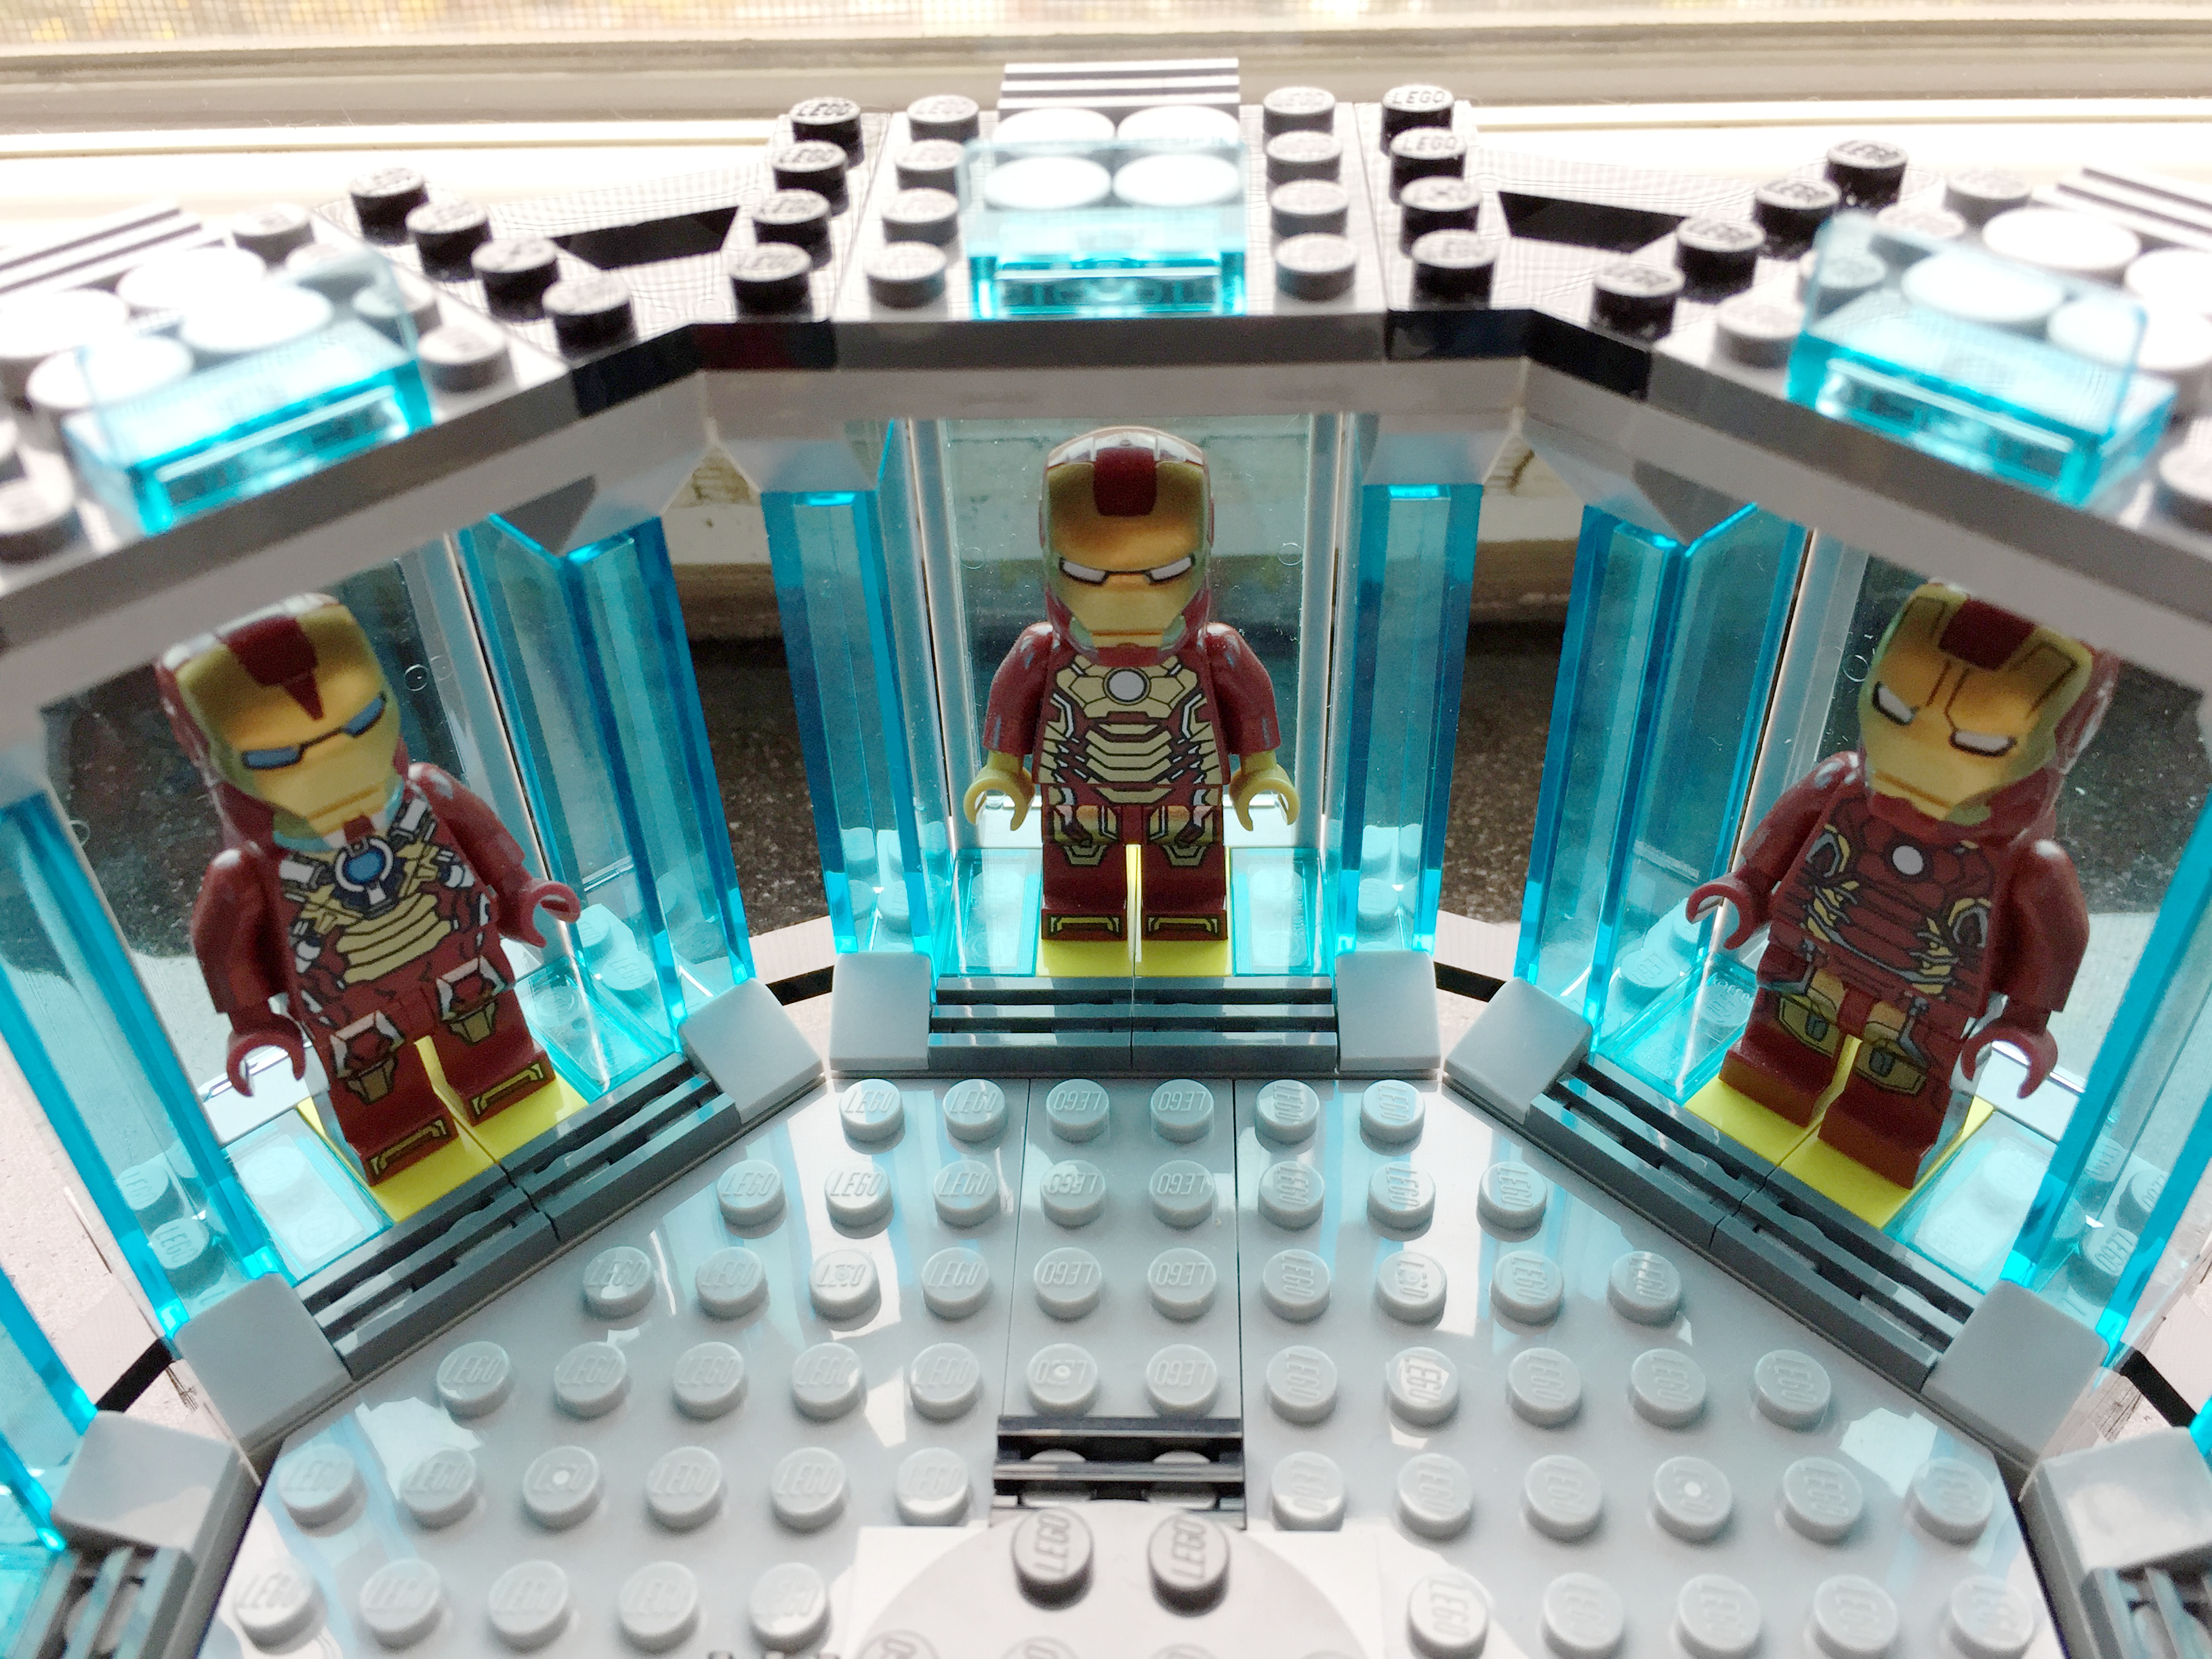
Armors from left to right: Mark XVII “Heartbreaker” (Iron Man 3), Mark XLII (Iron Man 3), and Mark XLIII (Avengers: Age of Ultron).Armors from left to right: Mark XLIII (Avengers: Age of Ultron), Mark XLV (Avengers: Age of Ultron), and Mark XLVI (Captain America: Civil War).
I needed to redesign the base, so I opted to give it a symmetrical support underneath and and a stairway entrance in the southward position. It connects to the circular armor pod assembly with Technics connector pegs and bricks under the northward armor pod. While the center platform makes a tight and neat fit to the upper three pods, its plate studs do not line up with the side or bottom pods (there is a slight gap of about 1/16 to 1/8 of an inch).
It is a sturdy model that can be lifted from any point. Due to its limited interior space and the size of my adult hands, it is difficult to remove and replace the Iron Man armor in each pod.
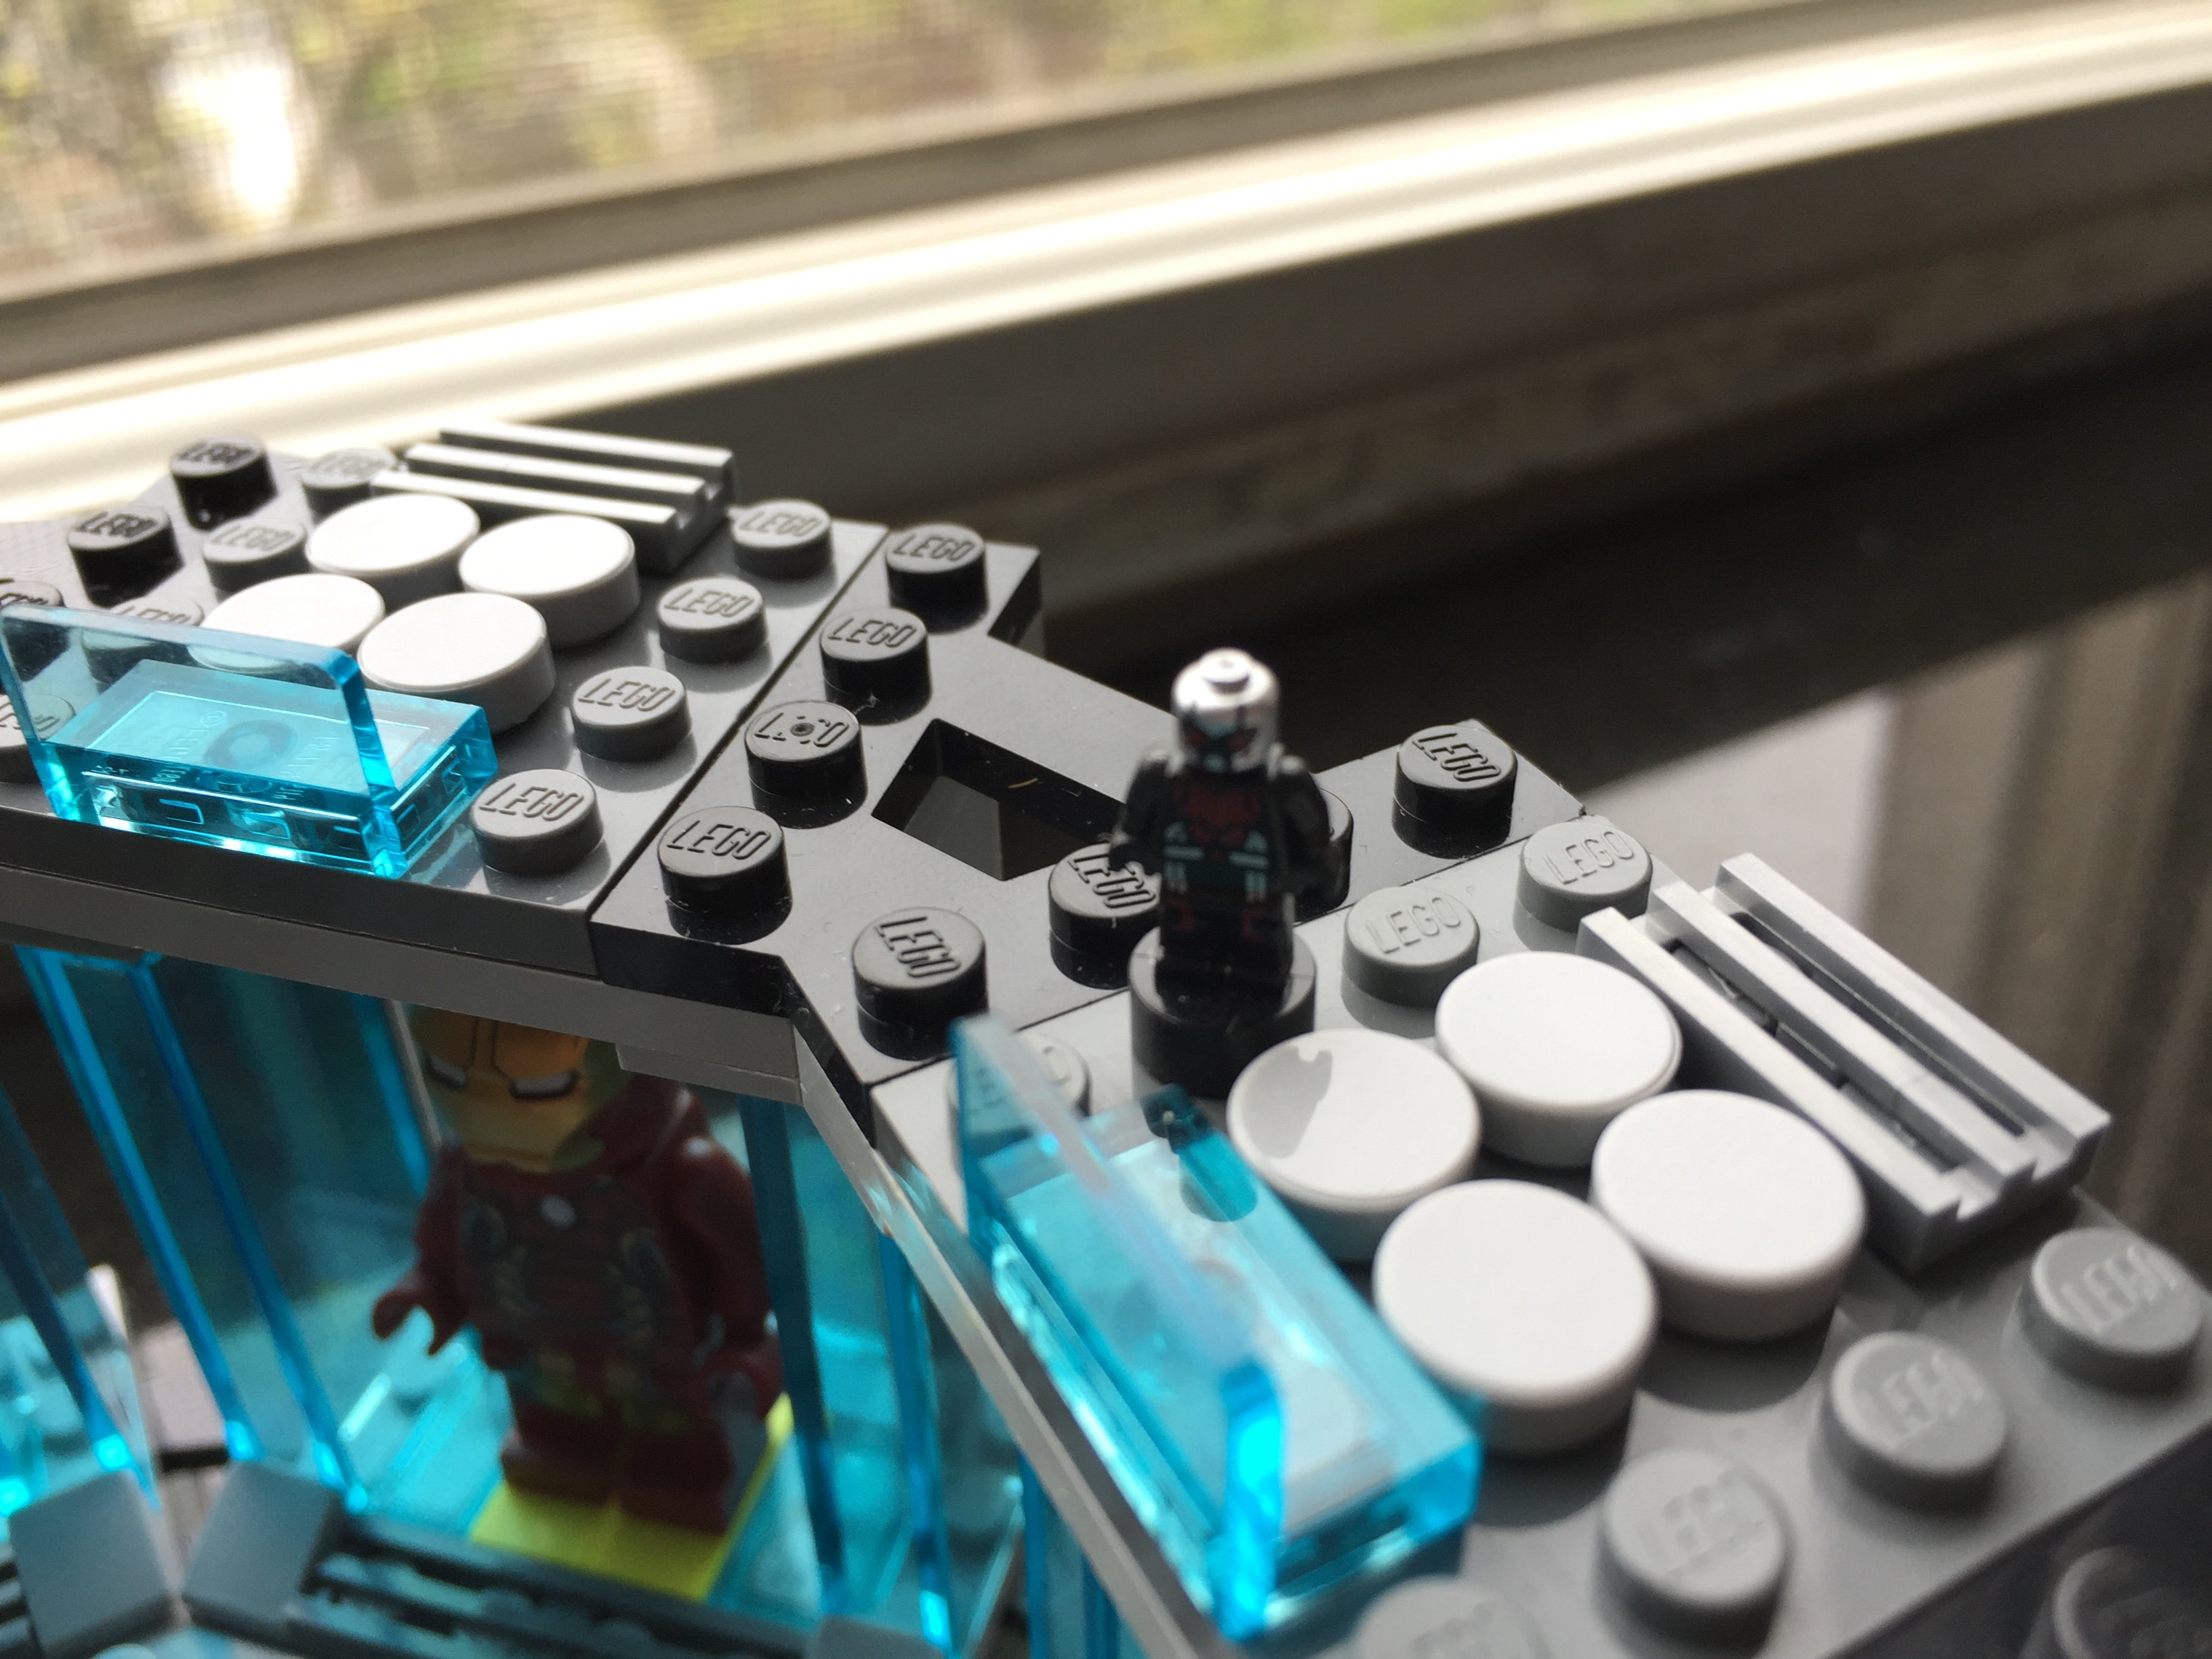
My next idea for the set is to elevate it by about its current height and create a crank-driven lift in the central platform for Tony Stark’s grand entrance. This will take some more planning and time. I’m sure that Ant Man will be watching my progress.
UPDATE: I expanded this design and reported on it here.
As I wrote in my previous blog post, I have been sorting my LEGO bricks. This has helped me organize the LEGO pieces that I have, and it has helped me count the quantity that I have in a given type or color brick. This greater knowledge about the bricks in my collection inspired me last night to build a better Iron Man’s Hall of Armor (above) using the “A-frame” plates or “Plate (A) 4M 45°” from 75137 Carbon-Freezing Chamber.
My original Hall of Armor (above) was a play-oriented set, but it admittedly required care in its handling. It borrowed heavily from the Malibu Mansion and Avengers Tower sets. The curve of the armor display was accomplished with the central pad locked to the base with a 2×4 plate, each adjacent pad was connected to it with a plate hinge and supported beneath by non-locking flat plates, and the ends were connected to the base plate with 1×1 round plates. It worked, but it was fragile and admittedly very busy in its appearance. I thought that I could do better with a different approach focused on using system and Technics pieces, repetition, and strength.
First, I designed the display bad for each Iron Man armor suit. I based it around a 4×6 plate and leftover translucent blue elements from the Avengers Tower set.
I connected the five armor display pads at the top and bottom of each using the Plate (A) 4M 45°. The center pad and the end pads are built up to 1 brick height to accommodate the 3-hole Technic connector brick beneath the center pad. This is where the platform between the armor pads will connect.
The central platform has a 3-hole Technic brick at the narrow end. It connects to the hall of armor arc with three Technic connector bushings. I used 1×1 bricks with outward facing stud all along the front of the display (both ends of the Hall of Armor arc and the central platform). I affixed flat dark grey plates to these to create a contrast with the light grey of the platform surface.
This new design is more for display than playability. It is a much stronger model than my previous one, and it uses LEGO elements in new ways that I had not experimented with on a MOC before. In particular, I was very happy when the central platform perfectly interconnected with the sweep of the Hall of Armor arc. Also, I was able to build a MOC that utilized repetition in the design of the armor display pads, because I had an inventory and organizing system for my LEGO bricks. Had I not sorted my bricks, I don’t think that I would have been able to come up with this design and implement it as quickly as I did.
While you’re looking at the images, can you spot a spy in the model?
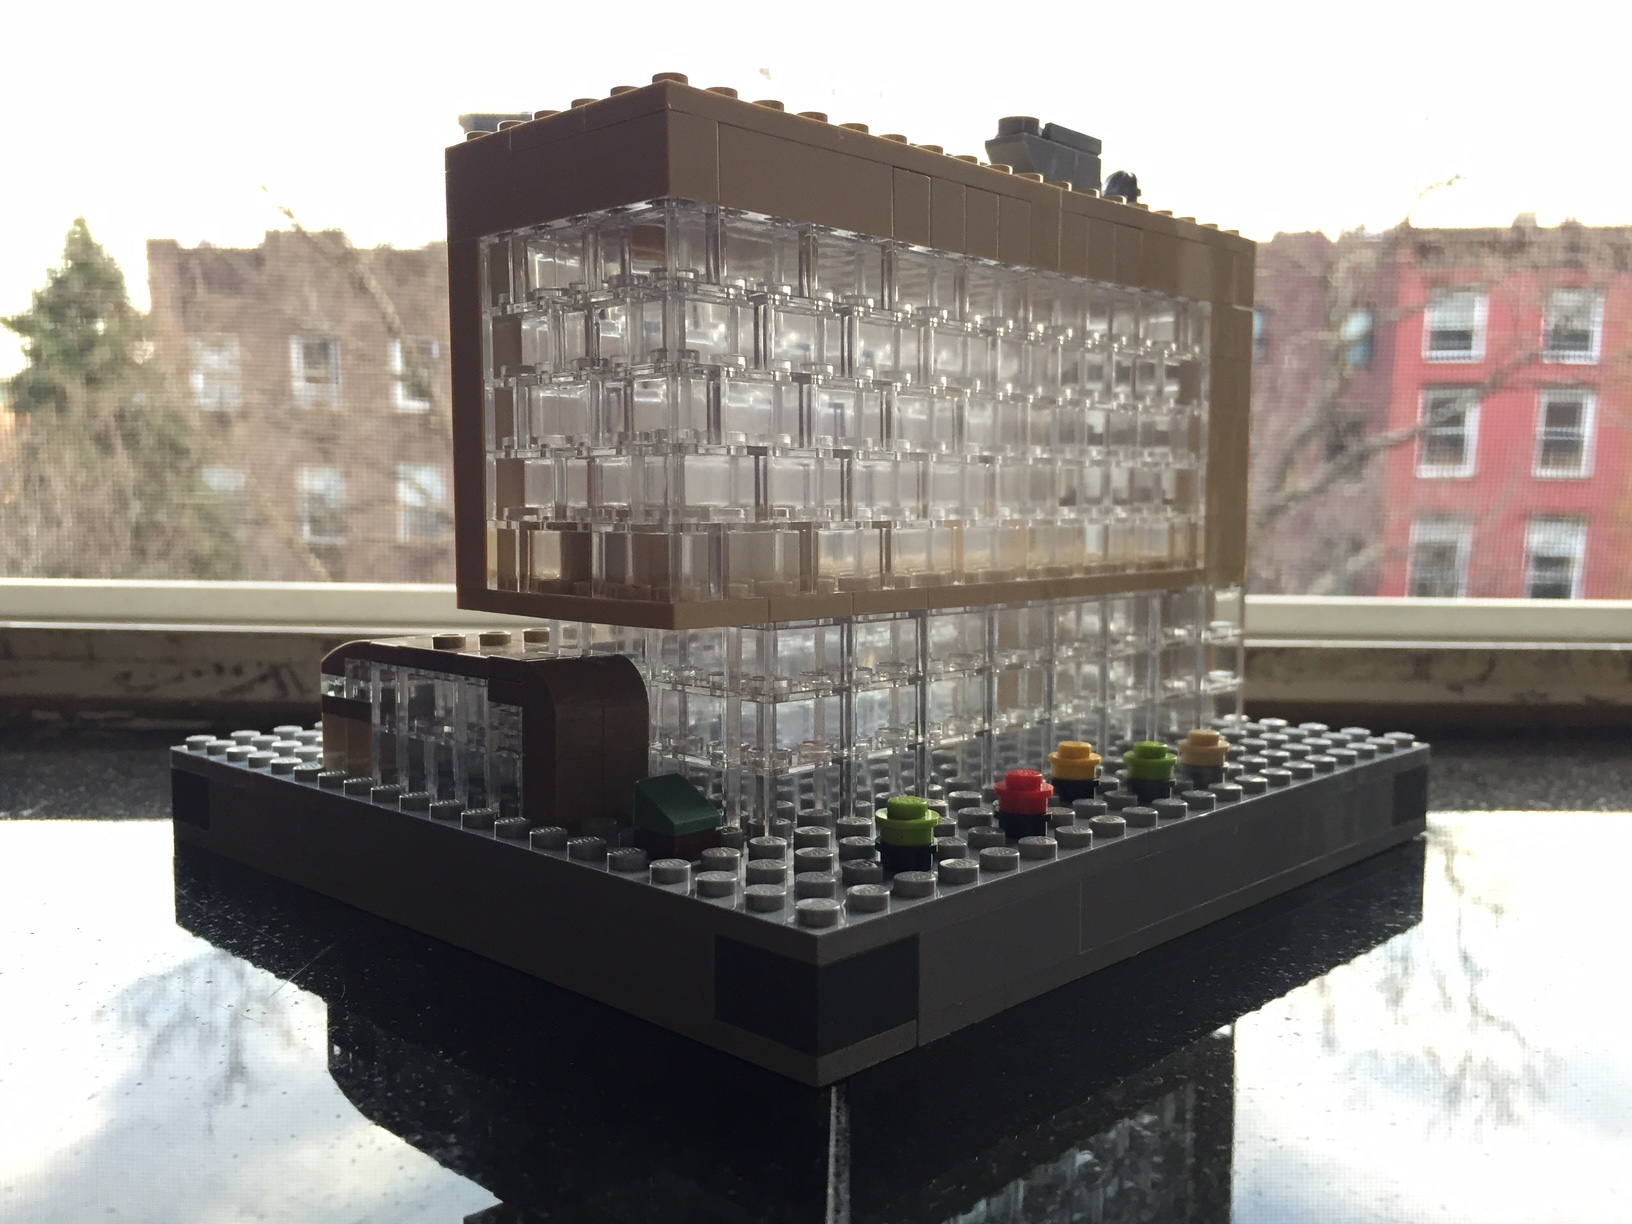
Over the past few days, I build a small scale model of the new City Tech academic building at 285 Jay Street. Still under construction, this model highlights its eventual glass-covered transparency (see this PDF for additional renderings of the building’s completed construction) with the model’s approximately 160 clear 1×2 bricks:
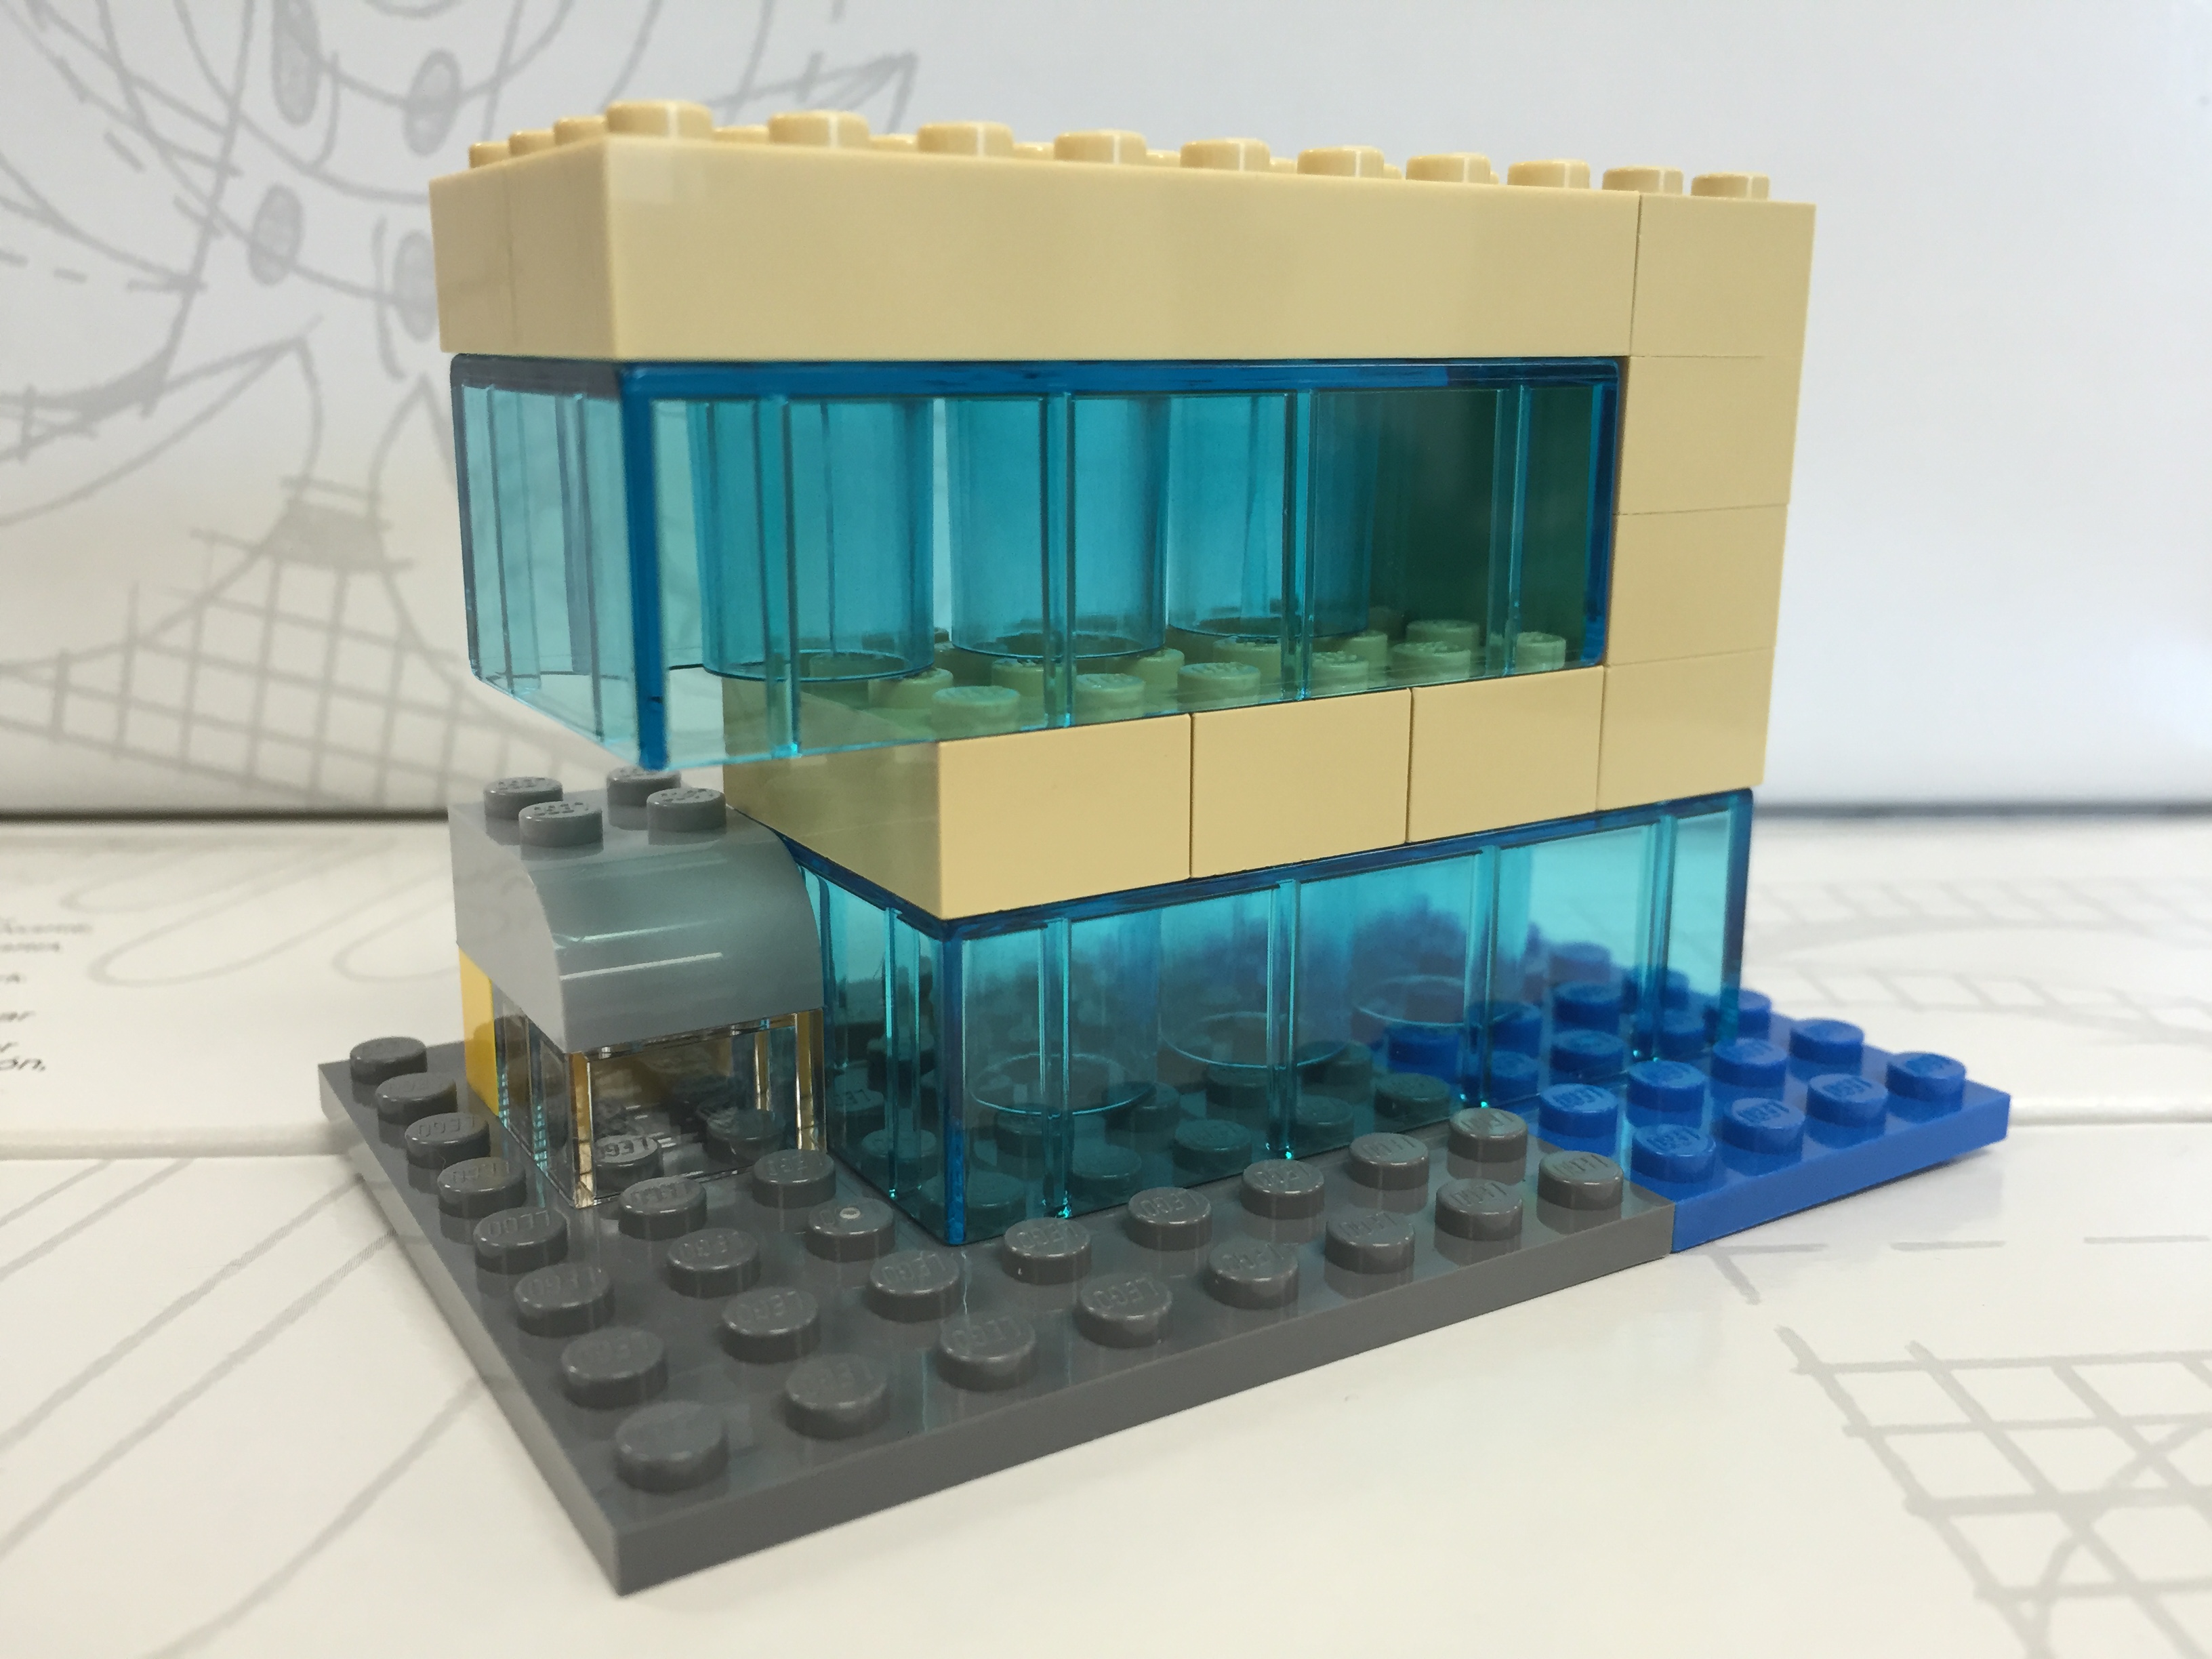
My Serious Change Through Play collaborator Patrick Corbett original gave me the idea to build a model of the new building after we made our first grant-funded LEGO brick purchase. Here is what that first, simple model looked like:
With only a few LEGO and Duplo bricks, I was able to capture the glass structure, upper floors overhang, and intersecting curve of the auditorium. Eventually, we incorporated this model into the Serious Change Through Play branding logo. While I like this smaller model, I wanted to build one that was larger and captured more detail without breaking the bank.
To begin my larger design and assess what extra LEGO pieces that I would need beyond those that I already own, I copied LEGO brick/plate design grids (see Duckingham Design’s grids, which are terrific) into Microsoft Windows’ Paint and drew in a rough sketch of each side’s elevation:
After these initial designs, I knew that I had most of what I would need to build the base and solid-color aspects. However, I didn’t have any of the clear bricks. Luckily, I saw a bin full of clear 1×2 bricks at the Flatiron LEGO store a week ago, so I returned there to purchase those and spare bricks that I thought might be useful during the build:
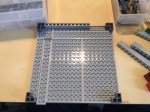
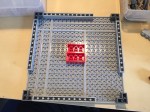
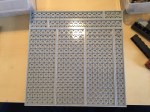
After disassembling all of the bricks in the pick-a-brick container (NB: if you purchase a pick-a-brick container from the LEGO store, you should assemble all of the bricks in order to maximize how many bricks can fit and minimize wasted empty space), I used plates and bricks to construct a 20×20 stud base with a height of 1 brick and two plates (one plate level on top and one plate level on bottom):
Next, I began the fun part of the build, which I like to think about as similar to the writing process–brainstorm, draft, and revise. While I had my elevations to work from, I thought of specific ways to put the bricks together that represented the building better and served to make a stronger model. For example, using overlapping joints and interlocking corners in the upper stories look good and make the model sturdier.
The intersecting auditorium provided some of the best challenges during this build, because it has an interesting curve that is like the forward leading edge of an airplane wing. This required a lot of digging through my boxes of bricks to find pieces that conveyed this as best as possible at this scale and appear close to the colors in the building design documents:
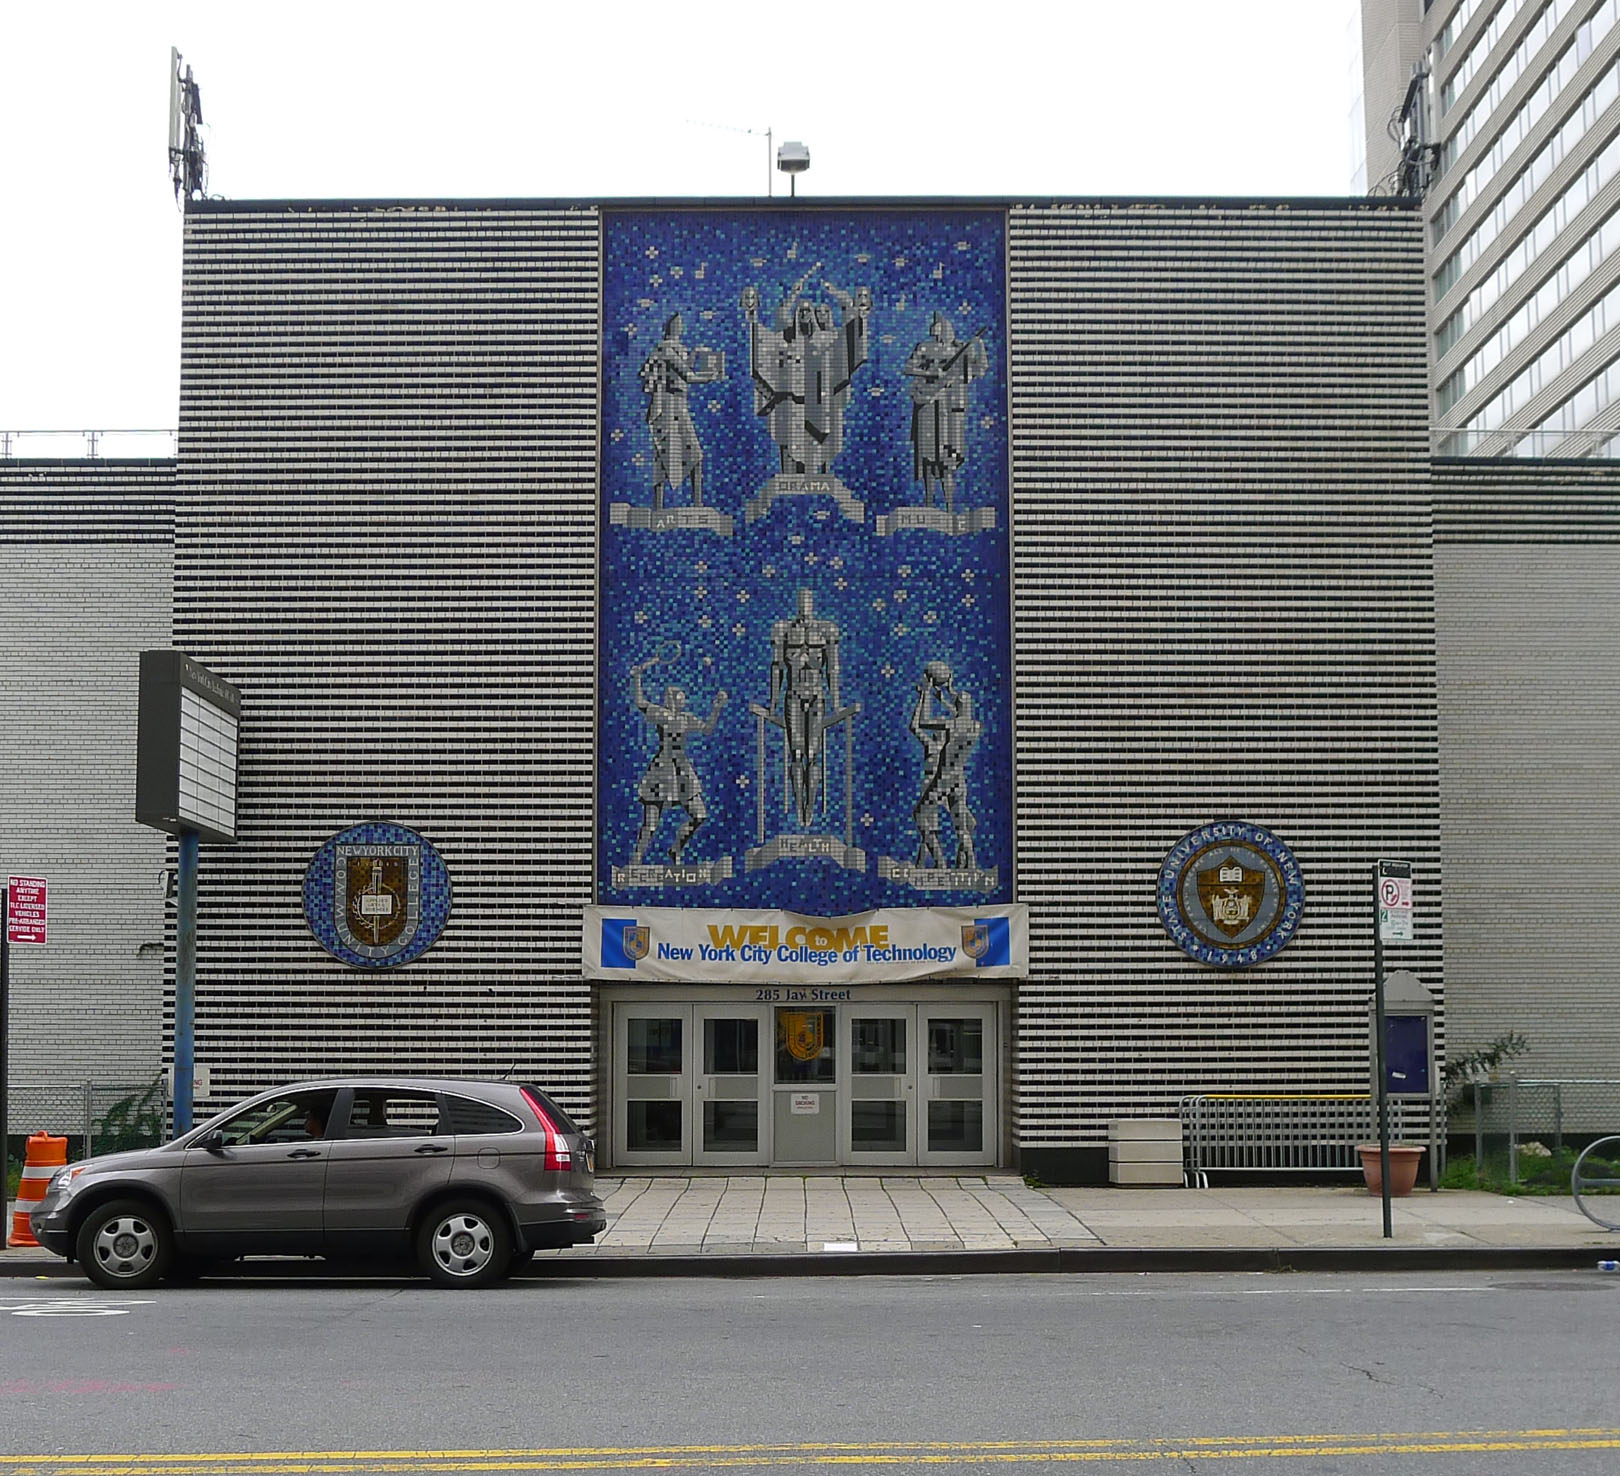
You might have noticed a white, silver, and blue structure in the rear of the building. I felt that I would be remiss if I neglected to include the spirit of the building that used to be at 285 Jay Street–City Tech’s previous auditorium with its Klitgord mosaic (see page 8 of City Tech Connections vol. 6 no. 2 here for more information, or speak to Dr. Mary Nilles, who taught me about the history of the mosaics). The original Klitgord mosaics, crafted by Nathiel Choate and Joseph von Tury in 1962 for the auditorium building, look like this (photo by William Avery Hudson):
Photo by William Avery Hudson.
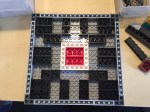
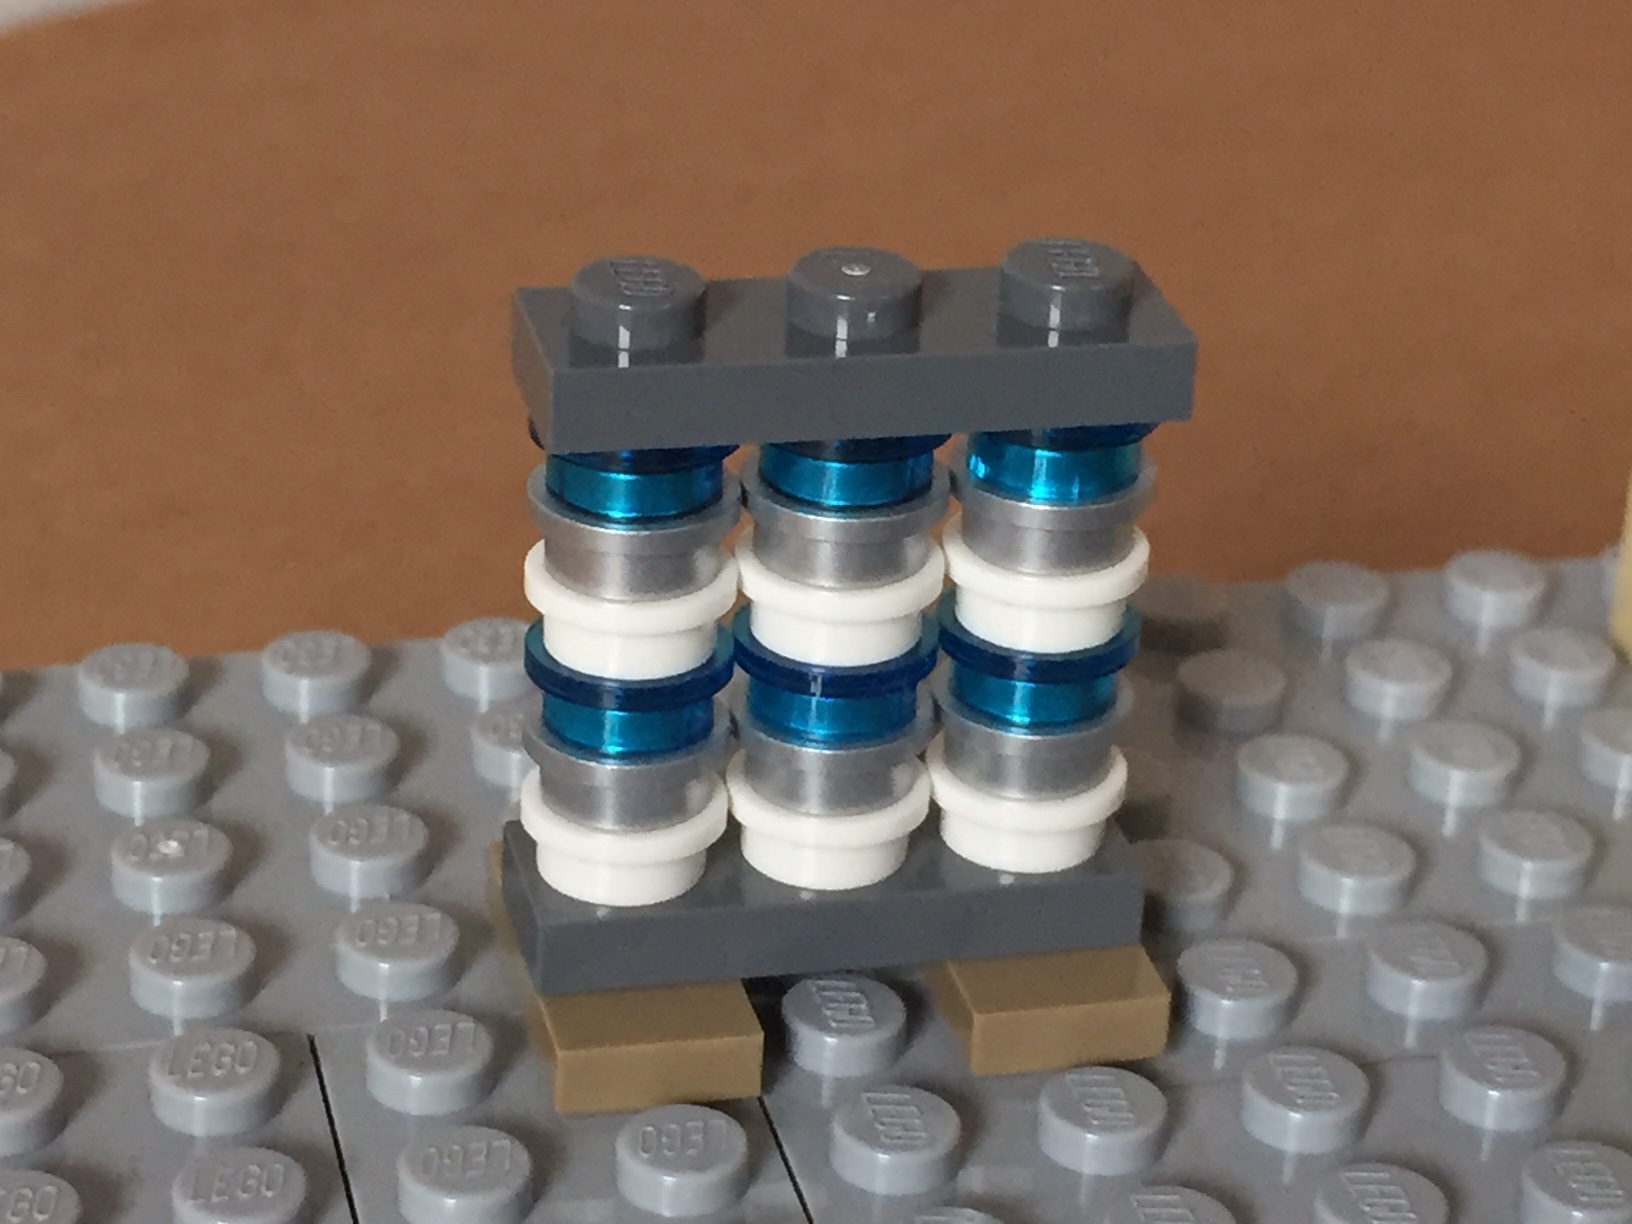
Using the microscale of my model, I wanted to capture the color scheme and figures despite the extremely low resolution of the medium at this scale. Nevertheless, I figured that I could convey that there are six human figures and a color scheme of white, silver, and blue. Therefore, I built this model of the mosaic–perhaps the preserved mosaic will have a home in the new building?
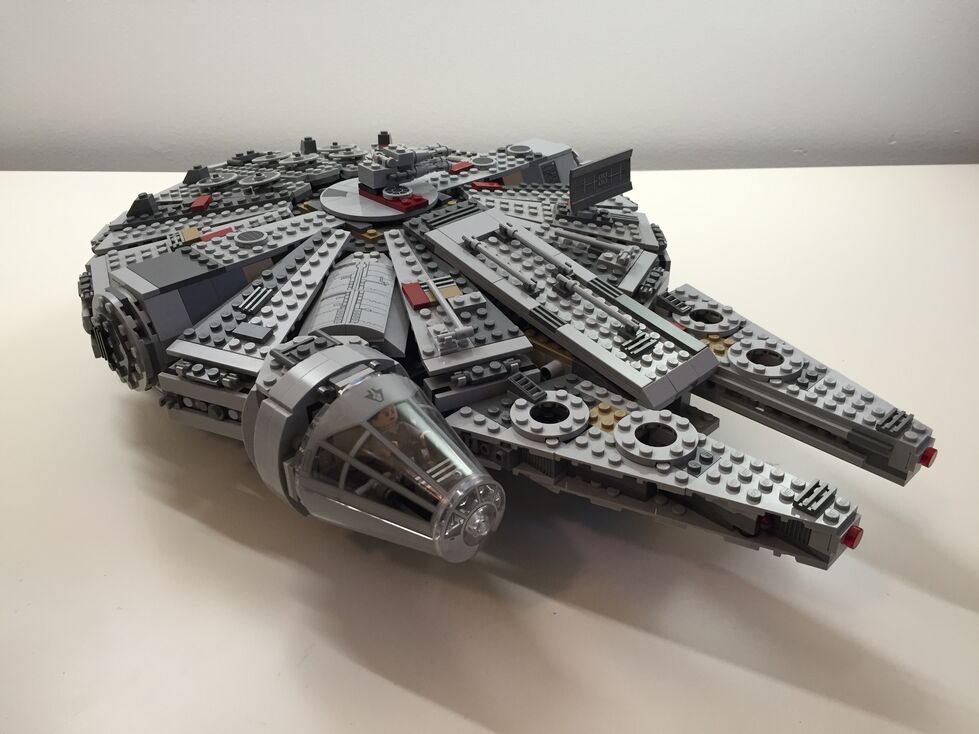
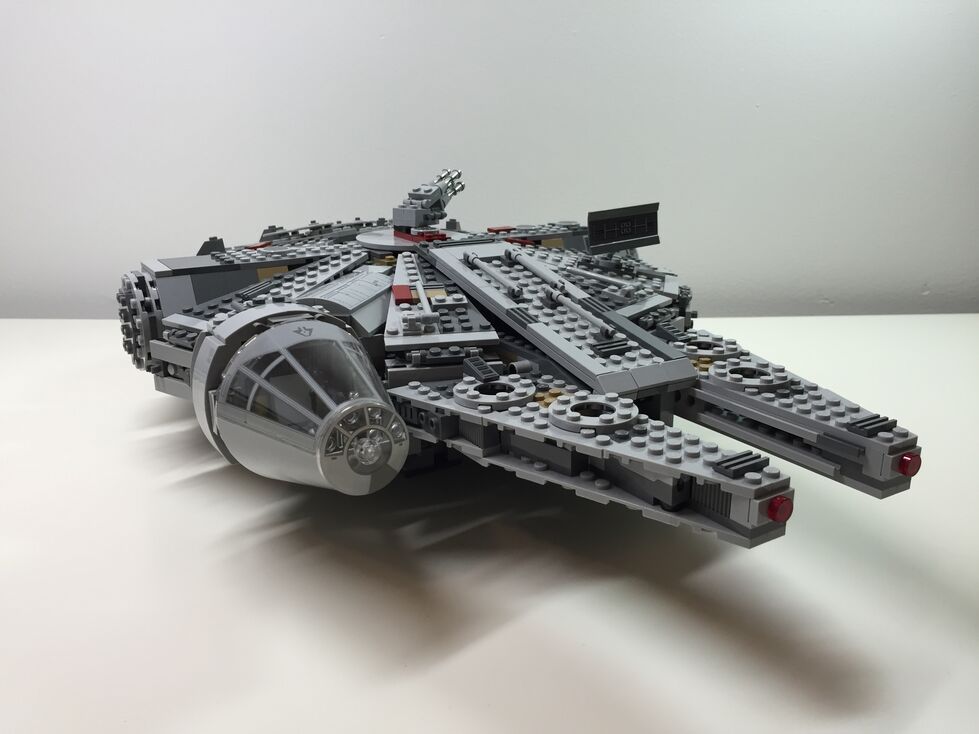
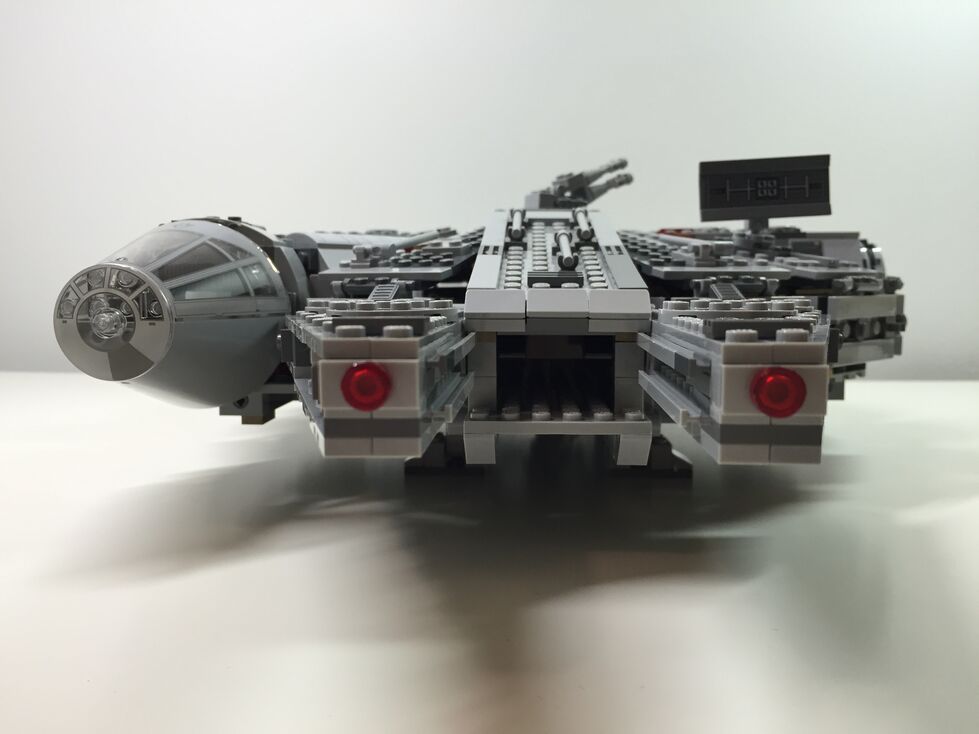
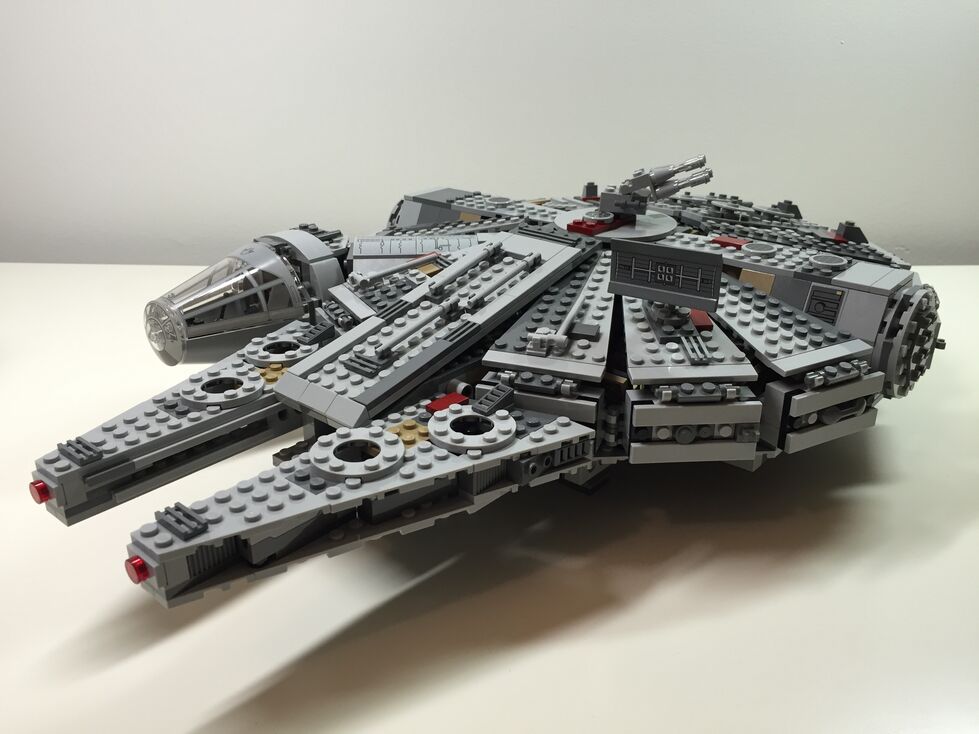
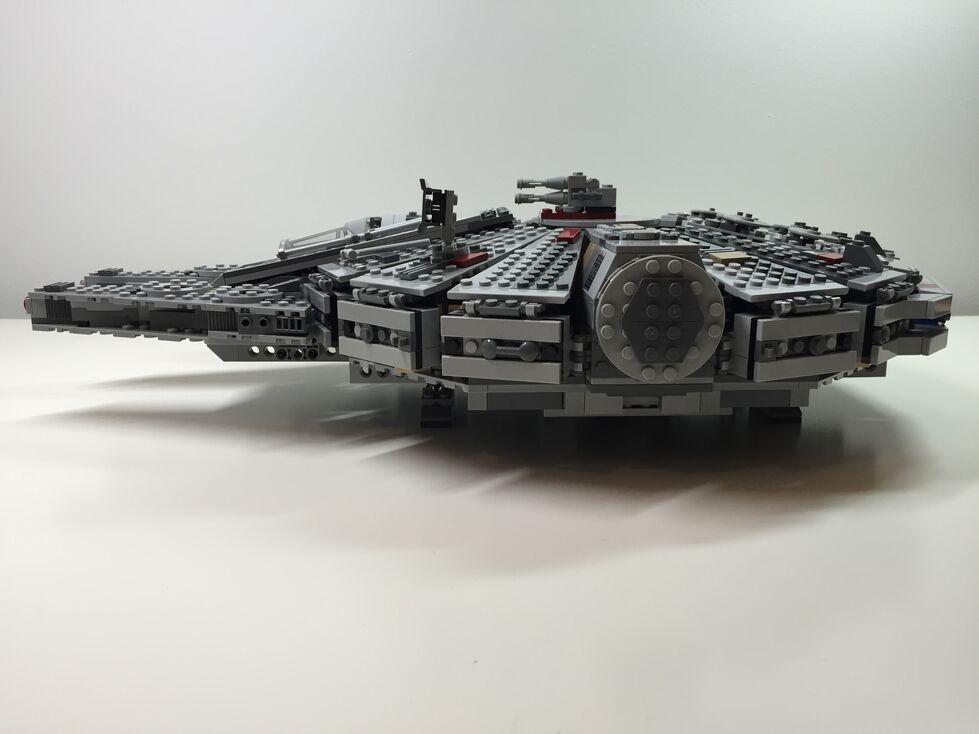
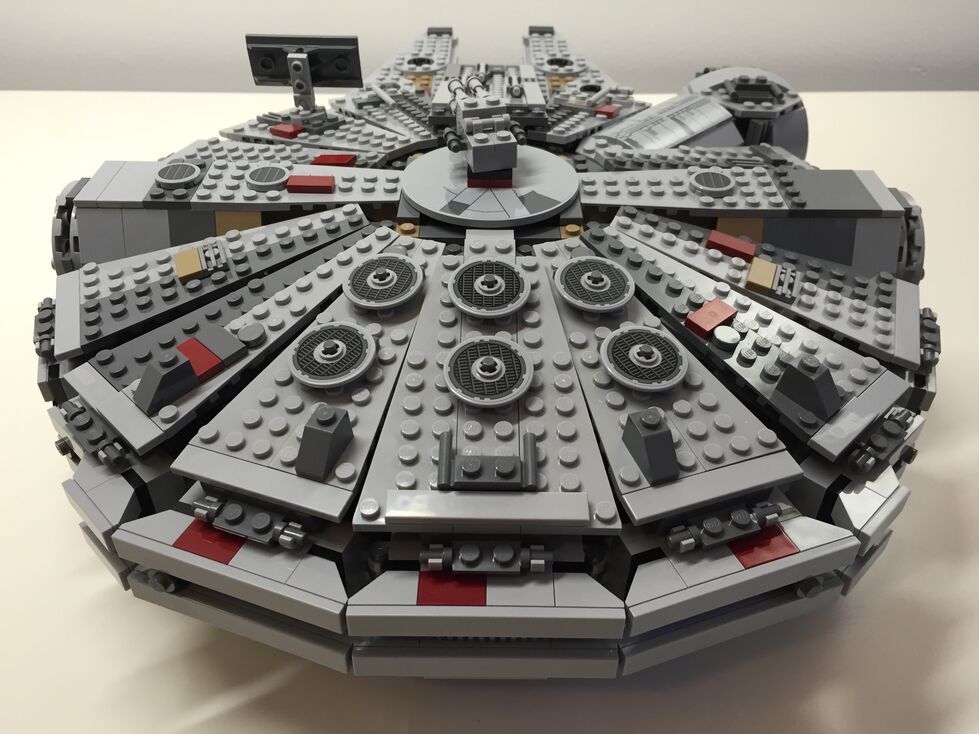
After watching Star Wars Episode VII The Force Awakens for the first of four times (so far), I purchased the new LEGO Millennium Falcon 75105 (LEGO website page and Brickset model page). It is a wonderfully designed model that balances play with detail. This latest Falcon model from LEGO captures how the passage of time and change of hands has affected this storied ship’s appearance in the film. Despite the interior and exterior greebling, the layout of the Falcon is spacious and accommodating for customization by the LEGO builder. It was my intention to customize the Falcon to be more screen accurate in the main hold and cockpit, and more detailed in the engine compartment and rear storage/bunk spaces. Through the process of customization, I worked on the exterior dorsal and ventral sides (including an improvement to the boarding platform. Below, I offer some explanation and photos for each before and after stage of my customization, including the cockpit, exterior dorsal, exterior ventral, interior fore, and interior aft.
Cockpit, Before Customization
The original cockpit accommodates two minifigures–one sitting forward on the right (pilot) and one sitting one row behind on the left (copilot). It comes with a single lever for control and a printed wedge brick with cockpit controls. Due to the conical elements used for the cockpit, space is extremely limited. However, the rear of the cockpit has a strange design that is not evocative of the rear of the cockpit, which would have controls, lights, and a door. I targeted these issues in my customization seen below.
Cockpit, After Customization
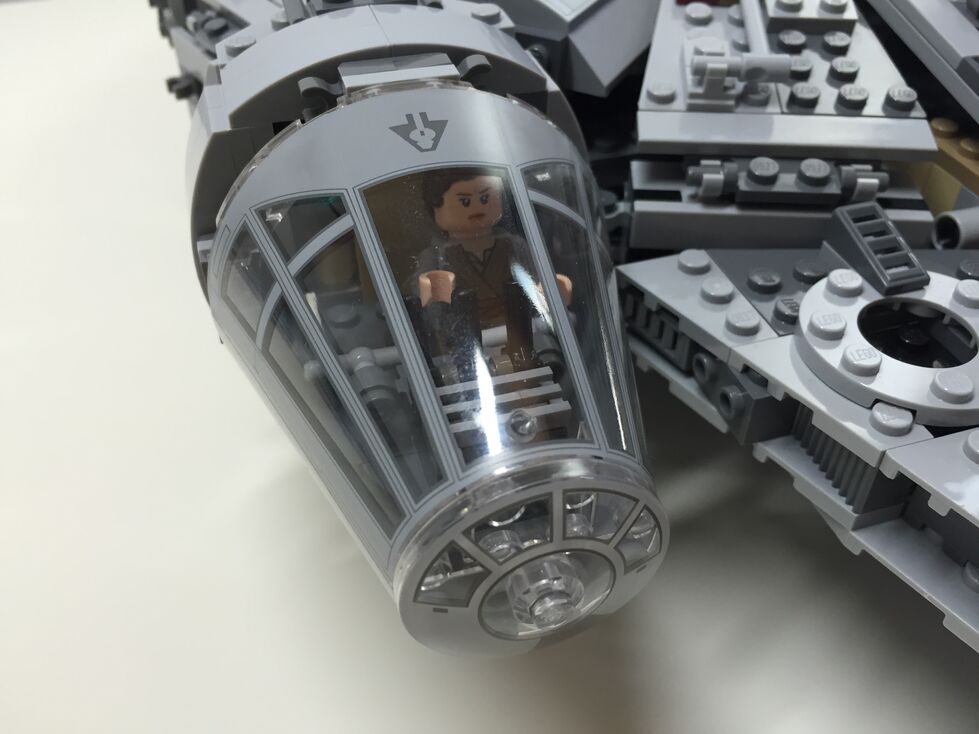
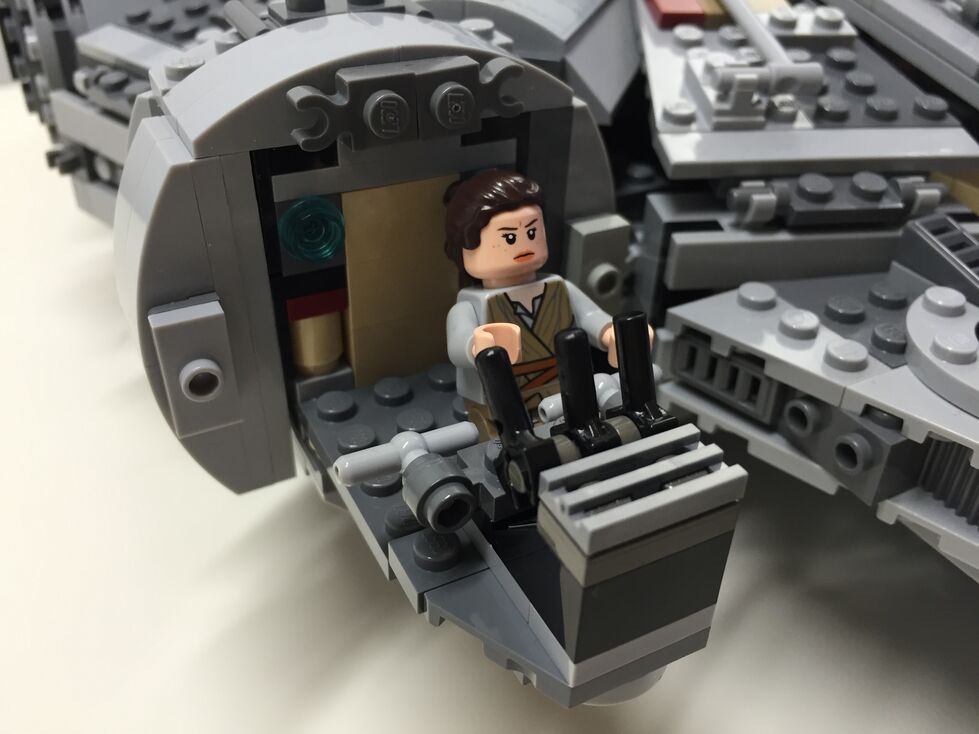
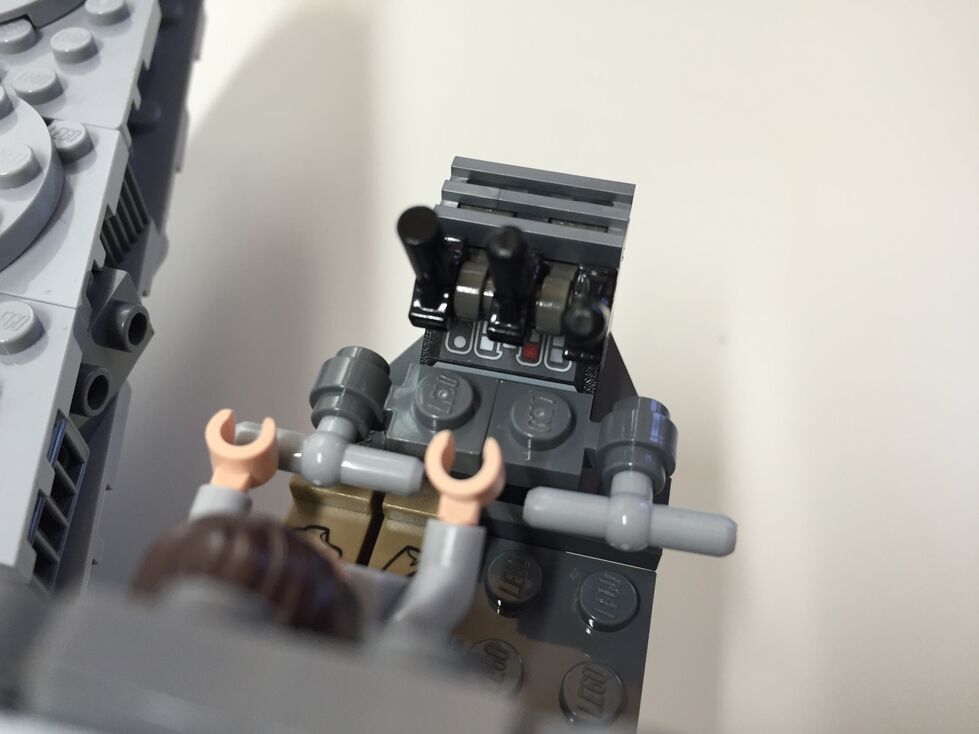
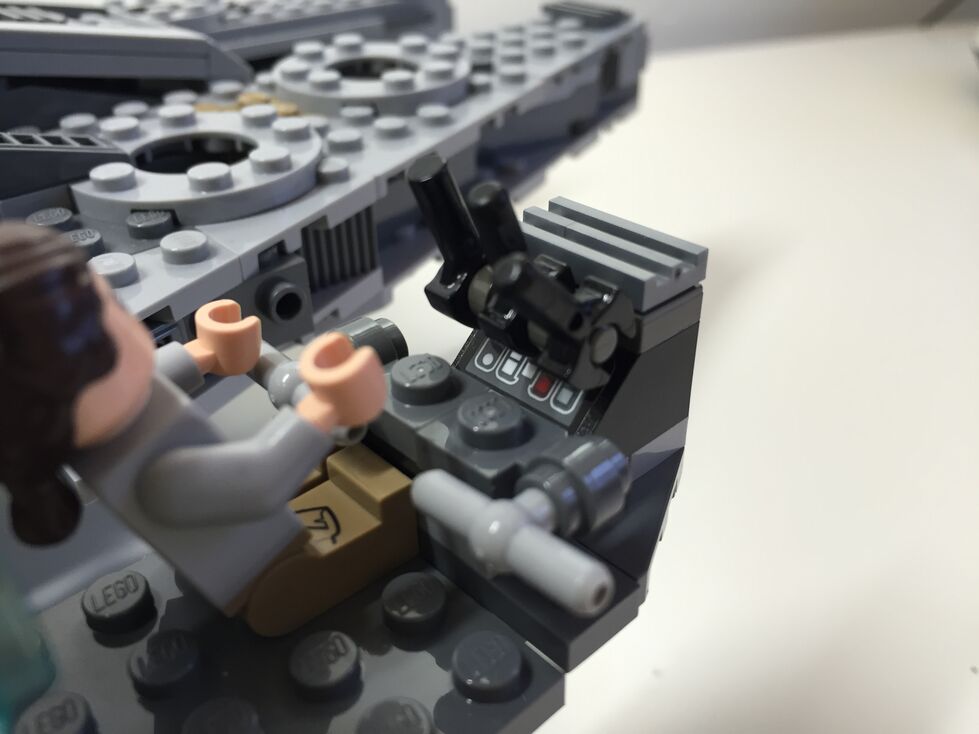
In my customization of the cockpit interior, I raised the control panel by one plate and gave the pilot and co-pilot handle-bar controls like in the films. Above the directional control bars, there are three adjustable levels sitting on top of the printed control panel wedge brick for controlling the engines.
Exterior Dorsal, Before Customization
These images are of the Falcon’s exterior before any customization. Of note, the Millennium Falcon’s fore running lights are red instead of clear (a change depicted in The Force Awakens), and a less clean exterior to illustrate its aging and modifications.
Exterior Dorsal, After Customization
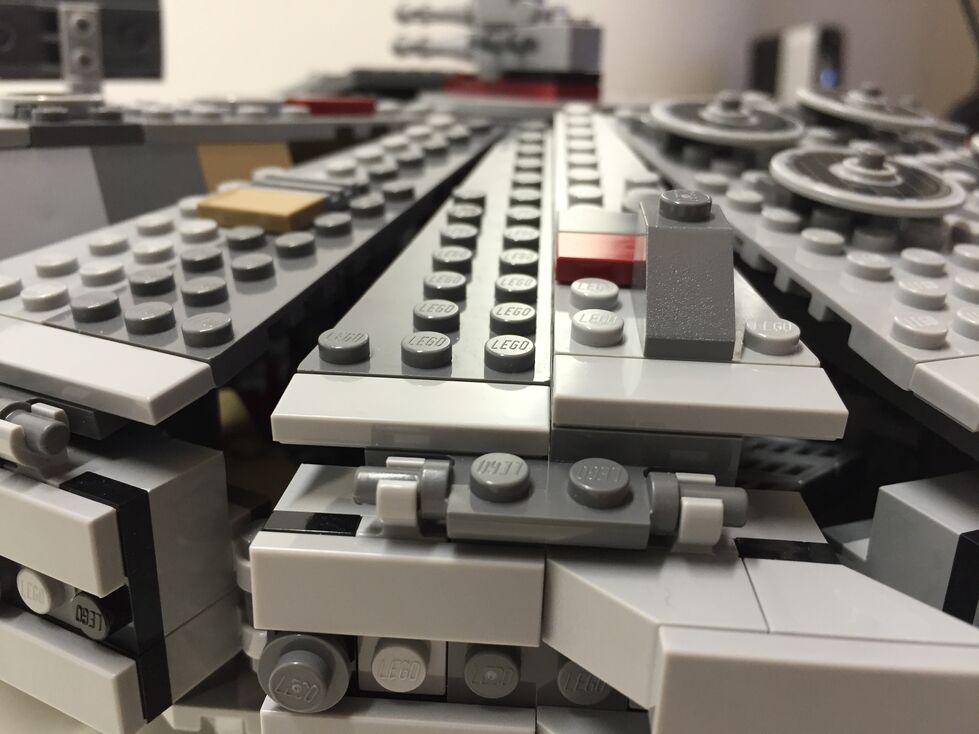
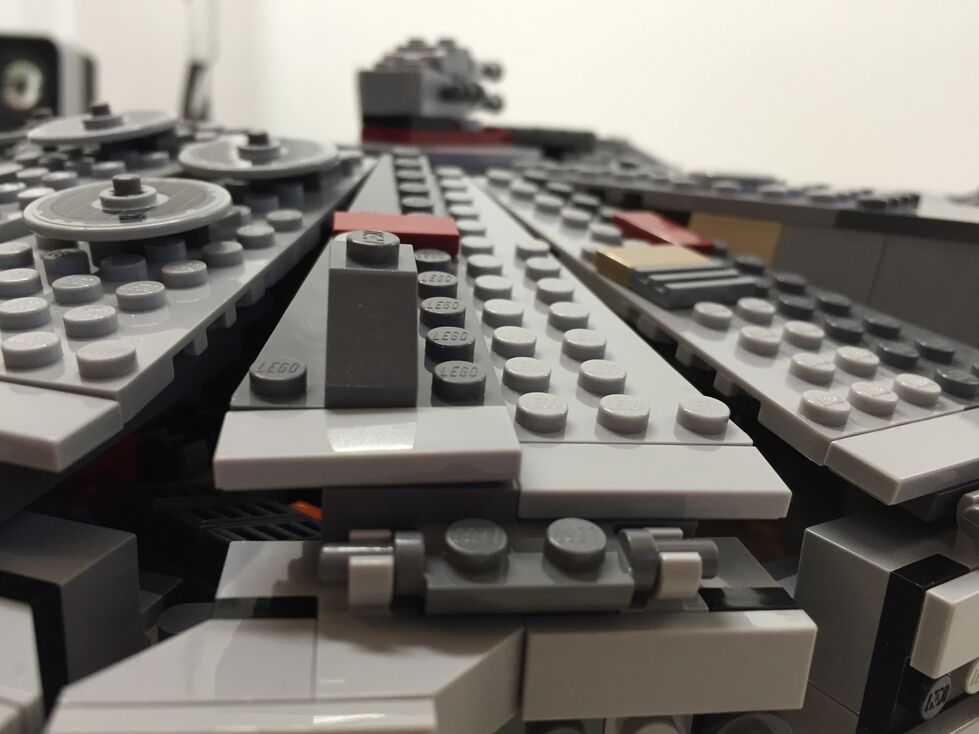
The one external element that I wanted to accentuate as much as possible was the slightly raised panels above the rear quarter over the engines. This was easily accomplished by adding a single plate above the hinge for each sectional panel, and adding a single plate height to half of the bordering panels. The latter, however, also required finding 1×3 flat plates for the segmented panels as seen below.
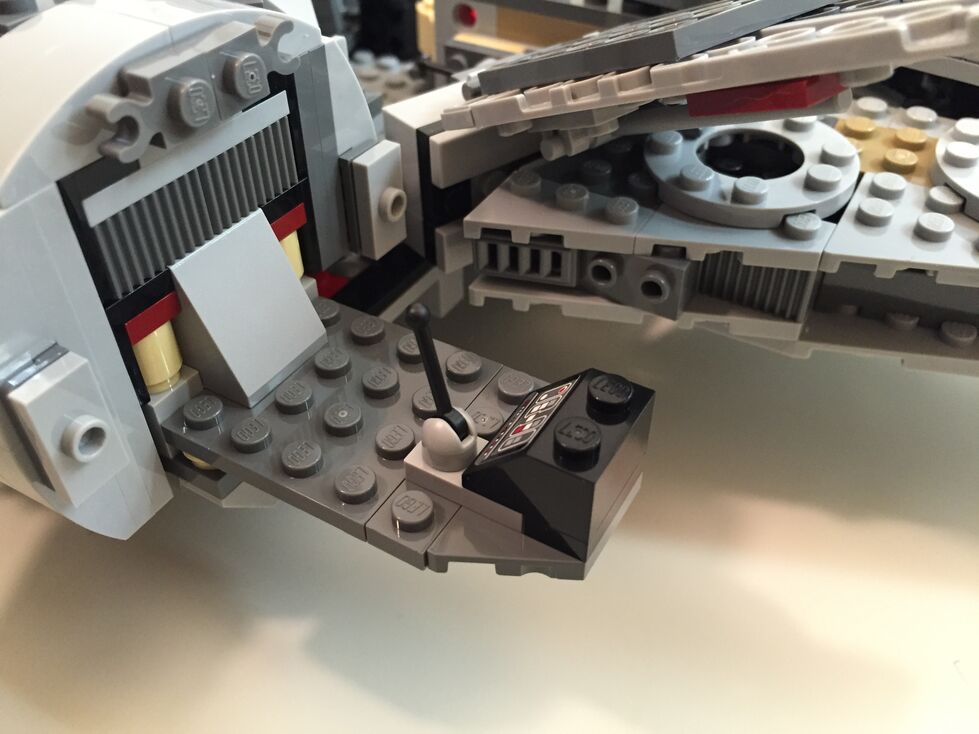
Exterior Ventral, After Customization (no Before photos taken)
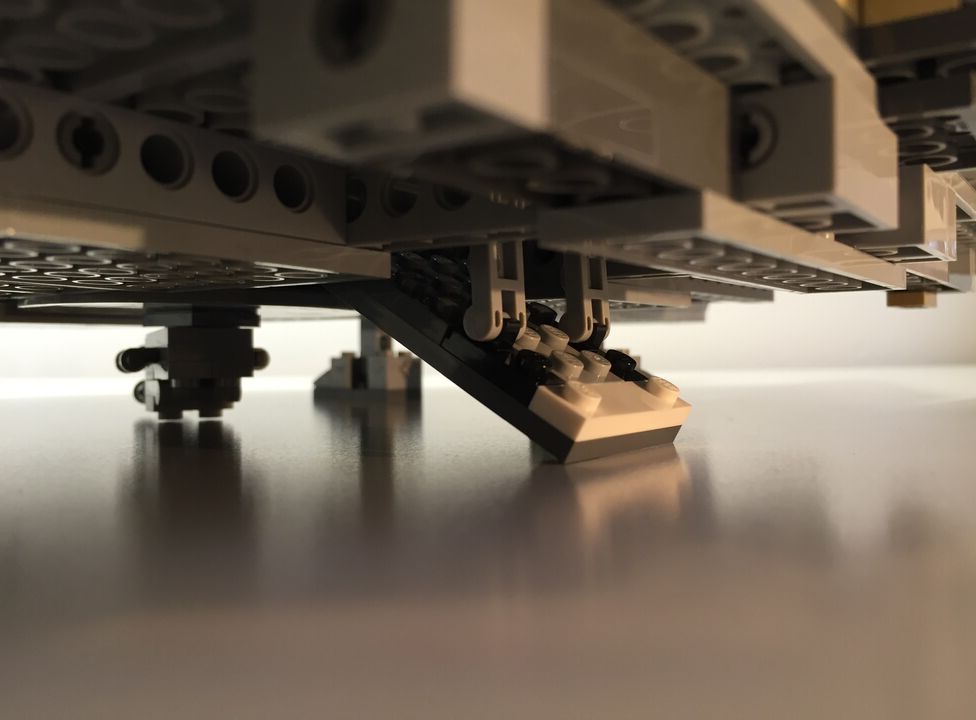
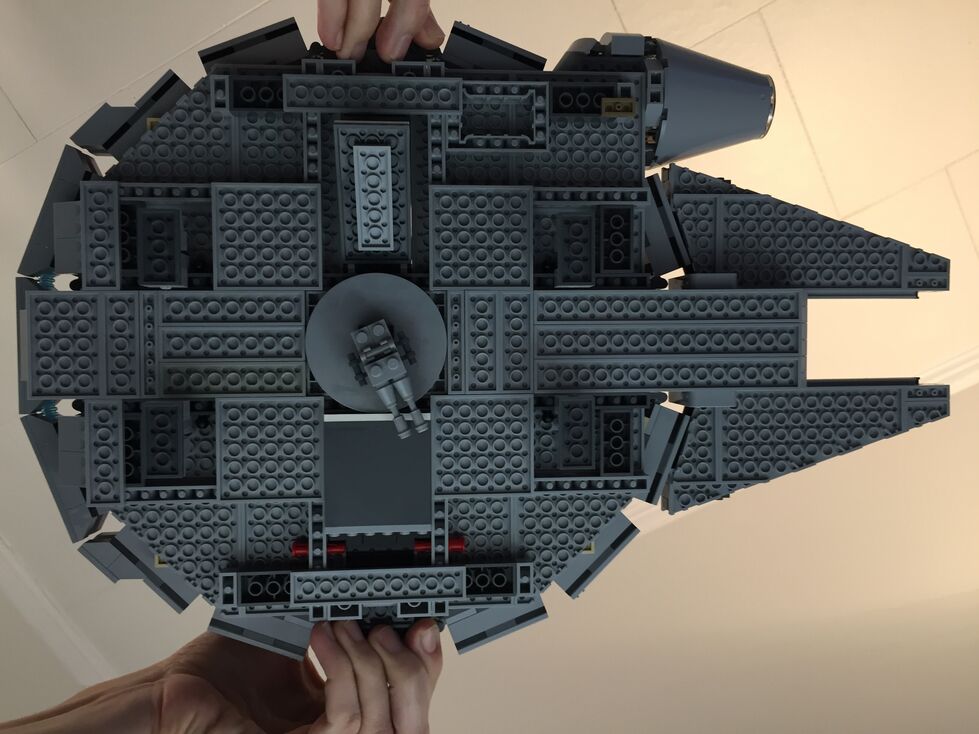
Originally, the boarding platform does not have hydraulic lifters and the bottom of the Falcon is largely exposed to the Technic beams that form the support skeleton for the model. I added the lifters and covered much of the bottom (more can be done when I have the bricks available to accomplish a better approximation of the Falcon’s bottom exterior (angled forward pods and rear hold pod beneath the engines).
Interior Fore, Before Customization
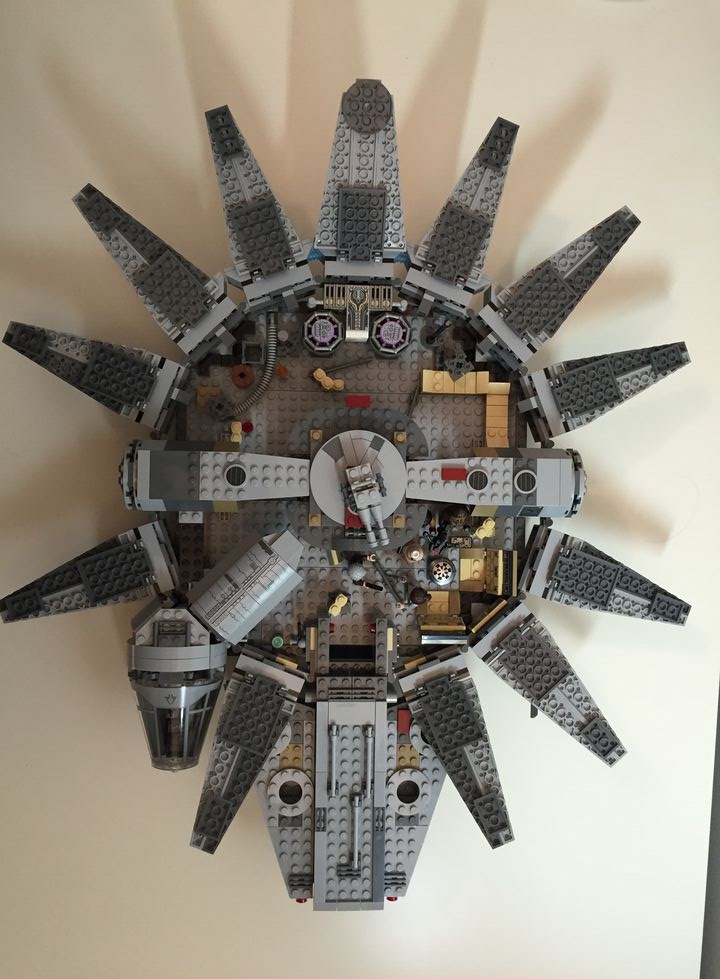
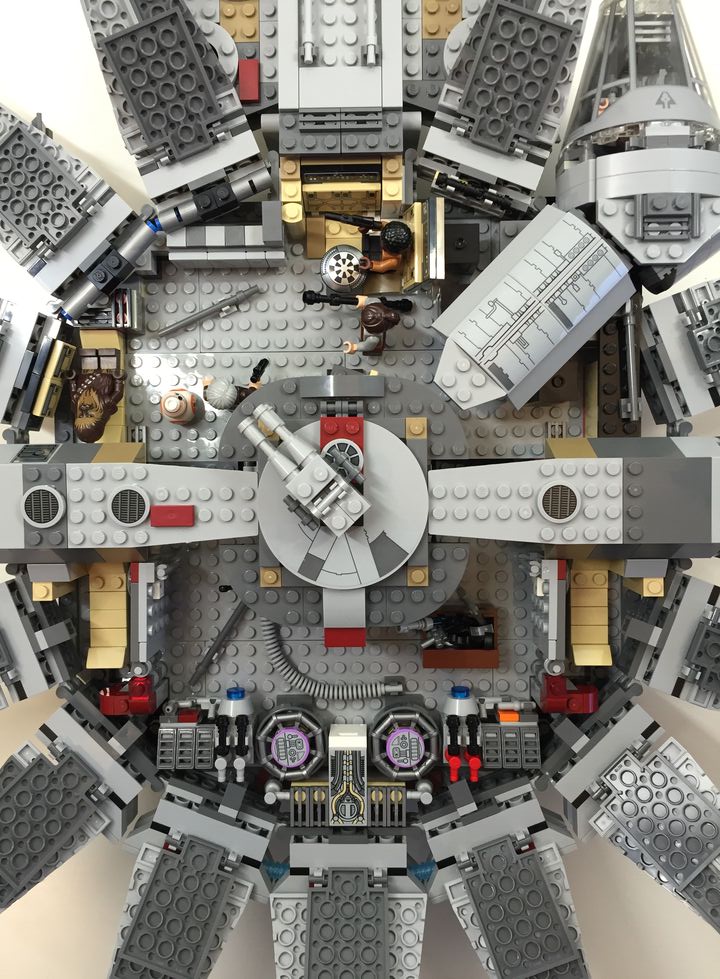
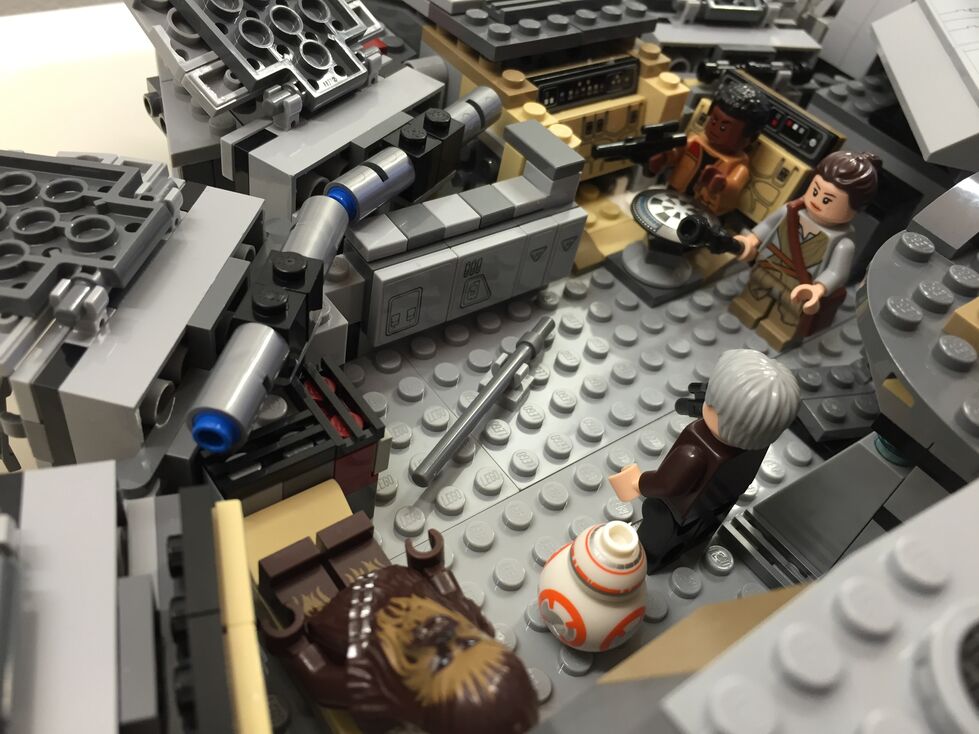
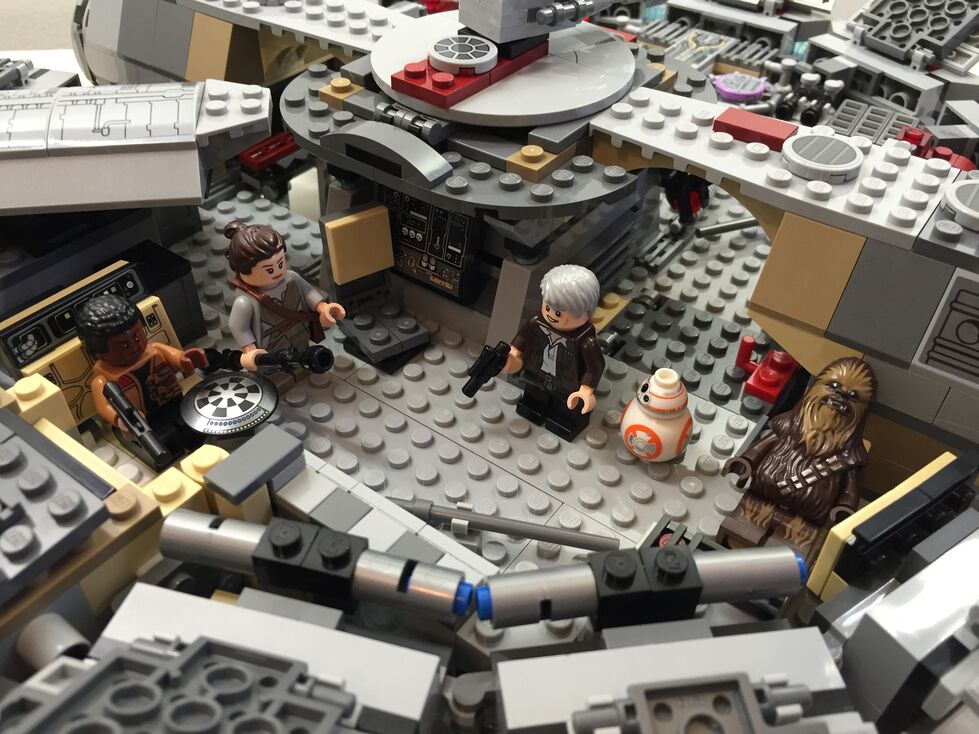
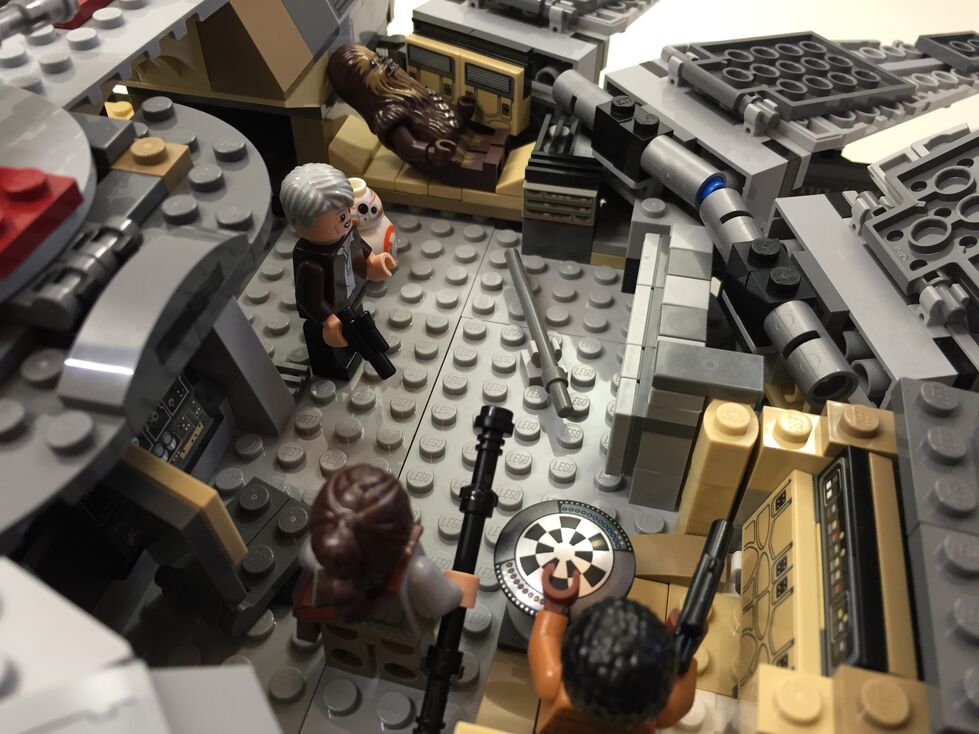
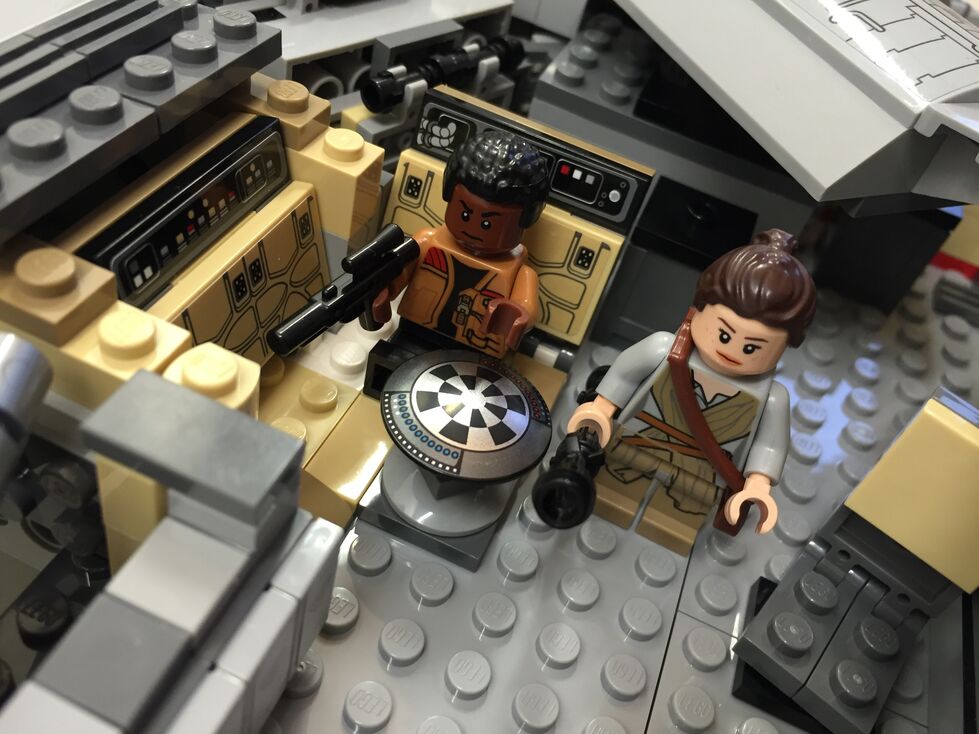
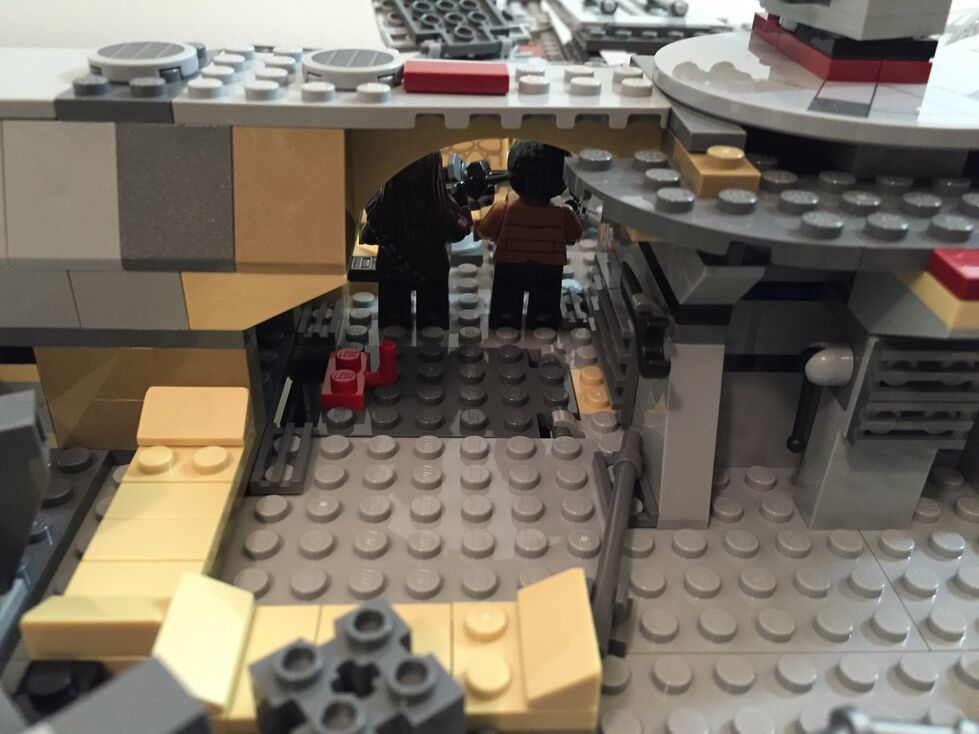
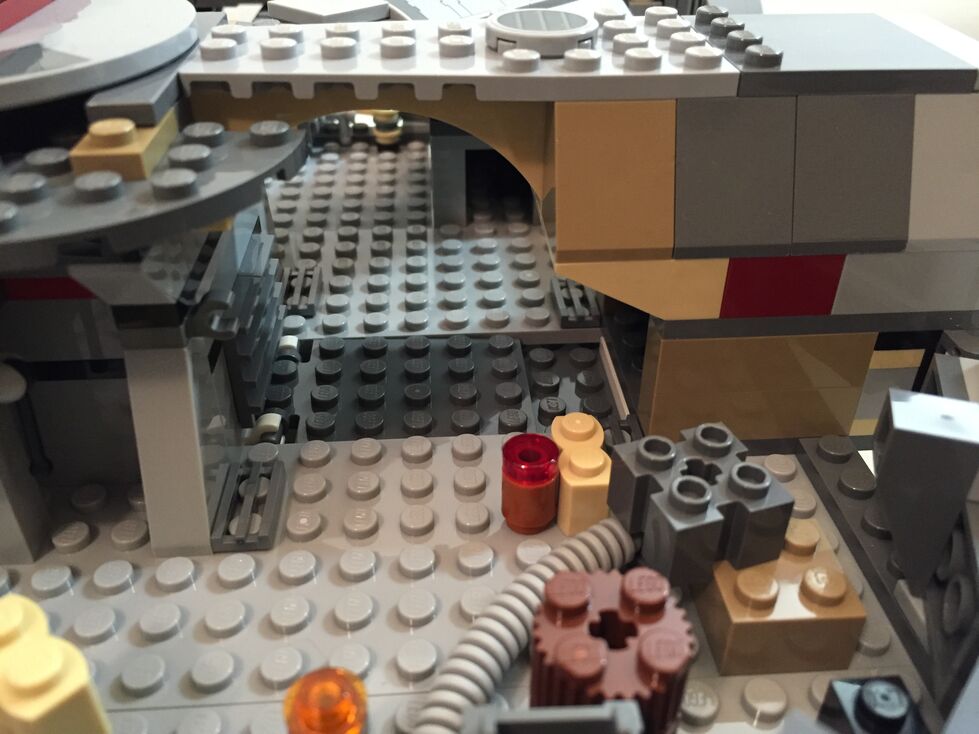
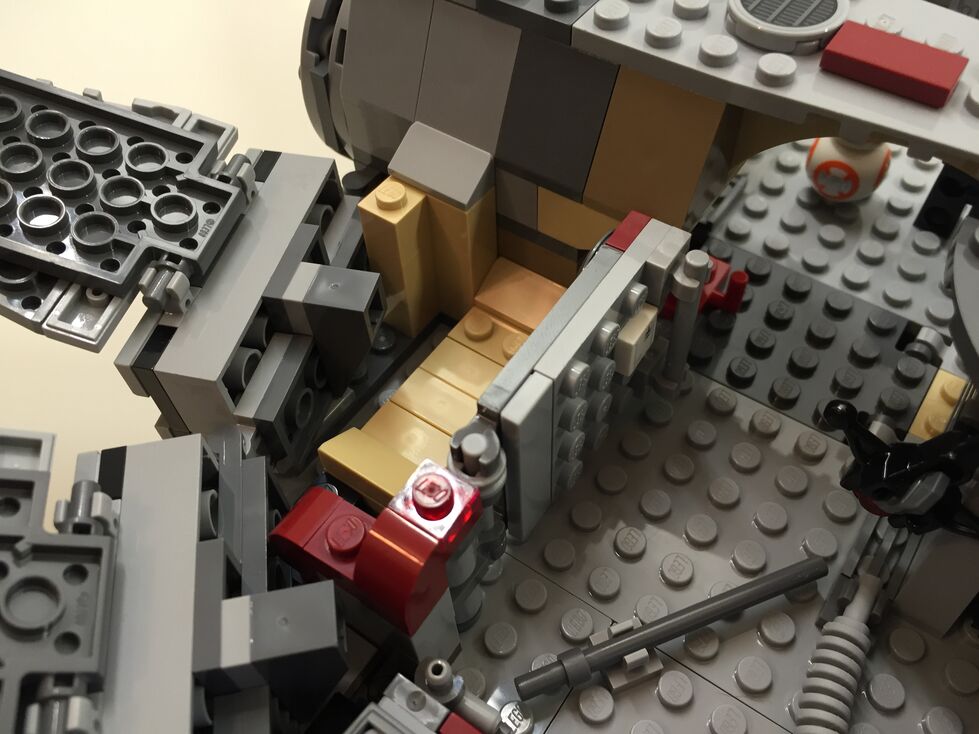
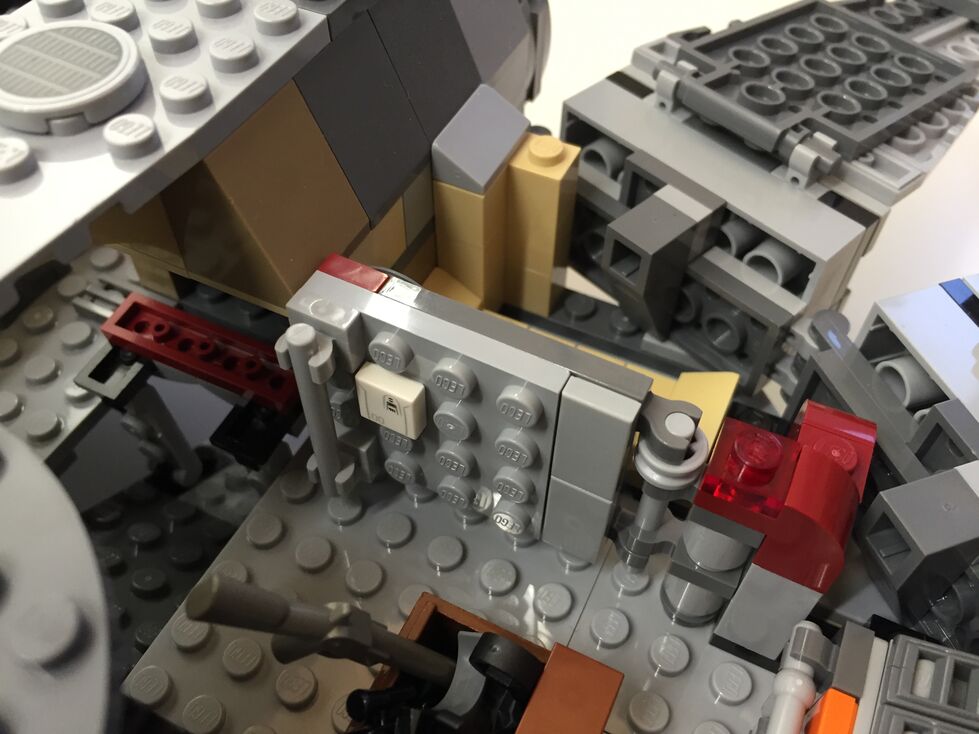
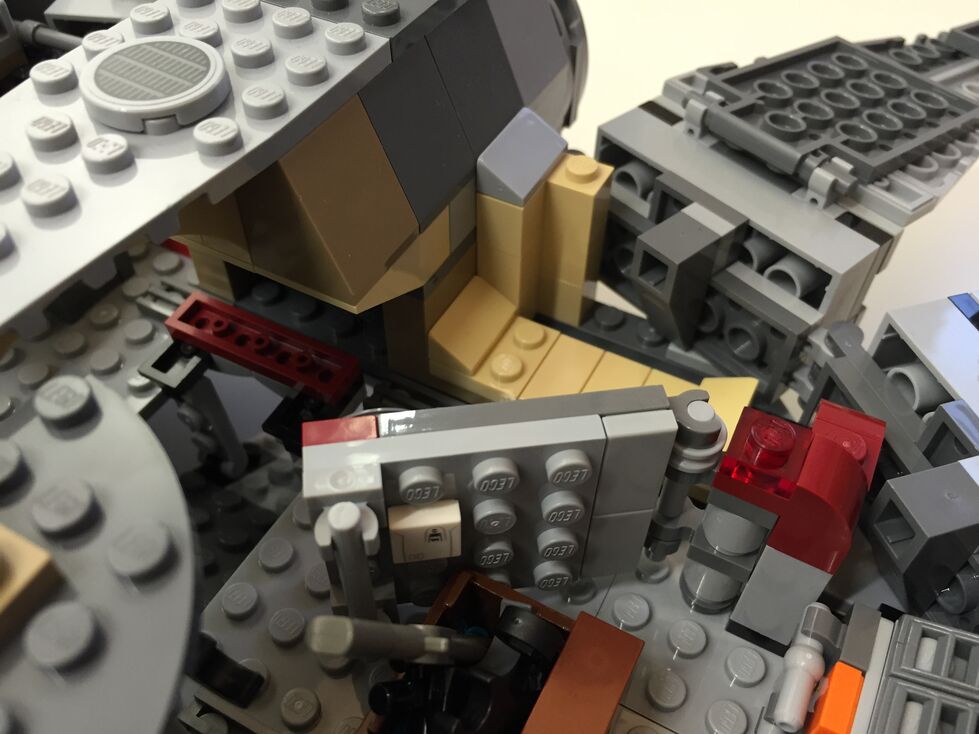
The 75105 Millennium Falcon model continues the innovative “petal” design forming the dorsal fuselage of the spacecraft, which first appeared in the 4504 set and was improved in the 7965 set. The best change from the earlier designs is for the forward bisecting panel leading from the mandibles to the gun turret. Instead of opening up toward the turret (4504) or opening forward toward the mandibles (7965), the panel now swings forward and down between the mandibles thus giving easier access to the builder for play inside the Falcon. The navigational computer is more accurately captured with a sticker applied to a flat plate than printed wedge bricks in 7965, and the Dejarik table is printed on a round shield element. My complaints with the interior design have to do with the inaccuracy of the placement of the Dejarik table/benches and bunks. I focused on this in my customization.
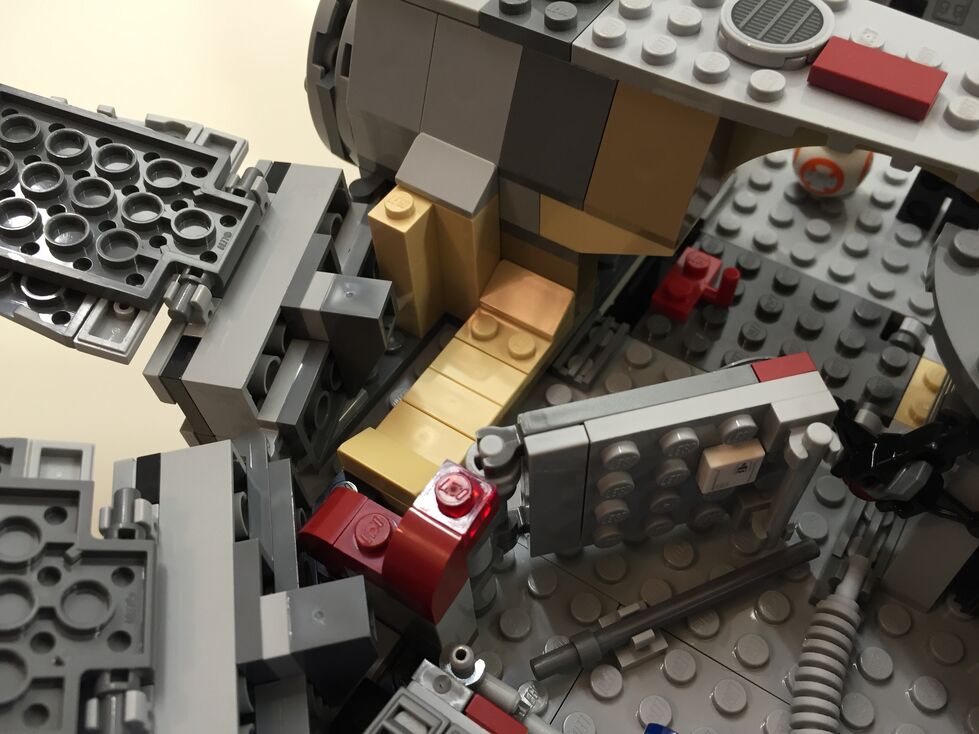
Interior Fore, After Customization
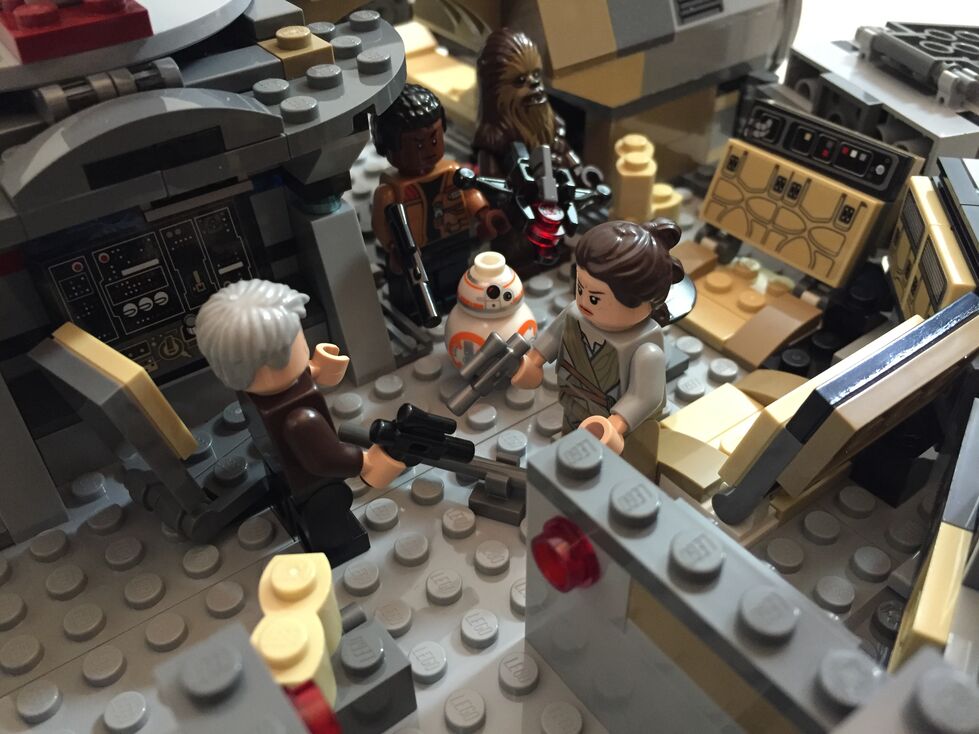
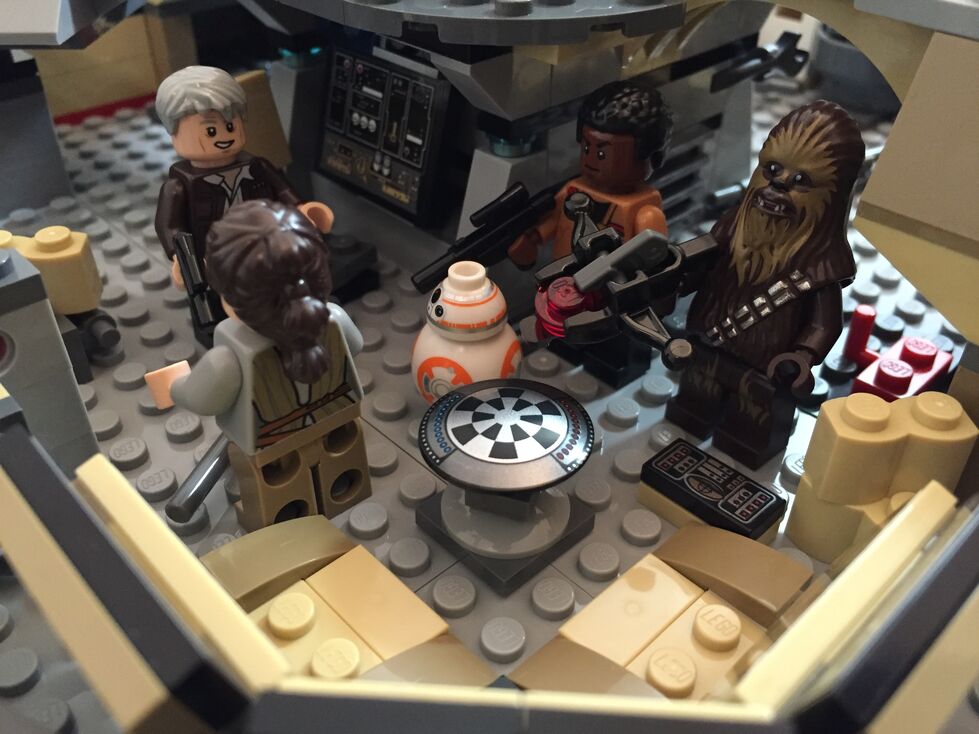
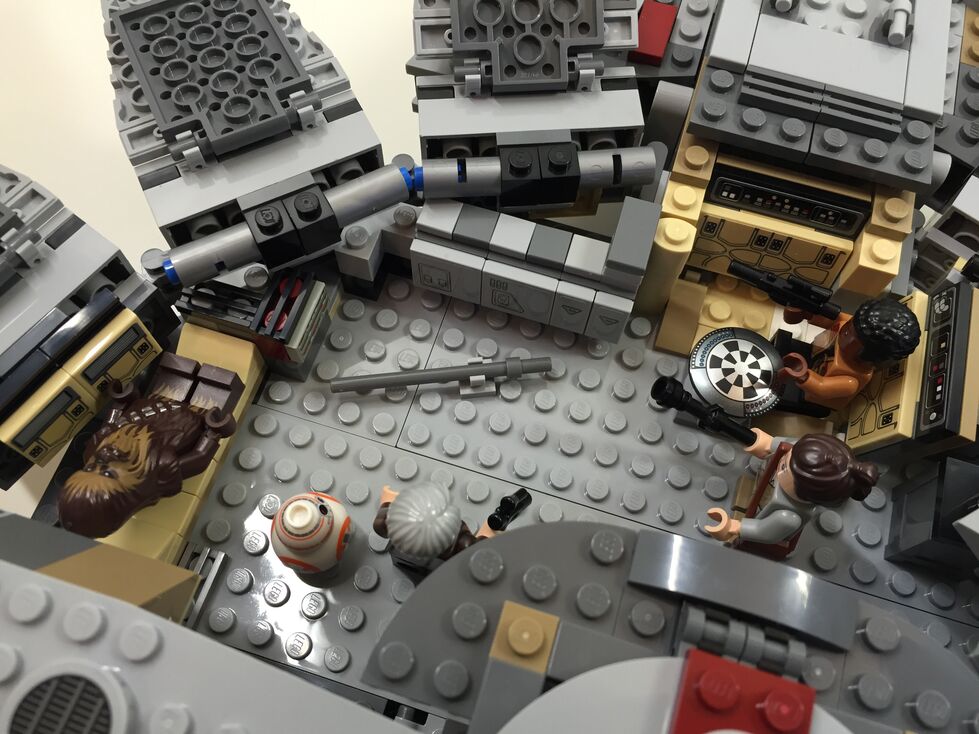
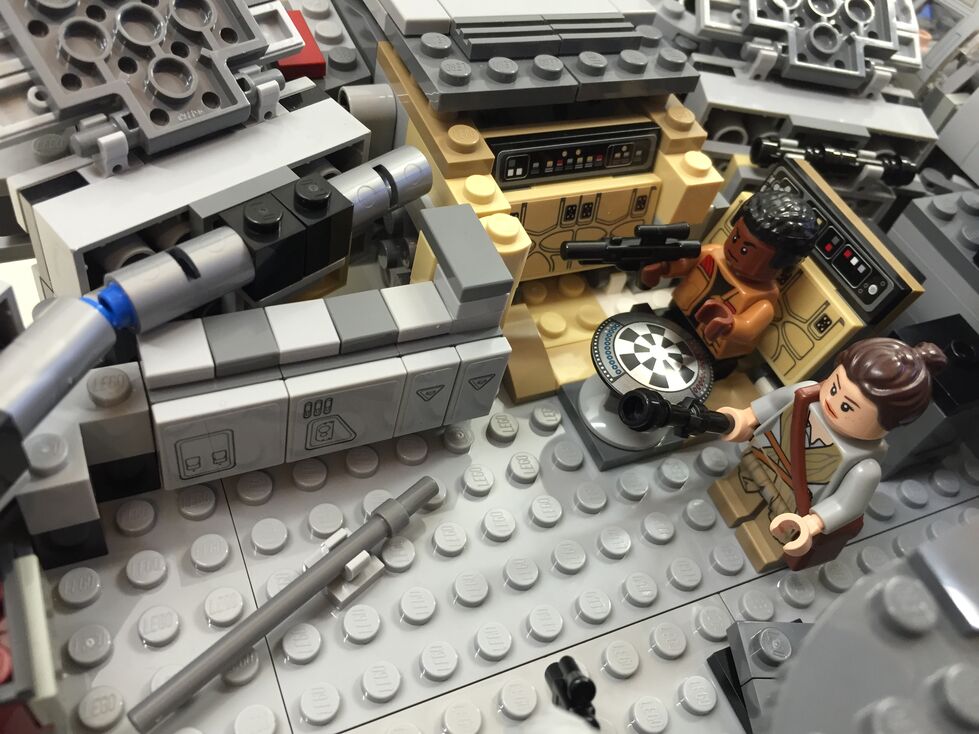
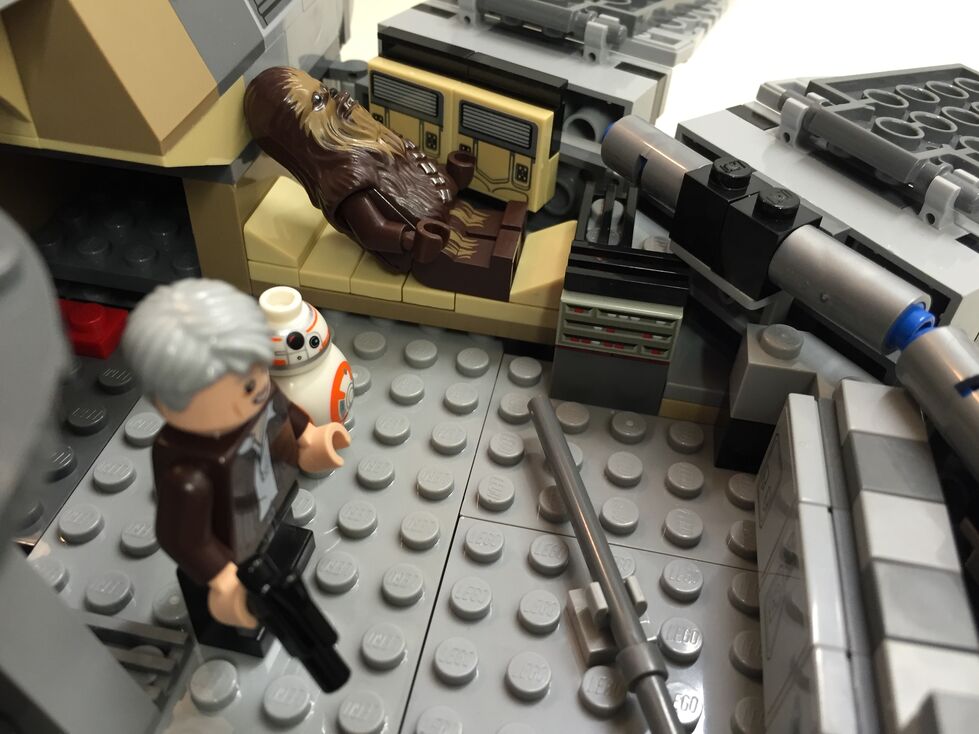
In my customization, I moved the Dejarik table and benches across from the navigation computer, which required rebuilding part of the mandible supports and the swing components for the center panel (to clear the center bench back). I relocated one of the bunks to the end of the hold to create the medibay where Finn bandages Chewbacca’s arm. In the main hold, I constructed a forward wall with panel details taken from the First Order Snowspeeder 75100 set.
Interior Aft, Before Customization
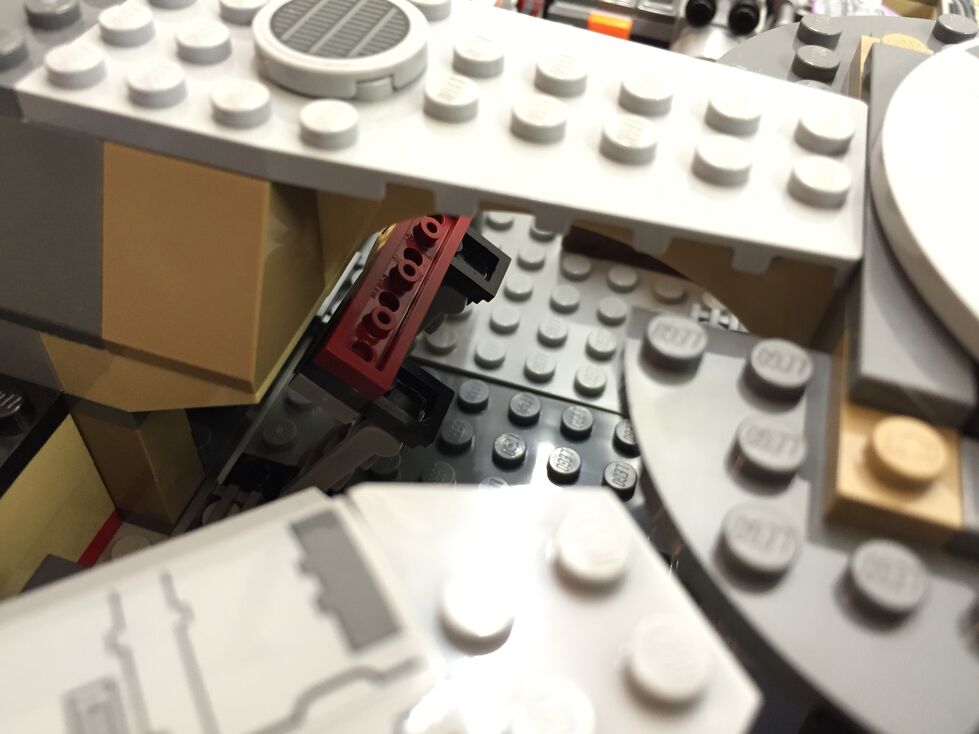
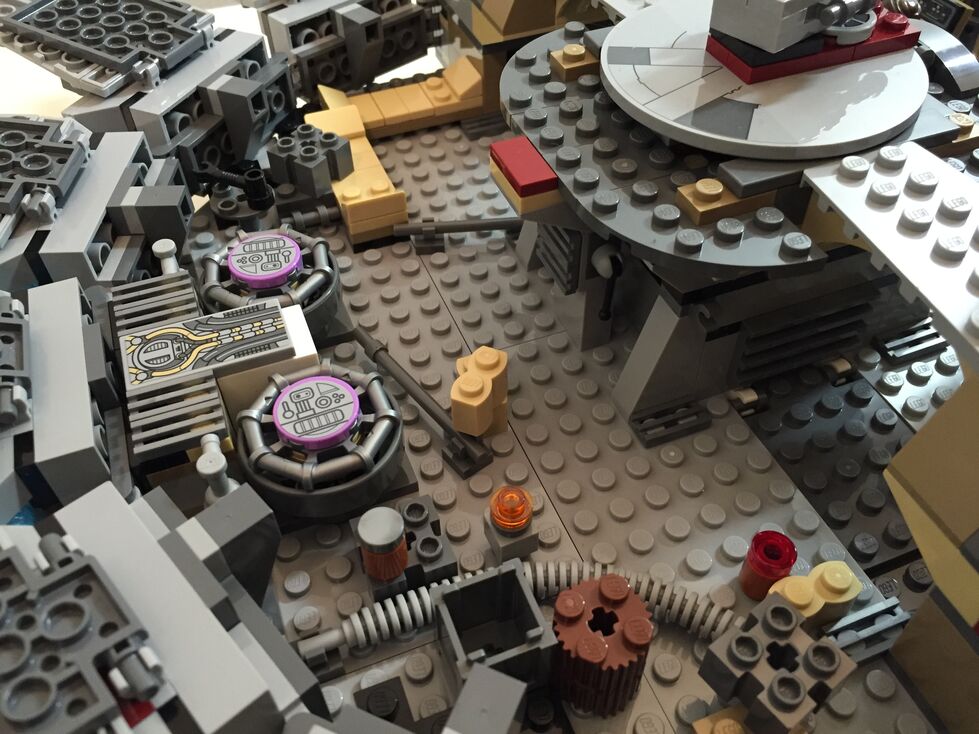
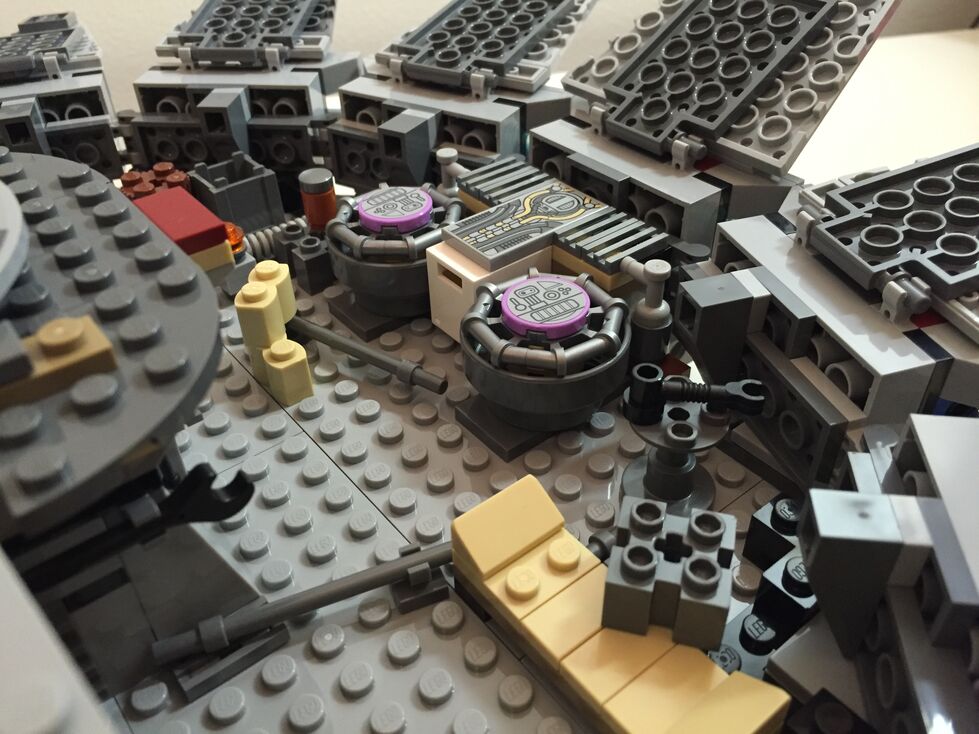
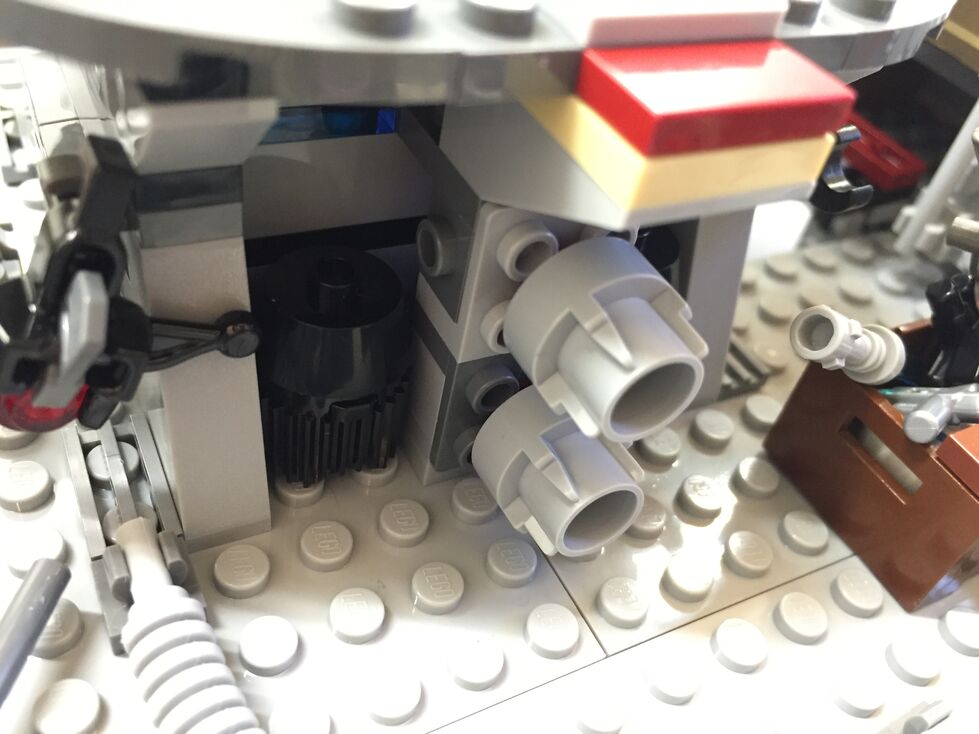
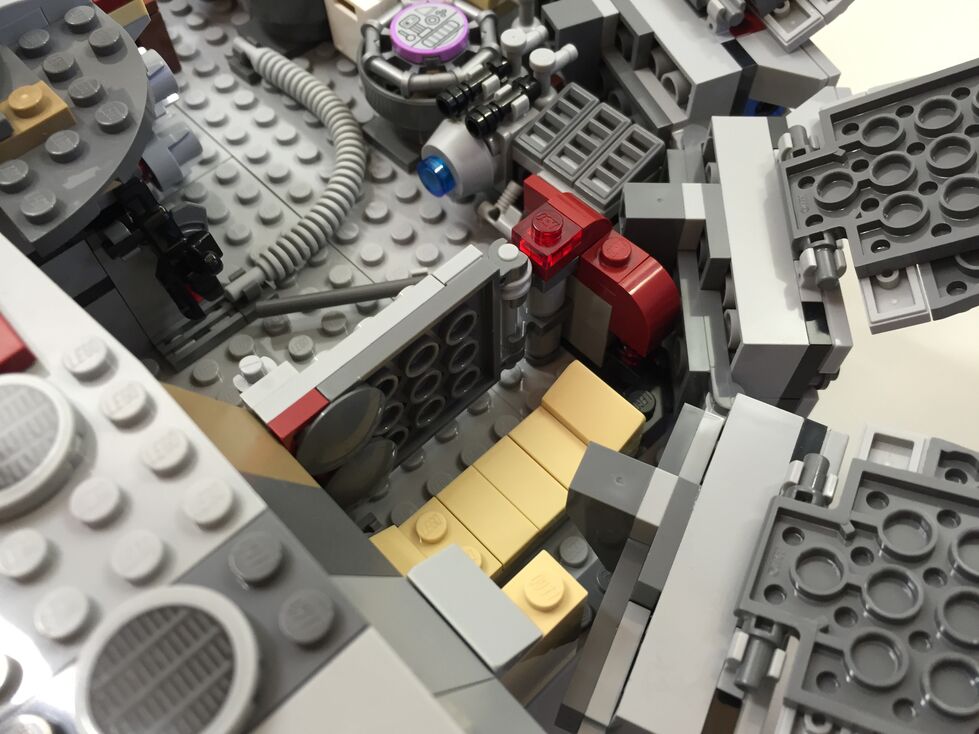
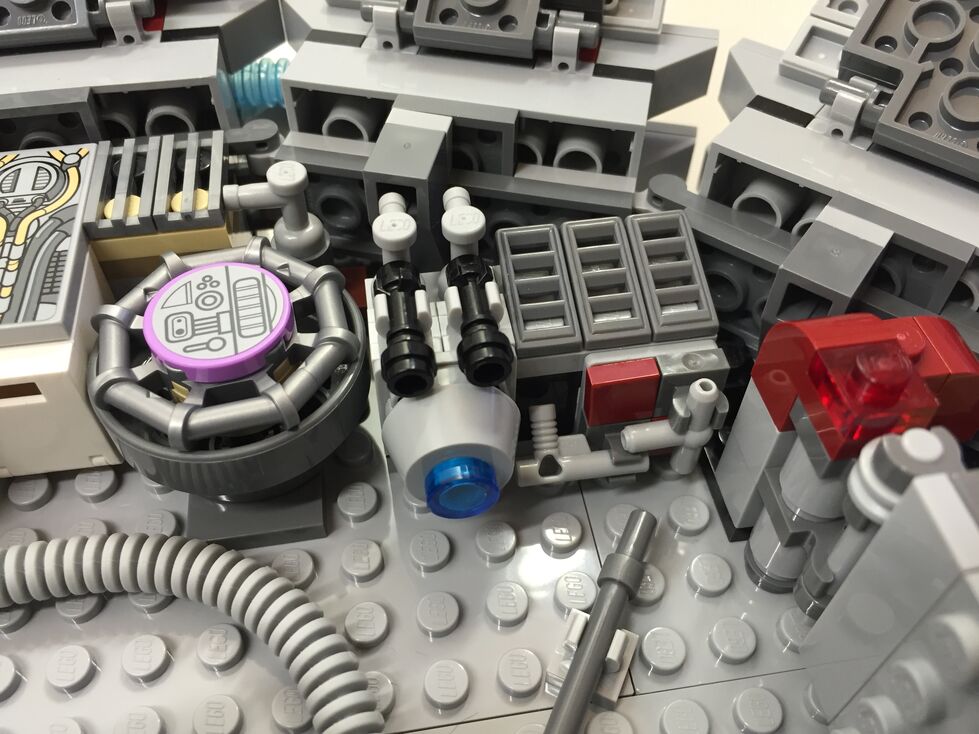
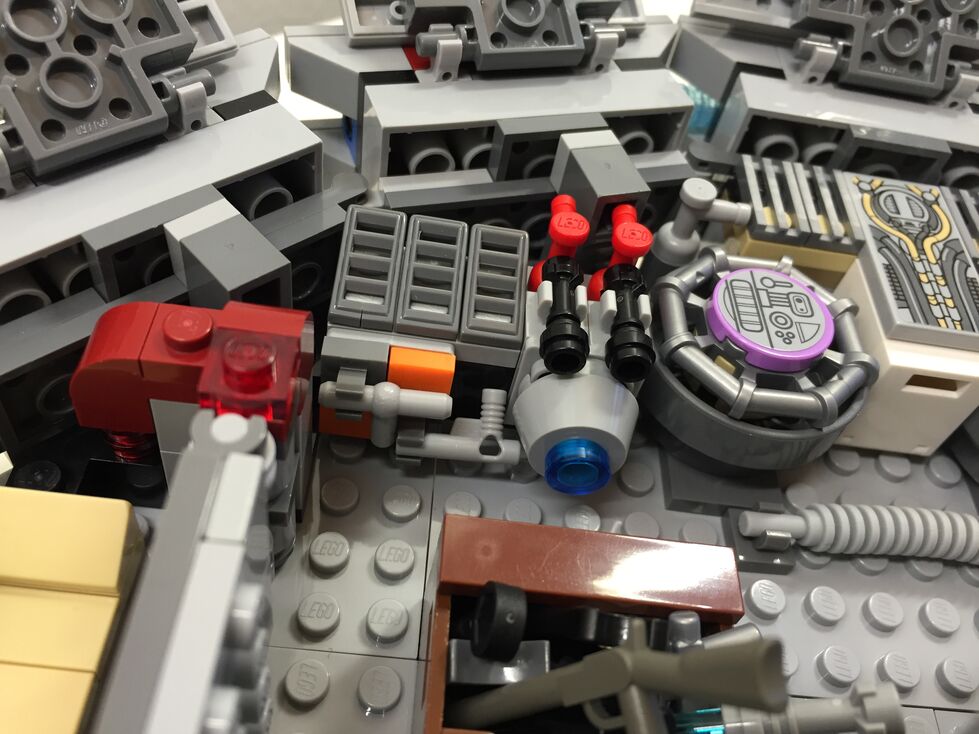
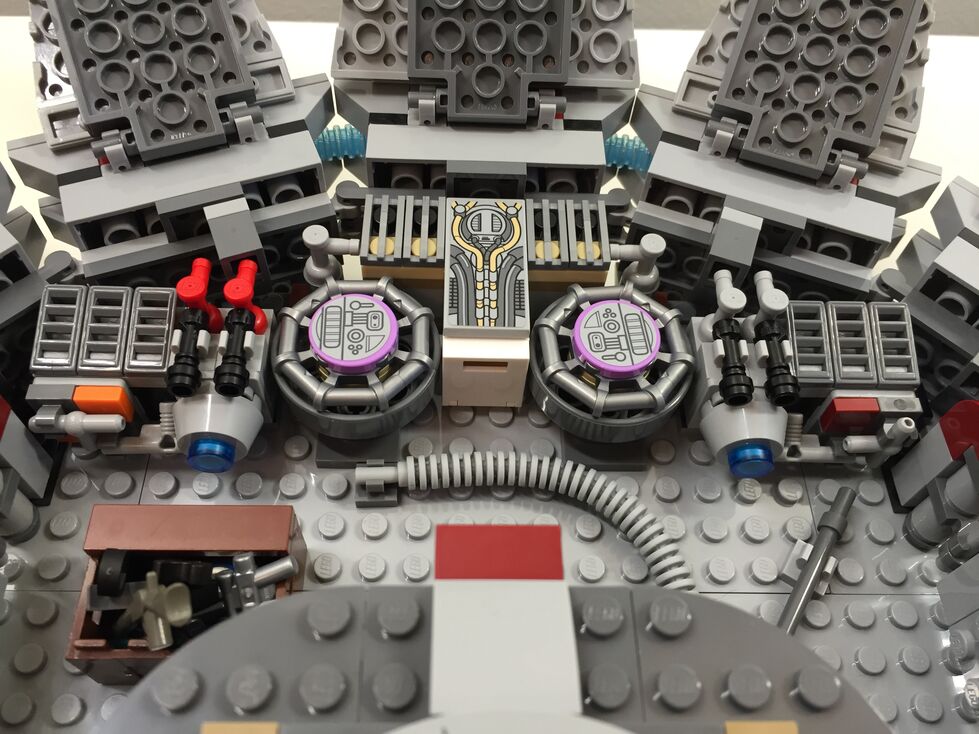
The engine compartment in the rear of the model is similar to the one in 7965. This part of the Falcon captures the junked essence of the Falcon in general and the effects of the passage of time and unkind handling of the Falcon depicted in The Force Awakens. I wanted to keep its garbage appearance while giving the engine compartment greater substantiality.
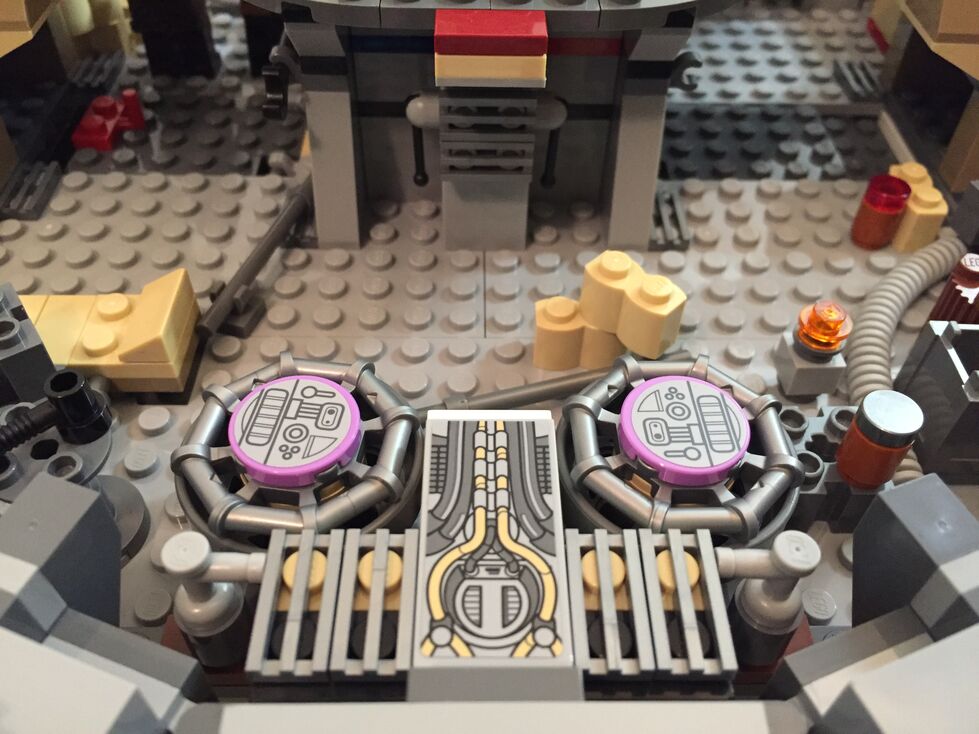
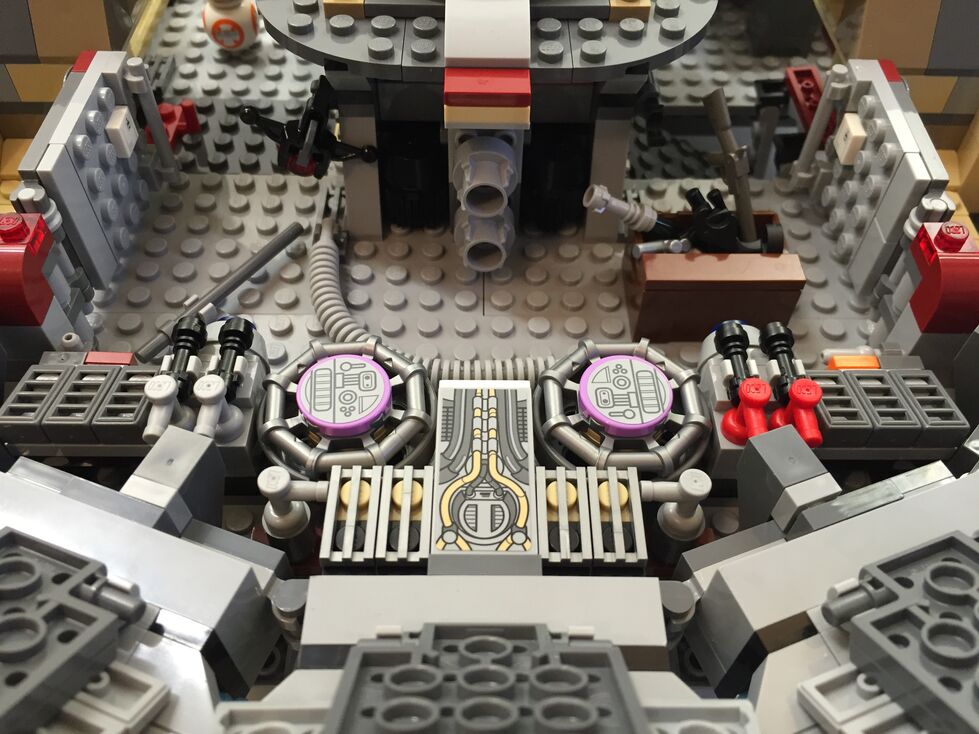
Interior Aft, After Customization
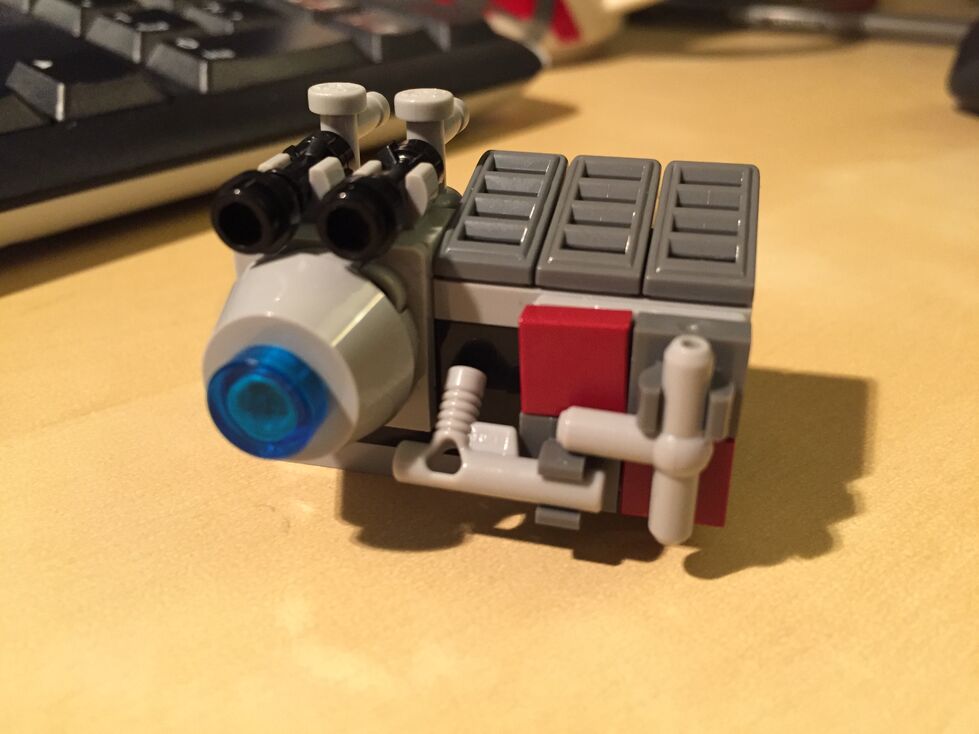
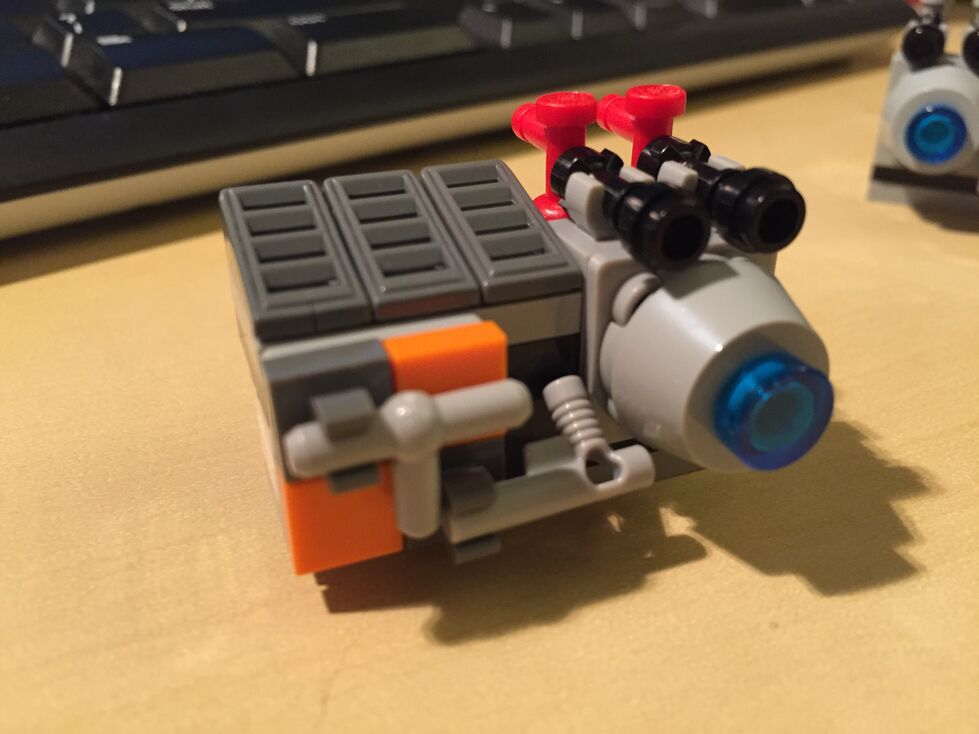
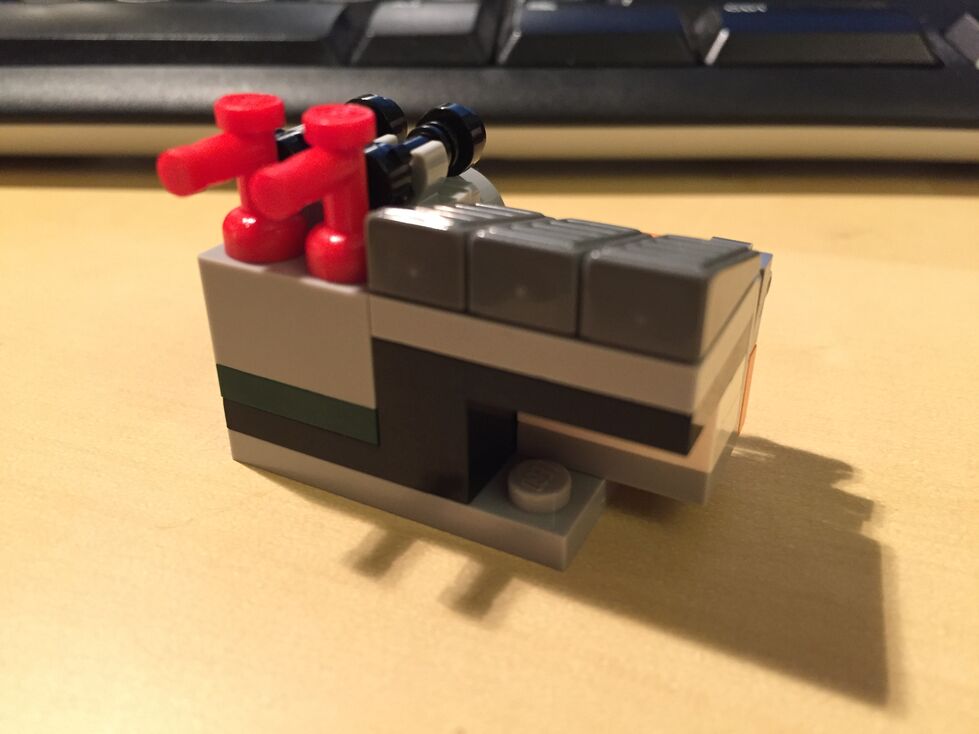
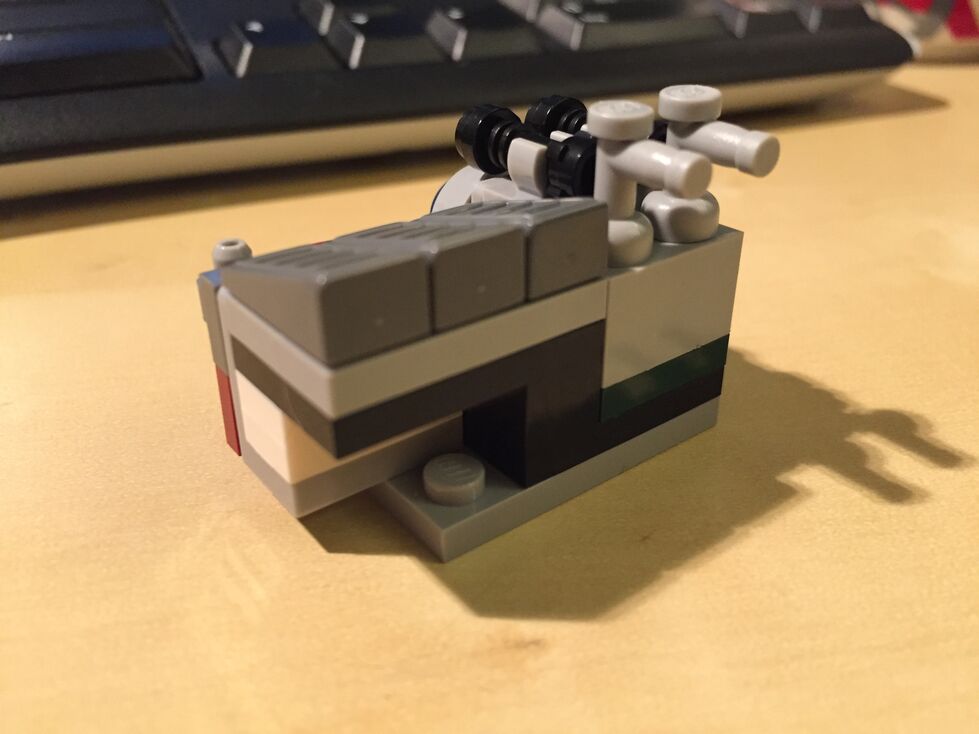
In the rear hold/engine compartment, I constructed two storage rooms/bunks with swinging doors (I would have preferred to have sliding doors but I don’t have the elements to do this while conserving the limited space available), and I designed additional mirrored engine modules that go on either end of the original engine included with the set, which I hope makes the engine look more substantial for a spacecraft capable of completing the Kessel Run in 14, er, 12 parsecs!
Conclusion
I hope to further customize the 75105 Millennium Falcon. As I acquire new bricks and elements, I would like to think about how to better integrate the engines into the design and aesthetic of the YT transport. Other goals include, integrate a mechanism for lowering and raising the boarding platform, similar to the 4504 set, design screen accurate landing gear that raise the Falcon by at least one plate higher while on display, and further integrate my customization into the model so that it attains a unity of design instead of a piecemeal added-on quality.
If you have customized the 75105 or other Millennium Falcon sets, please sound off in the comments. Thanks for stopping by!
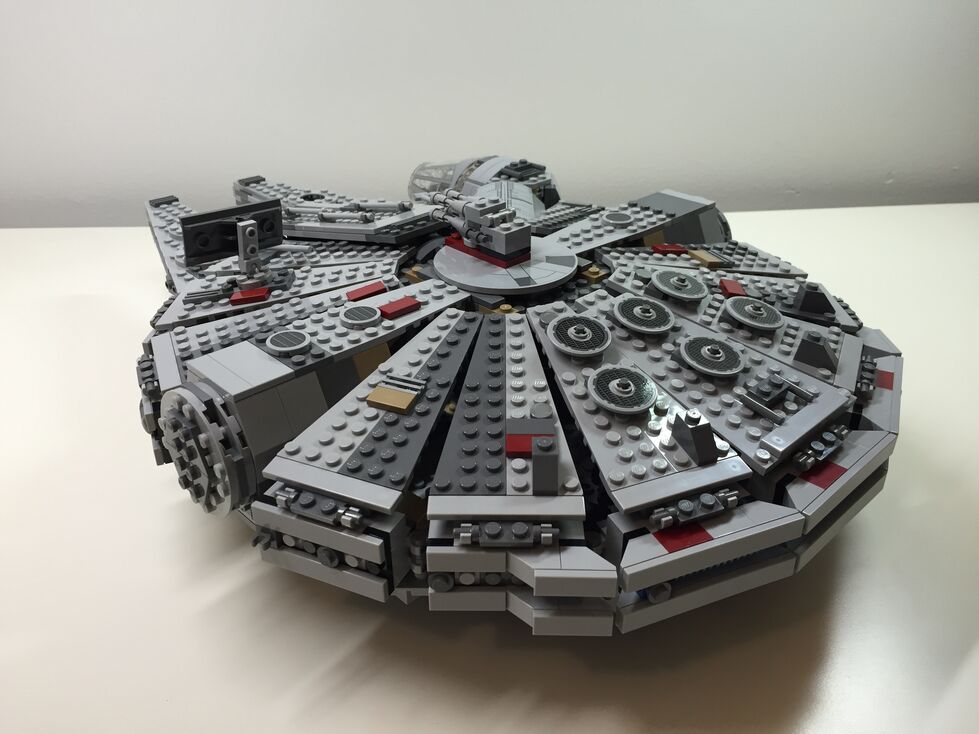
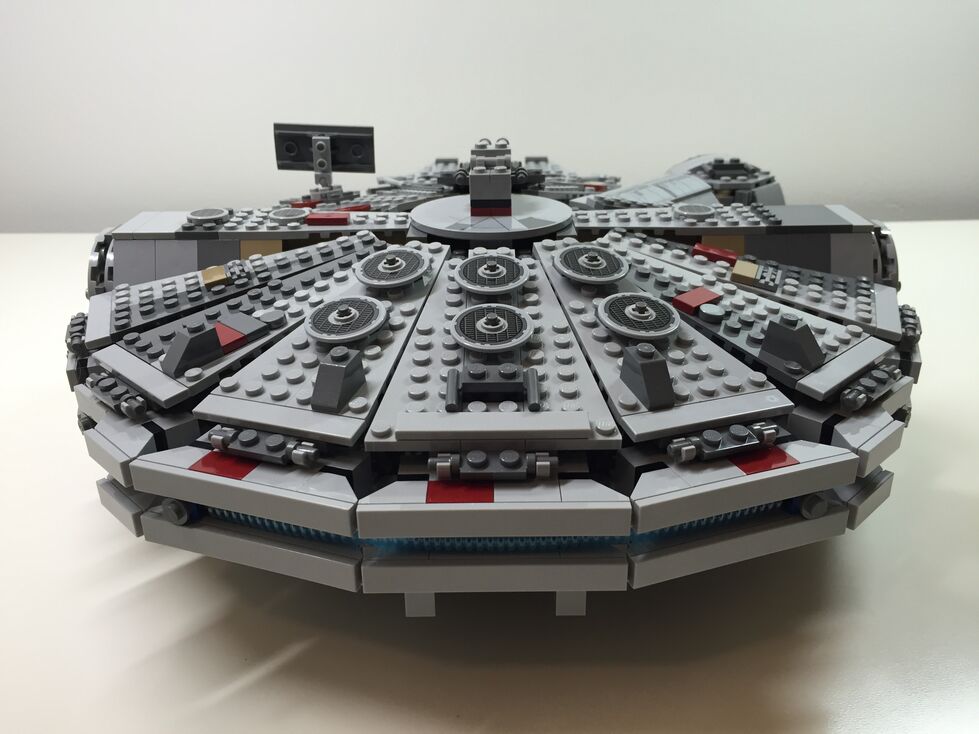
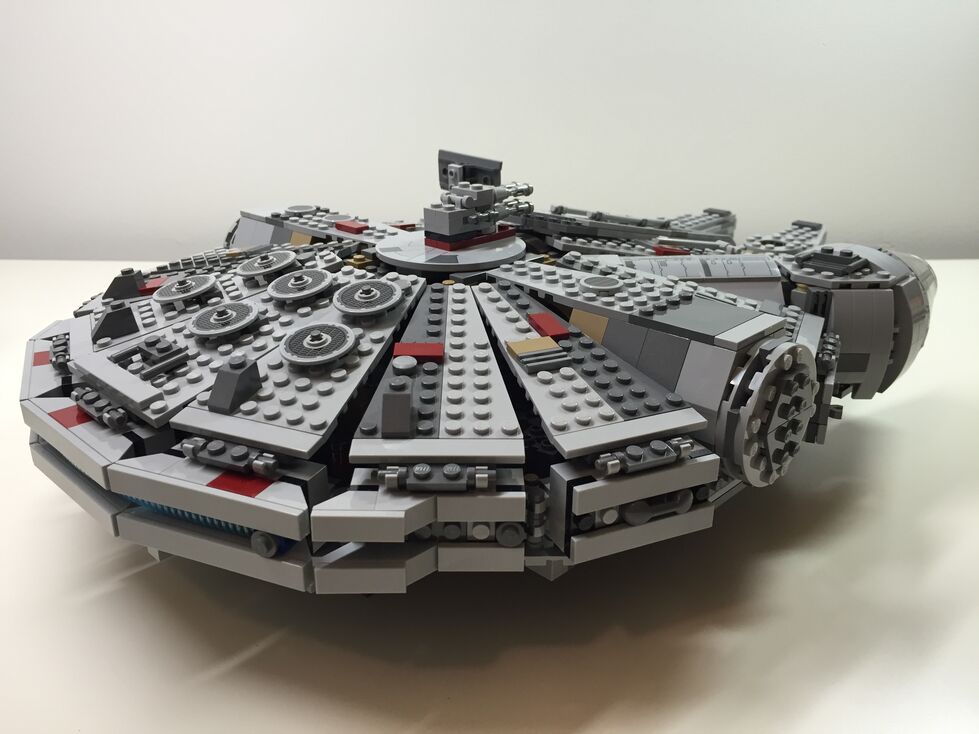
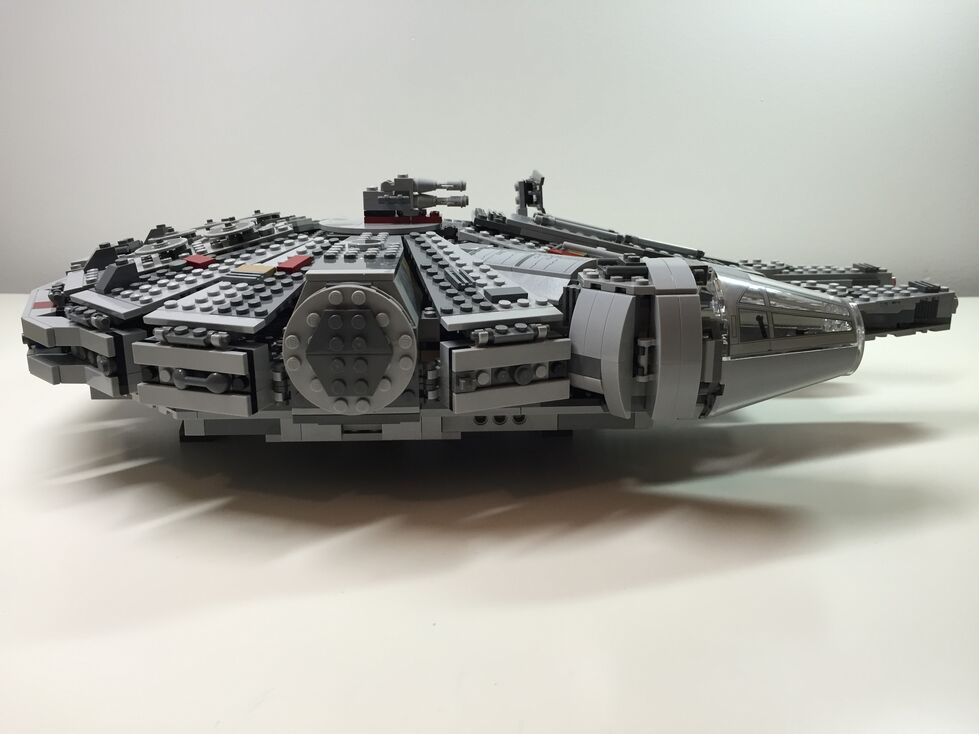
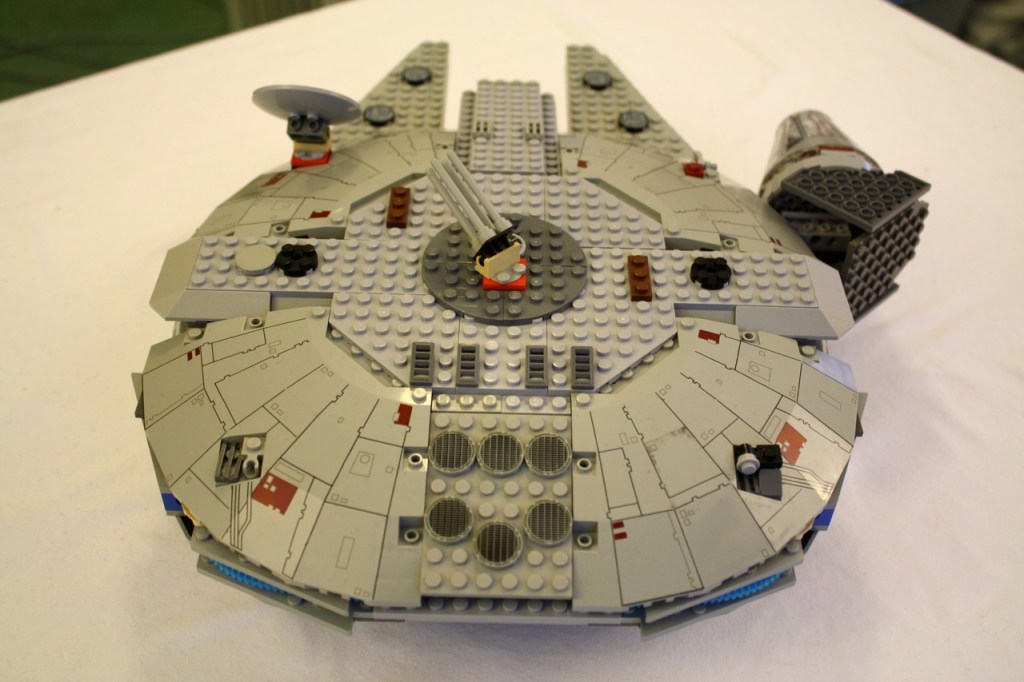
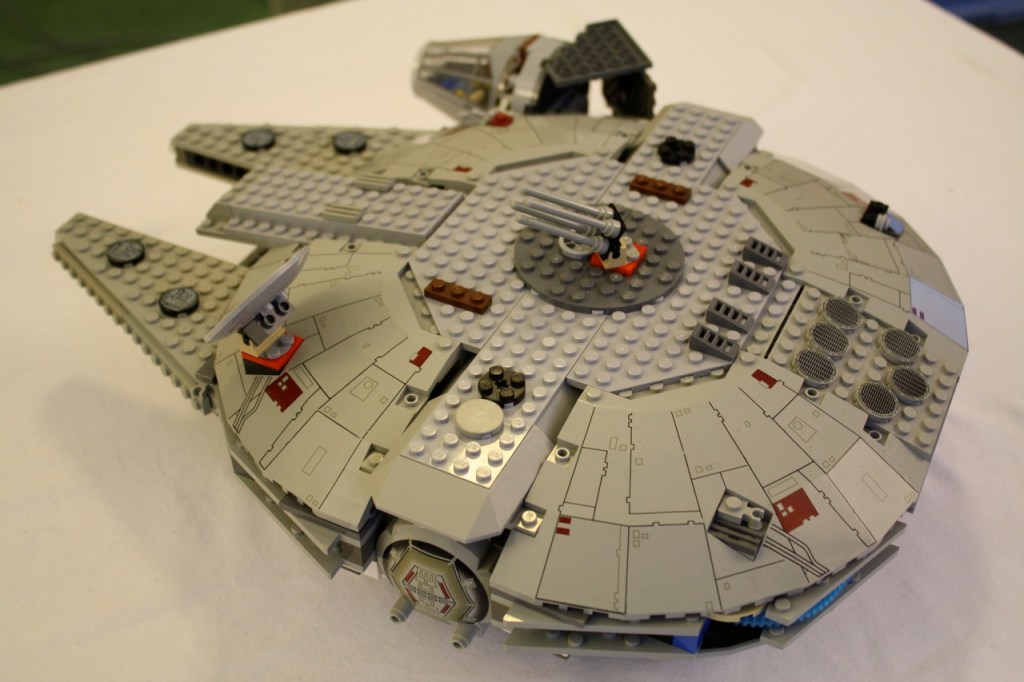
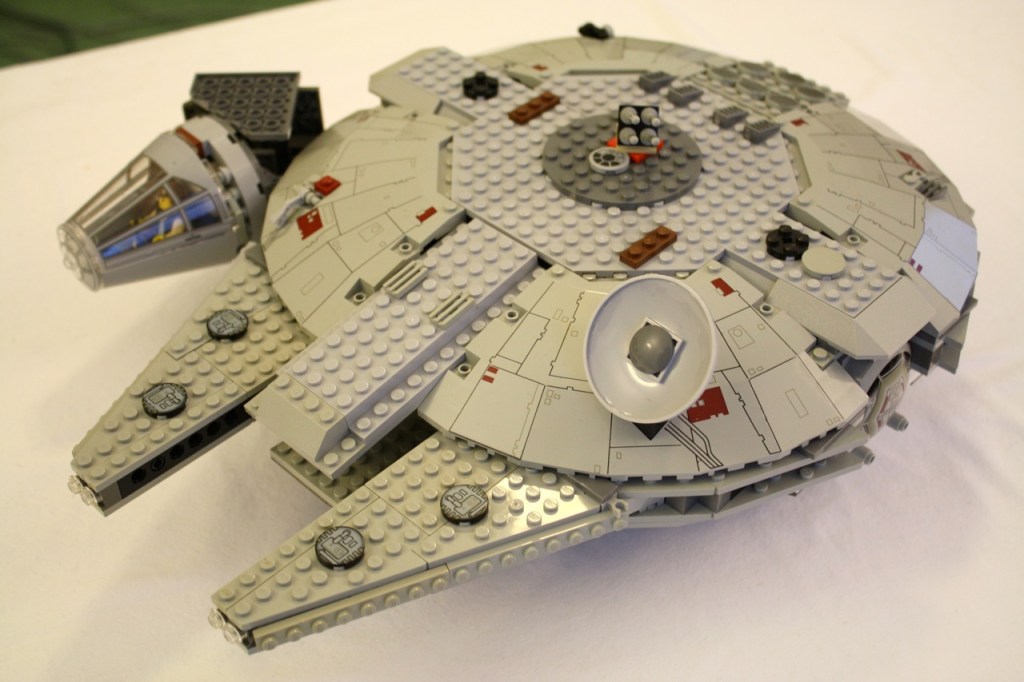
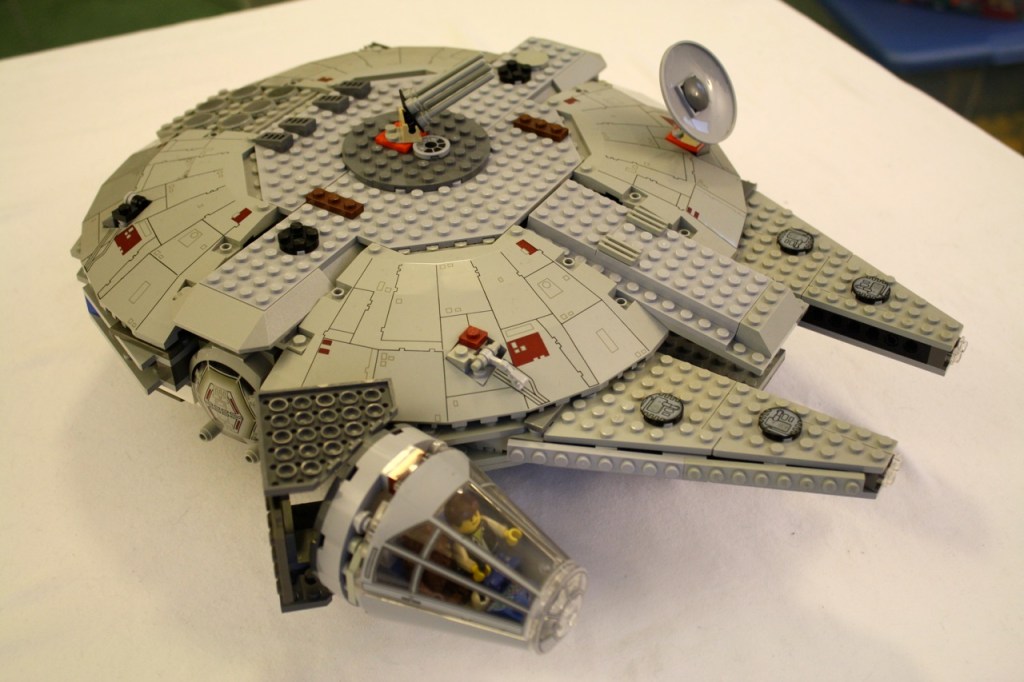
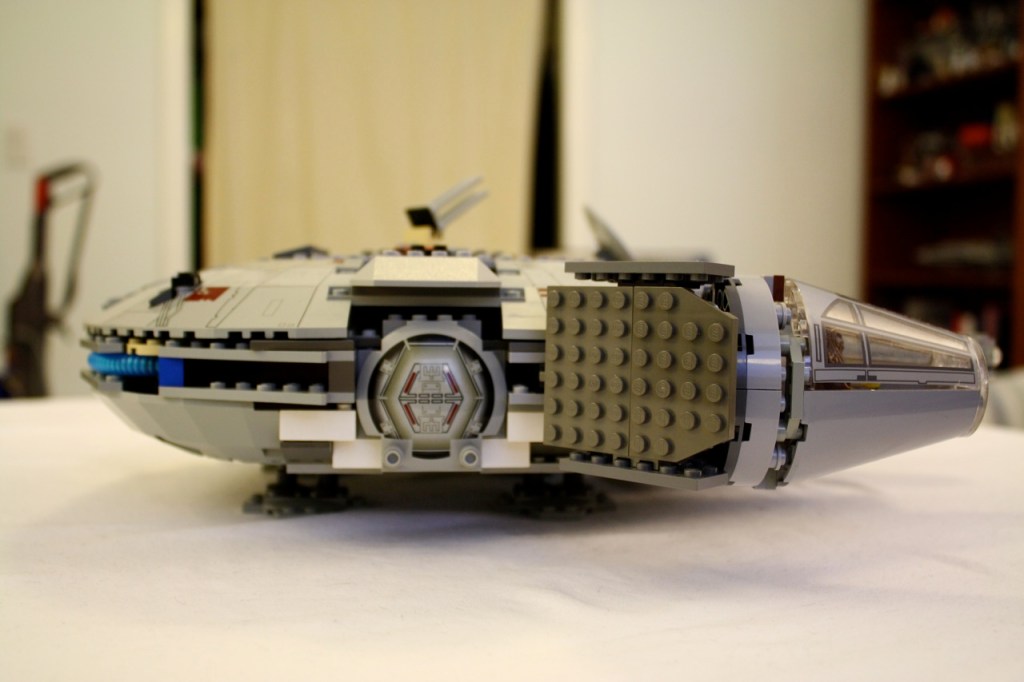
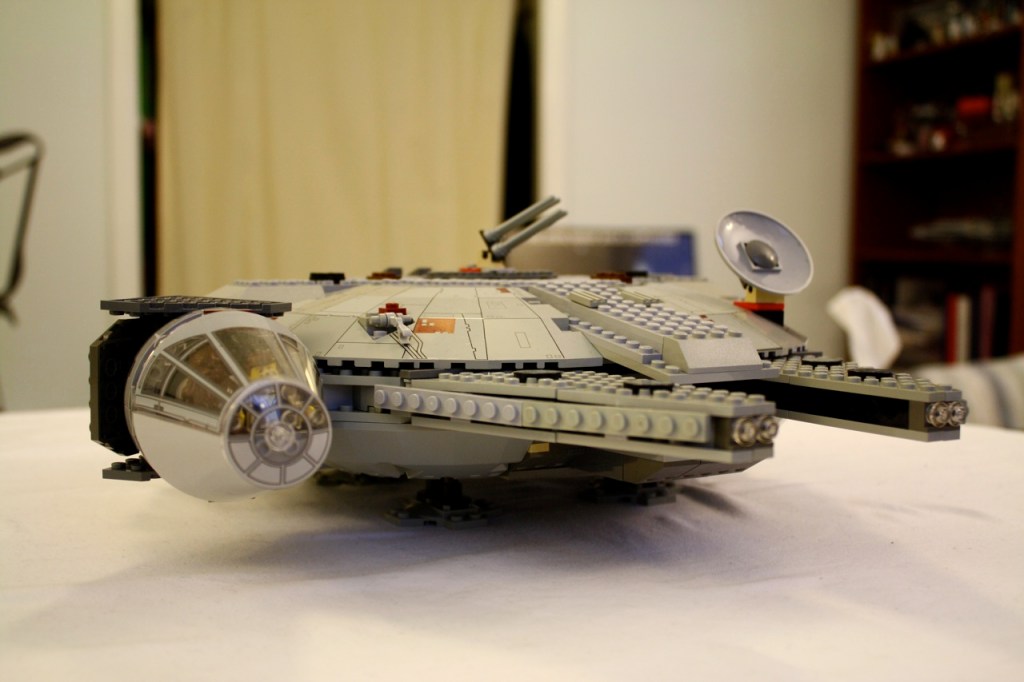
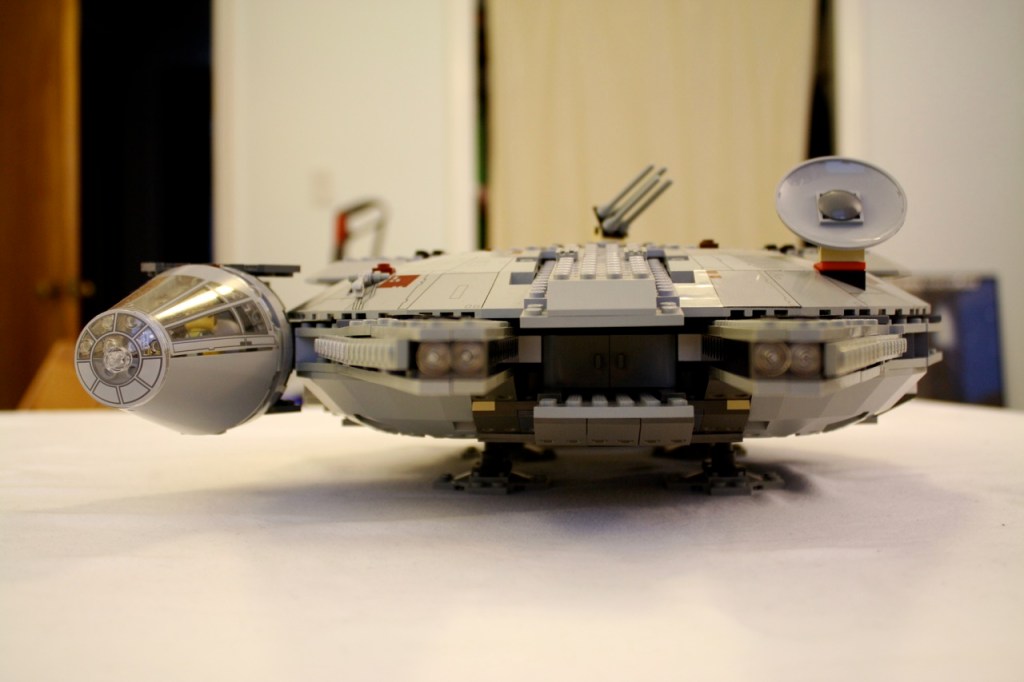
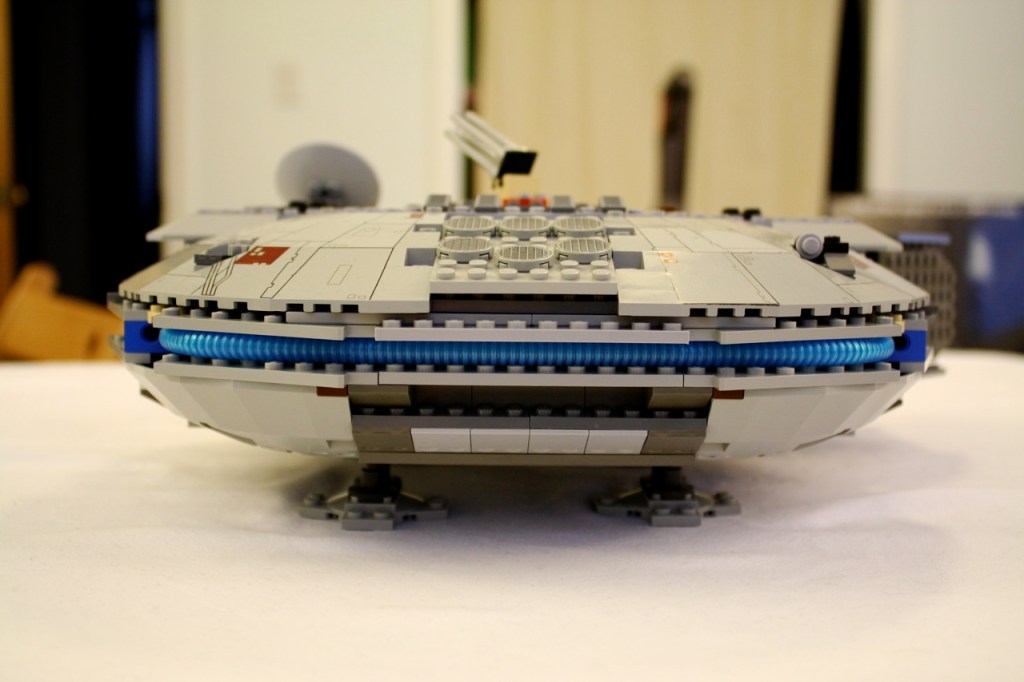
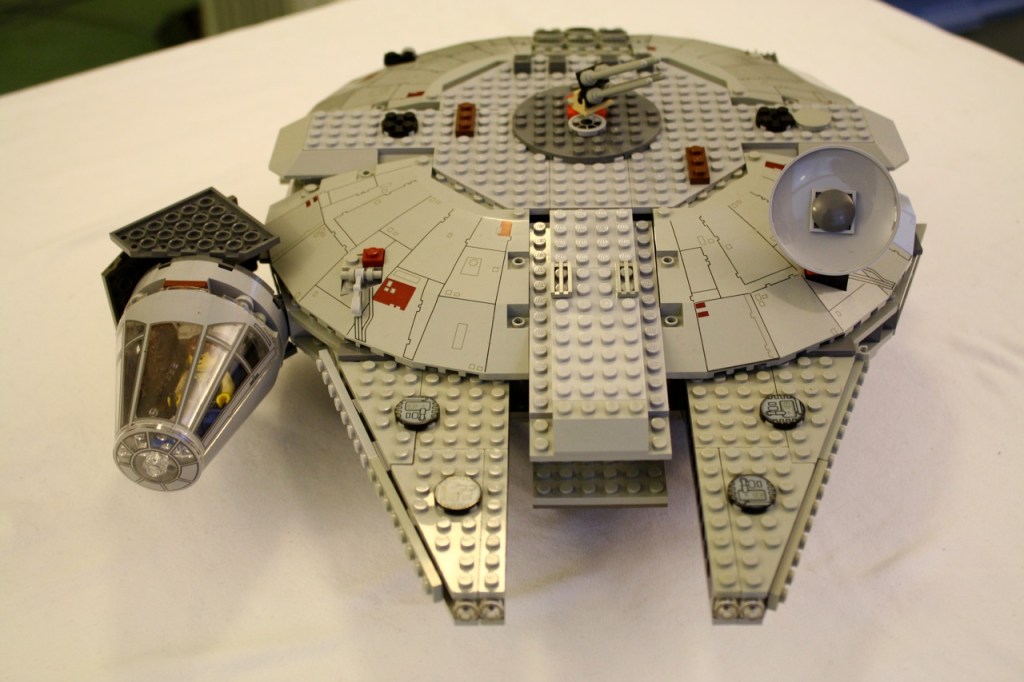
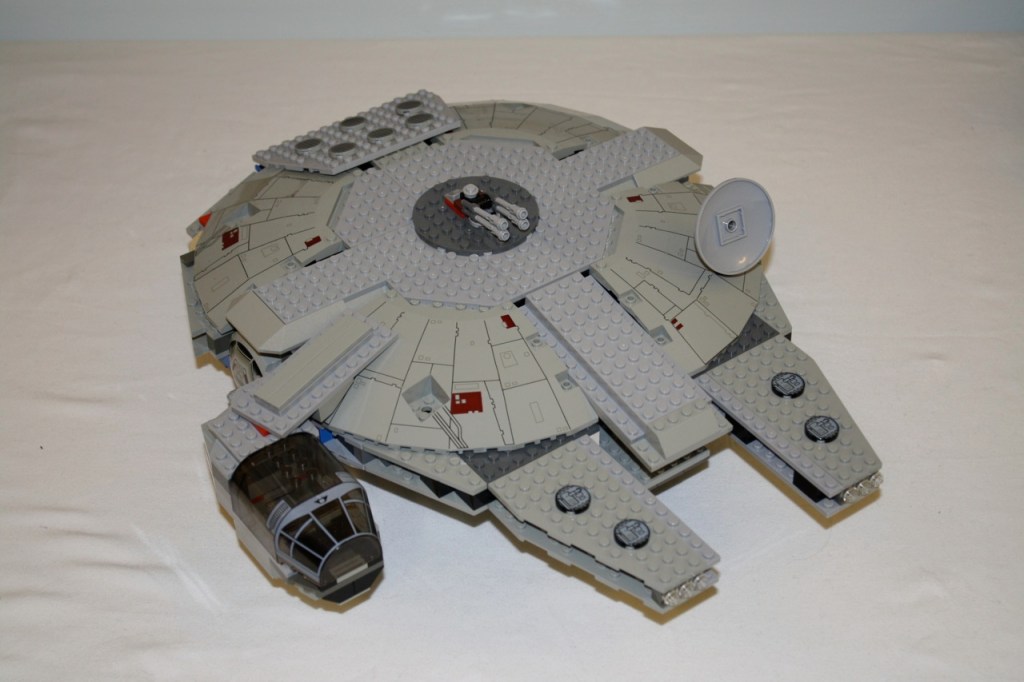
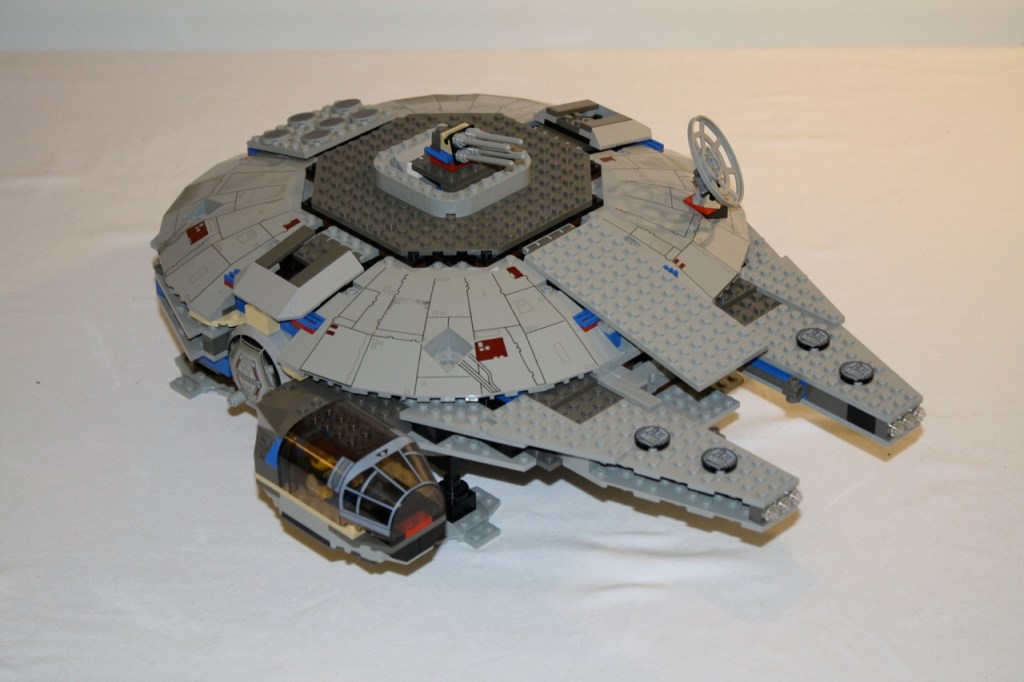
And here it is–my custom rebuilt Lego Star Wars Millennium Falcon 7190 model. It took me several months of tinkering to get it in the shape that it is now–beat-up, derelict, and having it where she needs it.
In the following, I will show how the model began, how it evolved, and then a more thorough description of the changes that I made to the model.
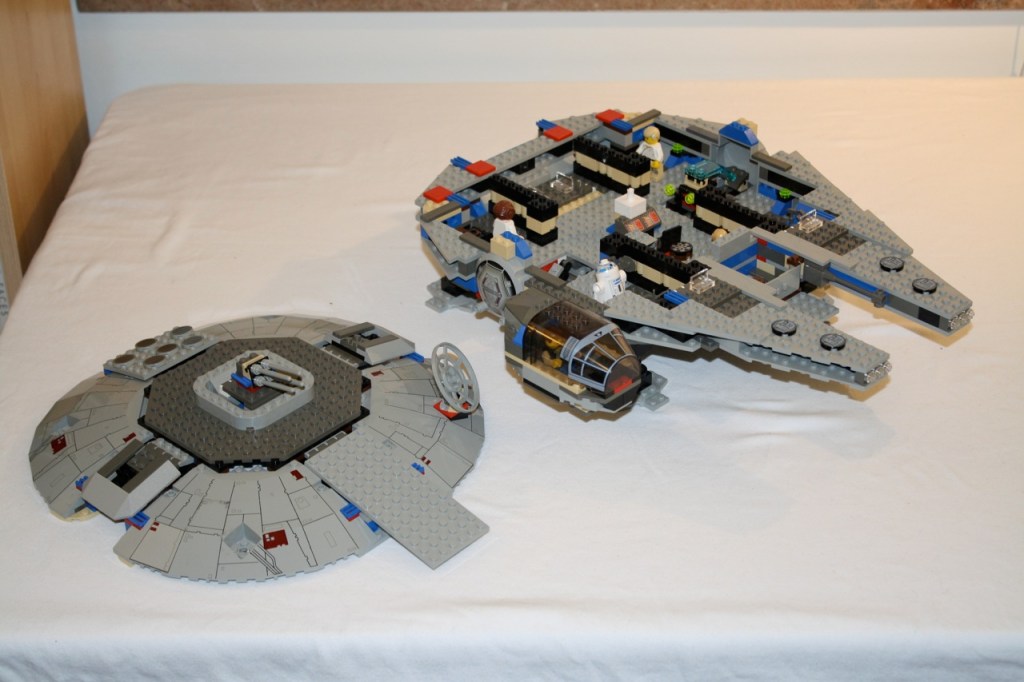
Below, you can see how the 7190 Falcon looked after I initially built it. It gestures toward what the Falcon should look like, but it has too much non-battleship gray color and the design is aimed toward play more than appearance.
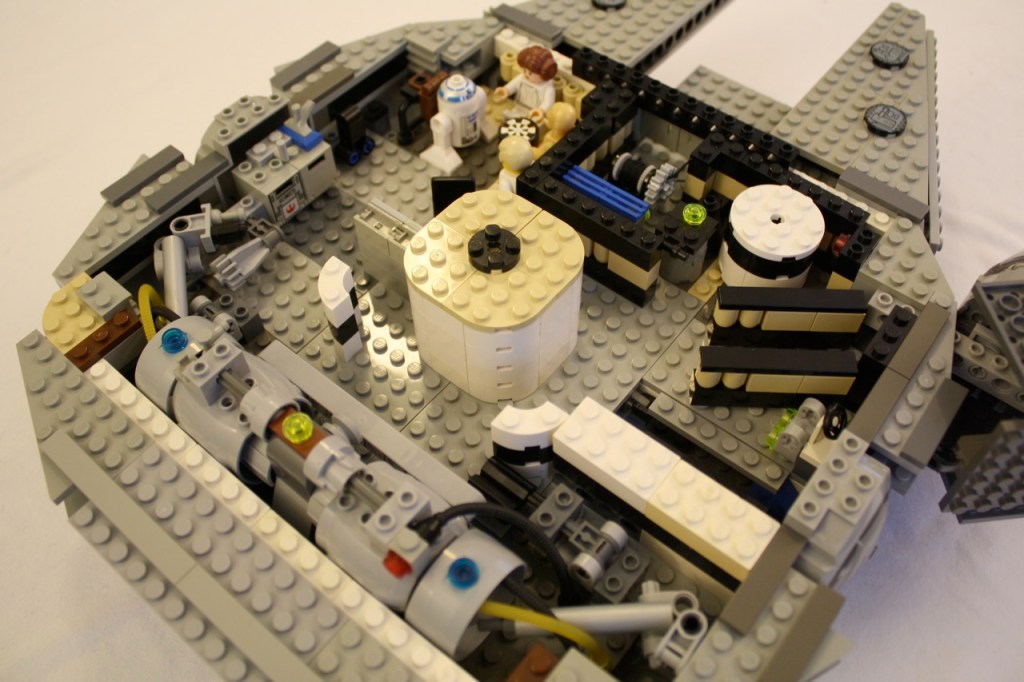
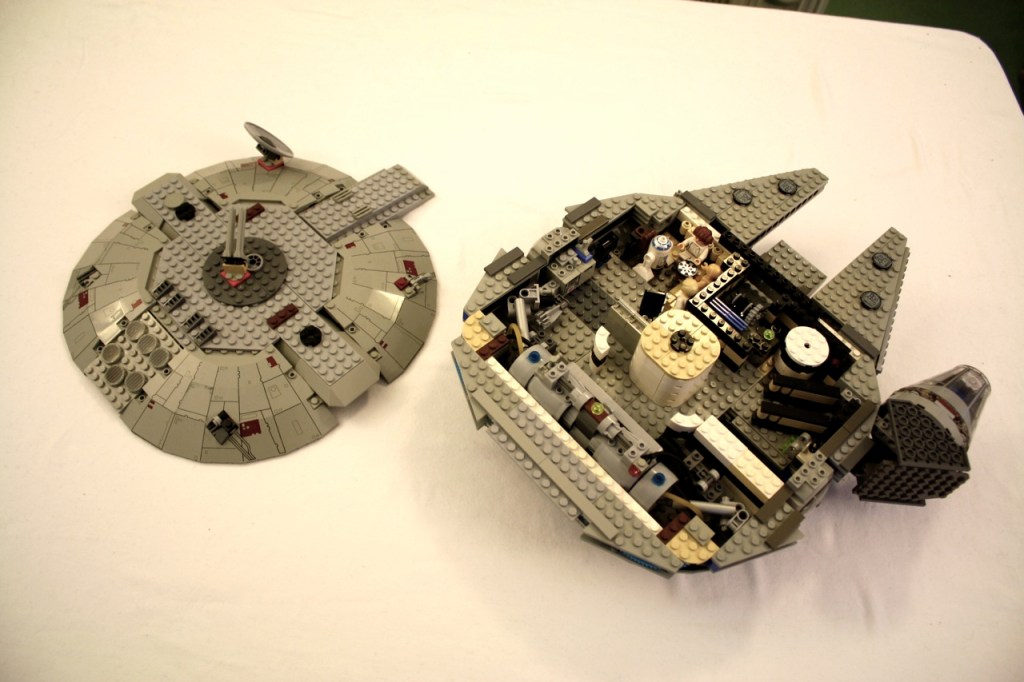
Below are two pictures of the interior with the upper hull removed. Again, the emphasis is on play instead of accuracy. The interior is segmented by straight walls and there is no visible engine, which I believe a big, fast ship like the Falcon should have.
Initially, I hadn’t planned on redesigning the interior. I thought that there was more to be done with the exterior, with the large quarter panel pieces that could make the 7190 rival the newer 4504 model.
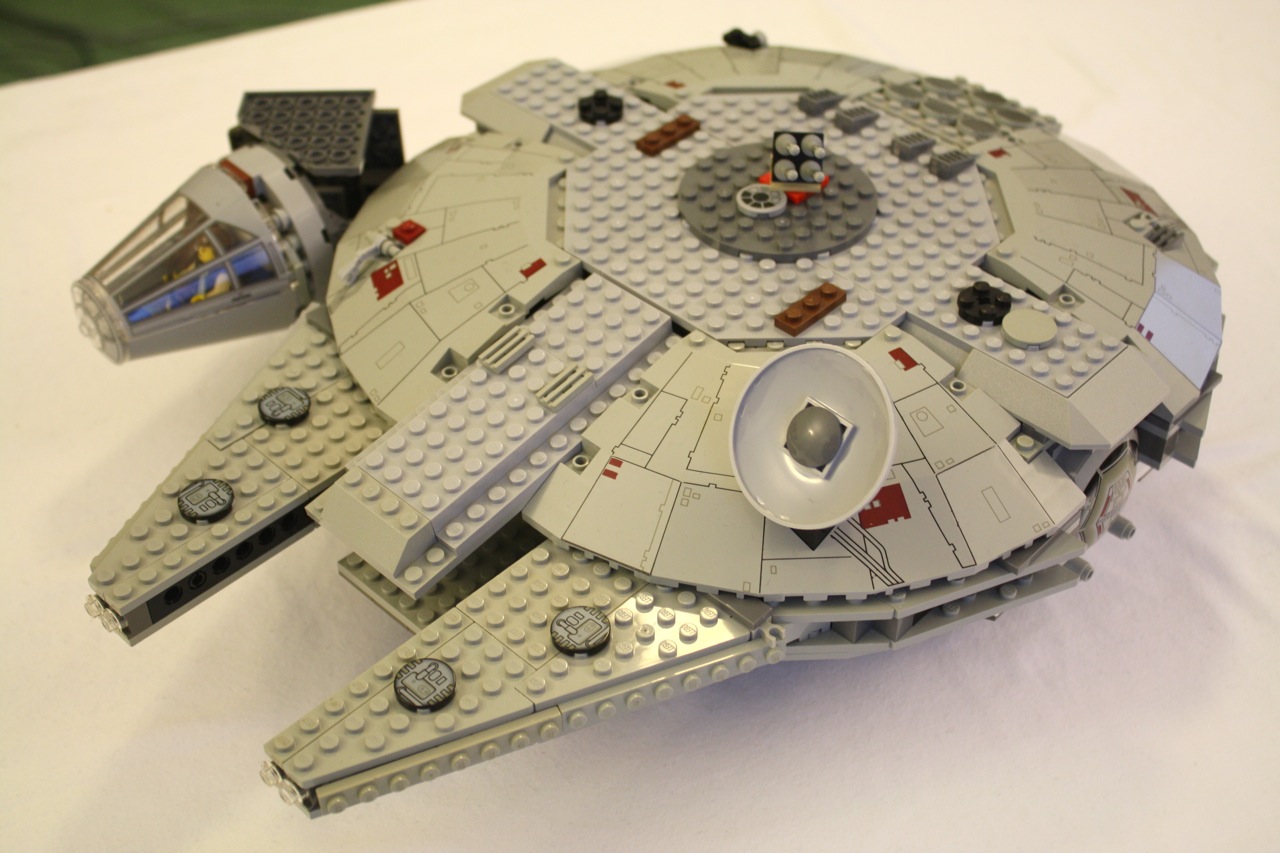
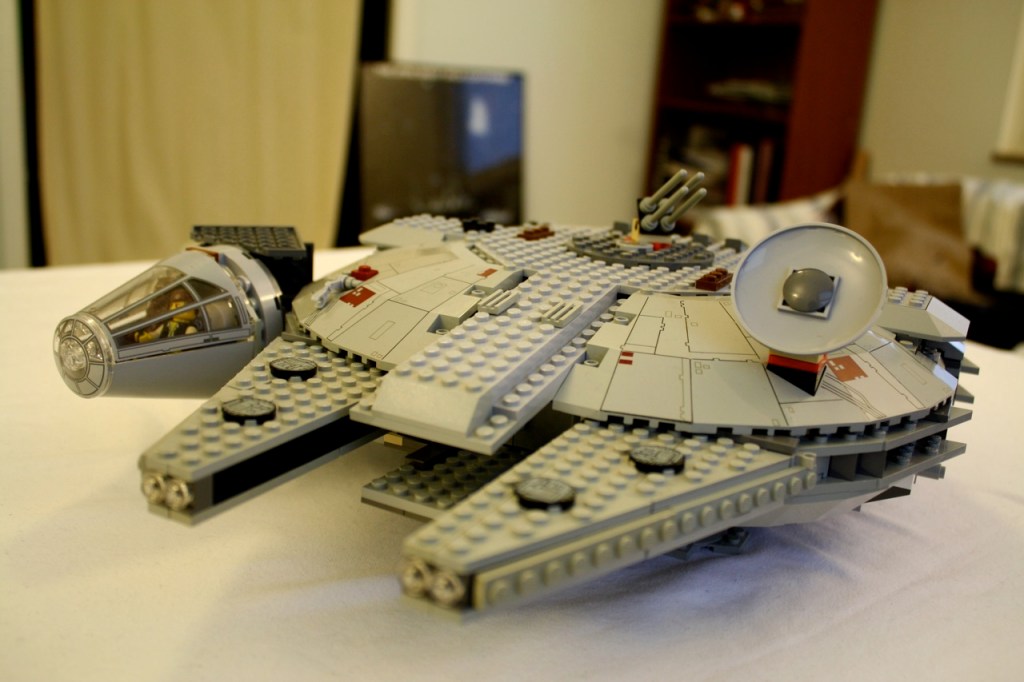
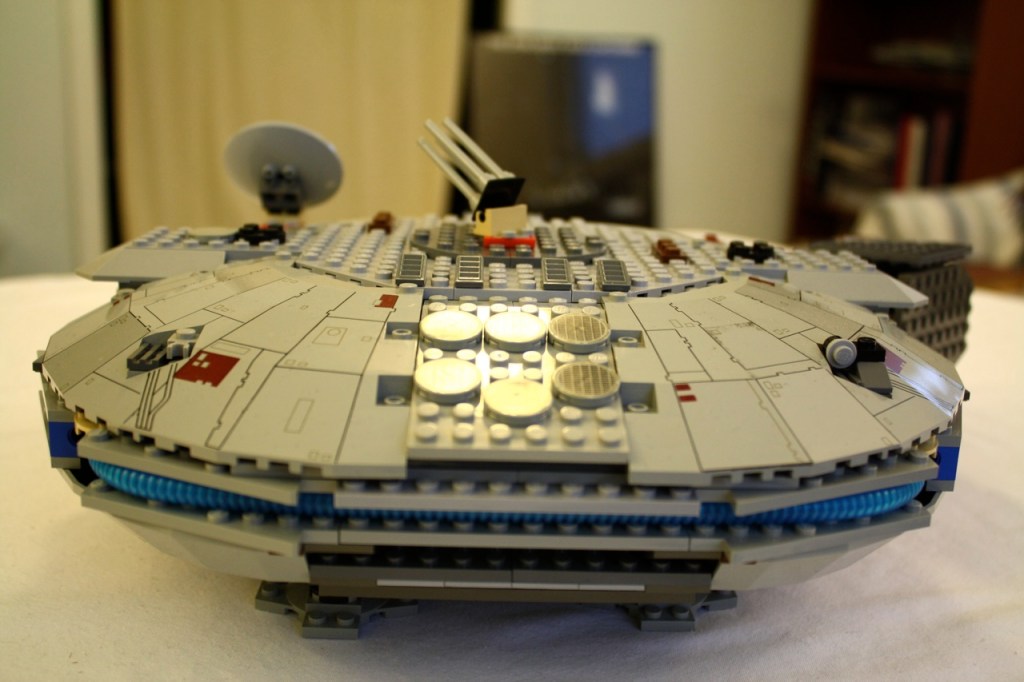
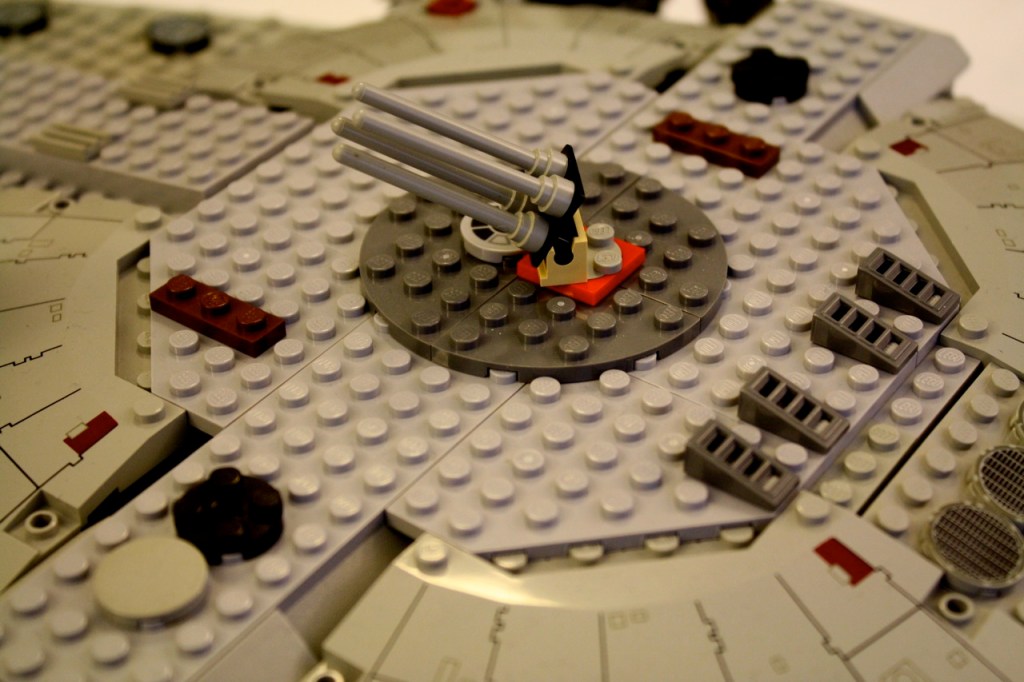
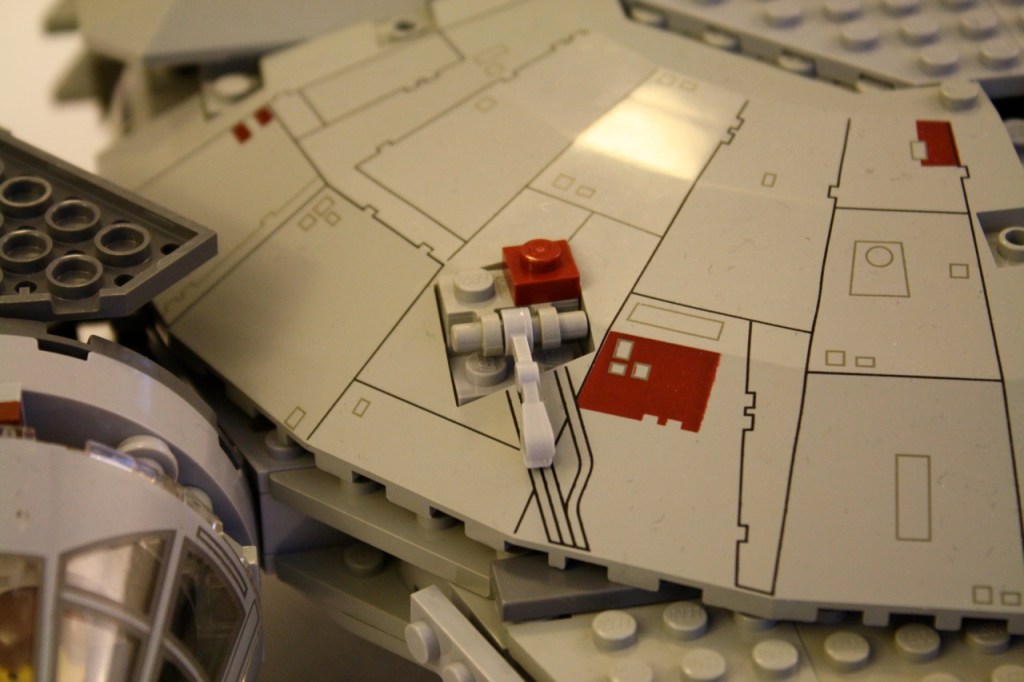
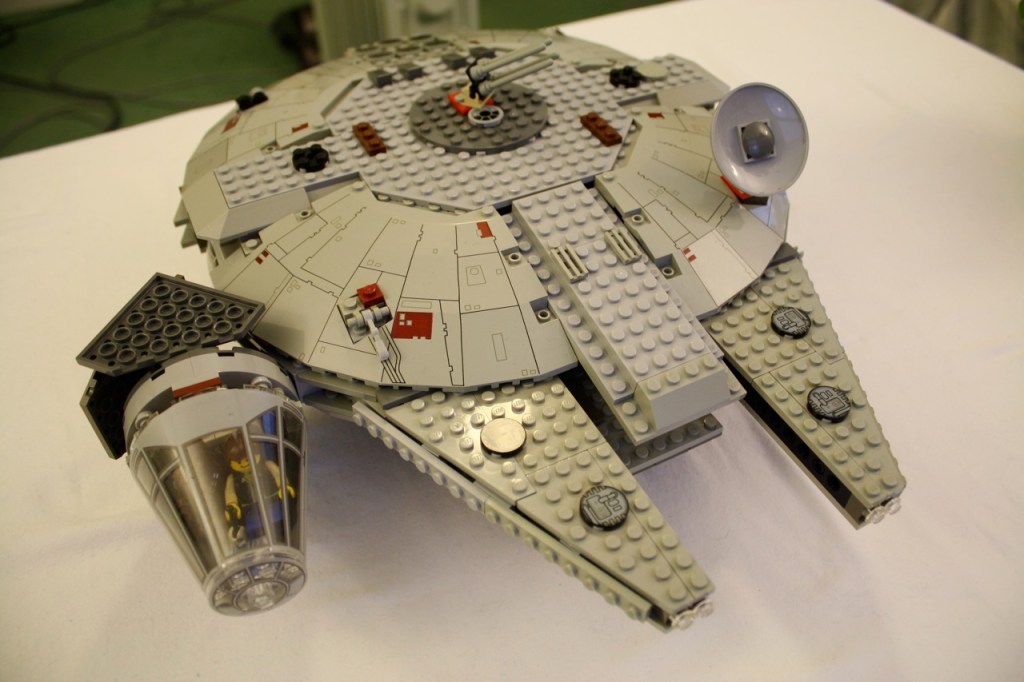
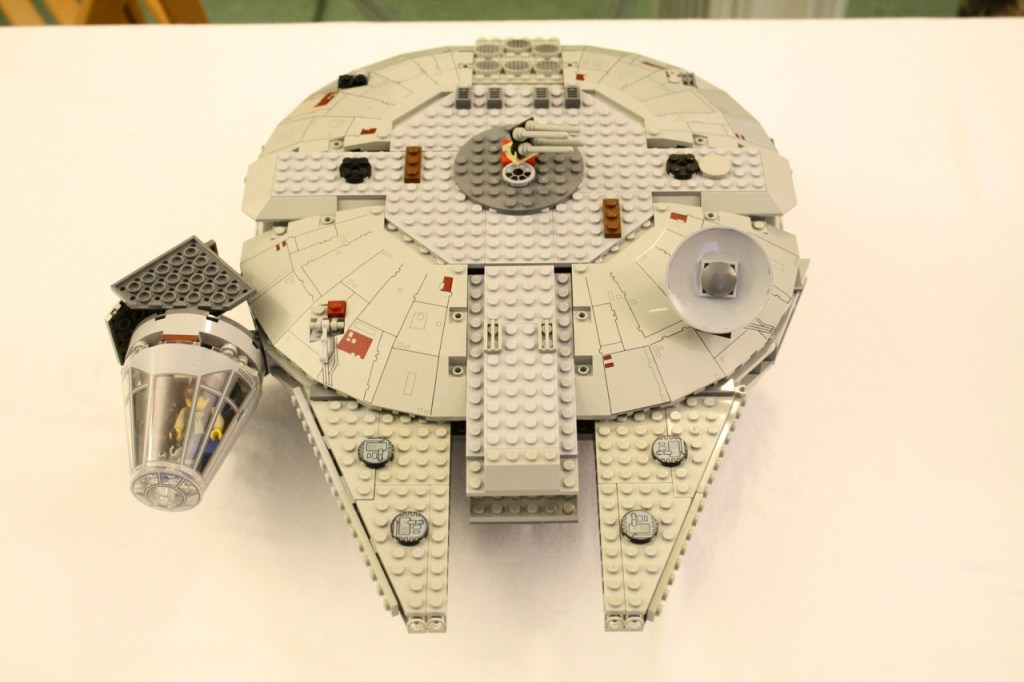
Below you can see how I have selected a single color for the upper hull, reduced the profile for the gun turret, increased the size of the engine compartment at the rear, and changed the forward cargo loader from a single flat piece to a more accurate raised profile.
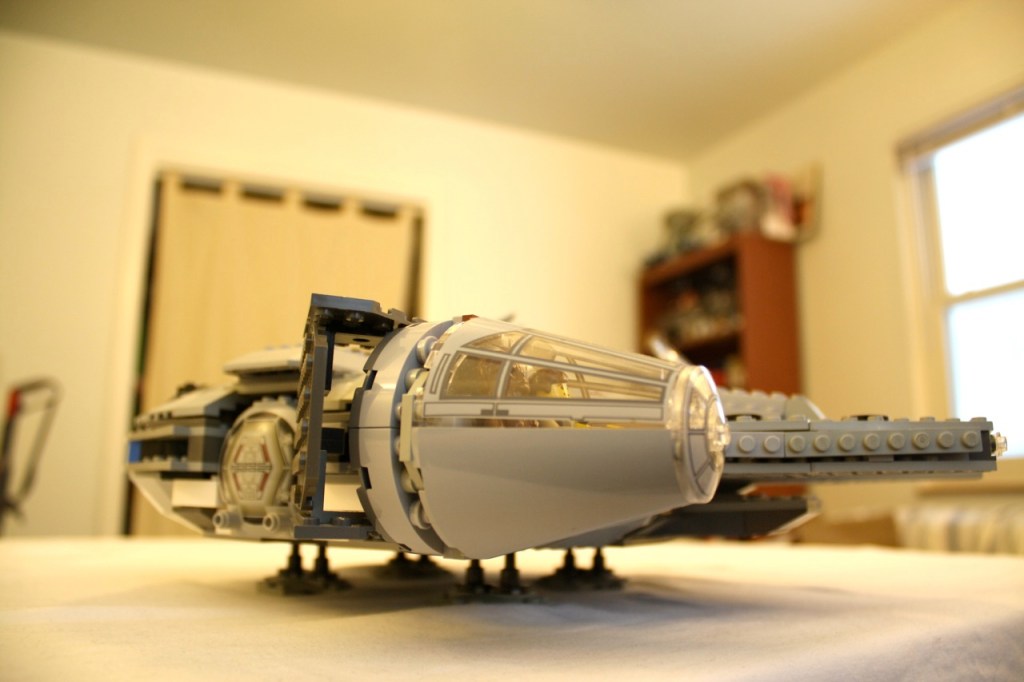
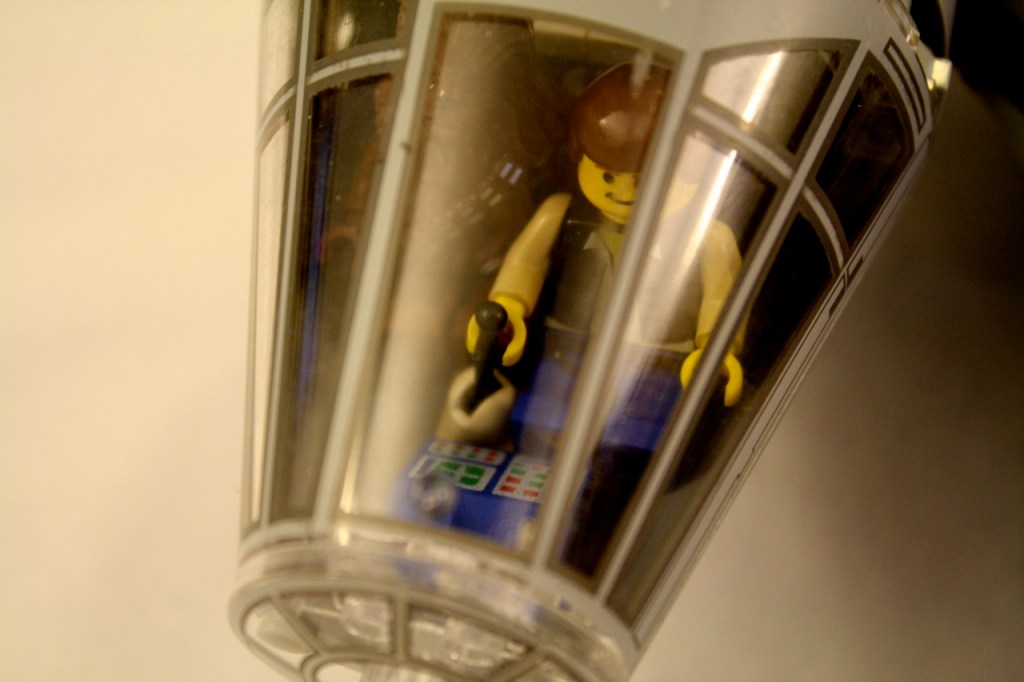
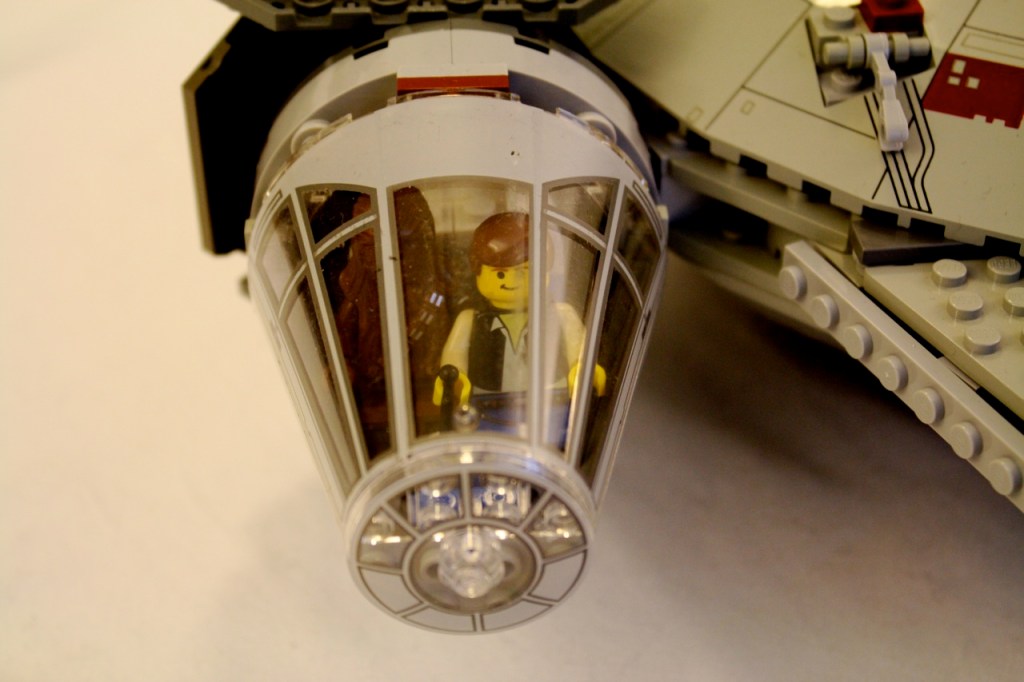
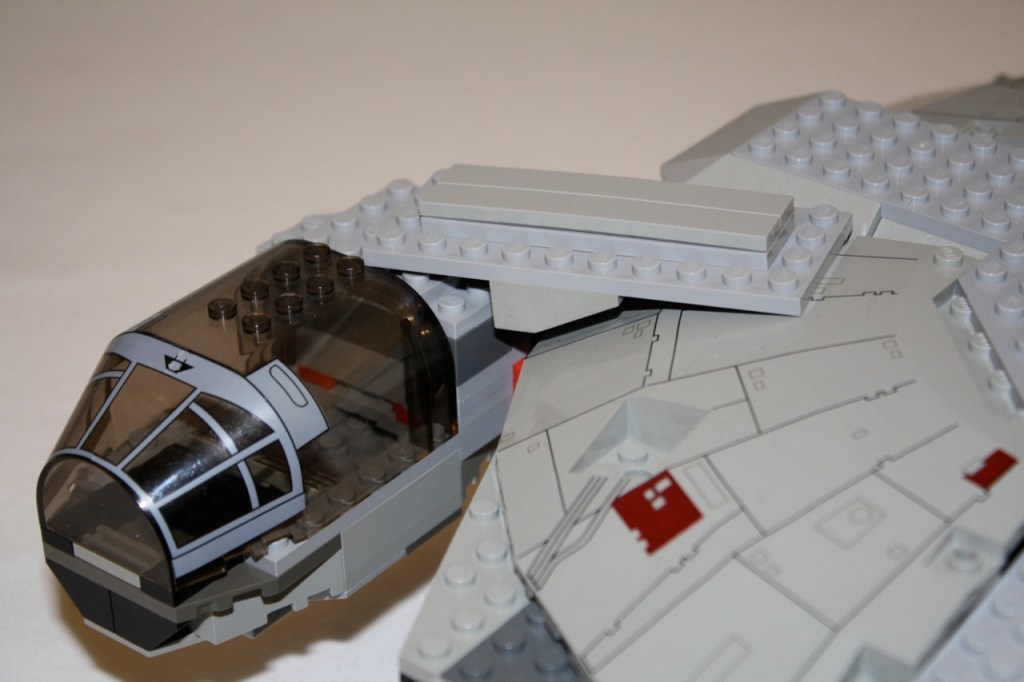
Also, I improved the cockpit so that it bends into the main hull and connects to it with a single flat round brick. Below are detailed photos of the cockpit redesign.
In the final version of the 7190 redesign, I opted to replace the cockpit with the same one found on the 4504 model, the parts of which I found on bricklink.com, an excellent resource for finding sets and bricks at reasonable prices. In the future, I may reincorporate the curve and passage way in the above pictures into the 7190 redesign. However, I do have some other ideas about how to make it look more accurate, following the ideas in the 4504 model, but I need additional pieces to make this work.
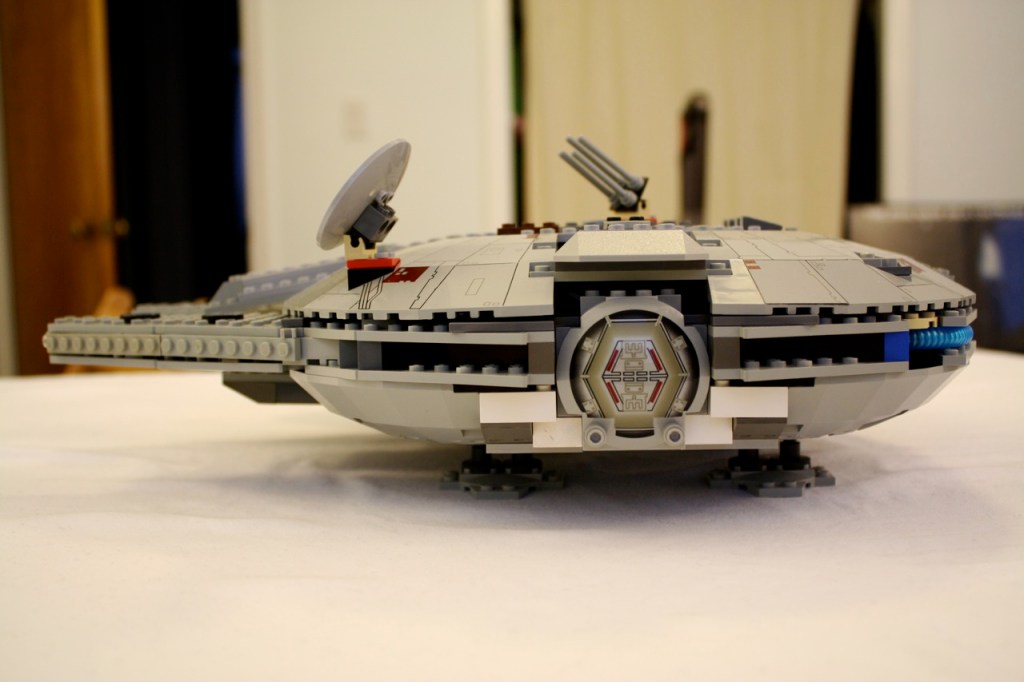
So, here are more detailed photos of the 7190 redesign as it now stands. I will include exterior shots first, and then I will show the extensive and exciting interior redesign that I made.
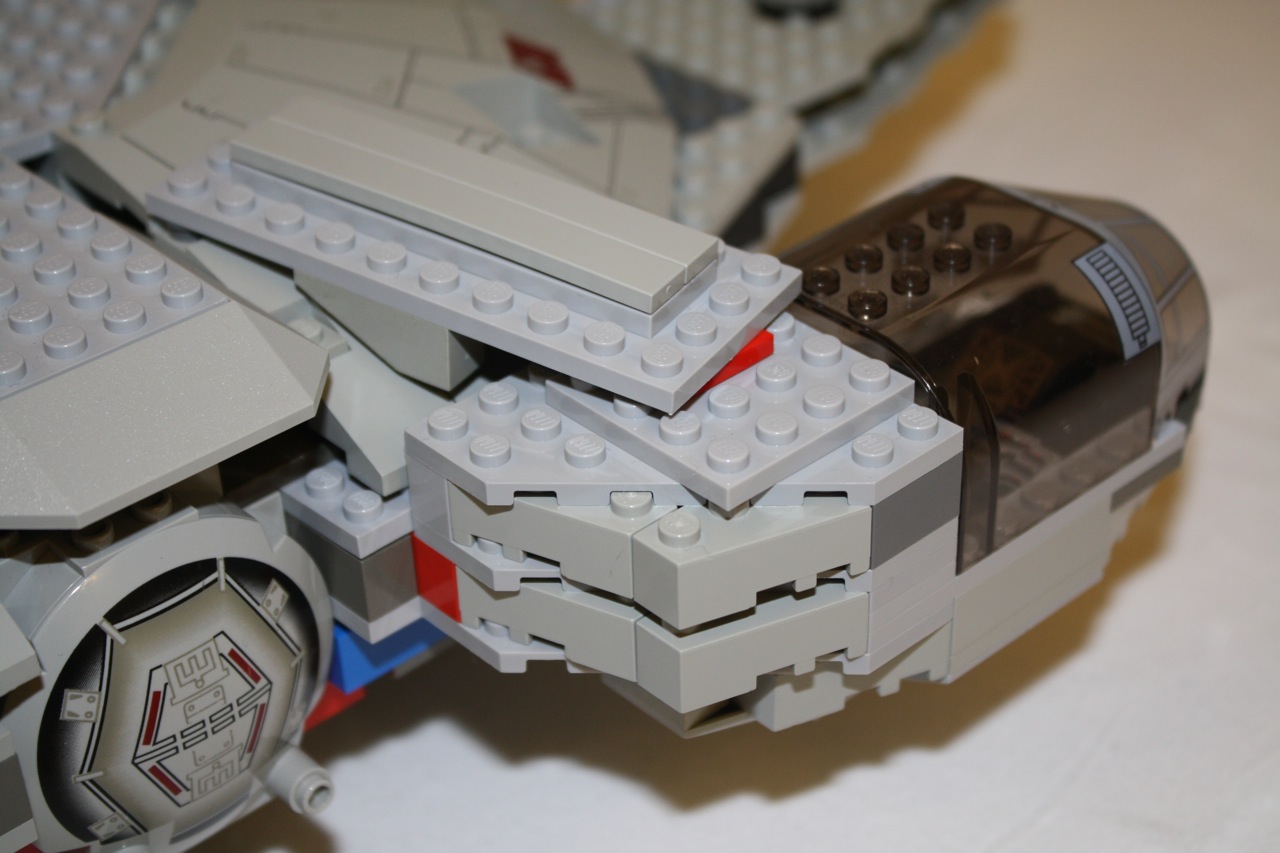
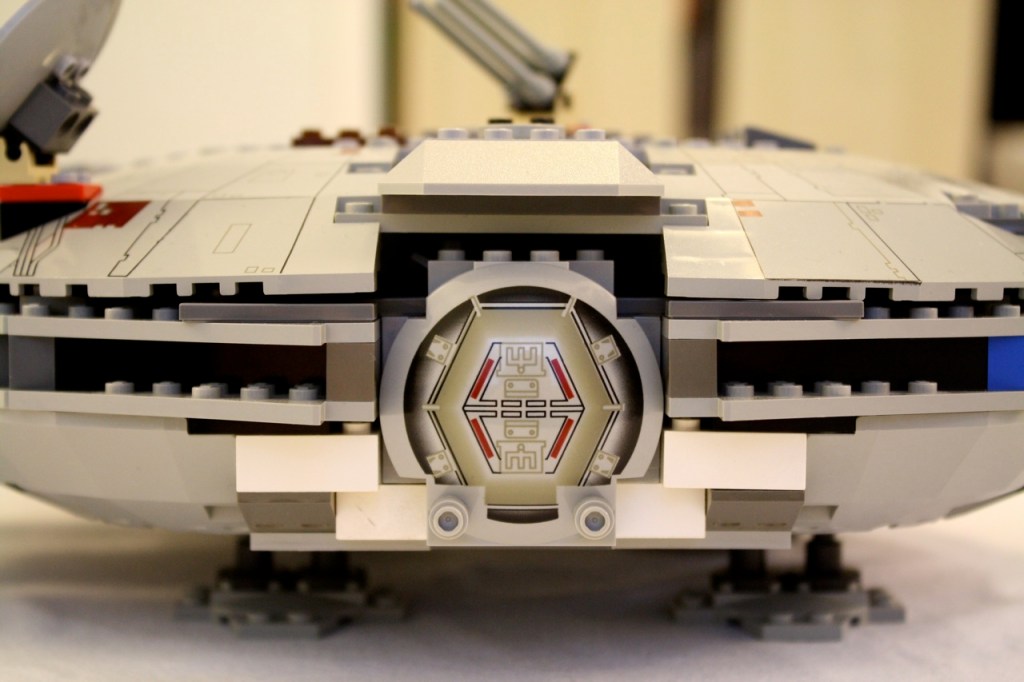
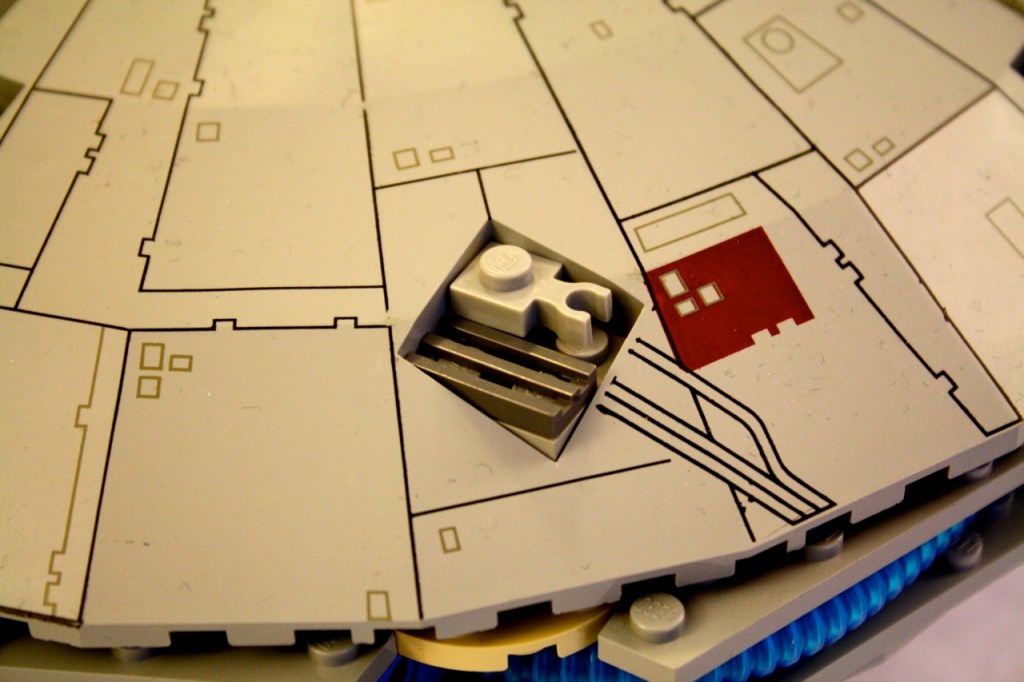
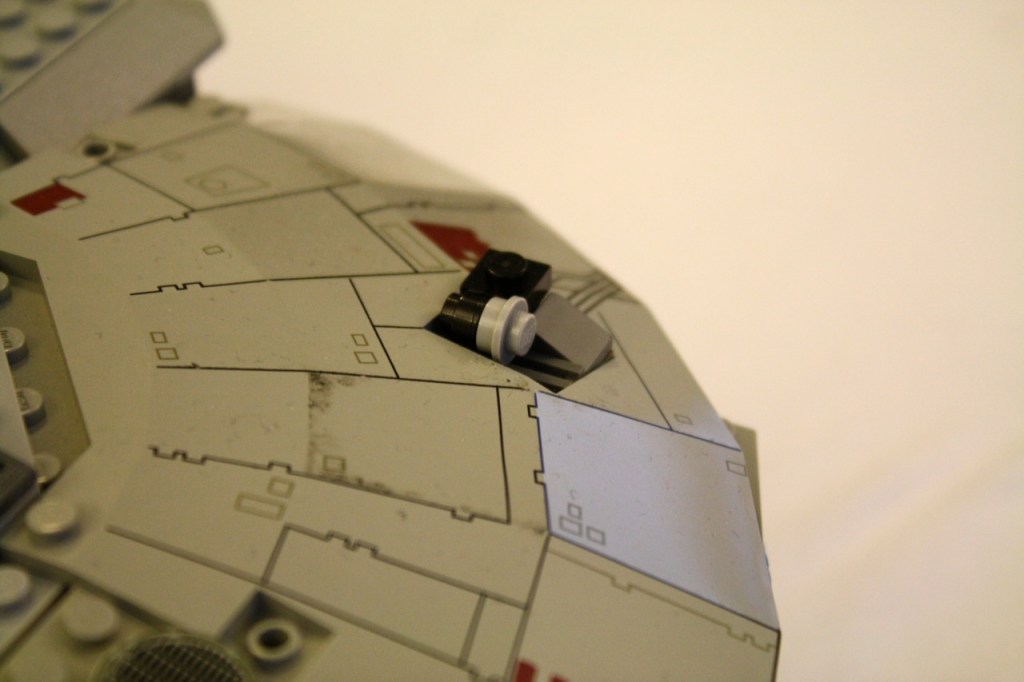
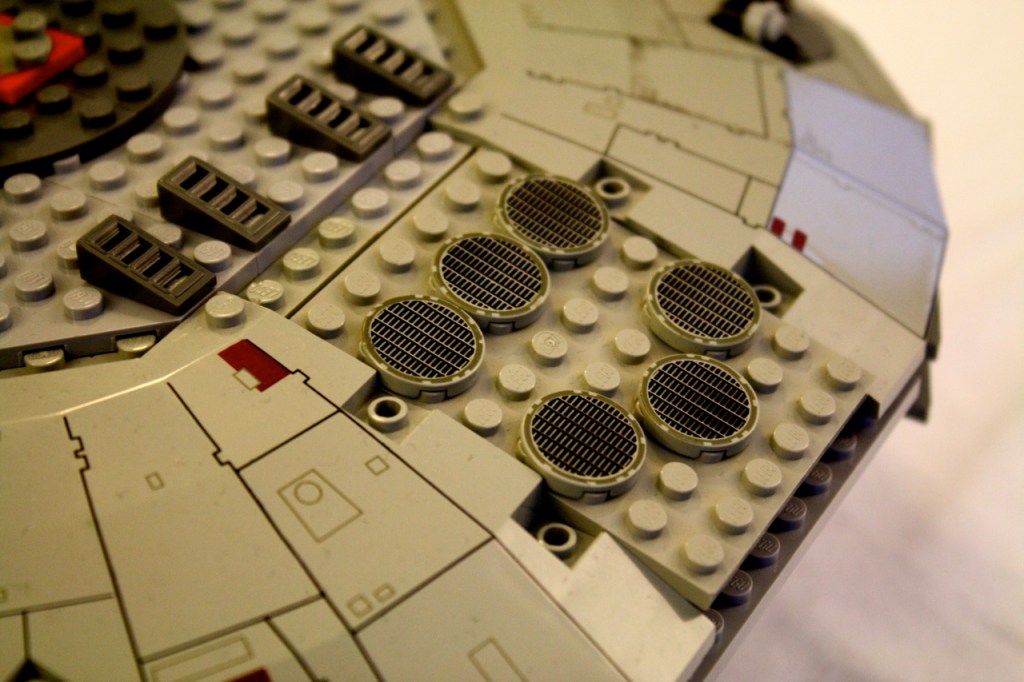
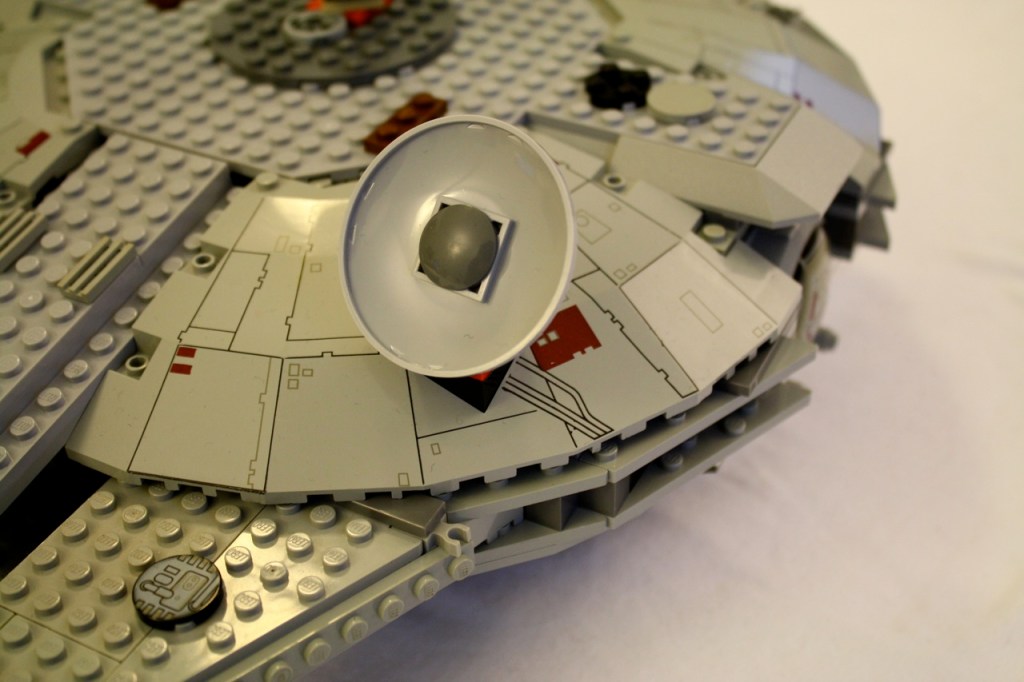
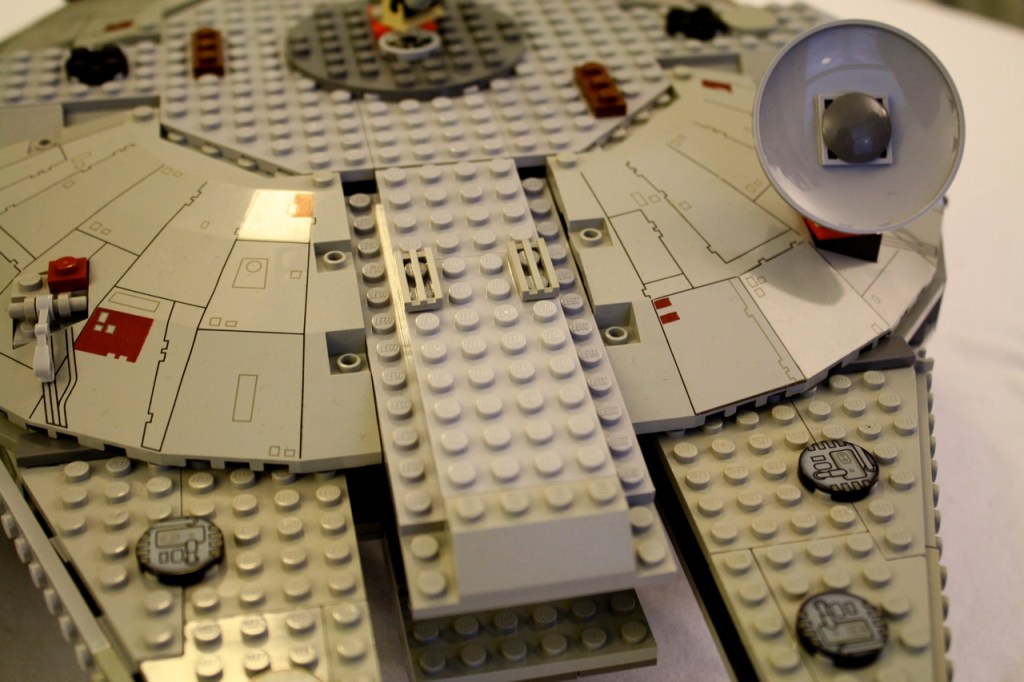
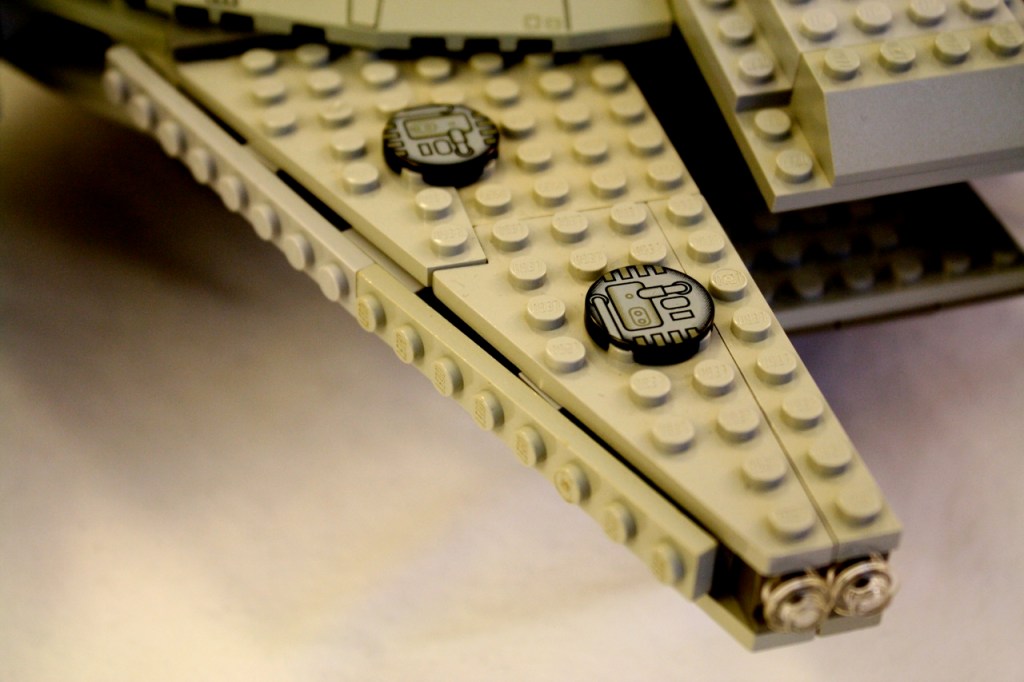
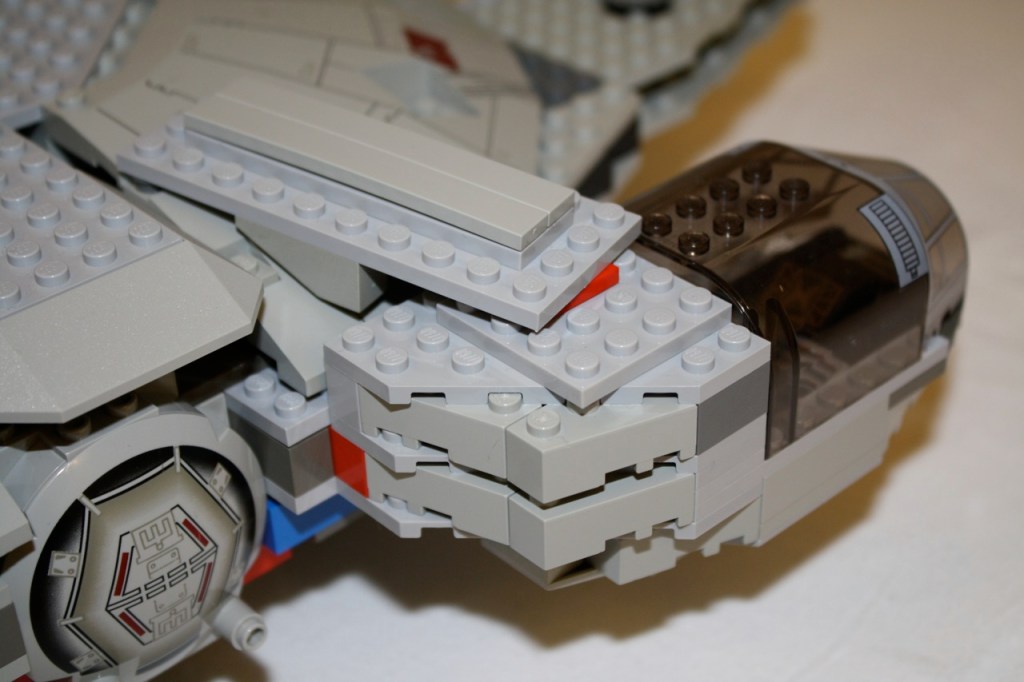
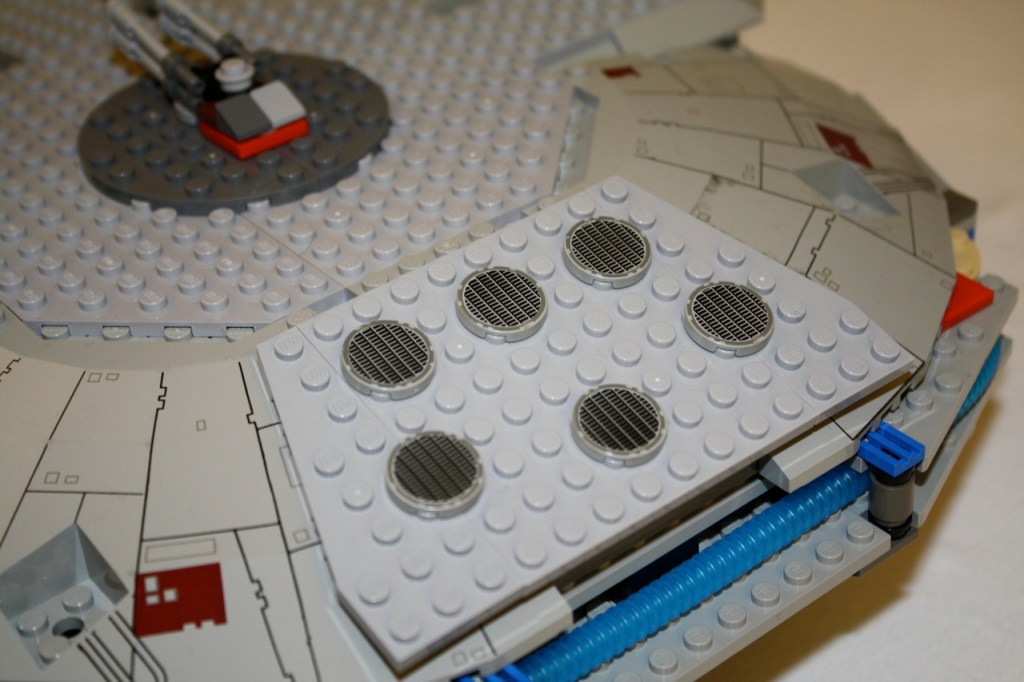
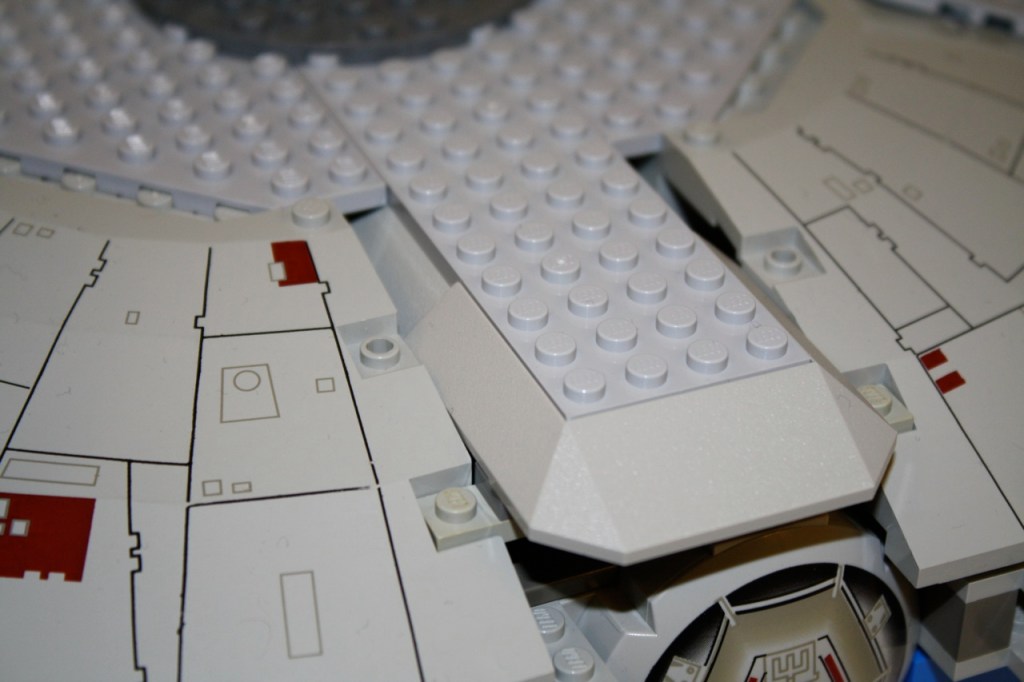
As you can see in the two photos above, I streamlined the front prongs into the main hull, extended the port and starboard hatch covers so that they are level, added surface color and detail to more accurately match the Falcon, and utilized the natural design of the quarter panel spacing for the rear engine compartment exhaust grills.
The cockpit is the same as the one in the 4504 model, but I used a different computer display brick in front of Han and Chewbacca. Also, I designed the cockpit-to-hull connector to indicate the connection while making it easy to remove the upper main hull. I believe that I will continue working on this in the next iteration of the model.
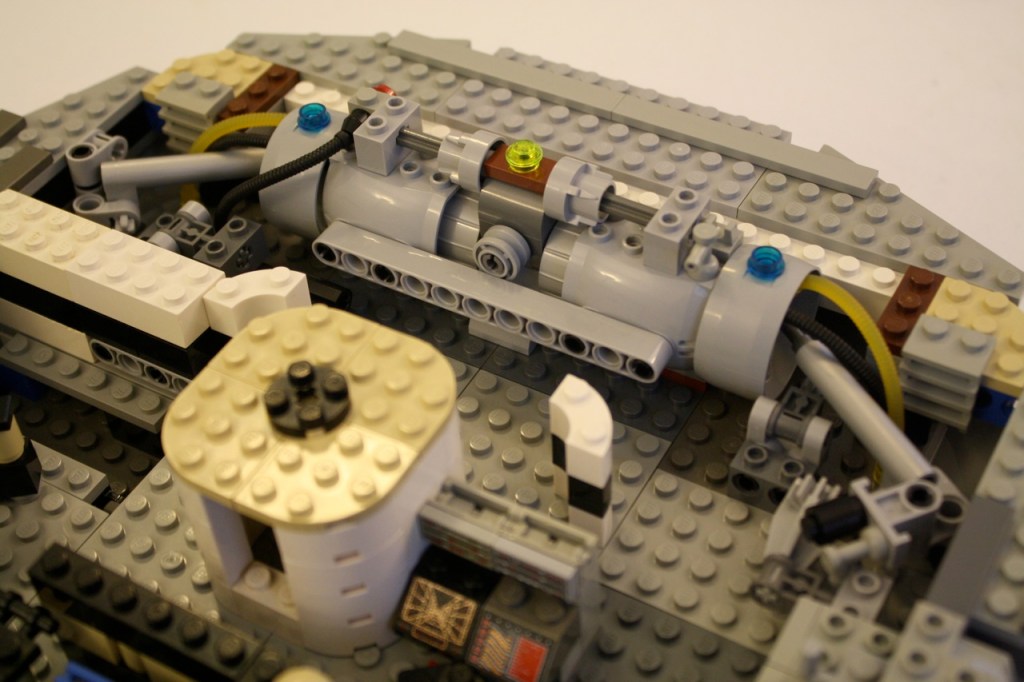
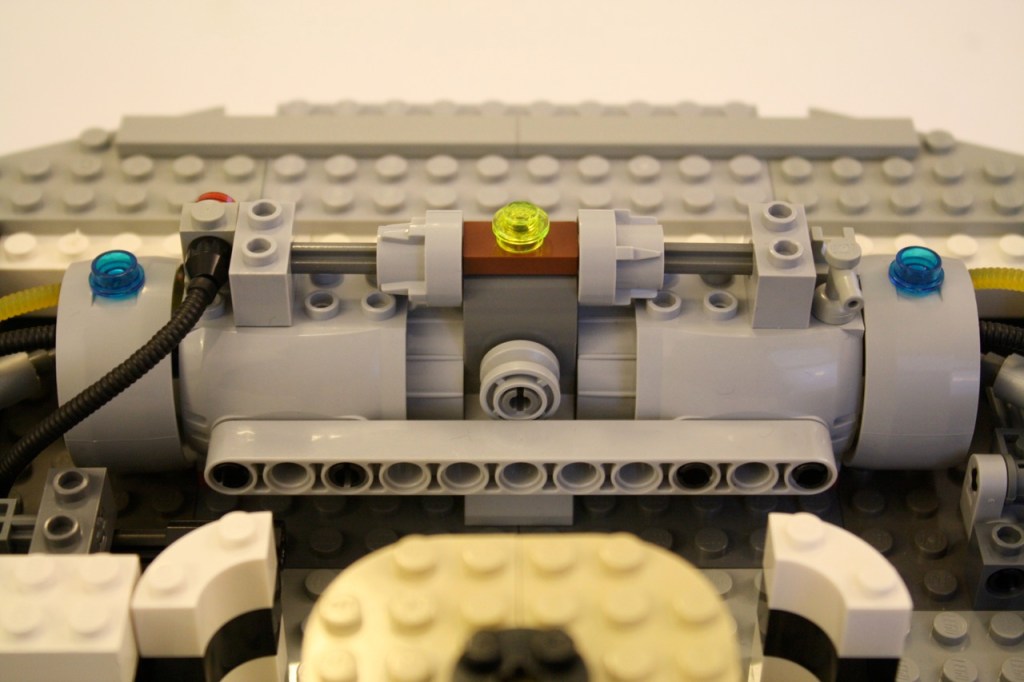
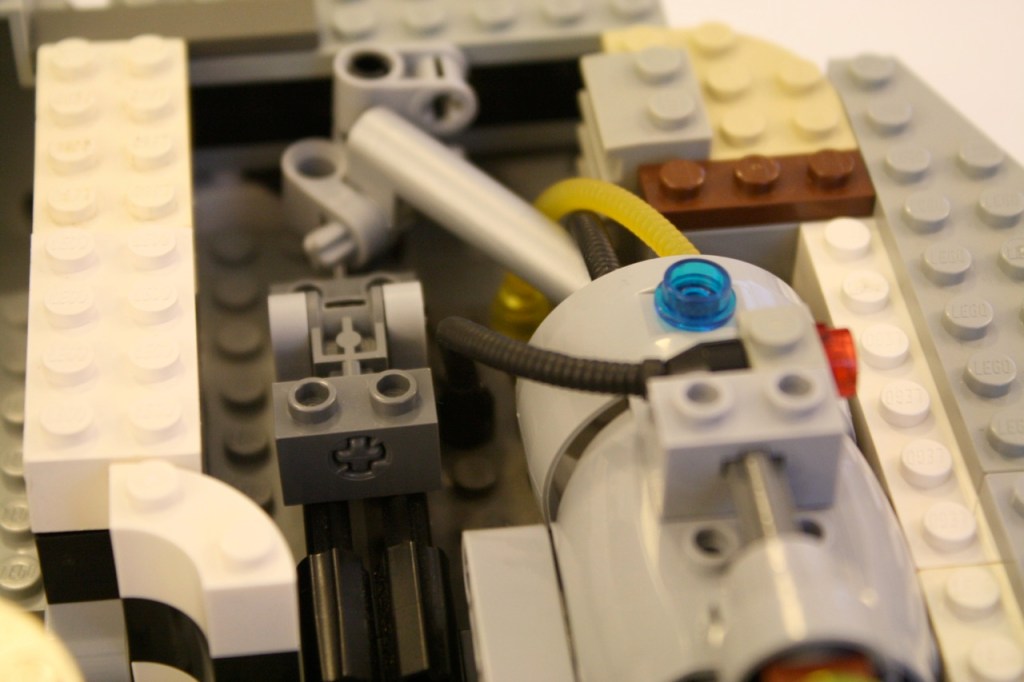
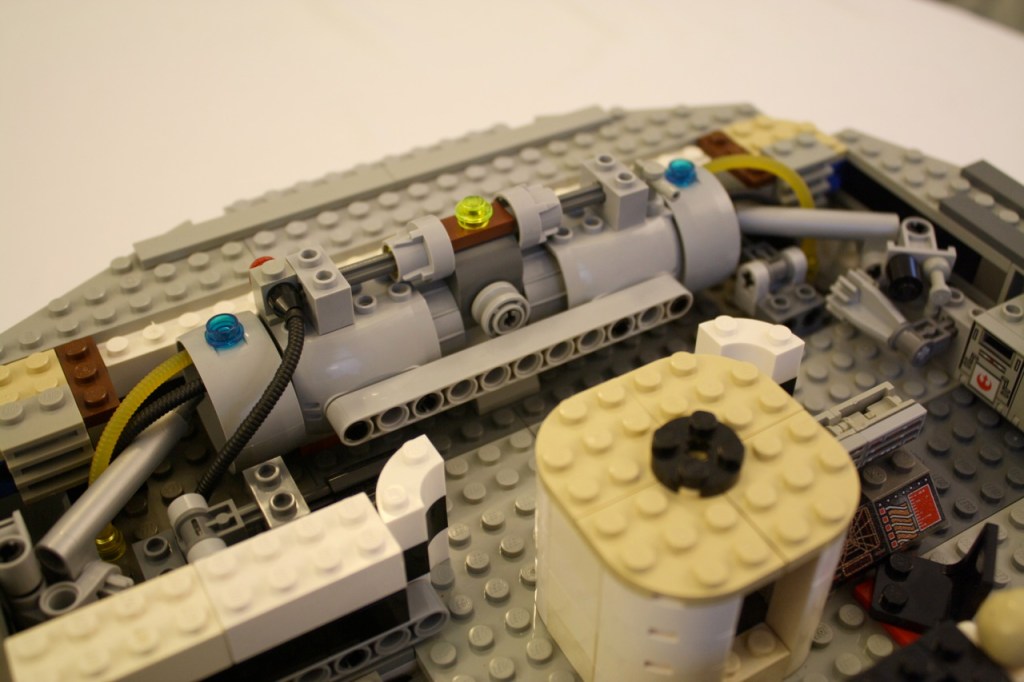
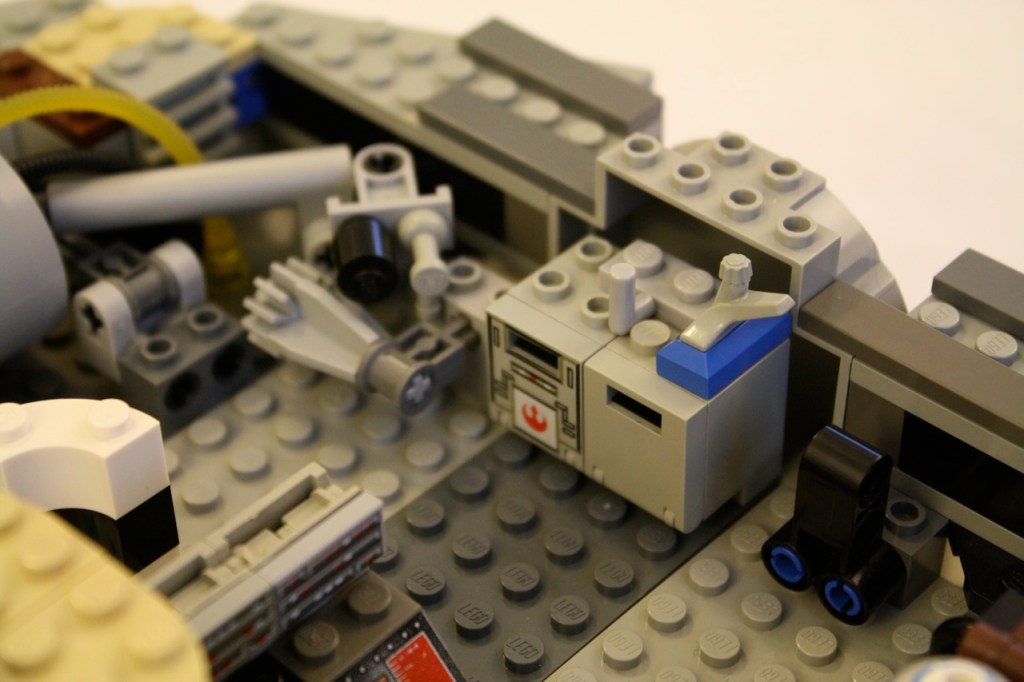
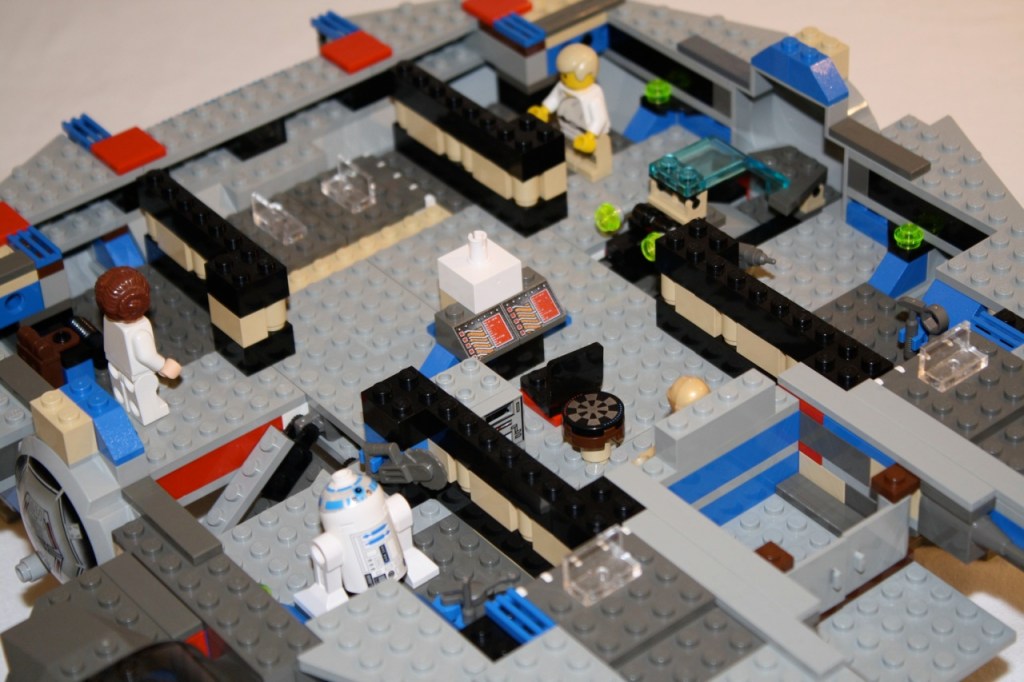
Below are images of the interior of the Falcon based on the films and my own ideas about the engine for such a large and fast ship. I departed from the designs in the 4504 model with my design of the engine with built-in hyperdrive.
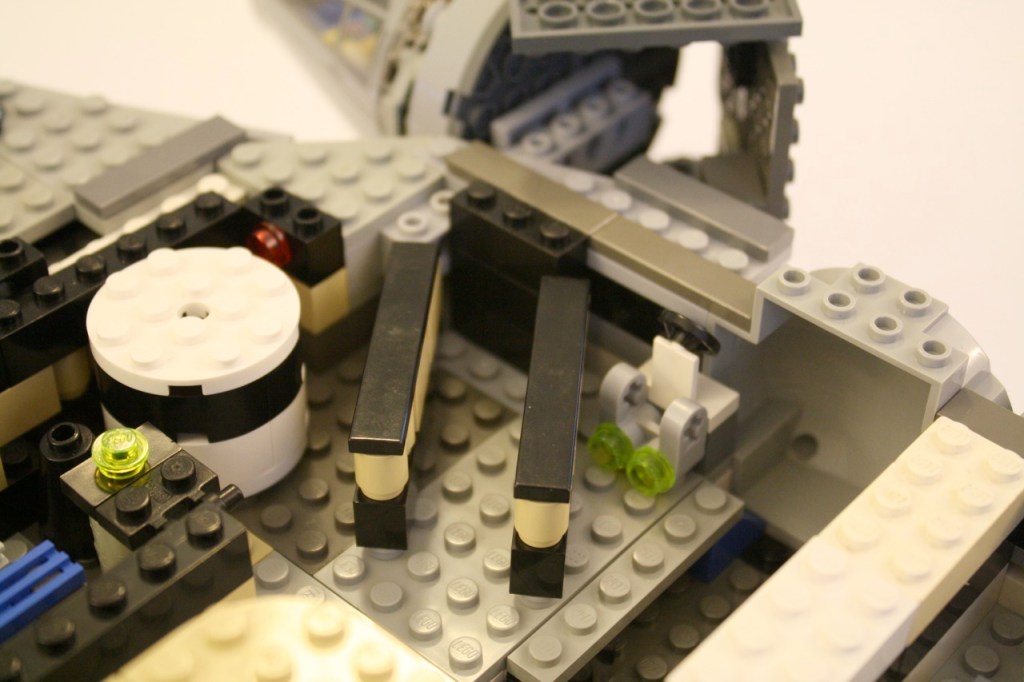
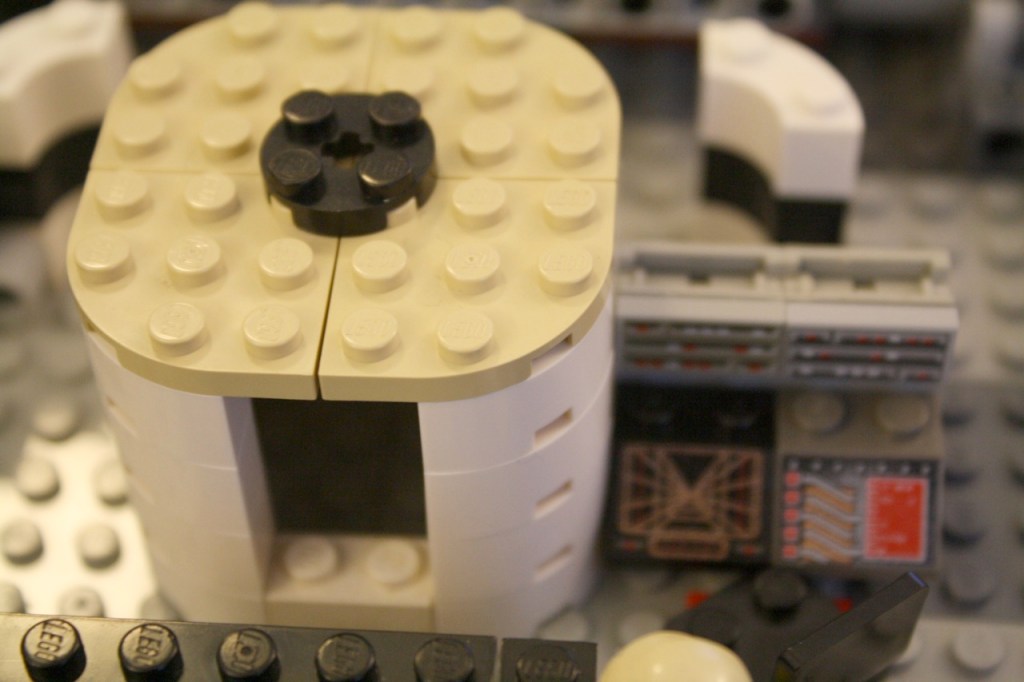
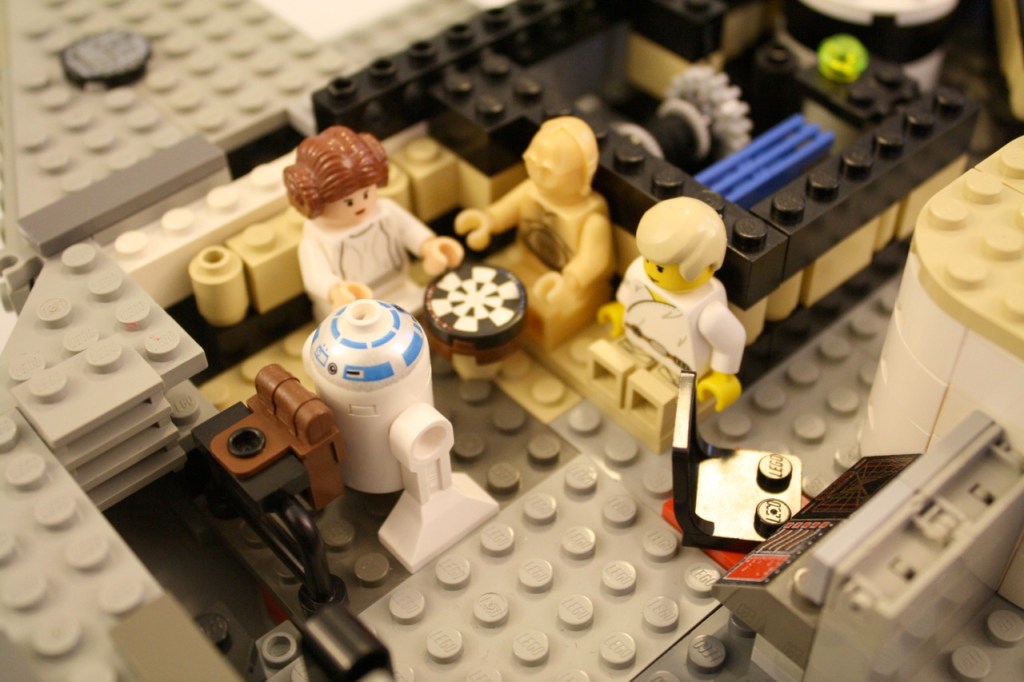
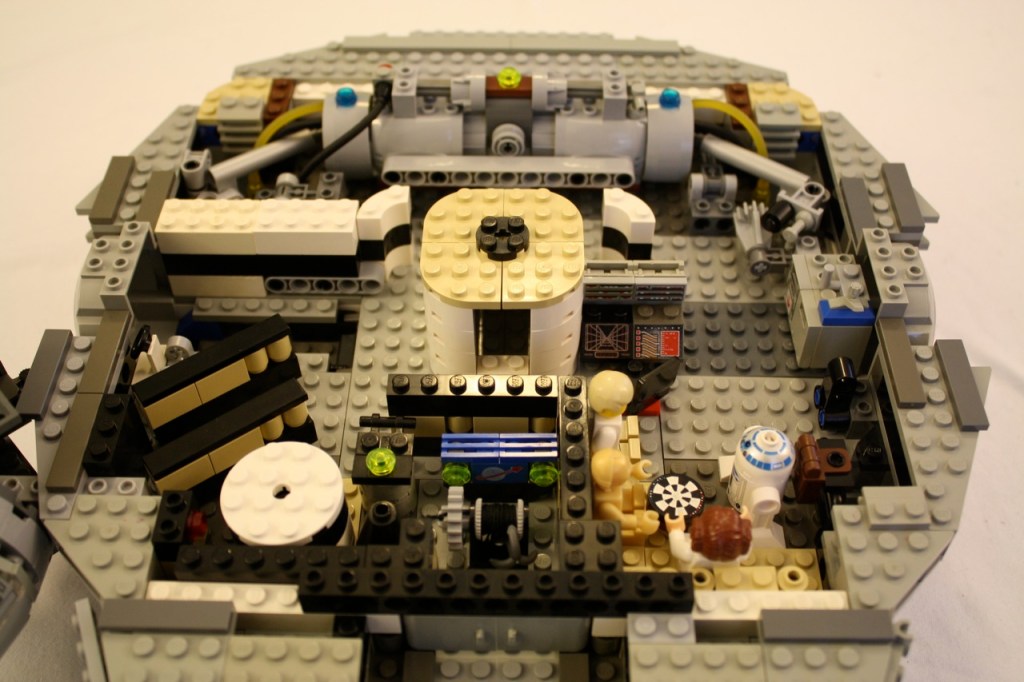
Below, an all-inclusive shot of the interior of the Falcon. In the upper left, you can see everyone gathered around the Dejarik table. In the middle front you can see the cargo storage area followed by the passage way leading to the cockpit. The central column holds the gunner stations. In the rear, you can see the main engine with integrated hyperdrive.
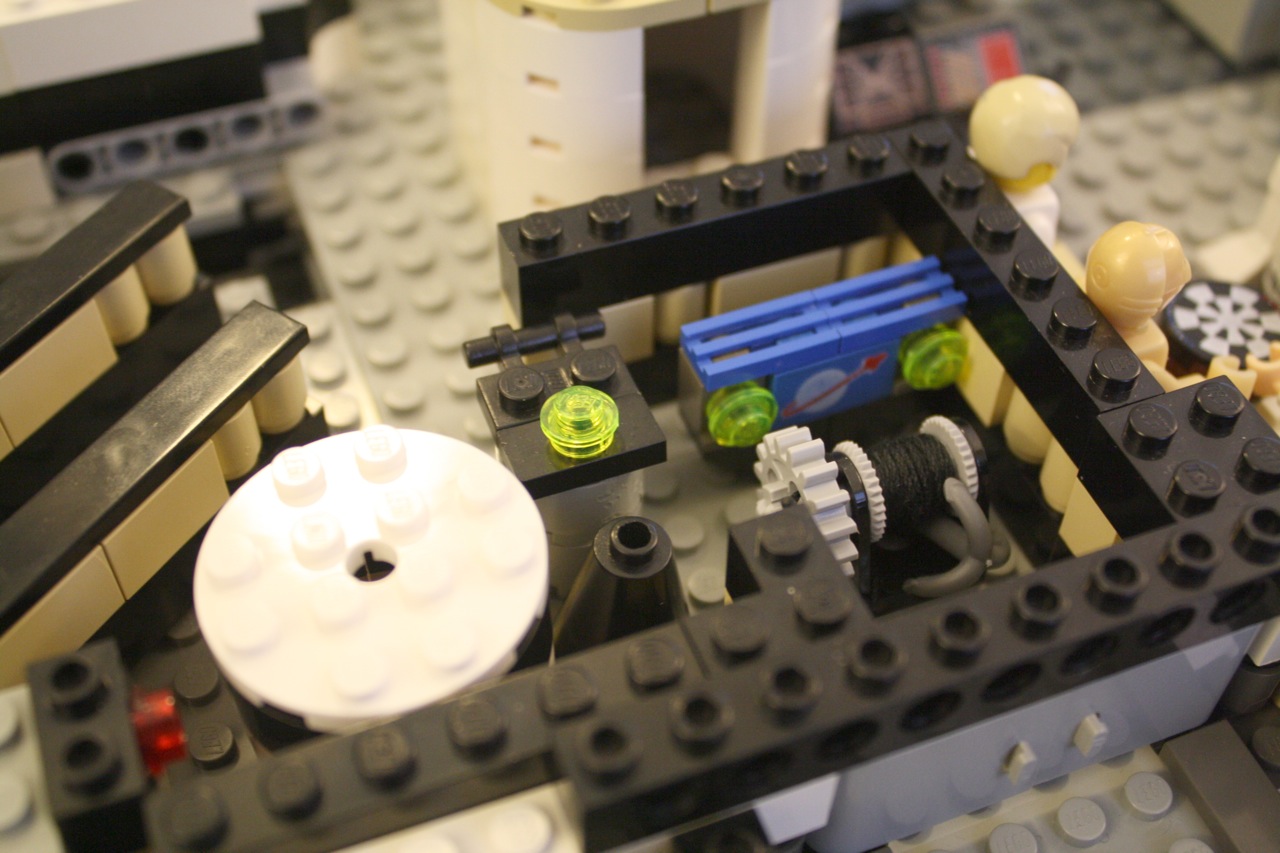
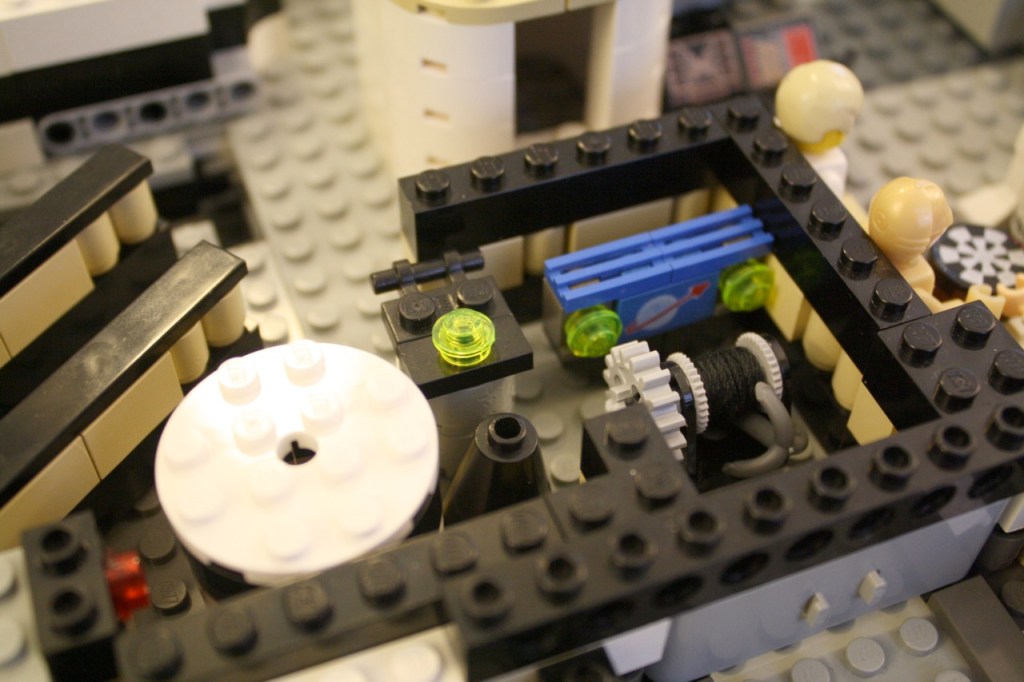
Below, a detailed shot of the cargo area with a nod to the Lego Space series.
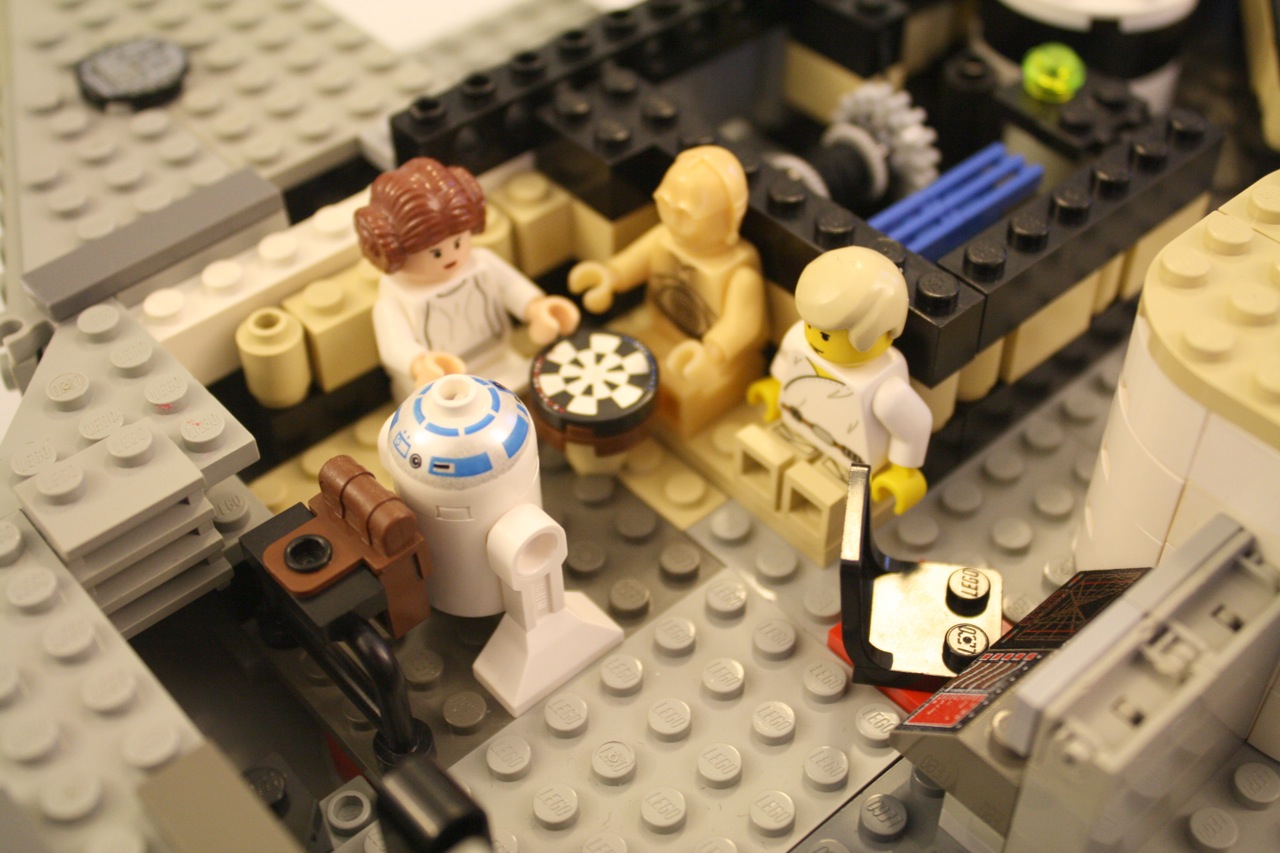
Below, a detailed shot of the crew area and Dejarik table and navigational computer.
Below, a detailed photograph of the main engine and its support structure, integrating it into the framework of the space craft.
Building my custom version of the 7190 Falcon model is something that I’ve wanted to do ever since I first owned the 7190 when it first came out at the end of the twentieth-century. The nice thing about Lego is that I can continue changing and altering the design as my imagination shifts and permutates.
Besides the awesomeness of building with Lego bricks, you may be wondering why I have devoted a good deal of space to my Lego work on dynamicsubspace.net. This is something that I am continuing to work on, but I see Lego as a transitional example of what Haraway calls the Informatics of Domination. Lego serves as a metaphor for the dilemma and its solution. Lego is a double edged sword, swinging both ways, but holding a promise greater than its representative ills. Expect to read more about these ideas in the near future.
Below, I have included a gallery of more images of my custom 7190 Millennium Falcon. Enjoy, and thanks for visiting.