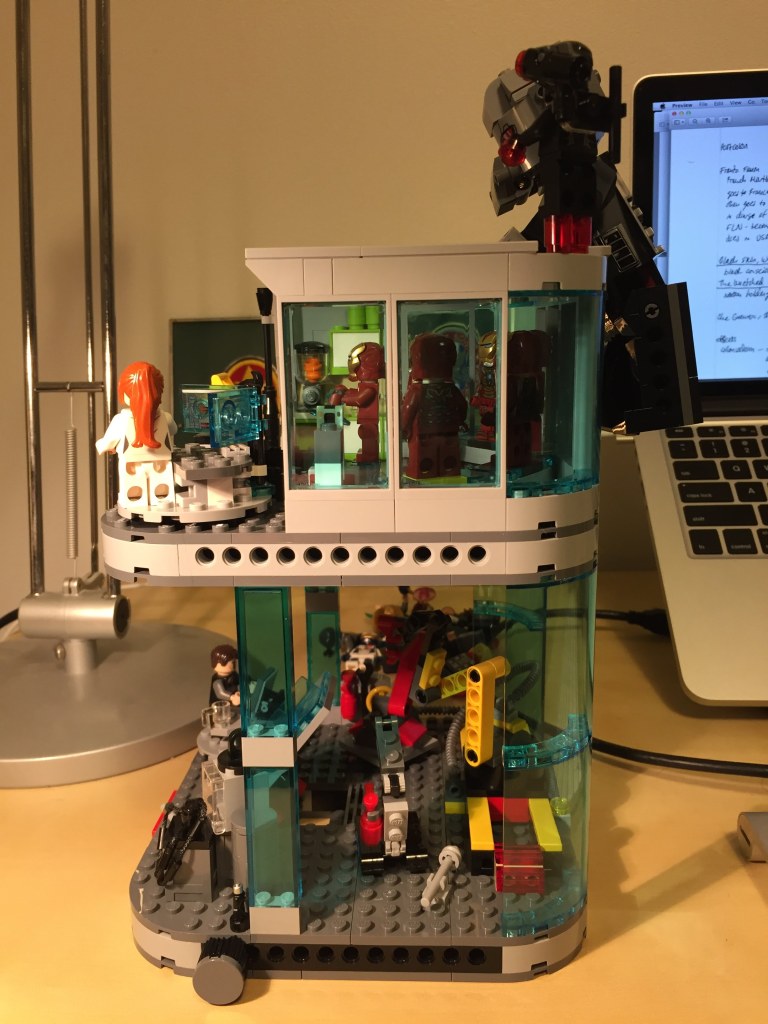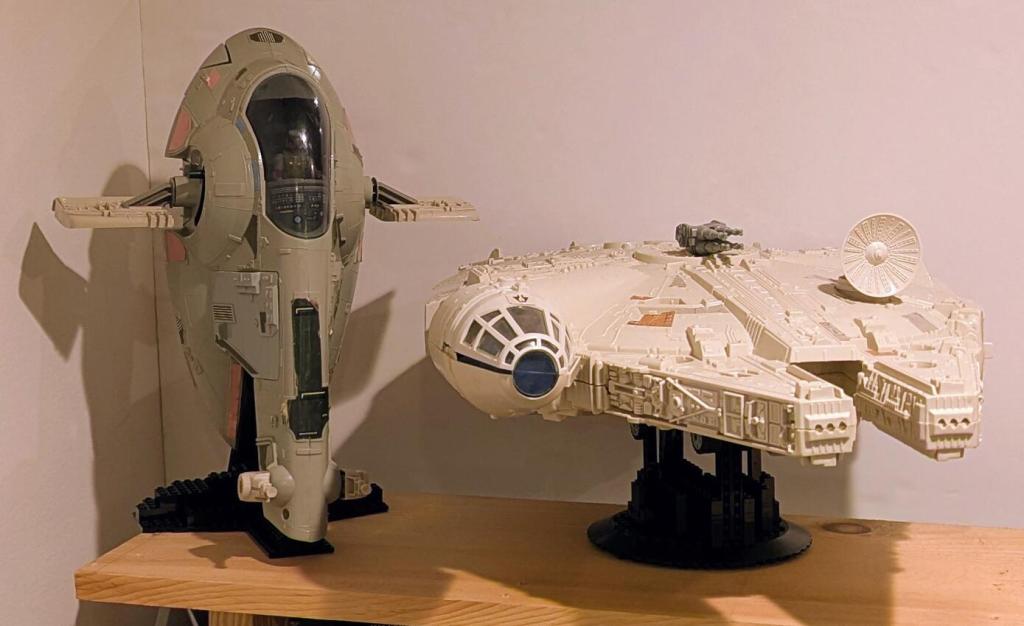
I wanted to display my Kenner Millennium Falcon, which I’ve had for awhile, and my recently acquired Slave I on a shelf above my desk at home. While I liked seeing them on the shelf above my desk–Falcon with gear down and Slave I resting on its base–I thought displaying them in flight would look a lot cooler. There are aftermarket displays, including some nice ones that are clear acrylic, but since I have so much LEGO on-hand, I figured I should use what I have instead of purchasing something new. Below, I’m including detailed photos of each stand in case you are interested in building your own.
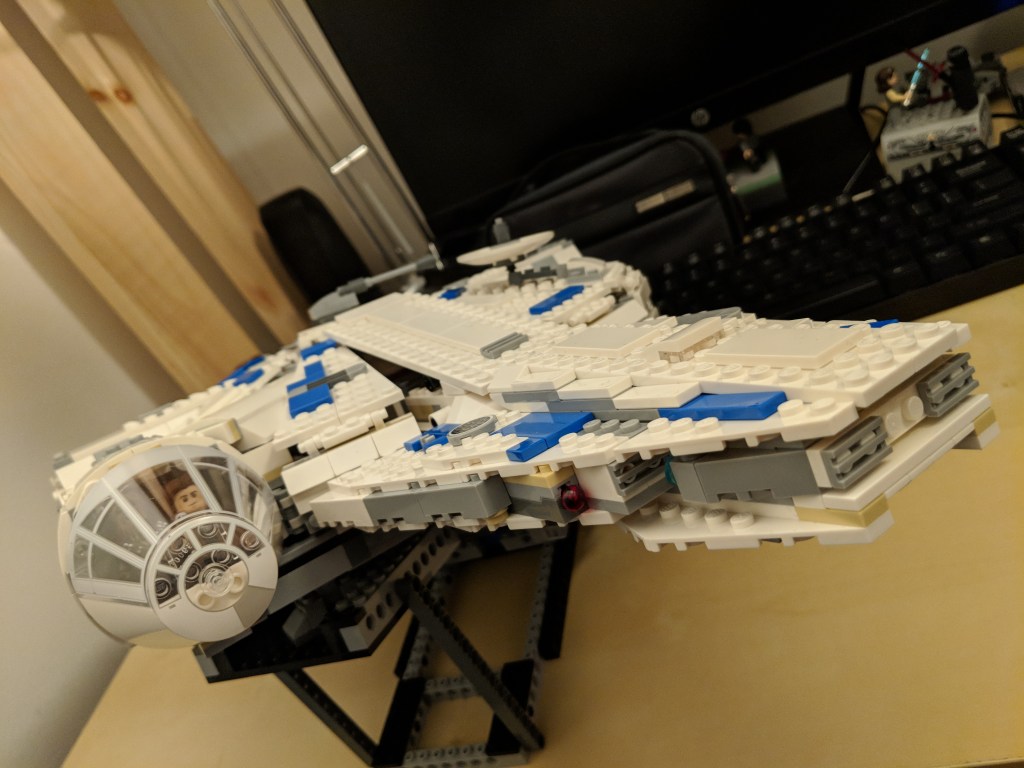
LEGO Flight Display Stand for Kenner Millennium Falcon (1979)
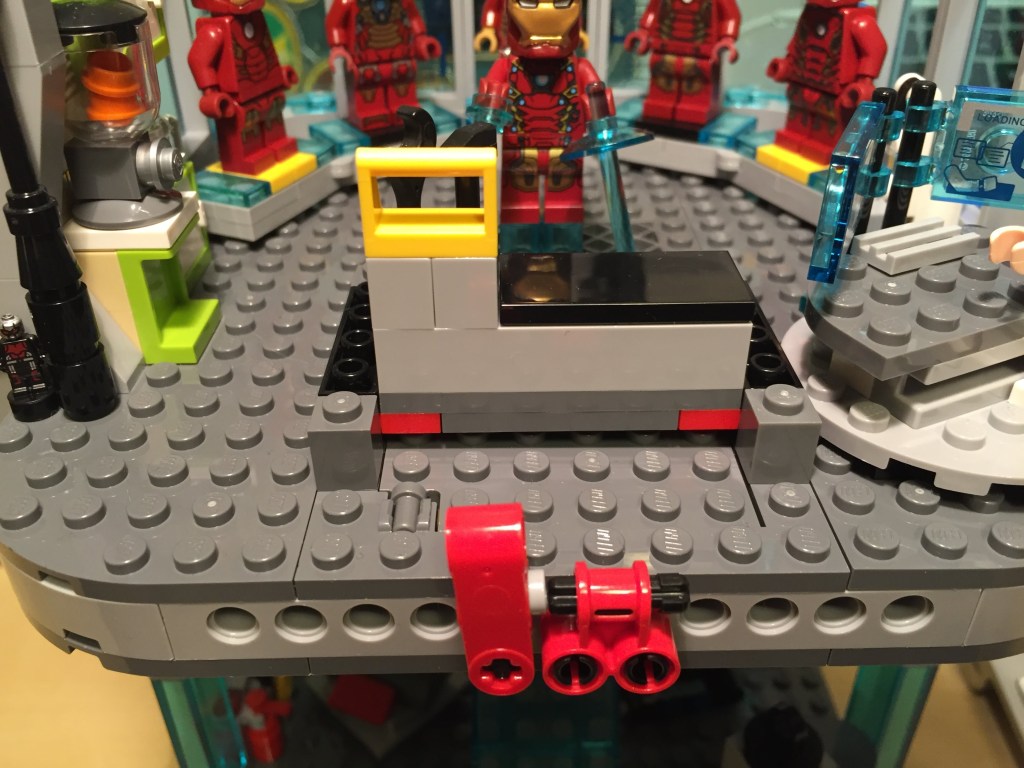
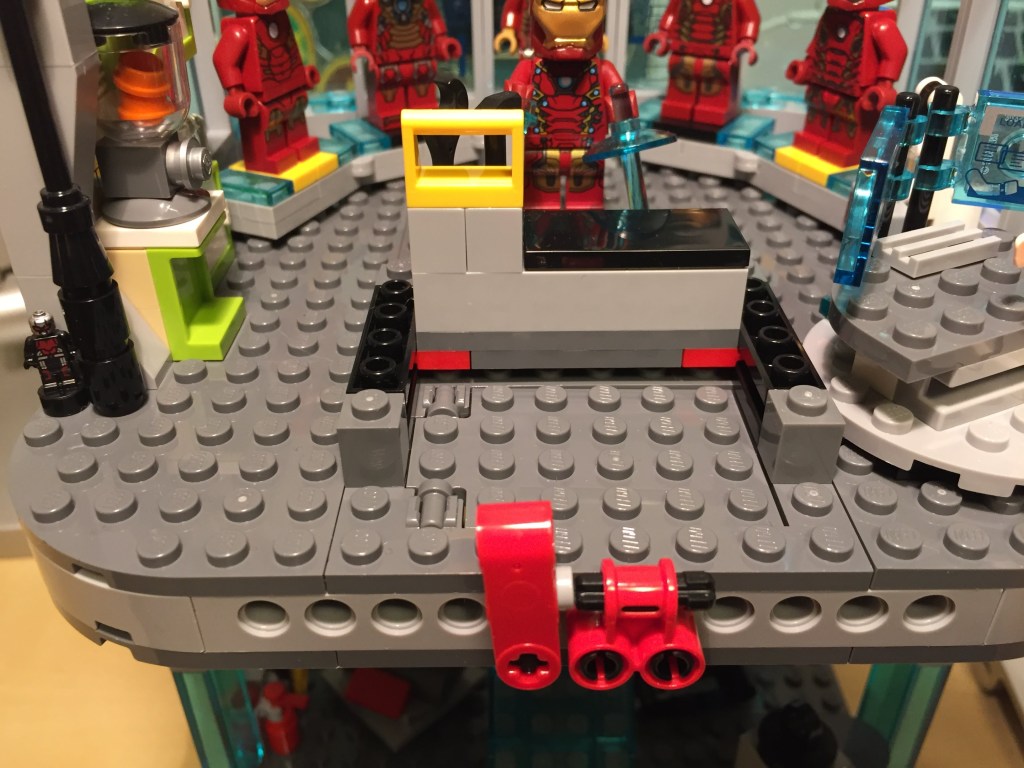
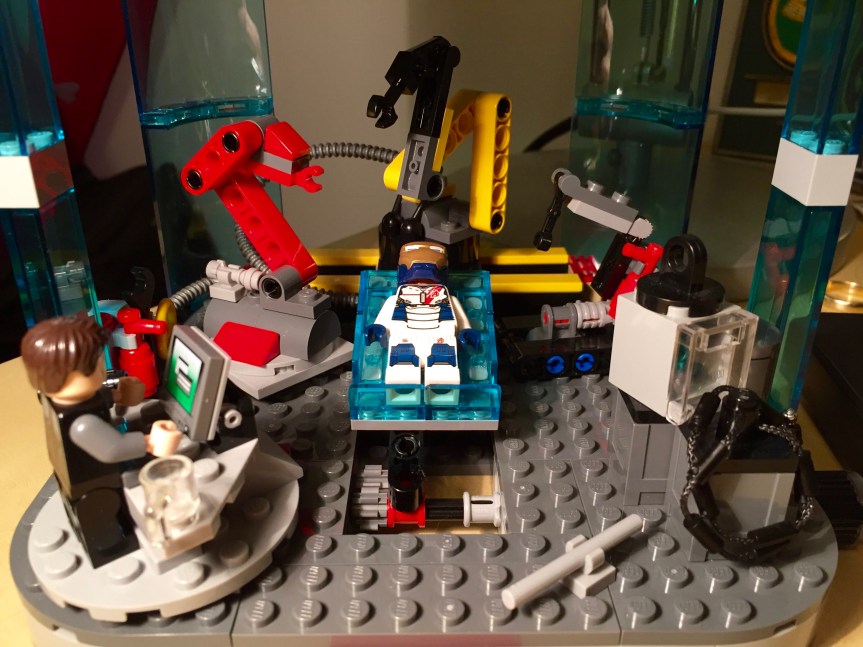
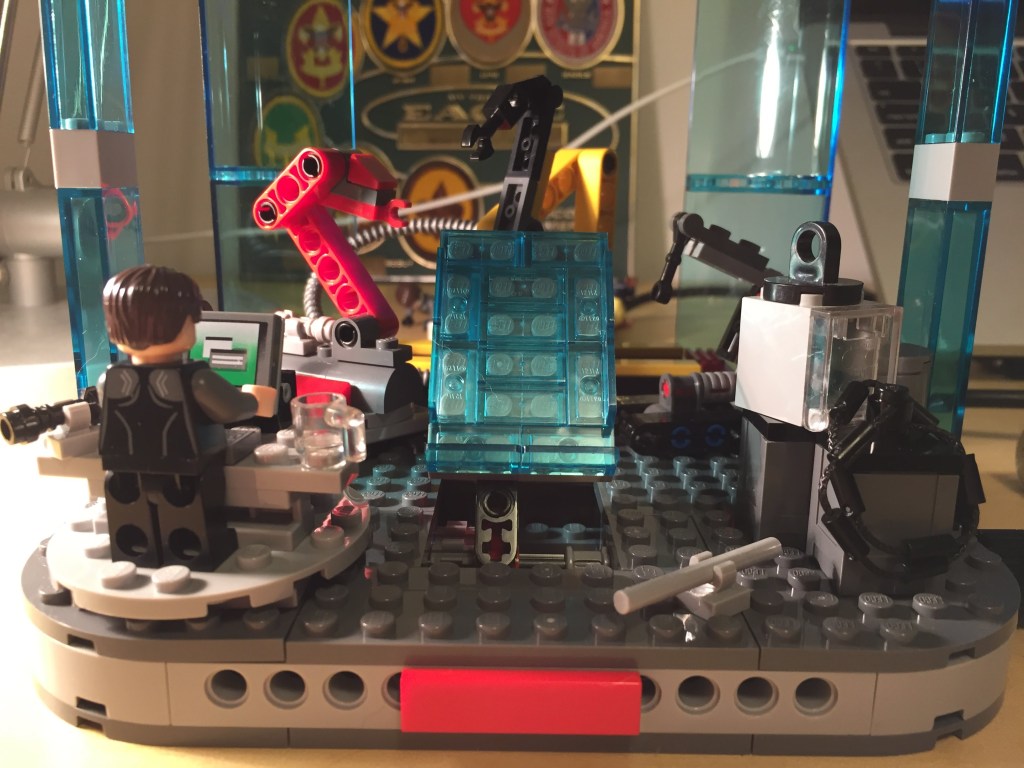
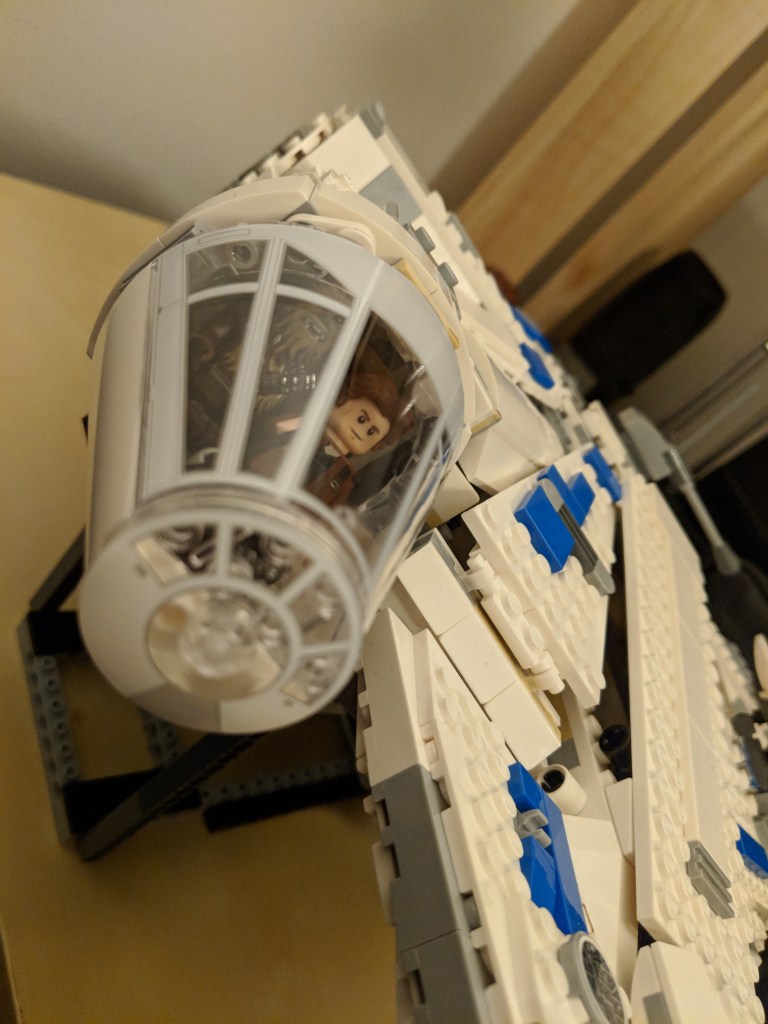
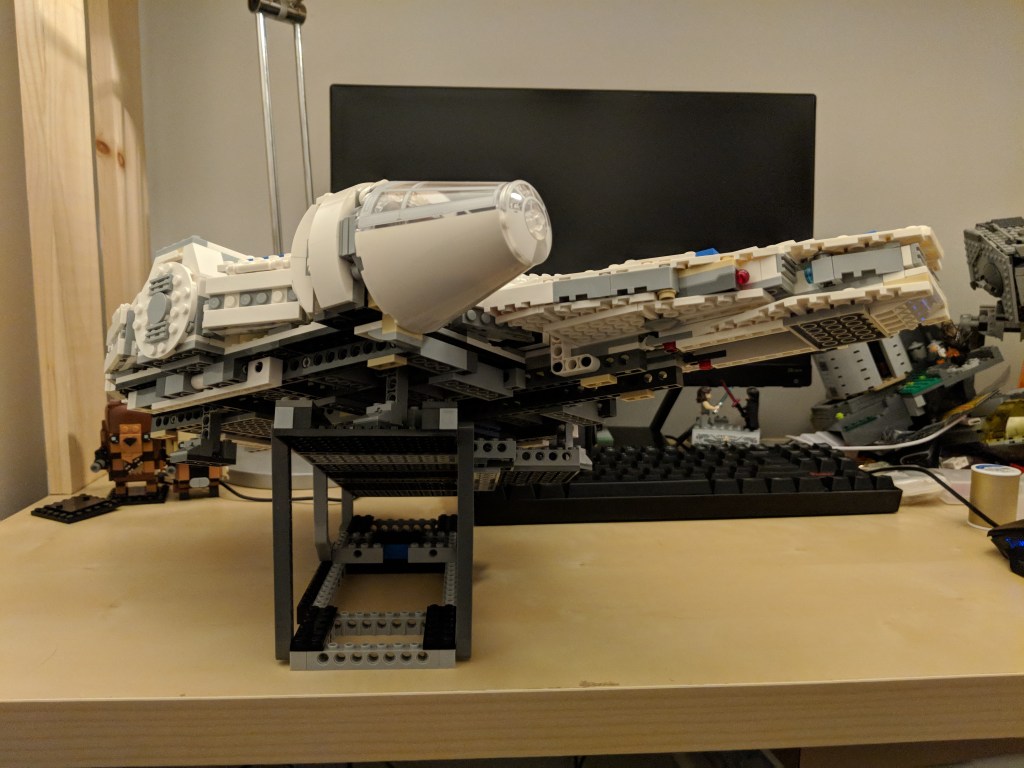
The Falcon display stand presented an interesting problem. Due to its asymmetrical design (with cockpit stuck off on its forward right quadrant), getting it to balance from the center gunner platform was difficult. Also, I didn’t want to build the stand with a wider width so that I could avoid putting any weight on the fragile loading ramp piece. A very simple solution presented itself when I ran out of single-stud wide tires. Putting a two-stud wide tire on the front support arm in the direction of the cockpit substantially balanced the Falcon so that it doesn’t wobble or move on the stand at all even while I’m typing on my keyboard below it on my desk.


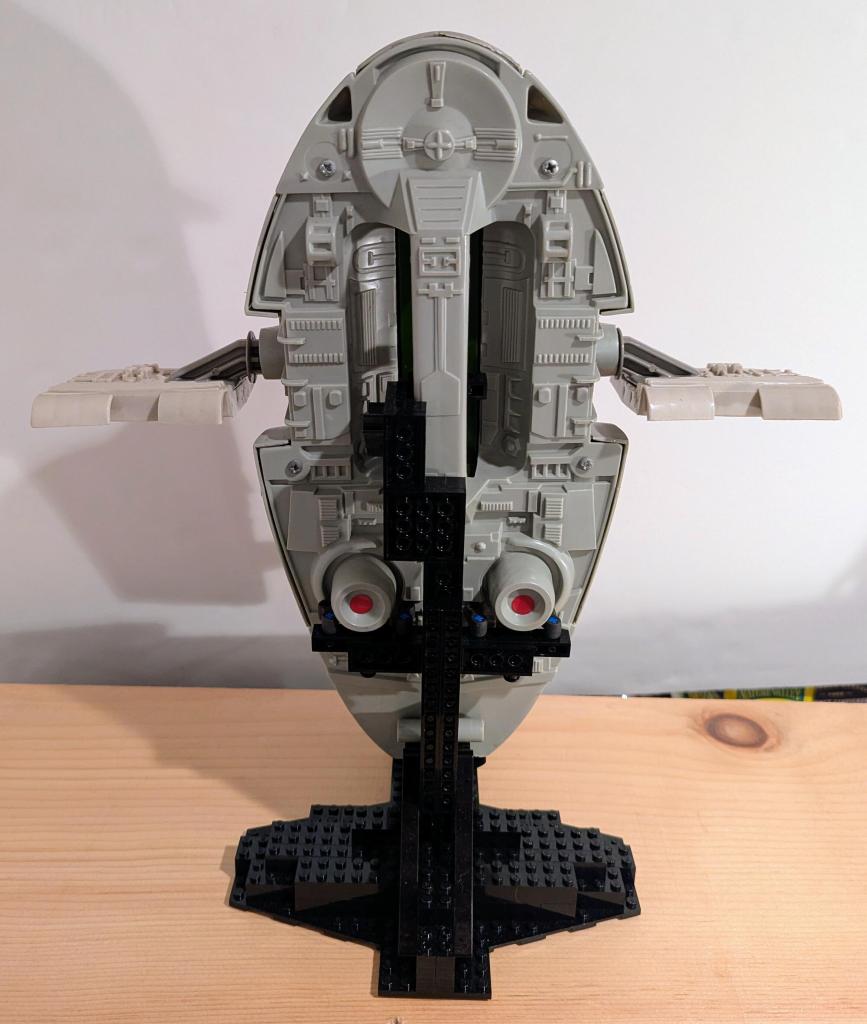
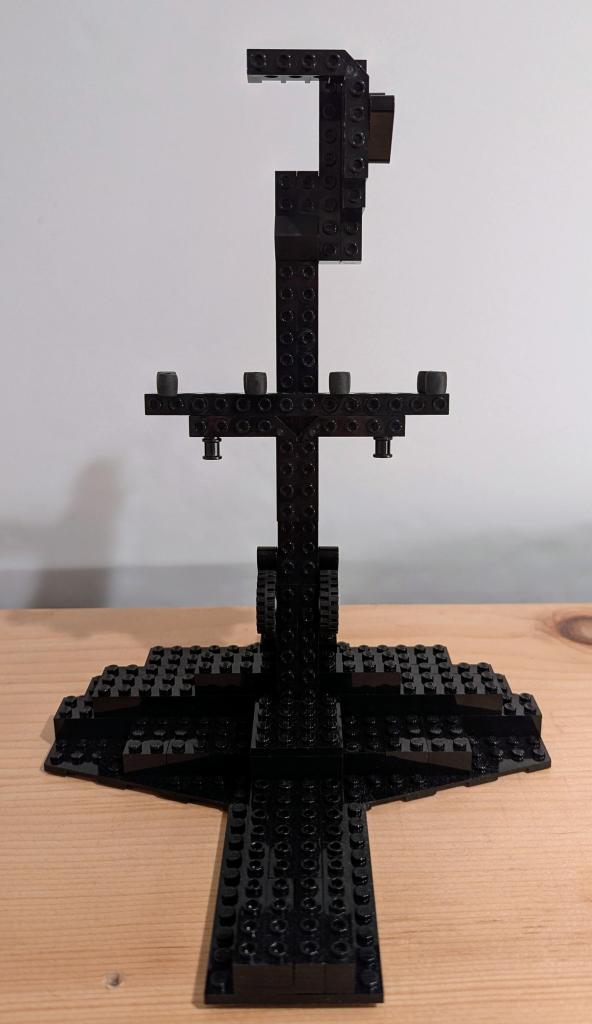
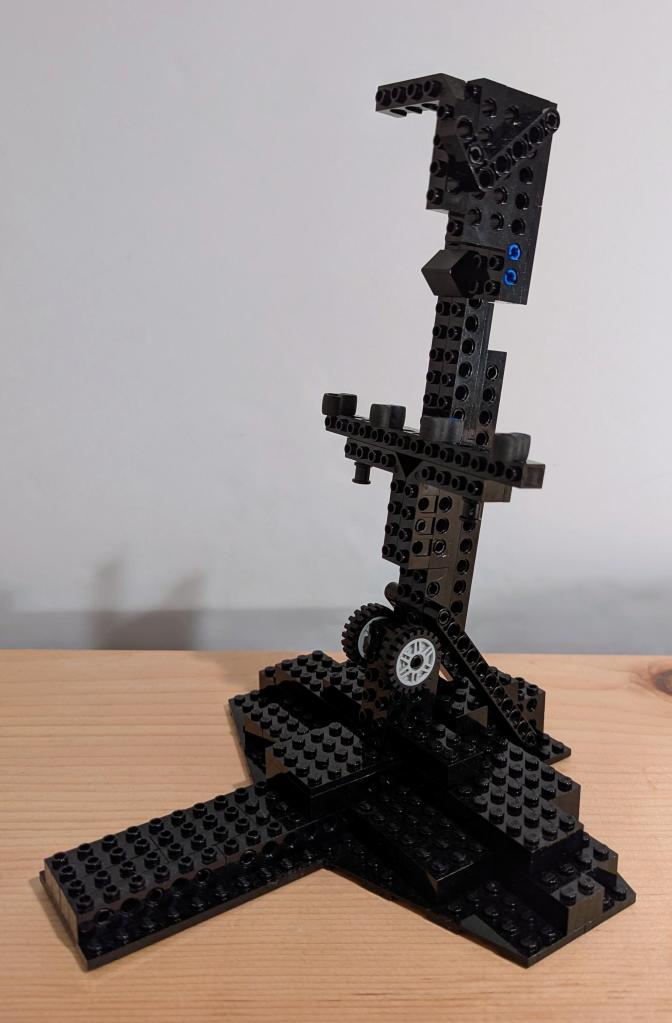
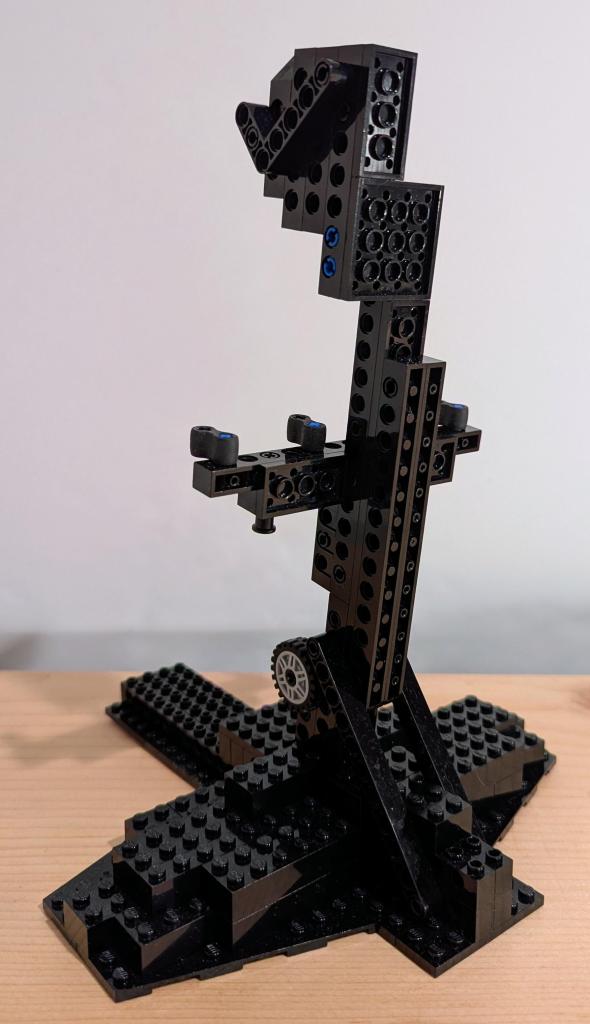
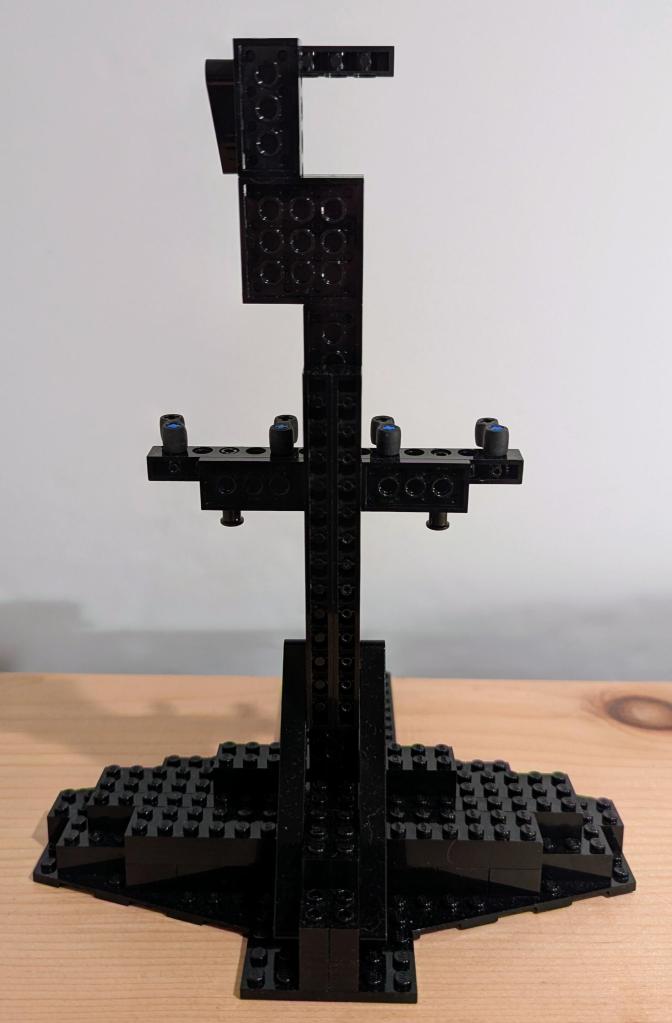
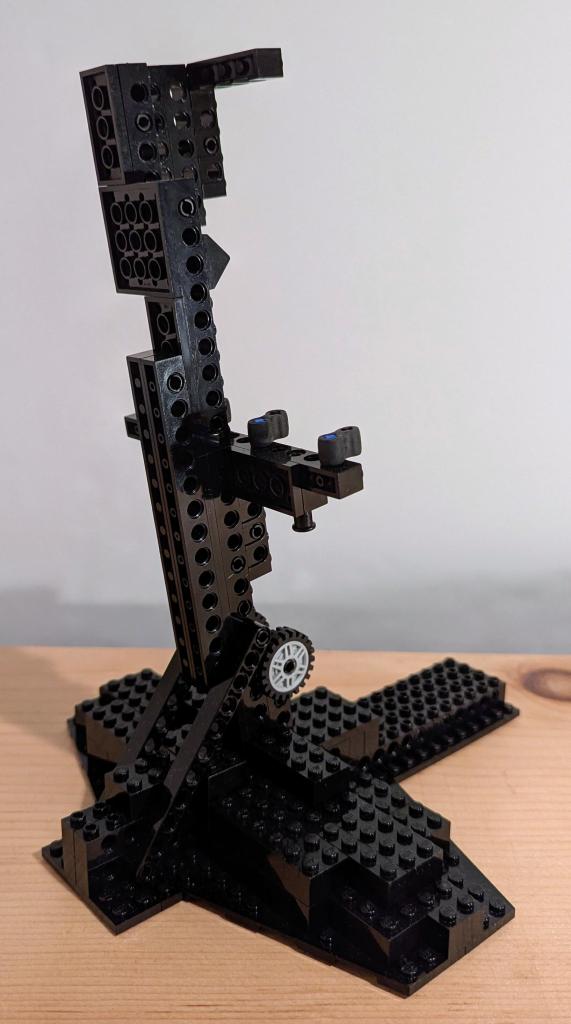
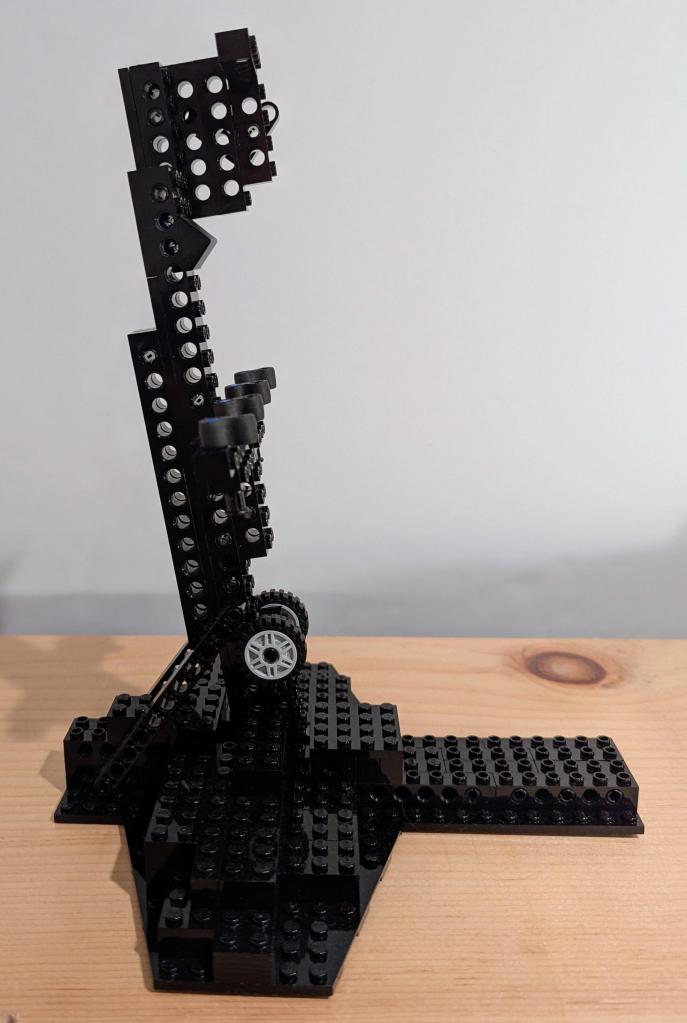
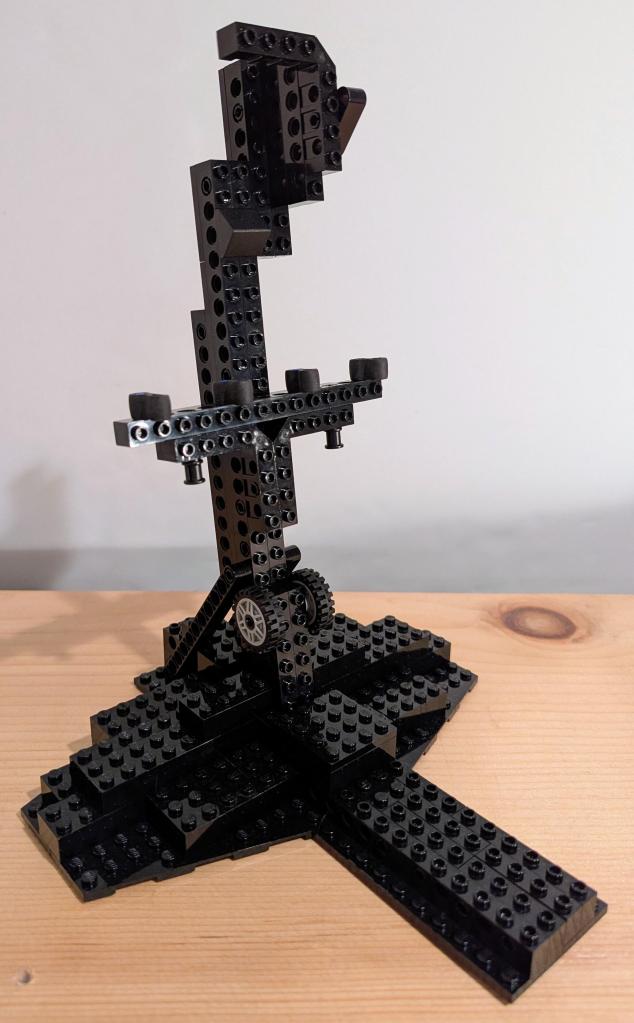
LEGO Flight Display Stand for Kenner Slave I (1981)

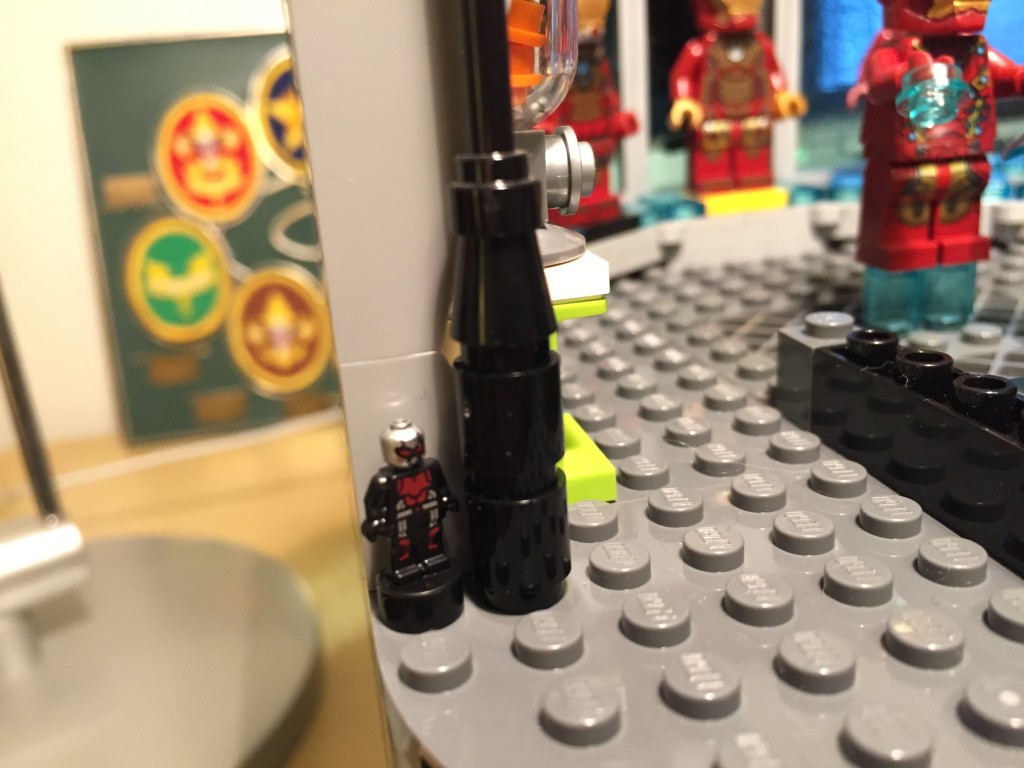
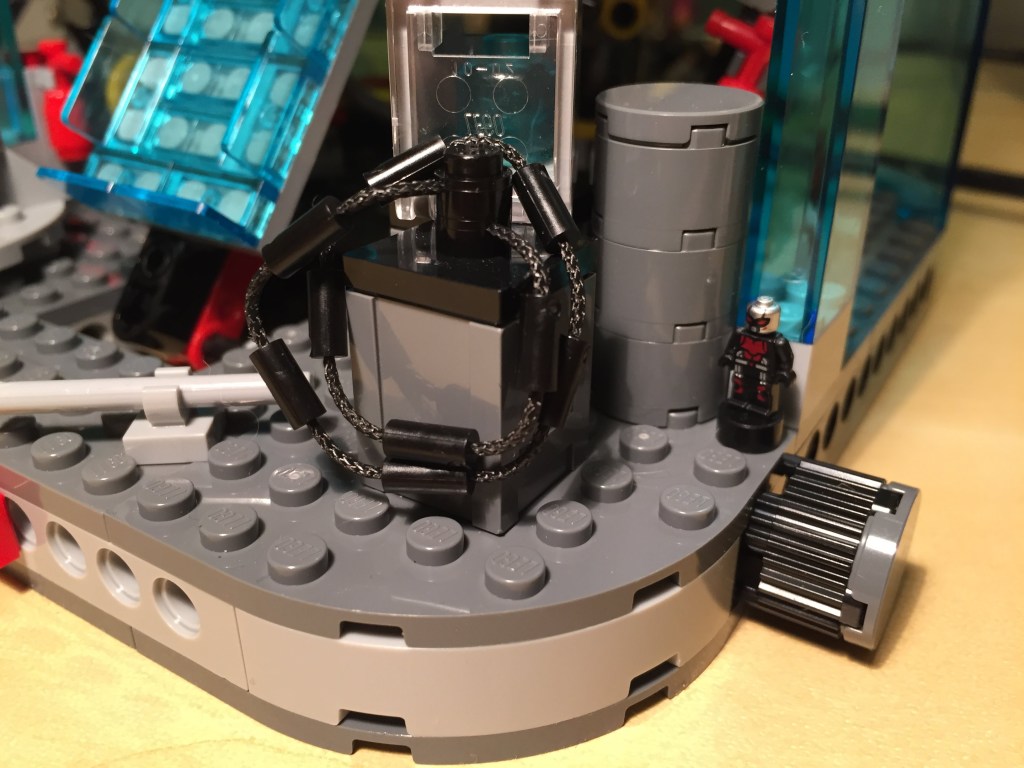
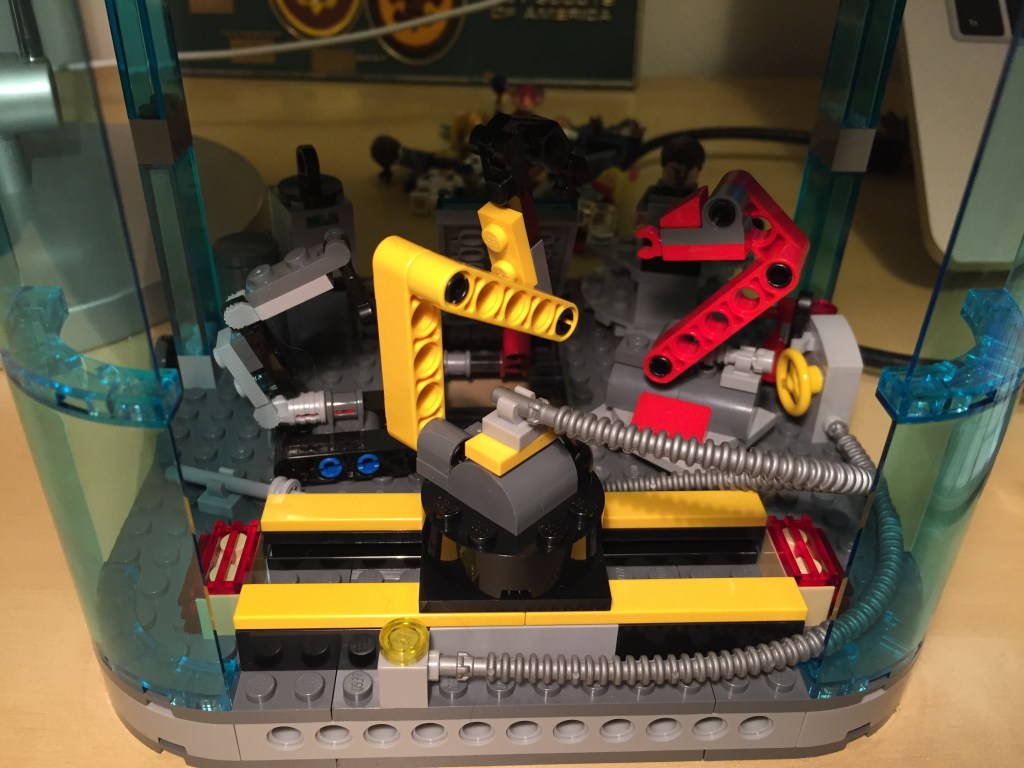
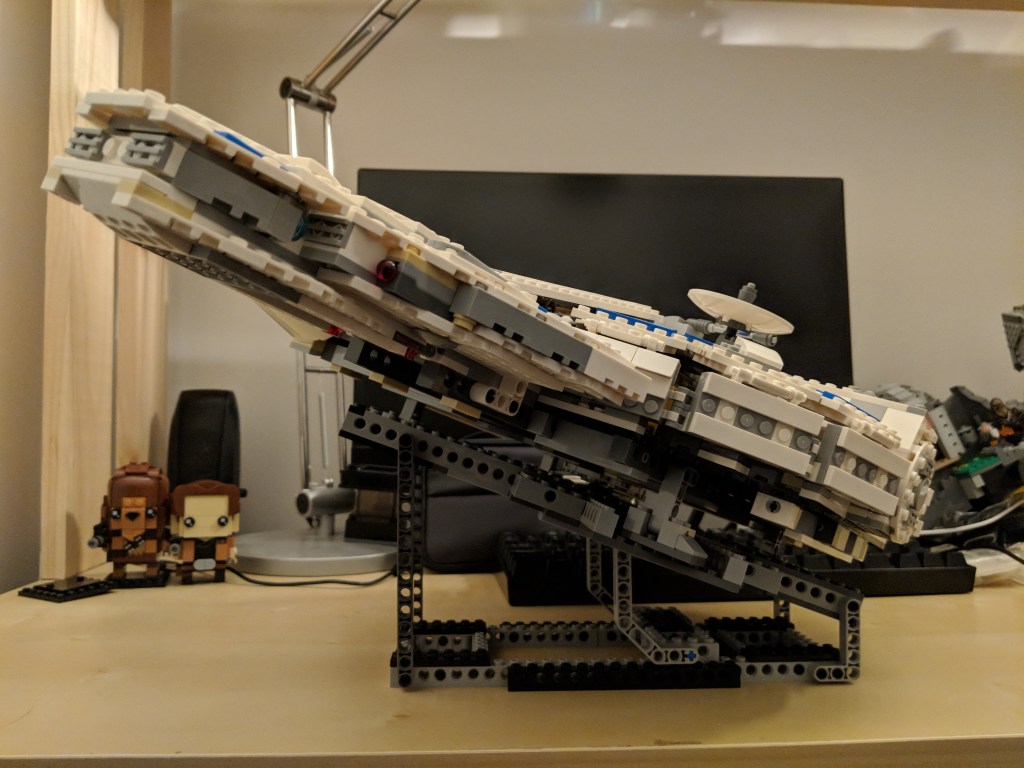
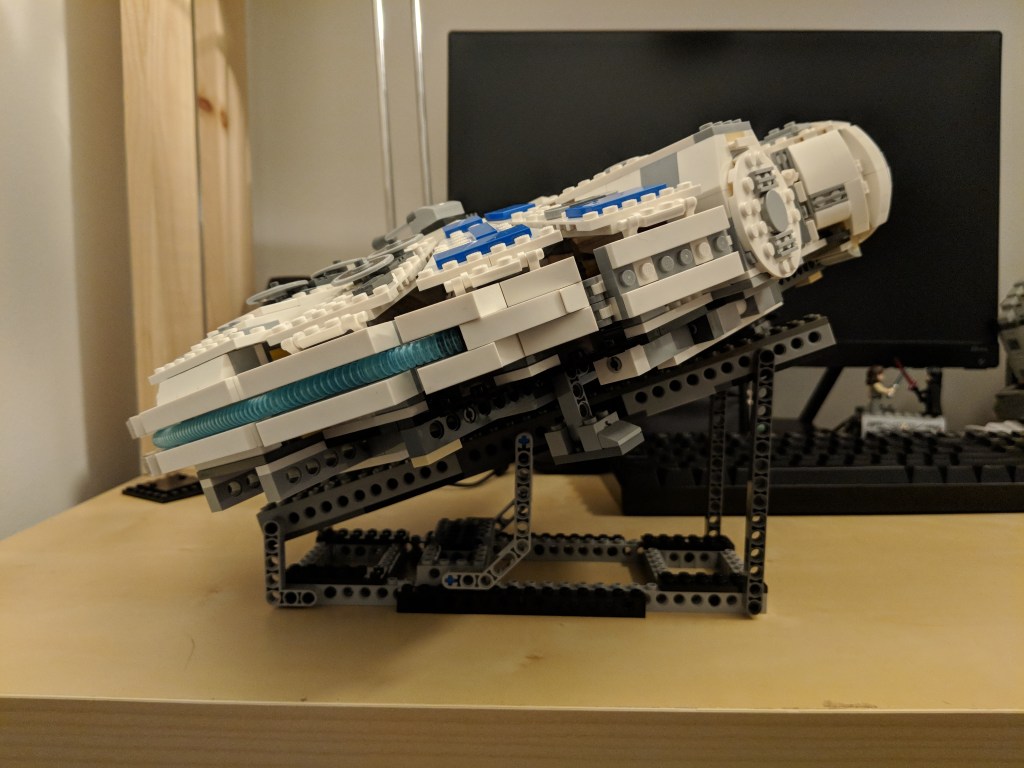
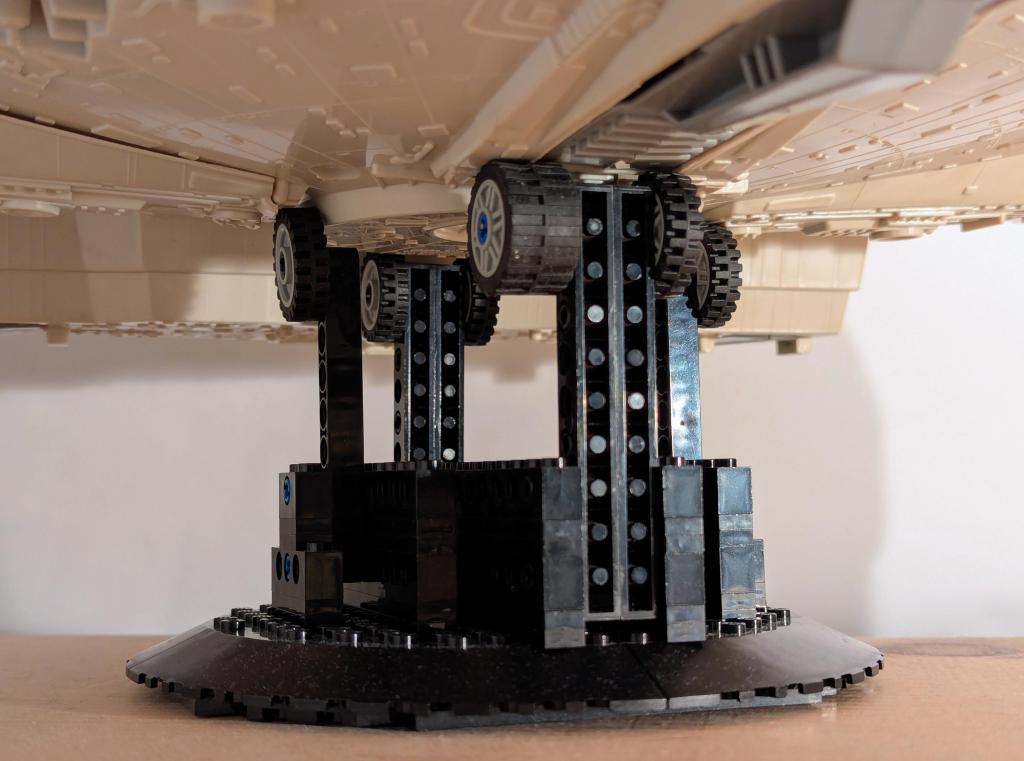
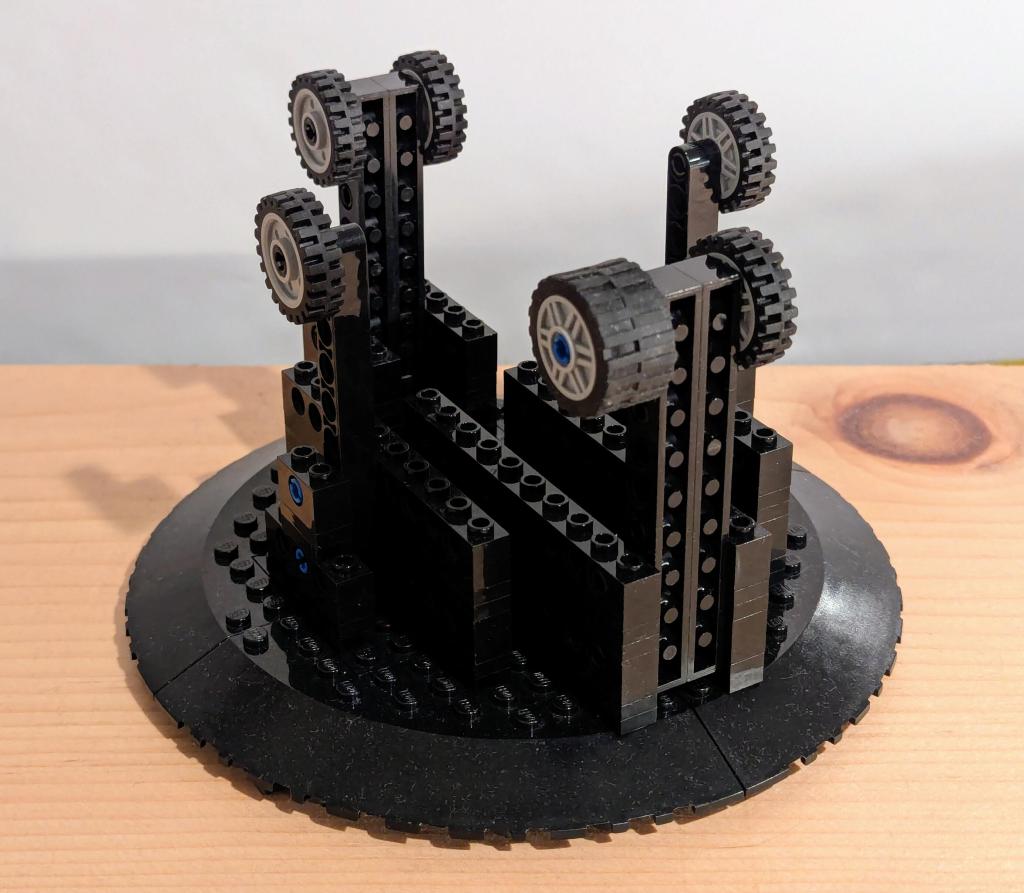
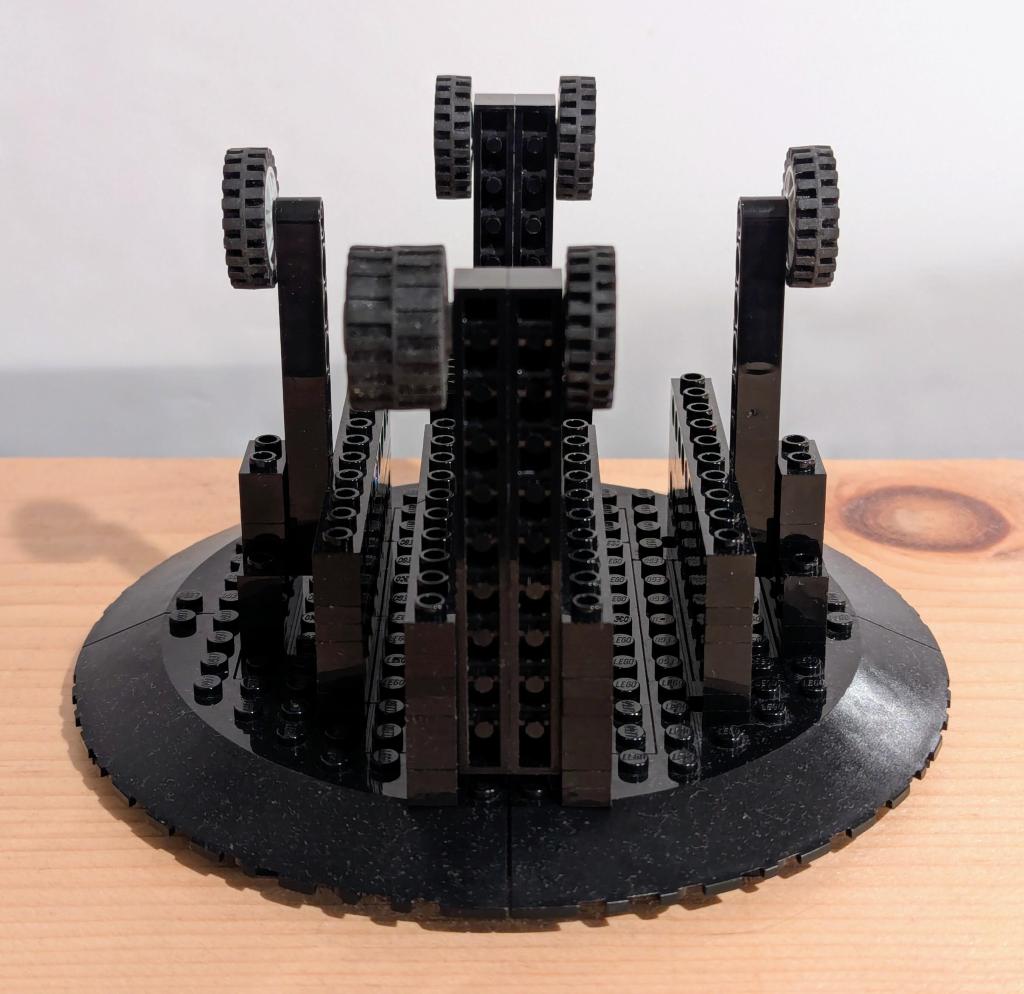
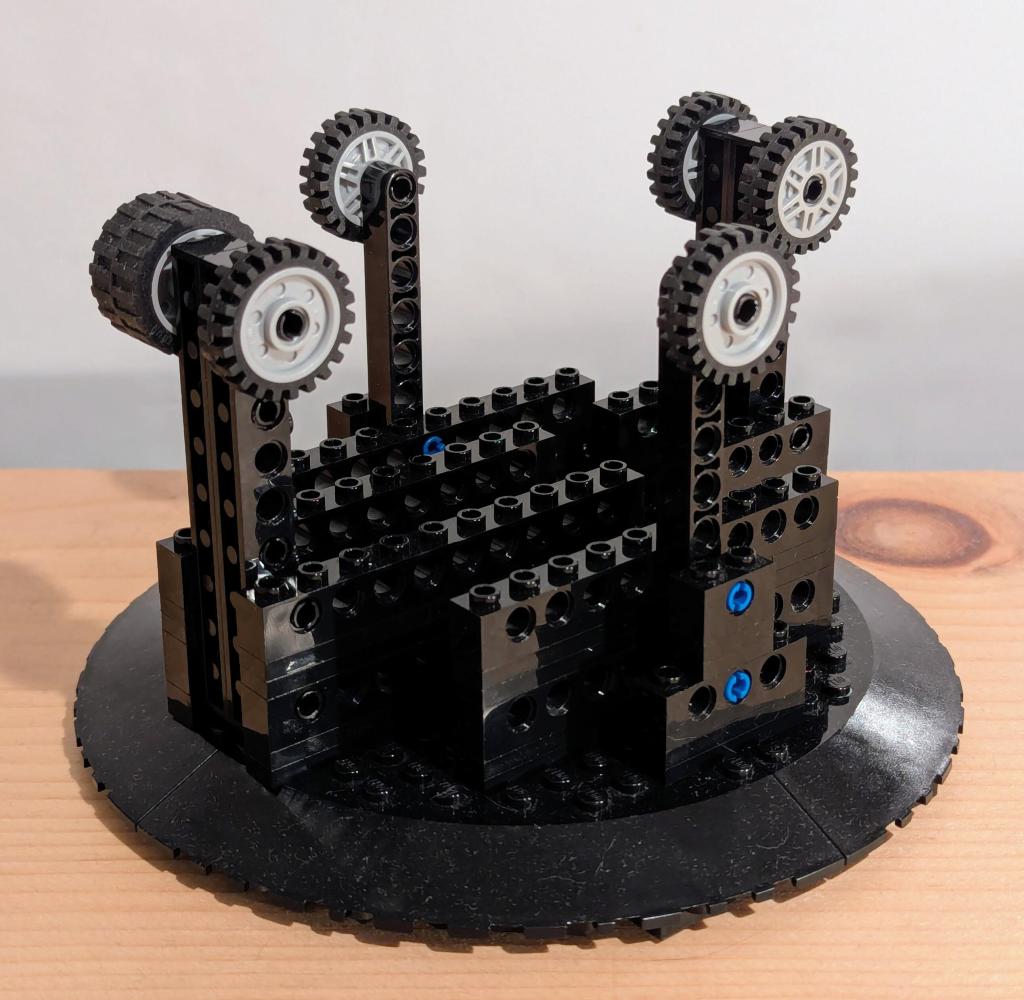
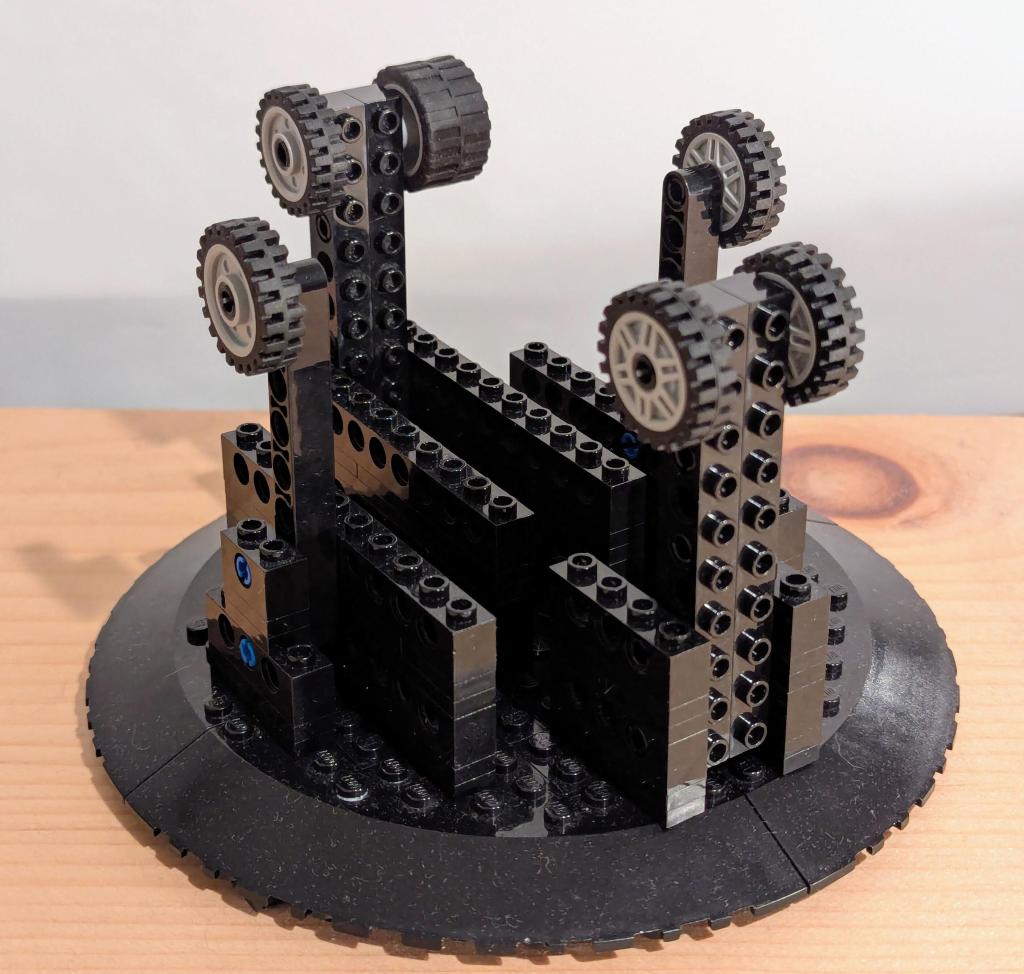
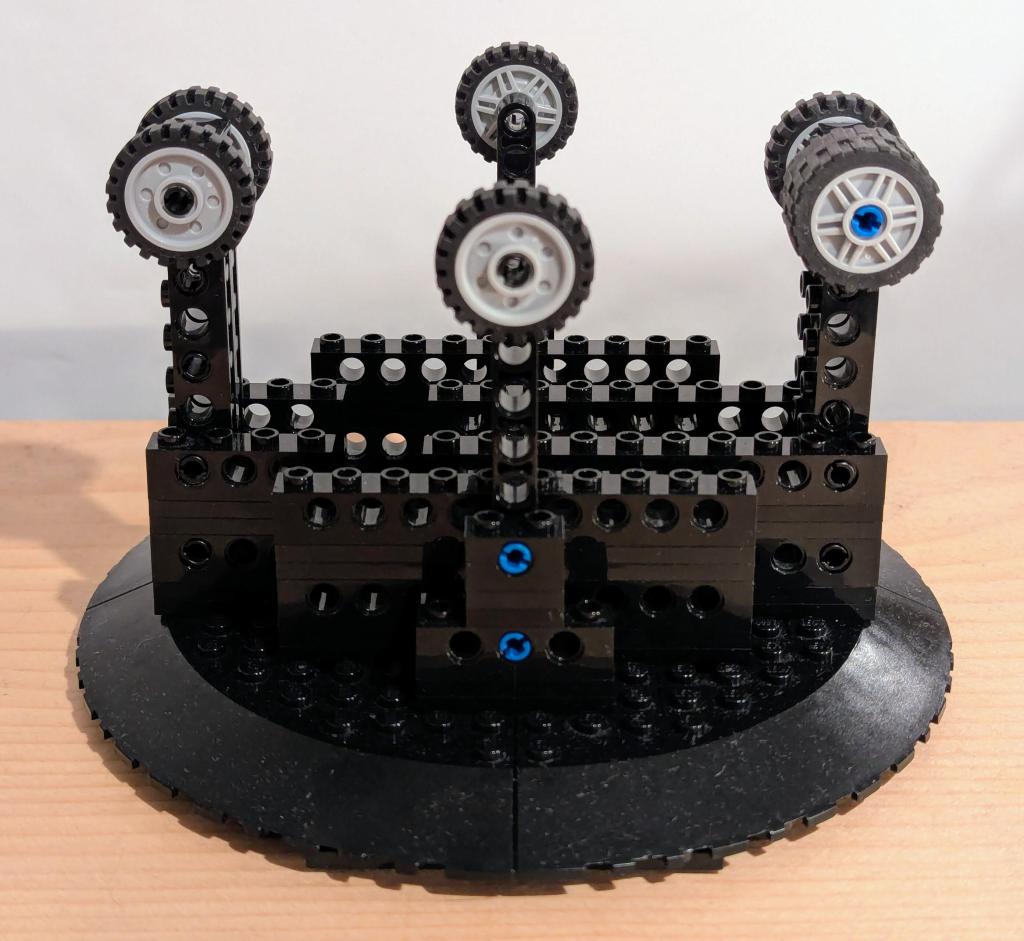
Slave I’s unique design presented its own unique challenges for building an in-flight display stand. It is designed to be in flight mode by someone grasping the handle on the back of its base. The straight forward approach would be to build a long arm with a hook or some assemblage to “grasp” around the handle. When I was testing this out, I didn’t have enough long black 1 x n Technic bricks to construct a stable and supported arm (needing at least a sandwich of Technic bricks over and under a 2 x n plate).
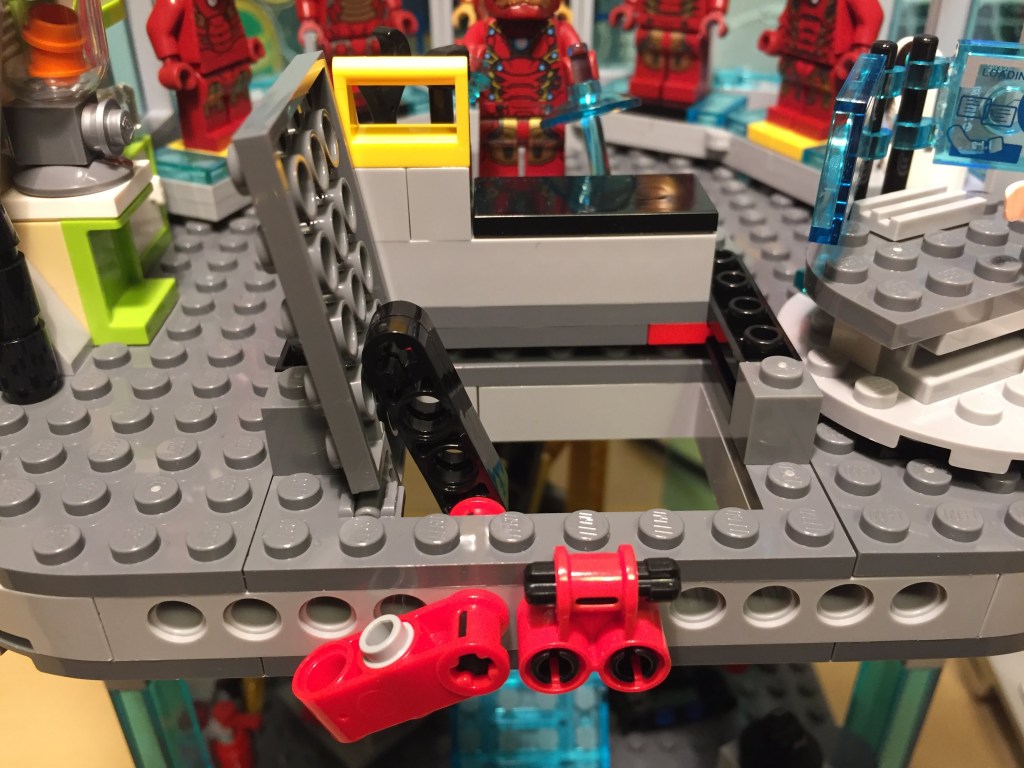
I opted to build a shorter support arm that would contact with Slave I in three places–hook around the bottom of the handle for stability, 4 x Technic, Axle Connector Double – Flexible Rubber holding the weight under the two bottom engine exhausts, and two 1-stud wide tires under the screw assembly that holds the base at the loading ramp together.
Due to its center of gravity, I angled the arm back a couple of degrees and built the display stand’s base wide, short in the back, and long in the front.