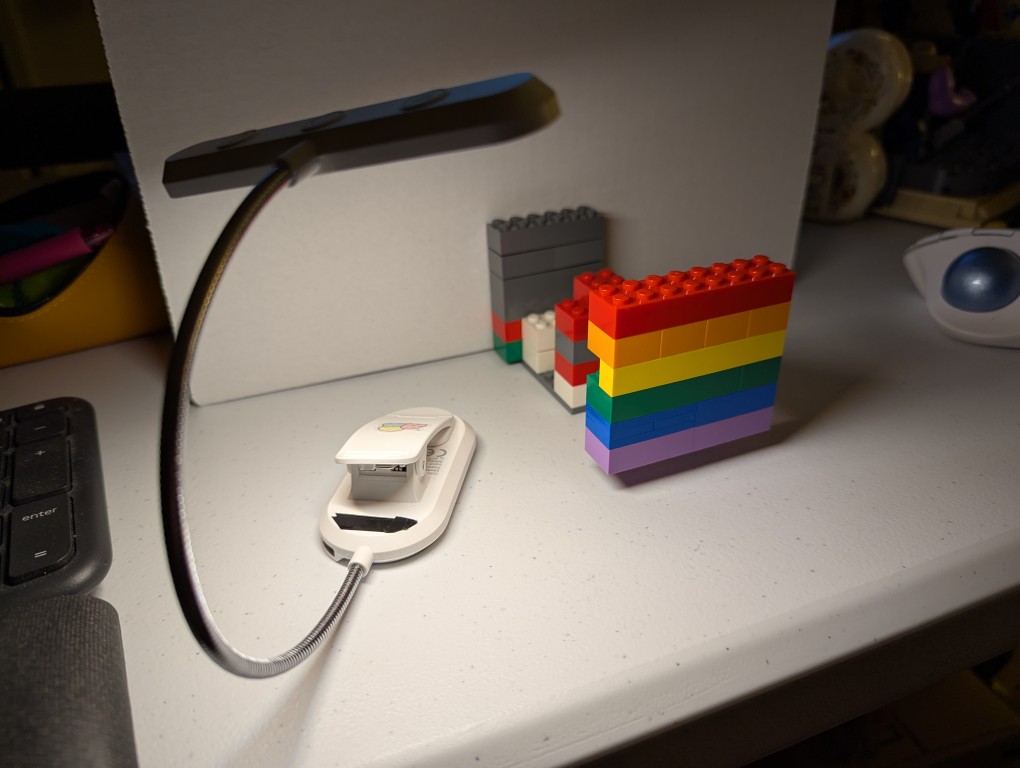
To create the photo, I first dug through my boxes of LEGO to find 8 stud wide bricks that matched as close as possible to the Rainbow Flag’s approximation of ROYGBIV: red, orange, yellow, green, blue, and purple.
My first shots had the flag resting on the table some distance in front of a white cardboard box, which served as a neutral background. For lighting, I held a USB rechargable book reading light belonging to Y just above my smartphone to avoid casting a shadow from the camera.
I didn’t like how these turned out, because the flag was kind of boring just sitting there. So, I thought about levitating it like in Monday’s post.
To levitate the flag, I built a counter-weighted assembling of 6-stud wide bricks with an armature that connected behind the yellow bricks in the Pride Flag. I built this armature one brick higher than the flat to give it the illusion of floating in midair.
I mentioned this to my students the other day, but I wasn’t able to find a photo of what I was talking about. Now I have, so I’ll show it to them in class tomorrow.
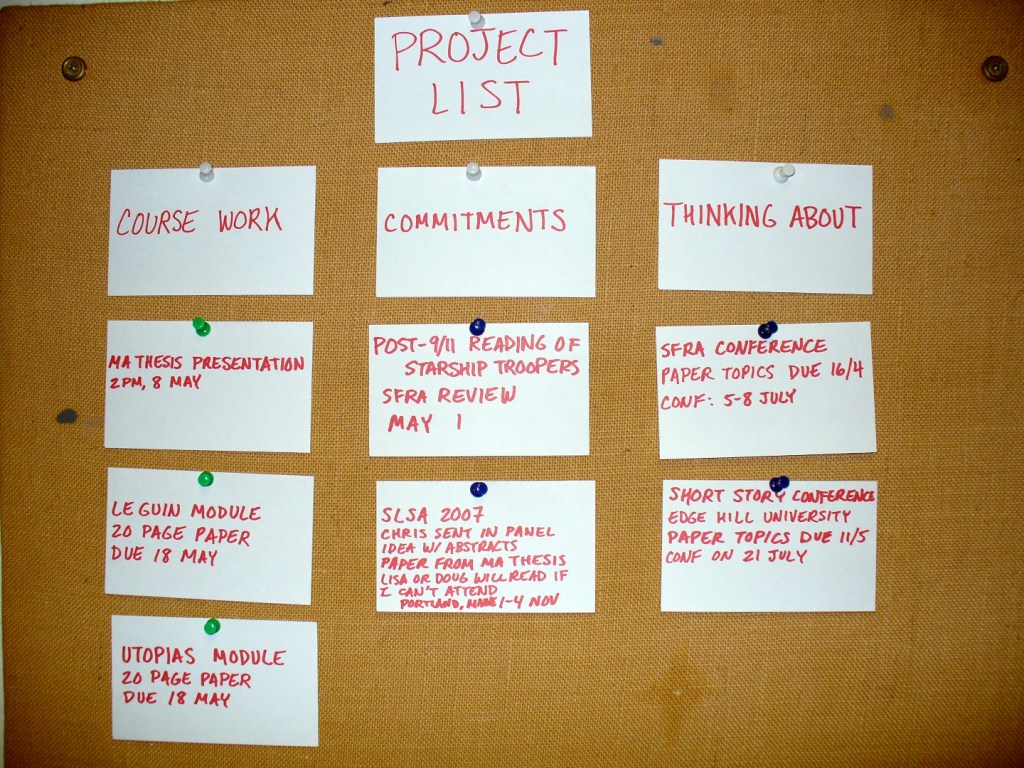
This is my project board while I was an MA student at the University of Liverpool. My monk’s cell had a felt-covered corkboard that I repurposed as a project scheduler by writing upcoming work and ideas on 3″ x 5″ index cards and pinning them into one of three columnar categories: Course Work, or assignments and readings in my classes; Commitments, or work product deliverables like writing a book review or preparing a conference presentation; and Thinking About, or projects and ideas that I was considering but hadn’t committed myself to yet.
This board was the key to my academic success at that time, because it gave me a way of tracking the work that I had coming up and I could see at a glance from my desk what needed to be prioritized to keep my output going.
Over time, the board became quite full of index cards. It was always satisfying to take a card off the board when that task had been completed.
Using a daily planner or a calendar app can serve a similar purpose. Whatever method and tool that works best for you, make a commitment to stick with it so that it can keep you on track for success.
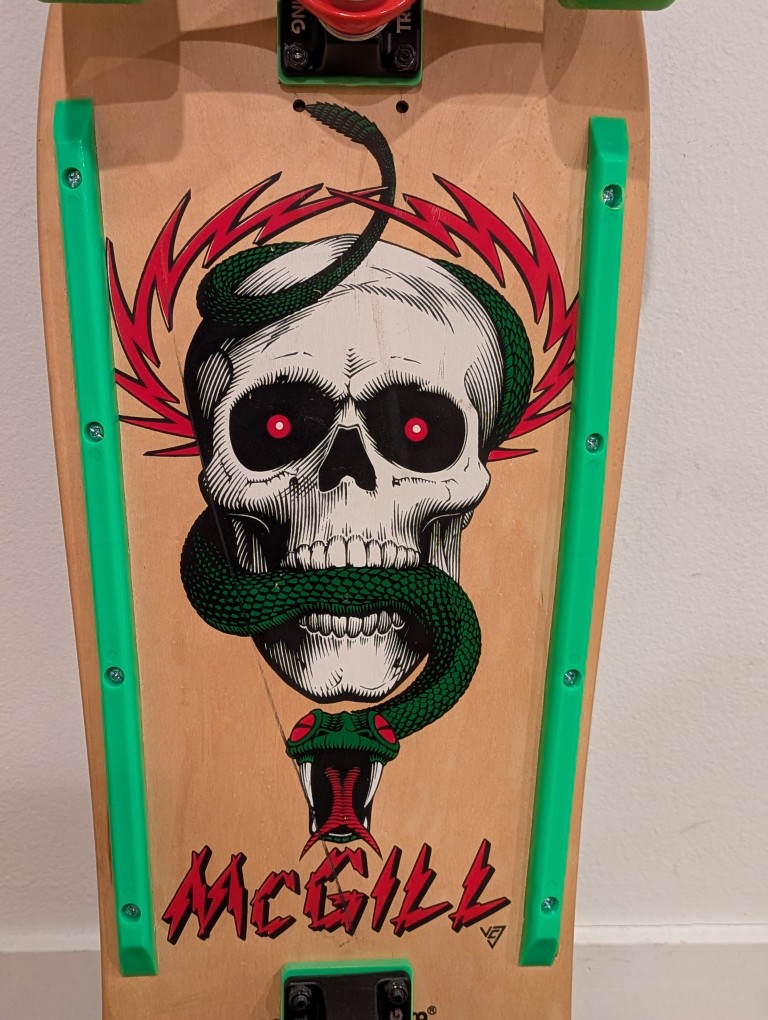
Before the tariffs (are a tax) and plummeting markets, I wanted to liquidate some of my belongings to have more cash on hand because [waves hand]. As a part of that, I sold my prized possession: a 1989 Powell Peralta Mike McGill woodgrain complete skateboard this past weekend on eBay. It’s in transit to the buyer now.
My maternal grandmother and grandfather–Wilma and Papa Gerald–gifted me the McGill after I picked it out and its hardware from a full-page mail order ad in Transworld Skateboarding magazine. Everything arrived in a big, long box. I needed help to apply the grip tape and install the trucks, wheels, and bearings. I took it out to ride as soon as it was ready.
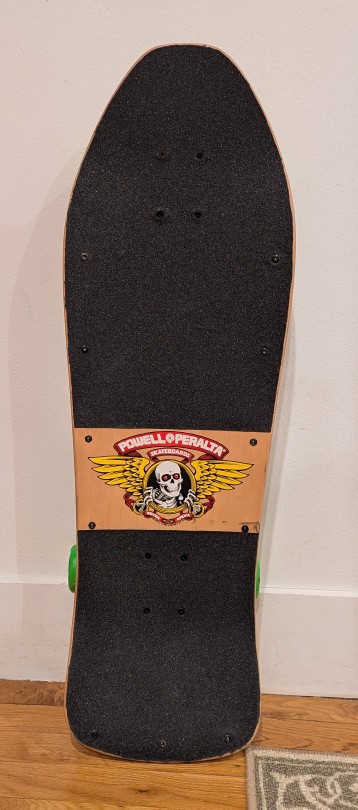
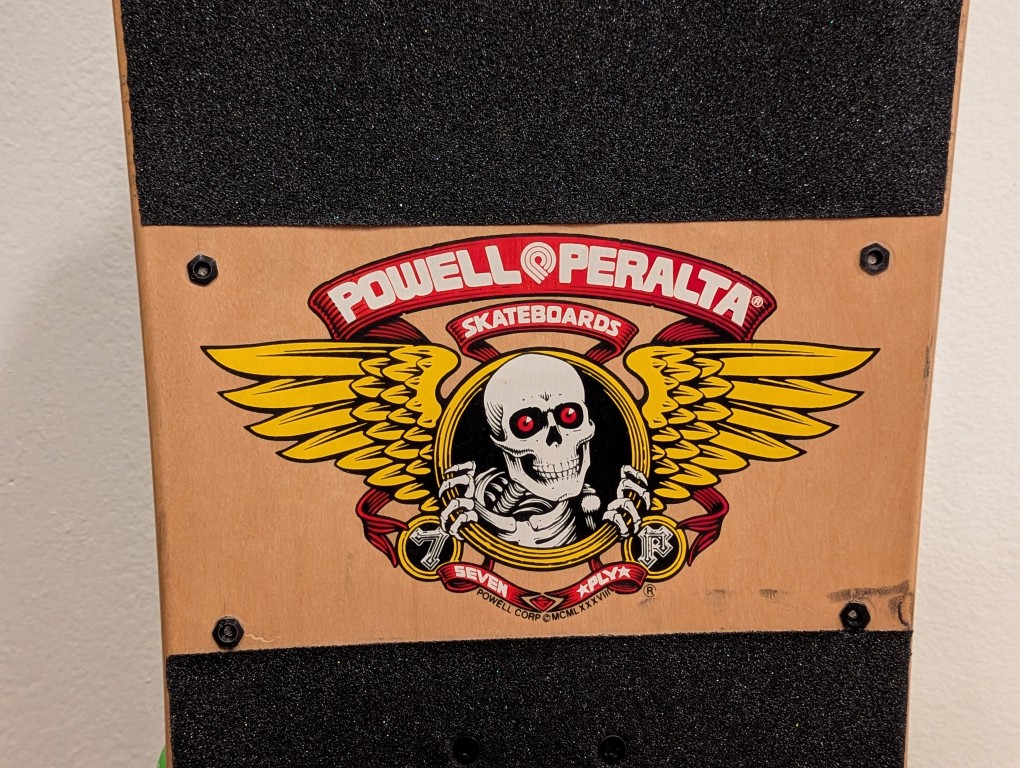
I loved the artwork of the skull and snake by Vernon Courtlandt Johnson. He did most of the major artwork for Powell Peralta during that era, including the “Ripper” logo on the top of the deck.
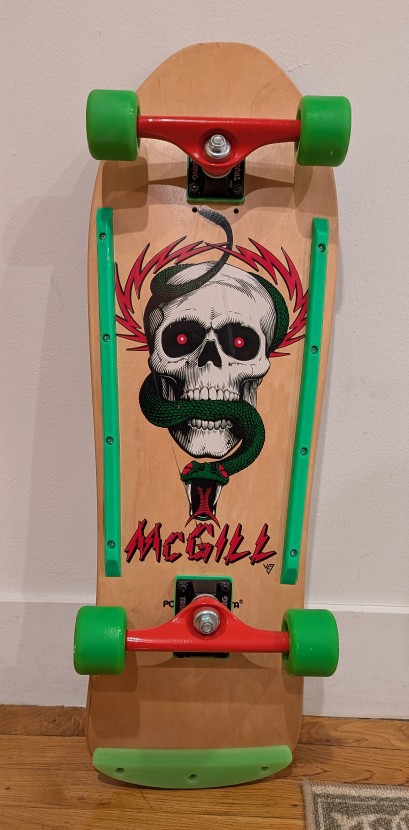
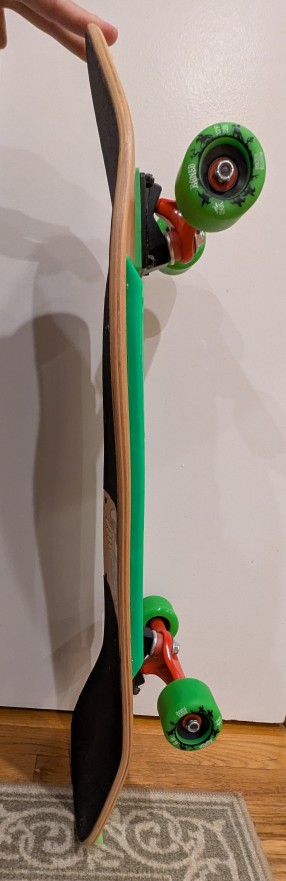
Due to the age of the skateboard deck and how it might have been stored over the years before I got it, it had developed a twist, which you can see in the picture above. While the deck is concave, toward the front of the deck, it can been seen to have a rightward twist toward the camera. It wasn’t too bad and for normal riding it probably wouldn’t be noticeable.
With this one that I assembled with new hardware, I applied the grip tap but left the Powell Peralta logo on the top of the deck exposed like I did with my original one.
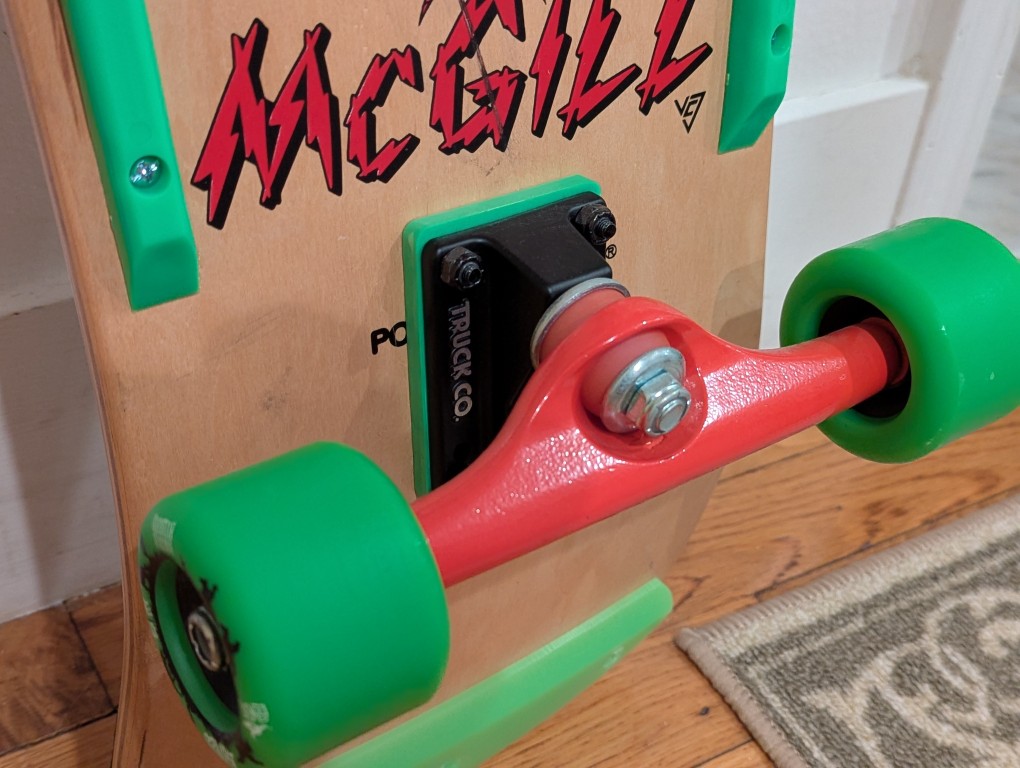
I got the same brand trucks like I used to have–Gullwing. However, I went with 9″ wide Shadows instead of the Pro III’s that I used to have. I figured that if I rode this skateboard, it would just be for leisurely getting around and therefore didn’t need something higher end. Going for a matching color scheme, I added 1/4″ risers in neon green.
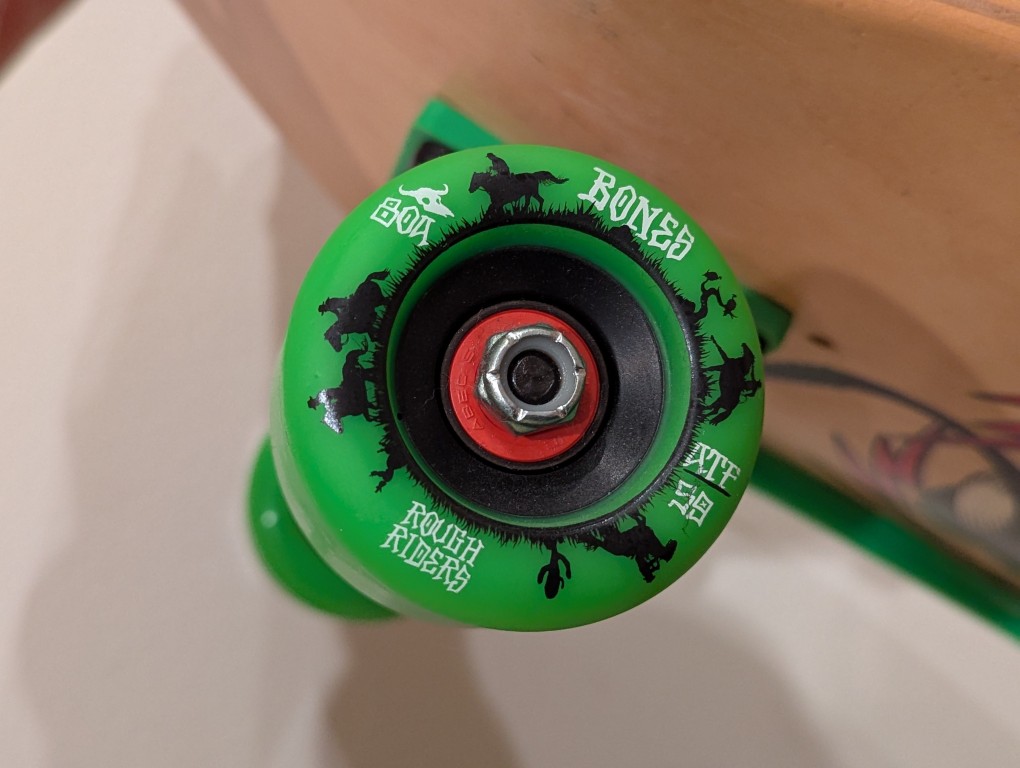
Again, thinking about how I might use this skateboard for riding on the street, I got large, soft wheels. These are Bones’ Rough Riders with a 80A hardness, 59mm diameter, and all-terrain formula. The bearings are generic ABEC5 with spacers in-between.
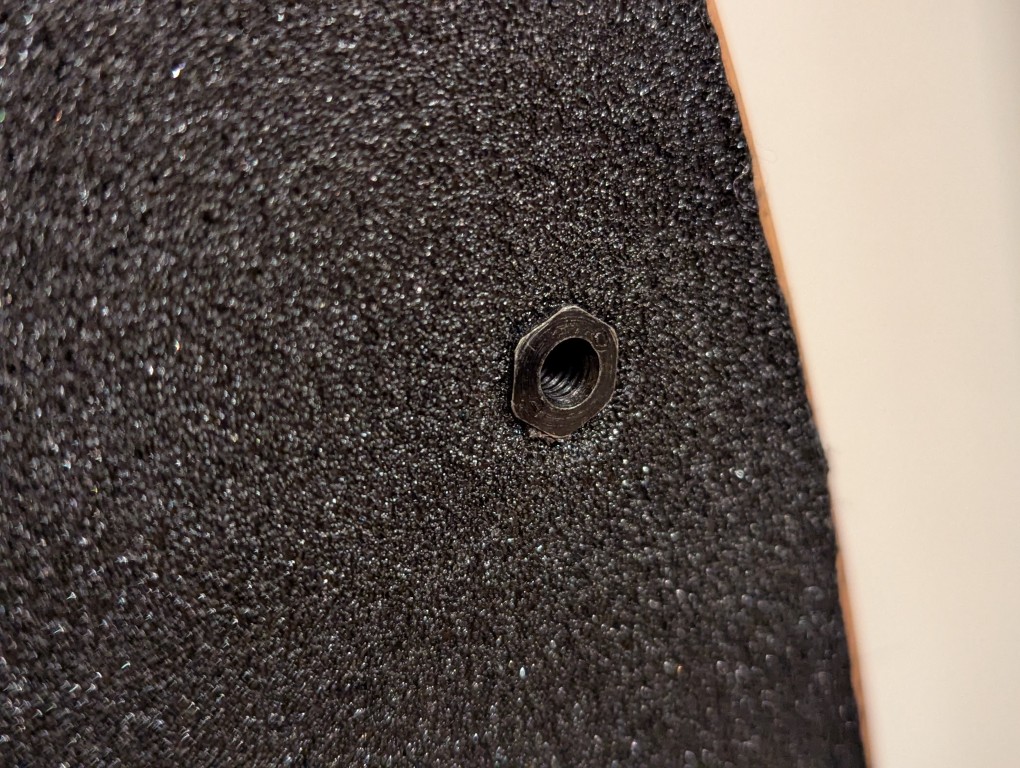
For the tail guard and rails, I installed them using “Rat Nuts” (aka T-Bolts or Sex Bolts) so that none of the hardware dug into the wood–the top sleeve passes through a hole and a screw meets it from the bottom. The rails were a generic brand with a hole pattern that matched those already on the board. The tail guard was an authentic Powell Peralta 9″ Tail Bone that I found for sale as new-old-stock.
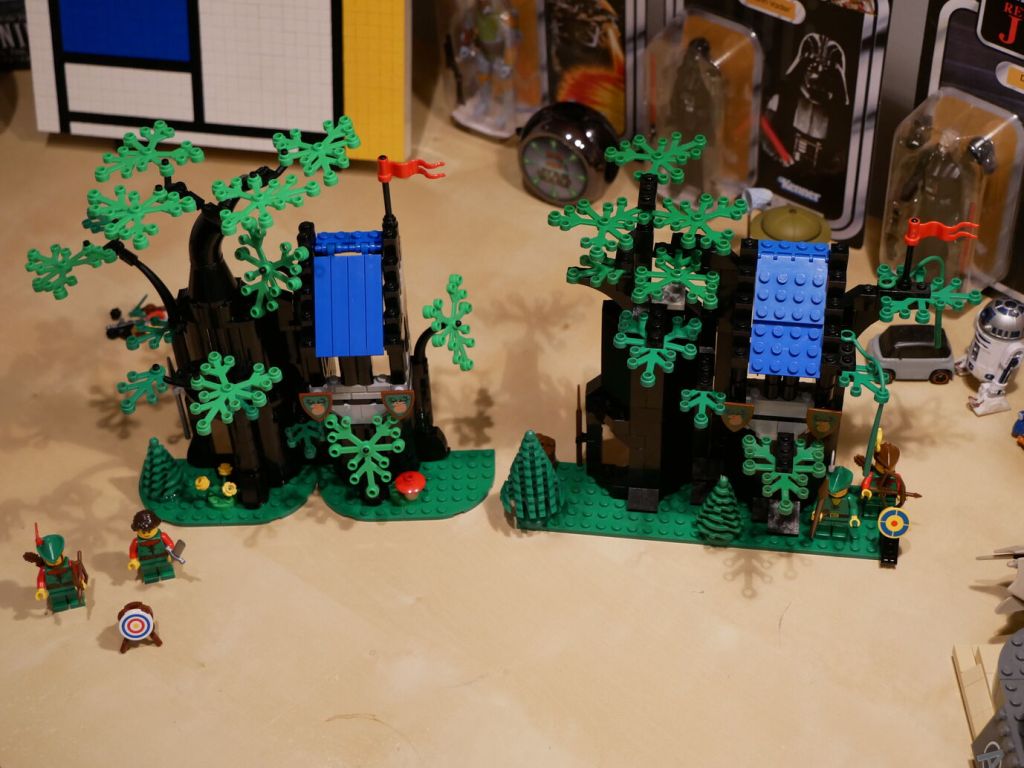
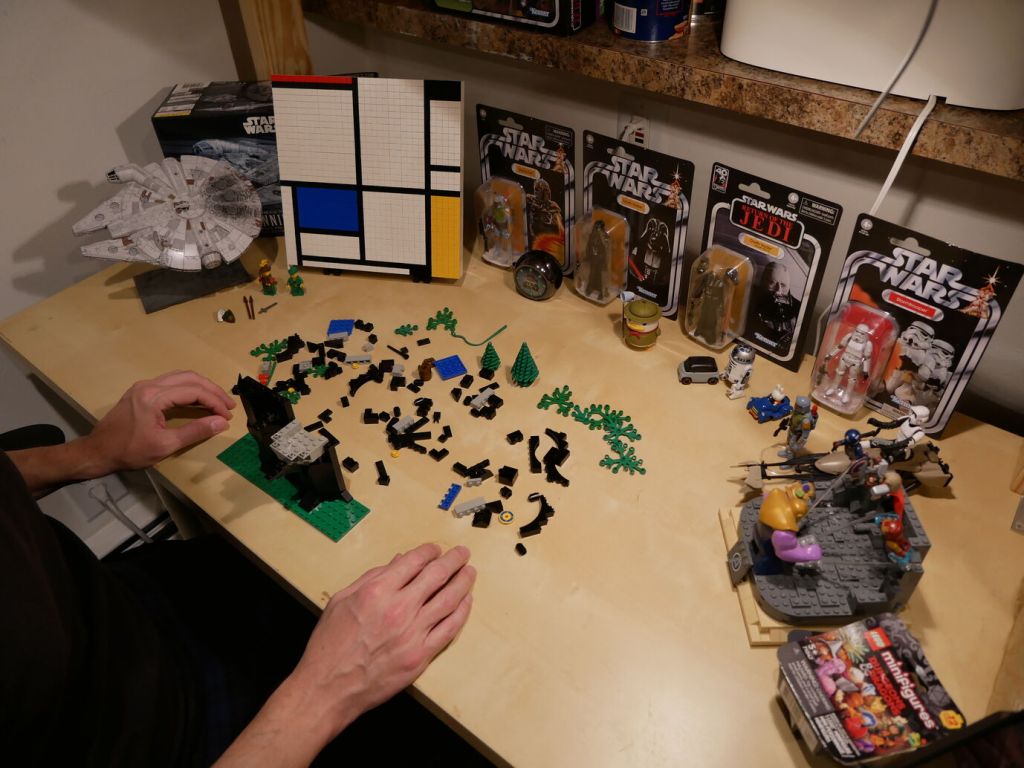
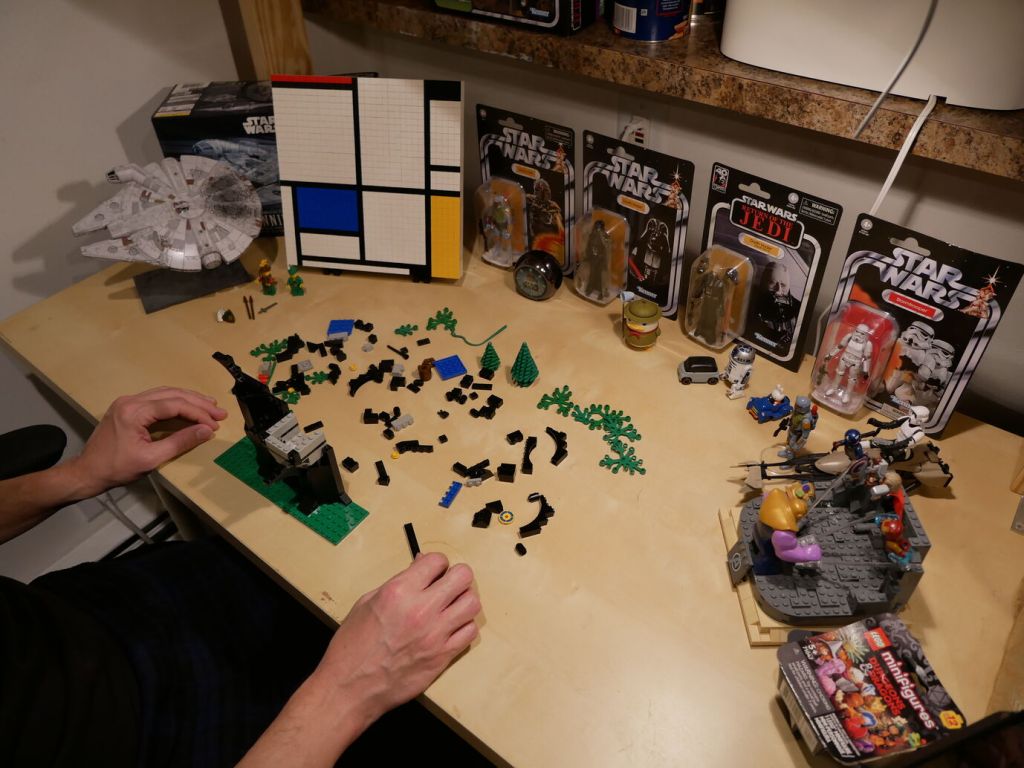
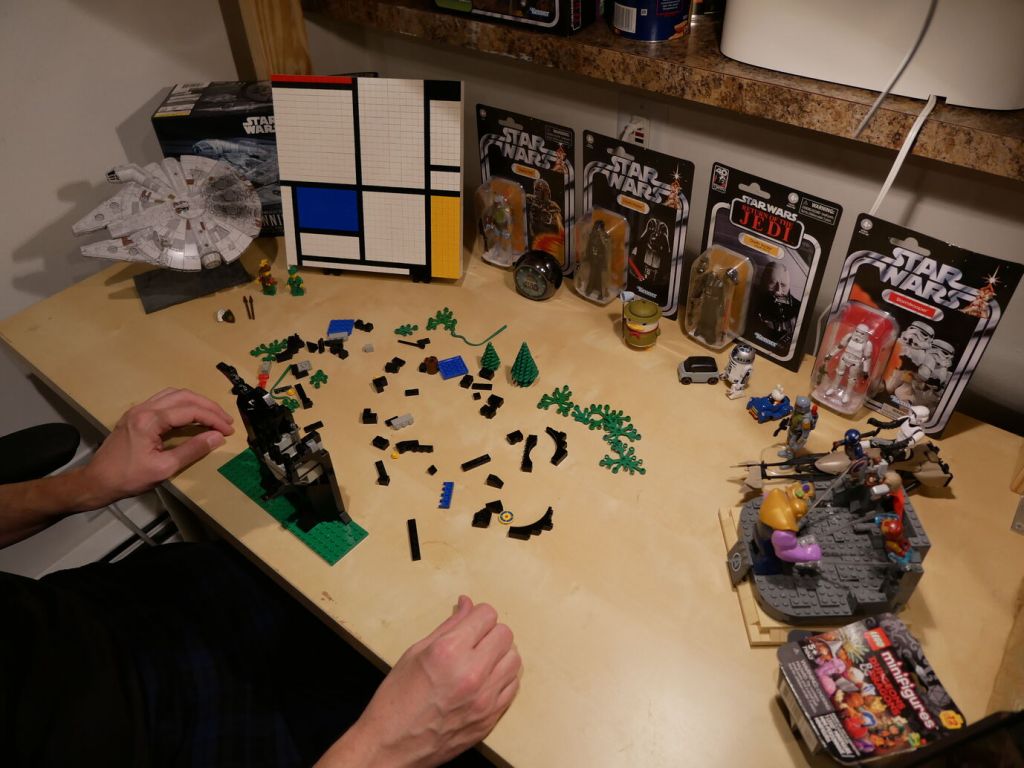
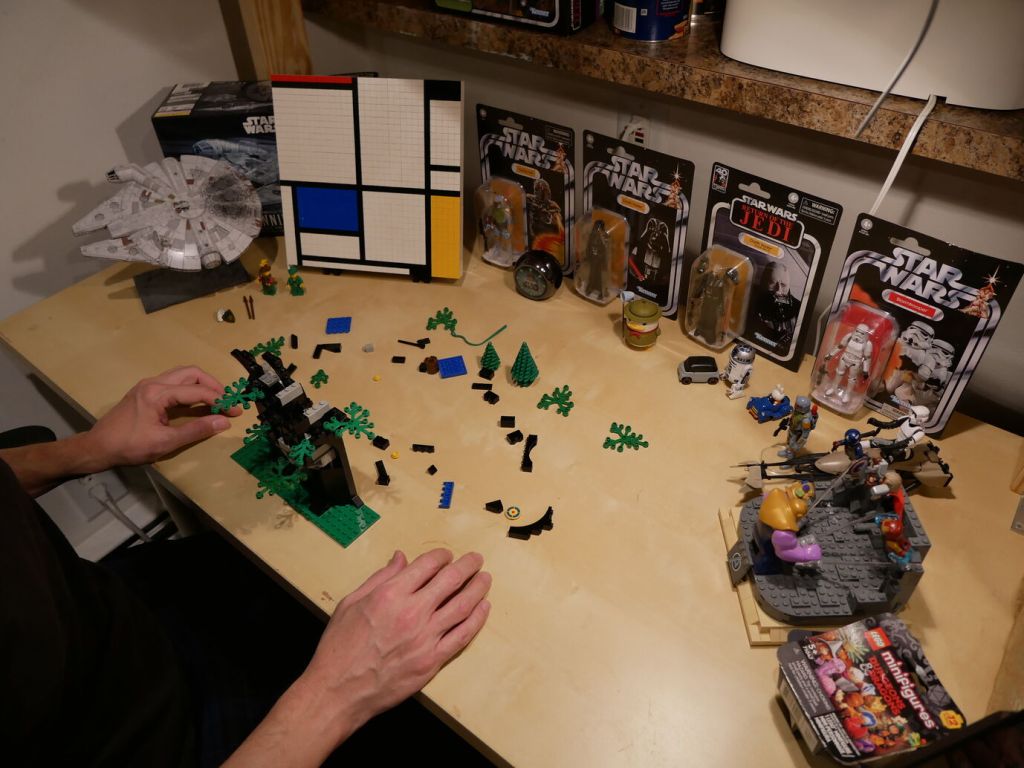
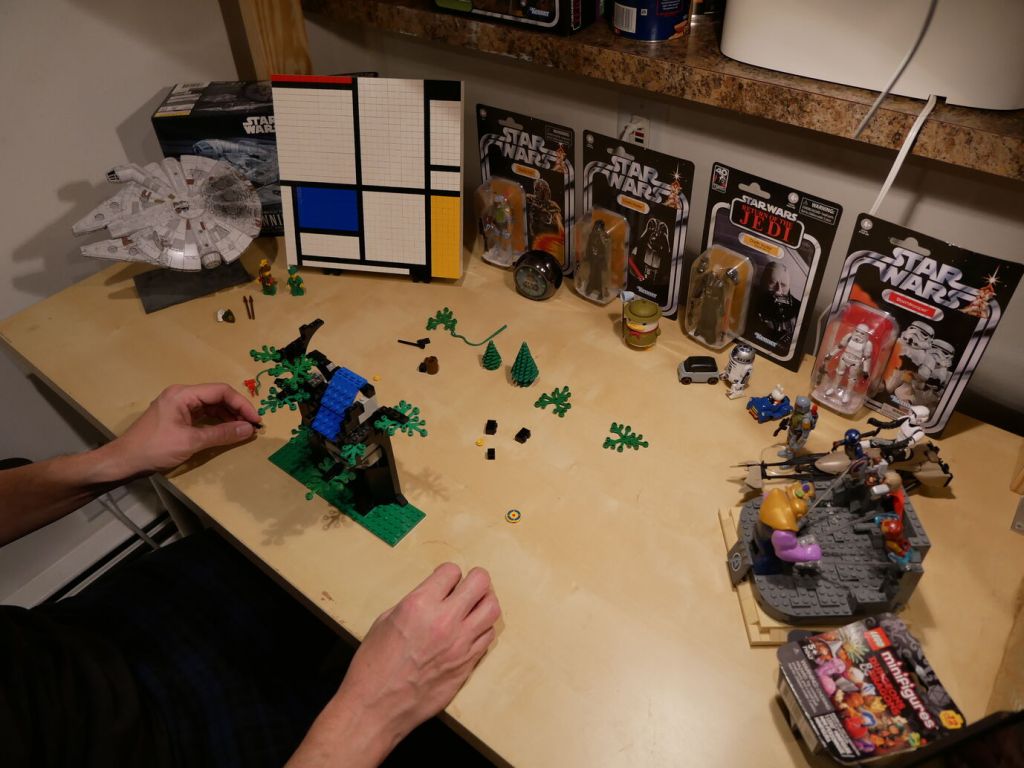
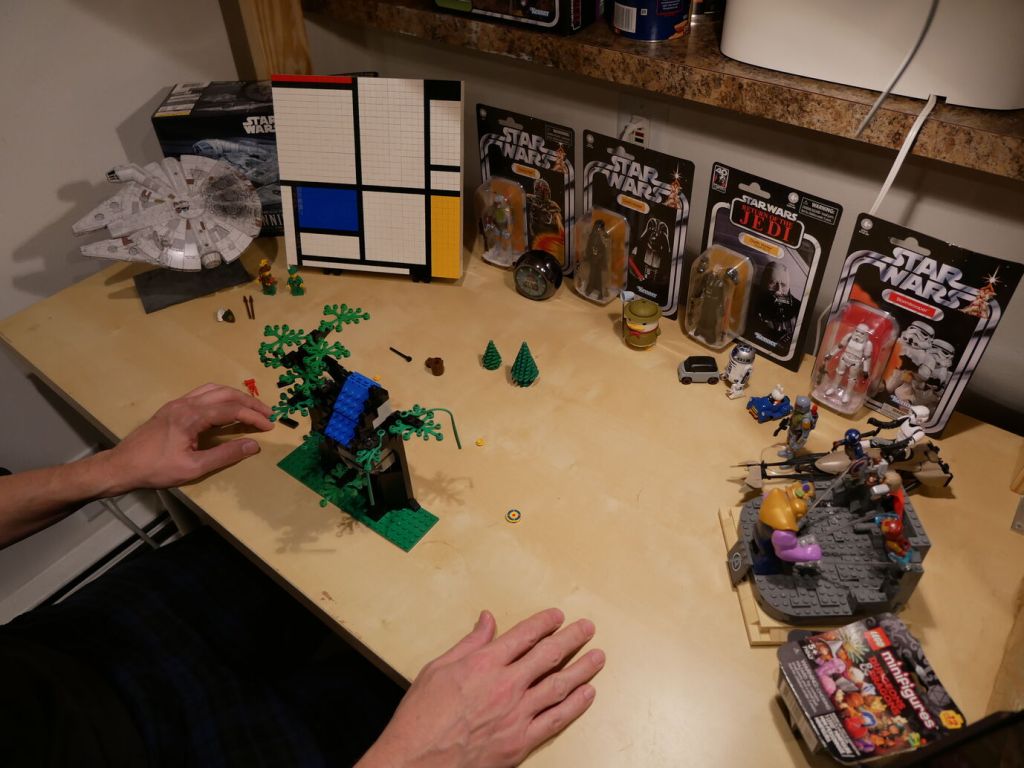
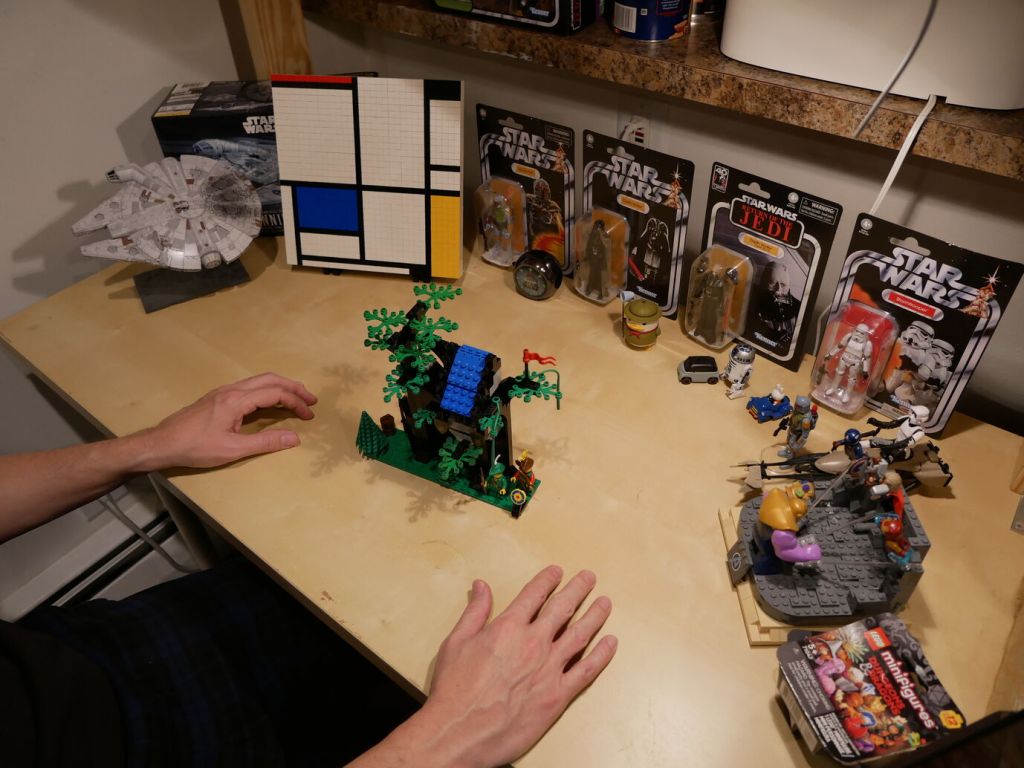
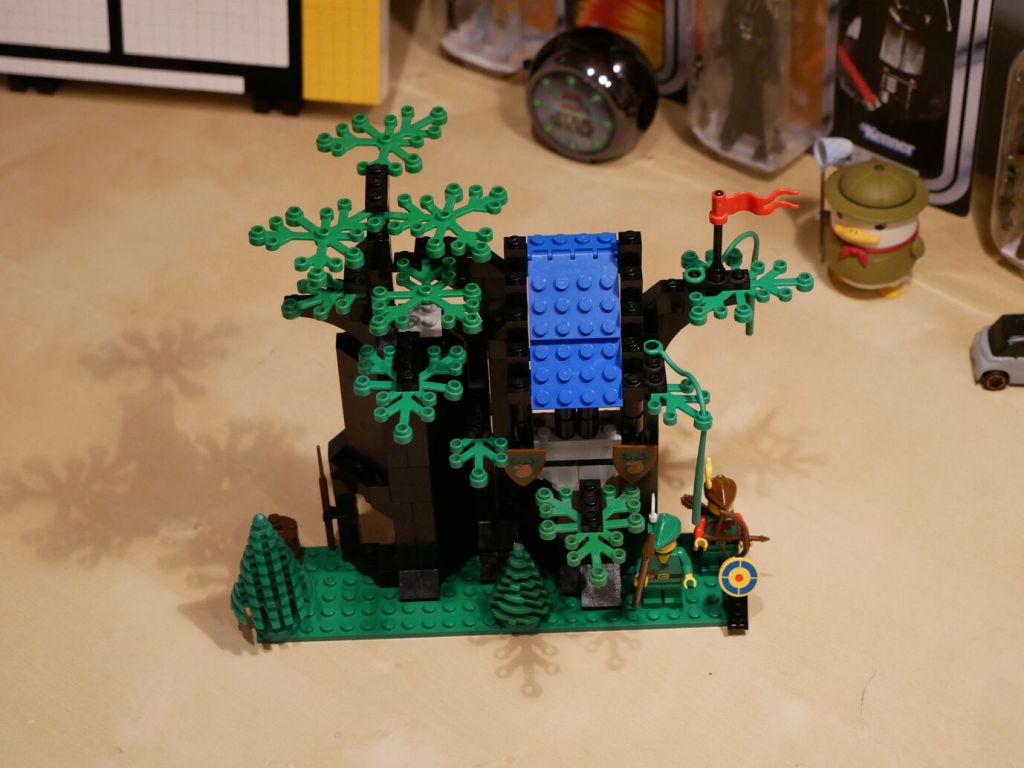
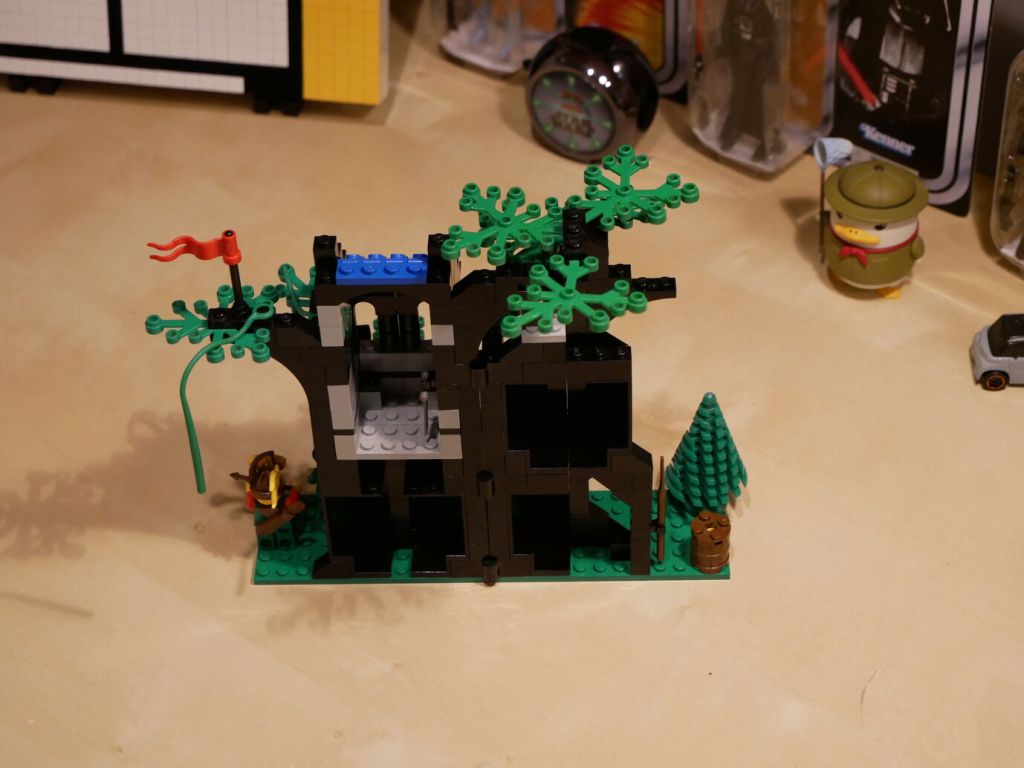
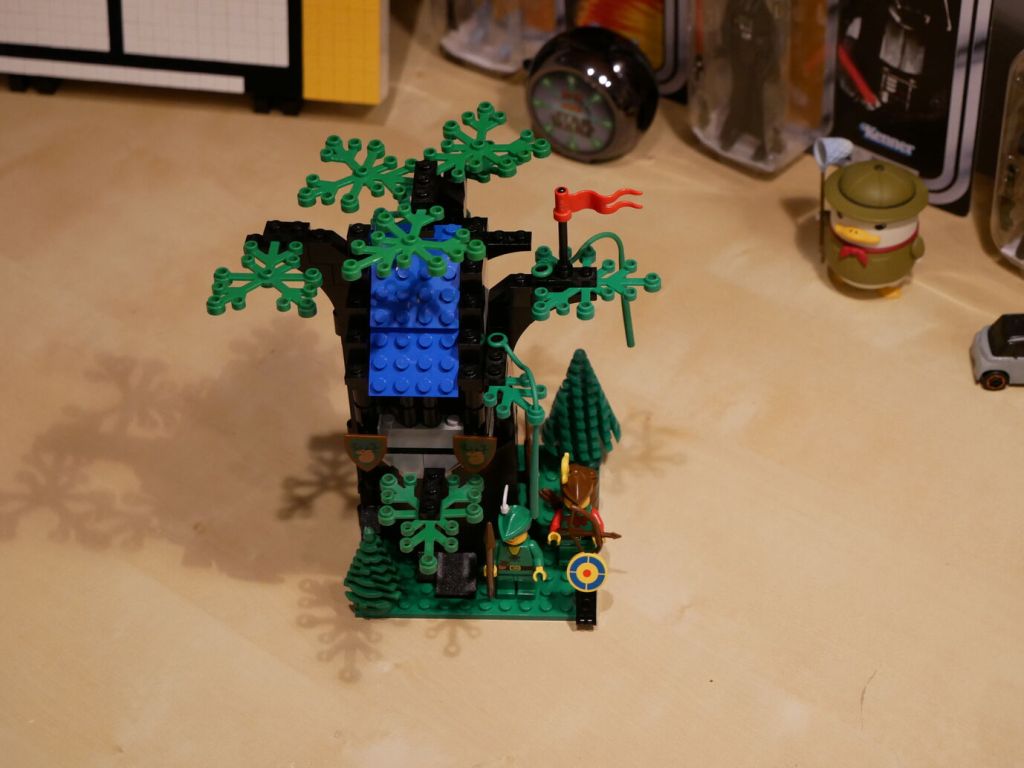
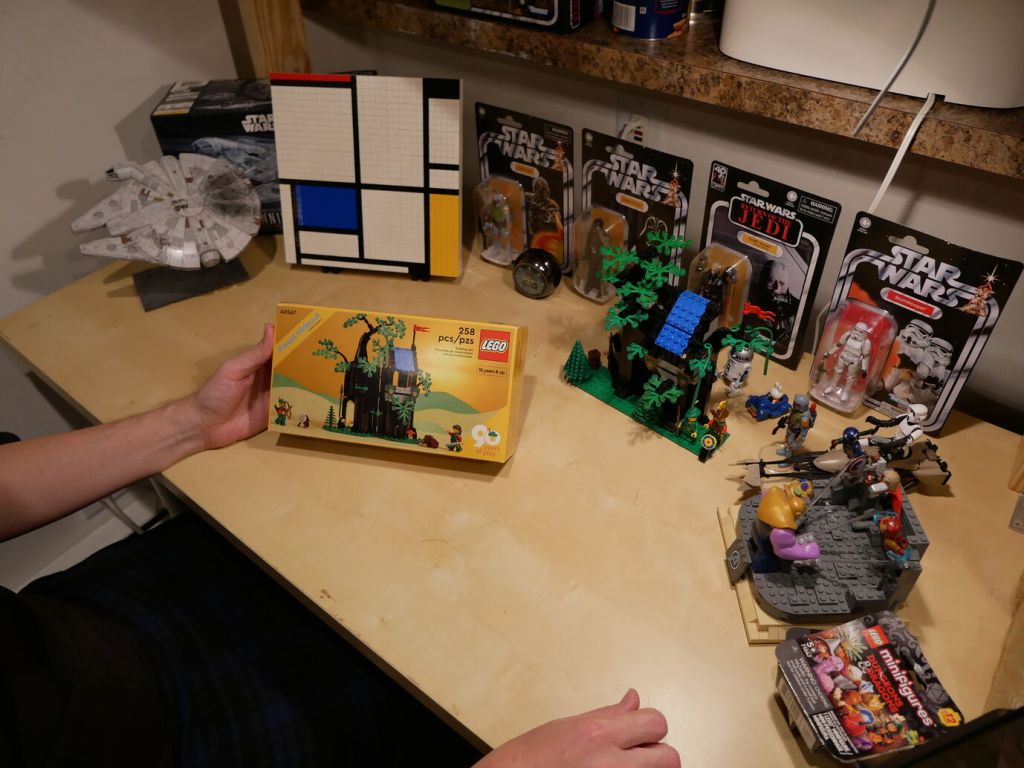
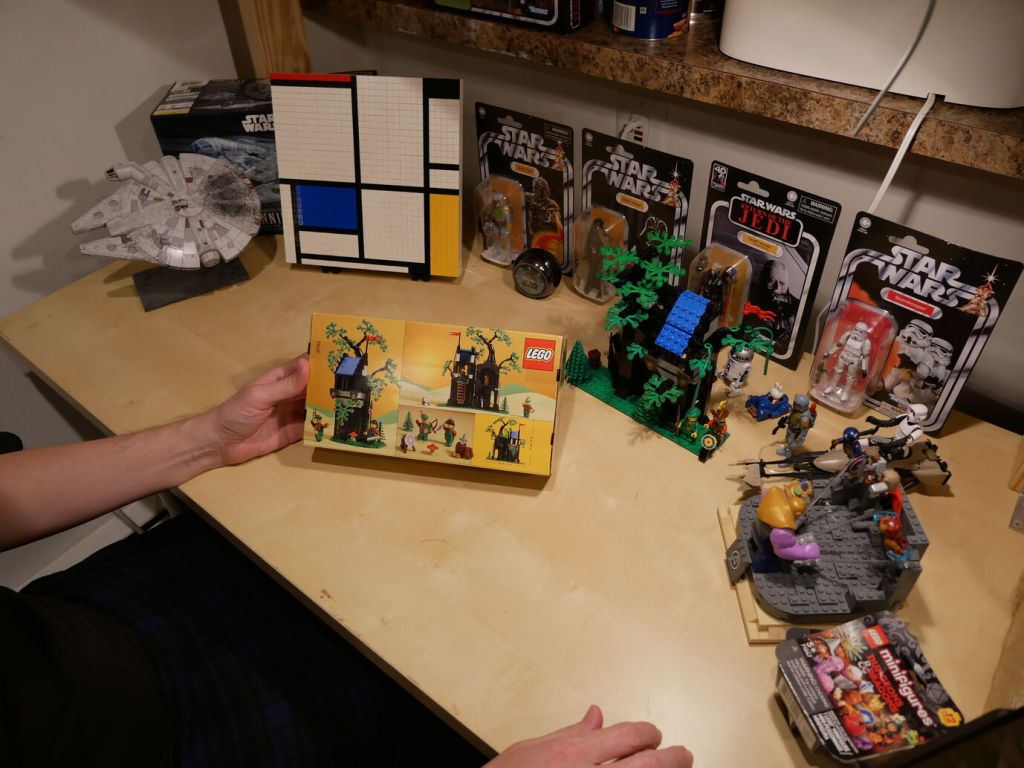
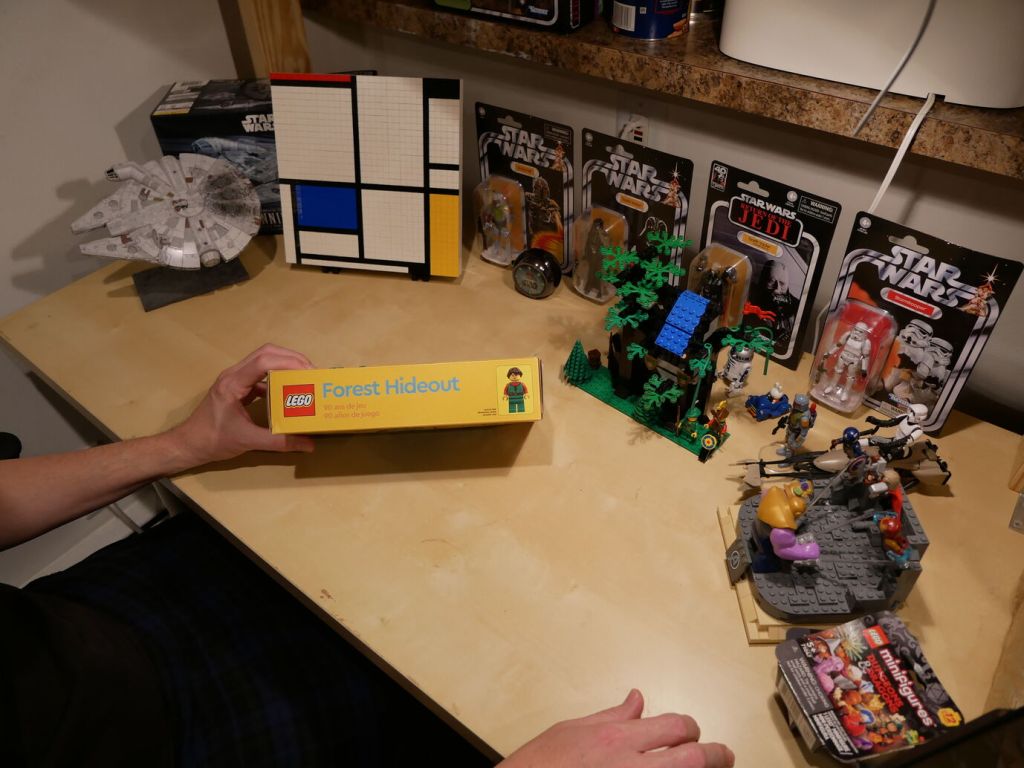
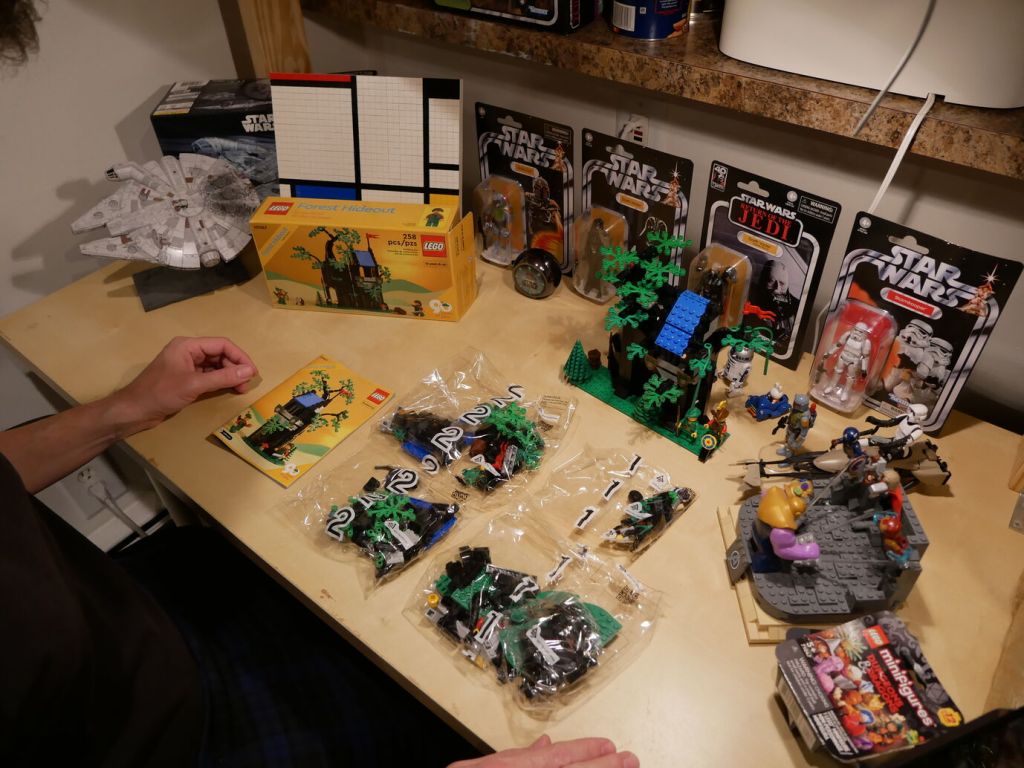
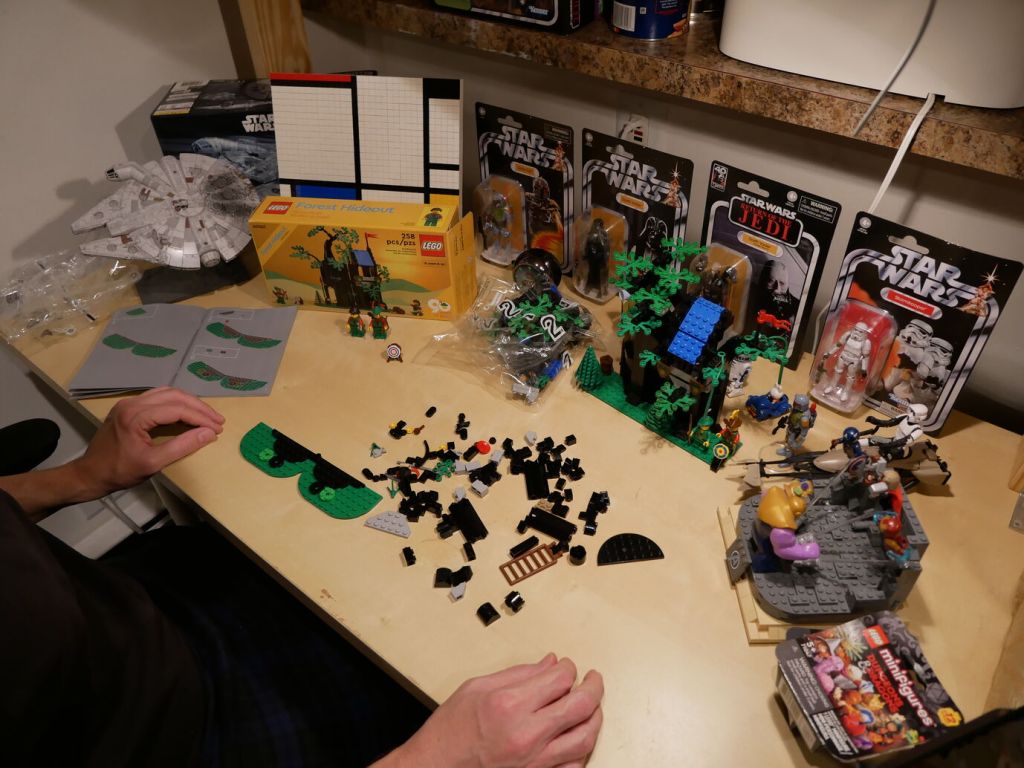
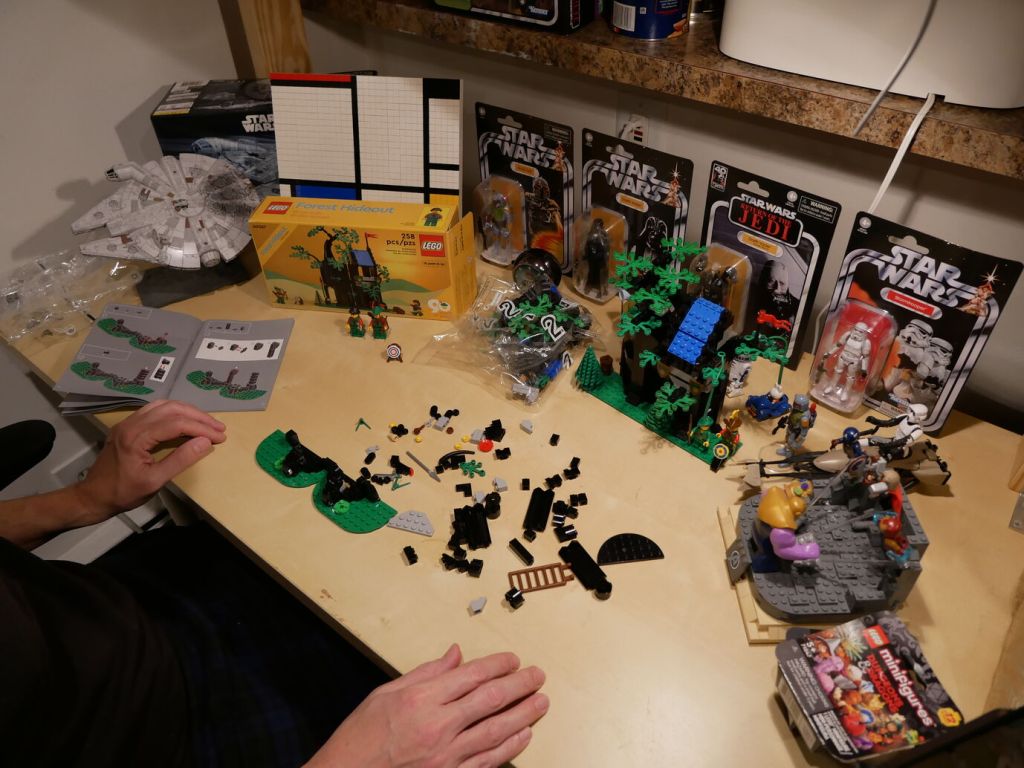
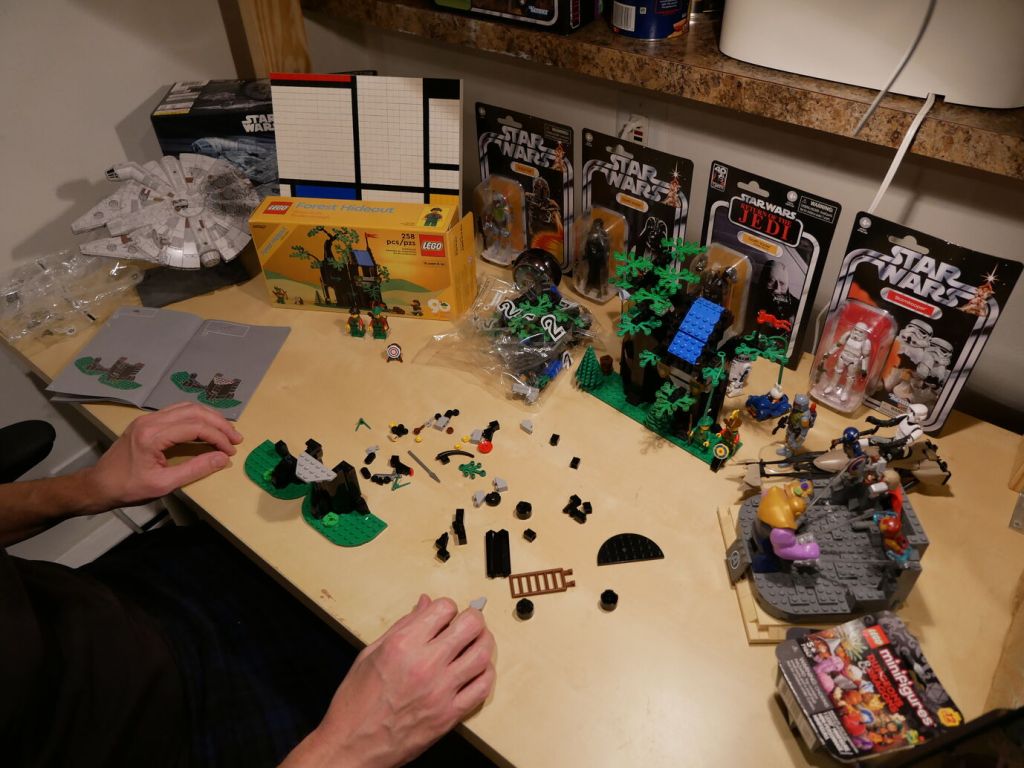
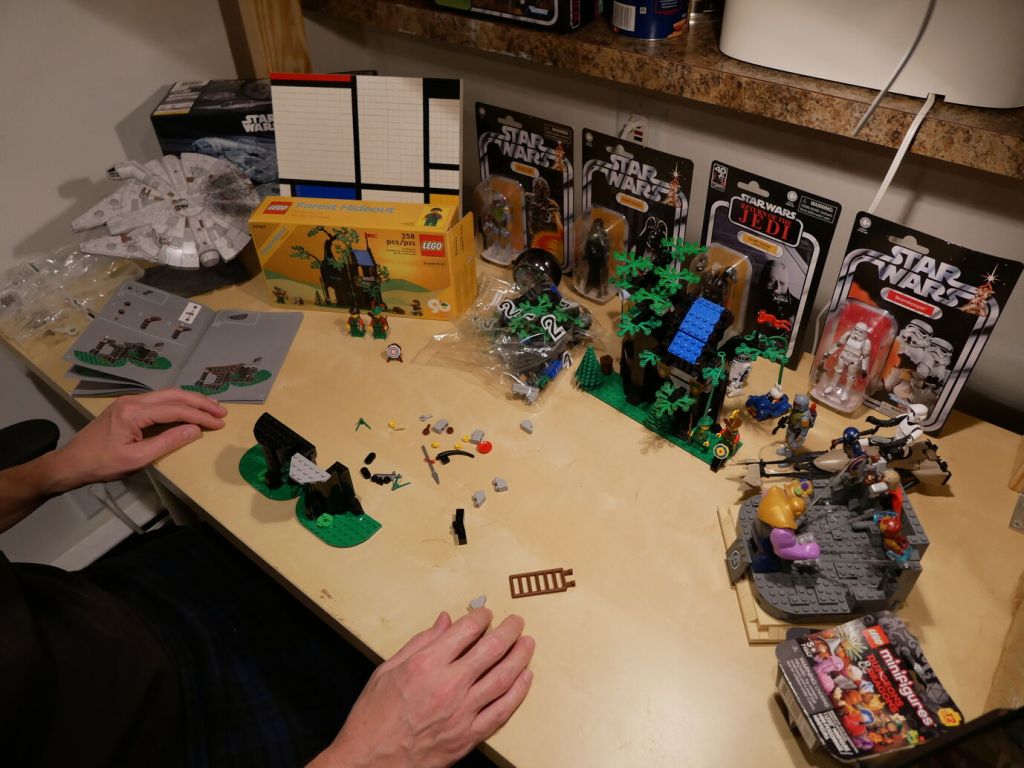
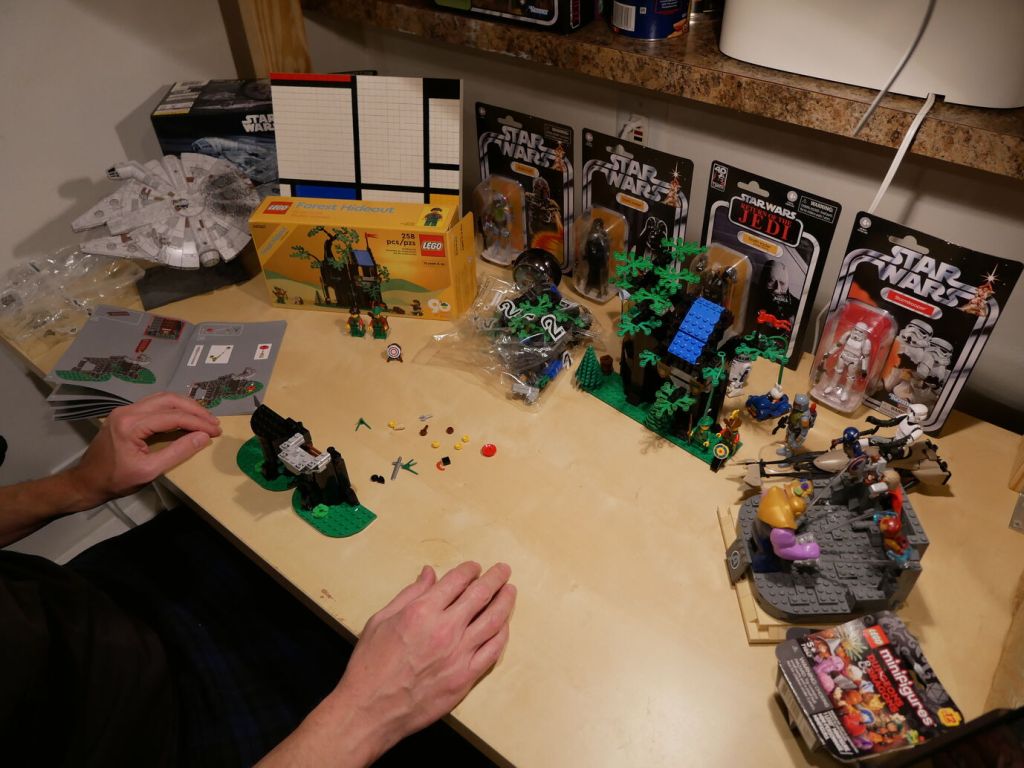
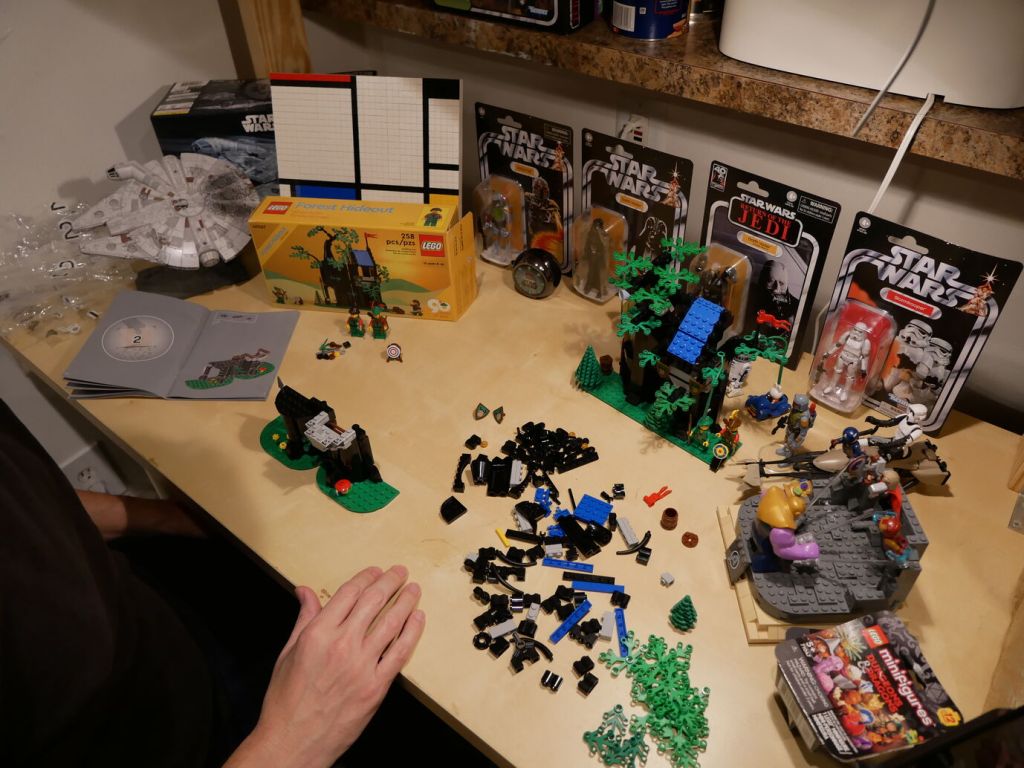
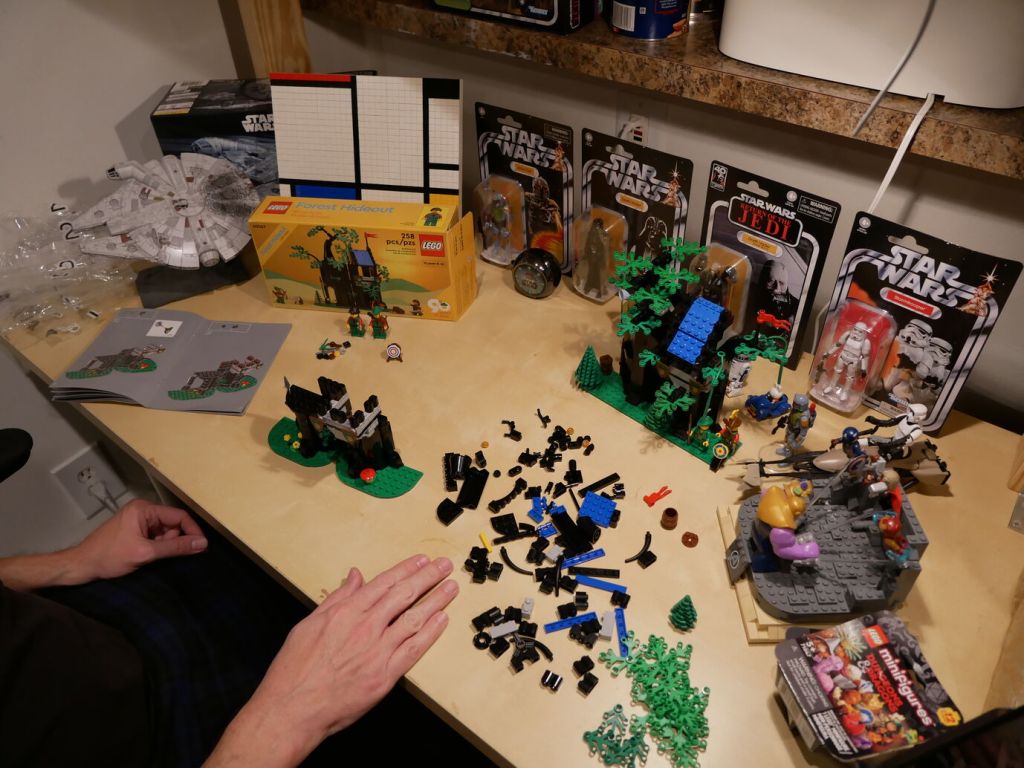
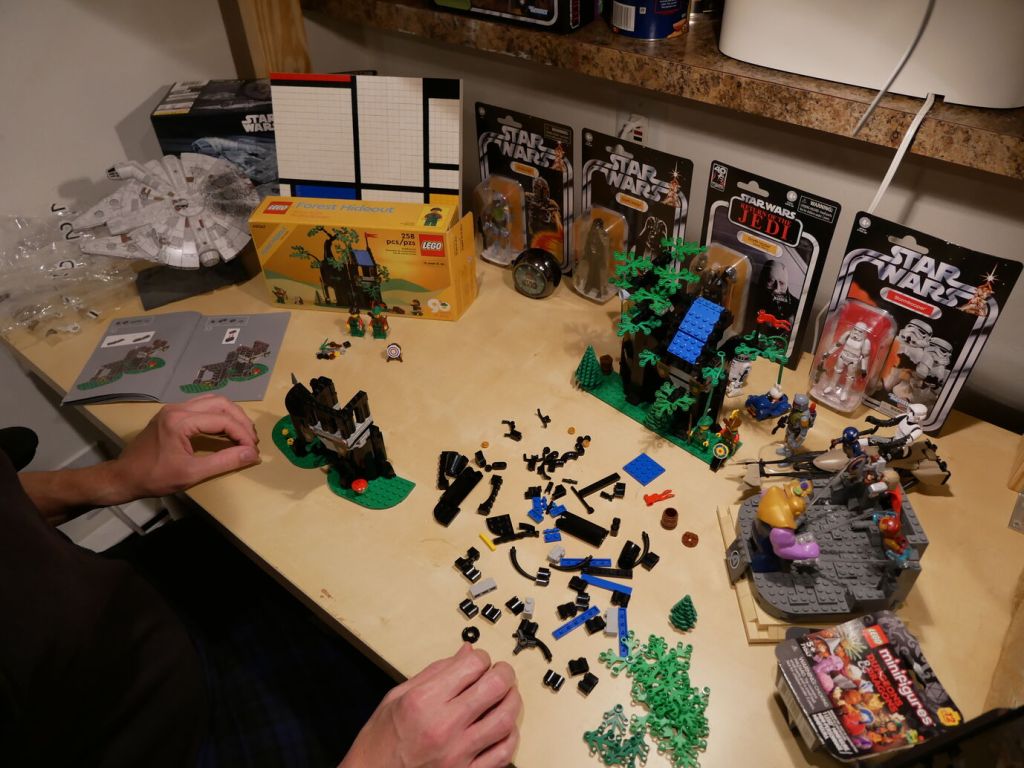
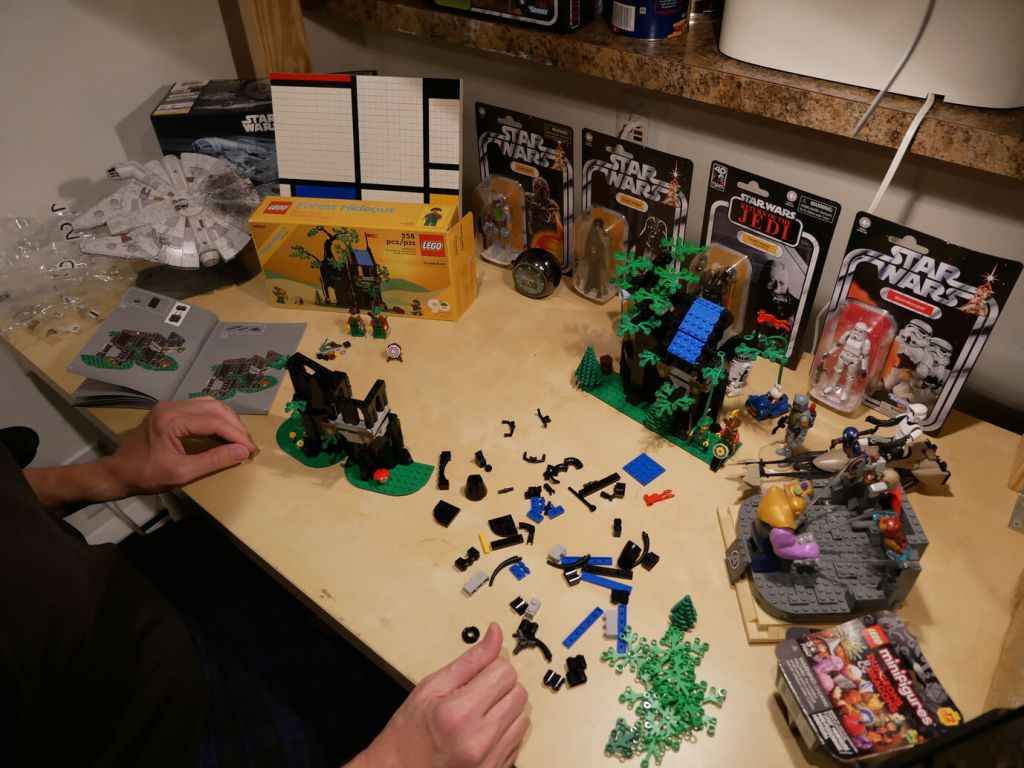
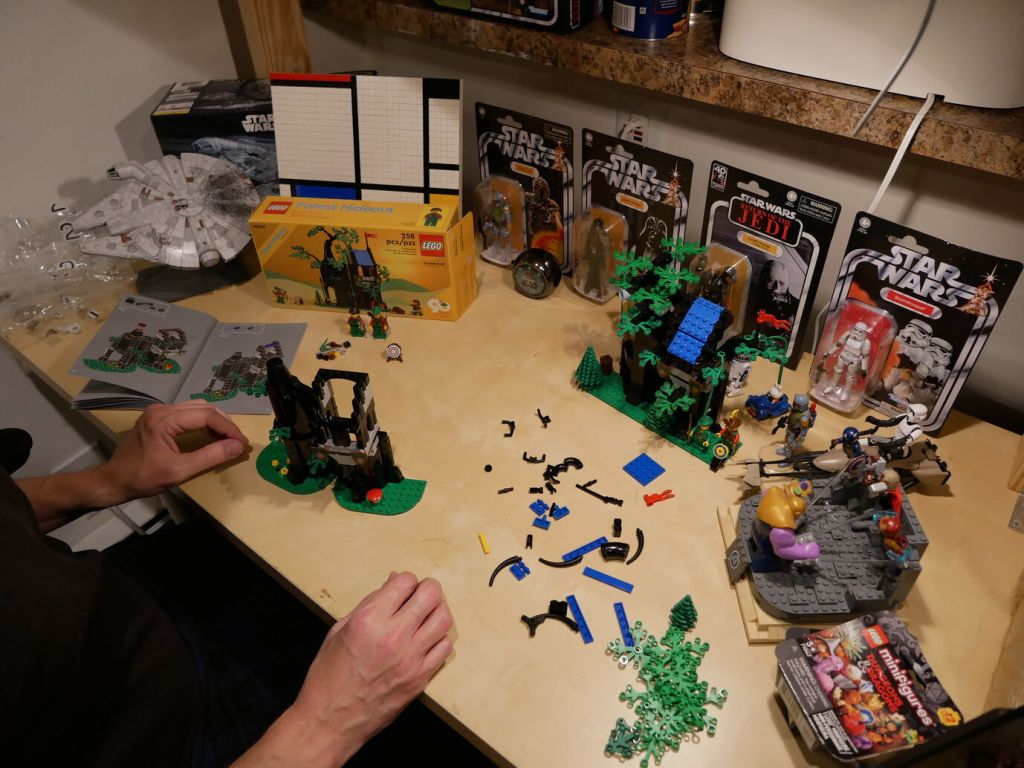
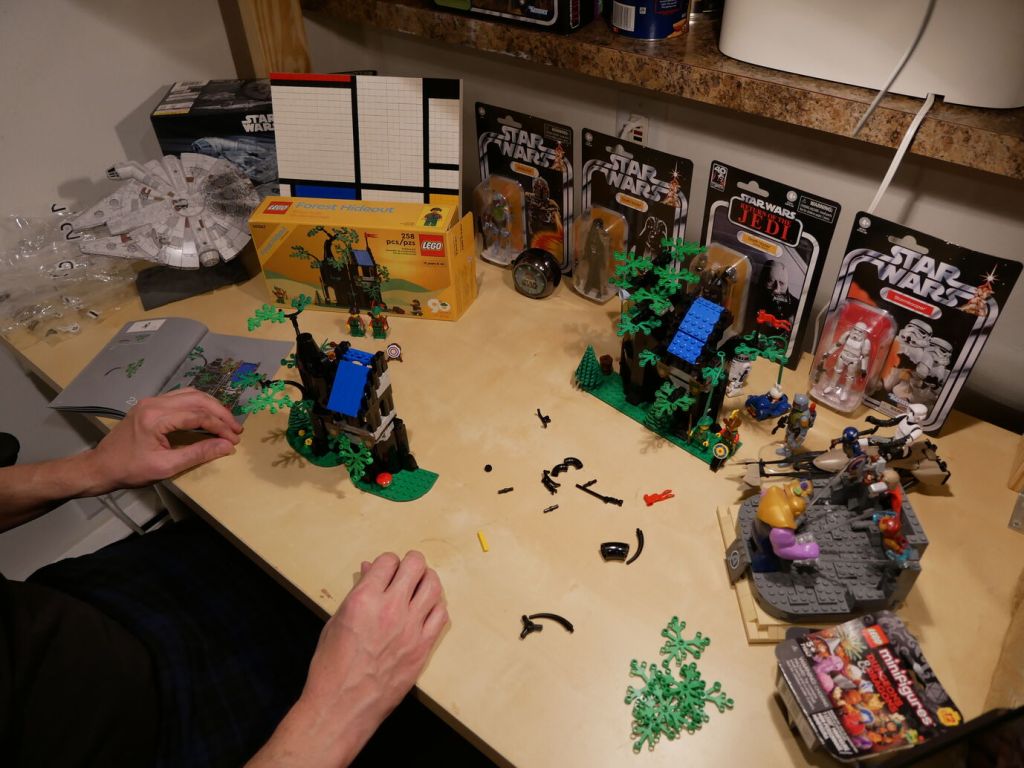
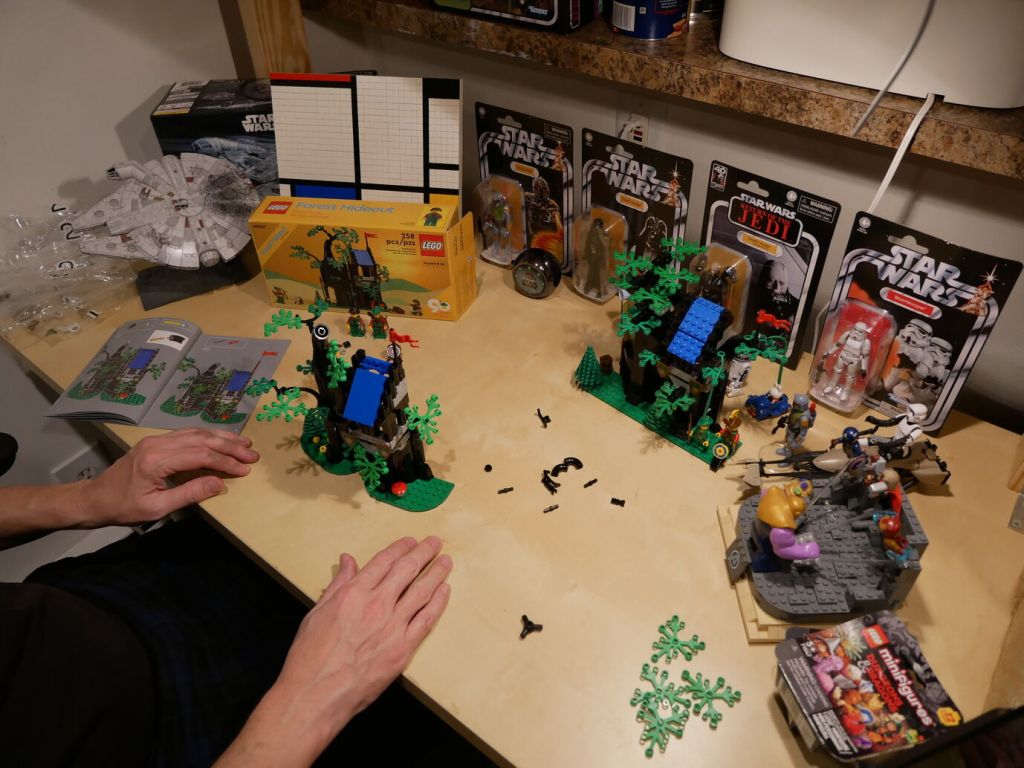
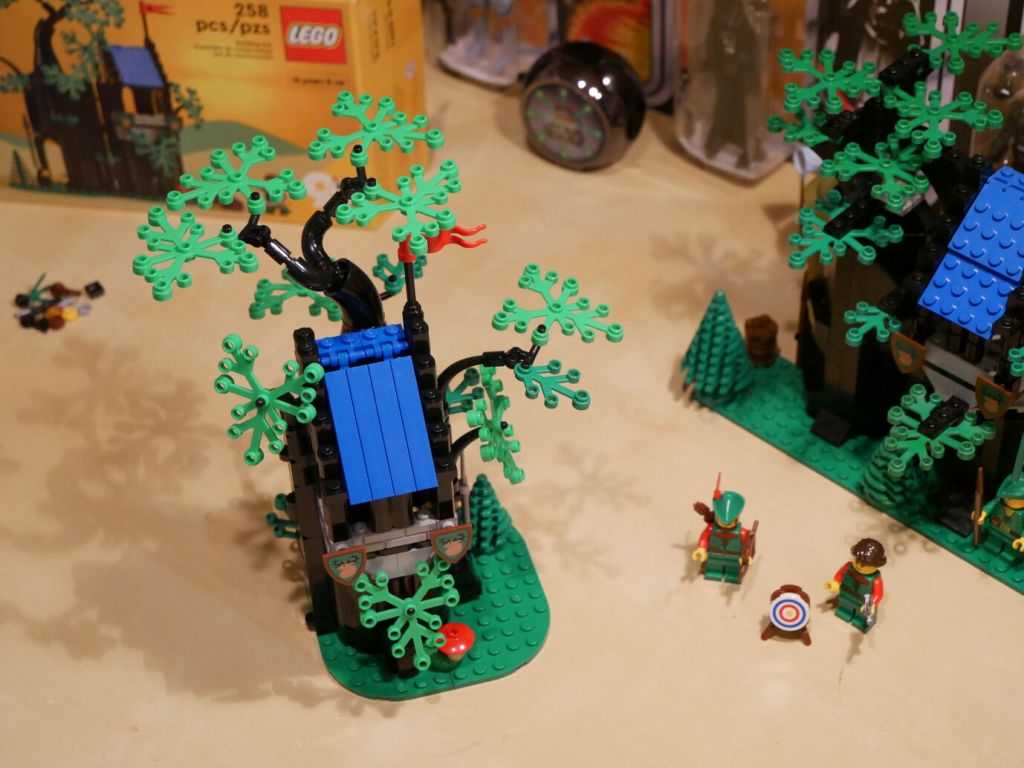
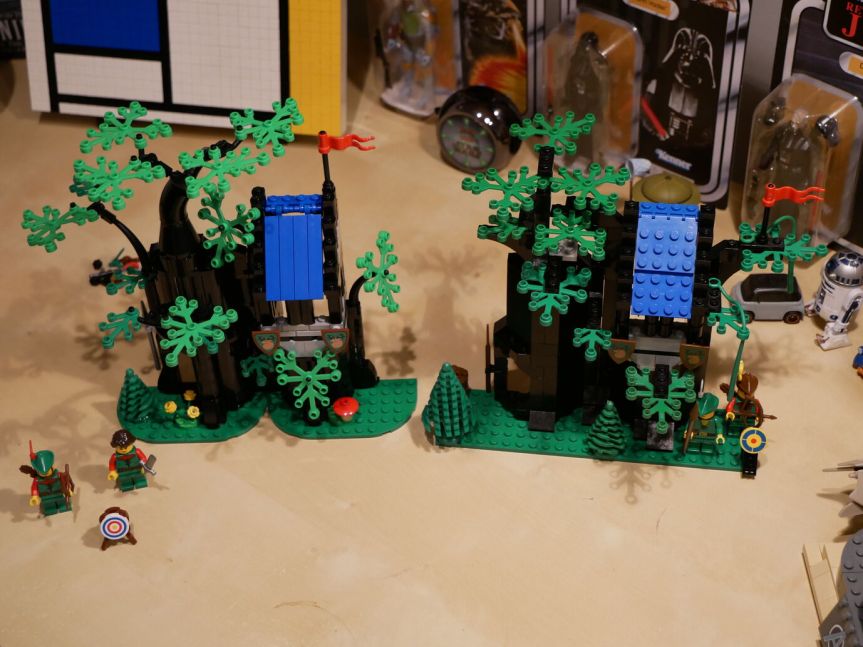
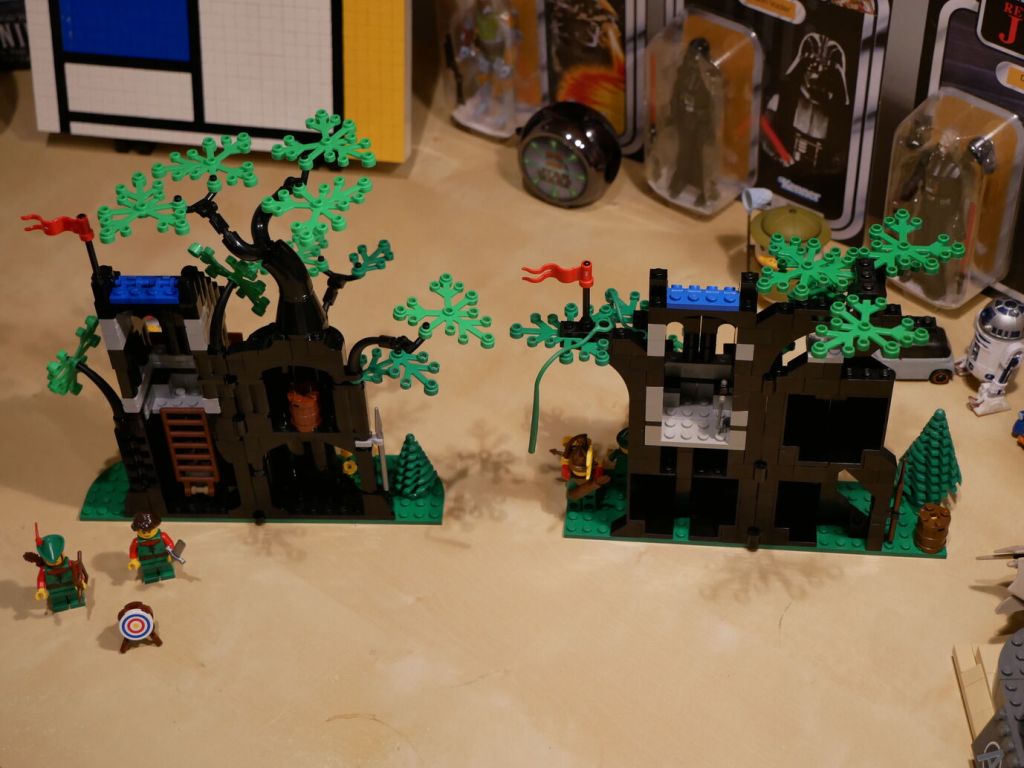
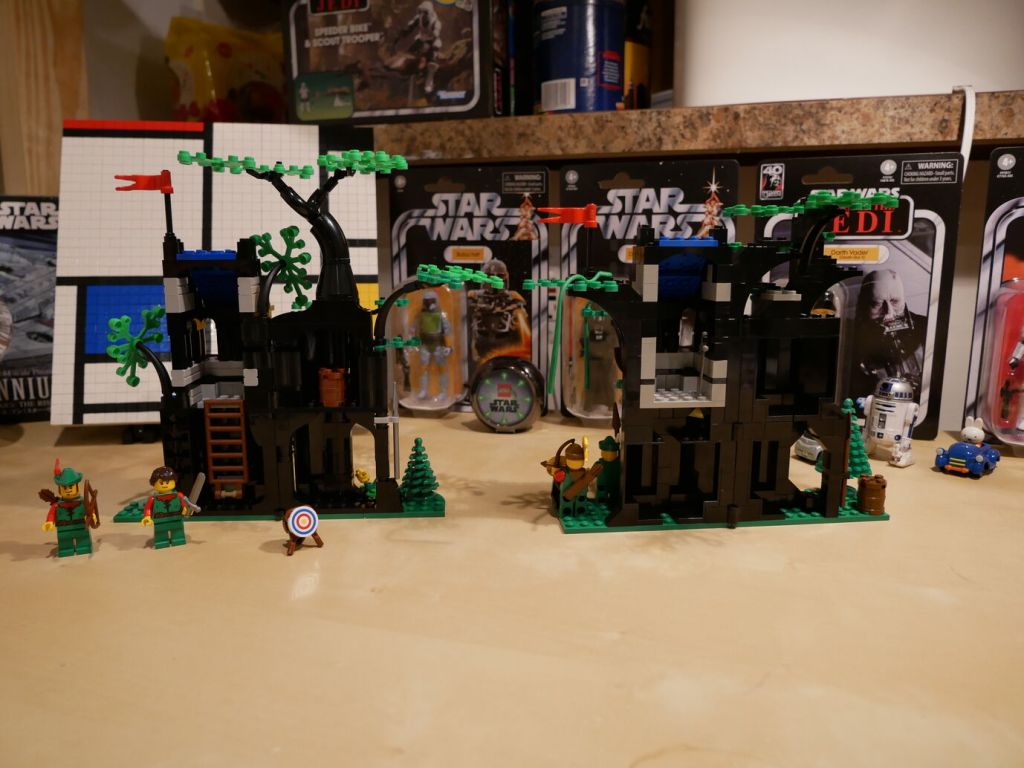
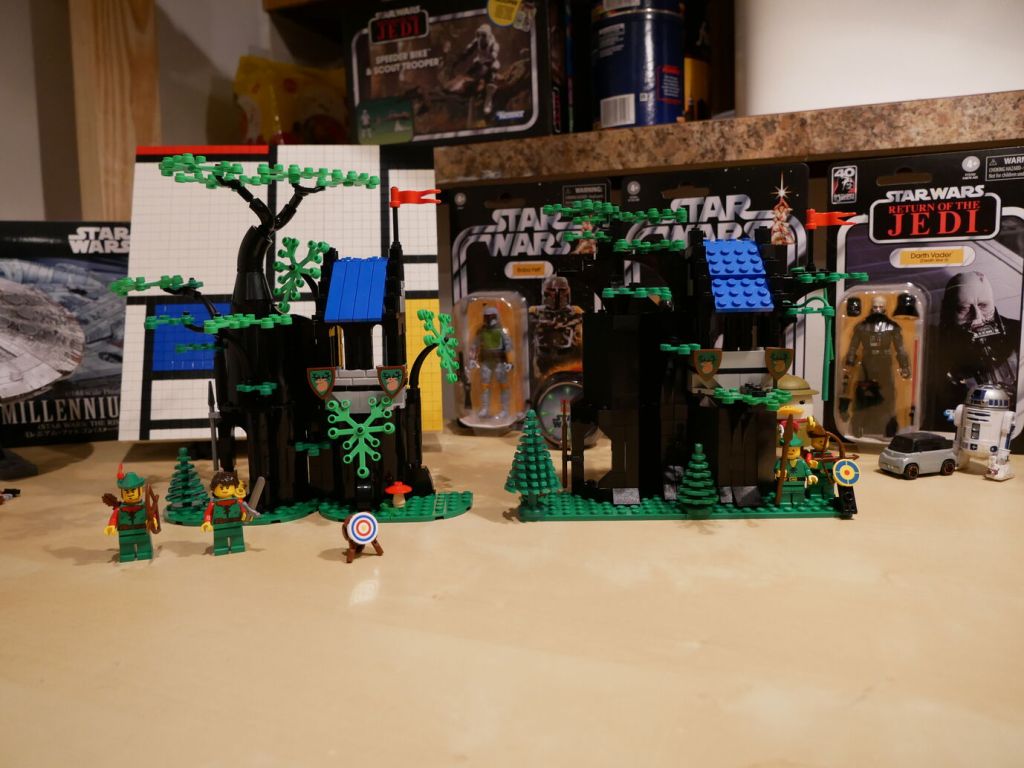
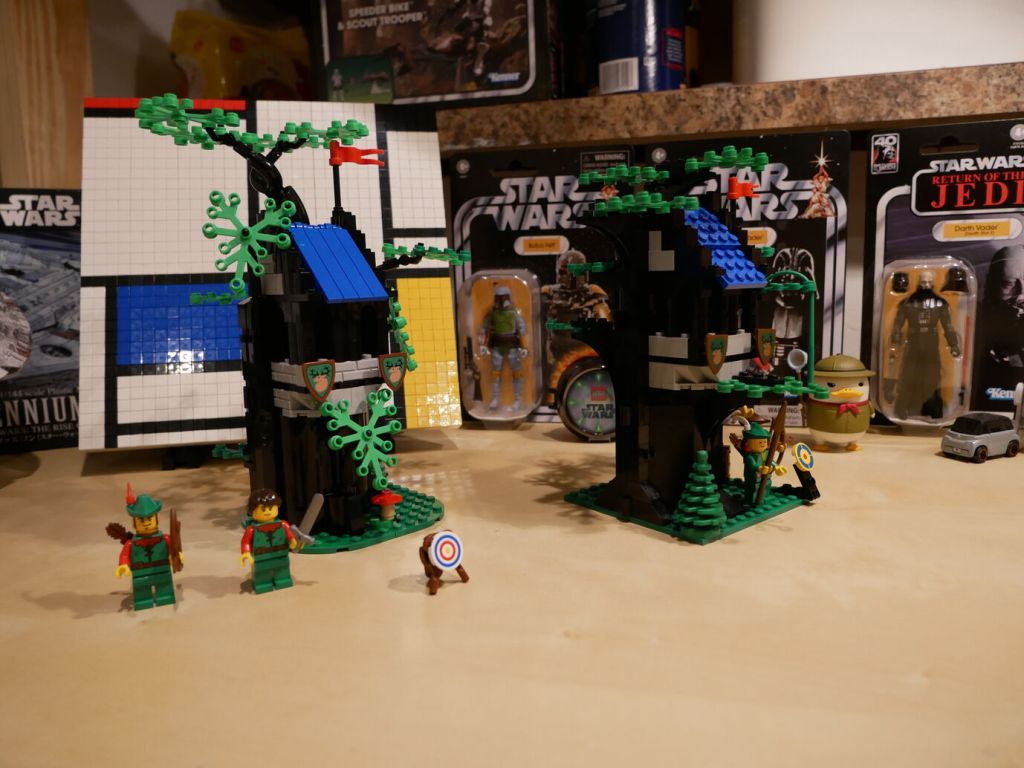
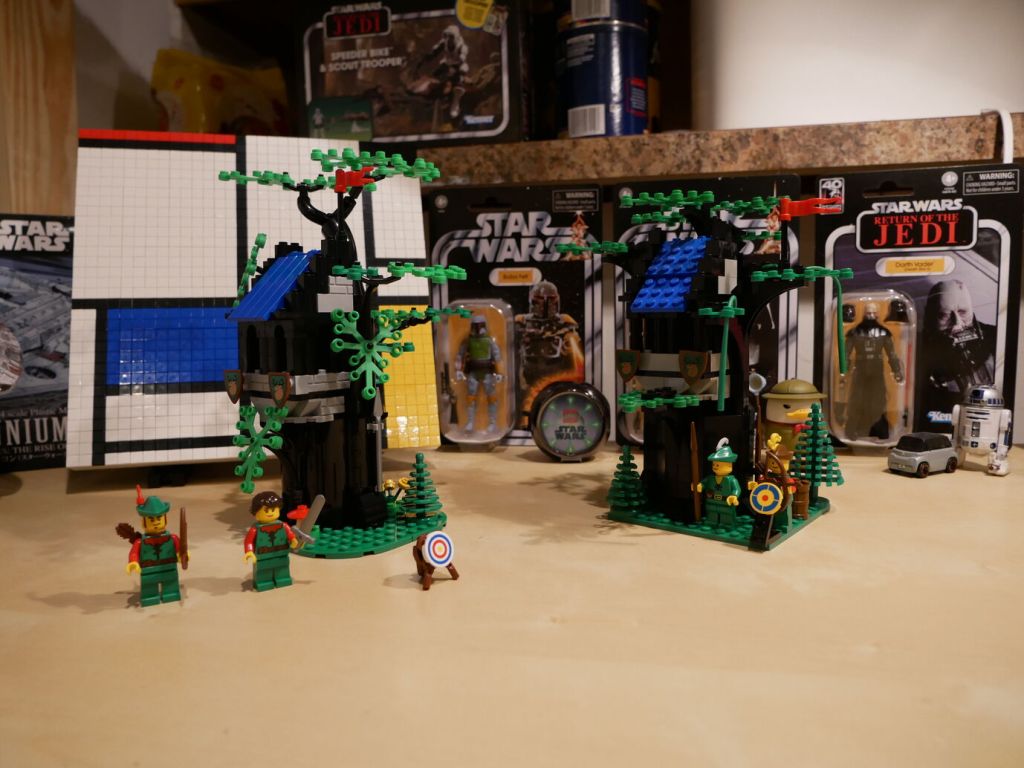
One of my favorite LEGO sets when I was younger was LEGO’s Forestmen’s Hideout (6054) from 1988. In 2022, LEGO released a Gift with Purchase (GWP) set that updates the 6054 set with modern bricks and design called Forest Hideout (40567). I’ve had Forest Hideout sitting on a shelf for the past two years. When Y asked me recently if I was ever going to put it together, it got me thinking about the original 6054 set. I began watching auctions on eBay for a good deal on a complete set (a boxed original was out of the question due to its much higher cost). Eventually, I found a complete set of 6054 for a reasonable price. After receiving it in the mail, I sat down to build both sets back-to-back and record it with my Panasonic Lumix DMC-G85 camera set to 2 second timer and controlled by the Panasonic Image App on my Pixel 6 phone (I’ll show how to set that up in a future post).
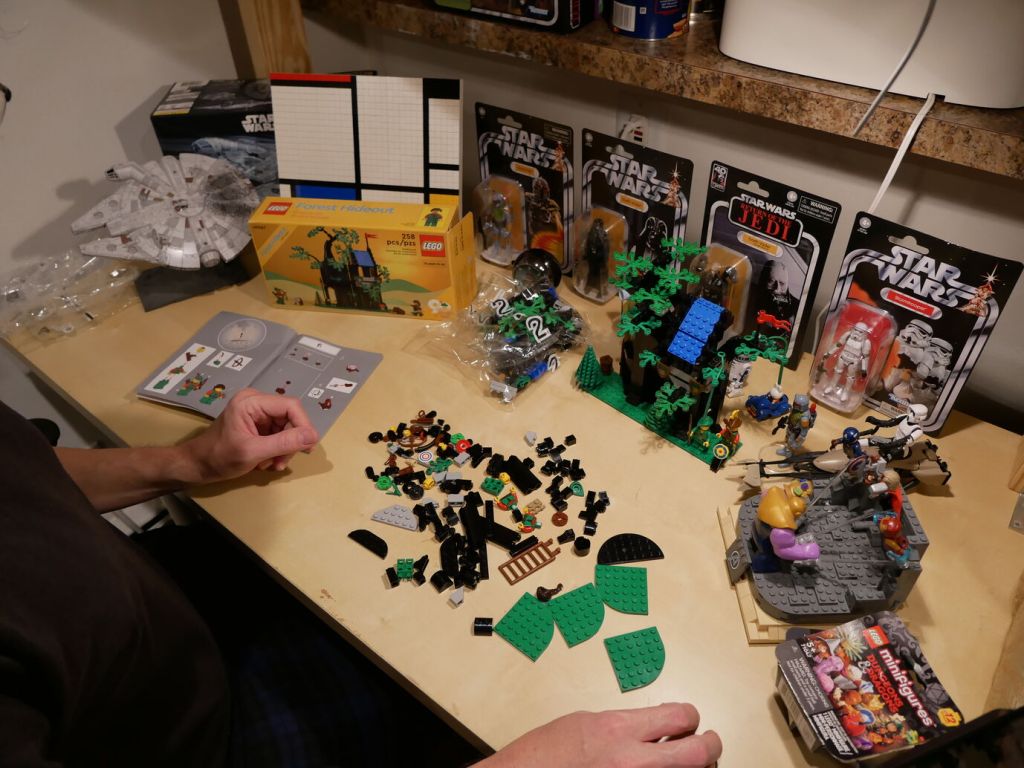
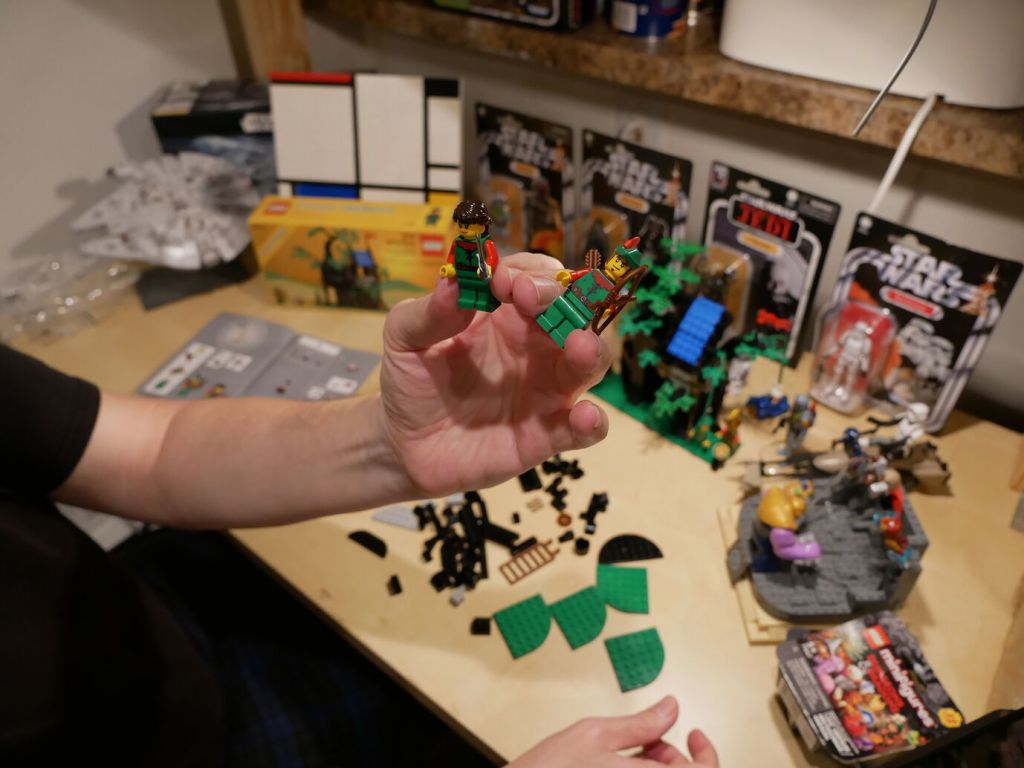
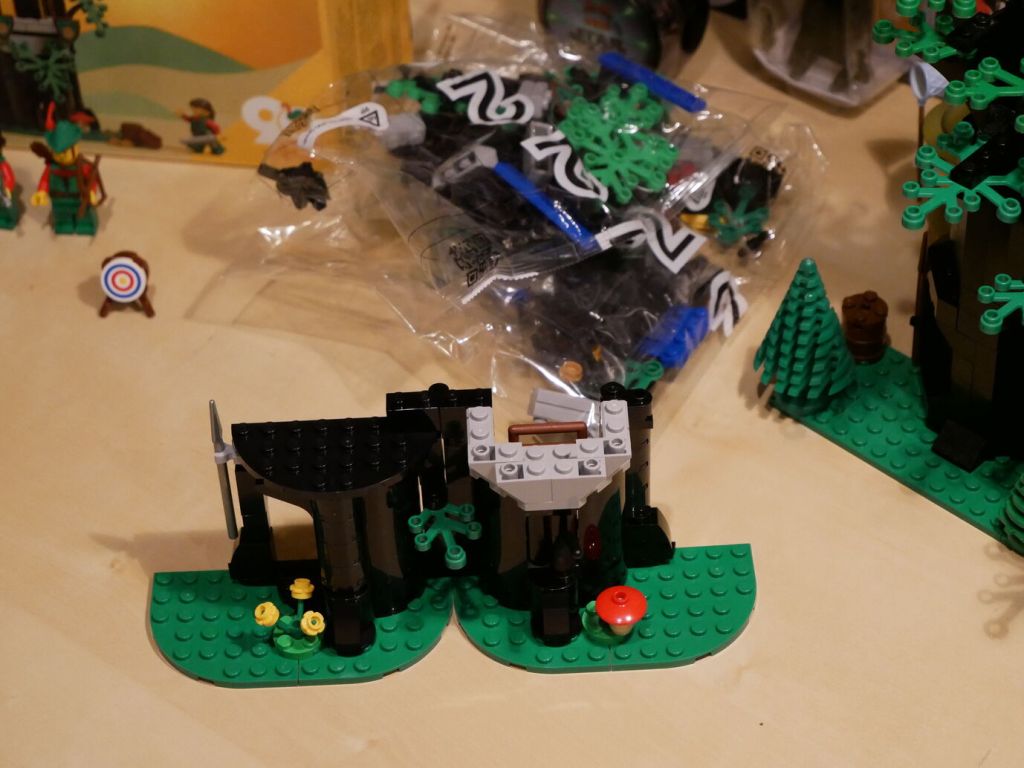
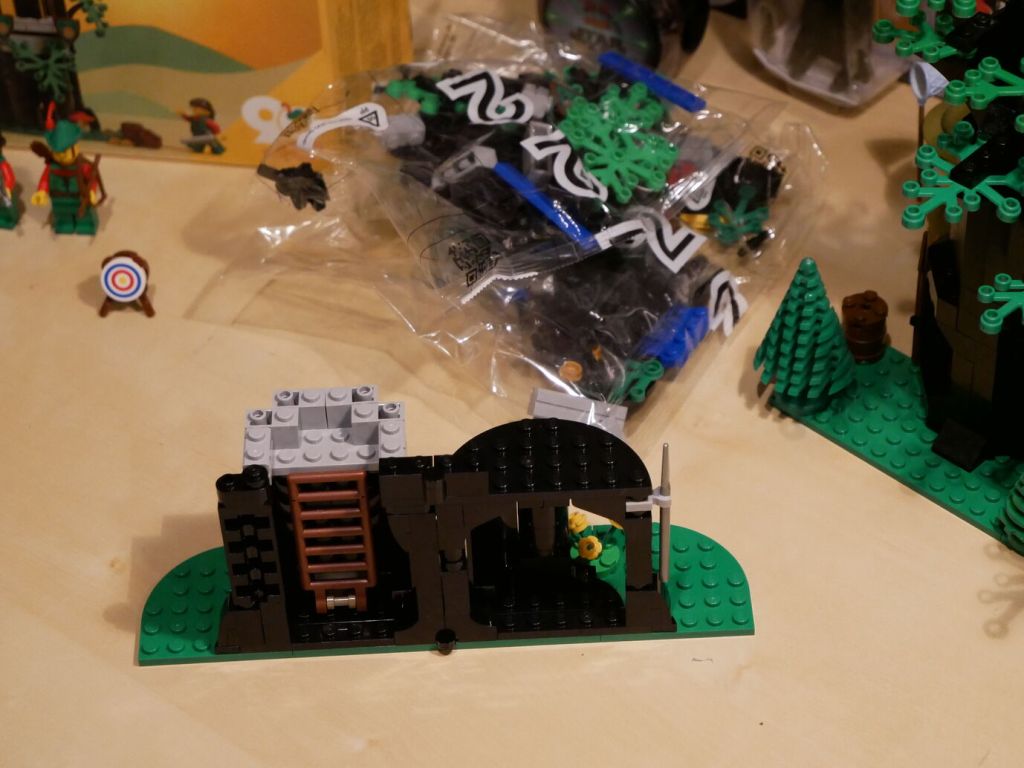
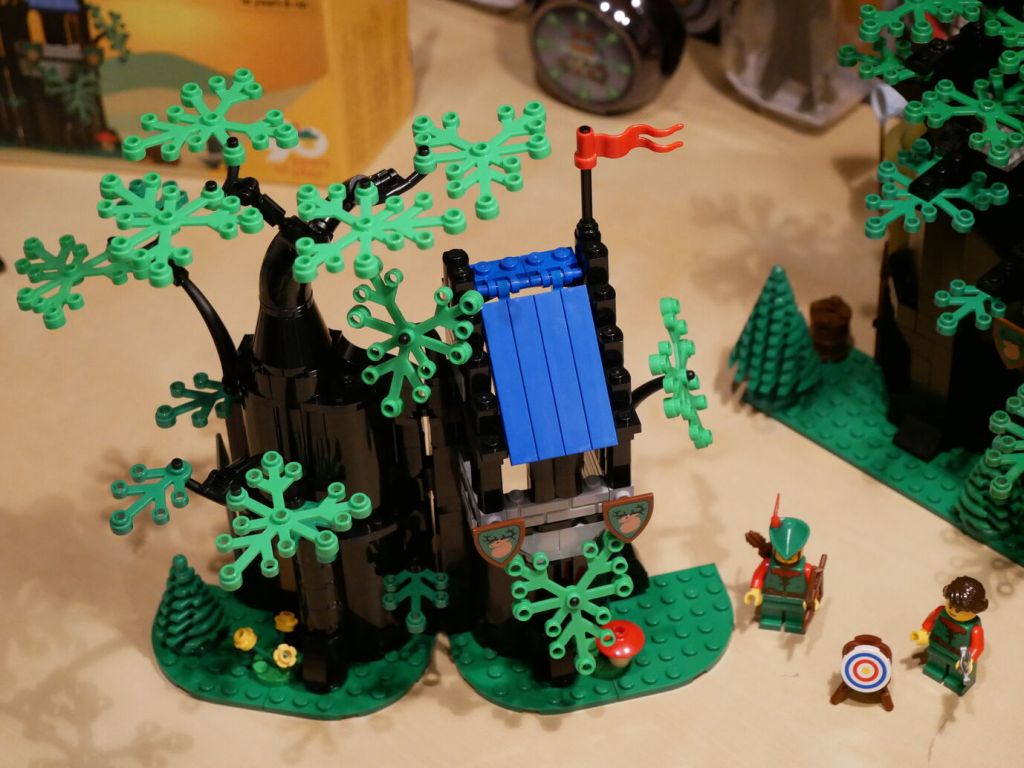
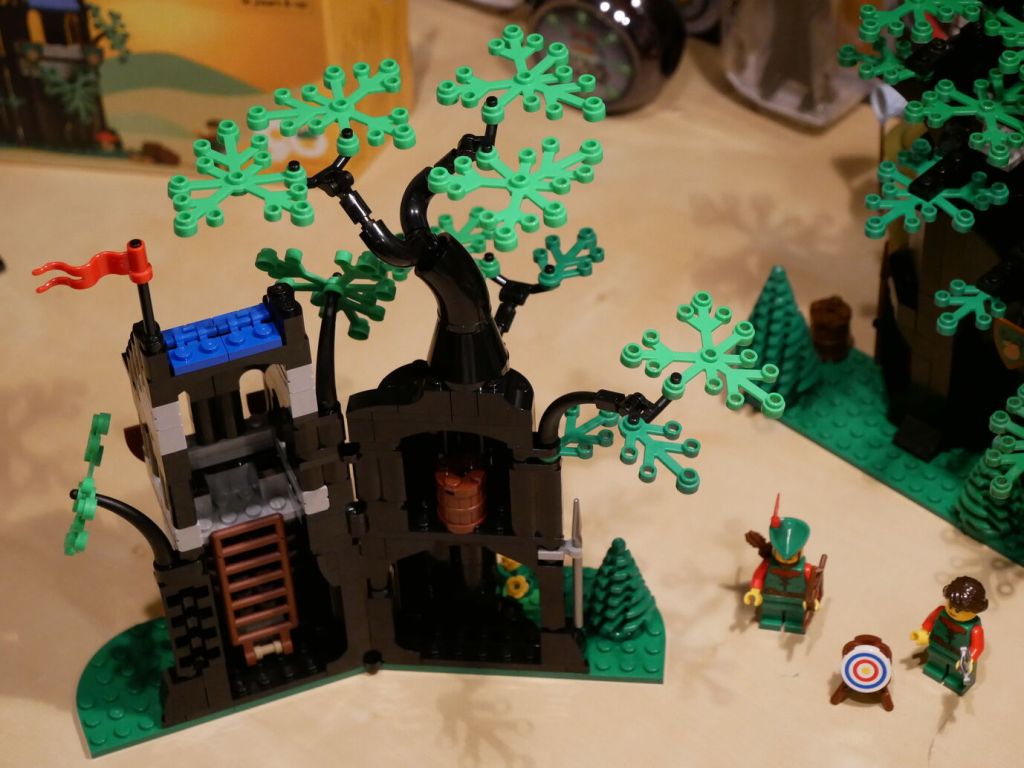
Forest Hideout (40567) has 258 pieces, which is 64 more than the 194 pieces in Forestmen’s Hideout (6054). While the tree branch and leave elements are the same, the tree’s main structure is constructed differently in the two sets. The original relied on Black Panel 3 x 3 x 6 Corner Wall pieces for most of the tree’s main trunk structure. These larger elements reduced the part count of the original. The updated version used a combination of Black Cylinder Half 1 x 2 x 1 and Black Cylinder Quarter 2 x 2 x 5 with 1 x 1 Cutout to create the tree trunk. While there are no vines for swinging in the new version as in the first, the update includes an internal ladder for minifigures to climb to into hideout. 6054 includes two smiling minifigures with hats while 40567 includes a male with hat and female with long hair minifigures.
Below, I show an over-the-shoulder view of the building process for each set and then side-by-side comparisons of the completed build of both sets. I used a scanned copy of the 6054 instructions to assemble it, which was displayed on my computer screen out of the frame on the right. Since I hadn’t opened 40567 until this build, it included the original set of instructions, which is seen in the photos.
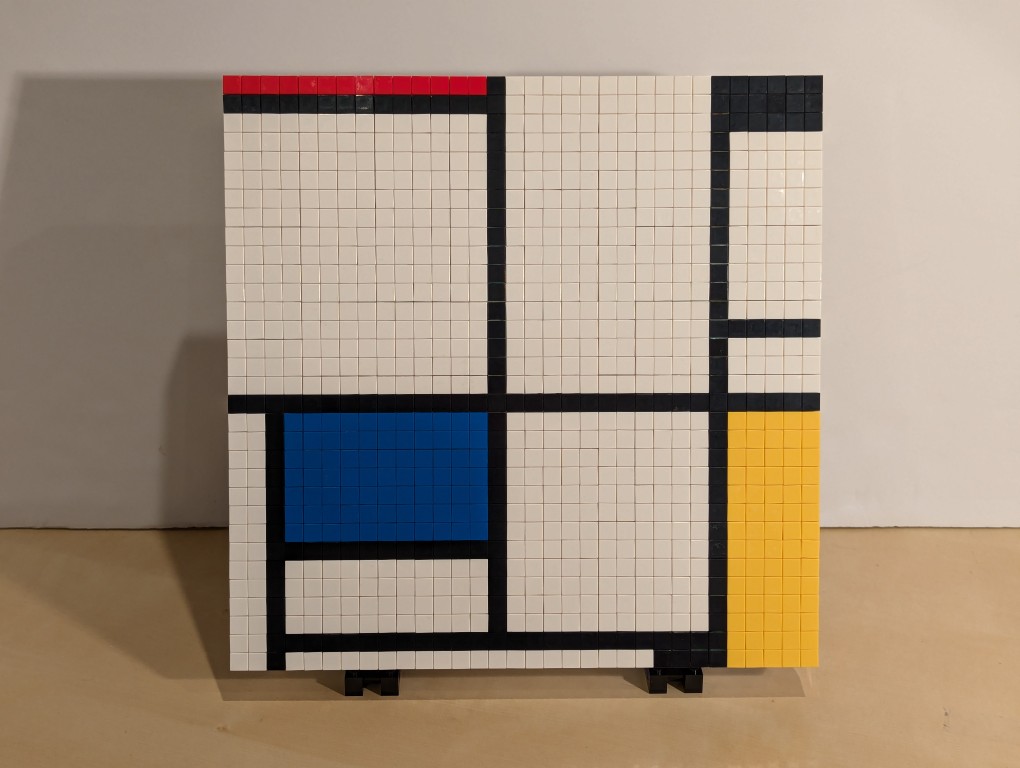
I have appreciated Piet Mondrian’s neoplasticism artwork for many years. As I wrote about here, I was glad to see his work shown in Lt. Cmd. Data’s quarters on Star Trek: The Next Generation. Then, after seeing some of his works in person at the Museum of Modern Art in Manhattan, I hatched a plan to copy his the painting from Data’s quarters–Mondrian’s Tableau I (1921) on display at the Kunstmuseum Den Haag–using a different medium: LEGO.
Planning with GIMP
Before creating a planning image using GIMP, I had to decide what size I wanted (and could afford) my build to be. I had already decided to use LEGO 1×1 flat tiles as the “painting medium.” Using LEGO’s Pick-a-Brick service online, these bricks cost $0.05 each in a variety of colors. If I went with a 32×32 stud “canvas,” that would give a surface area of 1,024 studs and therefore a need of 1,024 flat tiles to cover all of those studs. This would cost $51.20 for enough tiles to cover a 32×32 surface. Other options that I considered was enlarging each dimension by 1.5 to 48×48 for 2,304 studs and a cost of $115.20 for enough tiles or enlarging by 2 to 64×64 for 4,096 studs and a cost of $204.80 for enough tiles. Even using bricks that I already owned to create the canvas and stand, it was hard to spend more than the $51.20 for enough tiles to cover a 32×32 canvas and essentially fill the volume of your hands cupped together.
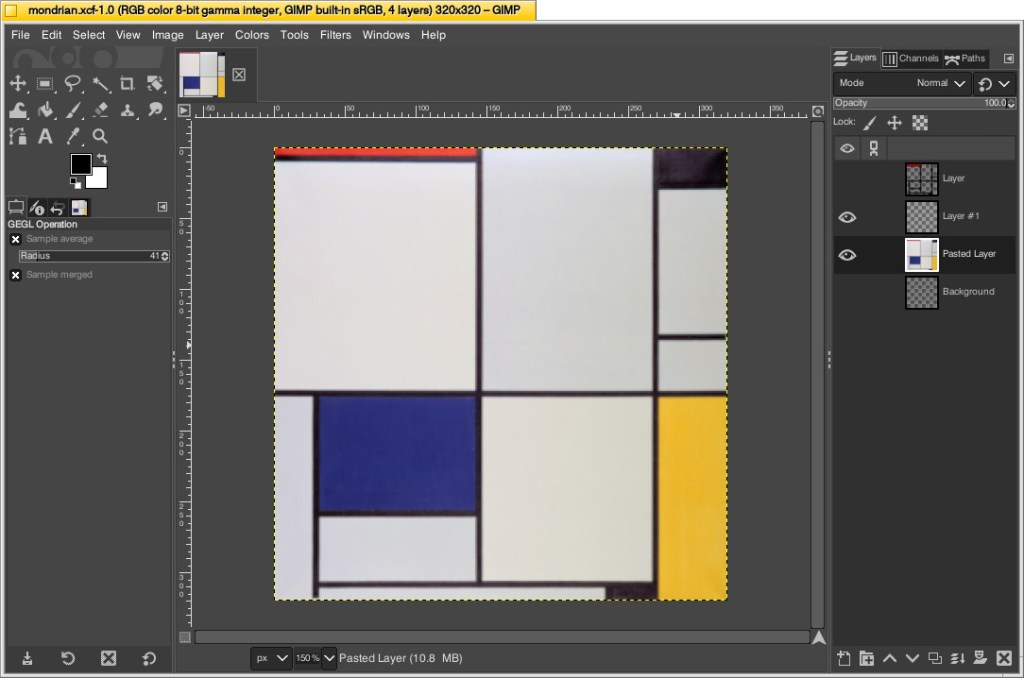
With that decision made, I could begin working in GIMP. First, I opened an image of Mondrian’s Tableau I (1921). The original is painted on a 103cm x 100cm canvas. Since I am creating a perfect square, I needed to square this image and resize it to match my calculations. To do this, I simply selected Image > Scale Image > unlinked the horizontal and vertical resolution > entered 320 for X and Y > clicked Scale. This made the image a perfect square with a resolution of 320 by 320.
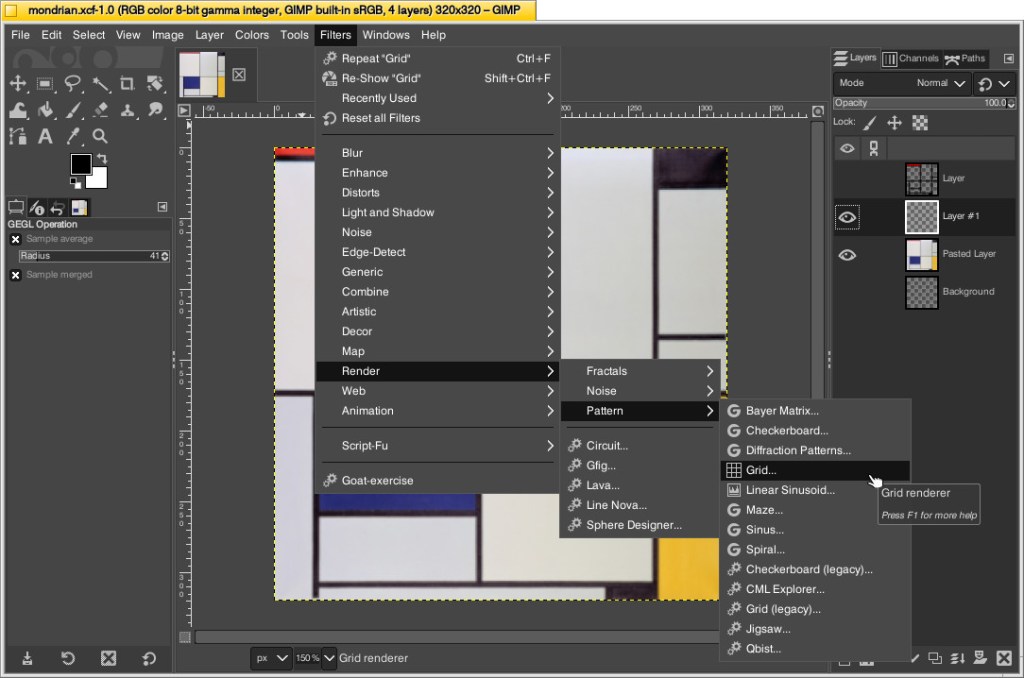
Next, I needed to make the image look more LEGO-like to calculate how many flat tiles I would need of each color. To do this, I added a new layer over the original image and then clicked Filters > Render > Pattern > Grid.
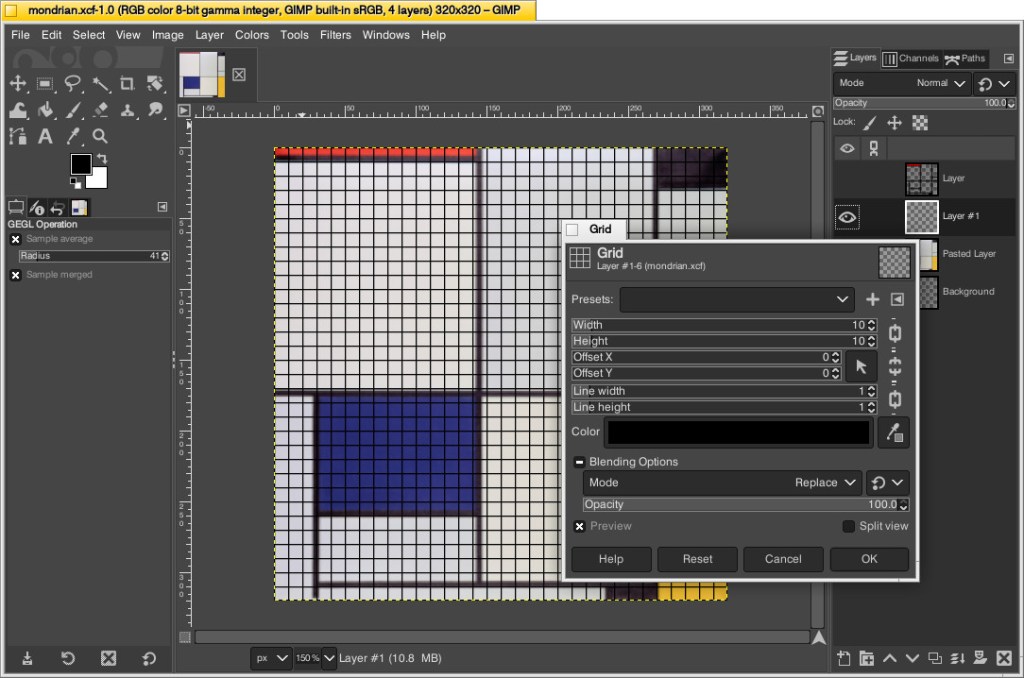
On the Grid pop-up window, I changed the Width and Height to 10–meaning that there would be a grid line every 10 pixels on the X and Y axes. Since I had already scaled the image to 320 pixels on each side, this grid would perfectly approximate the 32 x 32 grid of my LEGO canvas. Also, I set the line width and height to 1 pixel each so that it wouldn’t be too large and obscure the next step. After clicking OK, the grid appears over the image.
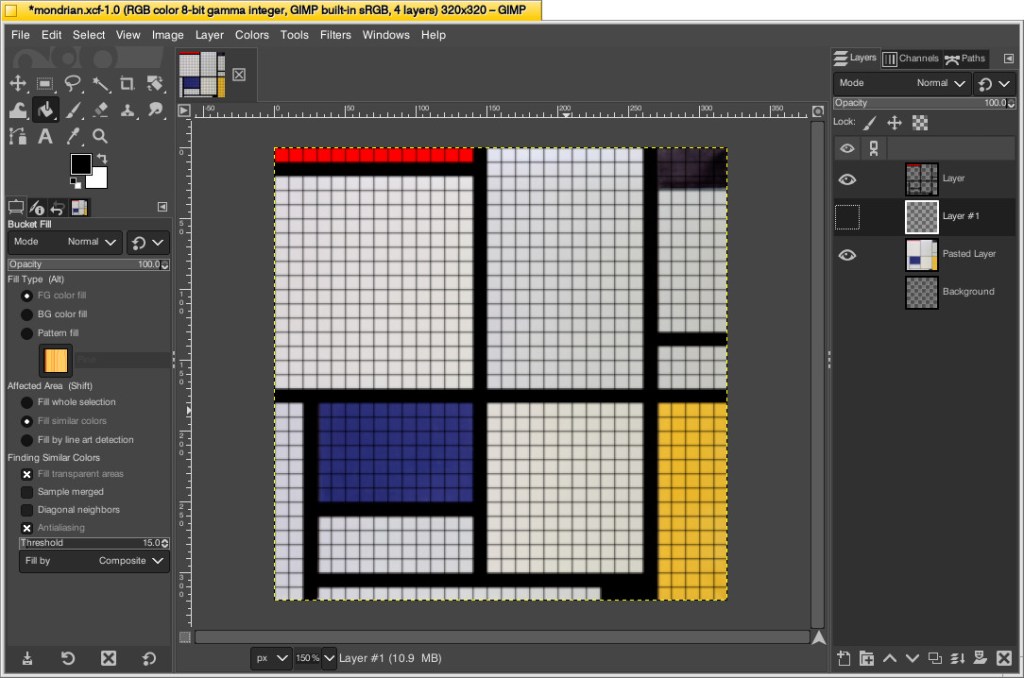
While remaining on the layer with the grid, I selected the paint bucket tool, selected the color of the target areas–black, blue, red, and yellow–in turn, and filled the appropriate squares to match the original painting underneath. I did this to make sure I was making the tile count as accurate as possible. If I hadn’t done this, the black lines would be less noticeable and what I might count as a colored square versus a black line might become confused. At a LEGO resolution of 32×32 studs, it was impossible for me to make it as accurate as the original, so this technique helped me approximate the original with a high degree of accuracy.
Then, I counted the squares of each color to make my LEGO order: 686 white, 177 black, 77 blue, 70 yellow, and 14 red. I ordered a extra flat tiles of each color in case my counting was incorrect.
Building the Canvas
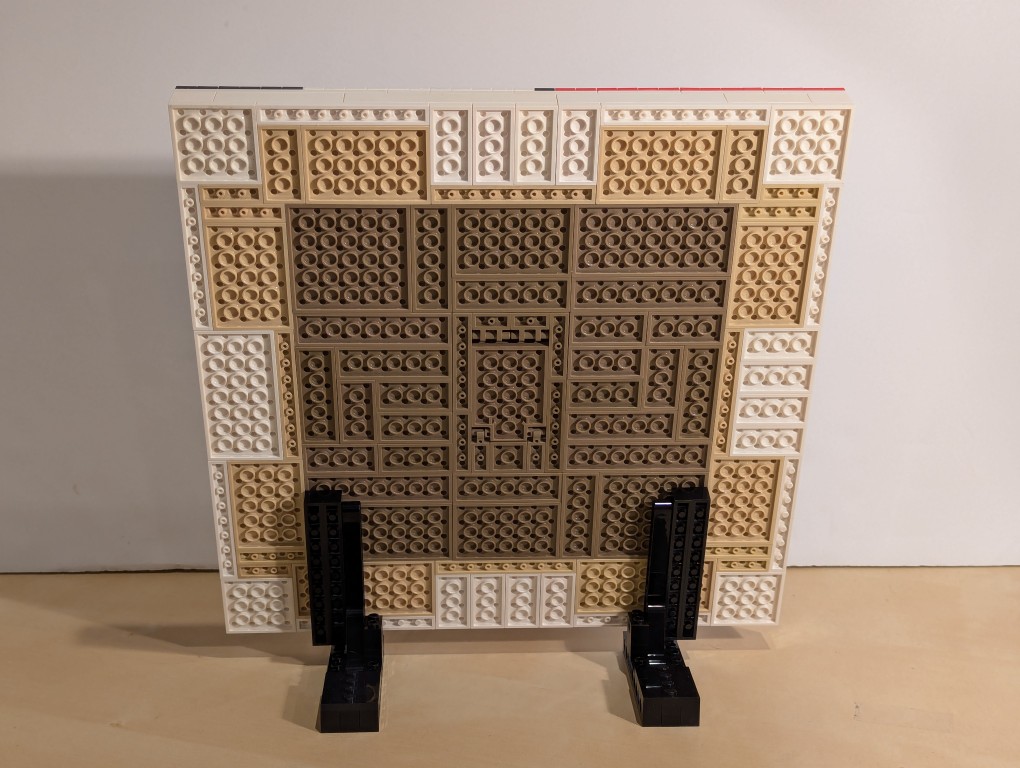
I wanted to build a substantial canvas for the Mondrian instead of using a 32×32 base plate. Also, I wanted to build with as many white bricks and plates as I could to reduce how much I had stored in plastic bins under my desk.
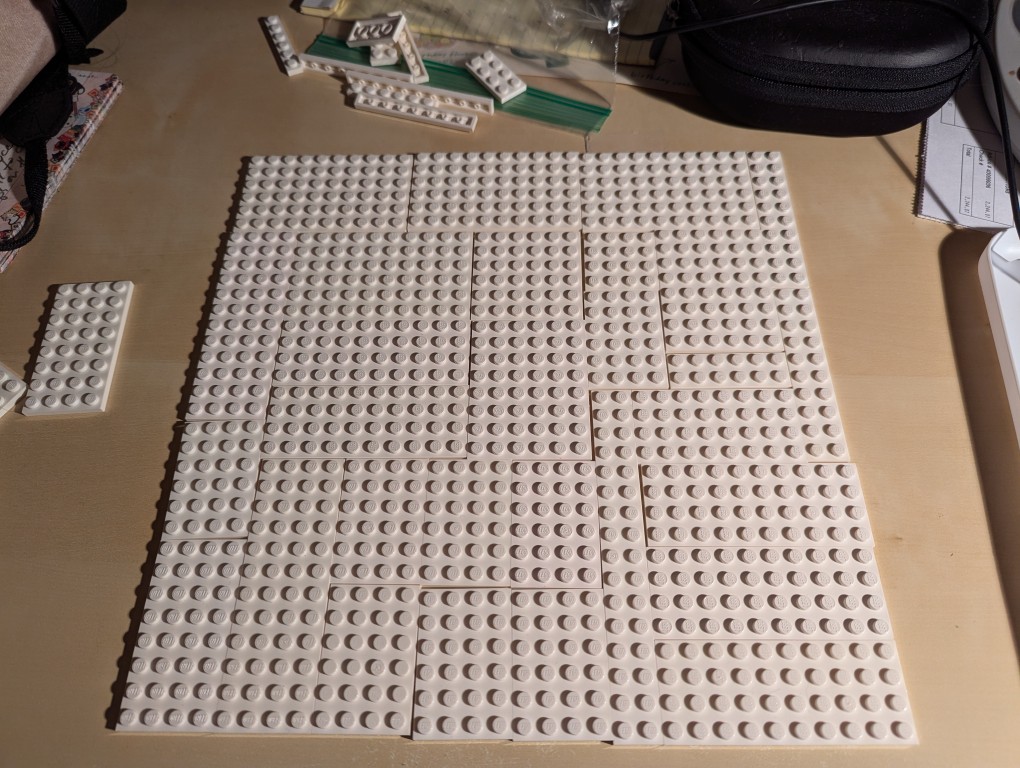
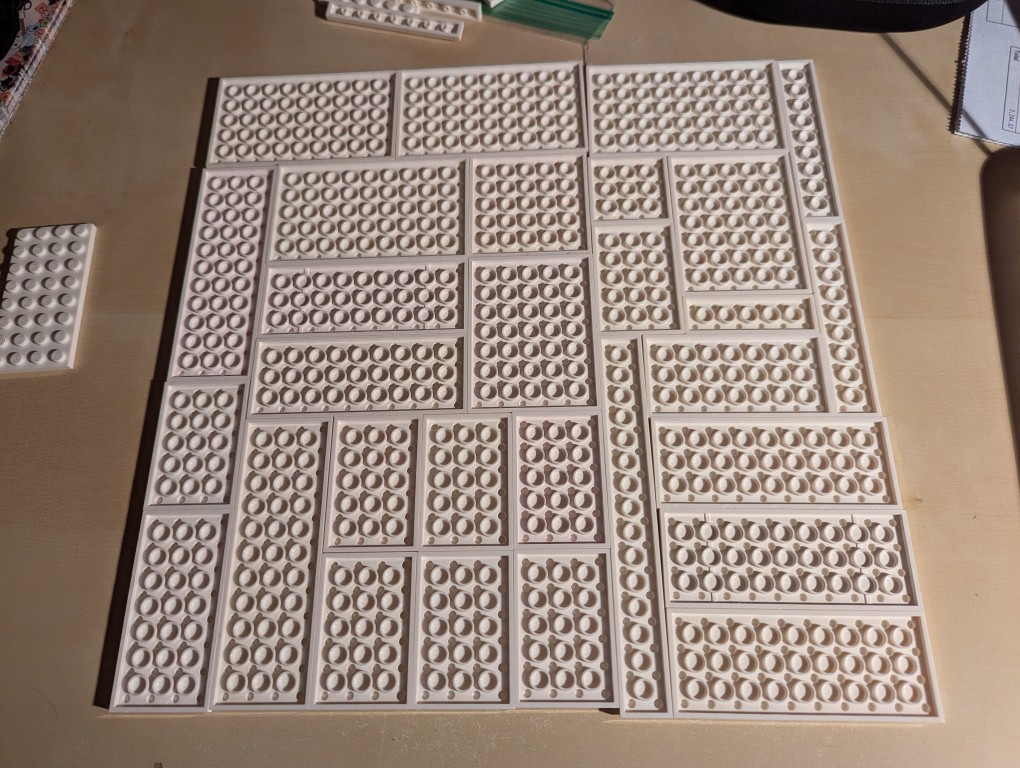
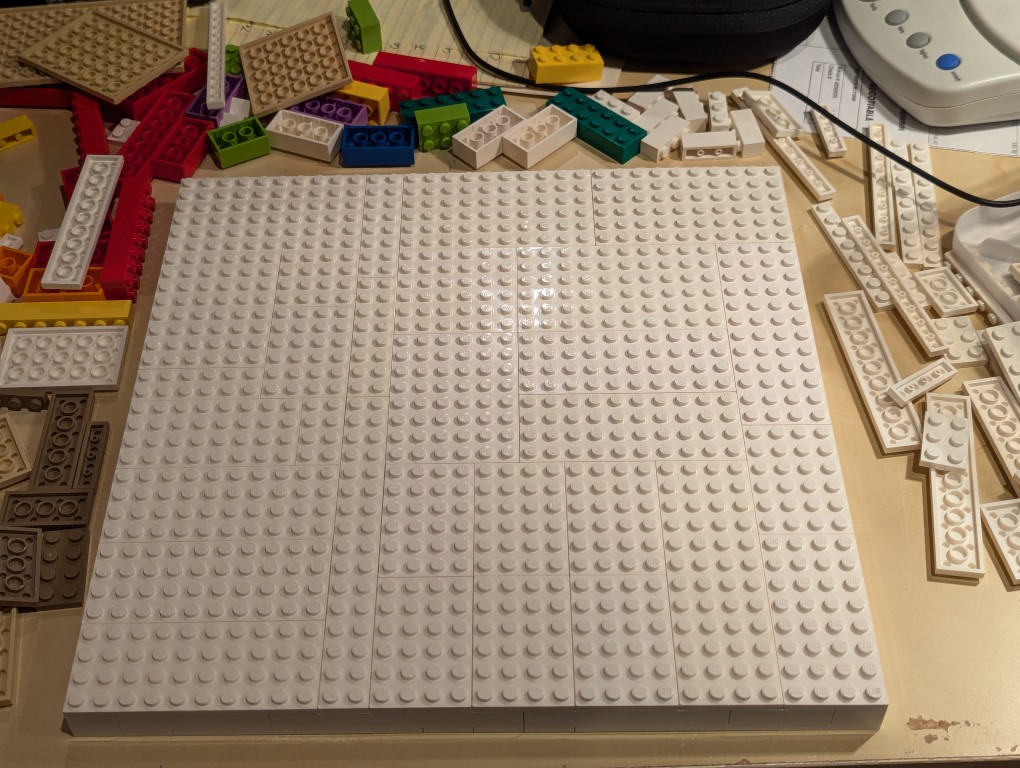
To begin, I laid out a 32×32 grid of plates. I didn’t have a large number of similar types of white plates, so I had to try different configurations before settling on one. If I had to do over again, I would have tried configuring it for more staggered stepping instead of long break lines as I did.
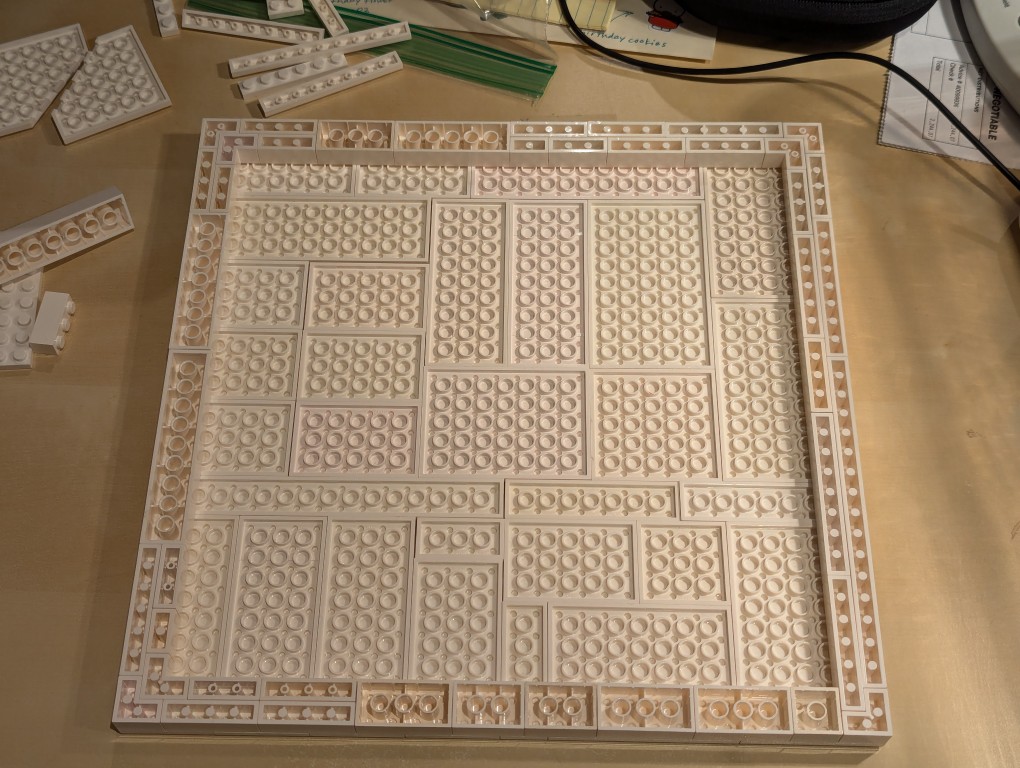
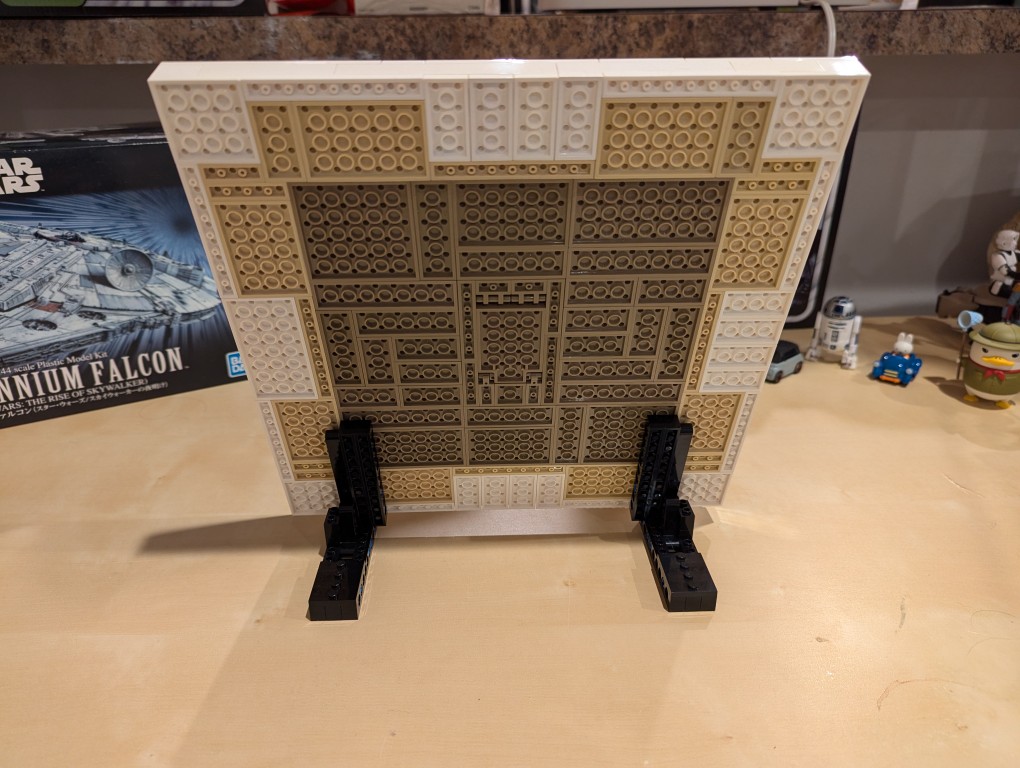
I flipped over the plates to begin building the support frame for the canvas using bricks.
I wanted the canvas to appear stretched, so I continued the color white from the canvas’ plates to the border.
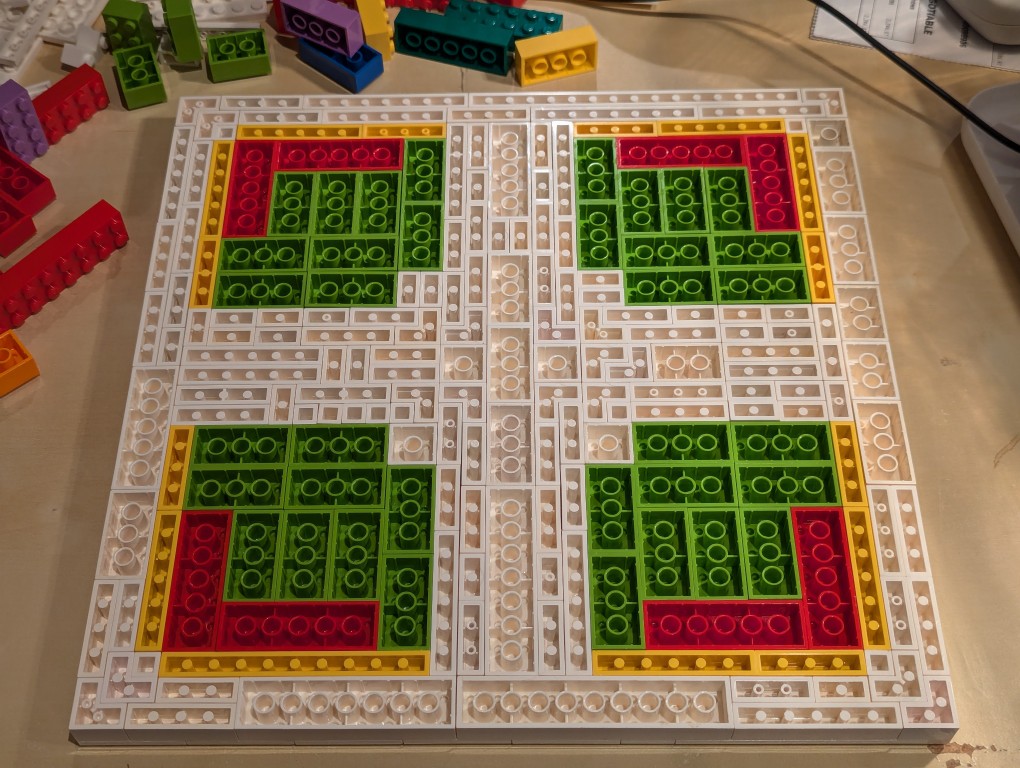
Knowing these other colors would be hidden, I used filler bricks in a mirrored pattern (I would know what it was like underneath even though no one else would).
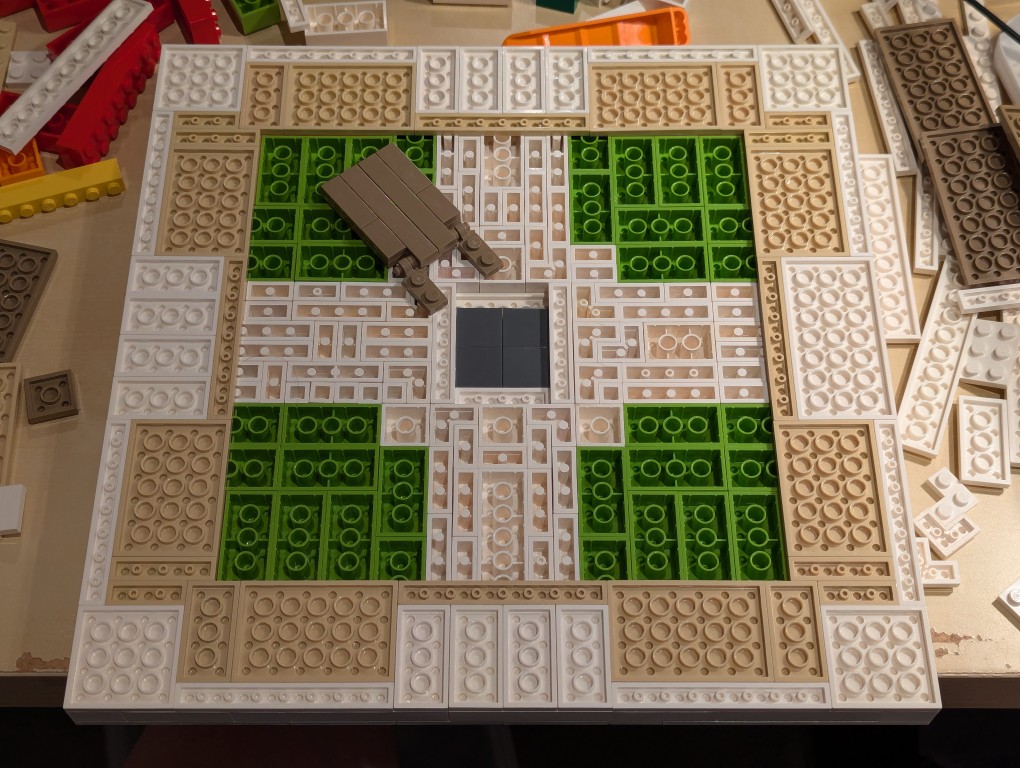
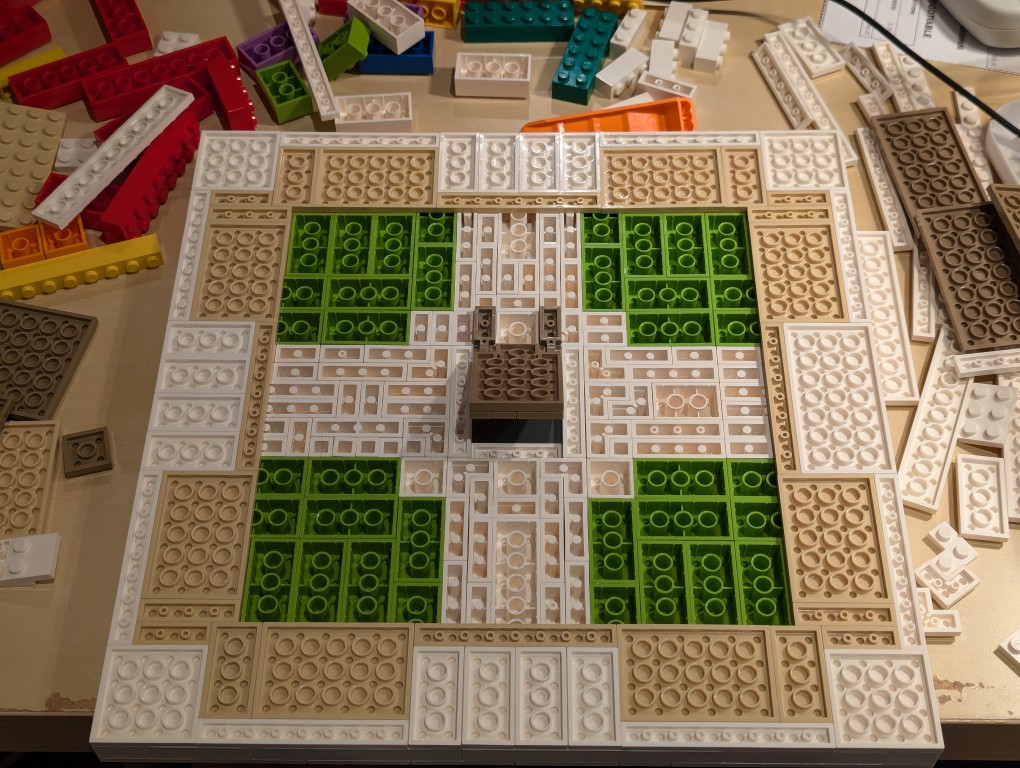
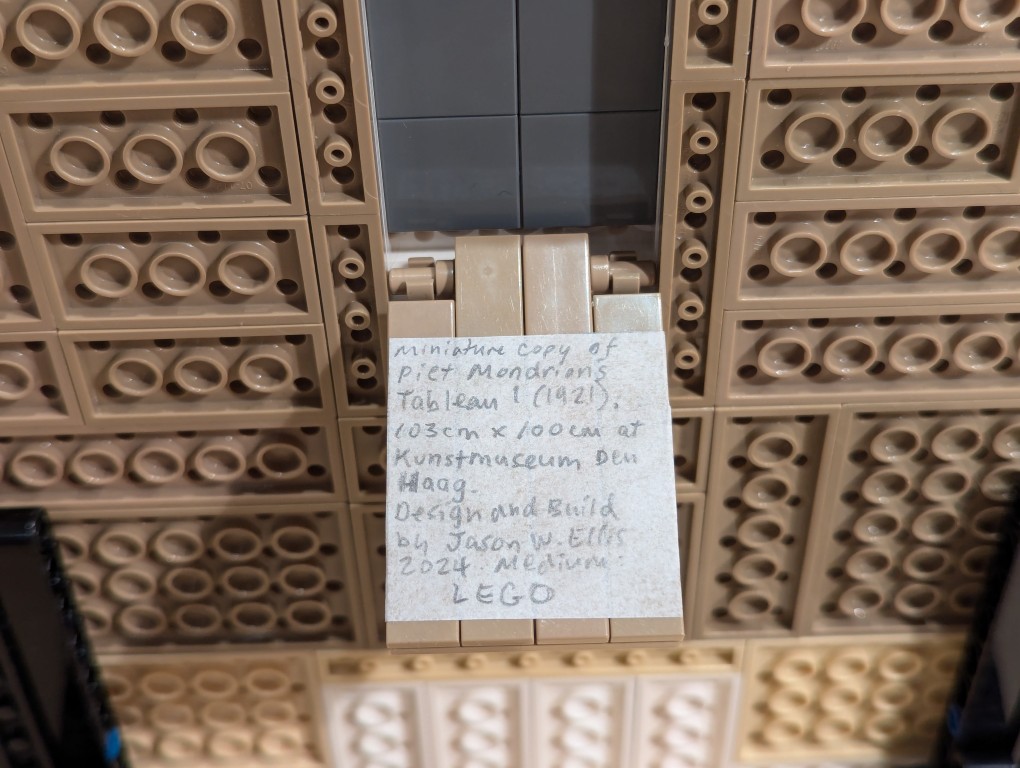
After beginning to cover the filler bricks with white plates (stretched canvas) and sand plates (wood frame), I thought that it would be cool to build a hidden compartment to hold a written statement about the artwork. So, I pulled out some central bricks, filled the center with inverted 2×2 flat tiles.
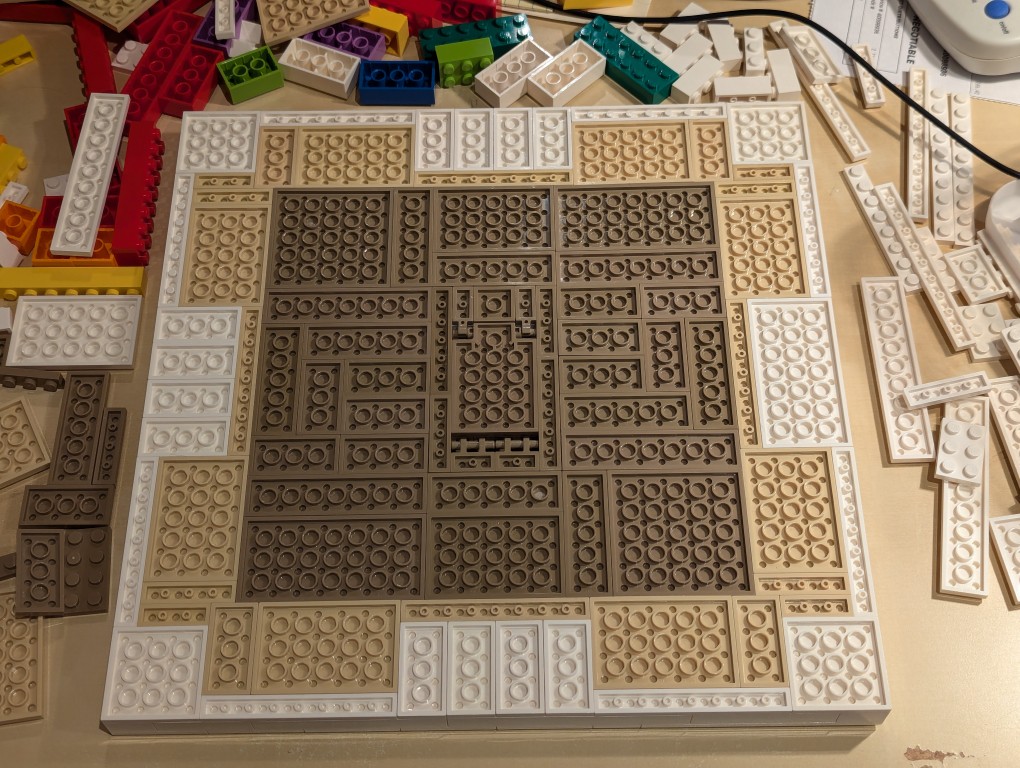
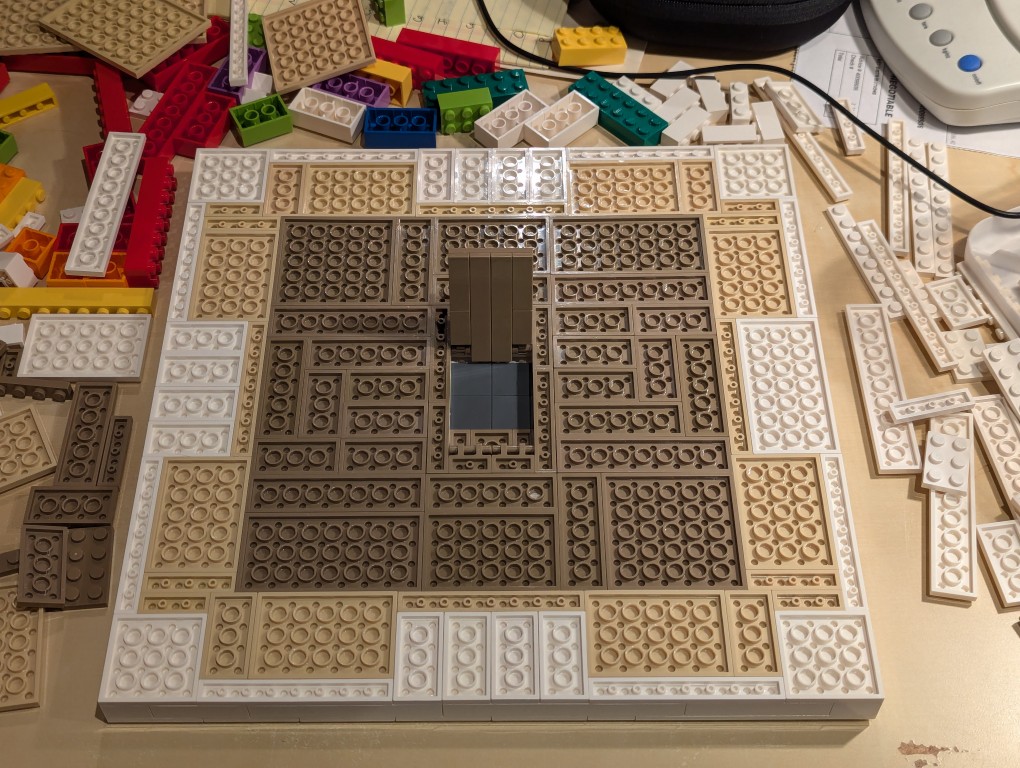
I constructed a compartment door on hinges in the middle of the back of the canvas and filled the rest of the space with dark sand plates (paper backing protecting the canvas).
Here is the hidden compartment door open.
Flipped back over, the canvas is primed and ready for the “paint.”
Constructing Display Stands for the Canvas
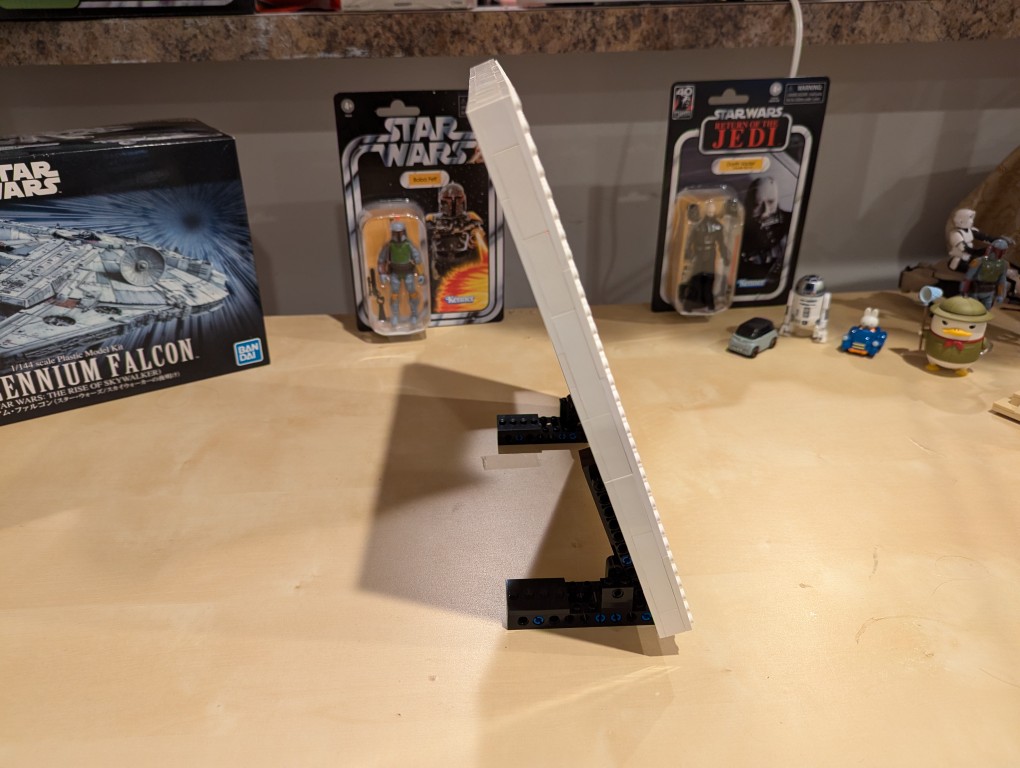
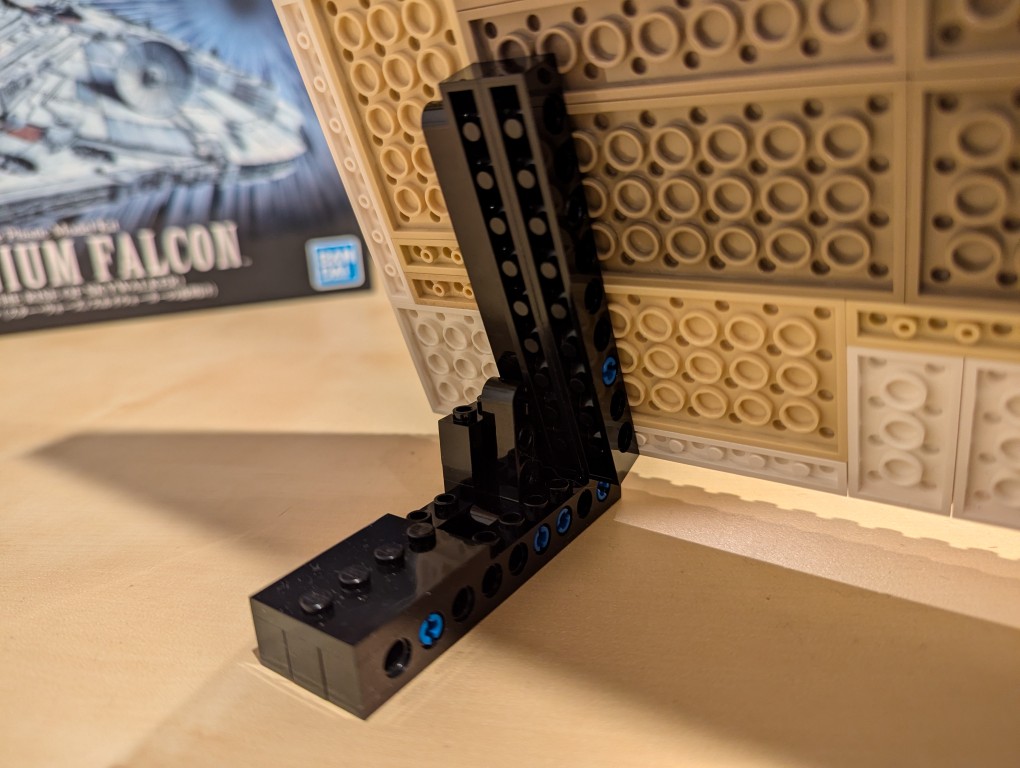
I used LEGO Technic bricks to build two stands for the canvas so that it was held at a stable angle.
It’s about 70 degrees from horizontal.
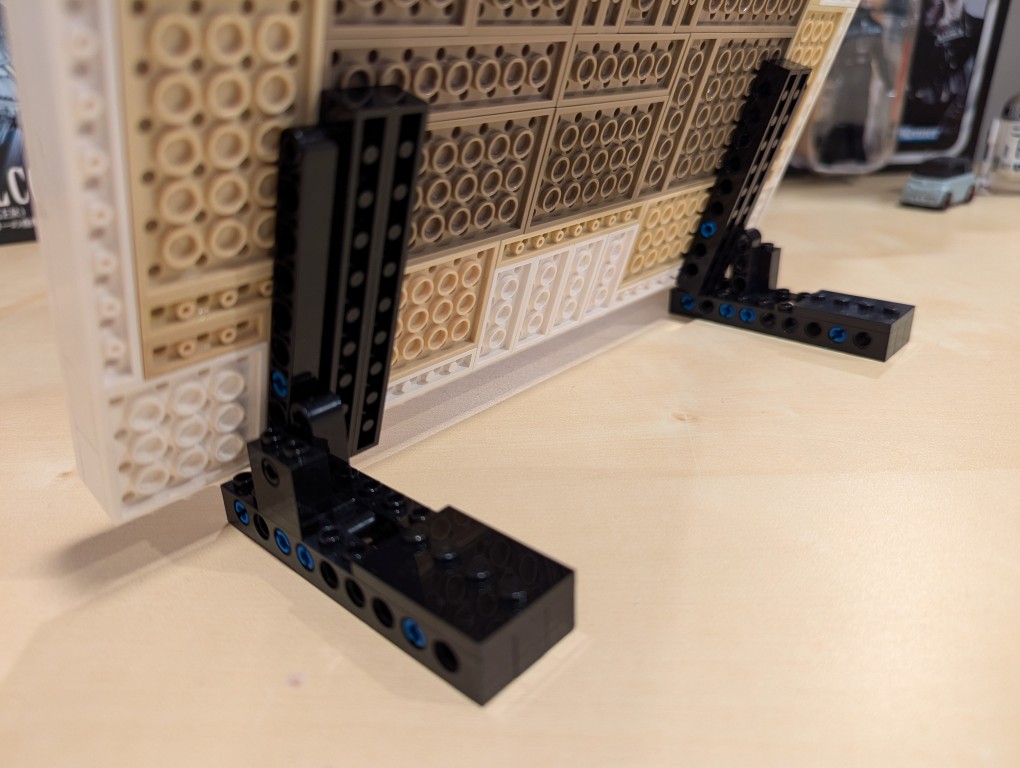
I beefed up the friction connection between the stands and the canvas by using two 1×10 Technic bricks that attach to the canvas.
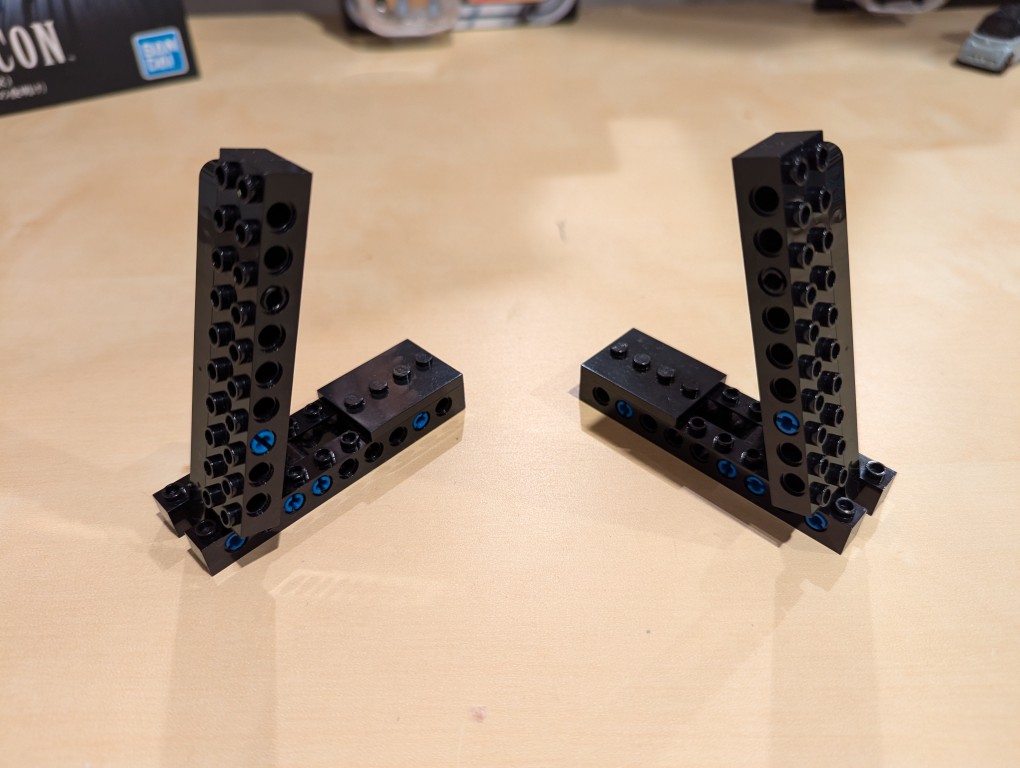
From the blue color, you can see that I used a number of 3 brick width pins.
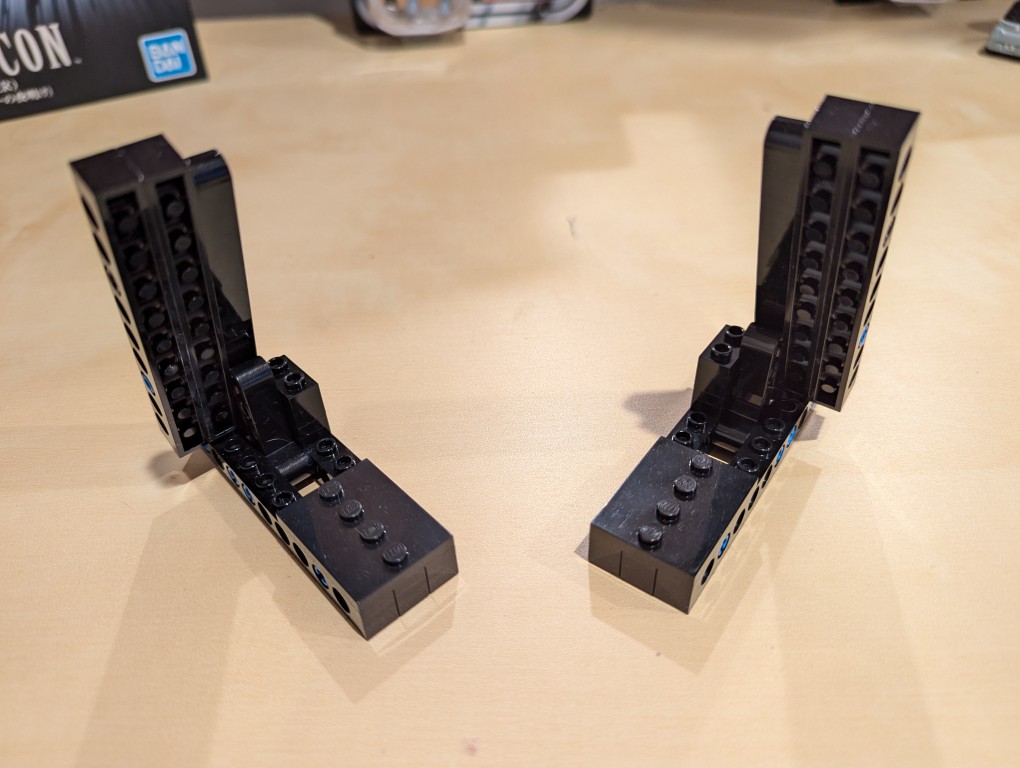
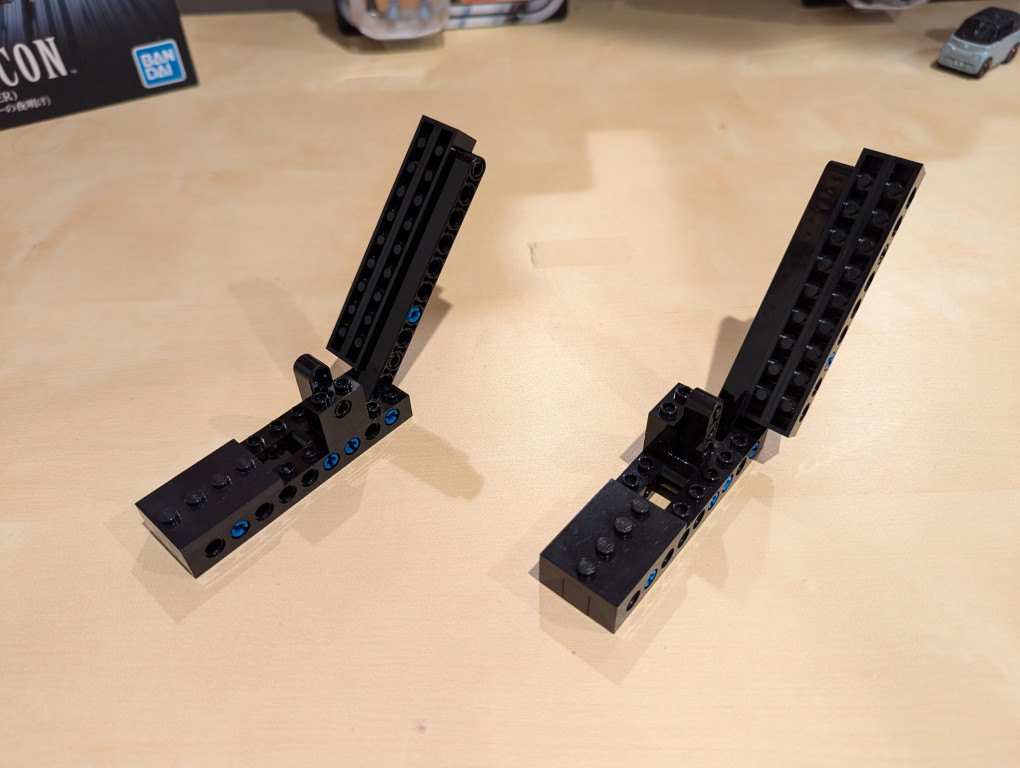
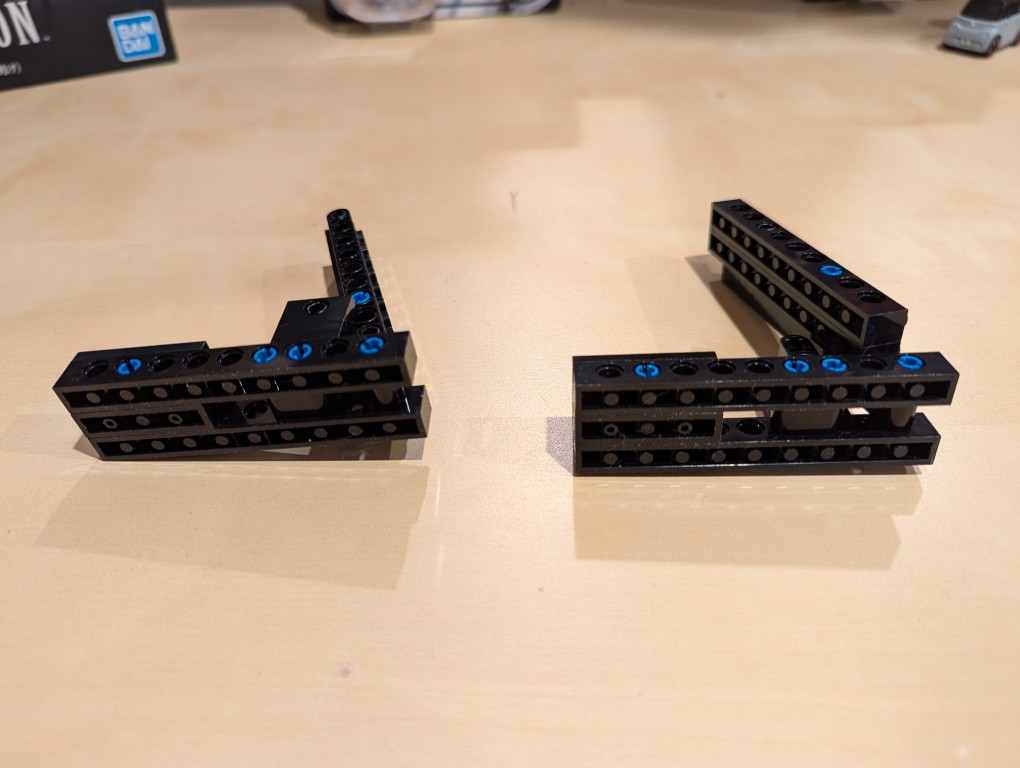
These photos show the stands in more detail detached from the canvas.
Note that the angle is achieved by having the long arm simply rest against a smaller L-shaped Technic support arm. Gravity holds things in place.
I added extra Technic bricks to the stand’s bottom support legs for extra strength.
Assembling Mondrian’s Tableau I (1921)
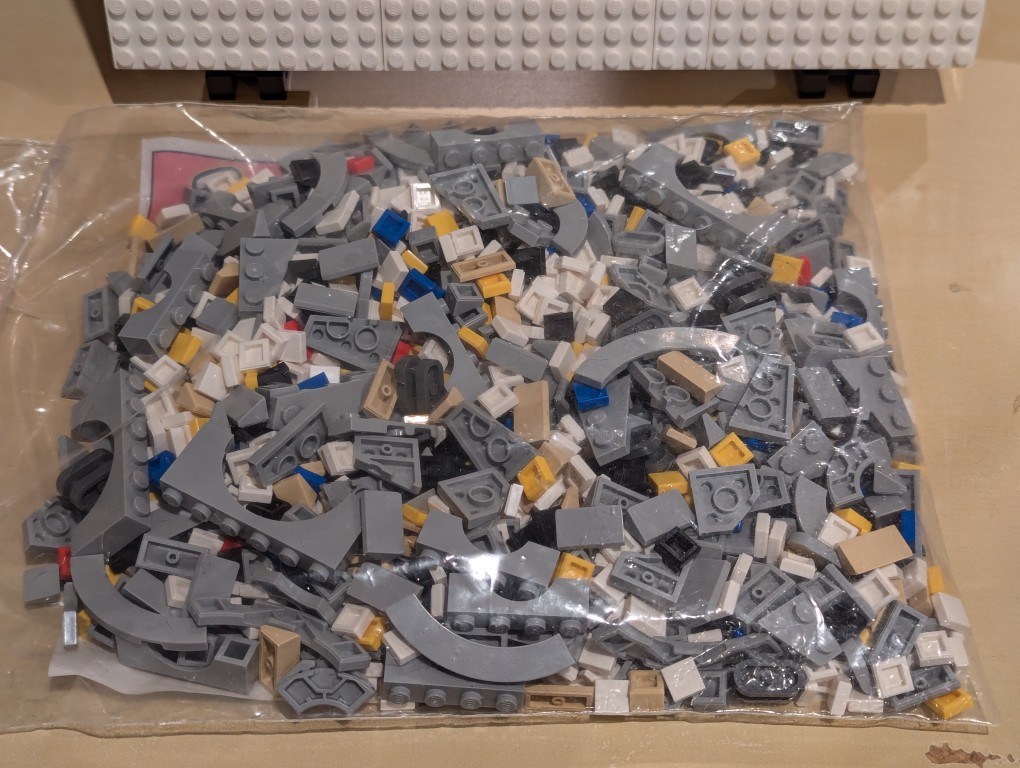
After placing my LEGO Pick-a-Brick order for the “painting” 1×1 flat tiles, it took about a week-and-a-half to arrive.
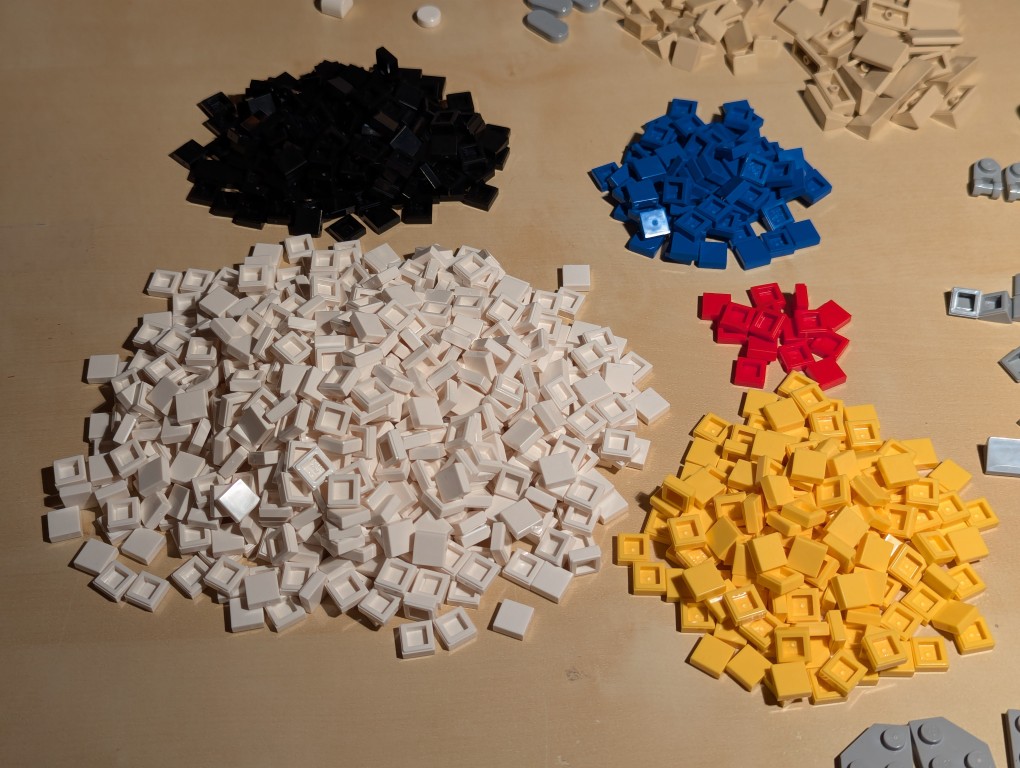
I ordered bricks for a custom Millennium Falcon that I am currently also working on, so I needed to sort everything out.
Here I am sorting the LEGO bricks.
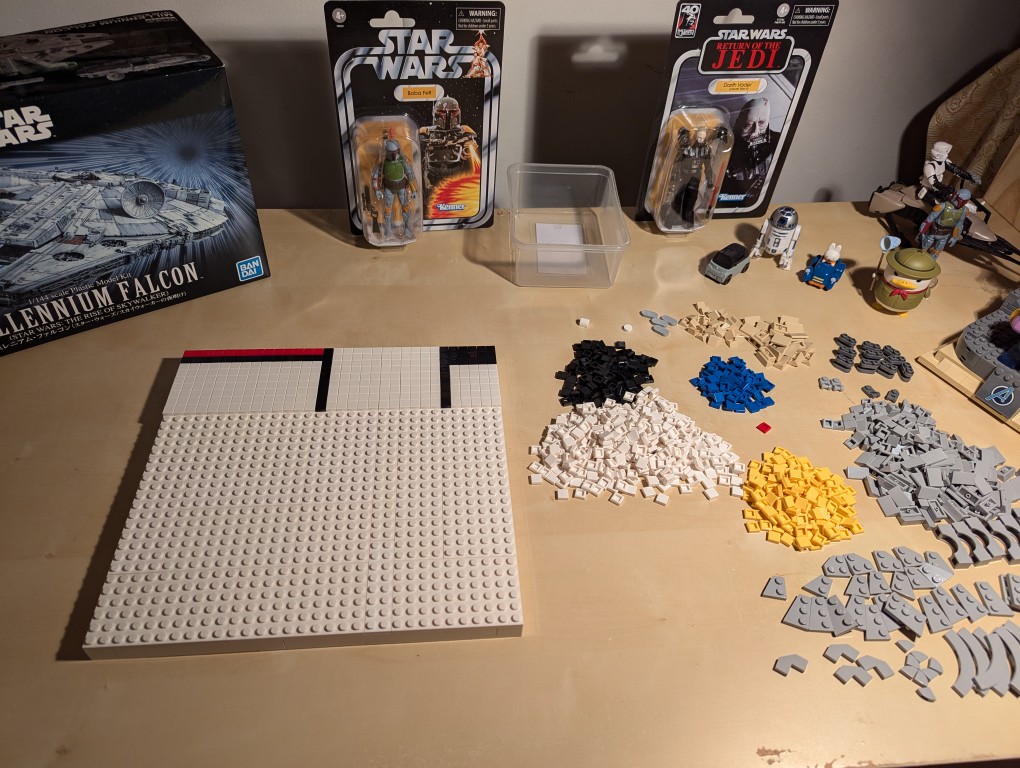
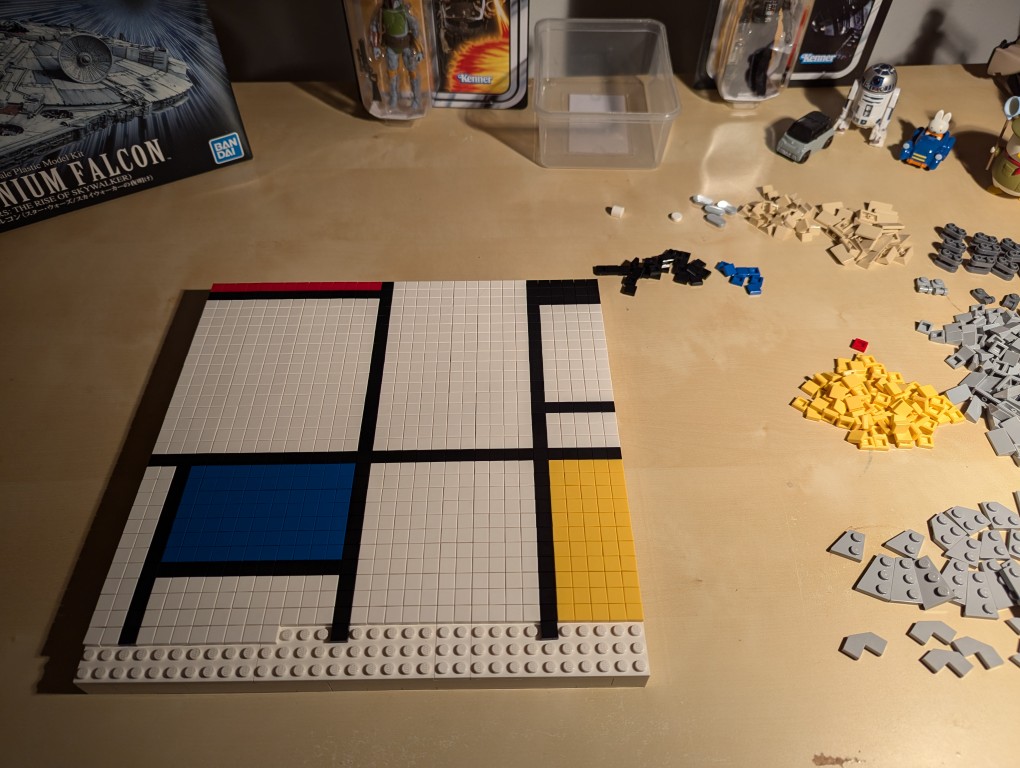
With the bricks sorted, I began to paint my recreation of Mondrian’s Tableau I (1921).
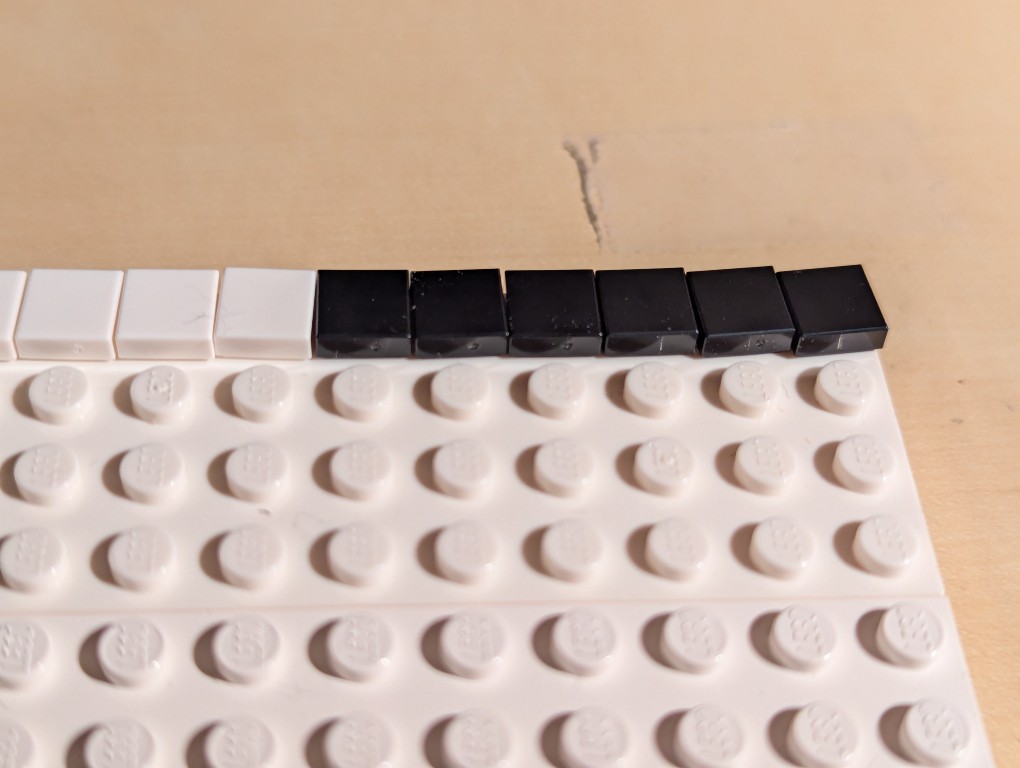
I began at the top horizontal line and created one line at a time–kind of like a CRT drawing a line of pixels across the screen one-at-a-time.
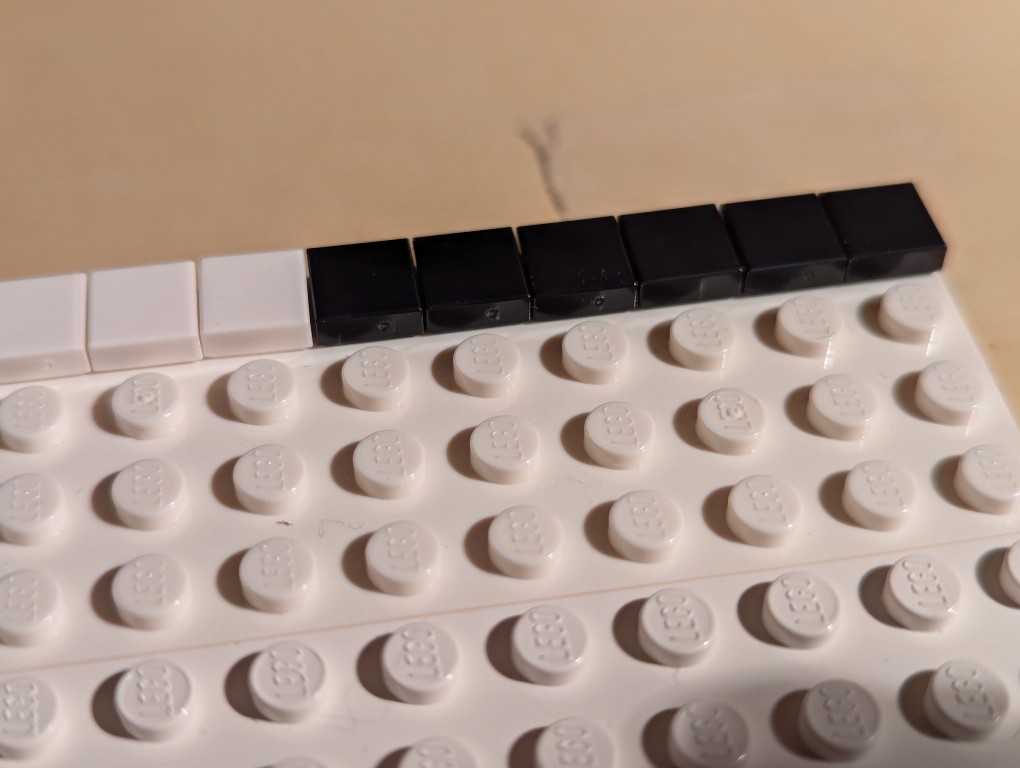
The problem with LEGO flat tiles is that they are difficult to align just by placing them on a stud.
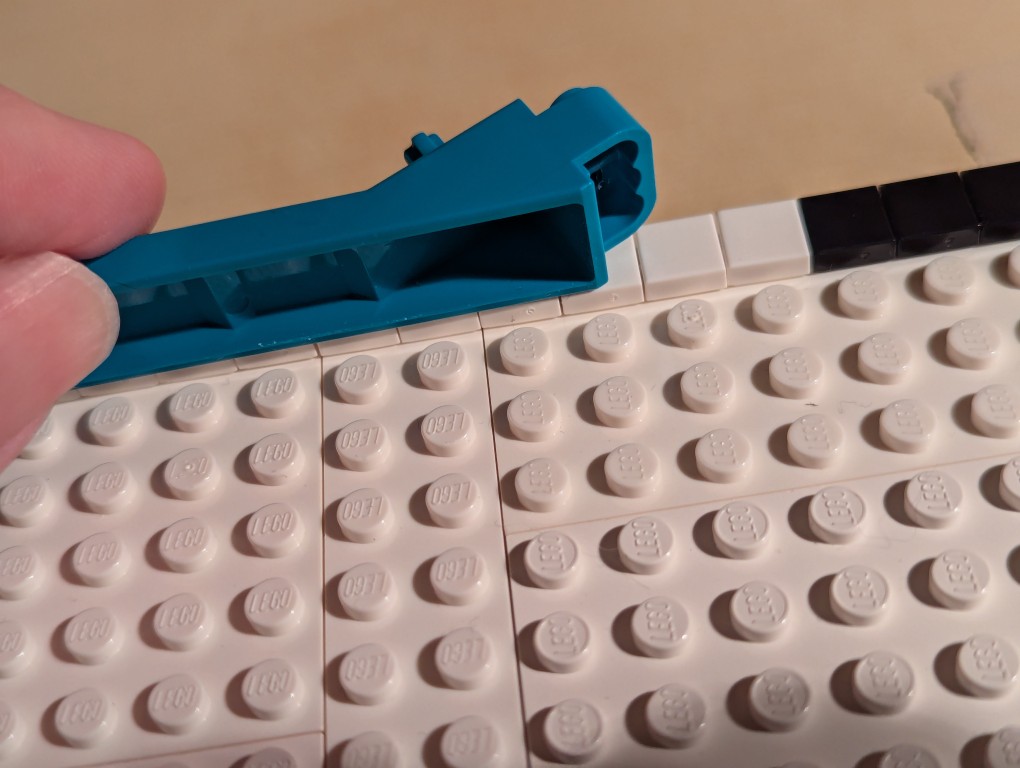
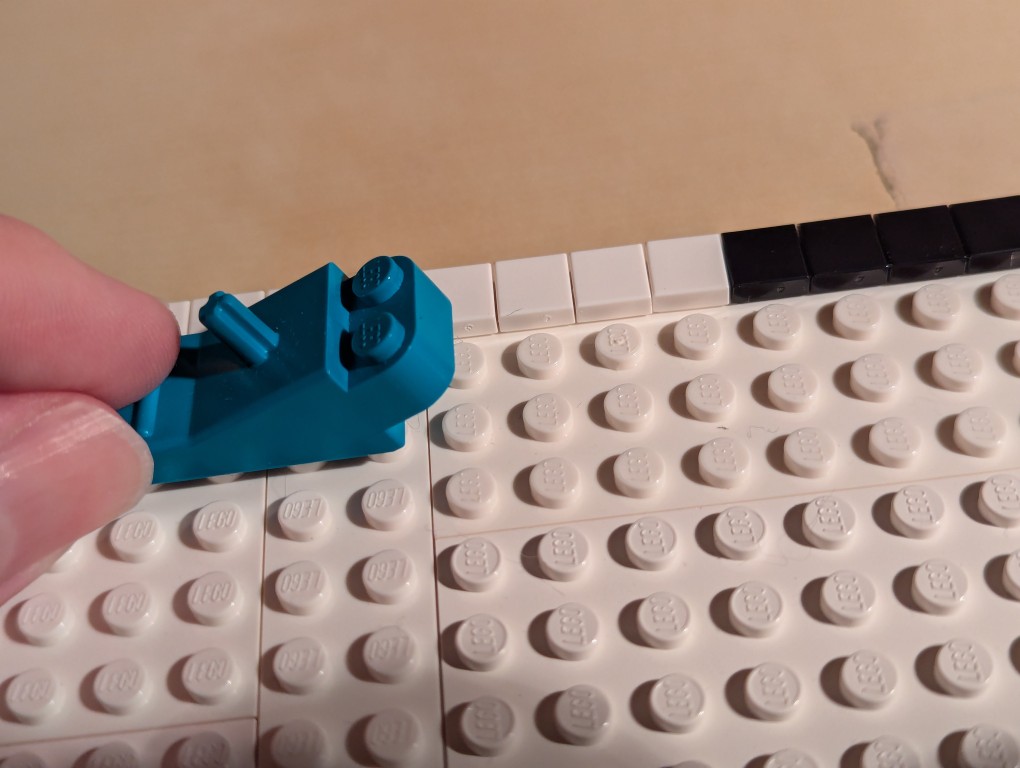
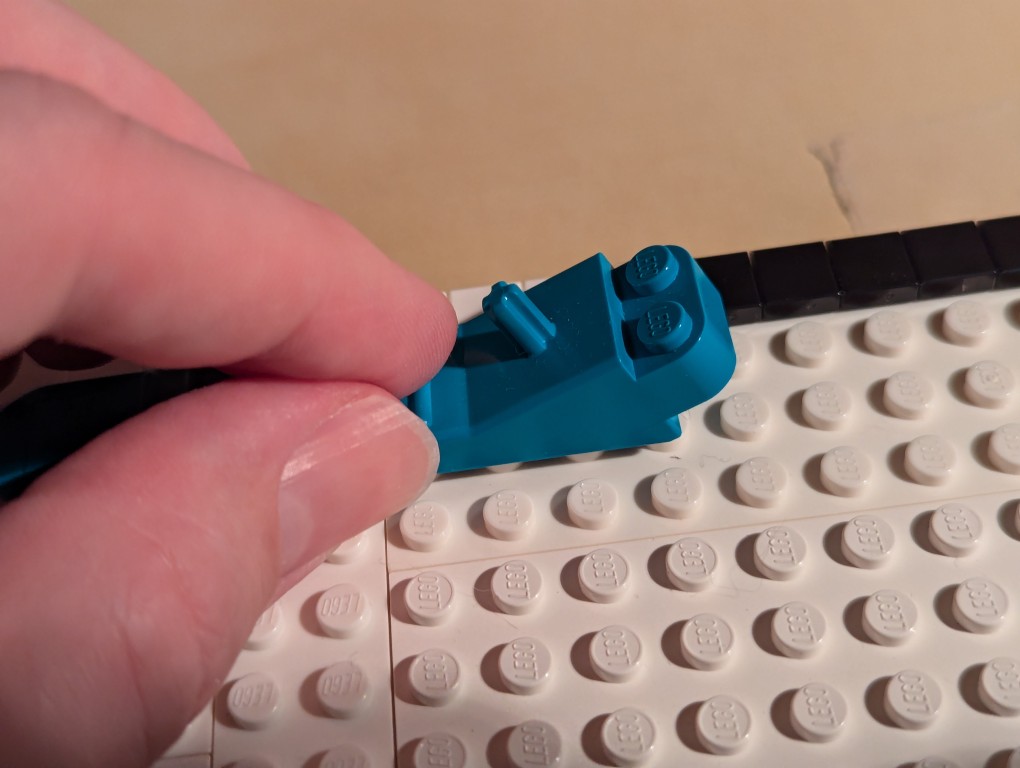
To align each line of flat tiles, you can take a brick separator, place it edge-wise along the flat tiles, and pull it back-and-forth lightly–hard enough to press against the flat tiles’ edges but not so hard as to keep it from moving above the adjacent studs as in the picture above.
As you can see, the flat tiles are now aligned better. I did this trick for each line of flat tiles as I worked down the canvas.
Nearing the end of the build, I discovered that I didn’t have enough flat tiles in white and black. I recounted and recalculated. My count was correct, but LEGO short changed me about 70 elements from my order and gave me 70 extra yellow tile that I didn’t order. I called their customer service the next day and asked that they correct the order. I received the missing parts after another week-and-a-half. I continued “painting.”
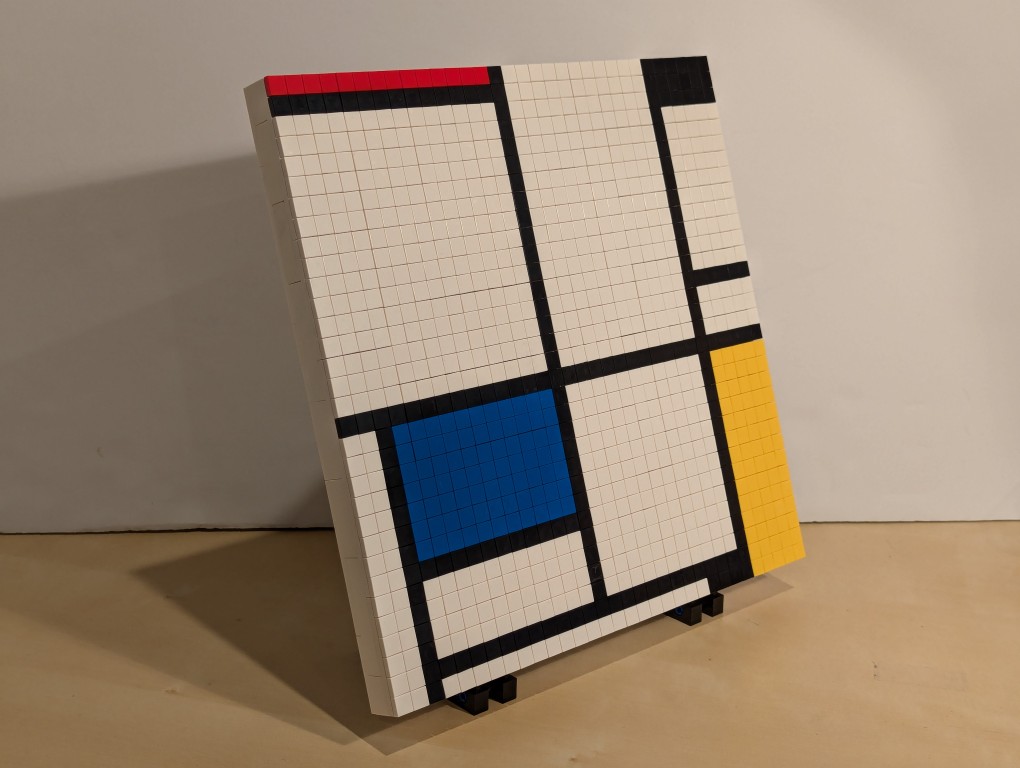
After several weeks, I had completed my copy of Mondrian’s Tableau I (1921) using LEGO!
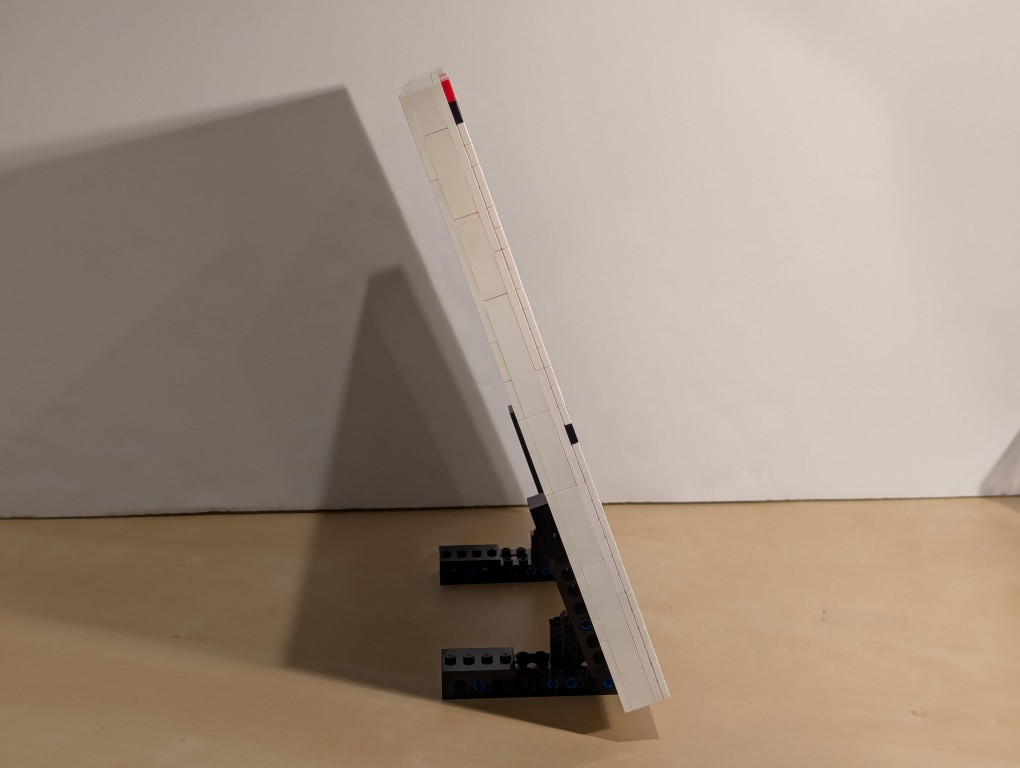
The side view reveals hints of the “paint” of the lines of 1×1 flat tiles.
The back of the canvas mounted on the display stands has its hidden compartment in the back center of the canvas.
For the hidden artist statement, I cut out a 4×4 square and wrote in pencil, “Miniature copy of Piet Mondrian’s Tableau I (1921), 103cm x 100cm at Kunstmueum Den Haag. Design and Build by Jason W. Ellis 2024. Medium: LEGO.” I pasted it on the flat tiles inside the lid of the hidden compartment.