On Monday, I posted happy wishes for Pride Month with a photo that I made of a LEGO Pride Flag.
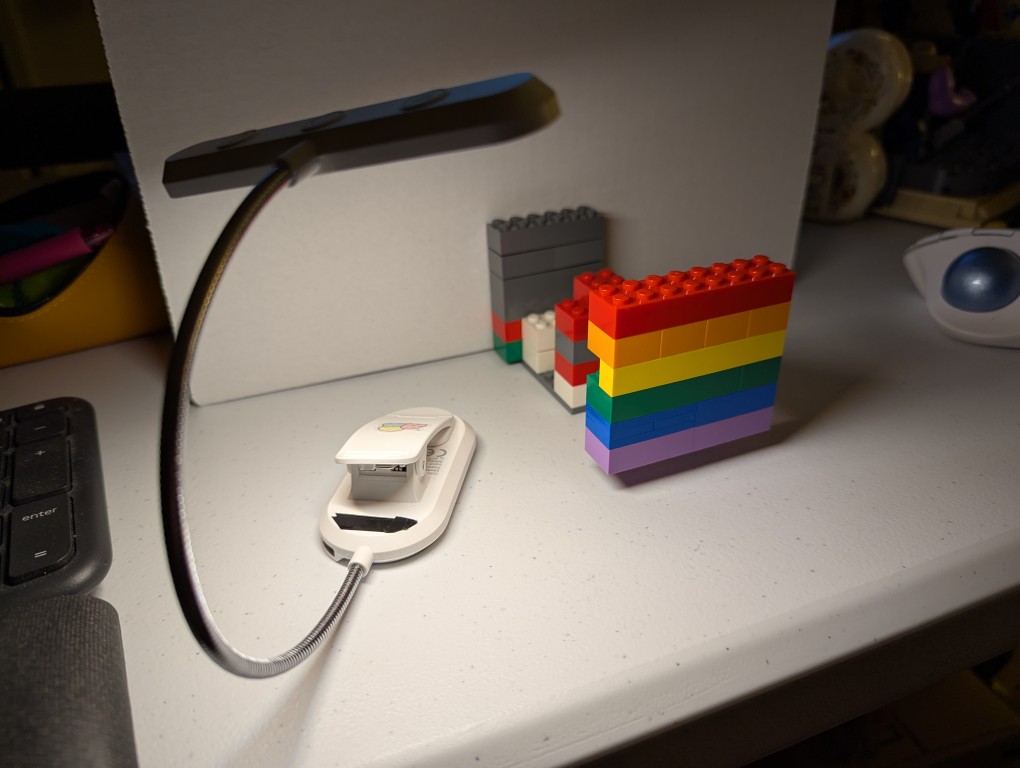
To create the photo, I first dug through my boxes of LEGO to find 8 stud wide bricks that matched as close as possible to the Rainbow Flag’s approximation of ROYGBIV: red, orange, yellow, green, blue, and purple.
My first shots had the flag resting on the table some distance in front of a white cardboard box, which served as a neutral background. For lighting, I held a USB rechargable book reading light belonging to Y just above my smartphone to avoid casting a shadow from the camera.
I didn’t like how these turned out, because the flag was kind of boring just sitting there. So, I thought about levitating it like in Monday’s post.
To levitate the flag, I built a counter-weighted assembling of 6-stud wide bricks with an armature that connected behind the yellow bricks in the Pride Flag. I built this armature one brick higher than the flat to give it the illusion of floating in midair.
