Tag: Making

  • LEGO Ghostbusters 21108 in Front of Hook and Ladder Company 8 in NYC, Composite Image Made with GIMP

    Thinking about the composite image of the Bandai 1/144 scale Millennium Falcon in space that I created using GIMP (GNU Image Manipulation Program) led me to imagine creating a different composite of the LEGO 21108 Ghostbusters set from 2014 in front of the filming location of the Ghostbuster’s headquarters, Hook and Ladder Company 8 in Manhattan.

    I started with these photos that I had taken in 2015:
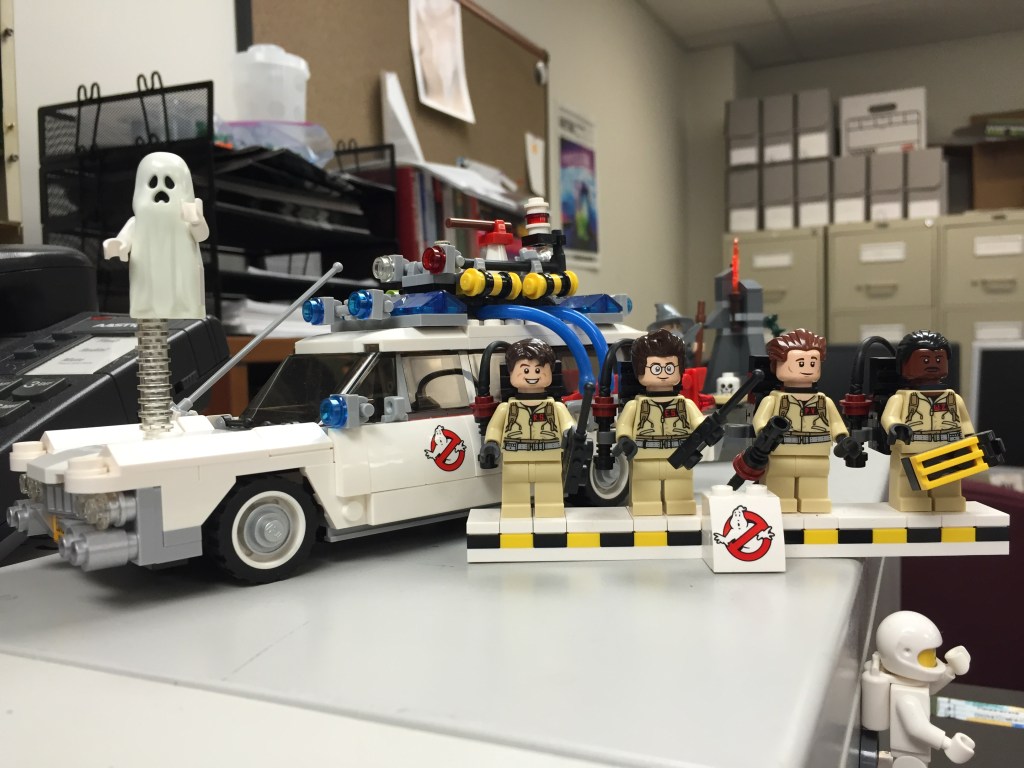
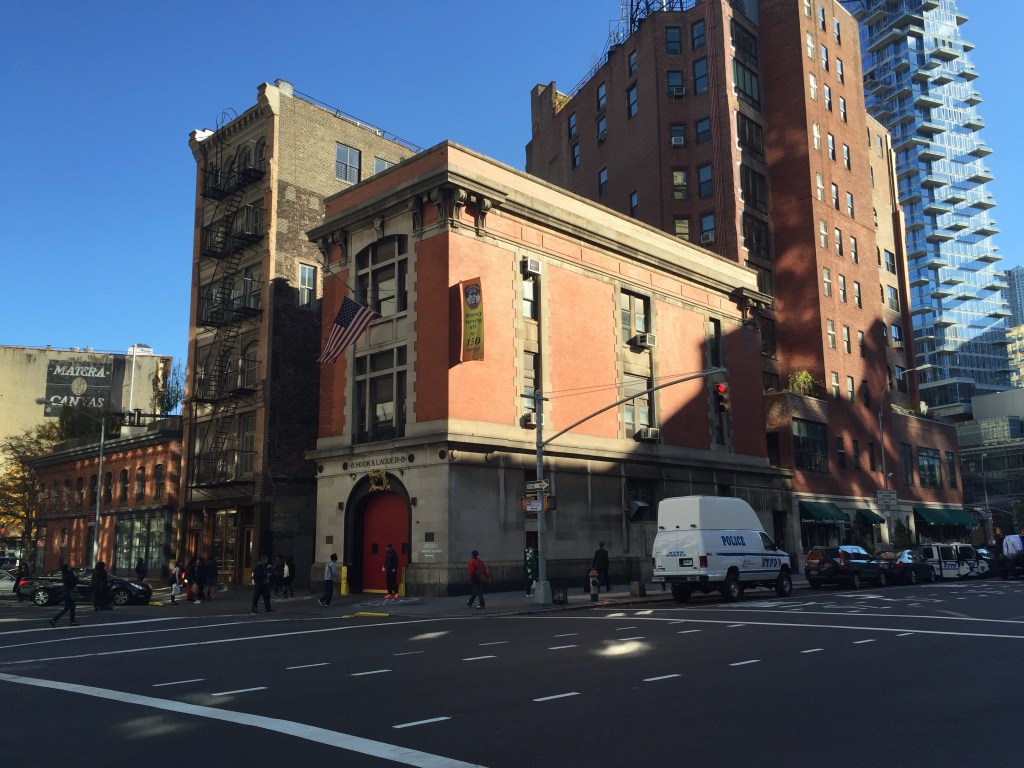
    On the left is a photo that I took of the Ghostbusters LEGO 21108 set on my desk at City Tech. All of the elements that I needed are here, but I realized that I would have to break it down into parts to create the composite image–ghost, Ecto-1, Ray, Ego, Peter, and Winston. On the right above is a photo that I took of the Hook and Ladder Company 8 building in Manhattan. Due to the time of day that the photo was taken, the front of the building is in shadow and there are sightseers in front of the firetruck door that need to be removed.

    I setup my work document in GIMP in the following way.
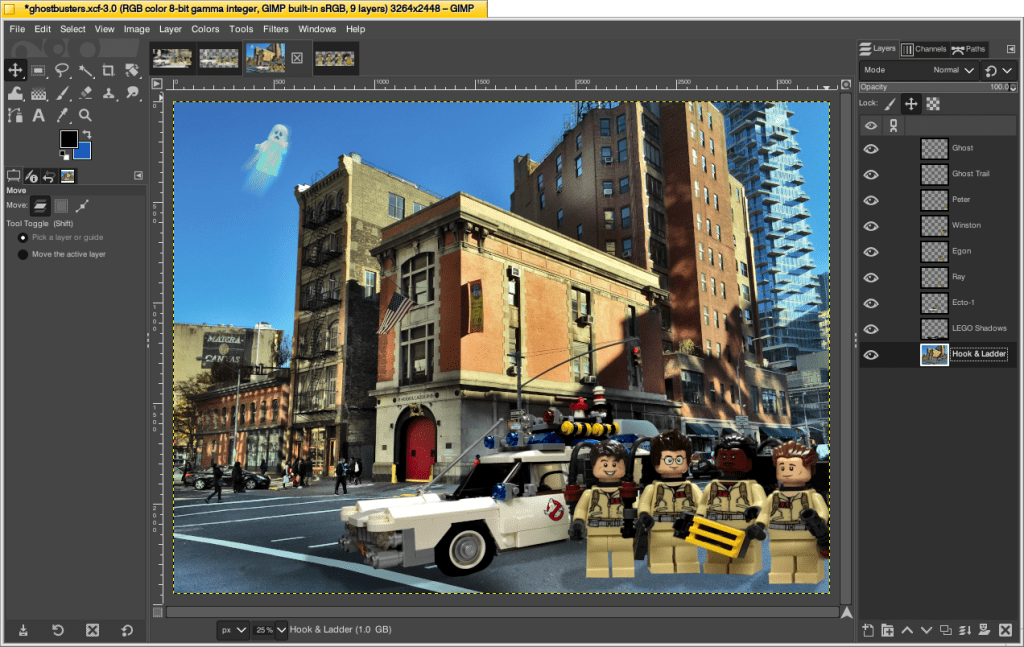
    First, I pasted the hook and ladder photo as the bottom-most layer. I adjusted the colors and reduced the shadows to help the firehouse pop in the center of the photo. I used the lasso tool (creating irregular shapes instead of squares or circles helps with blending later) and clone tool to copy material over the sightseers in the front of the firehouse and to remove a light reflection on the road surface in front of the pedestrian walking line in the lower left. I smoothed out these fixes with the smudge tool.

    Then, I cut out the ghost, Ecto-1, and four Ghostbusters and pasted each into its own independent layer and adjusted colors appropriately. Because the Ghostbusters are obscuring part of Ecto-1 in the original photo, I needed to arrange the composition so that they hid the back of the vehicle. But, I had to use the clone tool to repair some aspects of the car (e.g., the clear 1×1 round studs that had supported the ghost needed to be removed and the white surface of the hood restored), and some of the exterior windows and side panels peeked through gaps between the Ghostbusters (I used the clone tool and lasso tool to create the rear windows and side panels). Also, I wanted to arrange them so that it appeared more like a group shot instead of a line as in the display for the original set. To achieve this, I flipped horizontally Winston and Peter’s images to that they are turned toward Ray and Egon to their right. Unfortunately, this flips their name tags, but maybe no one will notice! Also, I increased their size by 120% to make them appear further away from Ecto-1 and closer to the viewer. I’ll return to the ghost below.

    Next, I added a layer between the firehouse image and Ecto-1 (being the lowest layer of the LEGO images). I used the paintbrush with a large brush to paint black “shadow” under Ecto-1 and falling from right to left on each Ghostbuster member. I reduced the opacity of the layer to lighten its appearance so that the shadow wasn’t too harsh.

    Finally, I transformed the ghost layer and rotated it to about 60 degrees. I adjusted its colors to give it a neon green hue. I then duplicated the layer. On the lower ghost layer, I applied a linear blur to give it a flowing, streak effect, which I positioned under the ghost to give it implied ethereal movement.

    The final product isn’t perfect, but it was fun to make and it helped me learn/reinforce workflow practices in GIMP.

    Don’t let perfection hold you back from using tools to make things that bring you joy. Each time you make something, you learn new things and get better at doing the things you’ve learned before. If you have the time, energy, and material, you can always take another stab at the thing you did before to make a better iteration. Though, I recommend starting fresh each time instead of making adjustments to something you’ve already made. The process of building and making from start to finish can yield wildly divergent and better outcomes that can be surprising and unexpected. Tweaking what you’ve already done might yield something interesting, but the constraints of the original project might limit what is ultimately possible.
  • Simple Sewing 2: A Catnip Filled Lion for Our Mose

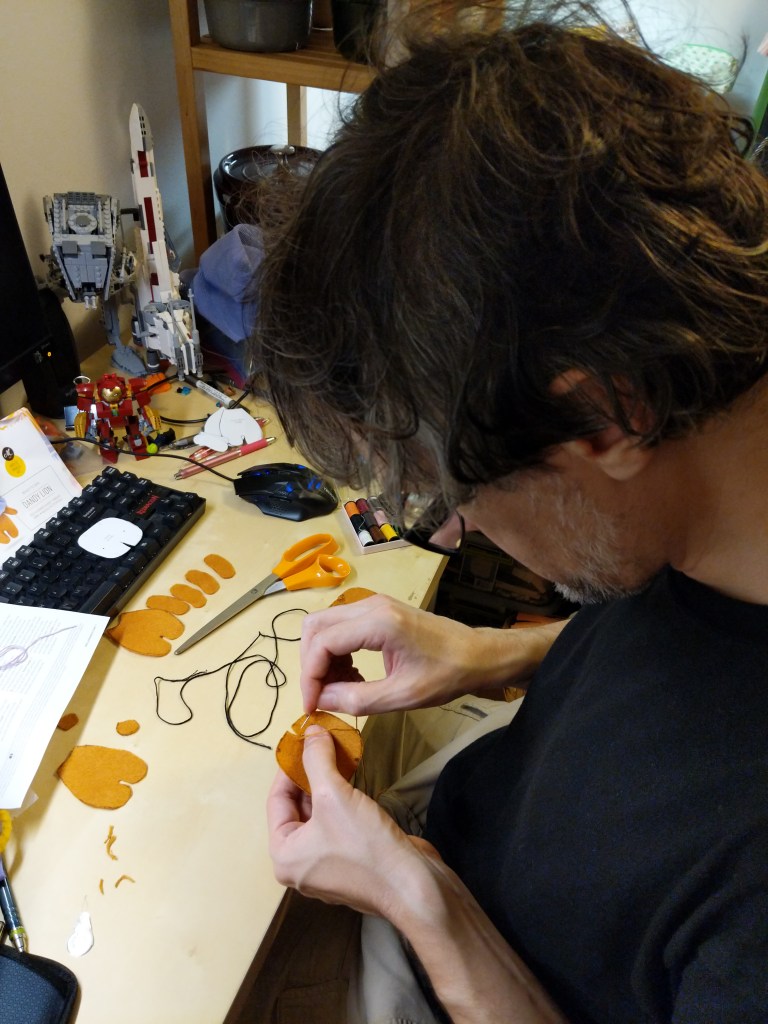
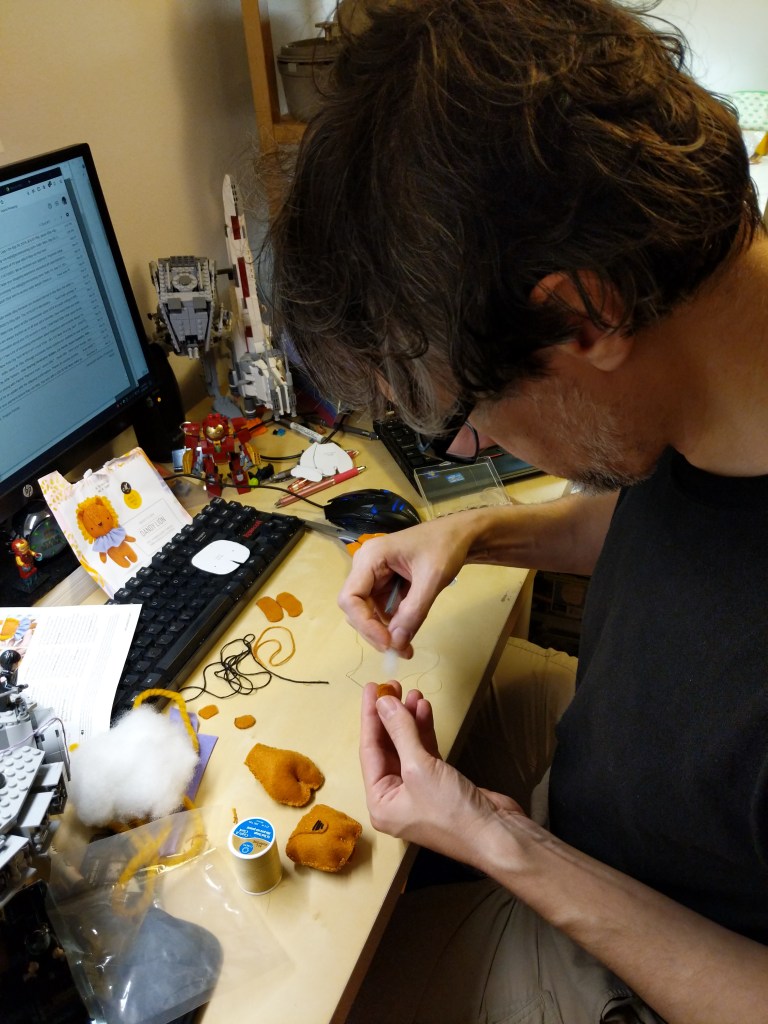
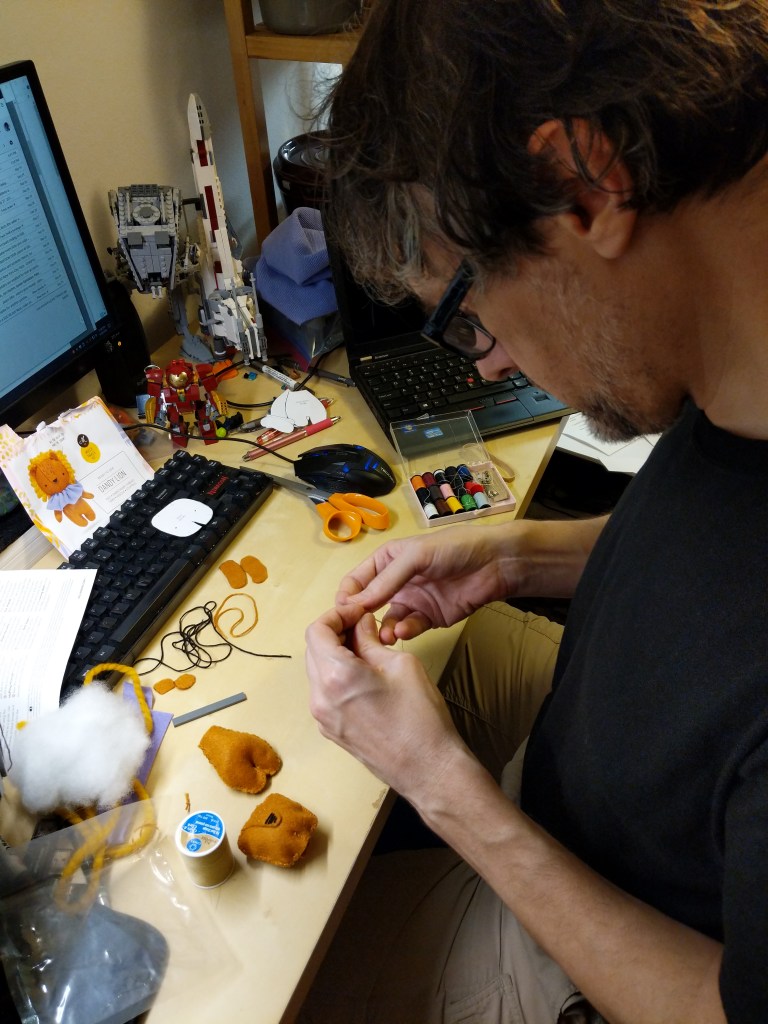
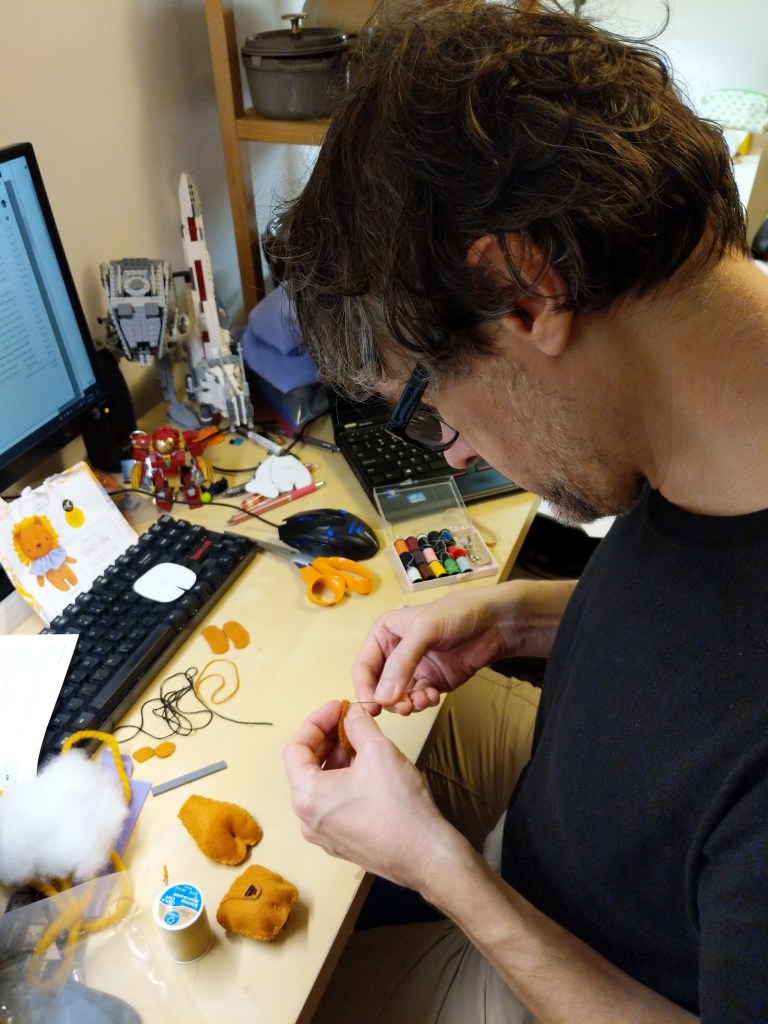
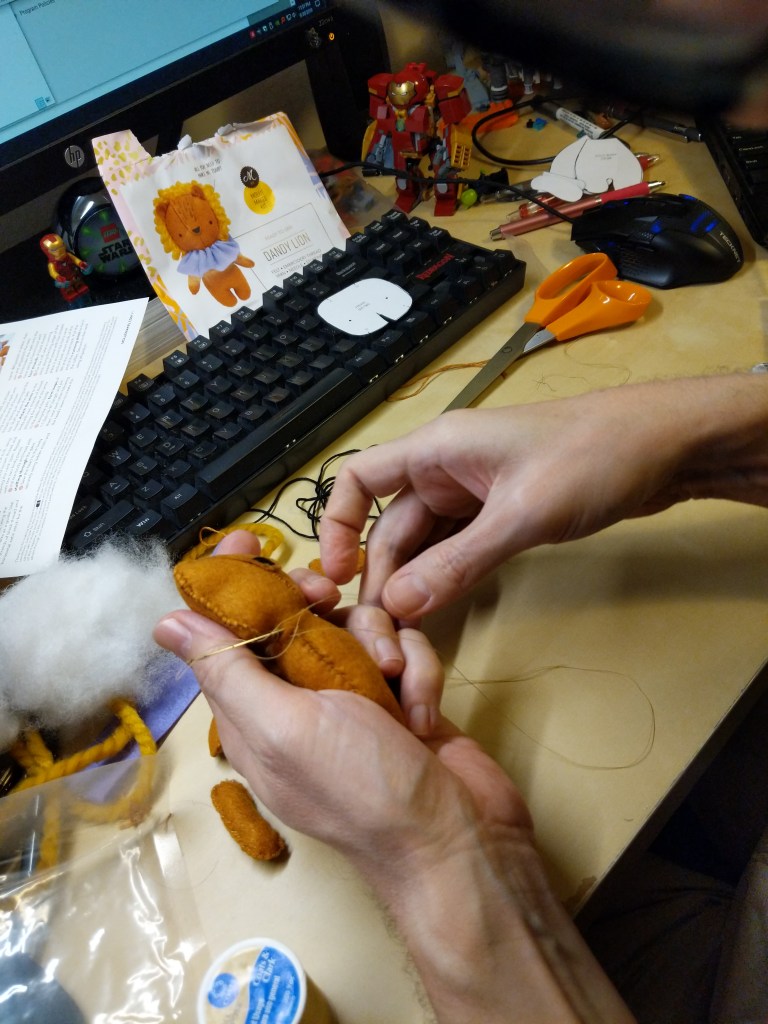
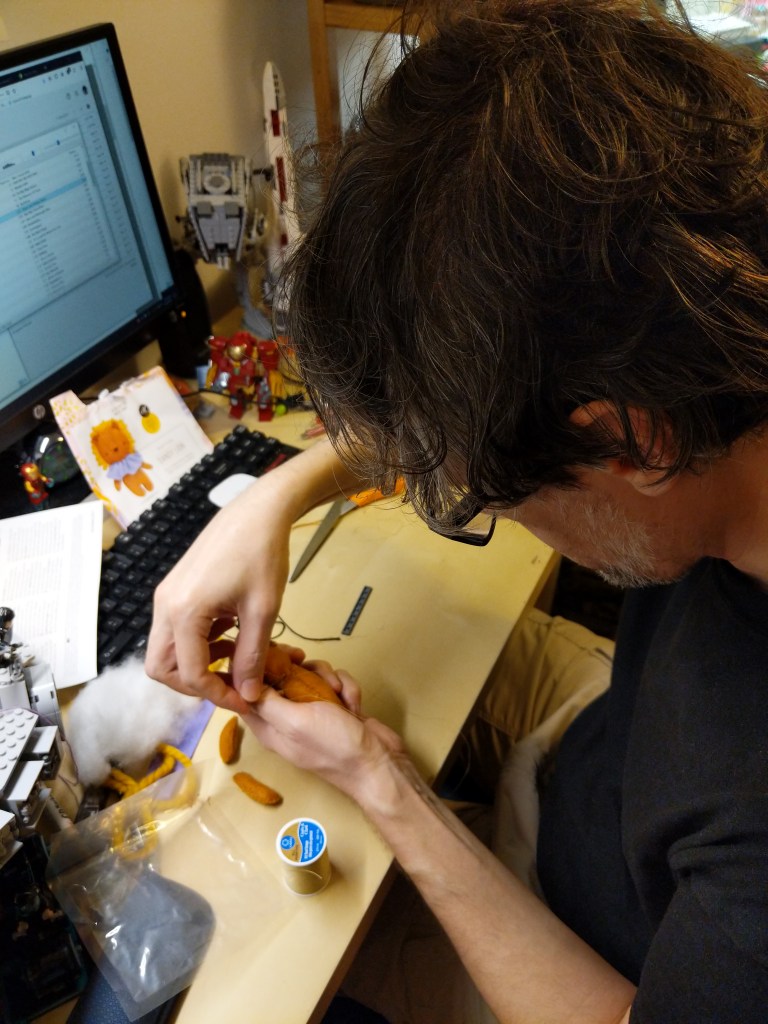
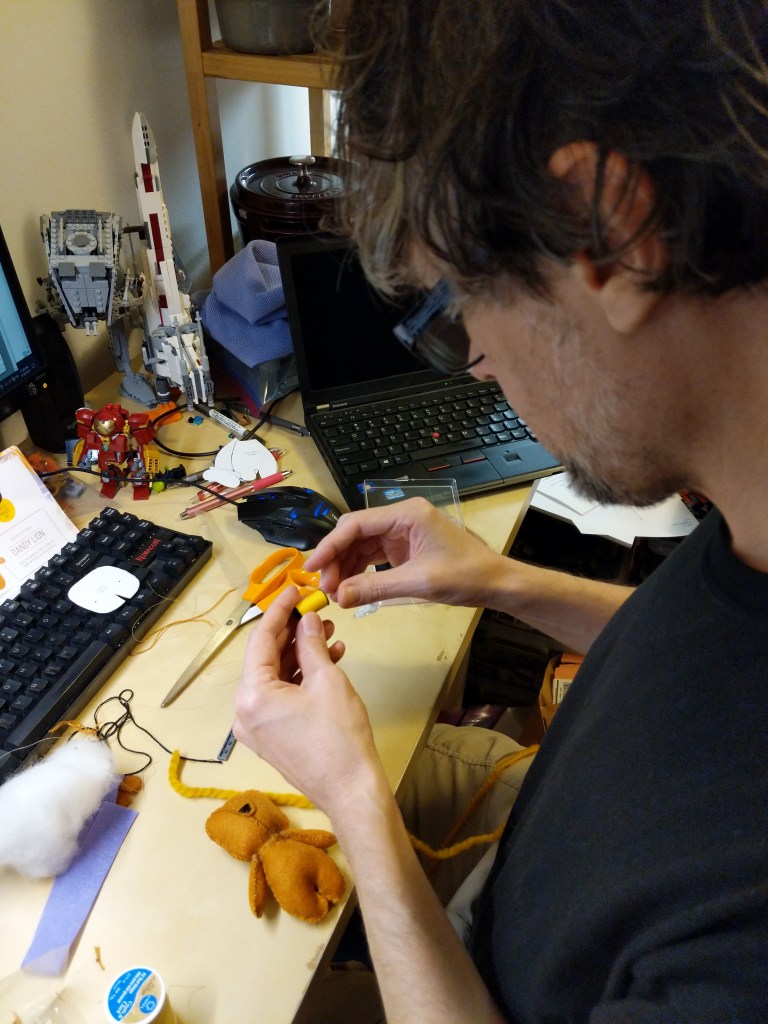
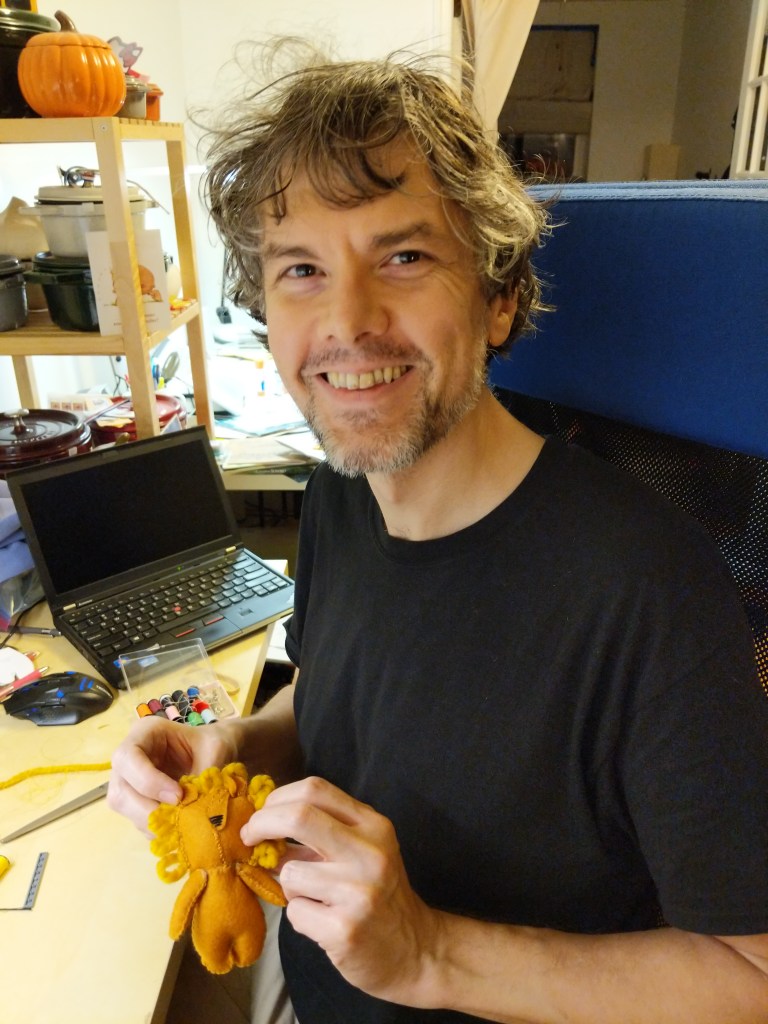
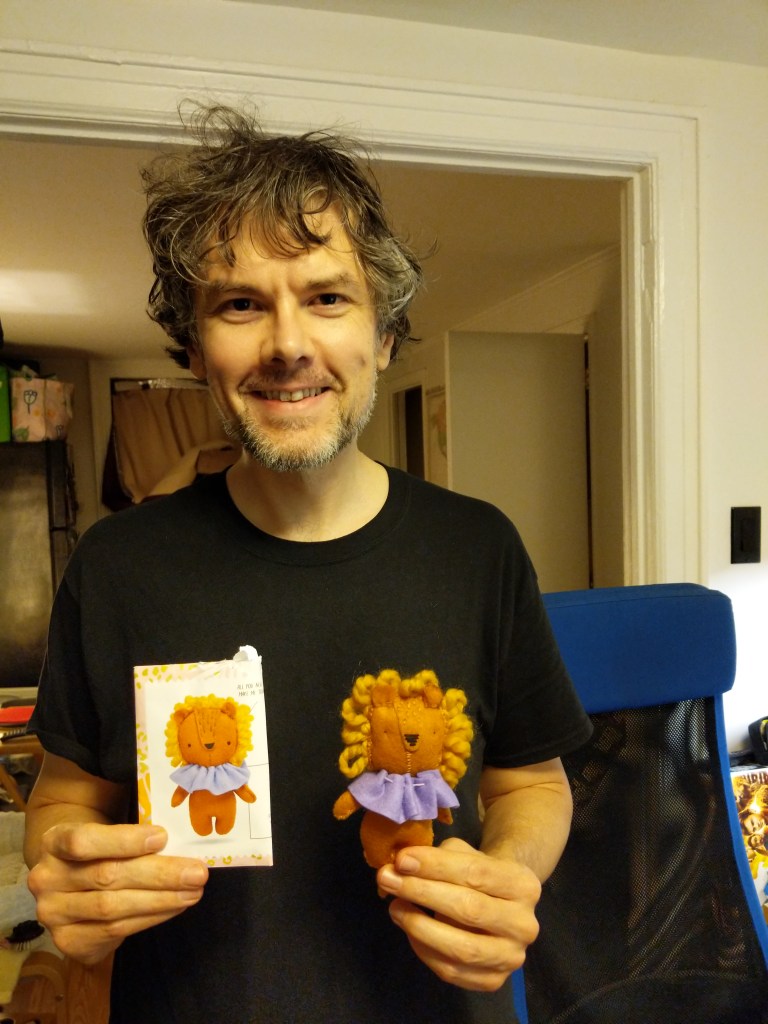
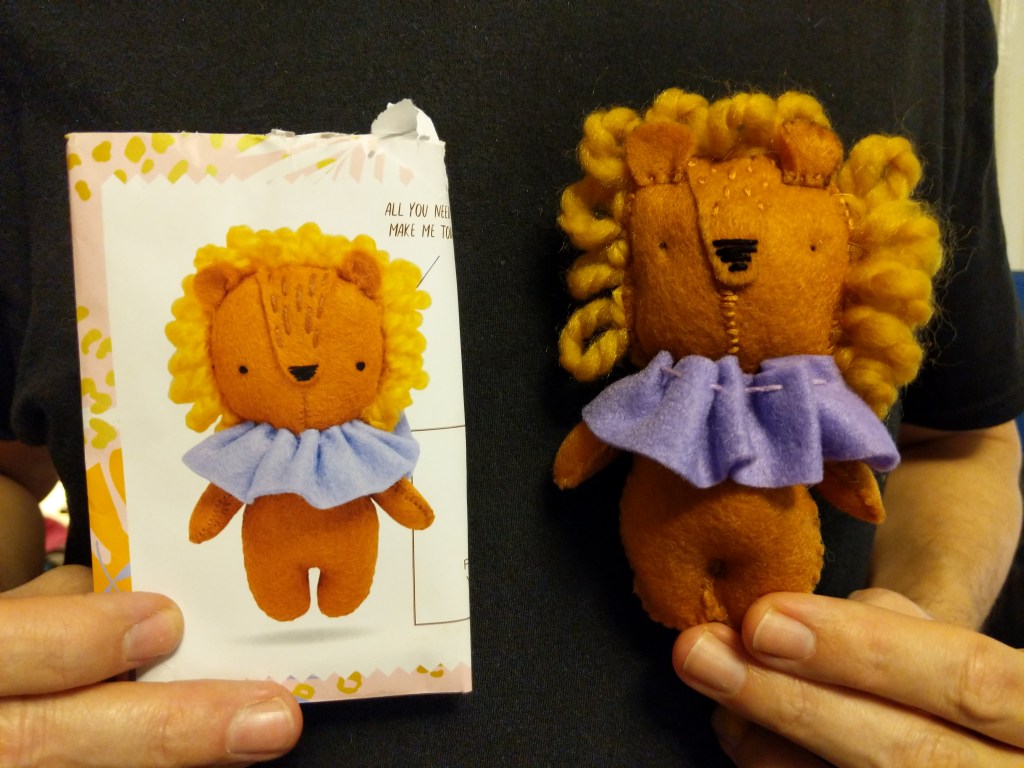
    In my classes, I encourage students to visit their local bookstores to browse the magazine section for topics that might interest them. Back in 2019, Y and I were browsing our local Barnes and Noble’s magazine section when a sewing/crafting magazine with a free bonus caught my eye. It included instructions and material for a tiny plush lion. It seemed like it might be a good size for a cat toy, especially if I spiked it with catnip. I bought the issue and got to work sewing the lion for our Mose.

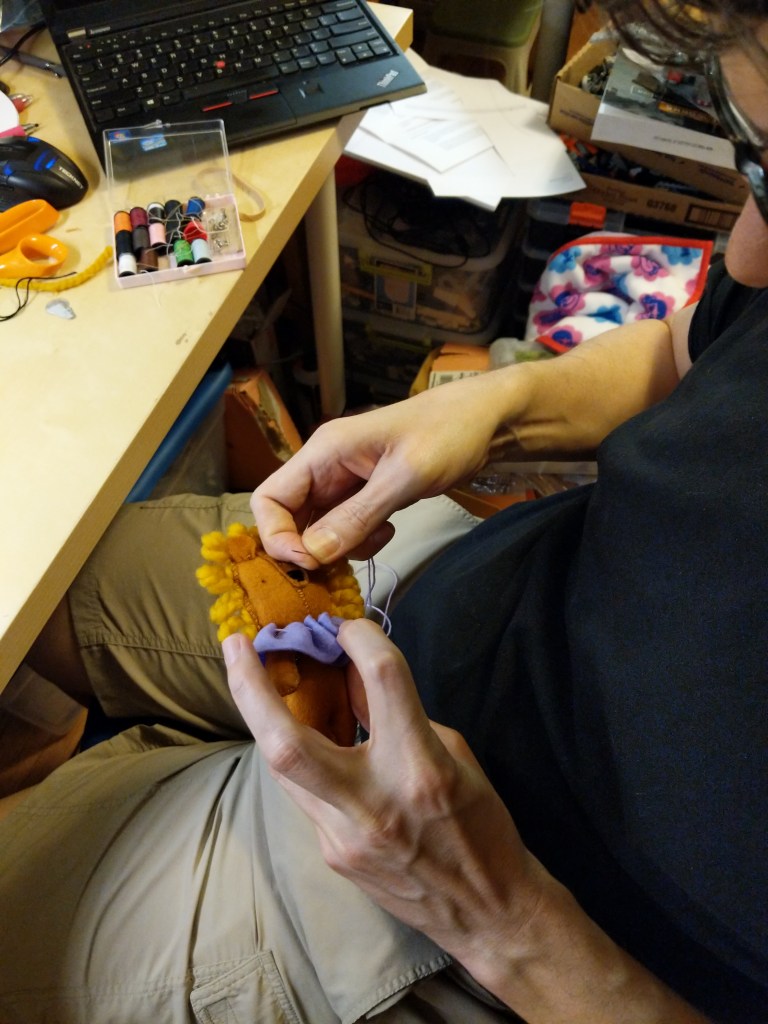
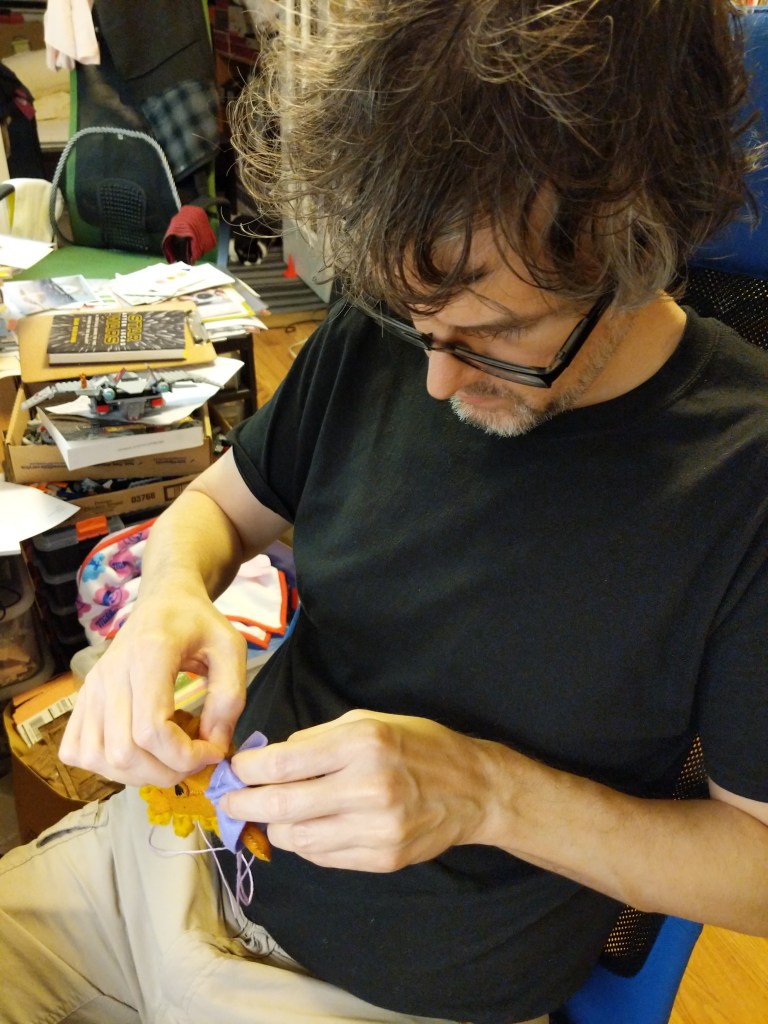
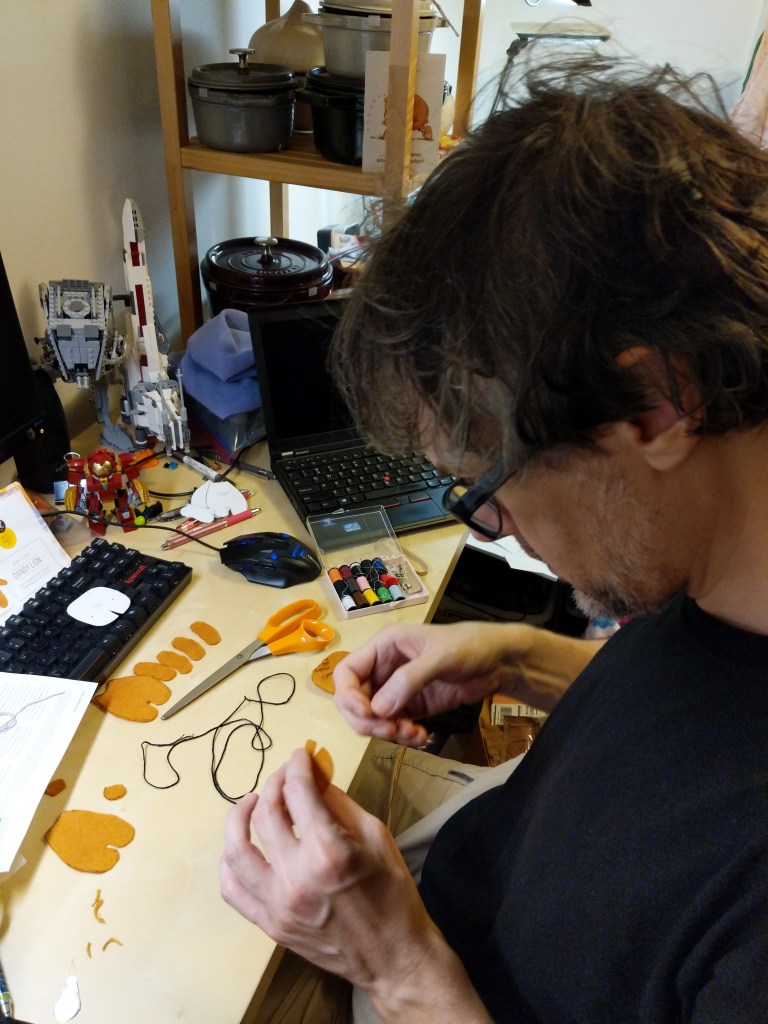
    It included pieces of orange felt, purple felt, thick orange cord, and thread (orange, black, and purple). I marked the felt according to the instructions and cut out the pieces to build the lion. I had to Google some of the sewing patterns mentioned in the instructions that I did not know.

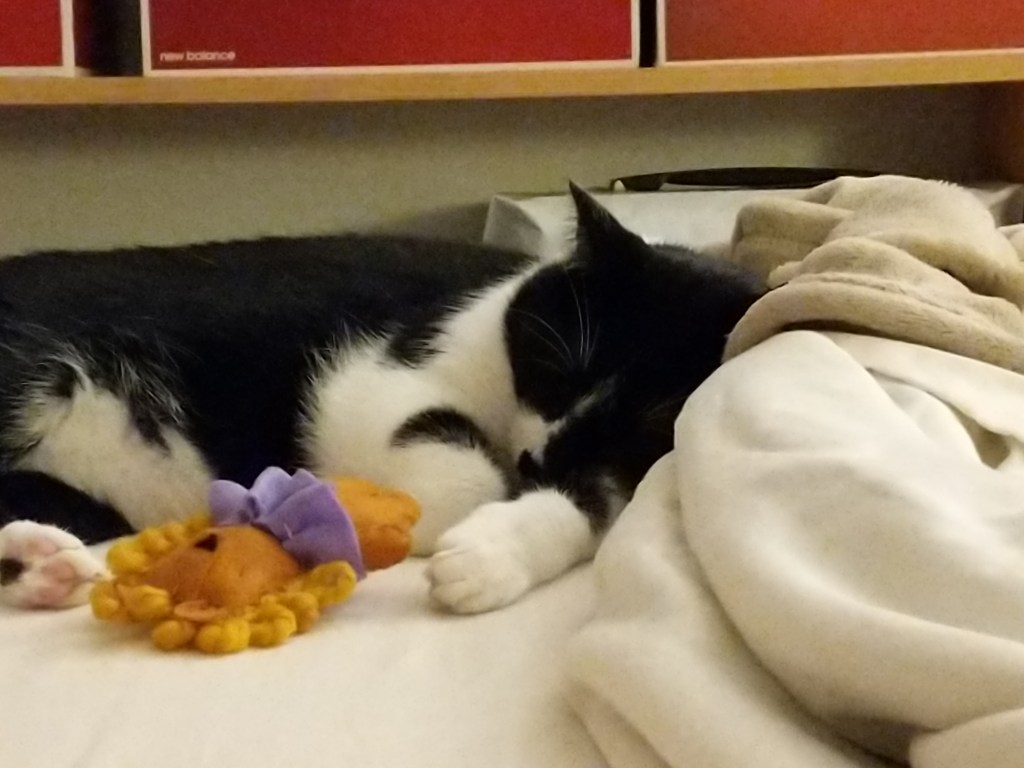
    I can’t say that I nailed it, but our Mose seemed happy enough with it, at least until he took a nap. It’s still around here somewhere, but I don’t know where Mose has hidden it!

  • Simple Sewing: Hook-and-Loop Patches for Your Backpack

    I outfitted the front MOLLE (Modular Lightweight Load-Carrying Equipment) webbing surface of my backpack with M-Tac’s Morale Patch Boards (3″ square and 4.5″ x 3.5″ rectangle) so that I could swap and change embroidered patches that I sewed hook backing to along the outer border of the patch.

    I enjoy displaying patches that mean something to me. Maybe someone else will see them and get a boost. But for myself, it’s carrying a little morale with me wherever I go.

    I cut slightly more hook material than needed, positioned the patch on the opposite side of the hooks, sewed around the border of the patch through the hook material, and finally, trimmed the excess hook material.

    Unless you’re planning to tape where you’re sewing patches directly to your bag, using hook-and-loop attachments like this will maintain its waterproof/water-resistance.

    Pro Tips:

    • Verify what you need to attach to your patches (hook or loop backing) before you sew!
    • Use a sharp needle of size 2, 3, or 4 as patches are generally heavier fabric and some have thermal heat backing.
    • Absent a thimble to help push the needle through the fabric, use the corner of the table, a LEGO brick, or something else sturdy and not easily damaged by the back of the needle pressing into it.
    • A cheap travel sewing kit with a few needles (though they might be smaller gauge needles than ideal), different color thread to match the border of your patches, and a needle threader should get you started. But, you can create your own kit with a spool of black thread, a pack of needles, and a thimble.

  • Iron Man’s Hulkbuster Armor LEGO MOC at Minifigure Scale

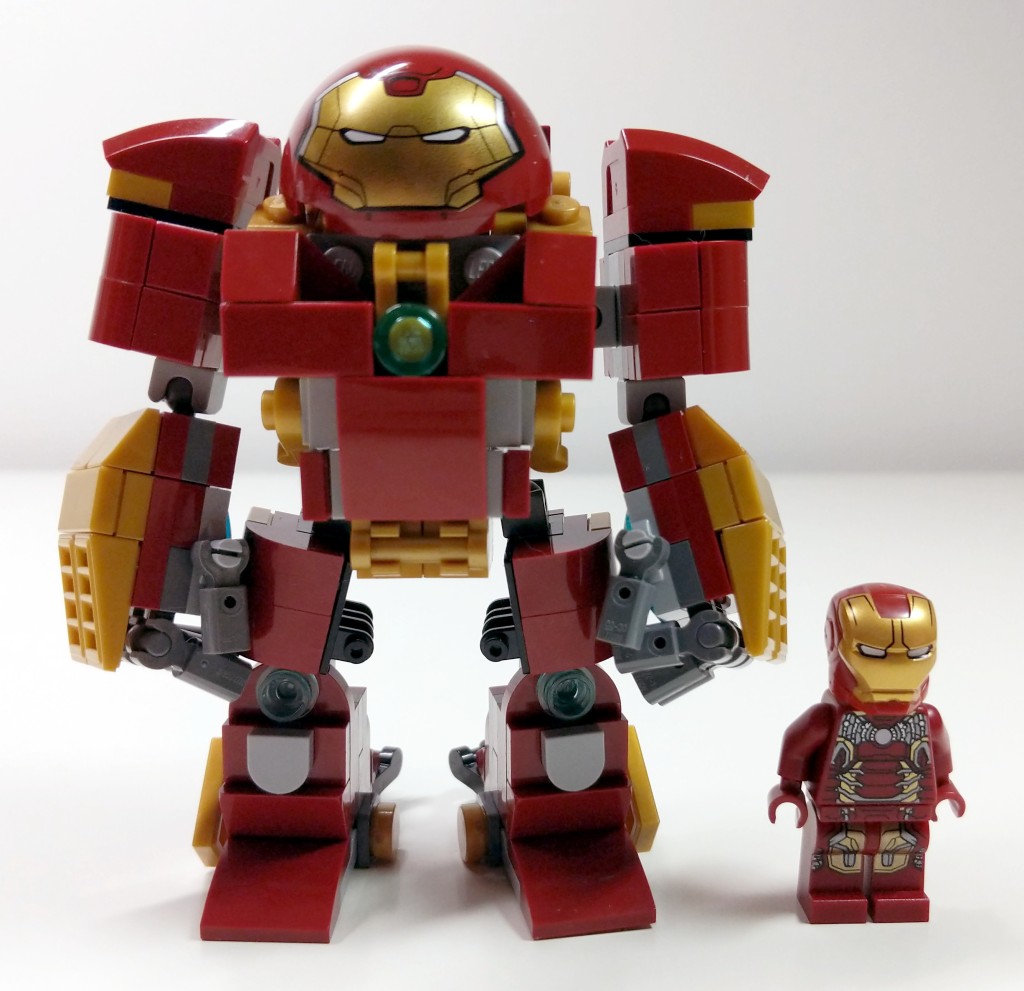
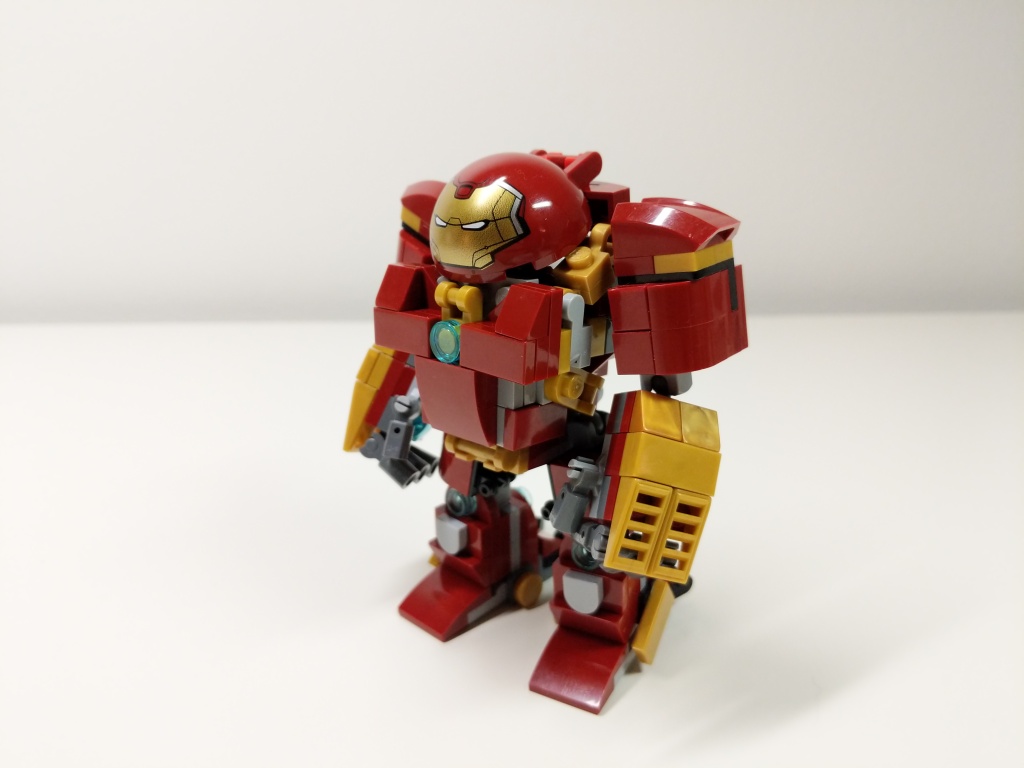
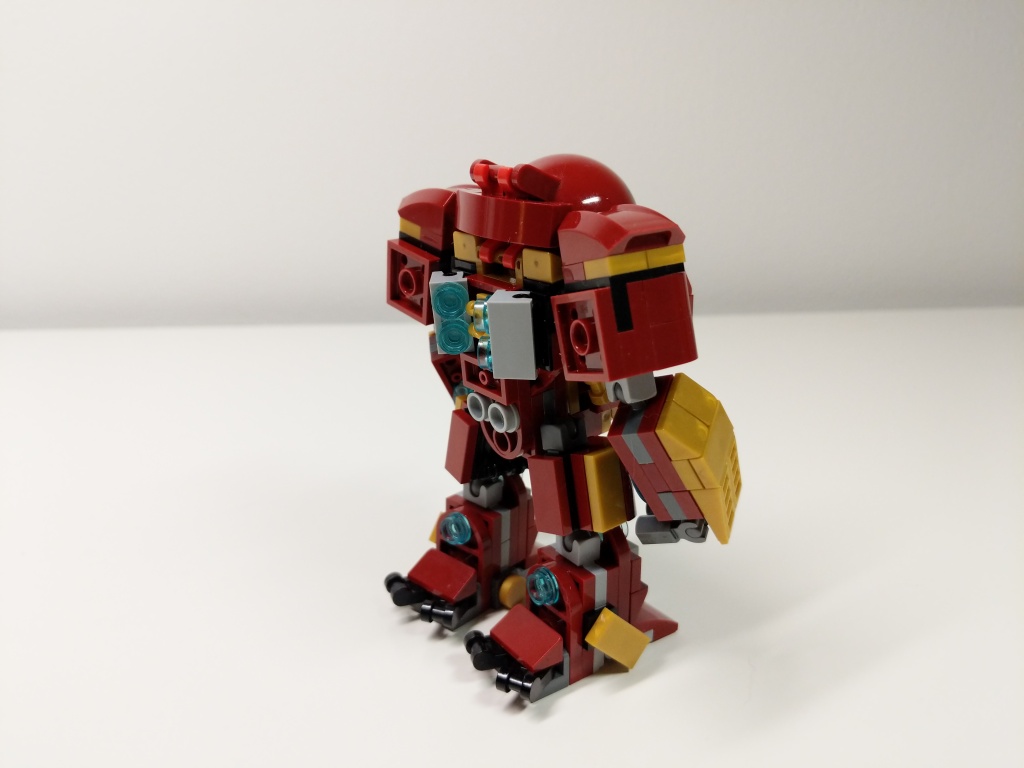
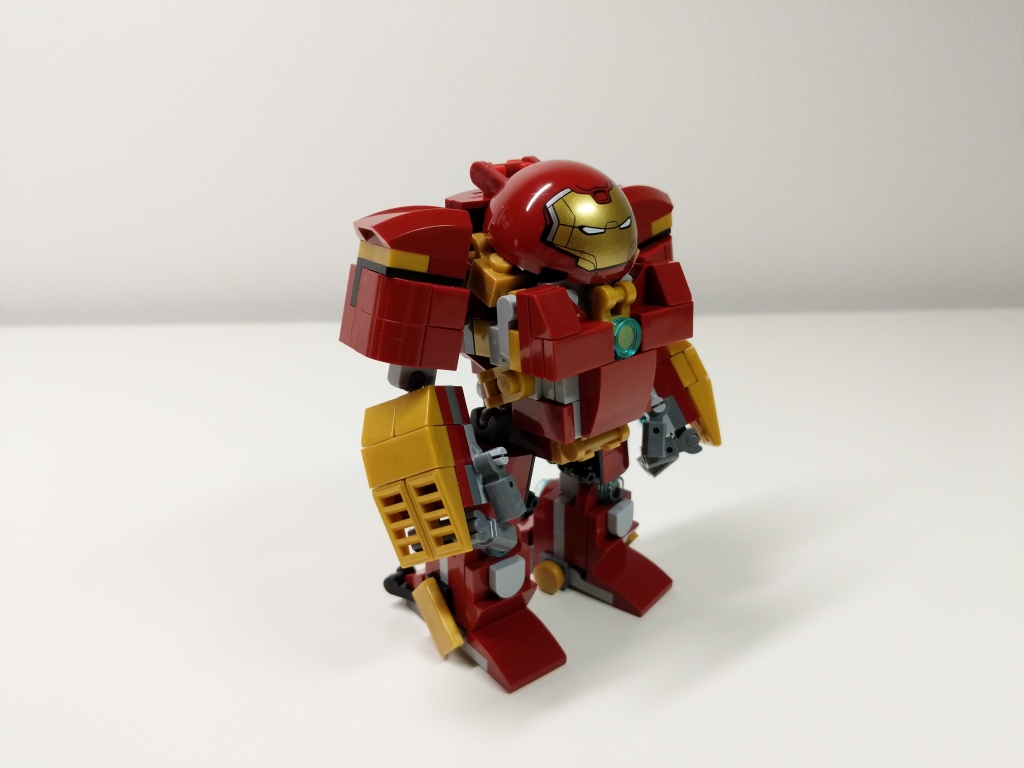
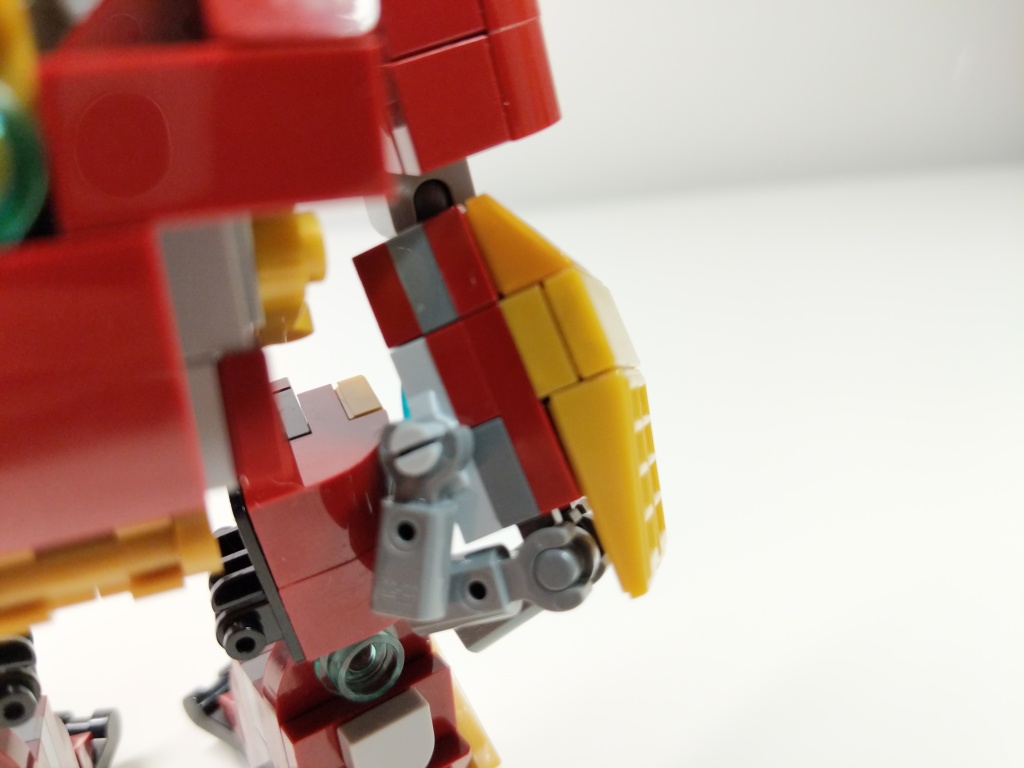
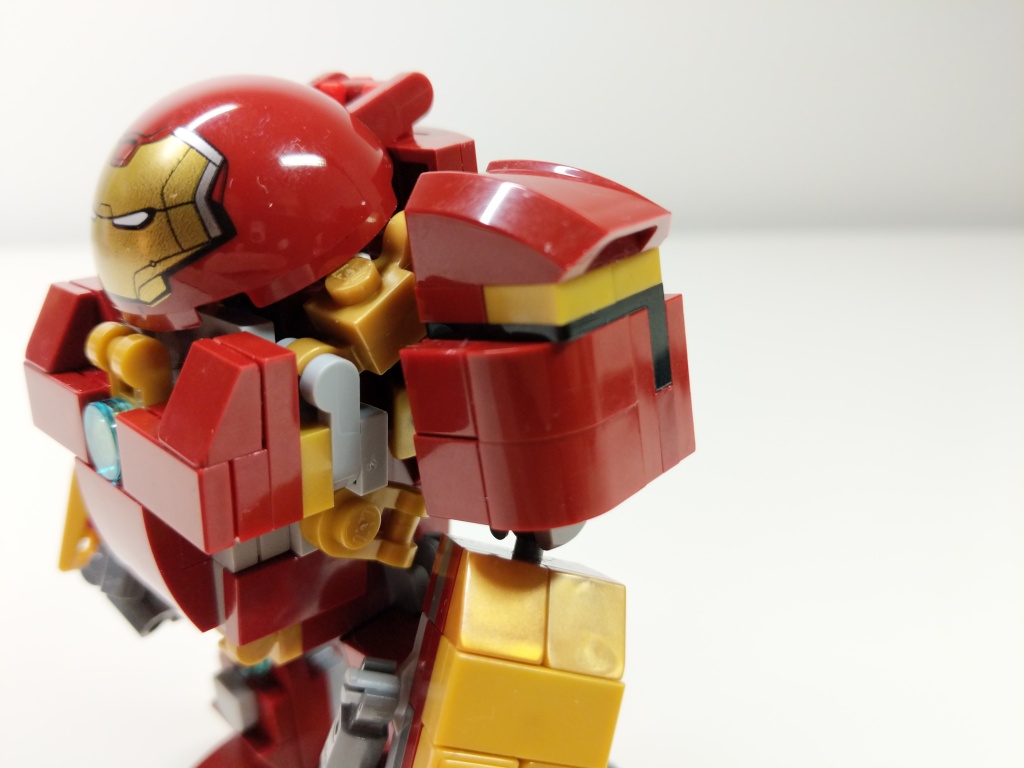
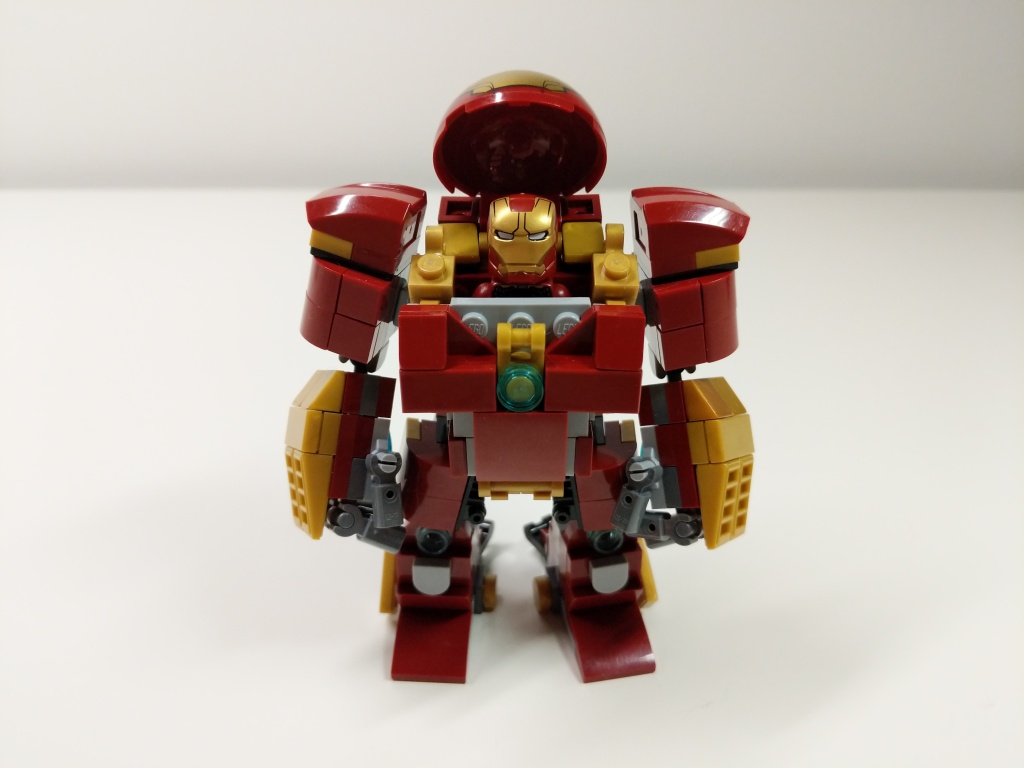
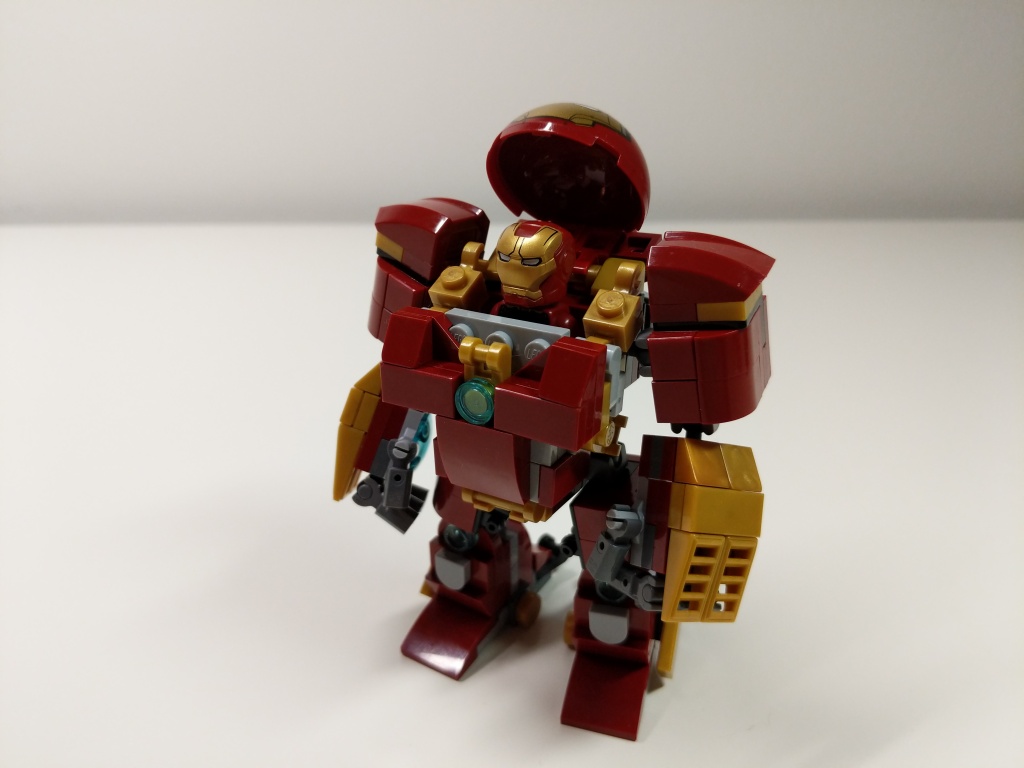
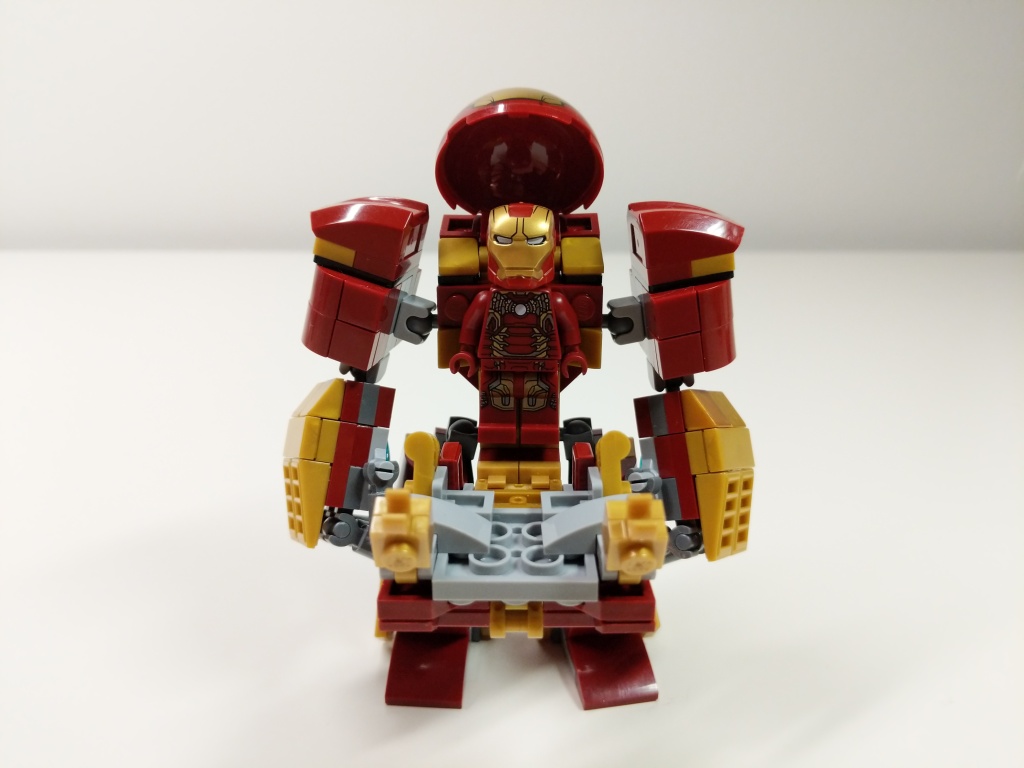
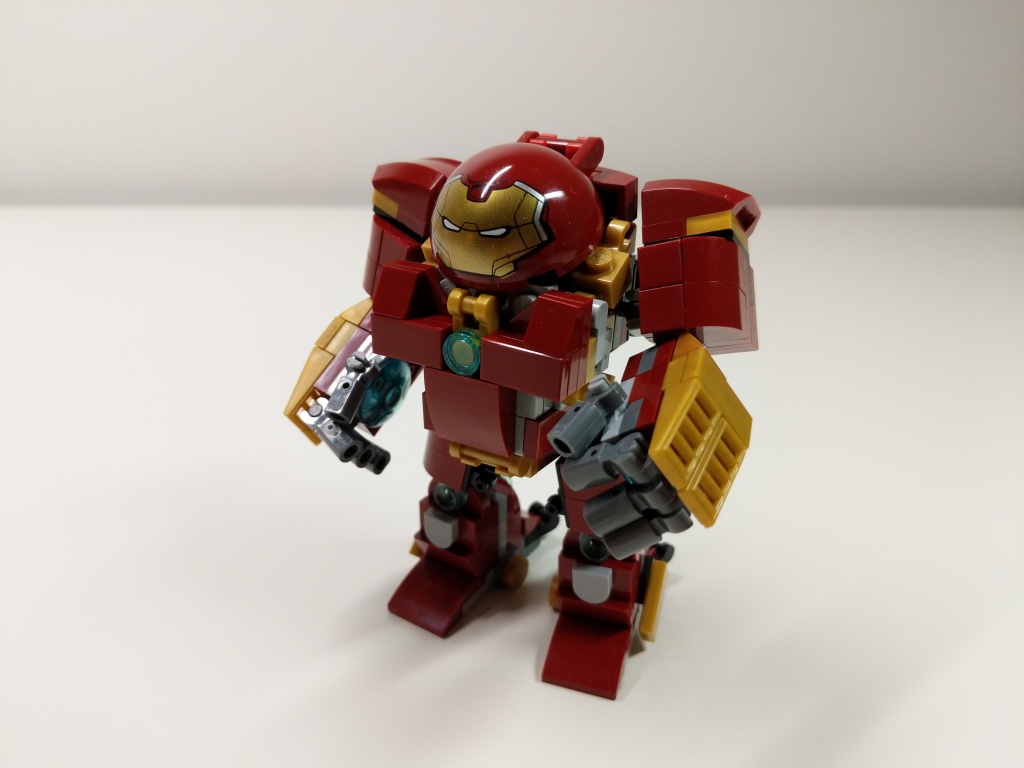
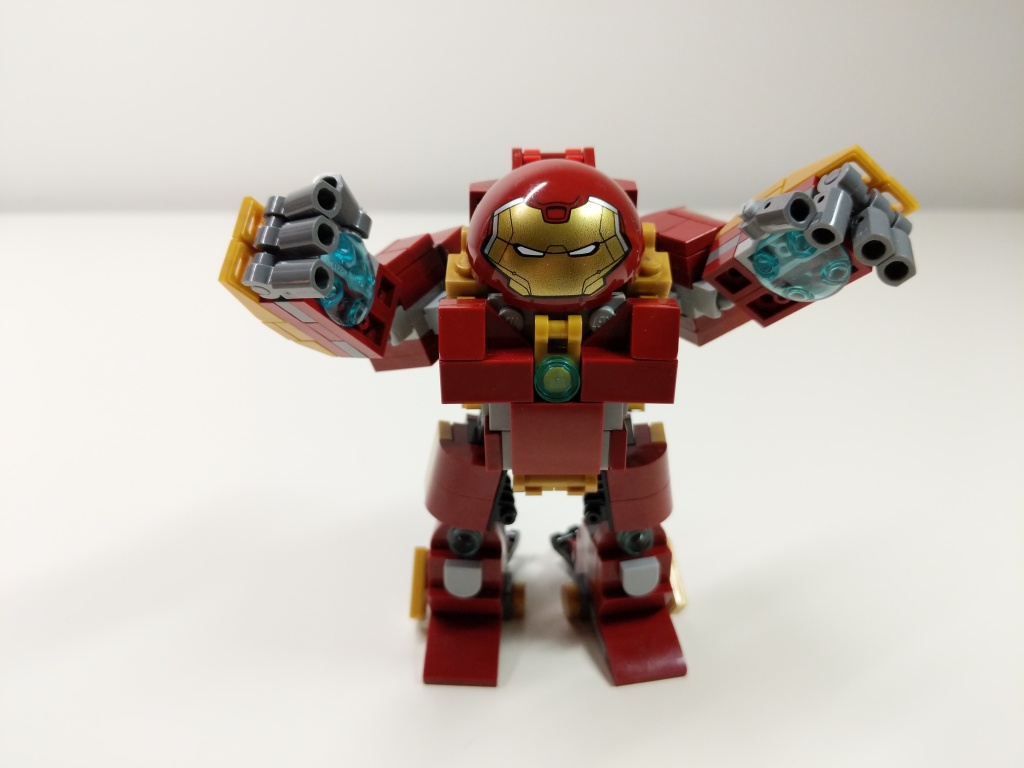
    My Iron Man Hulkbuster Mark 44 Armor MOC with Iron Man Mark 43 Armor Minifigure.

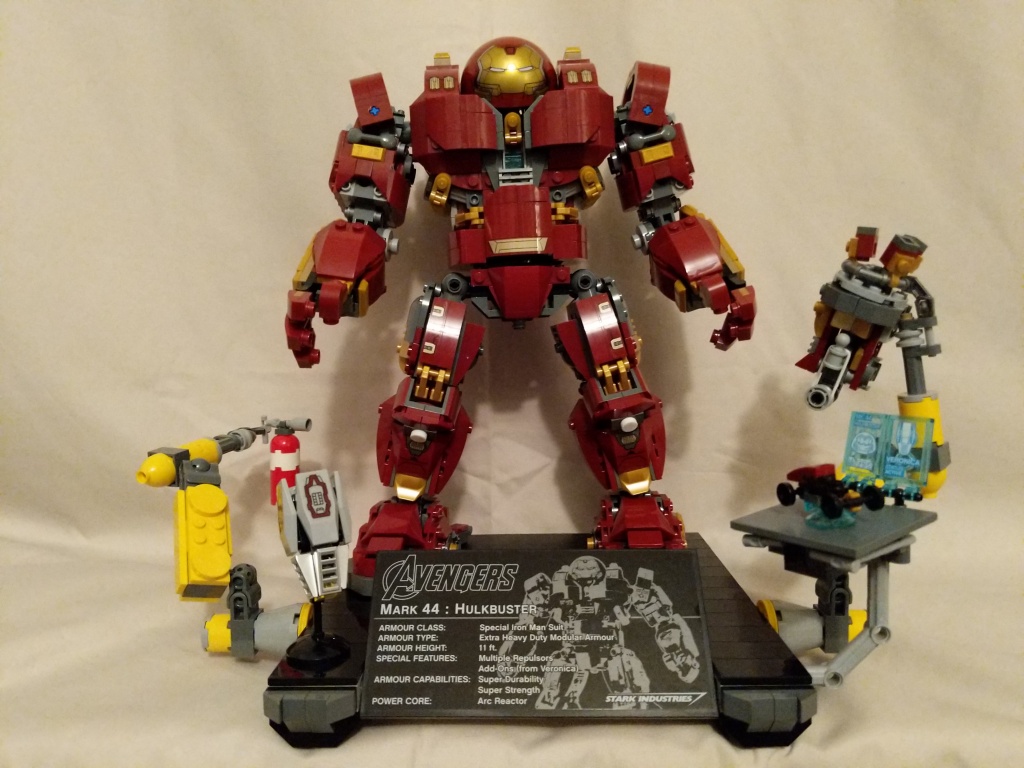
    Continuing my recent post of past LEGO MOCs (my own creation), I wanted to share this minifig scale Hulkbuster armor for Iron Man that I built during the summer of 2019 as something more playable and scaled properly than 76105 The Hulkbuster: Ultron Edition pictured below.

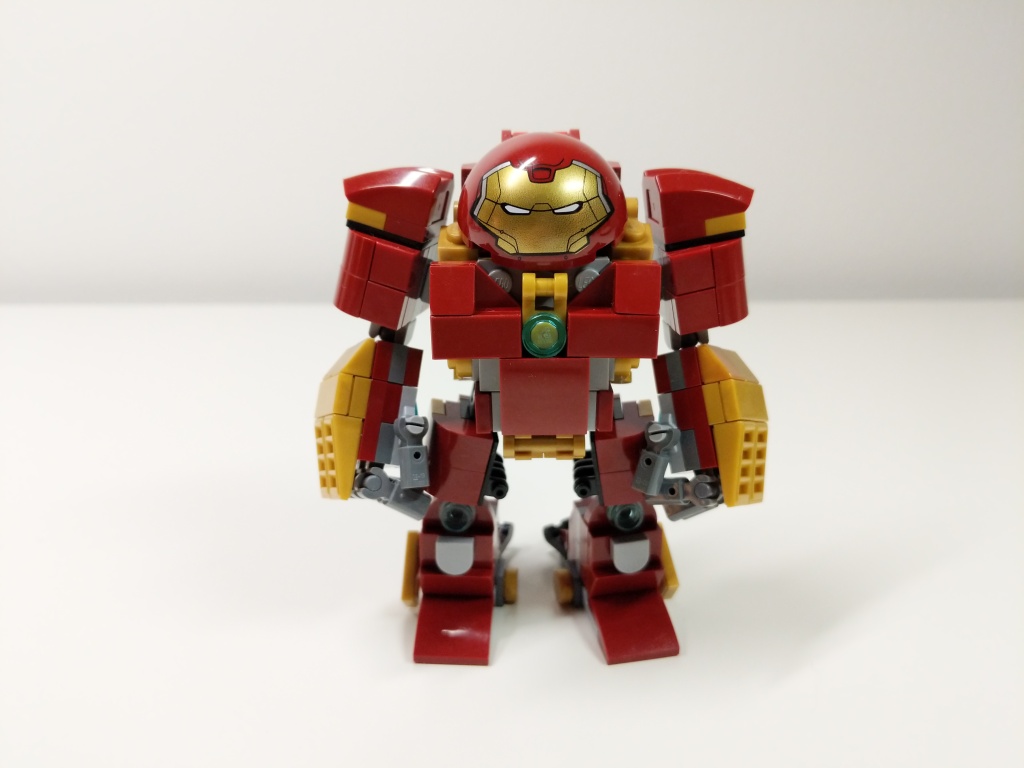
    Iron Man’s Mark 44 Hulkbuster Armor is meant to put him on par with The Hulk in terms of strength and size. Considering the minifigure at the heart of the 76105 set, it is gargantuan in comparison to The Hulk. Therefore, I set a goal to build Hulkbuster armor that matched the mini-figure scale as closely as possible, encapsulate an Iron Man minifigure, and have more points of articulation than the smaller Hulkbuster armor in 76031 The Hulk Buster Smash (having a swivel waist like the 76105 Hulkbuster in this small size was beyond my skill).

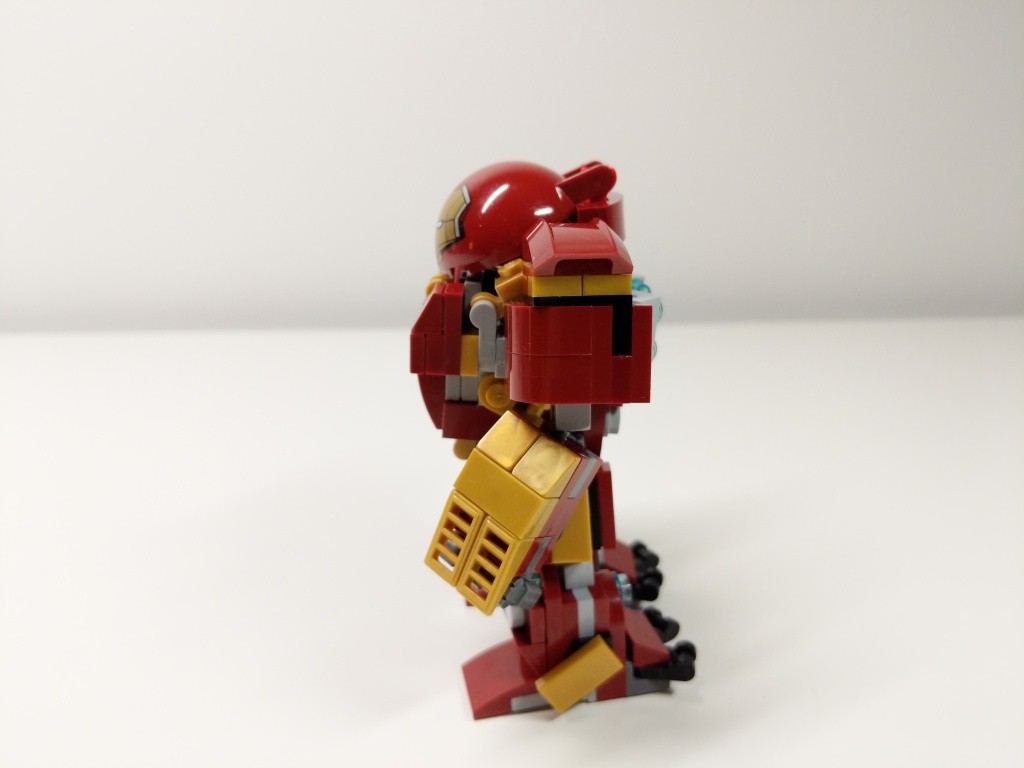
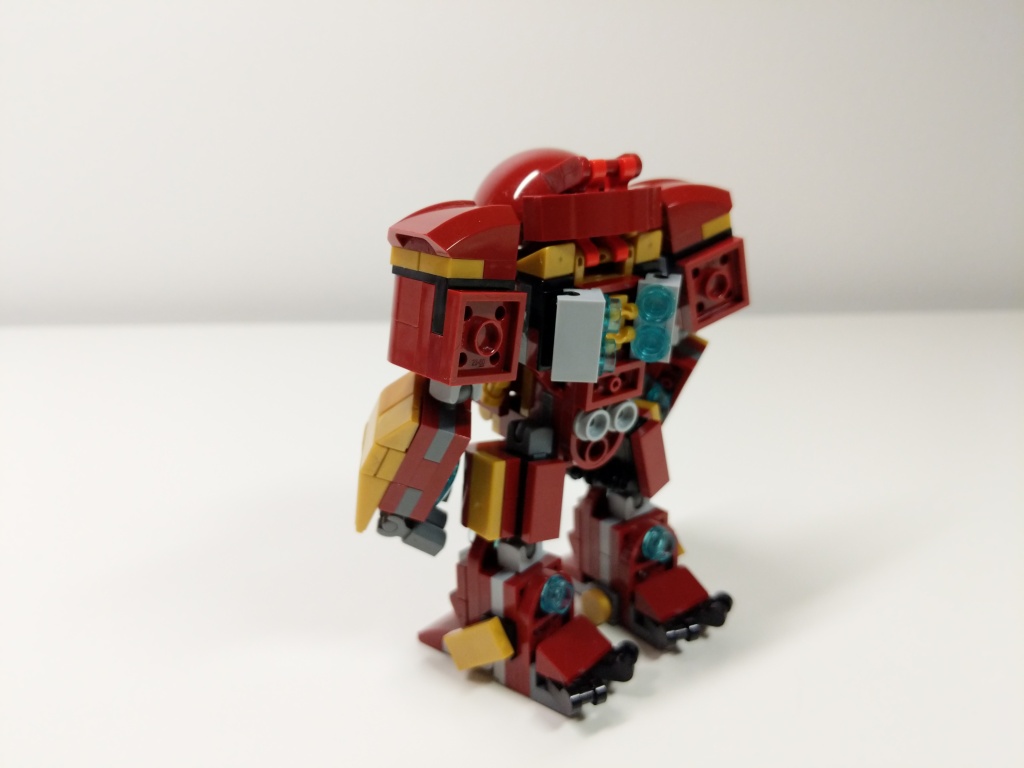
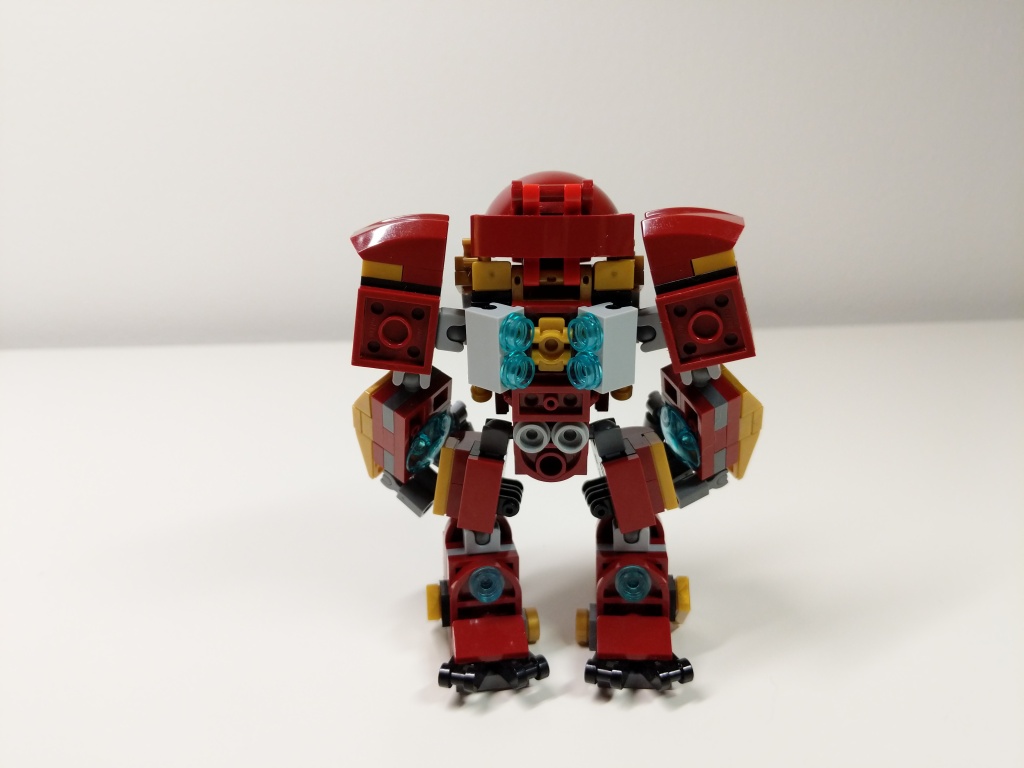
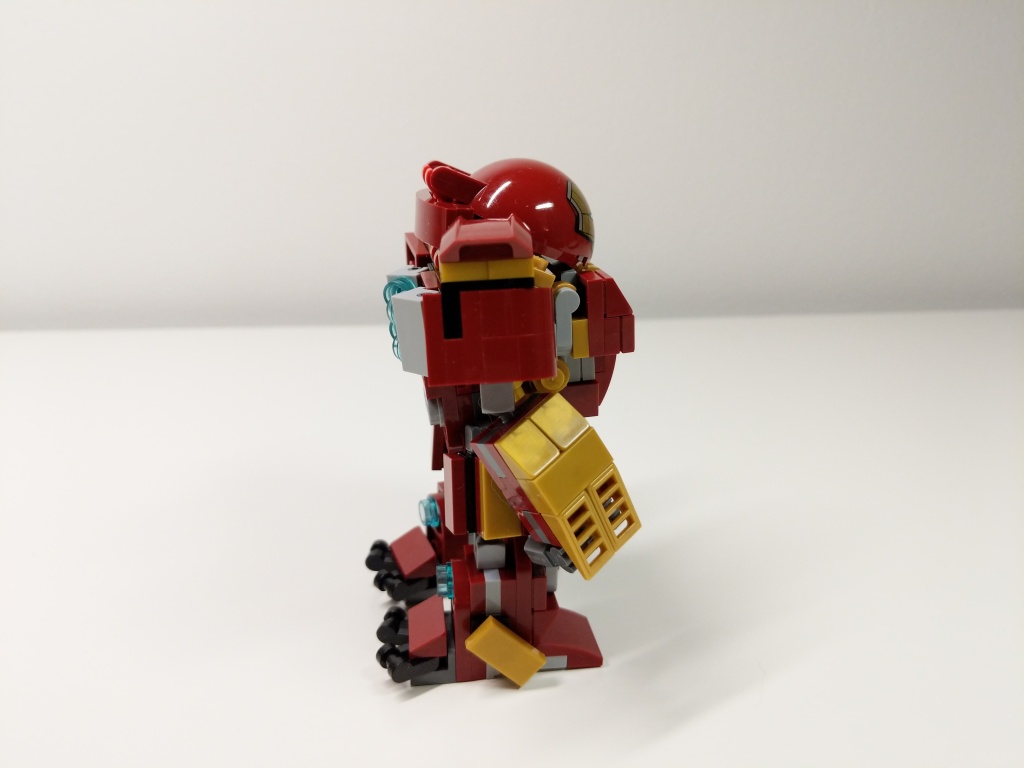
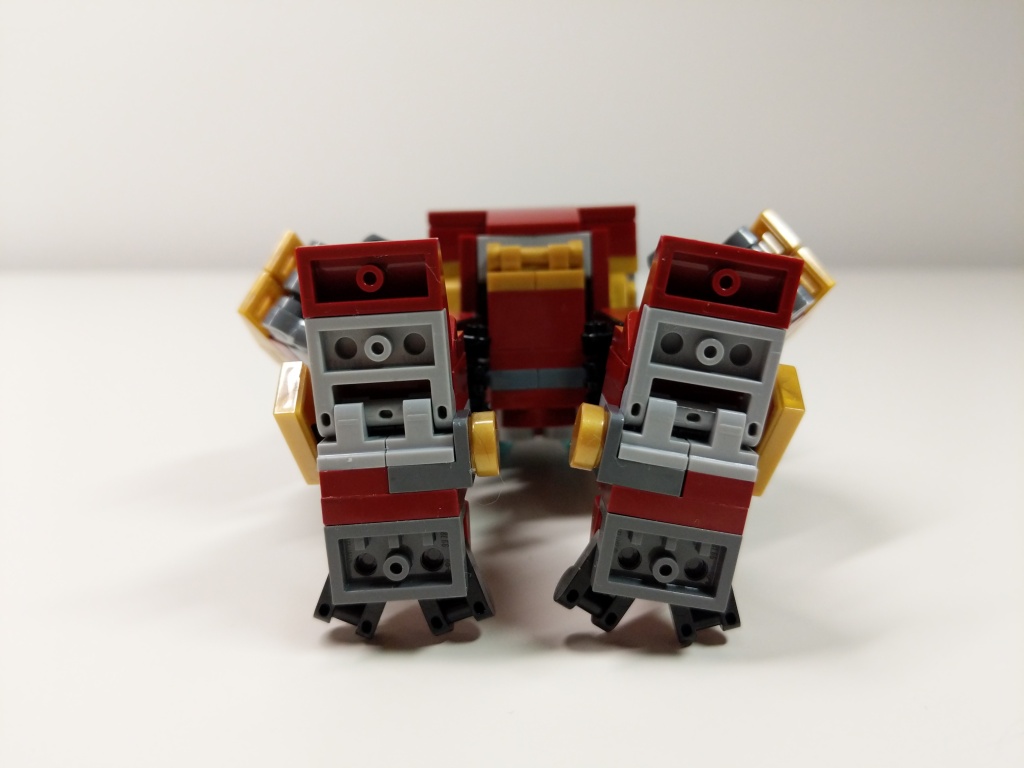
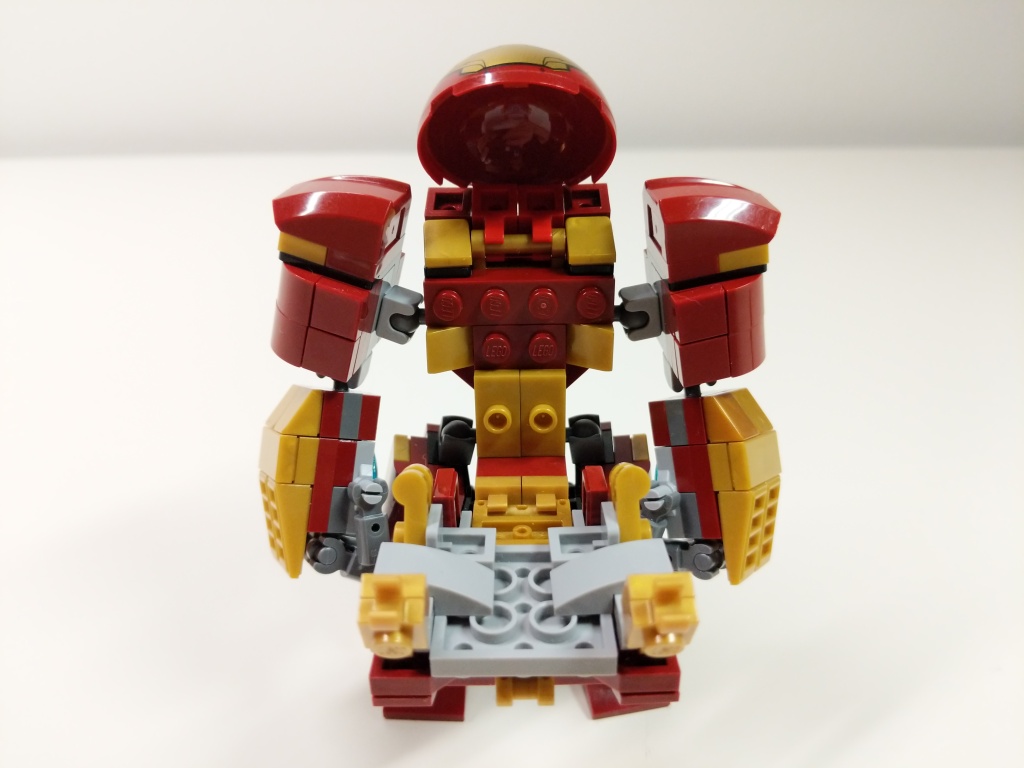
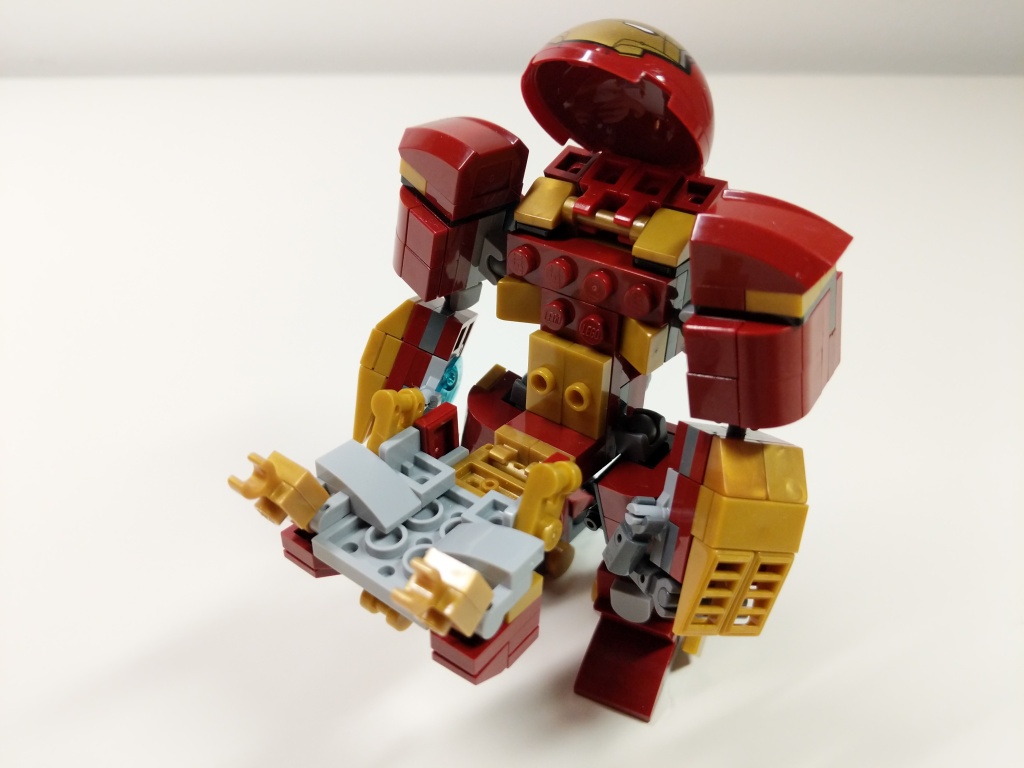
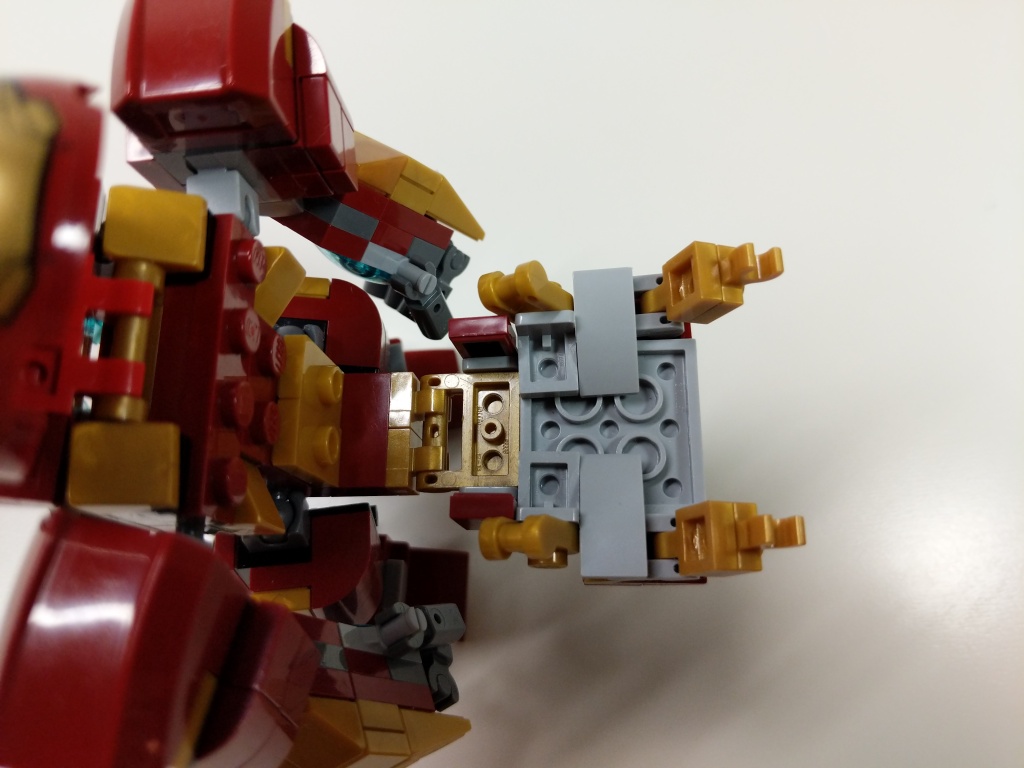
    Igor in 76125 Iron Man Hall of Armor inspired the basic layout of Hulkbuster using the ball-joint connectors. The 5-stud wide chest piece with an arc reactor in the center and wrap-around elements is my favorite part of the build. Rotated views with a focus on key details are included below.

    Given more specialized elements–especially in dark red and metallic gold–I think that I can continue to refine this model to pack as much detail as possible within its small size in comparison to its larger brethren.

  • Time Heist LEGO Model MOC from Avengers: Endgame

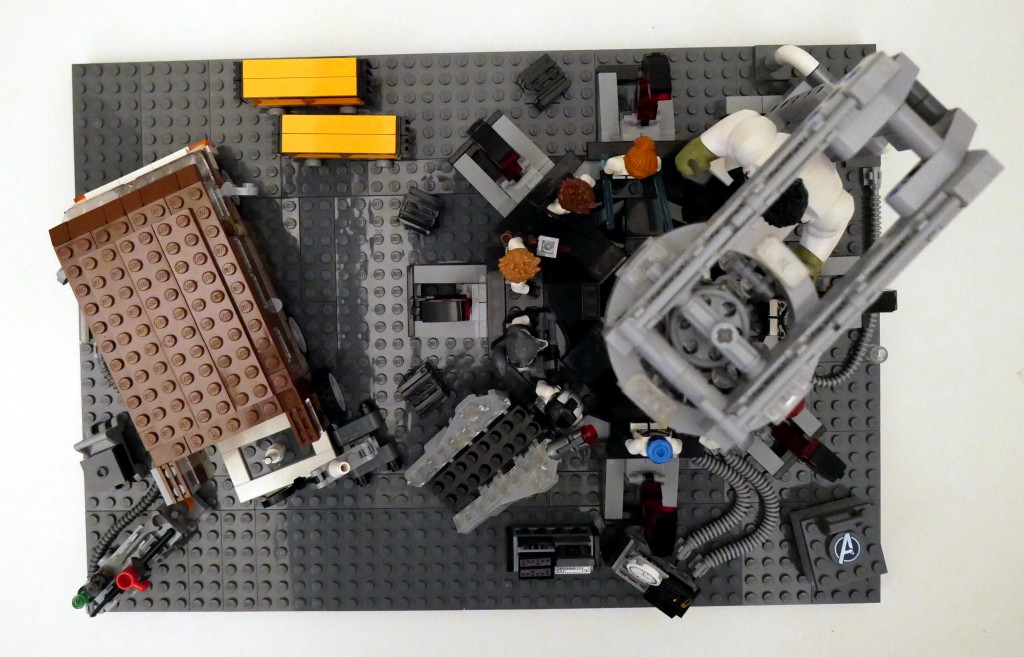
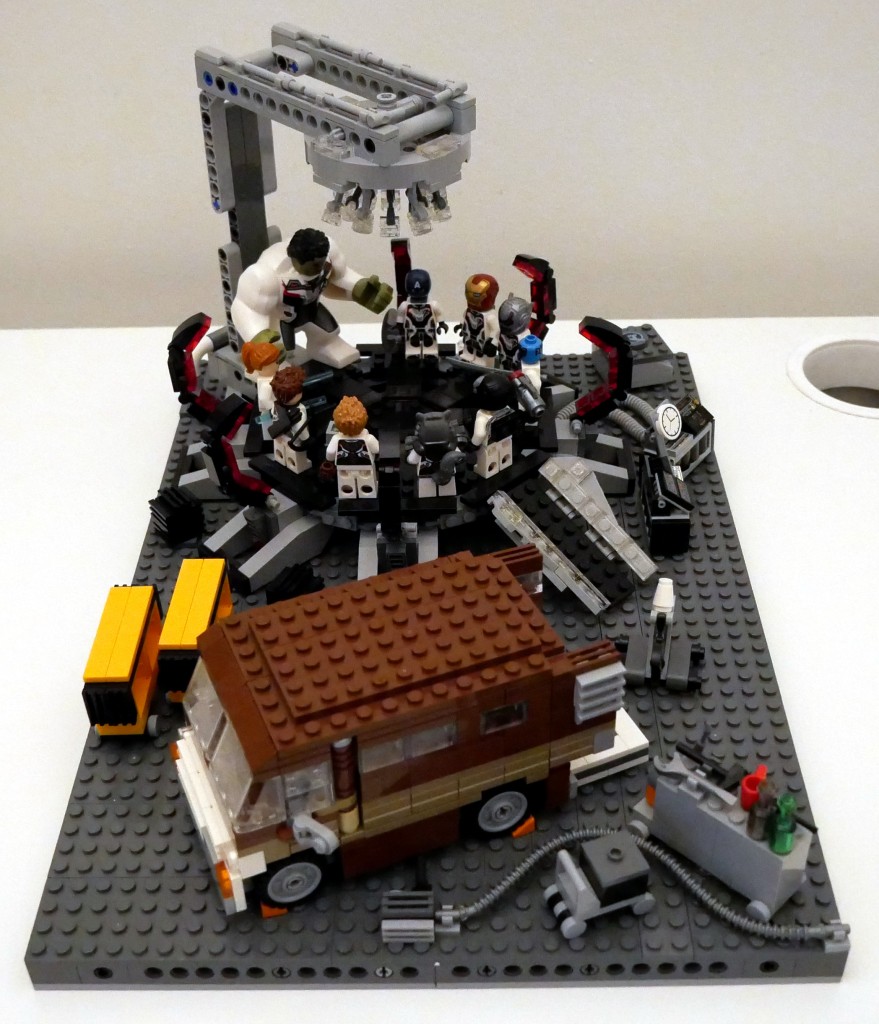
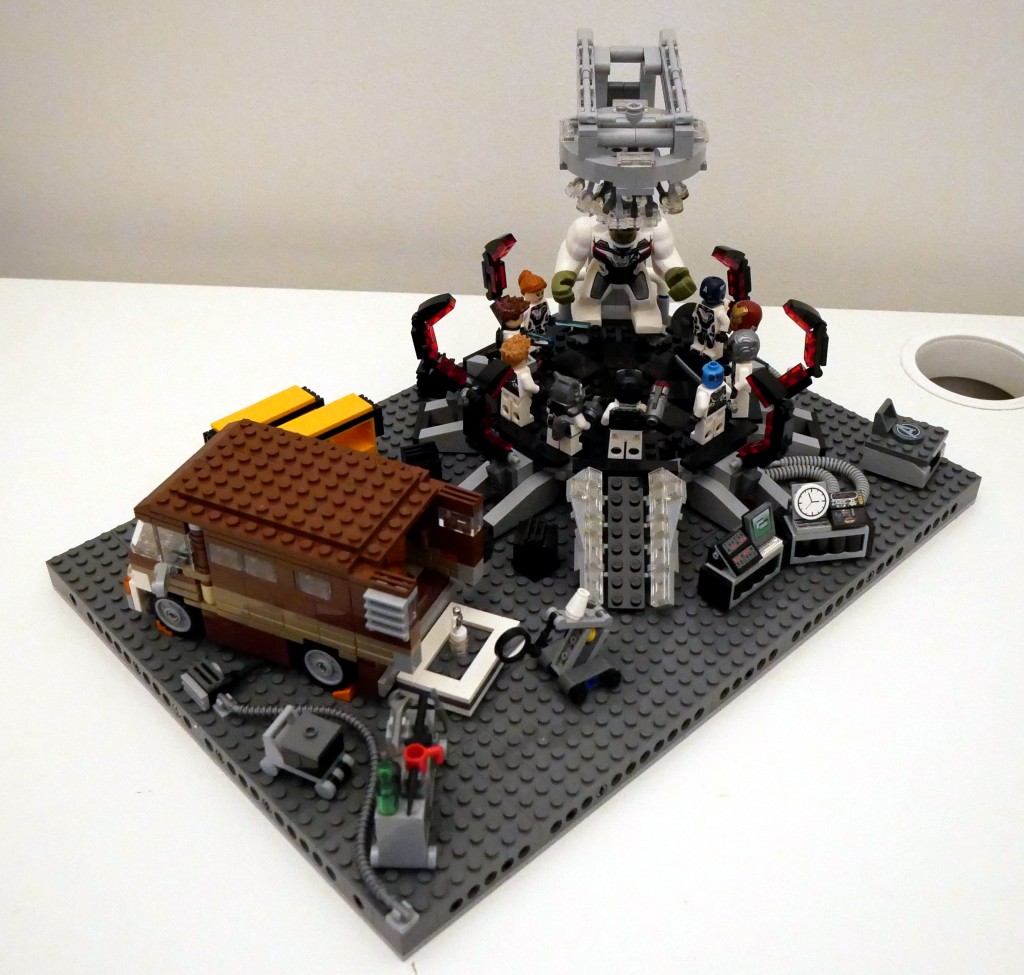
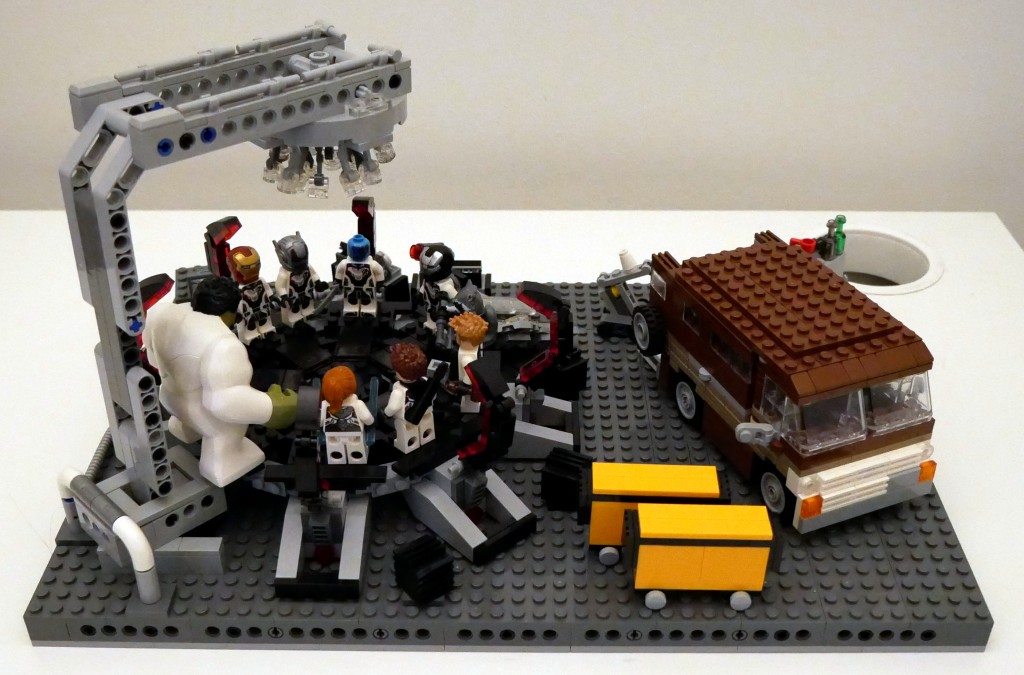
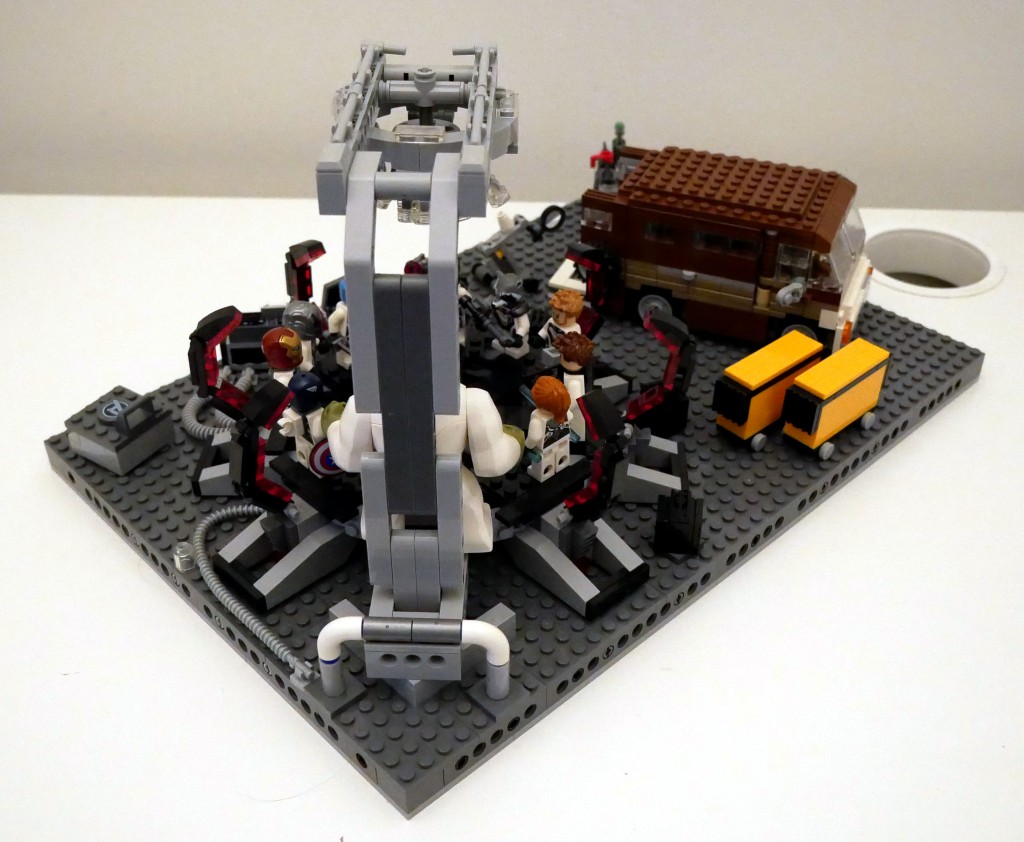
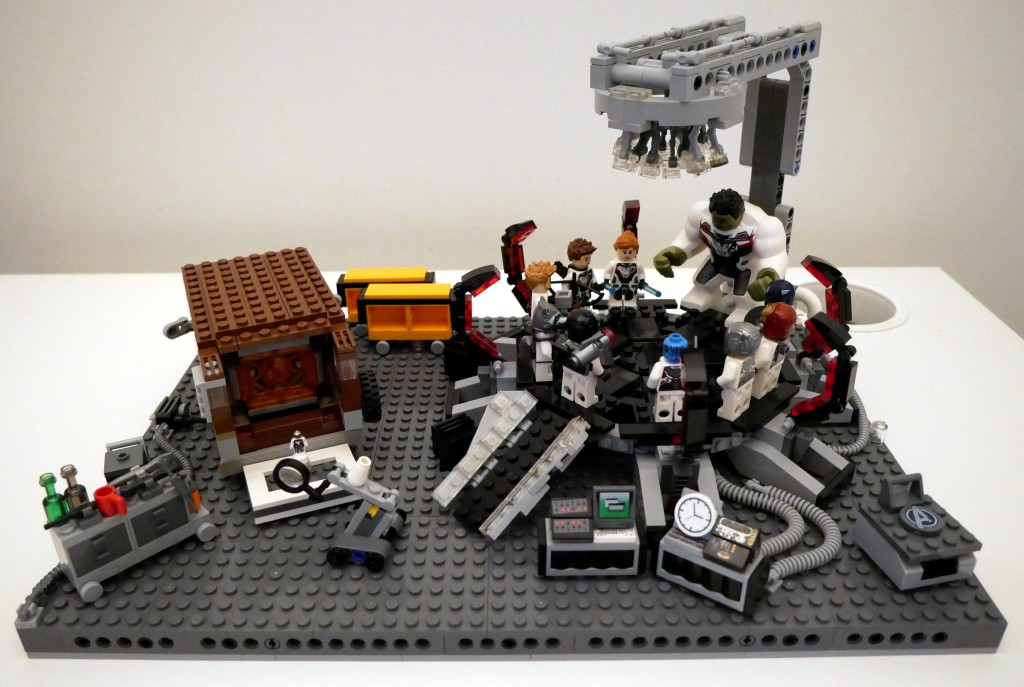
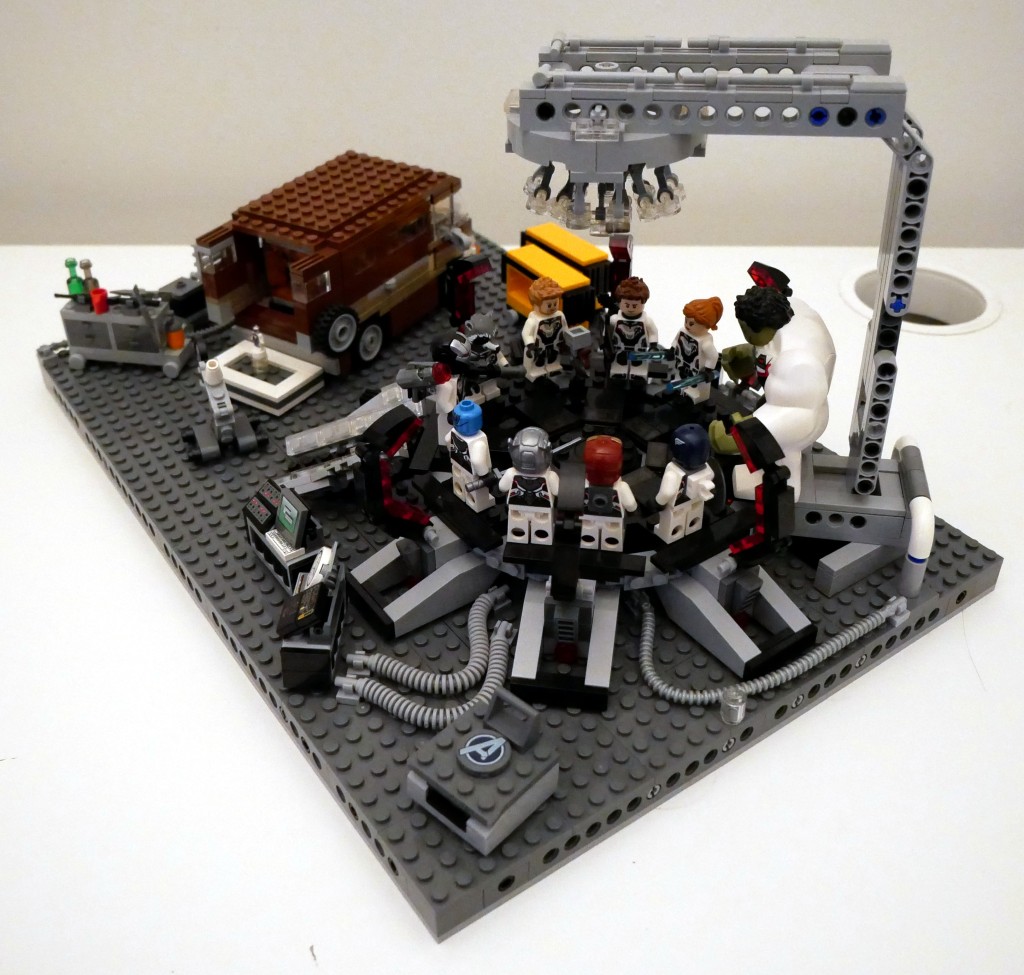
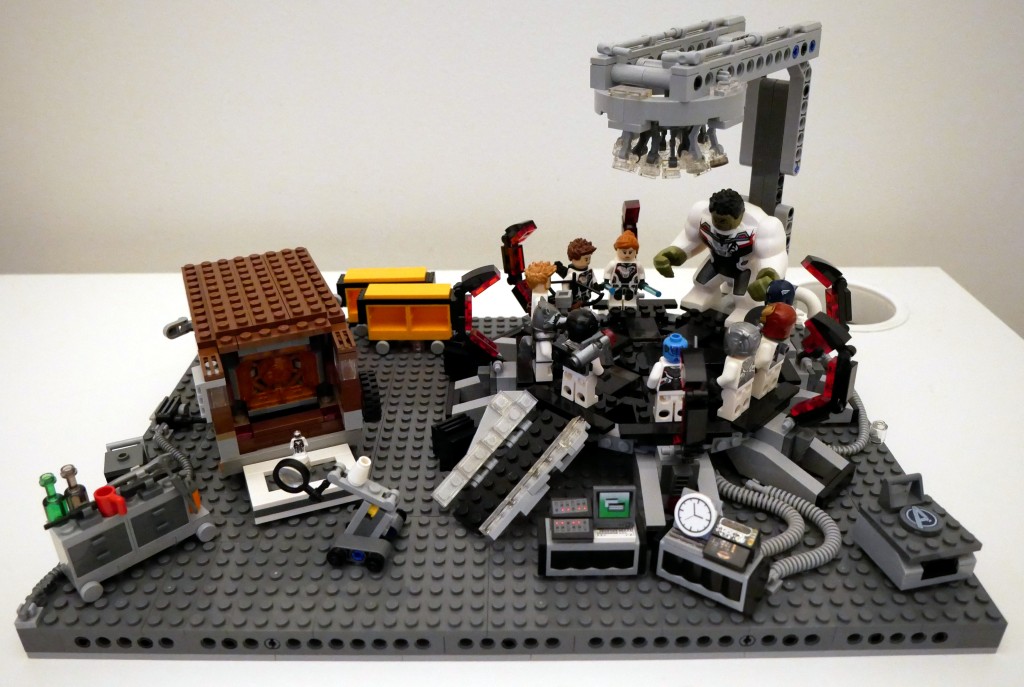
    My Time Heist LEGO model inspired by the film Avengers: Endgame.

    I’ve been a big fan of the Marvel Cinematic Universe (MCU) since Robert Downey, Jr. donned the armor in Iron Man (2008). Following the thread of the story through 22 films that concluded with Iron Man’s ultimate sacrifice in Avengers: Endgame (2019) was staggering.

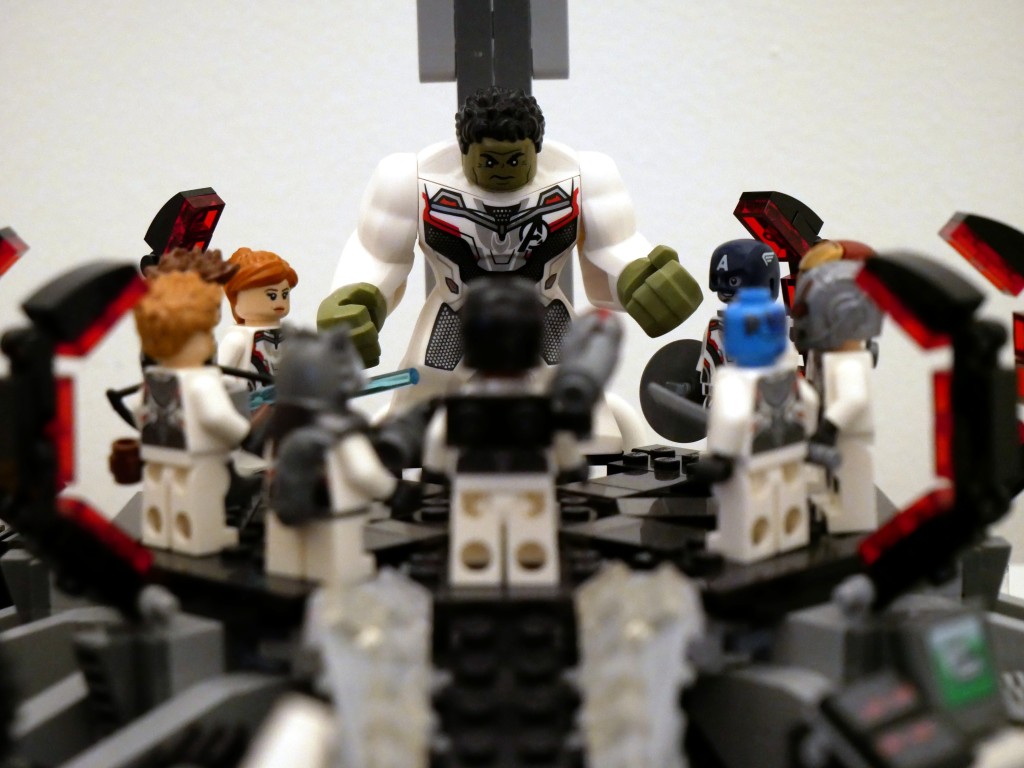
    Shortly after watching that last film, I set to work on building this LEGO MOC (my own creation) scene from the Avengers Compound when they launch the “Time Heist” for a set of Infinity Stones. Unfortunately, I didn’t have enough bricks and elements to construct a proper superstructure of the hanger space that they used to build the time machine. Instead, I focused on elements found in the scene and incorporated some playability into the design. Rotated images of the full scene are below.

    The key components of the set are the large quantum tunnel/time machine on the right, Luis’ van with the miniaturized quantum tunnel in the back, and a full set of Avengers wearing the Advanced Tech Suit (or Quantum Suit). The latter required purchasing LEGO sets 76124 War Machine Buster (for War Machine and Ant Man), 76144 Avengers Hulk Helicopter (Hulk and Black Widow), 76126 Avengers Ultimate Quinjet (Rocket, Thor, Hawkeye, and Black Widow), 76131 Avengers Compound Battle (mini Ant Man and Nebula), 76123 Captain America: Outriders Attack (Captain America), and 30452 Iron Man and Dum-E (Iron Man).

    BTW: LEGO has ensemble film tie-in sets down pat by spreading characters across sets–including sets that don’t appear in the film–to maximize profile. I’ve experienced this before with Star Wars, Harry Potter, Lord of the Rings, and The Hobbit.
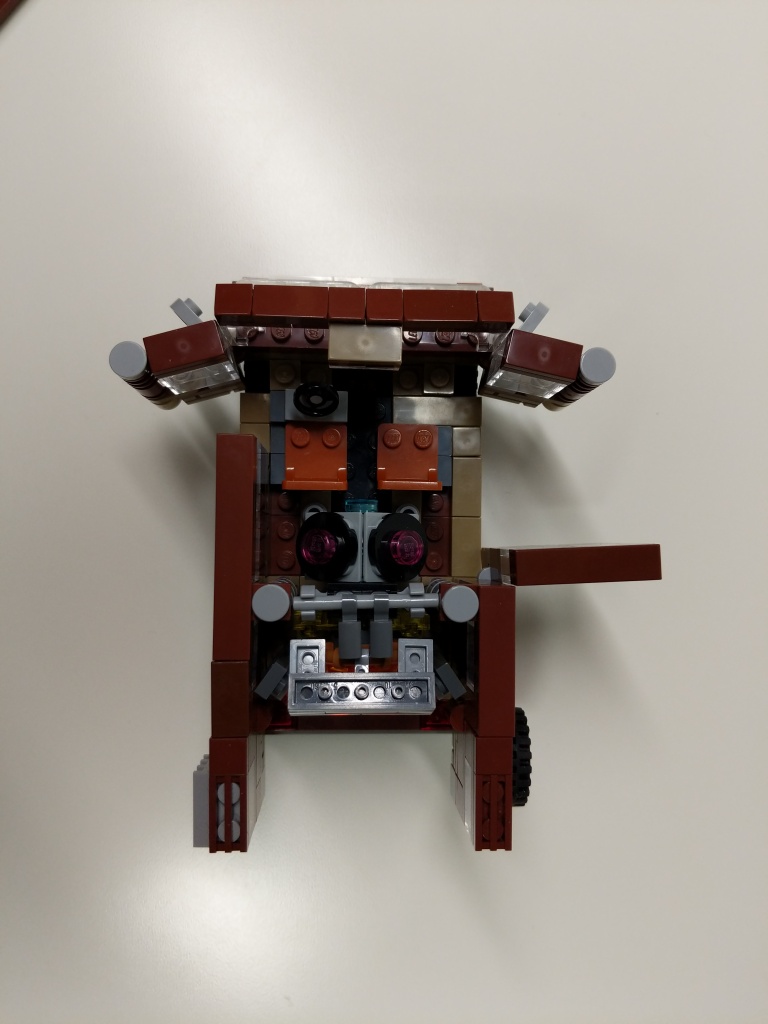
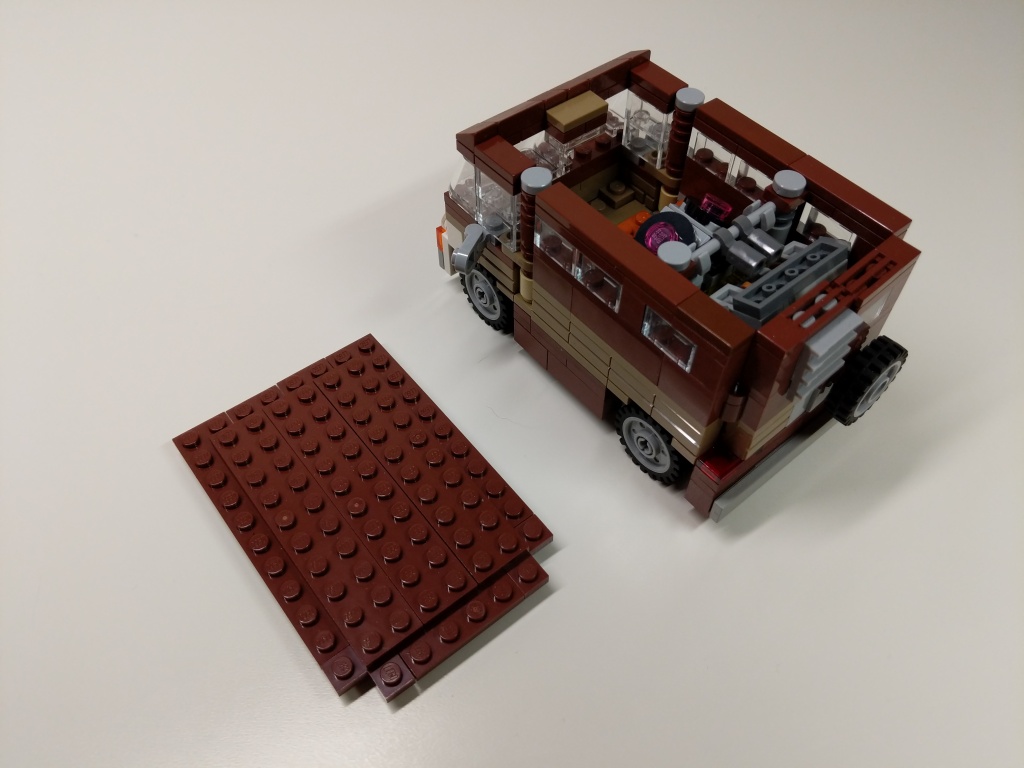
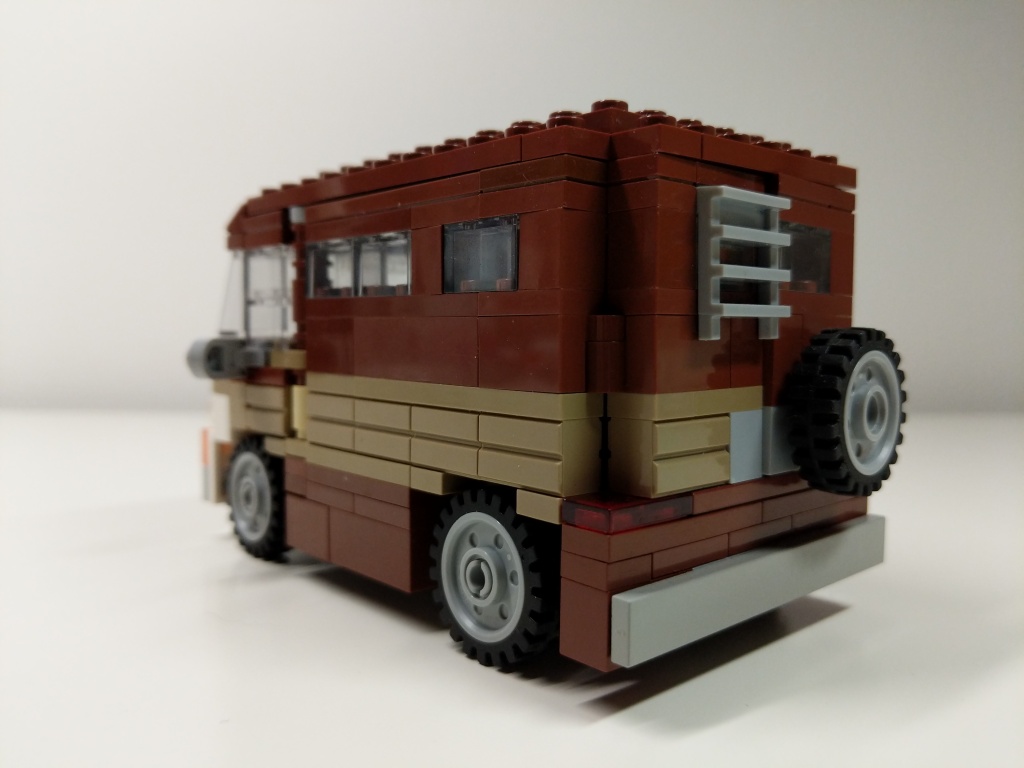
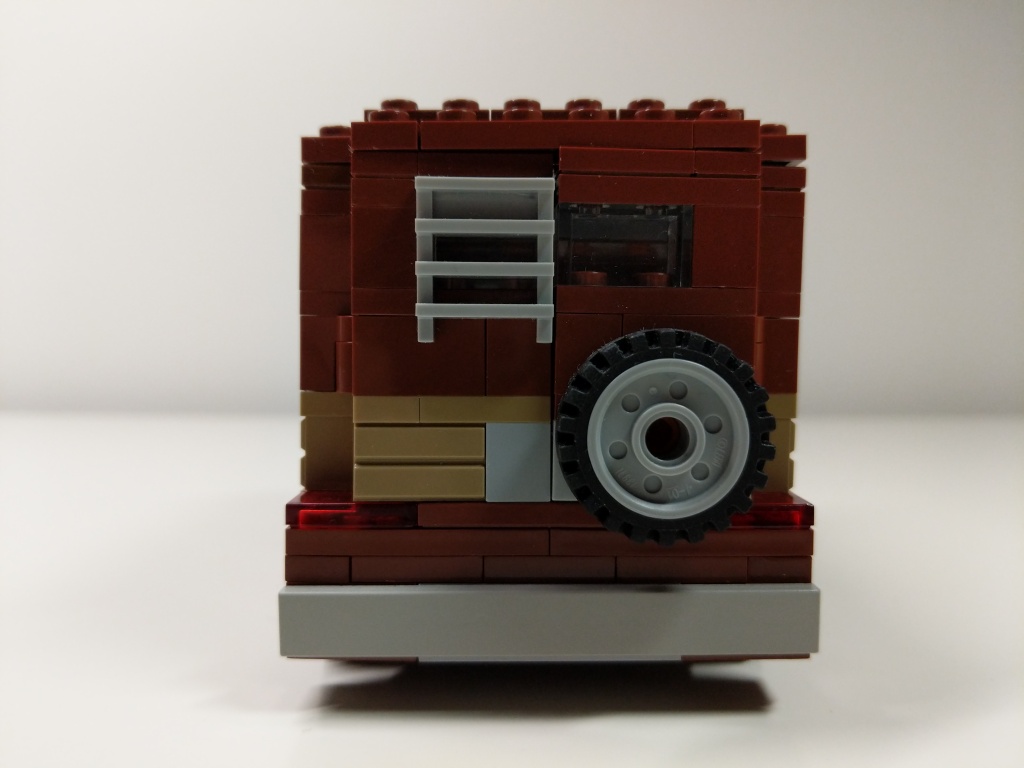
    Luis’s Van

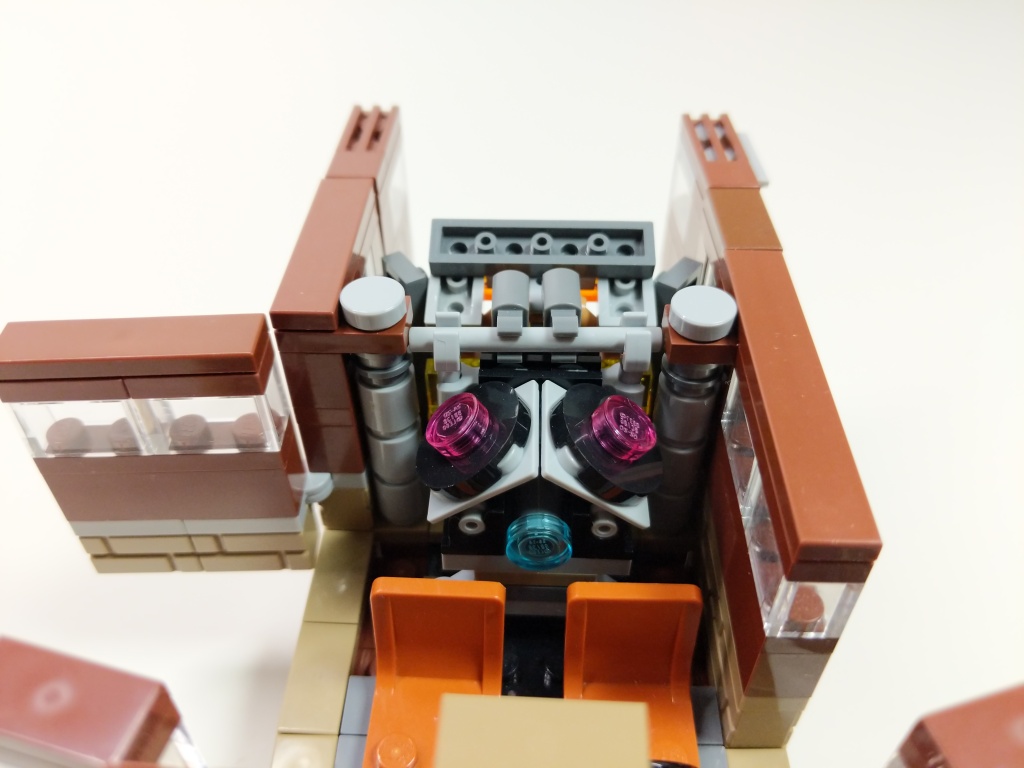
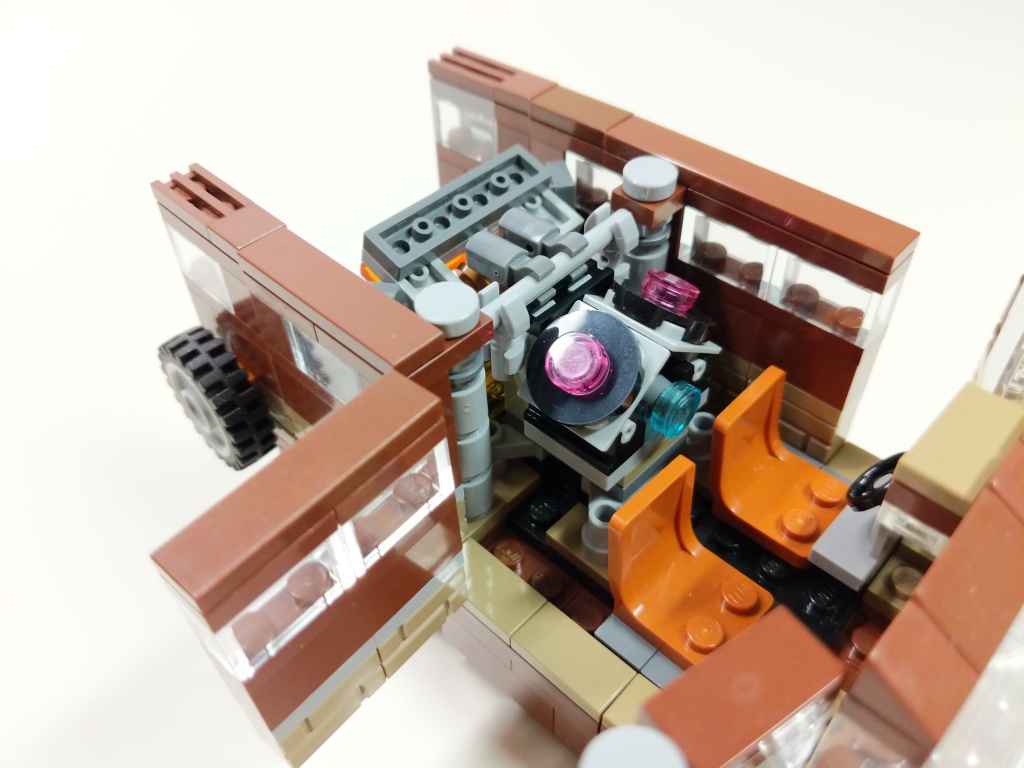
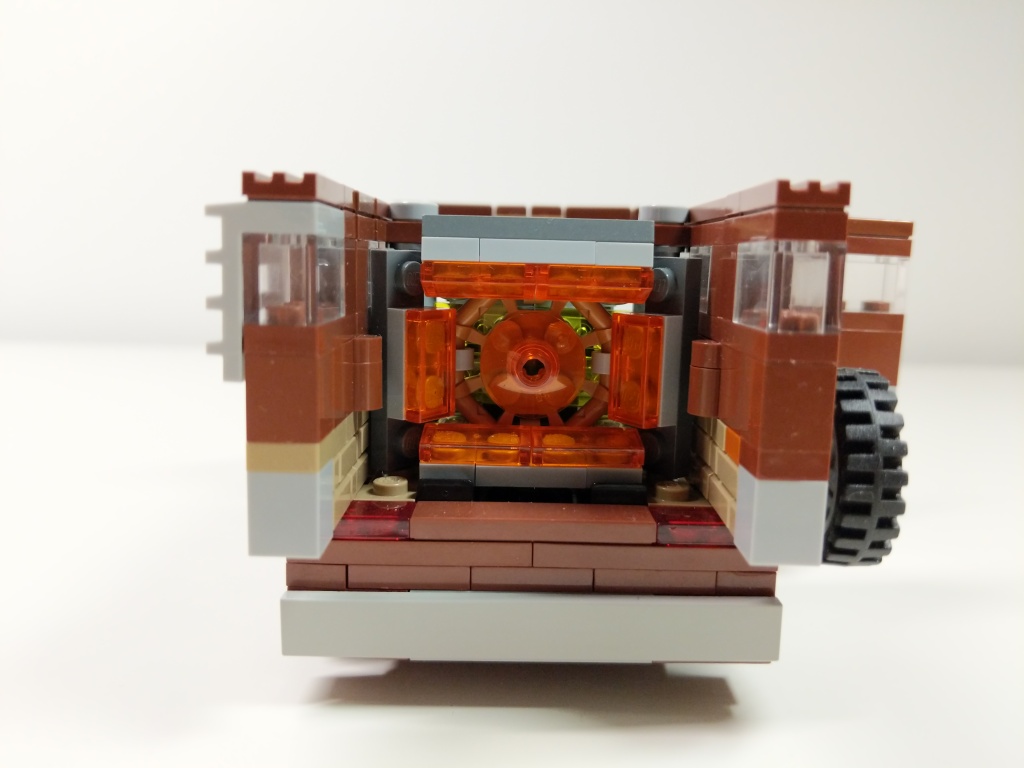
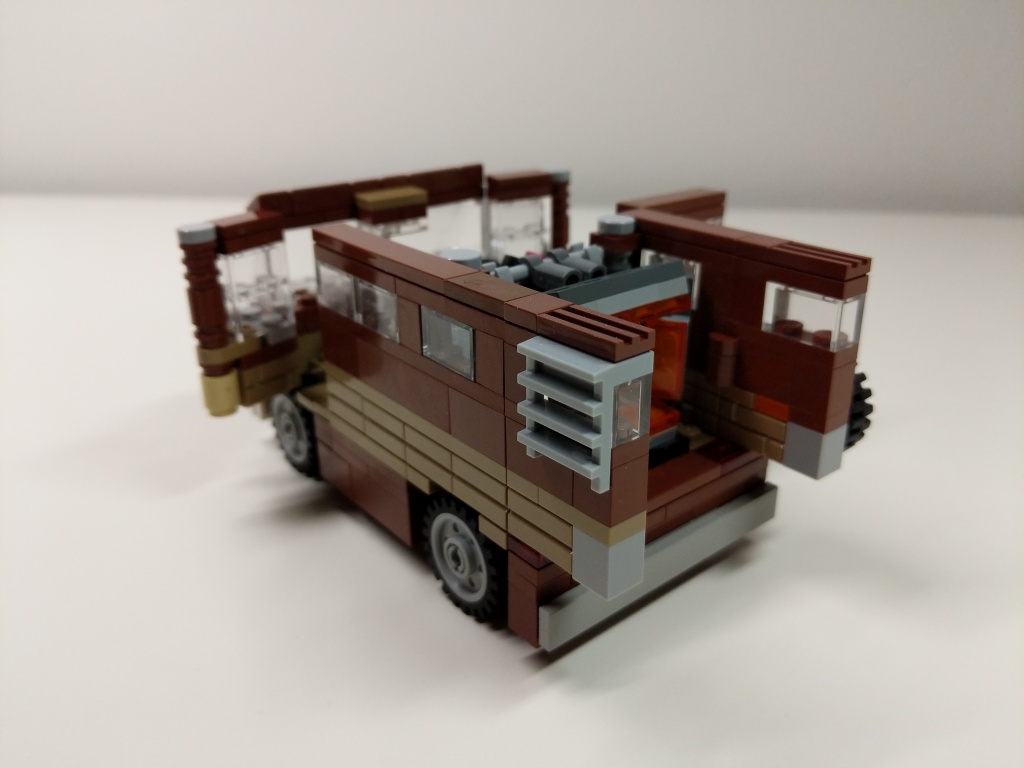
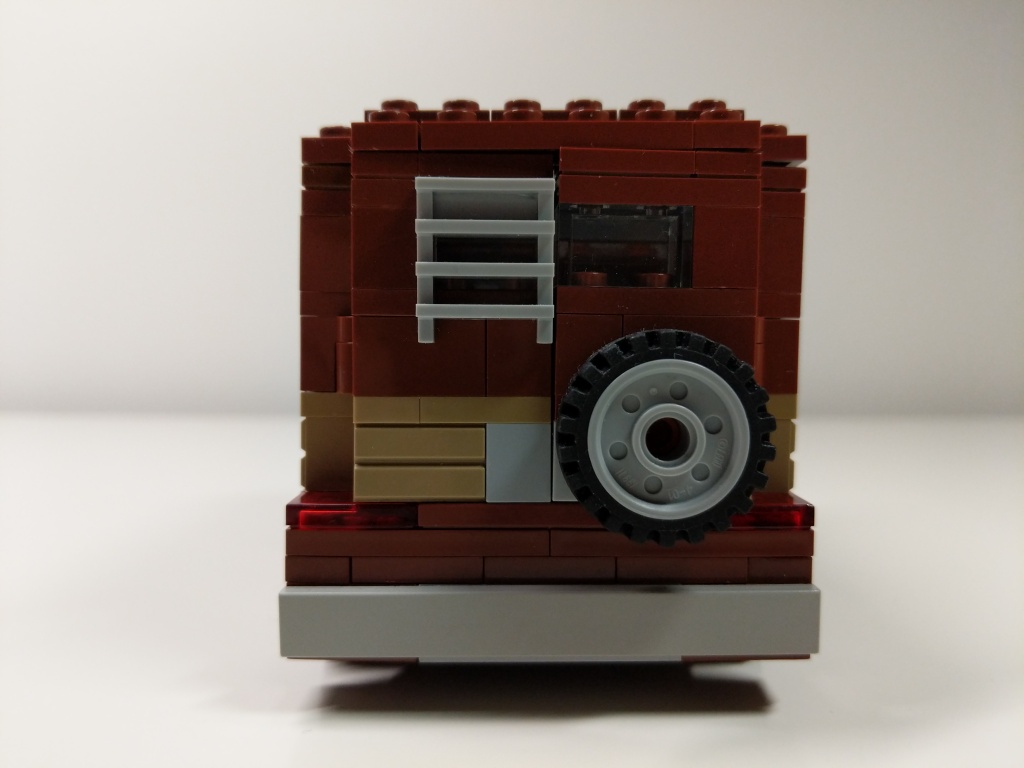
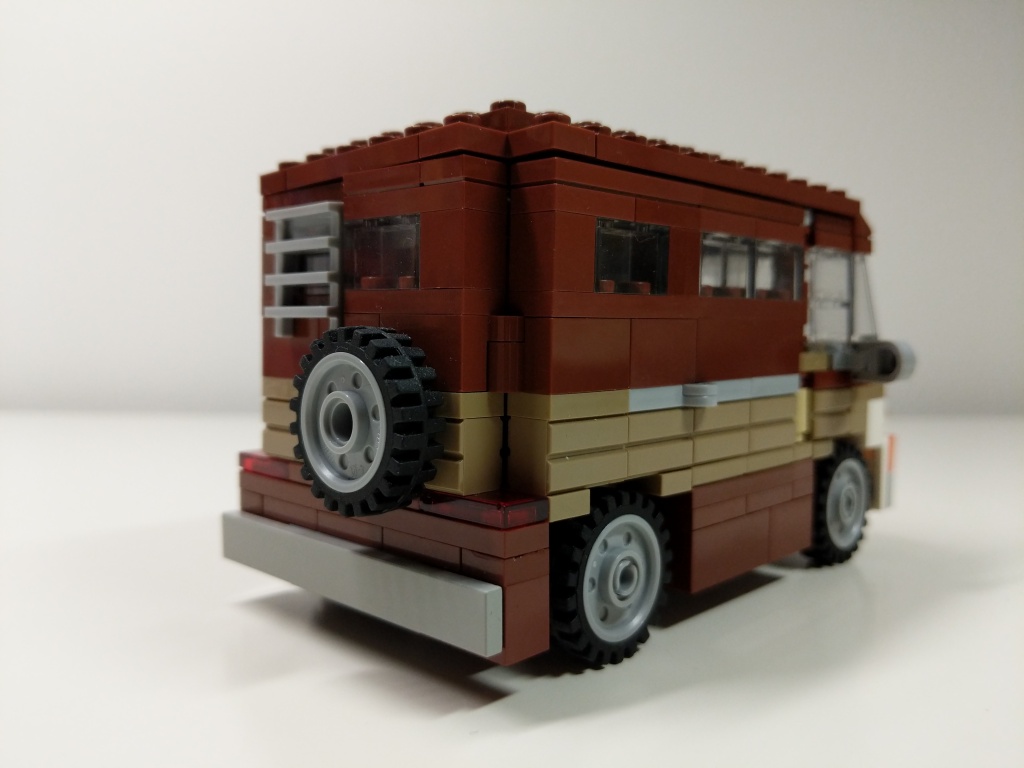
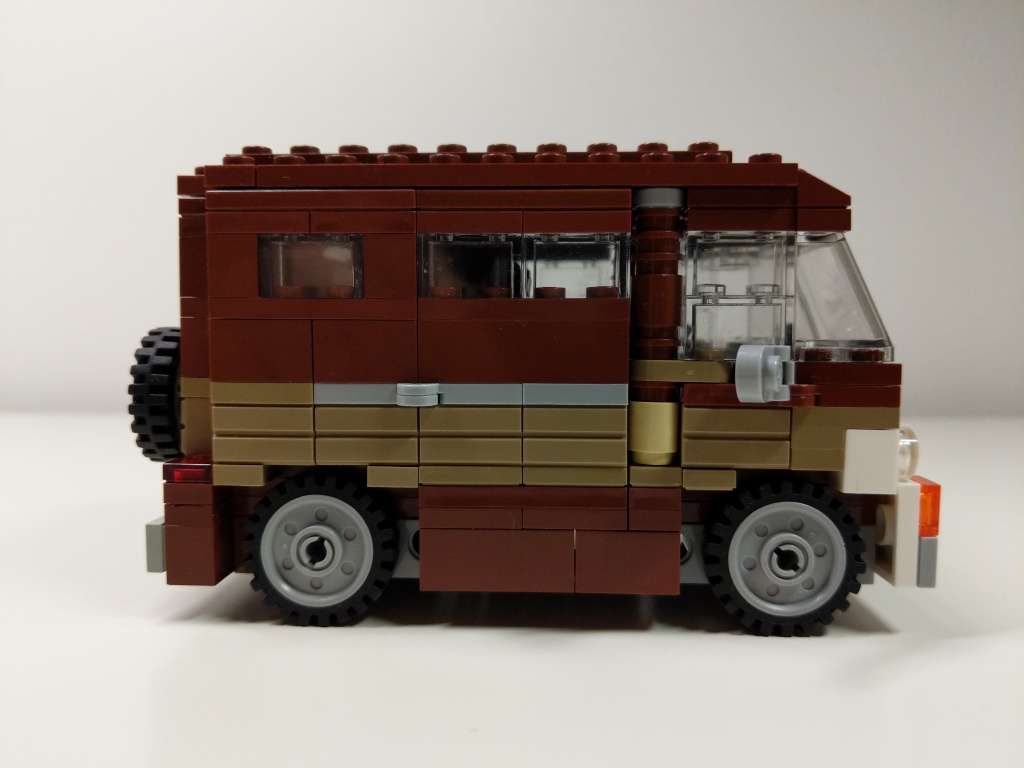
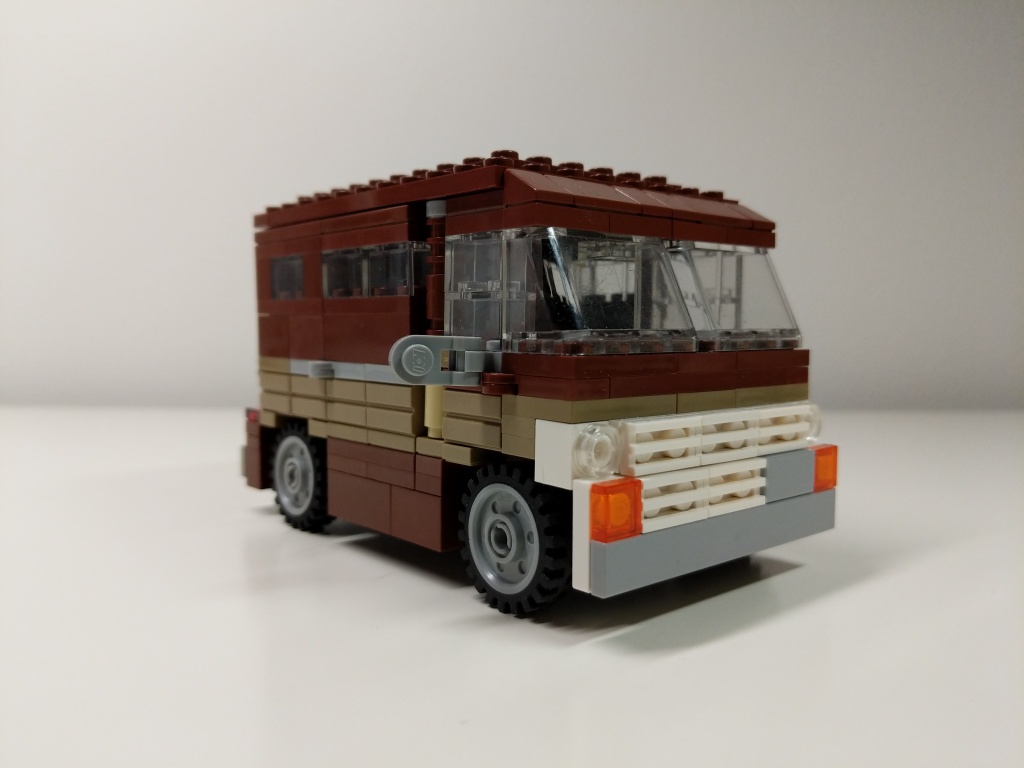
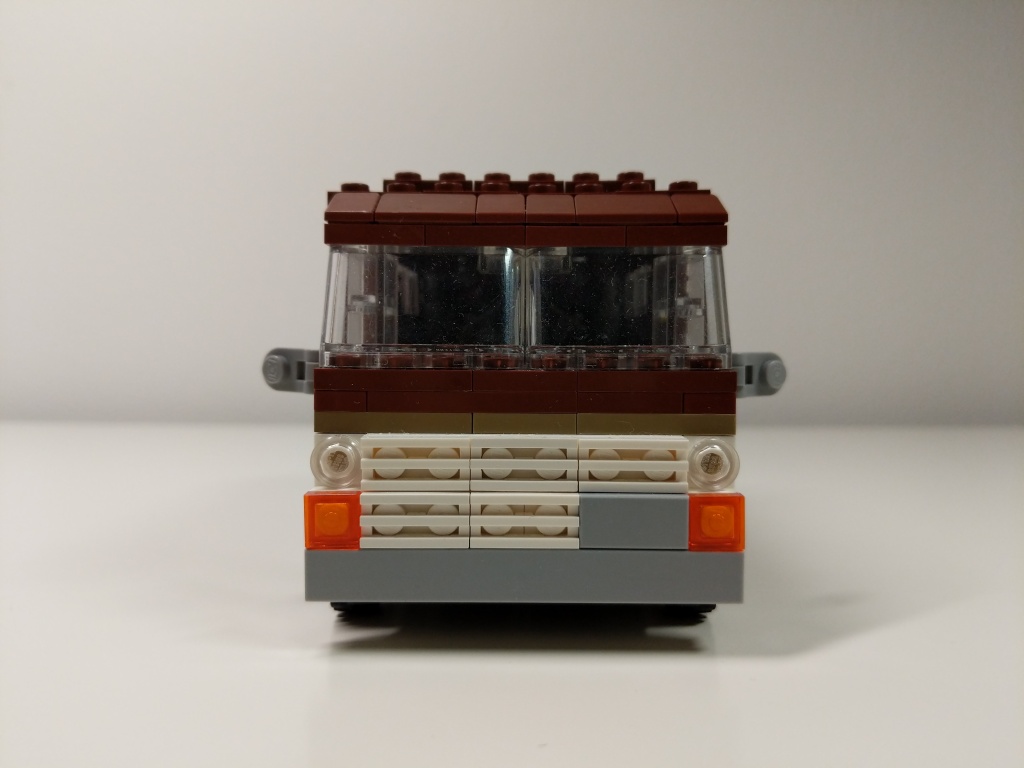
    Luis' 1972 Ford Econoline van.

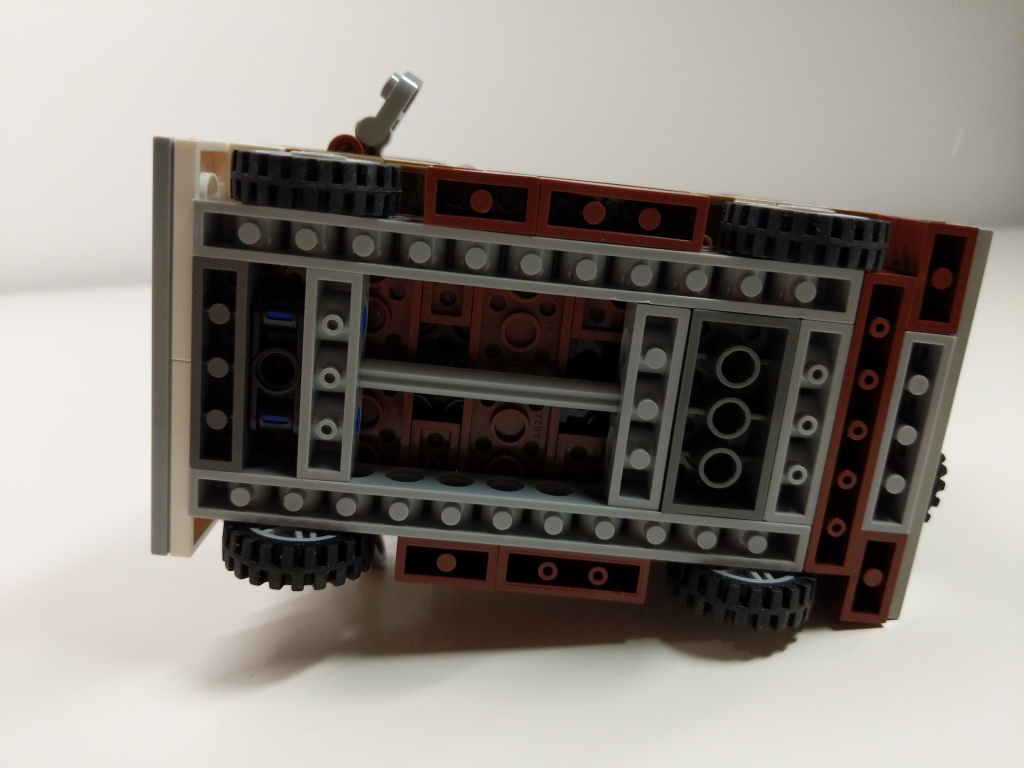
    Luis’ van from Ant-Man (2015) and Ant-Man and the Wasp (2018) is a 1972 Ford Econoline. It held the miniaturized quantum tunnel that Scott Lang used to retrieve quantum energy to help stabilize Ava Starr/Ghost. After Scott returned from the Quantum Realm five years after Thanos’ snap via the Quantum Tunnel, he drove the van to the Avenger’s Compound where they used it to test Scott’s idea for a “Time Heist.” I designed this model of Luis’ van before LEGO released their 76192 Avengers: Endgame Final Battle set, which includes a 6-stud-wide version of Luis’ van. I wanted my version to be wide enough to sit 2 minifigures side-by-side comfortably, so I went with an 8-stud-wide design.
    Quantum Tunnel

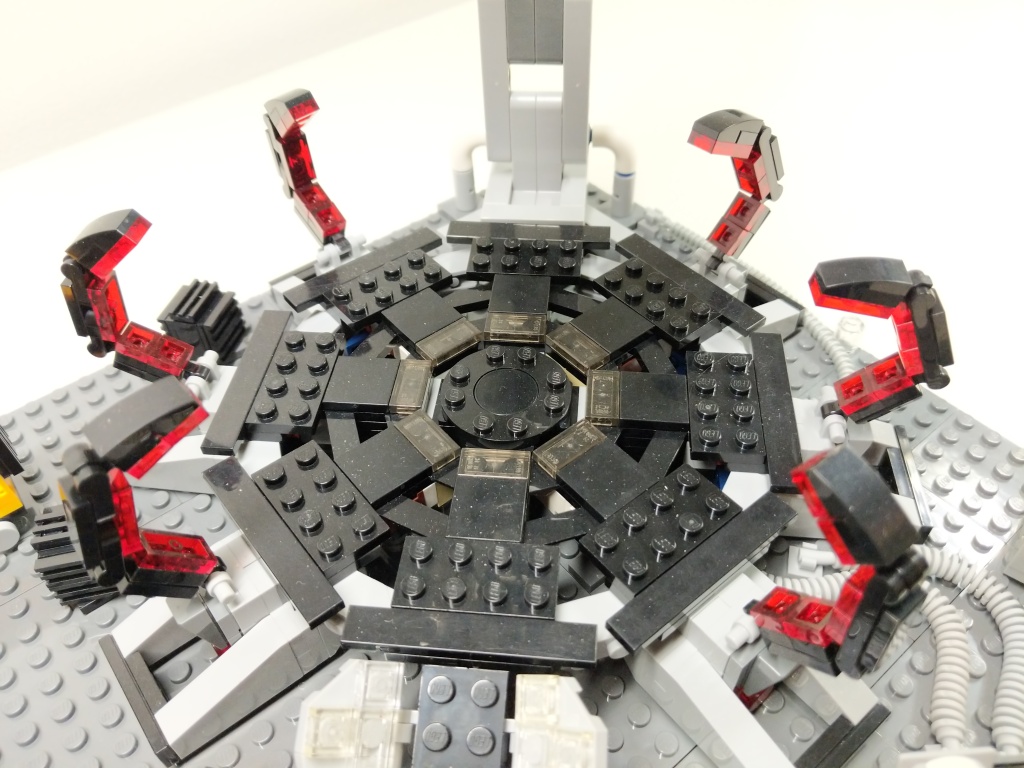
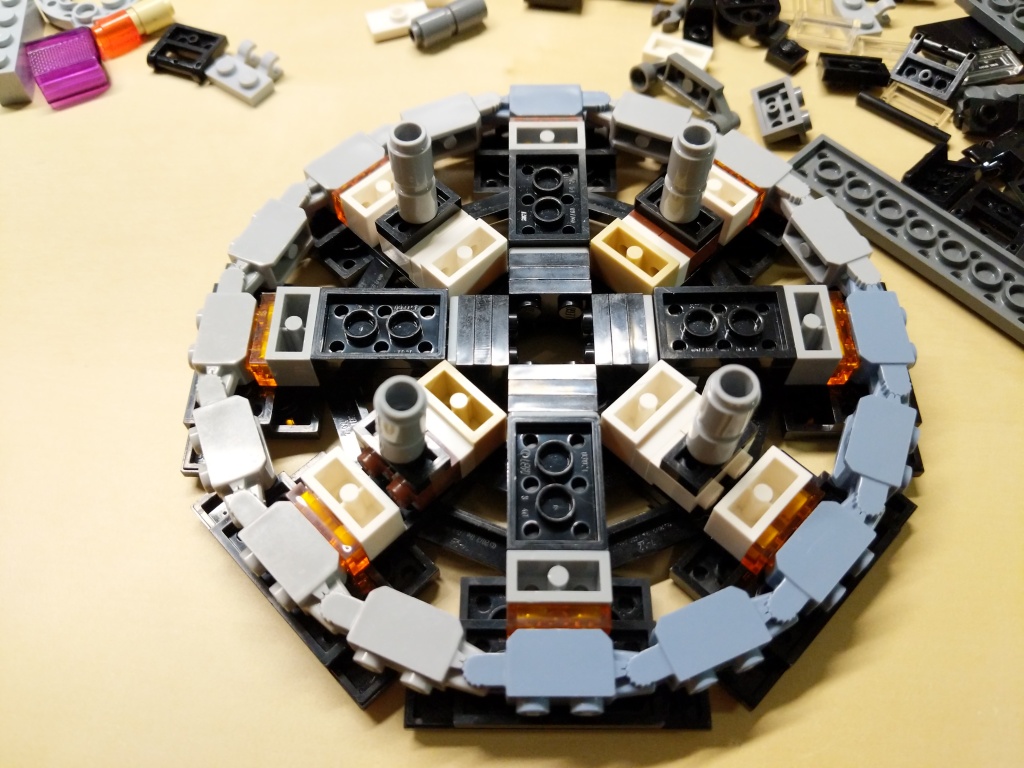
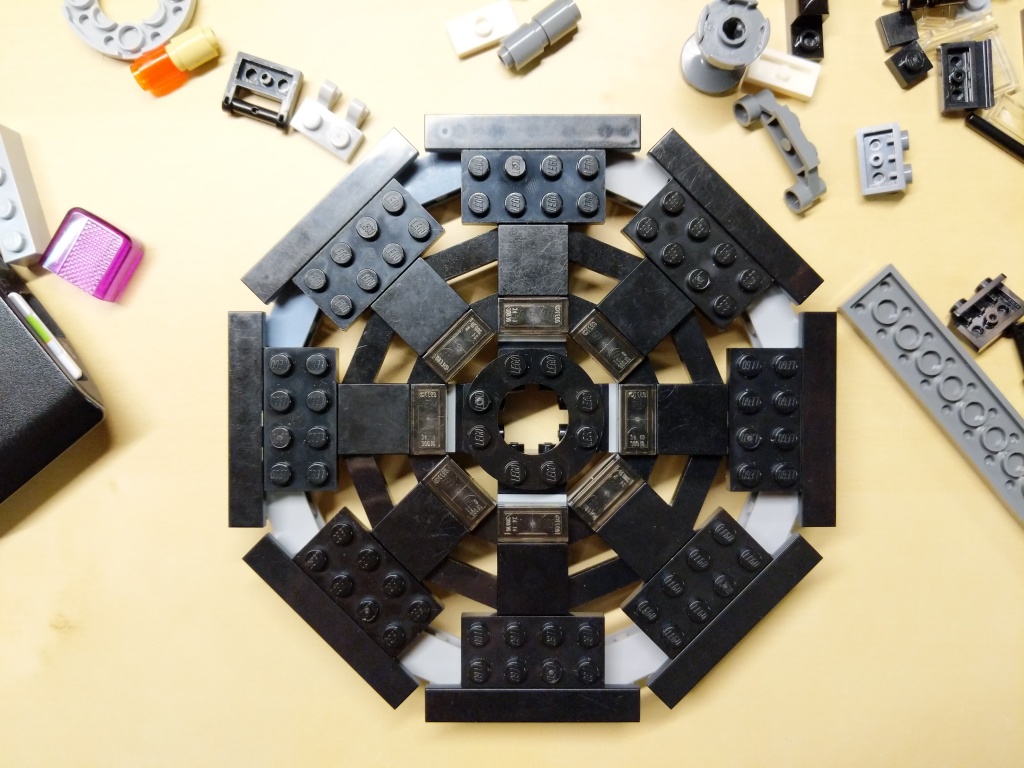
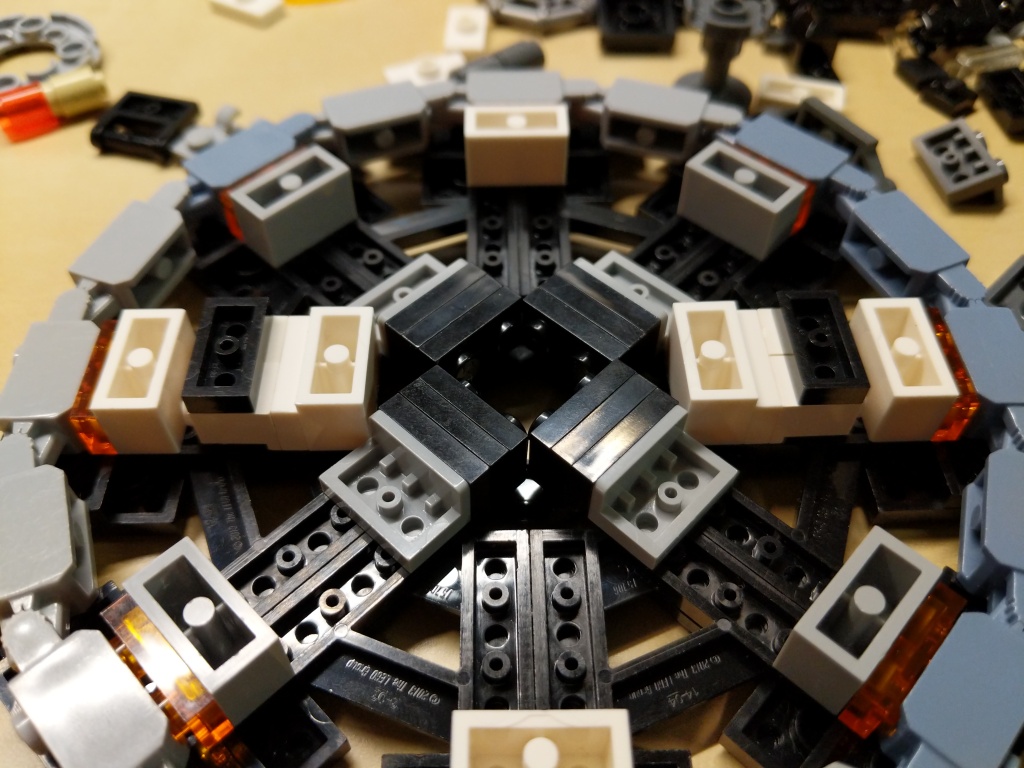
    The Quantum Tunnel presented three challenges. First, it needed to be a circular platform. Second, it needed to accommodate all of the Avengers involved in the Time Heist (i.e., Captain America, Iron Man, Thor, Hulk, Hawkeye, Black Widow, War Machine, Rocket, Nebula, and Ant-Man). And third, it needed to resemble the thing in the film despite limitations of the LEGO medium and the number of available LEGO bricks.

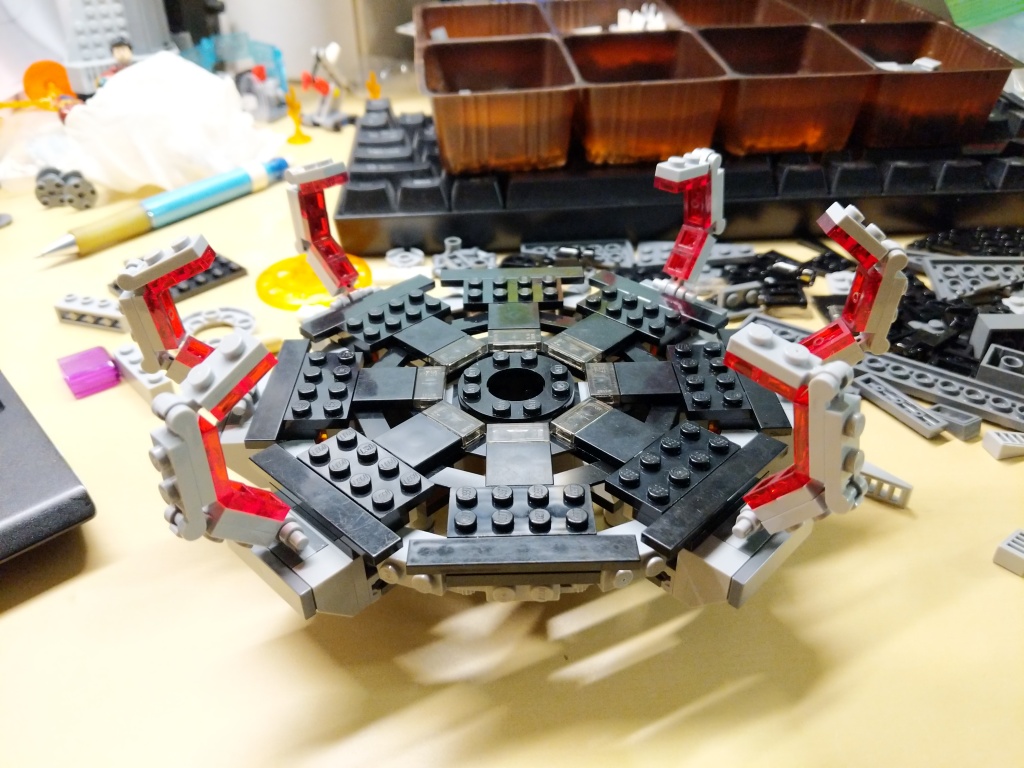
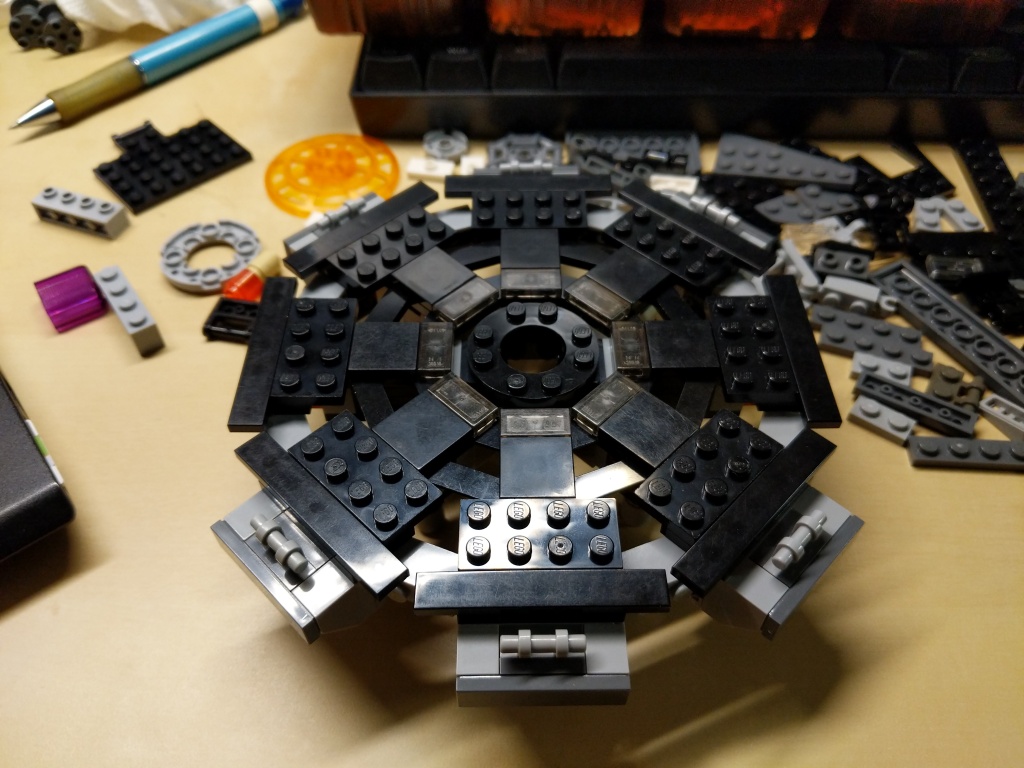
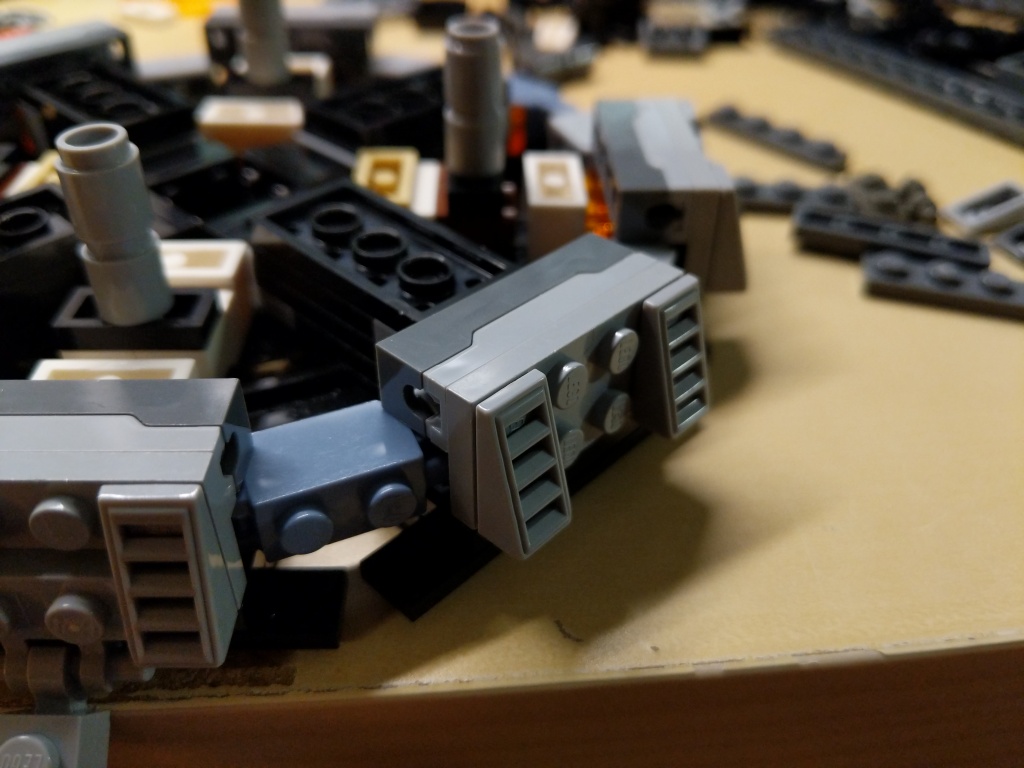
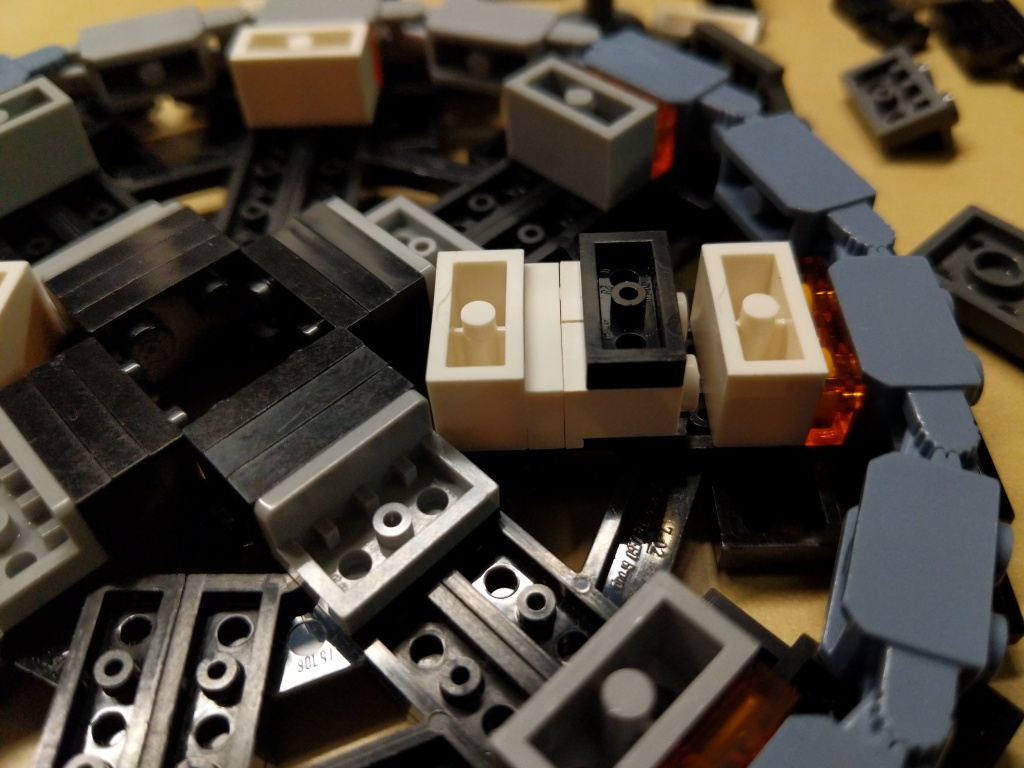
    Building the Quantum Tunnel made me rethink a lot of standard brick relationships and ratios to find the right combinations to create the round shape and have it line up with the stud pattern on the display base.

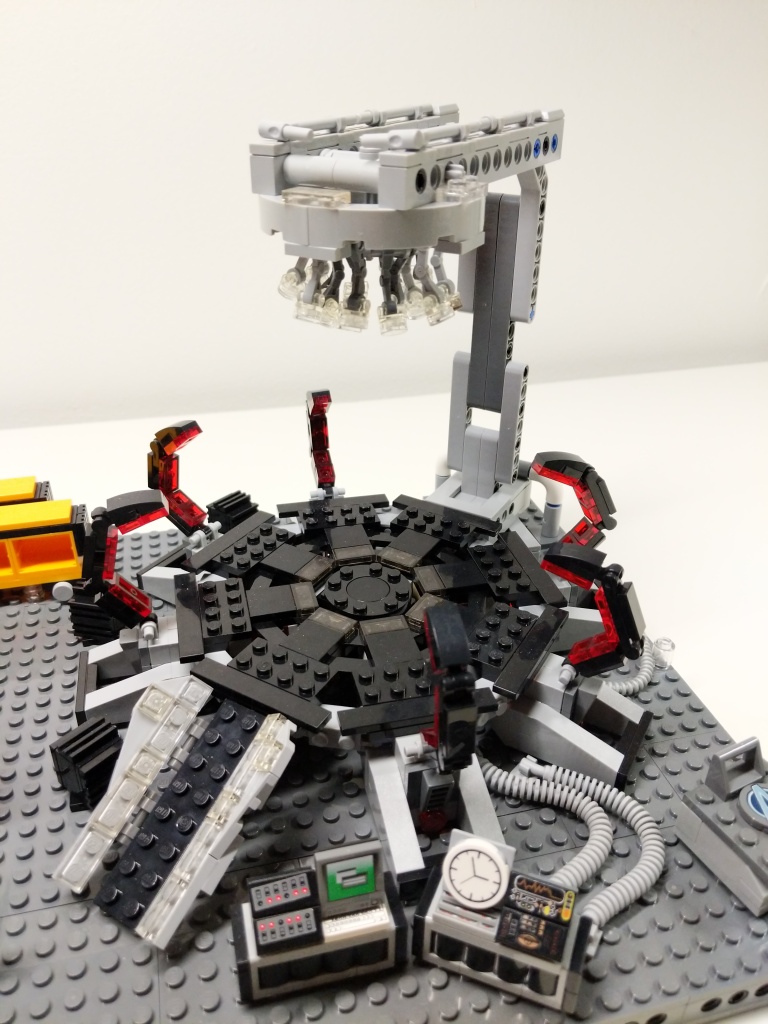
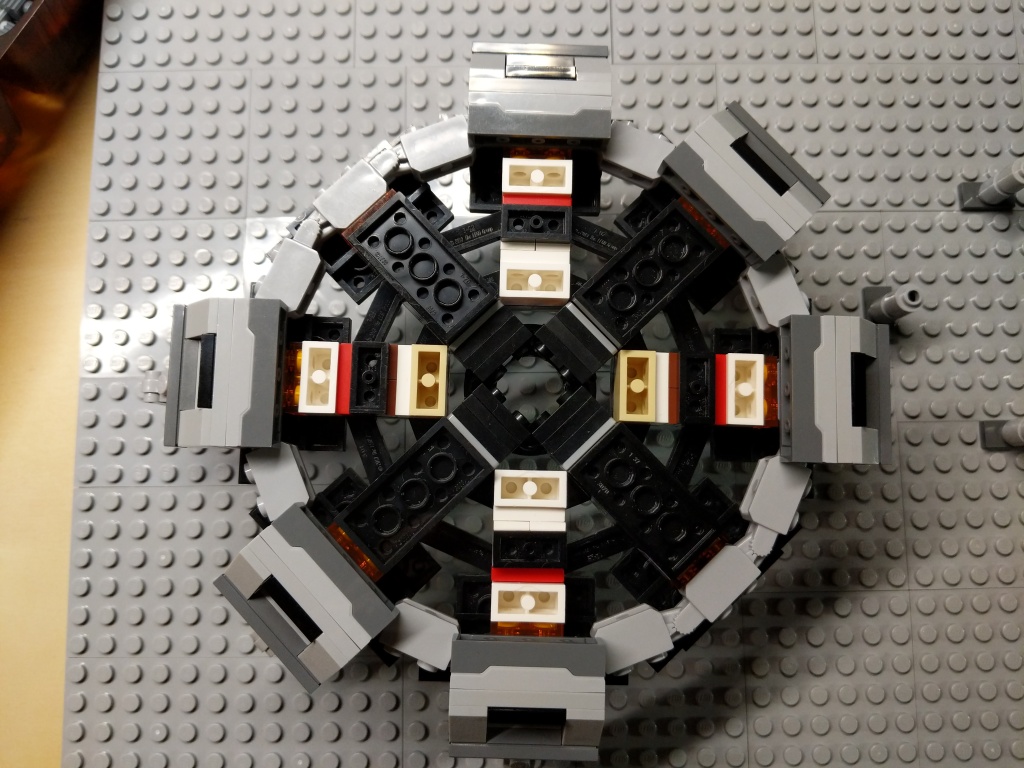
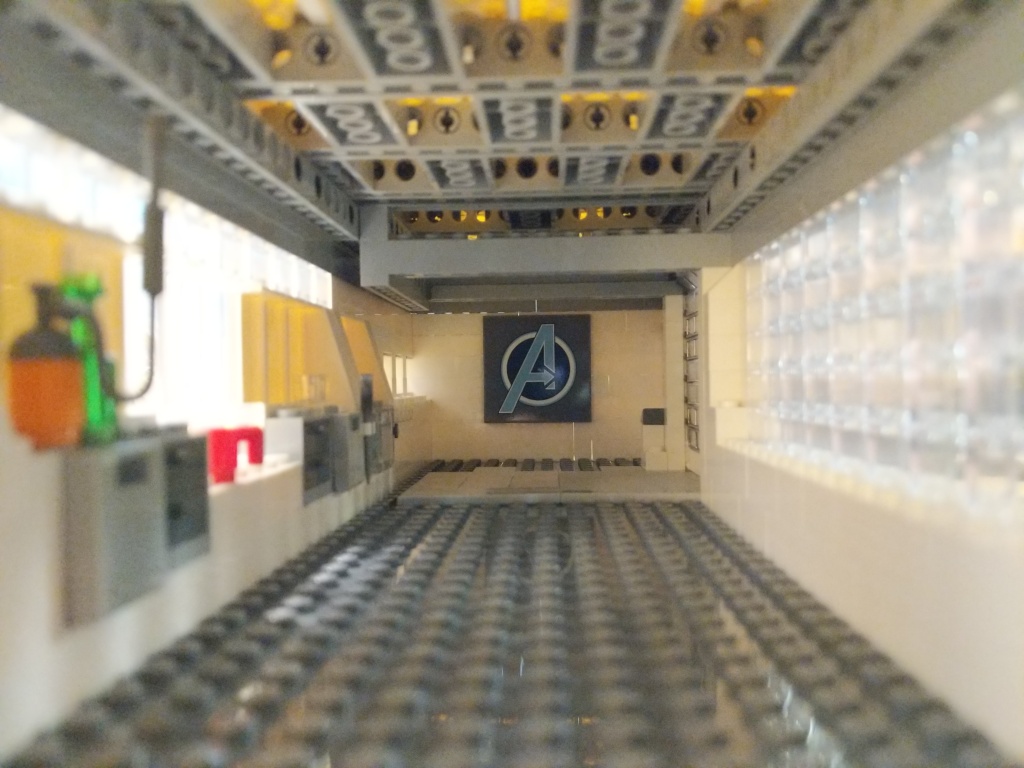
    In a separate build, I created this interior model for the hanger portion of the Avenger’s Compound. It was wide enough to pull Luis’ van into it, but it wasn’t wide or tall enough to build the Quantum Tunnel. I wished that I had enough Technic elements to have built some kind of superstructure around the Quantum Tunnel model for the lensing component that goes into the ceiling of the Avenger’s Compound hanger. I had to compromise by building an armature to hang the lensing component over the Quantum Tunnel using all of the elements that I could scrounge.

    Supporting Components

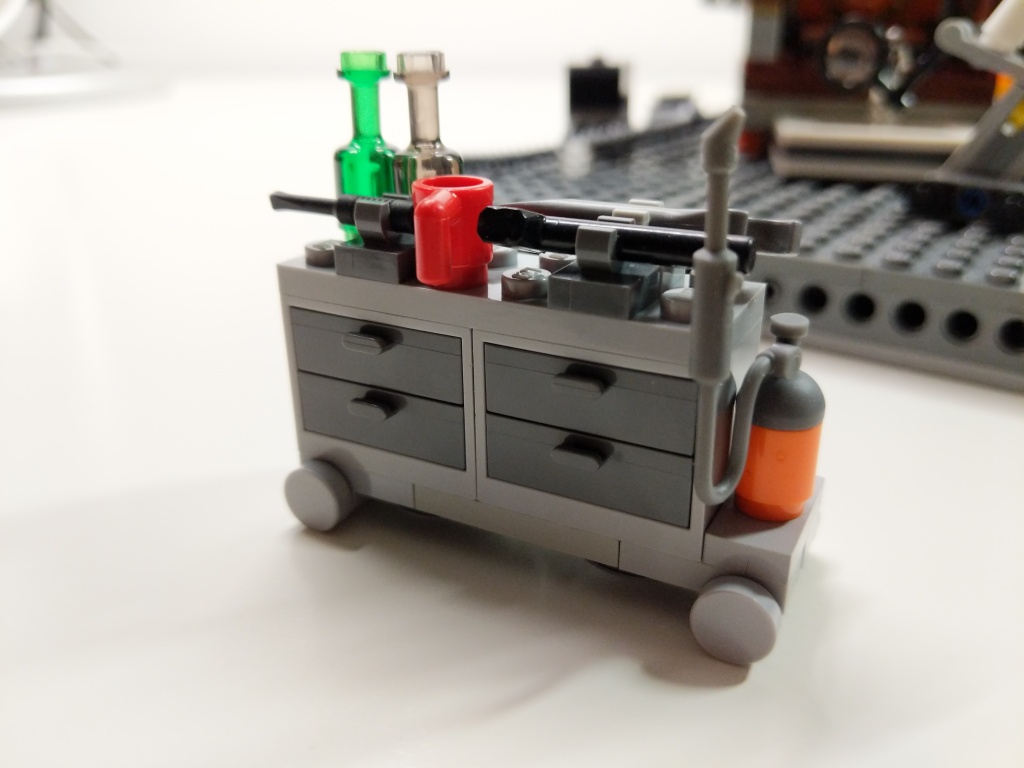
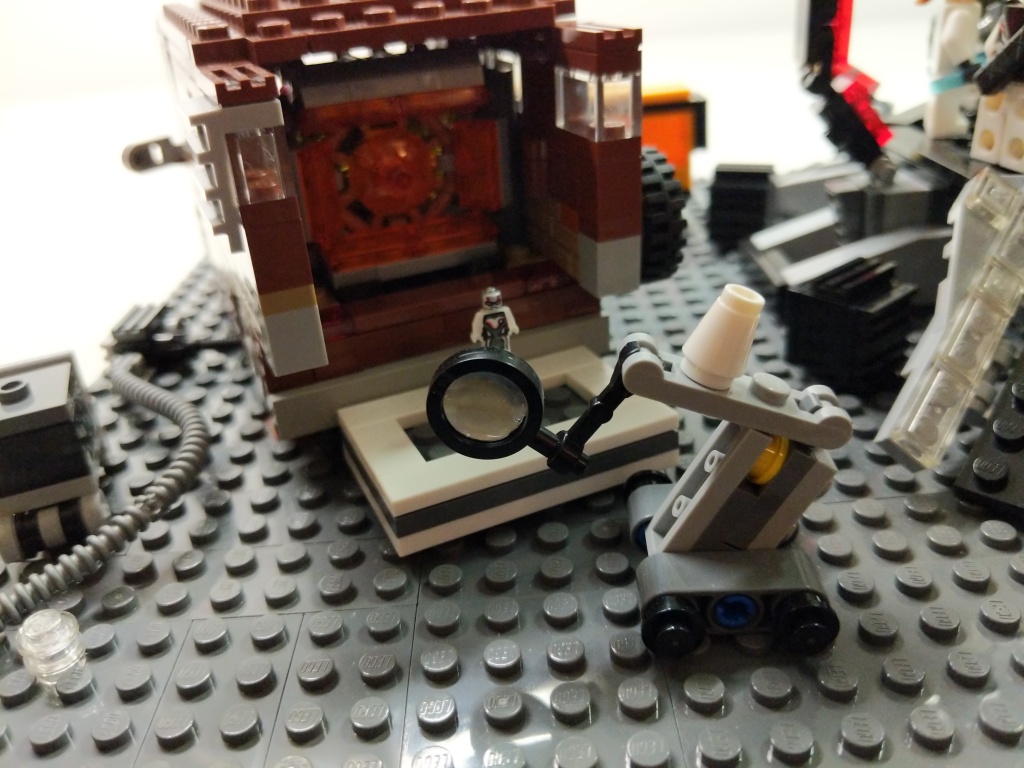
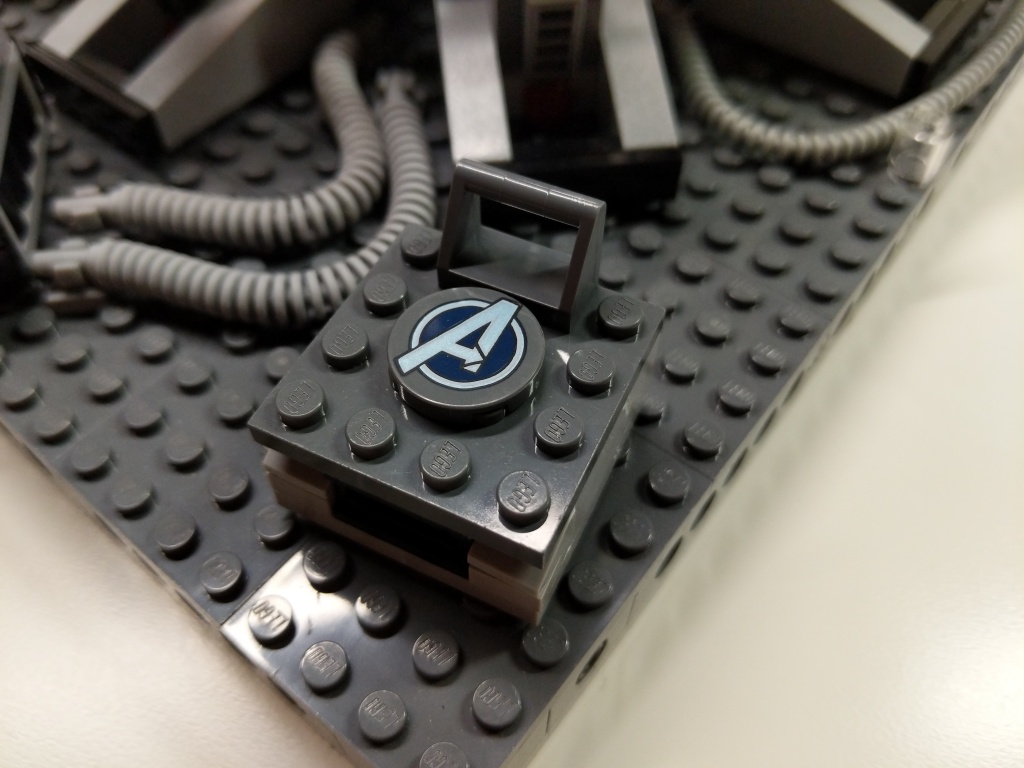
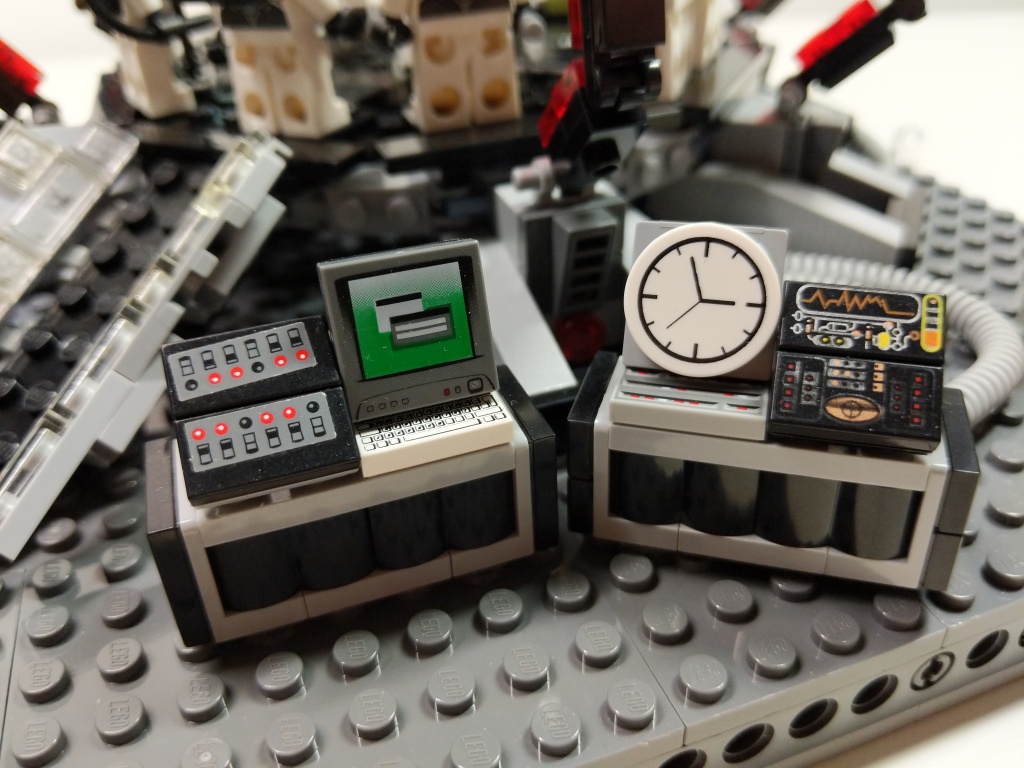
    To complete the build, I watched the film closely to see what kinds of equipment the Avengers had laying around while building and using the Quantum Tunnel. I tried to replicate these–Dum-E, computers, power equipment, tool and storage racks, and cabling.

    Reflection

    It feels like a lifetime ago when I built this model in 2019. I invested hours across many days through iterative building while looking at film screen captures. While I wish that my LEGO building skill was on the artistic or photorealistic building level of elite builders, my building acumen is more in the realm of playability. I think, what can I do with this, how does it work, how can I use this to tell a story? Given more time, few distractions, and greater access to brick variety and quantity, I wonder if I could take my building skill to the next level. Absent those things, I will keep building and see what I can accomplish with what I have. I haven’t built a MOC in the past year due to a lack of time, but I have something in mind that I might build soon, which I will document here. In the meantime, I have some other MOCs from the past that I plan to share here, too. Stay tuned!

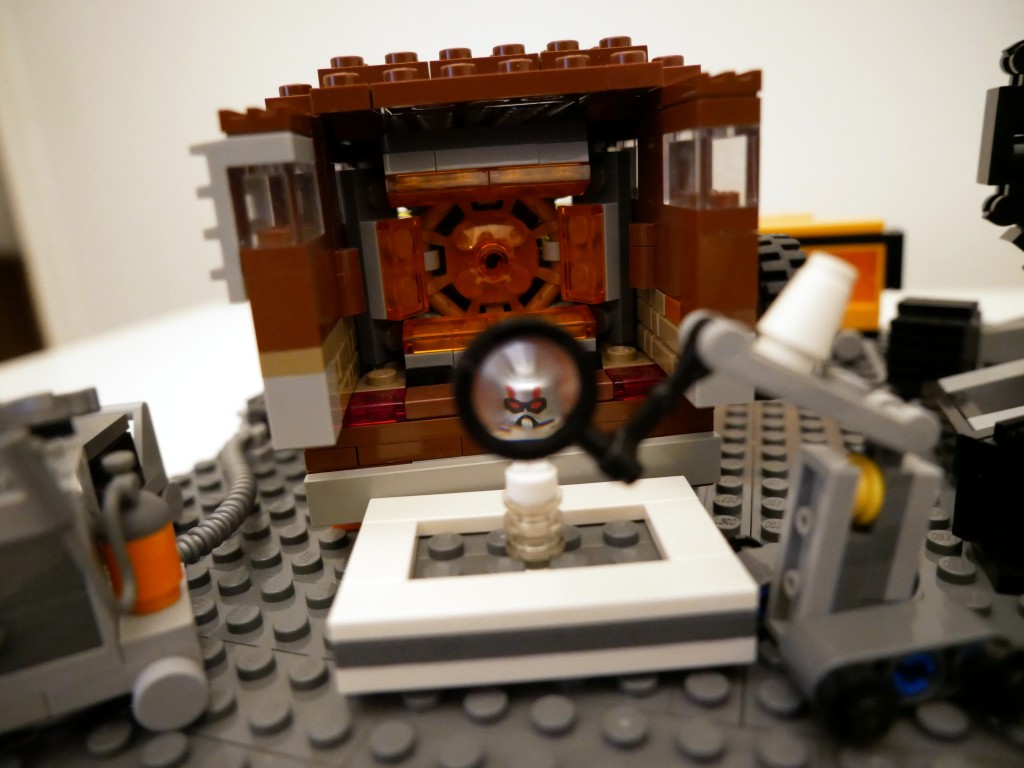
    Dum-E holds a magnifying glass to reveal micro Ant-Man!