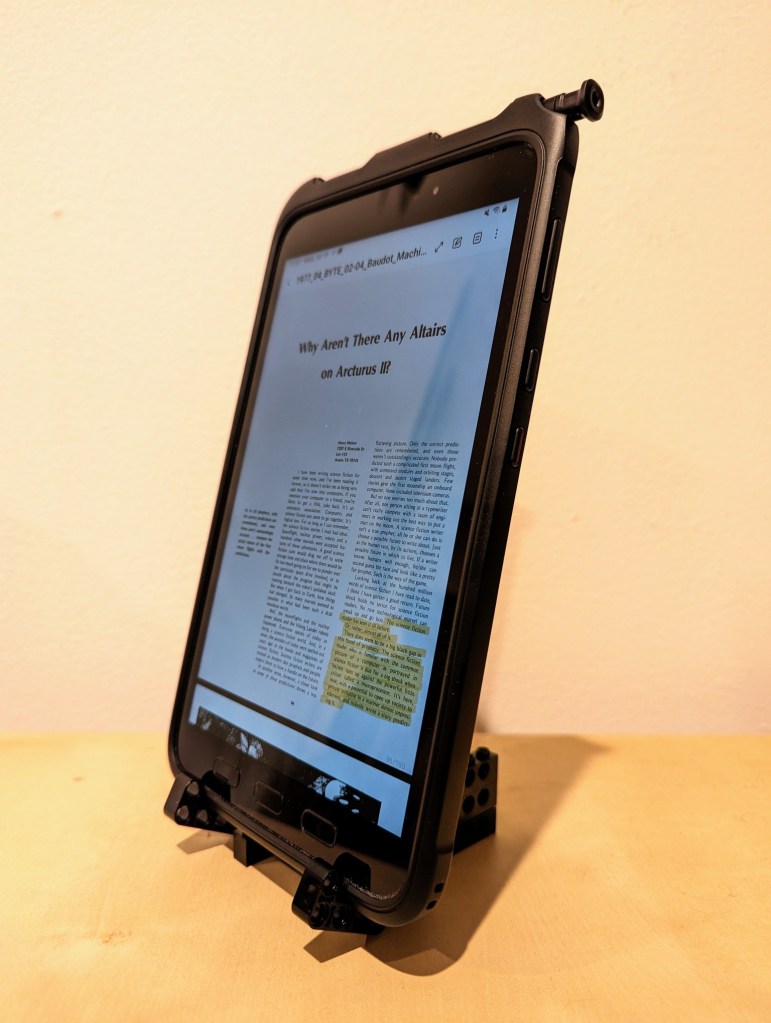
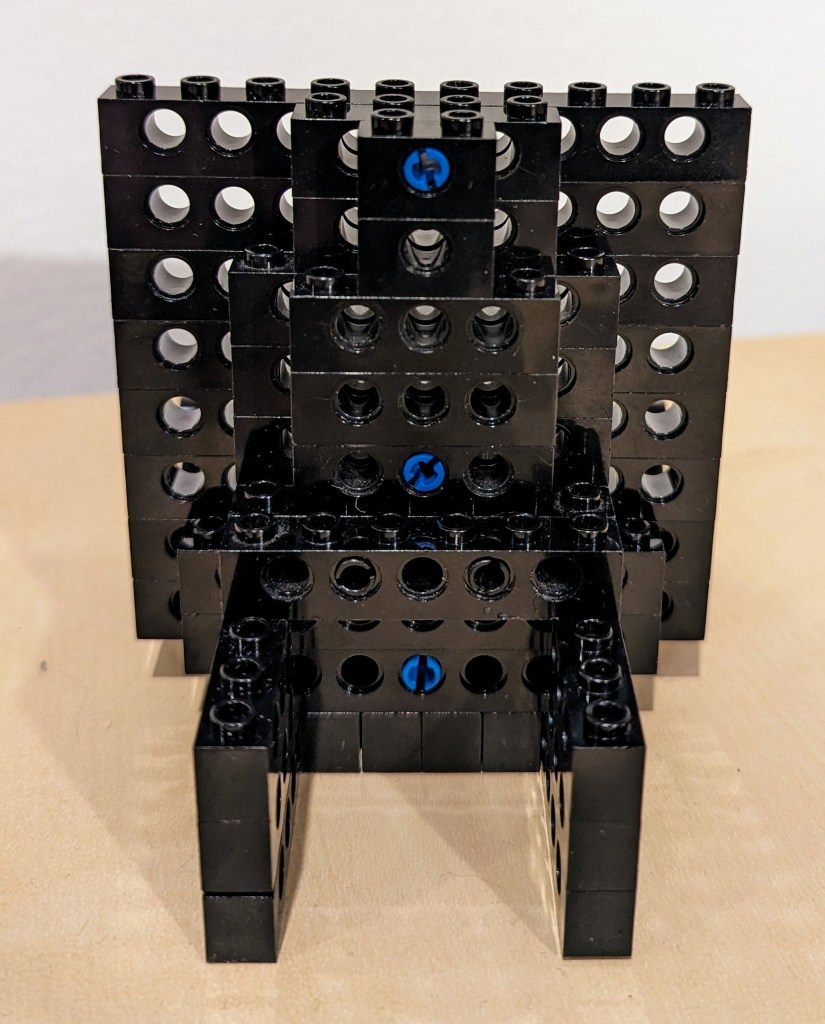
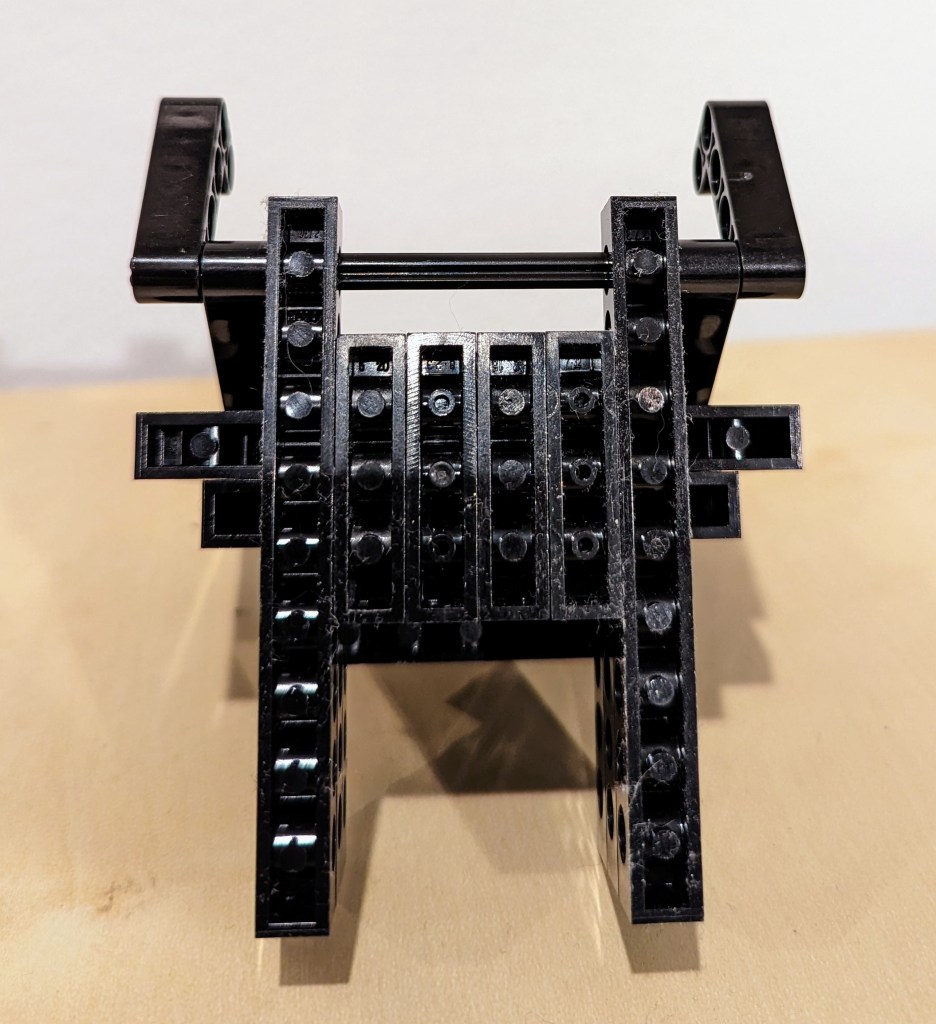
This past year, I’ve been using an 8″ Samsung Galaxy Tab Active3 tablet and its S-Pen for most of my reading and note taking. In particular, I use the Samsung Note app to annotate and highlight PDFs of research. When I’m copying quotes and citations into my writing, I have had trouble finding a good way to position the tablet on my desk so that I could read its screen while typing up quotes and my notes. Occasionally, I had been using Syncthing (I wrote about how to setup a Raspberry Pi Zero as a central hub for your documents synchronized with Syncthing here) to synchronize my annotated PDFs on the tablet with my PC, but its sometimes better to save my PC screen’s real estate for my writing and rely on the tablet screen for reading–essentially adding to my screen real estate.
Today, I decided to pull out a tub of LEGOs to solve my problem about how to easily read and interface with the tablet while typing on my desktop computer’s keyboard, because LEGO is a versatile building medium that is great for play, art, and solving problems. Since I don’t often use all black bricks in my projects, I decided to build a tablet display stand using only black LEGO Technic bricks and elements.
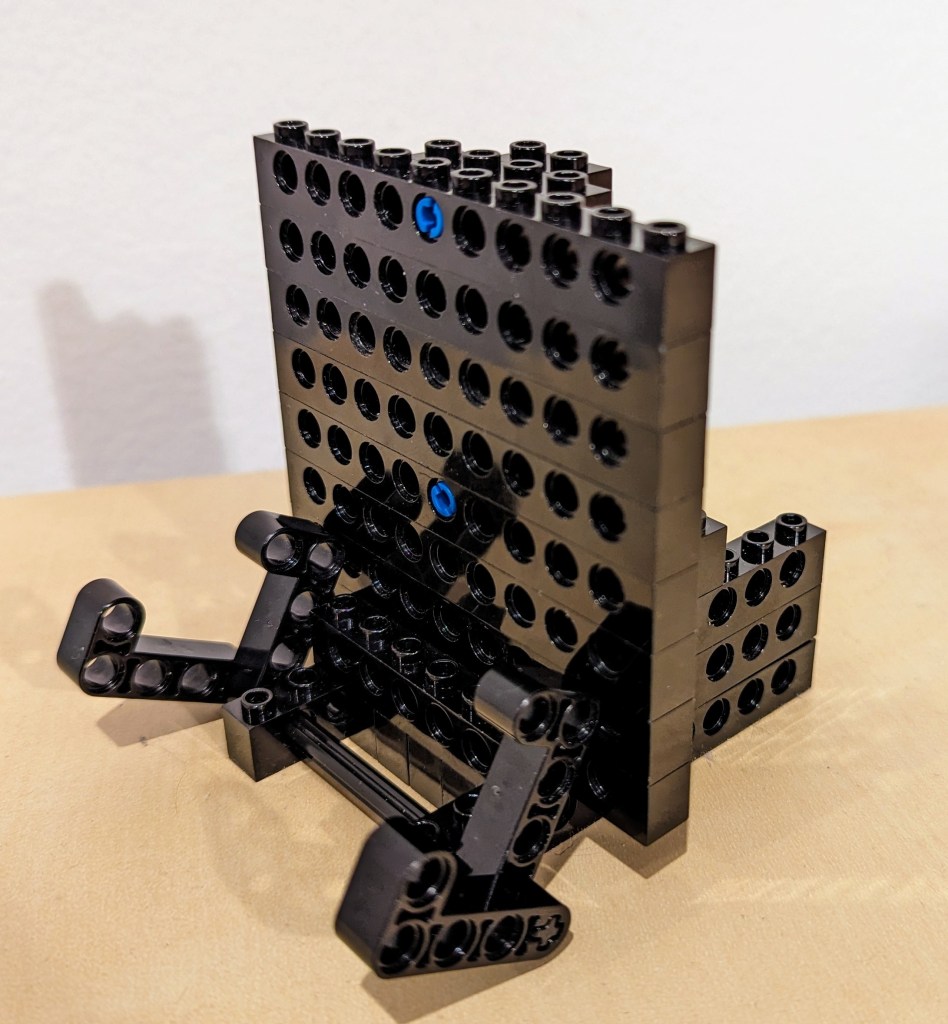
I employed the 4-brick long L-shaped technic elements to create the place where the tablet is held by the display stand. It can rotate freely, but it is held in place against the vertical wall of 10-stud Technic bricks that support the back of the tablet when it is in the stand.
The rear support of the stand, which maintains the ~14 degree from the vertical position of the tablet holding pincers on the left of the photo above and supports the back of the tablet has several layers of Technic bricks held together by frictional force as well as 3-stud and 2-stud-long connector pegs. I don’t think the stand needs as much support as I provided on the right side of the photo above, but I wanted to use up as many black Technic bricks while building a stand that took up a minimum of desk space.
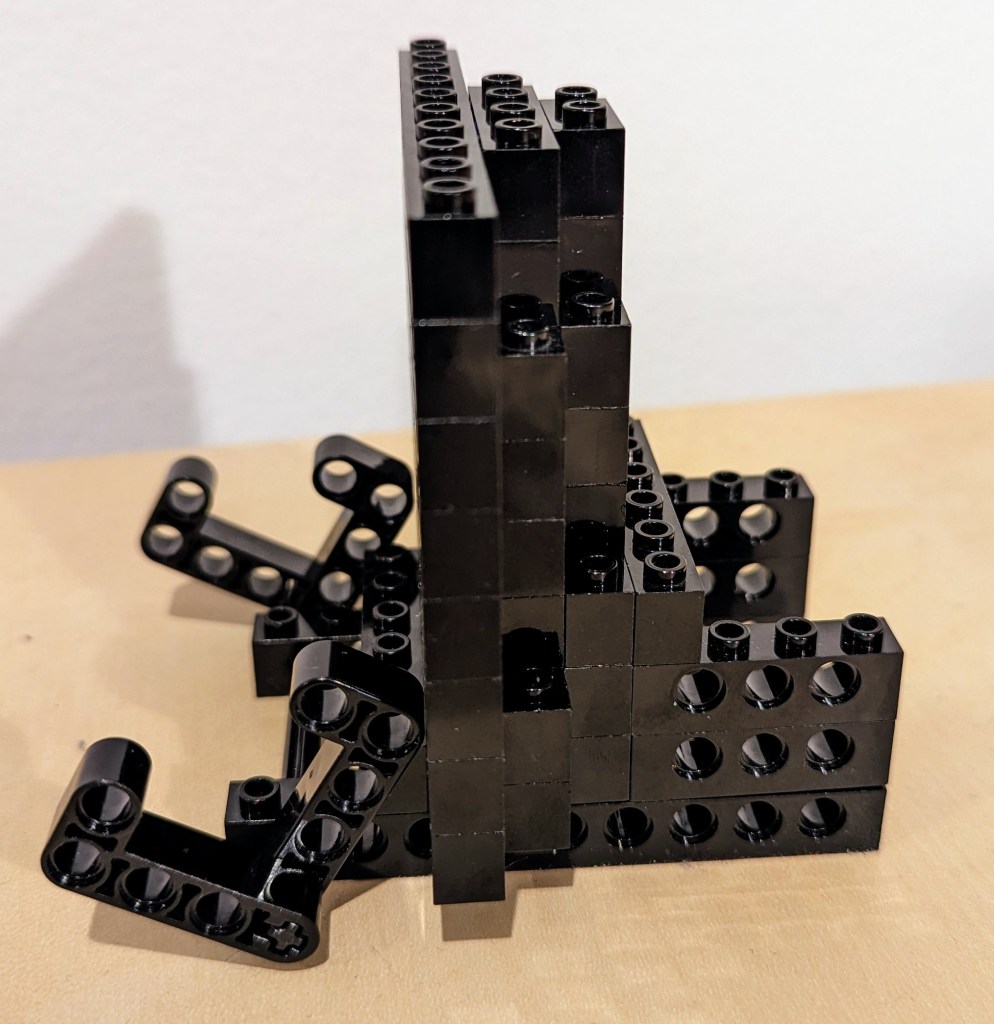
The photo above shows how the layers of bricks are arranged in the rear of the stand to support the height and weight of the tablet when it is in the stand.
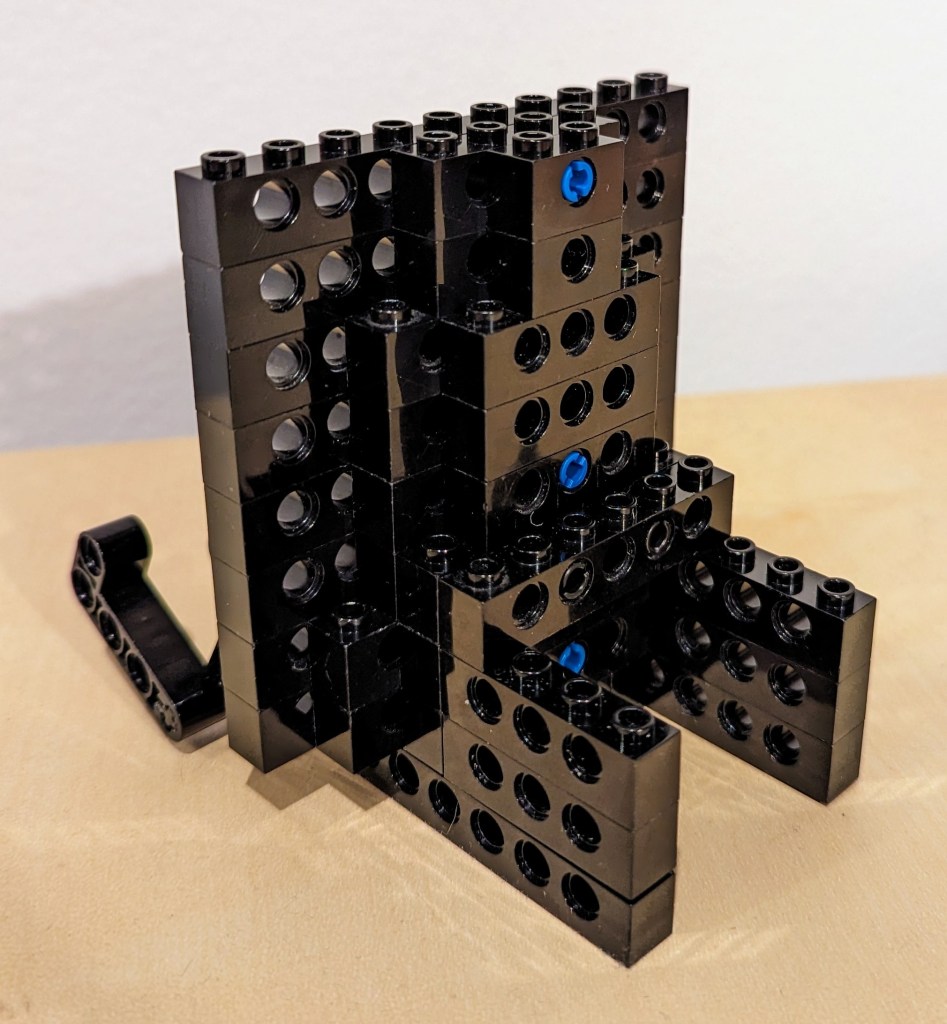
The above photo shows the rear of the display stand. Note that the 6-stud Technic brick in the middle of the photo that connects to the perpendicular 4-stud Technic bricks beneath it is connected to the rear support layers with 2 x 2-stud connector pegs.
Finally, the bottom view of the display stand is shown above. Connector pegs are used to connect all bricks on the bottom most layer of the display stand.
I hope that the photos and descriptions above give you some ideas about how to use LEGO to solve a problem with holding something–in this case, a digital tablet. Not only can LEGO help you solve problems, but it can help you save money by allowing you to solve one problem and reconfigure the bricks to solve new problems as they arise and the old problems are no longer a concern (i.e., use LEGO over and over instead of buying solutions and trashing obsolete ones).
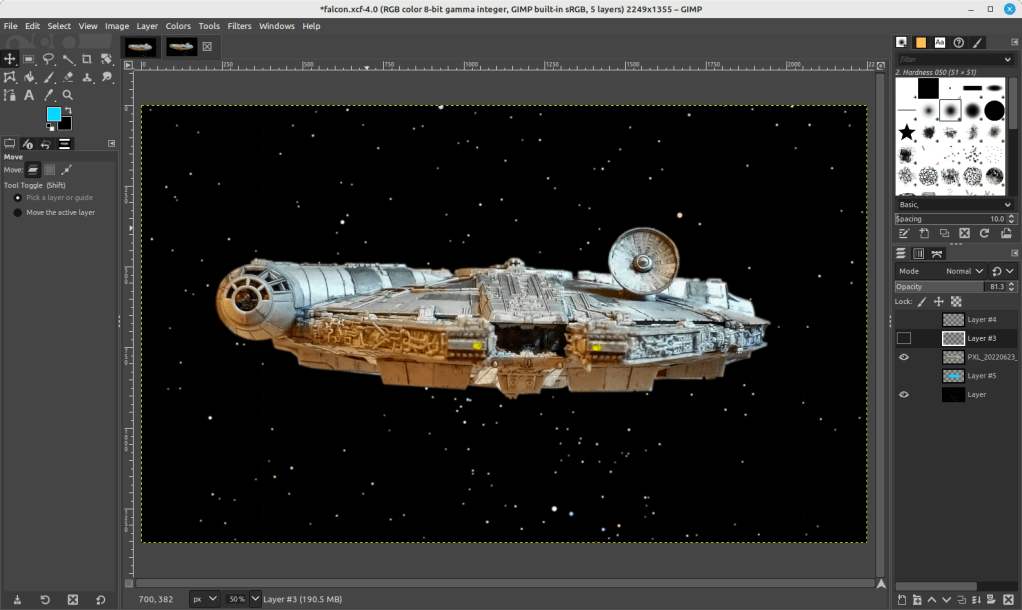
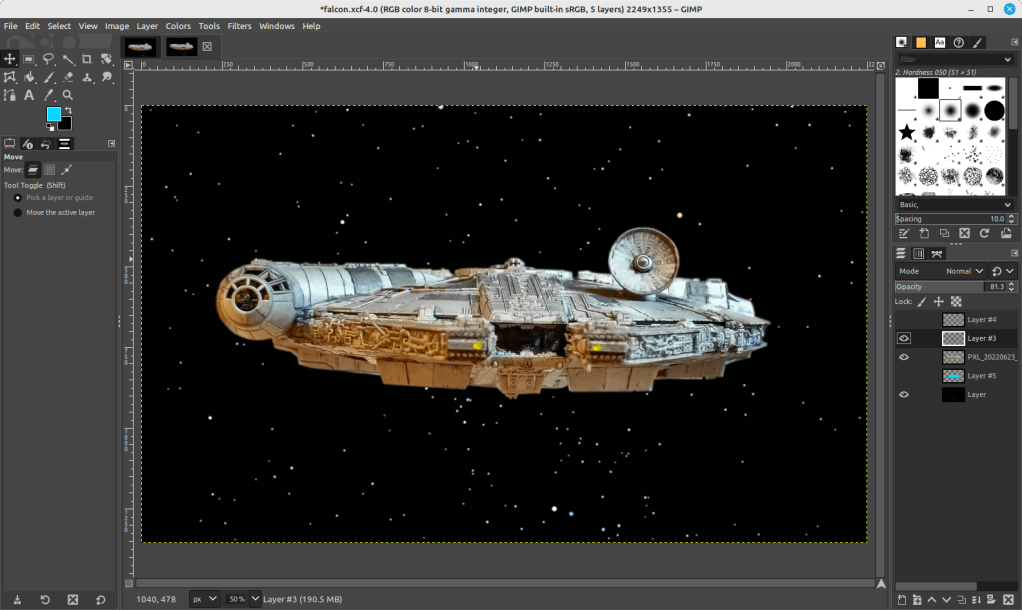
This week, I created the composite image above of the Millennium Falcon midflight among the stars. This most recent exercise in making was made possible by the Falcon model at the center of the composition that I assembled in June 2021 while healing from a broke toe.
I like to think about how one project links to another, how one kind of making supports another kind of making. Making and culture go hand-in-hand. One new thing makes possible countless new things given tools, materials, and know-how.
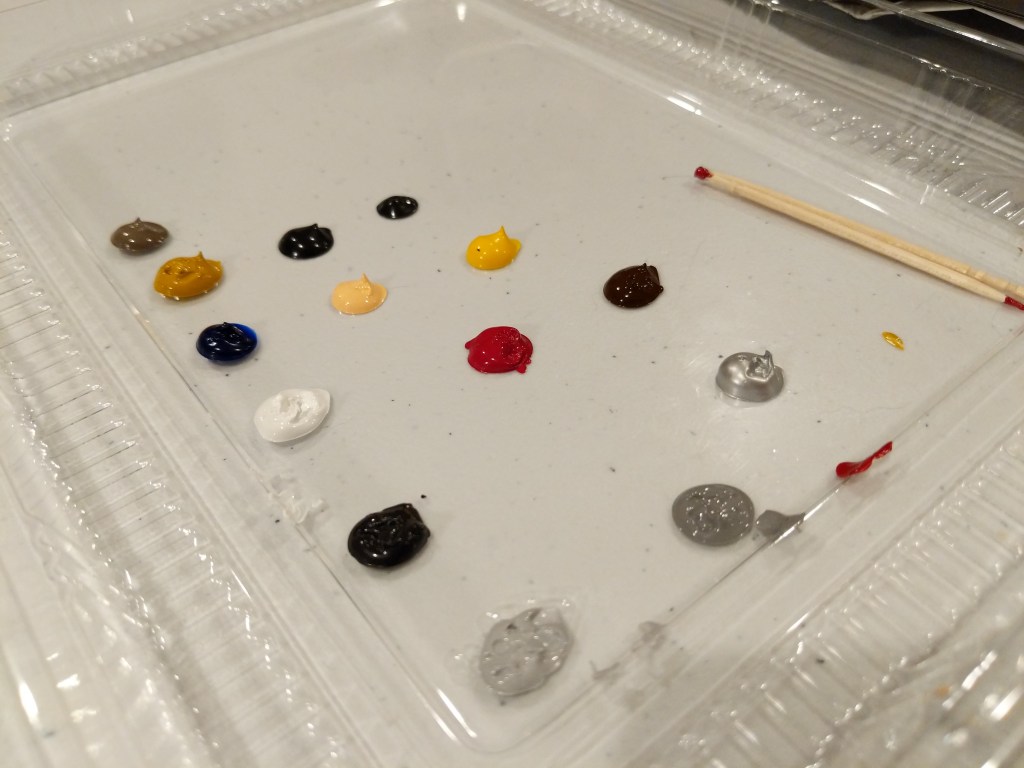
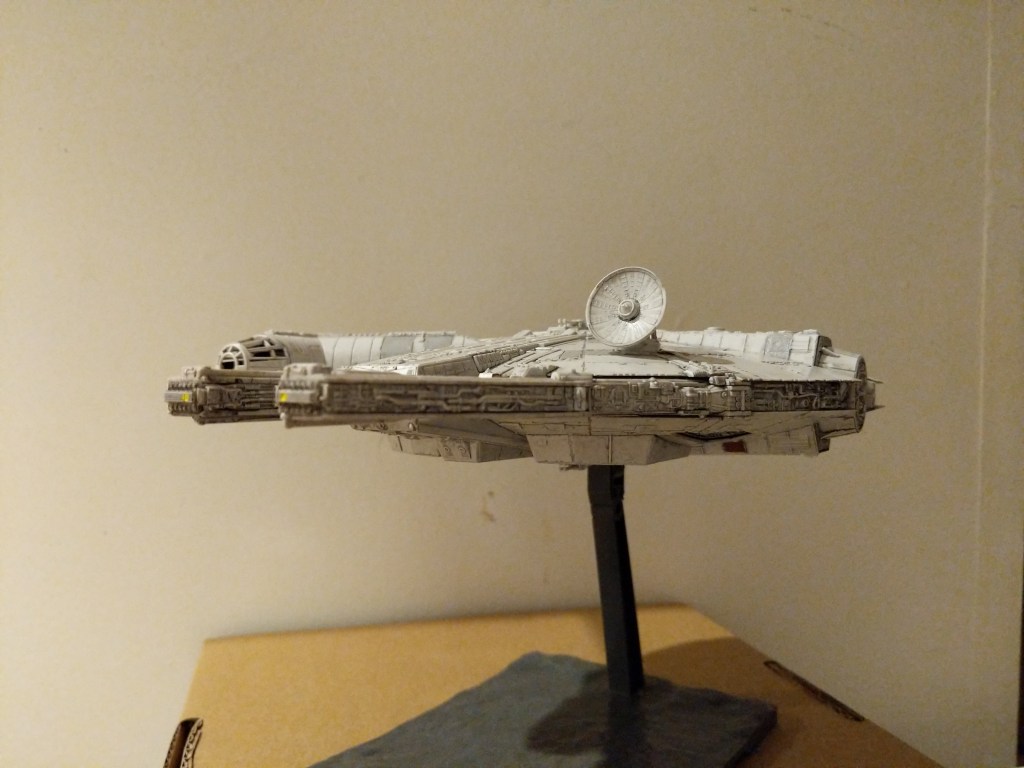
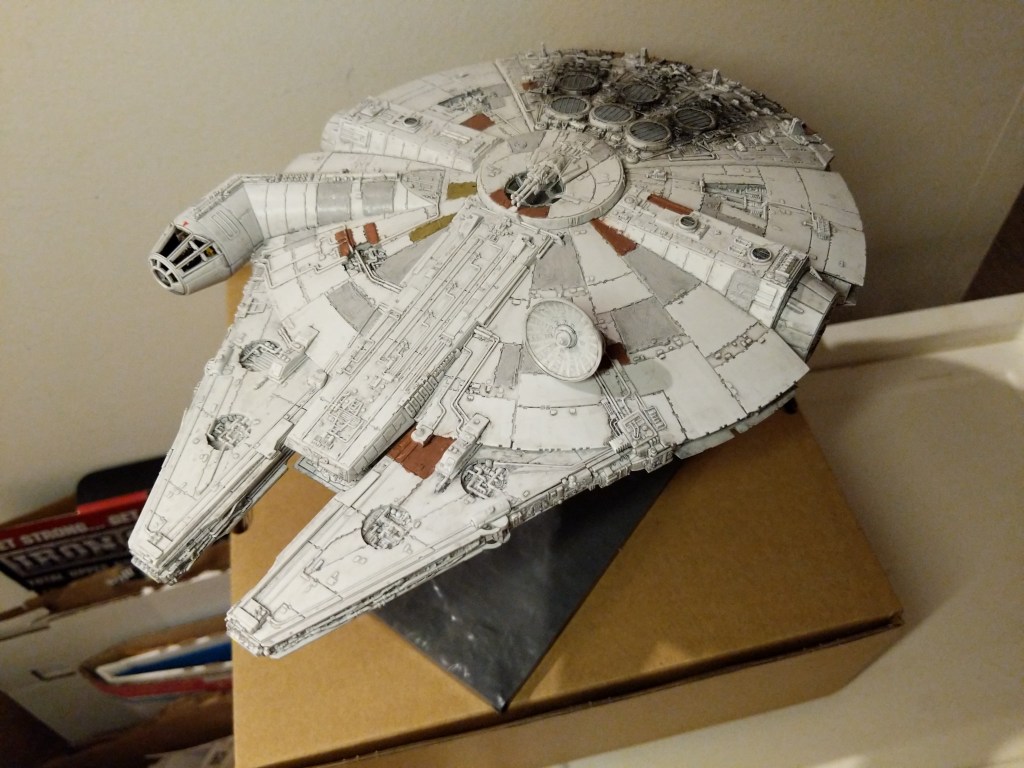
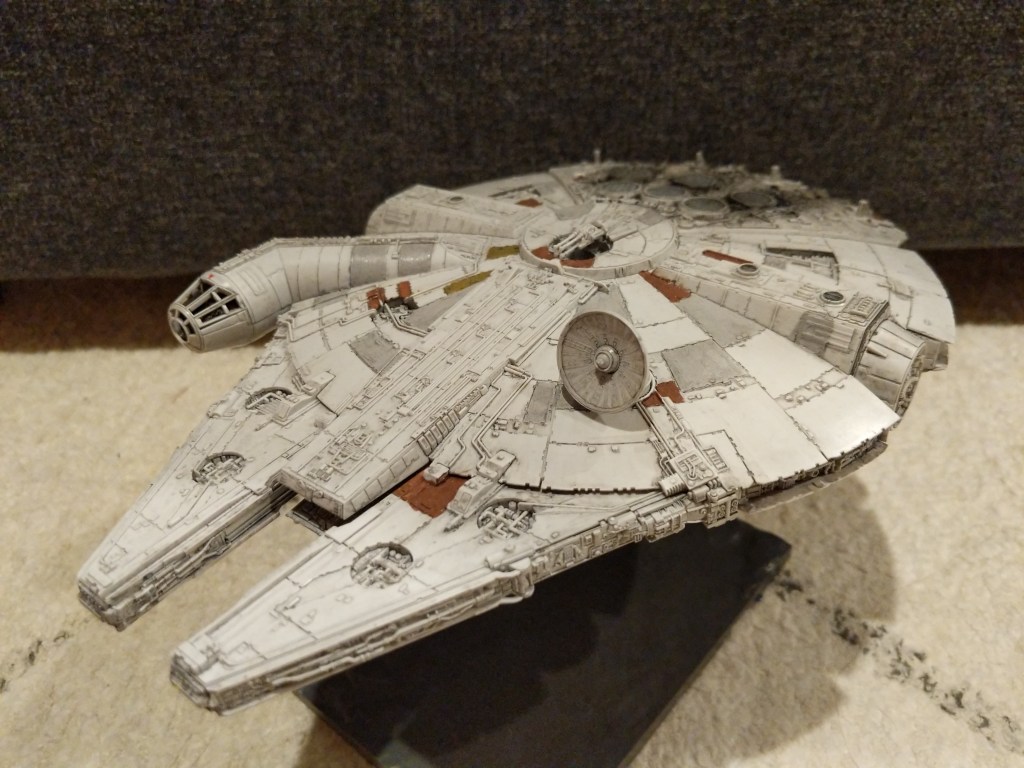
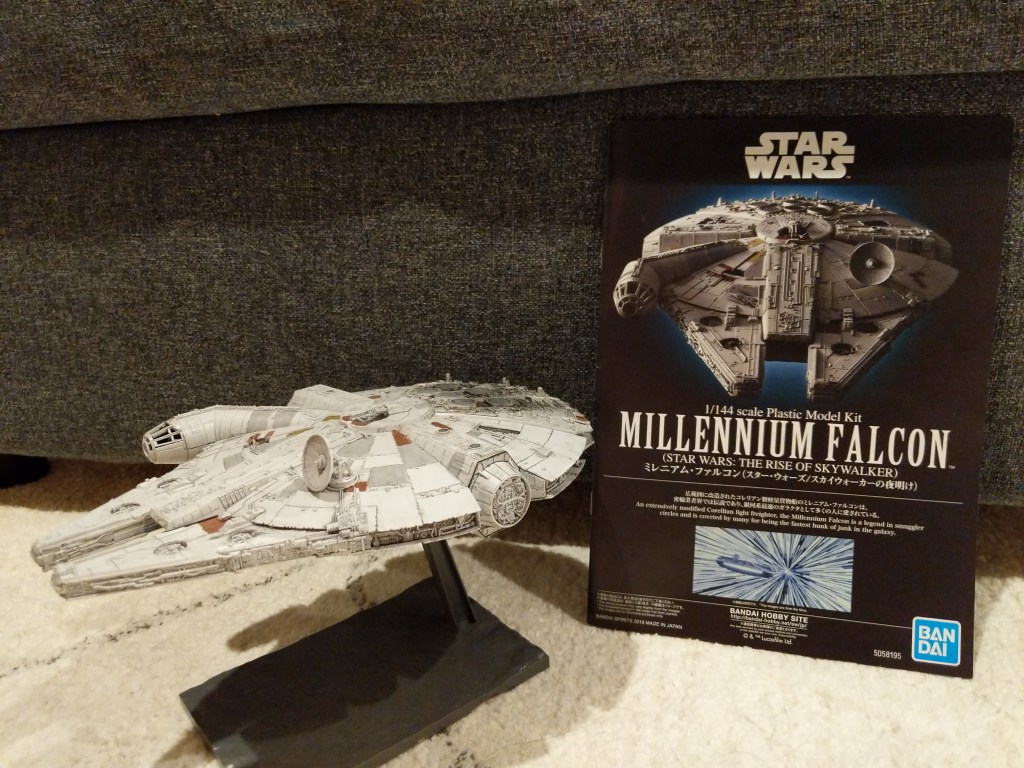
In this case, I assembled and painted a Bandai 1/144-scale Millennium Falcon plastic model set from Star Wars: The Rise of Skywalker. Proper assembly, though by no means professional, required tools (e.g., sprue cutter, paint brushes, and toothpicks), materials (e.g., plastic model glue, acrylic paints, and tape), and know-how (e.g., cutting, filing, gluing, and mixing paints and washes).
A year later, I created the science fictional composite image above. Its production required tools (e.g., Linux Mint-running desktop computer, GNU Image Manipulation Program, or aka GIMP, and the Internet), materials (e.g., the assembled model, a photo of the model in an orientation appropriate for the composite image, and a public domain photo of a star field), and know-how (e.g., an idea for what the finished product will look like, a workflow for using GIMP to achieve it, and an understanding of how to use GIMP’s affordances including layers, opacity, and filters for each stage of the workflow).
Assembling the Model
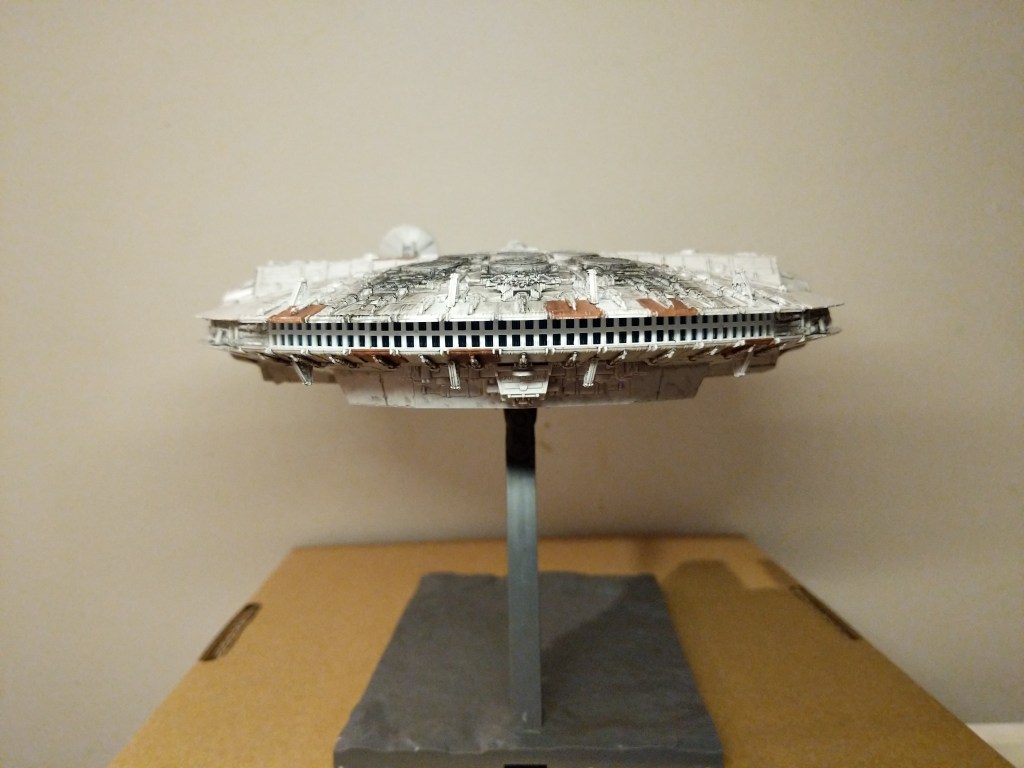
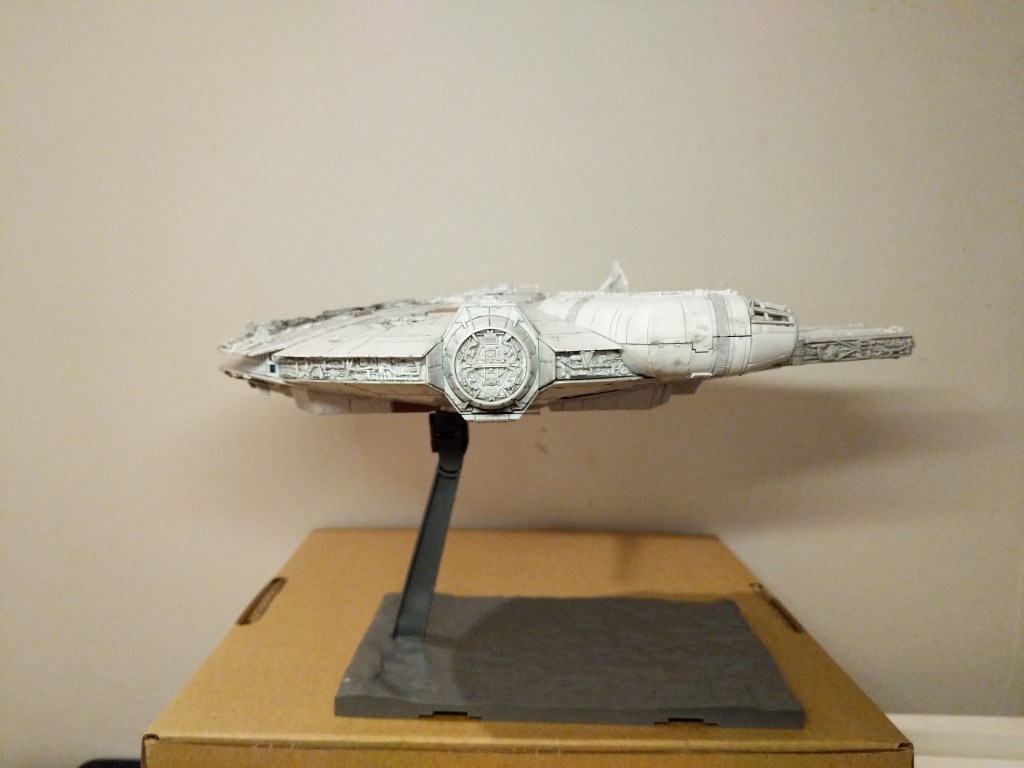
The completed Bandai 1/144 Millennium Falcon model is only about 9 1/4″ long. Hence, it and its constituent parts are very tiny. I built and painted the model over the course of a week. Given more time and equipment, I would have liked to have done a more professional job with lots of masking and airbrushed paint. Given my limitations, I decided to have fun and use what I had at hand to assemble and paint the model.
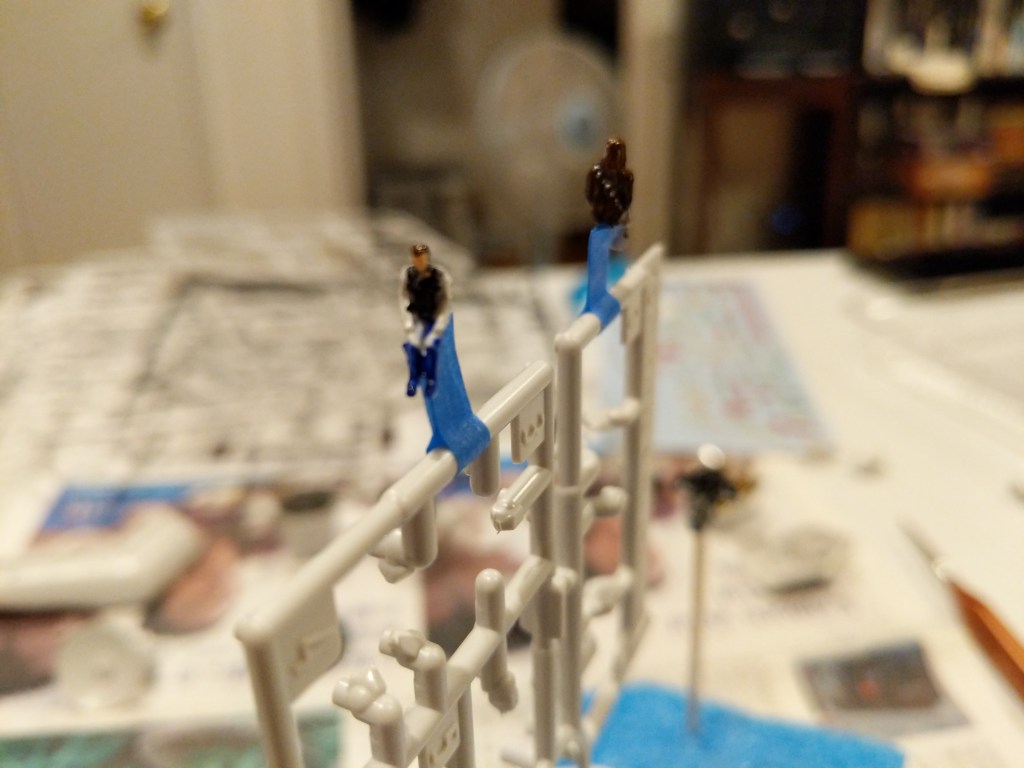
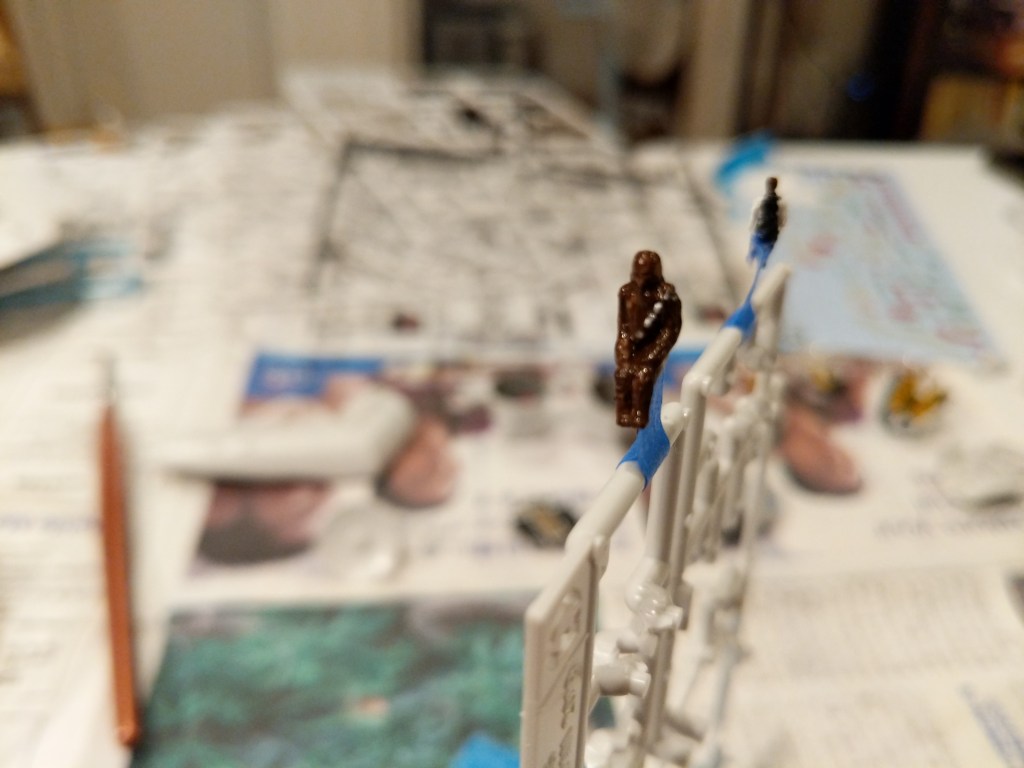
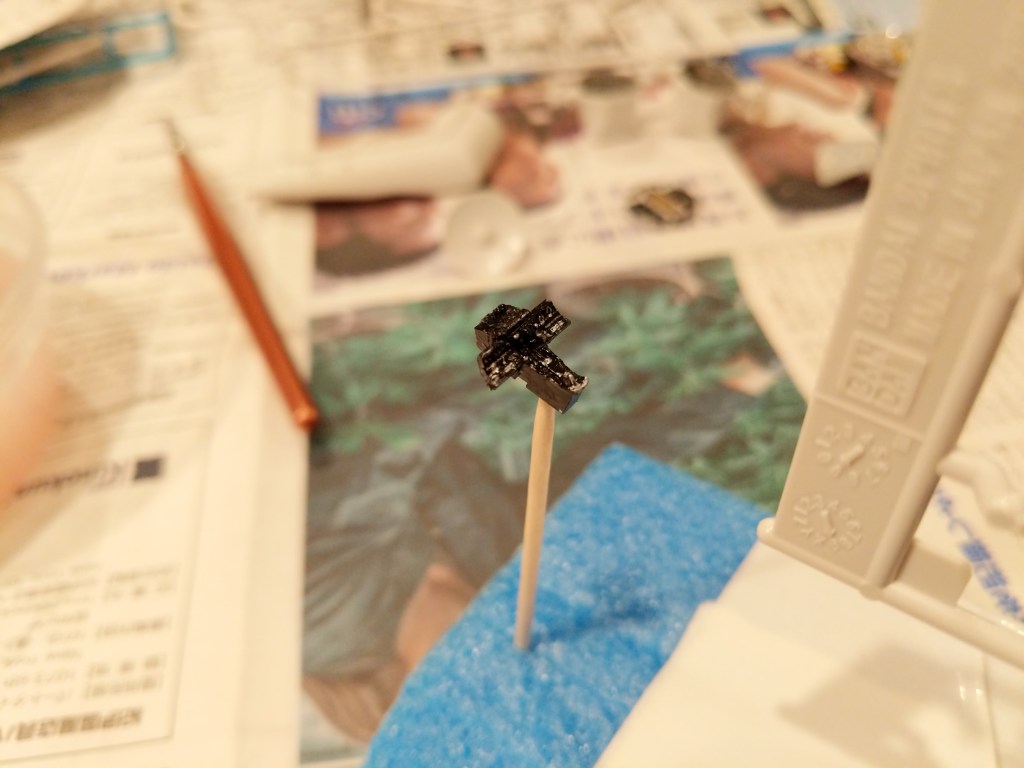
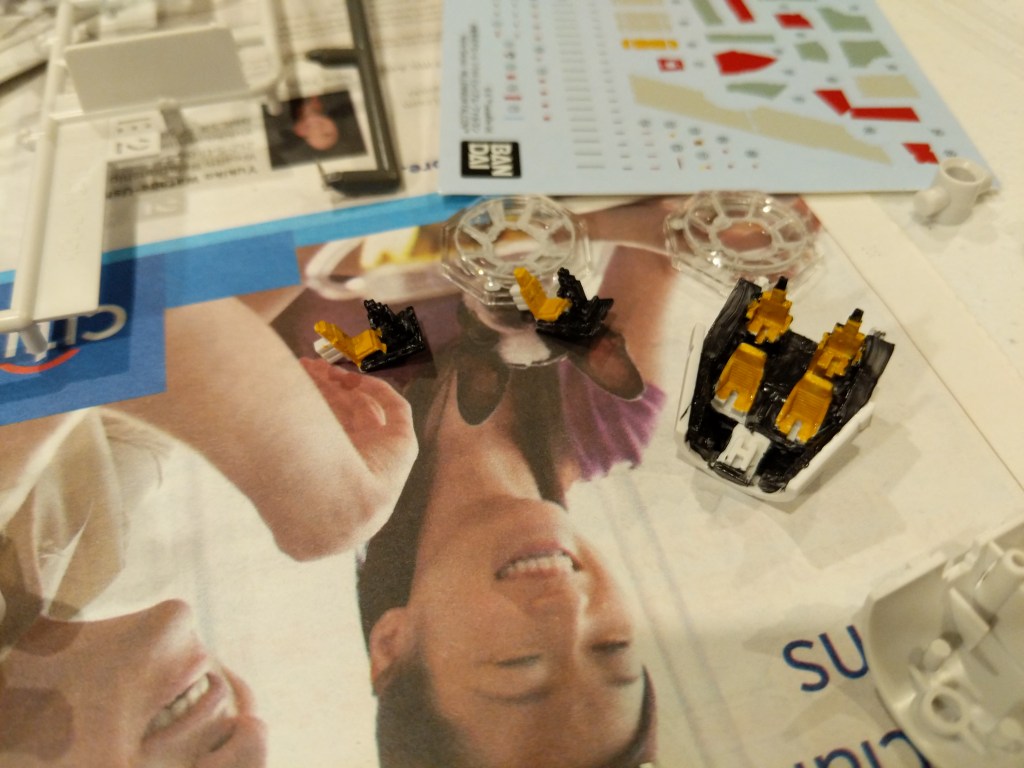
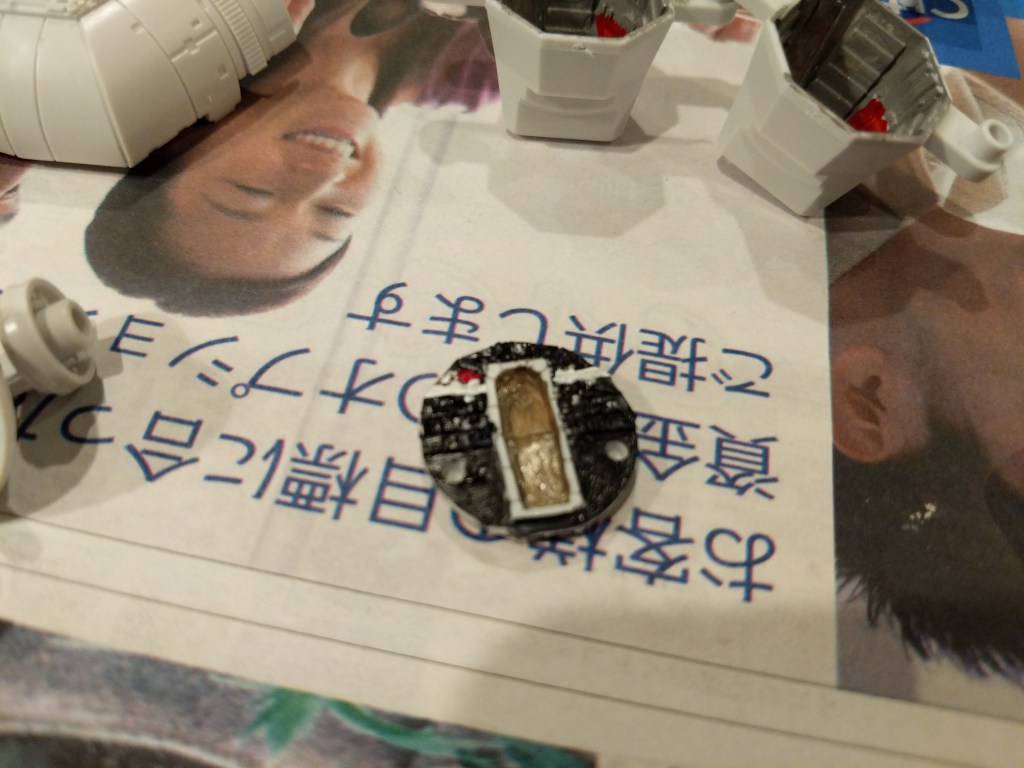
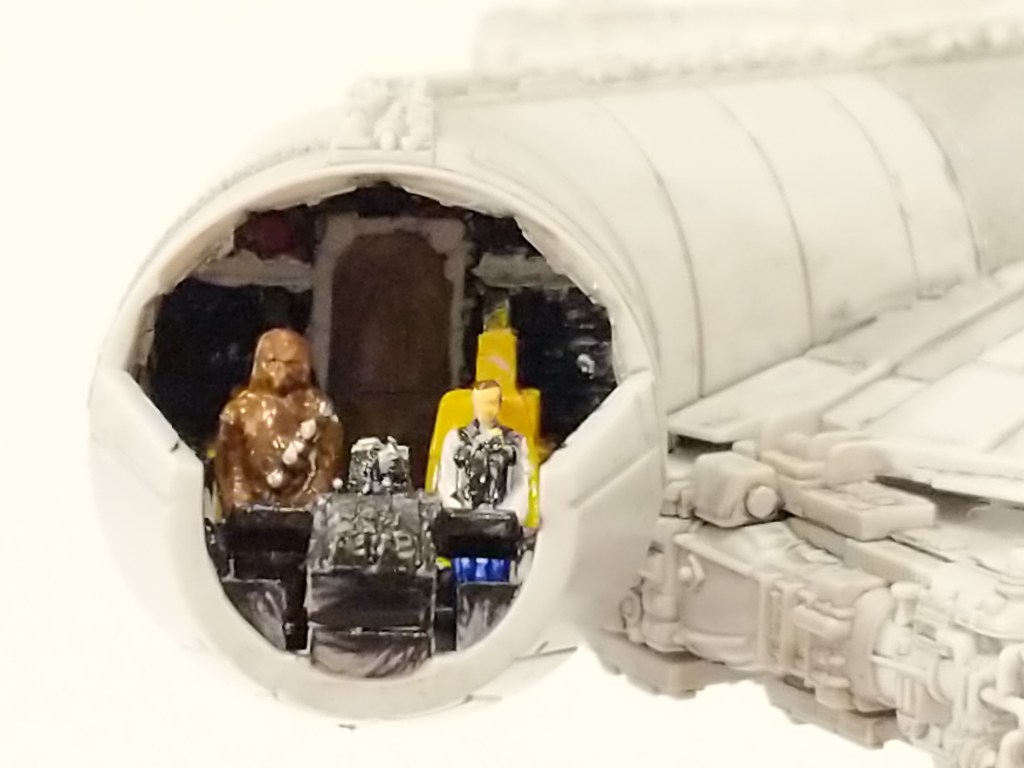
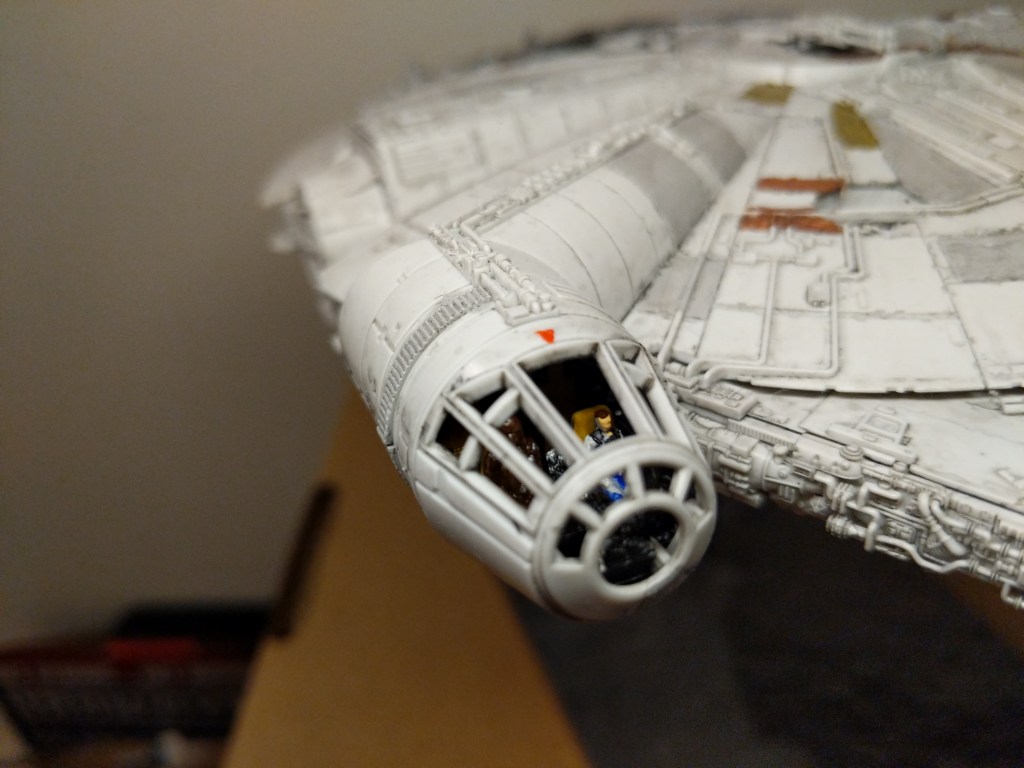
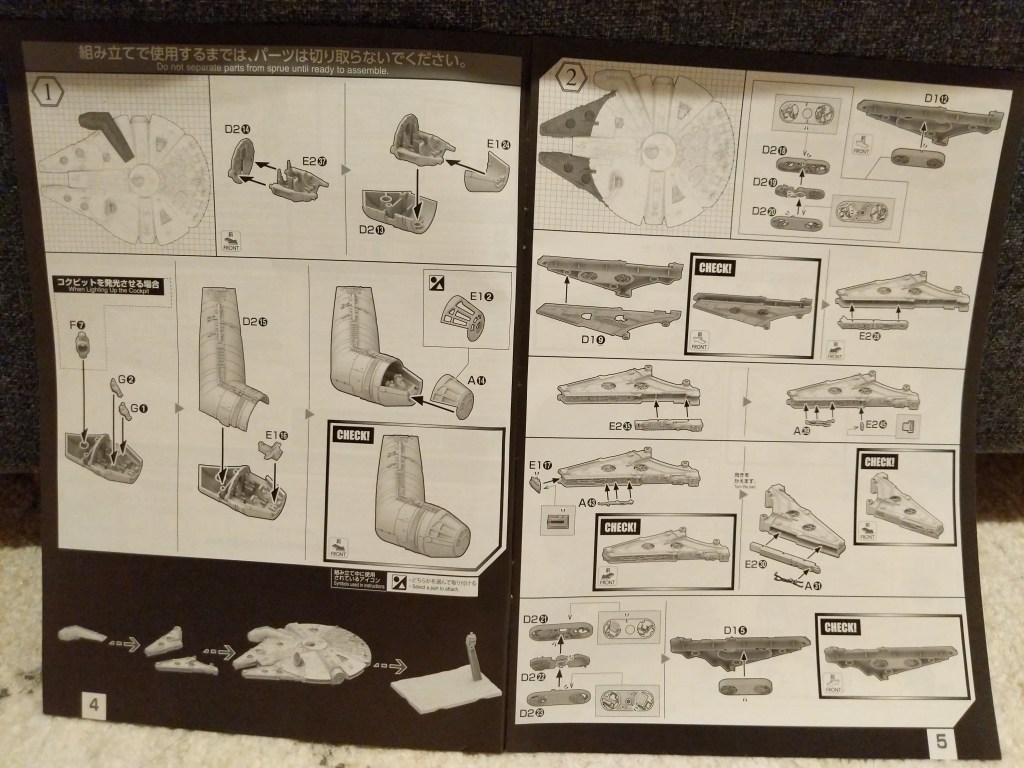
One example of the assembly process is pictured below. It involves the cockpit. Even though the model is sold as the Falcon from The Rise of Skywalker, it included Han Solo and Chewbacca figures, which I decided to use instead of the other cast miniatures. For these detailed elements of the model, I used a combination of toothpicks, very fine brushes, and dabs of paint to achieve the intended effect.
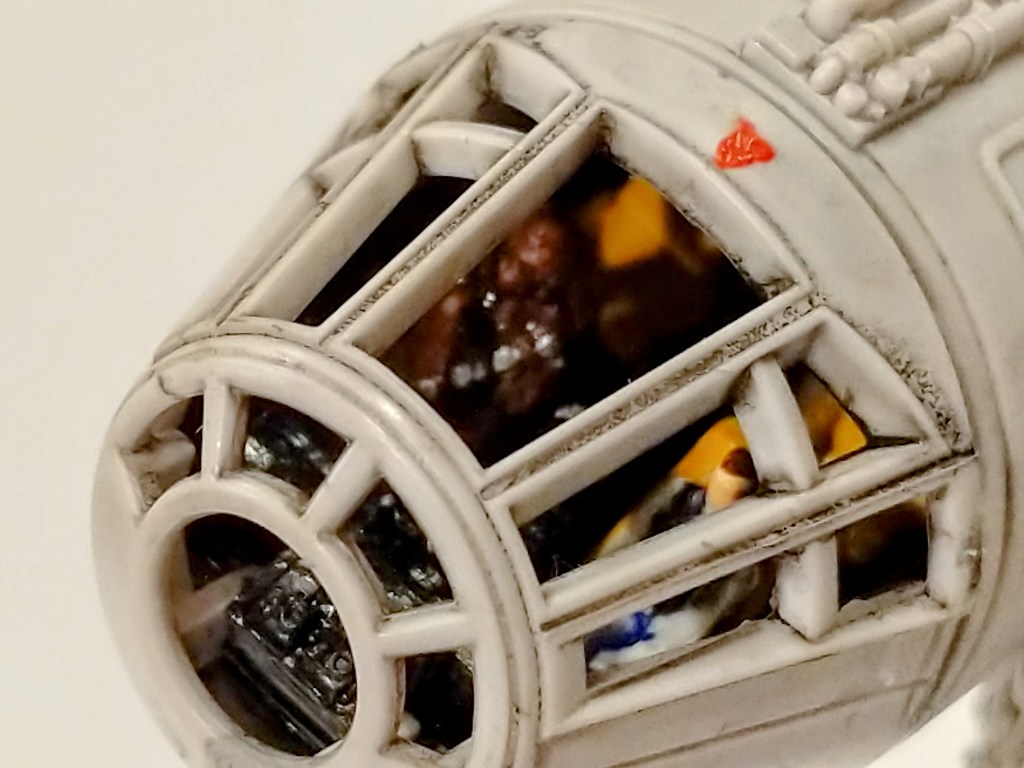
The pictures below show the assembled cockpit with shaky, imperfect paint application on the left and remnants of the dark wash that I applied to age and highlight lines on the model’s surface on the right.
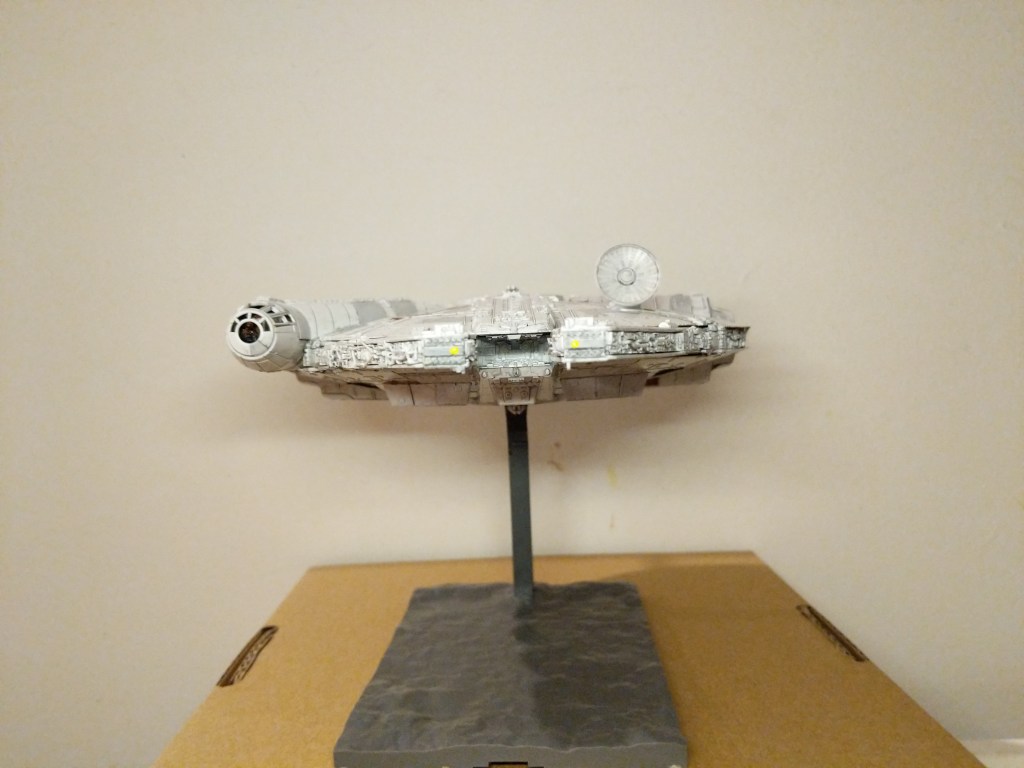
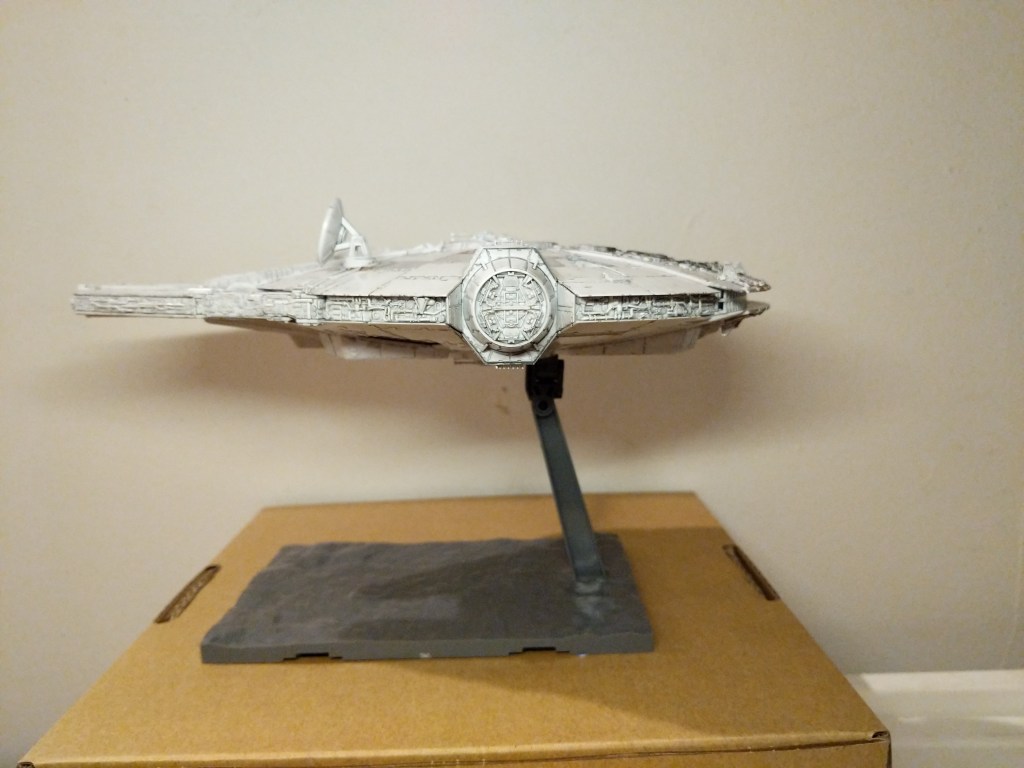
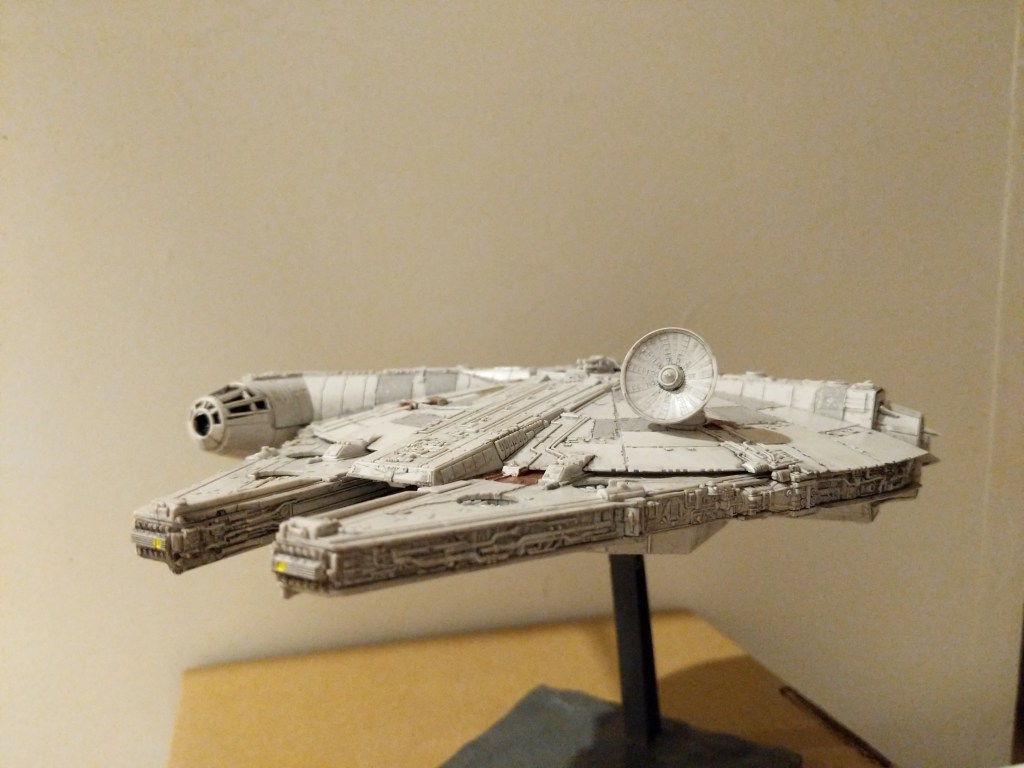
The photos below show the completed model perched on its included, adjustable stand.
Overall, Bandai’s model was expertly designed, easy to assemble, and highly respectful of its source material.
Creating the Composite Image in GIMP
The Bandai 1/144-scale Falcon sits on my desk to the left of my keyboard between LEGO models of The Mandalorian’s N-1 and the Millennium Falcon from The Force Awakens (It’s safe to say that I aspire to have as cluttered and interesting workspace as Ray Bradbury has in the opening to Ray Bradbury Theater shown here). So, I see it everyday.
Recently, I was thinking wouldn’t it be fun to use it to create an in-flight image using the model. That stray thought picked up the thread from making the model and began creating a linkage to using the model to create something new–a fantastic image of the Falcon flying in outerspace.
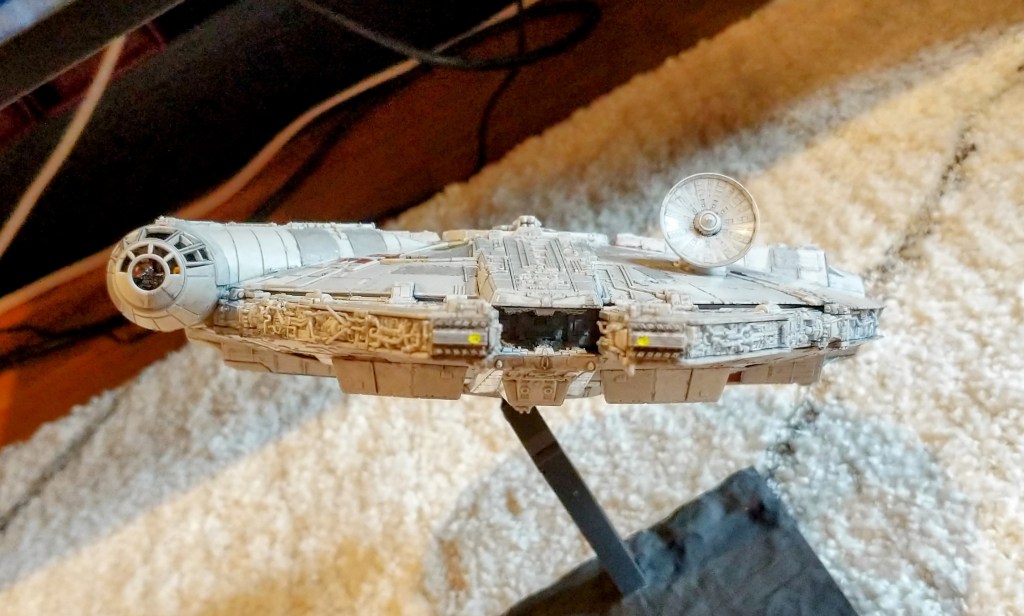
Looking through my photos, I selected the one below due to it’s orientation and composition within the photo’s rectangular frame.
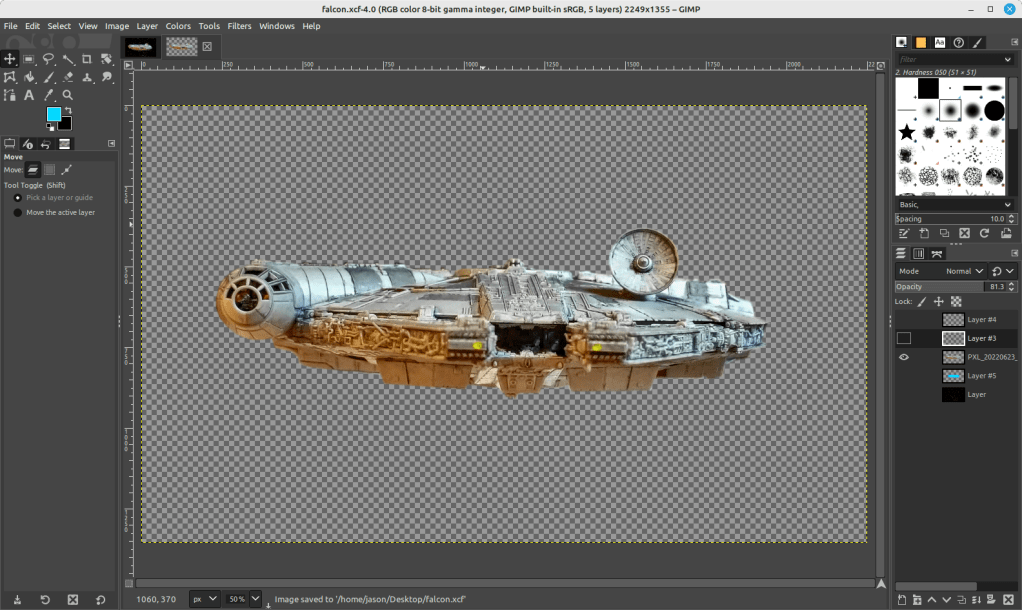
I cut out the Falcon and added it to its own layer with a translucent background in GIMP. I selected all of the window areas in the cockpit and adjusted the brightness and contrast to make the interior a little more recognizable. Then, I adjusted the shadows and exposure to make the Falcon’s exterior “pop.” Next, I used the clone tool to copy matte colors to hide some of the shinier/mirrored spots (especially in the dish and in the panels directly beneath the dish). And, I used the clone and smudge tools to fill in a gap between top and bottom parts of the cockpit (the black line as seen above).
To put the Falcon in outer space, I created a base layer and pasted a star field image from NASA (found here).
On the ventral side of the Falcon, you can see that the sides of the lower mandible are catching light that throws off the image if we’re imagining one light source (e.g., a star–of course, there could be two stars, but most of the ventral side of the Falcon is in shadow, so I wanted to stick to that). So I selected those bright areas and then used the clone tool to copy that coloration from either side–the left side looks redder and the right side more neutral–onto its own layer. I set the clone tool to 50% opacity to control the shade as shown below.
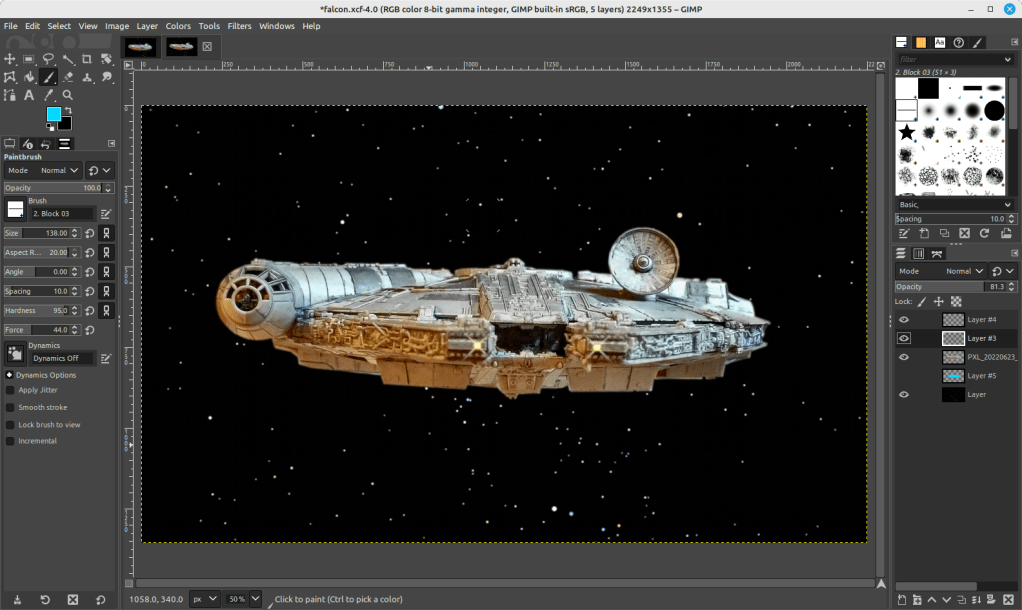
To make the scene appear more alive, I added layers for the headlights (a center circle of very bright yellow with crossed Block 03 brushes at 45 and 135 degrees for the diffraction spikes with a smidge of Gaussian blur).
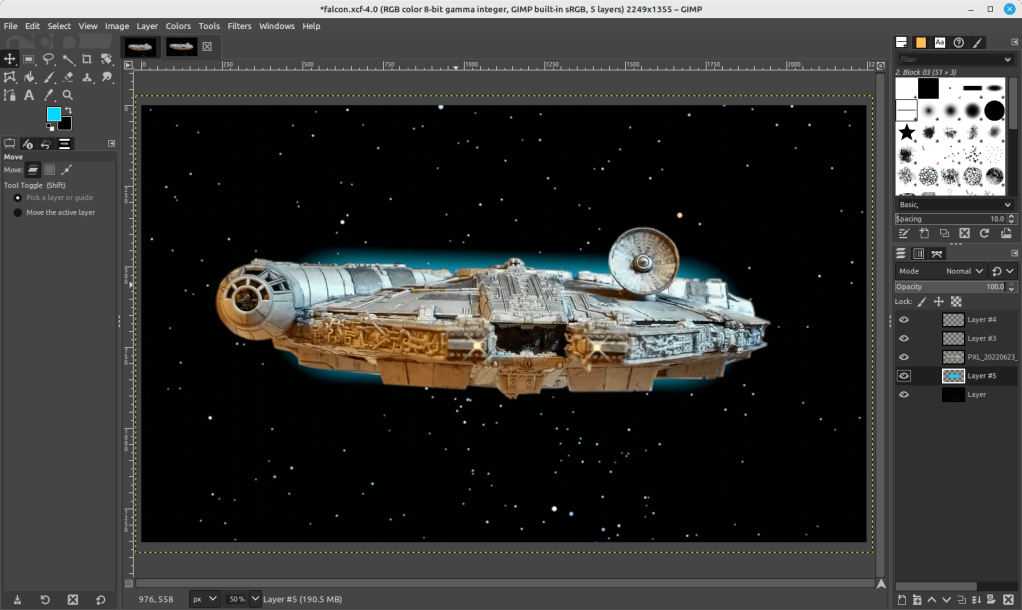
And finally, the Falcon needs its engines, which I created with a large, single brush stroke with neon blue light (##04d9ff) with 95% hardness but only 44% force (not that kind!).
Conclusion
A plastic model building project from the past makes another project of science fictional image manipulation possible. Making in the present is linked to making in the past. This is the general work of culture–linkages up and down time, across geographies and nations, circuitous and not always obvious. This blog post is a microcosm of the macrocosmic work of inhabiting and building our culture. I suggest in closing that we should all reflect and chart these linkages. We might not be able to map them all, but those that we do, pays a debt of gratitude perhaps both ways–we in the present rely on that we are given from the past and the past lives on through the work that we do today.
Download the full size composite Falcon image here.
My Skateboarding Vert Ramp and Street Skating Model
I began this new LEGO MOC (my own creation) project while reading Michael Brooke’s The Concrete Wave: The History of Skateboarding (1999) and after assembling my Mike McGill re-issued skateboard.
Some ideas from skateboarding culture inspired this project. First, there’s the tension between Thrasher’s “Skate and Destroy” and Transworld Skateboarding’s “Skate and Create.” The former appearing in the December 1982 issue and the latter appearing in response in its first issue in May/June 1983. When I first skated, I didn’t know about this difference of ethos, but I can say that I was drawn to reading Transworld Skateboarding more so than Thrasher. Transworld’s ethos of making something from the act of skateboarding fits well with my own attitude of doing good in the world through teaching and making (as opposed to wrapping the act of destruction into an aggressive skating attitude–understanding, of course, there is a certain amount of hyperbole in this motto and more back story worth investigating–see the interview by Adam Creagan with Craig Stecyk in Thrasher March 2010, pp. 80-81, and Konstatin Butz’s Grinding California, pp. 73).
Second, many skaters talk about riding as an act of self-expression, creativity, and doing. While the act of skating is ephemeral, skaters build analogies between the sport and other creative endeavors such as writing, playing, painting, expression, and language. For example: Rodney Mullen writes, “[Skateboarding] has been the arena where I could stake my claim, the play where I would contribute my verse, and even the pen with which I write” (qtd. in Brookle 11). Chris Long writes, “‘How glad I am that I skateboard’ . . . finding my own lines and creating my own ways of playing” (qtd. in Brooke 173). Darrel Delgado writes, “Skateboarding in a pool is like being a painter, and every new pool is a blank canvas and you are the artist. Every artist has a different approach and every pool is different, which keeps the intrigue alive. You can go wherever your mind and the transitions will let you go” (qtd. in Brooke 135). Mike Valleley writes about finding skateboarding, “I got an identity and something productive. It was creative, physical activity and I used my entire being to do it” (qtd. in Brooke 137). Tony Alva writes, “Just do something that’s in tune with an individual type of expression. I think that’s what’s so important about skateboarding” (qtd. in Brooke 175). Dave Hackett writes, “Pure and simple, [skateboarding is] a healthy, radical art form. . . . Skateboarding utilizes the every-expanding environment of steel, concrete, plaster, or wood as its canvas. . . . The skater becomes one with his board, while the board in turn translates the language of the terrain” (qtd. in Brooke 176). On these points, I think skateboarding and LEGO building overlap–in both cases, skateboarding and making, the fulfilling goal is creative and imaginative expression through a given medium–the former being the assemblage of body, skateboard, and terrain, and the latter being the assemblage of builder and brick.
I wanted to combine different aspects of skateboarding into a single model. I grew up with street skating, because there weren’t any local skate parks (though, I have discovered in my research that there was a skate park in Brunswick in the late-1970s called Nova Skate Park–more on that in a future post). But, I always wanted to skate vert and pipes, so I thought about combining what I knew with what I wanted to learn.
I got the idea for the ramp’s vert and transition design from LEGO 60200 Capital City set, which has one component that is a combined skateboard ramp/wall climb/basketball court. It uses dark grey inverted arches for the transition, which I agreed was the best choice of brick–albeit in tan color to emulate the color of wood–for the ramp that I had in mind.
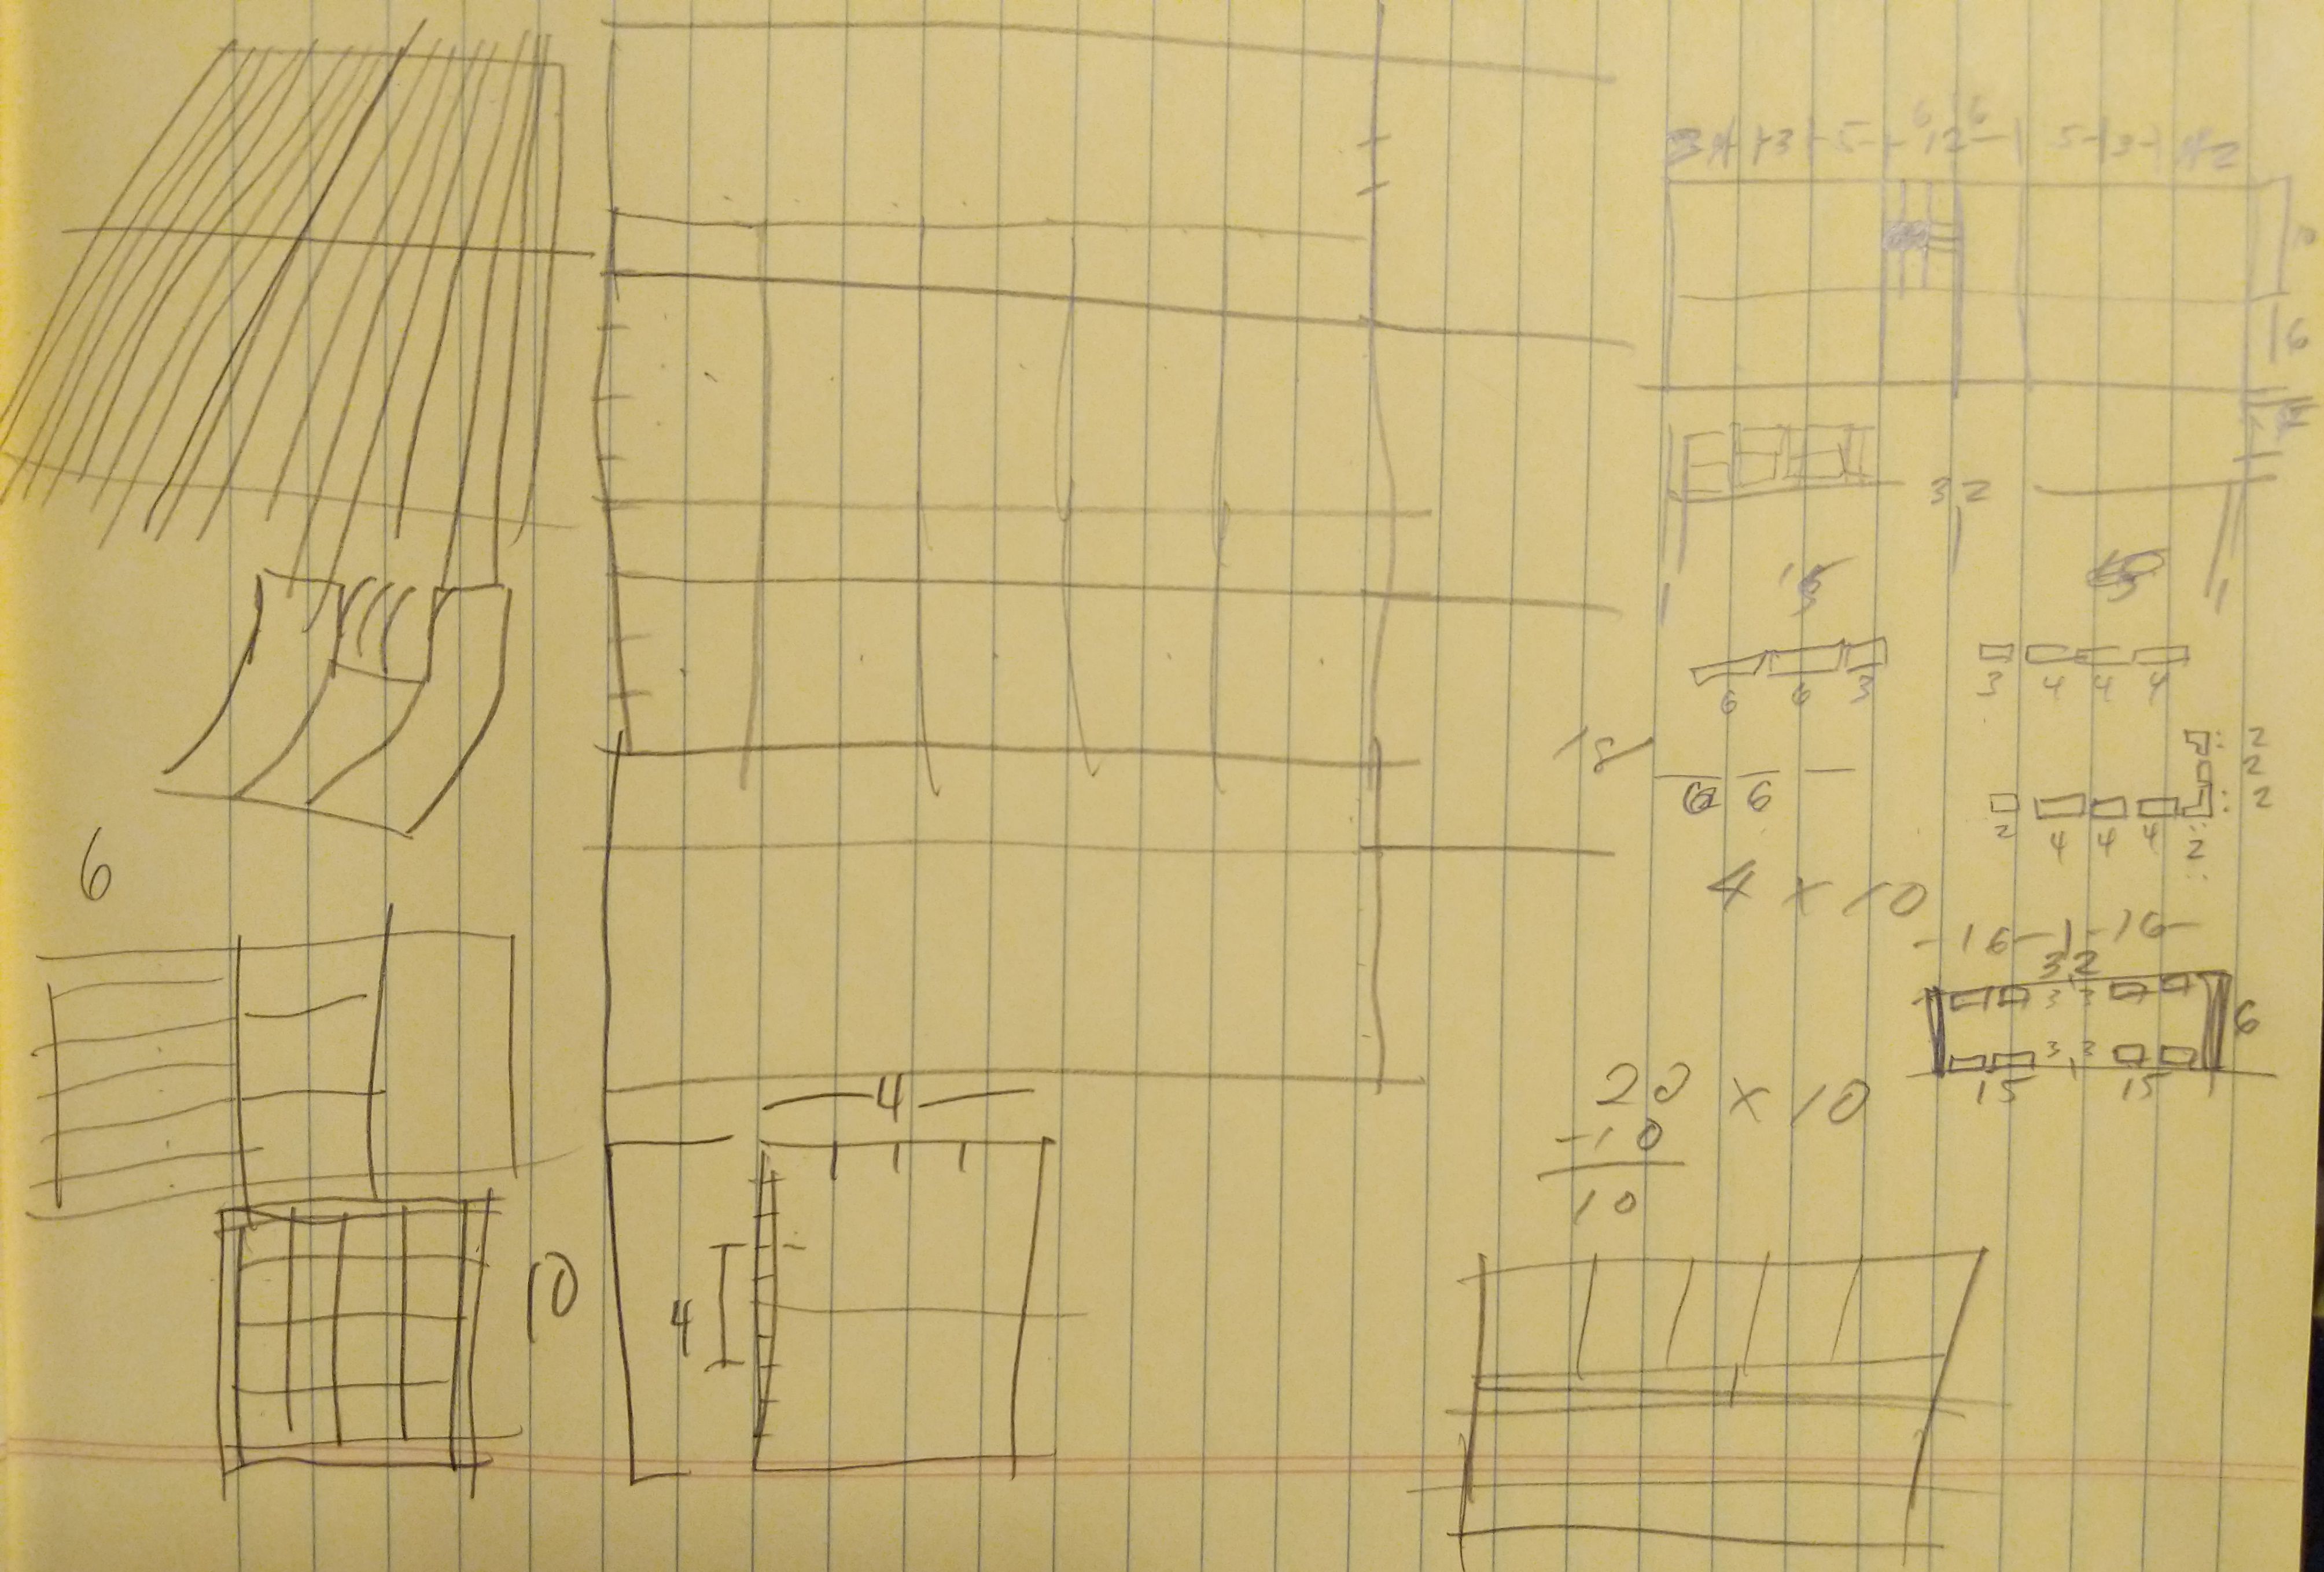
Brainstorming and calculating dimensions in studs.
The next consideration was how large a model to make. I knew that I would have to purchase the inverted arch bricks for the ramp, so I looked for a seller with a good price and selection of elements that would help me realize the idea crystalizing in my mind. Alphabrix, a seller with great feedback had 20 tan, inverted arch bricks, which would let me build a 10-stud wide ramp. I figured that its length should be at least double its width, if not more. Ultimately, I settled on a 10-stud wide ramp with a 28 stud length including both tables. This allowed two studs on either side of the ramp for stairs if I went with an overall length of 32 studs for the model. Since I opted for a 32 stud length, I figured that a 16 stud width for the overall model would be enough to add a street skating scene in the model’s foreground.
After receiving the Bricklink parts and sorting out some necessary elements from my collection, I built the vert ramp first. Even though this would occupy the rear part of the model, it would dominate the model and be its focus. I wanted to get it right. I thought about how I would build a real one. I wanted a steel foundation that would be elevated off the ground. The ramp and tables would be made out of wood. As a new ramp, I wanted to give it a little bit of style with alternating color–light and dark tan tiles emulating different sheets of plywood. On the right side, I wanted a sloping launch that divided two drops on the front and back–this was a ramp design that I saw many years ago that gave the skaters a divided coping for new trick opportunities.
With the vert ramp complete, I turned my attention to the base and its foregrounded street skating area comprising 6 studs by 32 studs. The bottom of the base are dark grey plates supporting a circumference of Technic bricks and filled in with 2 x 4 bricks. I covered the surface mostly with tan 4 x 6 plates. I built up a curb with 1 x 4 and 1 x 6 bright yellow plates covered with the same colored tiles. Within that area, I filled in with a single layer of light grey tiles–some with single studs and the rest without to allow placement of obstacles like barrels and trash cans, which can be skated around or ollied over. Finally, I put concrete cones down to support the ramp behind the street skate area.
Finally, I combined the vert ramp with the base and its street skate area. I used yellow, dark blue, and orange tiles to skirt the Technic bricks around the base. The vert ramp’s coping permits posing of skaters doing hand plants. In the foreground, I added a stereo (probably playing an eclectic mix of They Might Be Giants, The Beastie Boys, and Technotronic) and snacks including pizza and cookies (shredding fuel).
Usually, it takes me several days to weeks to complete a build like this, which I have chronicled on other blog posts. However, I built this model in a single evening. I think my mind had been working on the project while I waited for the needed bricks to arrive in the mail. Even though I wasn’t haptically manipulating the bricks in my hands, I was daydreaming and imagining how to put the model together at odd times between placing the brick order and receiving them in the mail.
While imagining myself shredding on my completed LEGO skateboarding model and thinking about picking up my McGill deck to hit the streets with, I’m reminded of the Kevin J. Thatcher’s first editorial in the January 1981 issue of Thrasher: “The average individual was never properly exposed to the unlimited possibilities of a platform with four wheels under it–a simple basic mechanical device which serves as an energy-efficient mode of transportation, a basis for a valid sporting activity, and as a vehicle for aggressive expression. . . . Thrashing is finding something and taking it to the ultimate limit–not dwelling on it, but using it to the fullest and moving on. Skateboarding has not yet reached its maximum potential, and who can say what the limits are? To find out–Grab that board!” (6). Grab that board, grab that LEGO brick, grab that camera, grab whatever it is that you can express yourself with, because that is the thing with which you can leave your mark on the world.
Works Cited
Brooke, Michael. The Concrete Wave: The History of Skateboarding. Warrick Publishing, 1999.
Butz, Konstatin. Grinding California: Culture and Corporeality in American Skate Punk. Transcript Verlag, 2012.
Creagan, Adam. “Skate and Destroy: The Stecyk Scrawl Lives On.” Thrasher, March 2010, pp. 80-81.
Lowboy. “Skate and Destroy, or Multiple Choices (Something to Offend Everyone).” Thrasher, December 1982, pp. 24-29.
Thatcher, Kevin J. “Talking Ed.” Thrasher, January 1981, pp. 6.
Tracker Peggy (Peggy Cozens). “Skate and Create.” Transworld Skateboarding, May/June 1983, pp. 13-15.
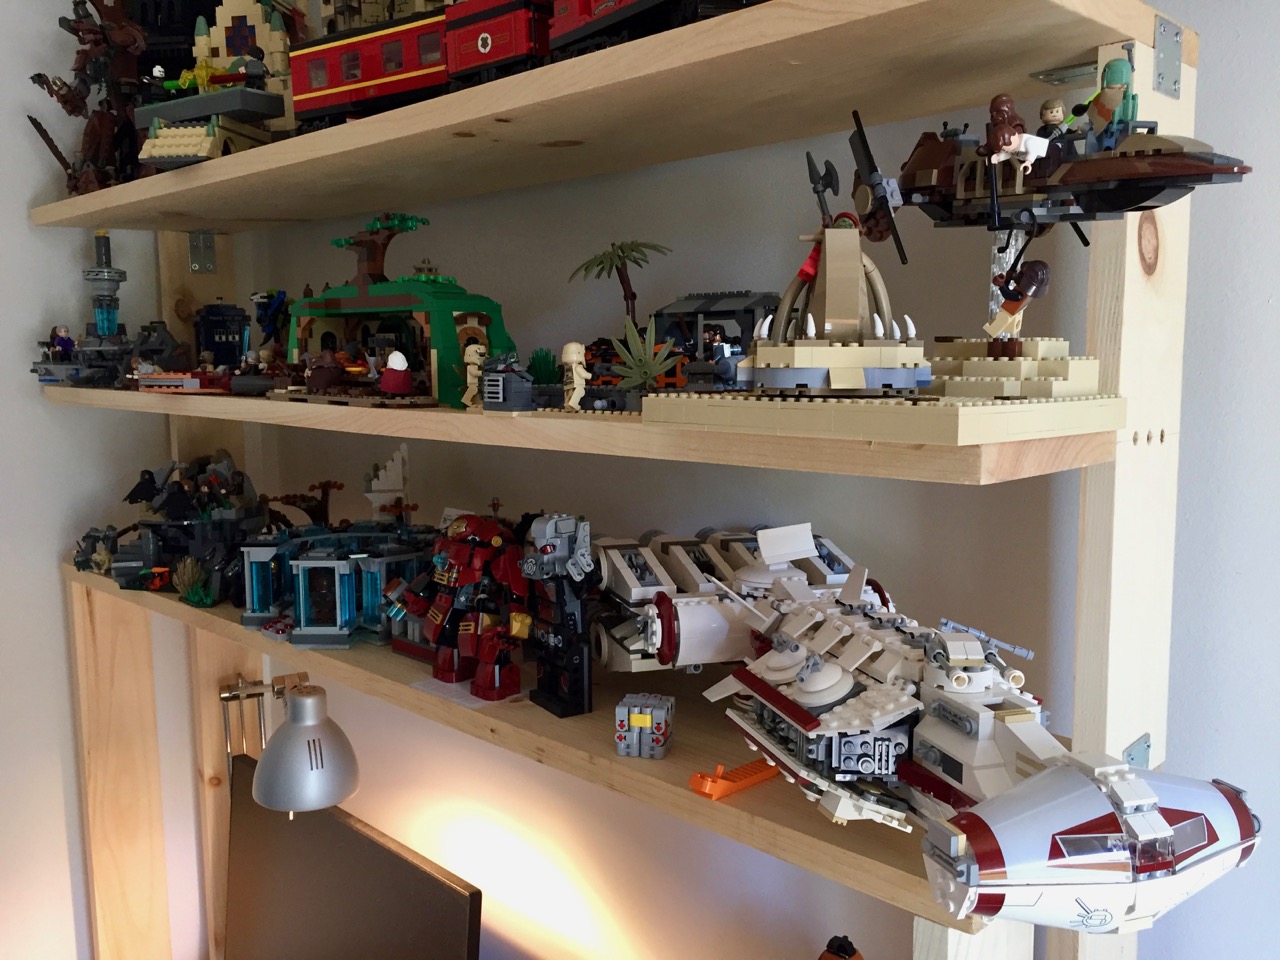
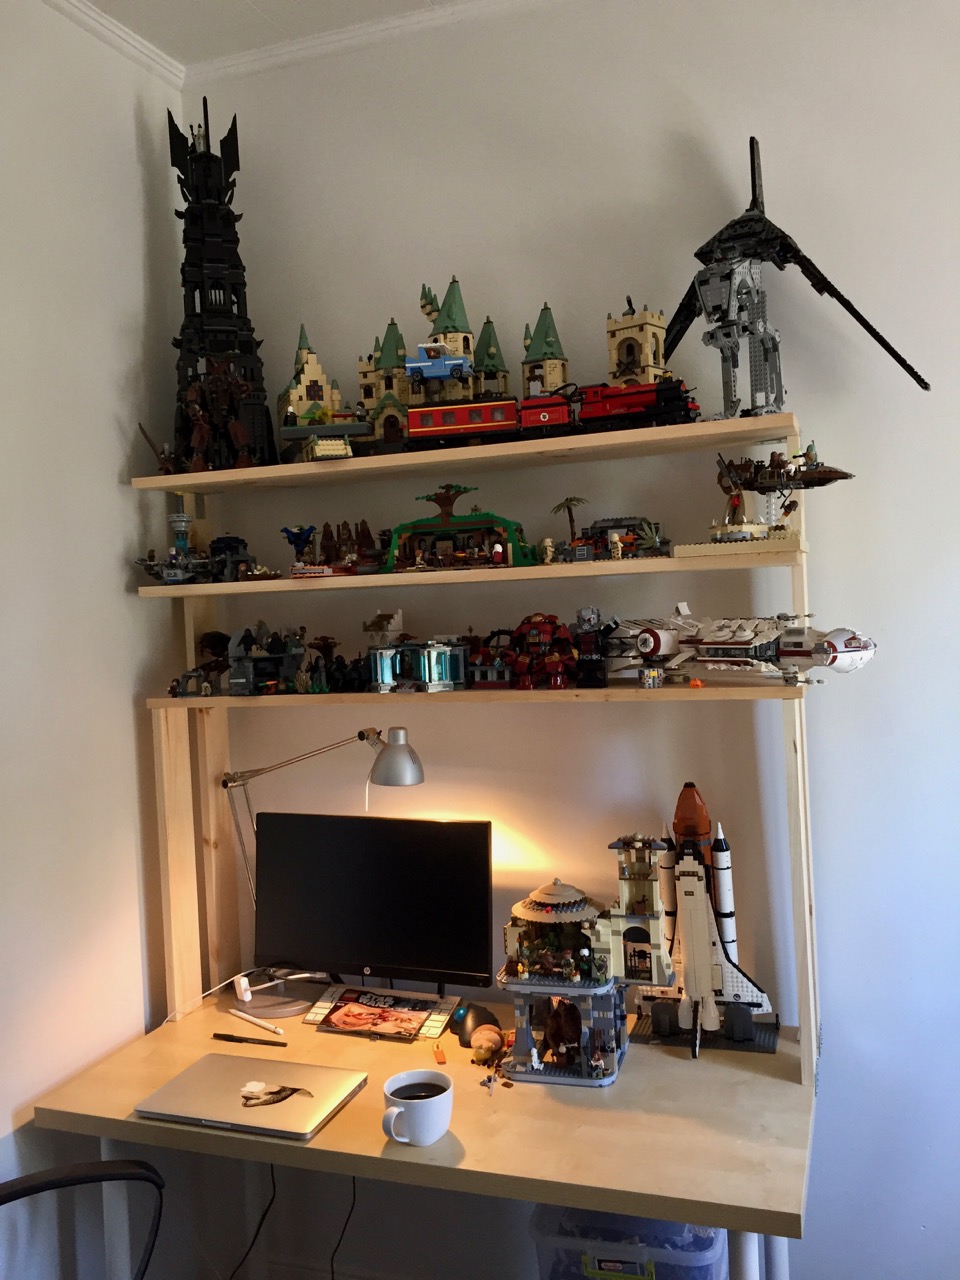
What began as a simple shelf to raise some of my LEGO sets off the workspace of my desk and rose to incorporate a higher shelf to accommodate more sets that I brought back from my parents’ home is now a three tier Franken-shelf.
It quickly became evident that I needed more shelf space for a few more sets that I had assembled. Also, I noticed that the 16″ space between the lower and upper shelves of the second phase construction was more than necessary. It seemed that 8″ headspace was required for most of my LEGO sets. So, I set about adding a third shelf between the lower and top shelves.
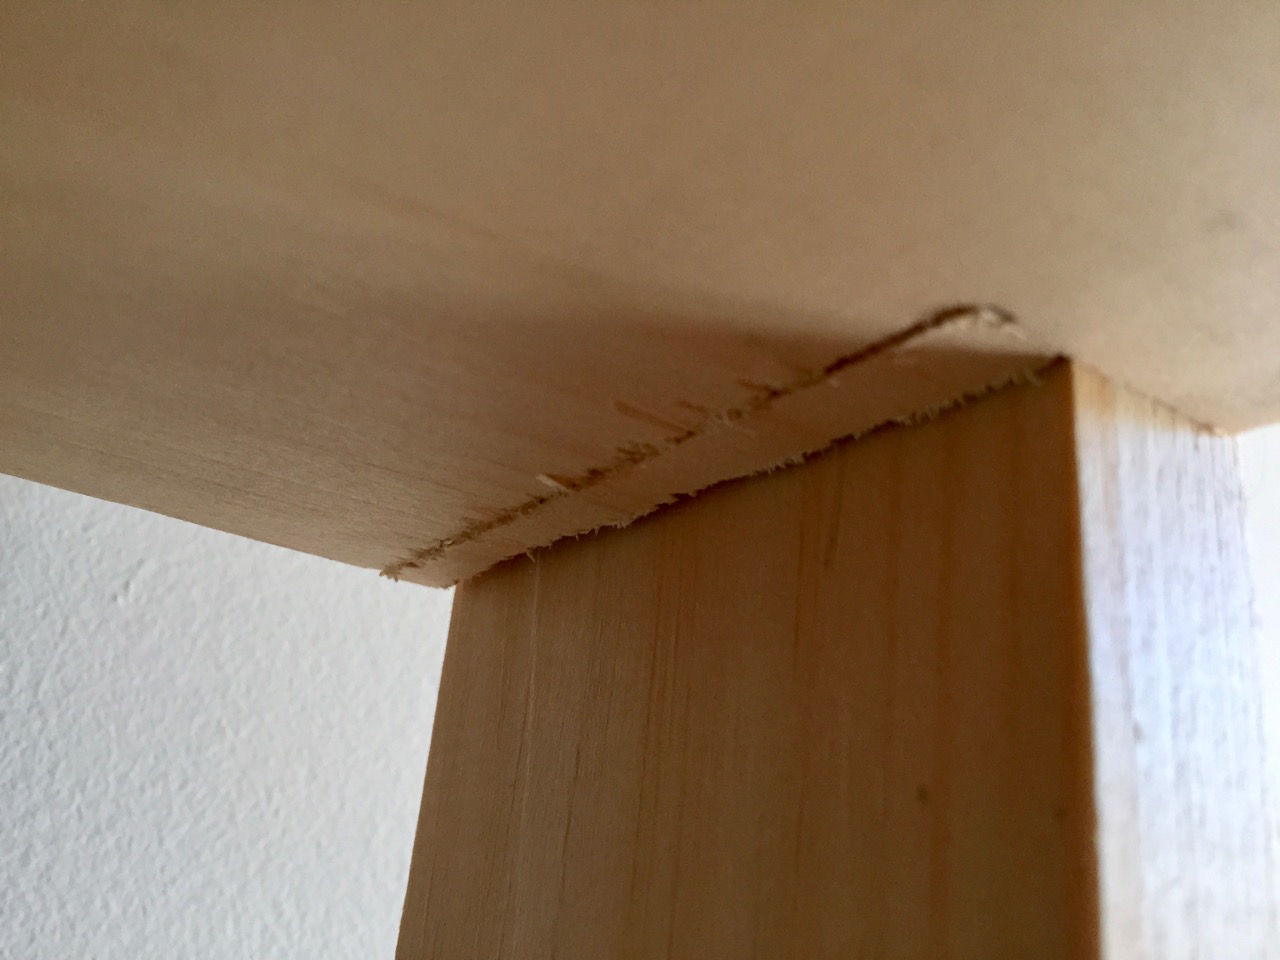
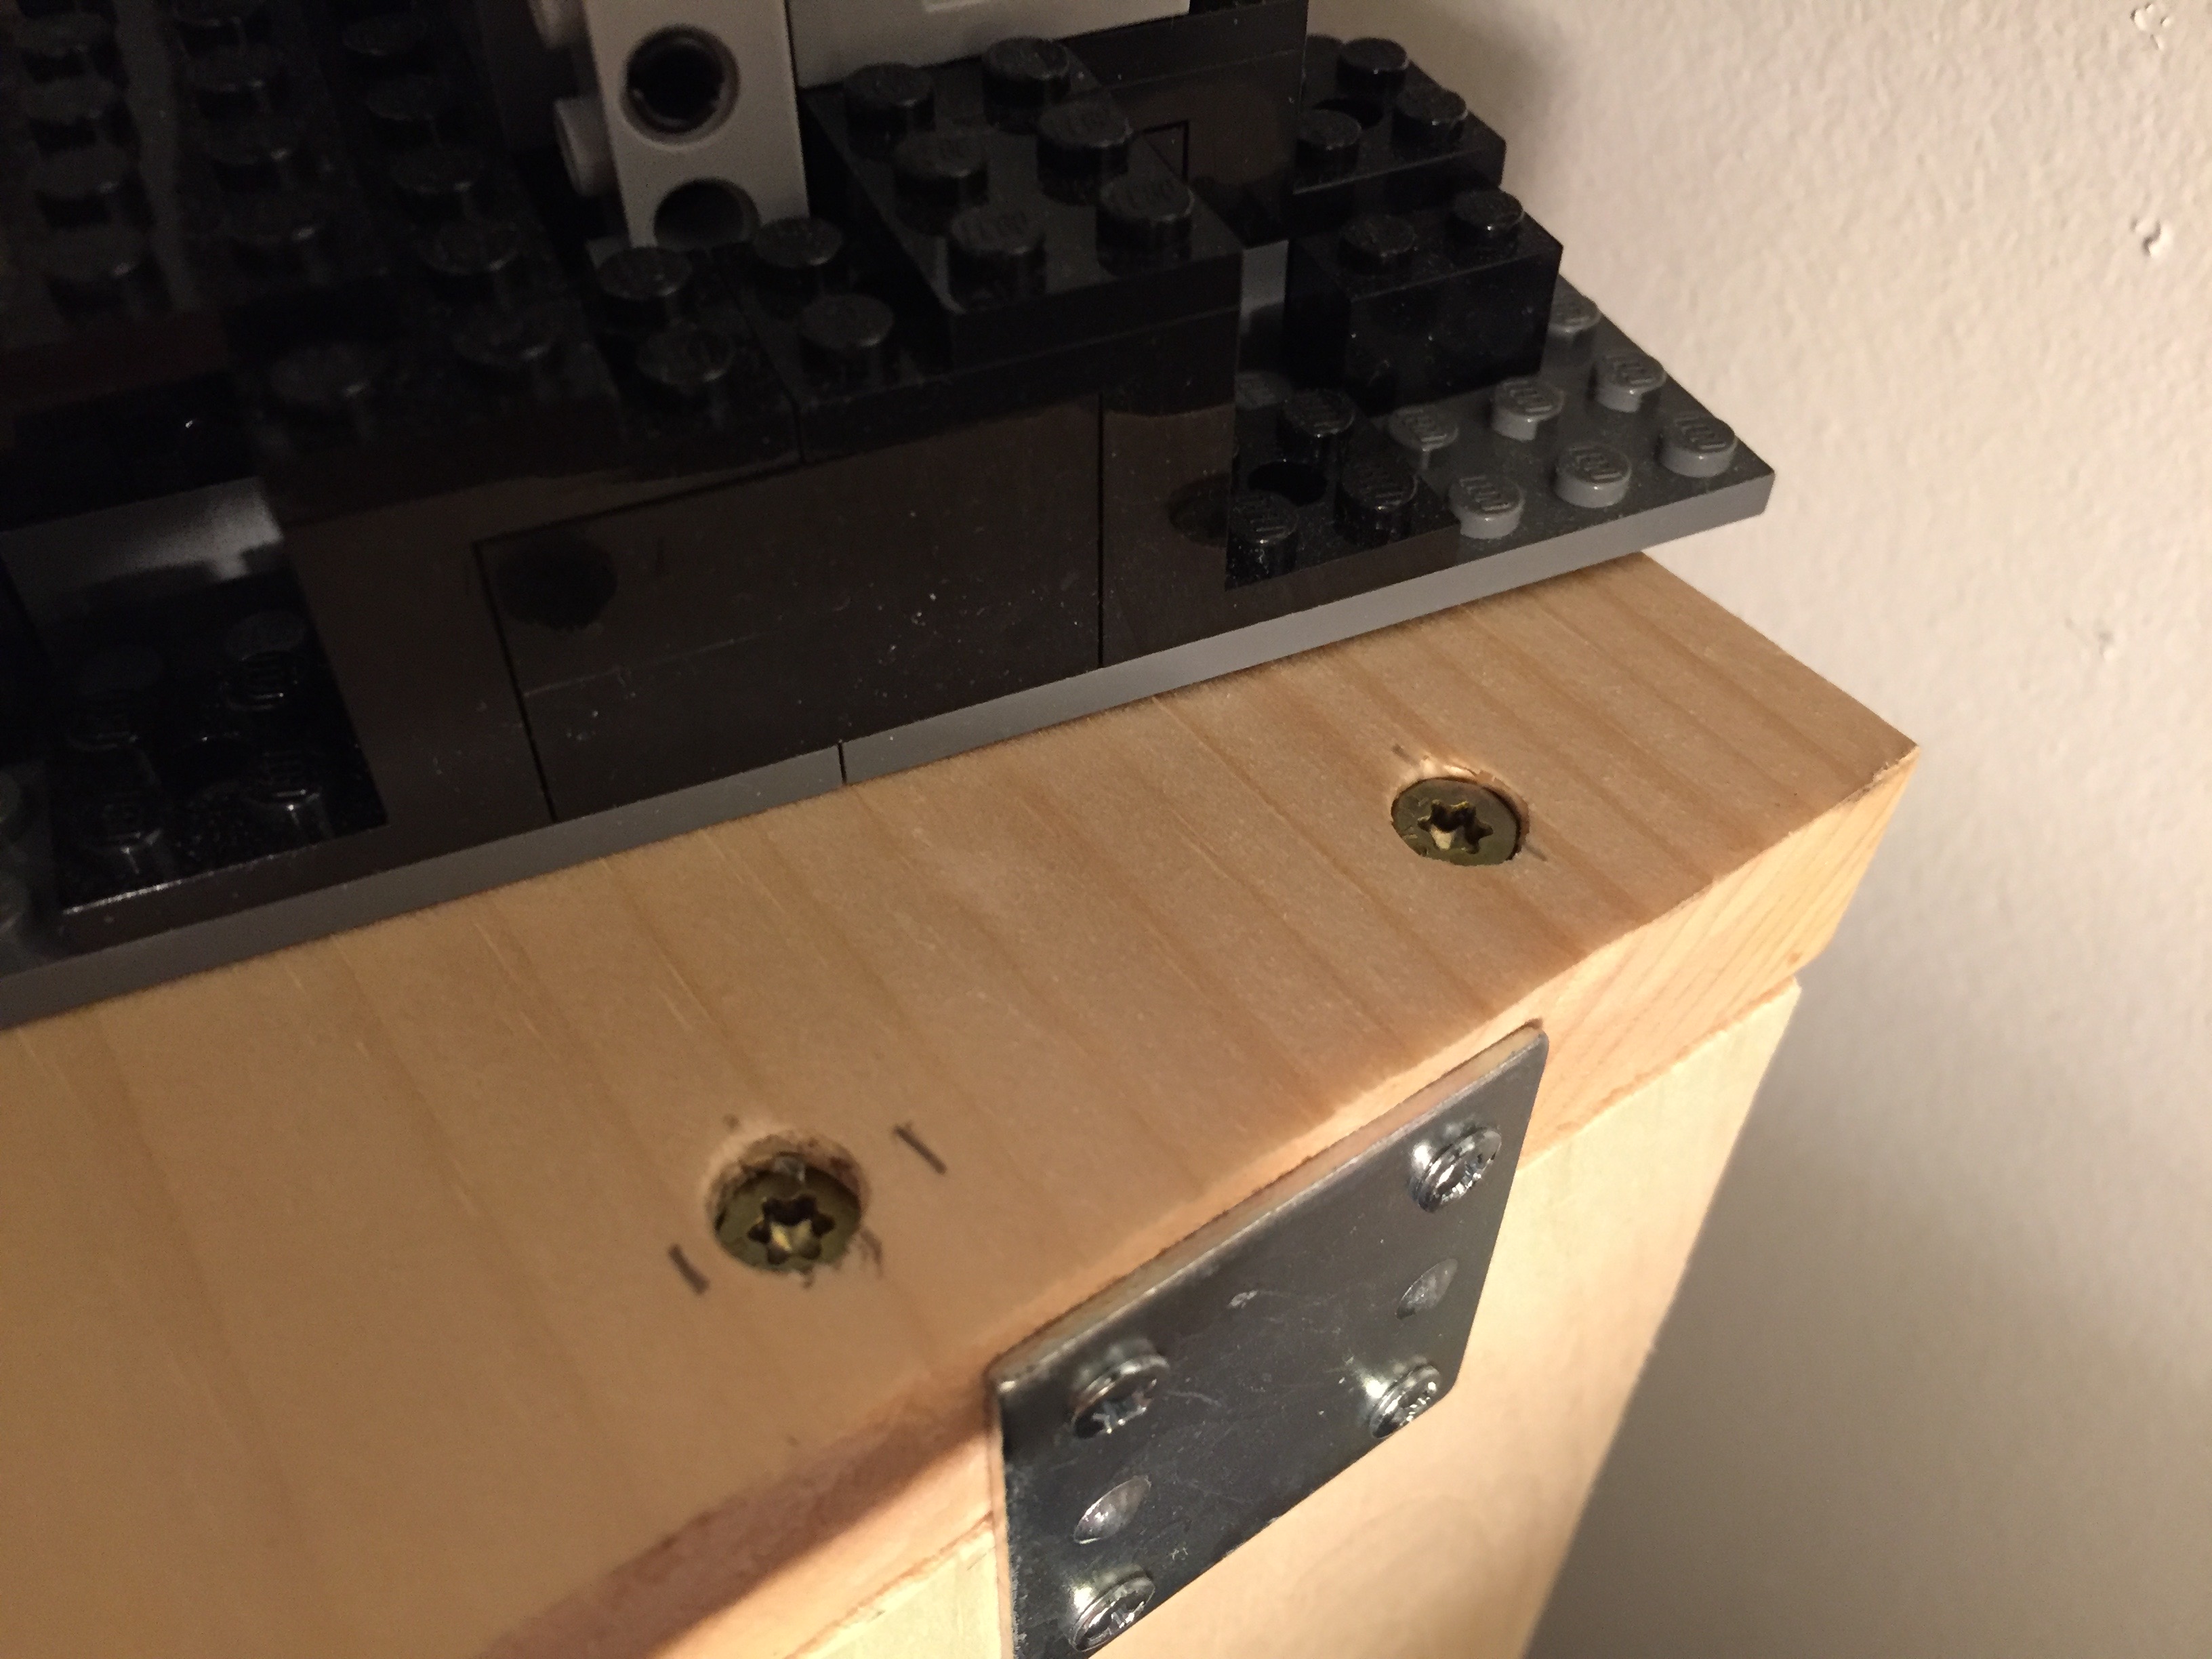
I decided to notch this 1″ x 10″ x 4′ shelf and install it only with deck screws through the upper shelf supports. I measured 46 1/2″ between the two supports and the 1″ x 4″ supports are 3/4″ thick. This is where I made a mistake with my initial cut. My measurements were correct, but during the 5 seconds that it takes for me to talk from my closet (where the desk is) to the living room where I had left my handsaw, my mind misremembered the measurement as 46″ between the supports. This meant that I cut 1/4″ more than needed on each side of the shelf! Luckily, I had a scrap piece of 1″ x 4″ board that I cut 1/4″ fillers from and glued into the notch to fill the missing material.
The shelf is centered on a line at 8″ between the top of the bottom shelf and the bottom of the top shelf, which is a distance of 16″.
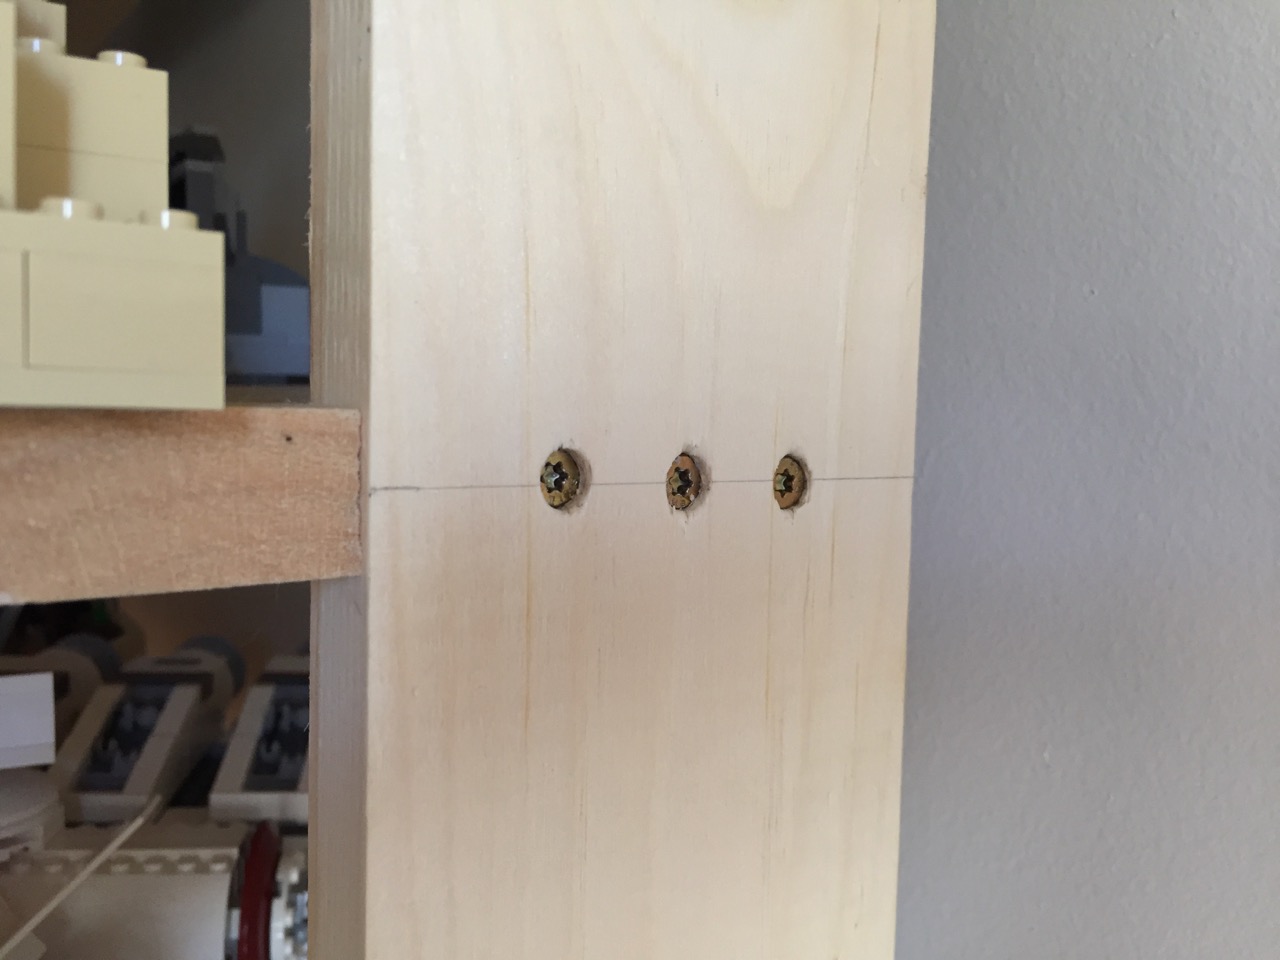
My deck screws extend through the supports and filler, and enter the shelf securely. They are spaced 1″ inside from either end and the third being in the middle (3/4″ from either end screw).
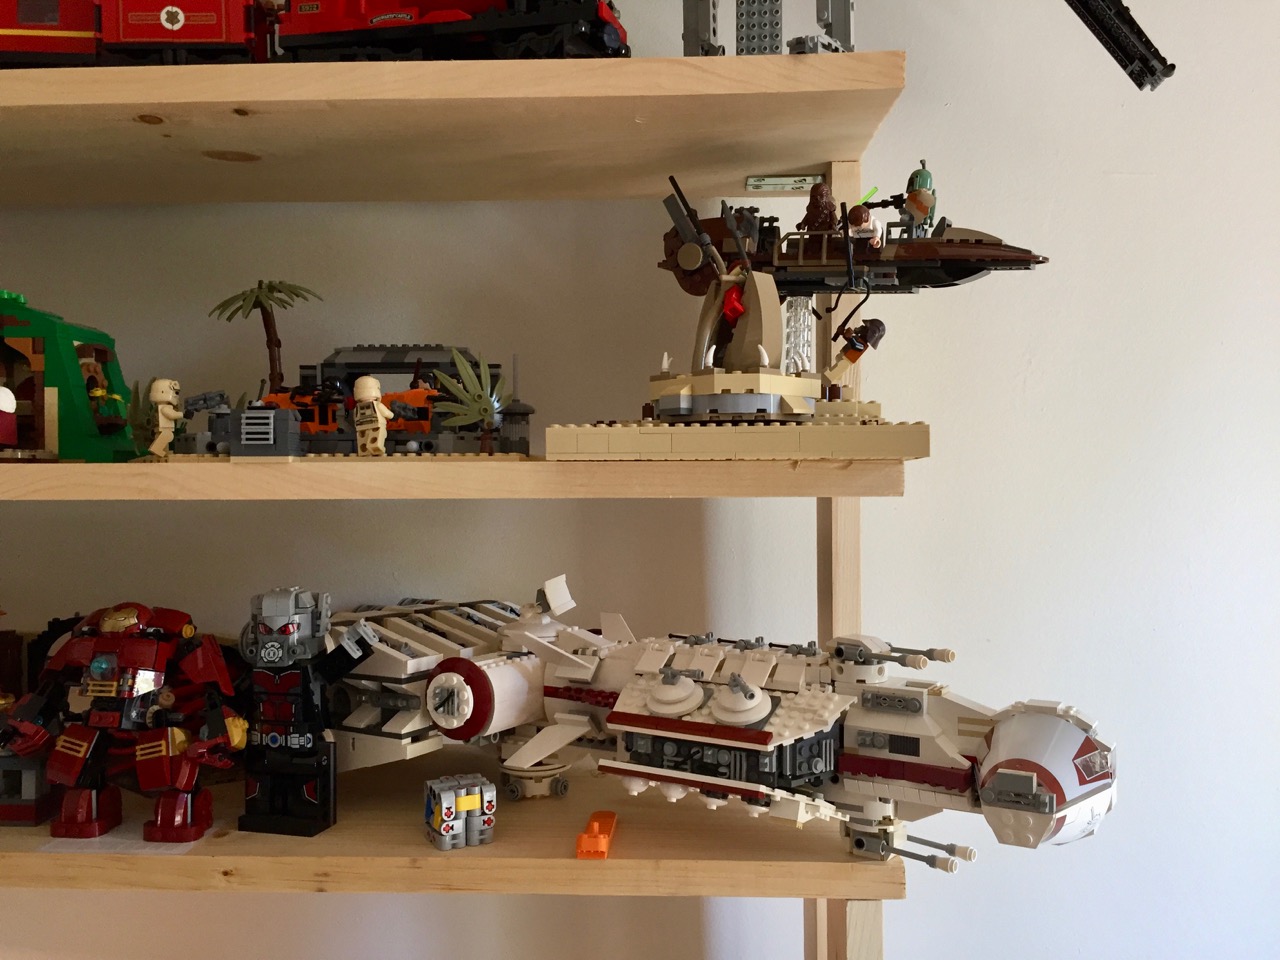
The new shelf easily accommodates a number of sets from Star Wars, Lord of the Rings, Harry Potter, and Doctor Who.
If I had planned out the shelves better than I had, I would have built the entire thing using only wood and deck screws (my previous blog posts explain how I used metal brackets and braces). This would have lowered the cost and it would have had a better craft appearance than horribly kludge-like. Nevertheless, it gets the job done–I can see my sets above and continue building on my clearer workspace below.
In my previous blog post, I documented a shelf that I built for my low-cost Ikea desk.
Since then, I brought back two checked bags full of LEGO from my parents’ home in Georgia where I had been storing it. I have not put all of these sets together or sorted the loose bricks into bins, but became quite clear after assembling 2/3 of the sets and two additional sets from eBay that I would need at least one more shelf.
To add another shelf, I needed to shore up the existing shelf and build up from it.
Two constraints to the height between the two shelves were the enormity of the Tower of Orthanc (10237) and the height of the room’s ceiling. I settled on a height of 16″ between the two shelves to allow enough room for medium- and small-sized sets on the lower shelf and larger sets (including Saruman’s lair) on the upper shelf.
To add the new shelf, I needed to purchase one 1″x10″x4′ pine board (the shelf), two 1″x4″x4′ pine boards (one of these was cut in half to support the lower, existing shelf and the other was cut into two 16″ long lengths to support the upper, new shelf), two packs of 1 1/2″ braces, and two packs of 2″ brackets (the smaller brackets that I used for the original shelf were sold out at the local Lowes).
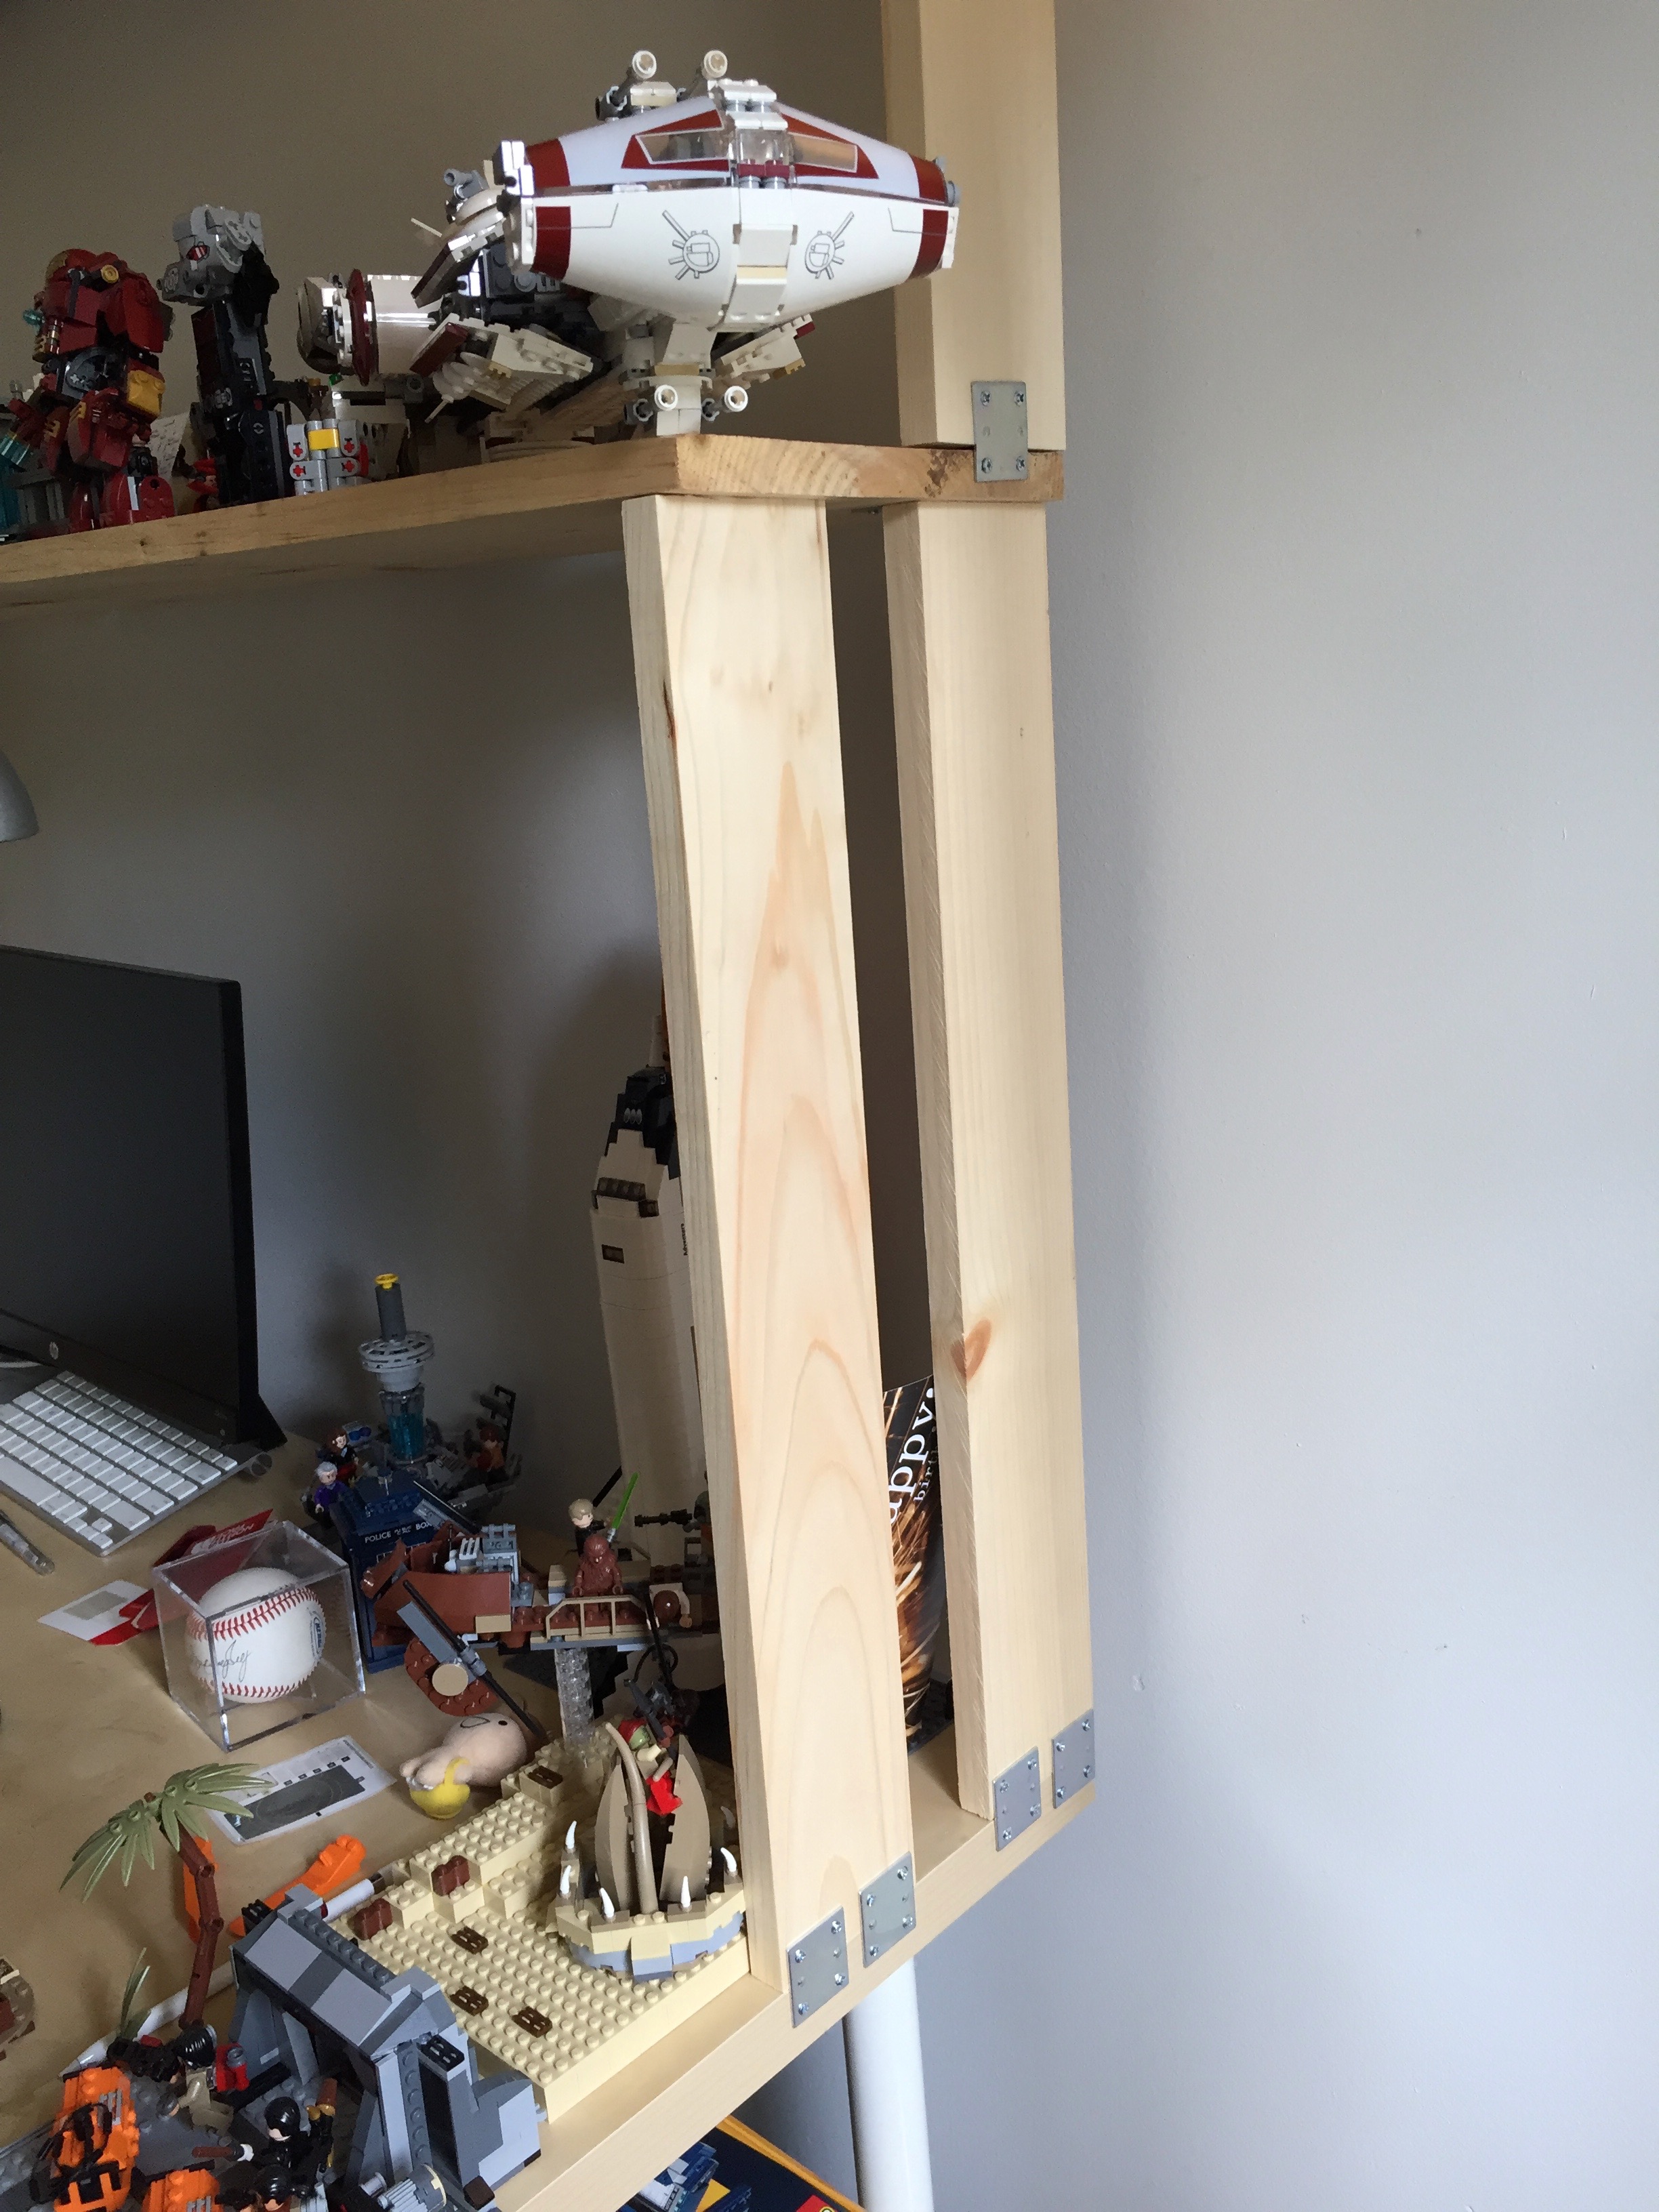
To shore up the lower shelf, I added a 24″ support to the front of the shelf. Originally, there was only one 24″ support at the back of the shelf, which was plenty for the needs of accommodating the few LEGO models originally put there. With the additional weight higher up from the new, upper shelf, I wanted to ensure that the lower shelf on which the upper shelf is built can sustain the weight and any torsion. I affixed each of these new, forward supports with two deck screws (pre-drilled) from the top of the shelf into the stop of the support. At the bottom, they are held in place with braces on the outside against the edge of the desk top.
The upper shelf has two 16″ supports that affix to the back of the lower shelf. The upper shelf is attached to the supports first with two deck screws (pre-drilled) from the top through the shelf and into the supports. On the outside, they are connected to the lower shelf by a brace on either side. The shelf is strengthened with a brace at the top, too.
On the inside, brackets are used where the support meets the lower shelf’s top and the upper shelf’s bottom. Instead of using the metal braces, I could have used wood braces–such as another 1″x4″x4′ board running underneath the shelf and cut 3/4″ on either end to accommodate the supports. A few deck screws from top and sides would have made the shelves even stronger. I wanted to avoid the shelves catching more light in my dark office than they could, so I opted to use the metal brackets, which should be strong enough for this installation.
Now that the new shelf is installed, I realize that I need another shelf! Maybe I can fit one in between the lower and upper shelf. As you can see above, I can’t go any higher on the upper shelf or Saruman will go through the roof!