Category: Movies

  • Star Wars Collection Additions from Emmitt’s Toy Emporium and eBay

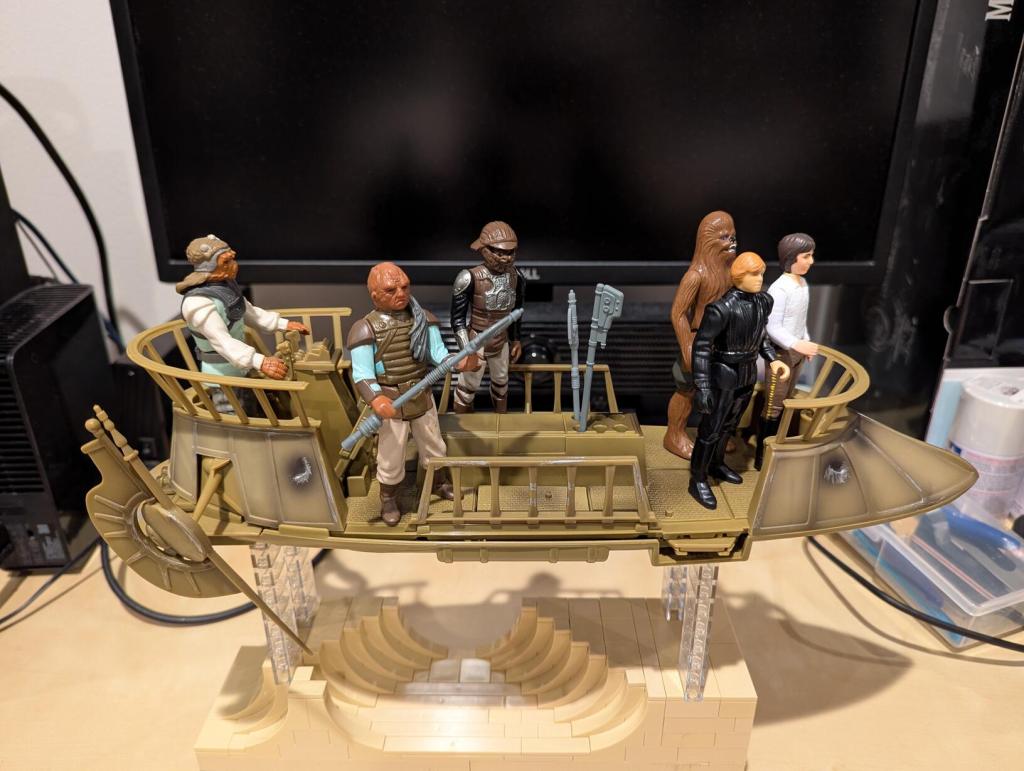
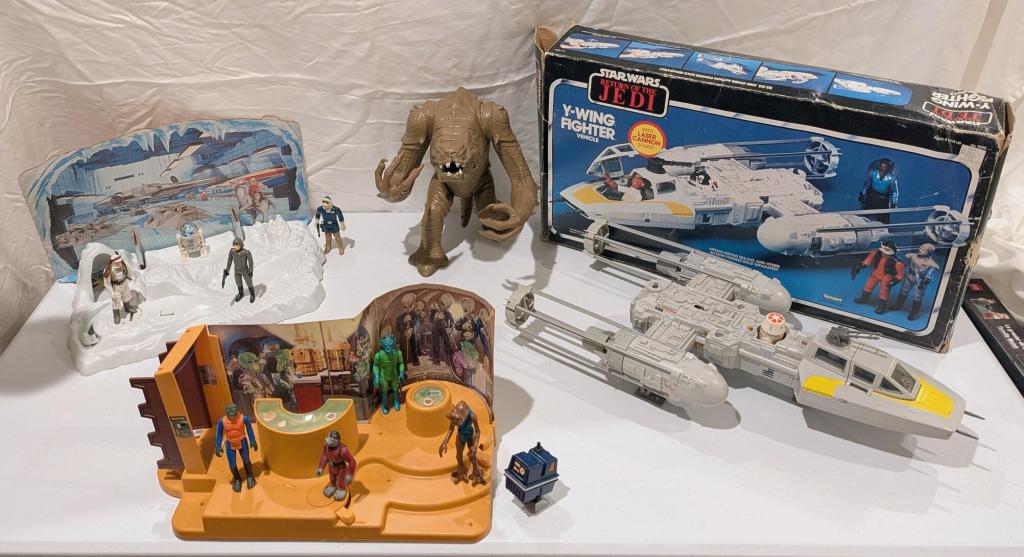
    vintage star wars action figures arranged for display on a table

    While I was in Georgia visiting my parents this past month, I acquired a few more Star Wars action figures, playsets, and a vehicle to add to my collection.
    I knew that I needed to drive my mom to the Mayo Clinic in Jacksonville, Florida for tests and doctor’s appointments while I was there. I figured that I could visit comic shops or antique stores to look for Star Wars action figures for my collection.
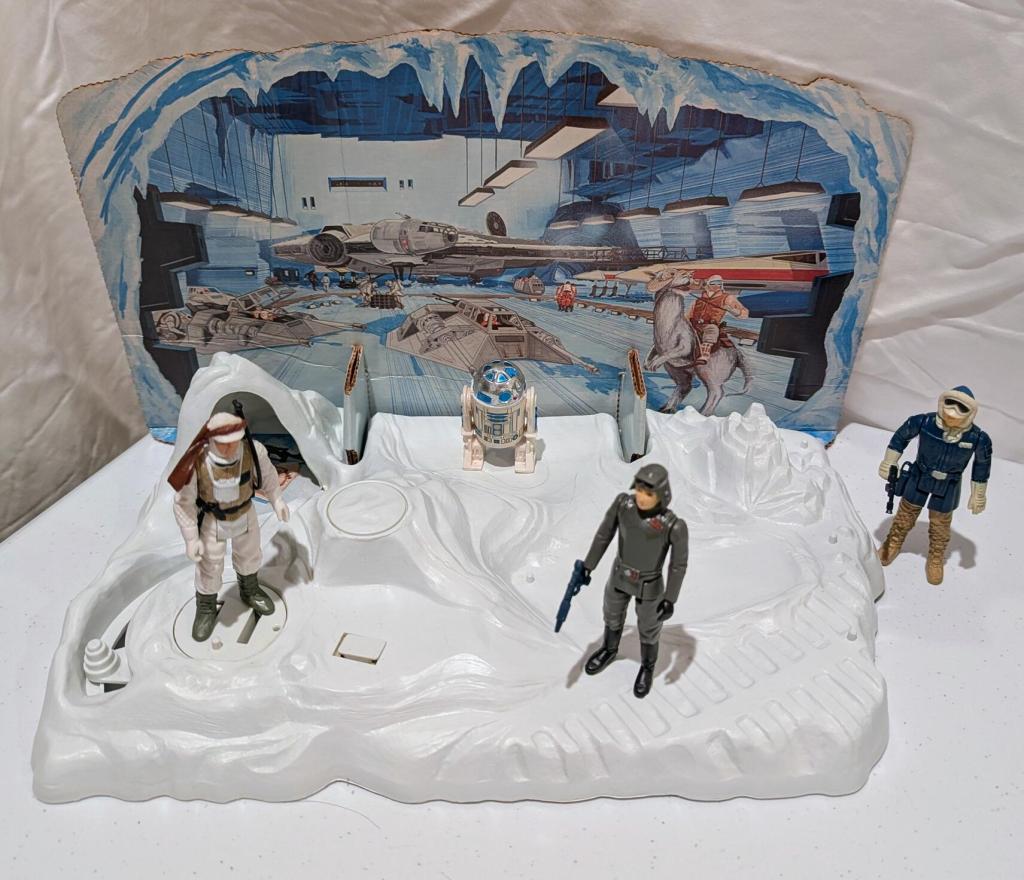
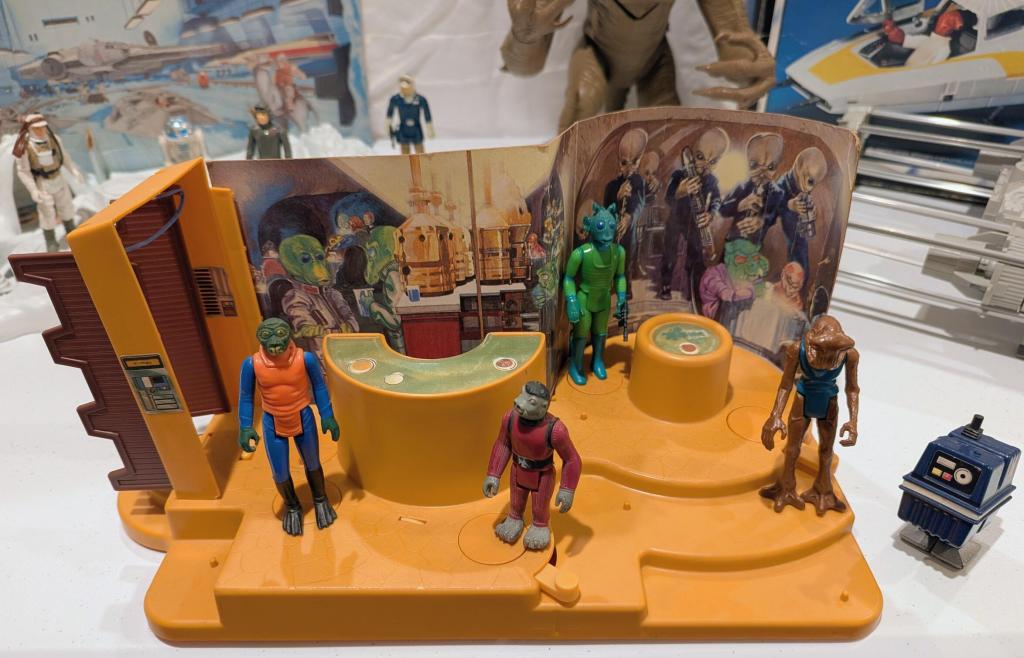
    During my online research, I stumbled on Emmitt’s Toy Emporium and a photo of a glass product counter with a Kenner Star Wars Rebel Command Center in it. The photo was dated three months ago. I had been trying to find one of these at a fair price on eBay for a long time without any luck. I figured it was worth checking out even if the playset had sold before I arrived. Thankfully, he still had it in stock and the price for the playset sans action figures was $119. Emmitt and I worked out a deal for the playset and some figures.

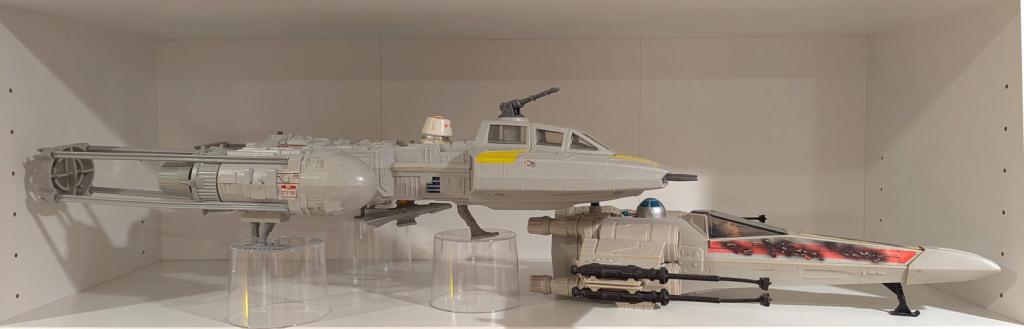
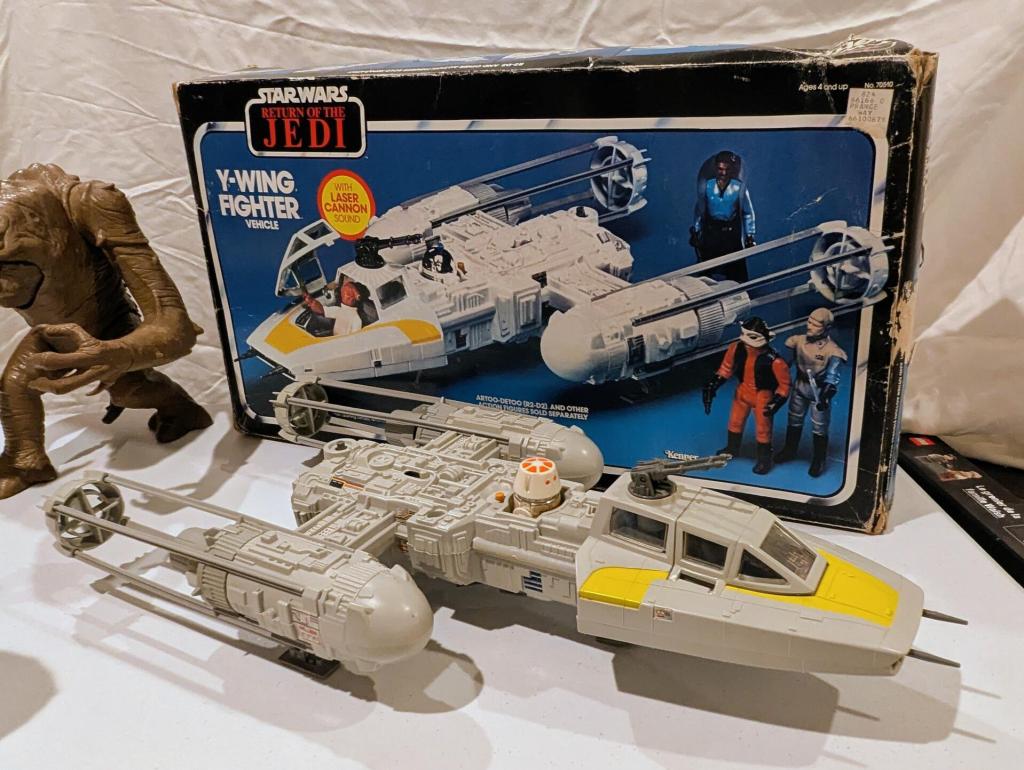
    While I was there, Emmitt showed me some of his other items for sale, and he let me fire the motorized cannon on a complete Y-Wing Fighter (1983).

    kenner rebel command center playset

    Before the third trip to Mayo Clinic in Jacksonville, my dad asked to see the toys that I scored, so I showed how they were setup and explained their release history. I suppose he saw how happy they made me and he acknowledged that I had done a lot of work (and there were still more left to do in the next two weeks), so he gave me his blessing to get a few other things that I had seen at Emmitt’s shop–the complete Y-Wing Fighter with motorized cannon (1983) and the Creature Cantina Action Playset (1979). It was a pleasure dealing with Emmitt, who knows how to bargain fairly.

    kenner creature cantina action adventure playset
    y-wing fighter and box

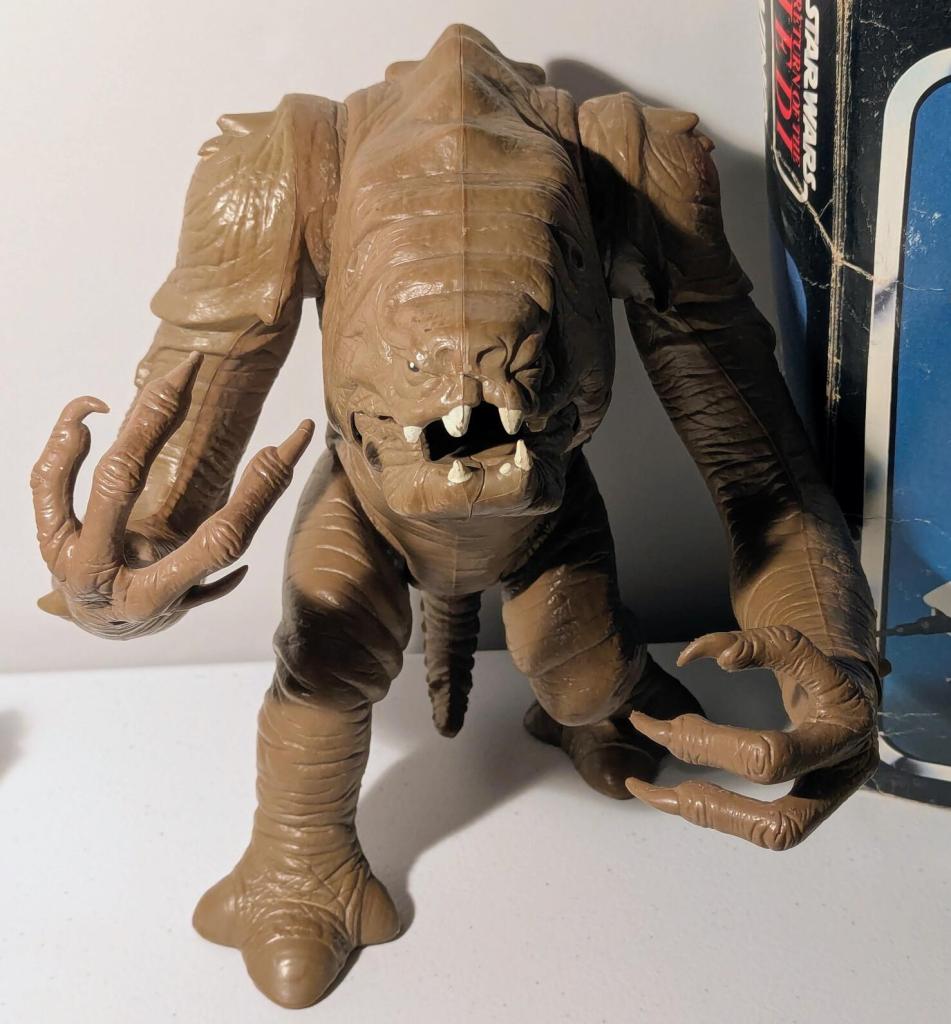
    I had a $10 off $50 purchase coupon from eBay, which I used to reduce the price on the Rancor monster (1984) from Wheeljack’s Lab. Now, I need the Rancor Keeper action figure (1984).

    rancor monster toy

    I’ve still got a ways to go, but I wonder if I can rebuild my collection to be as robust and interesting as the collection that I had to sell off in the early 2000s.

  • My Humble Star Wars Collection

    star wars action figure collection of assorted figures, vehicles, playsets, and models
    star wars action figure collection of assorted figures, vehicles, playsets, and models


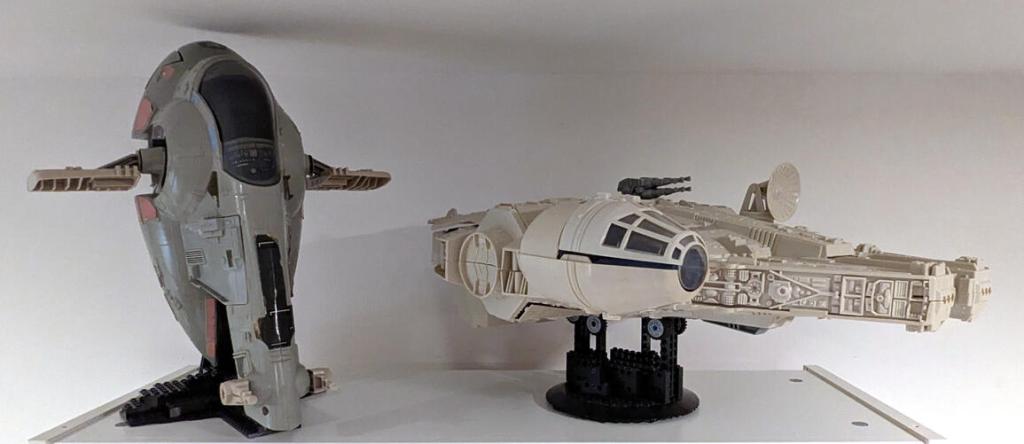
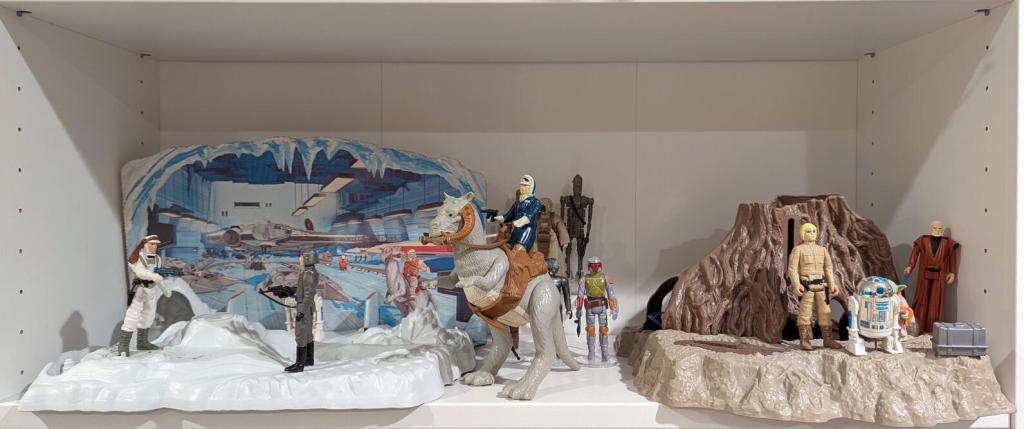
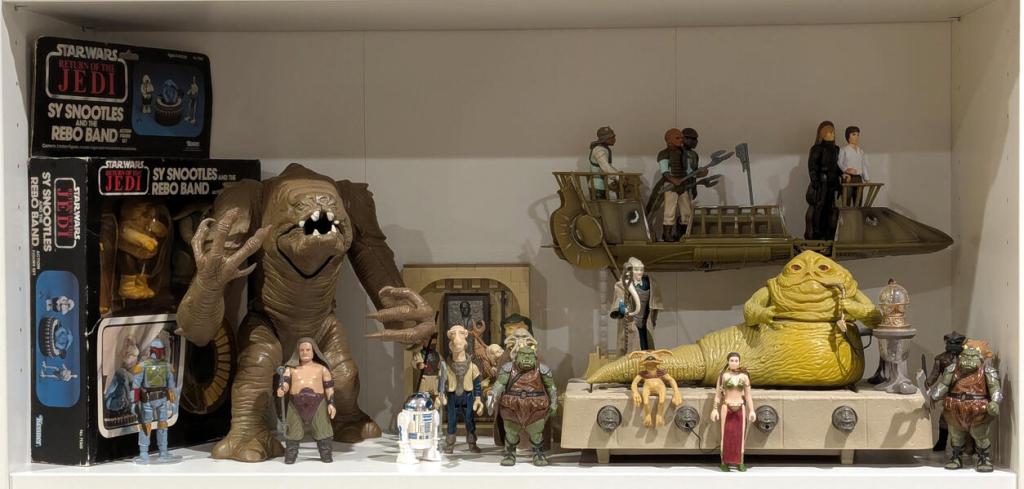
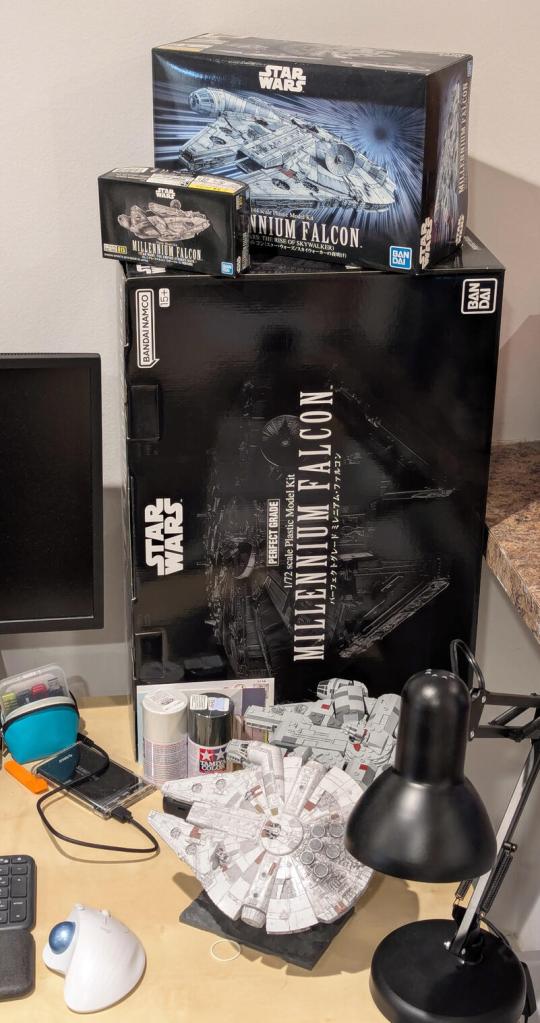
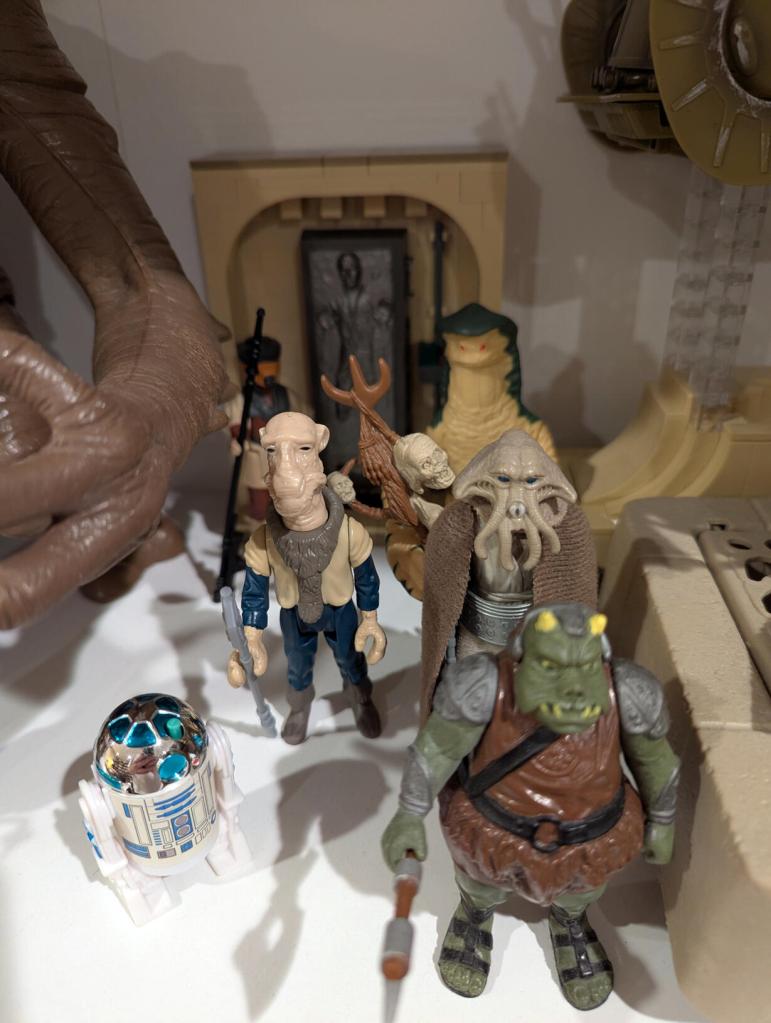
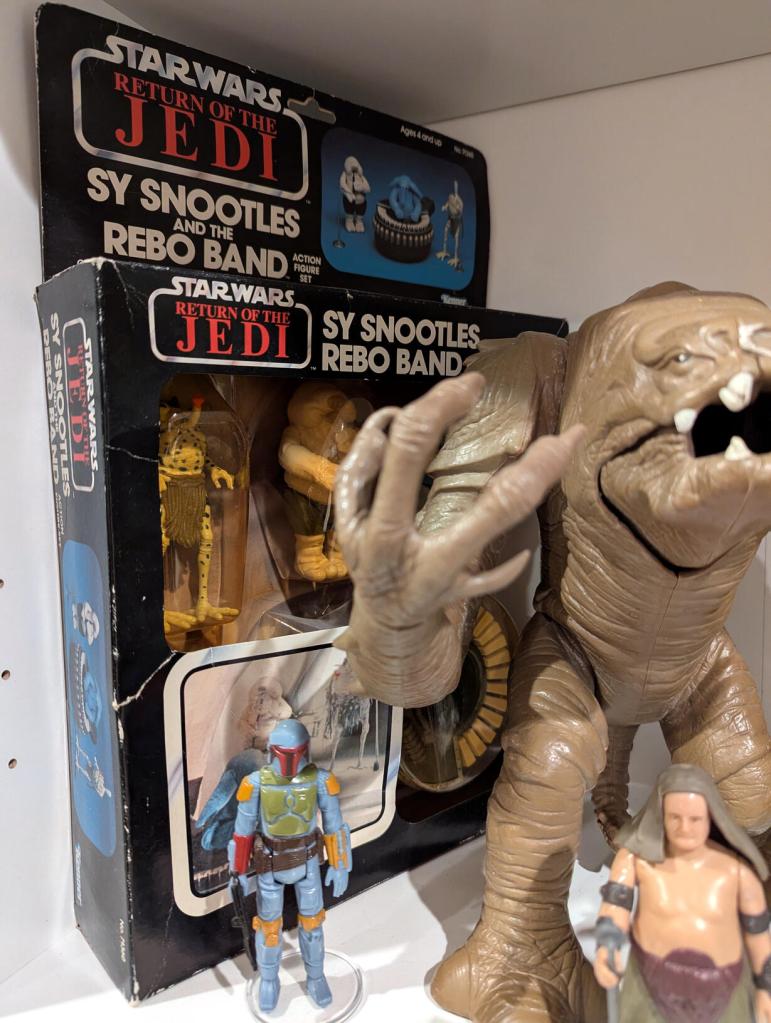
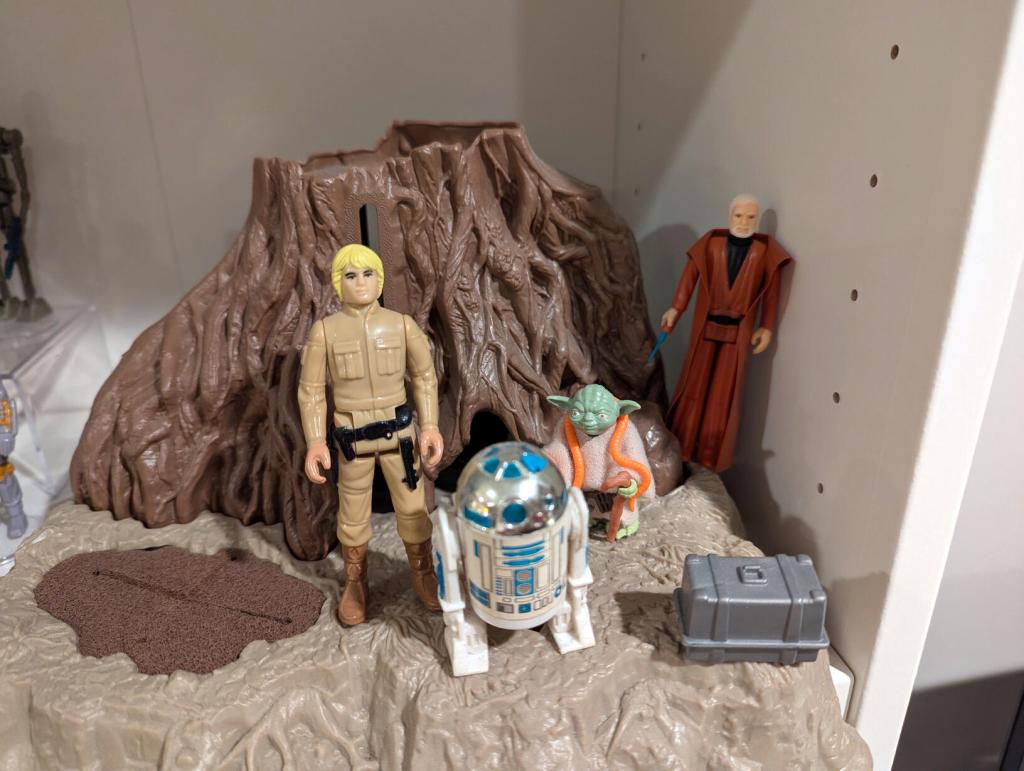
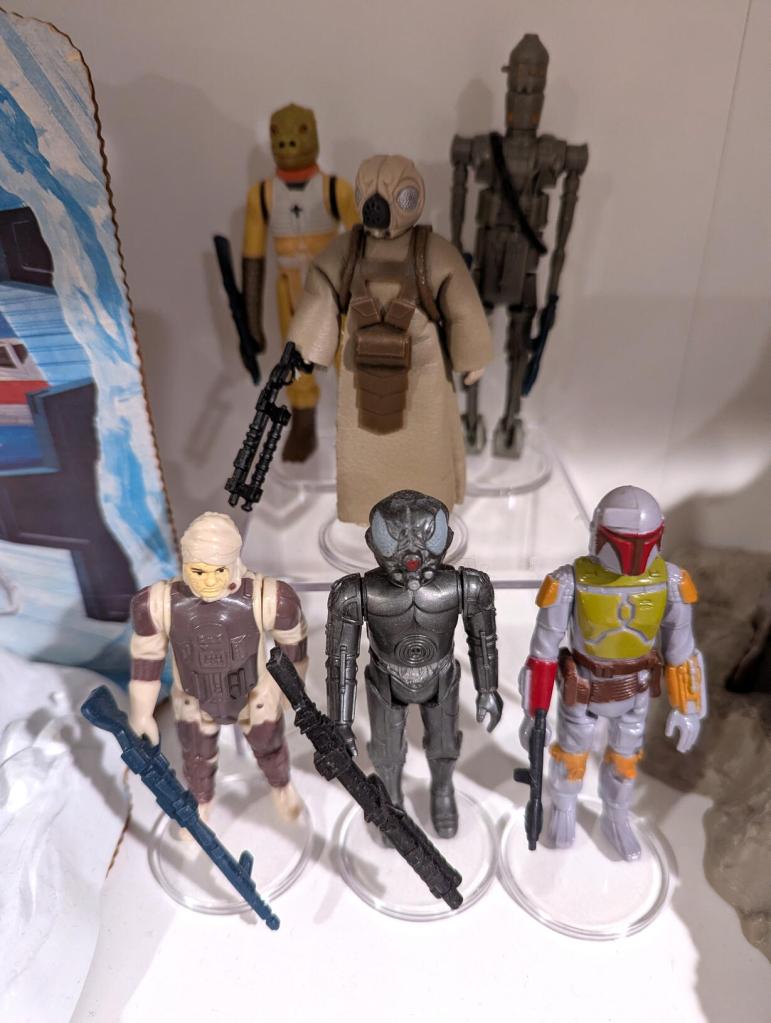
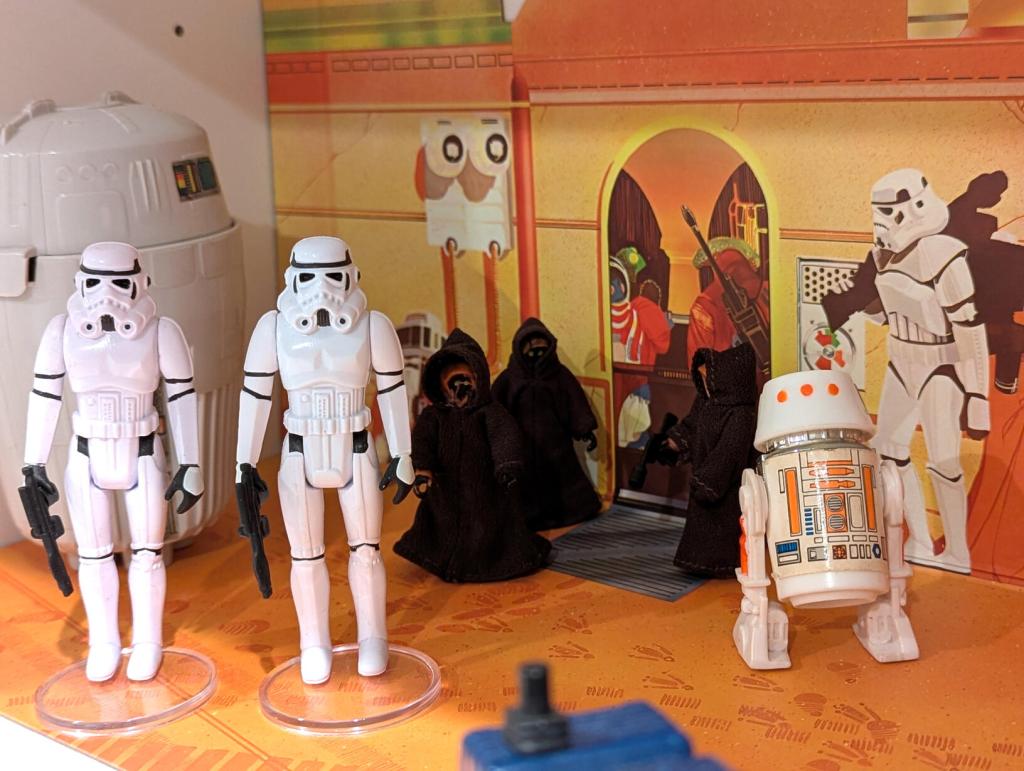
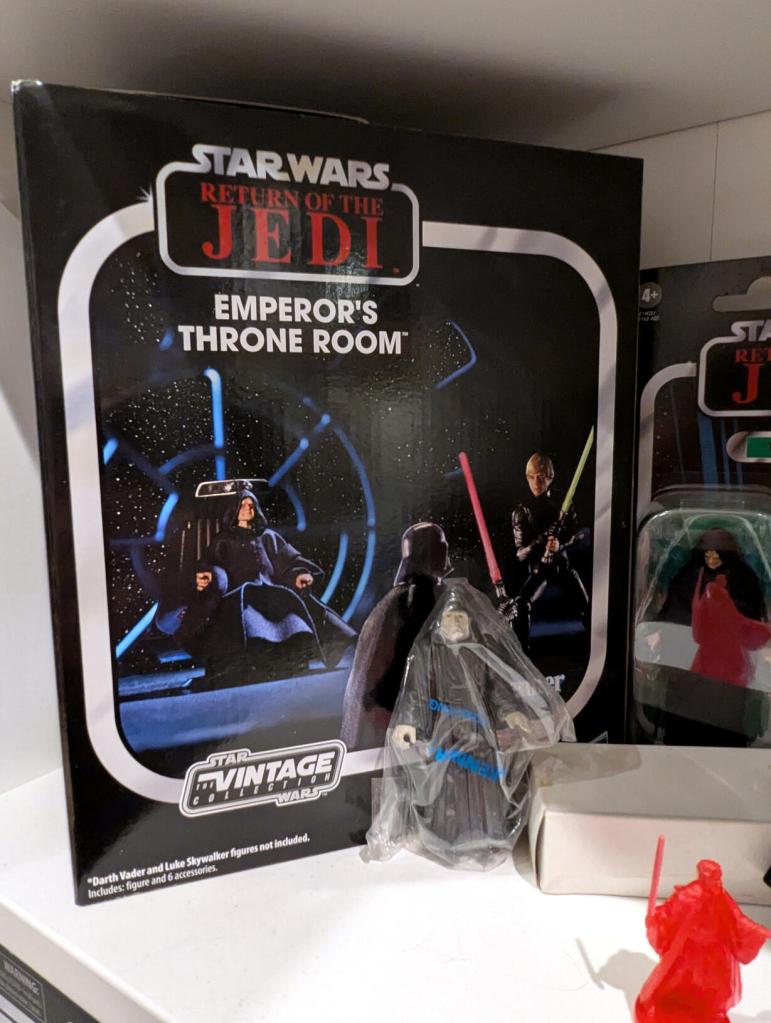
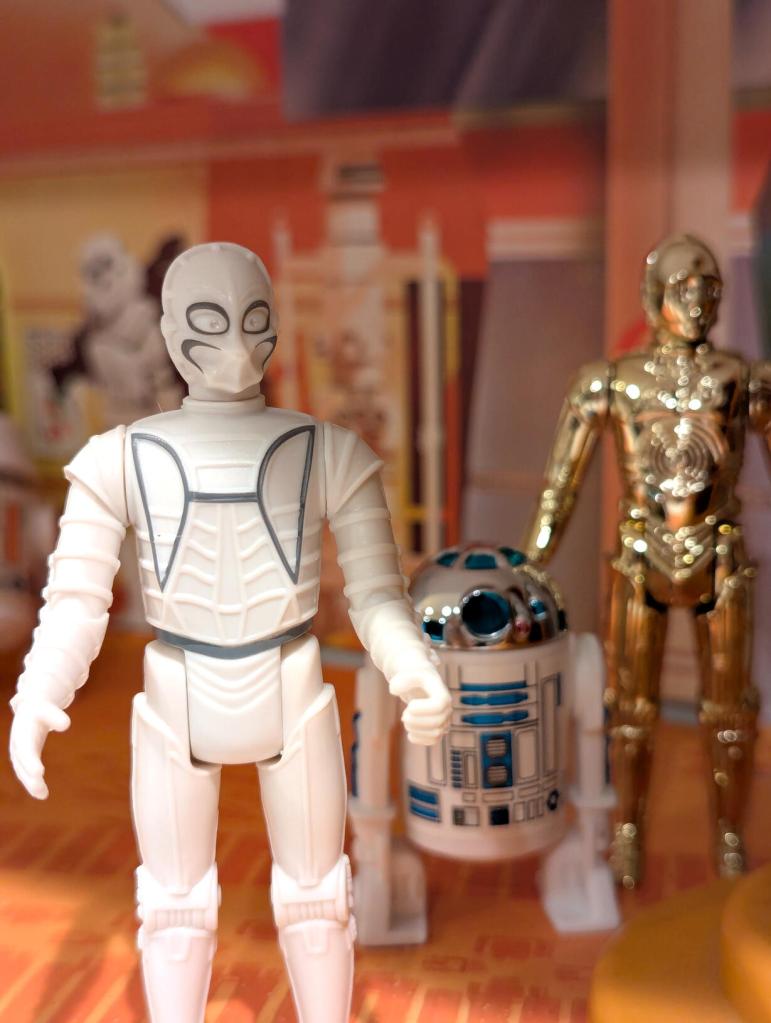
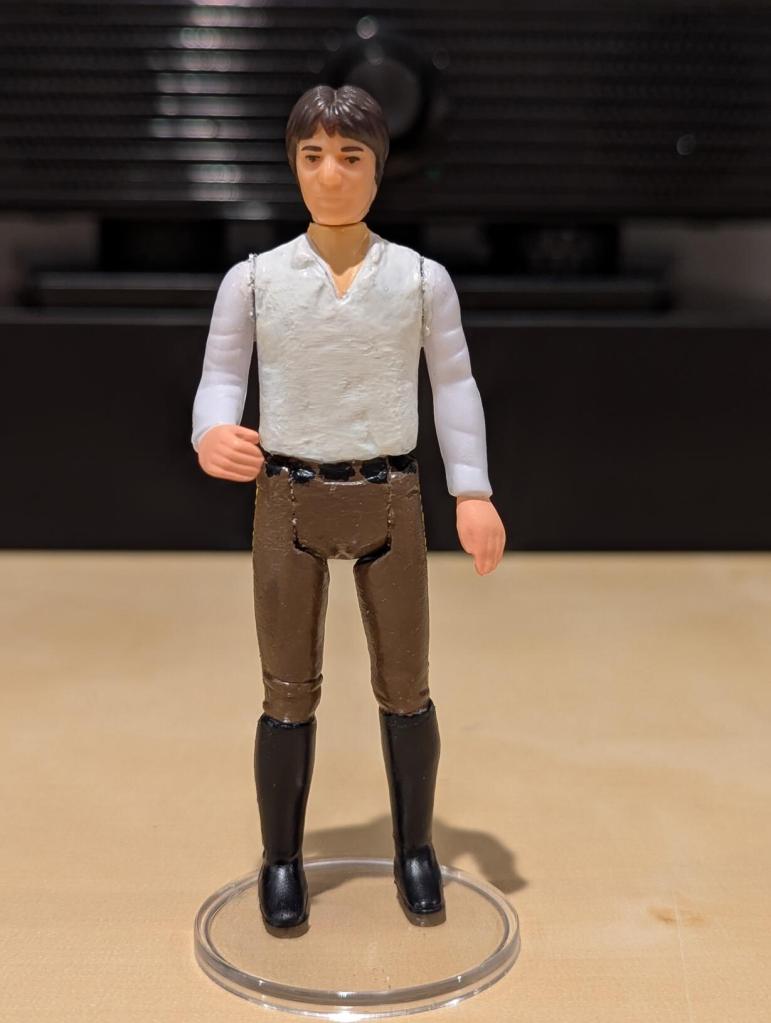
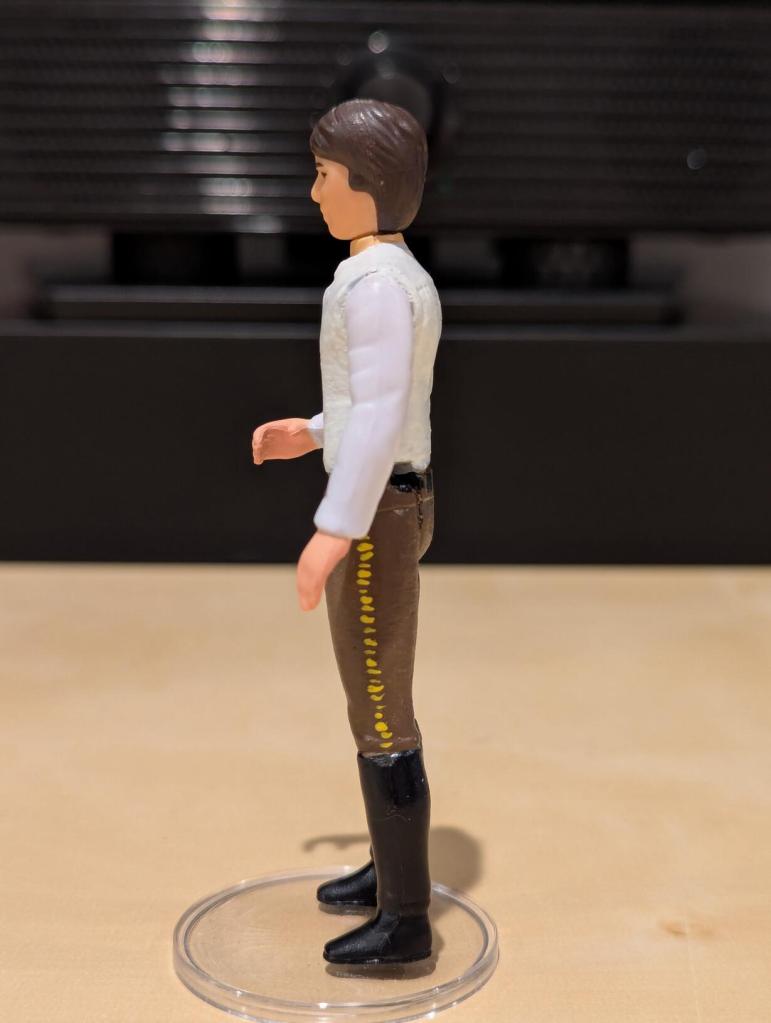
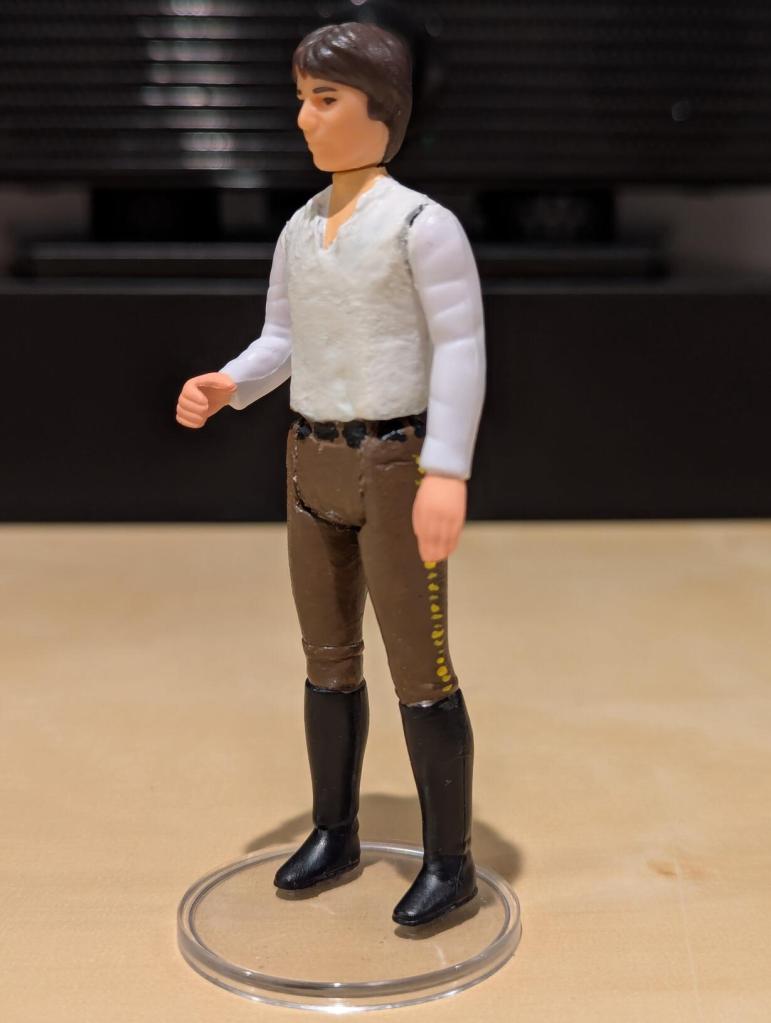
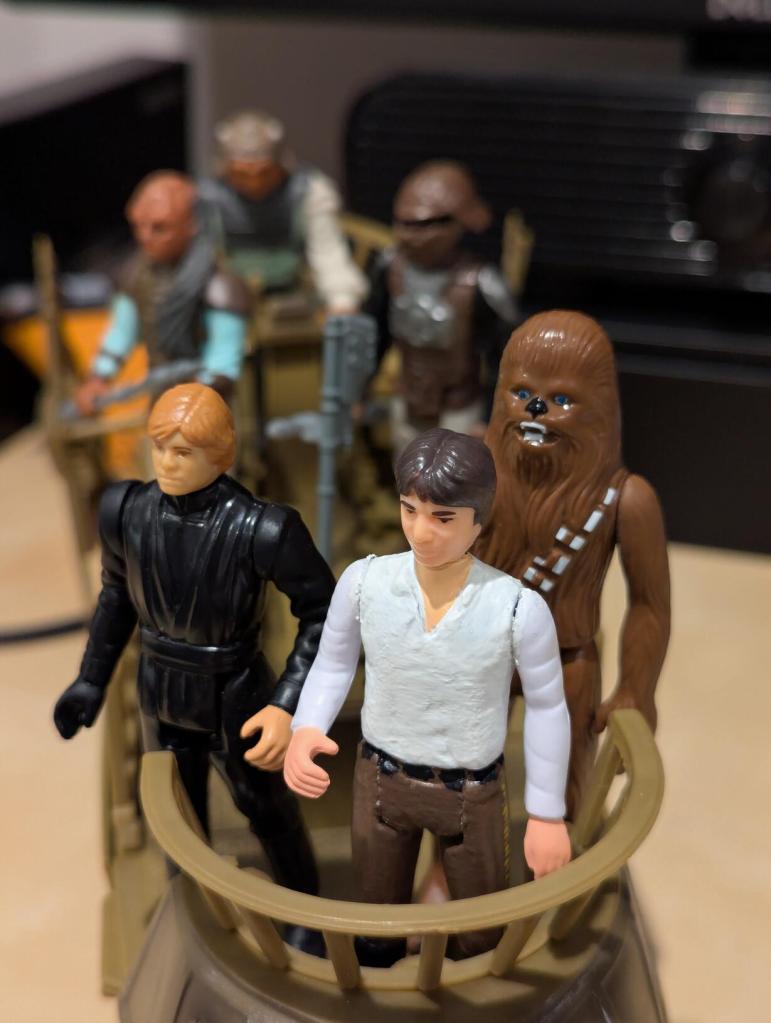
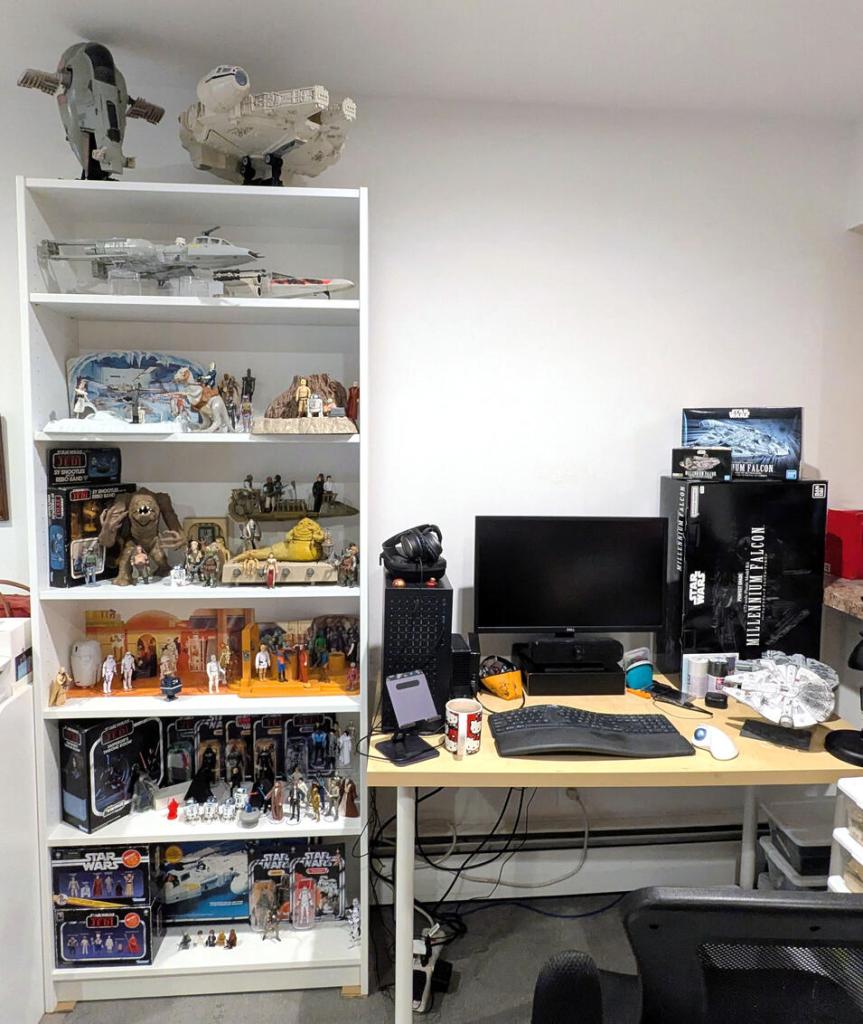
    Panning around my desk at home is the Star Wars version of the original opening toThe Ray Bradbury Theater. My favorites are the Kenner line of action figures. To the left of my computer monitor is Sy Snootles and the Rebo Band set, which is sealed in its original box and blister pack, but the cover plastic has yellowed and Max Rebo’s skin has faded to a lighter blue. To the right and behind my home-built mini-AI workstation is Jabba the Hutt smoking hooka and reclining on his throne. Klatuu, Amanaman, Bib Fortuna and others mill about. Slave Leia, a Kenner-inspired action figure by Stan Solo Creations, completes the scene. A 1/144 scale Bandai Millennium Falcon (ESB version) swoops away from Jabba’s den around my computer. Directly in front of my keyboard are The Emperor safely sealed in a mail-away baggie, and bearing arms in a row are the bounty hunters contracted by Darth Vader aboard The Executor to locate the Millennium Falcon—Zuccuss, IG-88, Bossk, Dengar, and 4-LOM, but wait, Boba Fett should be here. Oh, he’s just above my monitor in the cockpit of Slave I that is posed mid-flight thanks to a LEGO Technics stand that I built for it. To its right is the Millennium Falcon on another custom LEGO display stand. The Dagobah Playset completes the shelf with Luke, R2-D2, Yoda, and Obi-Wan Kenobi looking across at an X-Wing Fighter with Battle Damage stickers applied (Darth Vader awaits hidden in the Cave of Evil). To the right of my trackball are two Stormtrooper from Hasbro’s updated 3 3/4”-line called The Vintage Collection that I fondly think of as Tag and Bink. To my right is The Emperor’s Thone Room playset and the huge box containing an unassembled Bandai Perfect Grade 1/72 scale Millennium Falcon (ANH version).

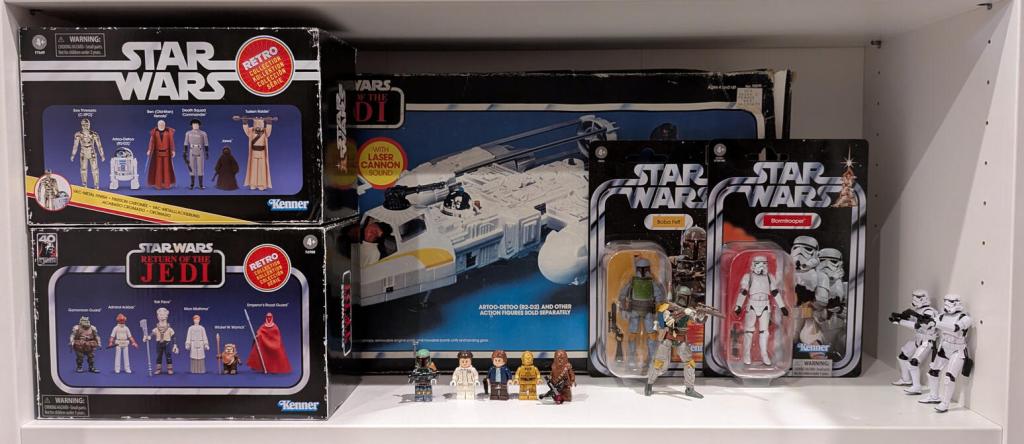
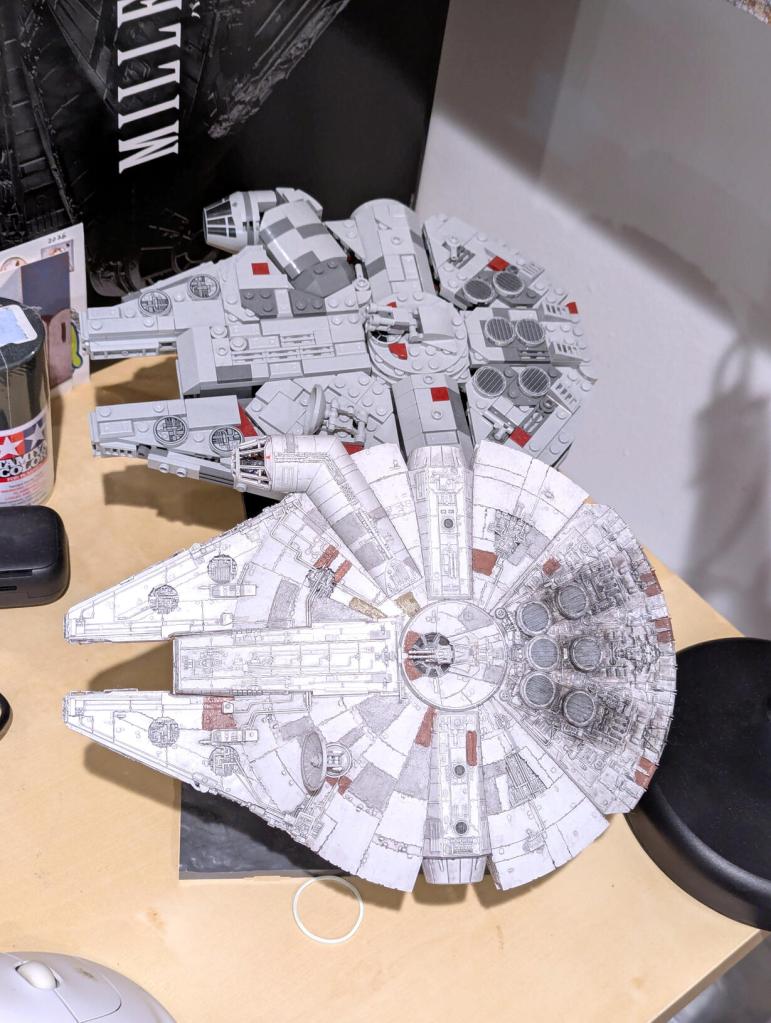
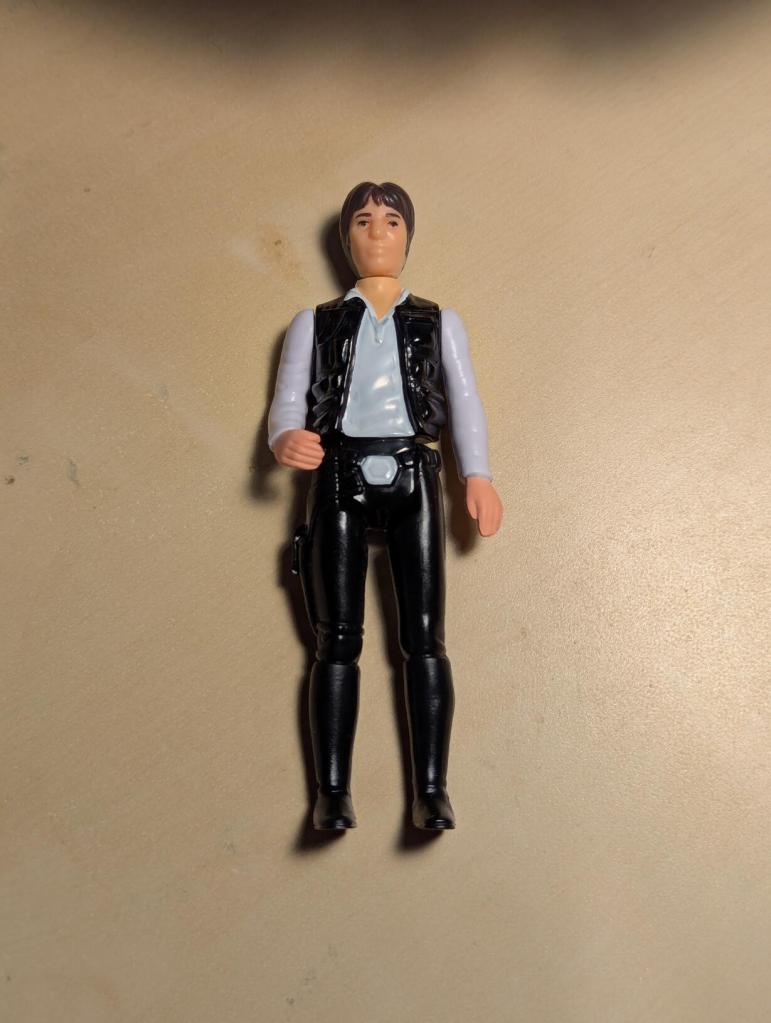
    Living in a one-bedroom apartment in Brooklyn requires creativity when it comes to one’s hobbies. My simple solution for my Star Wars collecting is to surround my desk area with my action figures and models. I have a mixture of original Kenner 3.75″ action figures, vehicles, and playsets; Hasbro re-issued “Retro Collection” figures; Stan Solo Creations re-issues and originals; Hasbro modern 3.75″ figures including “The Vintage Collection;” LEGO minifigures and sets, and Bandai Millennium Falcon models (1:350, 1:144, and 1:72 scale–the middle one is built, the other two remain to be assembled and painted).

    star wars action figure collection of assorted figures, vehicles, playsets, and models
    star wars action figure collection of assorted figures, vehicles, playsets, and models
    star wars action figure collection of assorted figures, vehicles, playsets, and models
    star wars action figure collection of assorted figures, vehicles, playsets, and models
    star wars action figure collection of assorted figures, vehicles, playsets, and models
    star wars action figure collection of assorted figures, vehicles, playsets, and models
    star wars action figure collection of assorted figures, vehicles, playsets, and models
    star wars action figure collection of assorted figures, vehicles, playsets, and models
    star wars action figure collection of assorted figures, vehicles, playsets, and models
    star wars action figure collection of assorted figures, vehicles, playsets, and models
    star wars action figure collection of assorted figures, vehicles, playsets, and models
    star wars action figure collection of assorted figures, vehicles, playsets, and models
    star wars action figure collection of assorted figures, vehicles, playsets, and models

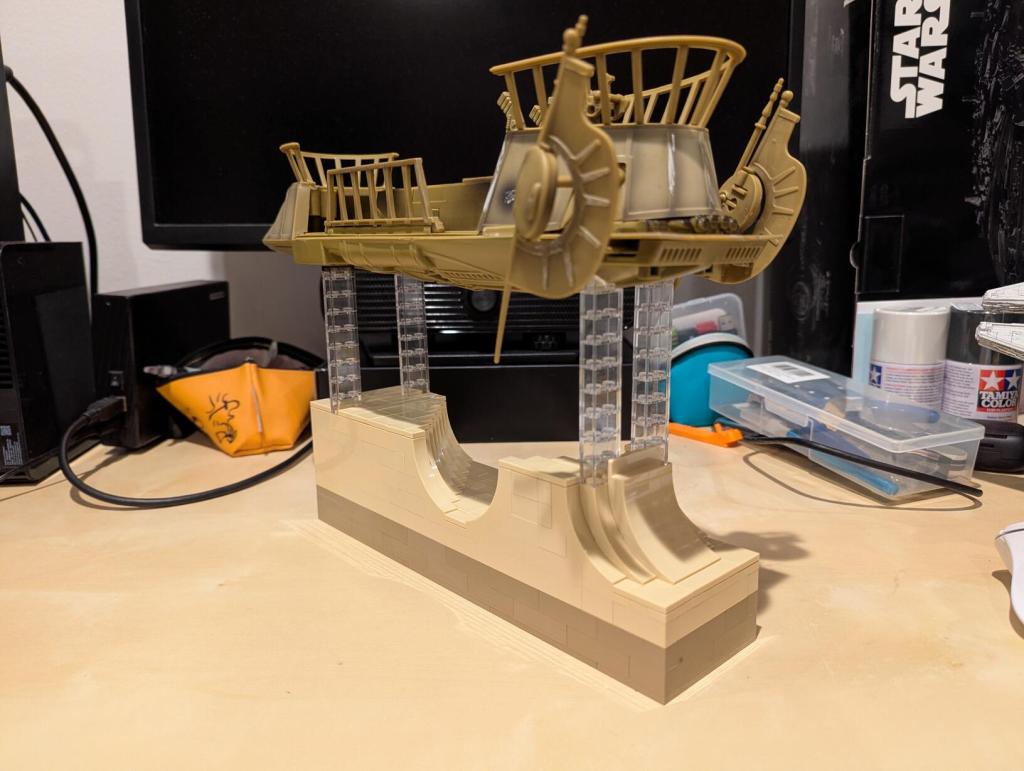
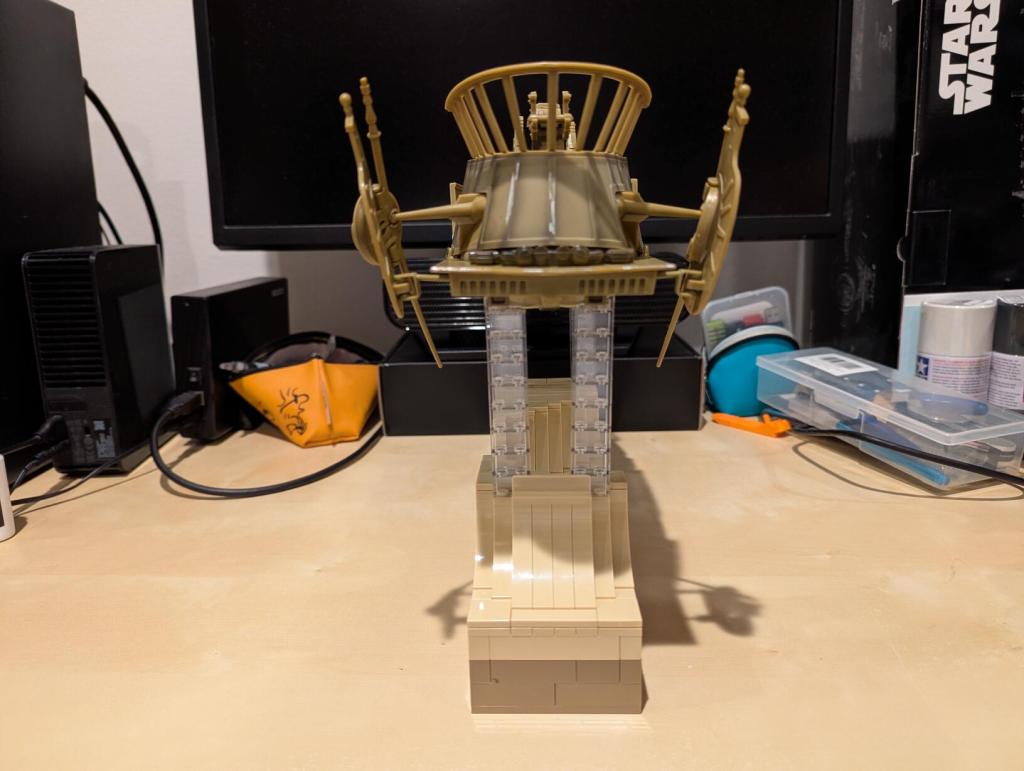
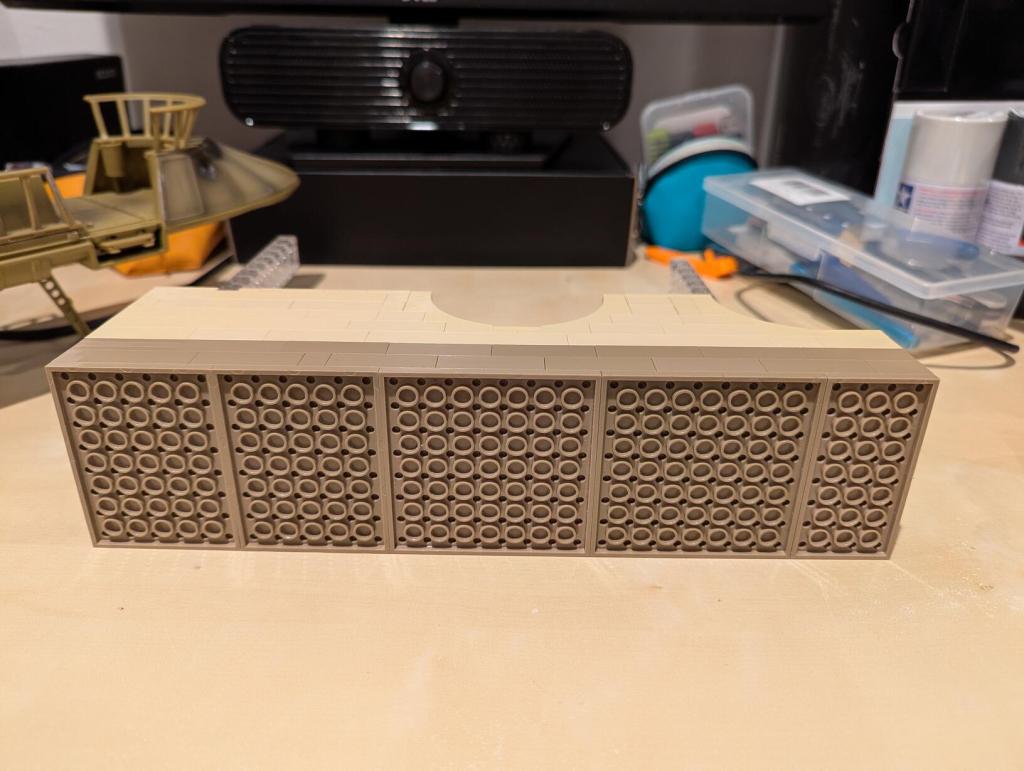
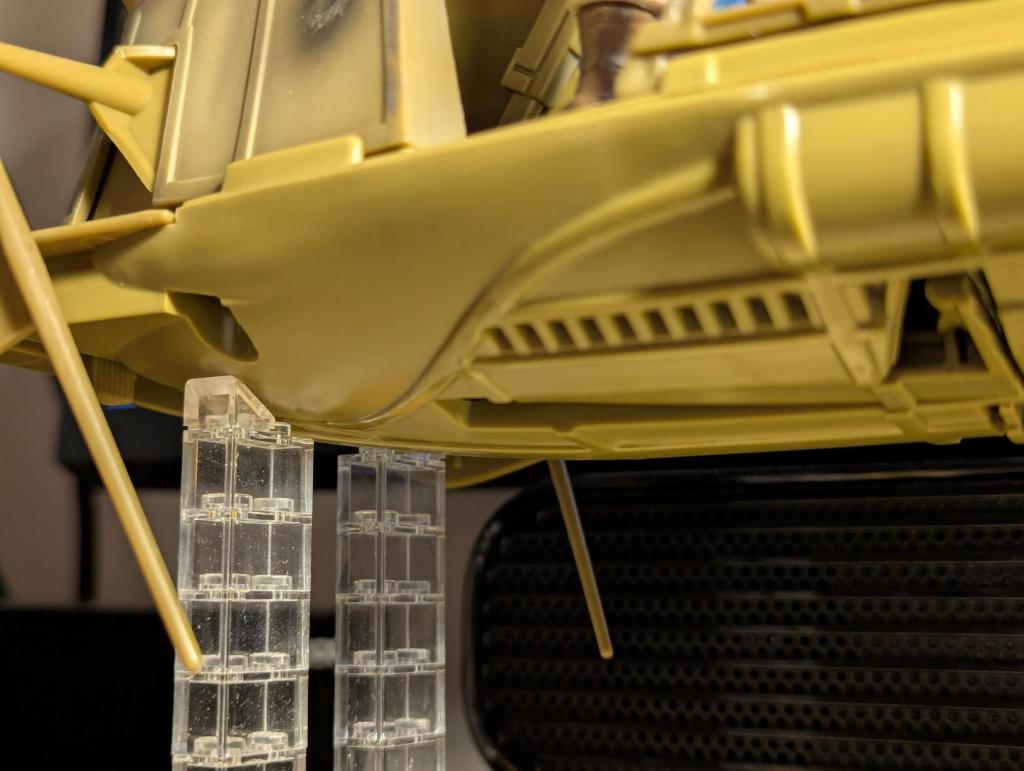
  • DIY LEGO Display Stands for Kenner’s 1979 Millennium Falcon and 1981 Slave I Vehicles in Flight

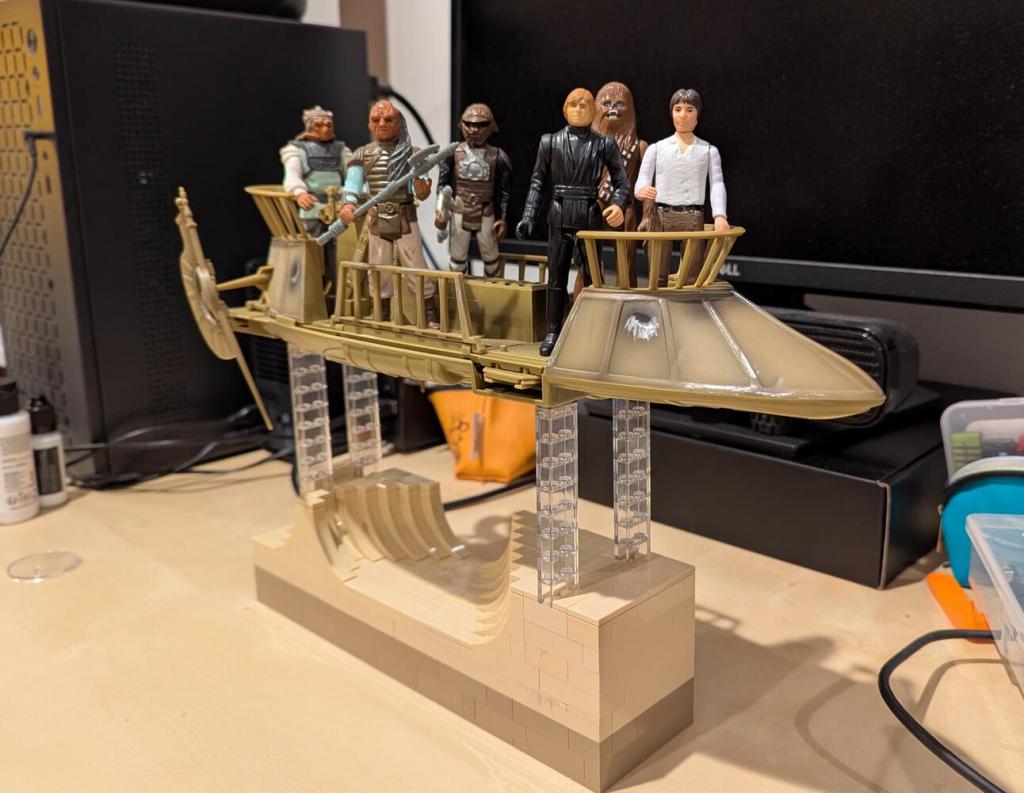
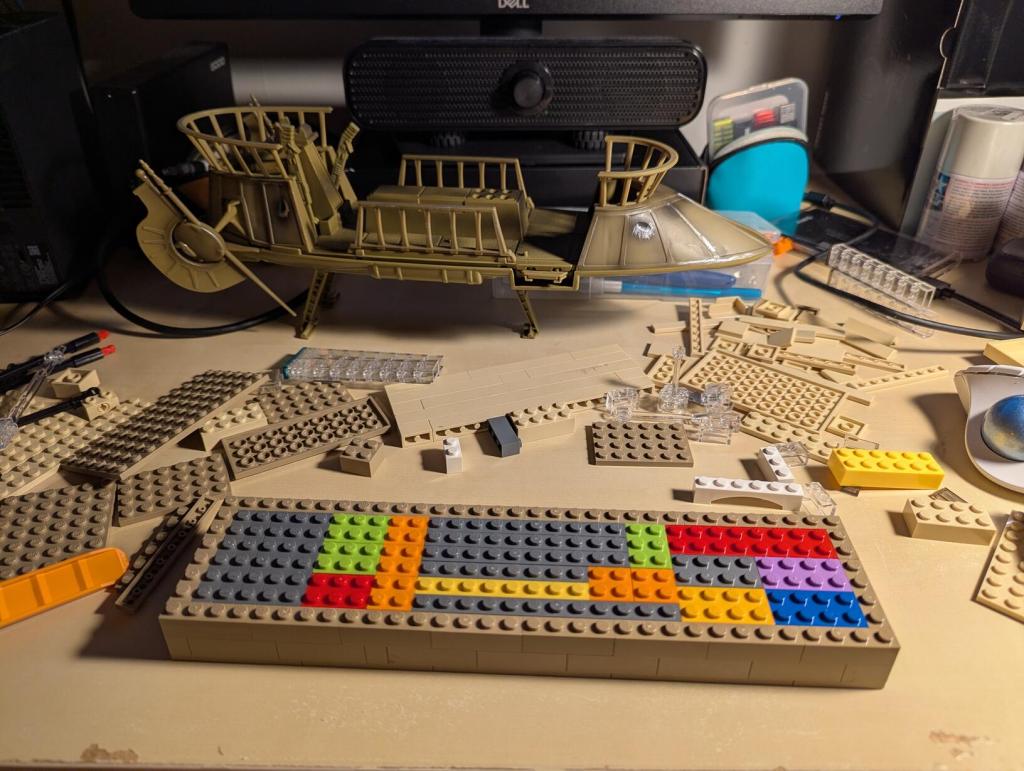
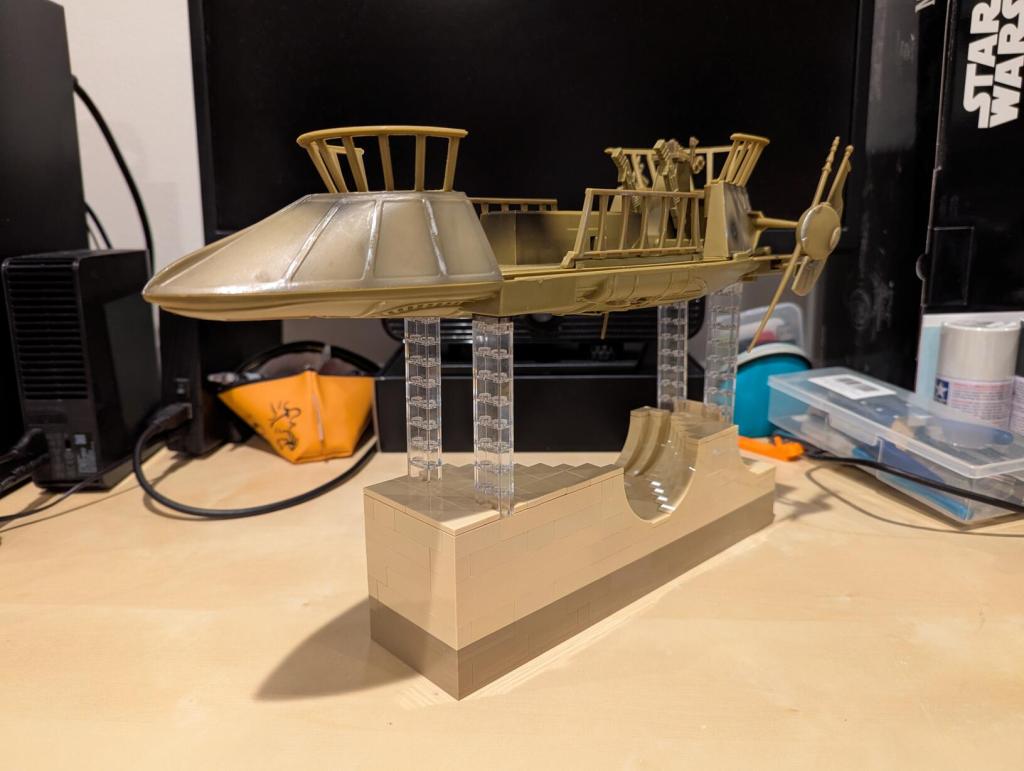
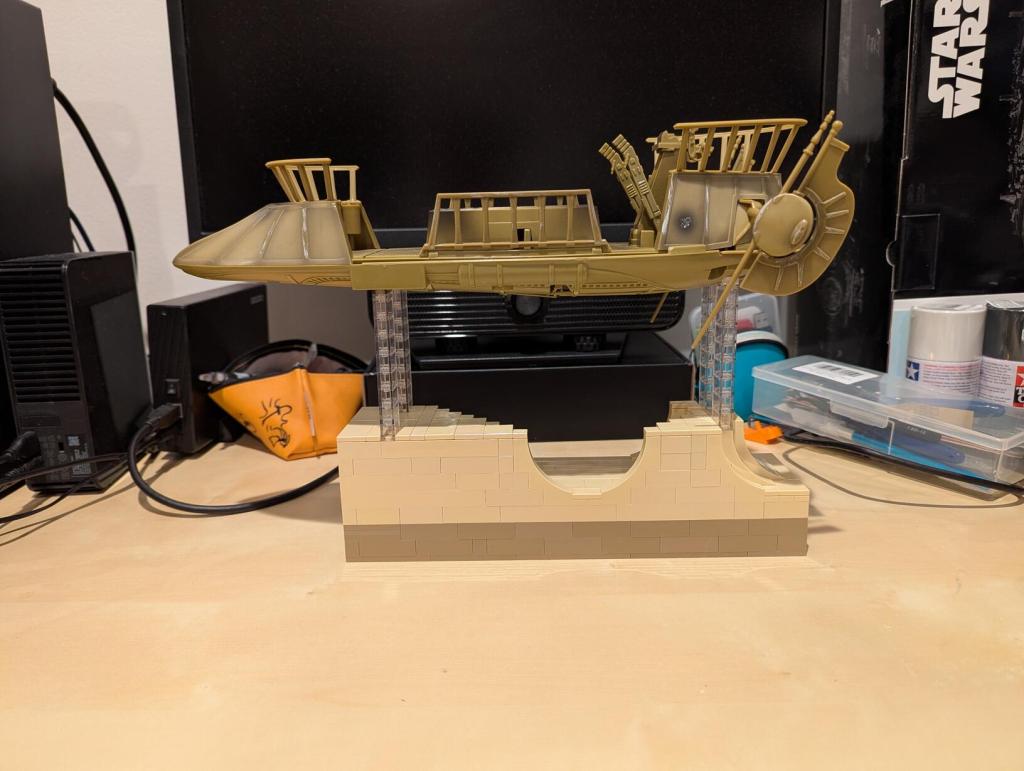
    I wanted to display my Kenner Millennium Falcon, which I’ve had for awhile, and my recently acquired Slave I on a shelf above my desk at home. While I liked seeing them on the shelf above my desk–Falcon with gear down and Slave I resting on its base–I thought displaying them in flight would look a lot cooler. There are aftermarket displays, including some nice ones that are clear acrylic, but since I have so much LEGO on-hand, I figured I should use what I have instead of purchasing something new. Below, I’m including detailed photos of each stand in case you are interested in building your own.
    LEGO Flight Display Stand for Kenner Millennium Falcon (1979)

    The Falcon display stand presented an interesting problem. Due to its asymmetrical design (with cockpit stuck off on its forward right quadrant), getting it to balance from the center gunner platform was difficult. Also, I didn’t want to build the stand with a wider width so that I could avoid putting any weight on the fragile loading ramp piece. A very simple solution presented itself when I ran out of single-stud wide tires. Putting a two-stud wide tire on the front support arm in the direction of the cockpit substantially balanced the Falcon so that it doesn’t wobble or move on the stand at all even while I’m typing on my keyboard below it on my desk.
    LEGO Flight Display Stand for Kenner Slave I (1981)

    Slave I’s unique design presented its own unique challenges for building an in-flight display stand. It is designed to be in flight mode by someone grasping the handle on the back of its base. The straight forward approach would be to build a long arm with a hook or some assemblage to “grasp” around the handle. When I was testing this out, I didn’t have enough long black 1 x n Technic bricks to construct a stable and supported arm (needing at least a sandwich of Technic bricks over and under a 2 x n plate).

    I opted to build a shorter support arm that would contact with Slave I in three places–hook around the bottom of the handle for stability, 4 x Technic, Axle Connector Double – Flexible Rubber holding the weight under the two bottom engine exhausts, and two 1-stud wide tires under the screw assembly that holds the base at the loading ramp together.

    Due to its center of gravity, I angled the arm back a couple of degrees and built the display stand’s base wide, short in the back, and long in the front.

  • Ditched Roku for a Discounted Origimagic Ryzen 5 Mini PC

    lego minifigure skeleton on skateboard next to origimagic c4 mini pc, power adapter, and handheld keyboard with trackpad

    I’ve been unhappy with Roku’s increasing advertising through images and now full-motion video and their lack of support for a variety of codecs in their media player app. So, I’ve been looking for awhile for a good deal on a mini pc that could replace the Roku for playing media and also support some light gaming. Also, considering the impending tariffs (i.e., a tax on Americans), I hoped to find something as soon as possible.

    After tracking several mini pcs on Amazon and eBay for a few weeks, I finally pulled the trigger when Amazon offered the Origimagic C4 Mini PC with a Ryzen 5 3550H (4 core, 8 threads) on sale for $153. It’s CPU has a lot more horsepower while using 25 watts of power than Intel’s similarly priced mini pc processors. It came stock with 16GB DDR4 RAM, 512GB PCIe SSD, 1 x Type-C USB, 4 x Type-A USB (3 are USB 3 and 1 is USB 2), headphone jack, HDMI, DisplayPort, and dual ethernet.

    To operate it from the sofa, I got a $10 reiie H9+ Mini Keyboard with Touchpad that uses a wireless USB adapter to connect to the mini pc.

    lego minifigure skeleton on skateboard next to origimagic c4 mini pc
    lego minifigure skeleton on skateboard next to origimagic c4 mini pc

    Before setting anything up, I created a flash drive with Debian 13 Trixie, the latest version that was released over the weekend on Saturday.

    To do this, I inserted a 16GB flash drive into my workstation, but I didn’t mount the device. I downloaded the network install ISO for Debian 13 from here. Then, I ran lsblk in a terminal window to see what device address corresponded to the flash drive. It’s important to not make a mistake here, because it’s easy to overwrite another drive using this method. lsblk lists the devices, which are all in the “/dev/” folder, so when I saw that my flash drive was assigned the address “sdb”, I knew that its full address was “/dev/sdb”. With that info, I then wrote the downloaded Debian 13 netinstall ISO directly to the flash drive using this command:

    sudo cp debian-13.0.0-amd64-netinst.iso /dev/sdb

    After the copying to the flash drive had finished, I ejected it from my workstation and took it over to the mini pc. I plugged in the power adapter, ethernet cable (I arbitrarily picked the one furthest from the power plug), HDMI cable to the TV, the keyboard receiver USB, and the Debian 13 installation flash drive.

    I did experience some frustration with getting the Debian 13 flash drive to boot the mini pc. As soon as the mini pc booted, I was unable to enter BIOS or open the boot menu. Instead, it kept booting into the Windows 11 setup, which I did not want to use. At first, I thought it might be a problem with the tiny wireless keyboard and trackpad, so I switched to my Logitech keyboard and trackball, which are both tied to one Logitech USB receiver. I tried different USB plugs on the front and rear of the mini pc until I was finally able to enter bios (pushing DEL at boot) when the keyboard USB receiver is in the top-right USB port on the rear of the mini pc as shown below (it is a USB3 port). It might have been bad luck on my part with the other ports, so I can’t say this is a peculiarity with this hardware for certain. Nevertheless, it’s good to exhaust all possibilities like this.

    back of mini pc: power plug, two ethernet ports (one plugged in), HDMI (plugged in), display port, and 2 usb ports (one has a tiny device plugged in)

    Once in the BIOS, there’s not many options except for disabling hardware (I disabled WiFi), turning off Secure Boot and the Trusted Computing Module, and other odds and ends. I saved the settings, rebooted, and went into the Boot Menu (F7), selected the Debian 13 netinstall flash drive, and began the installation (a full nuke-and-pave: erasing the NVMe drive and setting up Debian 13 as the only operating system).

    While I use XFCE on my laptop and workstation, I opted for the GNOME desktop environment on the mini pc, because I thought its screen controls and overall user interface would be easier to see and navigate from across the room. If I don’t like it, I can always install XFCE.

    Because two of the main sources of media for us is Netflix and YouTube, I installed Chrome to handle those sites. I have VLC and Kodi for everything else.

    samsung tv and soundbar with a mini pc on the right side of the tv stand. the screen is showing netflix Jurassic Park the lost world in the background while the foreground terminal shows the pc's info, which is also in the second paragraph above.
  • Green-Wood Cemetery’s Ghostface is Buried in Snow

    ghostface from the film scream is buried in snow with only his head poking through the snow drift

    Ghostface is buried in a snowdrift in Green-Wood Cemetery. He’s seen better days.